Build Out: Week 5
Odds & Ends
It's hard to believe that we're 5 weeks in. This past week absolutely wore us out because we've been working on Amelia every single day. We decided to take a few days off and head down to south Florida to celebrate Owen's mom's birthday! We came back feeling recharged and ready for more!
Before we talk over the work we accomplished this week, we wanted to share our first build video that actually covers the process! First up, the tear down! Owen worked really hard this week to knock it out for us. Enjoy, there's a lot more where this came from!
We found ourselves in a bit of a holding pattern this week as far as major progress work is concerned. We can't fully move into our new phase of the build, the "electrical" phase, until we do our water test. It's really important that we know for sure that the window seals and the fiberglassing are water tight before we start adding in things that are affected by water. Fingers crossed that the last few things we need to install before we can do the water test will be here shortly!
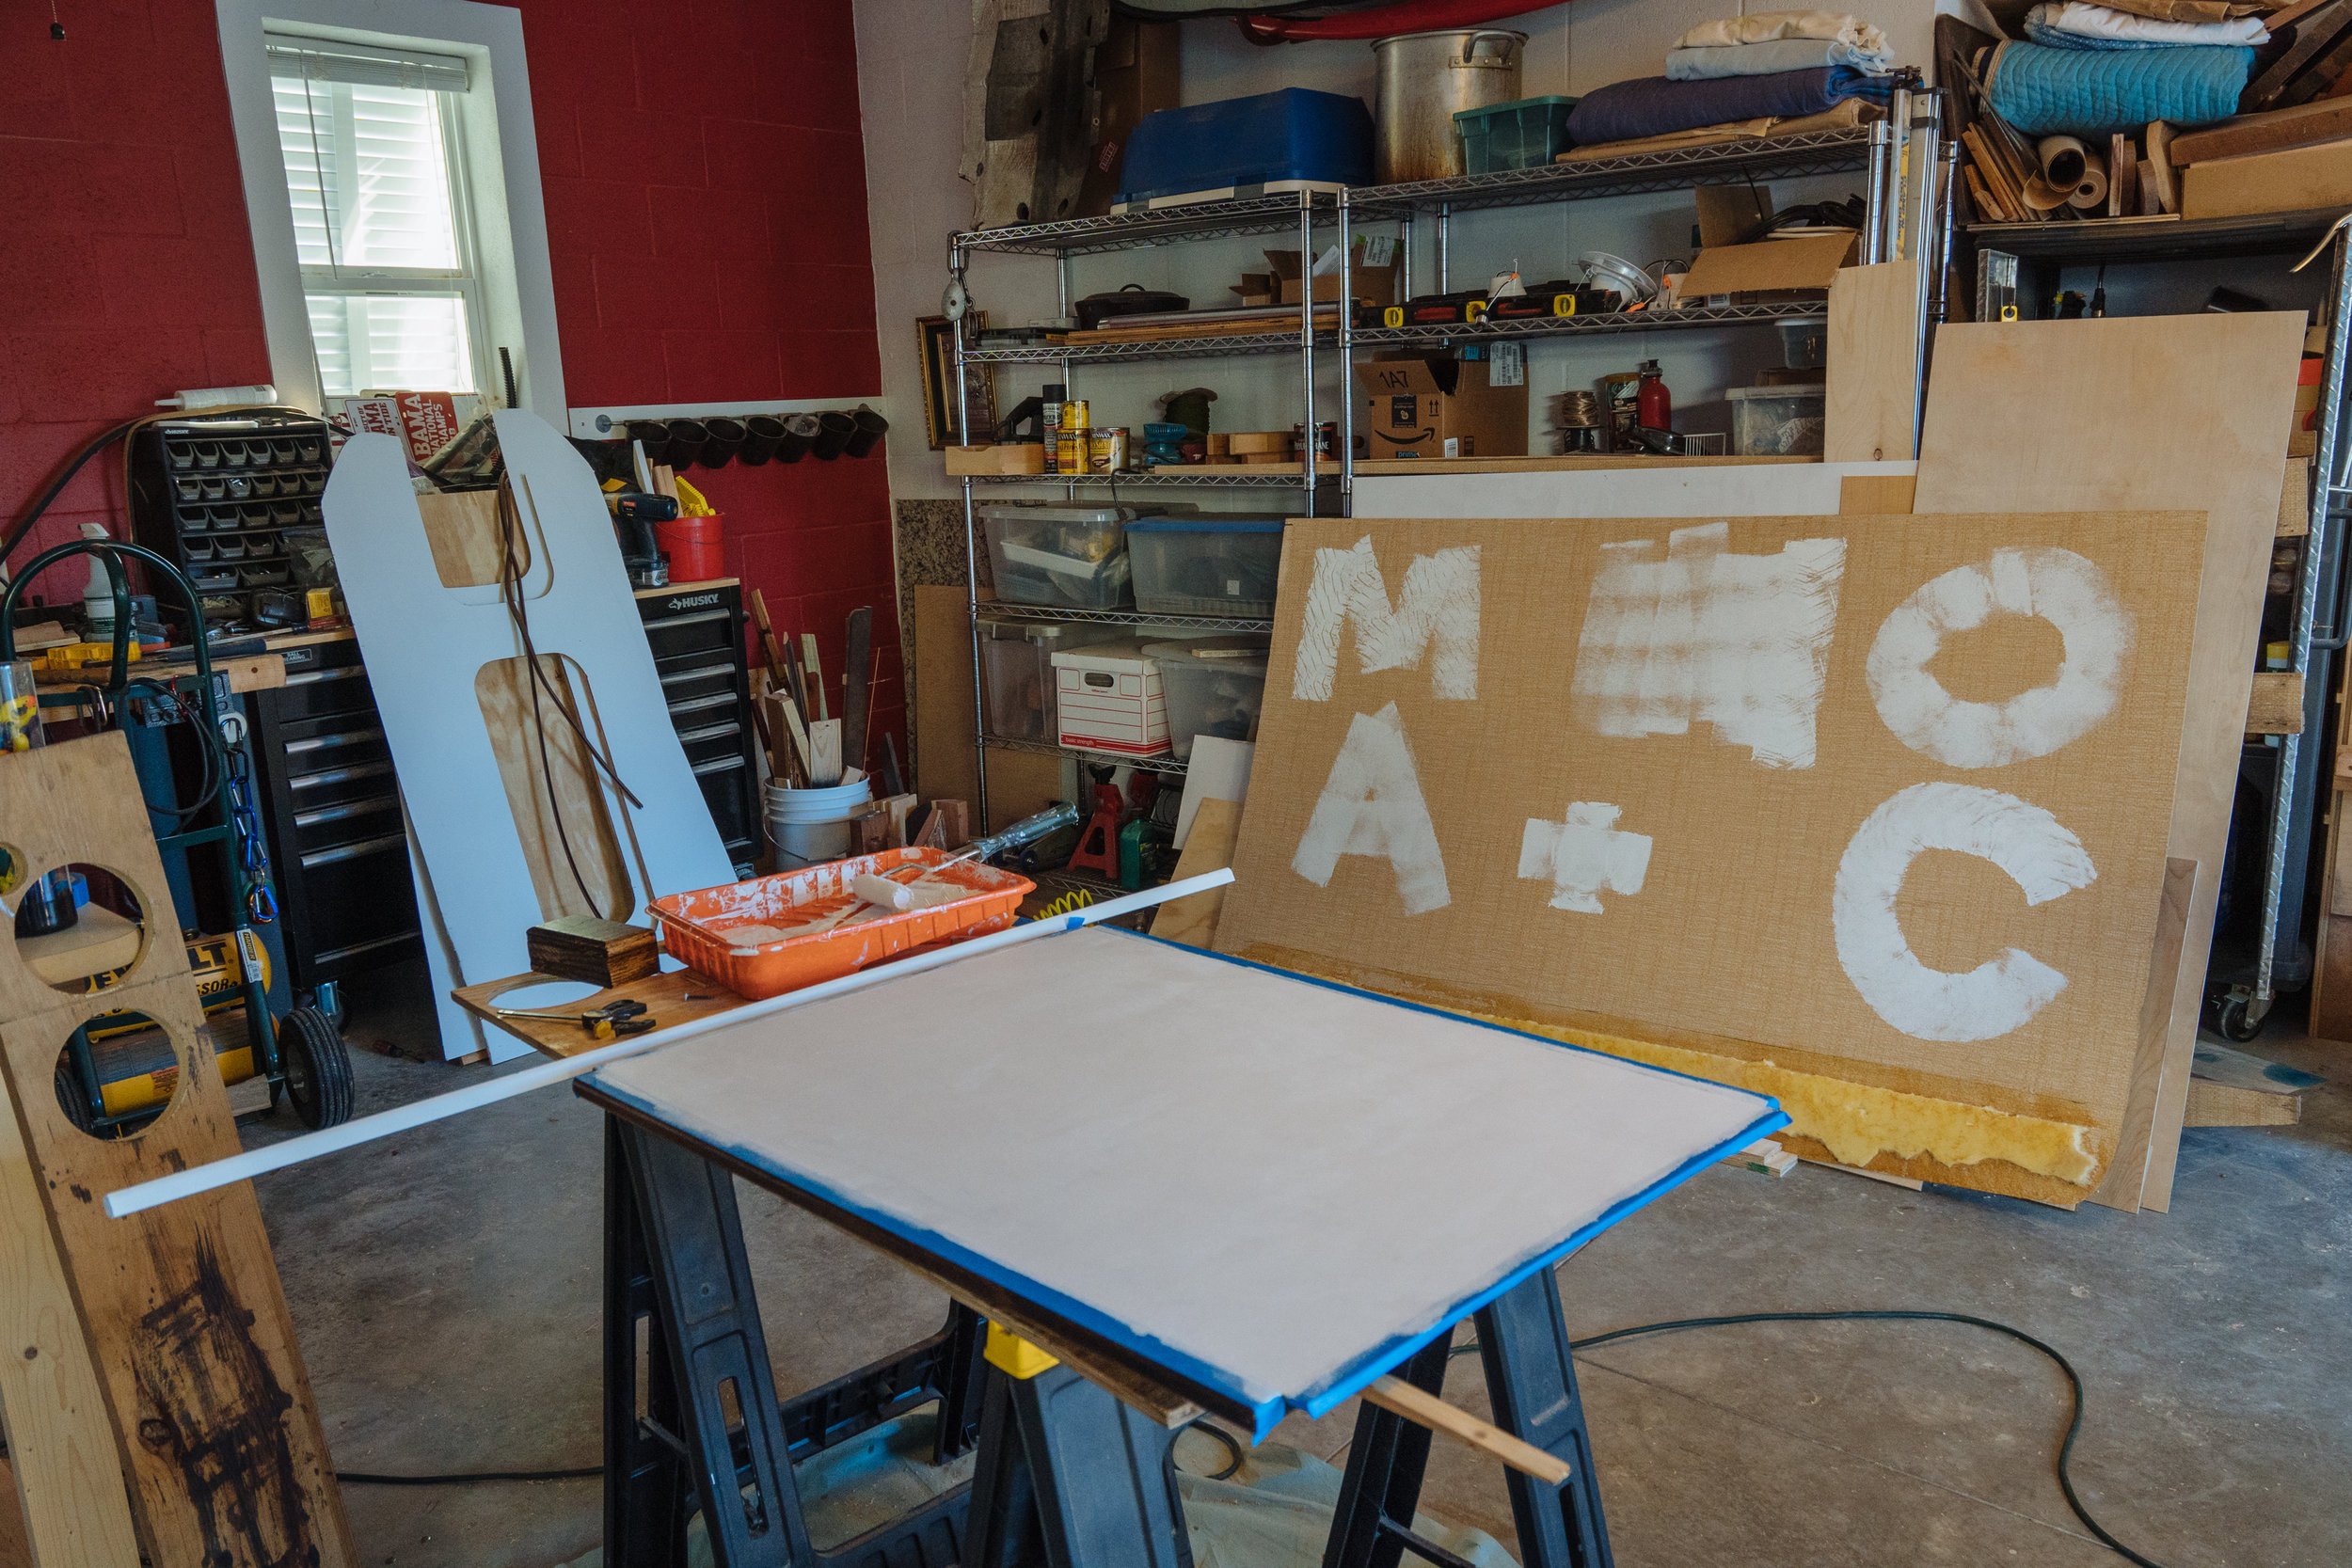
Though we didn't have anything major to do this week, we did a lot of odds and ends while we waited, such as painting. We decided, for a few reasons, to reuse the side wall panels as well as the roof panel that were originally over the bed. Before you mention the existence of mice in our ceiling, allow me to explain. The mice never came in contact with these panels and they passed the a highly discerning sniff test. These panels are also in really great shape. Being that they're also made up of really odd shapes, we were not exactly stoked to recreate them. Not laziness, resourcefulness...I swear! They each received a few coats of paint to make them look real nice.
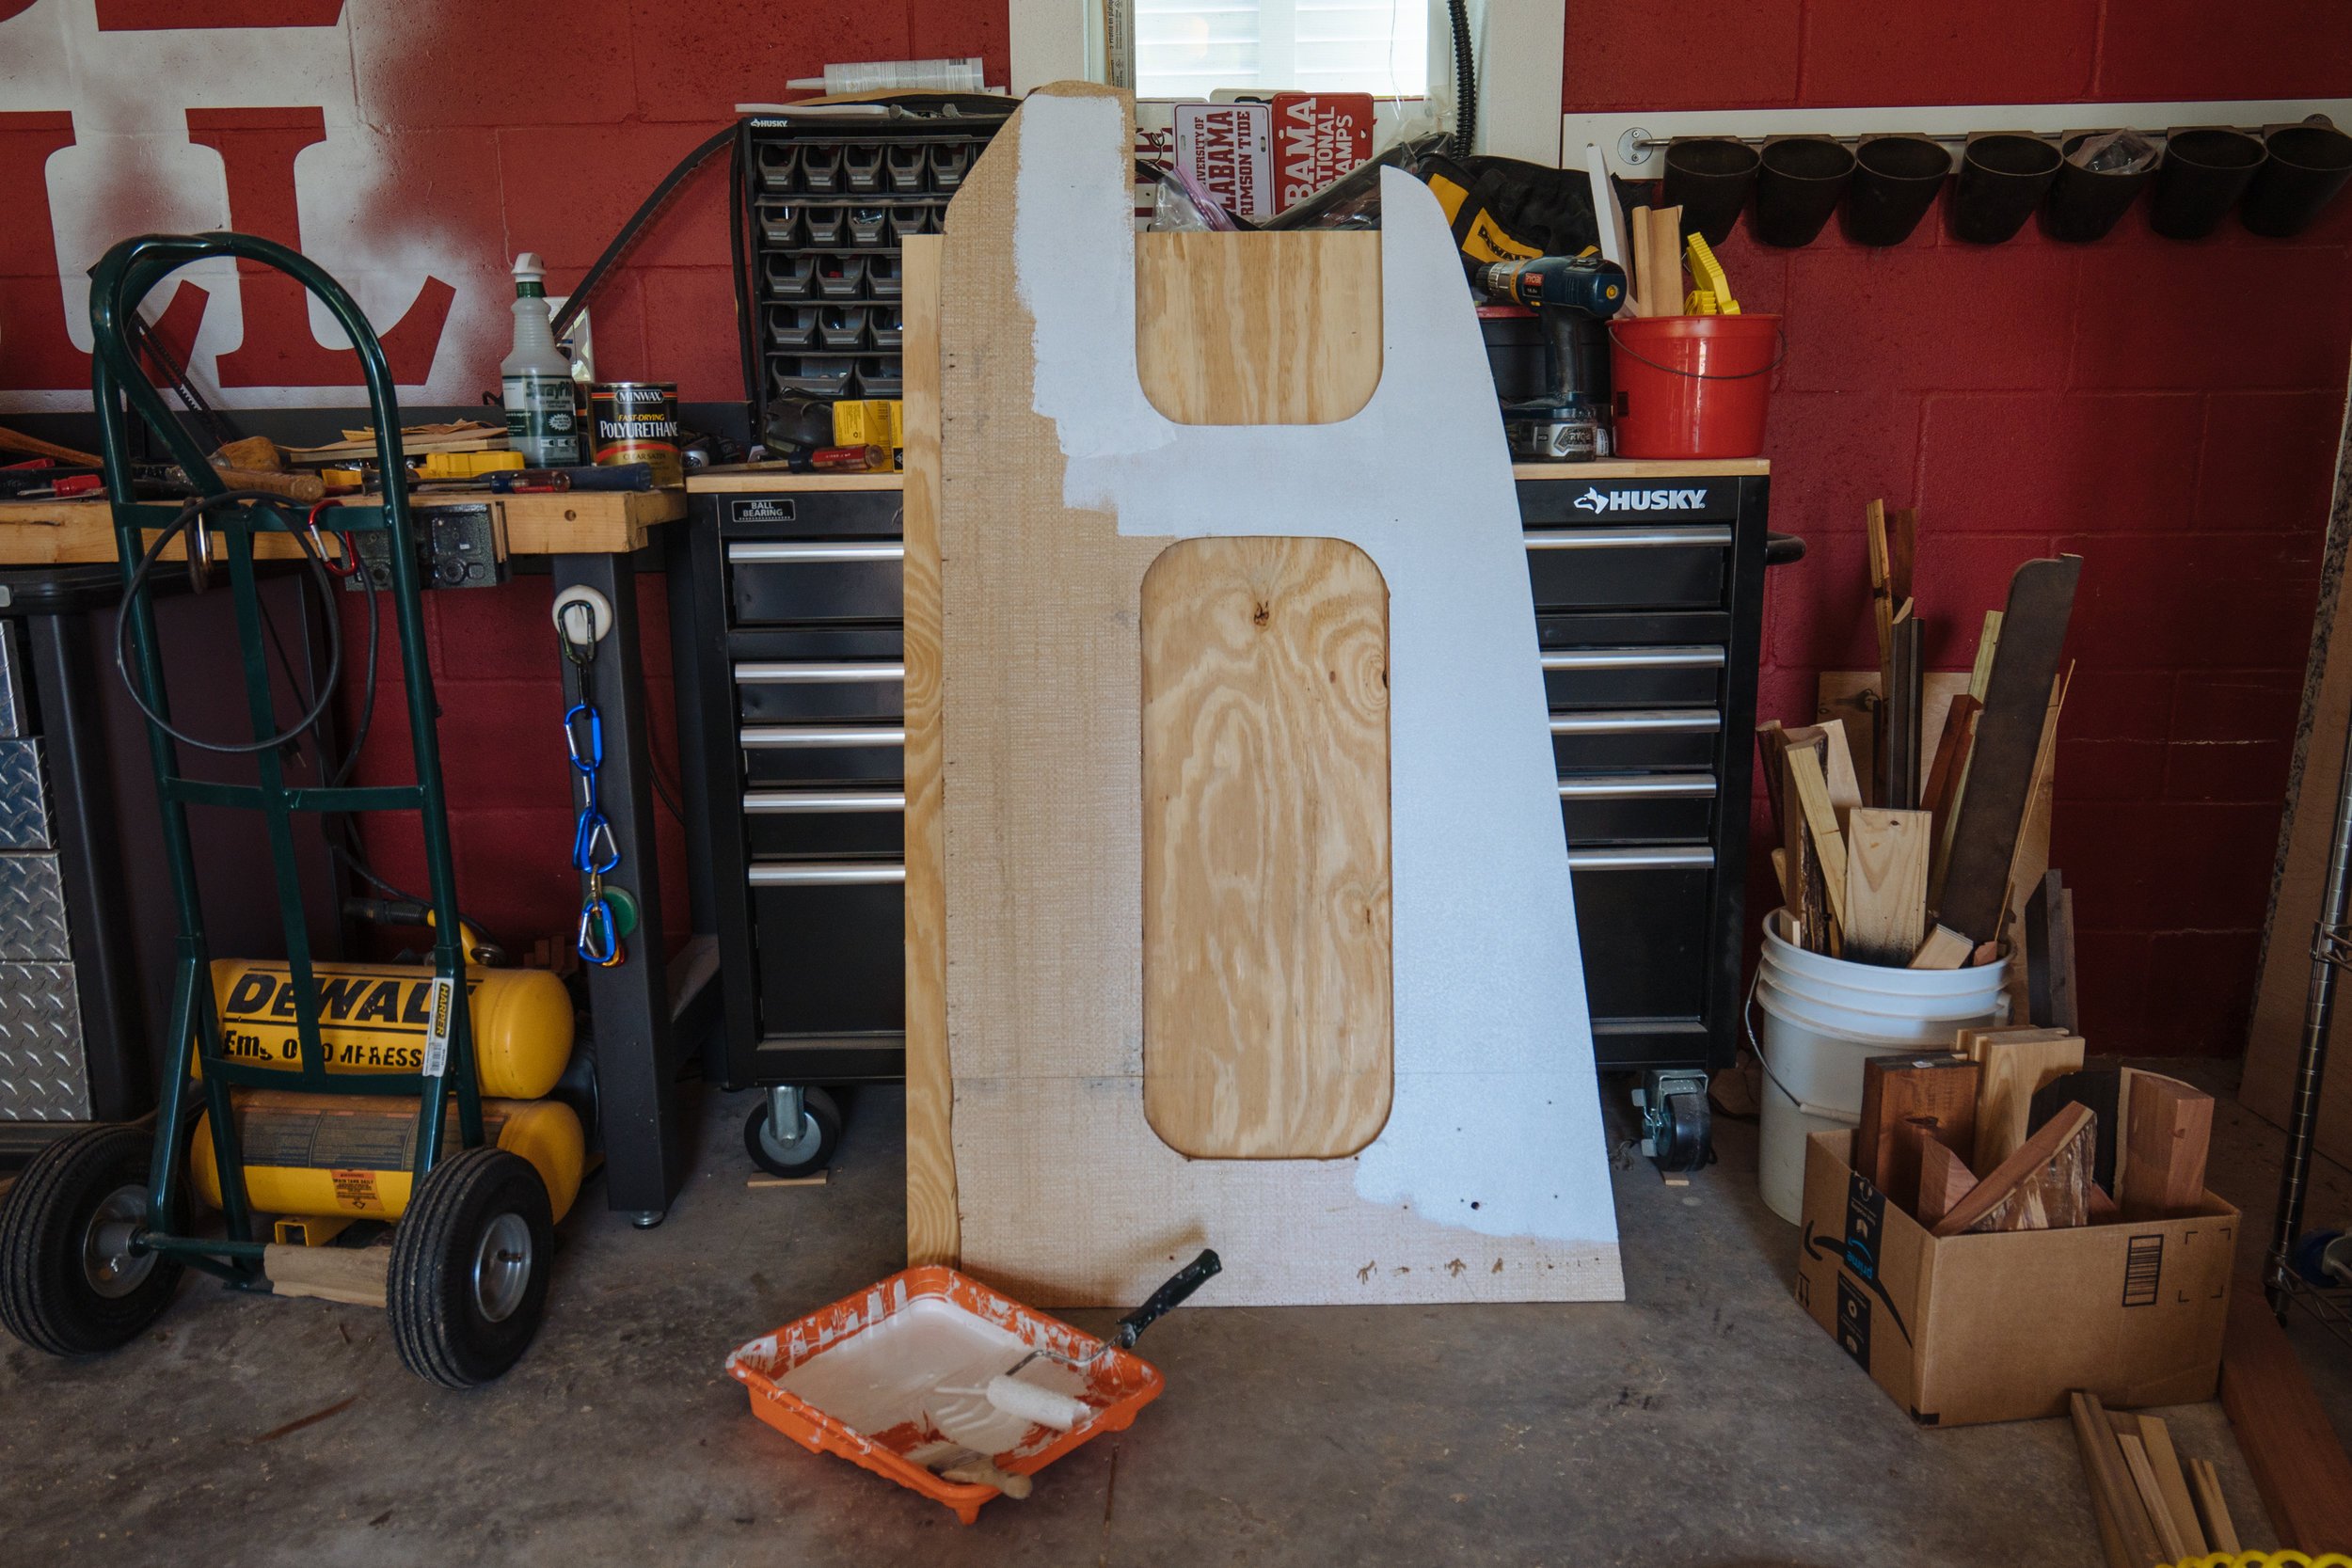


The door pictured above will serve as our pass though into the cab. Pulling back the masking tape on this piece was particularly exciting because for the first time we got to see our contrasting surfaces that we plan to use throughout the build. It's so incredible to see the first glimpse of our creative direction!
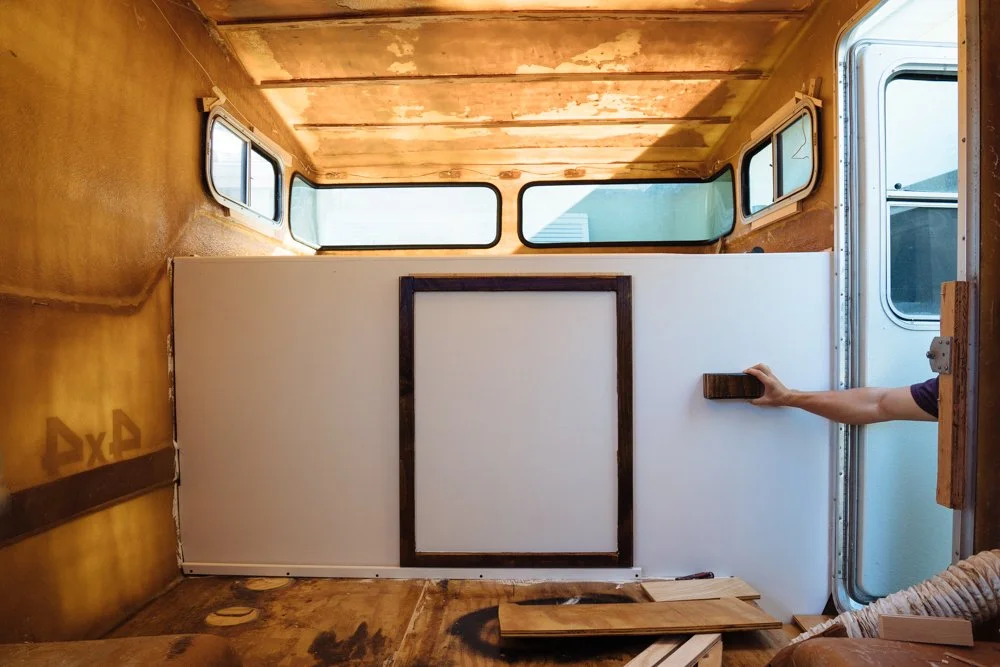

The door is in! Owen is holding our little step up block that is used to get into the bed. We also cut additional grooves in it that help you get into the Sunrader, and it's now screwed into place on the wall. We expect the door to be open most of the time. It will only be used at night when we are sleeping for privacy. When it's open it will sit tucked behind the cabinets which are yet to be built. Owen is obviously pretty excited about the step.
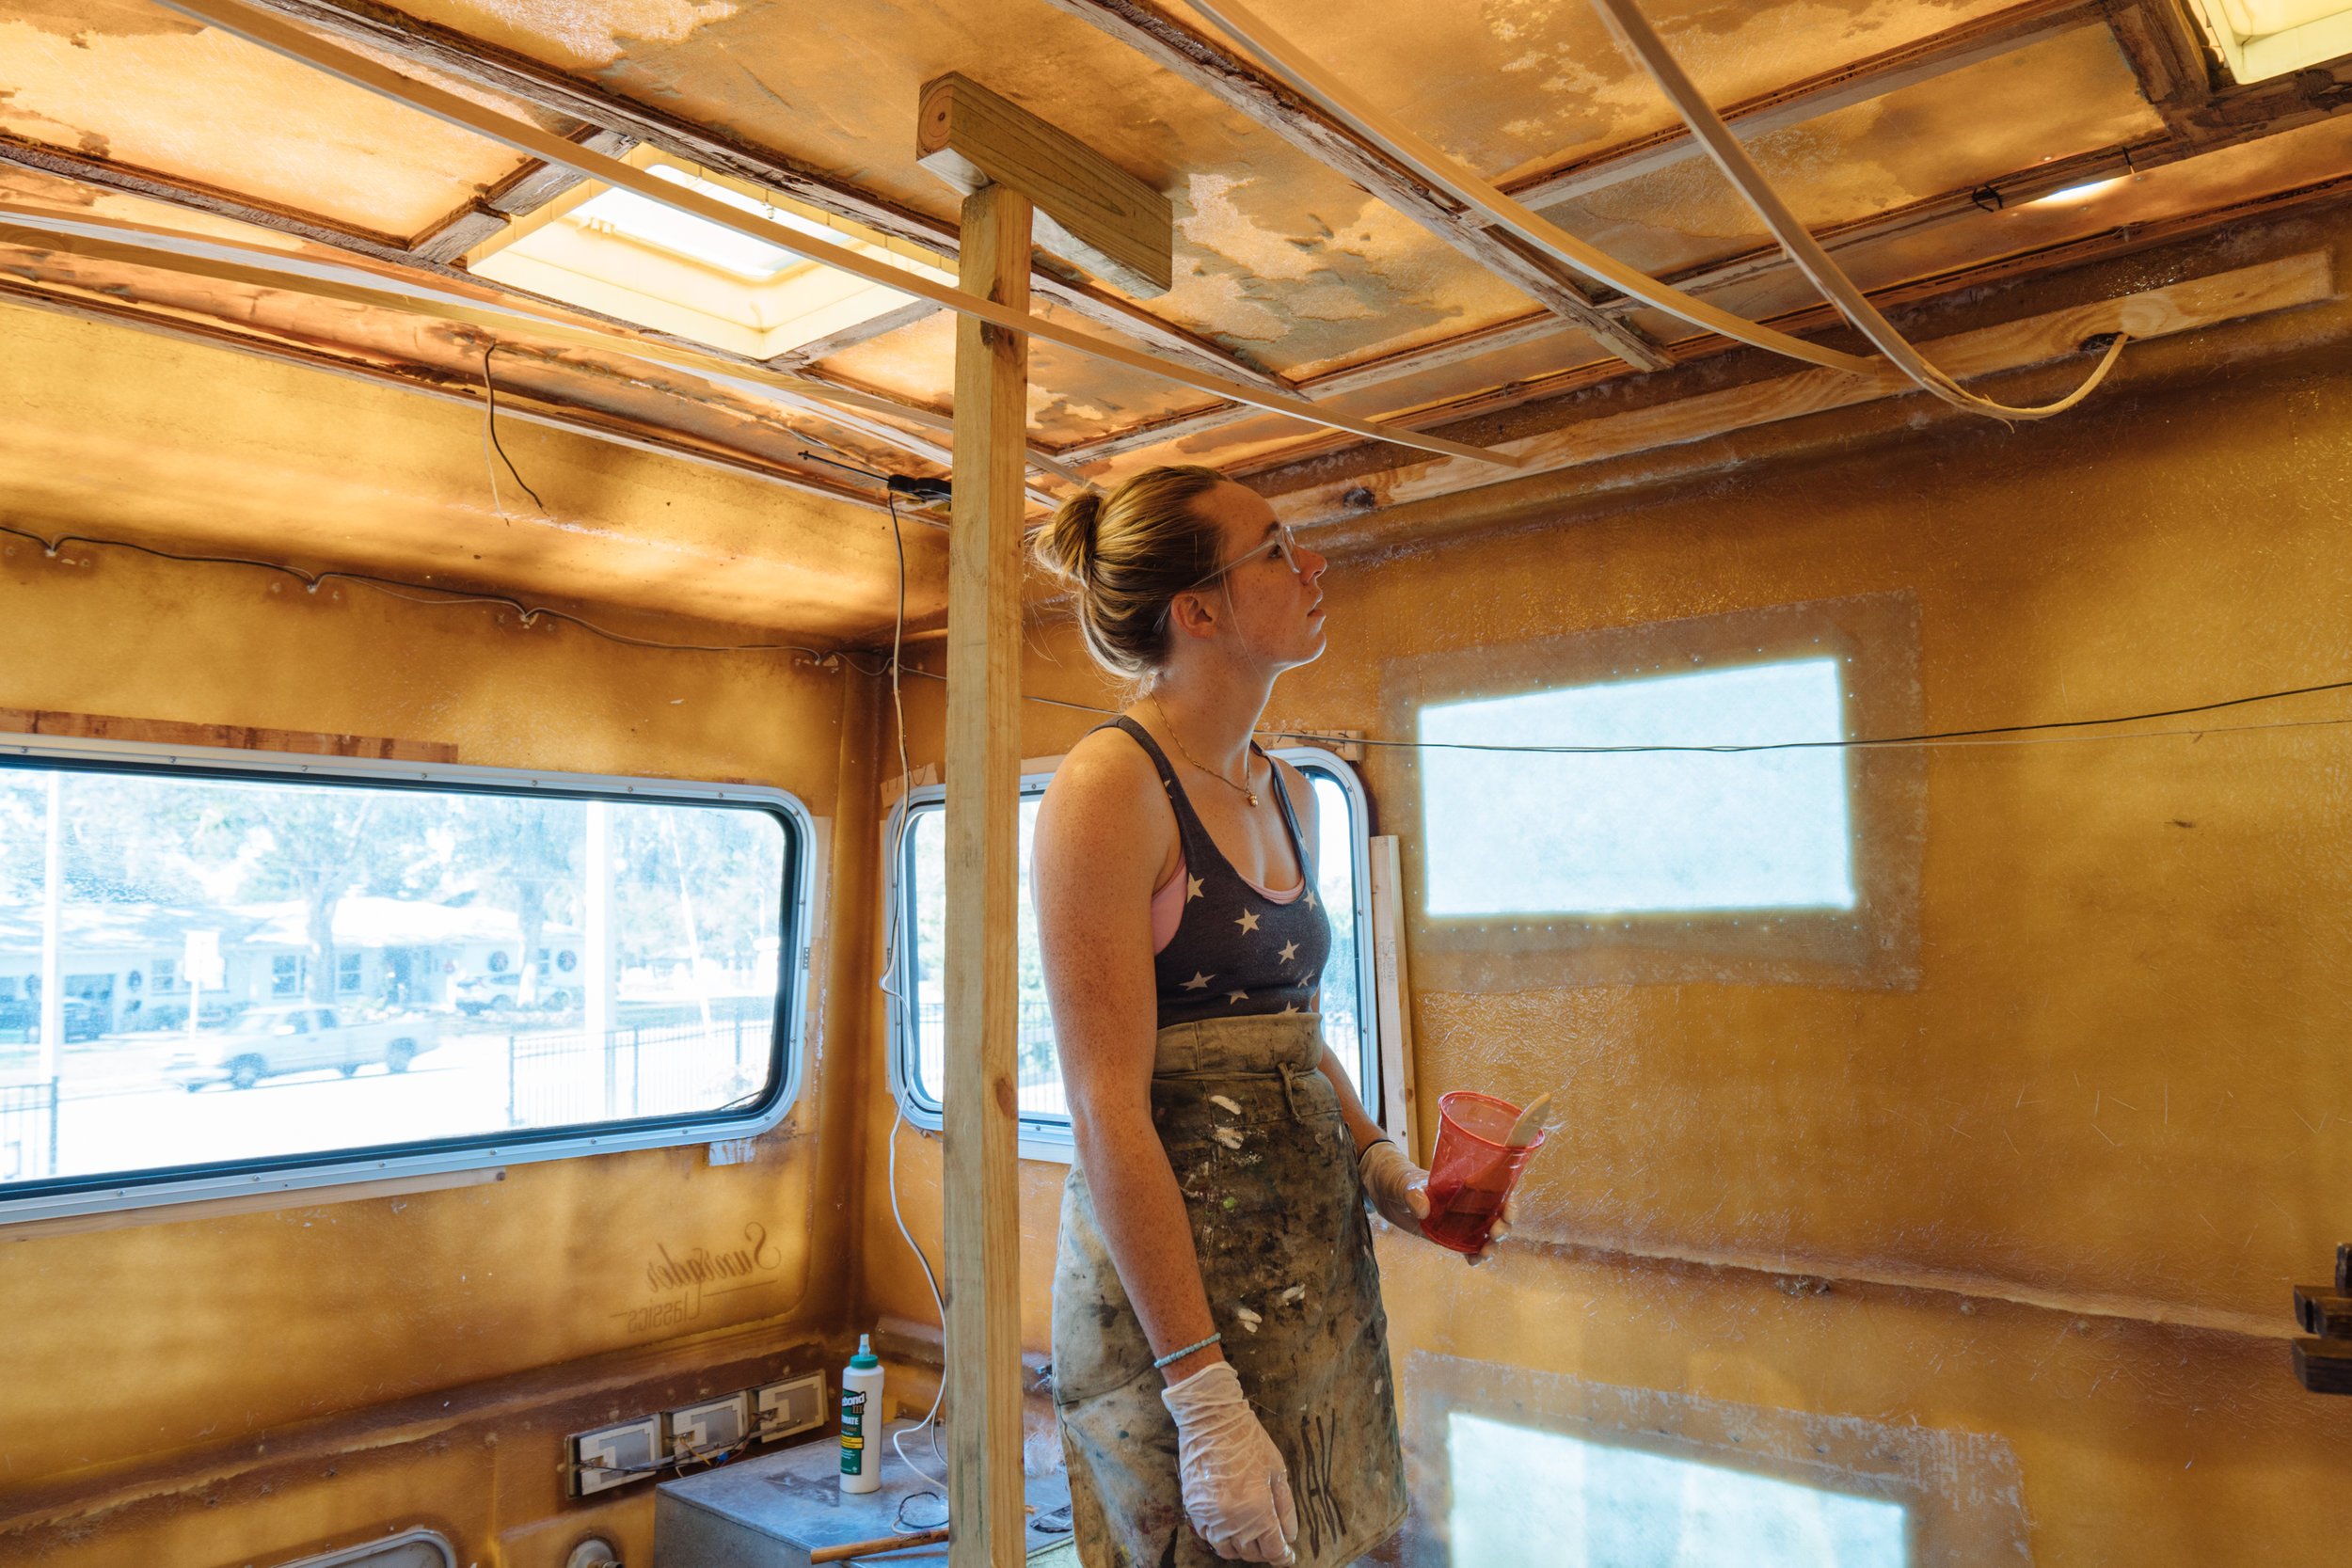

After taking out the walls and cabinets we learned that they were what provided the structural support for our roof. Without them we've been needing to keep a close eye on the sag in our roof. We decided to go ahead and support our roof by fiberglassing in a support beam that holds up our cross beams. The reason these cross beams are stained is because they will be exposed between our white ceiling panels. The idea is that we'll have additional roof support while gaining the aesthetics of an architectural cross beam.


This week we also made this cool little step/storage compartment. This step was always really awkward so we felt that it could be better served this way. The floor will come all the way to the door once we open that can of worms. We'll decide what will live in this little compartment at a later date.


Our replacement LED lights finally came in, but sadly they aren't working for some reason...we have yet to figure out what is going on with that.


We decided to go ahead and pull out our propane cabinet to be sure that we got a chance to polyurethane the wood floor underneath. In the image above you can see two holes in the body that remain. We reached out to a custom fabricator to get an outdoor kitchen cabinet for the left side and a redesigned propane cabinet for the right side.

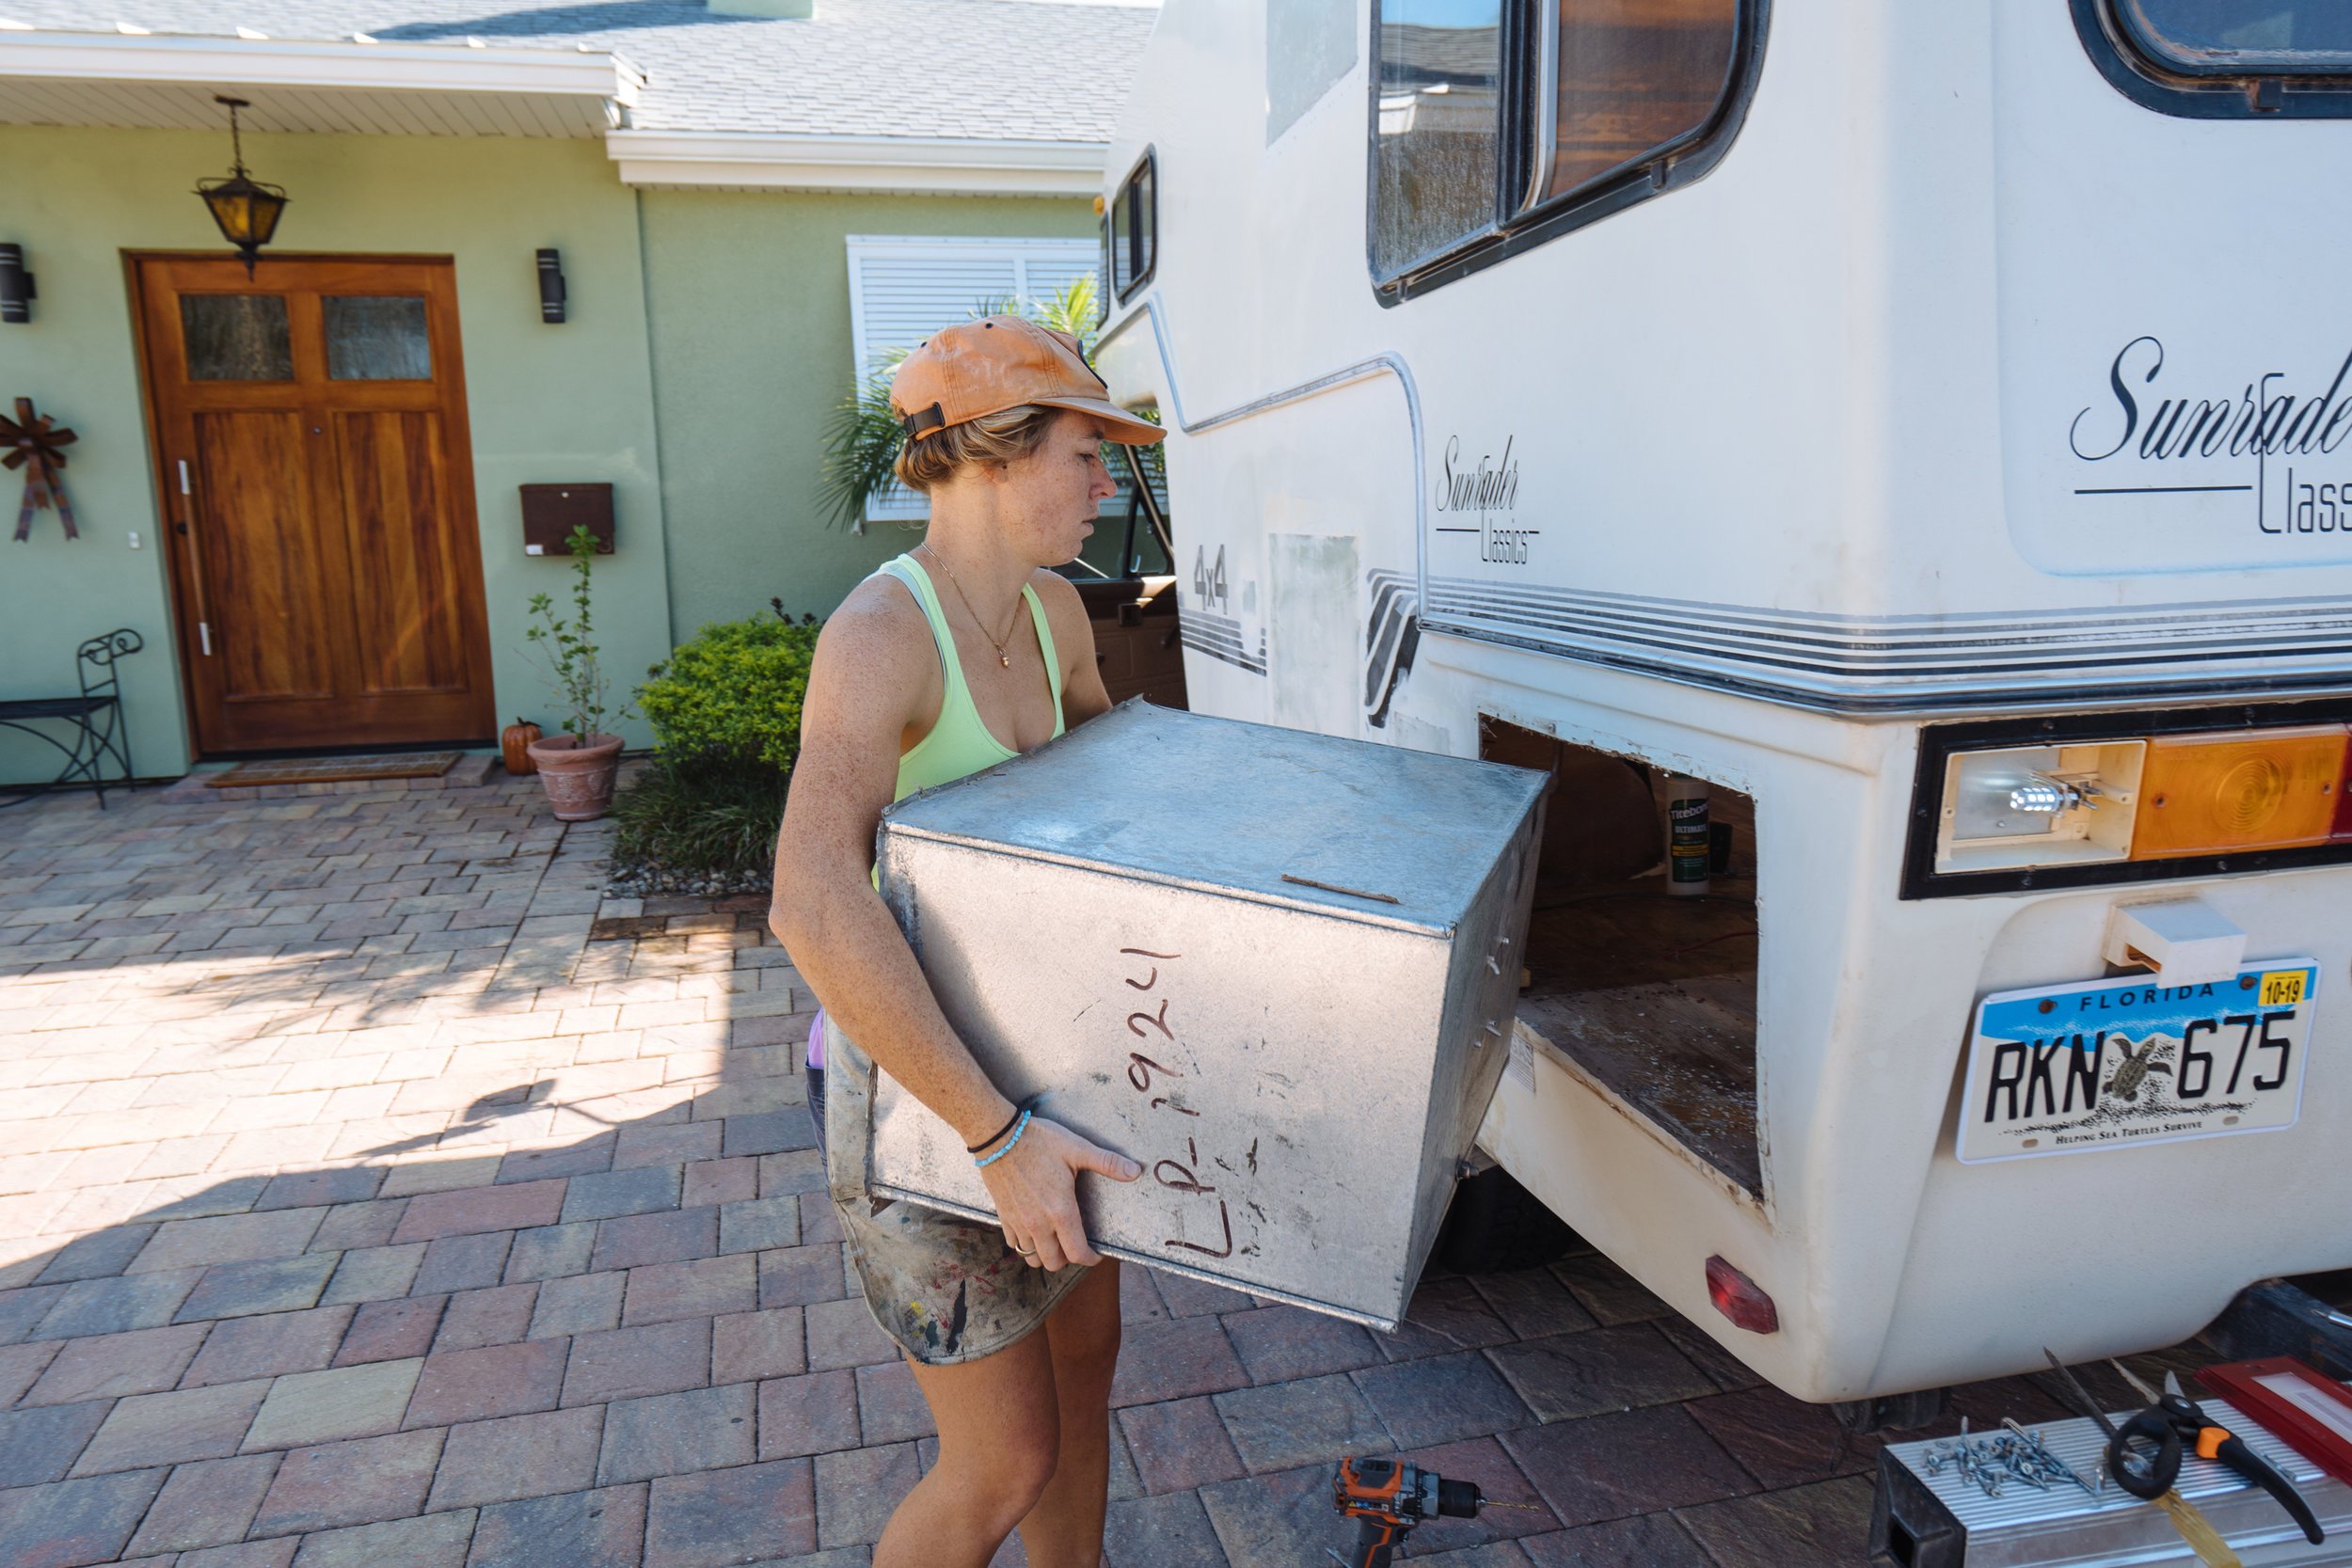
Last week Owen was looking over our back bumper when we realized that the metal is just a cover. I'm not sure if you have picked up on this yet, but we're making all of our exterior accents black, so we jumped at the oppertunity to paint the cover!

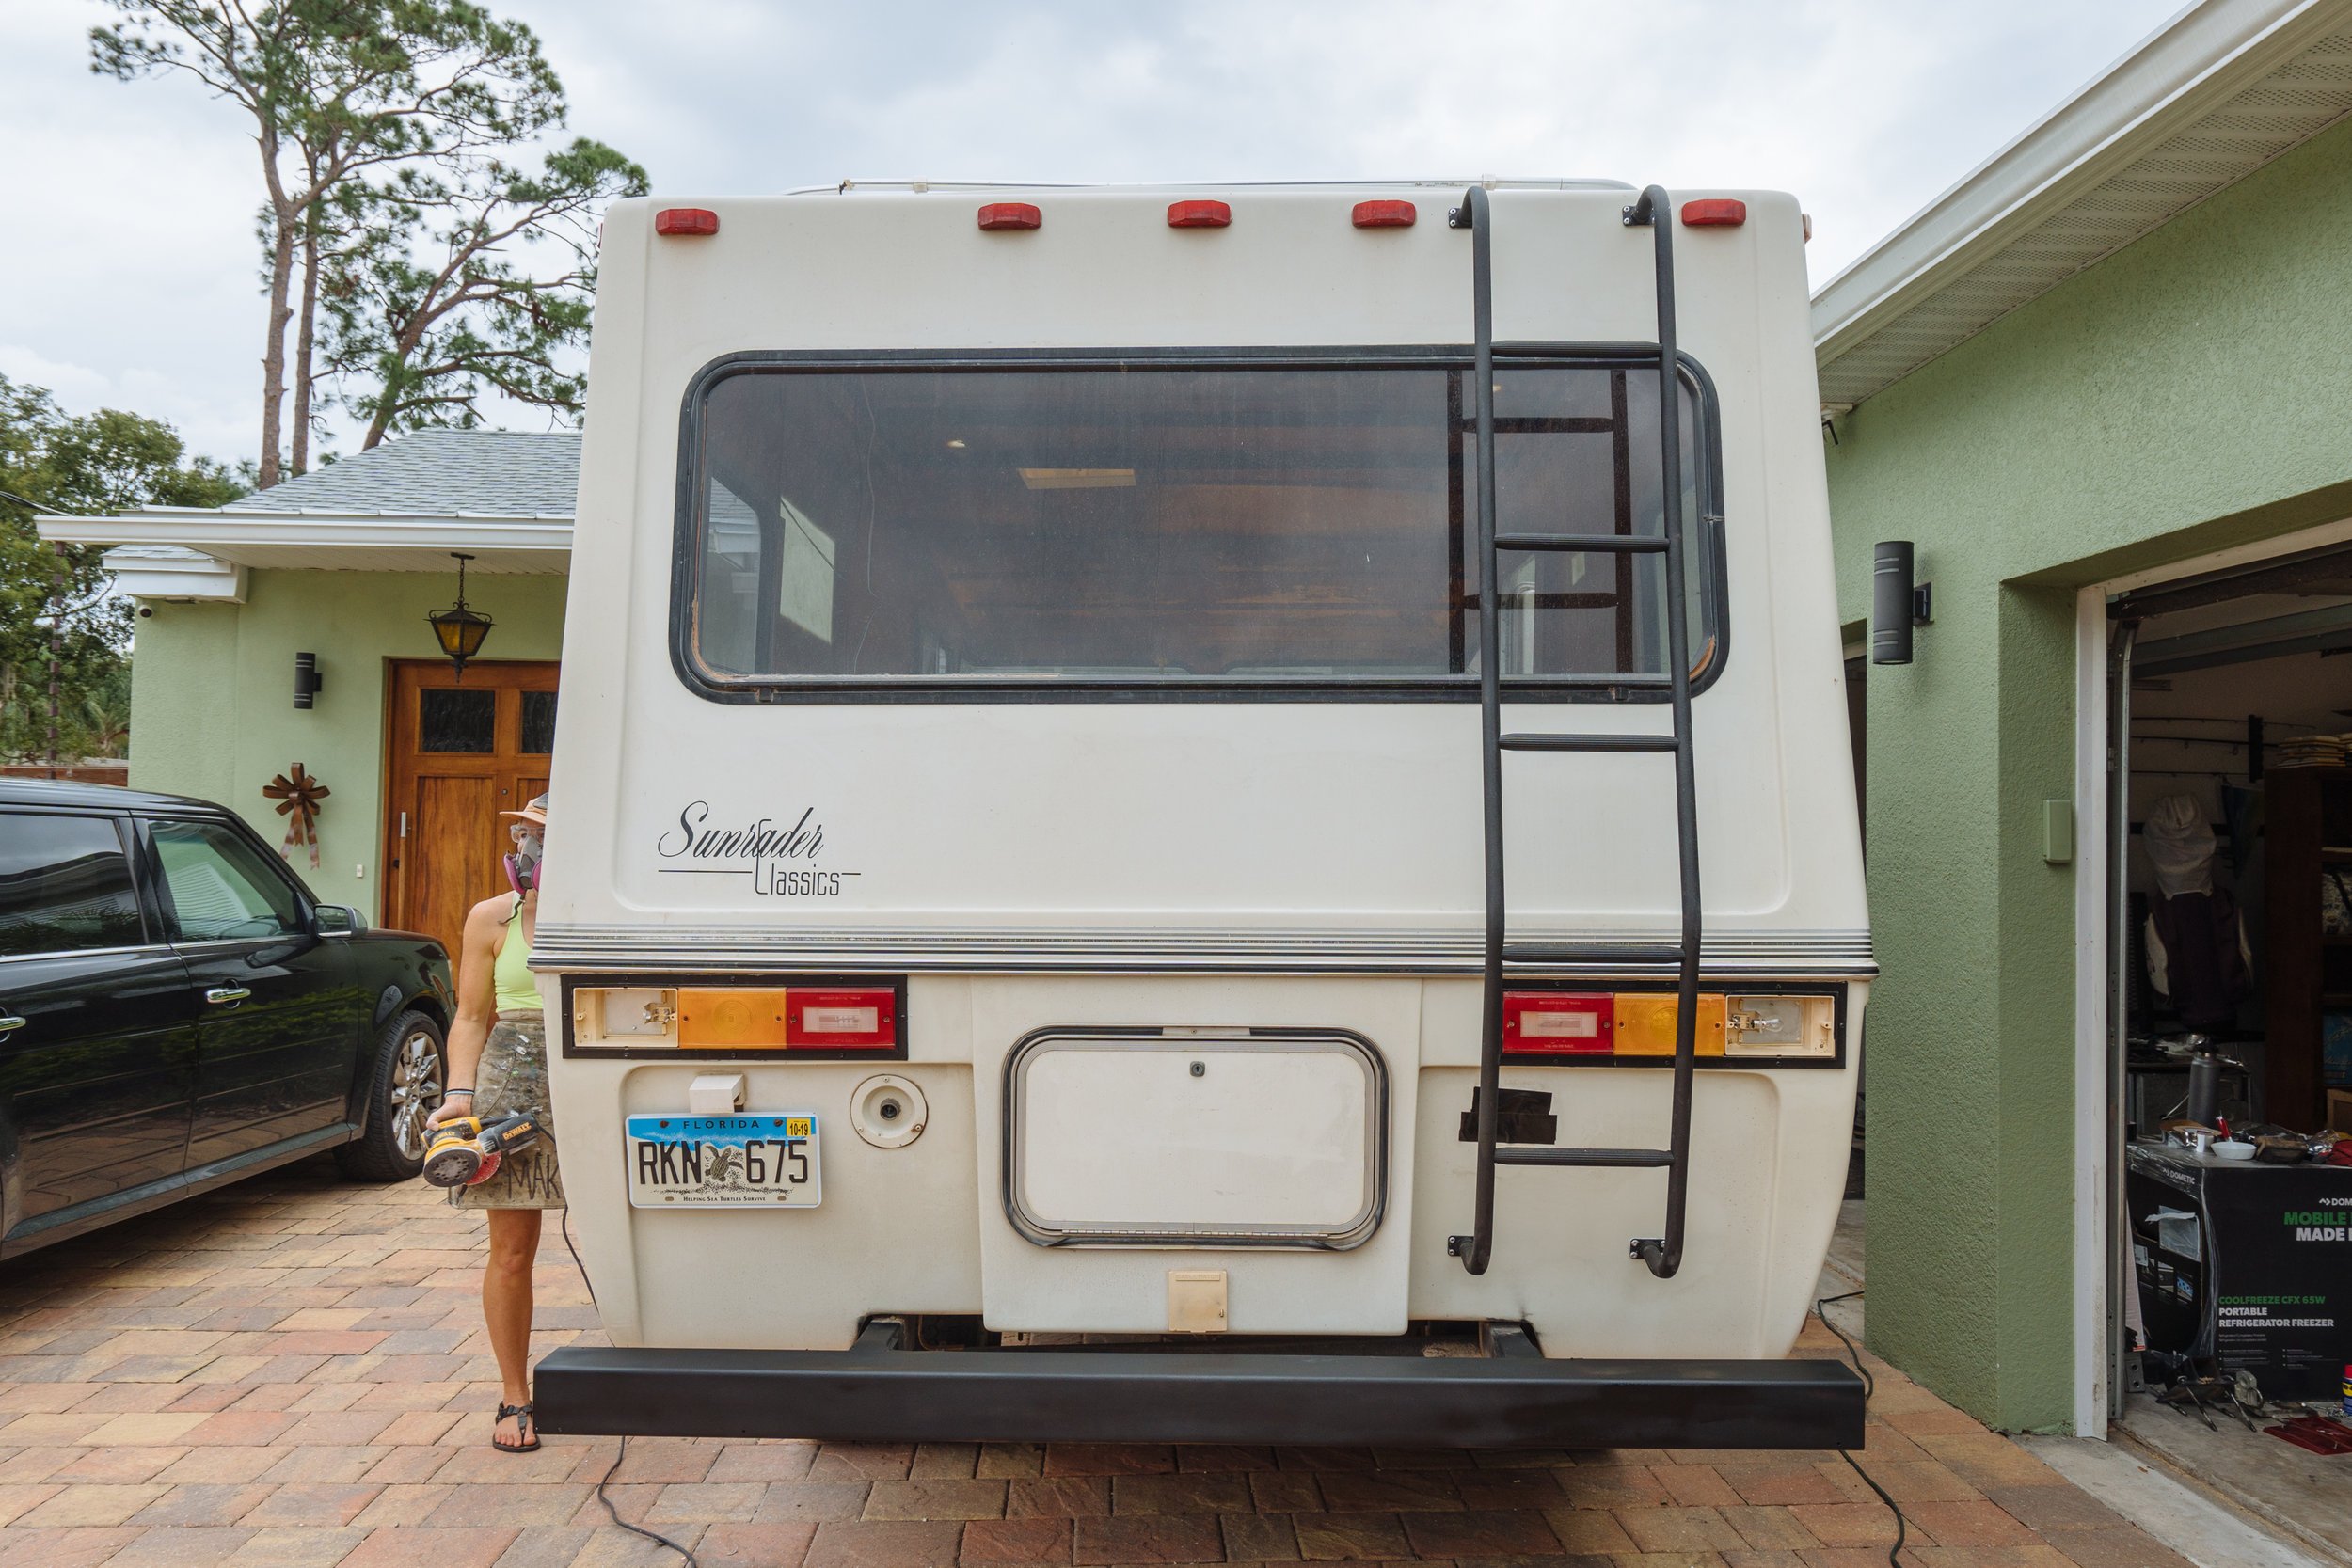
After peeling the panel back we discovered that our bumper is solid metal with a lovely layer of orange rust. Seeing the bumper without the textured cover we decided to sand down the bumper and paint it black. We're really happy with the results!
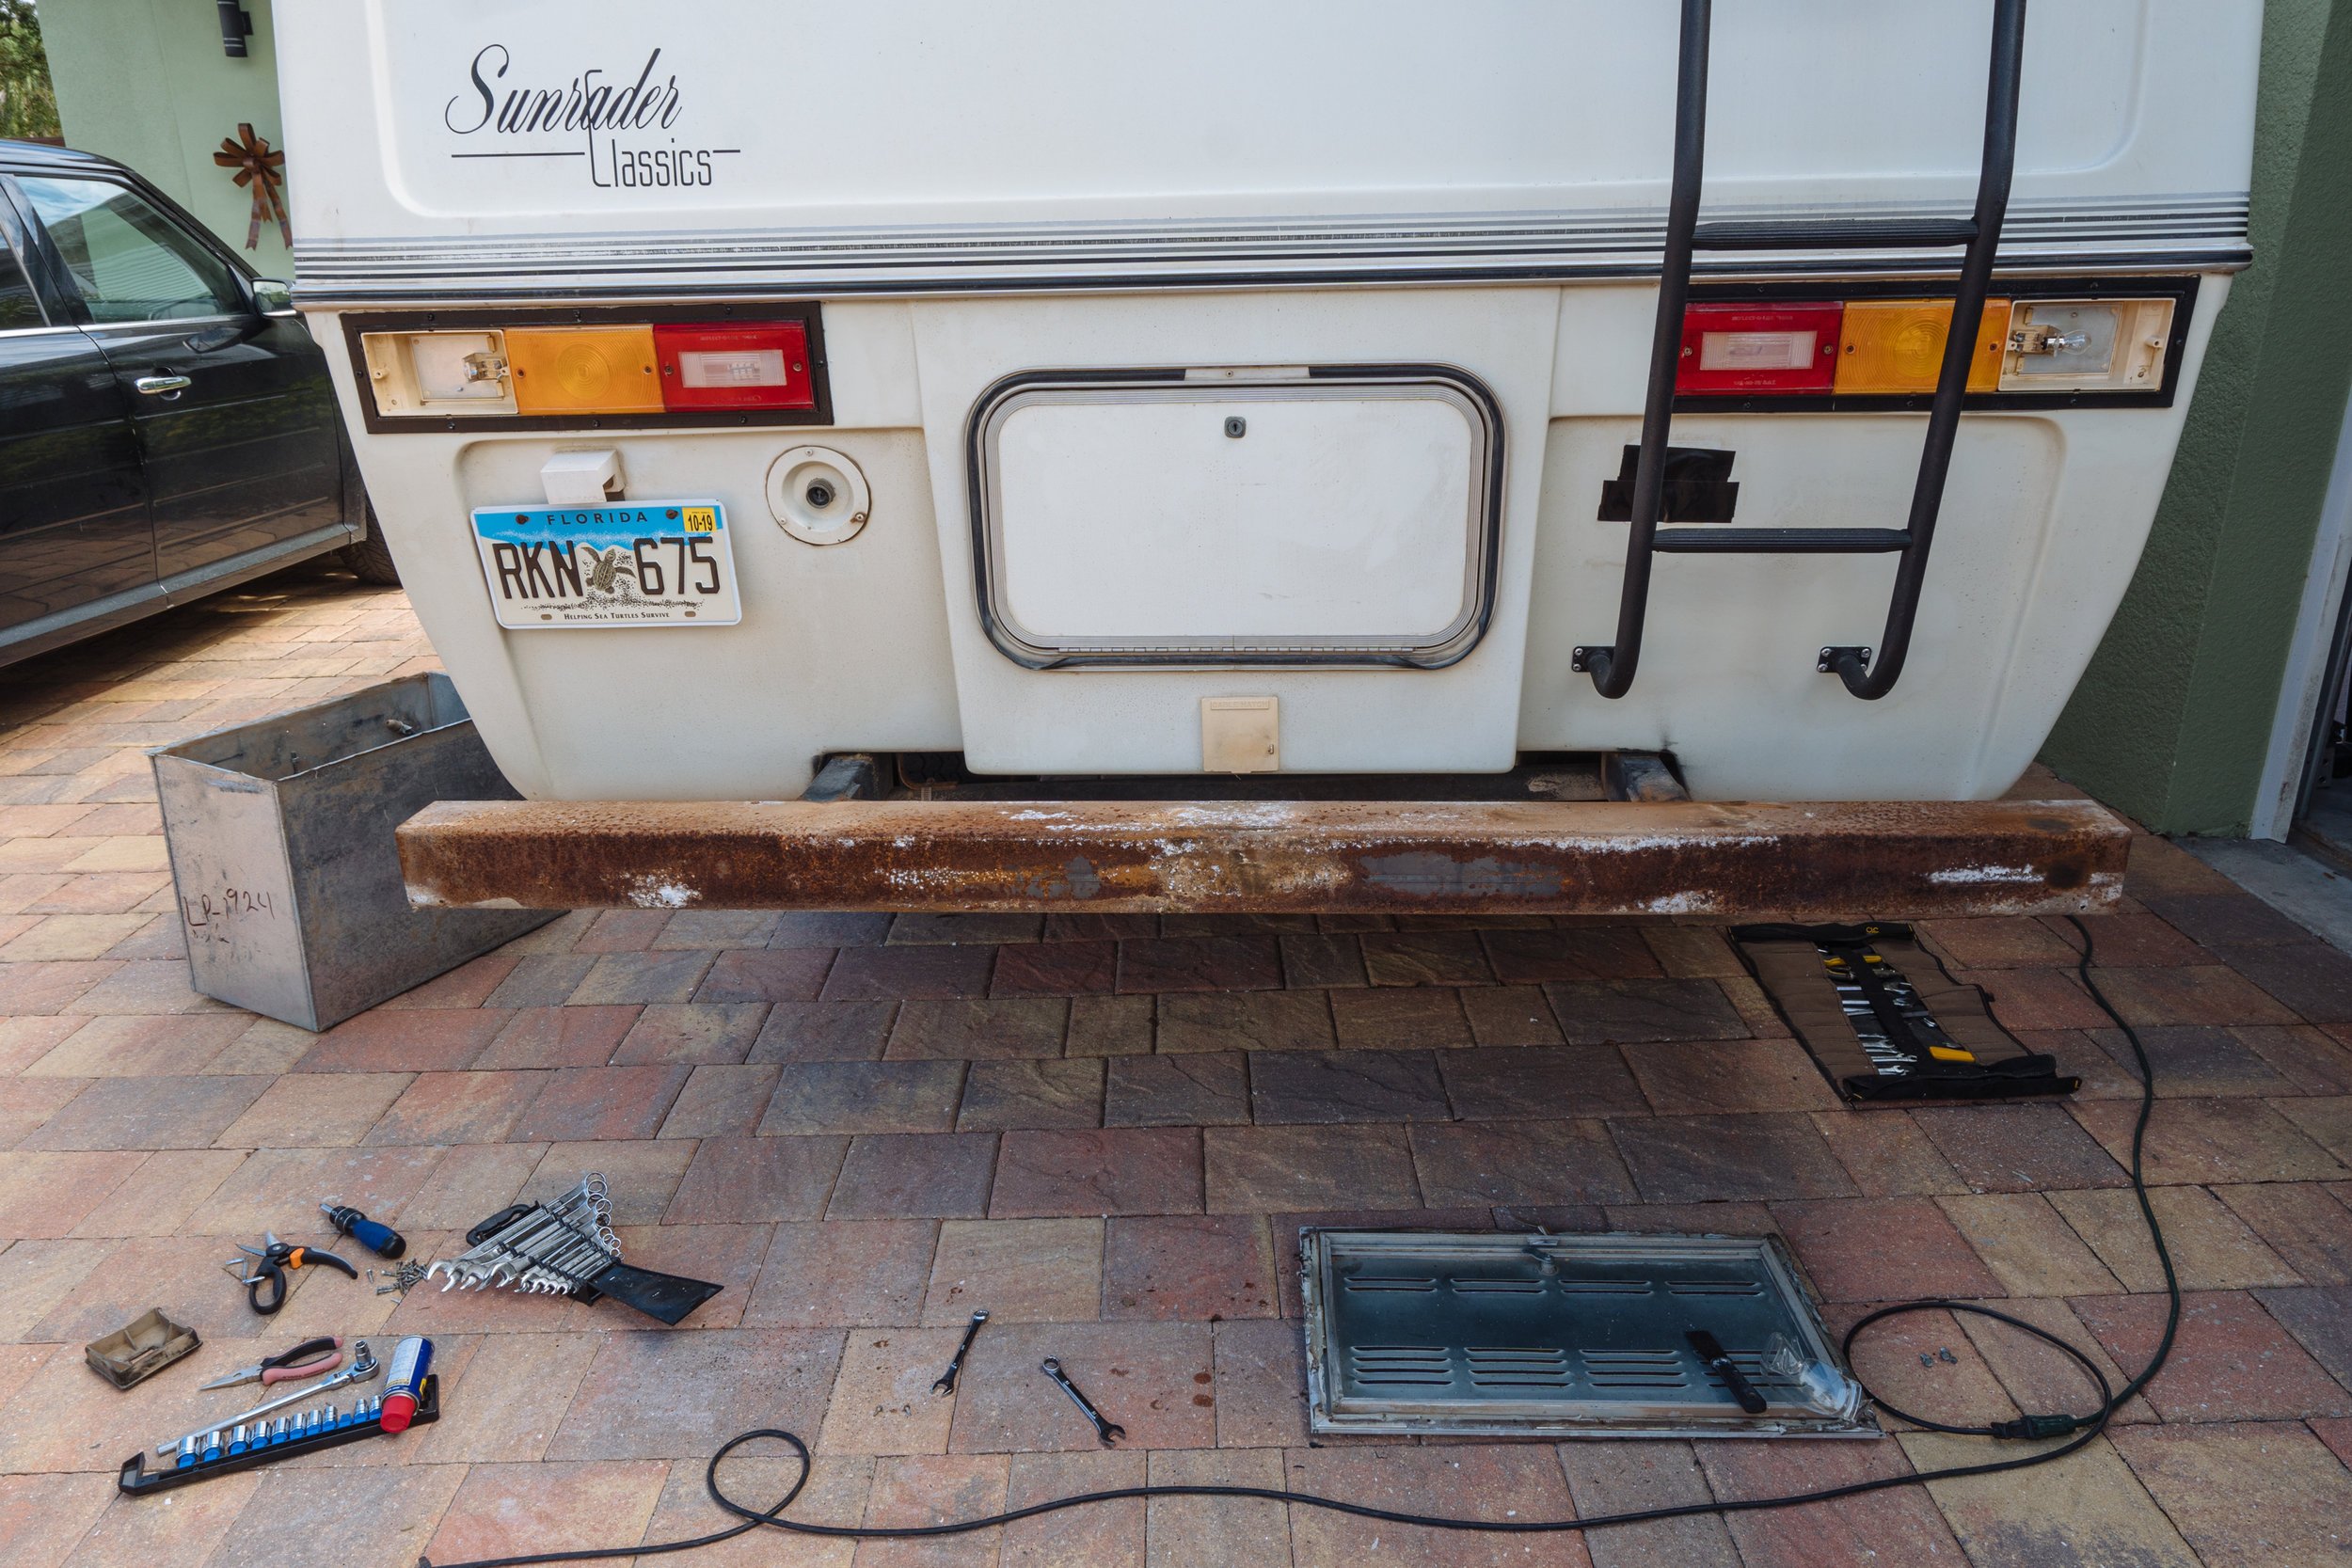
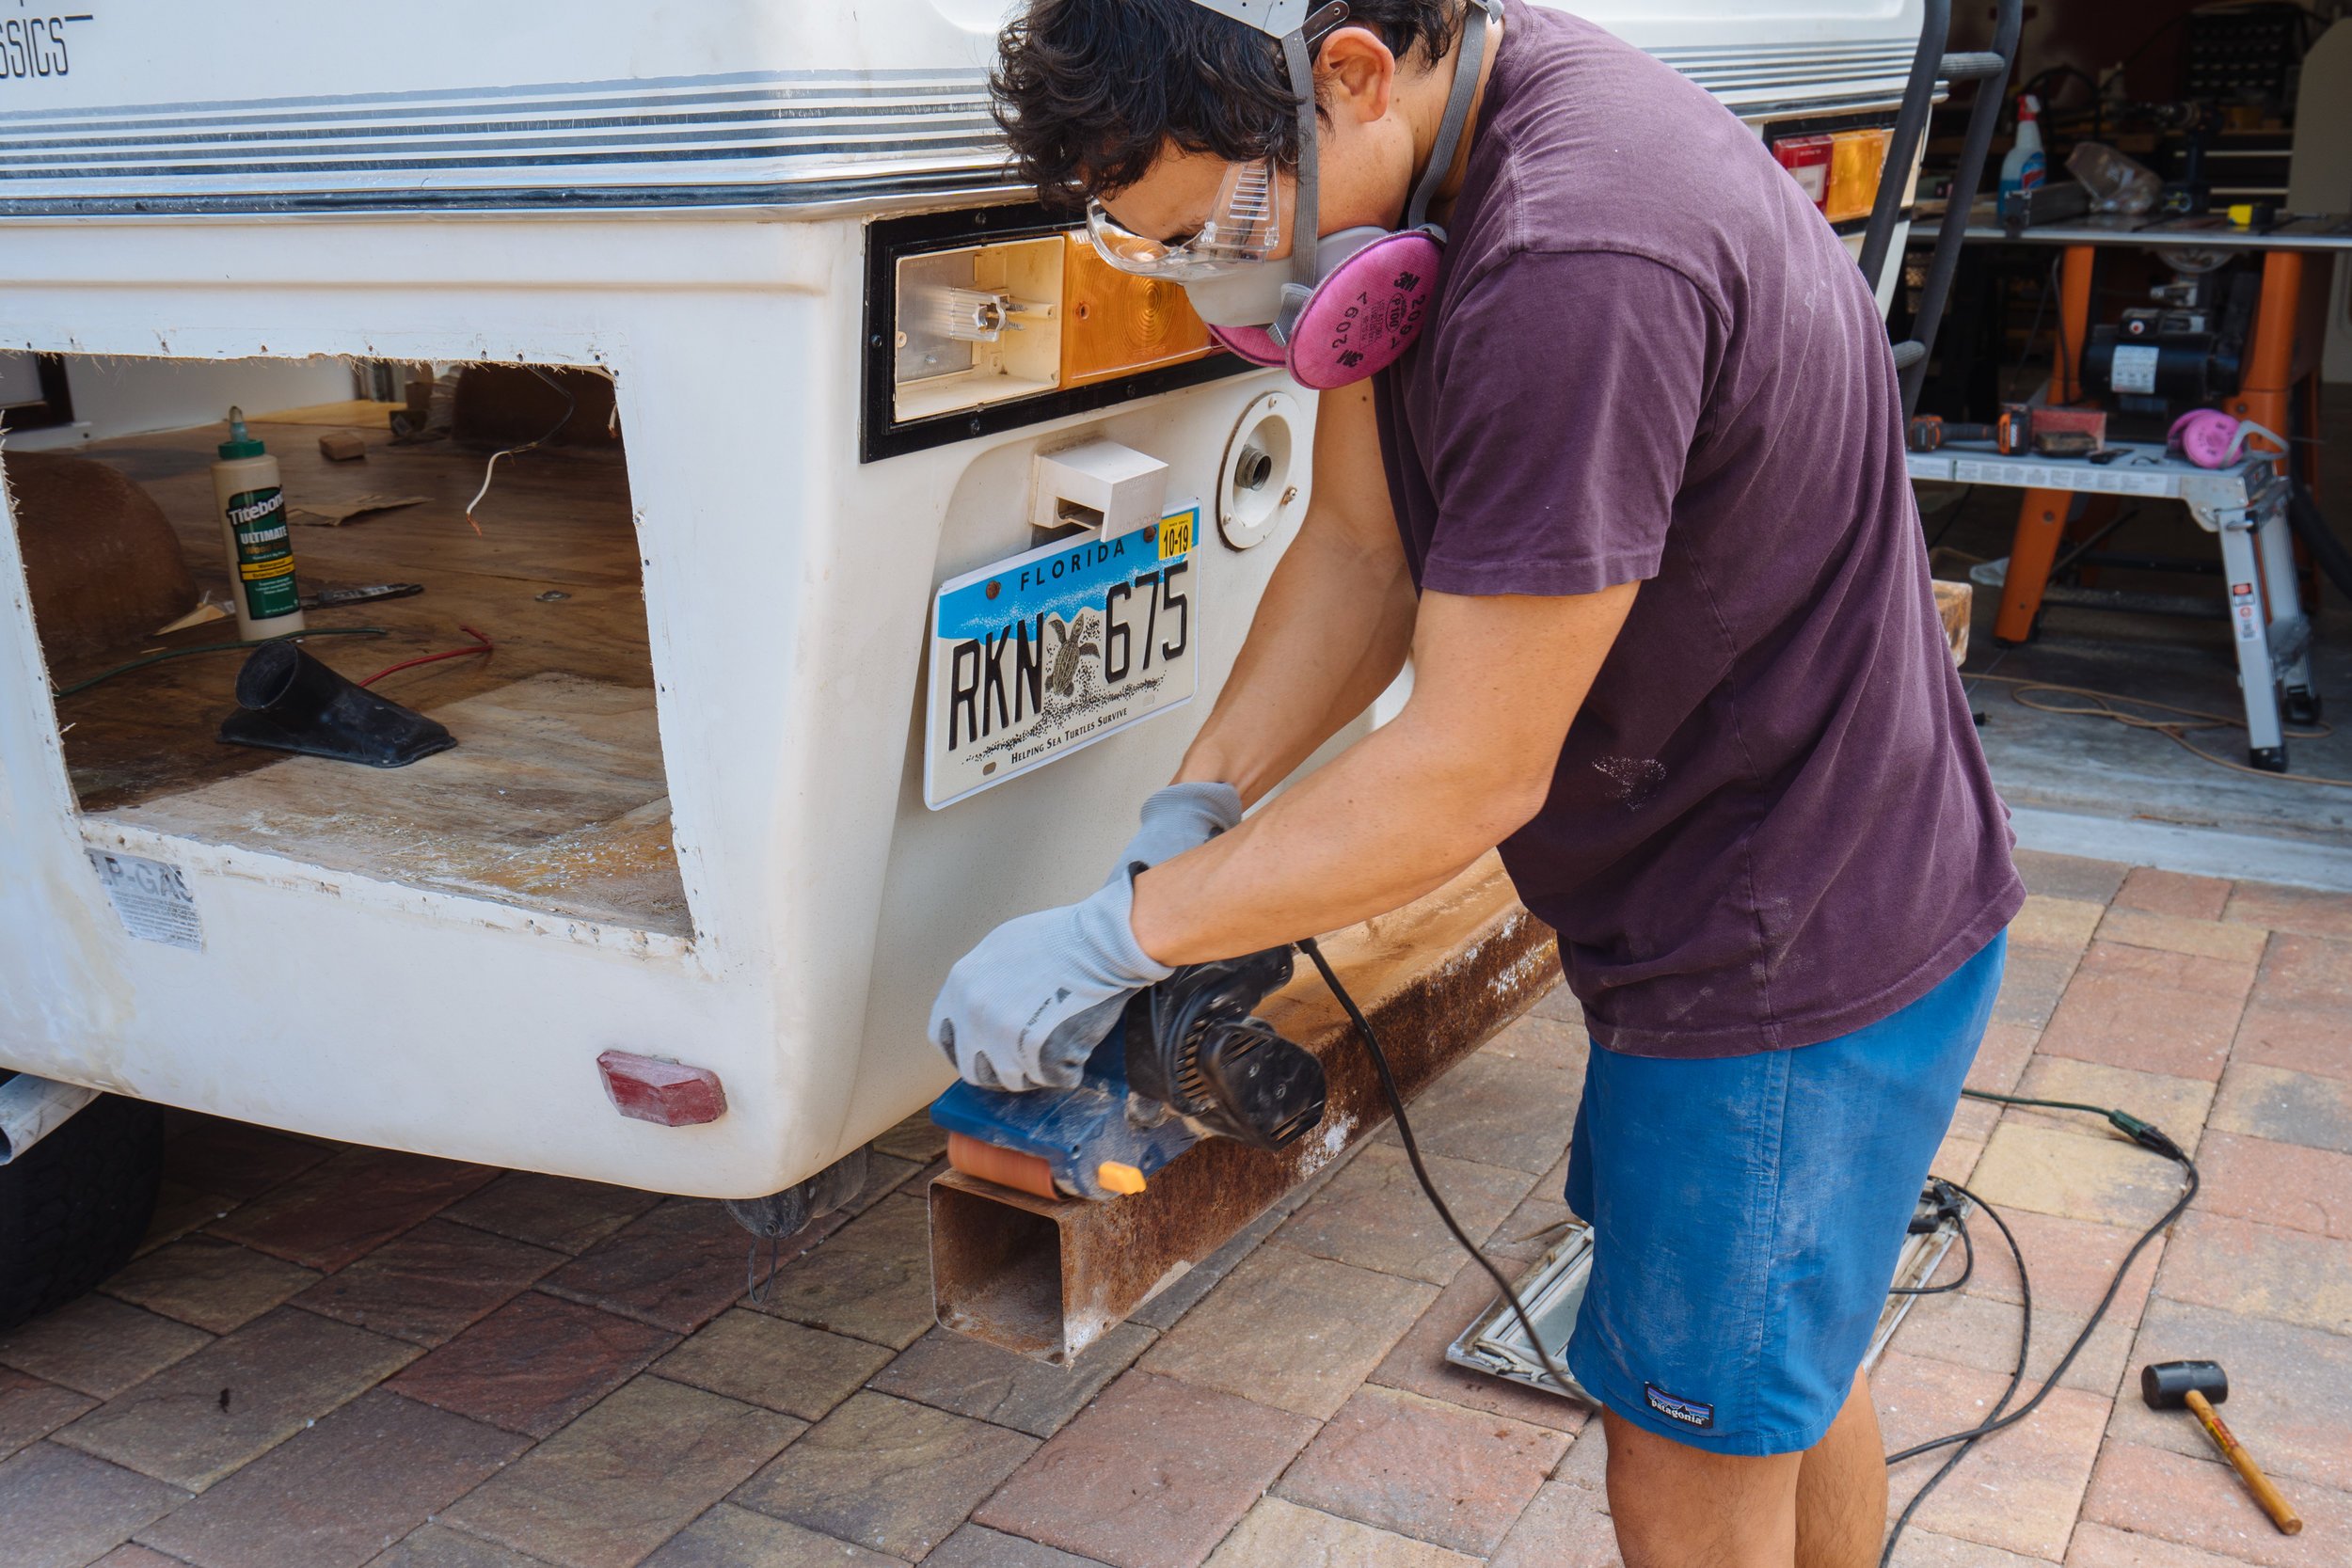
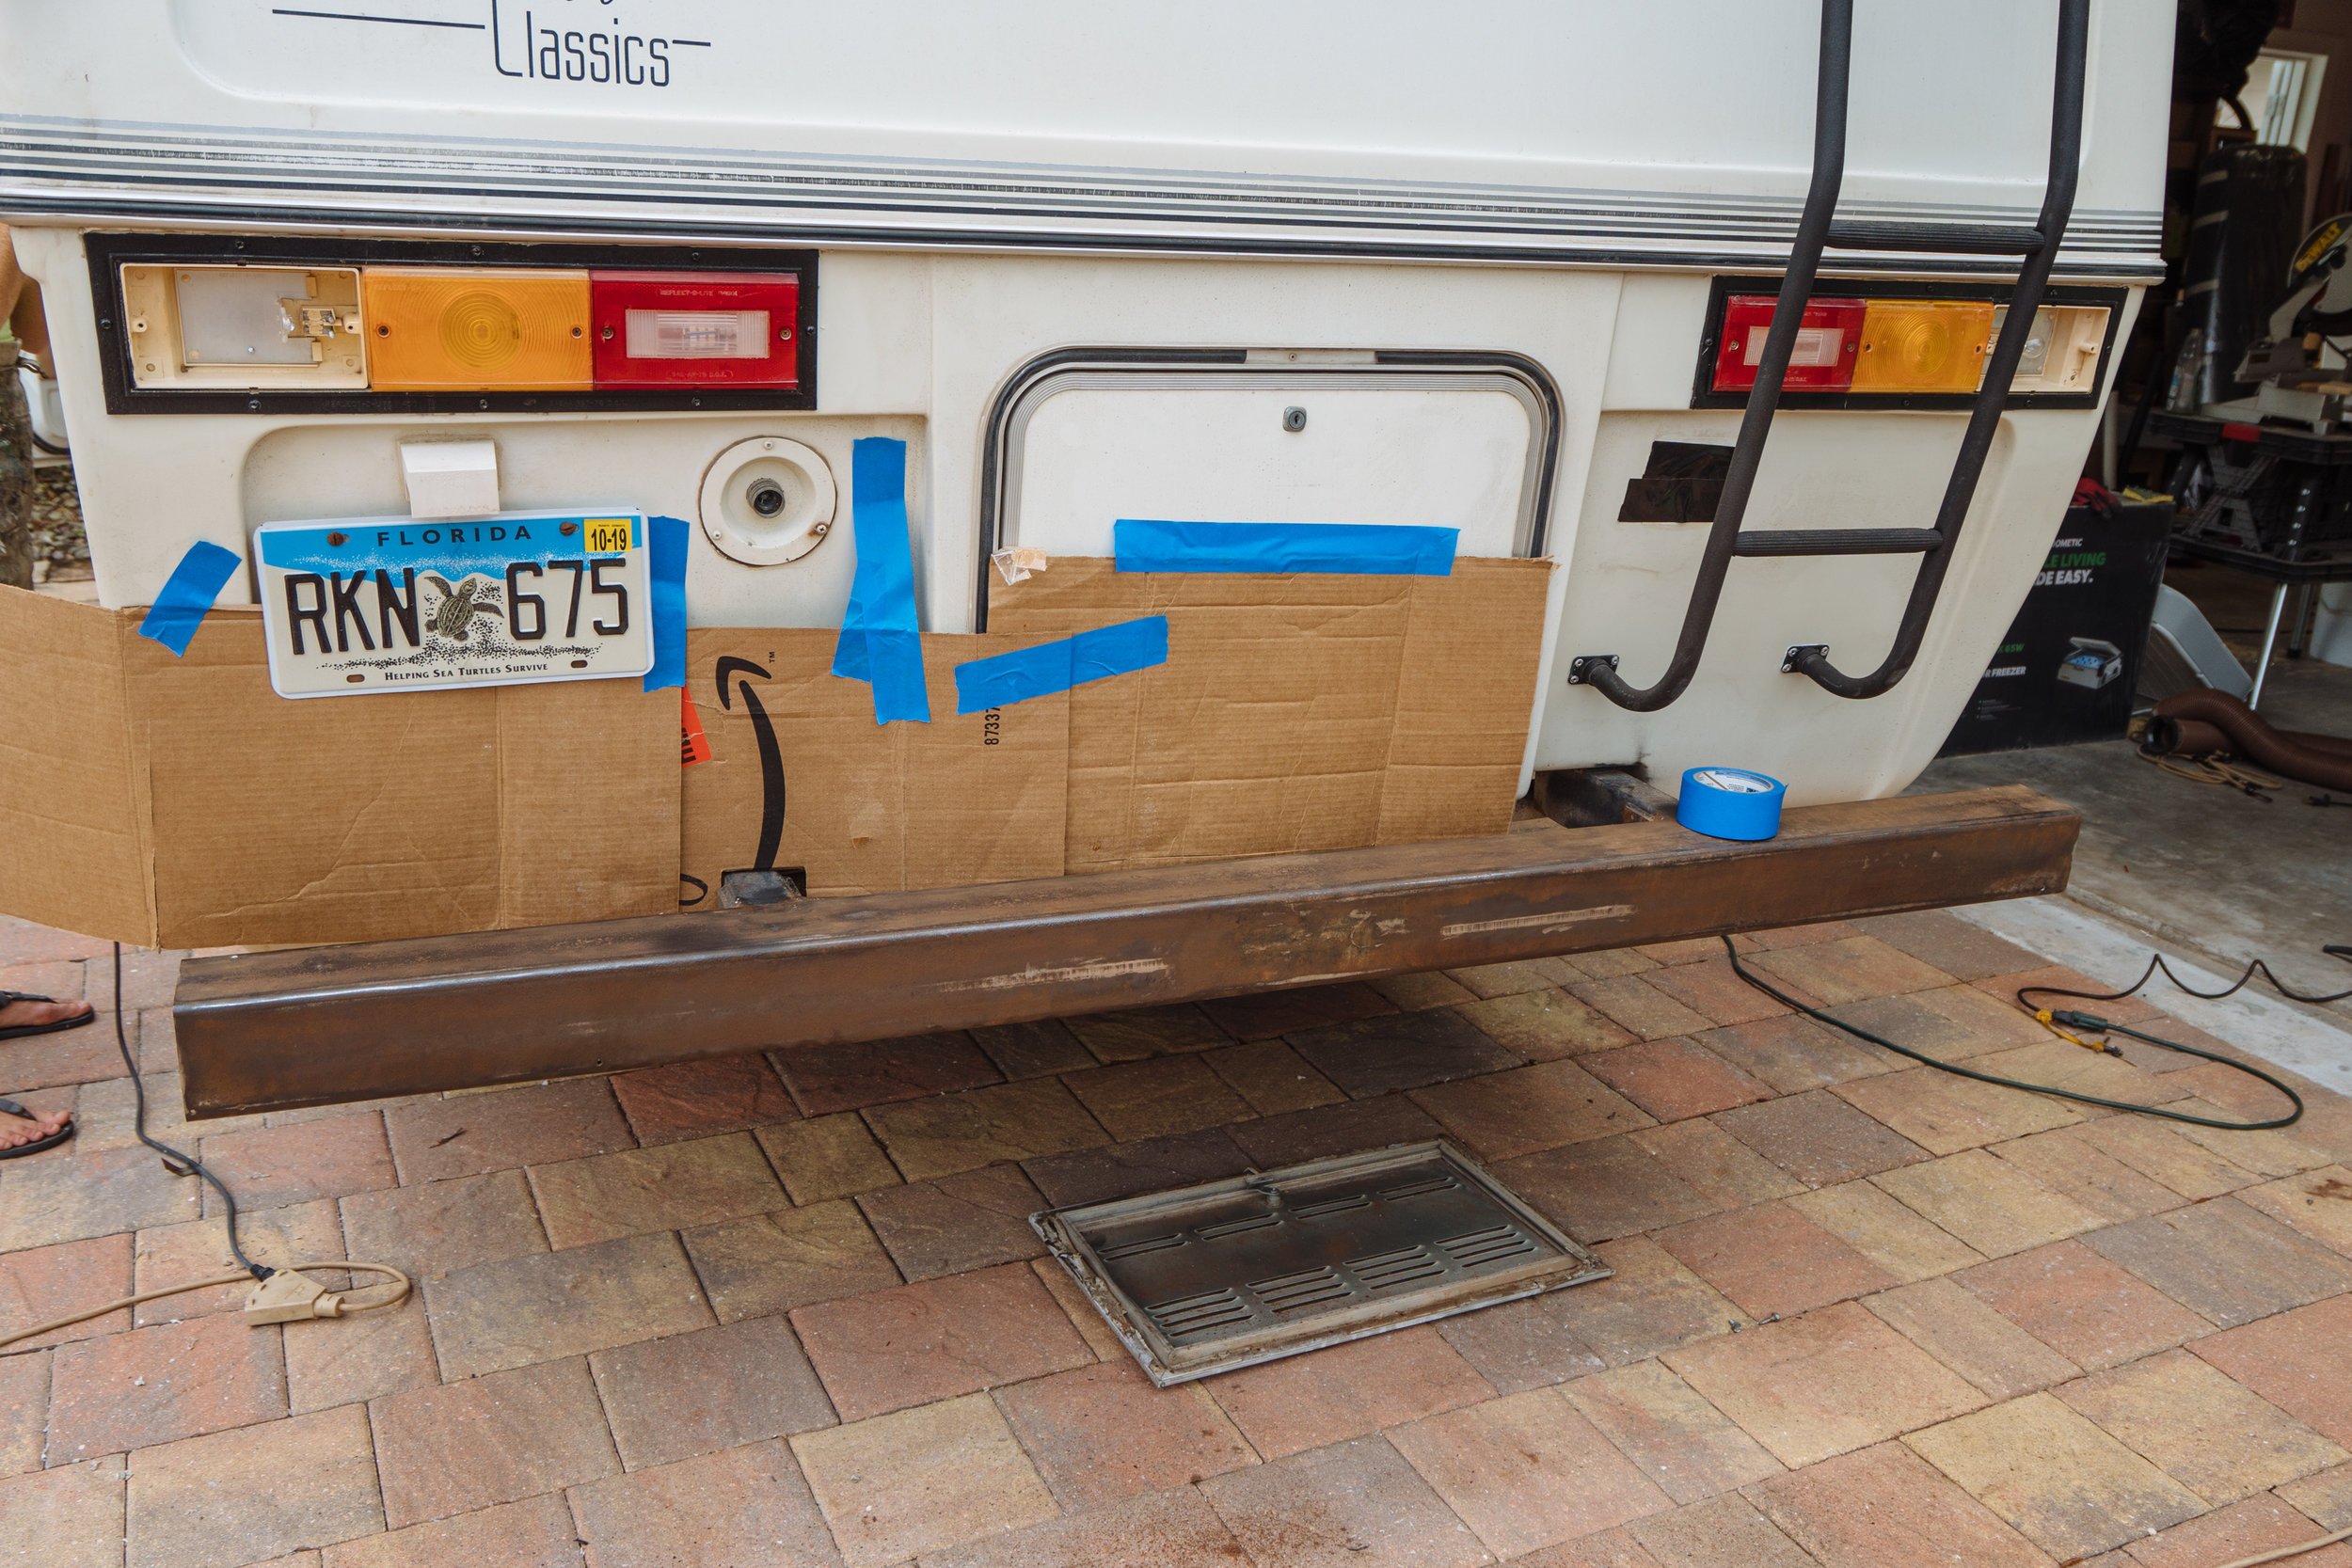

Here are some process pictures so you can see the evolution of the bumper over the course of the day.

All in all it was a great week of work. Not pictured is all of the research and ordering we did this week. We have so much coming in later this week that will make for a really busy week six. As always, we're stoked for what's to come.
Next time we talk it'll be after Thanksgiving. My parents put a work ban on us for Thanksgiving Day so we can sit still for a minute and enjoy ourselves and our family. For the record, we enjoy them everyday and are incredibly thankful for them taking care of us as we work through our build. We're also thankful for all of you out there that have been so encouraging during our journey. We hope that you have a great holiday surrounded by people and places that you love.
See you all next week, same time, same place, same project!
TTFN,
MAK
SUPPLY LIST
For Inquiring Minds
This week we are listing some things that we have used through out the whole build and have at this rate could not live without! Dremel the end all handy tool! I have spent countless hours with our Dewalt Sander cleaning up the Fiberglassed areas. Multi pack of sanding pads that are needed to smooth out the area of fiberglassing I went from 80 - 400. Respirator...for the fiberglassing, sanding, and carpet removal and everything in between. Wood stain in Dark Walnut is the color that we will be using through out the build.