Build Out: Week 4
Fiberglassing
Hello again my friends, MAK here! It's crazy to think that it has already been a week since we did the last update. This has been the 4th week of work that we have done on Amelia, and it was largely spent fiberglassing in holes on the exterior. I spent nearly all day, everyday, slowly working my way through all of the areas that were in need of fiberglassing. *Disclaimer* - I'm not a fiberglasser, I've never taken a class on it, or even watched anyone do it in person. However, I do have a lot of experience working with epoxy resin in my fine artwork. After eight hours of YouTube tutorials, 5 visits to West Marine, and a long pep talk from our friend Matt (@Yotahome4x4) I was ready to try my hand at fiberglassing. Before I took to working on Amelia, I did two tests on home made wood frames to see if I felt comfortable with the process. Once I felt that I had control over the materials, I made my move on a small vent hole last week (see here). Seeing the results of that first hole gave me confidence to move onto the other body repairs that gradually grew in size this week.


Above are images an old exhaust vent hole that I filled in last week. This week I went back to do some fairing (look at me with all of my fiberglassing terms...of which I hope I'm using correctly). Fairing is a coat of thickened resin used to fill in any holes, cracks, or small seams. This spot, again, served as my test area so I could work on all the other areas with more confidence.
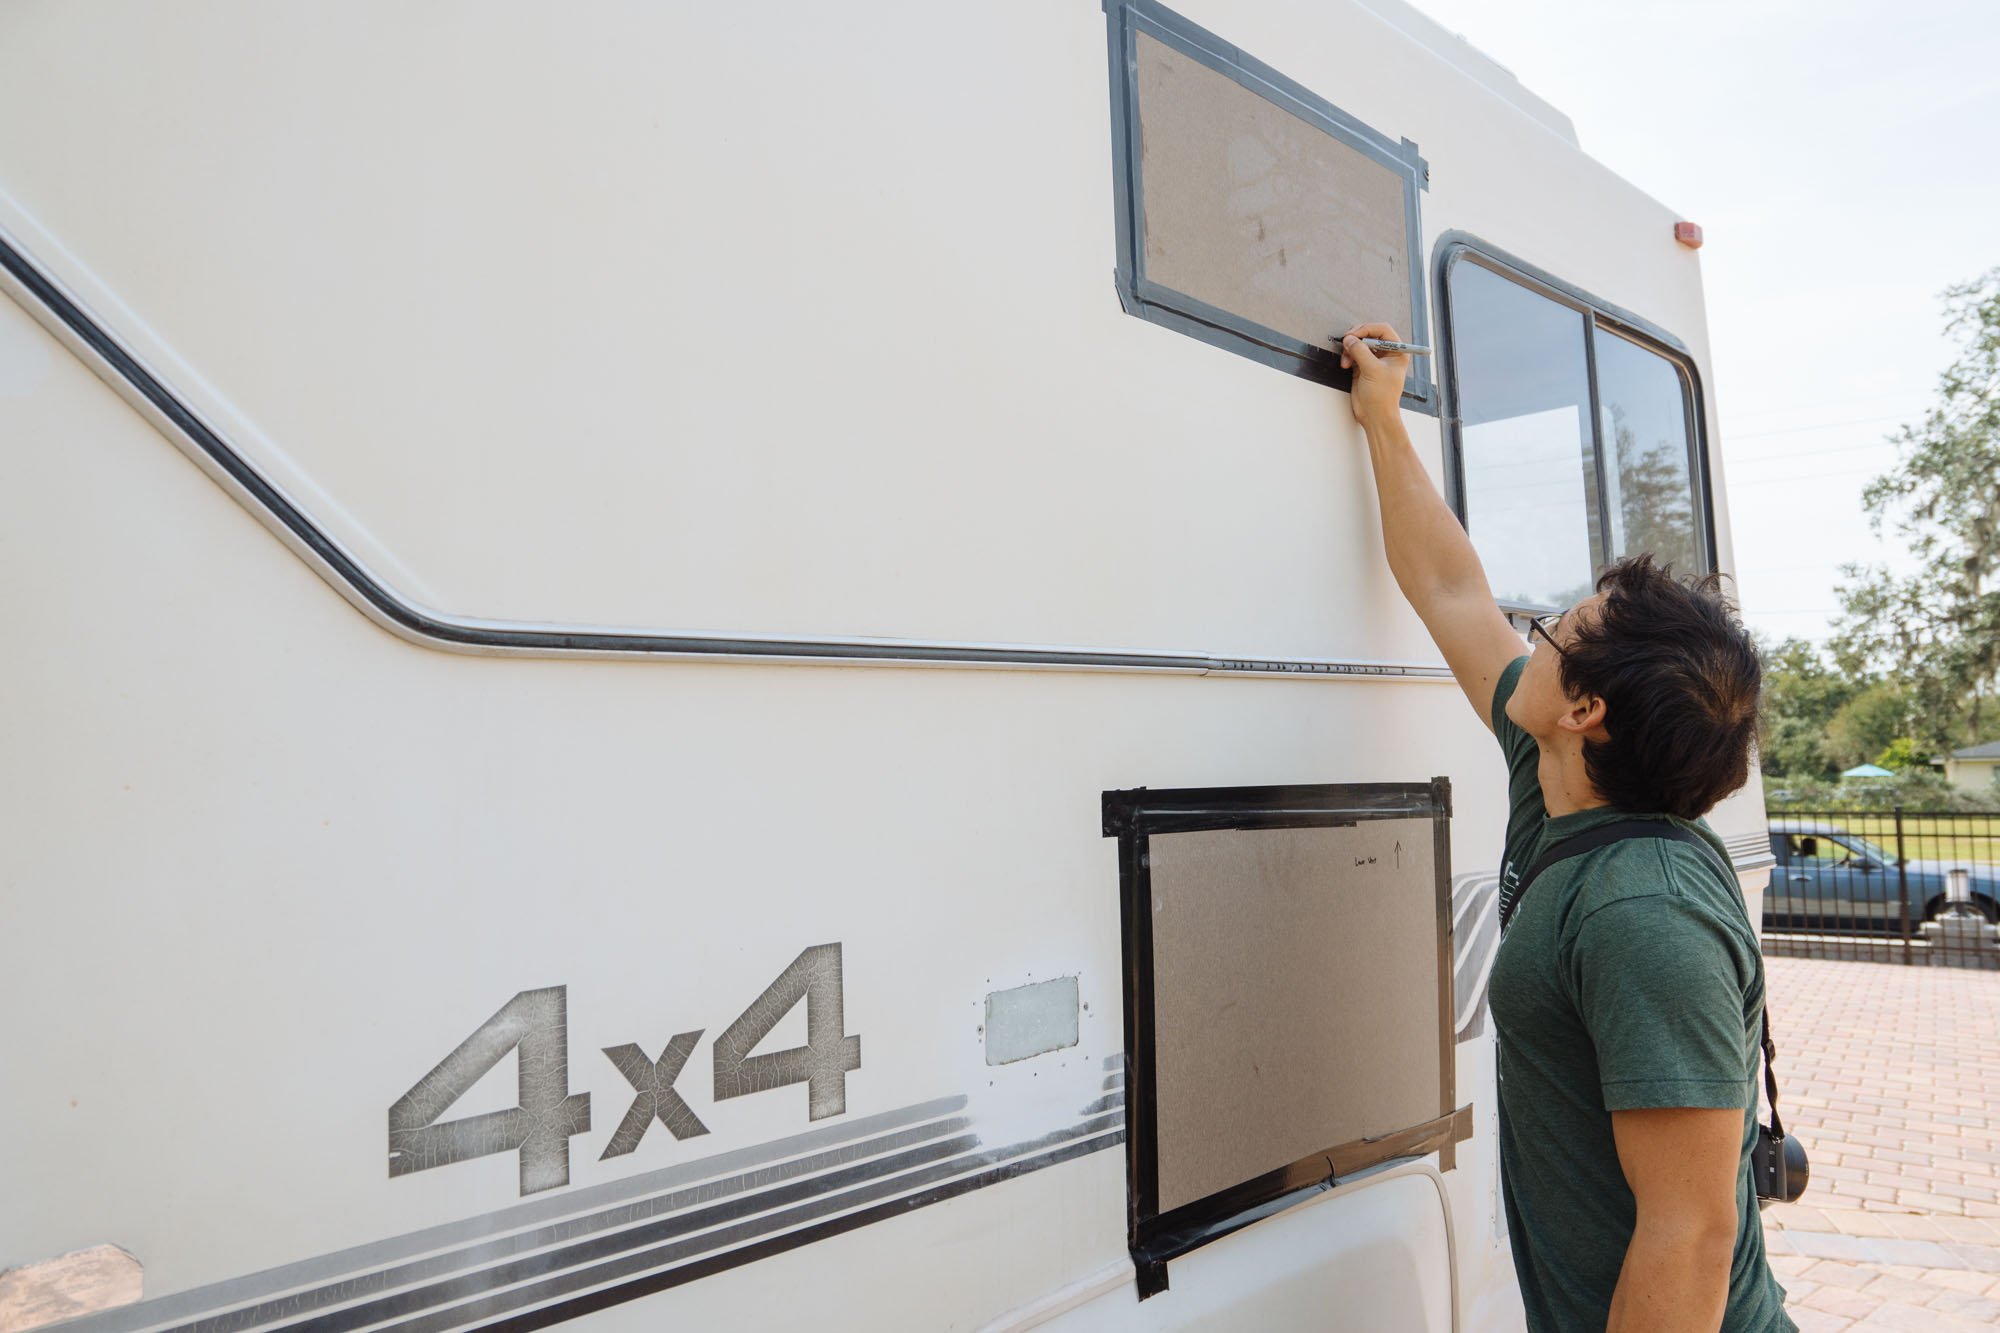

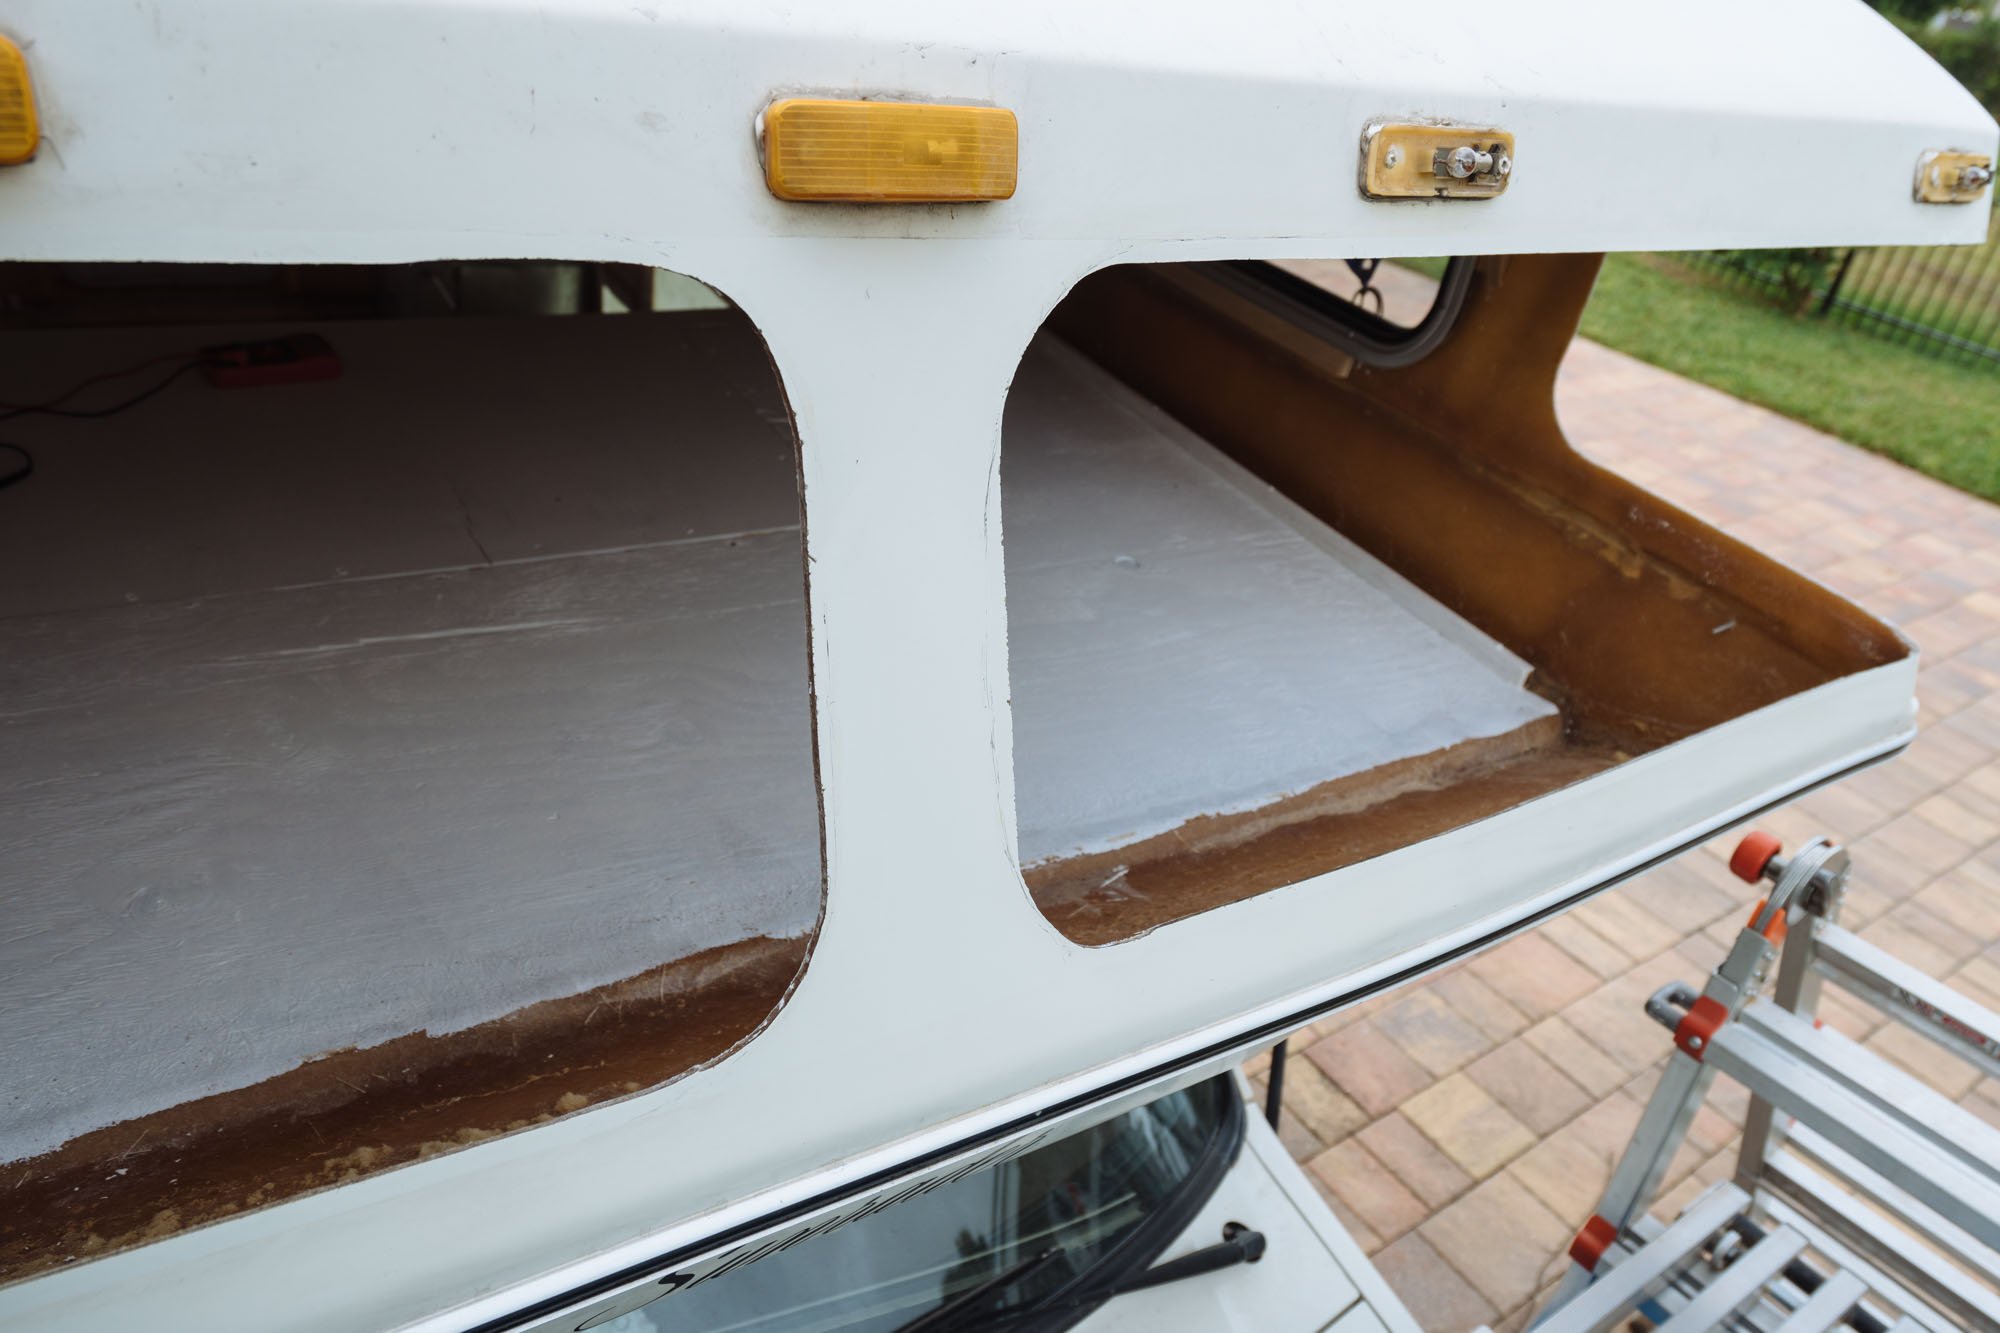
Image on the left: Owen is marking the backing plates that serve as our "Exterior Wall Mold". Fiberglass needs to have a structure to stick to when you are laying it up. Here we used Formica as our ridged, yet flexible backing plate. Image on the right: The two large holes have yet to be glassed in but the two smaller holes, which used to be a bathroom exhaust vent and a battery compartment, are completely filled in, sanded, and are waiting for fairing.
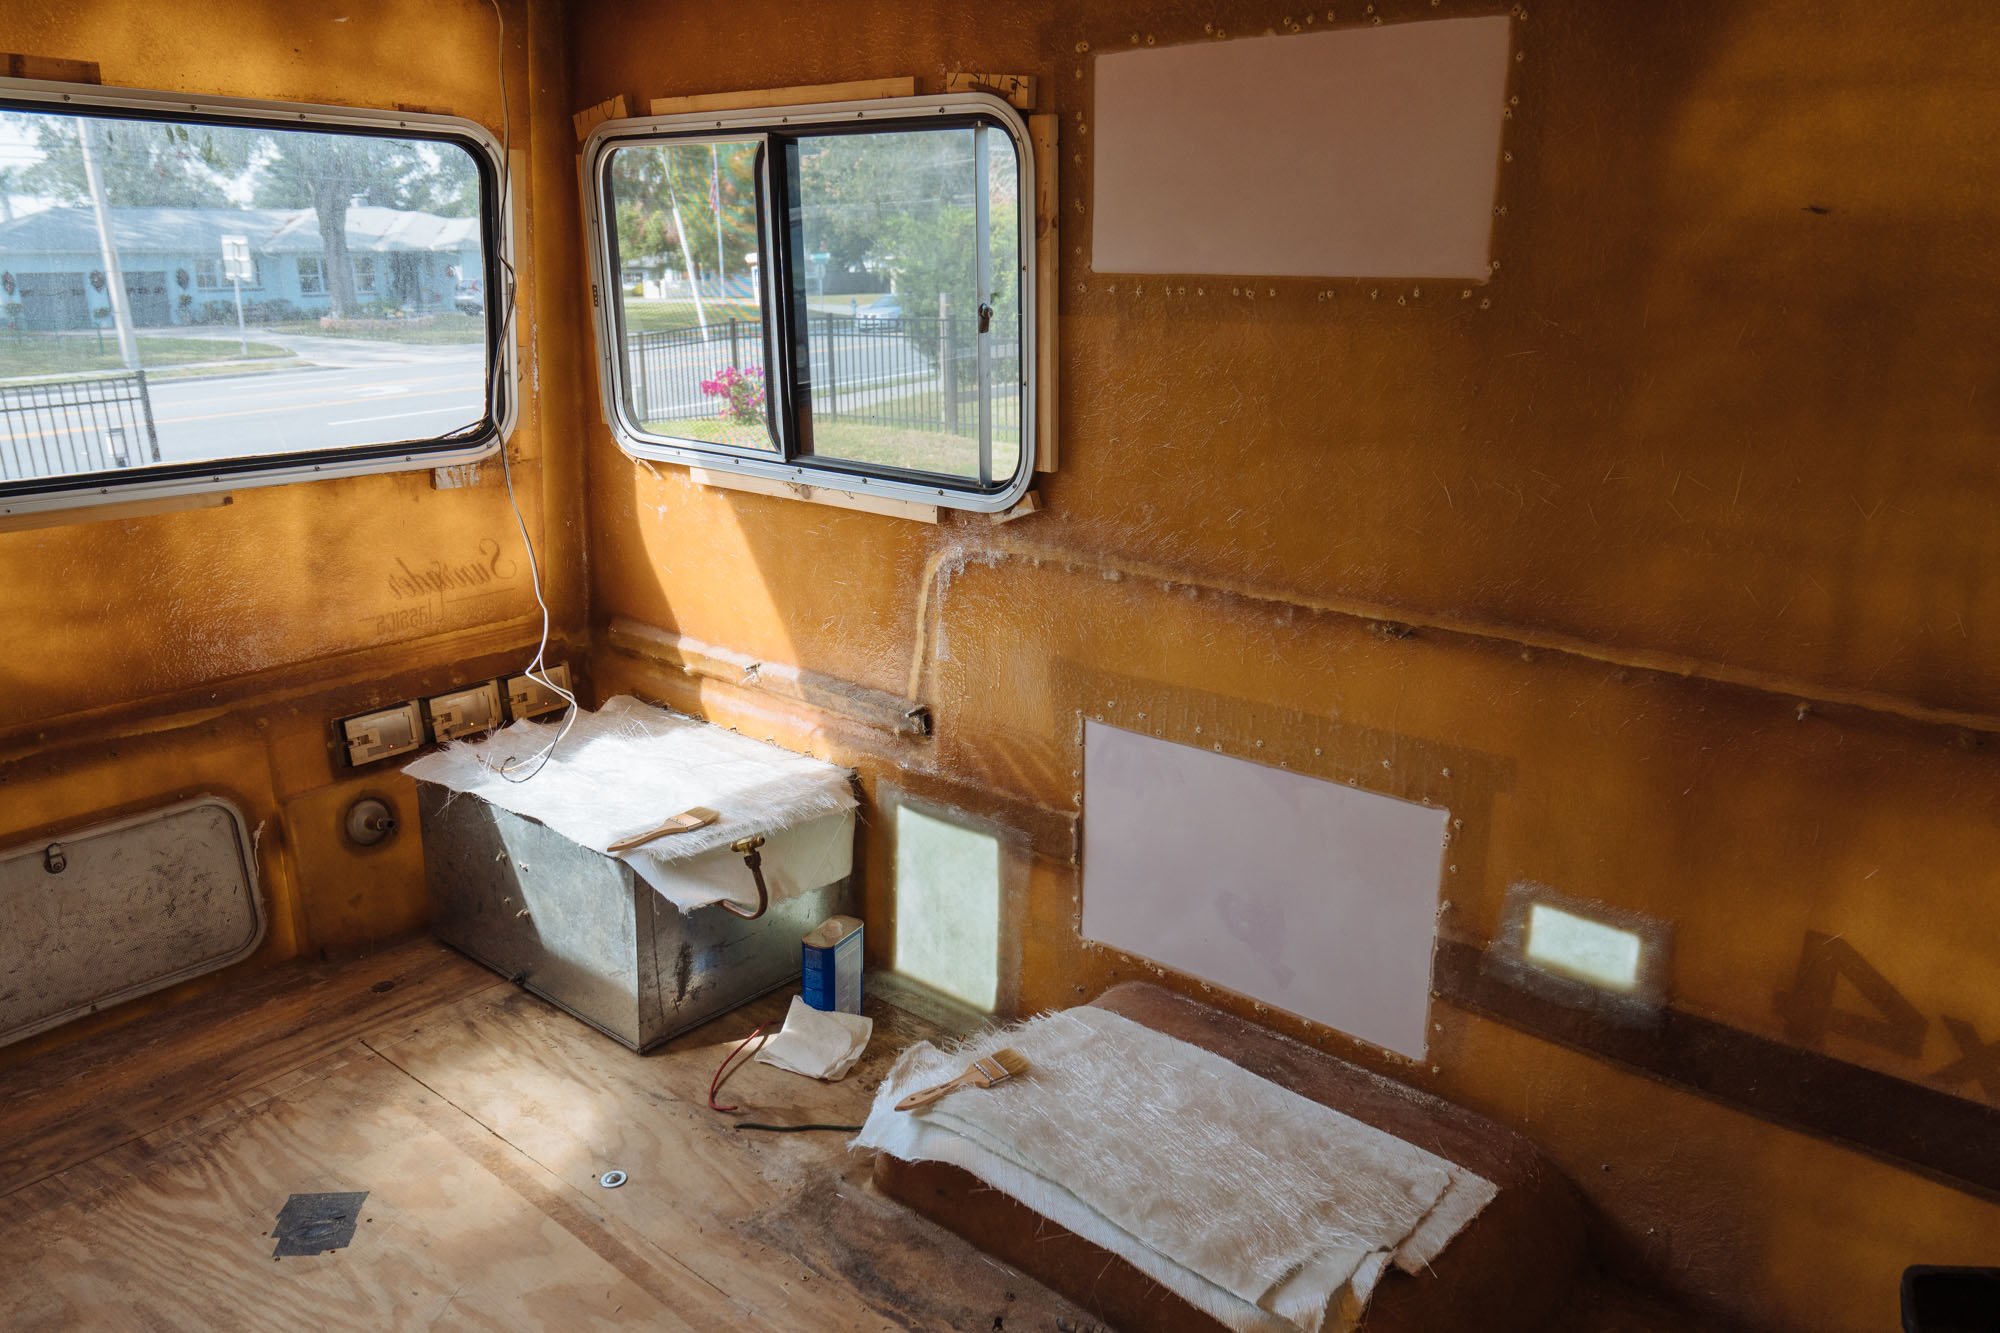

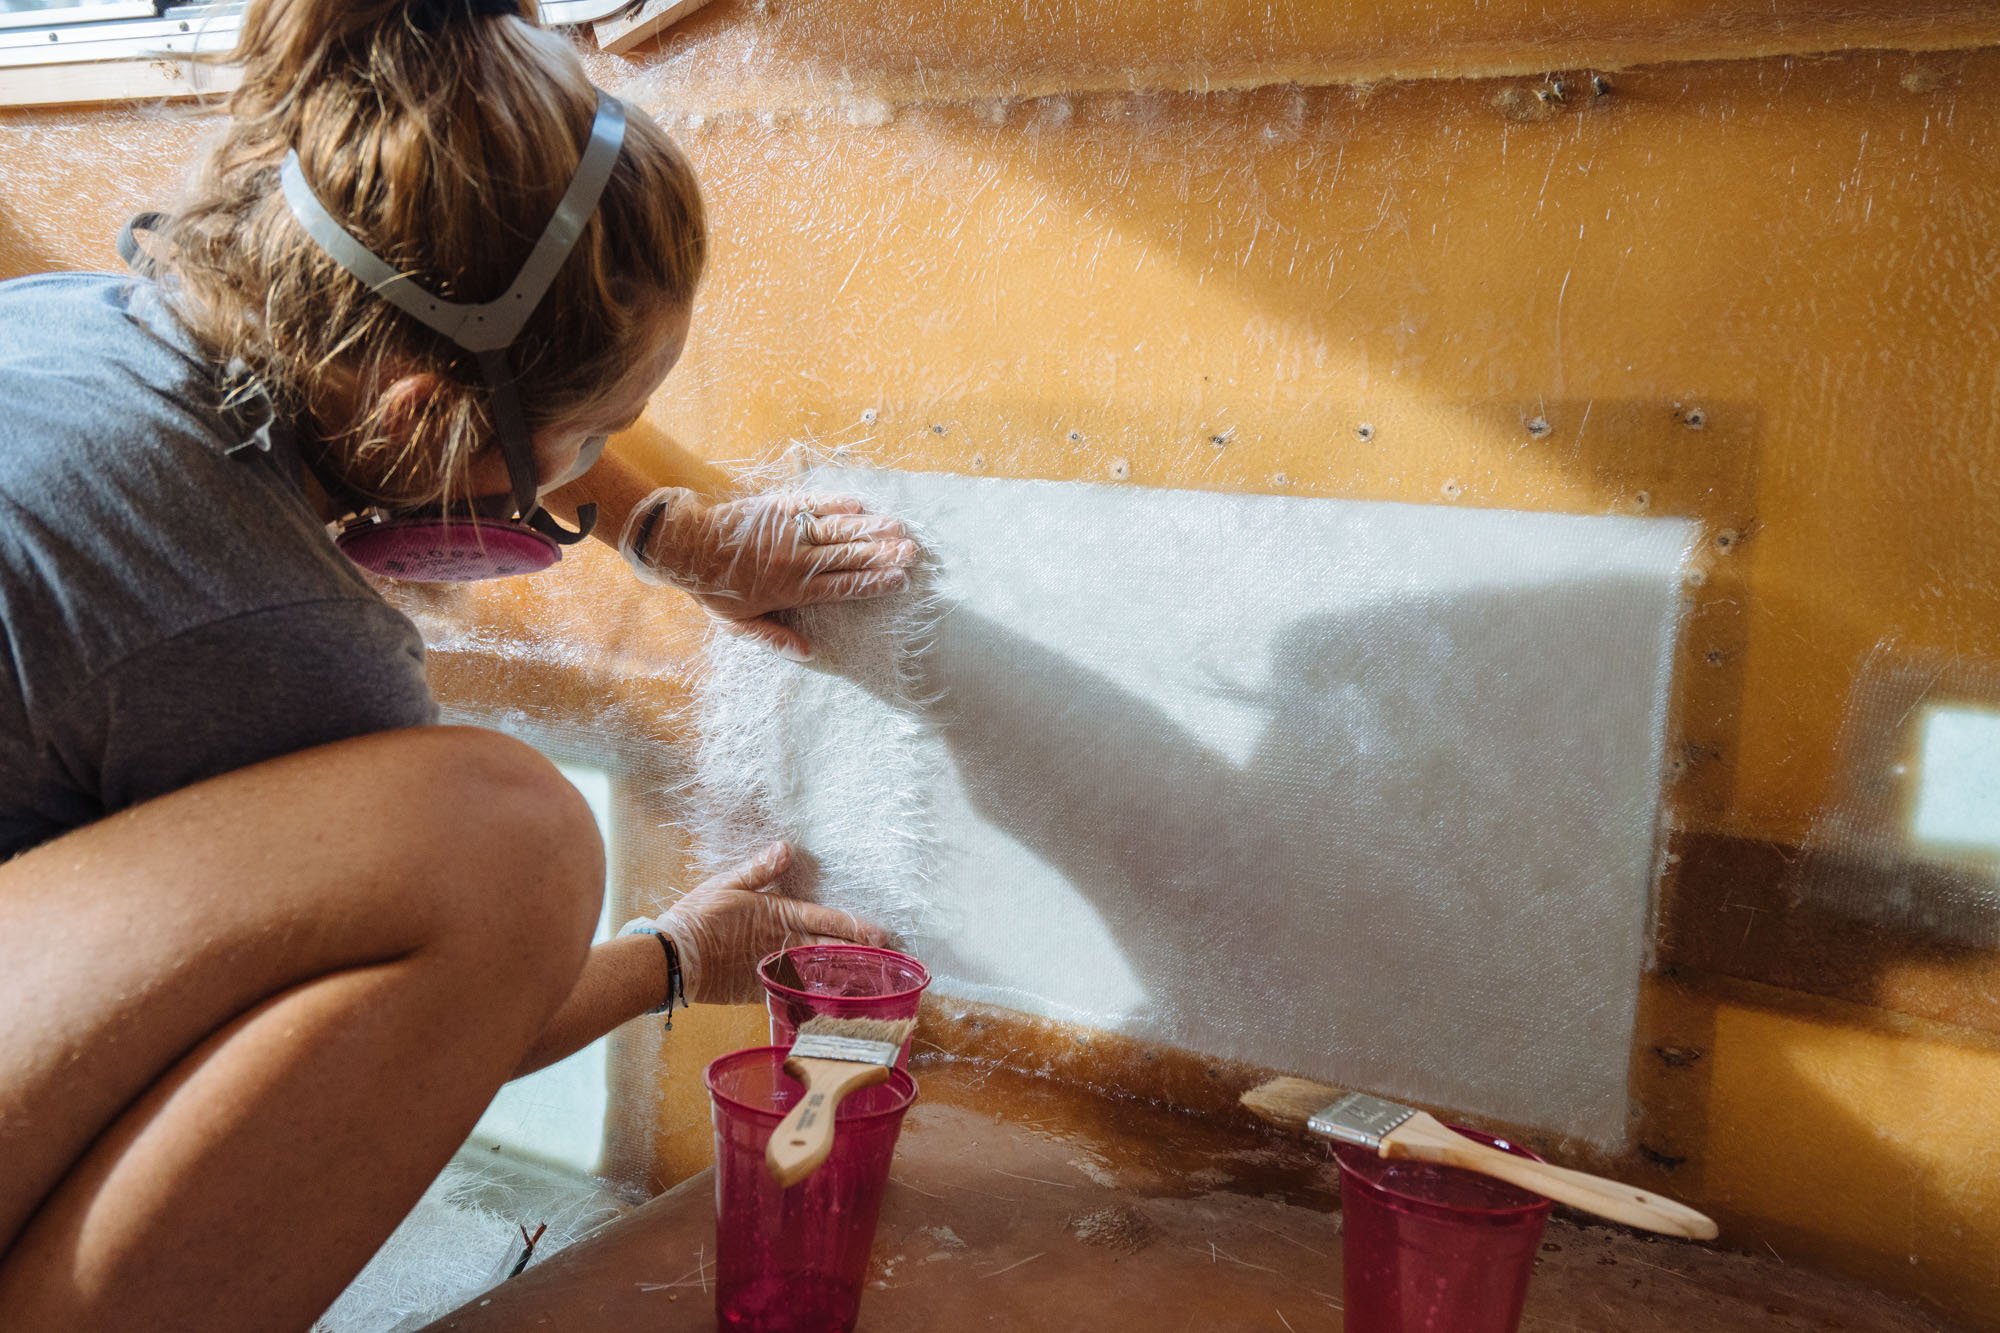

These images show the general process that I went through to glass in the holes. Excluding the extra chop matting for the seams, I did three layers of Biaxial fiberglassing cloth that gradually got larger to fill in the holes. The chop matting I used at my discretion based on how thick the wall of the original fiberglass was. These pieces help bridge the gap between new and old fiberglass. In all, the process is pretty easy, it just got to be a bit of a race to finish with the larger sections due to the quick set time. Owen was a huge help in mixing the resin as I needed it and provided two helping hands to lay up the larger layers before they set up! In the end, I really enjoyed fiberglassing because I've long been a fan of epoxy resin. Despite the fact that I have a great deal of it now permanently stuck in my hair, I was stoked to learn a new skill and possibly do more of it in the future.

Hours and hours of sanding to smooth out the exterior wall to prepare for fairing.

After I completed all of the fiberglassing on the sides of Amelia, I had just two small vent holes to fill on the roof. These were a bit different though, I decided to put the backing plate in the inside of the body and glass from the outside.
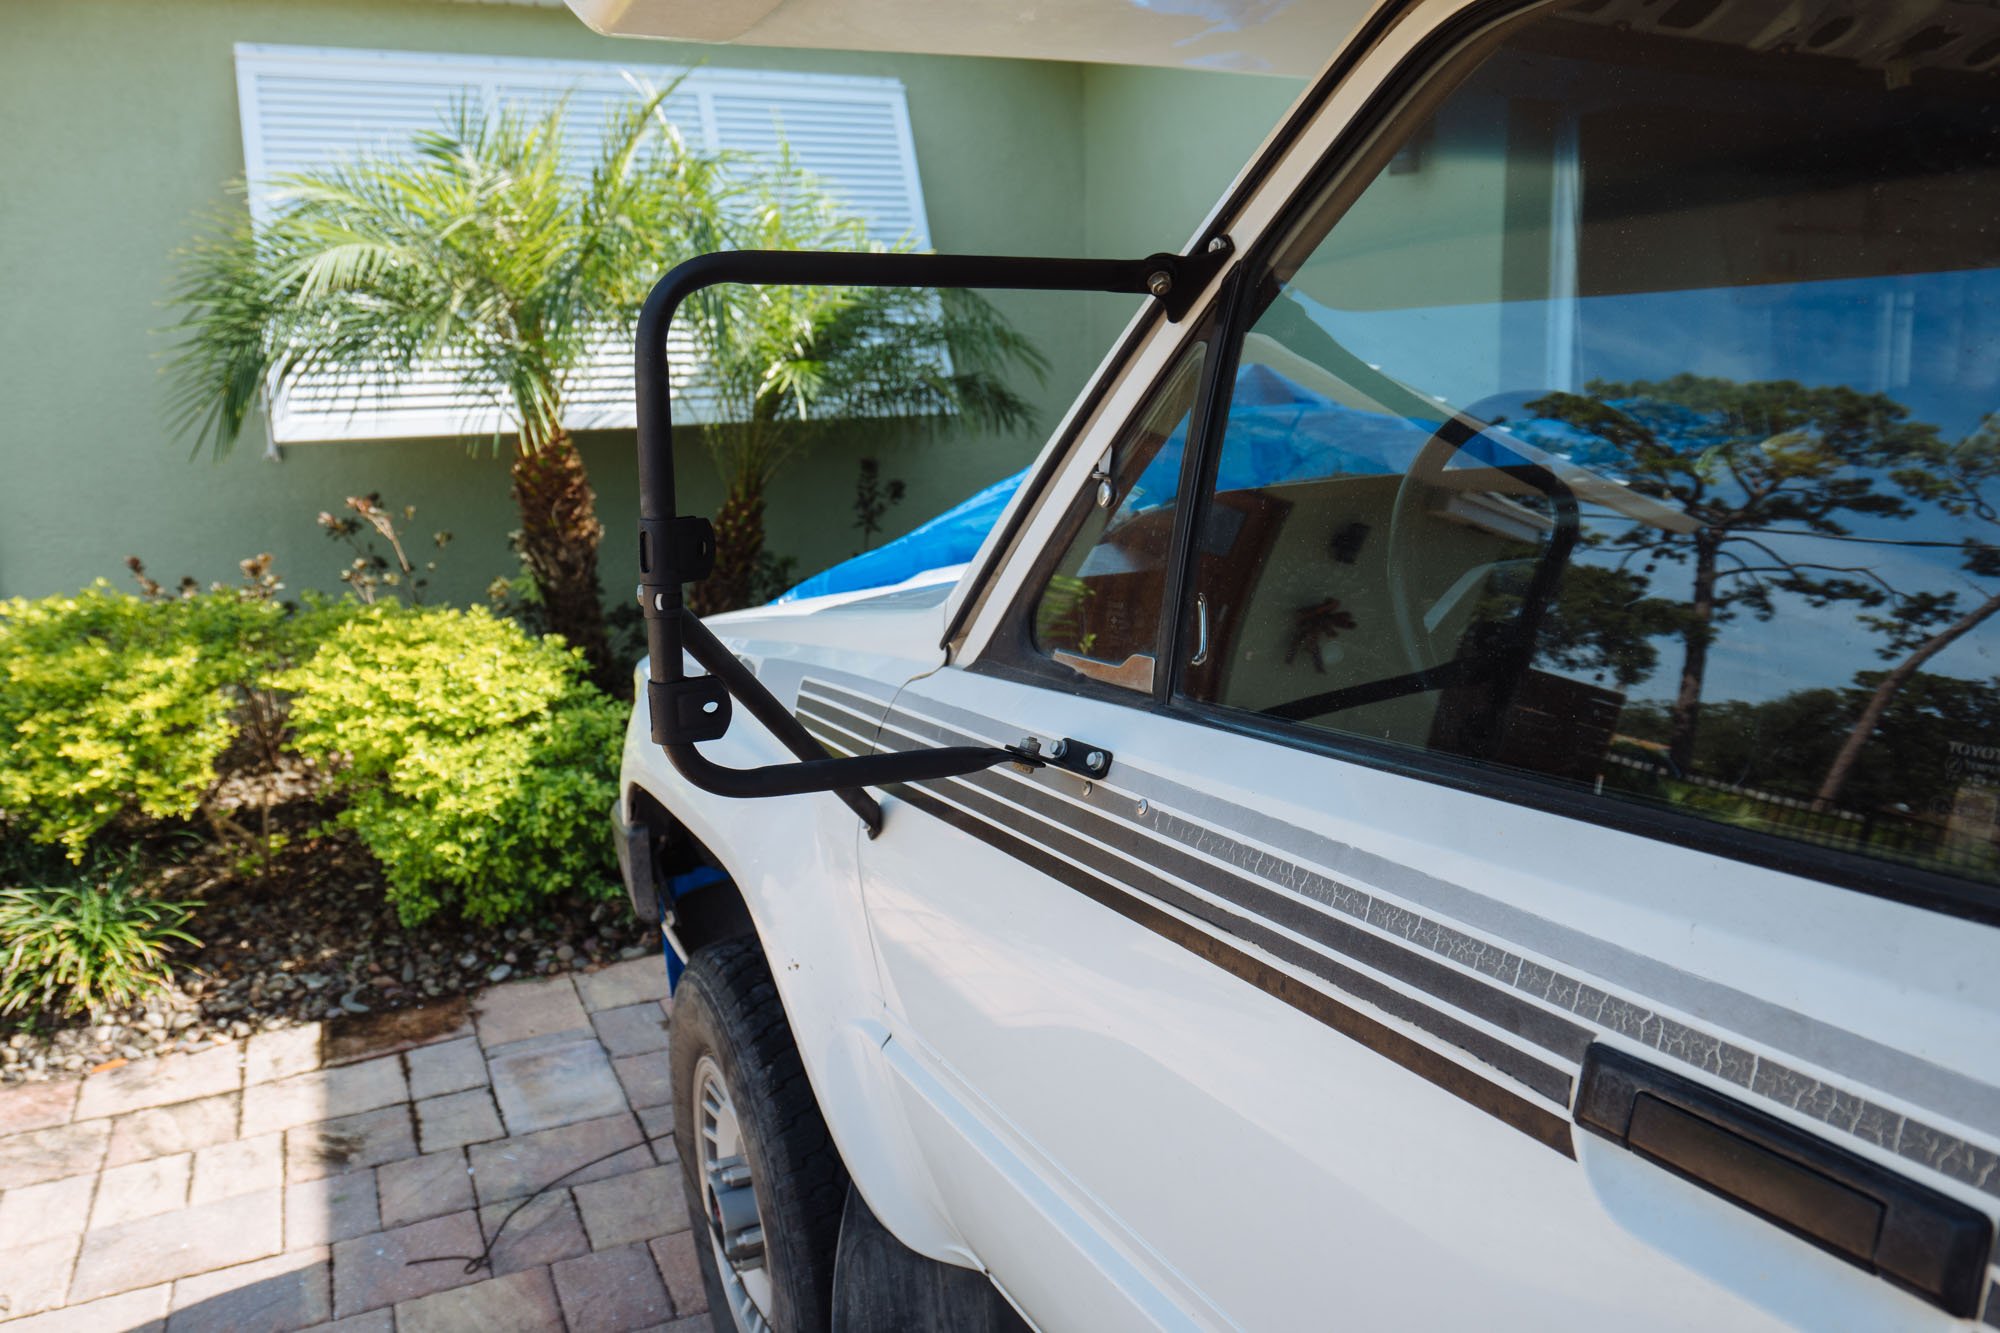
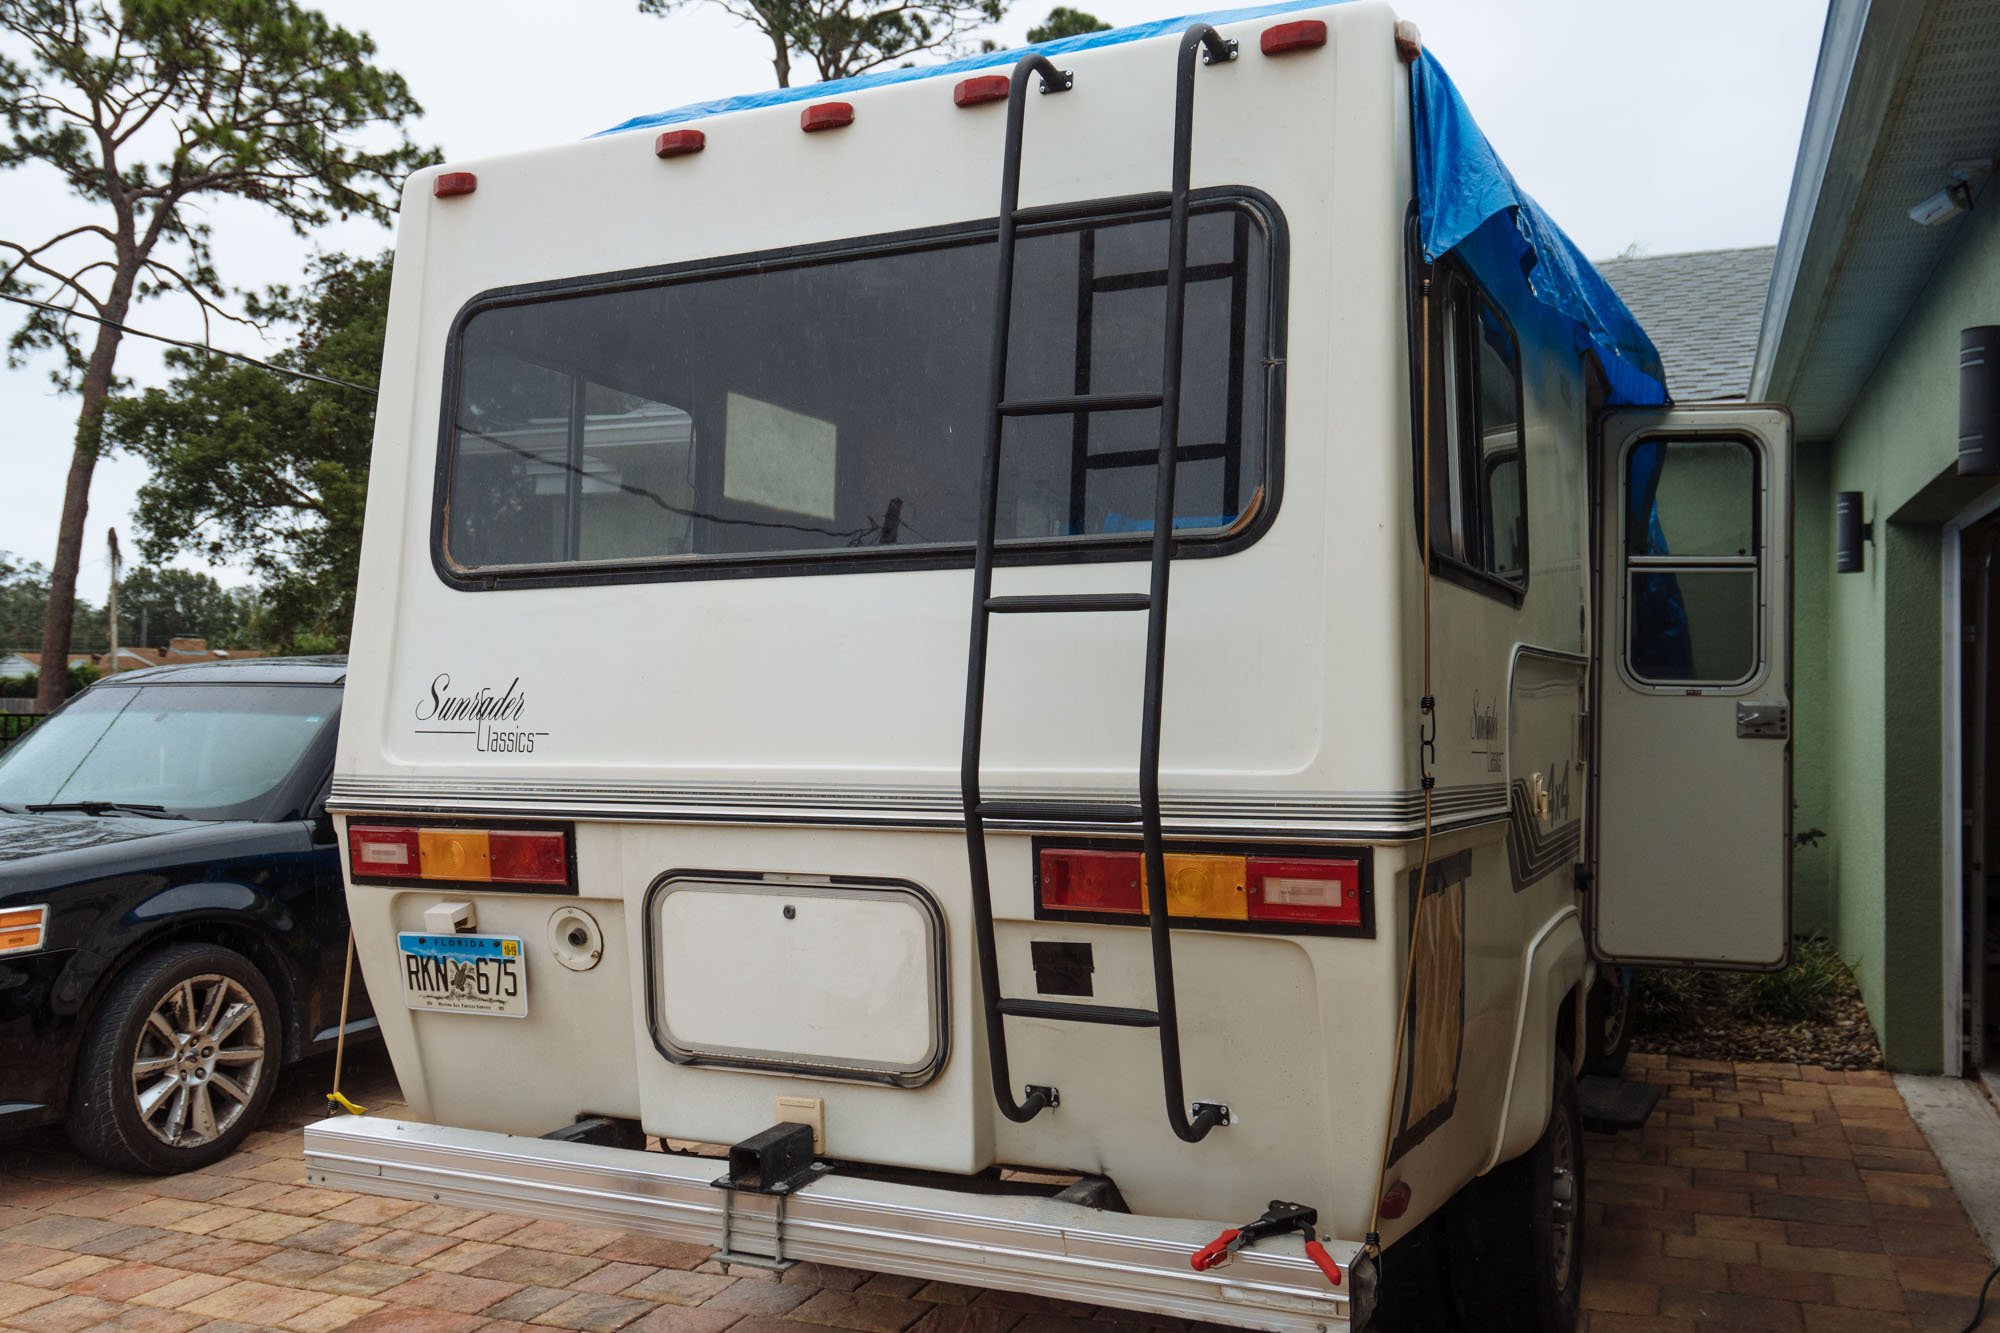
This week we also wrapped up all the painting on the side view mirrors and the ladder up the back. We really like the black much better than the chrome!
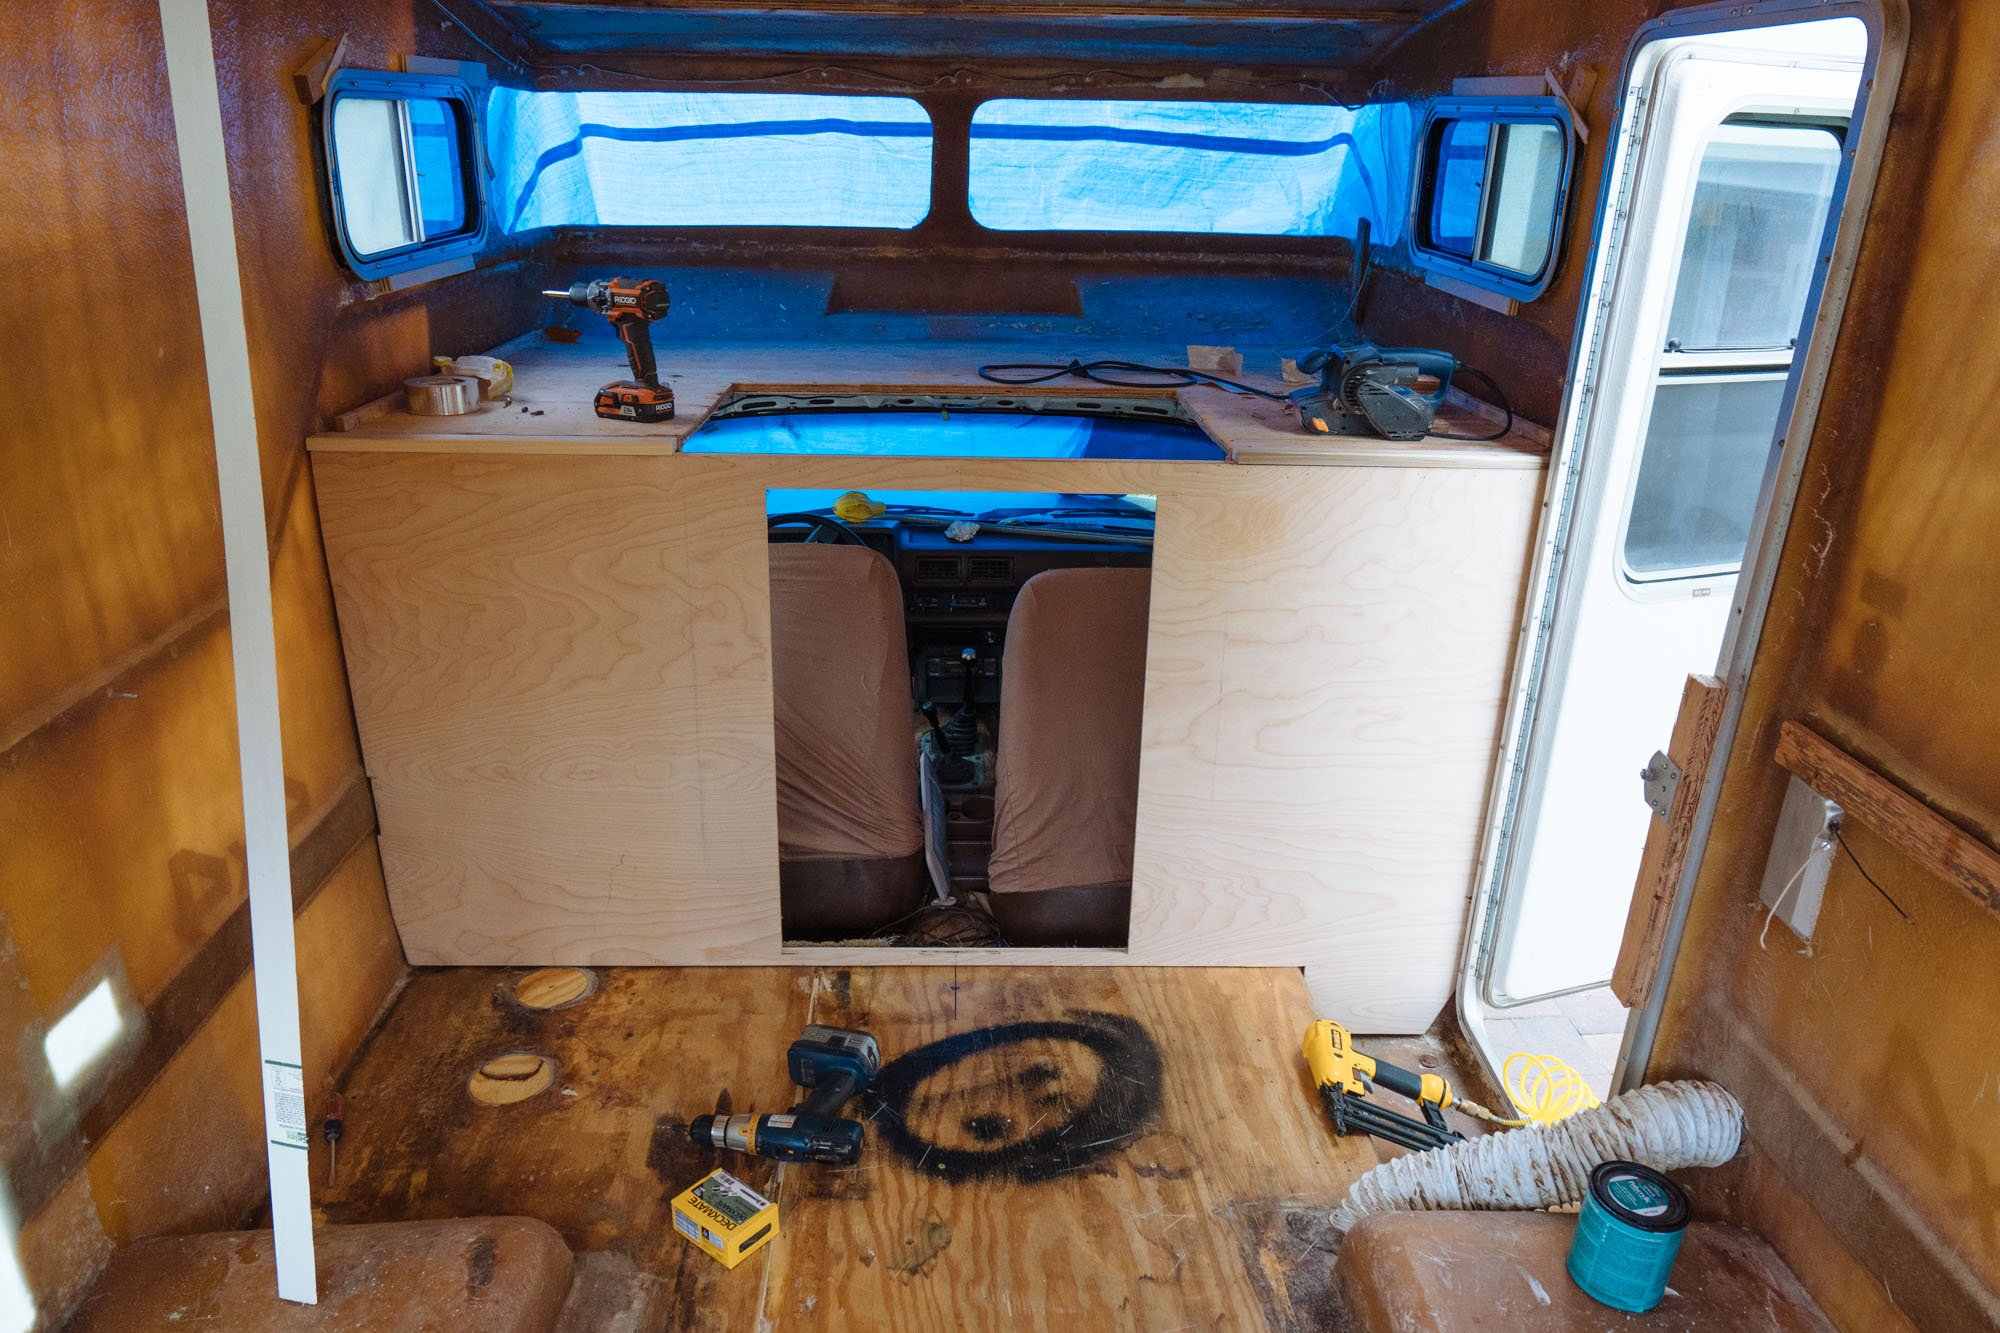
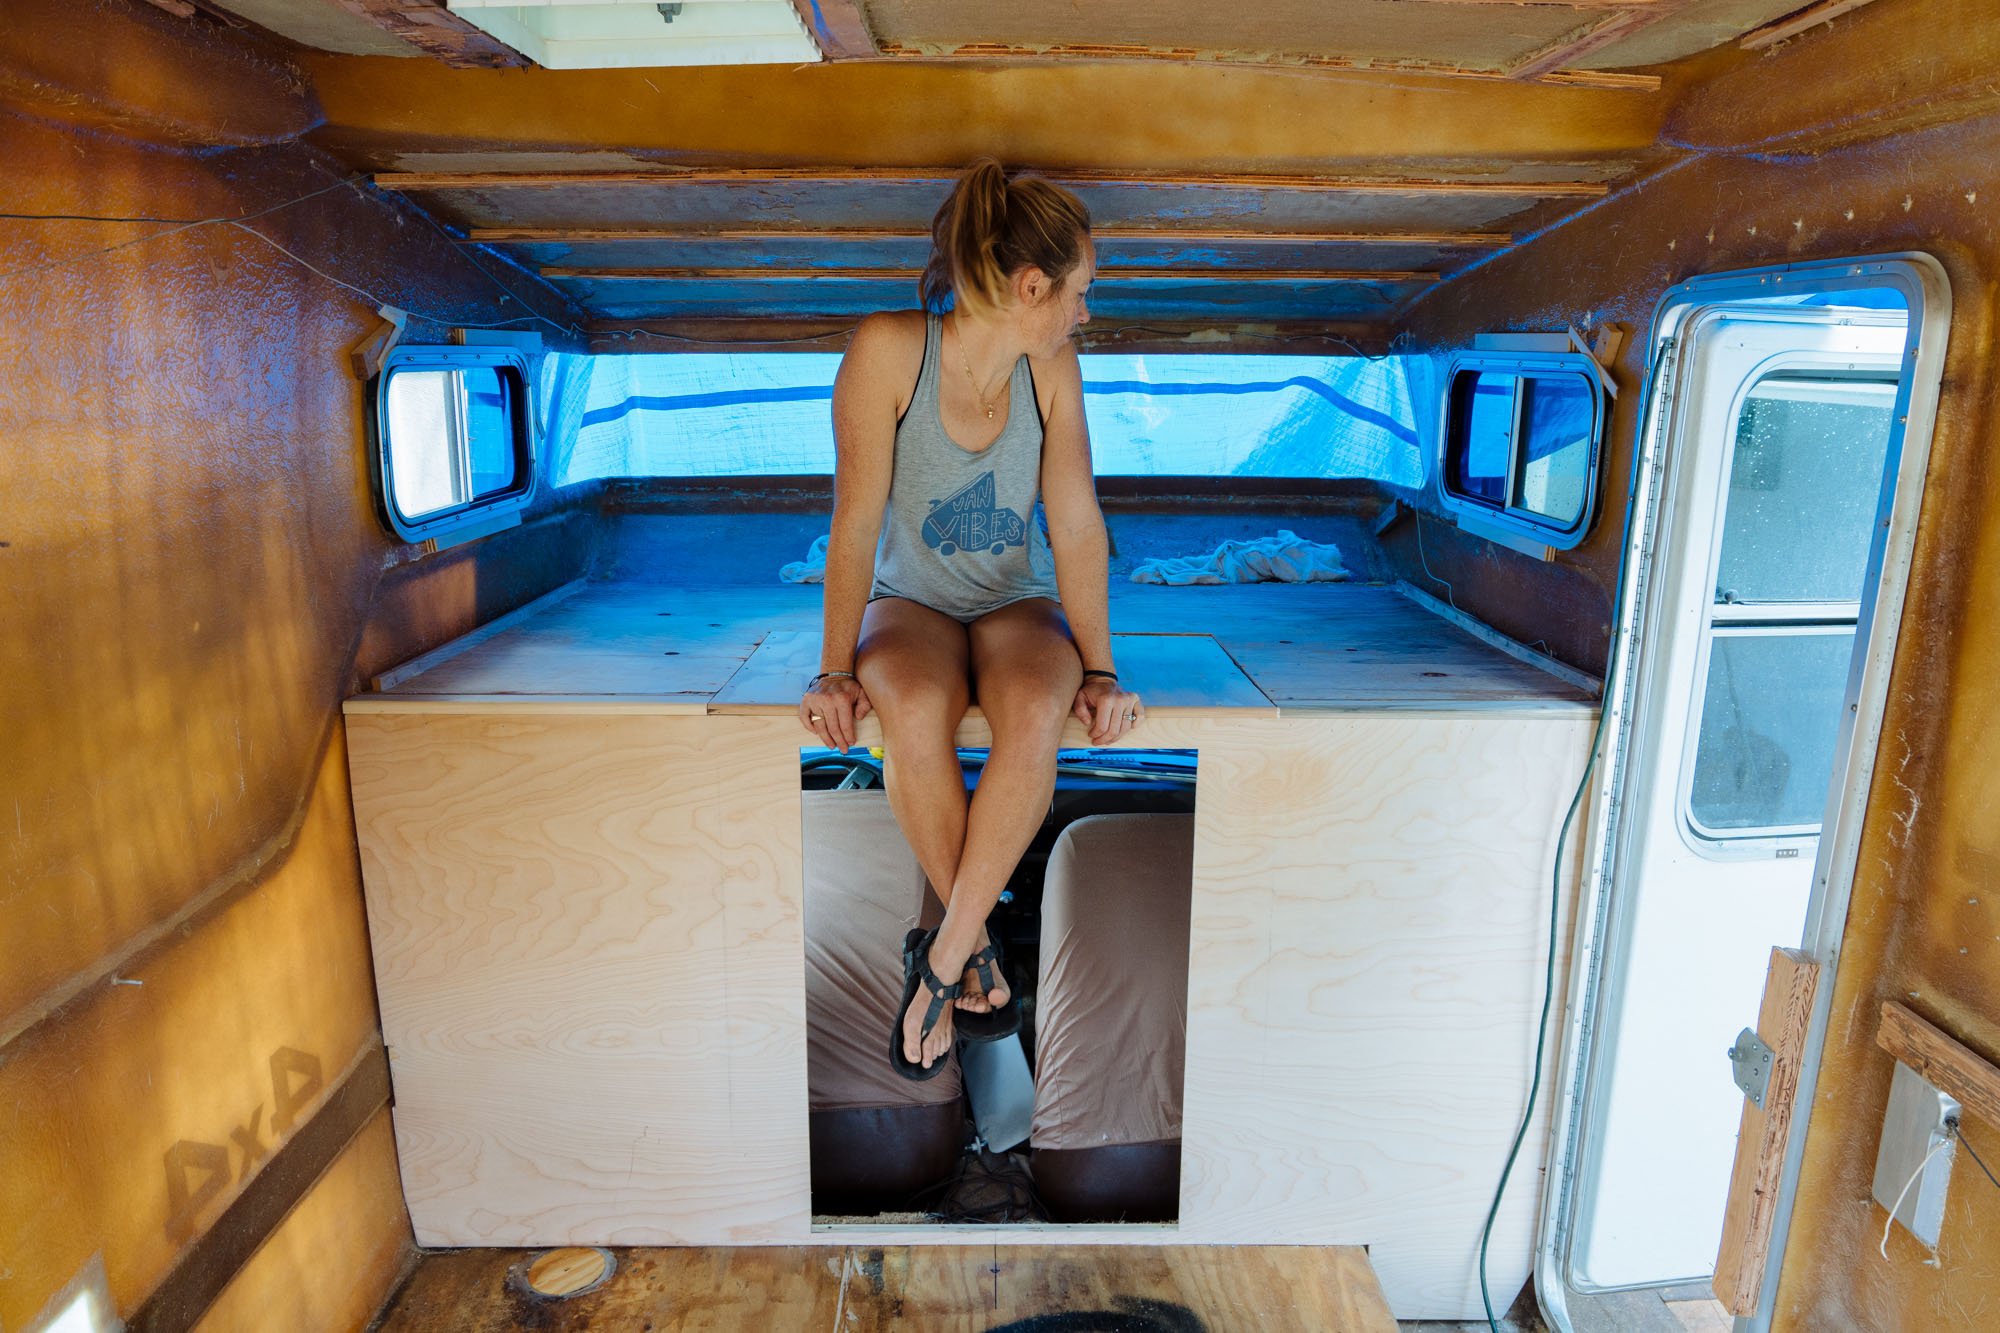
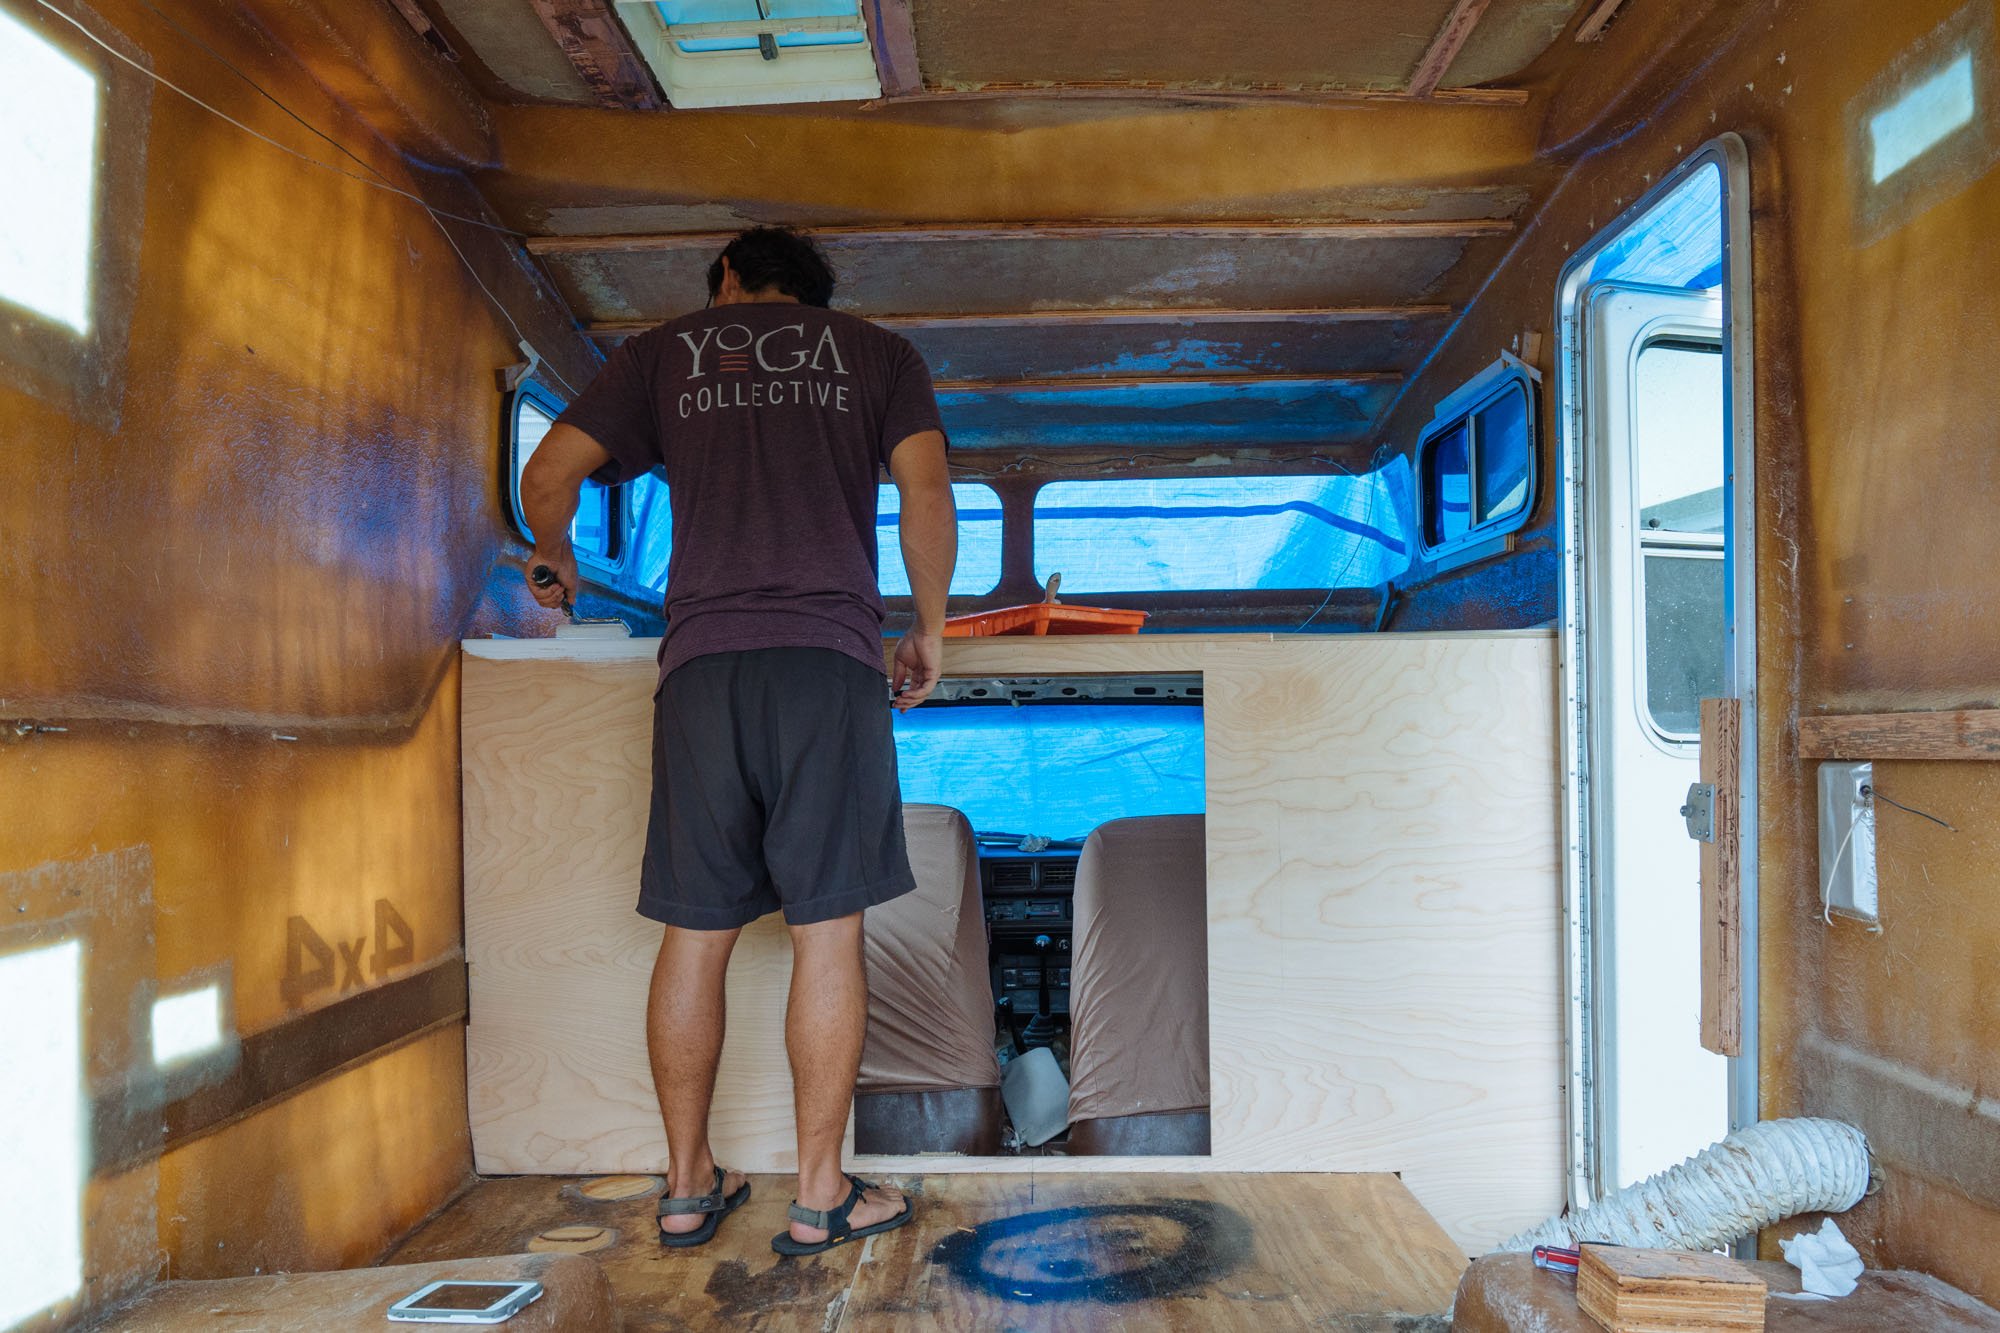
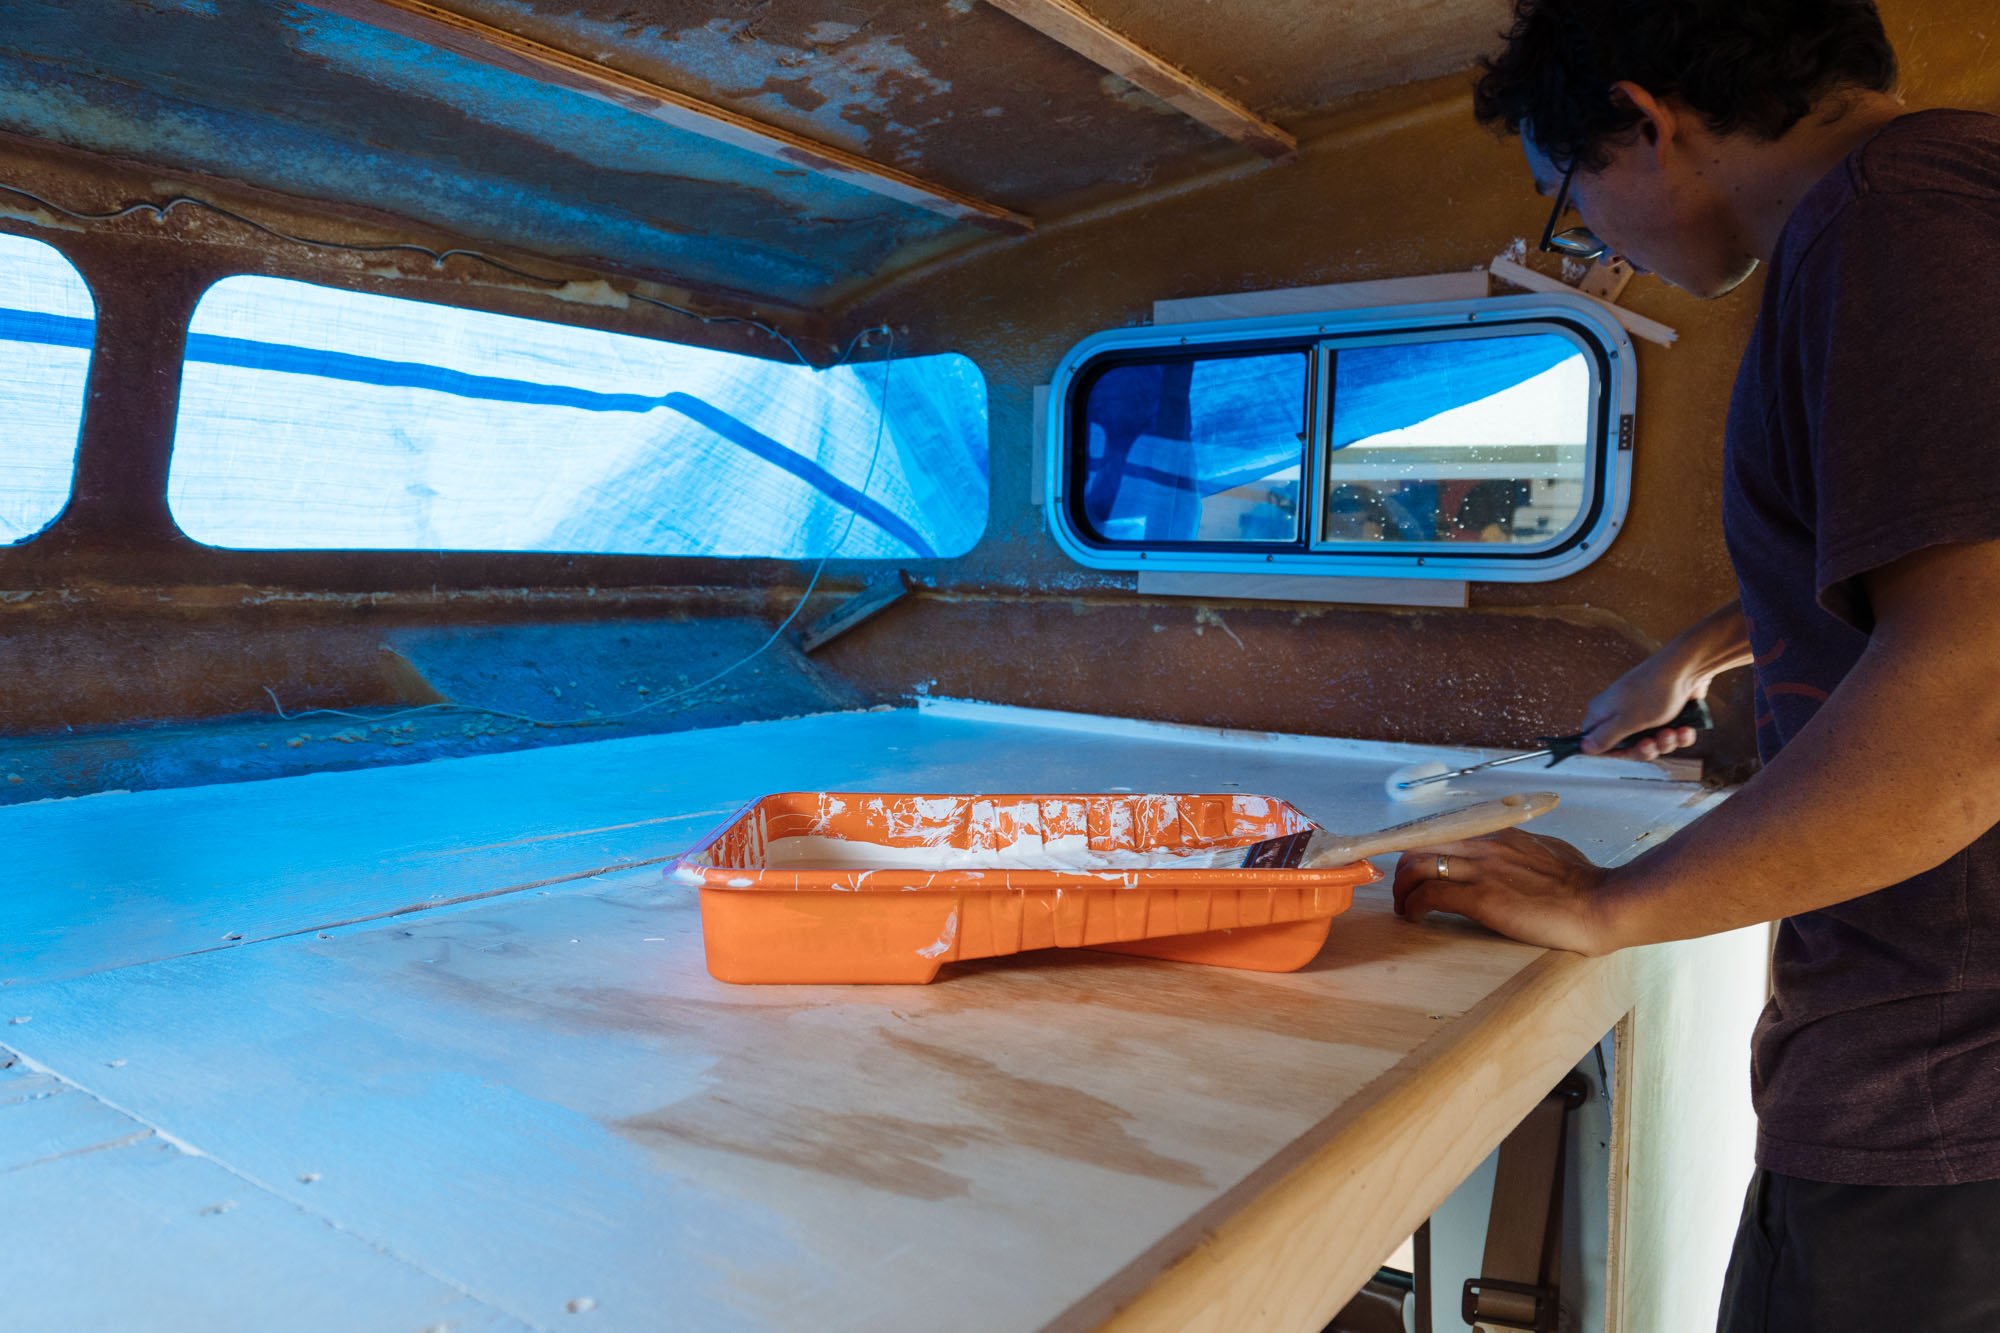
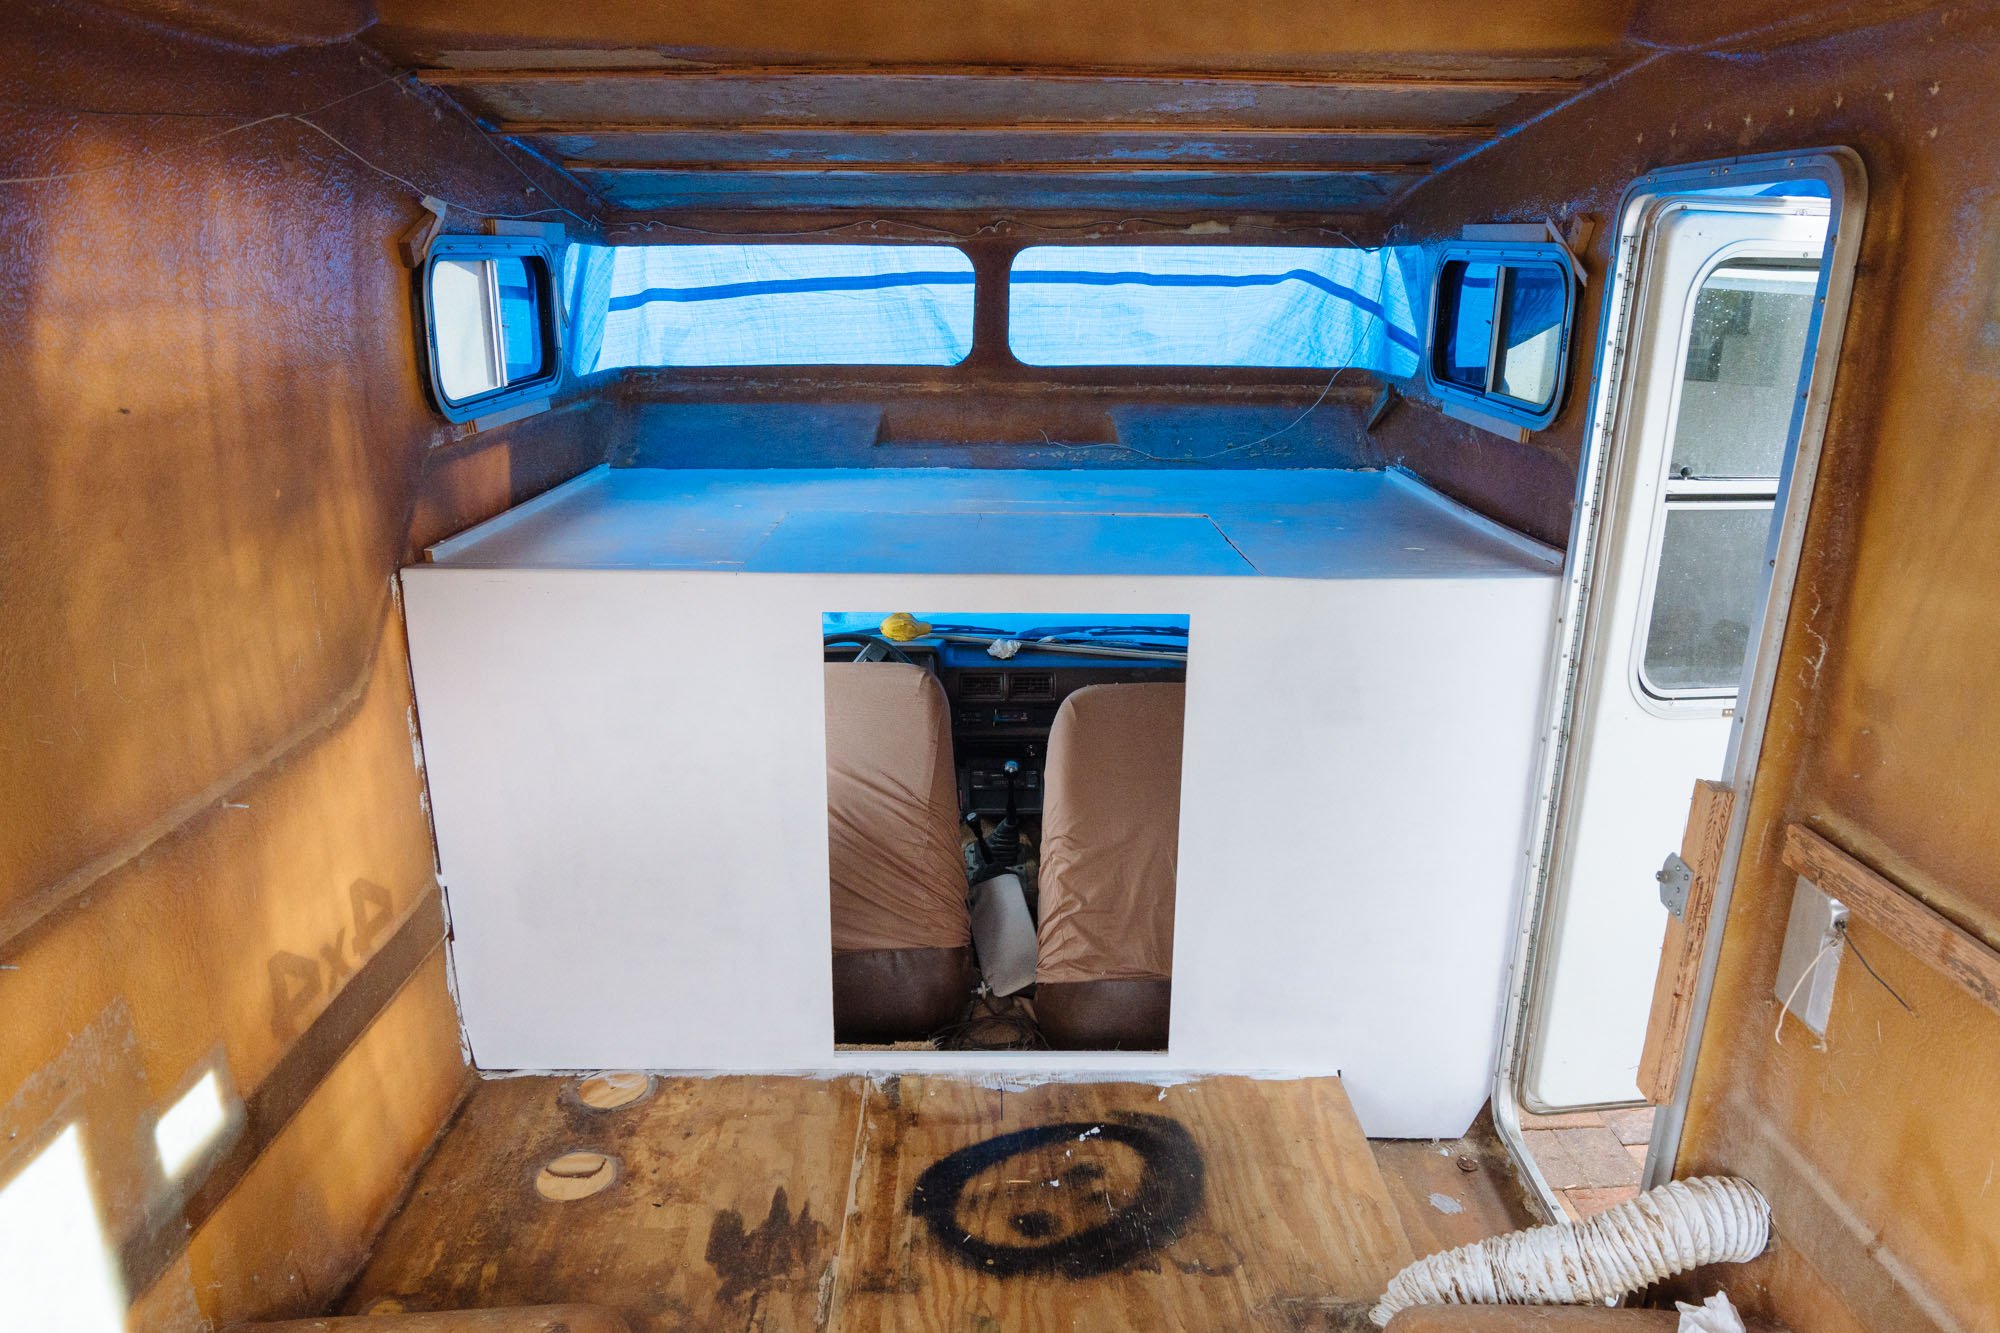
Finally, some noticeable interior progress! We decided in our final design we want our cab to be permanently capped so our bed could be all one piece. This week we capped the cab as well as made a little pass through that will receive a door, as soon as it is done.


Staining the ceiling struts to match the rest of our wood features

While we were waiting for many things to dry, we started to move into preparing some wood to make ceiling support struts. These supports will run across Amelia width wise. They are being stained because they will actually be peaking out of our ceiling like architectural rafters.

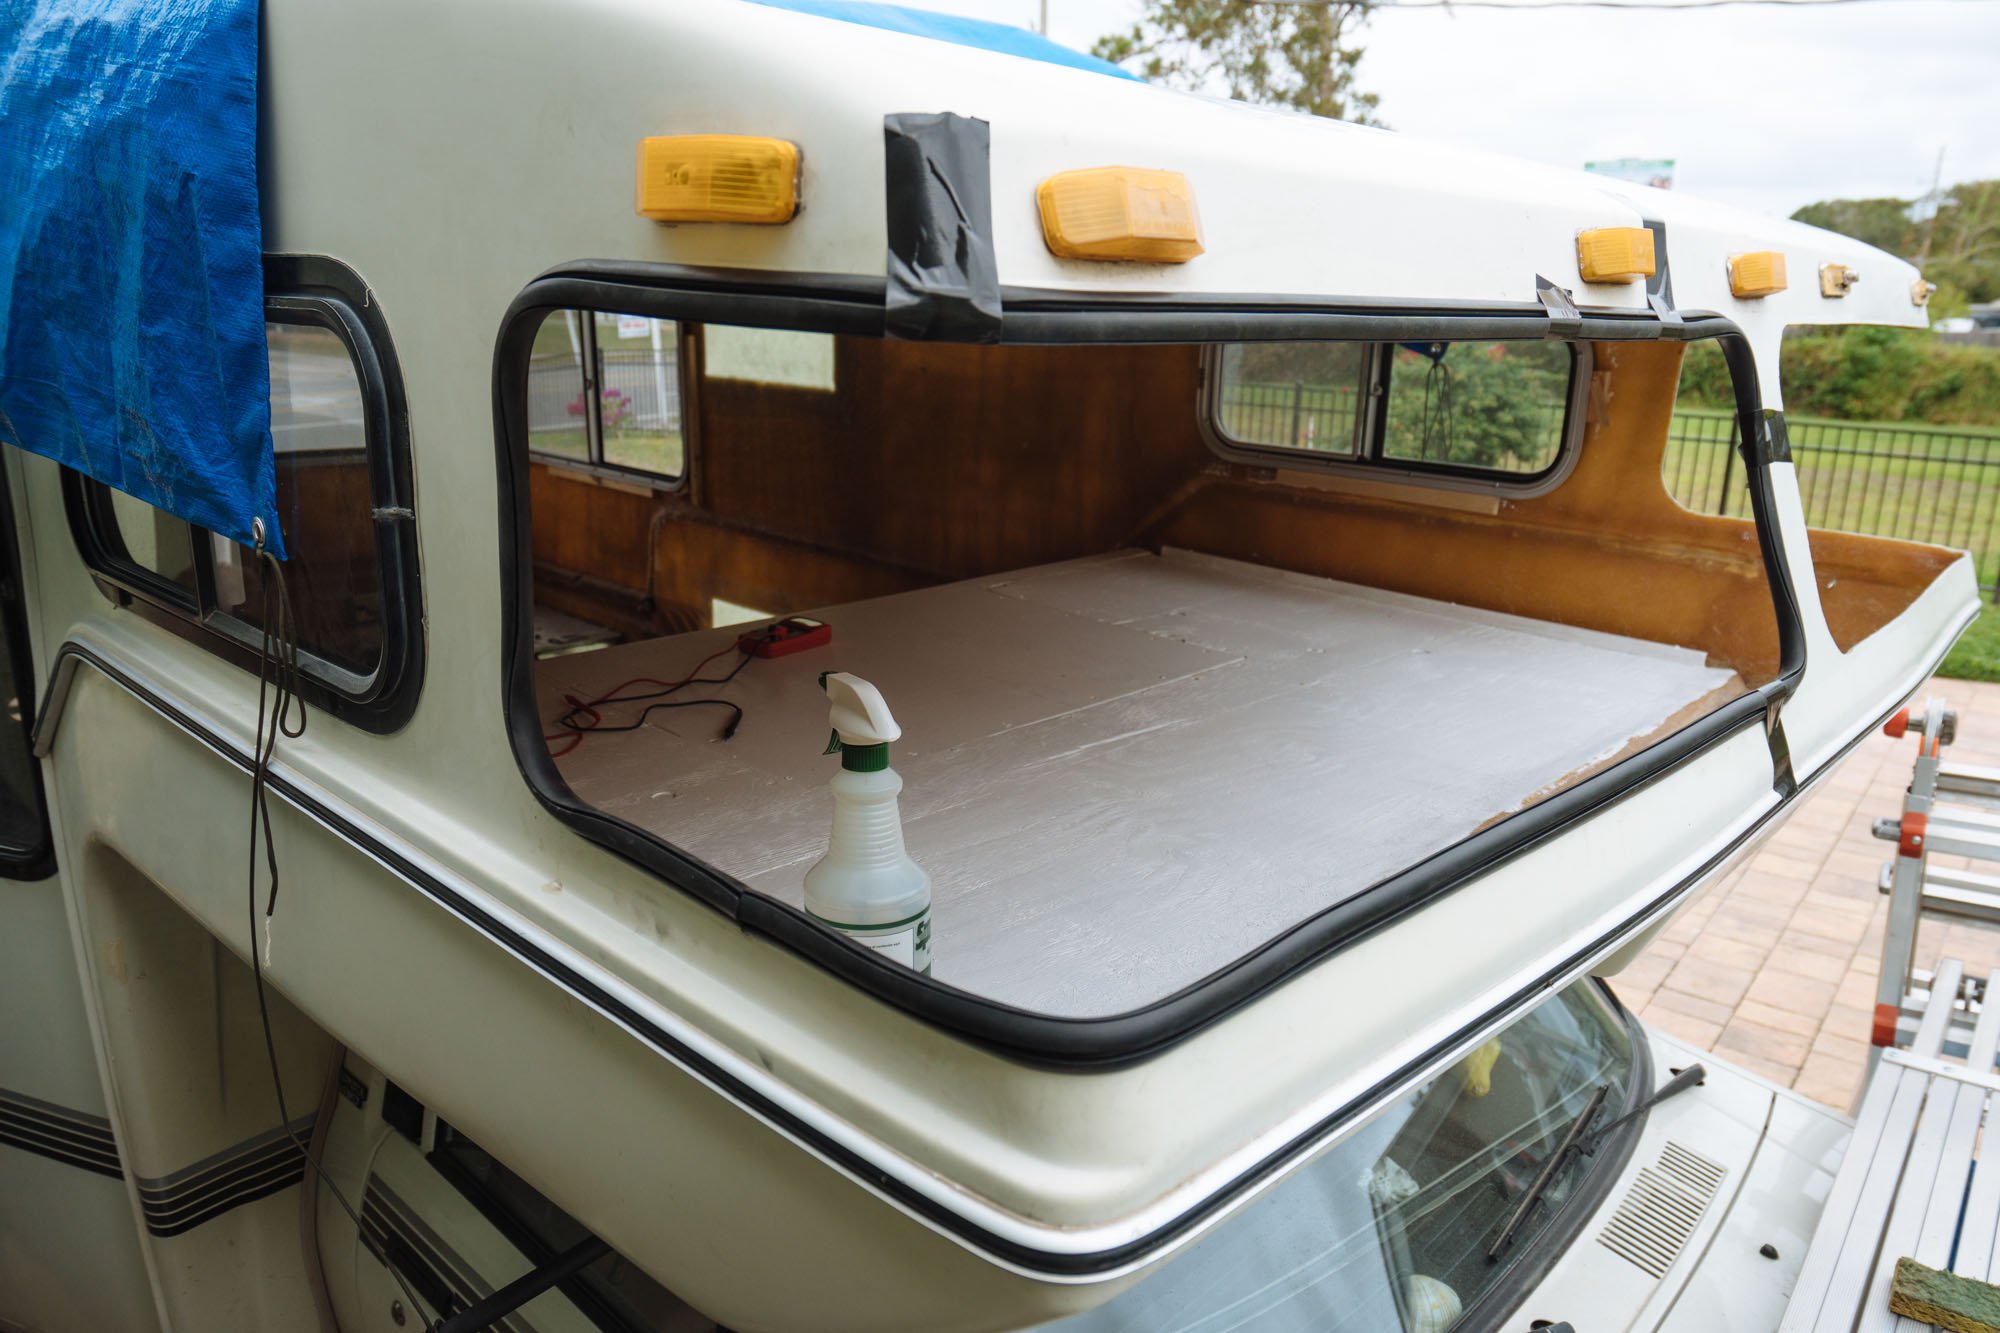
Before we started on the build out, we knew that the front windows were going to need to be addressed and that they were going to be a pain! There was a terrible leak in one of the windows, the hole was so big that you could see daylight through it. There was no avoiding it, they had to come out so we could figure out what to do about them.

We removed the black decal from between the windows, and cleaned the area in preparation for what ever was next. In our research we learned that these window seals are actually no longer being made, however there are some seals that you can cut to length that need to be flipped so that the measurements work with the openings. That seemed like our only real option next to fiberglassing in the windows all together, but our love for the windows pushed us in the direction of trying to make the modern seal work.
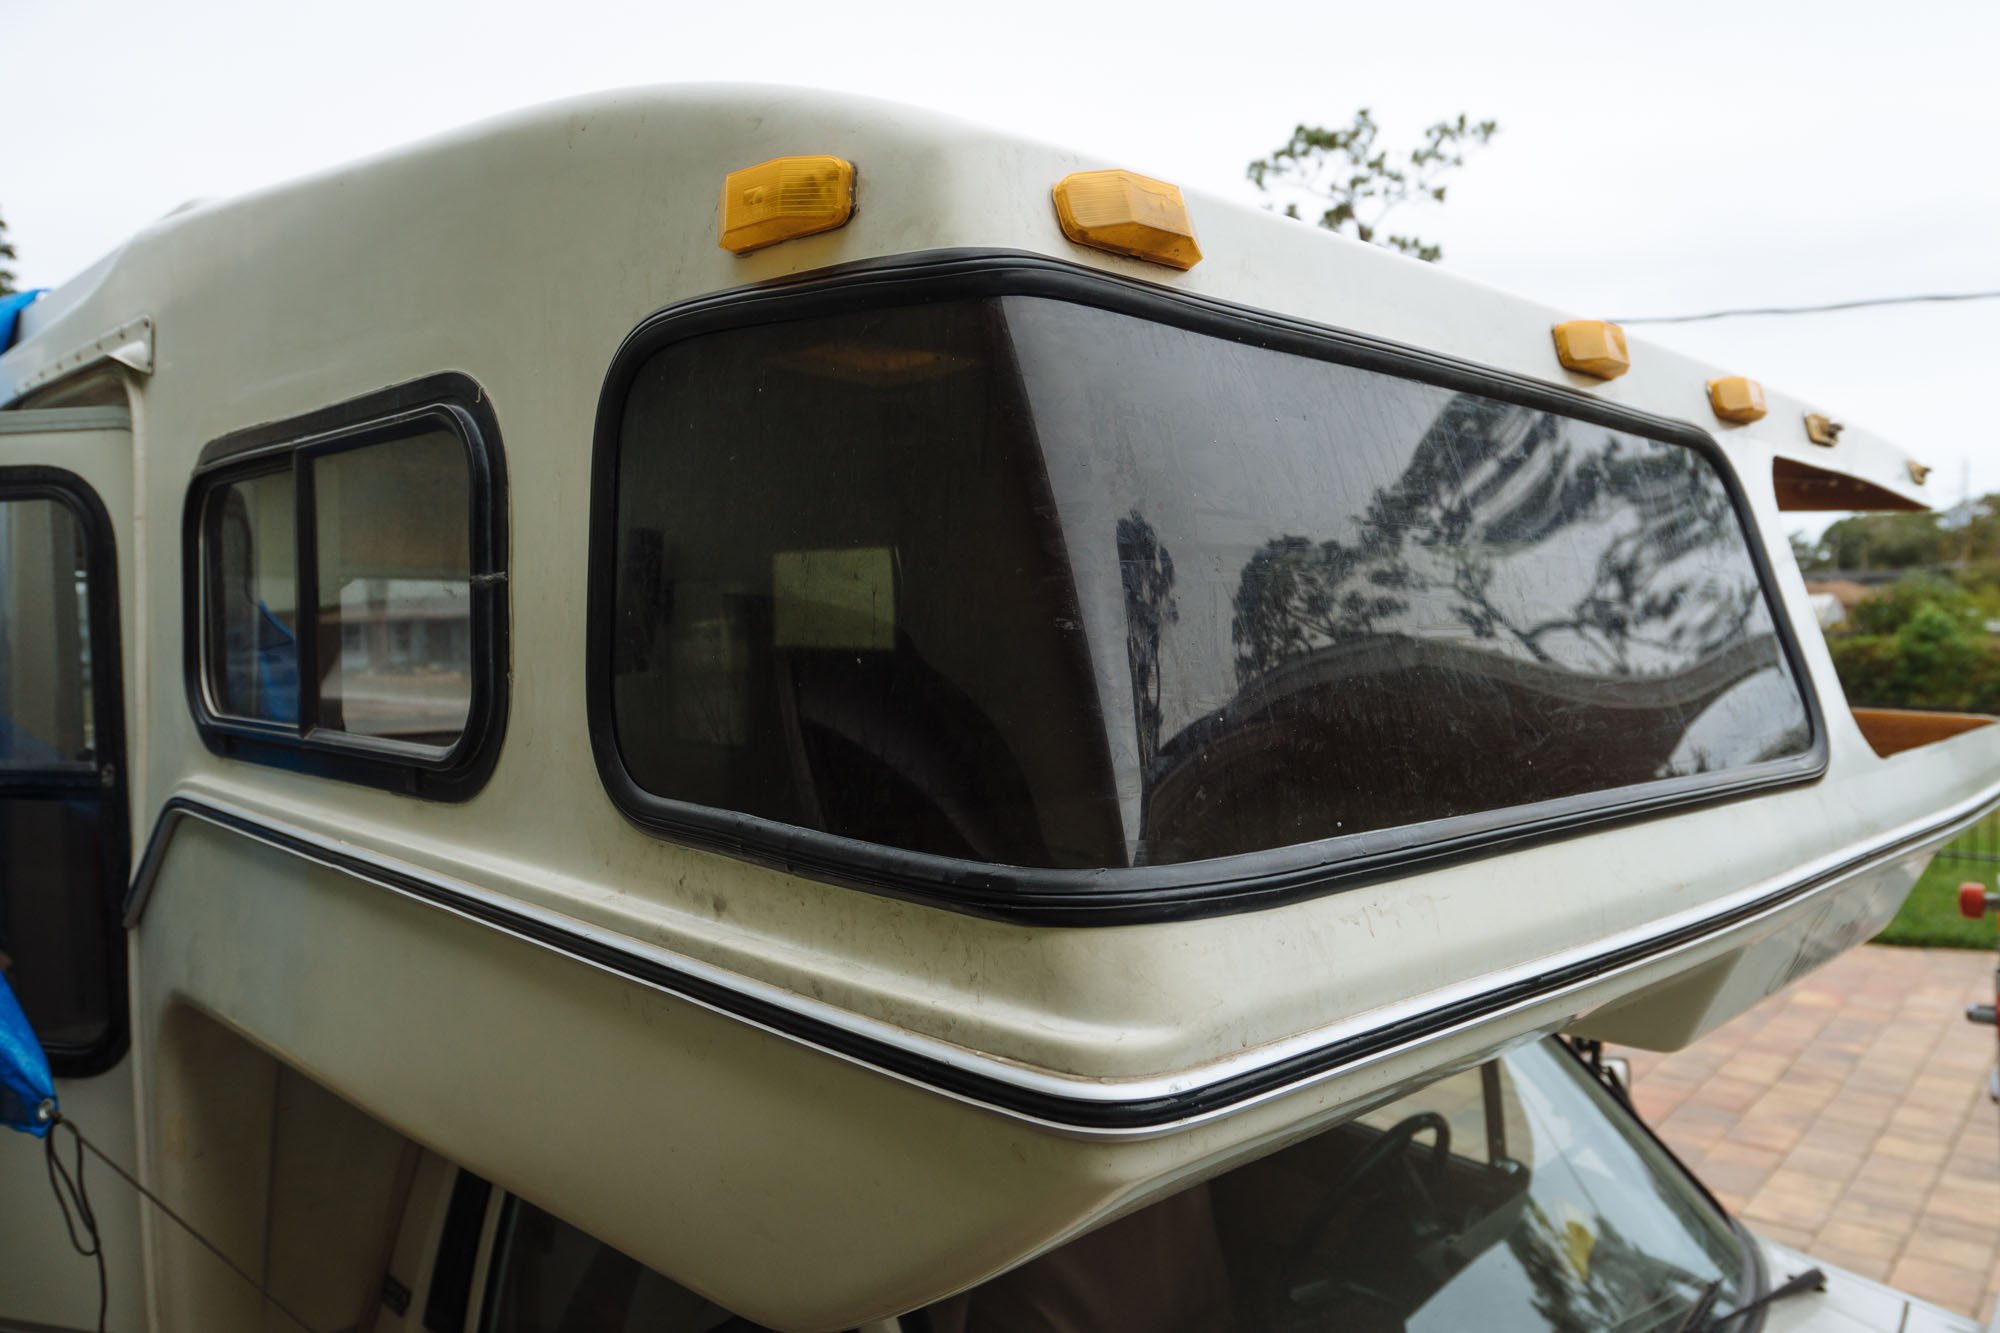
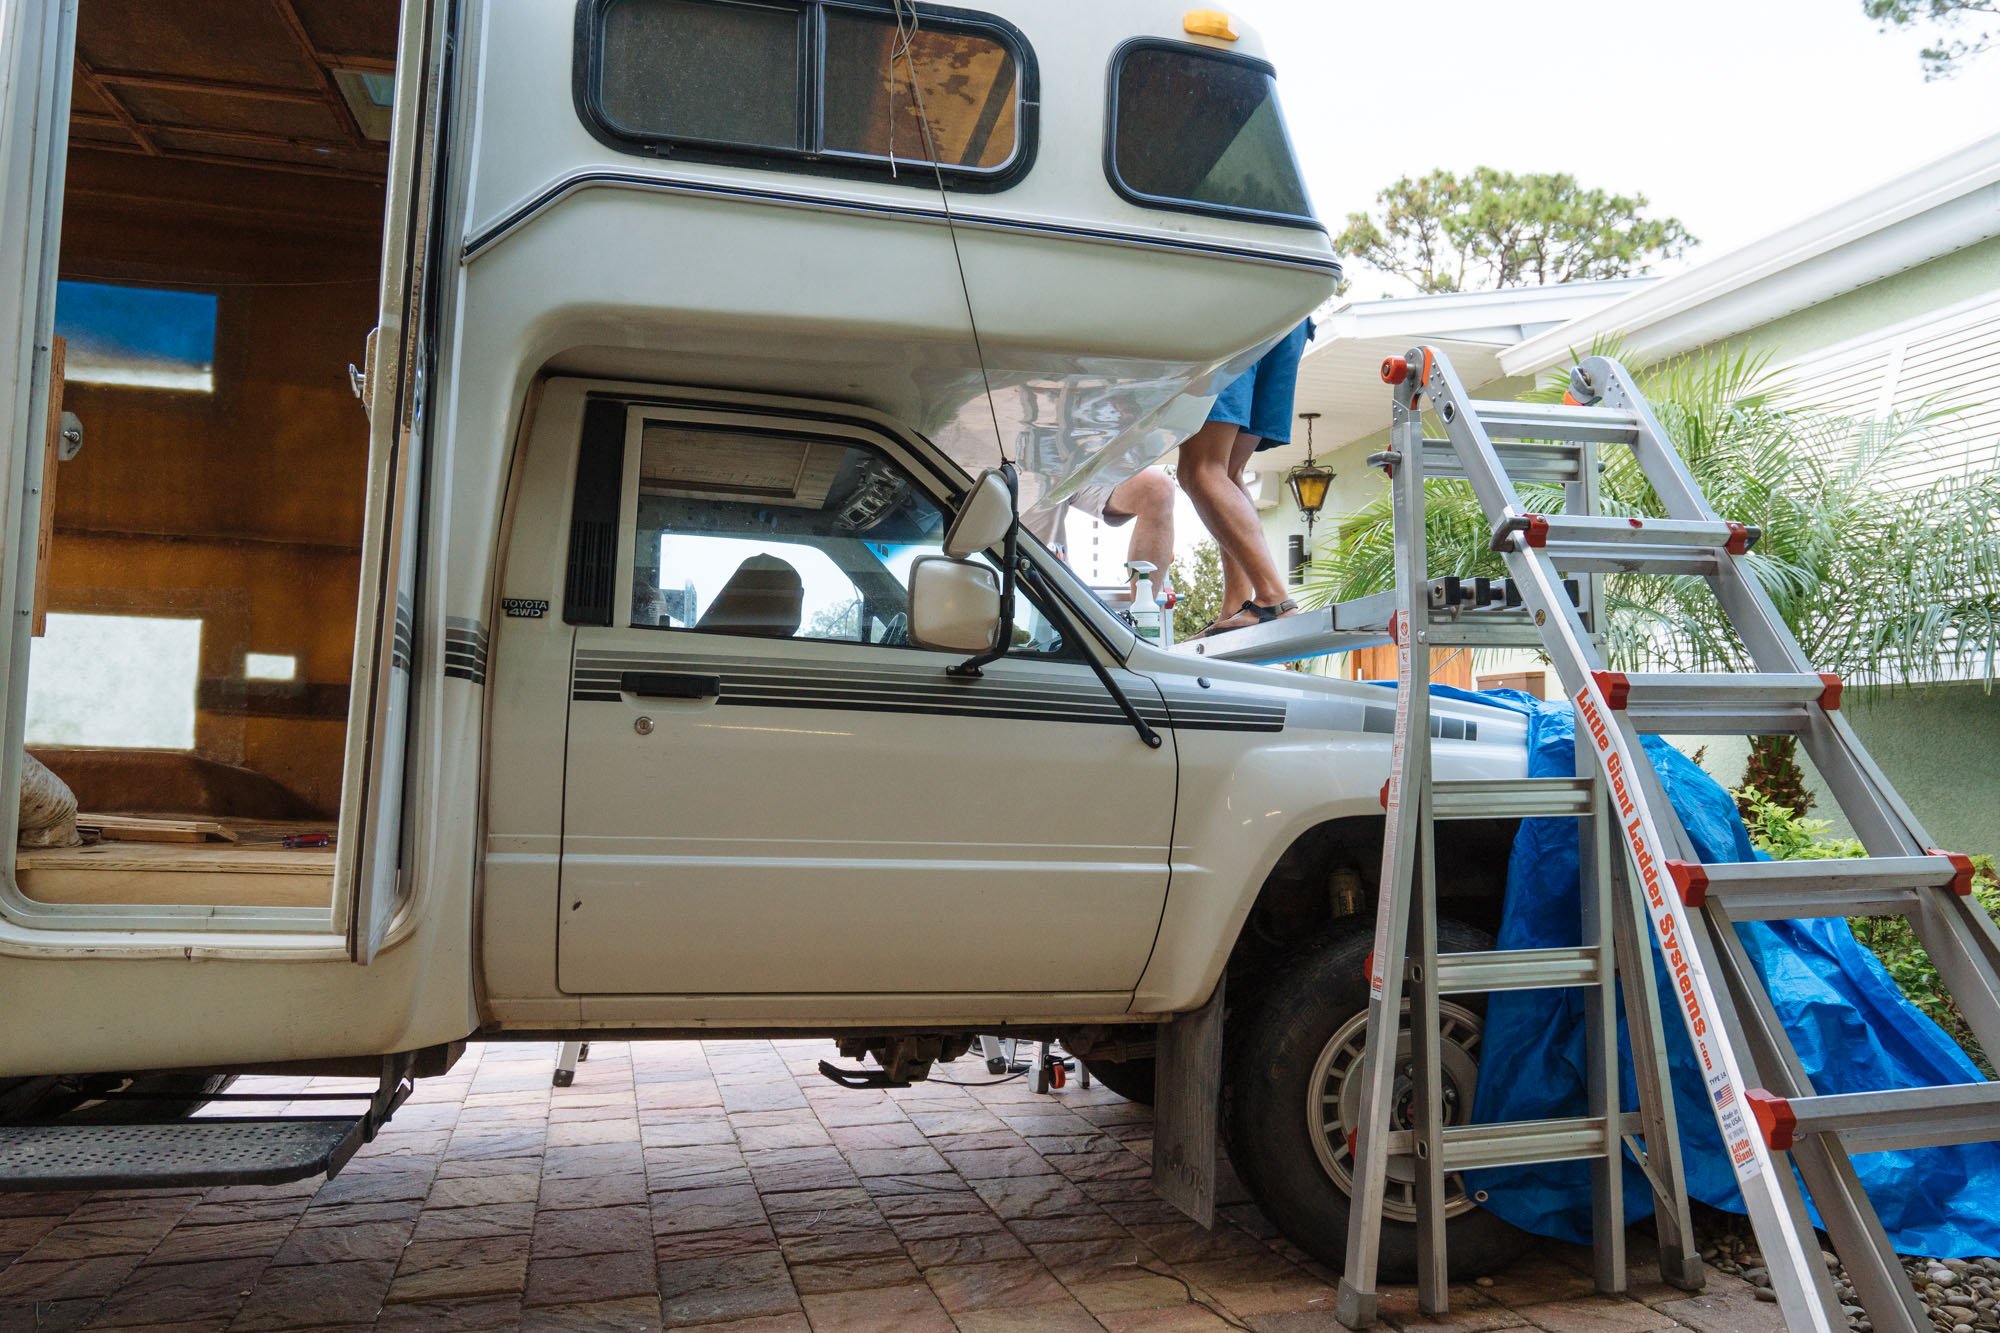
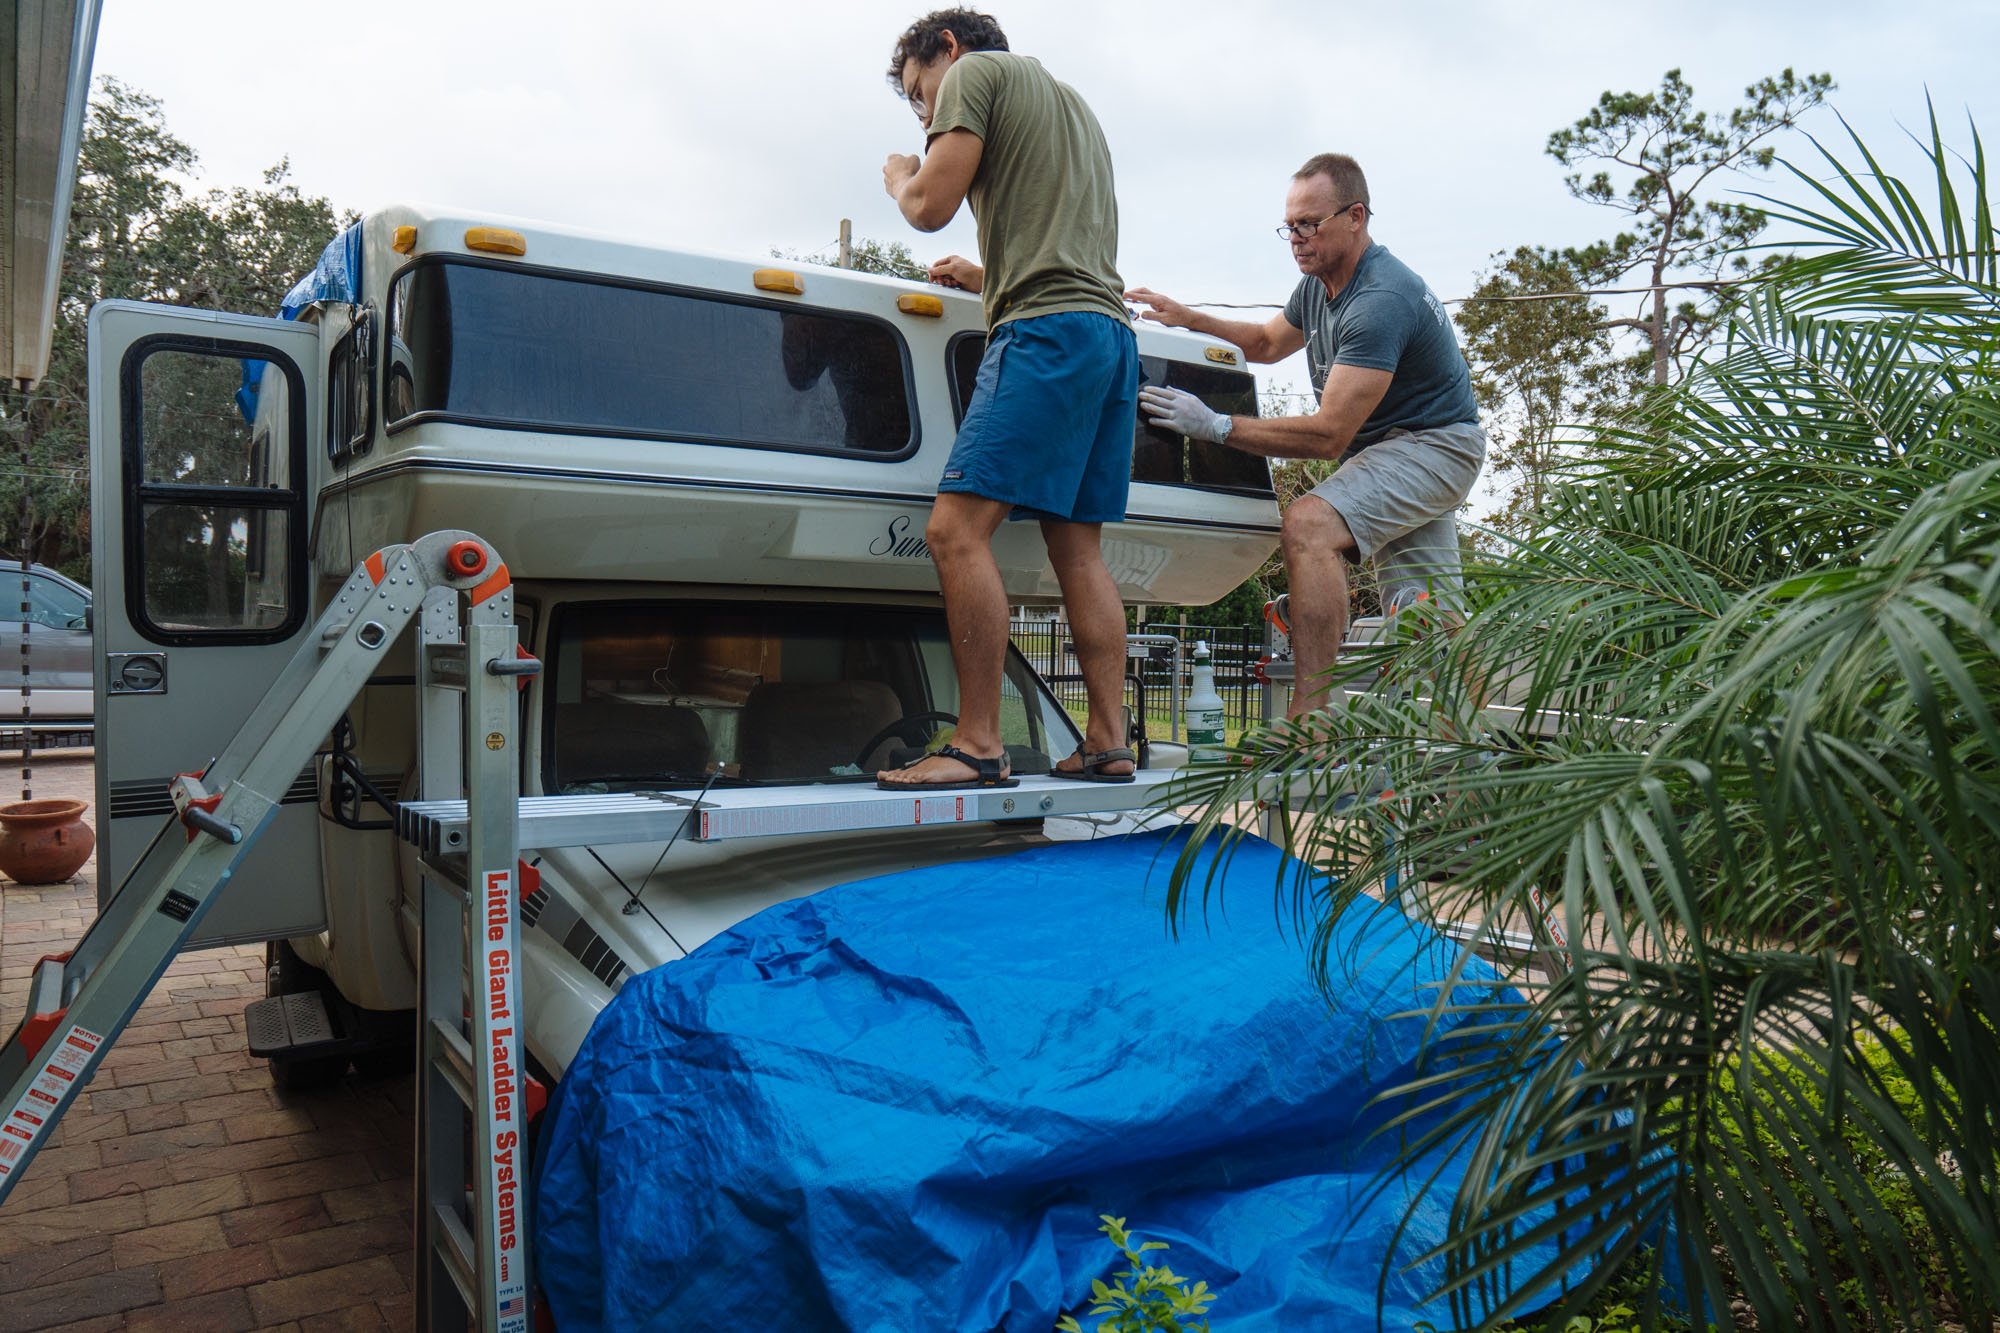
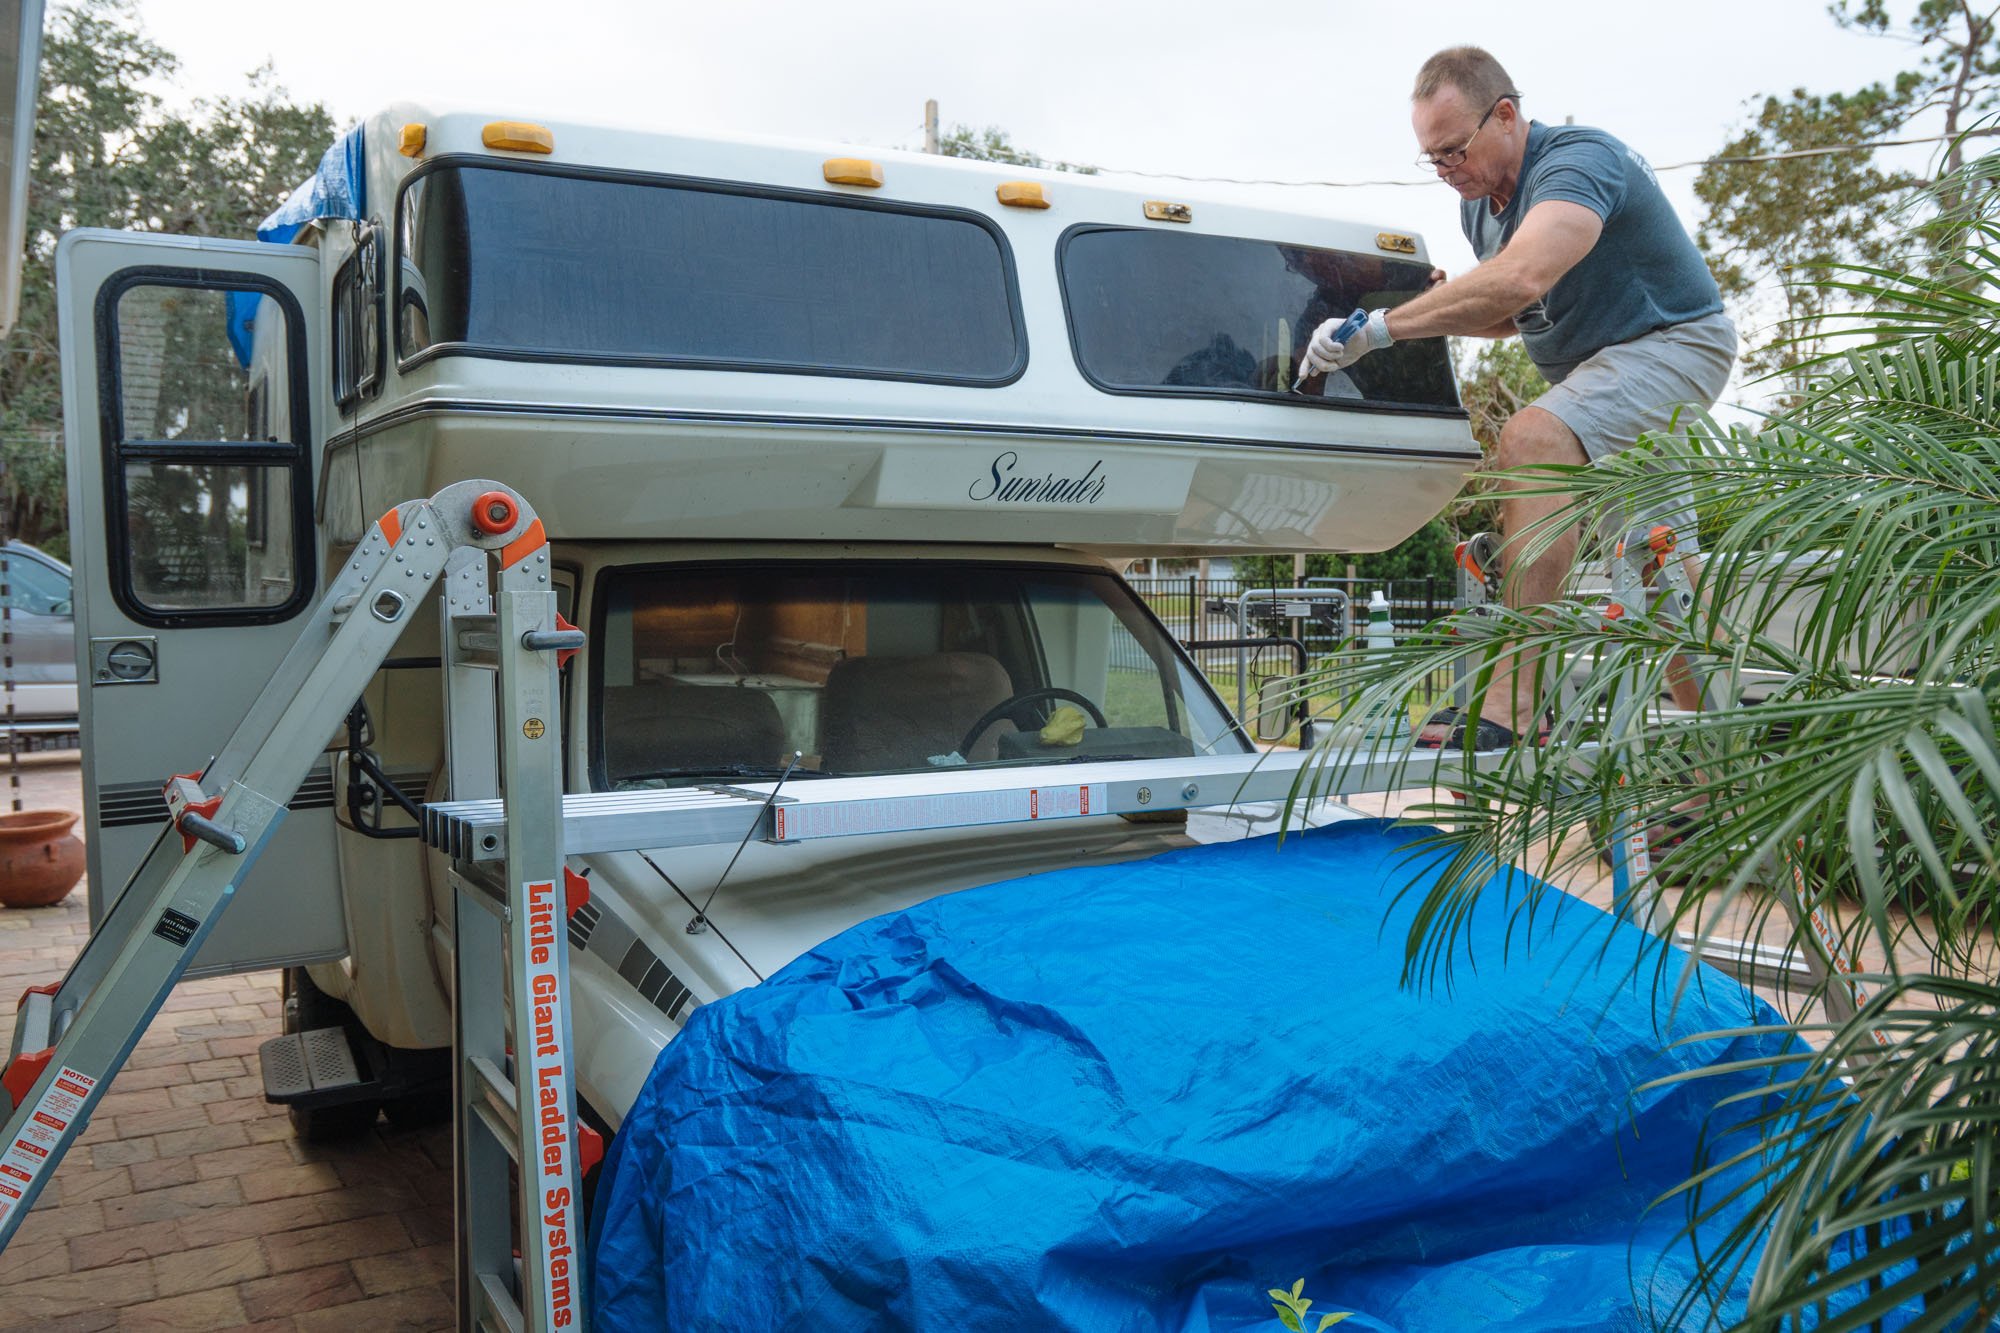
Putting in the windows ended up being an all day affair. The first window went in pretty easily, but the second window took four tries. After the second try we realized that the window was cut a little too big for the hole, which was why it was leaking so badly. The last two tries started off by shaving a little of the plexiglass, after the second pass we had finally gotten it down to size. Now that they are in, they look amazing. The seals look like they were made just for the Sunrader! We plan on doing a water test this week on all of the windows. Fingers crossed all of the hard work will pay off!
Alright, that is it for this week! We are stoked with the progress and hope to have much more for you next week!
TTFN,
MAK
Supply List
For Inquiring Minds
Fiberglassing
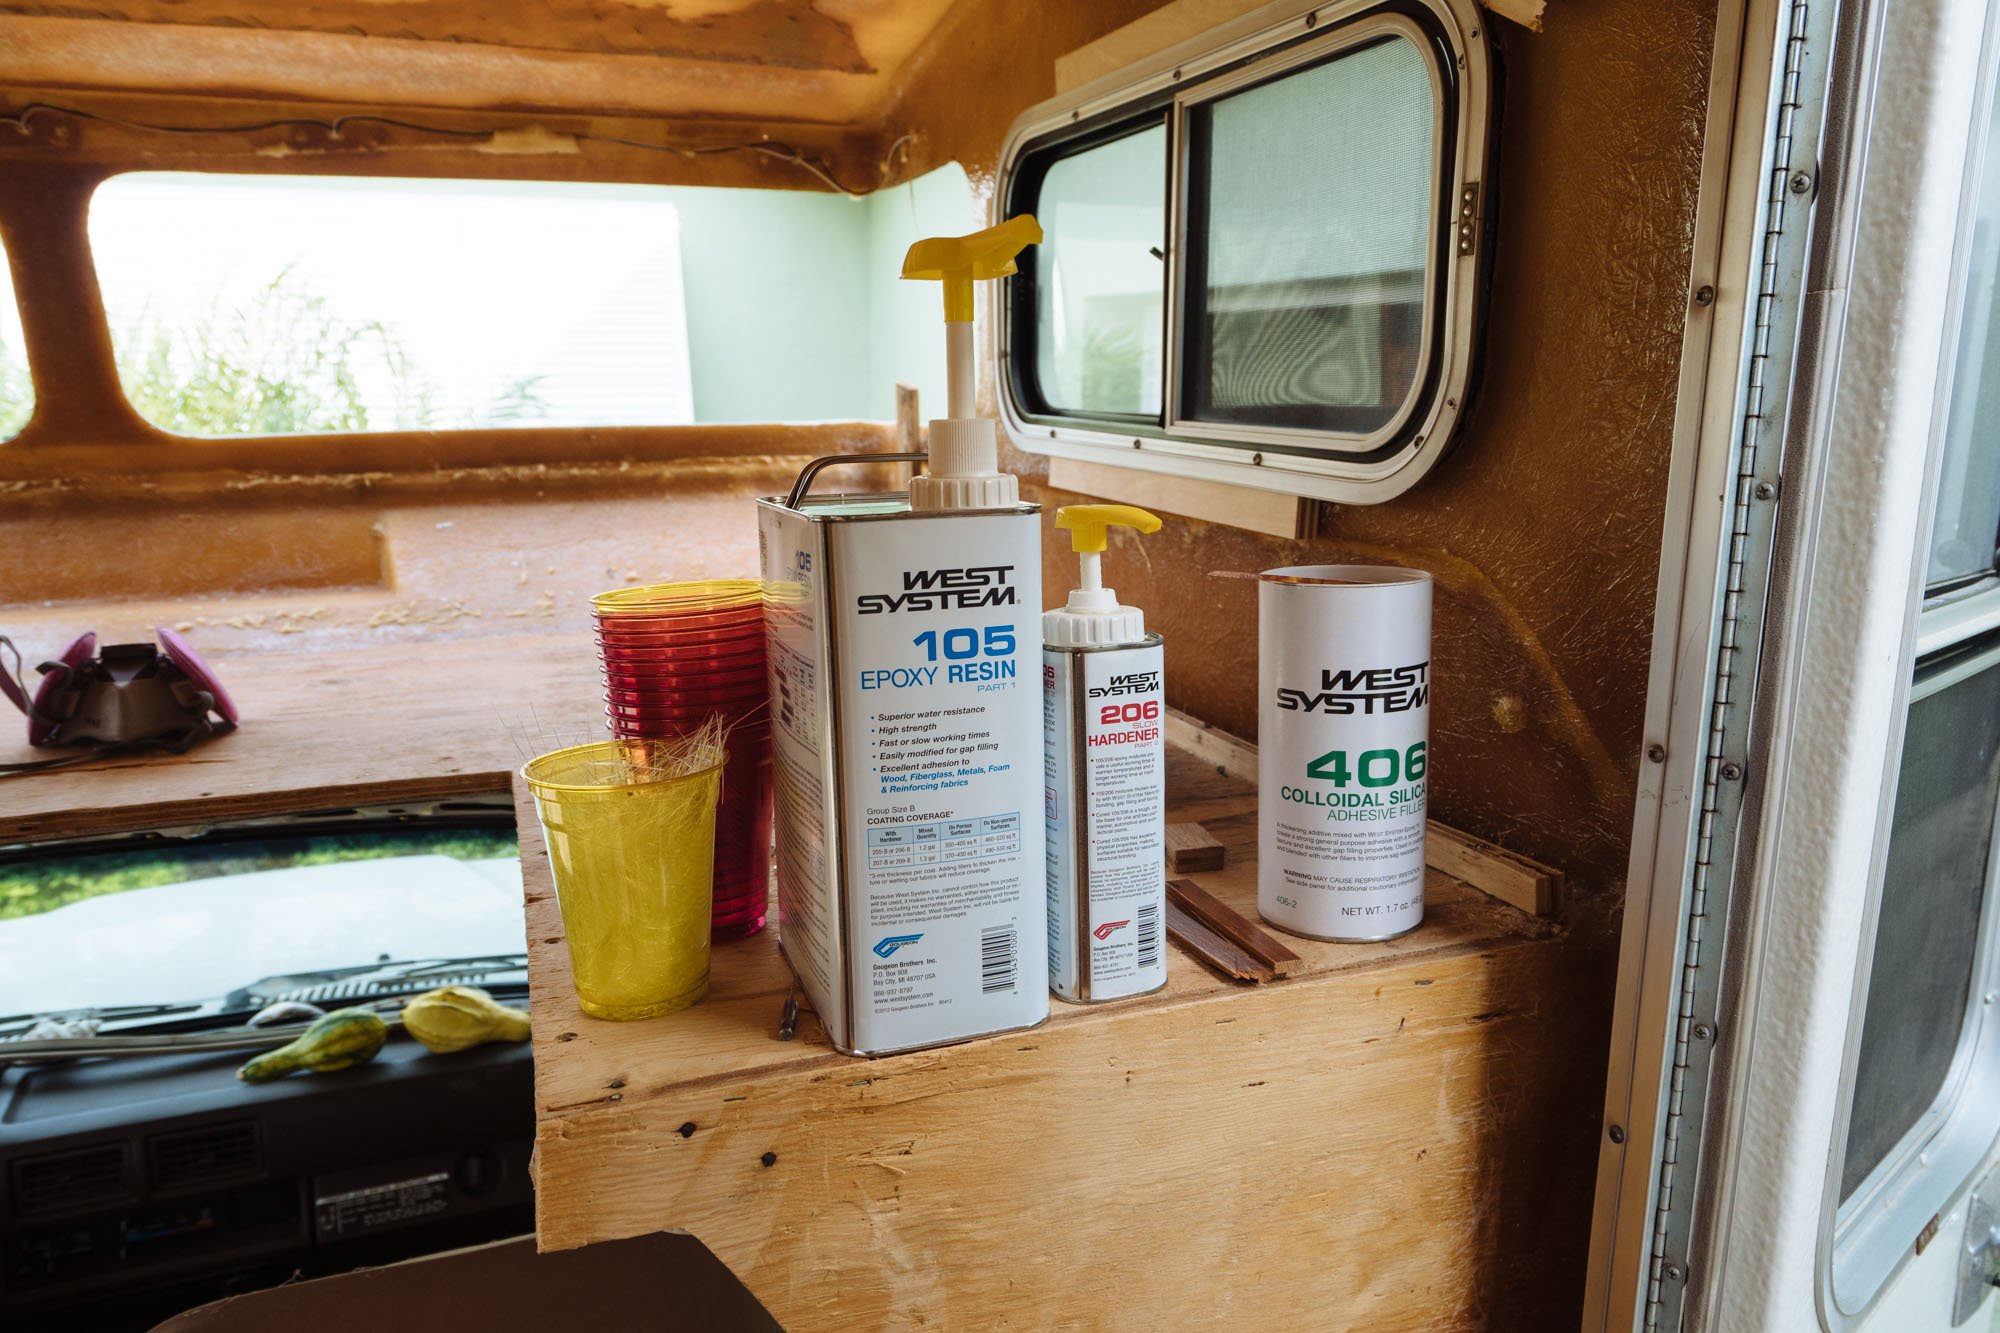
Resin Part One, Resin Part Two (Hardener), Measured Pump Set, Chop Mat, Biaxial Mat, Fiberglass Roller, 407 Filler, Disposable Paint Brushes, Solo Cups, and Disposable Rubber Gloves
Window Seal Replacing:
Window Seal, Window Locking Strip, Locking Strip Tool, and a Trampoline tool used to pull the seal over the window to help it get seated.
Fiberglassing Resources
I wanted to be sure to give credit where credit is due. I watched what felt like endless hours of tutorials when I was learning the fiberglassing process to be sure that I had wrapped my head around what I was about to do. Here are the main videos that I would recommend watching if this is a process that you are wanting to learn!
Below you will find a video that is in a series of 8 taking you through the whole fiberglassing process. I highly recommend them and have only watched them a few dozen times!
Alright! I hope these help! Please let me know if you all ever have any questions about my experience I would love to help you in any way I can!