Build Out: Week 6
SKY LIGHTS & RUNNING LIGHTS
Hi friends!
I hope that this blog post finds you well, and that you had a wonderful Thanksgiving weekend. We had plans to opt outside, but sadly the weather said otherwise. We were due for some rain because it has hardly rained since the hurricane a few months ago. The rain also kept us from working for the vast majority of the weekend.

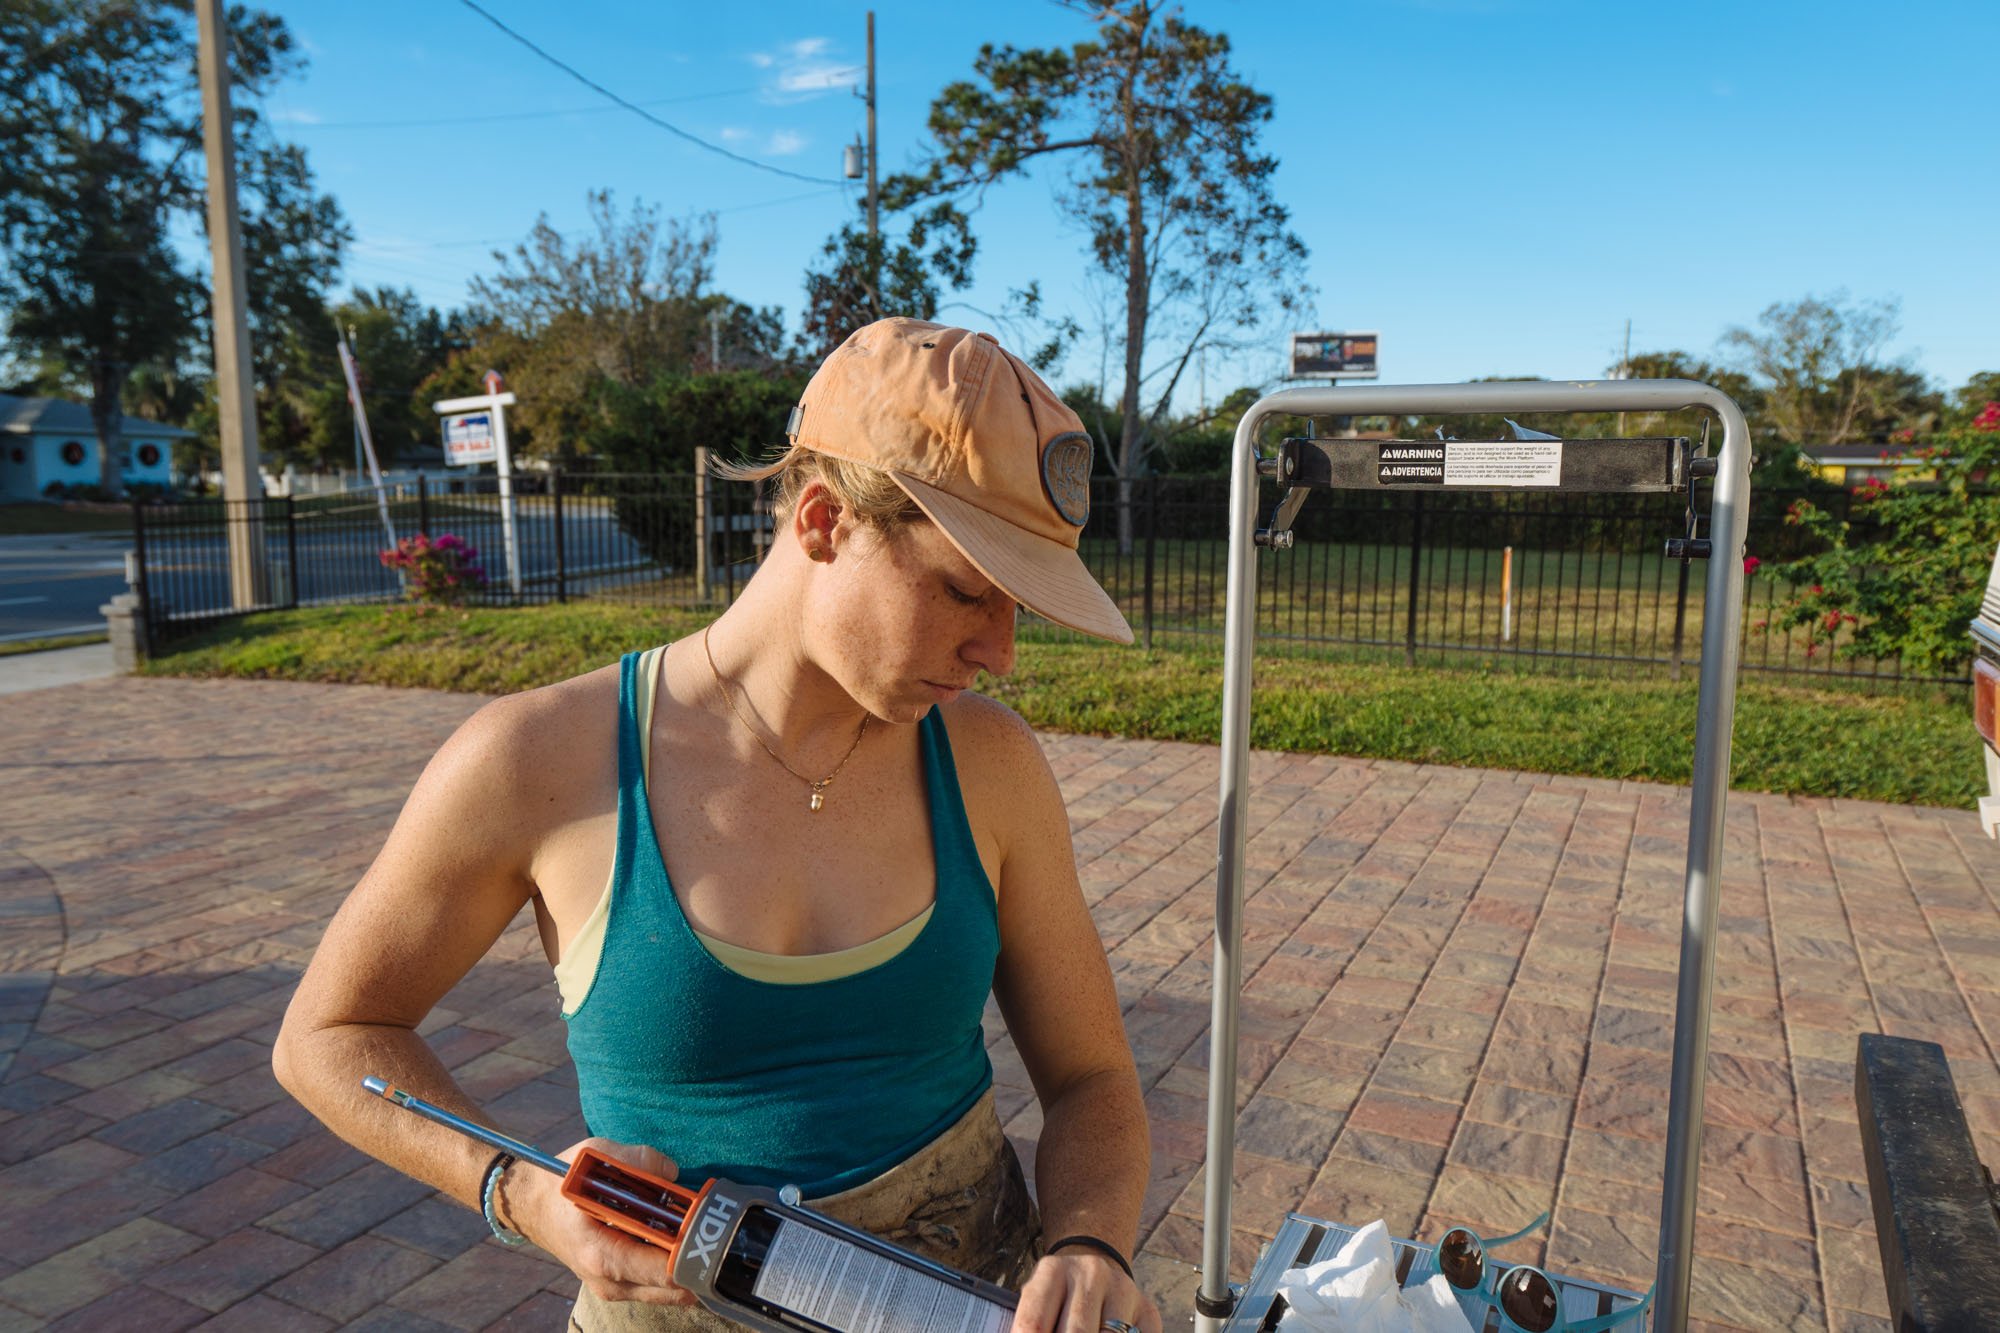
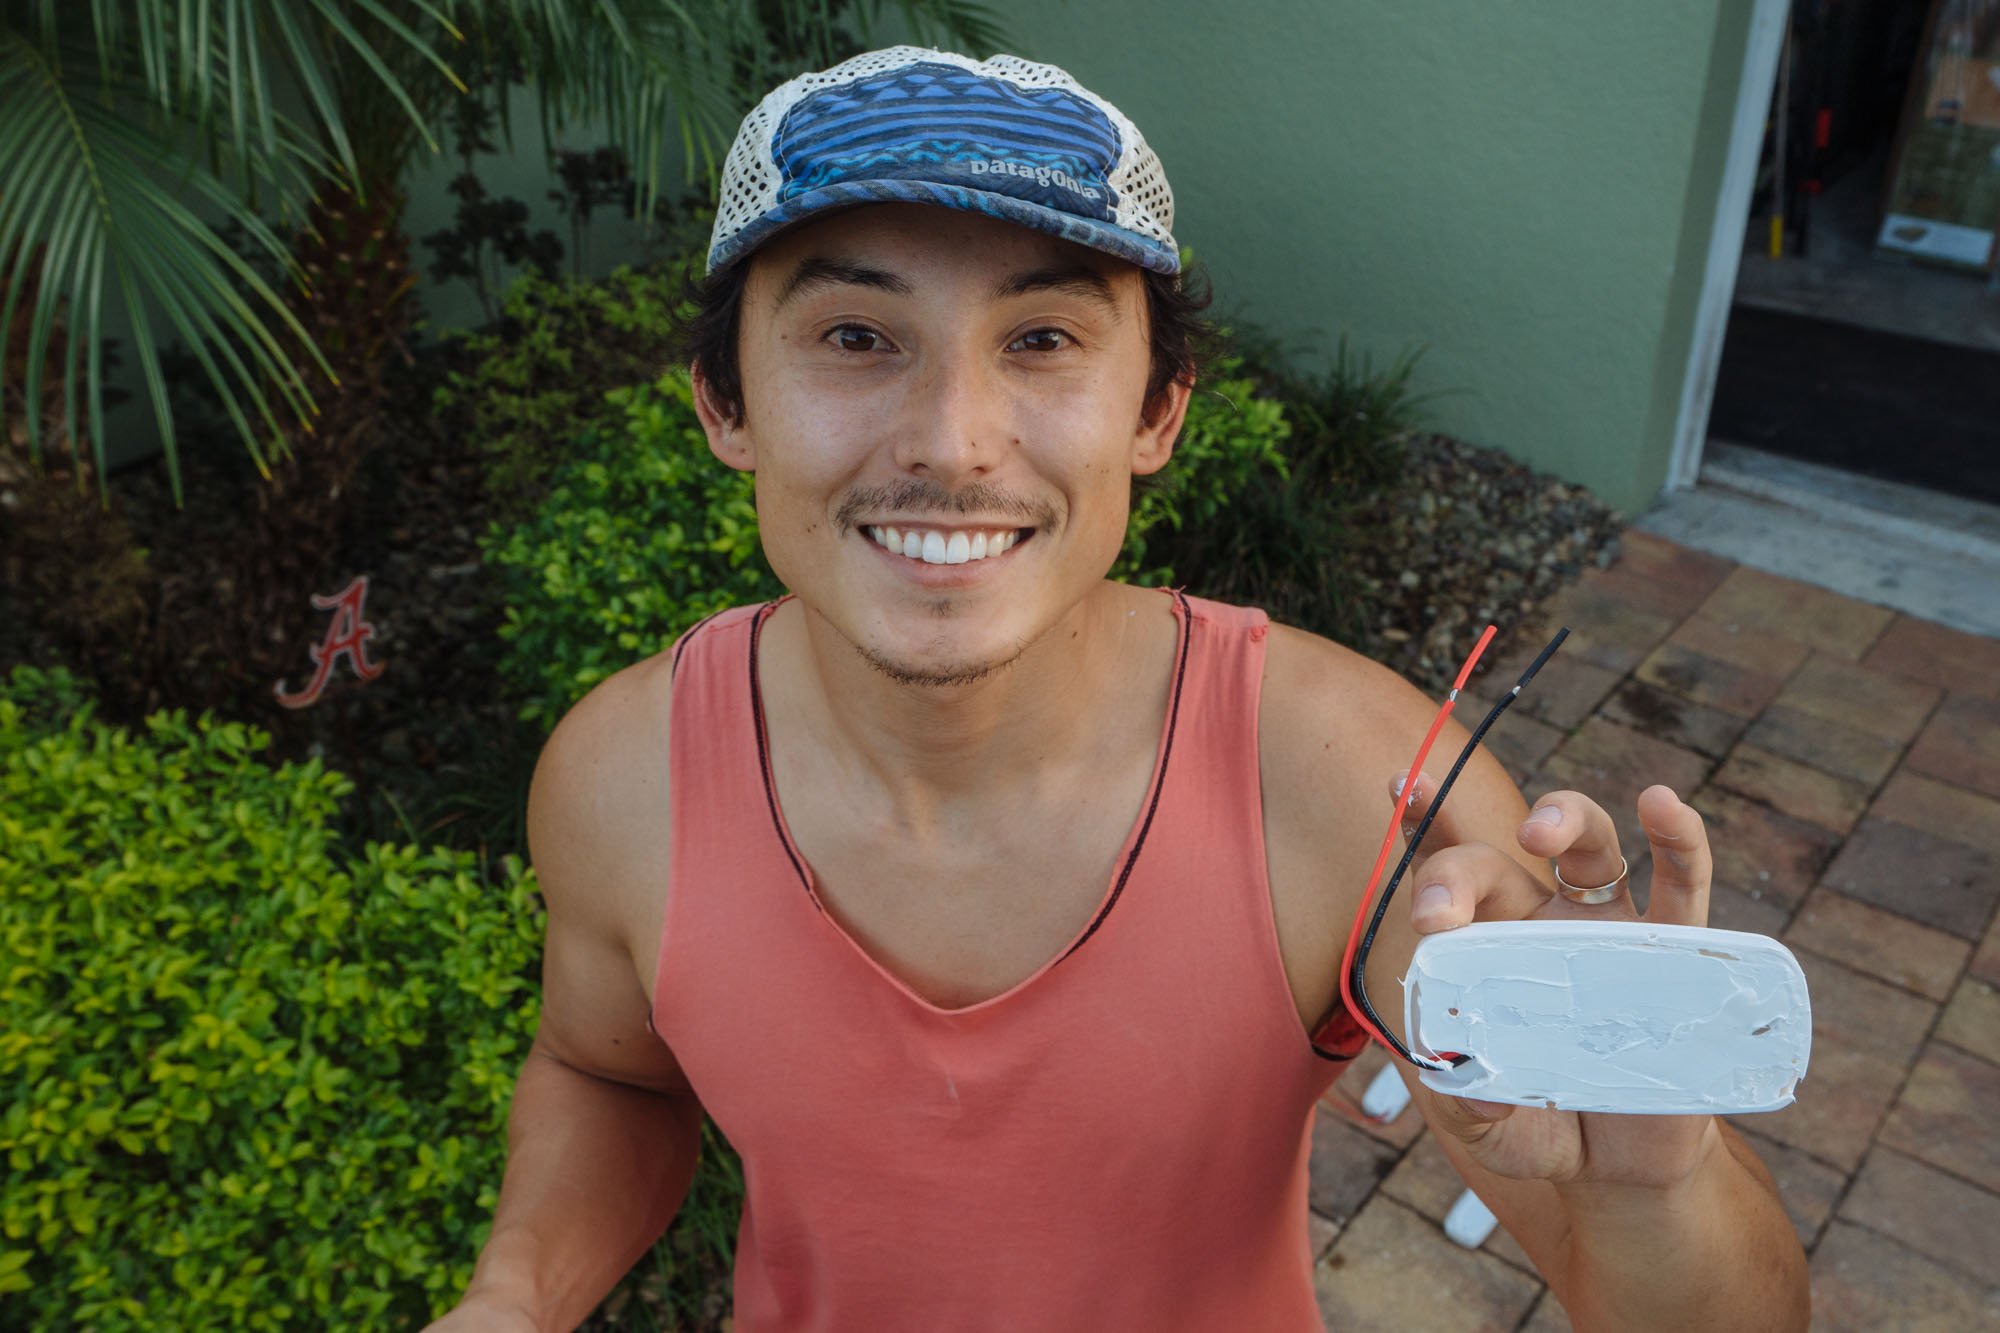
The minute the weather cleared up we were back at! First up, our new clearance lights. At first we weren't planning on swapping out the clearance lights, but upon further inspection...
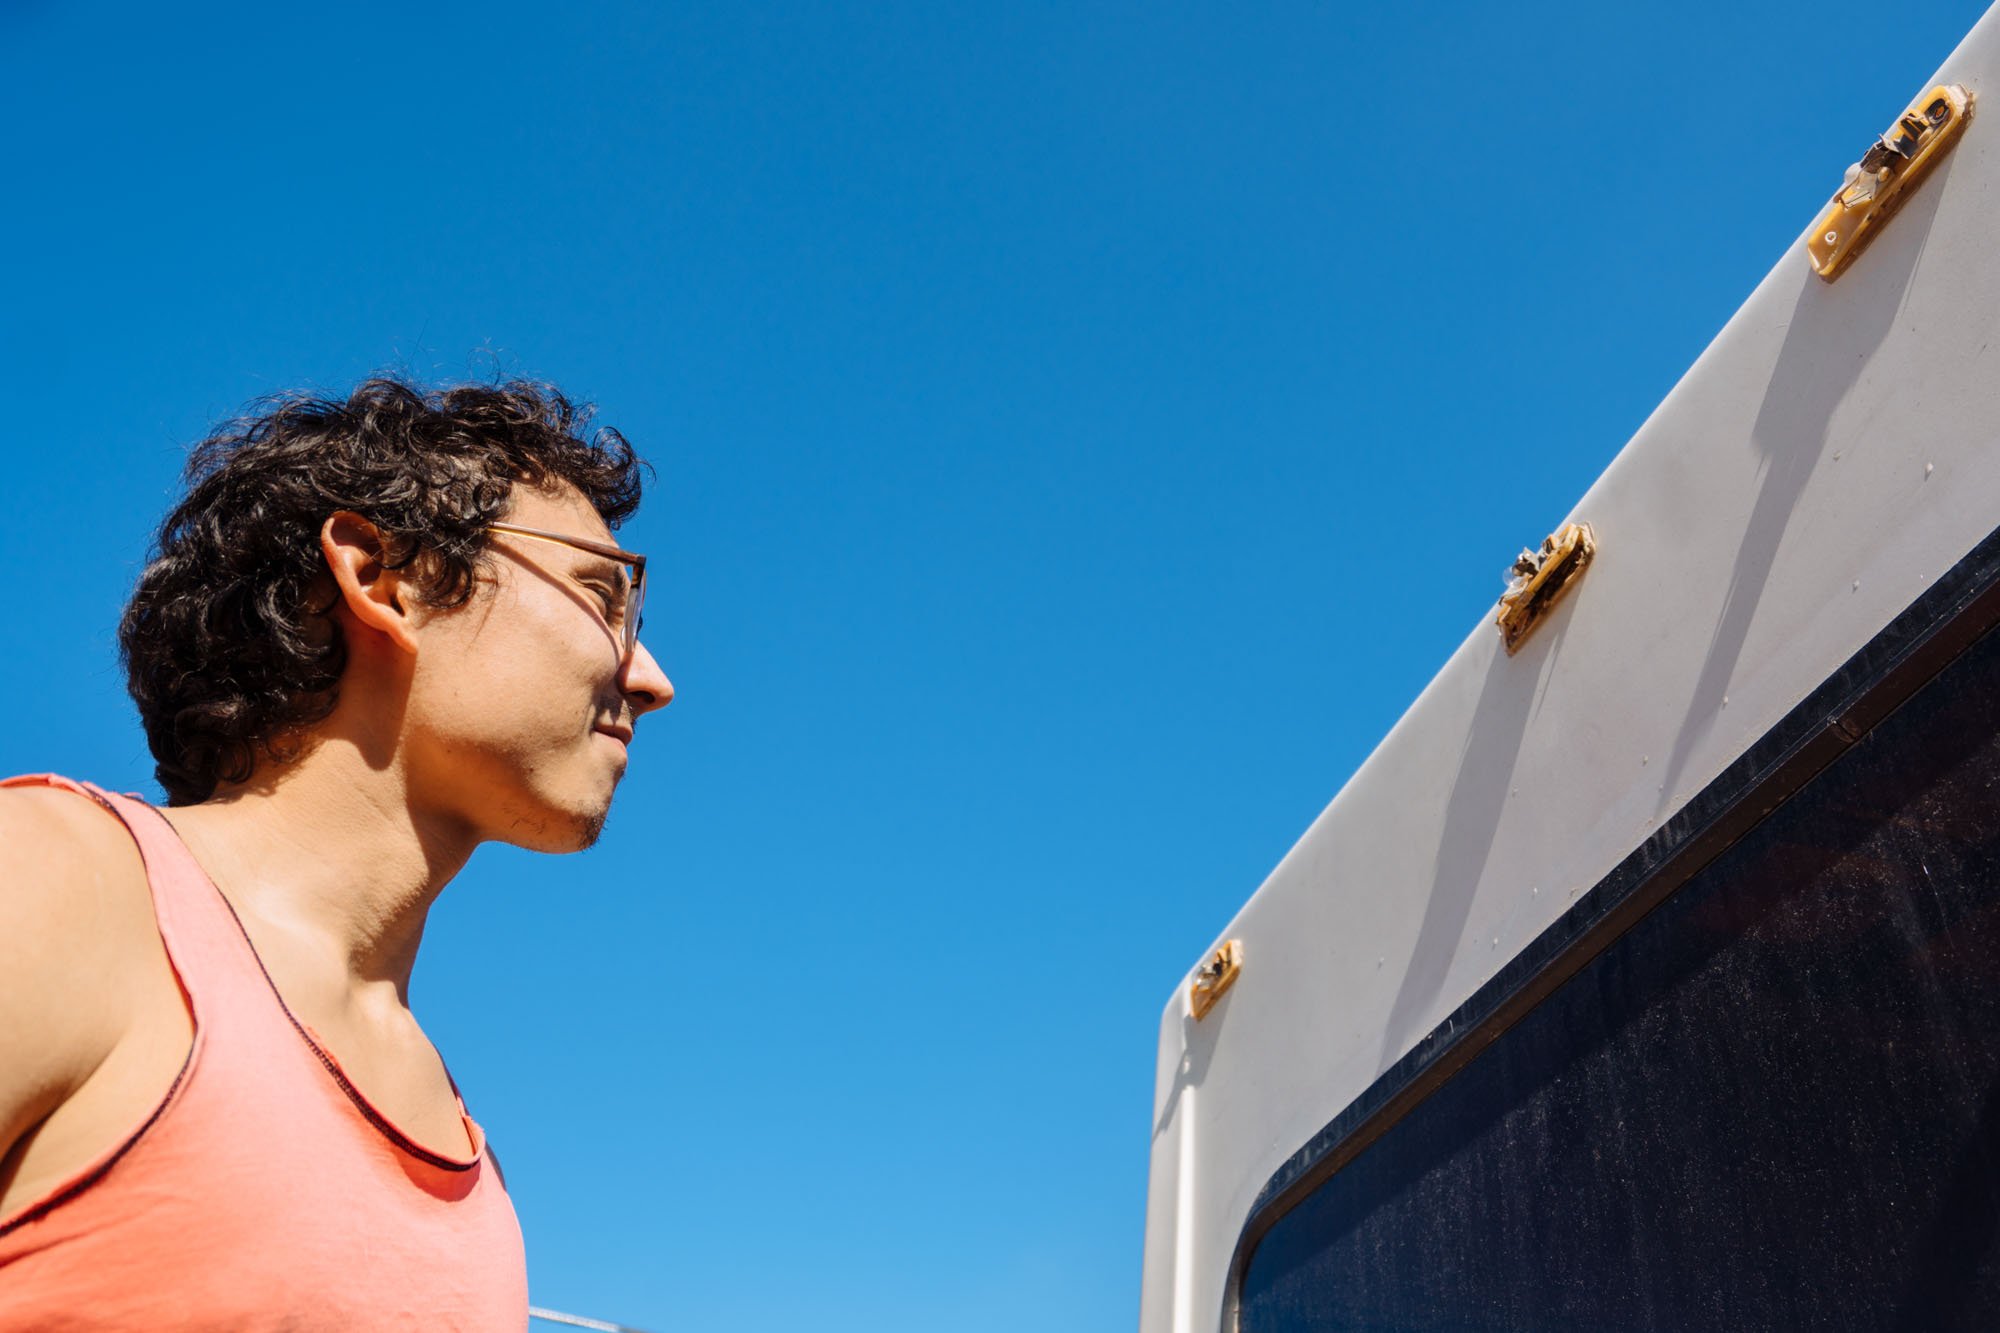
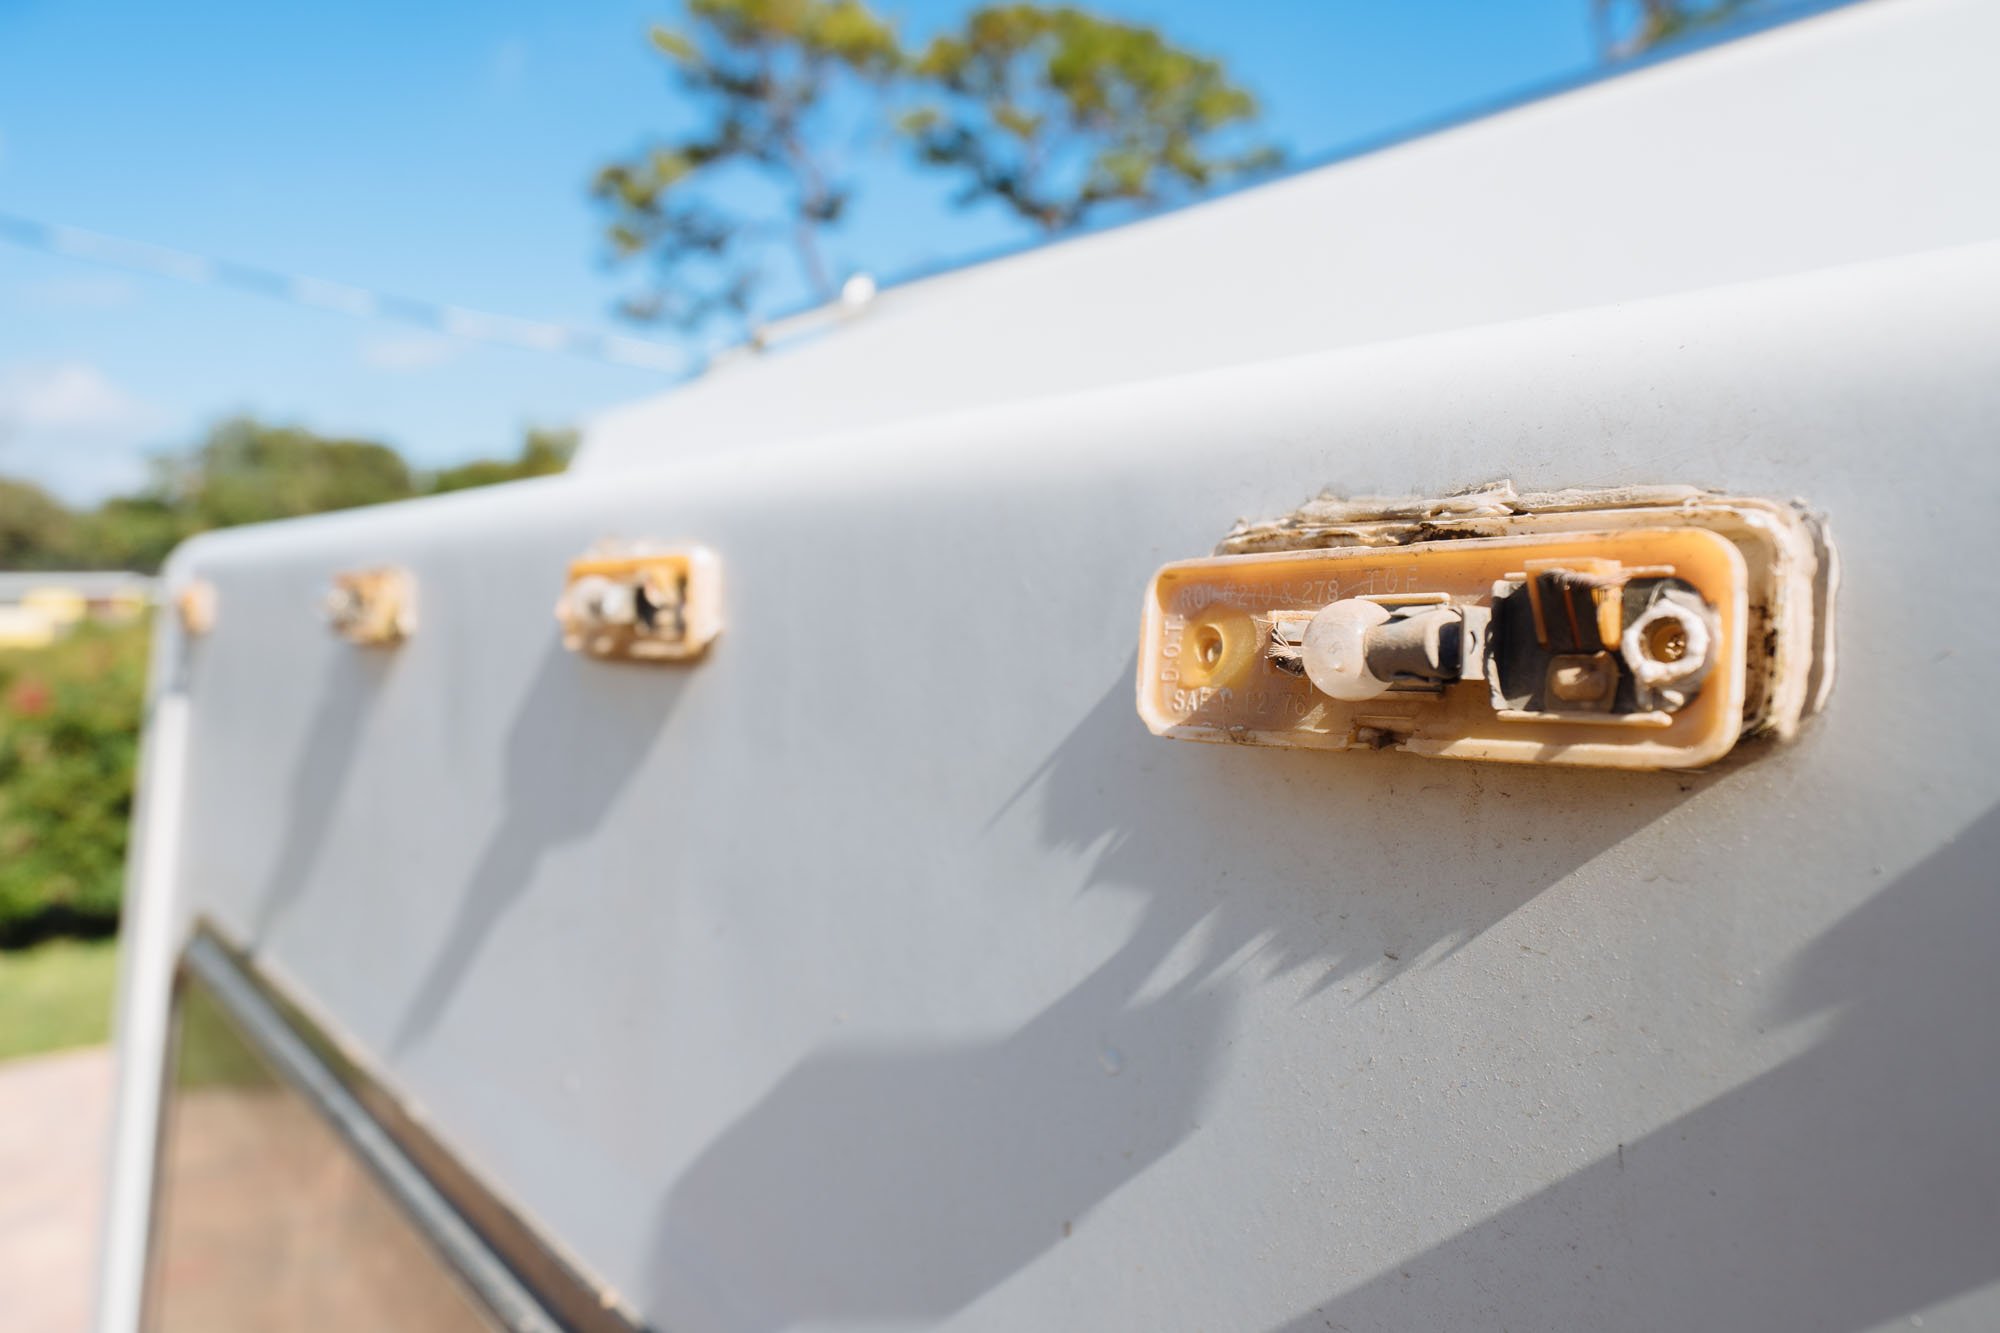
...surprise, surprise they were in horrific shape. You would think that we would've learned by now that if we look close enough at anything it'll probably need to be replaced. As you can see above, the seal was pretty much shot. The wiring was in poor shape and lost too much voltage as it went down the line. This was evident by the lights getting dimmer and dimmer until the last few lights were barely even on. Once we made the final decision to replace them, we ordered some LED's and did some prep work while we waited.


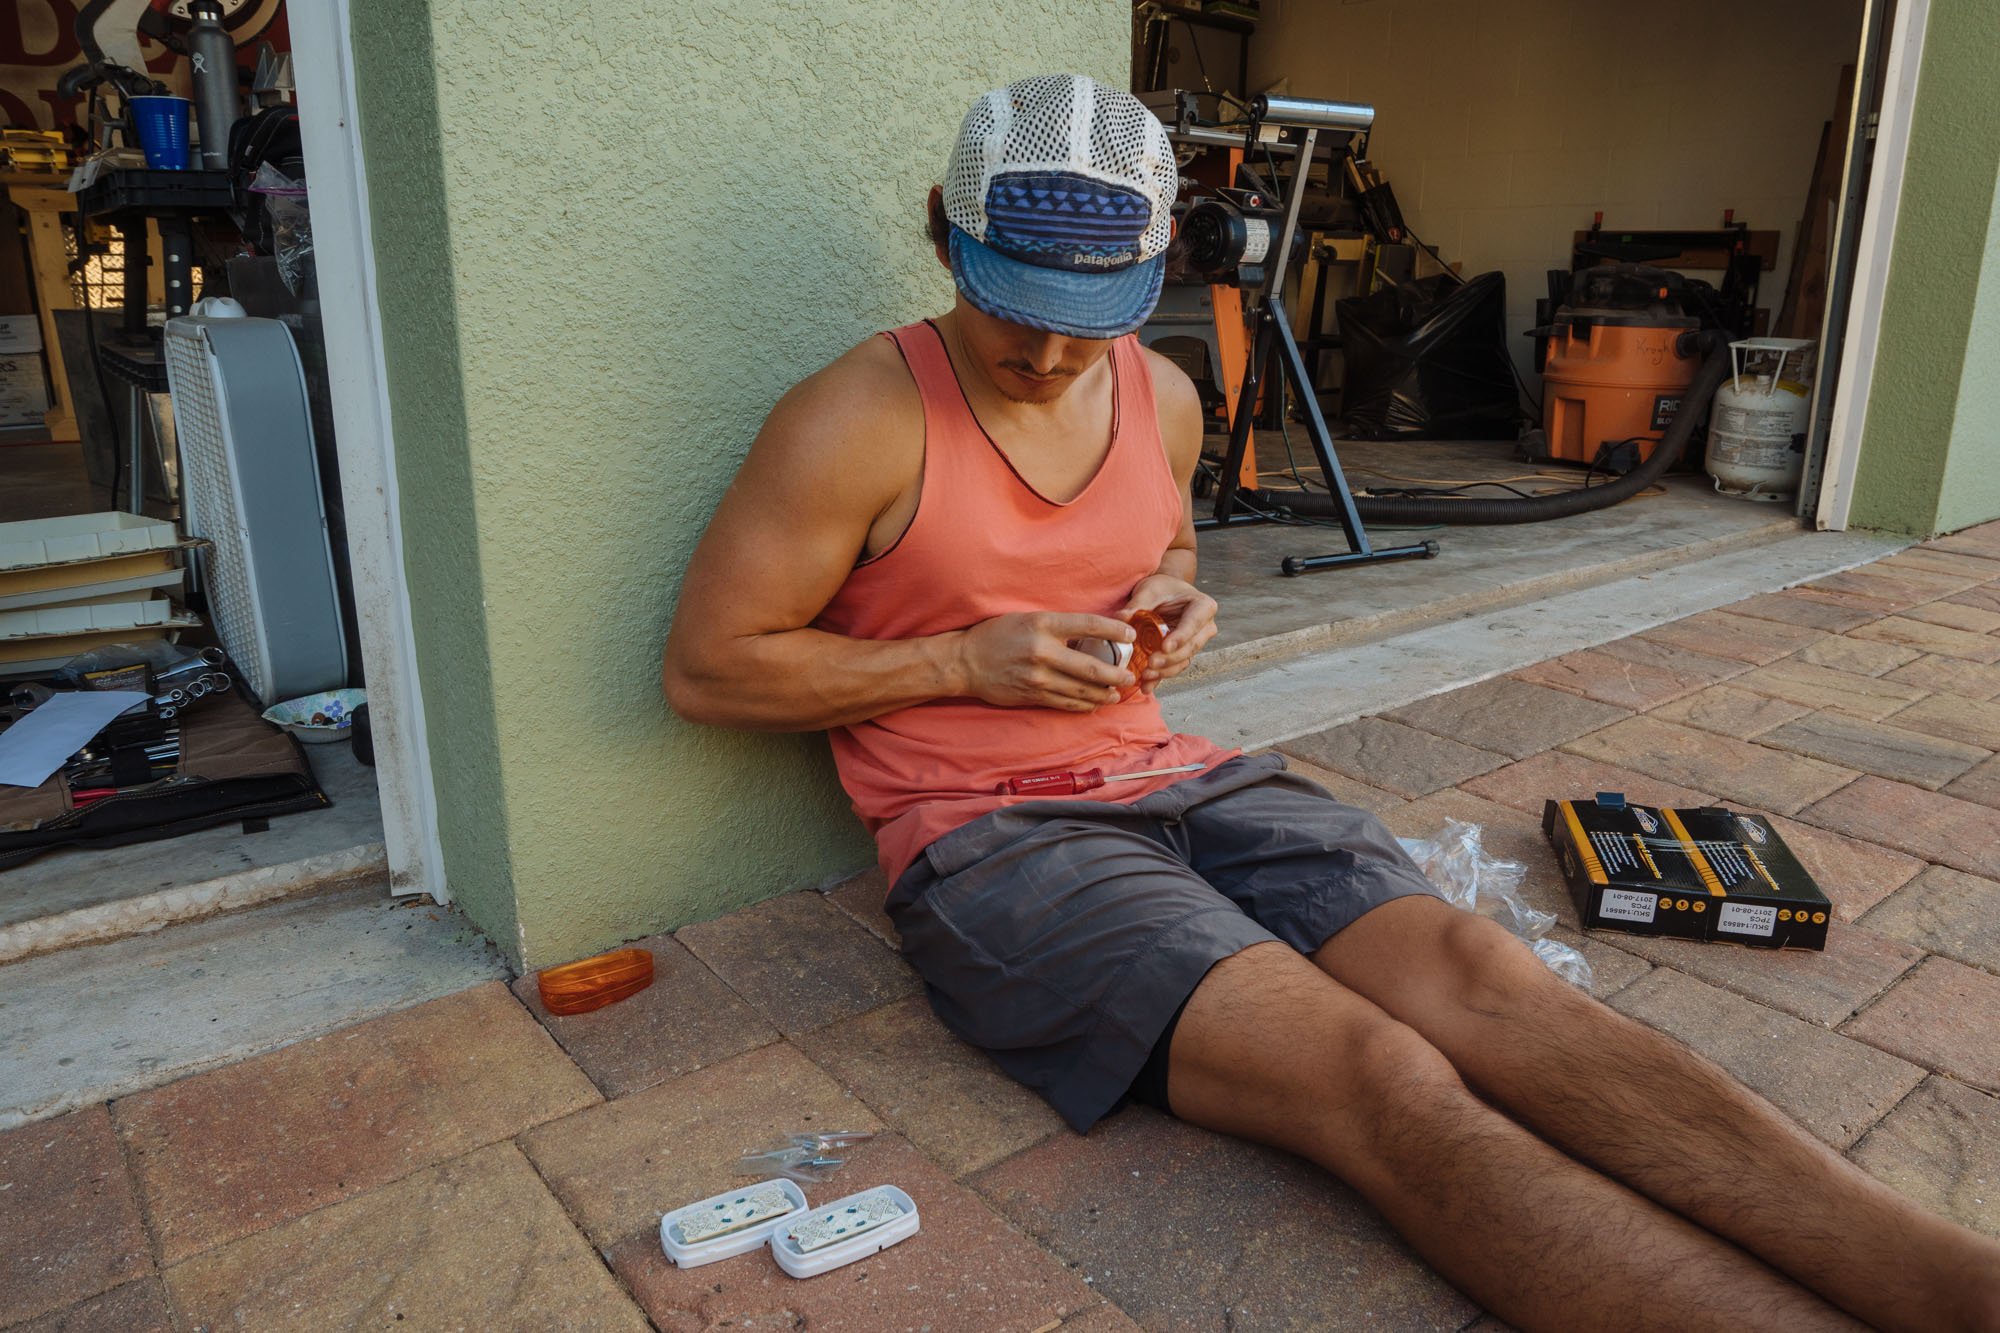
Turns out installing these lights was quite a process. We removed the old lights and cleaned the area to remove all of the old silicon. We've tried SO many different things to remove silicon, and we finally found that there is something out there that helps!*PRO TIP for removing silicon*: The best way we've found to remove silicon is to use a sharp chisel to skim as much of the product off of the surface as you can. Once you have removed most of the silicon, use lighter fluid. Yes lighter fluid! It will loosen the silicon so you can remove the rest of the residue with a puddy knife. Go forth my friends and use at will!
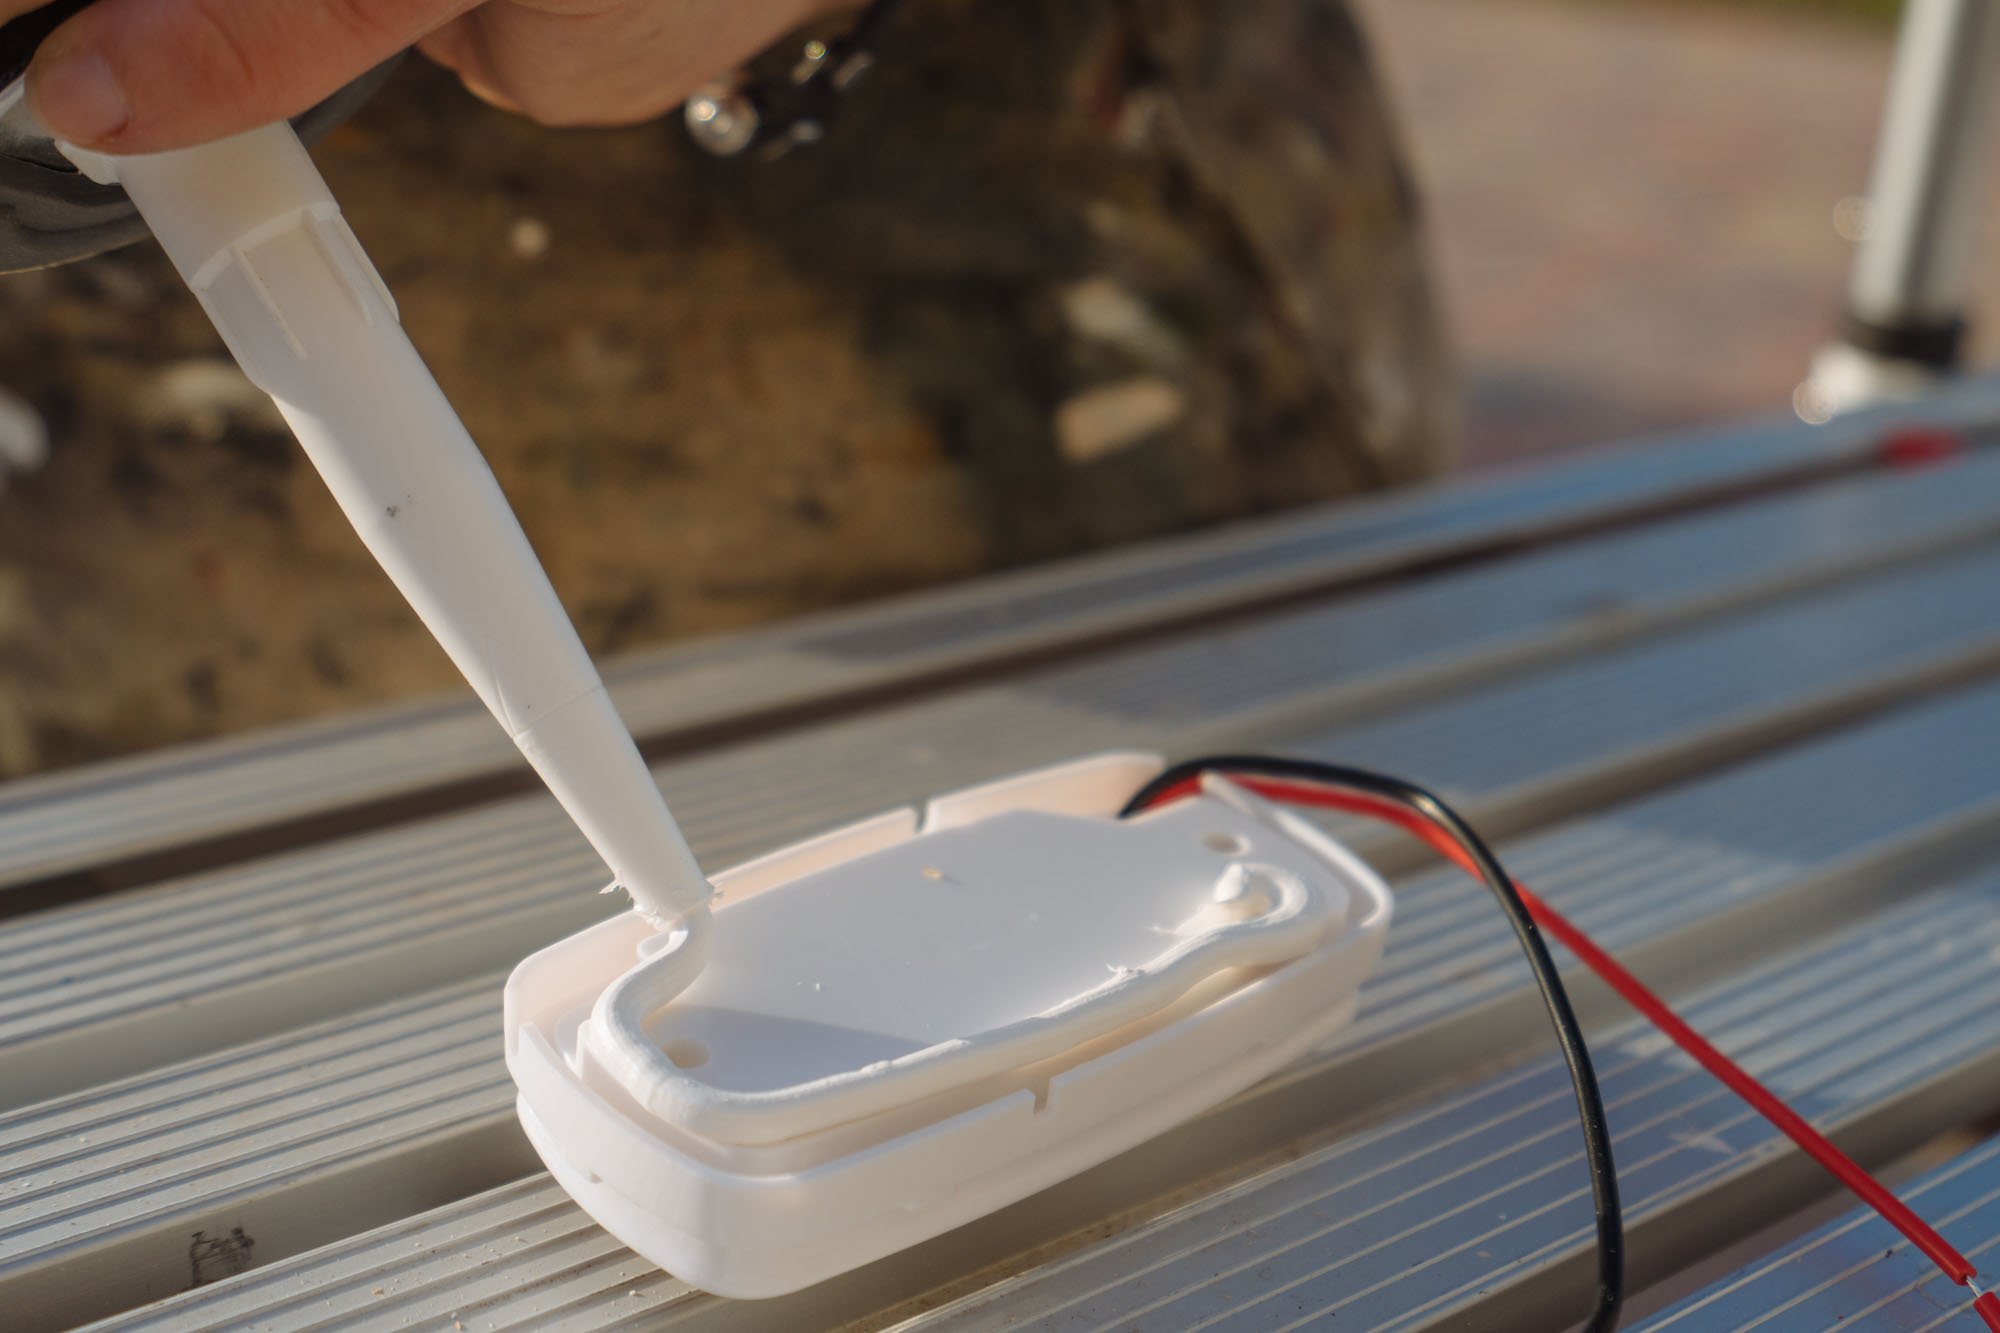
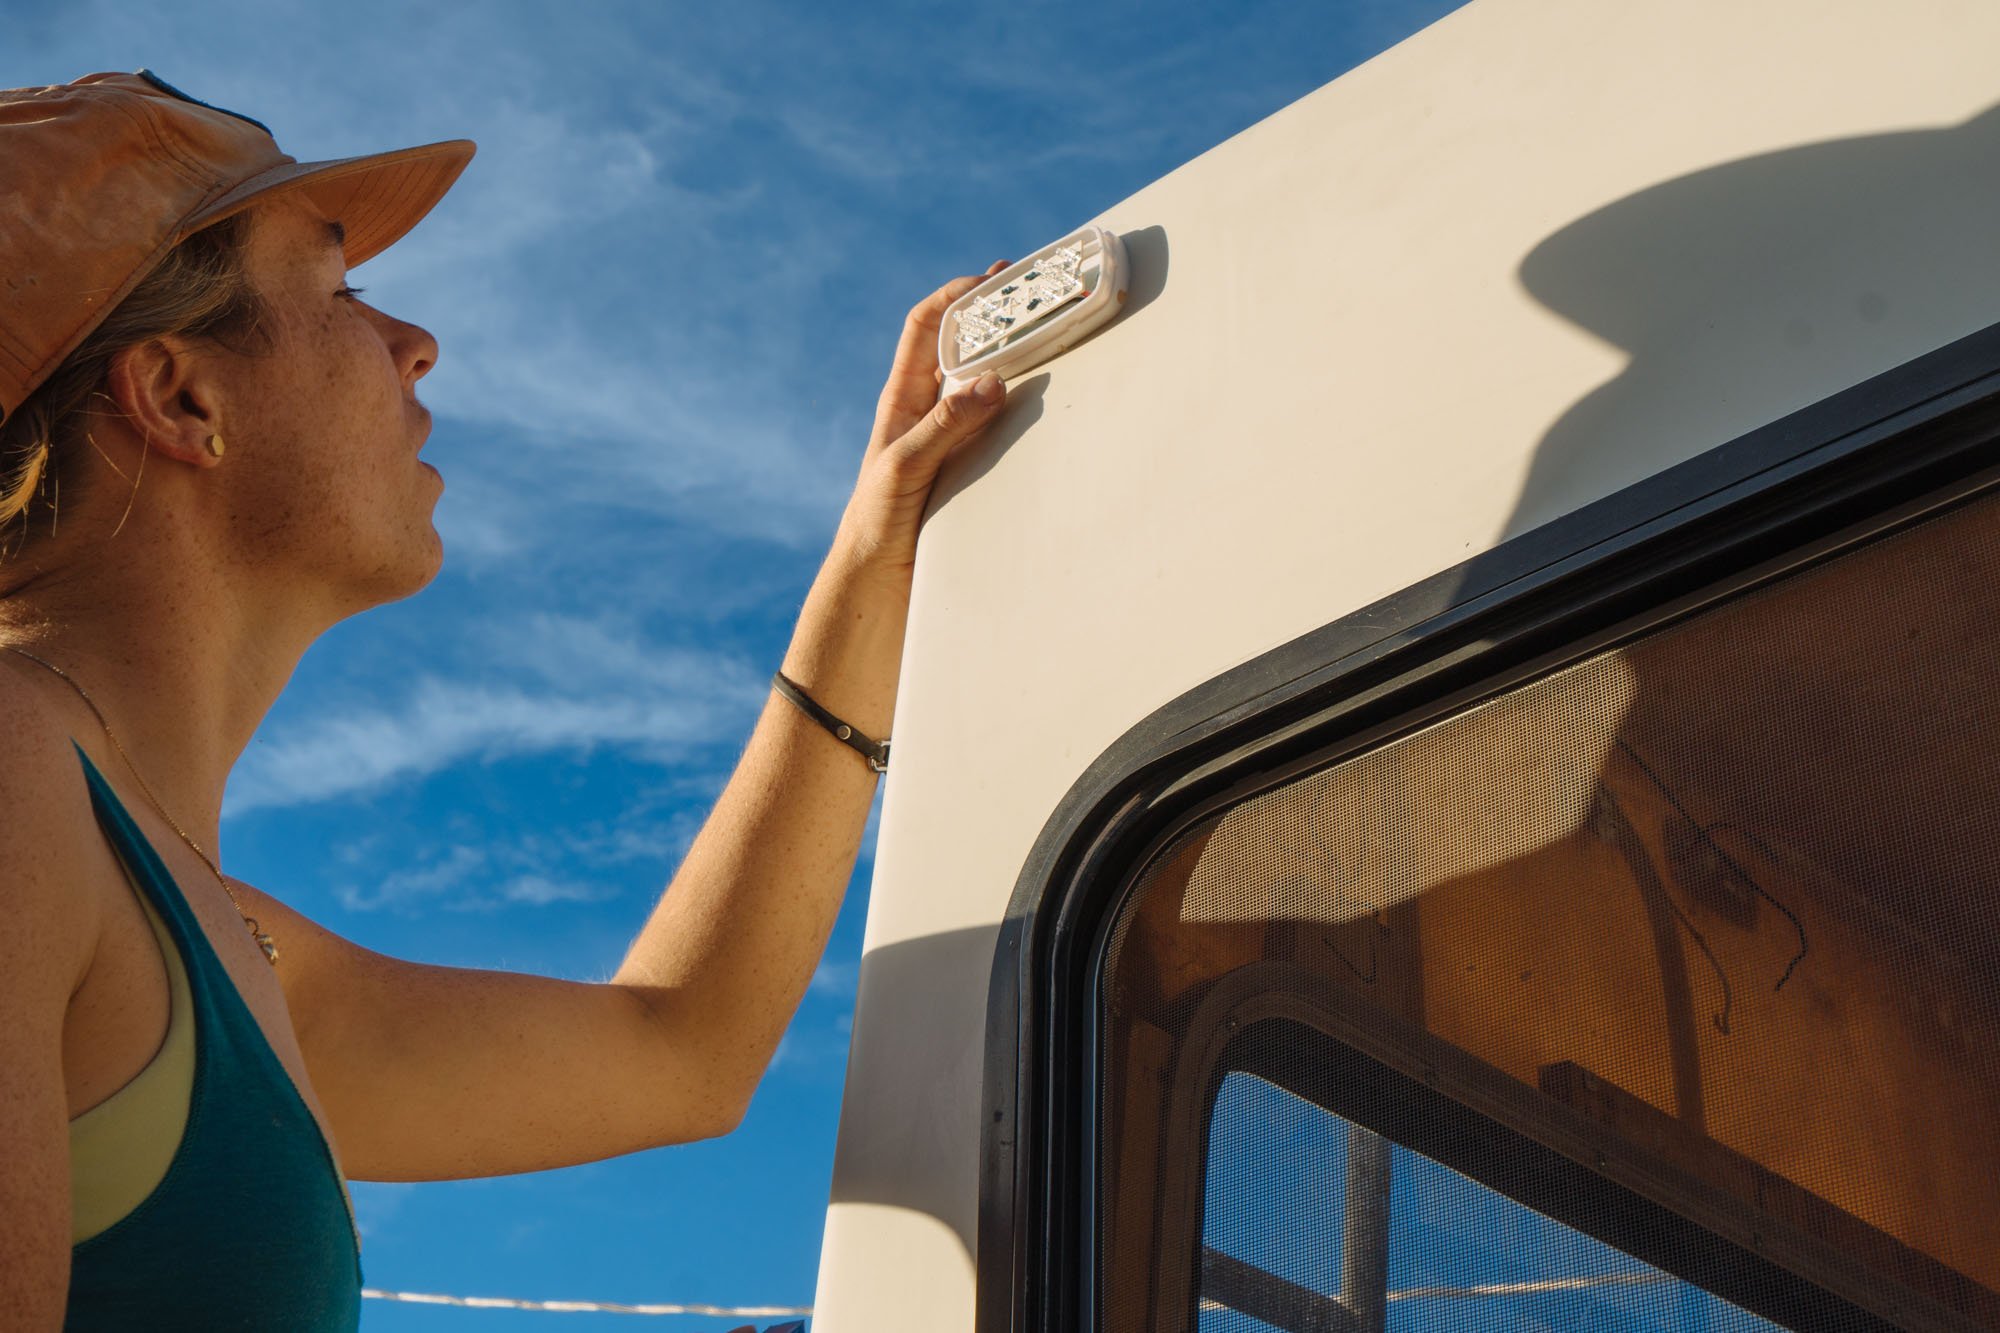
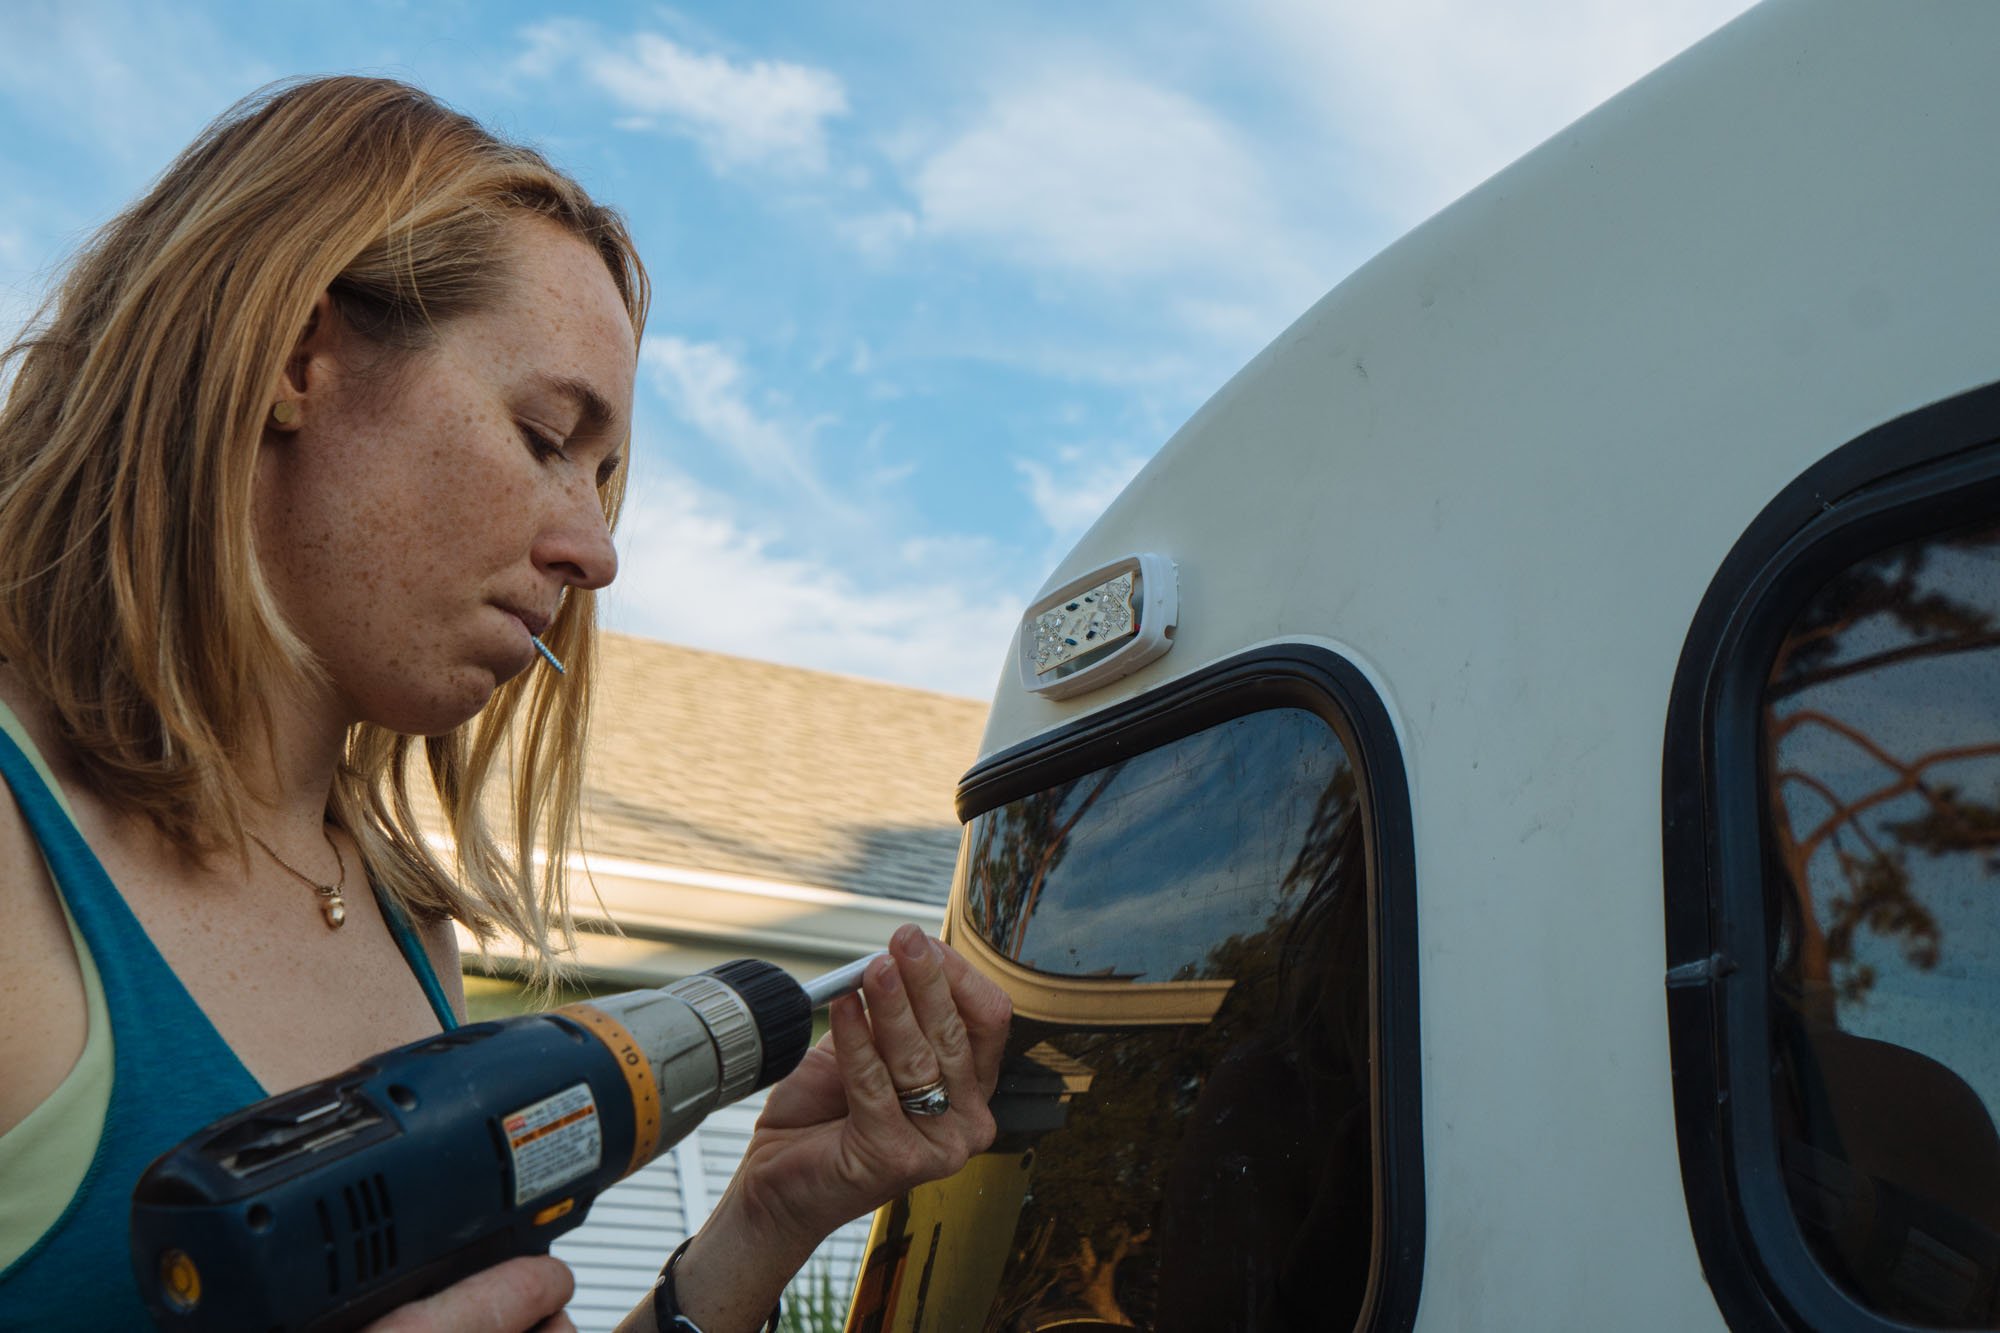
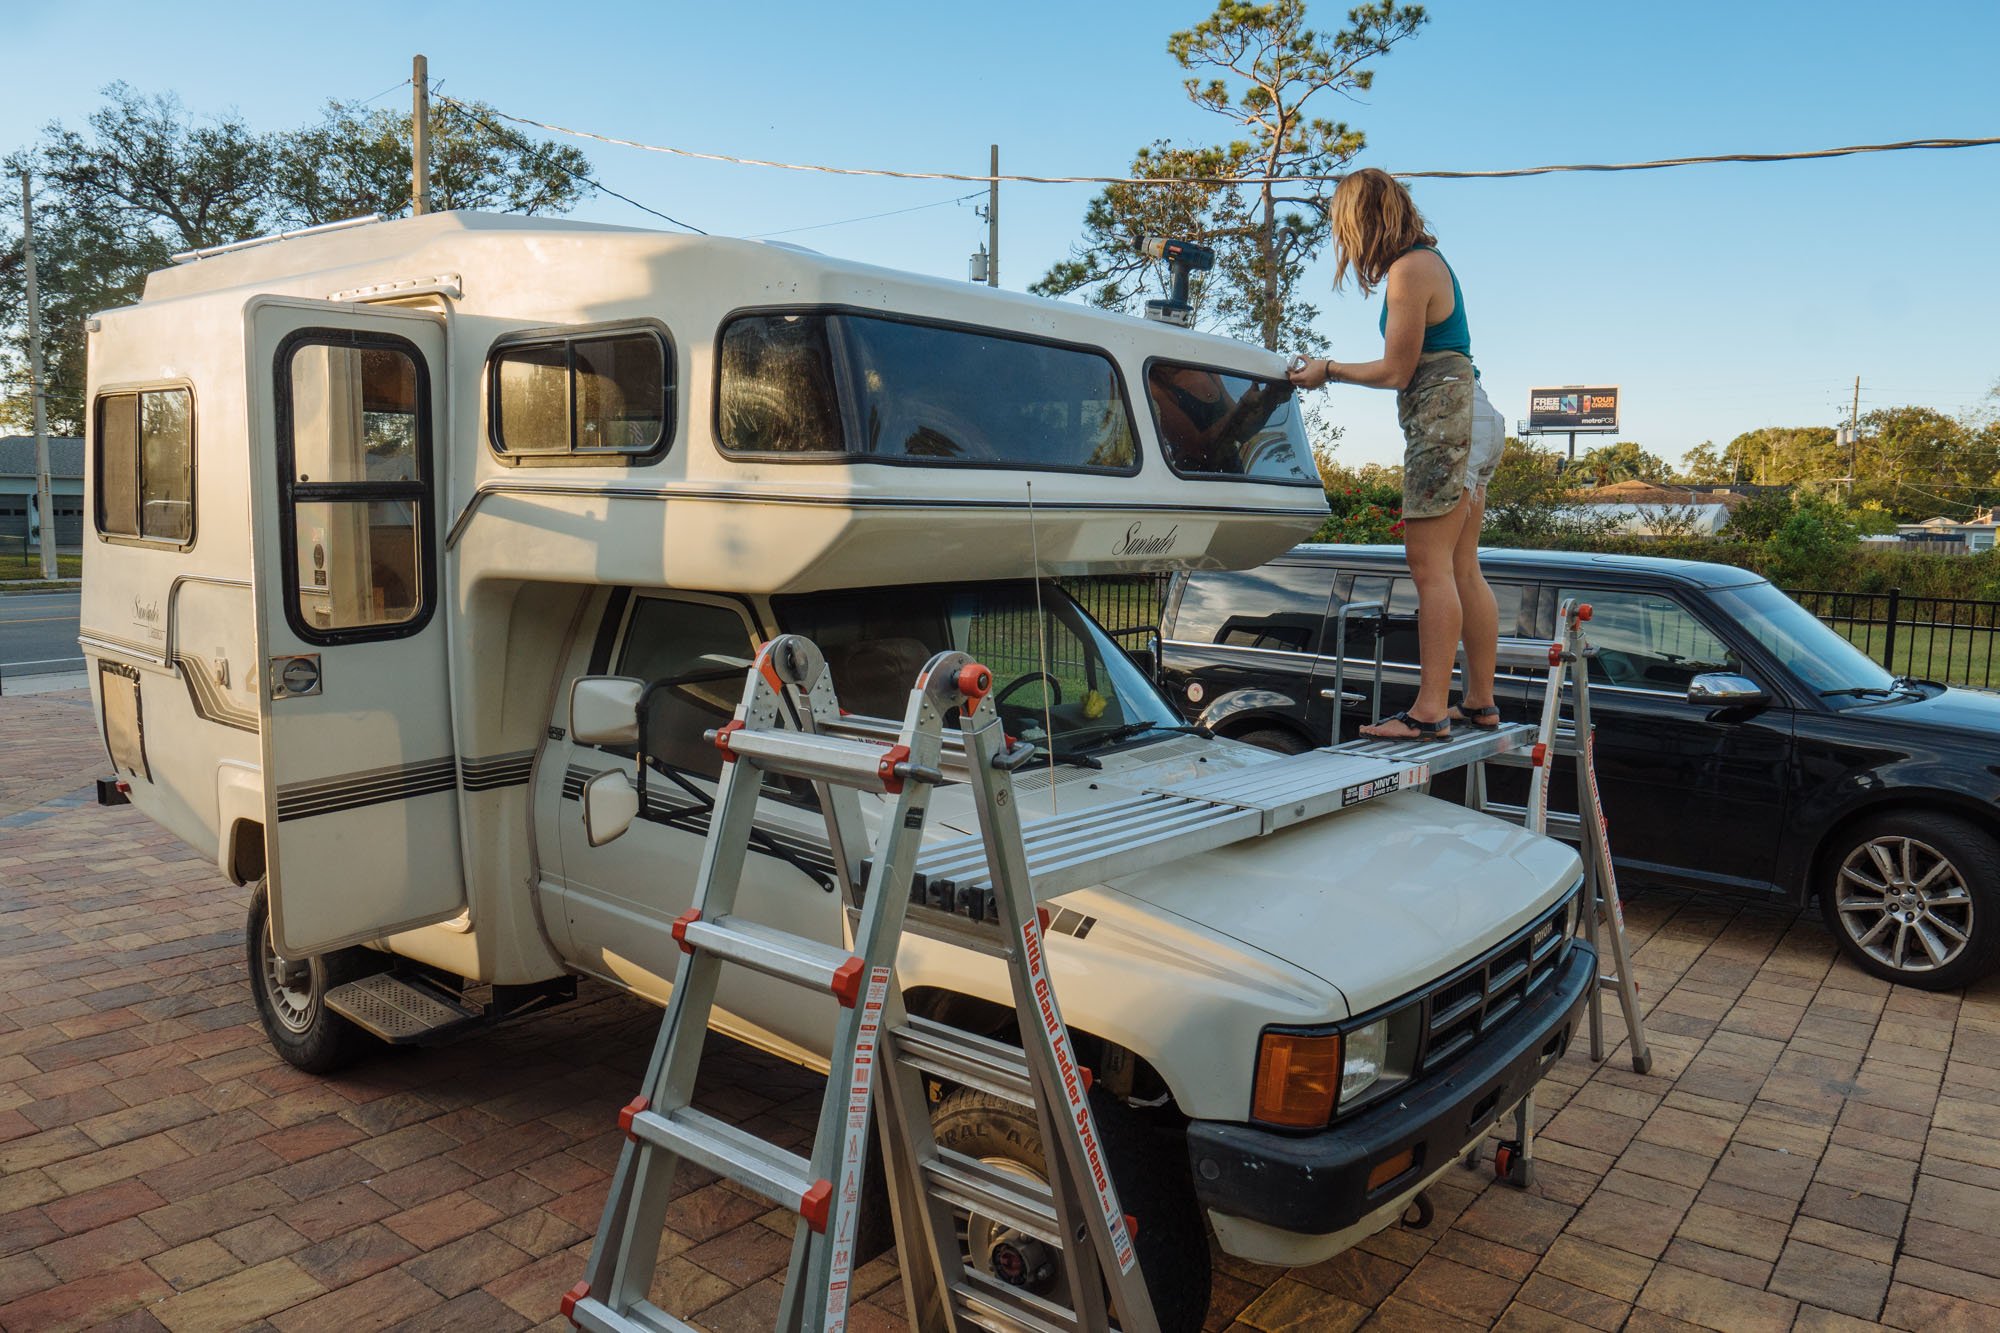

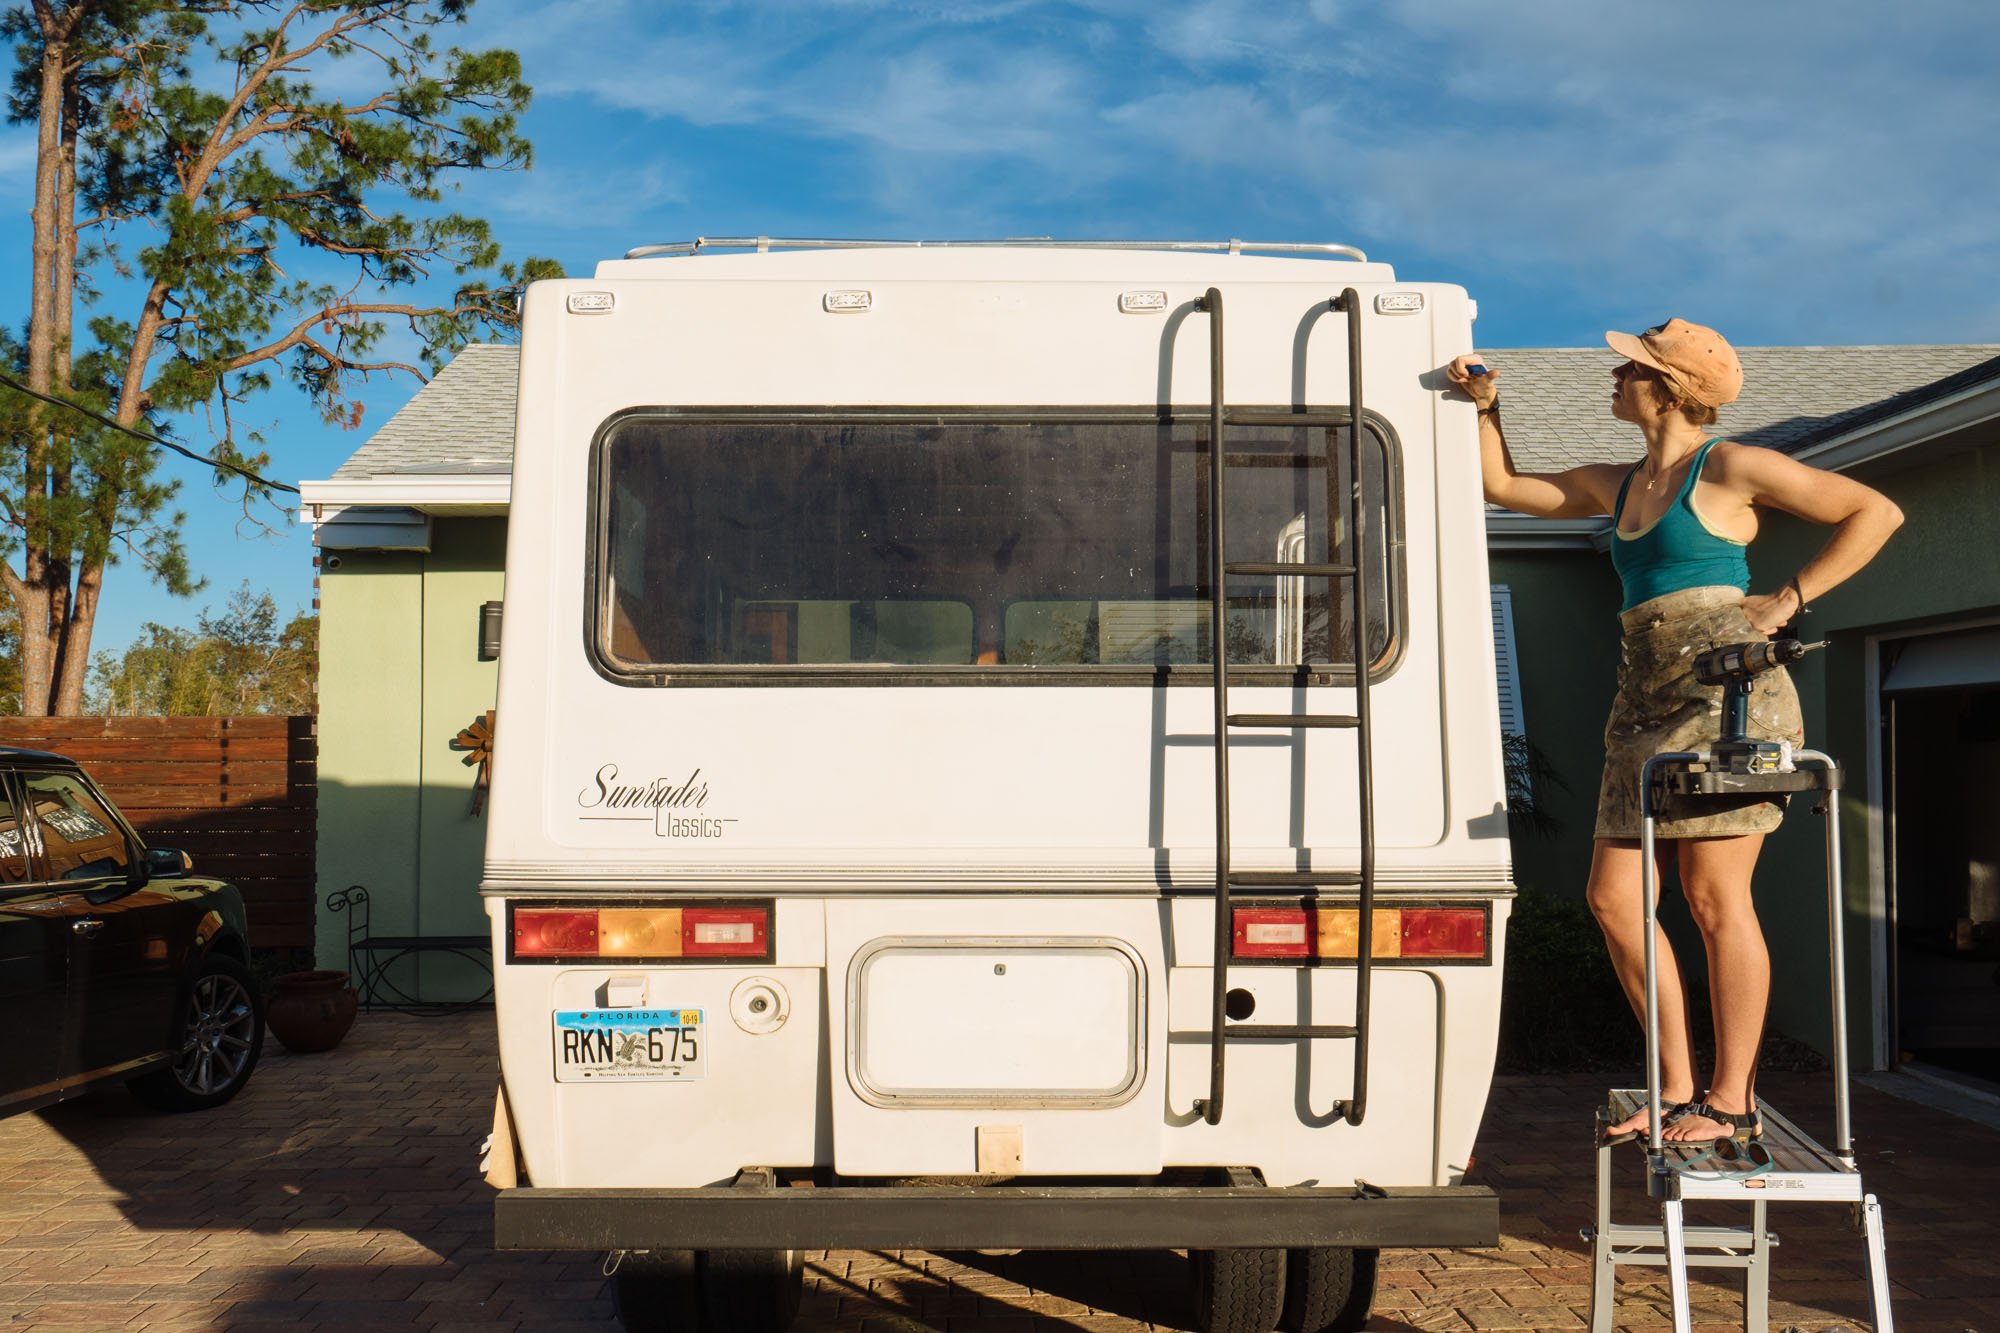
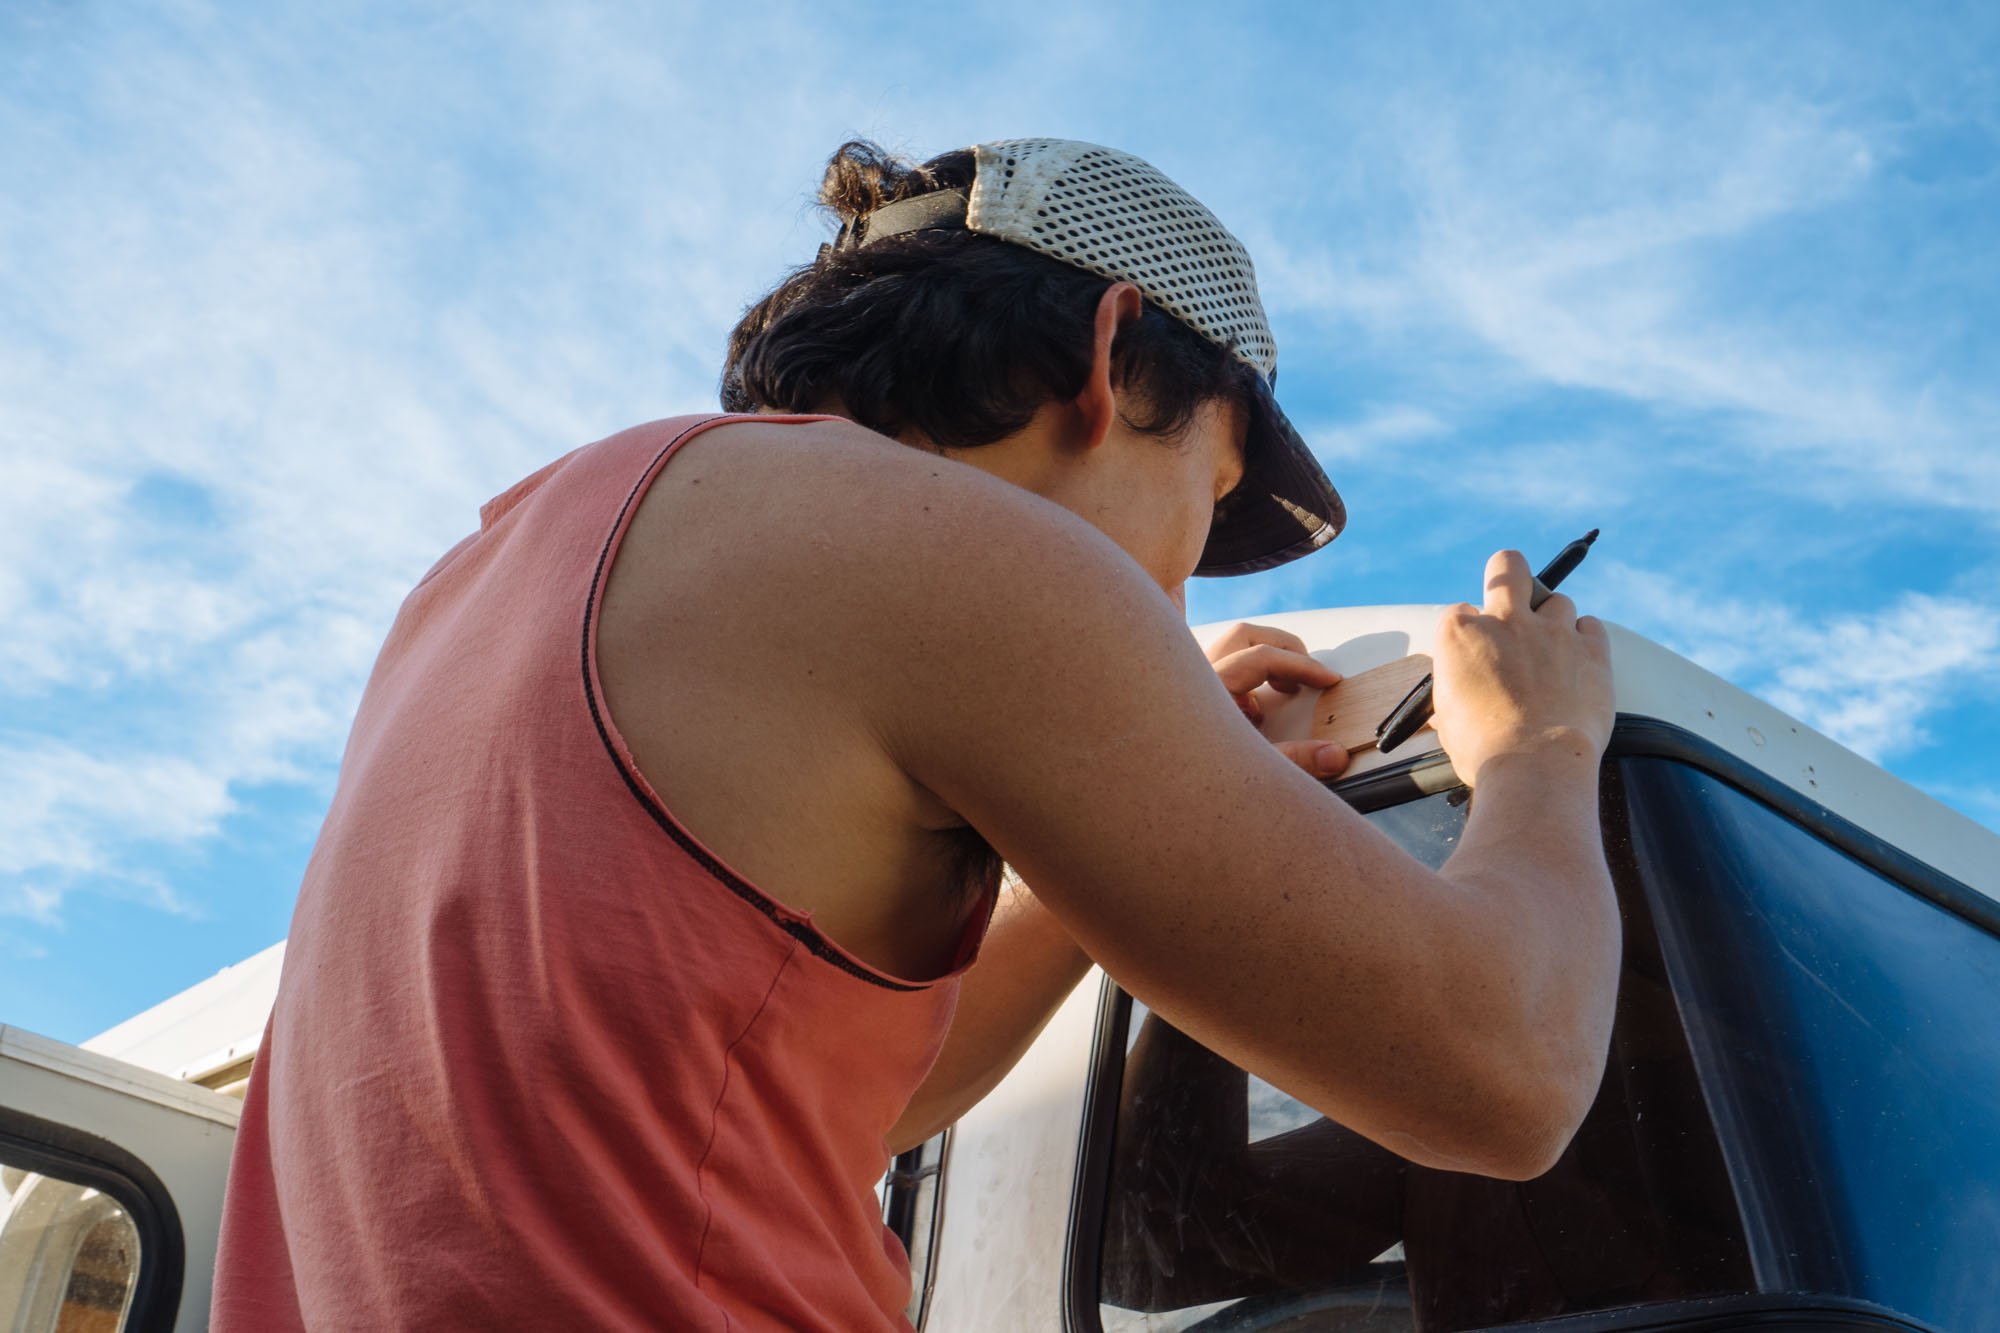
We found that the new lights needed a new pass through hole for the wiring, so we took a day to fill in the old holes with epoxy resin. Then we made a stencil to mark and drill the new pass though holes to be sure they were all accurately placed. When the area was fully prepped and ready to go we used Sikaflex as a paste to hold the lights into place so we could get the screws into place. Under the cover of darkness I came back out and applied Sikaflex to the outside edges of the lights to create a clean and water tight seal around the edge. I used a caulking finishing tool to make it look nice and even. I will share those tools at the bottom of the post!
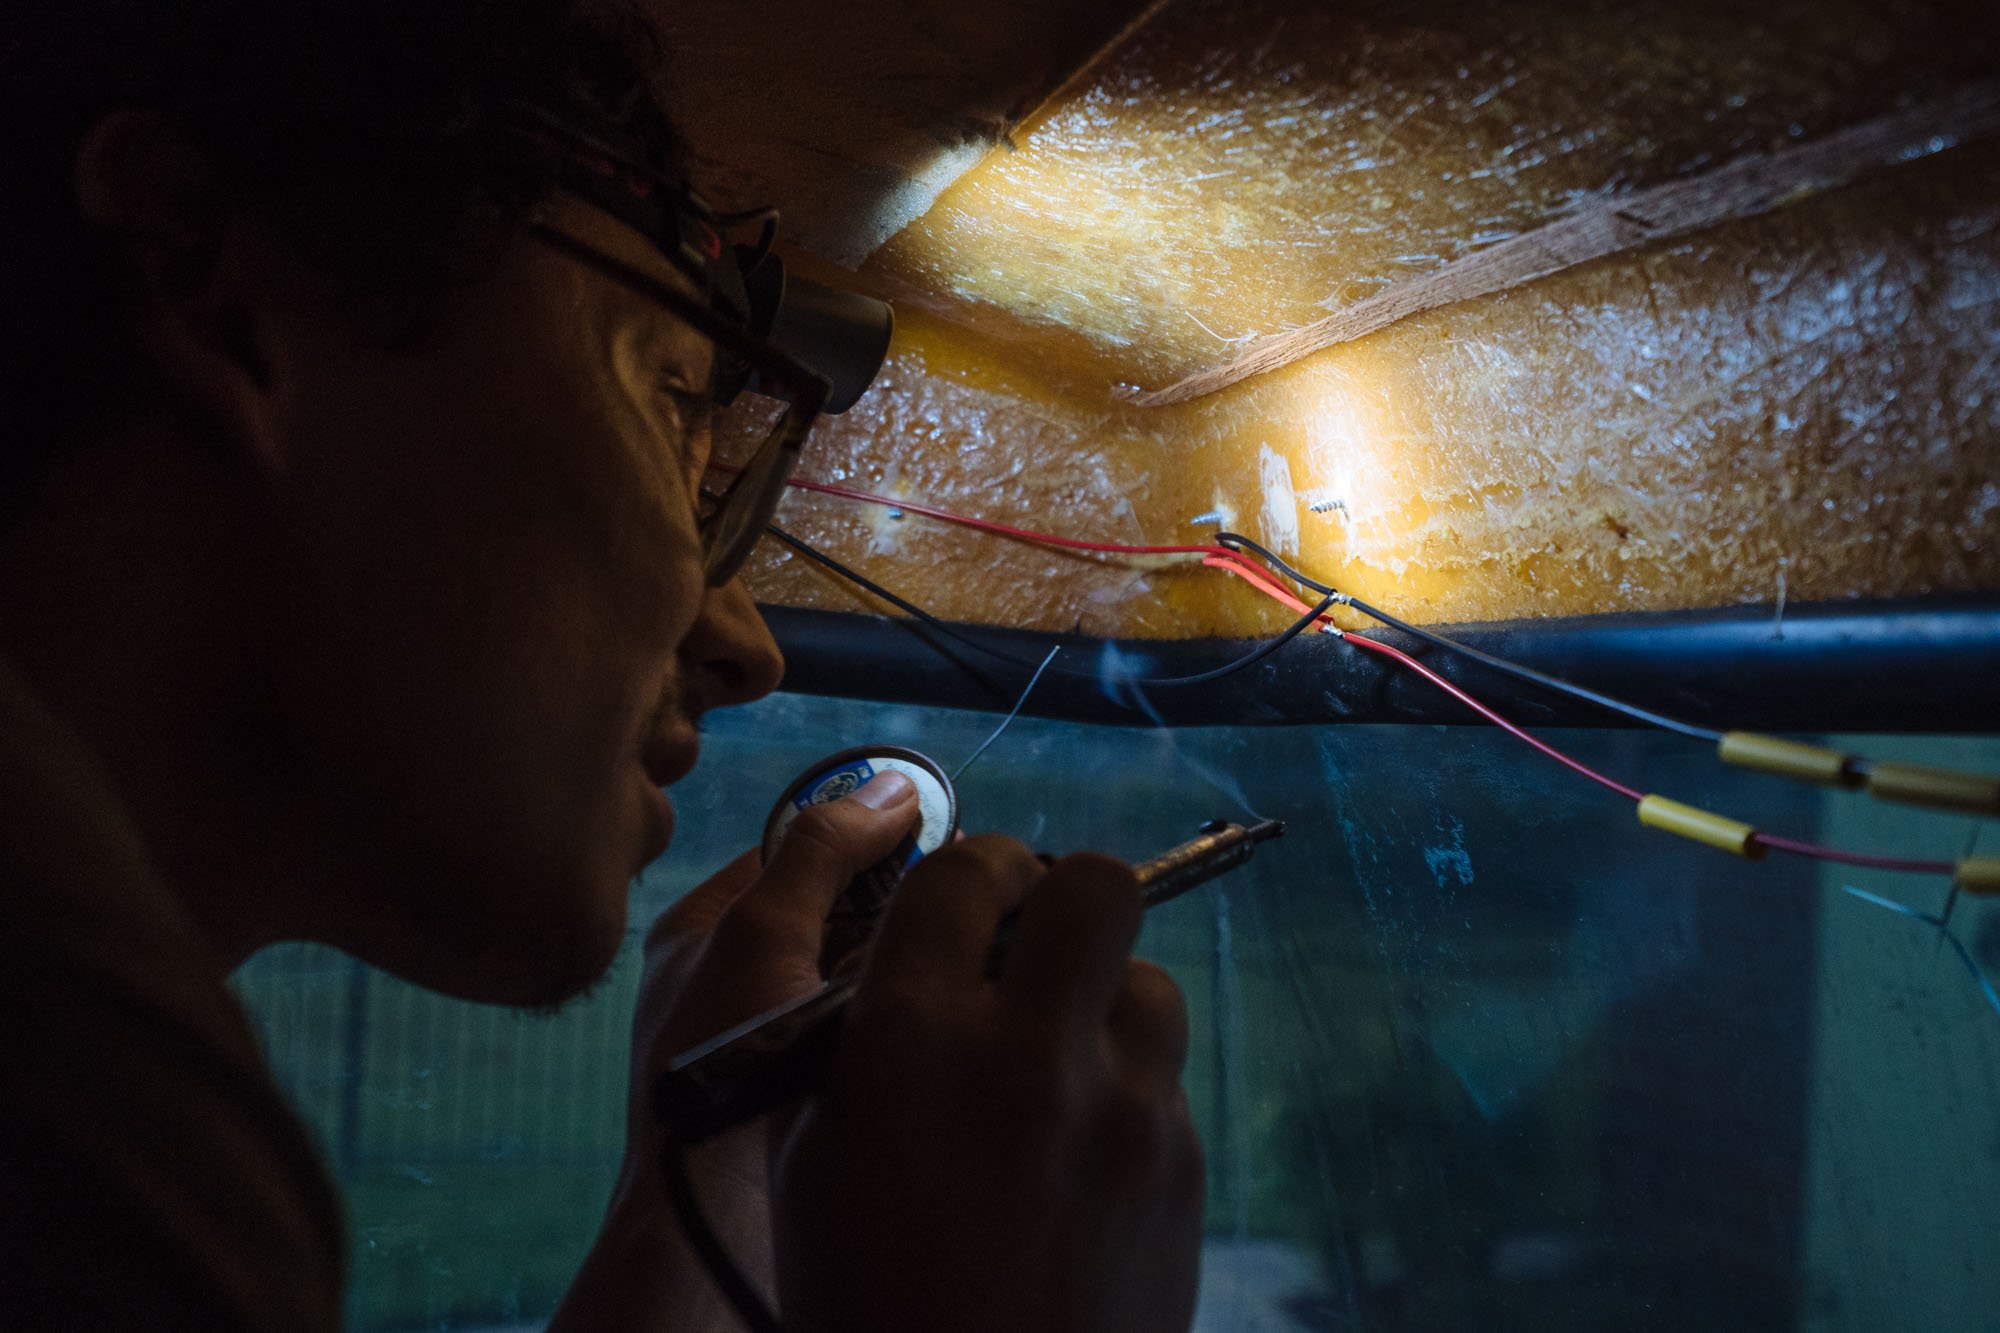
On the inside, Owen did an incredibly clean job of rewiring the new lights. It took a lot of planning because the lights are wired into the middle of the lines creating a split of sorts. You can see it pretty well in the image above. Once the connections were made Owen soldered the wires to be sure the connections will stay strong as we bounce down the road. After he finished soldering I came back through and applied the shrink tubing.
Not great pictures but...THEY WORK! The lights are so much brighter, they don't get dimmer as you walk around Amelia, and that's a beautiful thing. Major kudos to Owen for being our self taught, resident electrician!

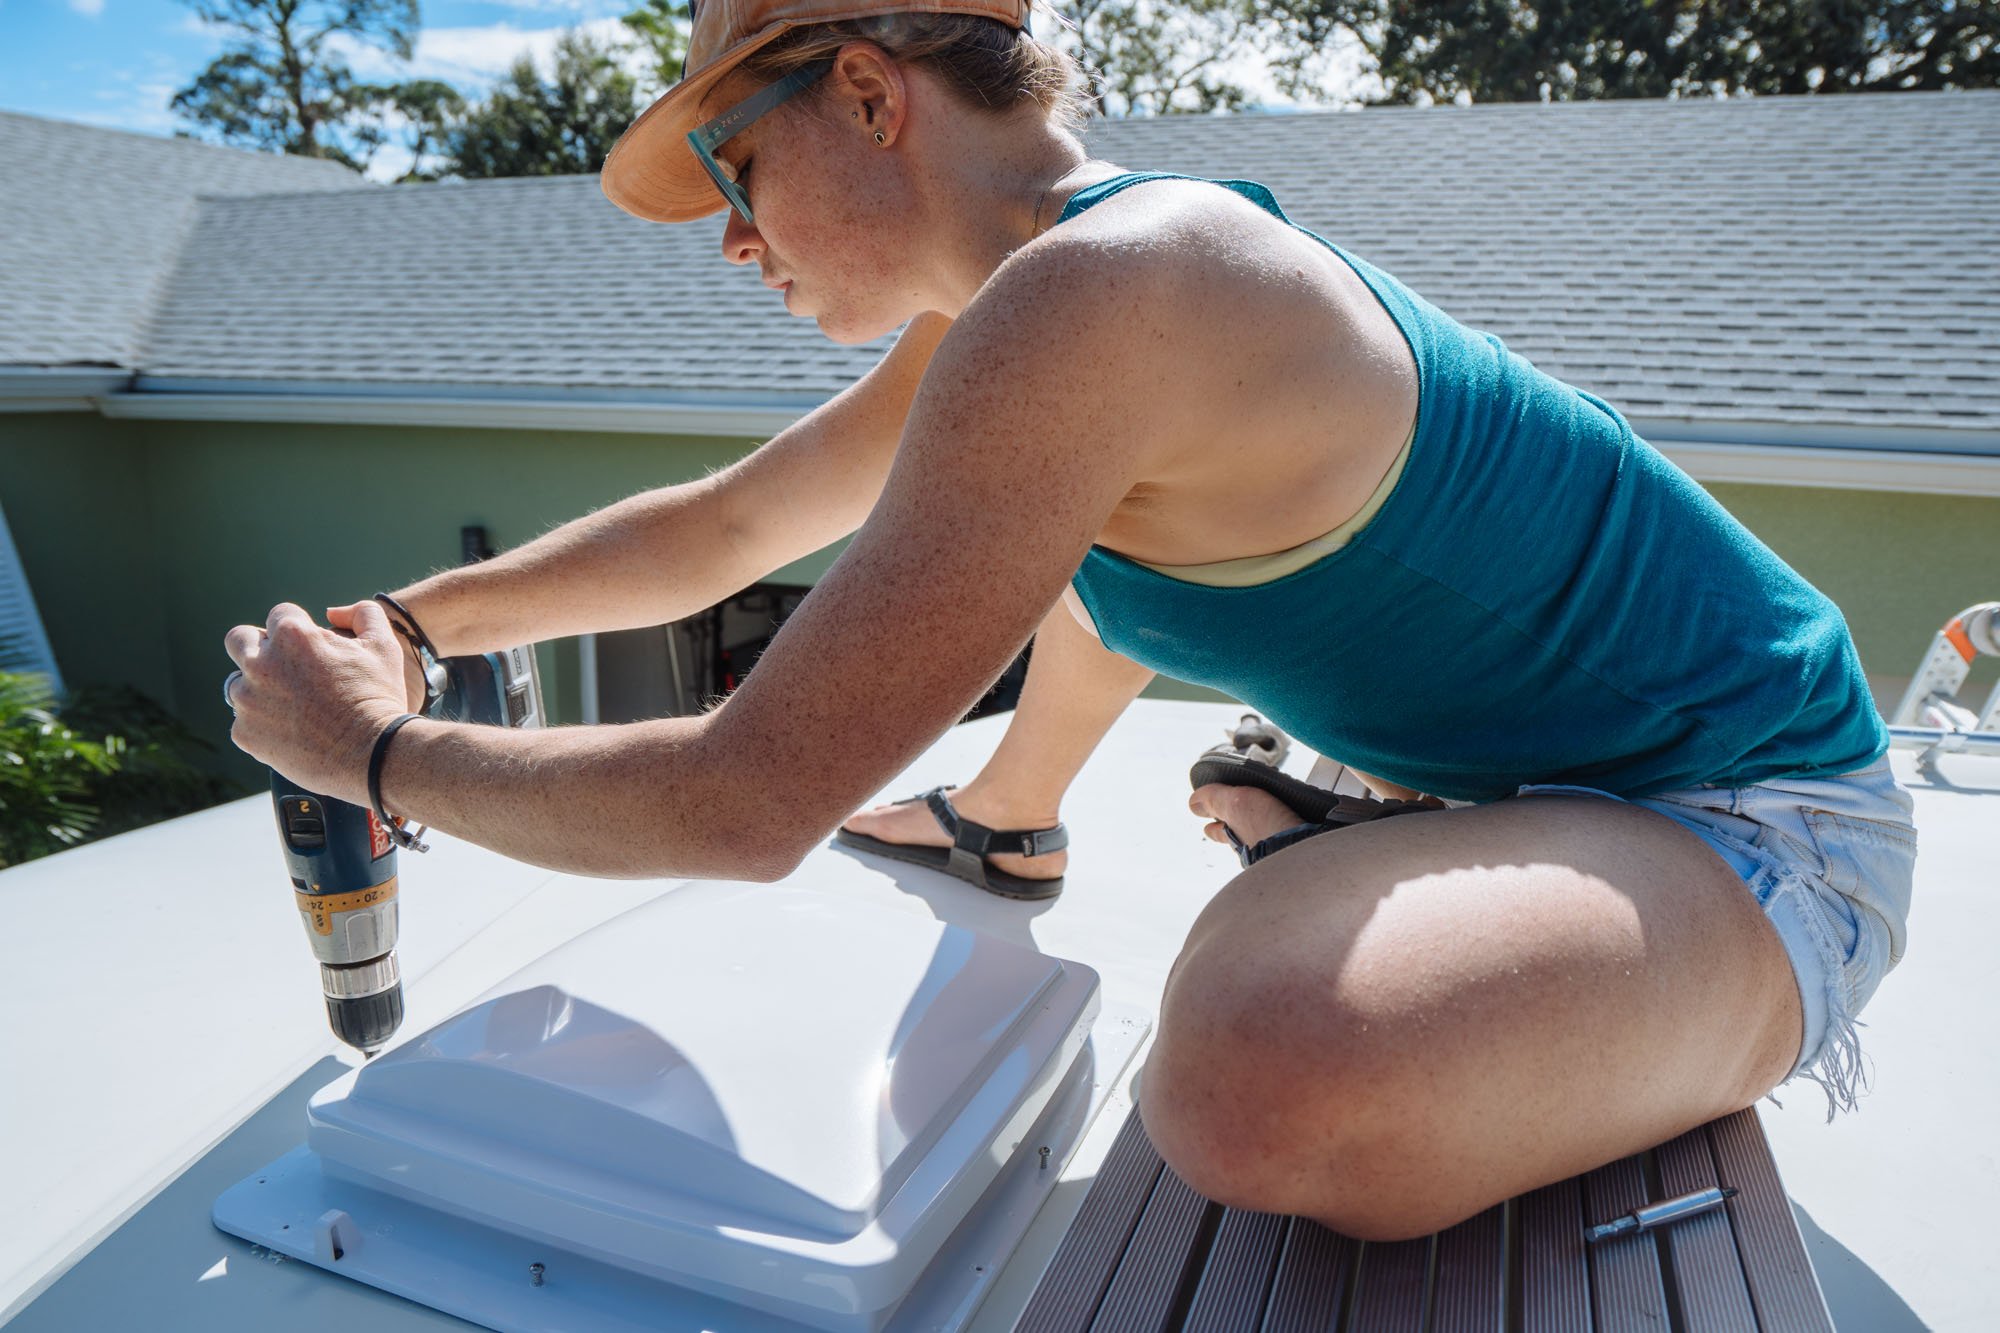
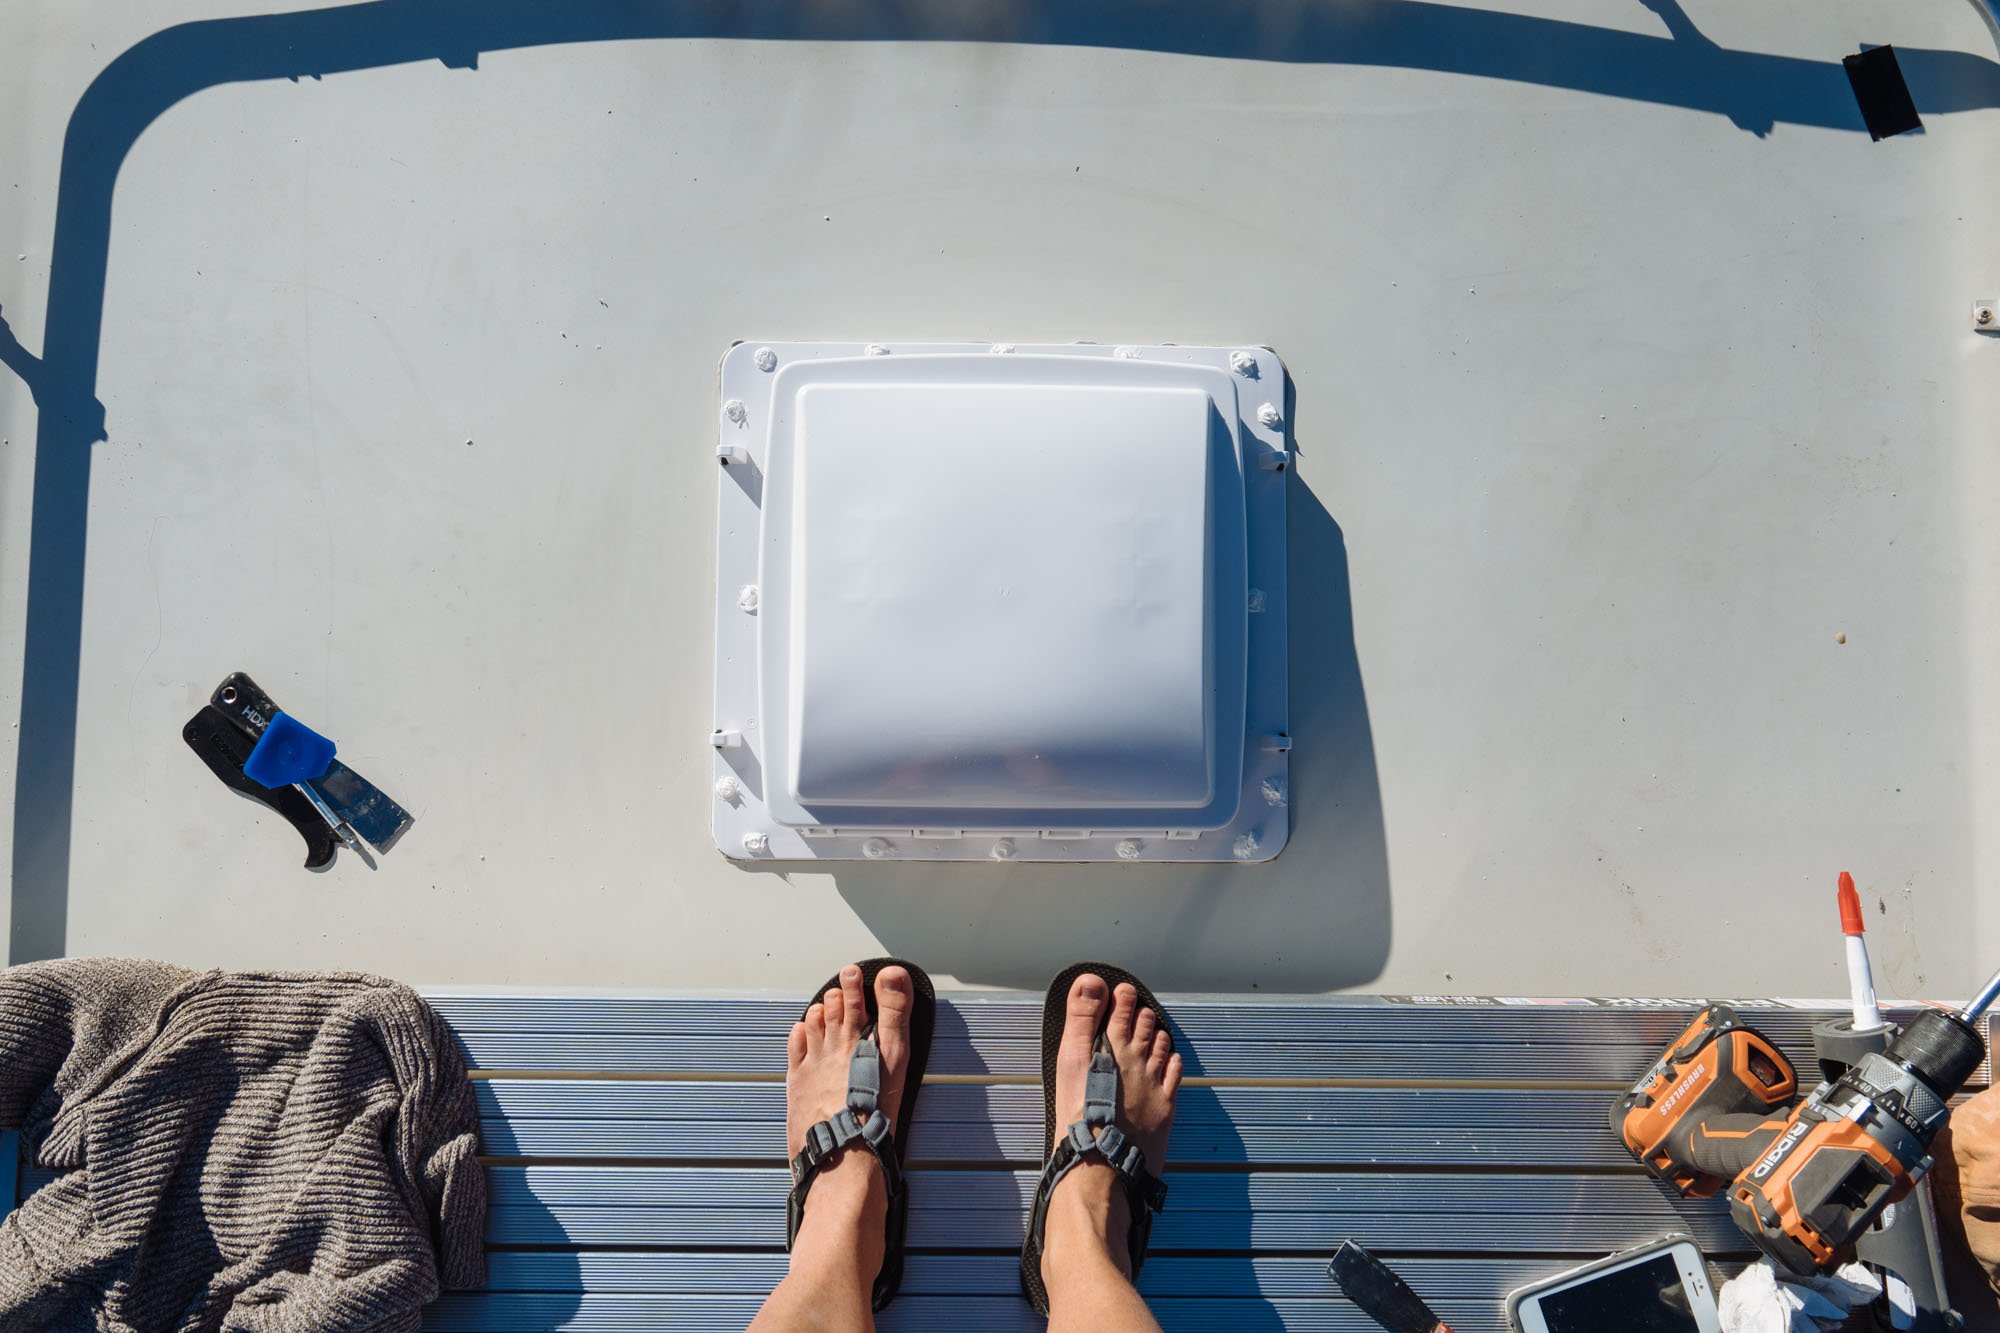
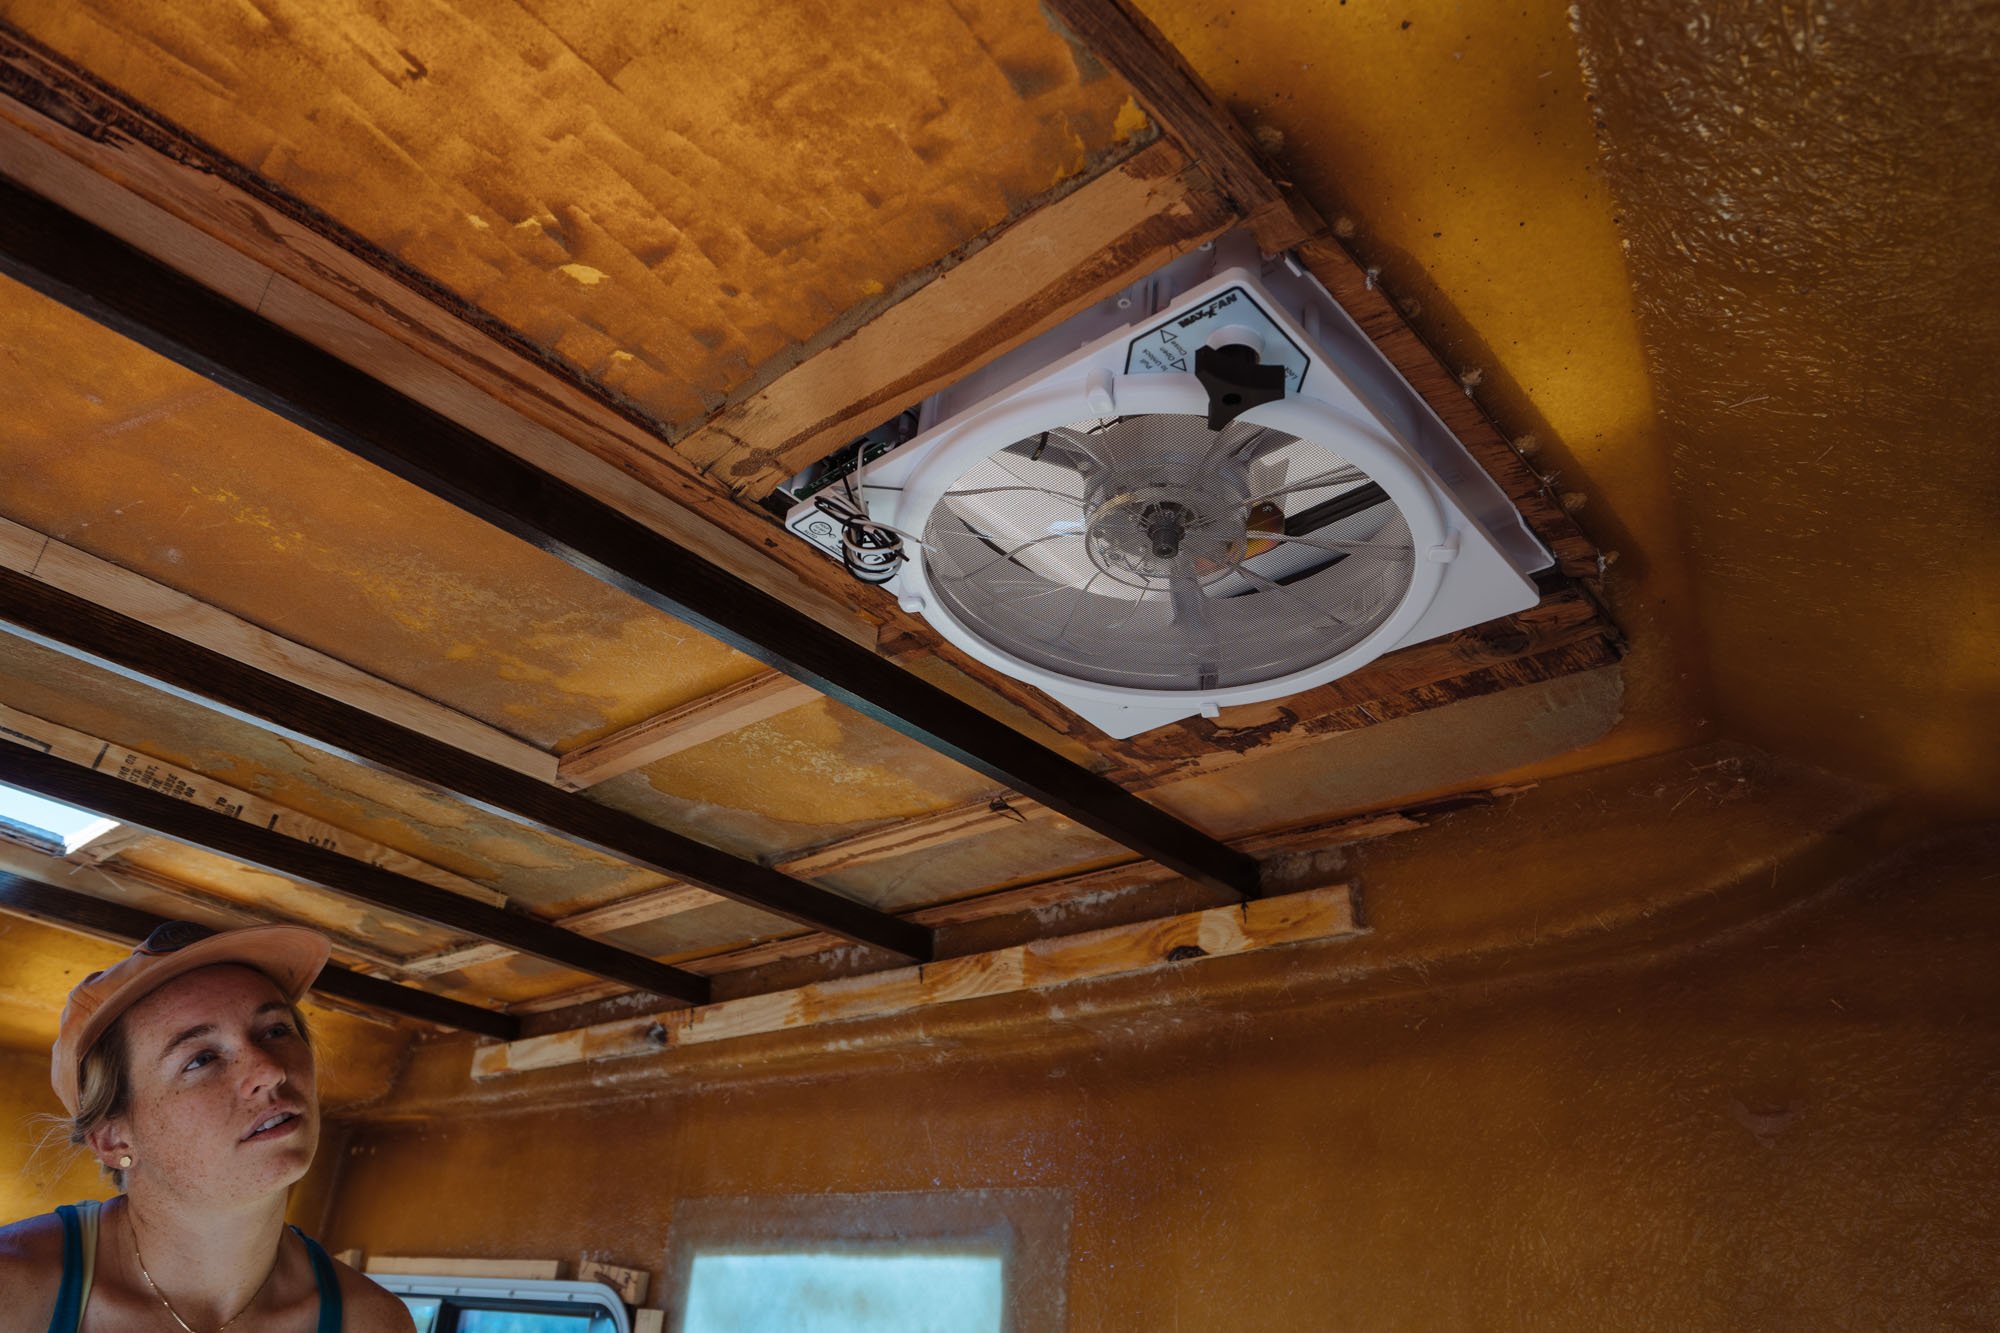
Next up on the to-do list, install our new vent fans! We did a lot of research on these fans before we made the final decision. In the end we went with these MaxxAir ones because they sip power and are one of the quietest fans on the market. If we are going to run these all night, which we definitely will, we wanted to be sure that it wouldn't kill our power or keep us up at night!
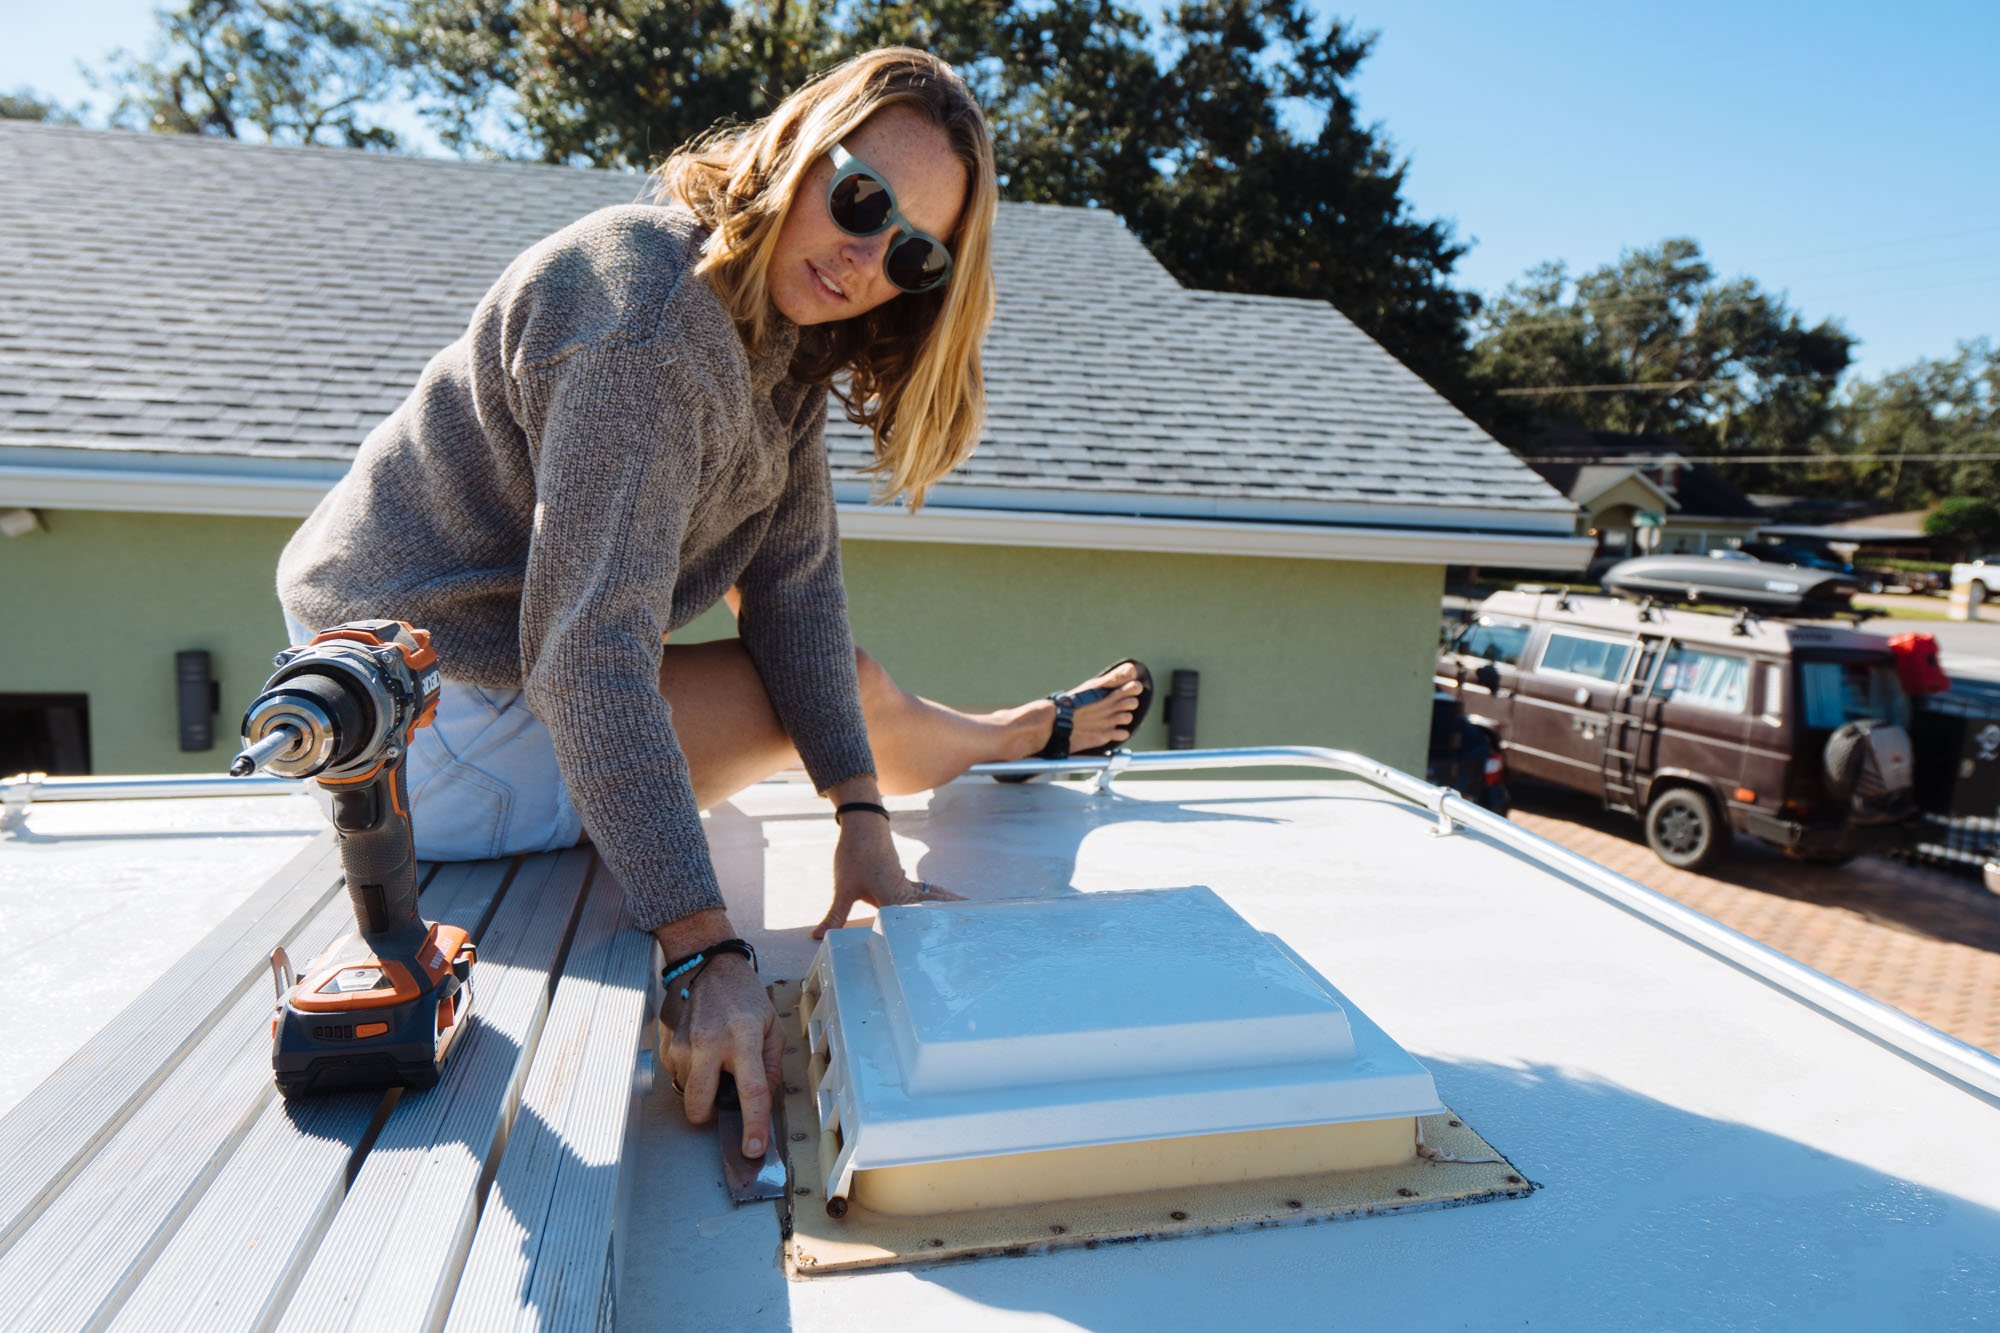
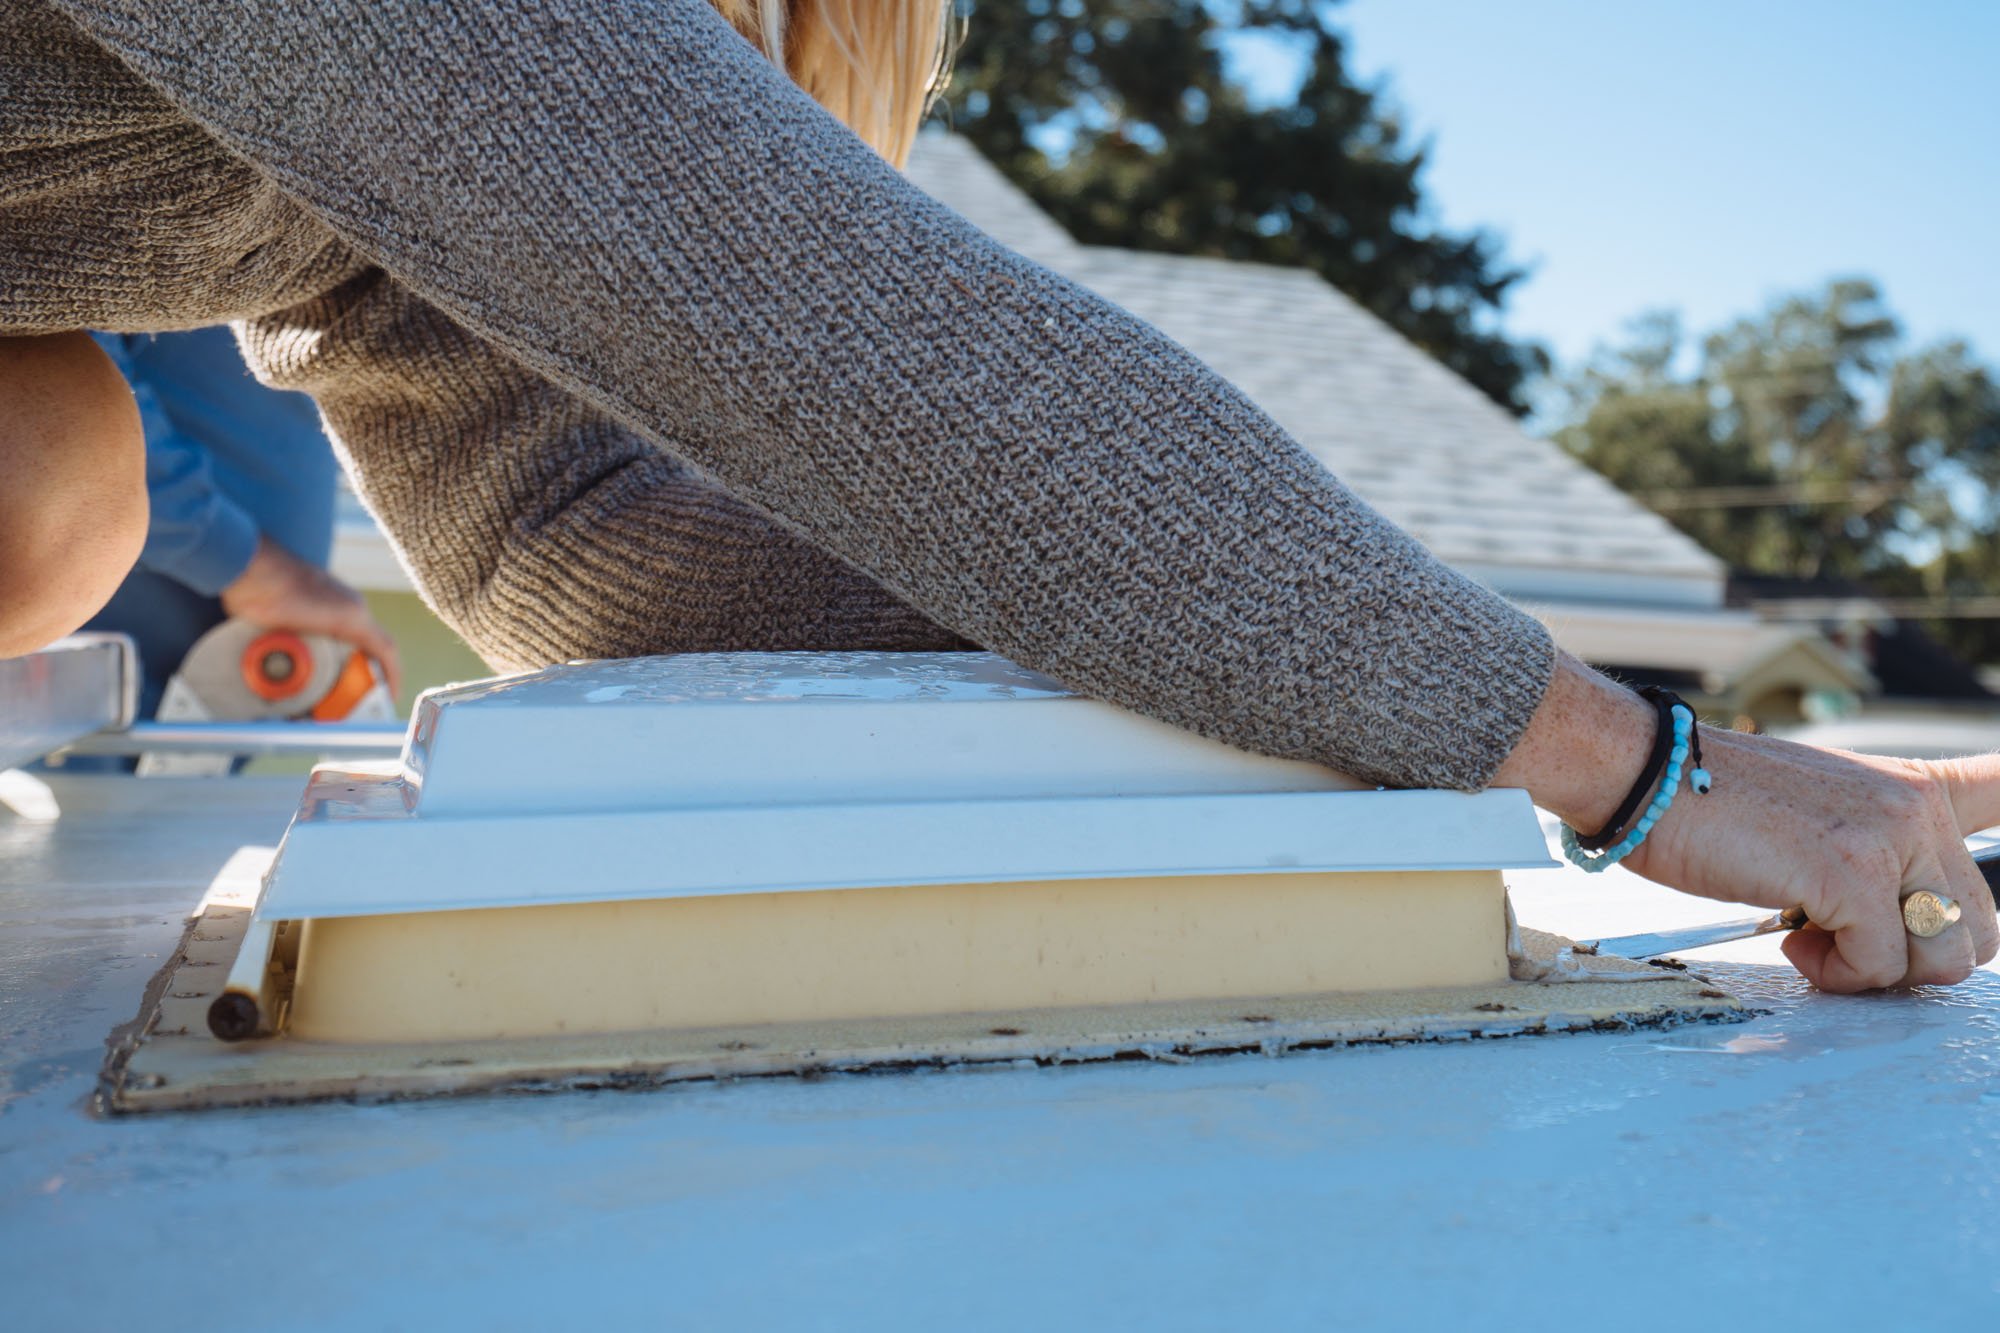

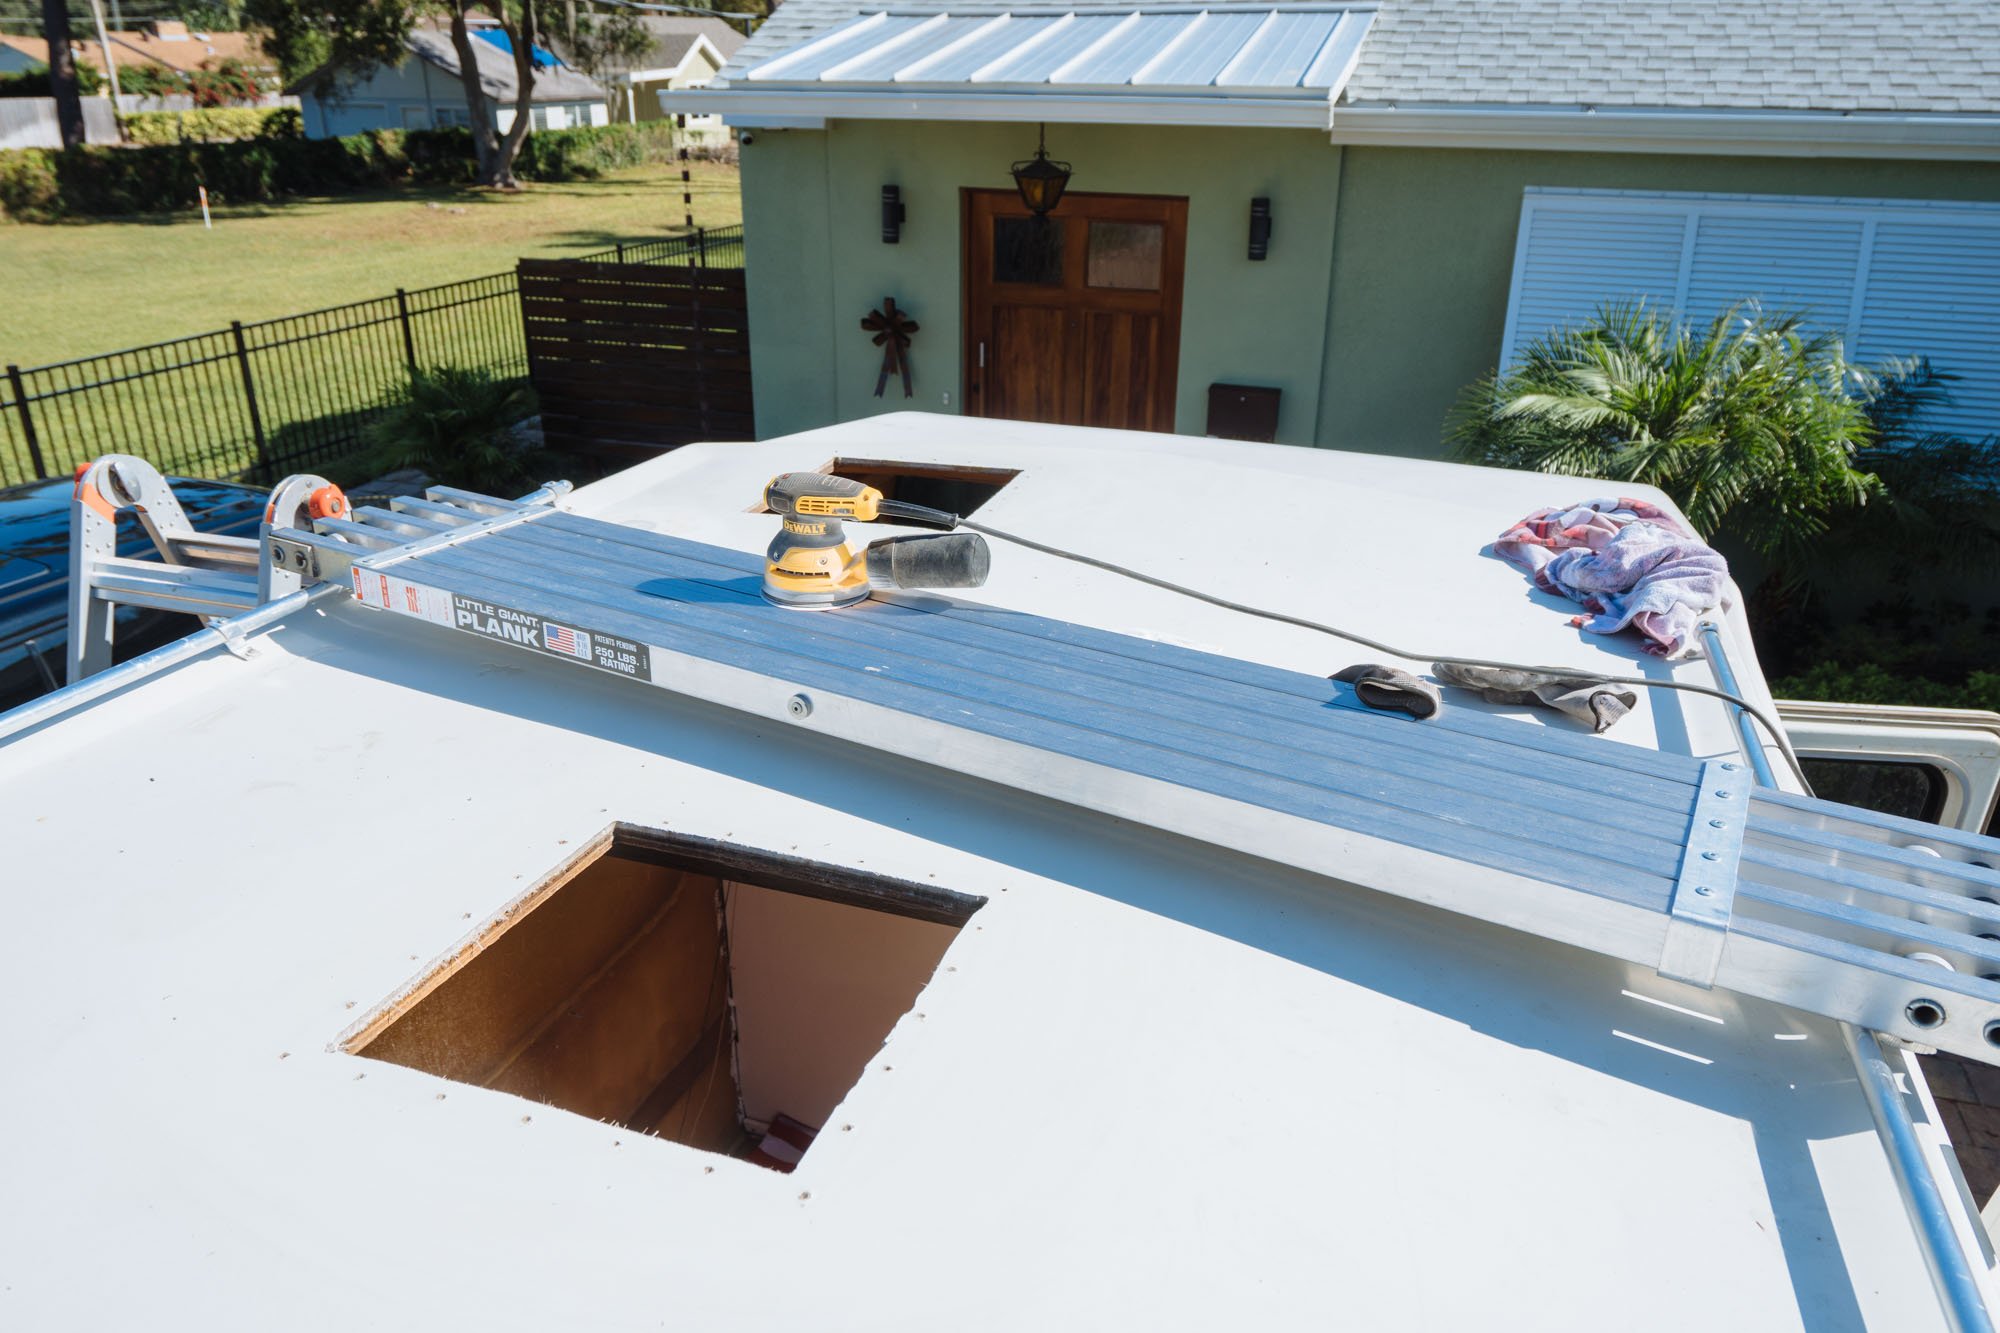
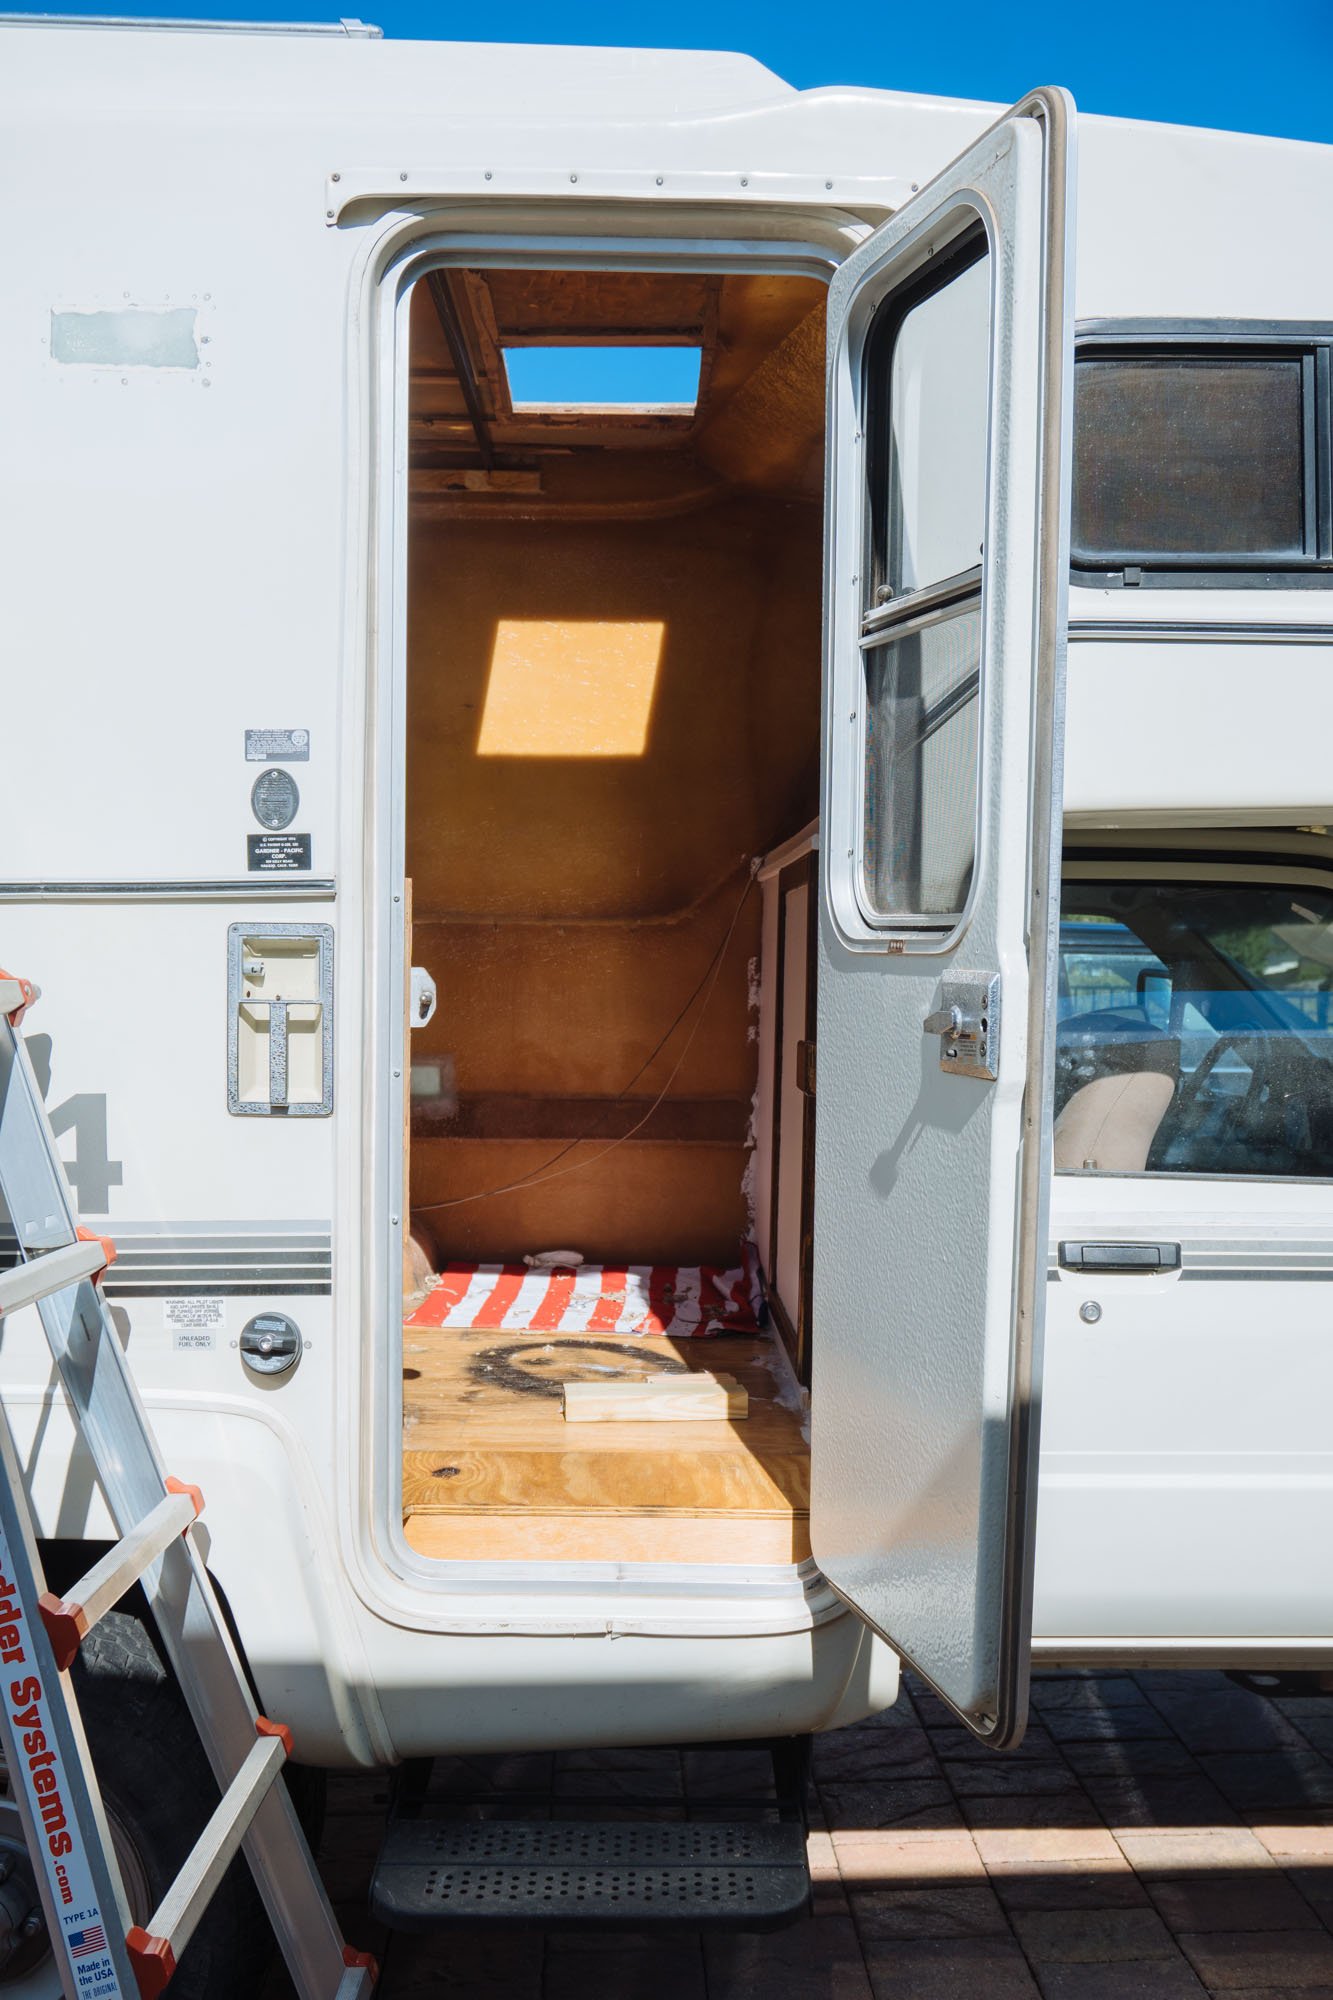
Both of our original skylights have leaked since we got Amelia. When looking at the state of the old sealant, there was no mystery as to why they were leaking. Once the screws were removed I barley needed the puddy knife to lift them out. Luckily for us, rotten silicon is really easy to remove!
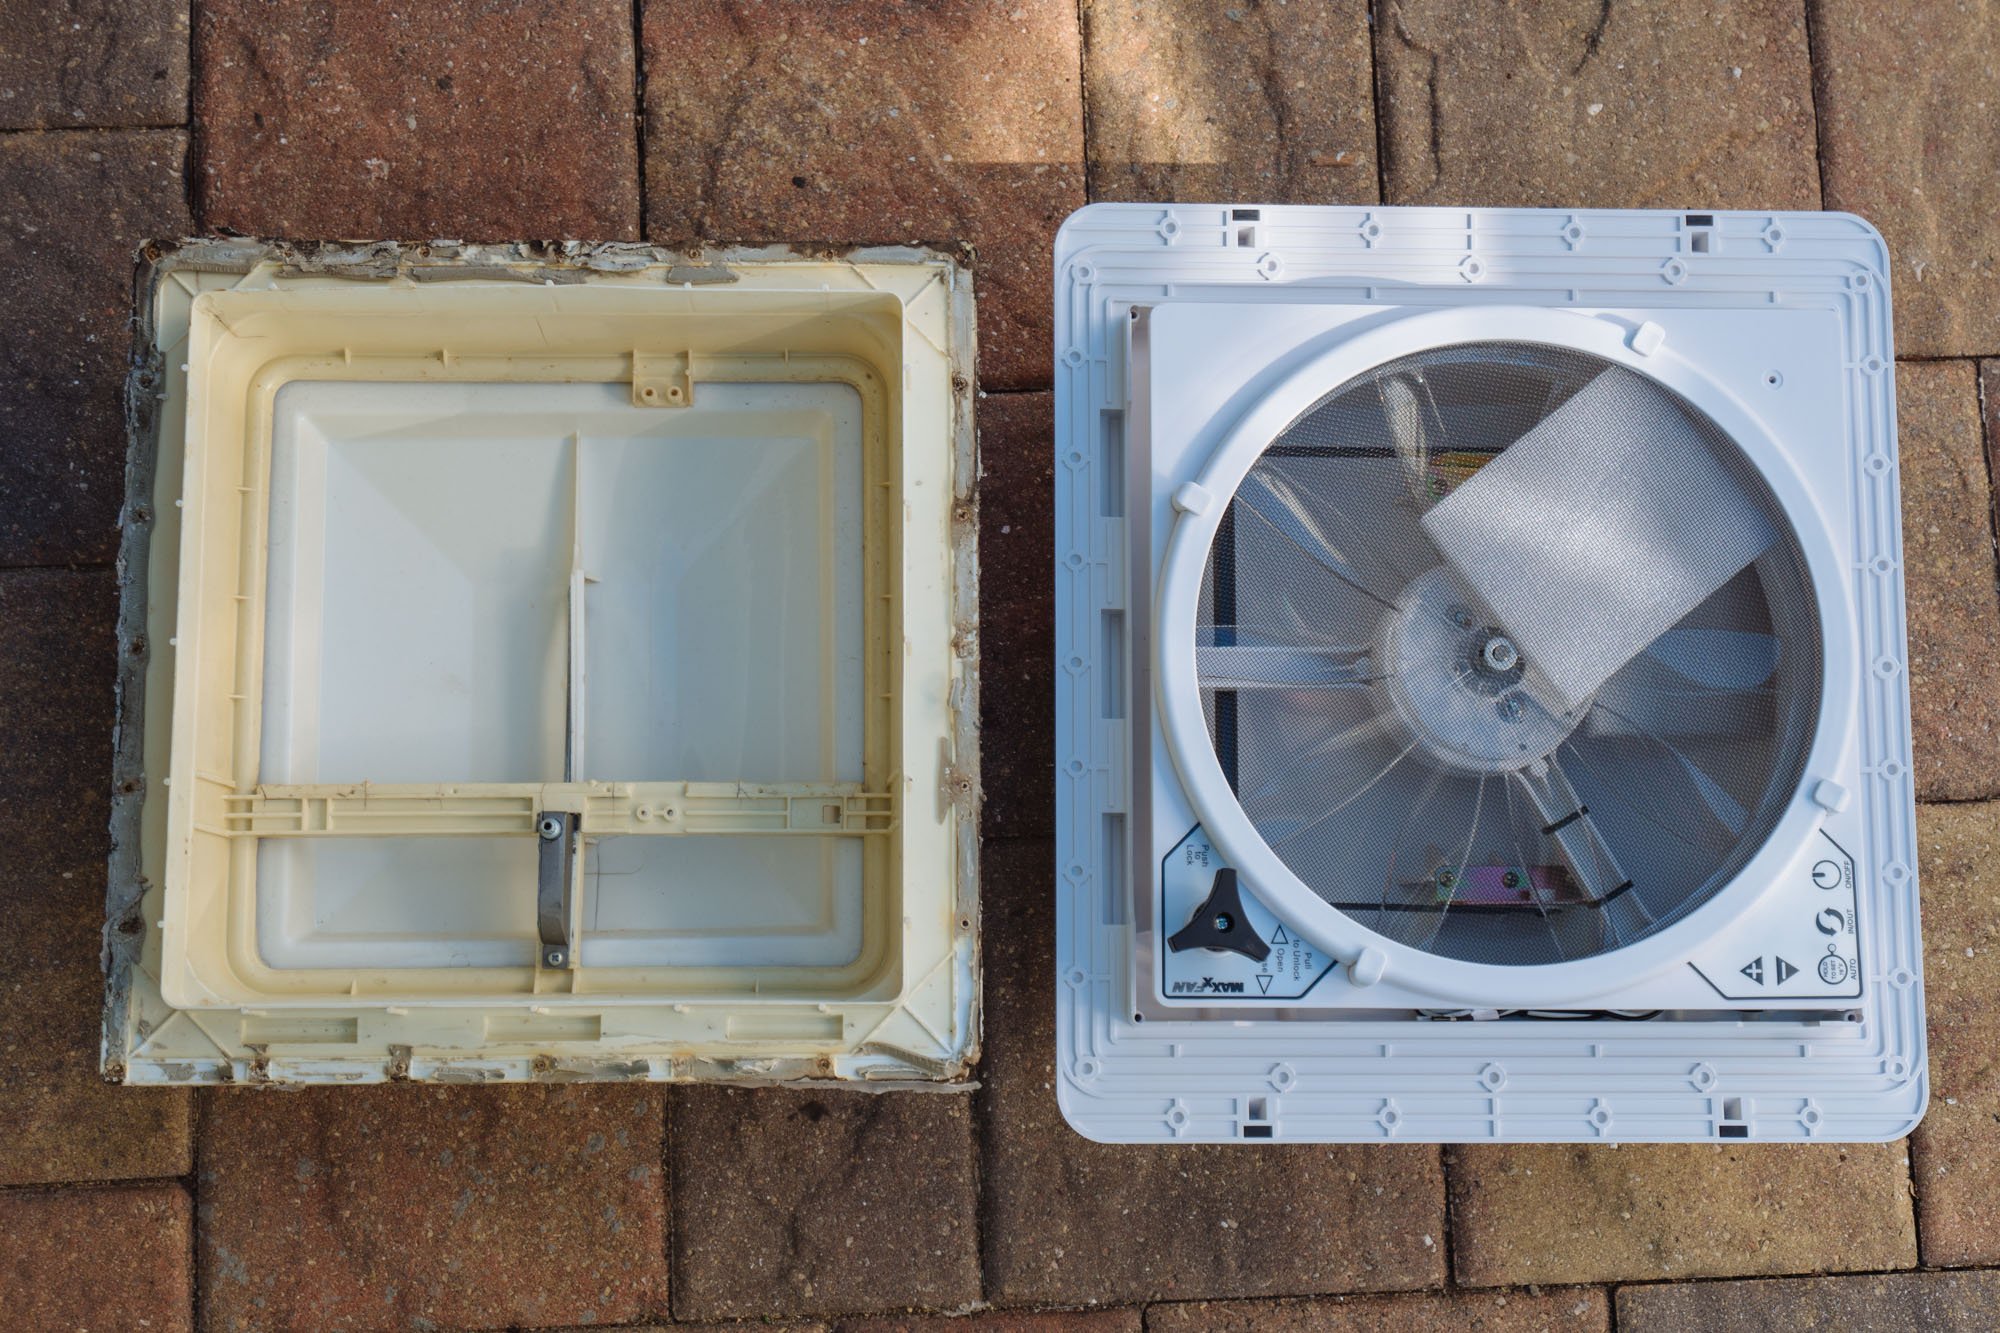
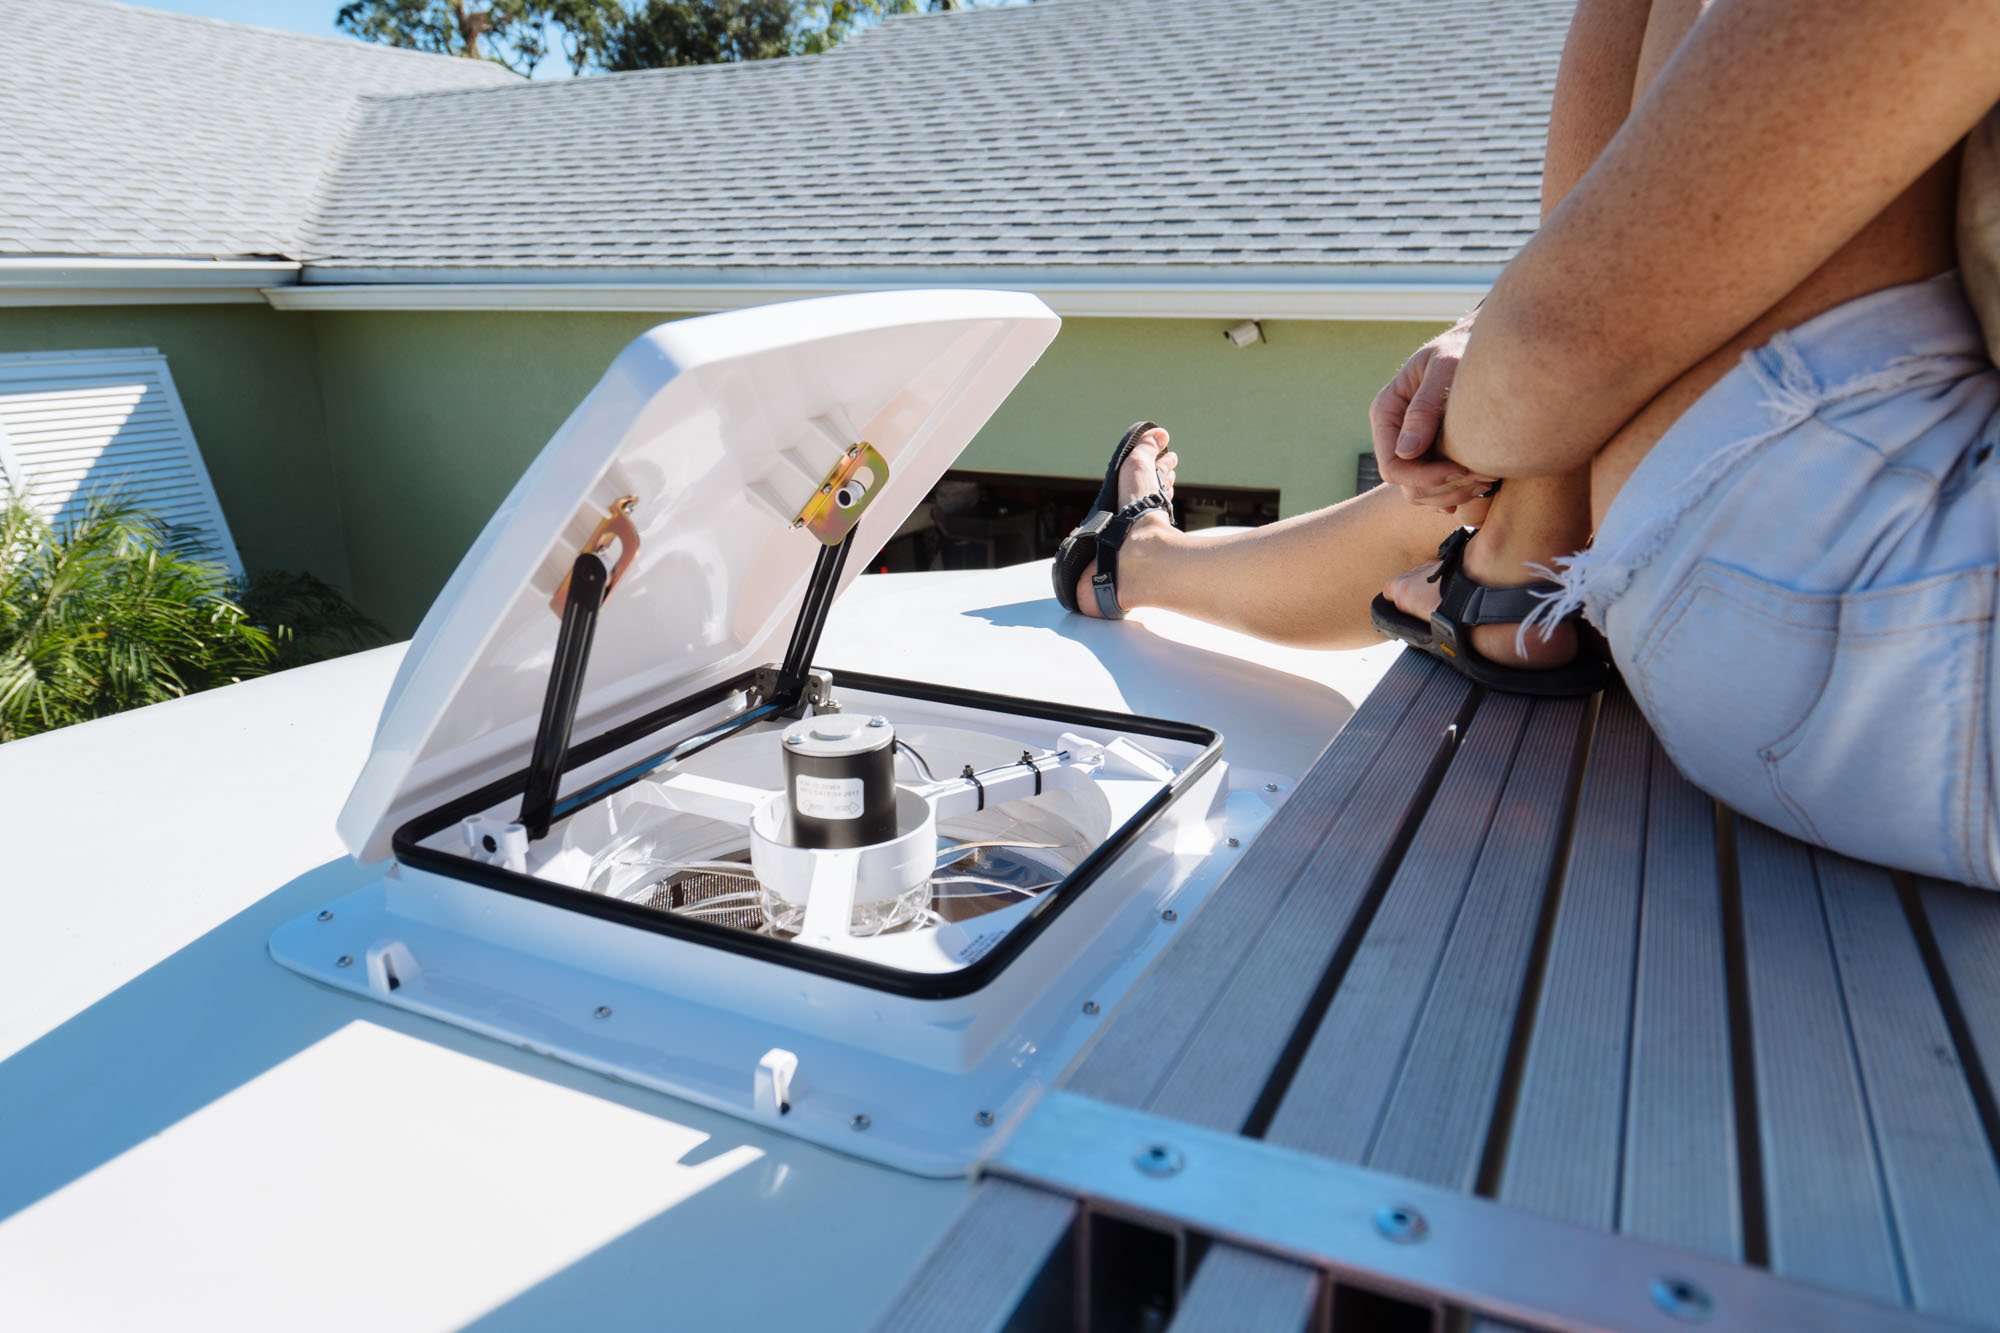
This side by side picture of the old and new skylights makes me laugh. This is such a huge upgrade for us!
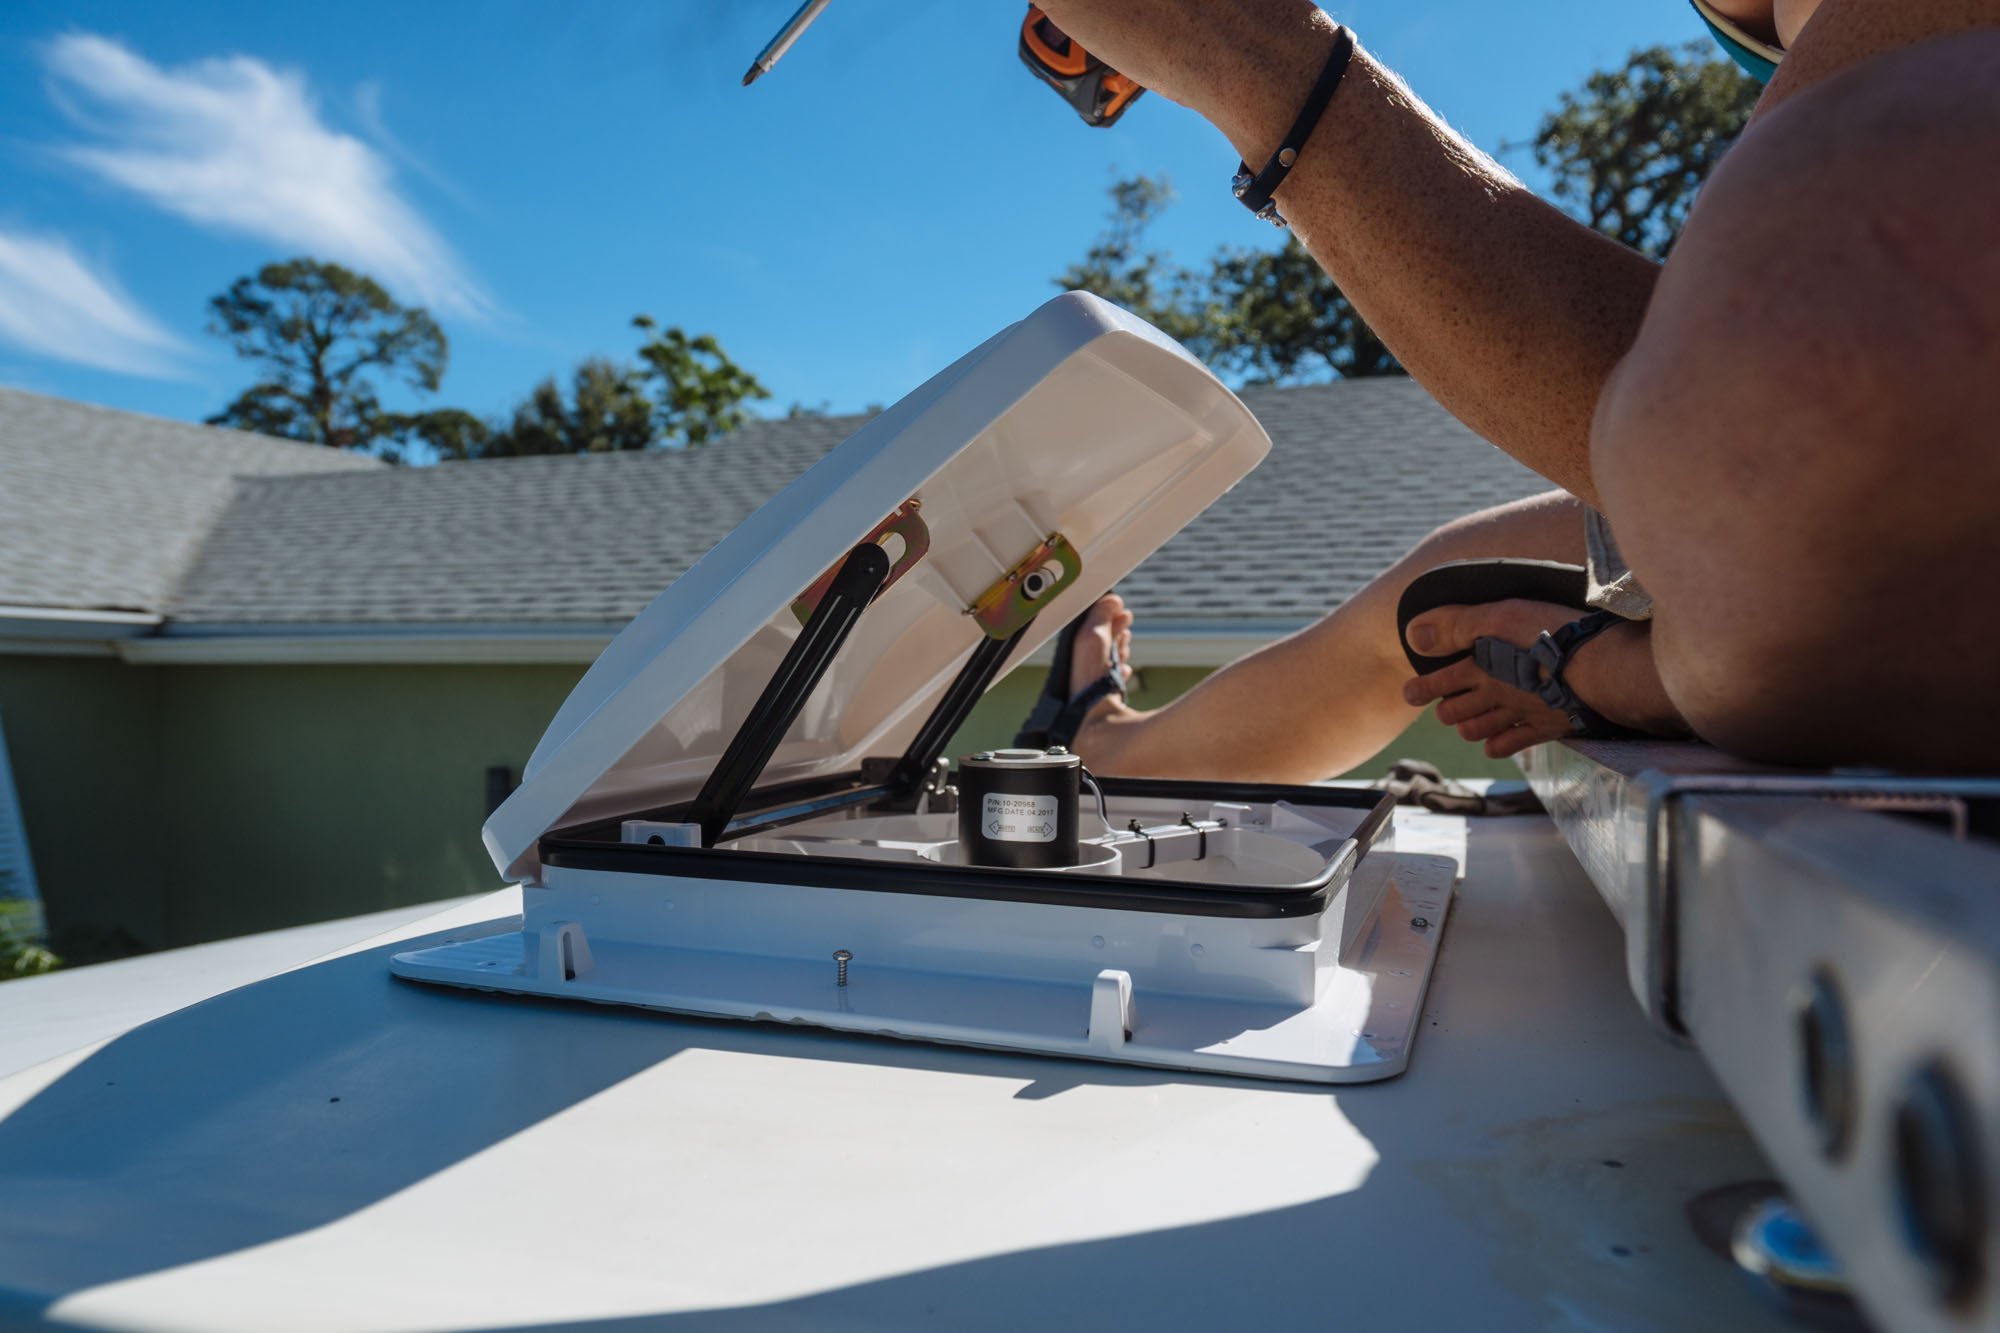
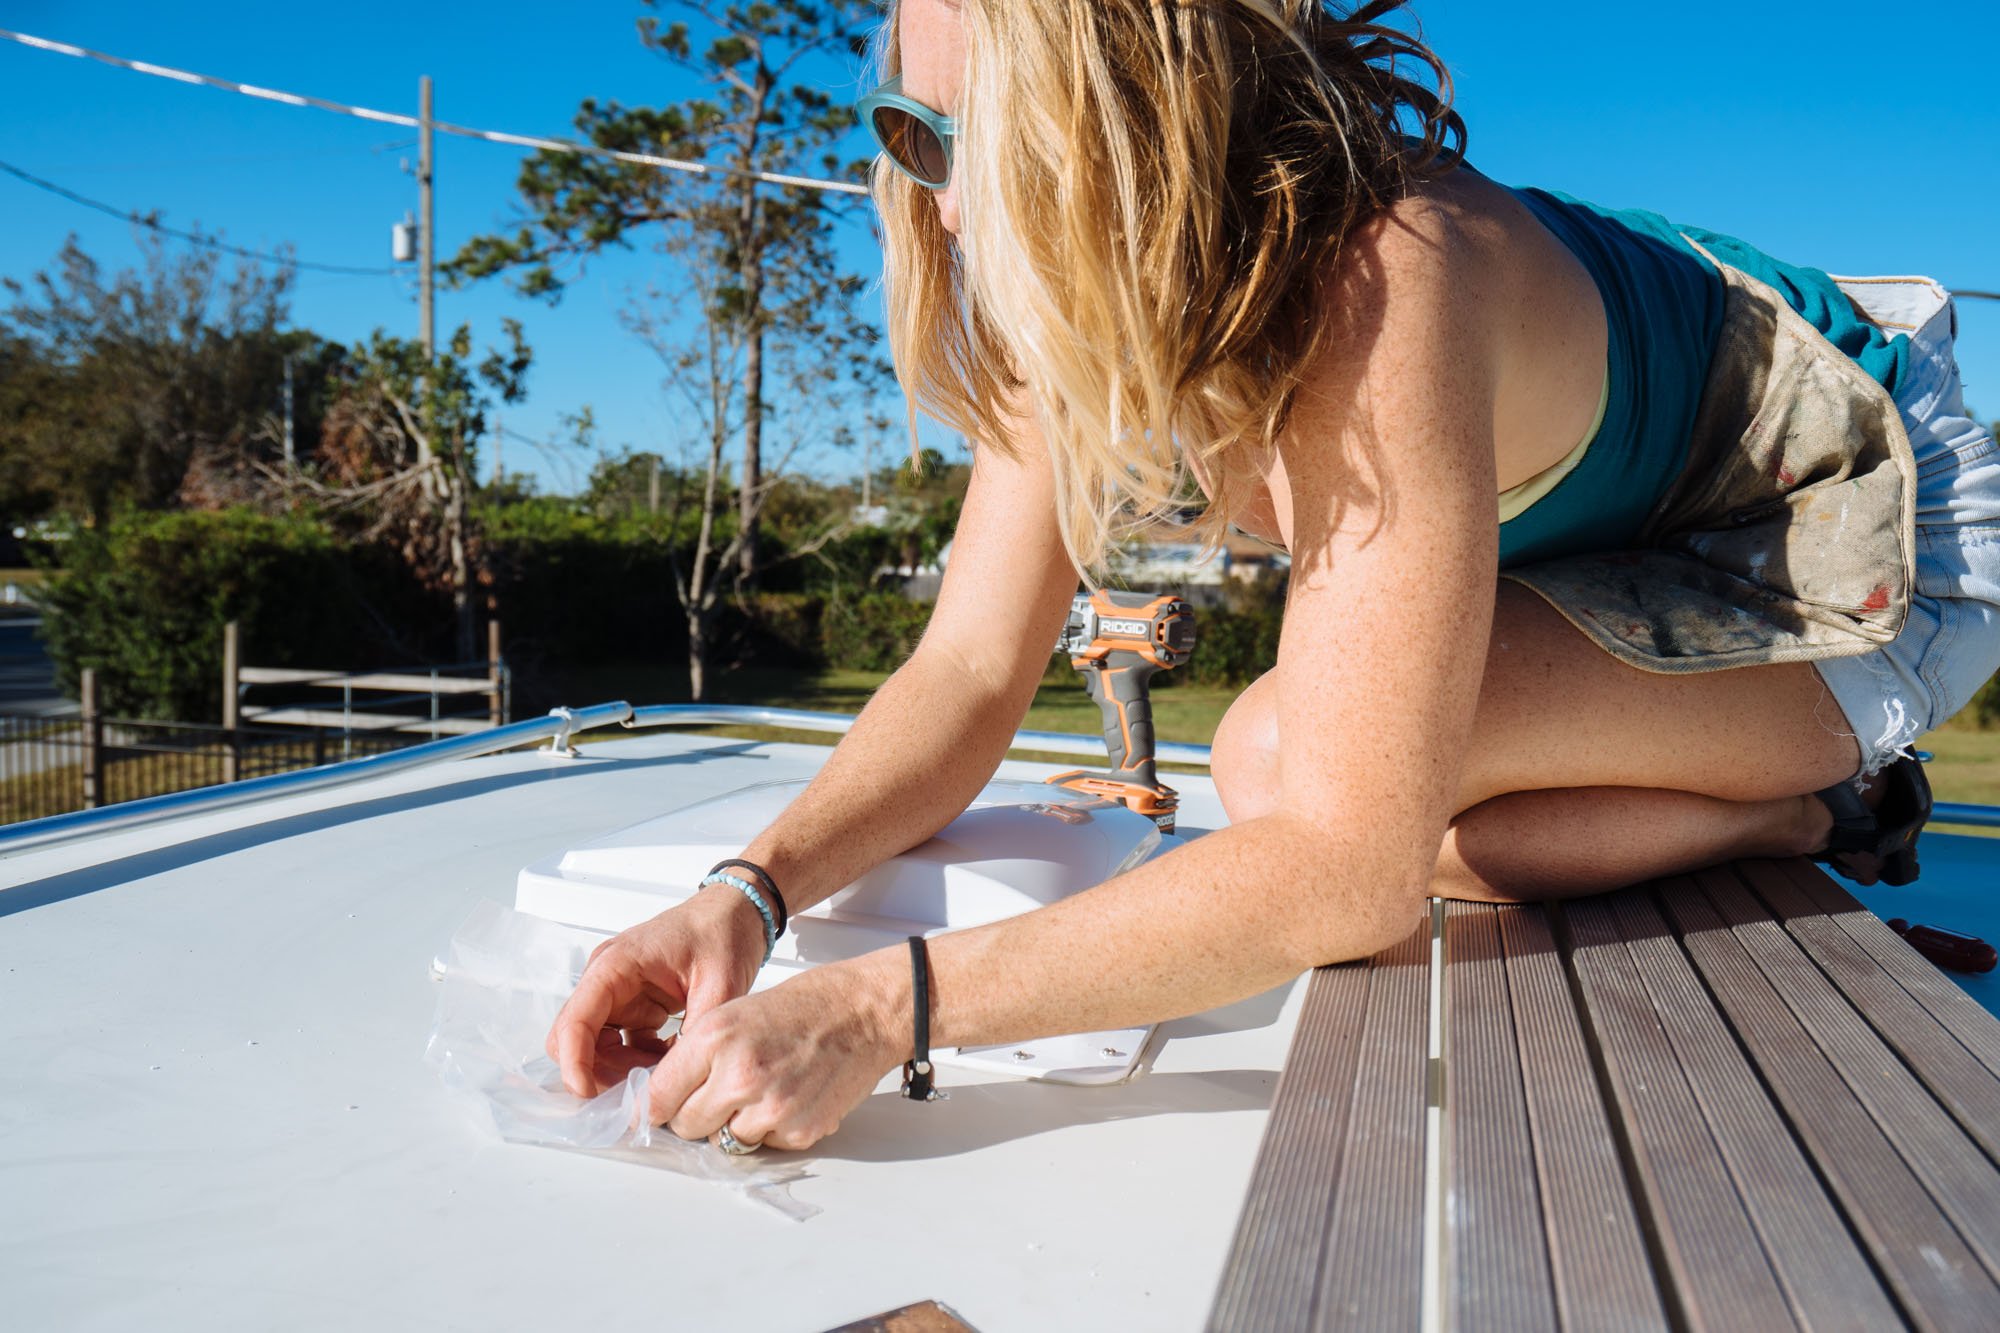
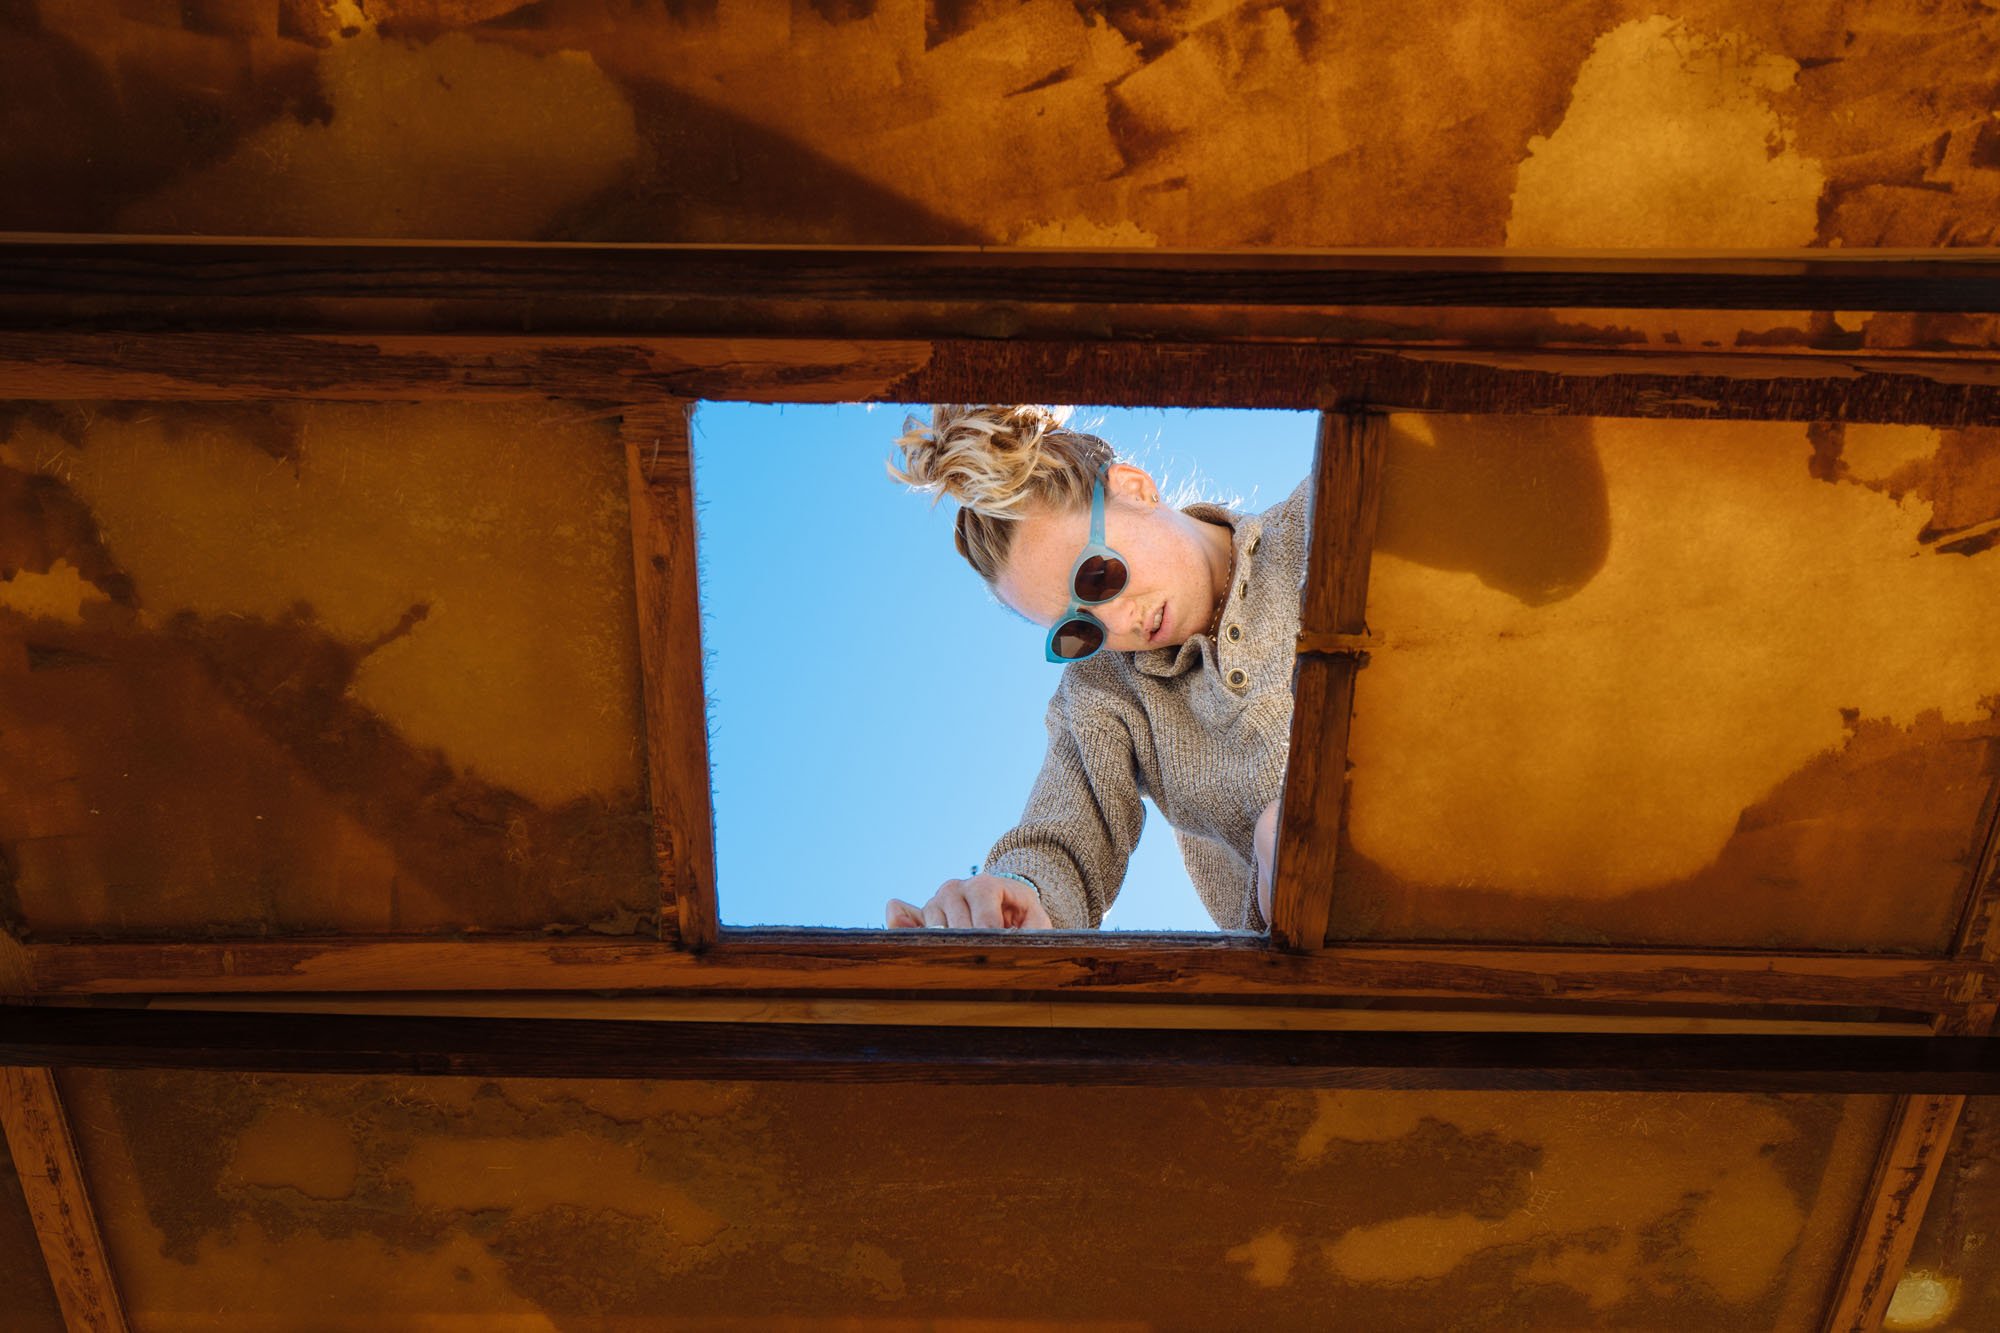
The installation was super easy on these, and we are pleased to say that we didn't mess up even once! *Wipes sweat off brow*
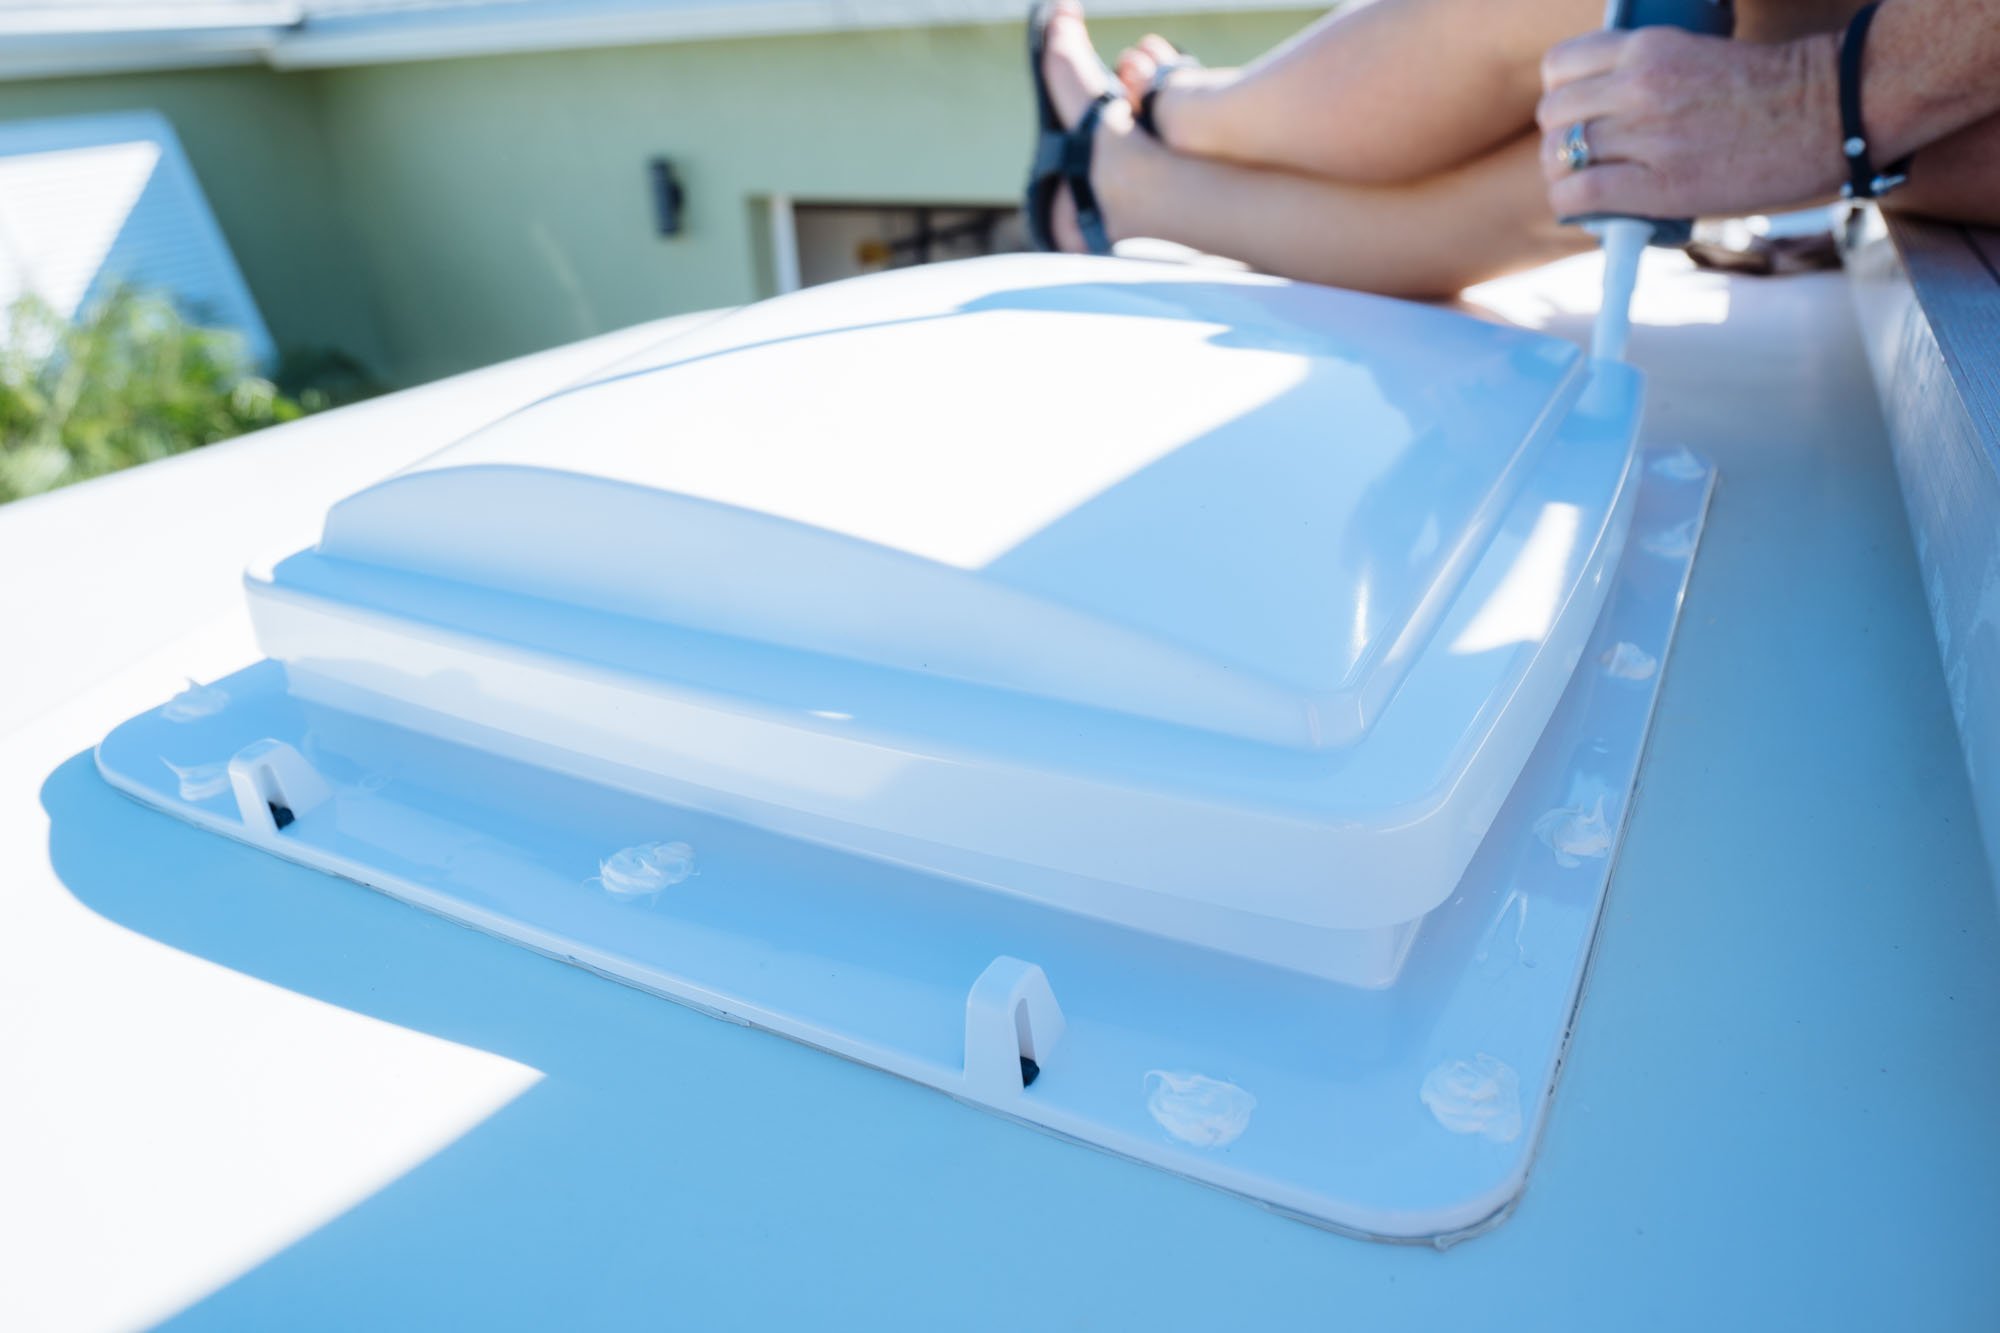
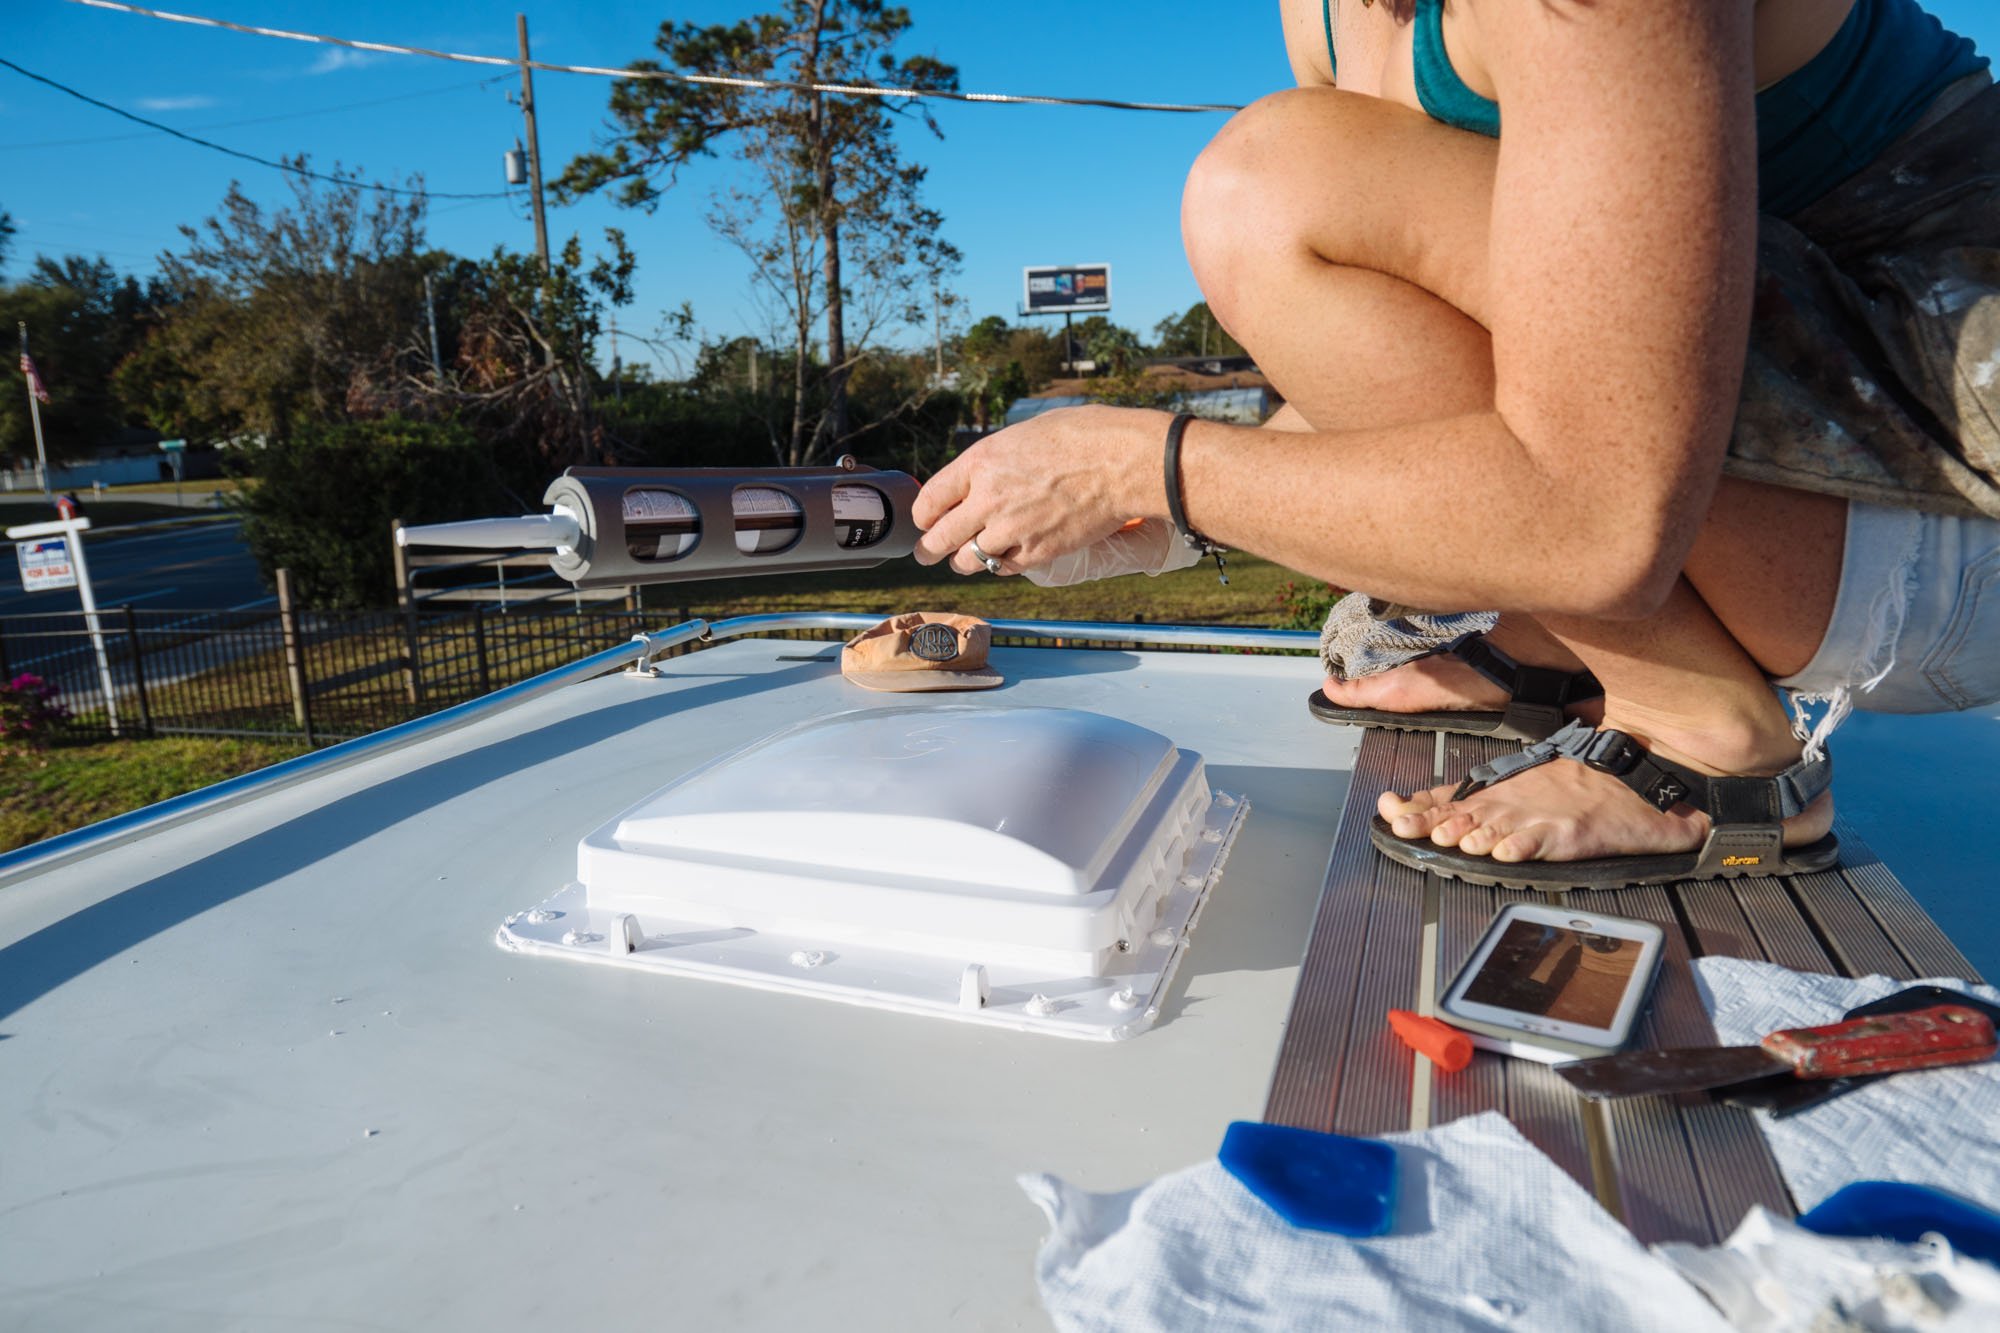
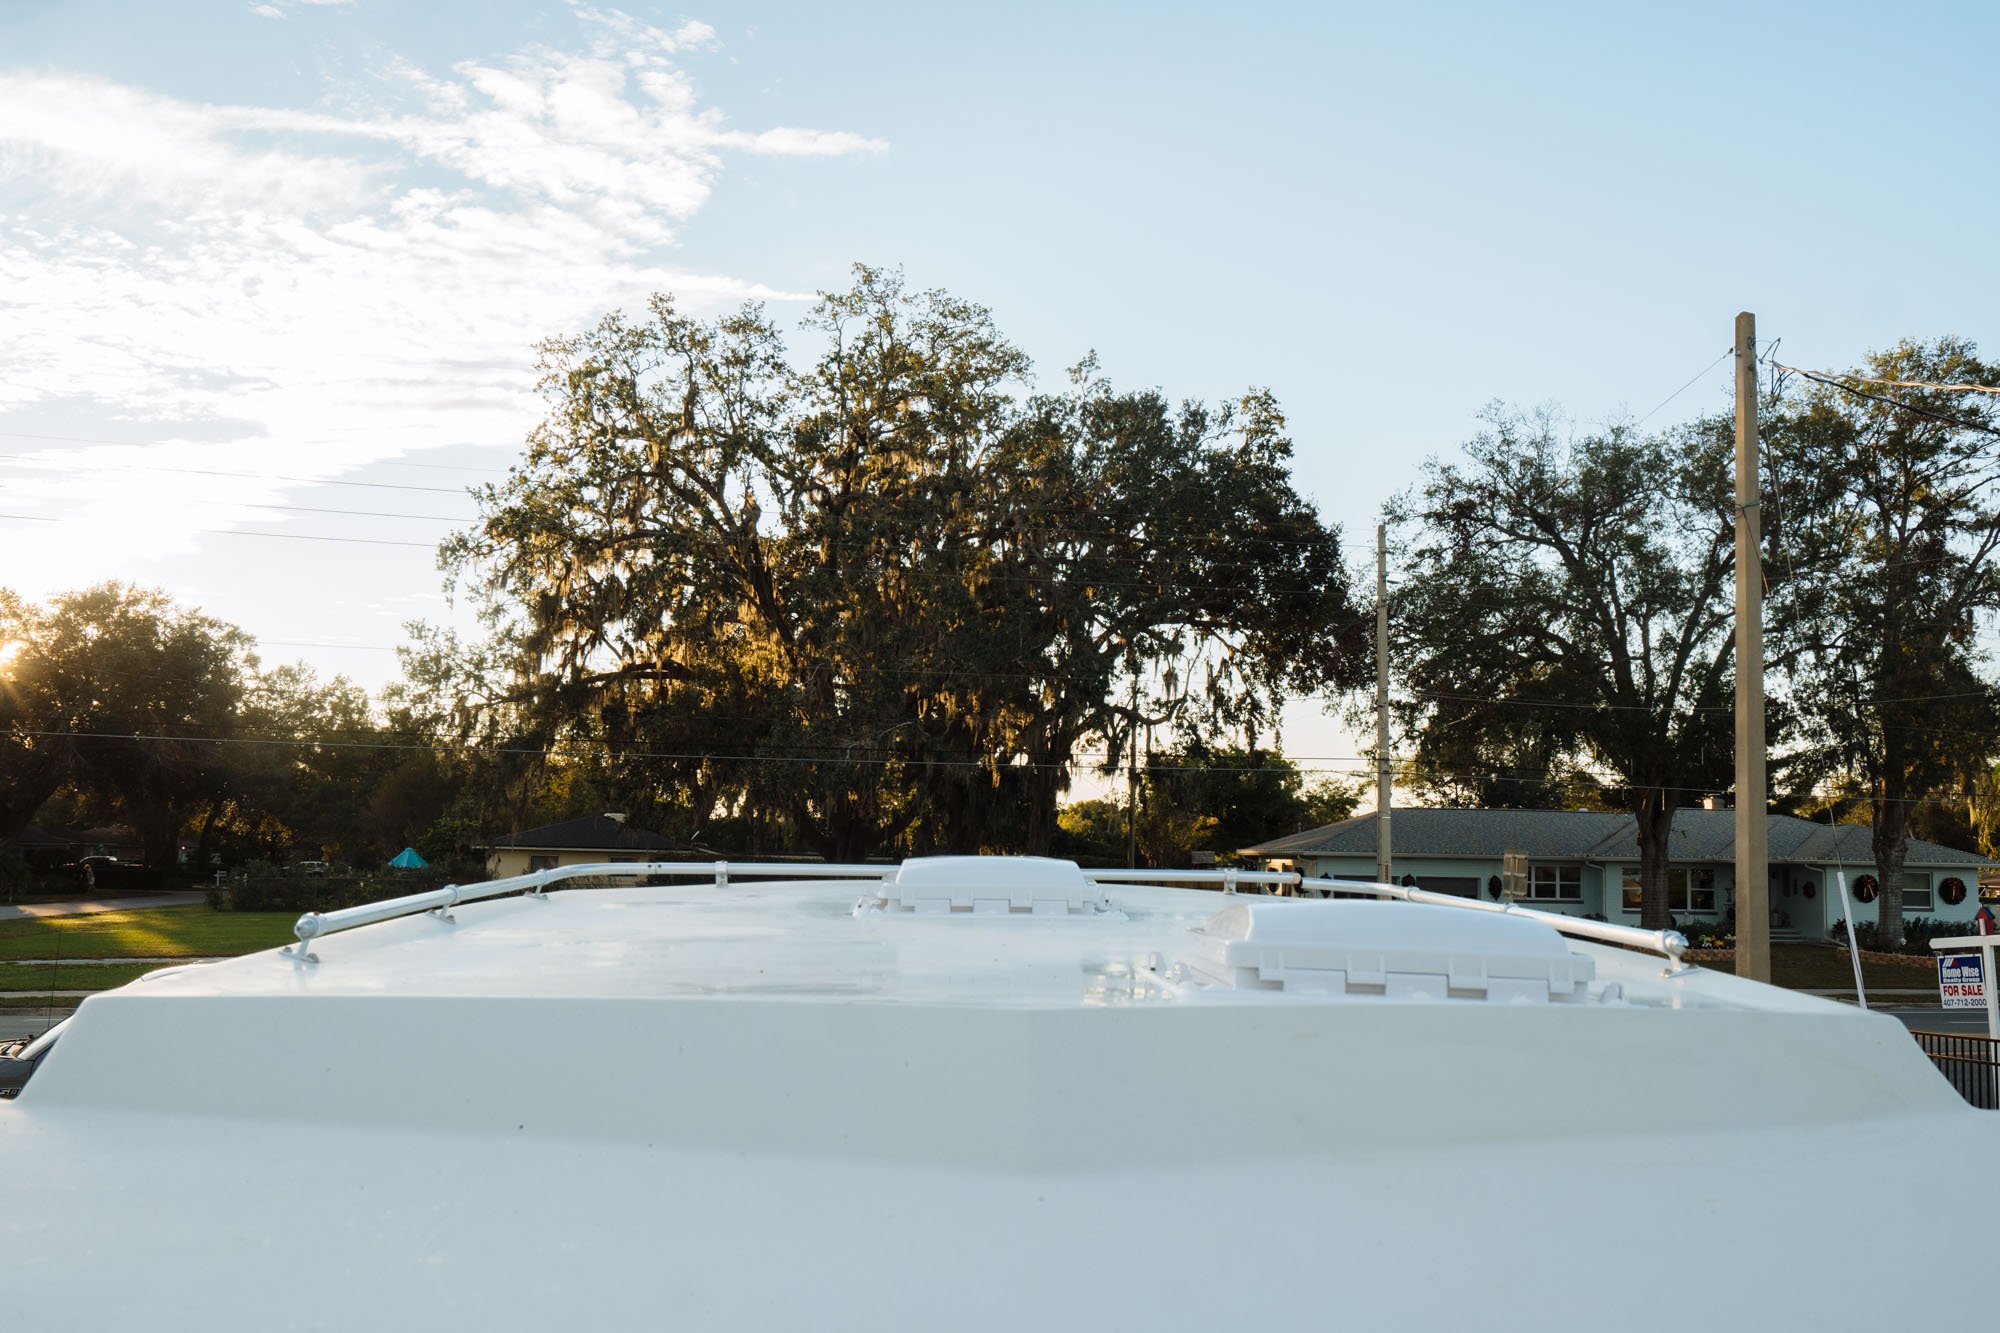
After everything was in place I laid down the final rim of sealant around the outside and over the screw heads. The shot of the roof when it's all said and done is something that Owen and I have hi-fived over. We're so stoked with how this turned out.

Something else exciting happened this week, our two burner cook top came in the mail! I've been pining after this beautiful piece of kitchen machinery for quite sometime now. When we started doing research on the different appliances that we needed, I was really disappointed with the lack of decent looking options out there. Then I found this one from Dickinson Marine, out of Canada. It's been a love affair ever since, but I'm going to leave it at that for the time being. We will dive into the details of this beauty at a later date. For now, I just wanted to show it to you because I'm so excited about it!

Another successful week of work in the books. Below, I'll list all of the materials we used for these projects if you need them! Have a killer week!
MAK
SUPPLY LIST
For Inquiring Minds
Clearance Lights:
14 LED clearance lights containing 7 red and 7 orange, Caulking finishing tools for cleaning up the edging, Sikaflex for our sealant, caulking gun of which we have found we prefer this composite type to the metal ones, Soldering Iron for connecting the wires, soldering wire for the connections themselves.
Skylights:
2 Maxxair Vents, Wood chisels for removing old silicon, same Sikaflex and caulking gun from above, Two burner cook top that I'm madly in love with.