Build Out: Week 1, 2 & 3
The Gutting
Hello Friends!
MAK here! We've been really busy these first few weeks doing sporadic burst of work on Amelia. Going forward we'll be posting our weekly updates on the build out. This time I'll be catching you up on about 3 weeks of work. Thinking back on these past 3 weeks while looking at these photos, it doesn't looks like we've accomplished much thus far. In all it took us about 3 days to get down to the fiberglass. From there we've had to move a little slower because we've needed to plan out the order in which things will be built back up. So, let's dive right in.
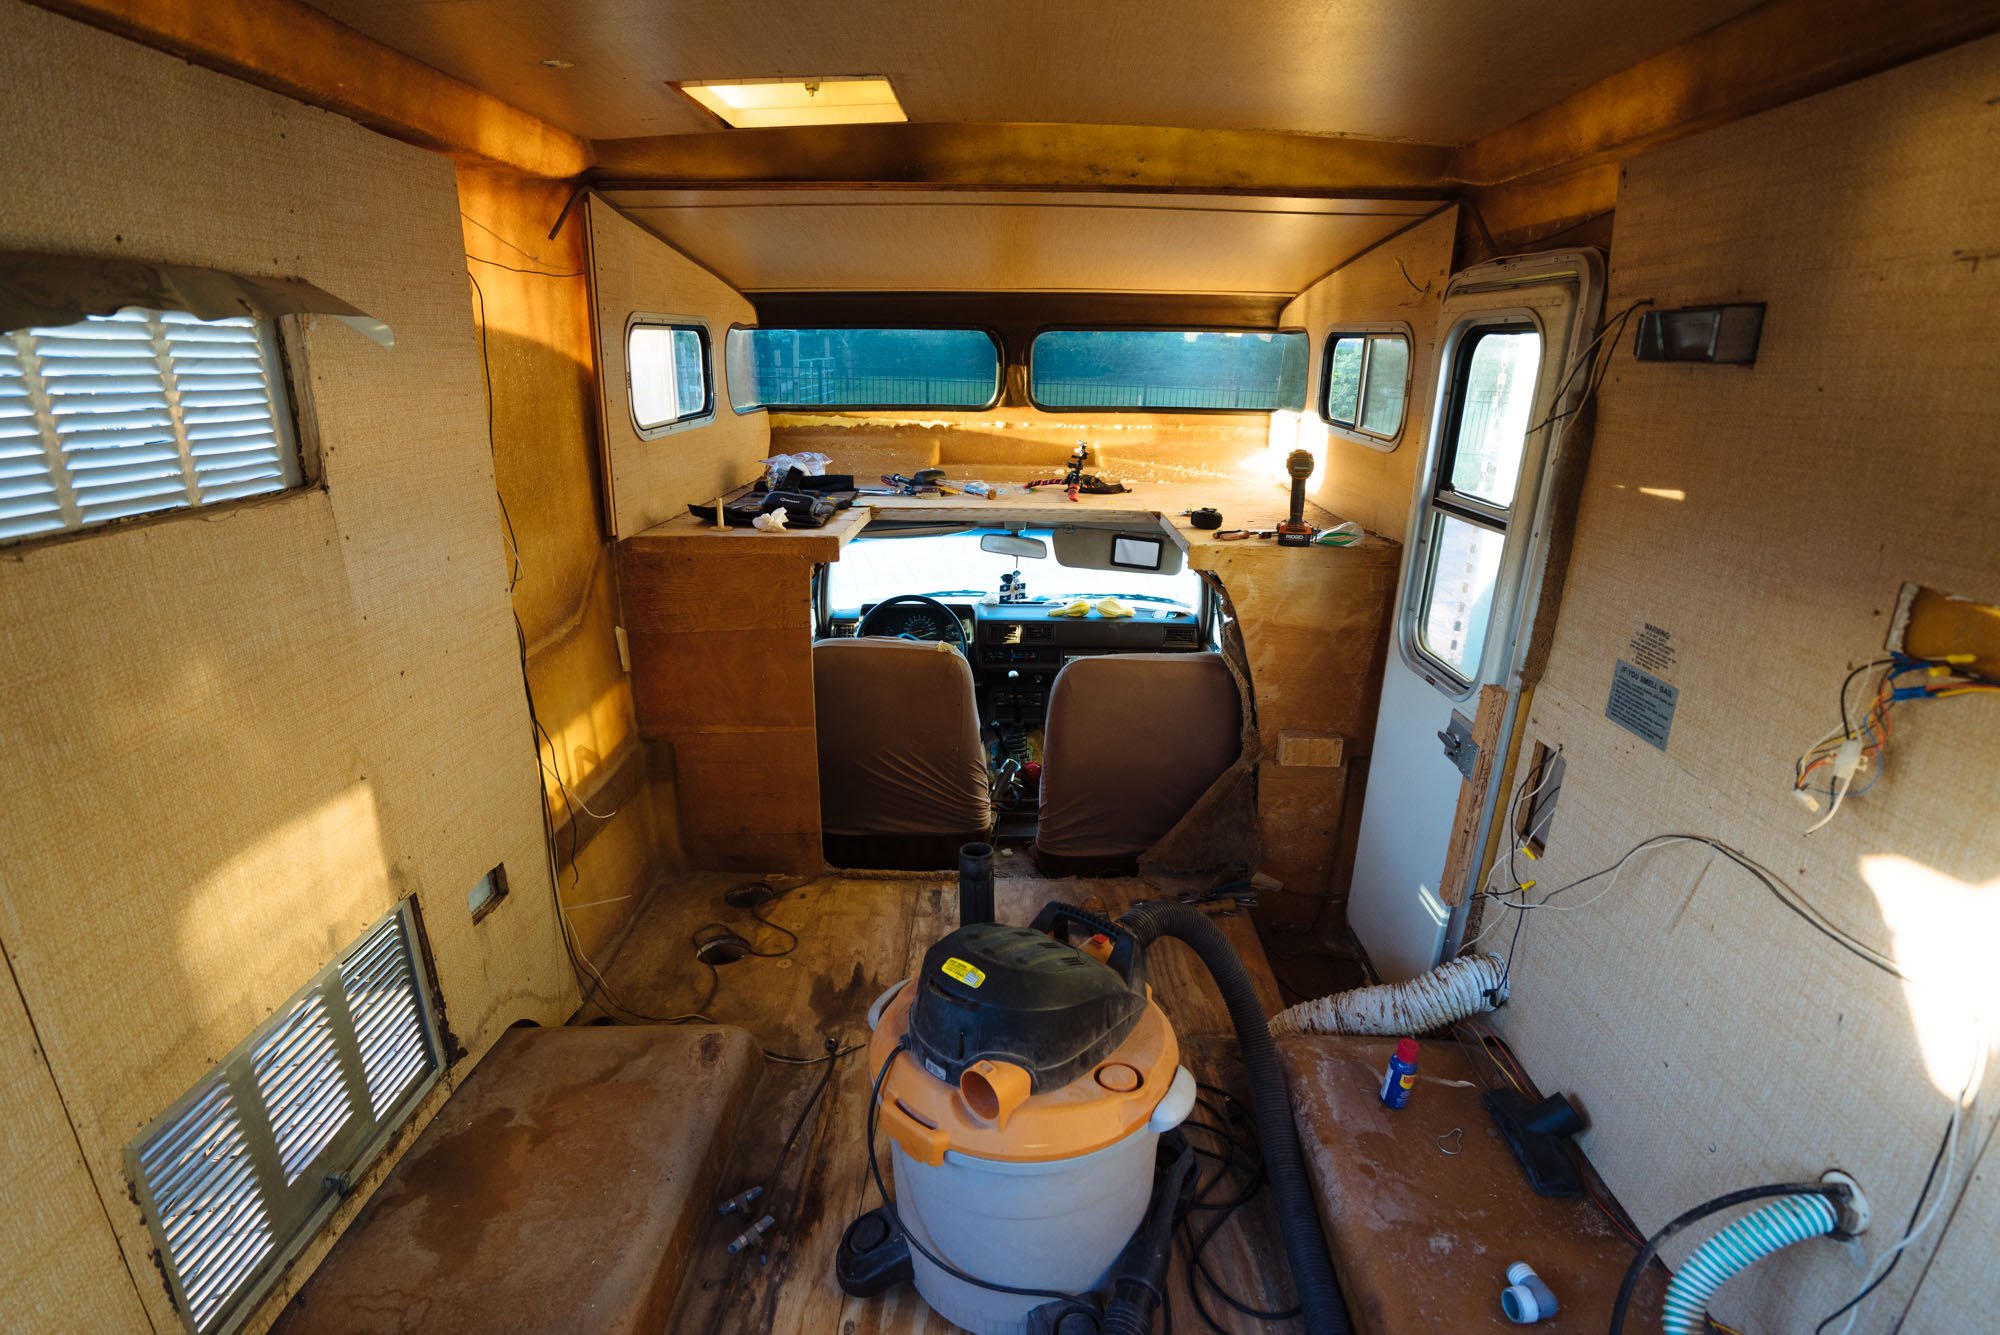
As I said, we took no time at all to get to this stage in the game. After spending the last month and some change living in Amelia as she was, we where chomping at the bits to pull everything (carpet specifically) out. It was an incredibly messy, dusty, and sandy job. There was a lot of sneezing.

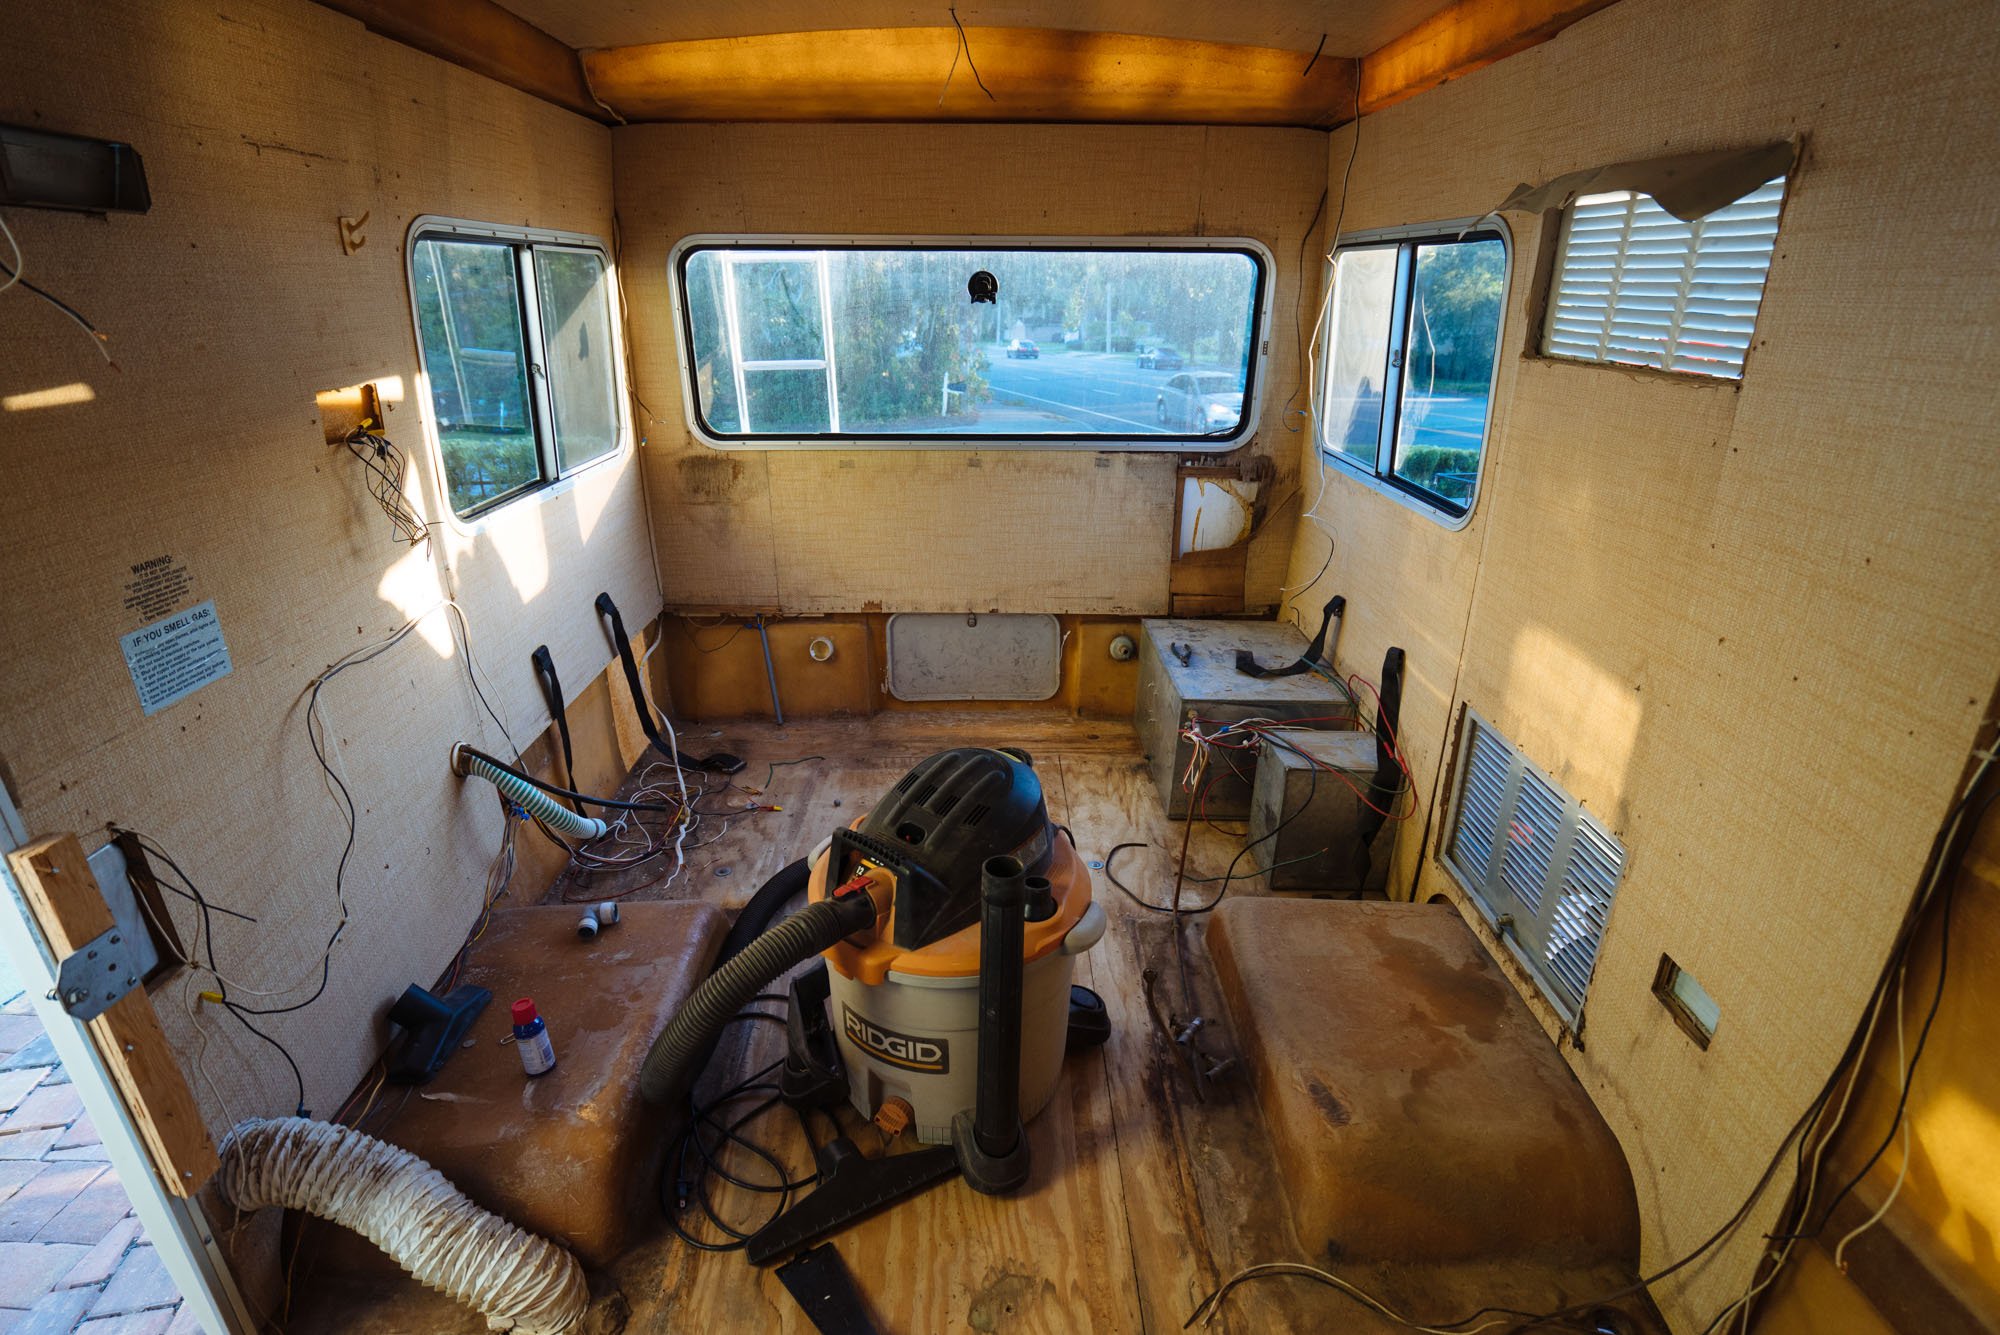
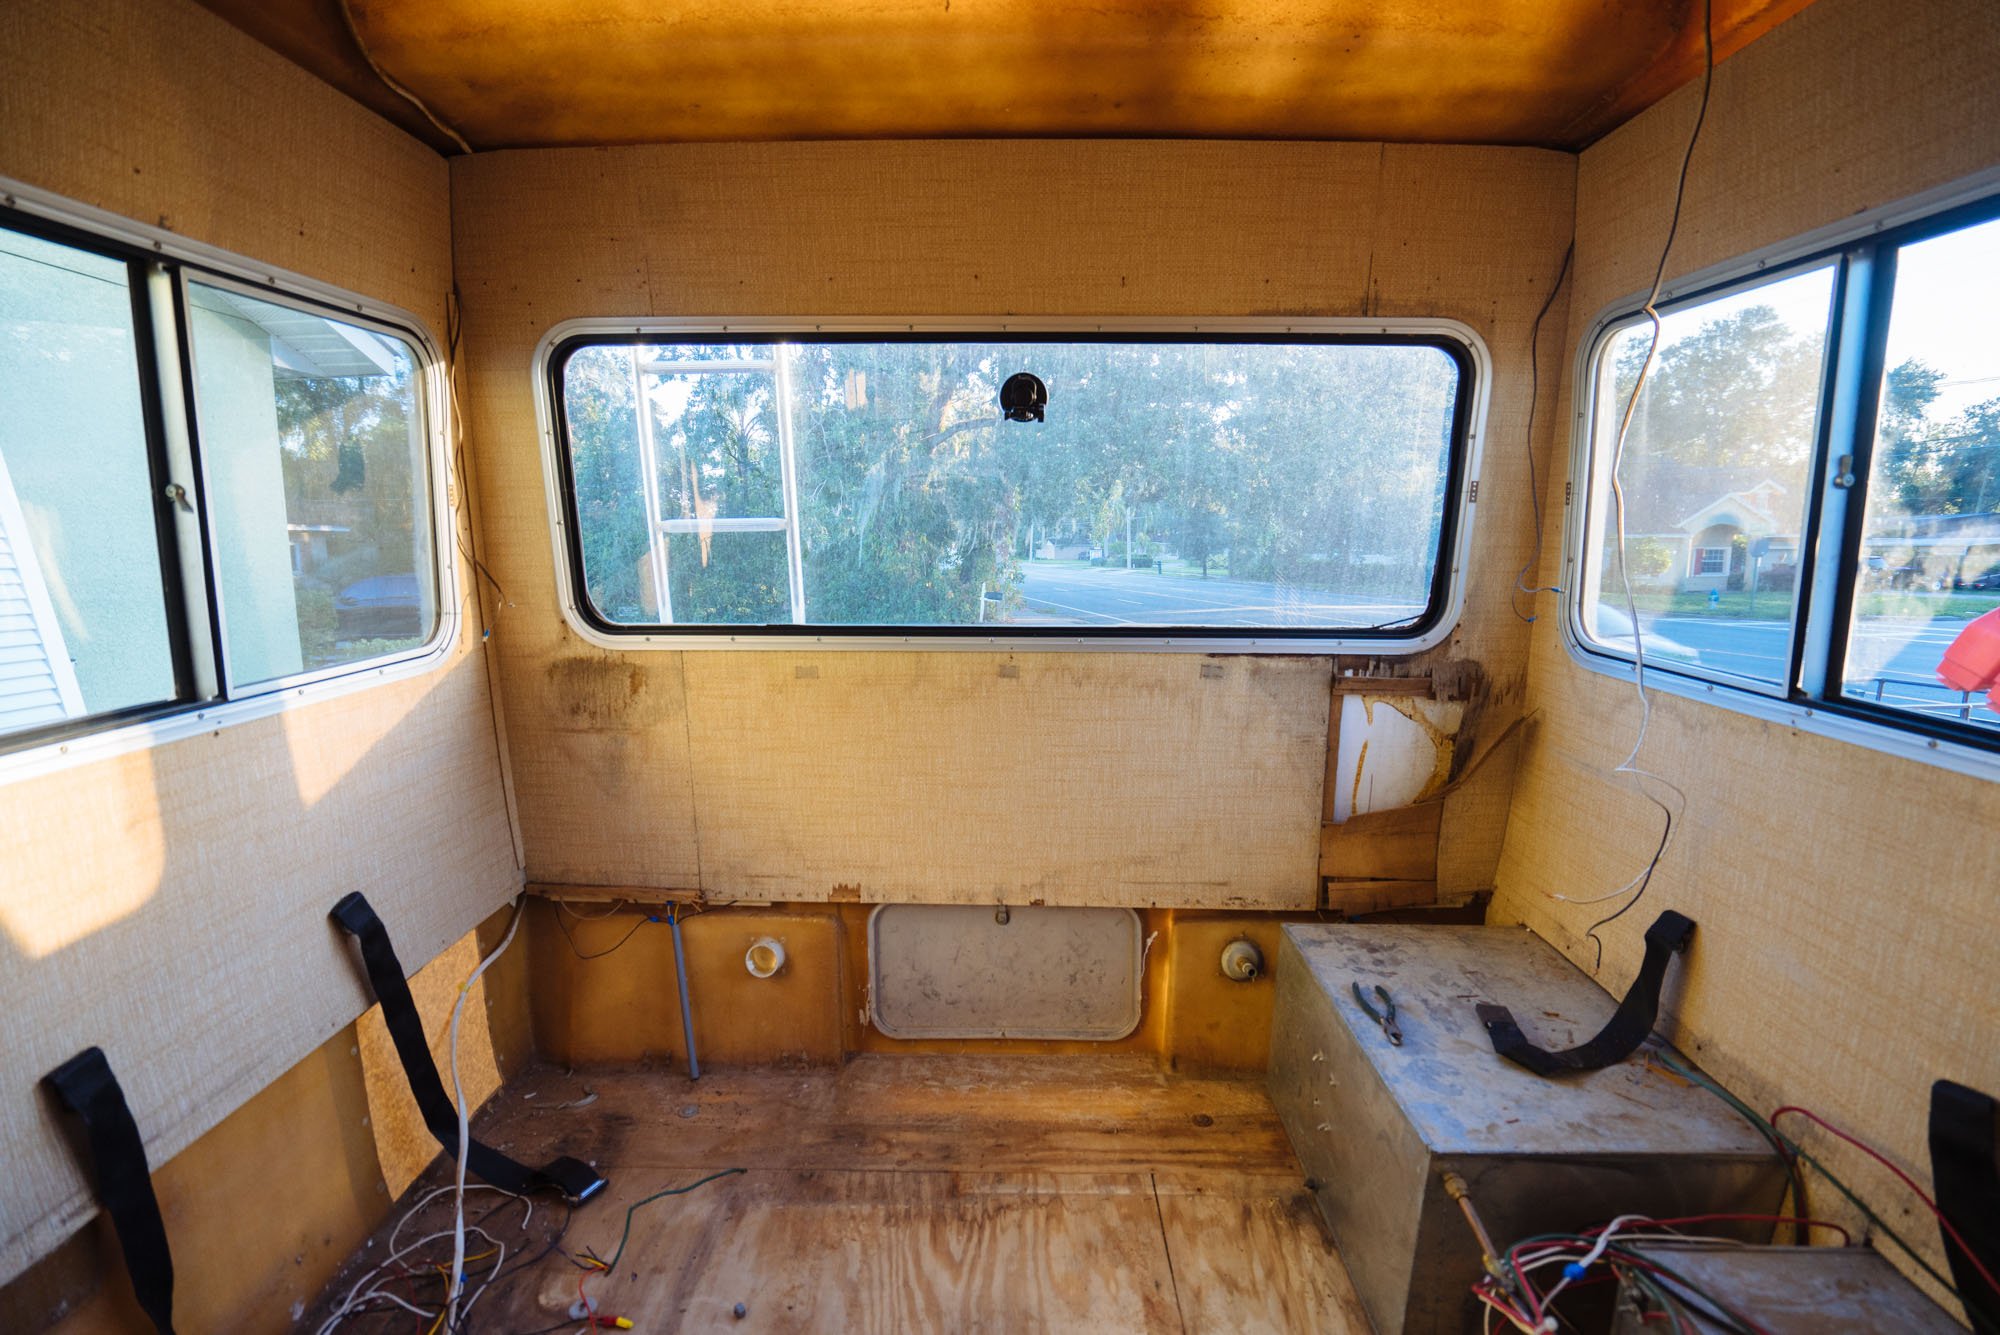
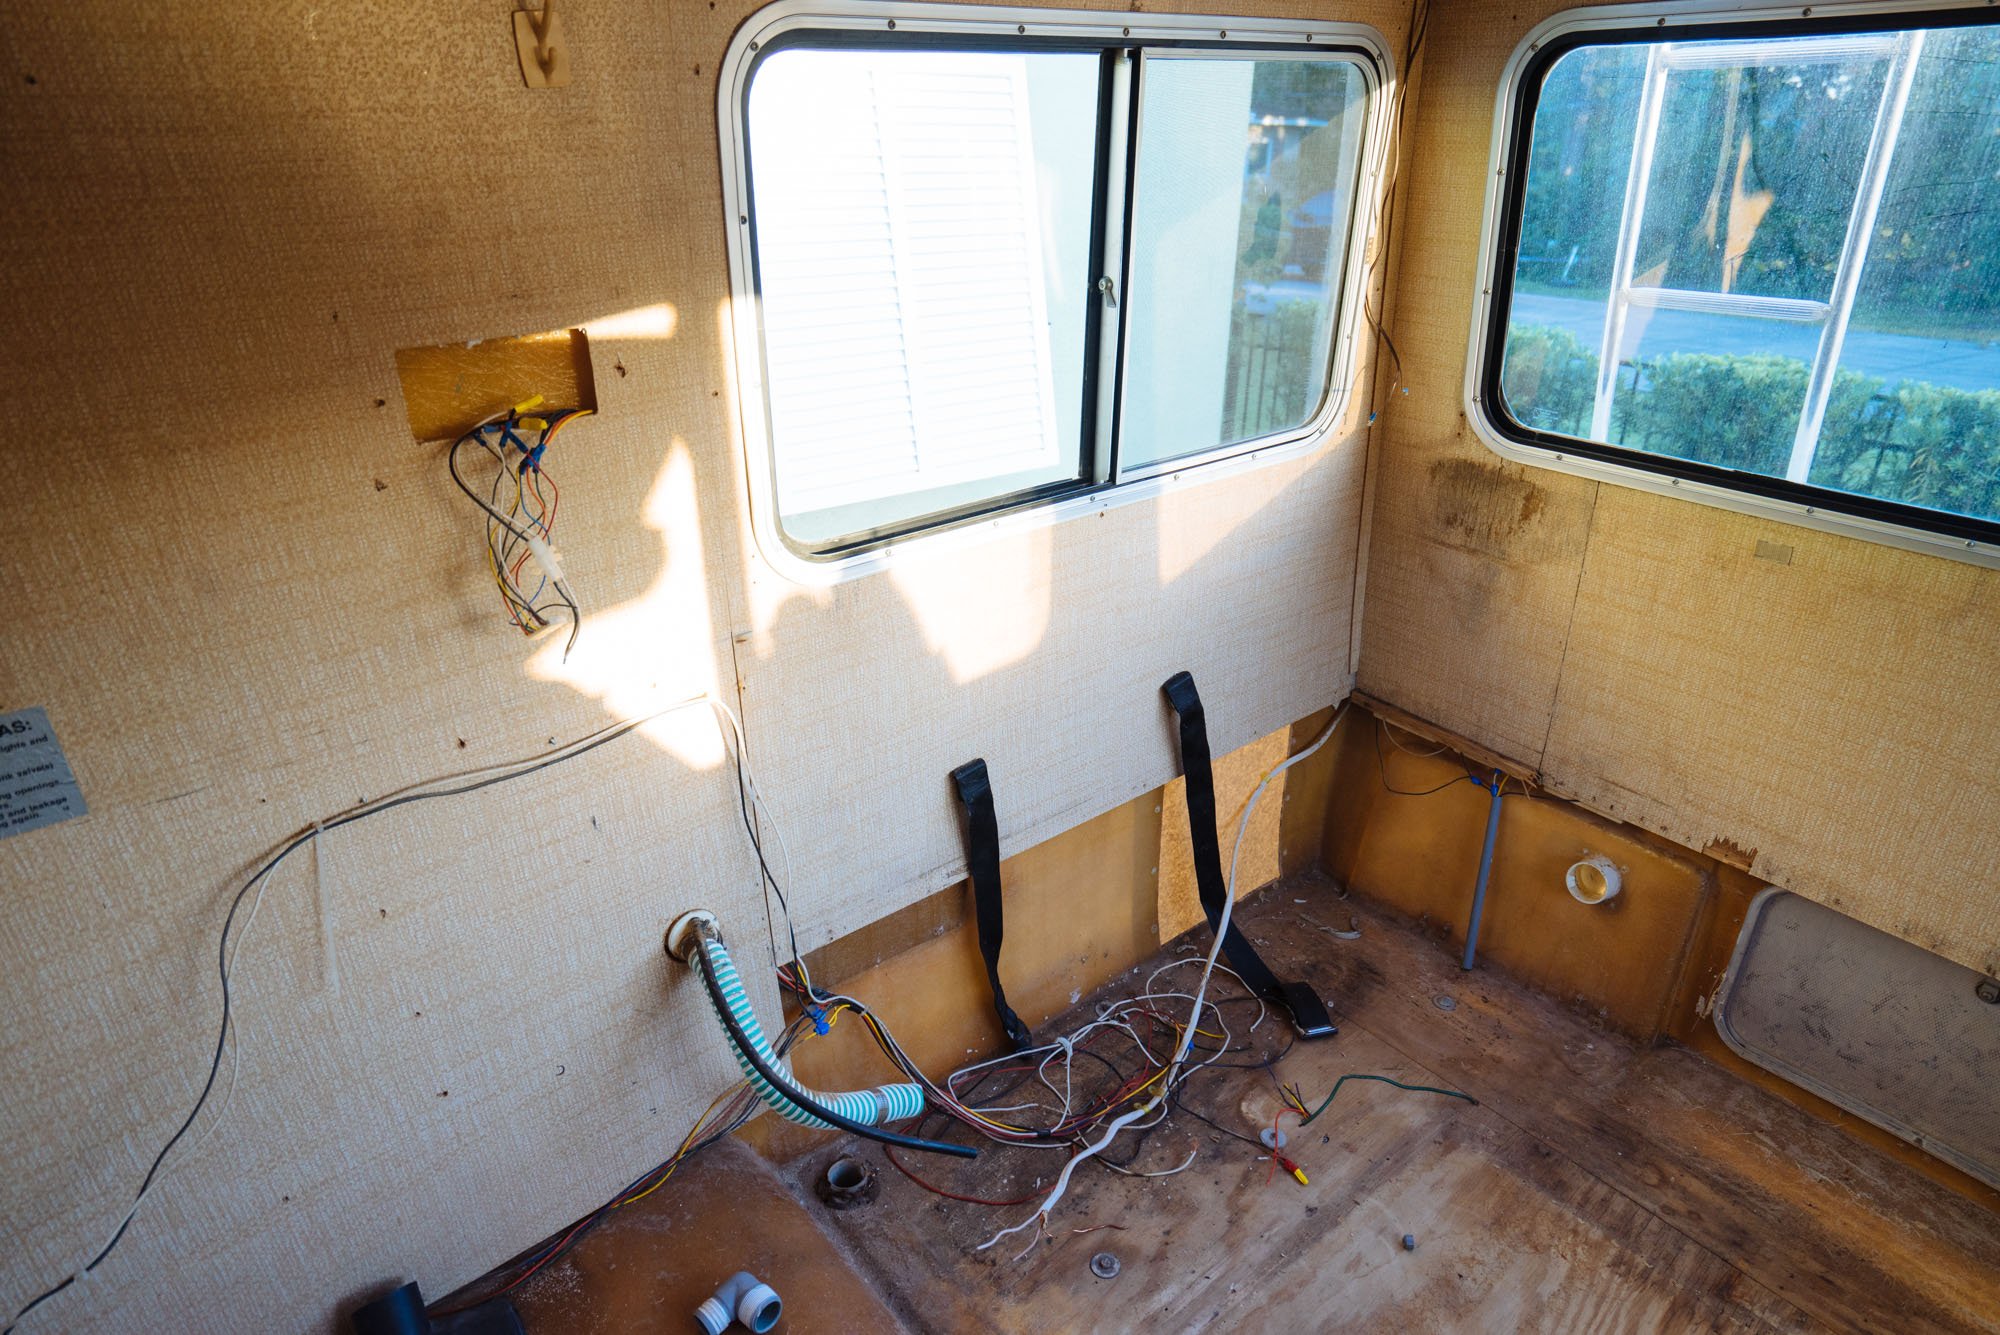
We decided to remove our shower, toilet and black water tank. You might think that we're crazy...but we've gone two years without it and have been more than fine. We need the space, and so it goes! These are the pass through holes that are left behind. We will need to find a way to fill them.
Good bye sad toilet, smell you later! We put it out on the curb and someone actually took it! It gave us a good laugh!

You know the holes in the image two above this one? Well, they weren't sealed very well and we suspect they were the entry point for the entire FAMILY of mice we found in various places around Amelia, like here, in the ceiling. We found bodies under the bathroom, under the fridge, behind the walls, and even in the headliner over the cab. We recovered 13 mouse bodies in total. Before you completely question our sense of smell, we were told that there was a mouse problem years ago and it was quickly taken care of. We think (hope) that it was a while back because they where LONG dead and dried up and didn't smell until we started pealing back the walls. It was horrifying...and we'll not soon forget the traumatizing event of finding them and sucking them up with the shop vac. :(
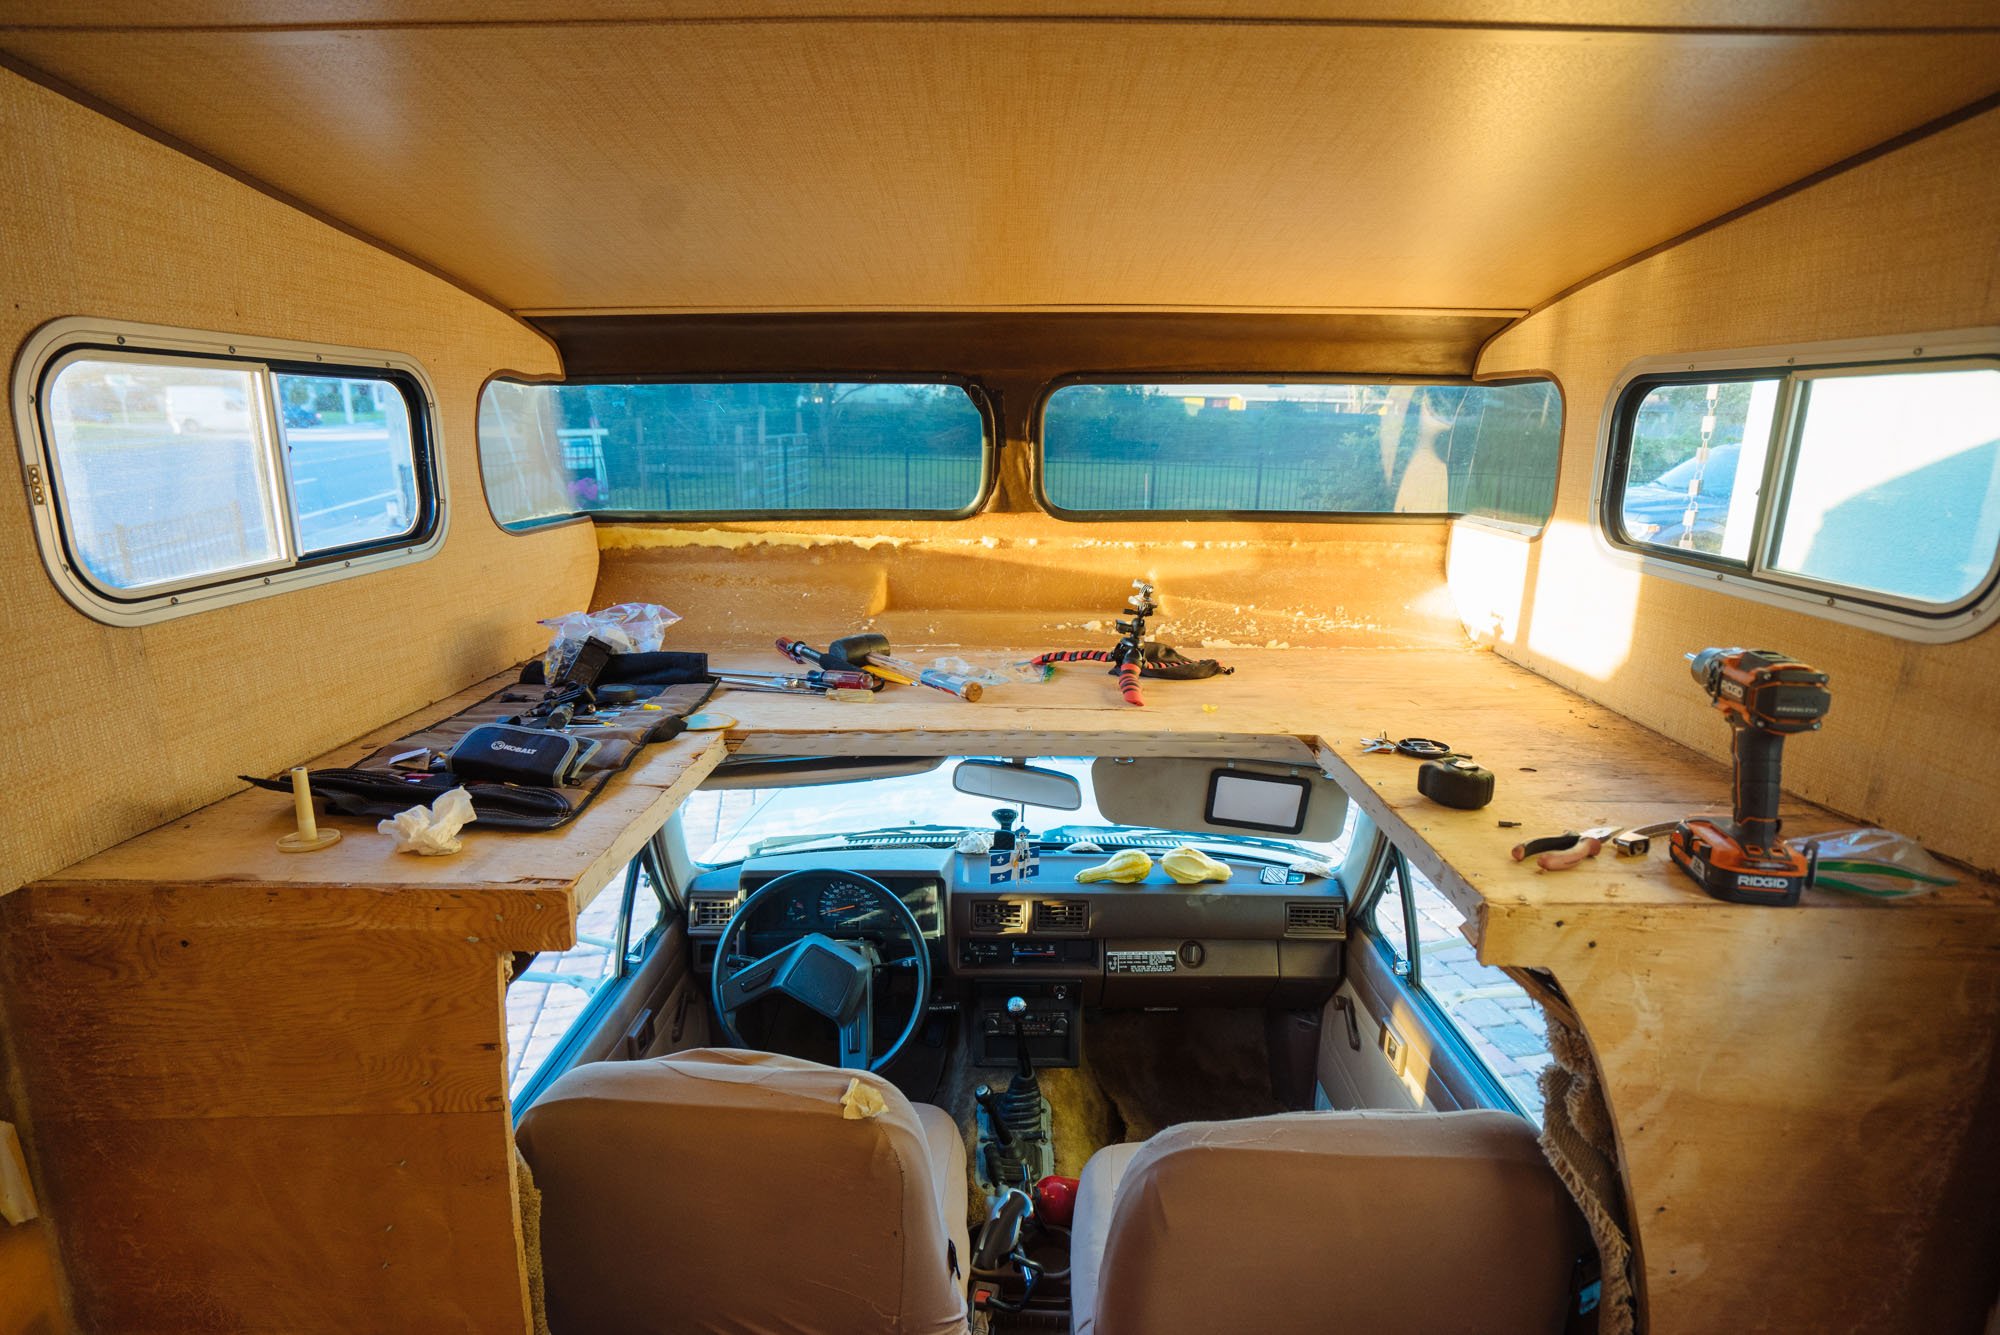
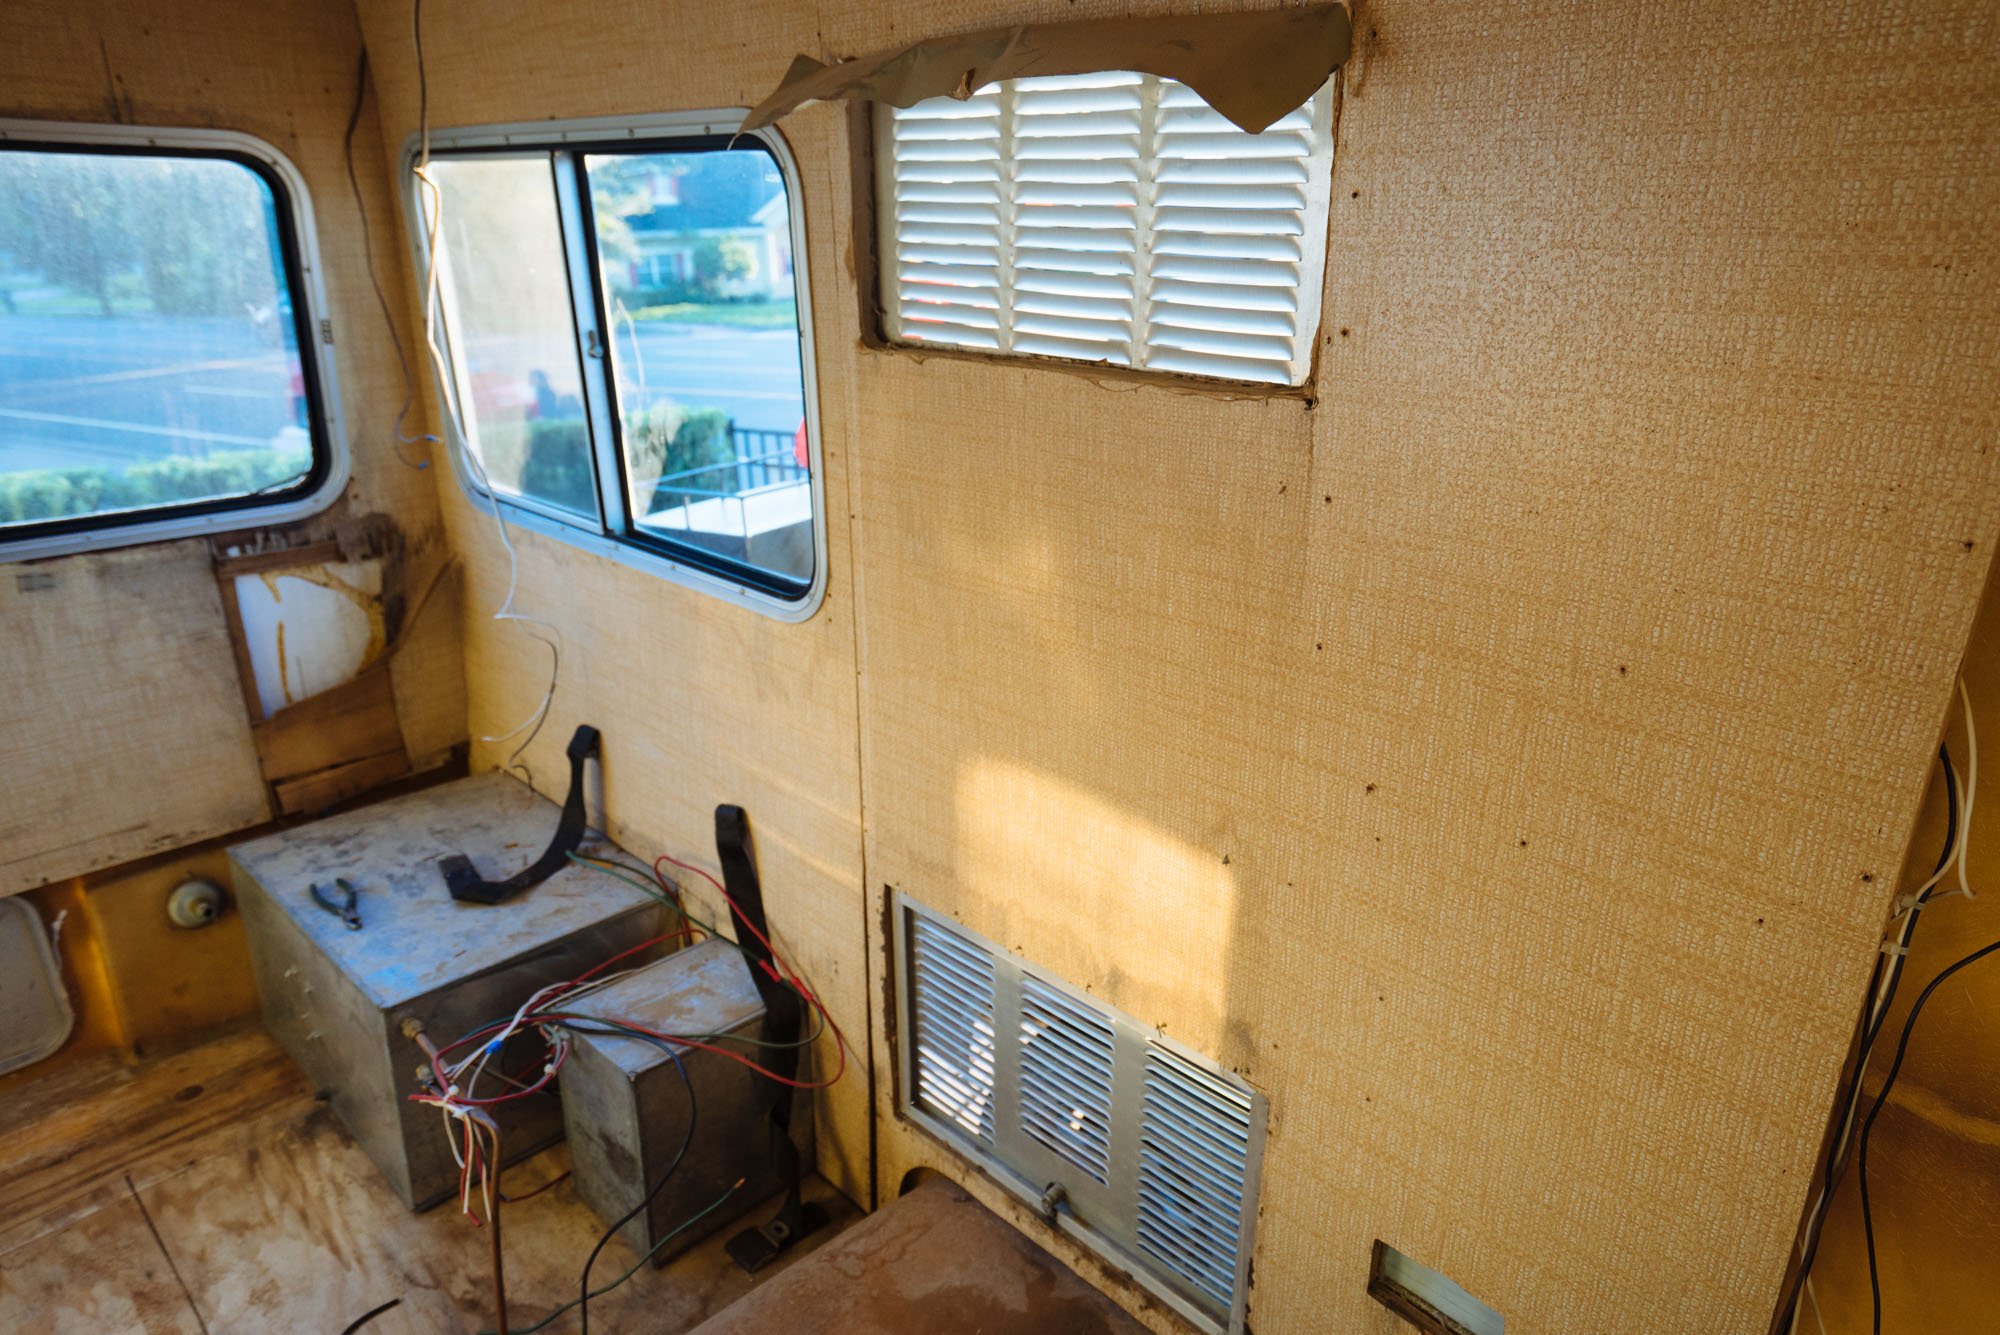
Here are some detail shots from before we pulled the wall panels out as well as the wiring and insulation.

Fiberglass is no joke. We were tired of being itchy, so we upped our demo game.
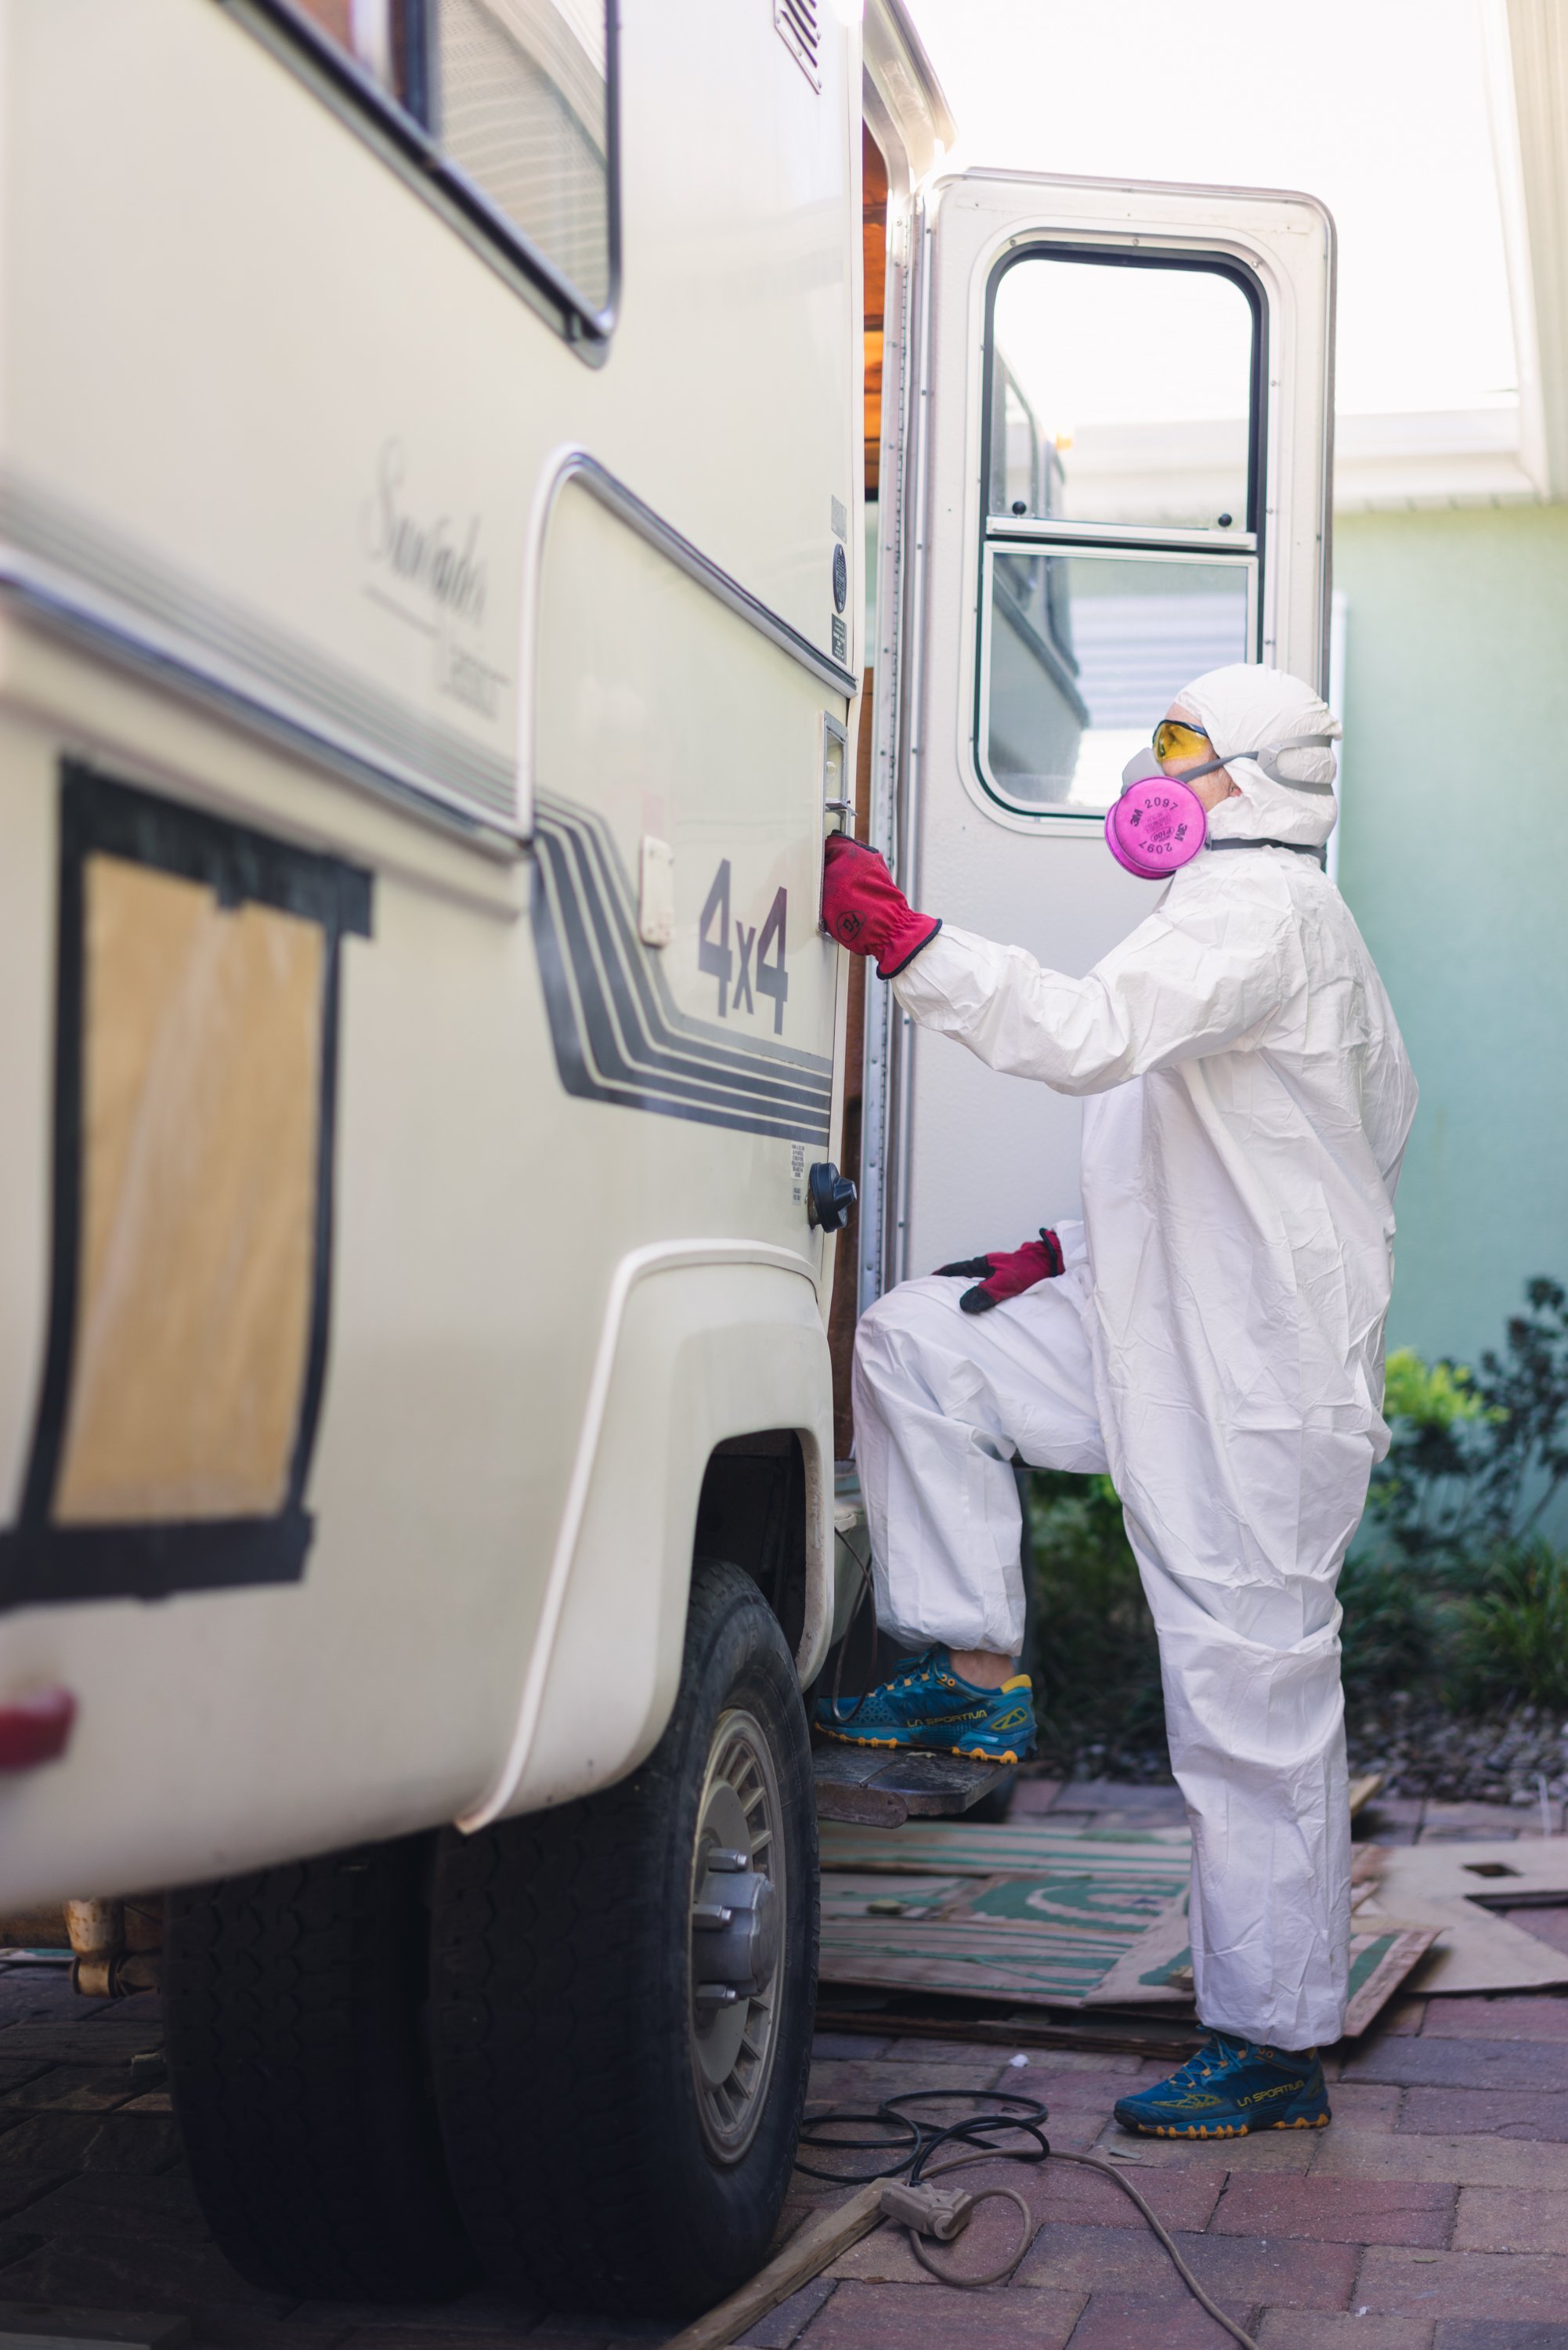
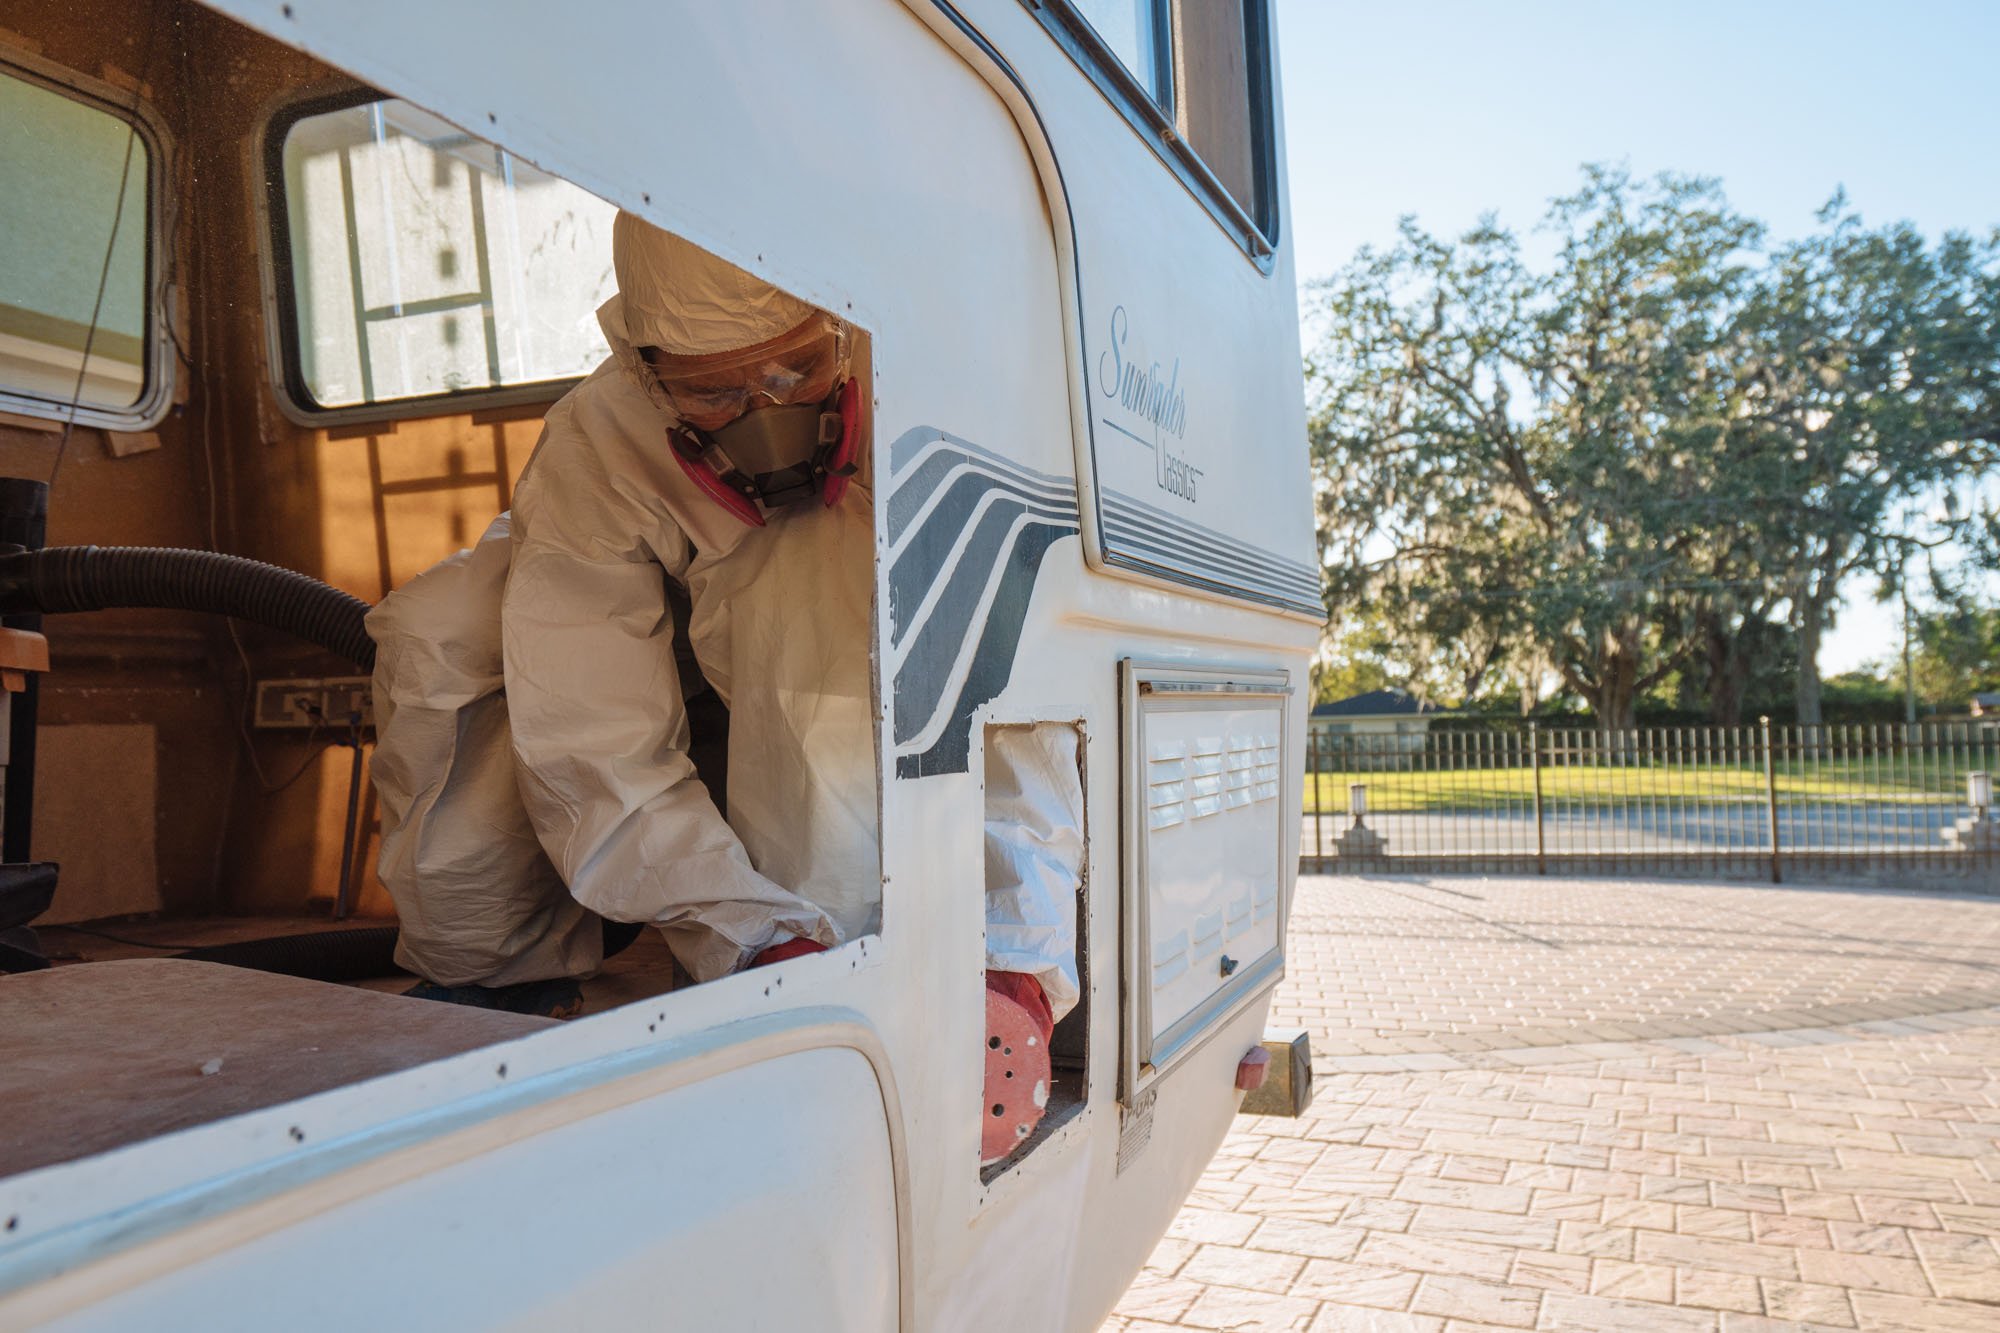
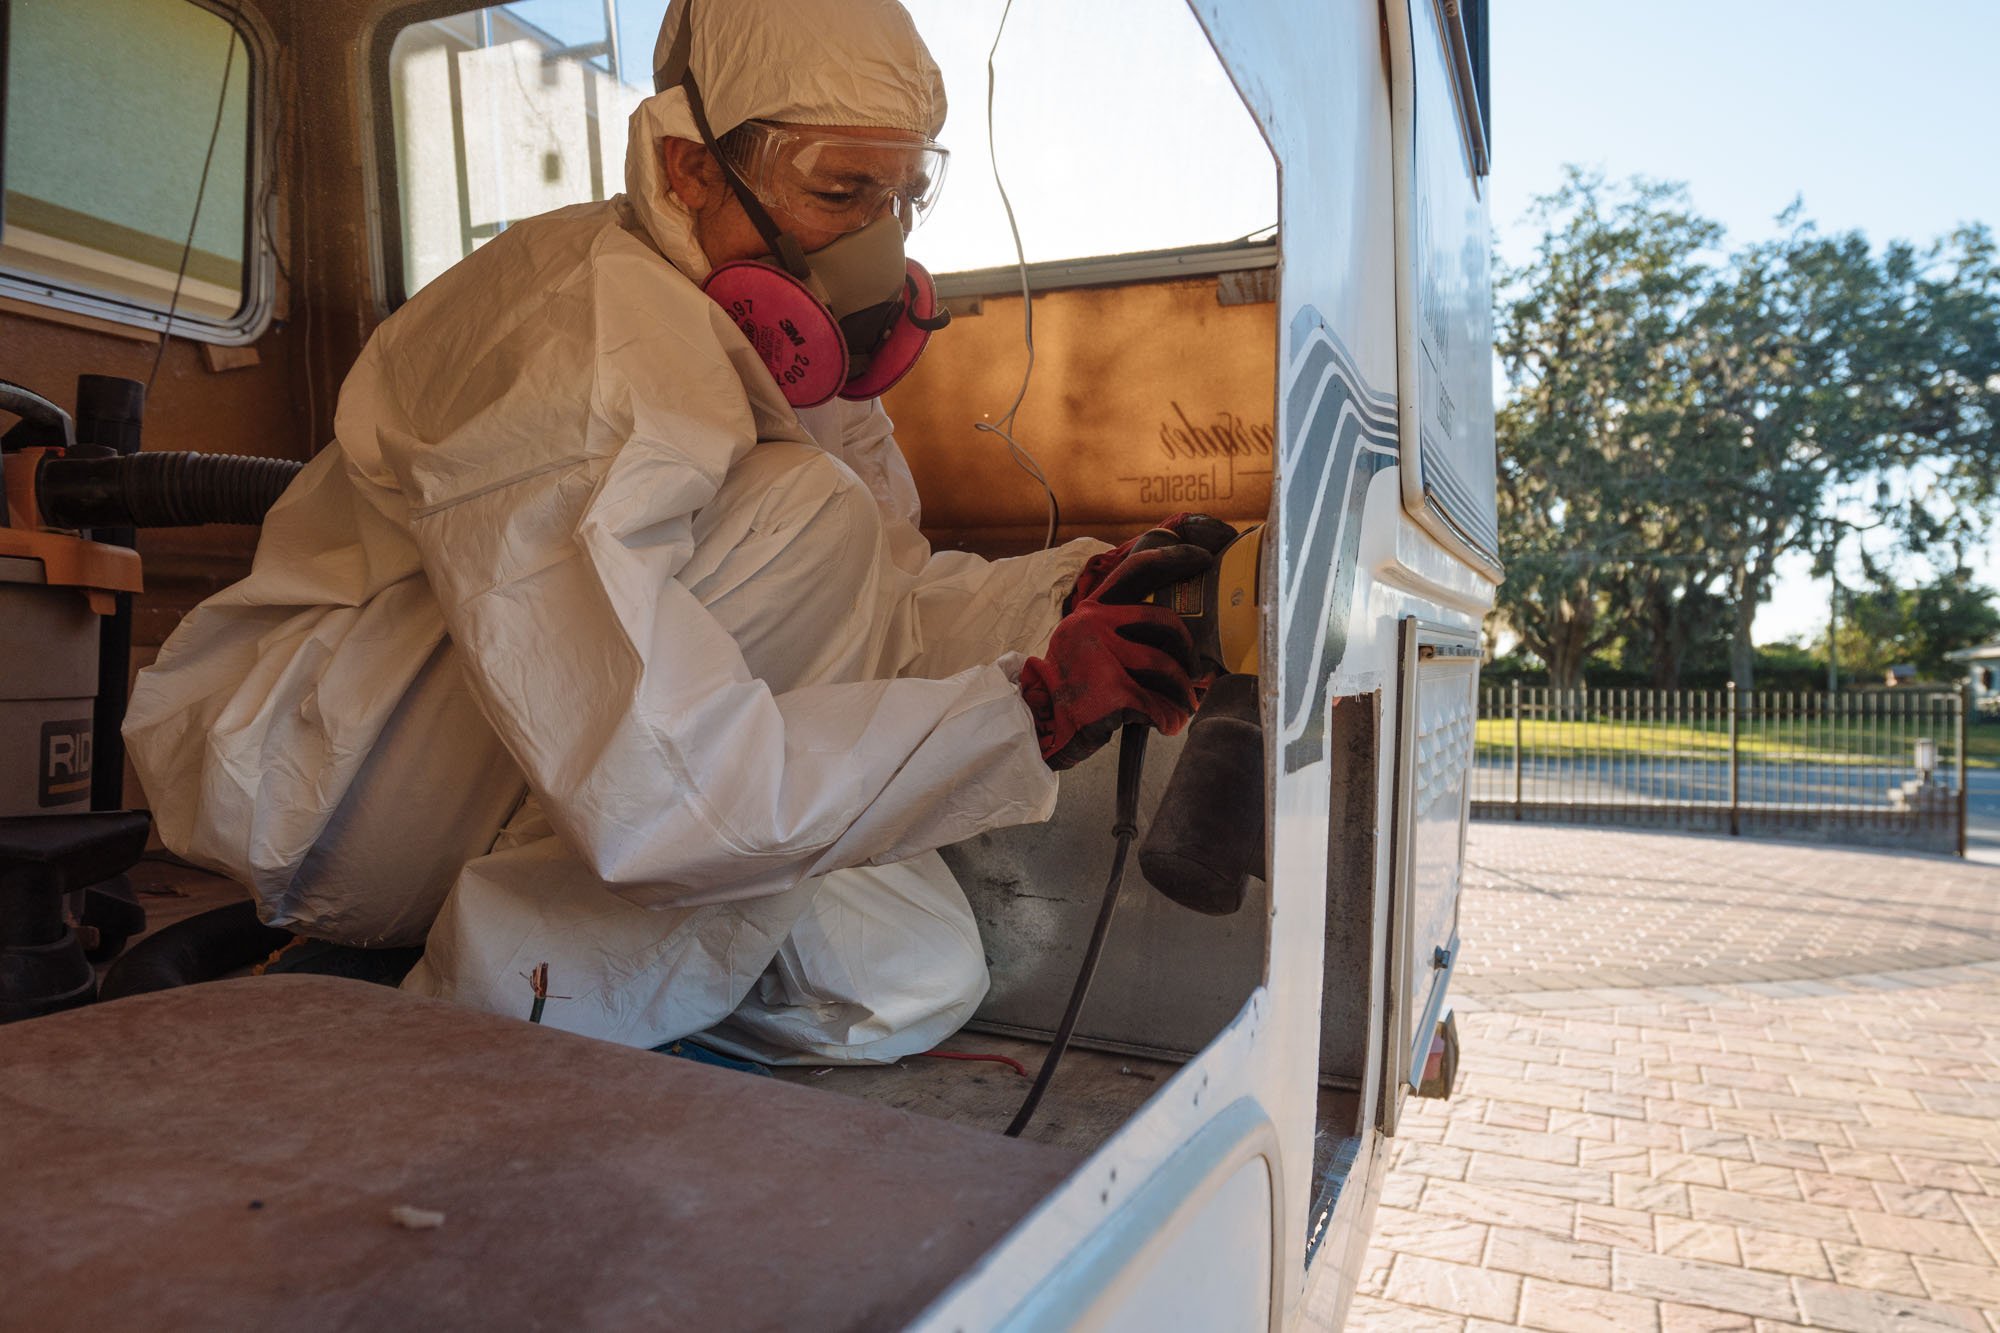
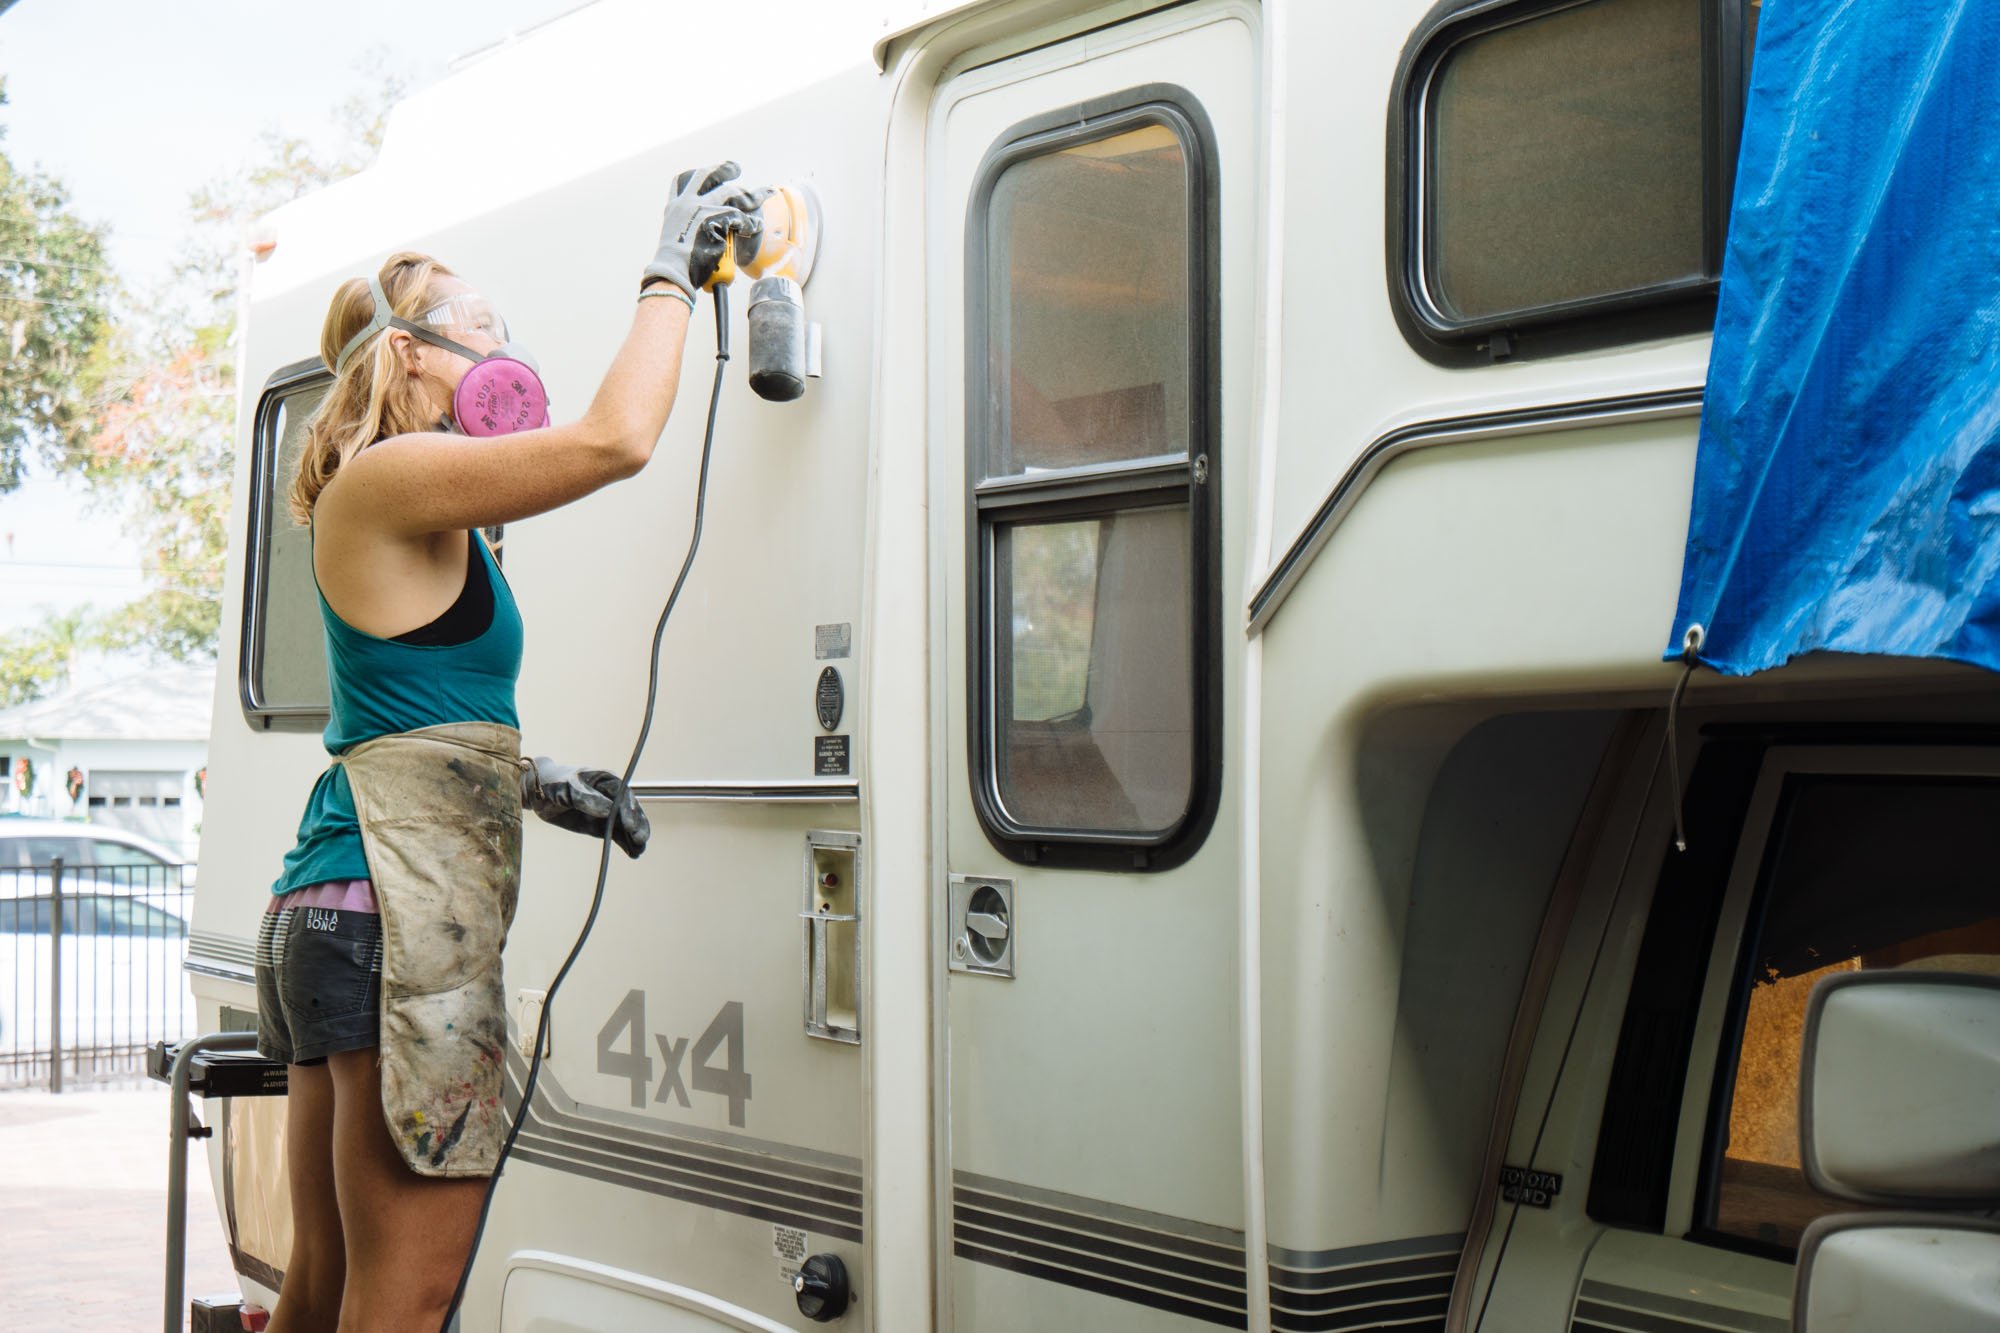
After removing all of the old appliances we realized that there are a lot of exterior utility cabinet doors and vents that we no longer need because we are updating to modern appliances. We decided the best move for these openings in the exterior wall was to fiberglass them in. Did we hire anyone to do it? Nope! After 8 hours of tutorials, 5 visits to West Marine, and 2 test pieces I built up the confidence to do it myself. Above, I am sanding over the edges of the openings in preparation for fiberglassing.

To prepare the openings we also needed to remove all silicon and other sealants from the area, which was no small feat. We have spent hours scraping off sealants from different opening around the Amelia.

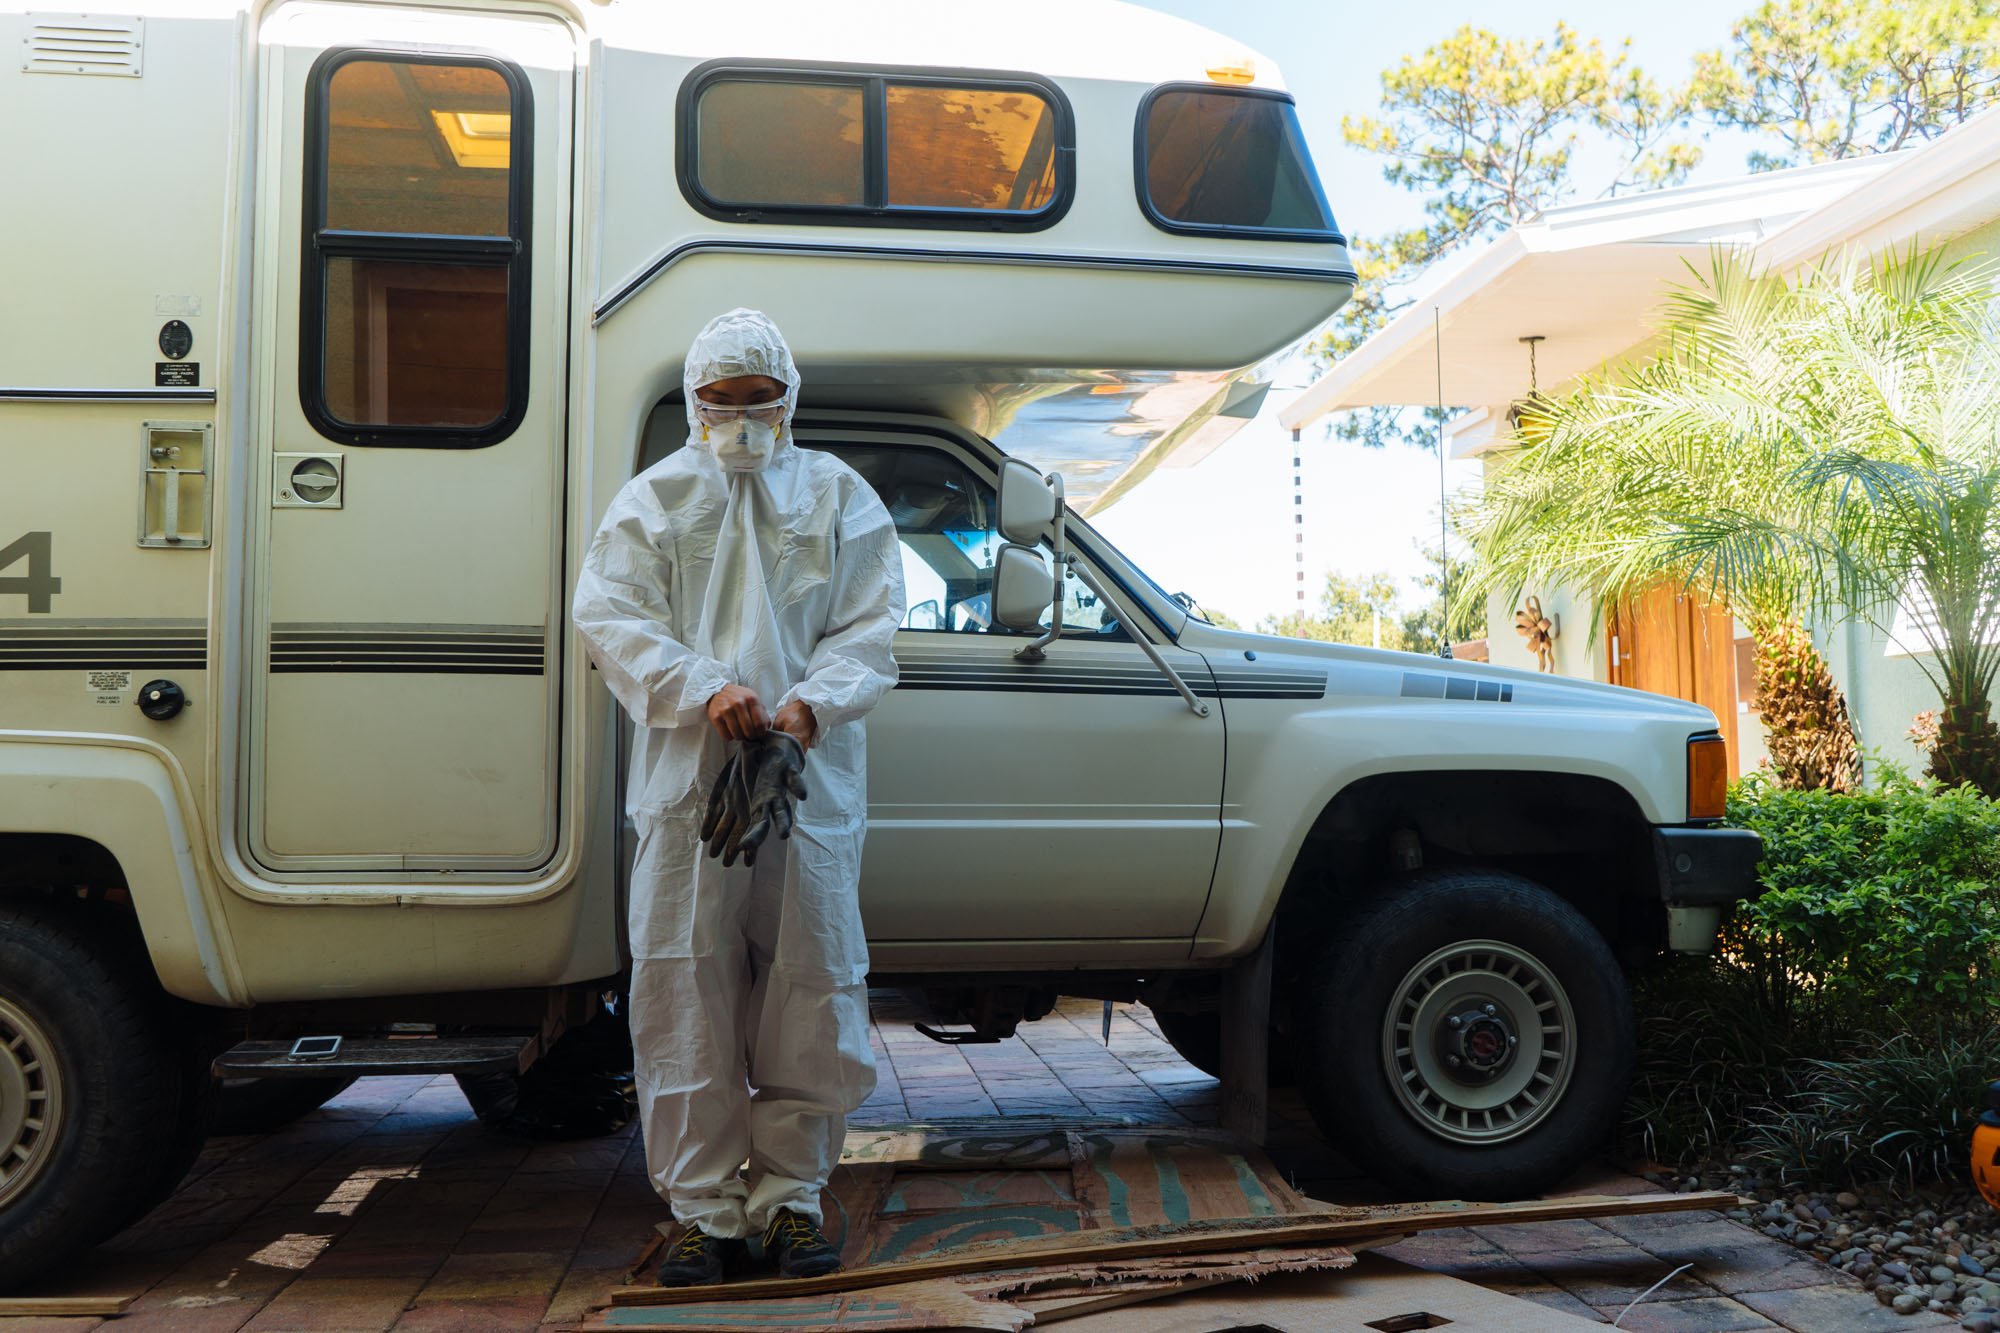
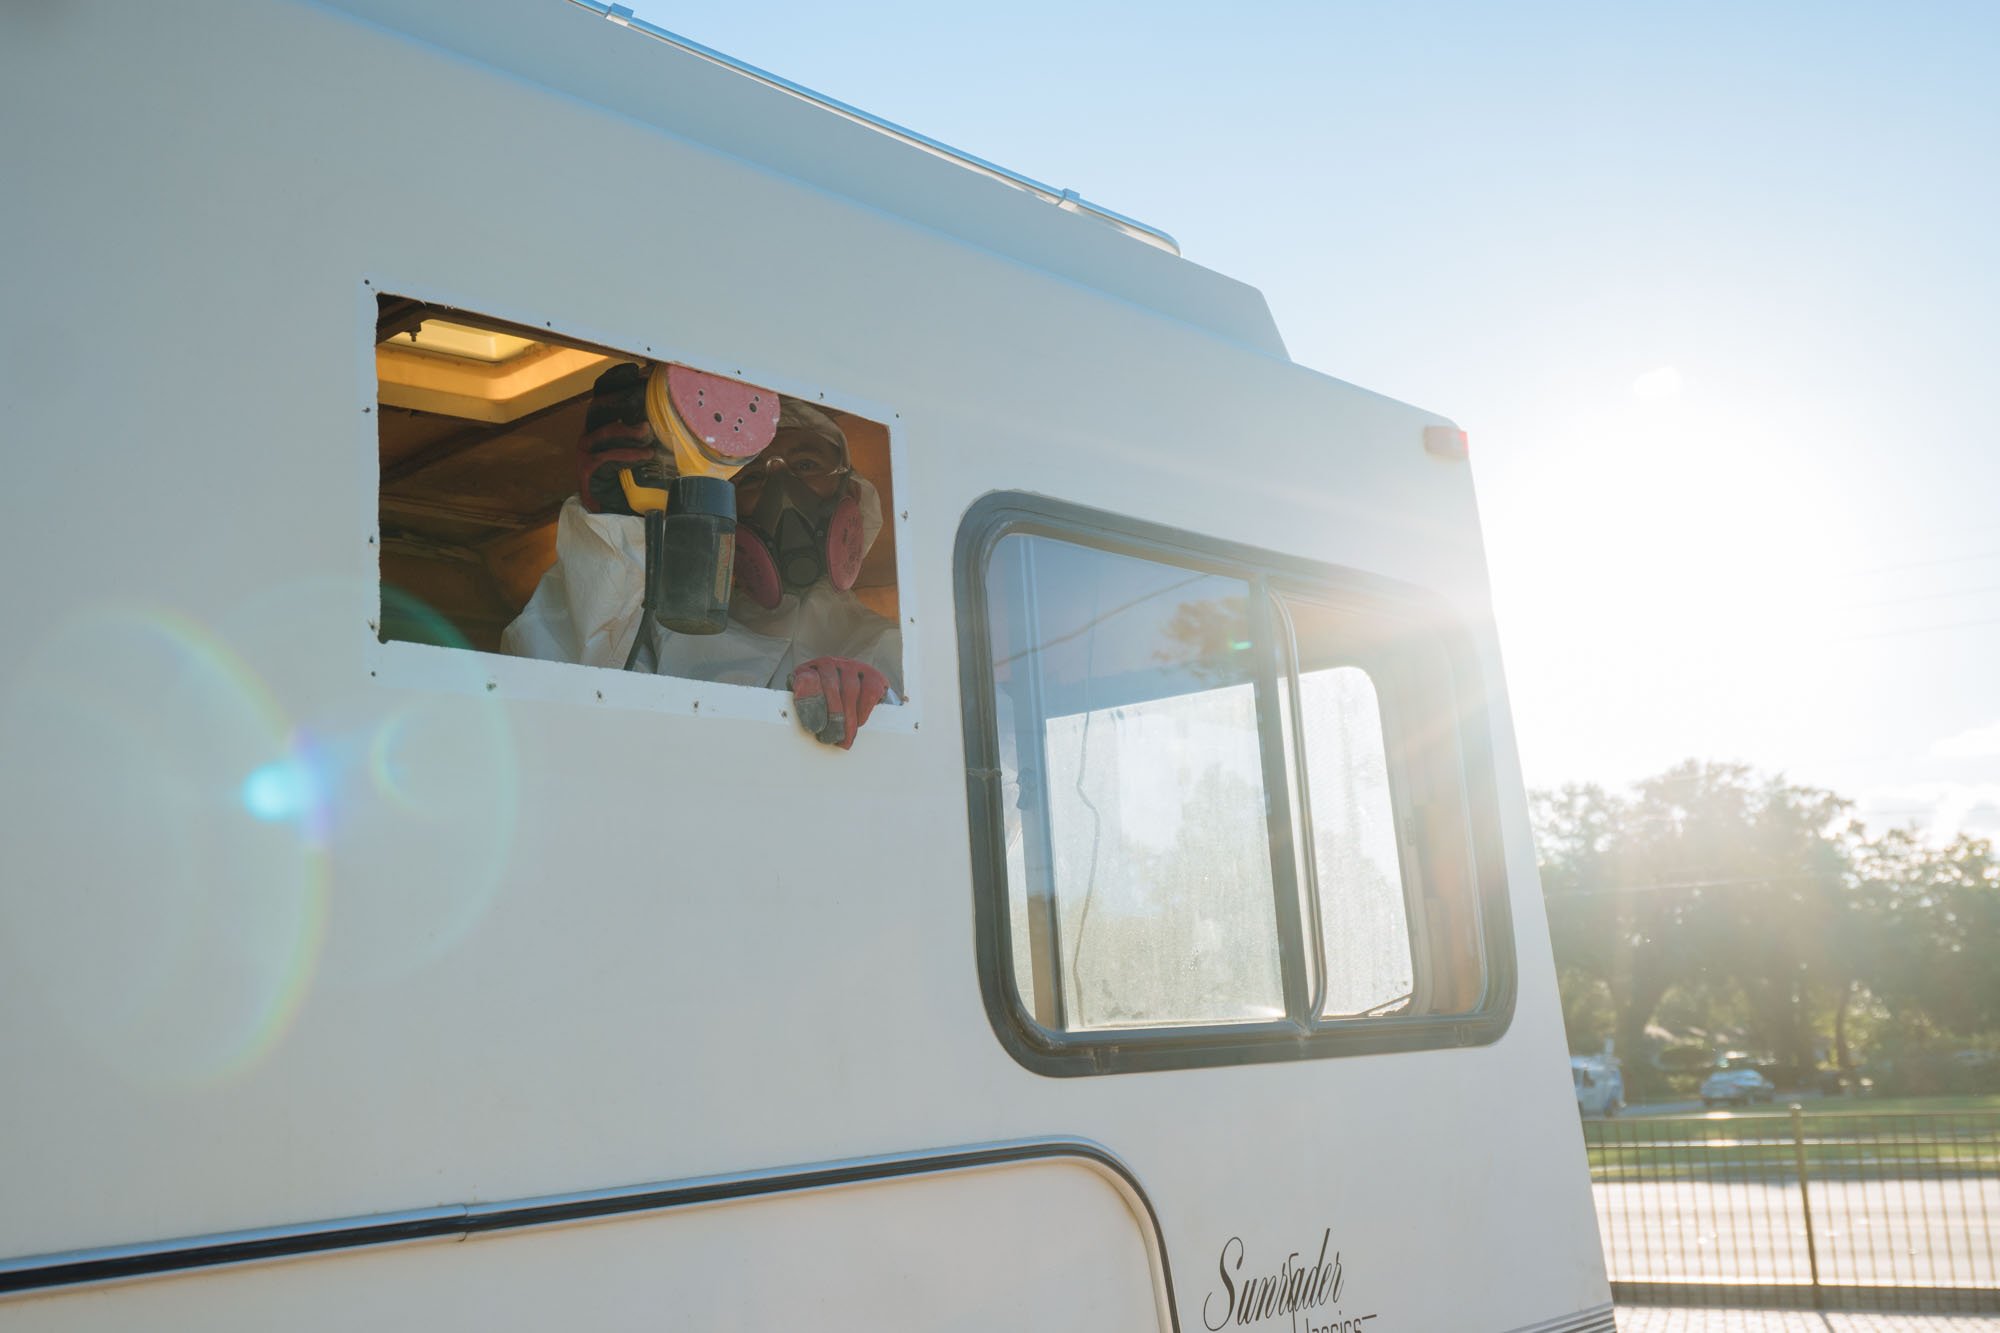
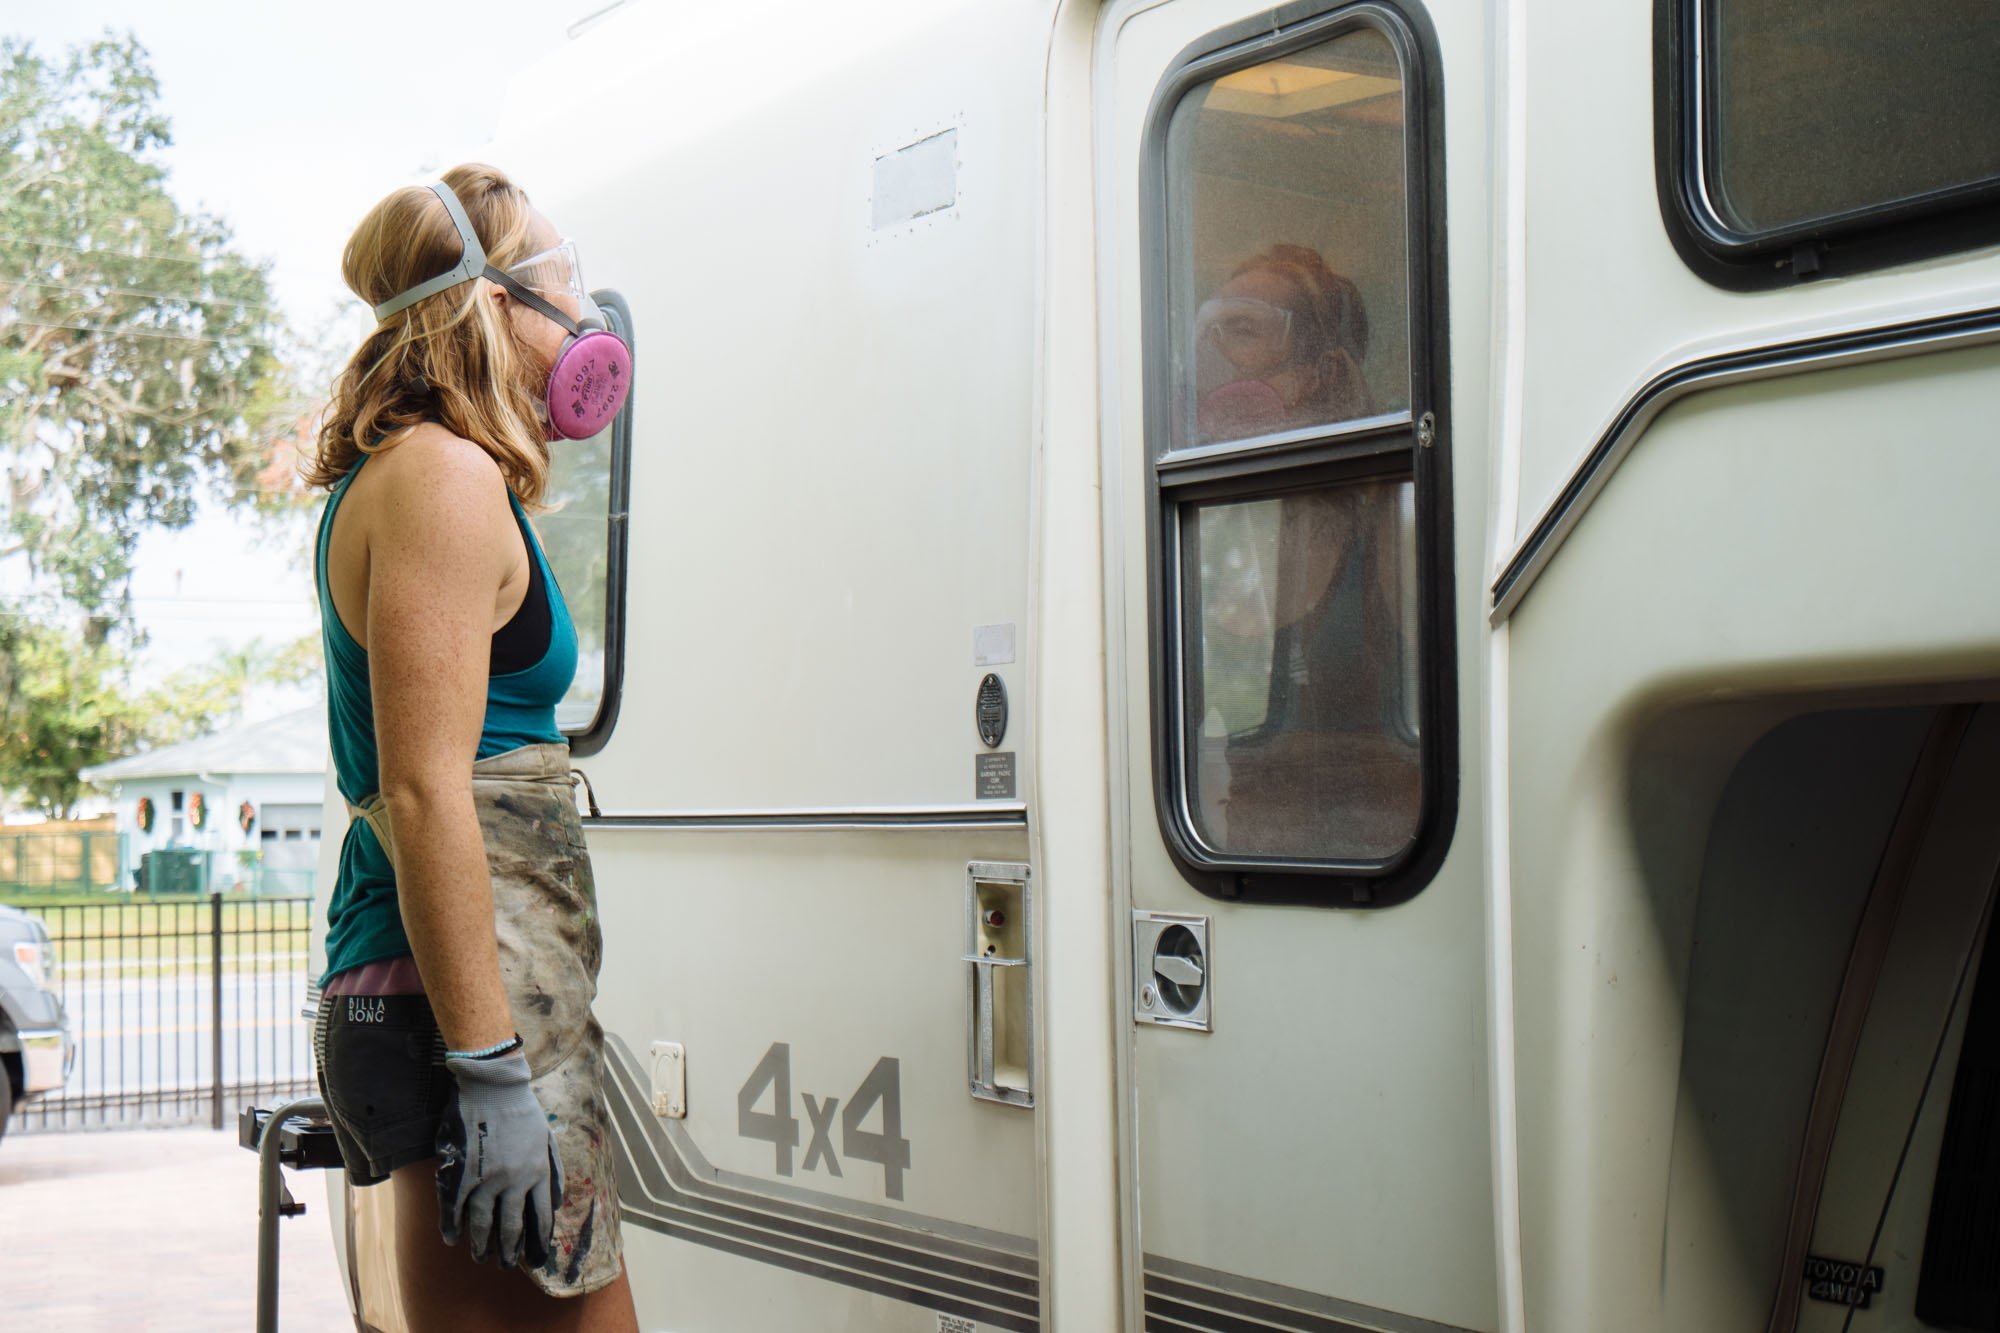
The protective gear is pretty flattering isn't it?!

Owen working on removing assorted sealants from some roof vents that still are yet to be filled with fiberglass.
This is me examining my first fiberglass patch job on Amelia. It was the exhaust vent that was over the range was a good place to try first because it was small and very manageable. I sanded it down to check my work after the fiberglass cured. I'll have more detailed shots and explanations of all of this next week!

This week we also removed our step, side view mirrors, and rear ladder all to be repainted. Things that will be stepped on got painted with primer and truck bed liner for extra grip. The side view mirrors just got painted with a lightly textured black.

We have started to get the different appliances that are replacing our tired '85 appliances, like our new Dometic Refrigerator/Freezer! Yes you read that right, freezer! We'll now be able to have ice cream on board! This Refrigerator is a total beast, it can be controlled and monitored remotely using an app, and above all it is efficient! We're really looking forward to getting this bad boy installed!
Alright! That's it for this catch up post. I know it doesn't look like much, but we have just come to realize that there is a lot to be done before we can put the walls in and start building back up. Next week we'll share with you our "current" plan for the layout inside as well as more on the fiberglassing. Hooray and see you next week!
TTFN,
MAK