Build Out: Week 18 - 19
Wheels, Tires, CABINETS and a camping Trip

Hey guys! Sorry you haven't heard from us in the last two weeks. During "Week 18" of the build Amelia went into the shop to have a thorough checkup, some suspension work, a conversion from a semi float axle to a full float axle, a reduction from a dually to single wheels on the back, and new wheels and tires! She was in the shop for the entire week. I'm sure you're now probably questioning why the hell we'd do all of this in the first place. So, allow me to explain.
A lot of 80s Toyota motorhomes had a rear semi float axle that was recalled a long time ago (the camper companies, not Toyota). Reason being, that under full load the back axle would snap and tear off the rear end of the vehicle as it went flying down the highway. Yeah, not good. When they were recalled, most went into the shop to be converted to a full float axle to fix the problem. 18' Sunraders were not a part of the recall (despite accounts of the same failure) so many never made it in to swap to full float, and since then, Sunrader is no longer an operating business. Our dear Amelia sadly, never had the axle swapped which meant that we needed to figure it out ourselves (and the help of the internet). It's been an arduous task figuring out this conversion, and what was required to have it done. In the end, we decided to use a full float conversion kit. This conversion forces us to move away from the dually and converts the rear to disc brakes, so we figured this was a prime opportunity to take care of everything else!
While she was in the shop we realized that we were missing some parts for the conversion of our rear brakes to disc brakes. The parts are on the way but when they arrive she'll have to go back into the shop to have that taken care of. You wanna see the (current) finished product?
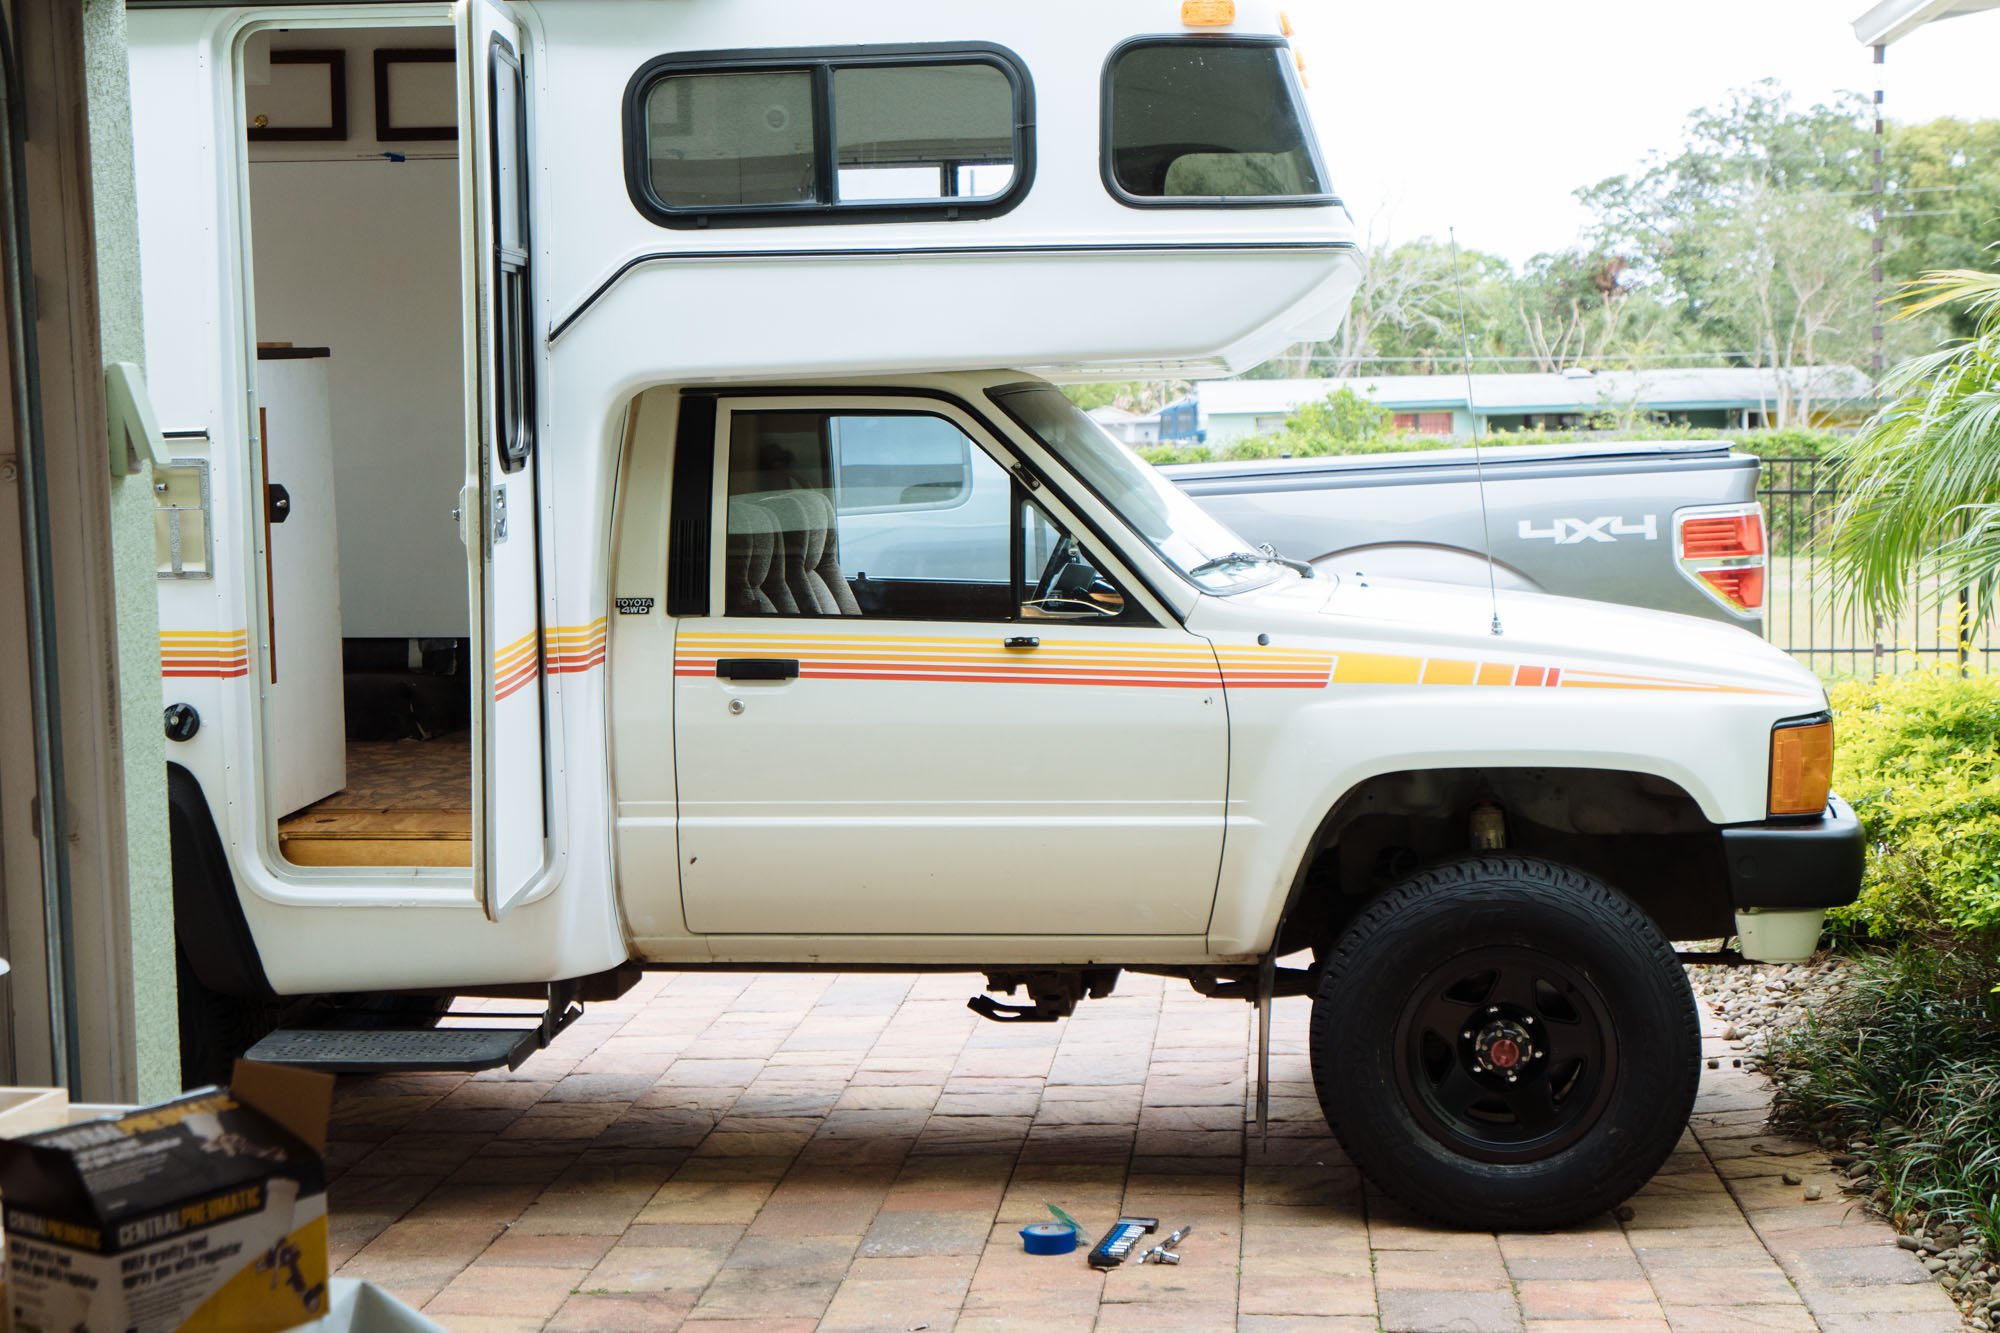
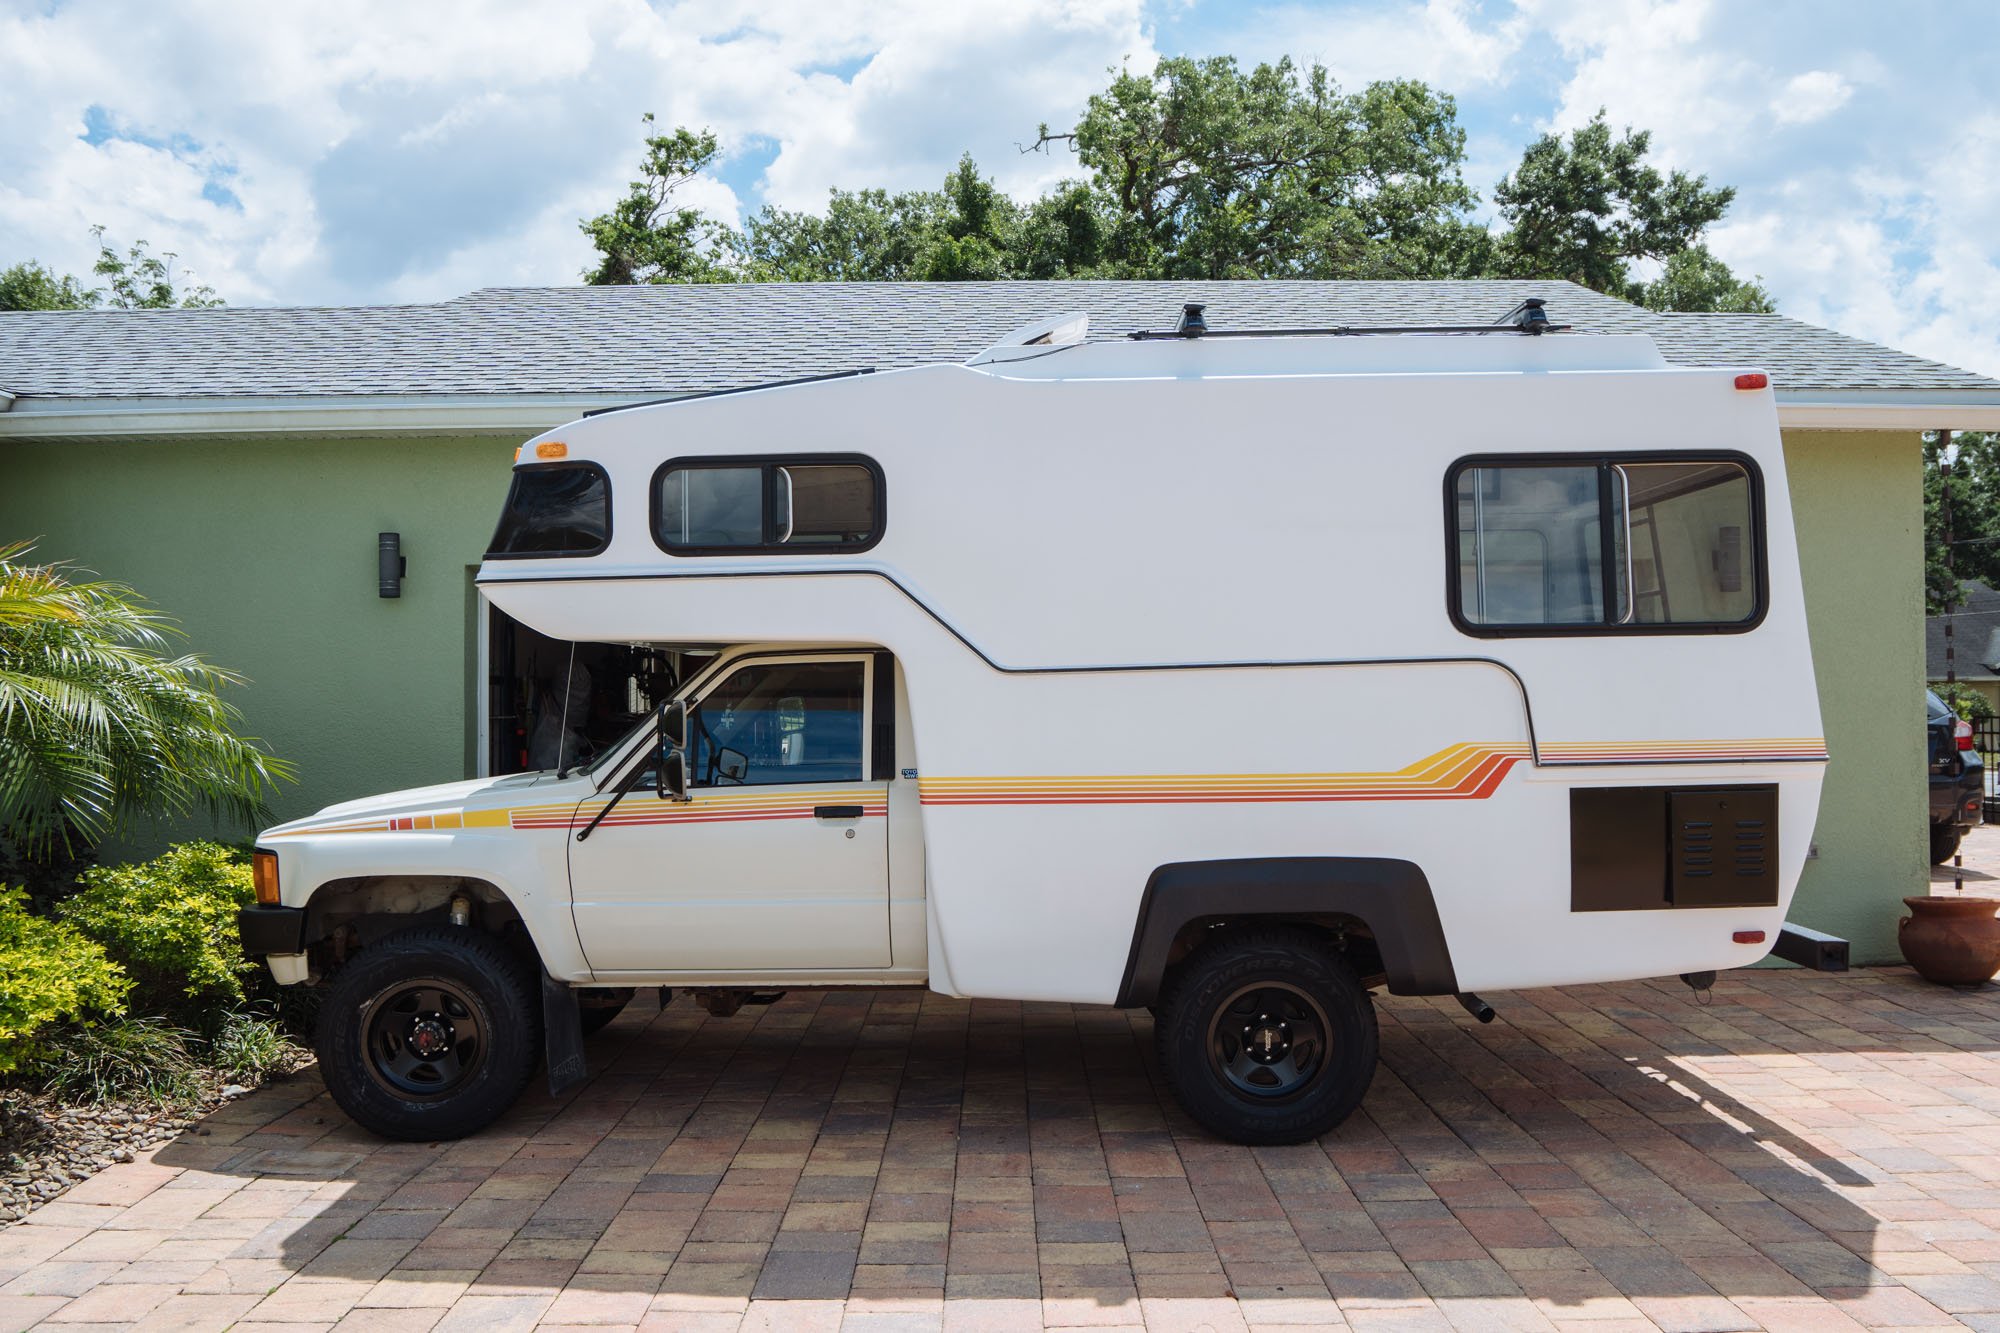
It's a bummer that she'll need to go back into the shop for more work, but we're pretty excited about getting disc brakes on the back! Safety first Y'ALL!
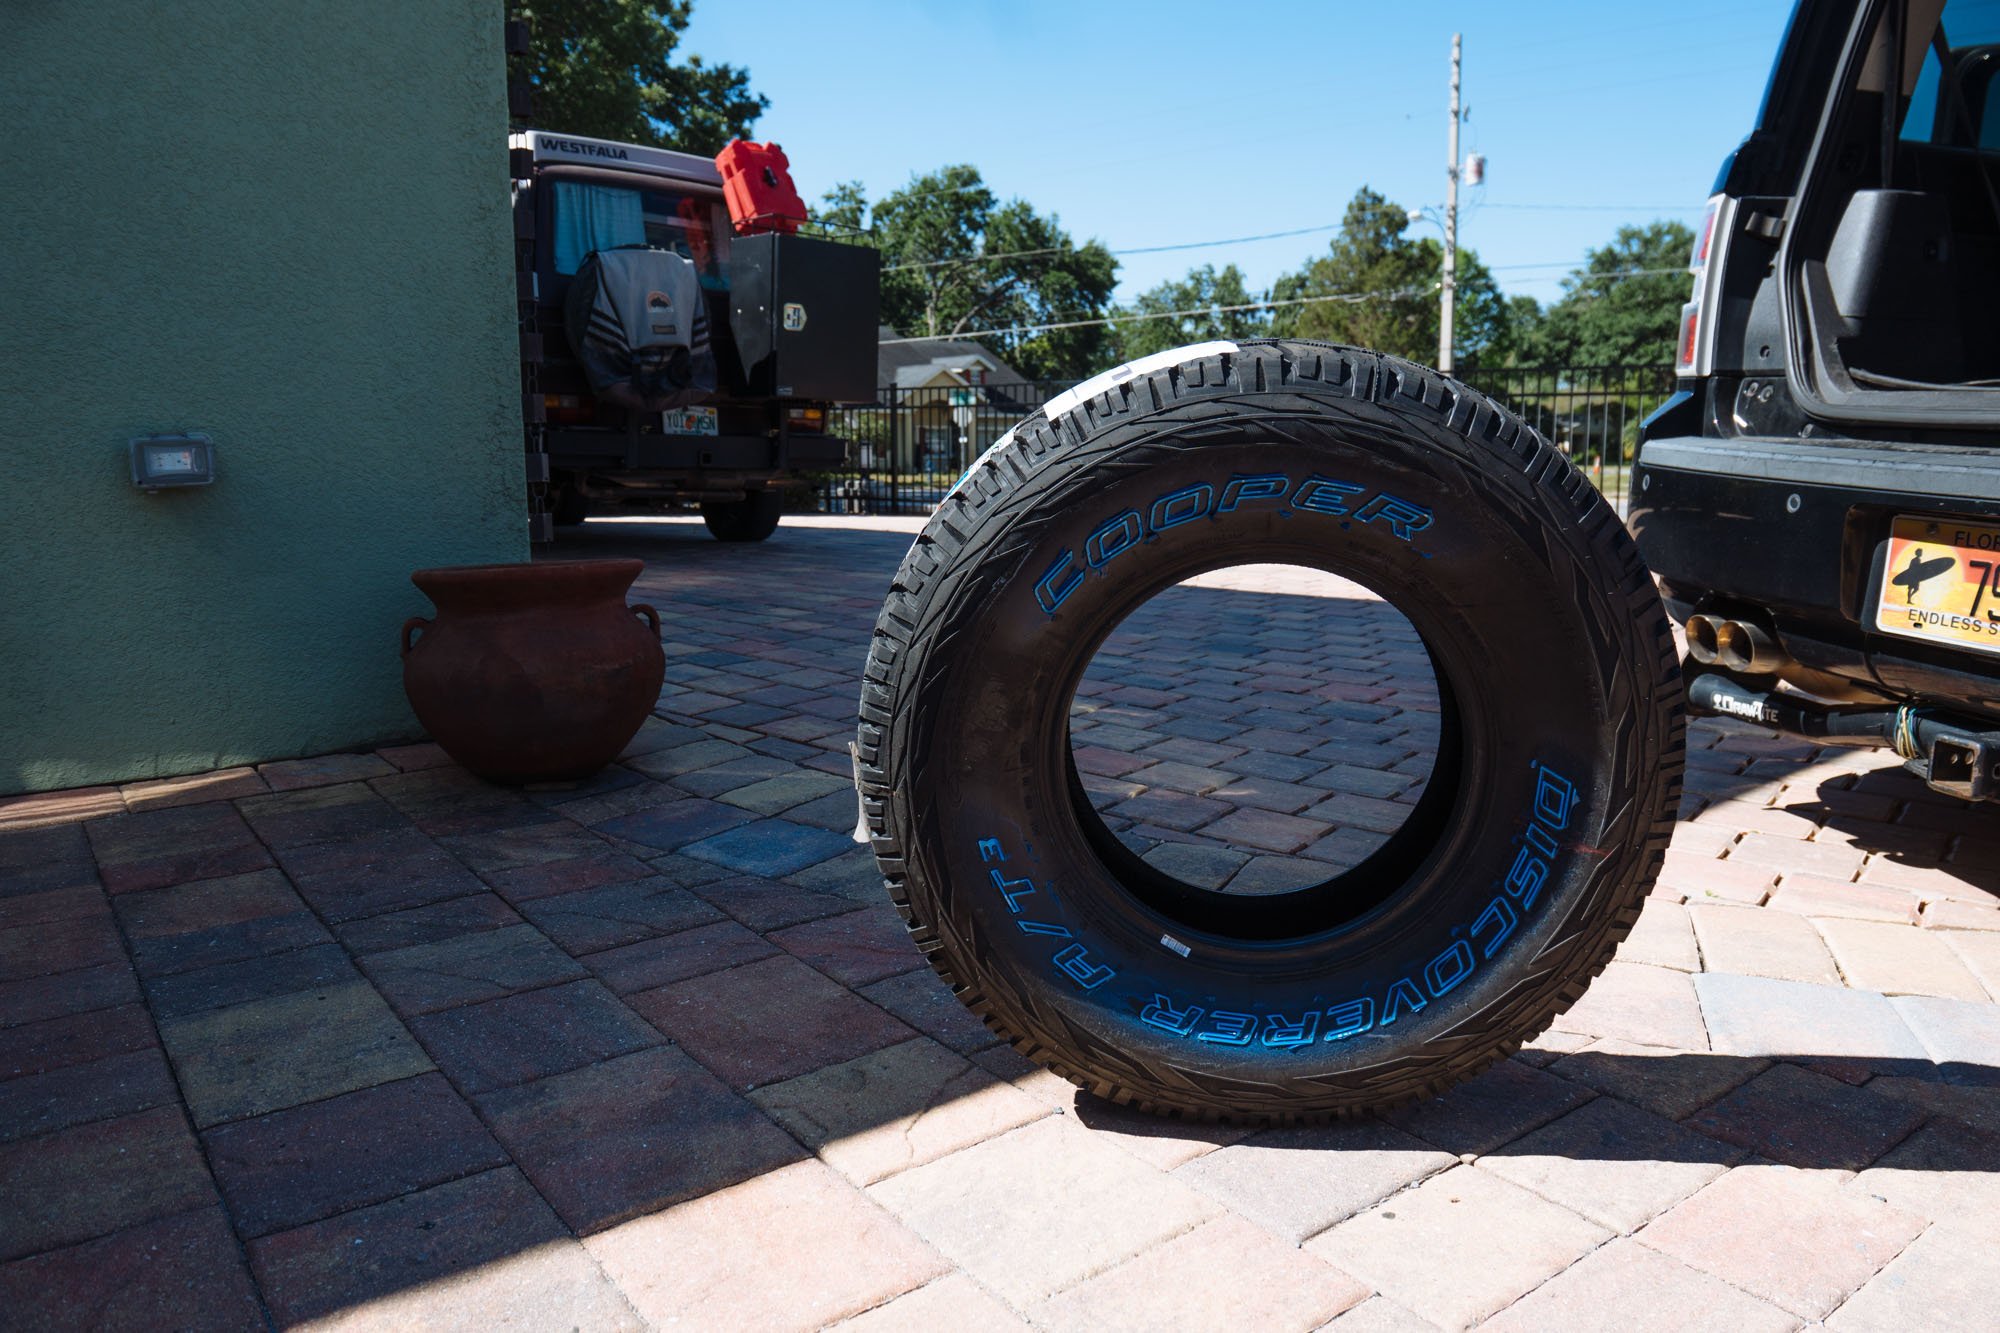
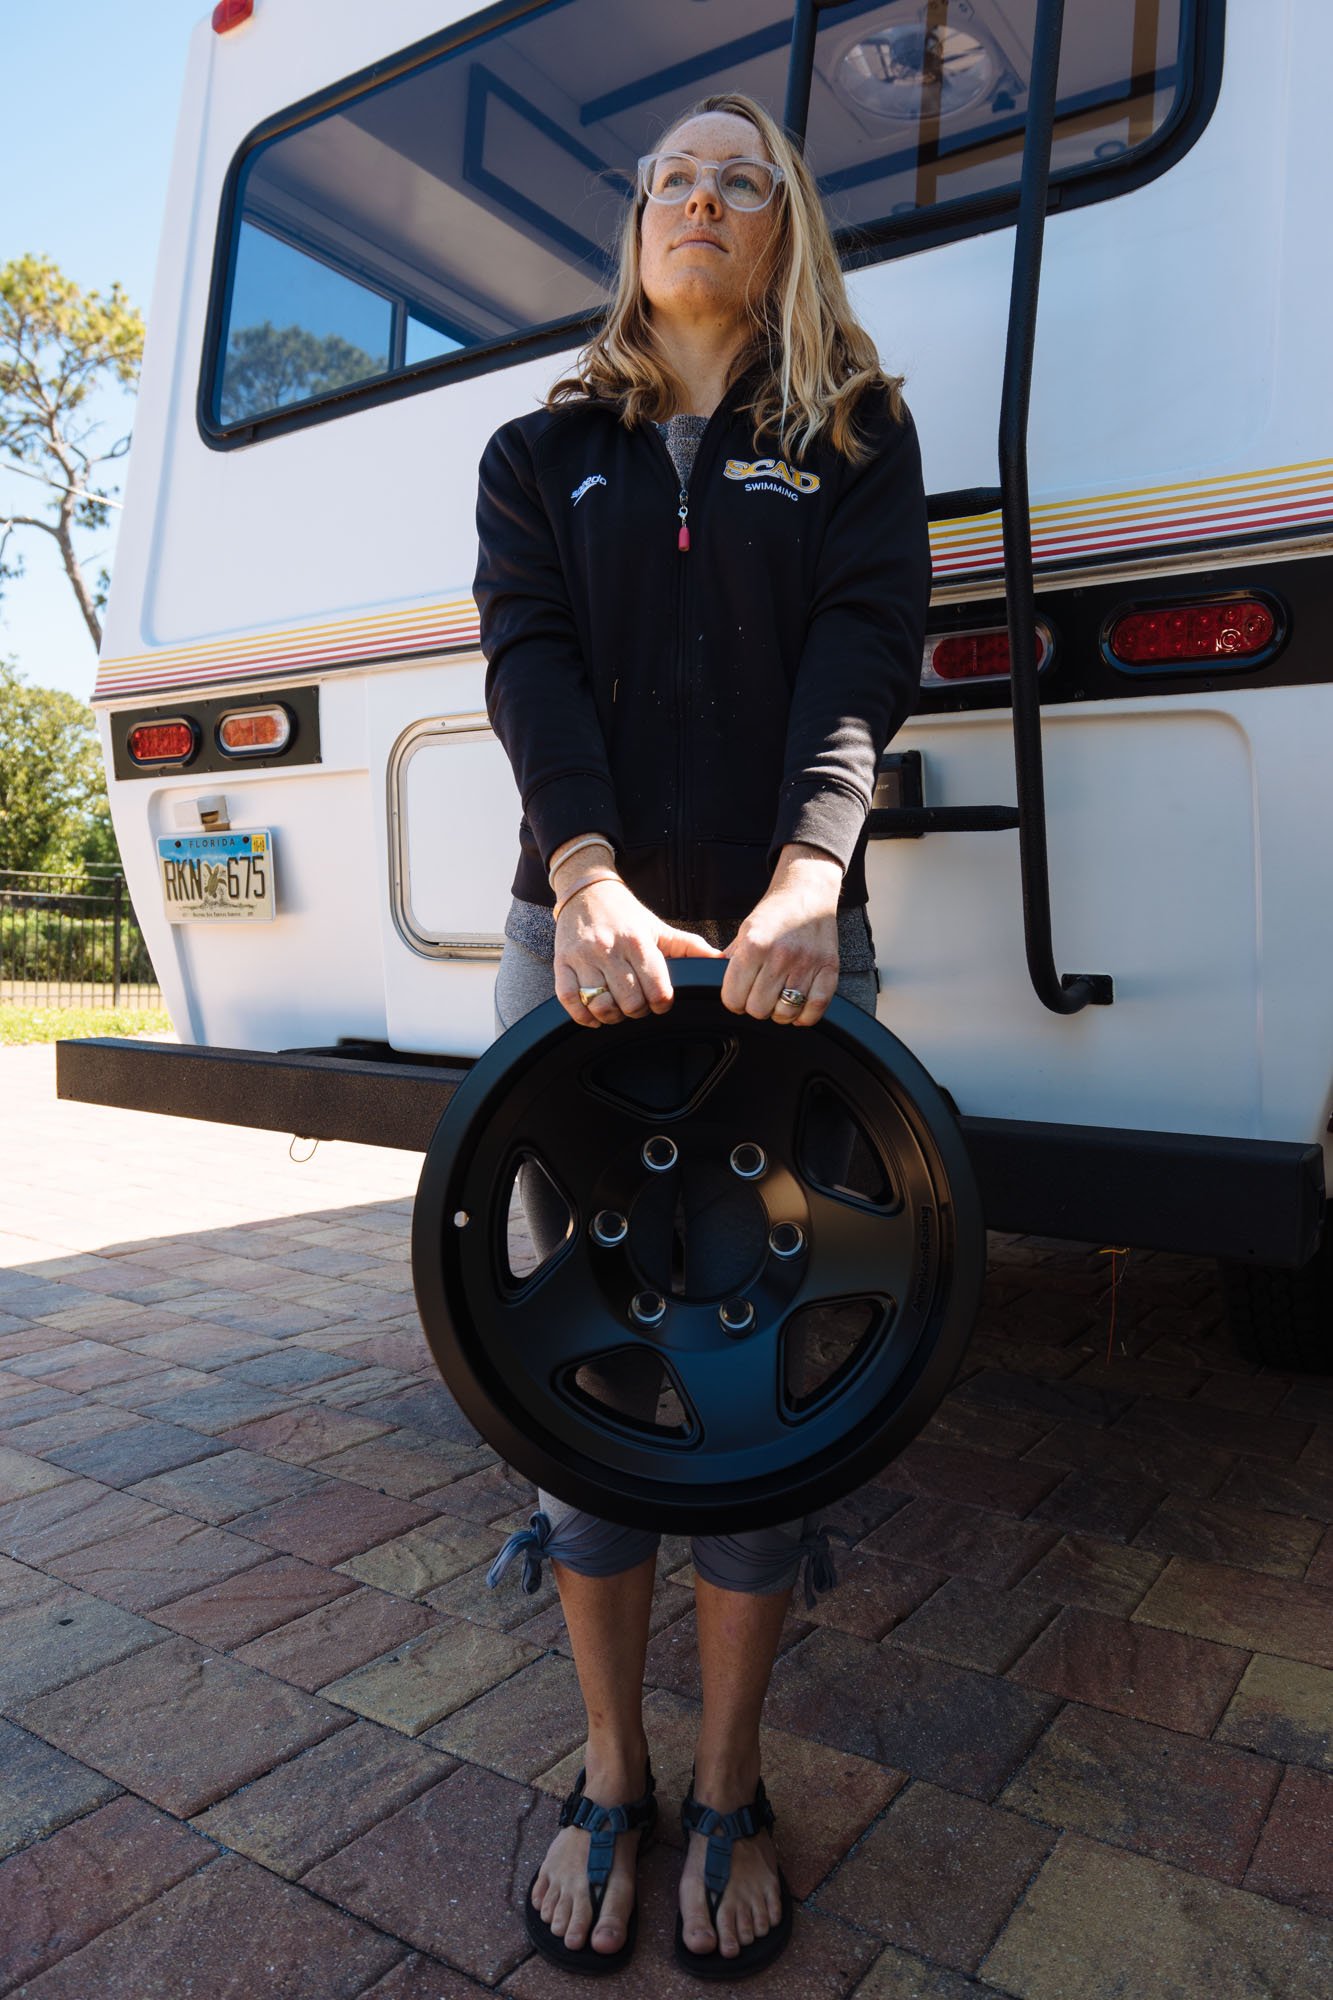
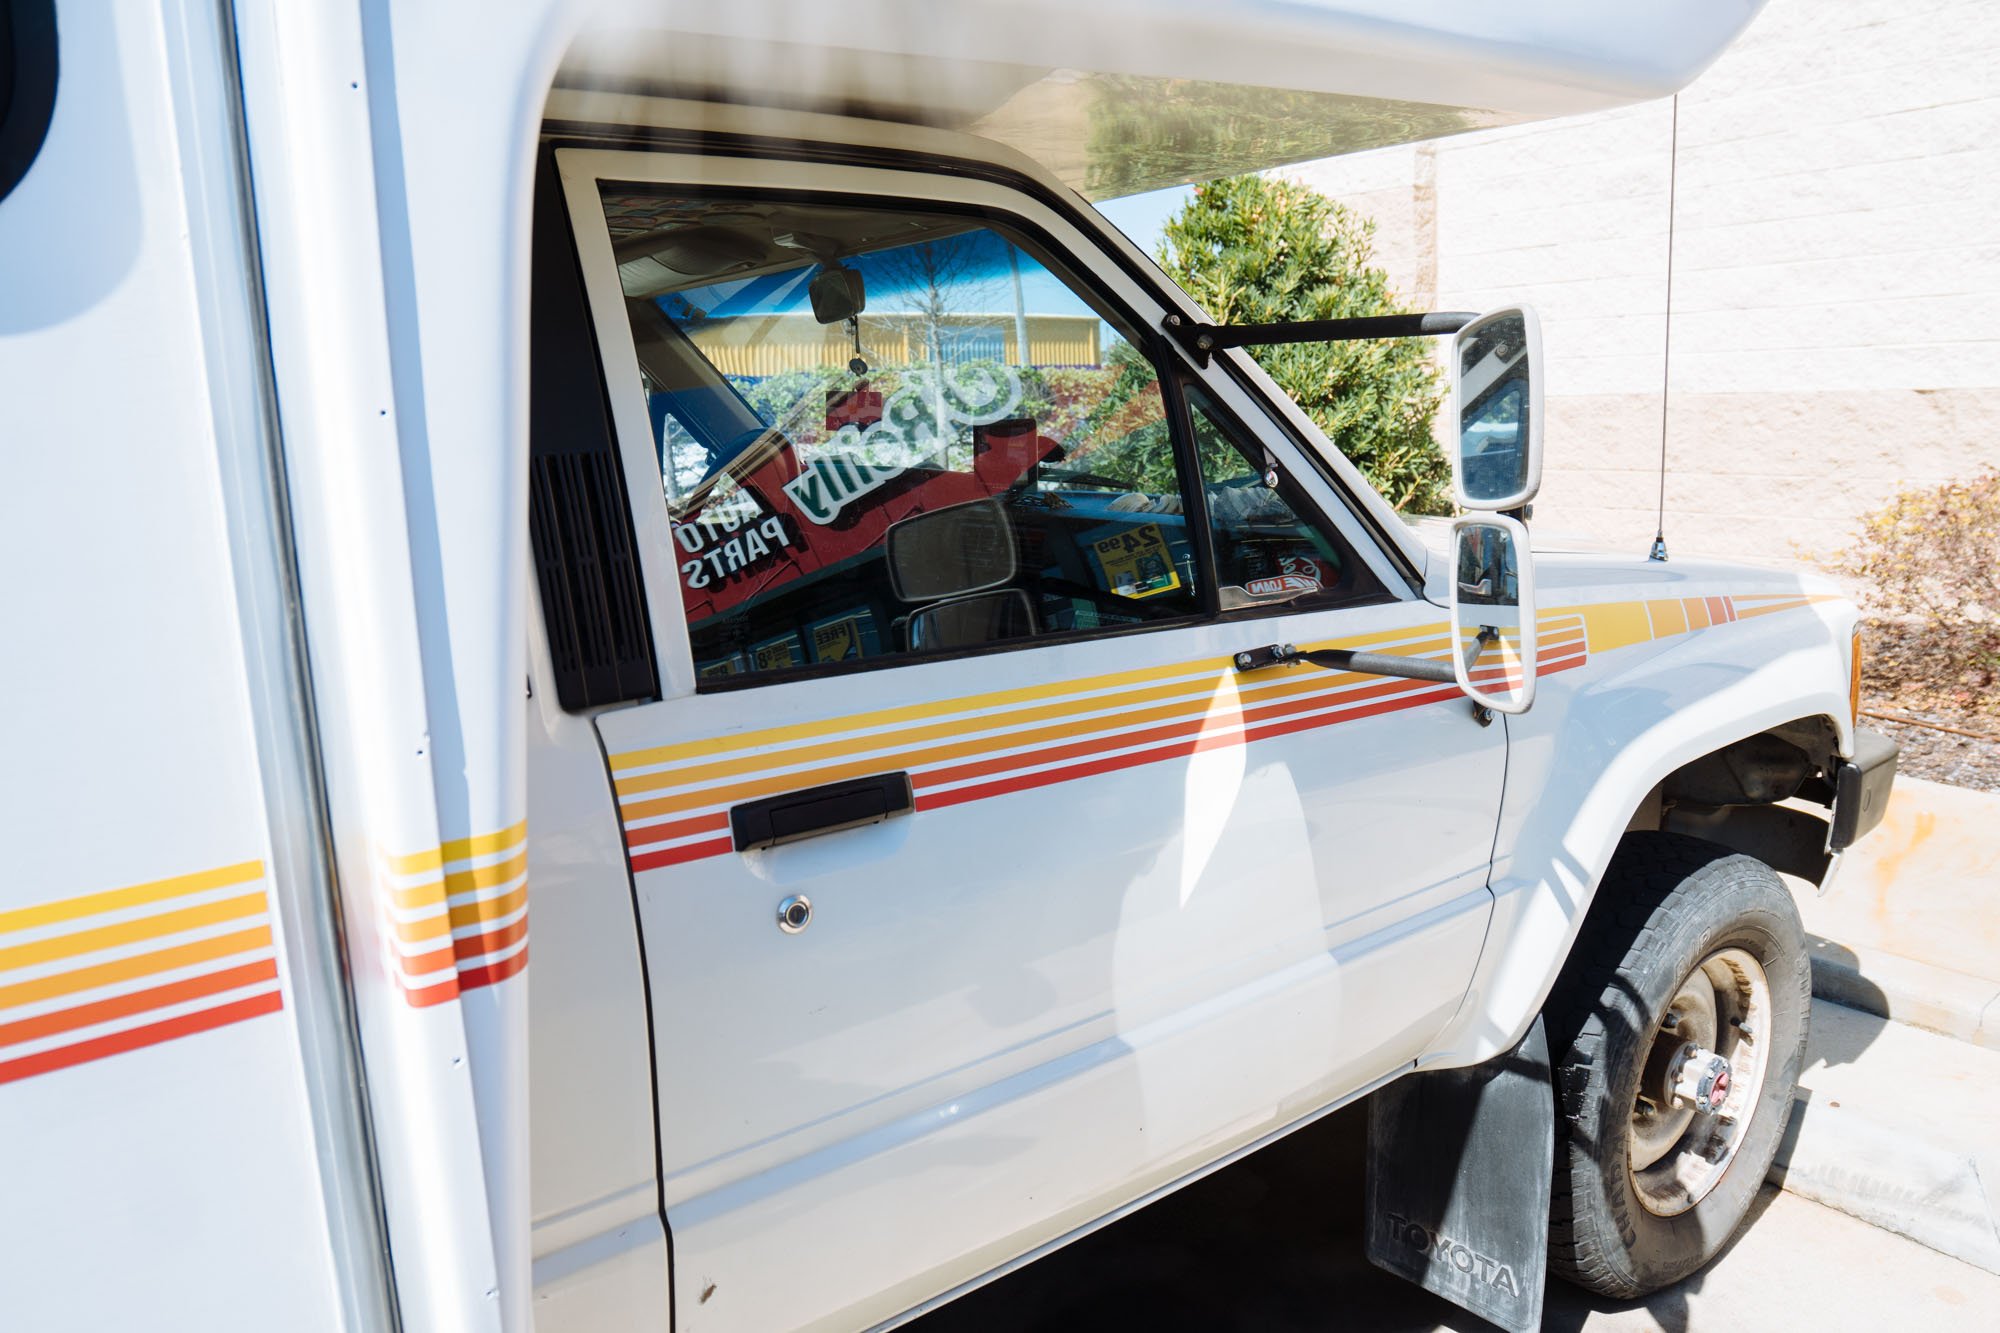
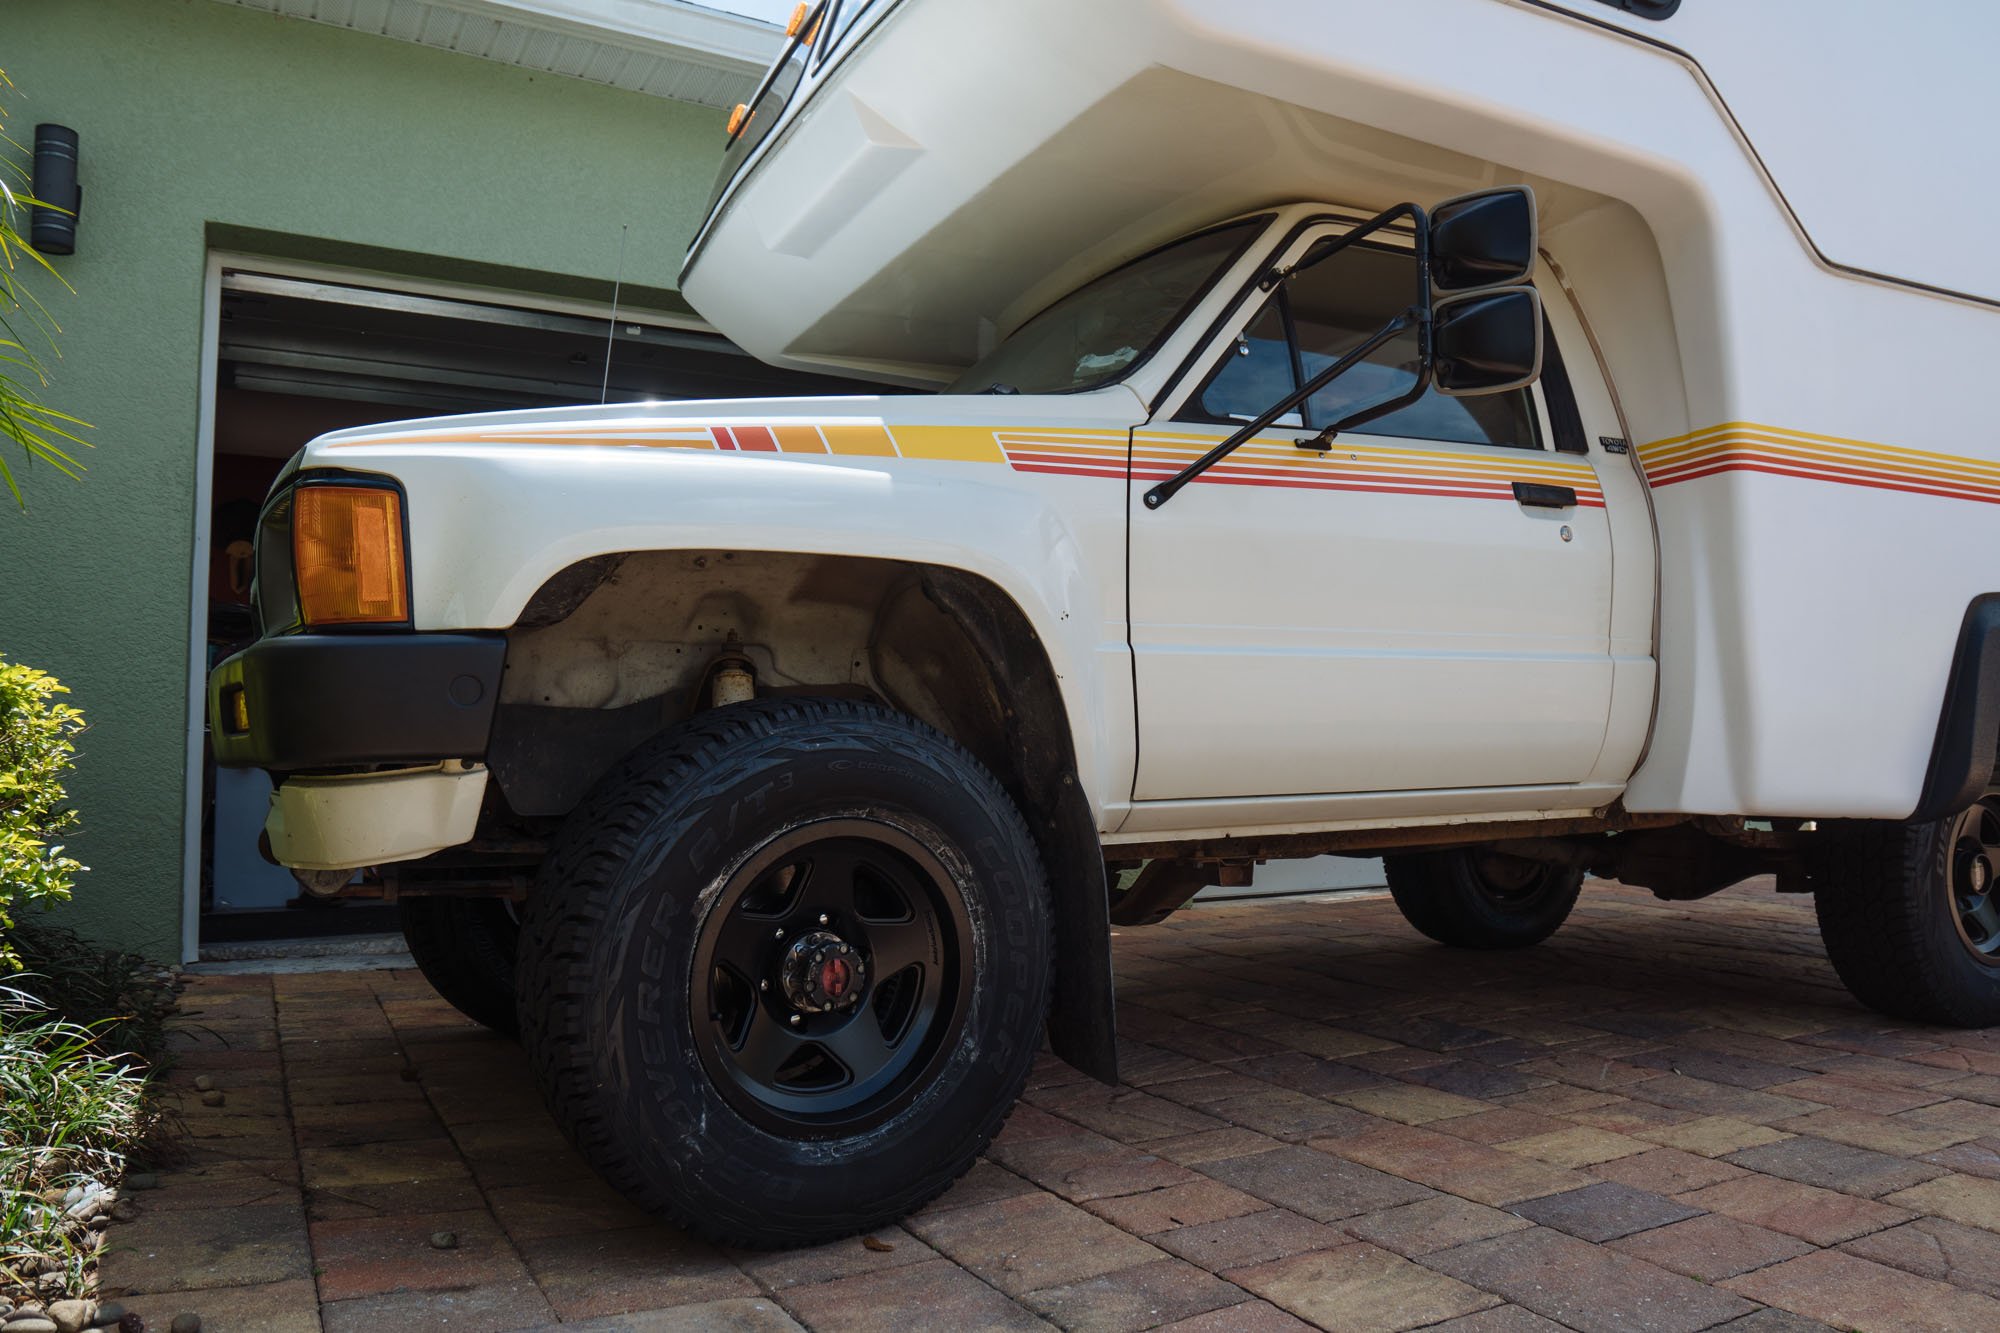
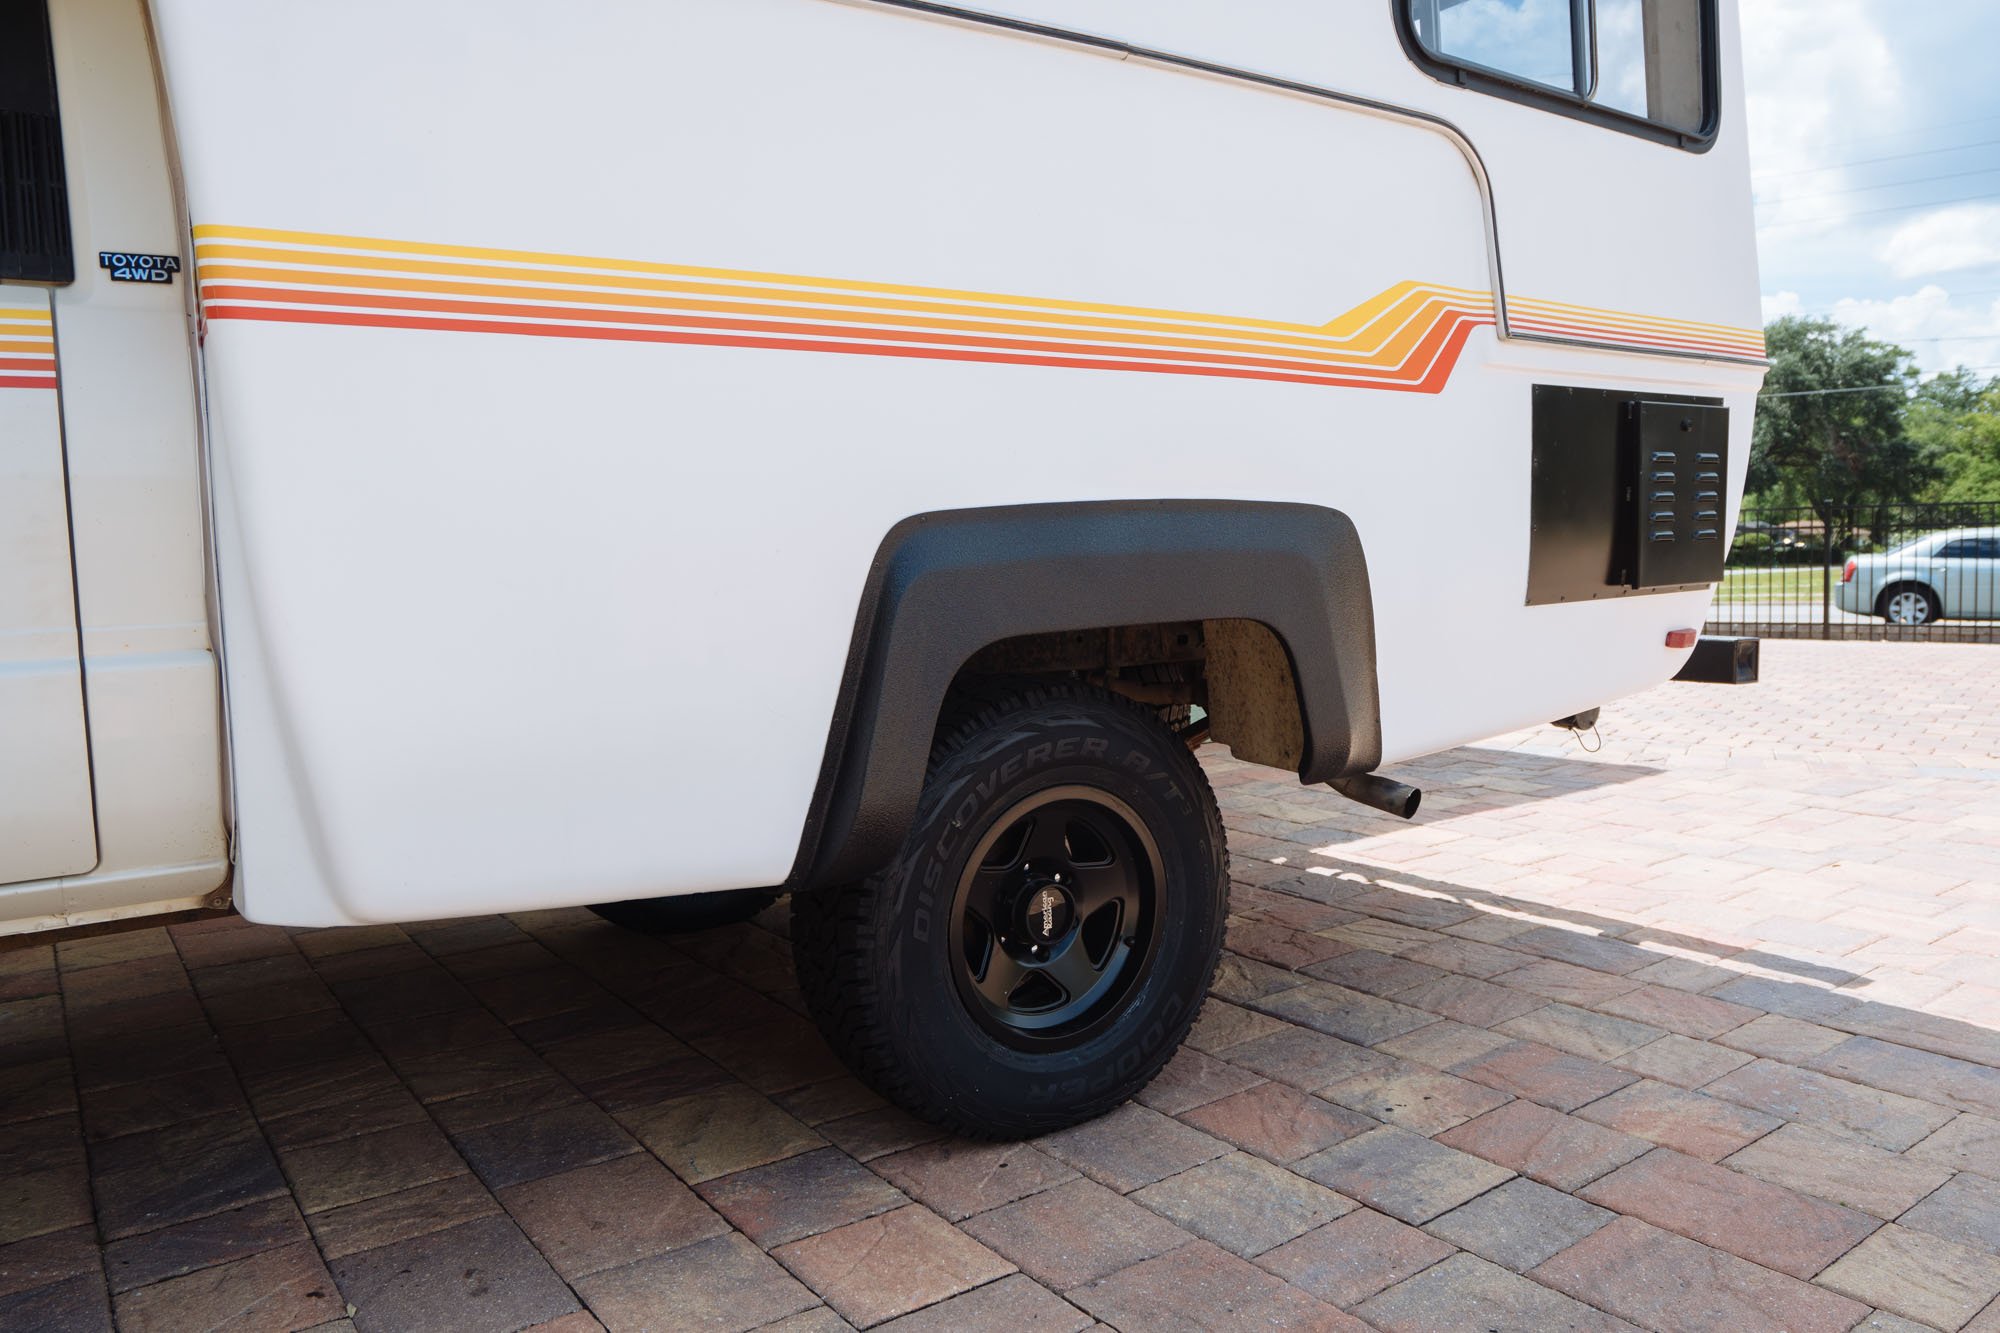
It was a challenge to find a new wheel/tire combo that would successfully fill the wheel well even though there is only one tire in the back. These did a pretty good job and when she goes back in, the new backing plates will give here an extra 3.25" of width in the back. BB girl is lookin' so fly these days. There are a couple of small decals that we'll be adding, and a small storage box for the roof, then we should arrive at our finished exterior look!

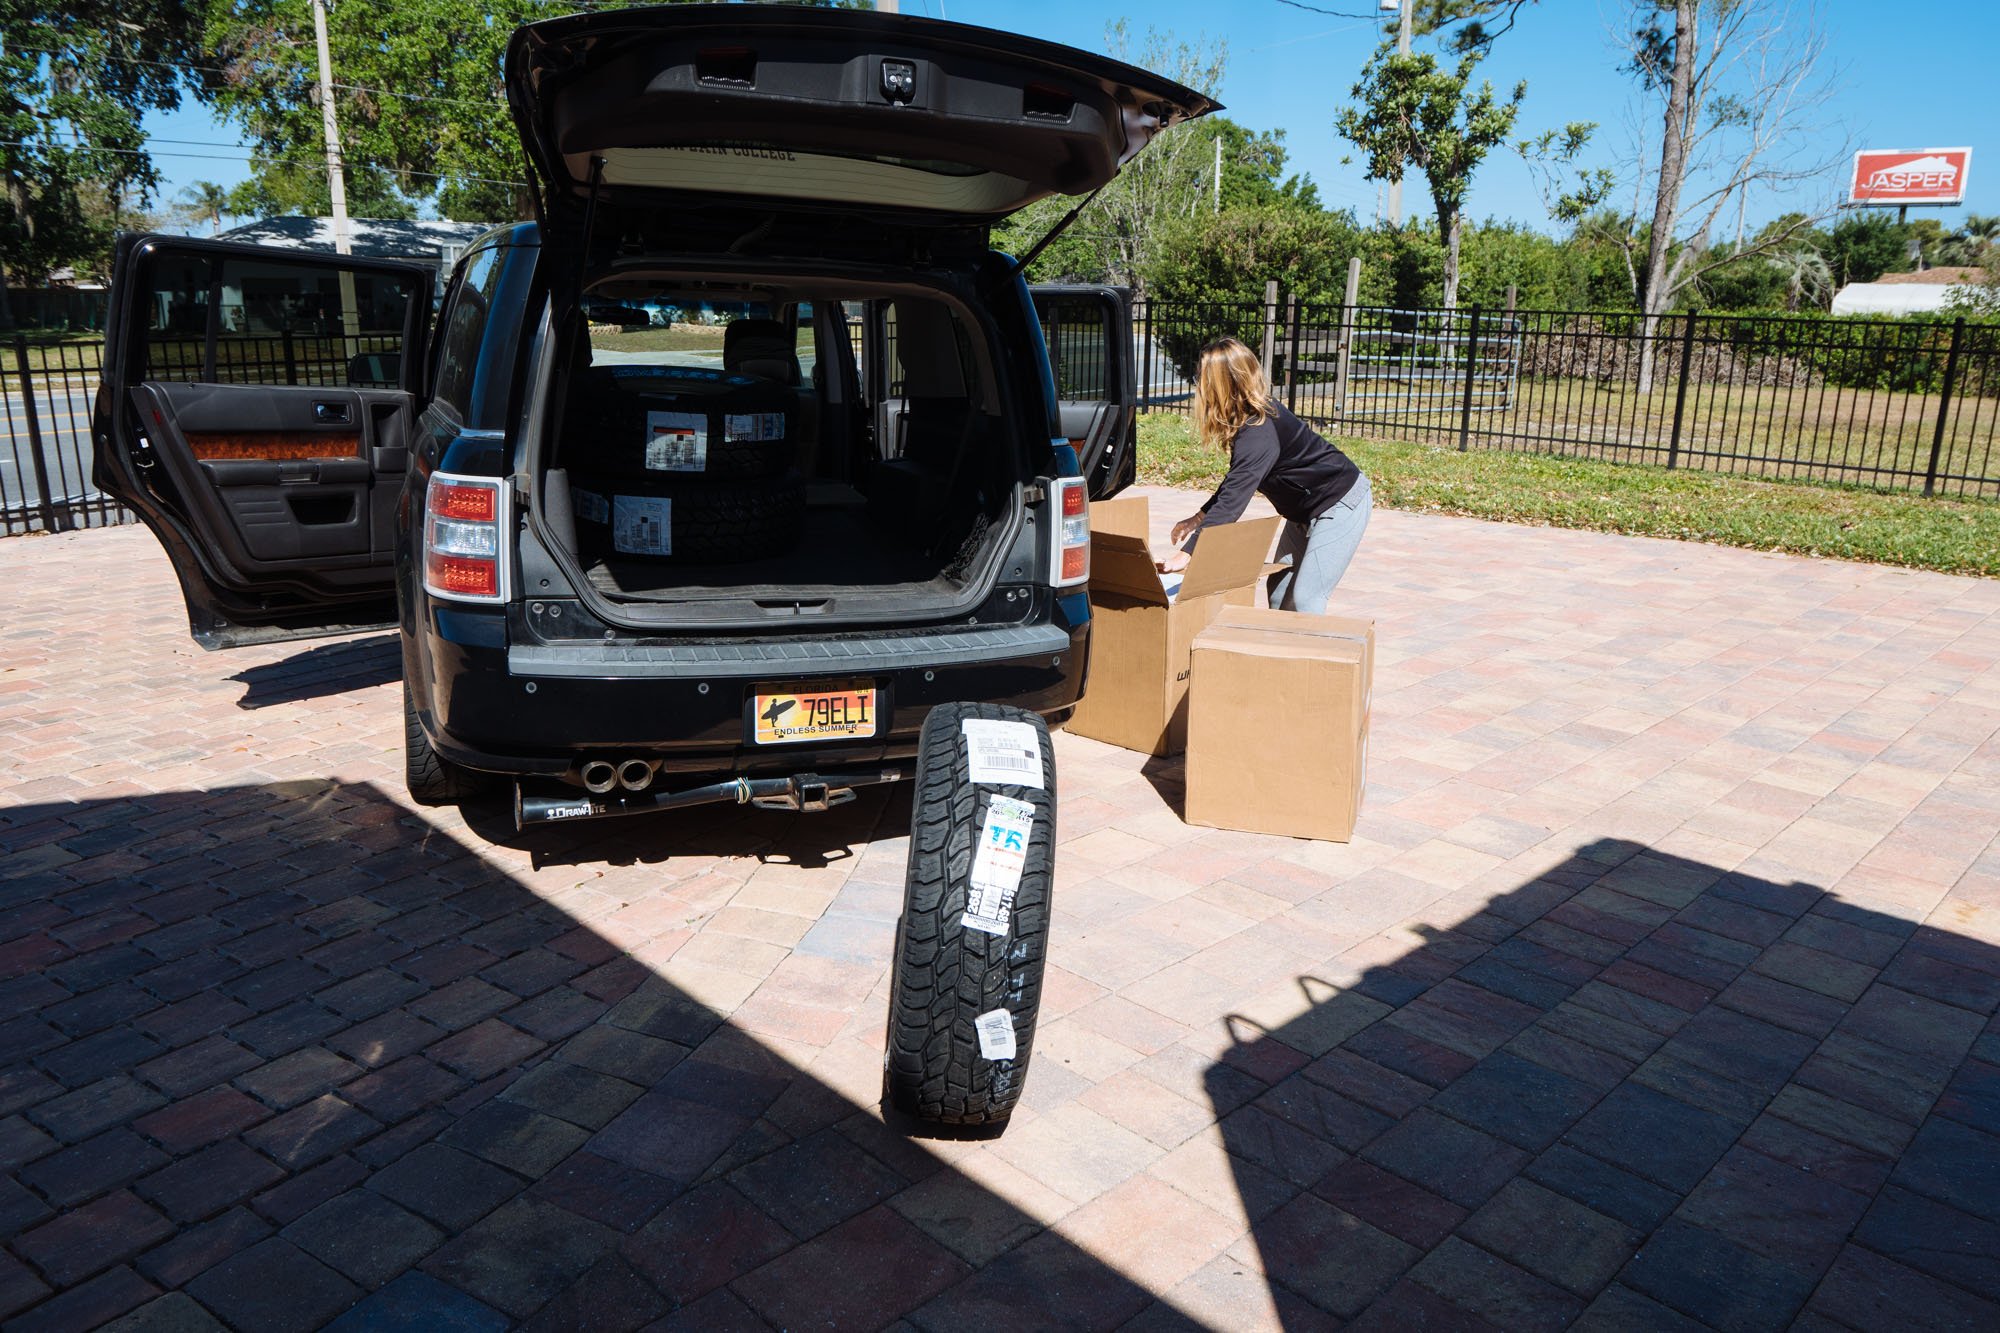
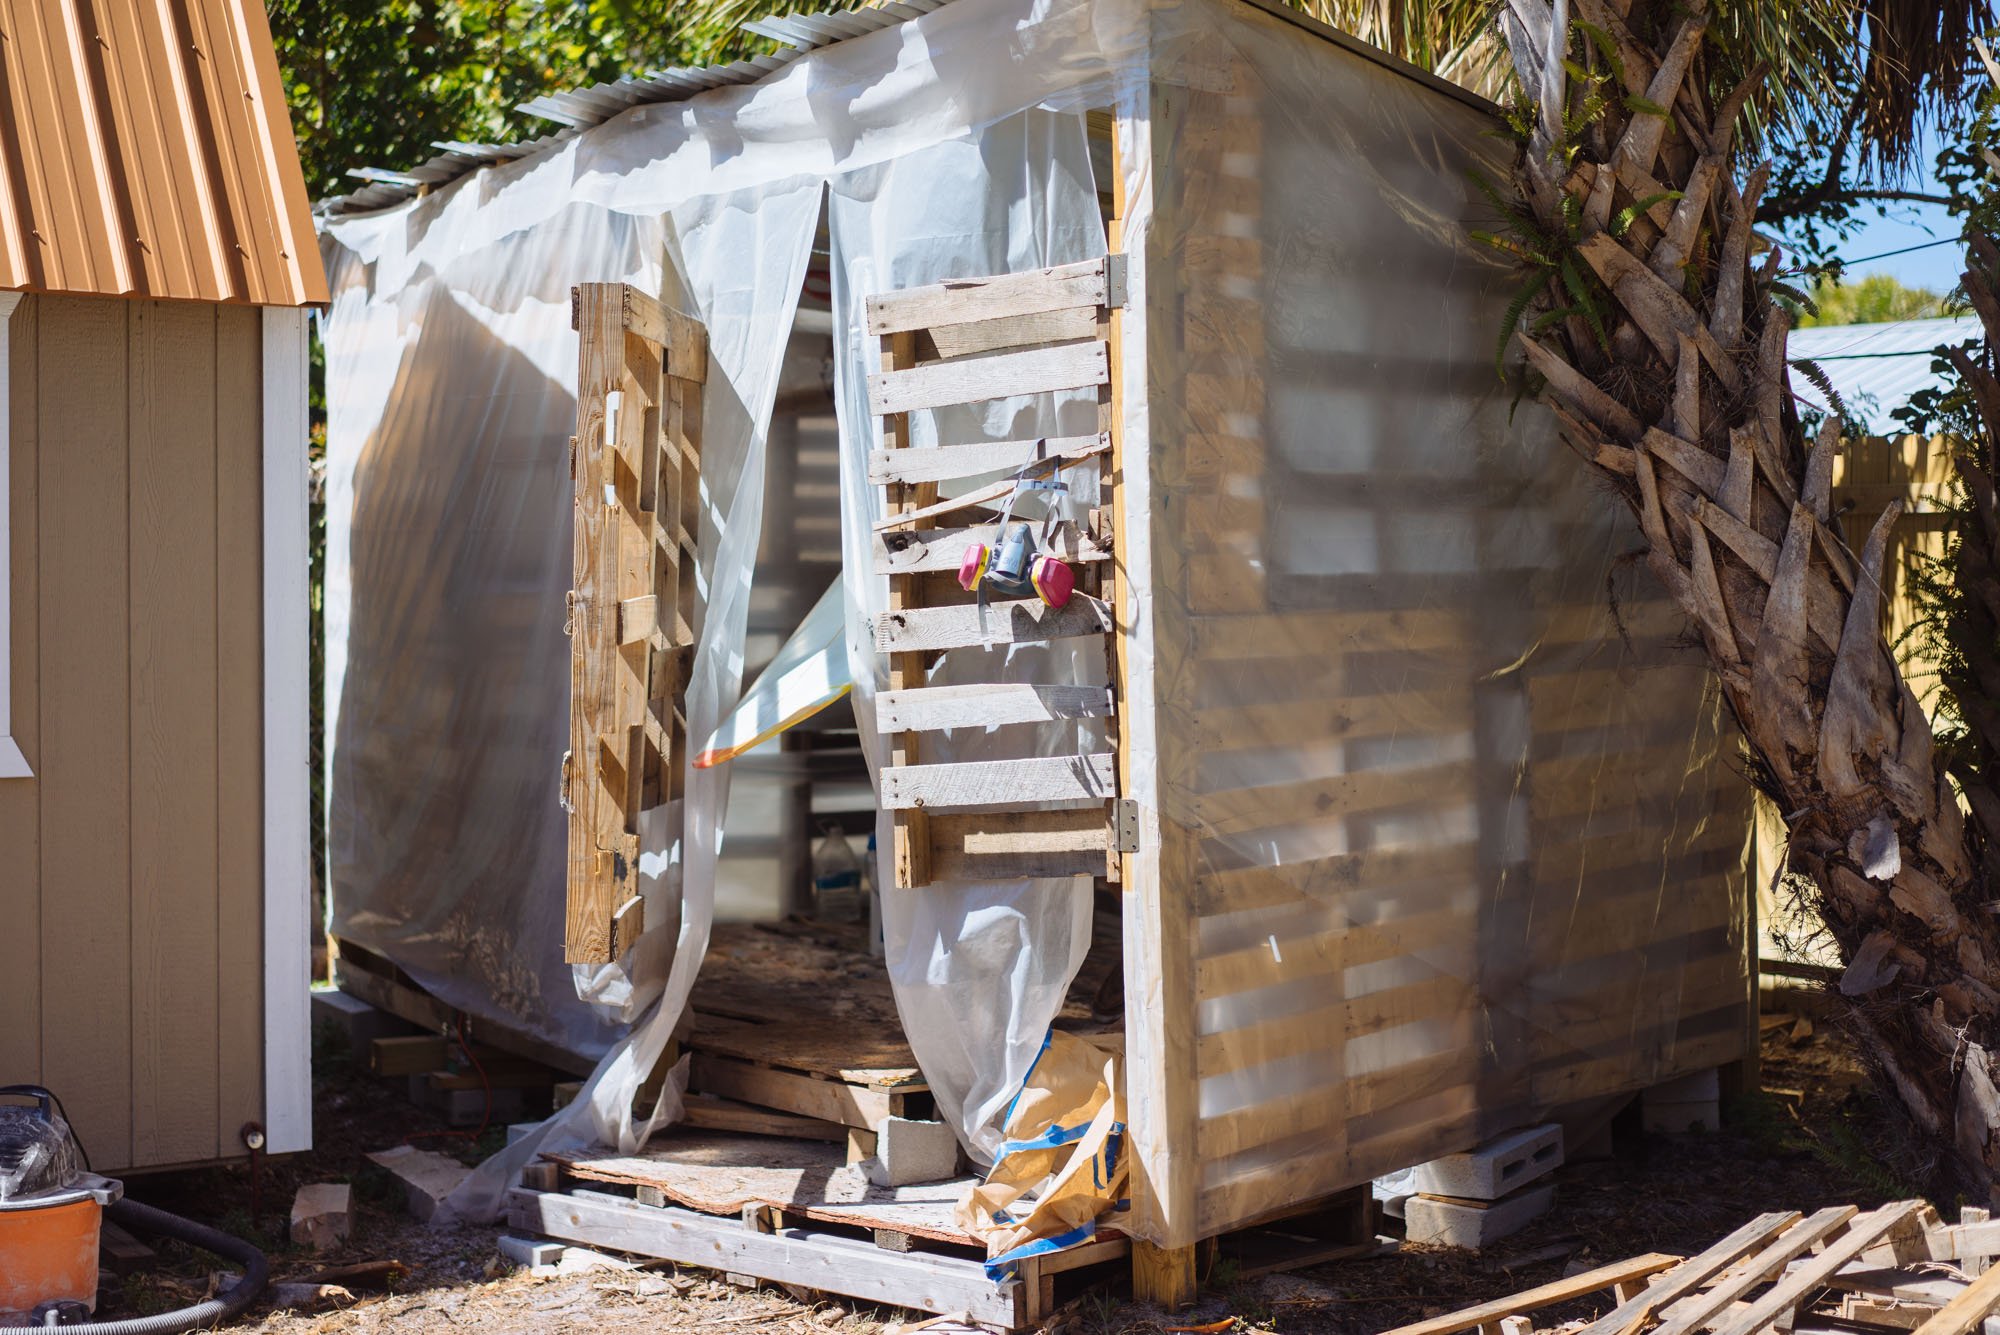
While Amelia was in the shop we took the opportunity to put Orlando in the rear view mirror. We headed to Melbourne Beach, FL to help a friend of mine from high school shape us a new log. While we were out, we camped for two nights out of my mom's Ford Flex. The first night we slept inside the car because we were unable to find a good spot to set up a tent. The following night we were far more successful in finding a killer spot!
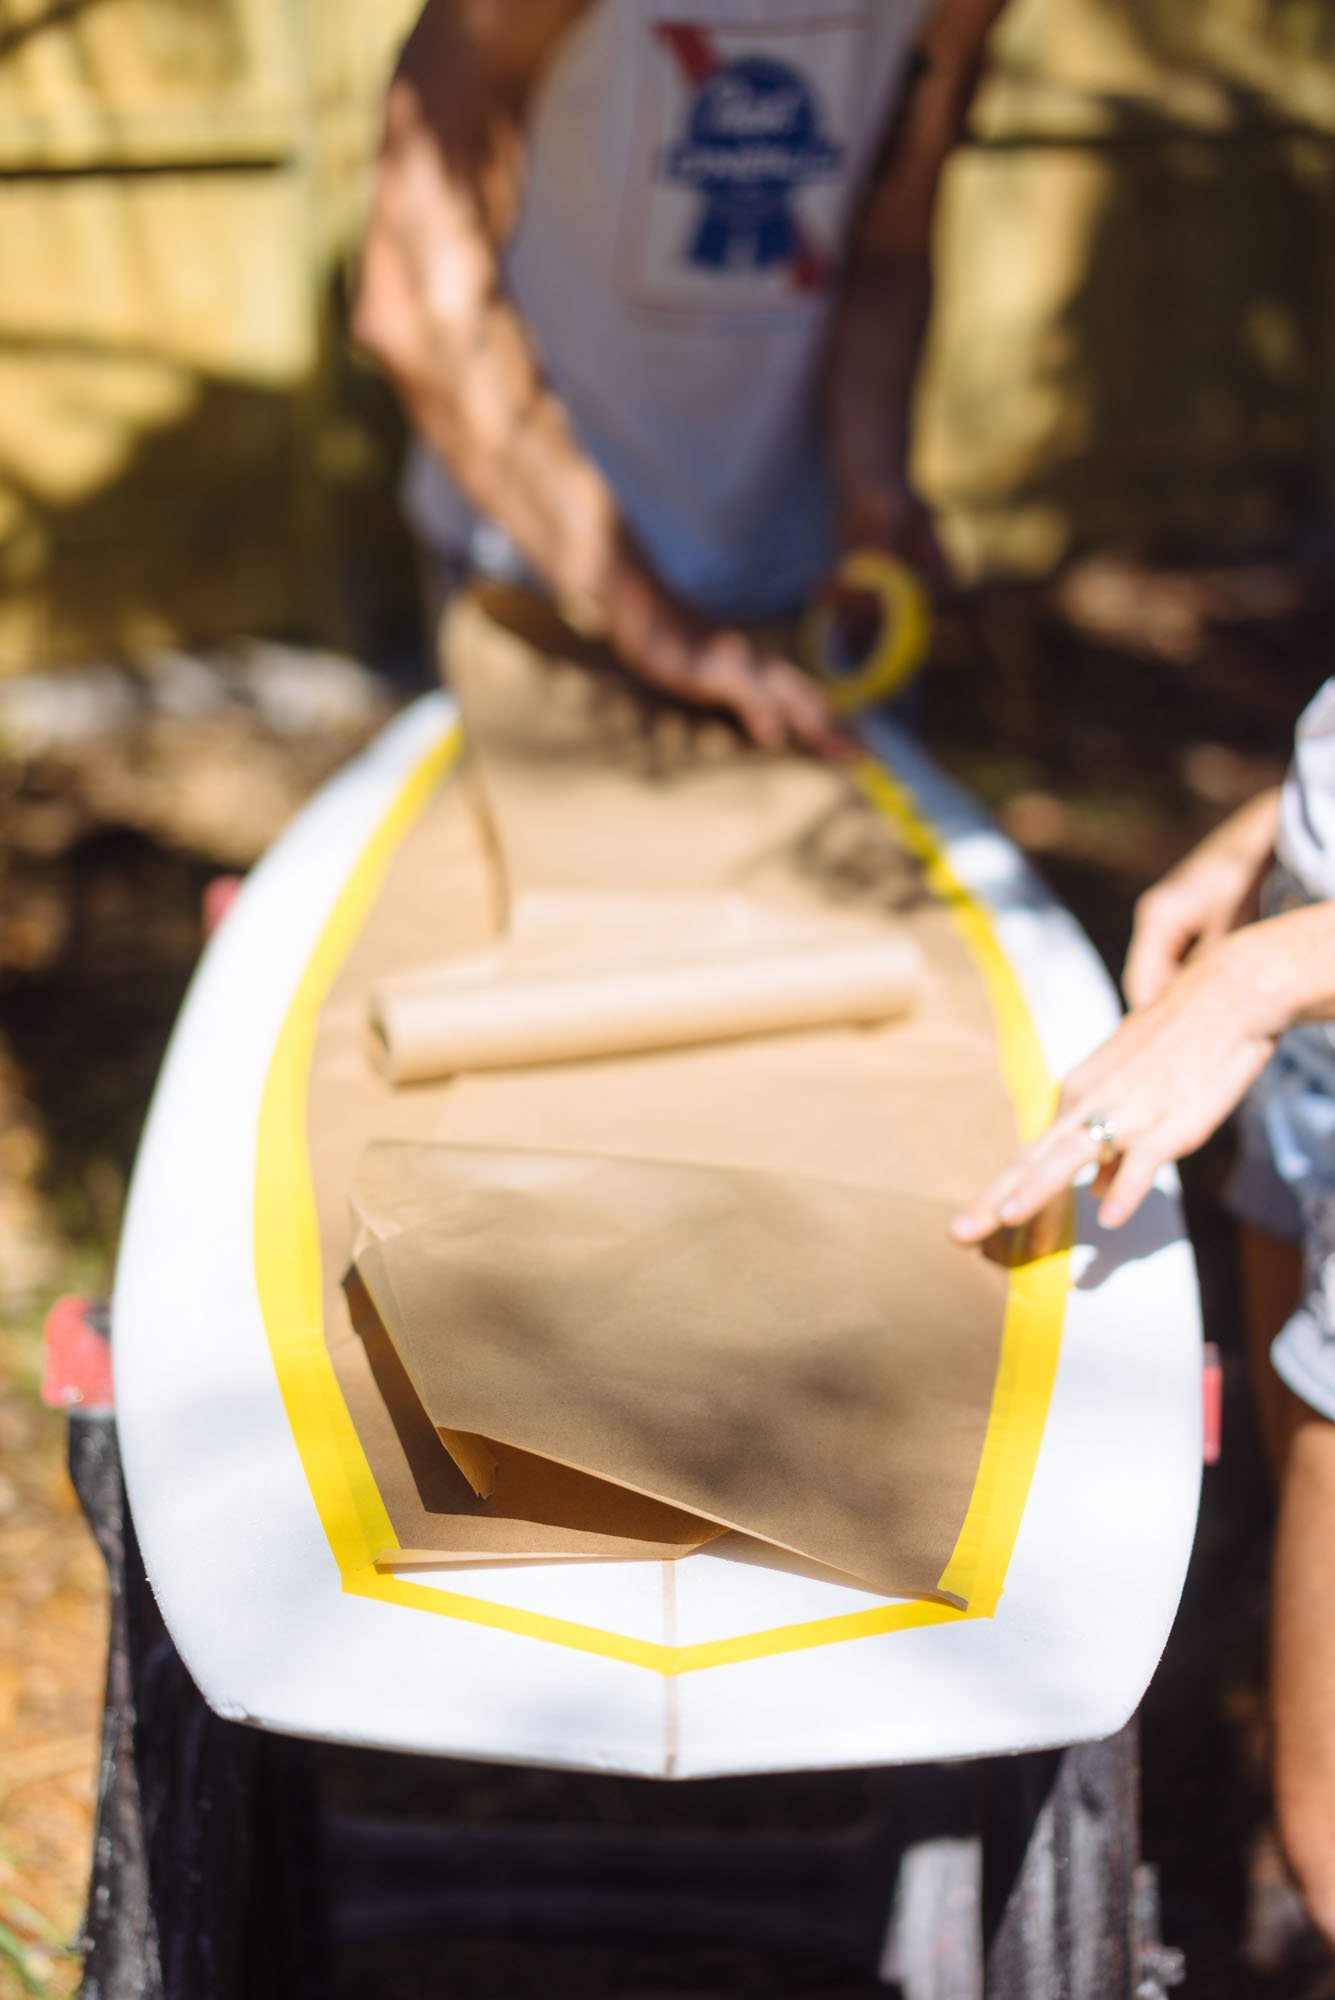
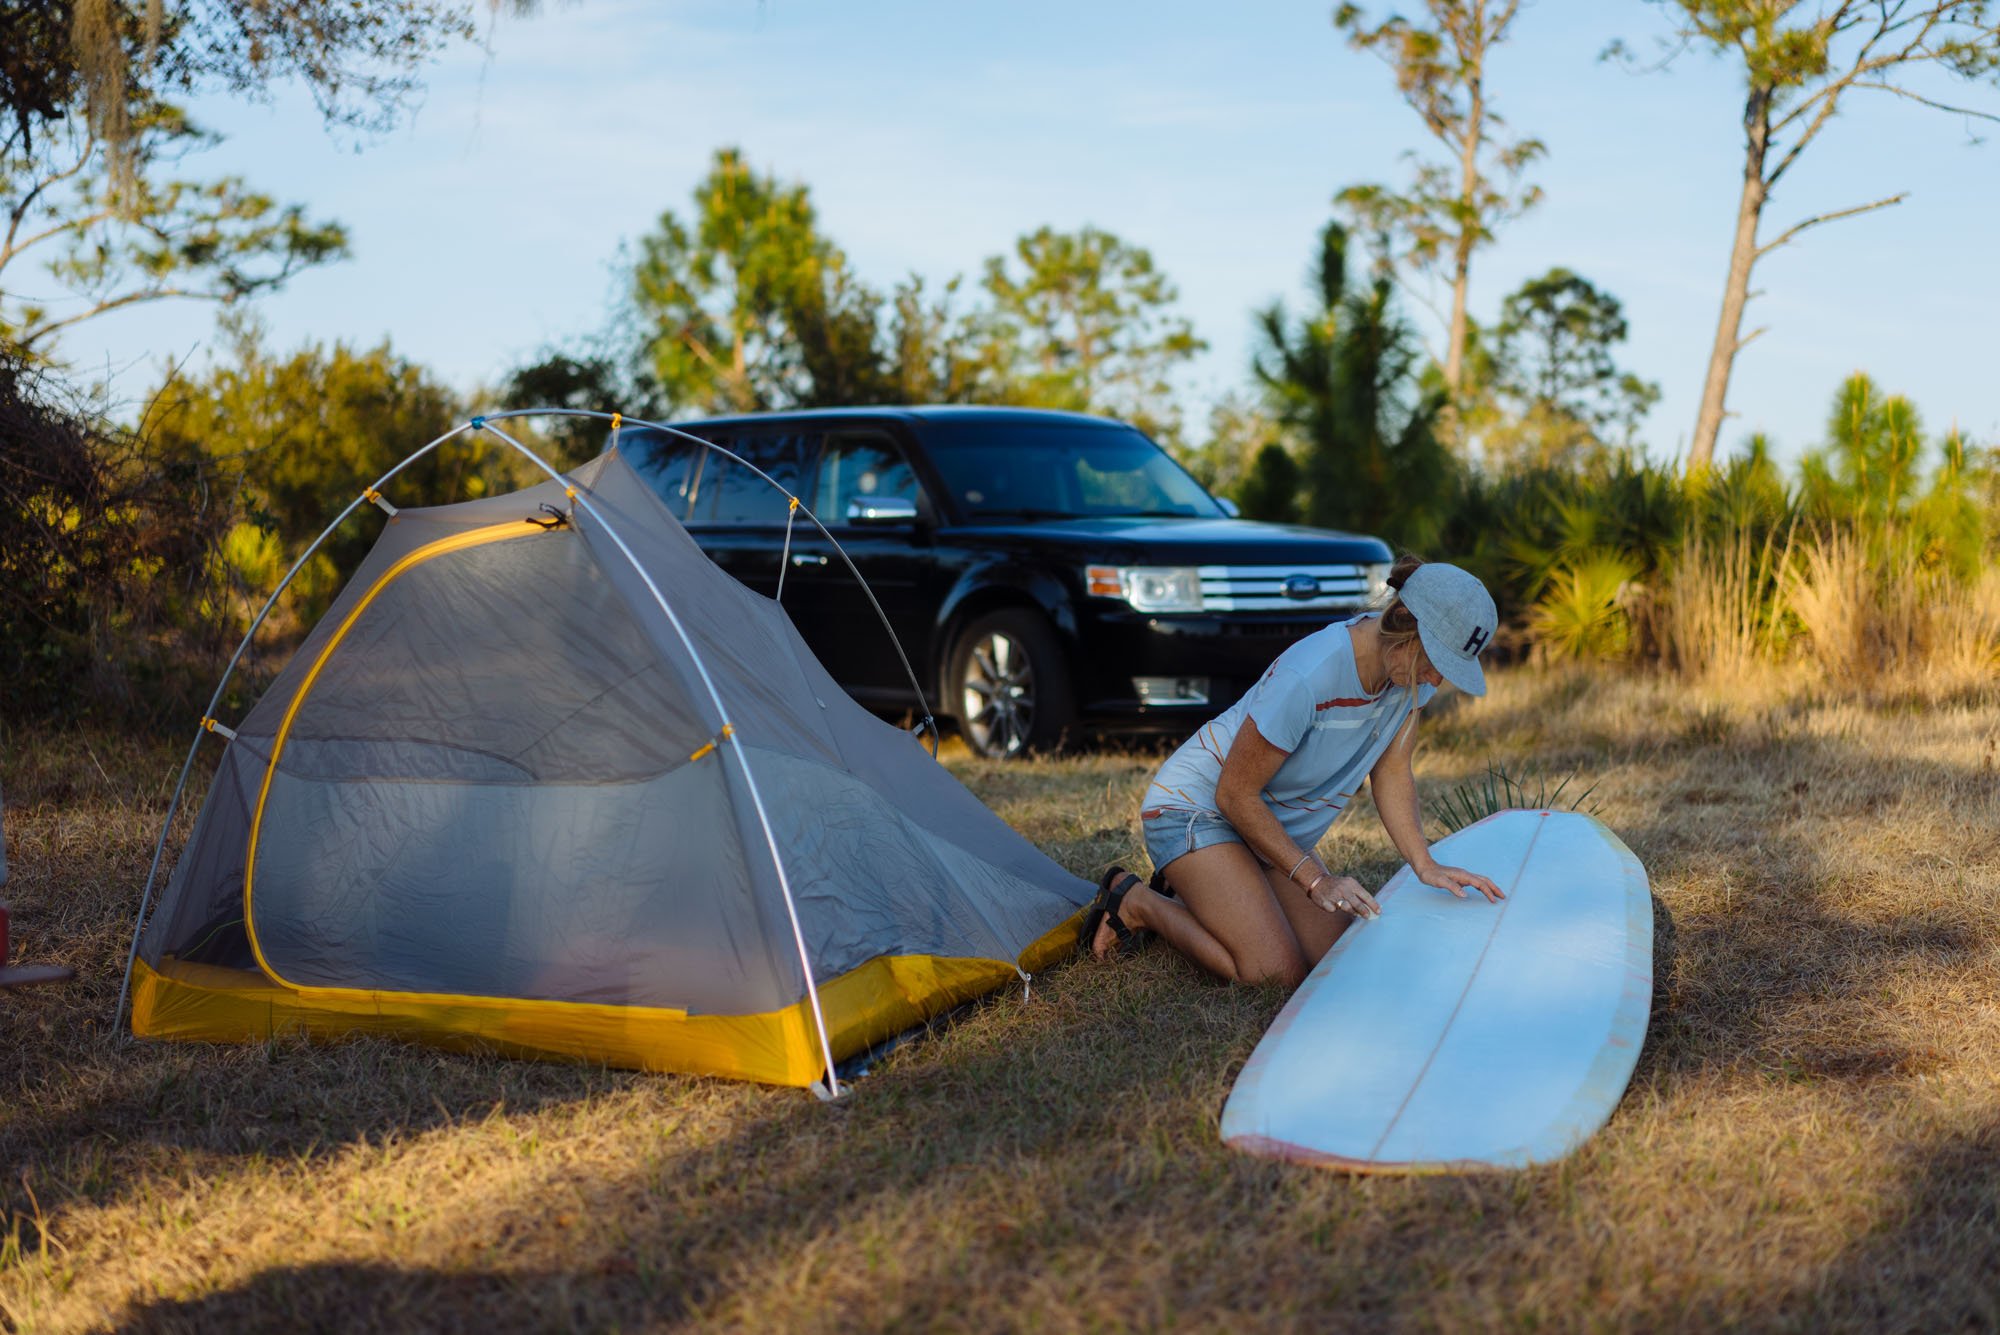
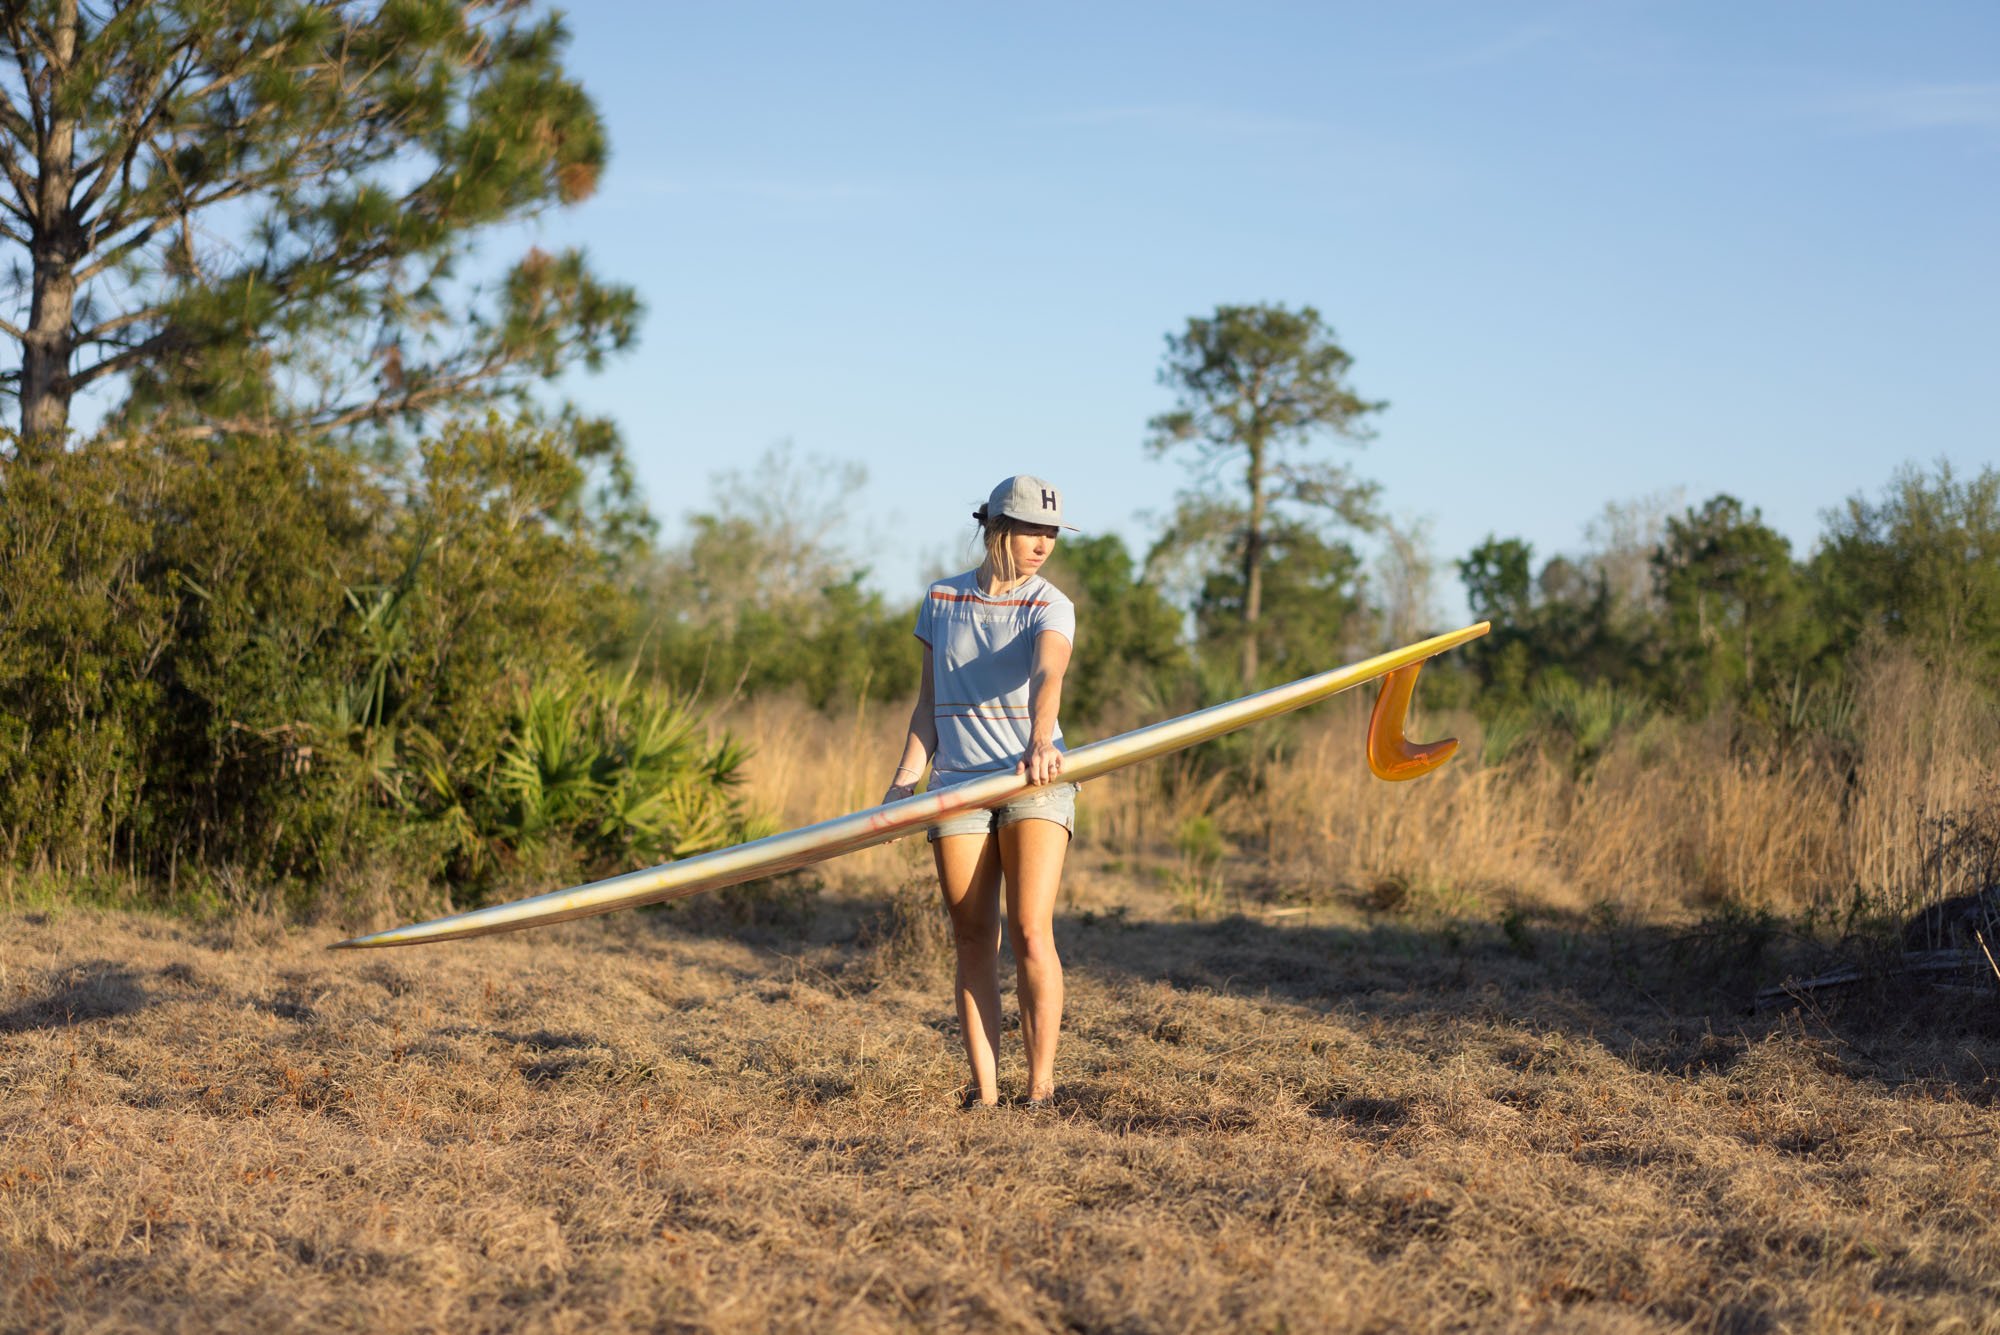
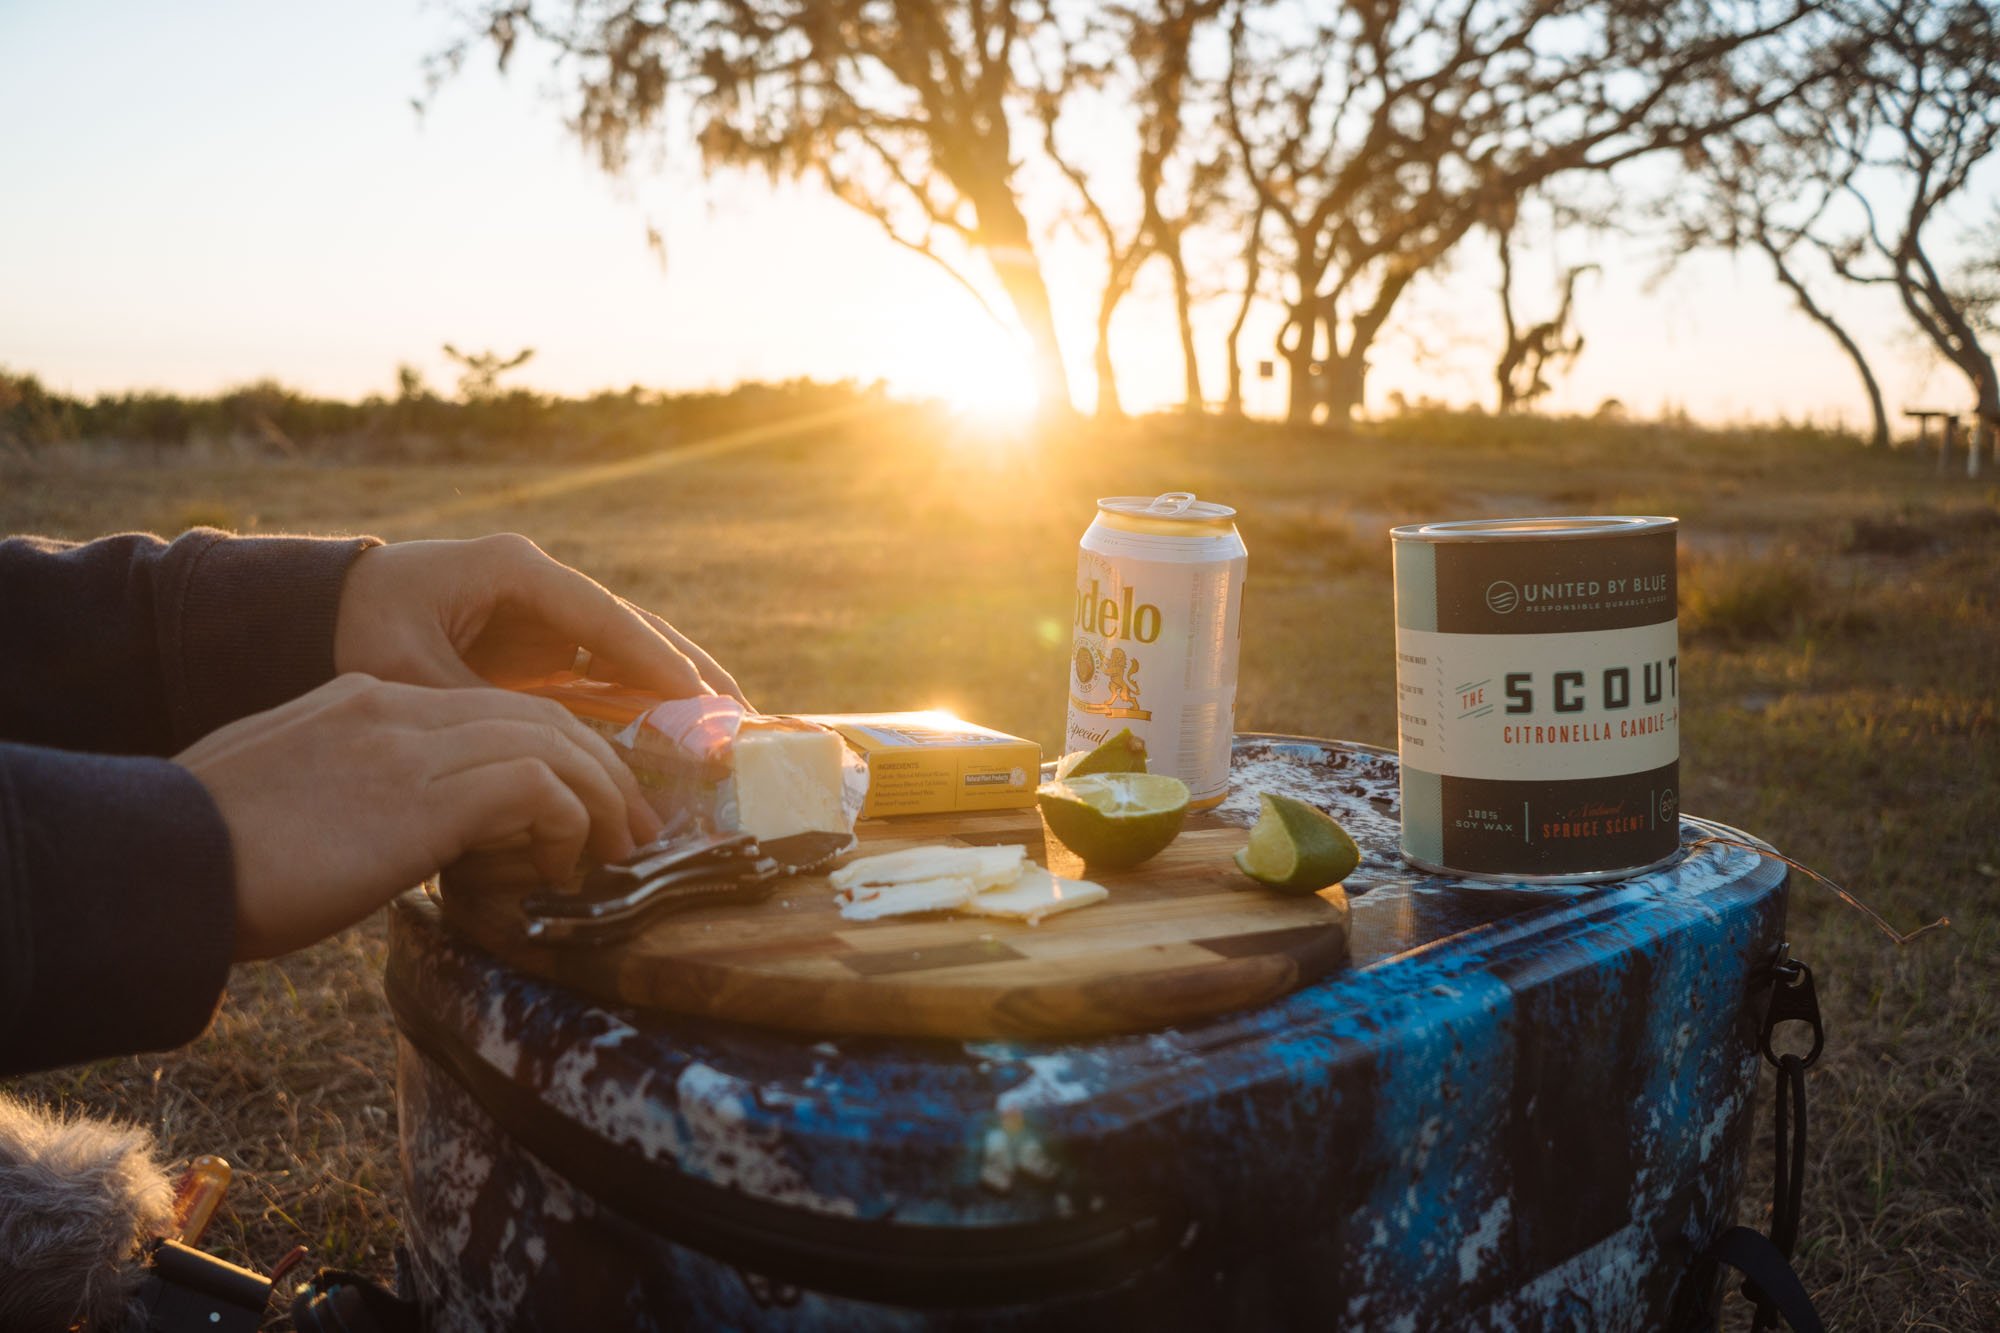
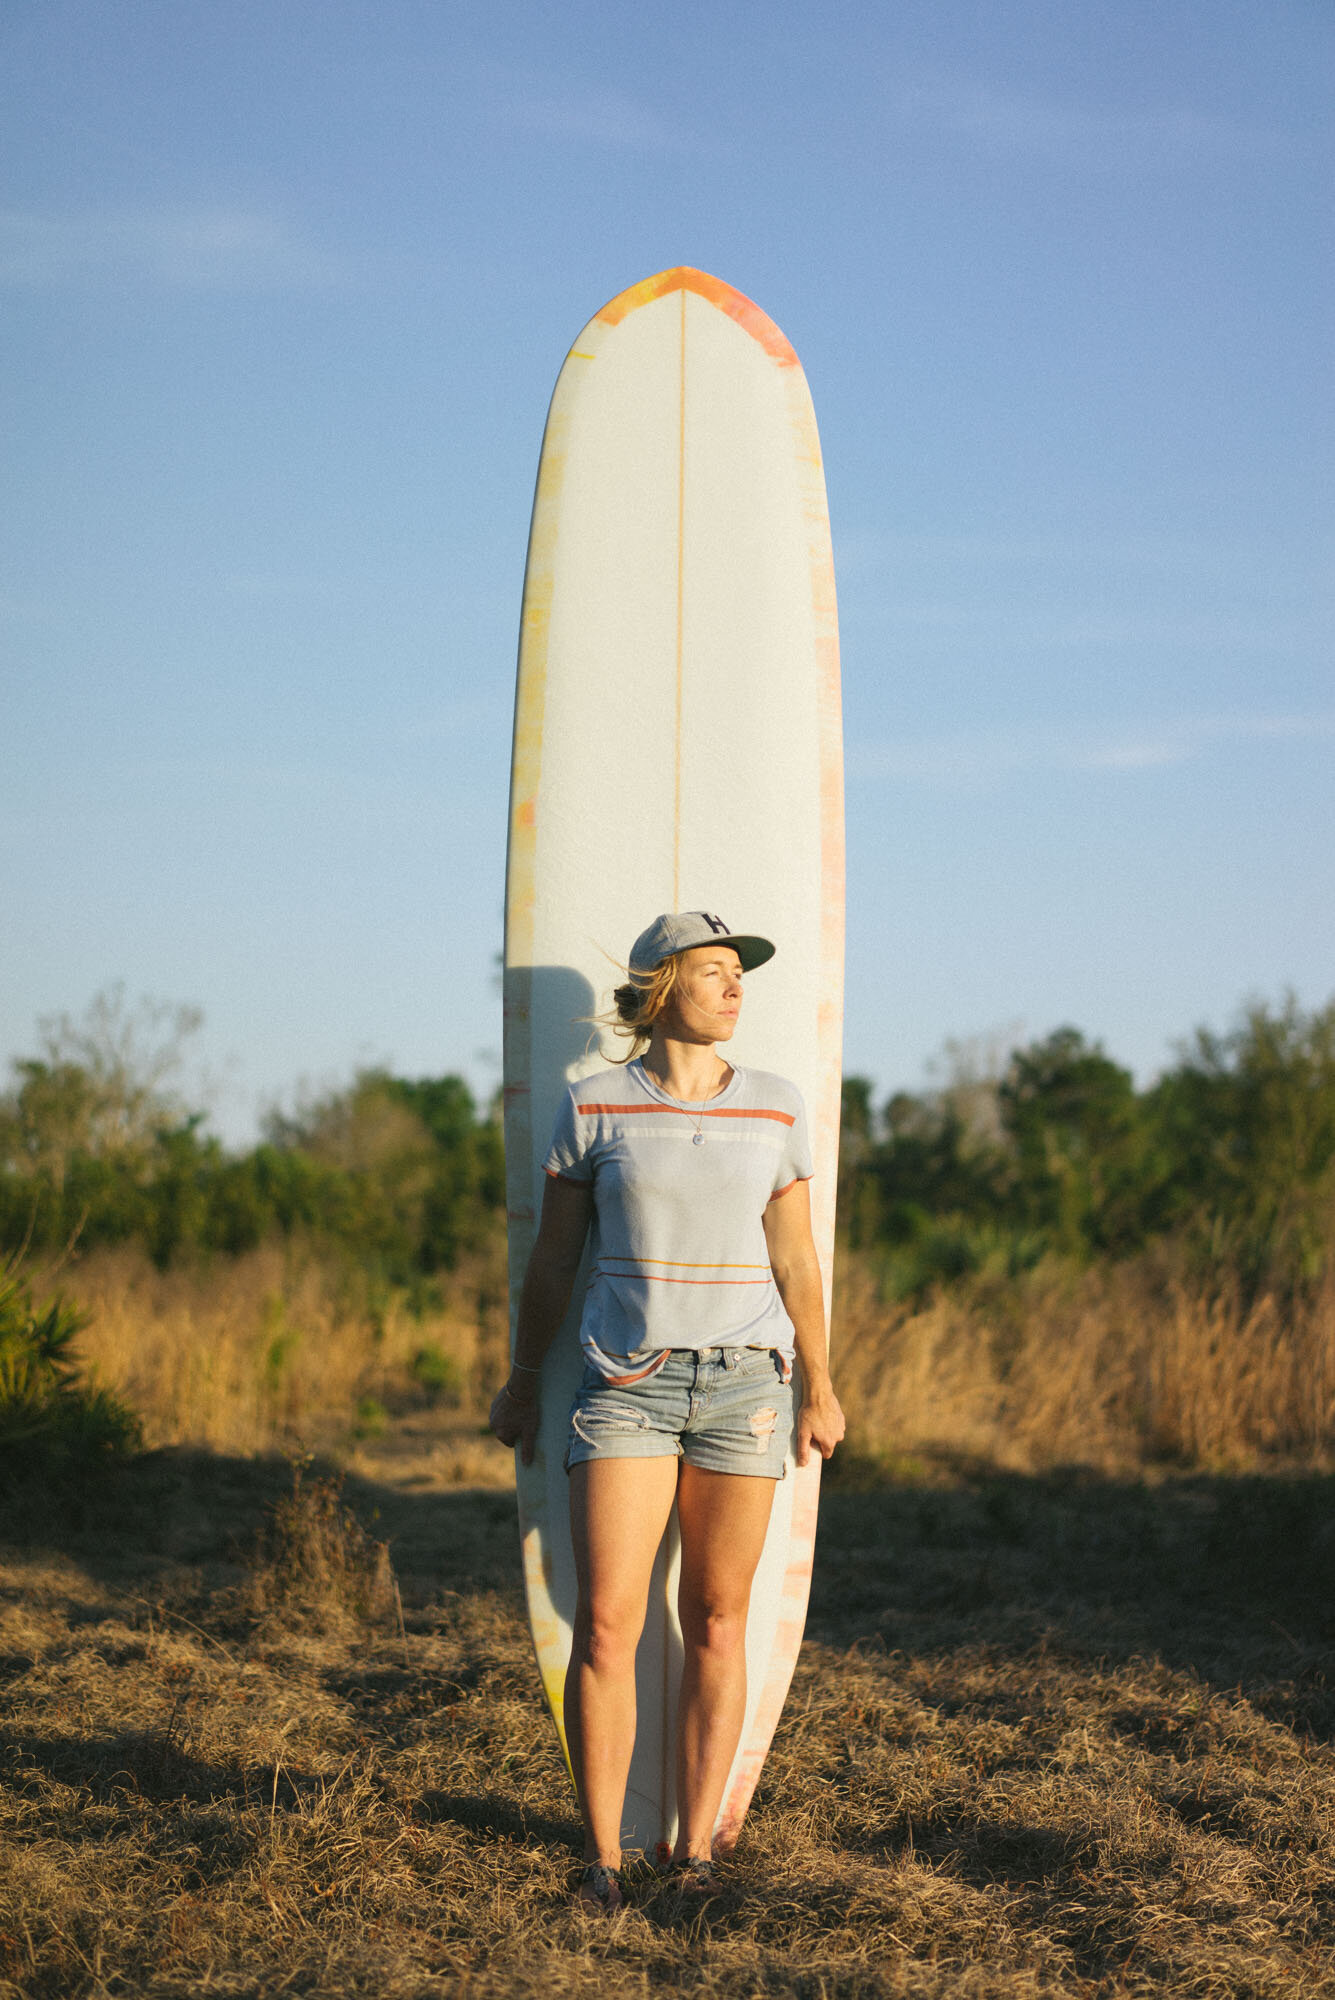

It was nice to take a break from the grind of the last five and half months of purely focusing on getting work done on Amelia. Before heading back to my parents house we took our new board out for a spin on the smallest day Florida has seen in months...and we were still able to catch waves! It's amazing the difference three days can make.

As soon as we got back to Orlando and had Amelia in our hands we went right back to work. First thing on the list was to repaint our side view mirrors. We painted them early on in the build, but since then we've learned how to paint them better. If we could do it better a second time around, why not do it?! While we had the paint out, we also painted the base of our table where it connects into the floor.
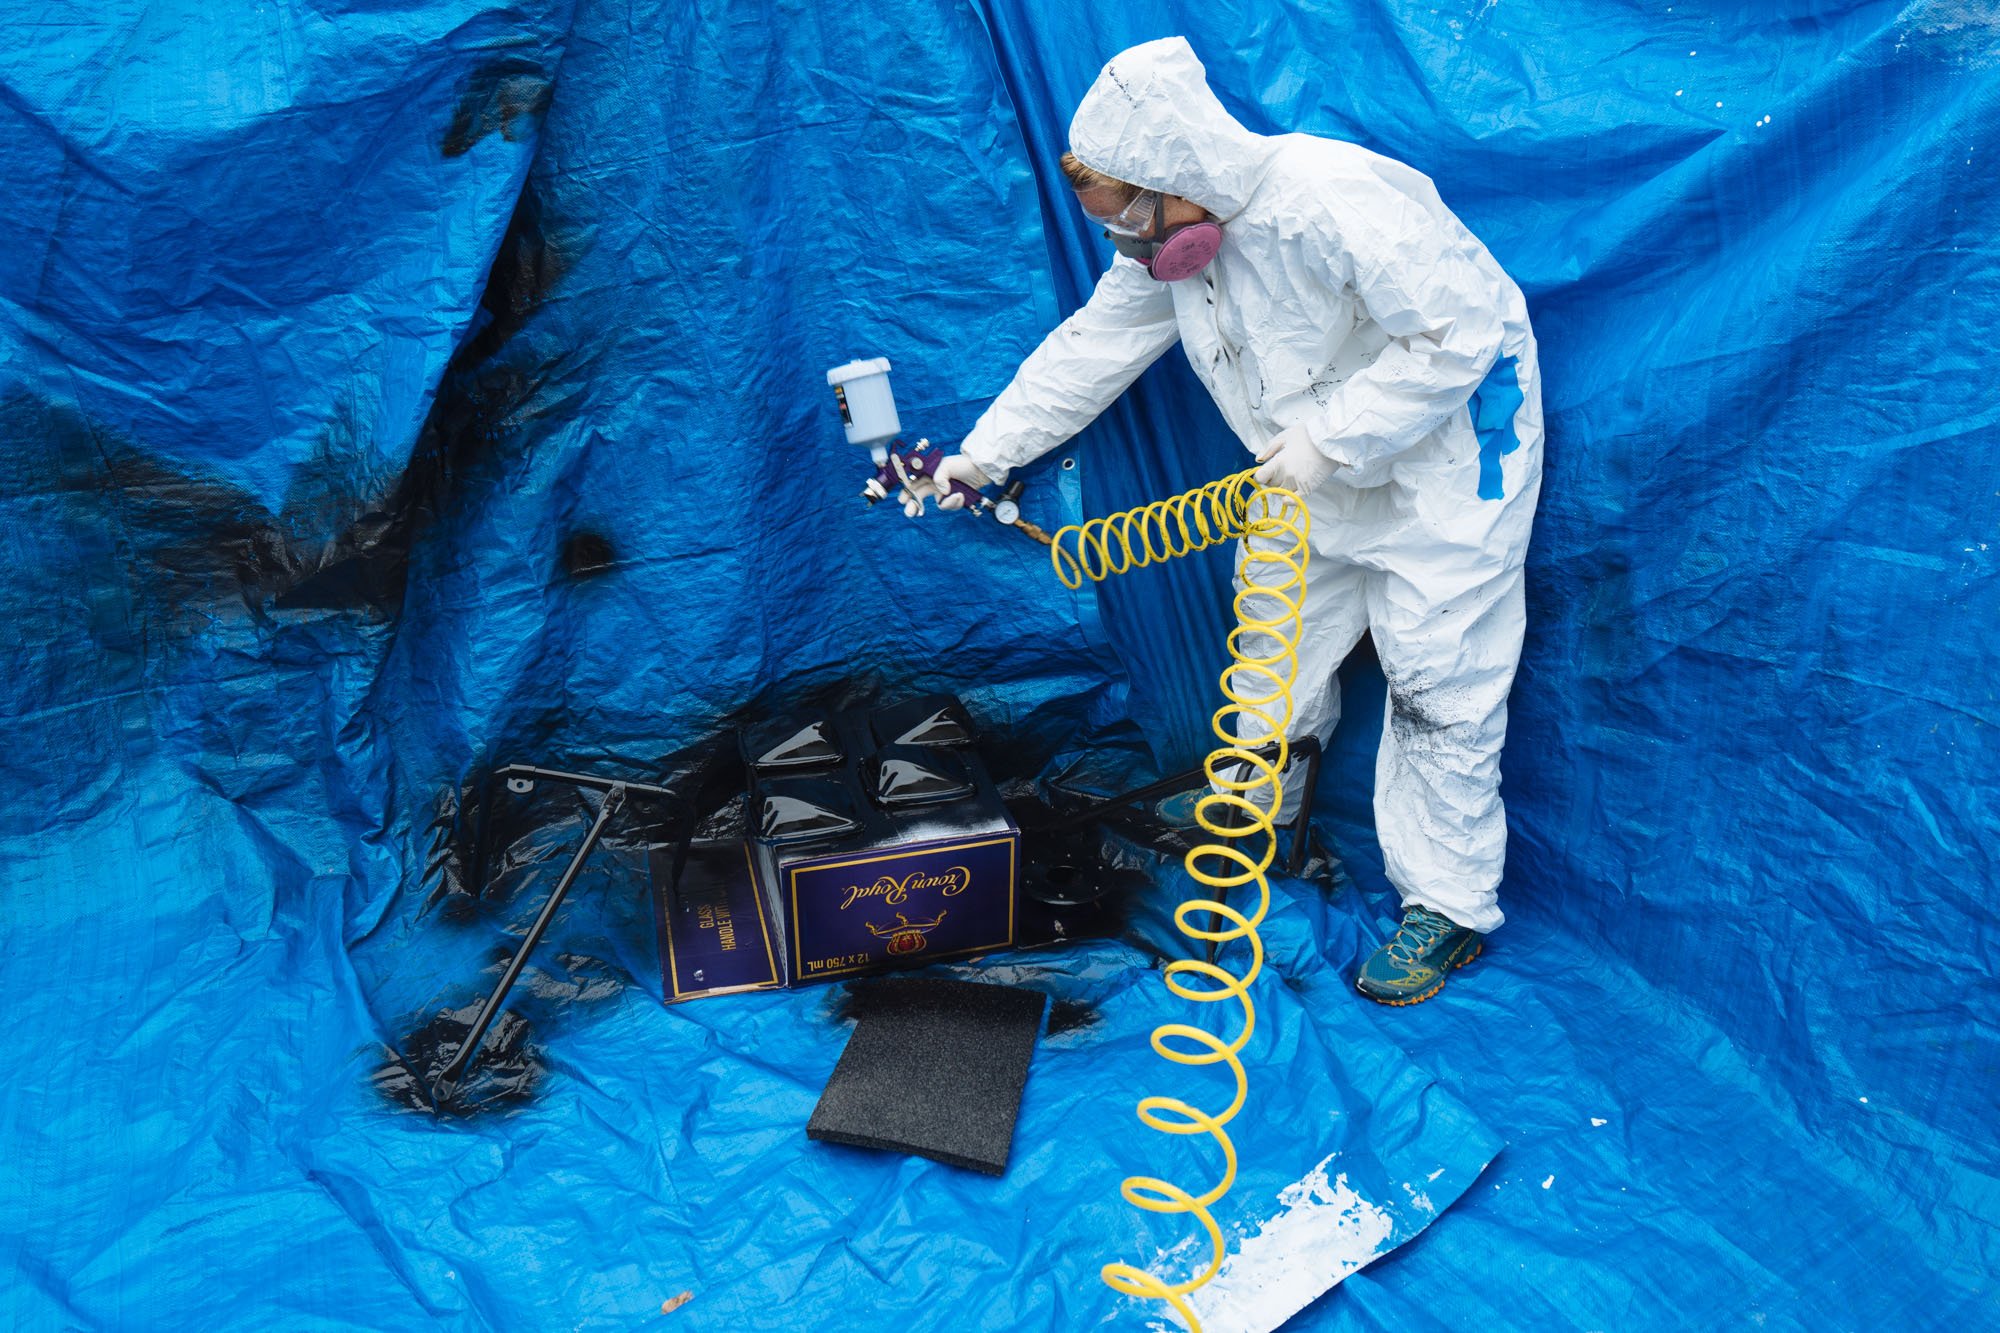
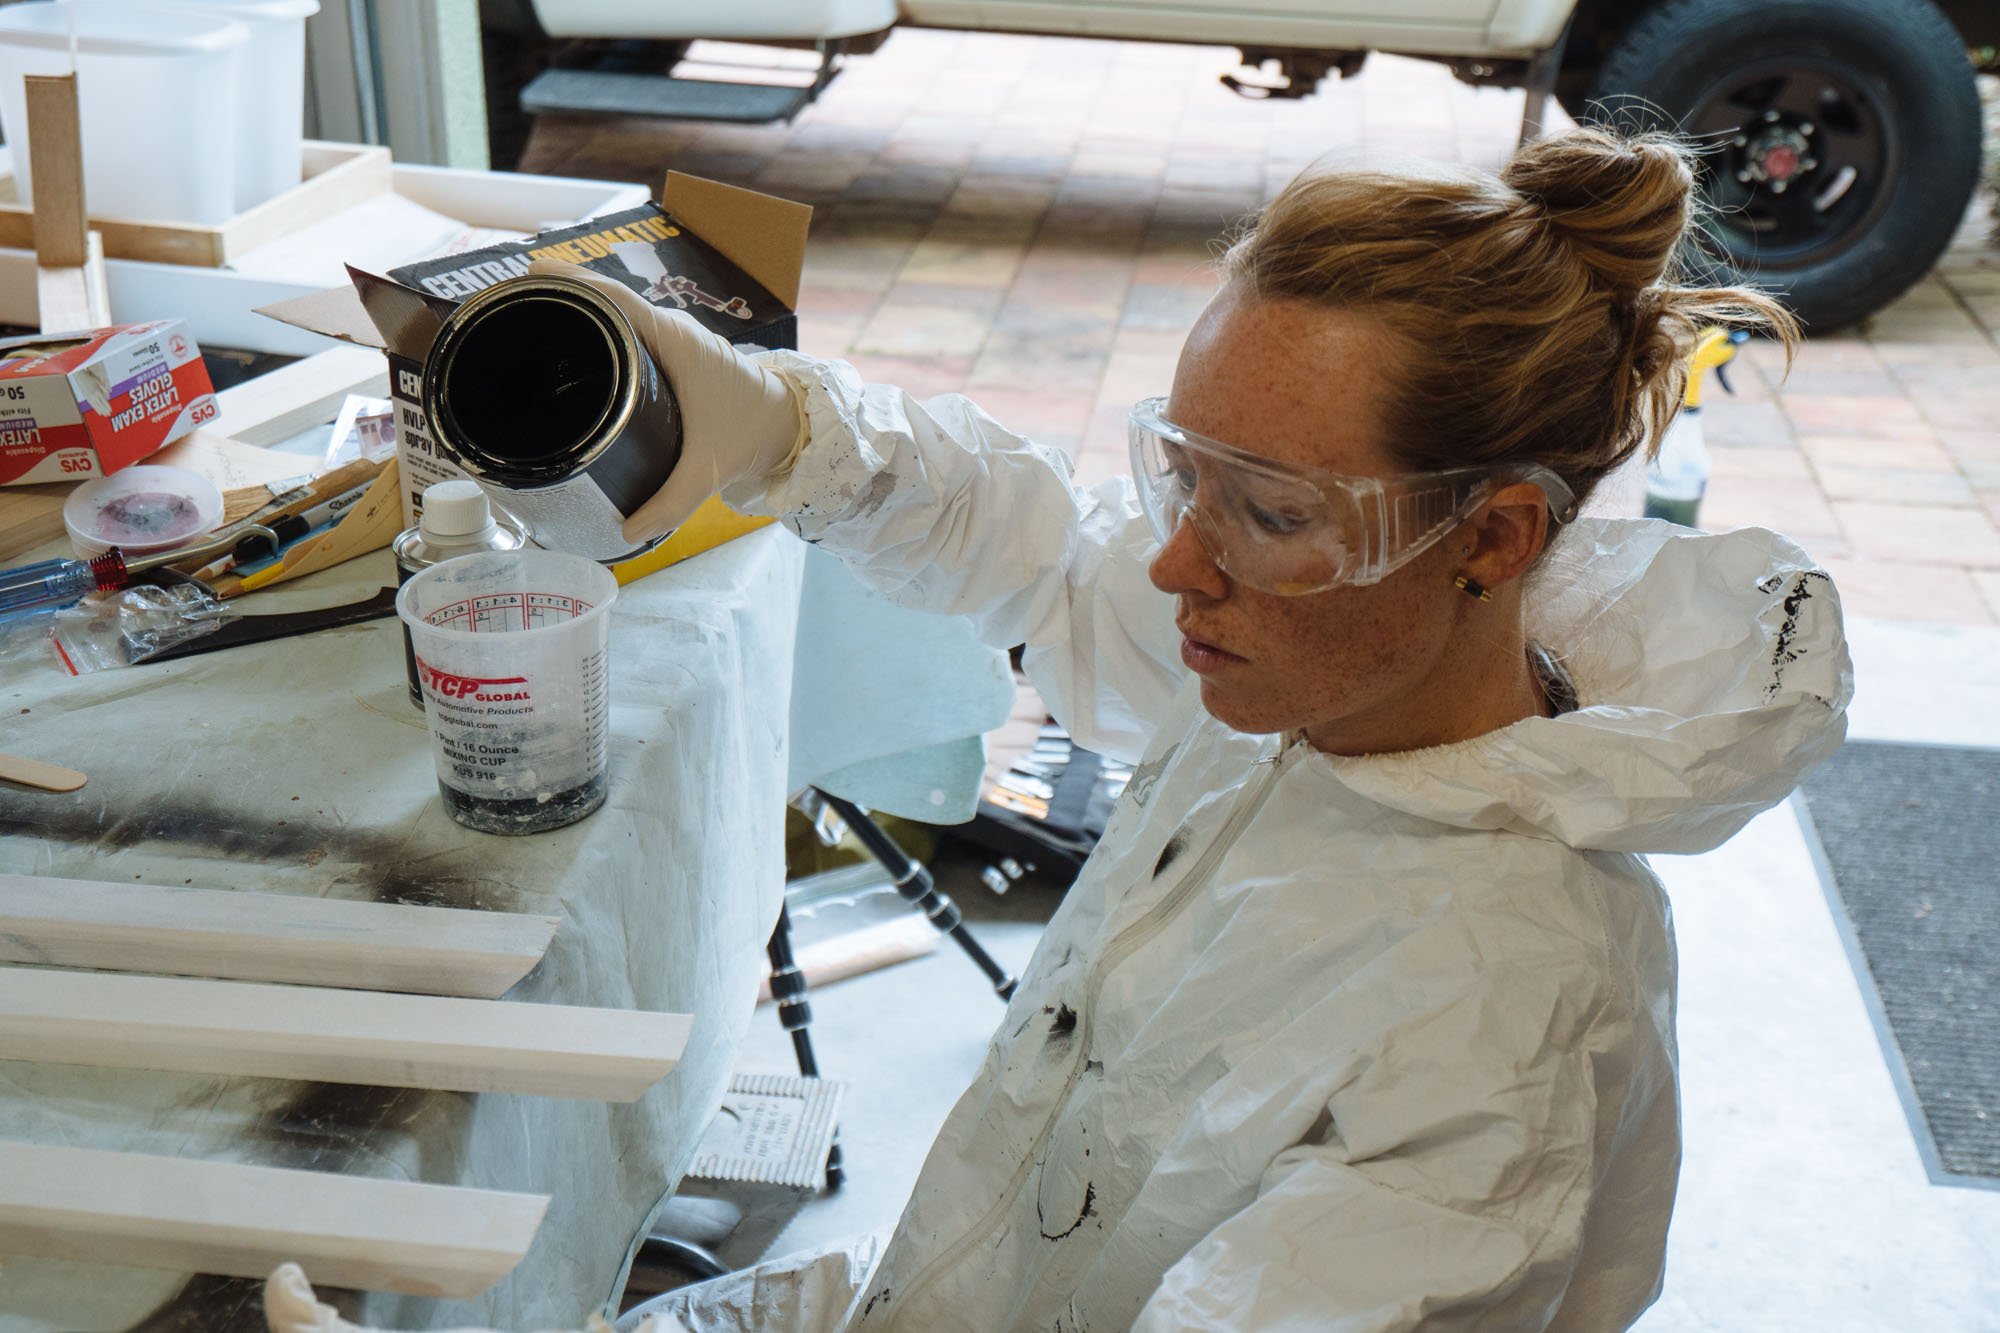

MUCH better! Plus it looks great with those new murdered out wheels of ours! To paint the side view mirrors we used the same hot rod paint that we used for the exterior boxes that we painted a few weeks back.
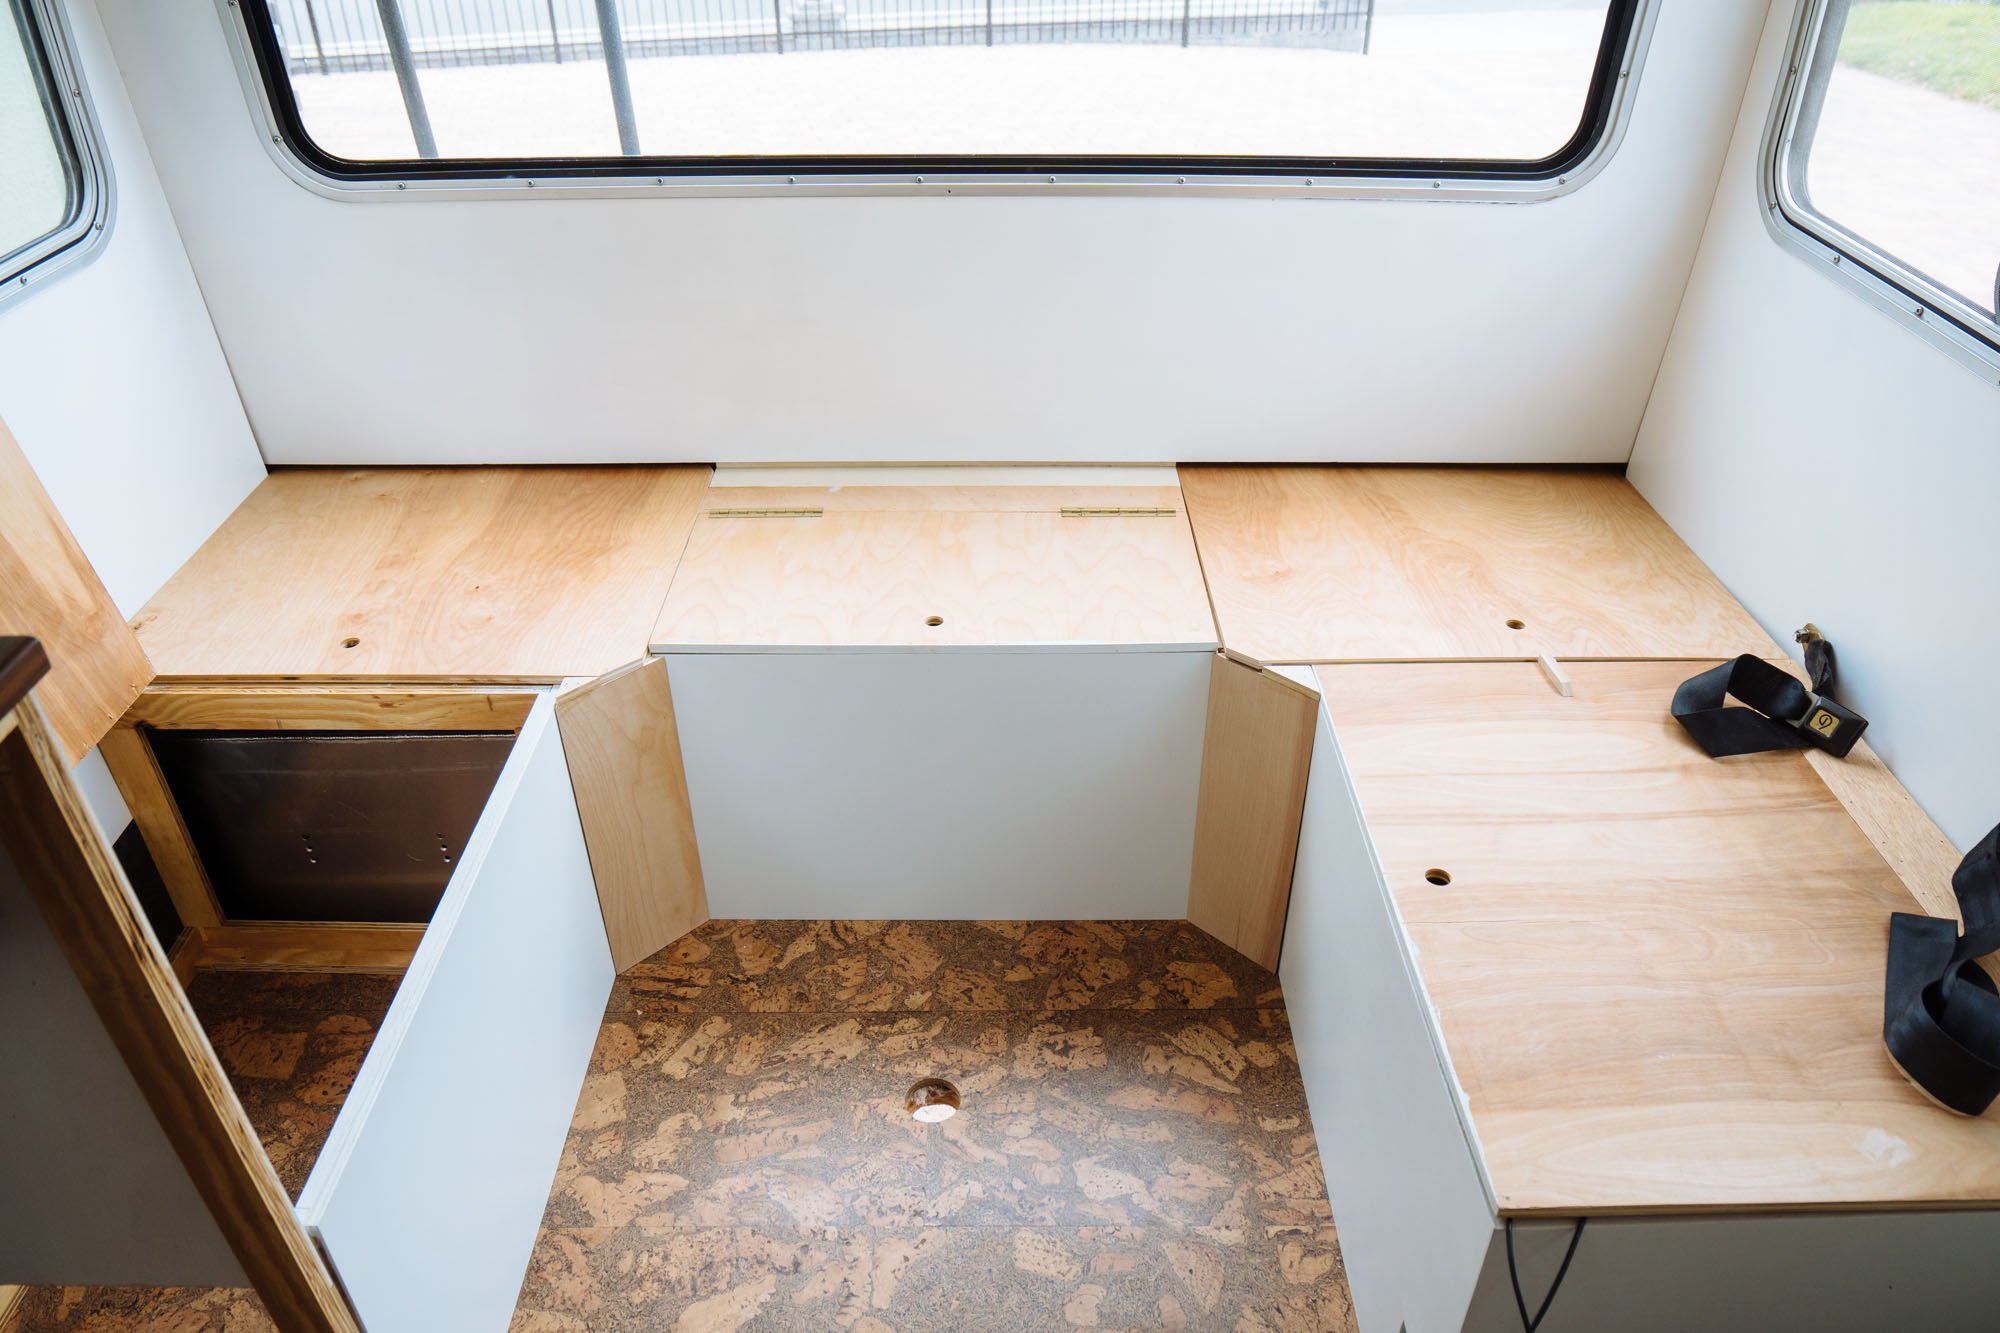
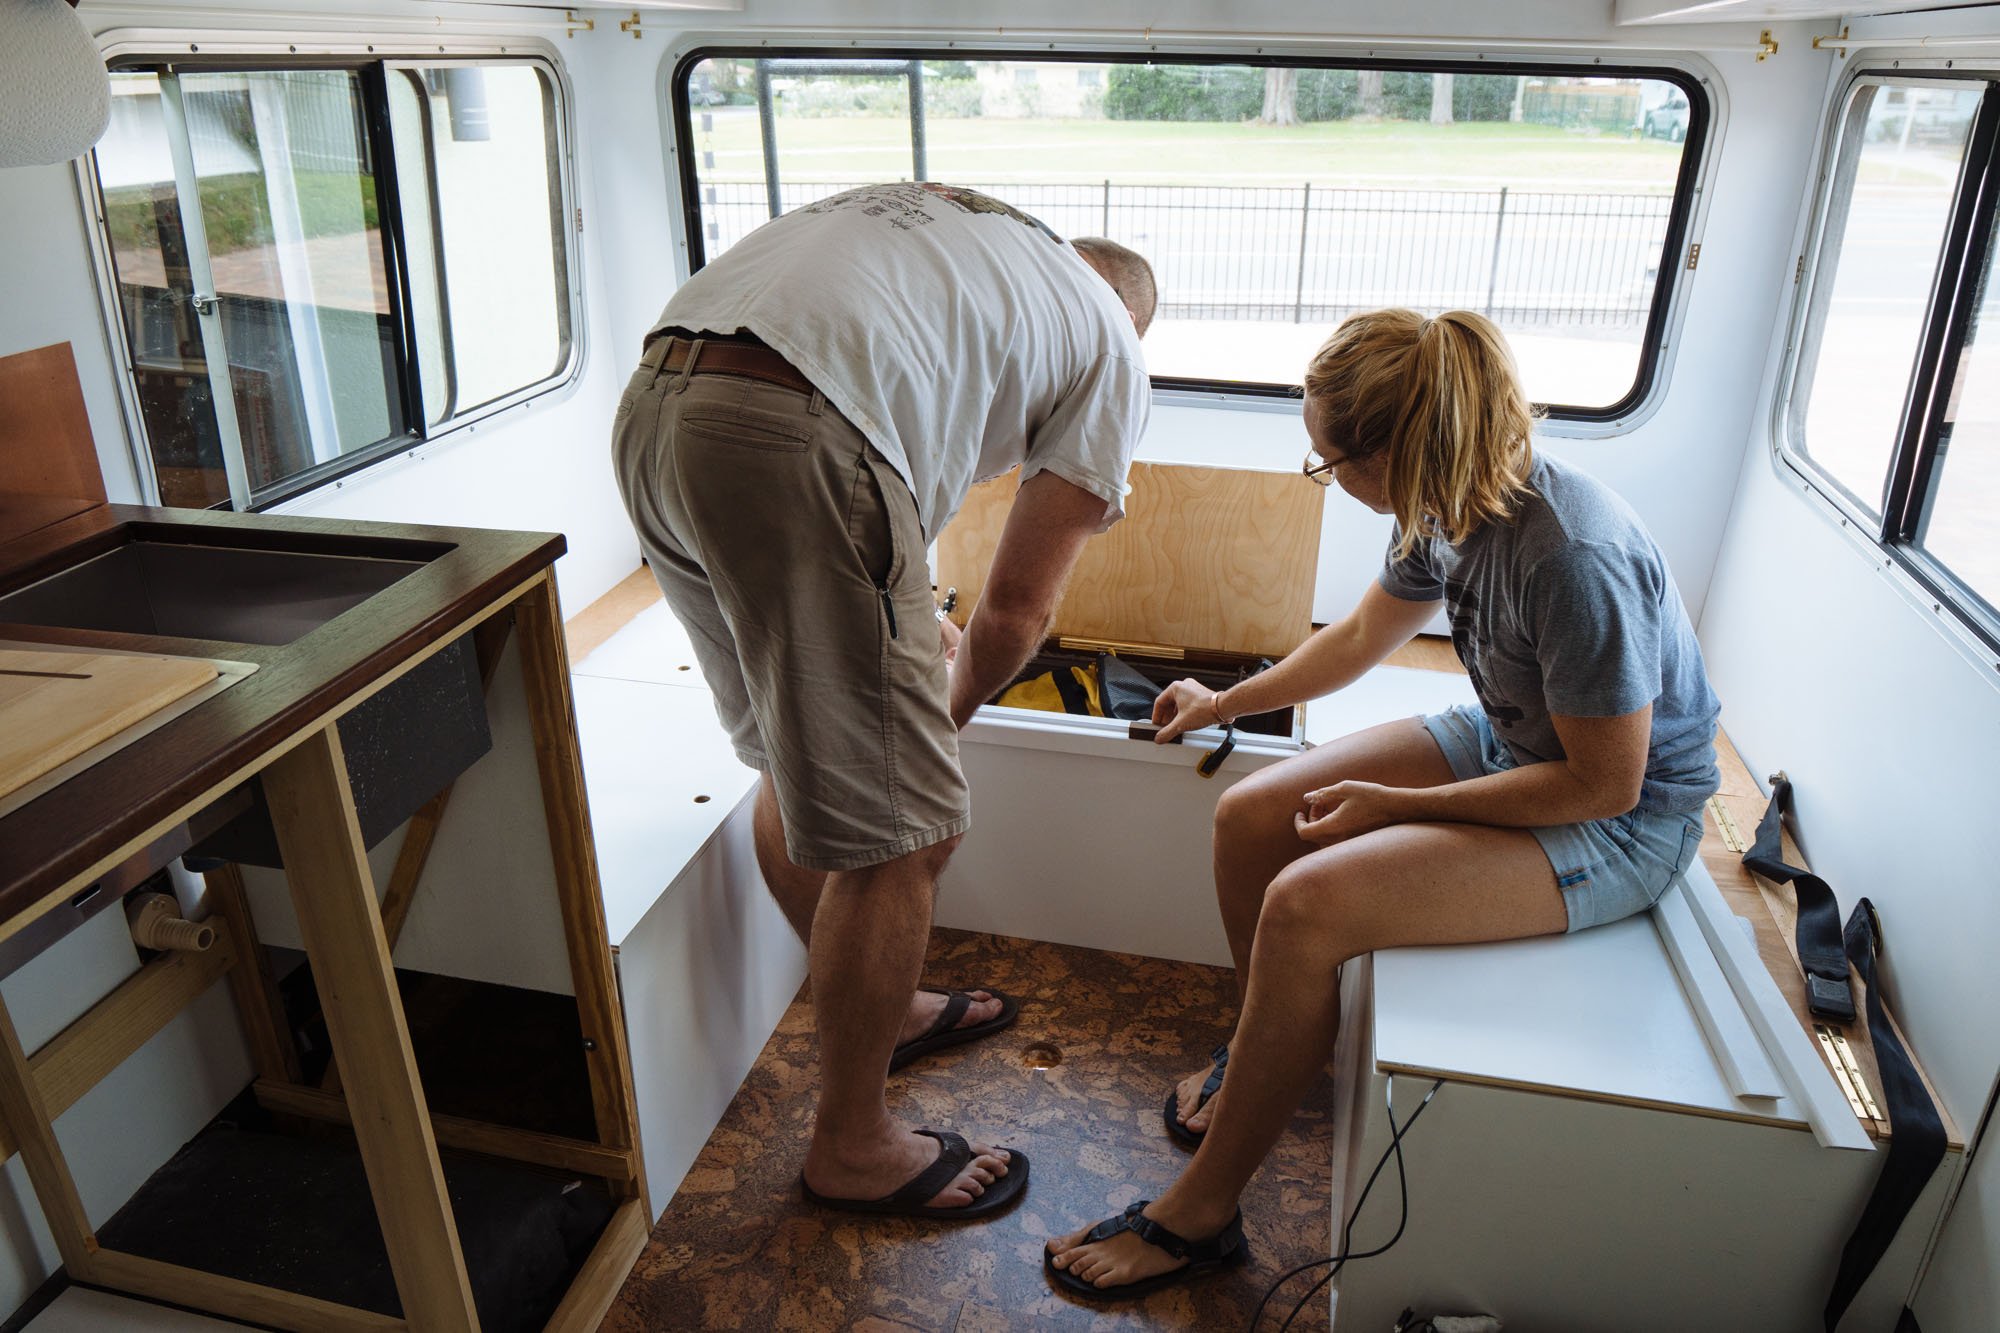
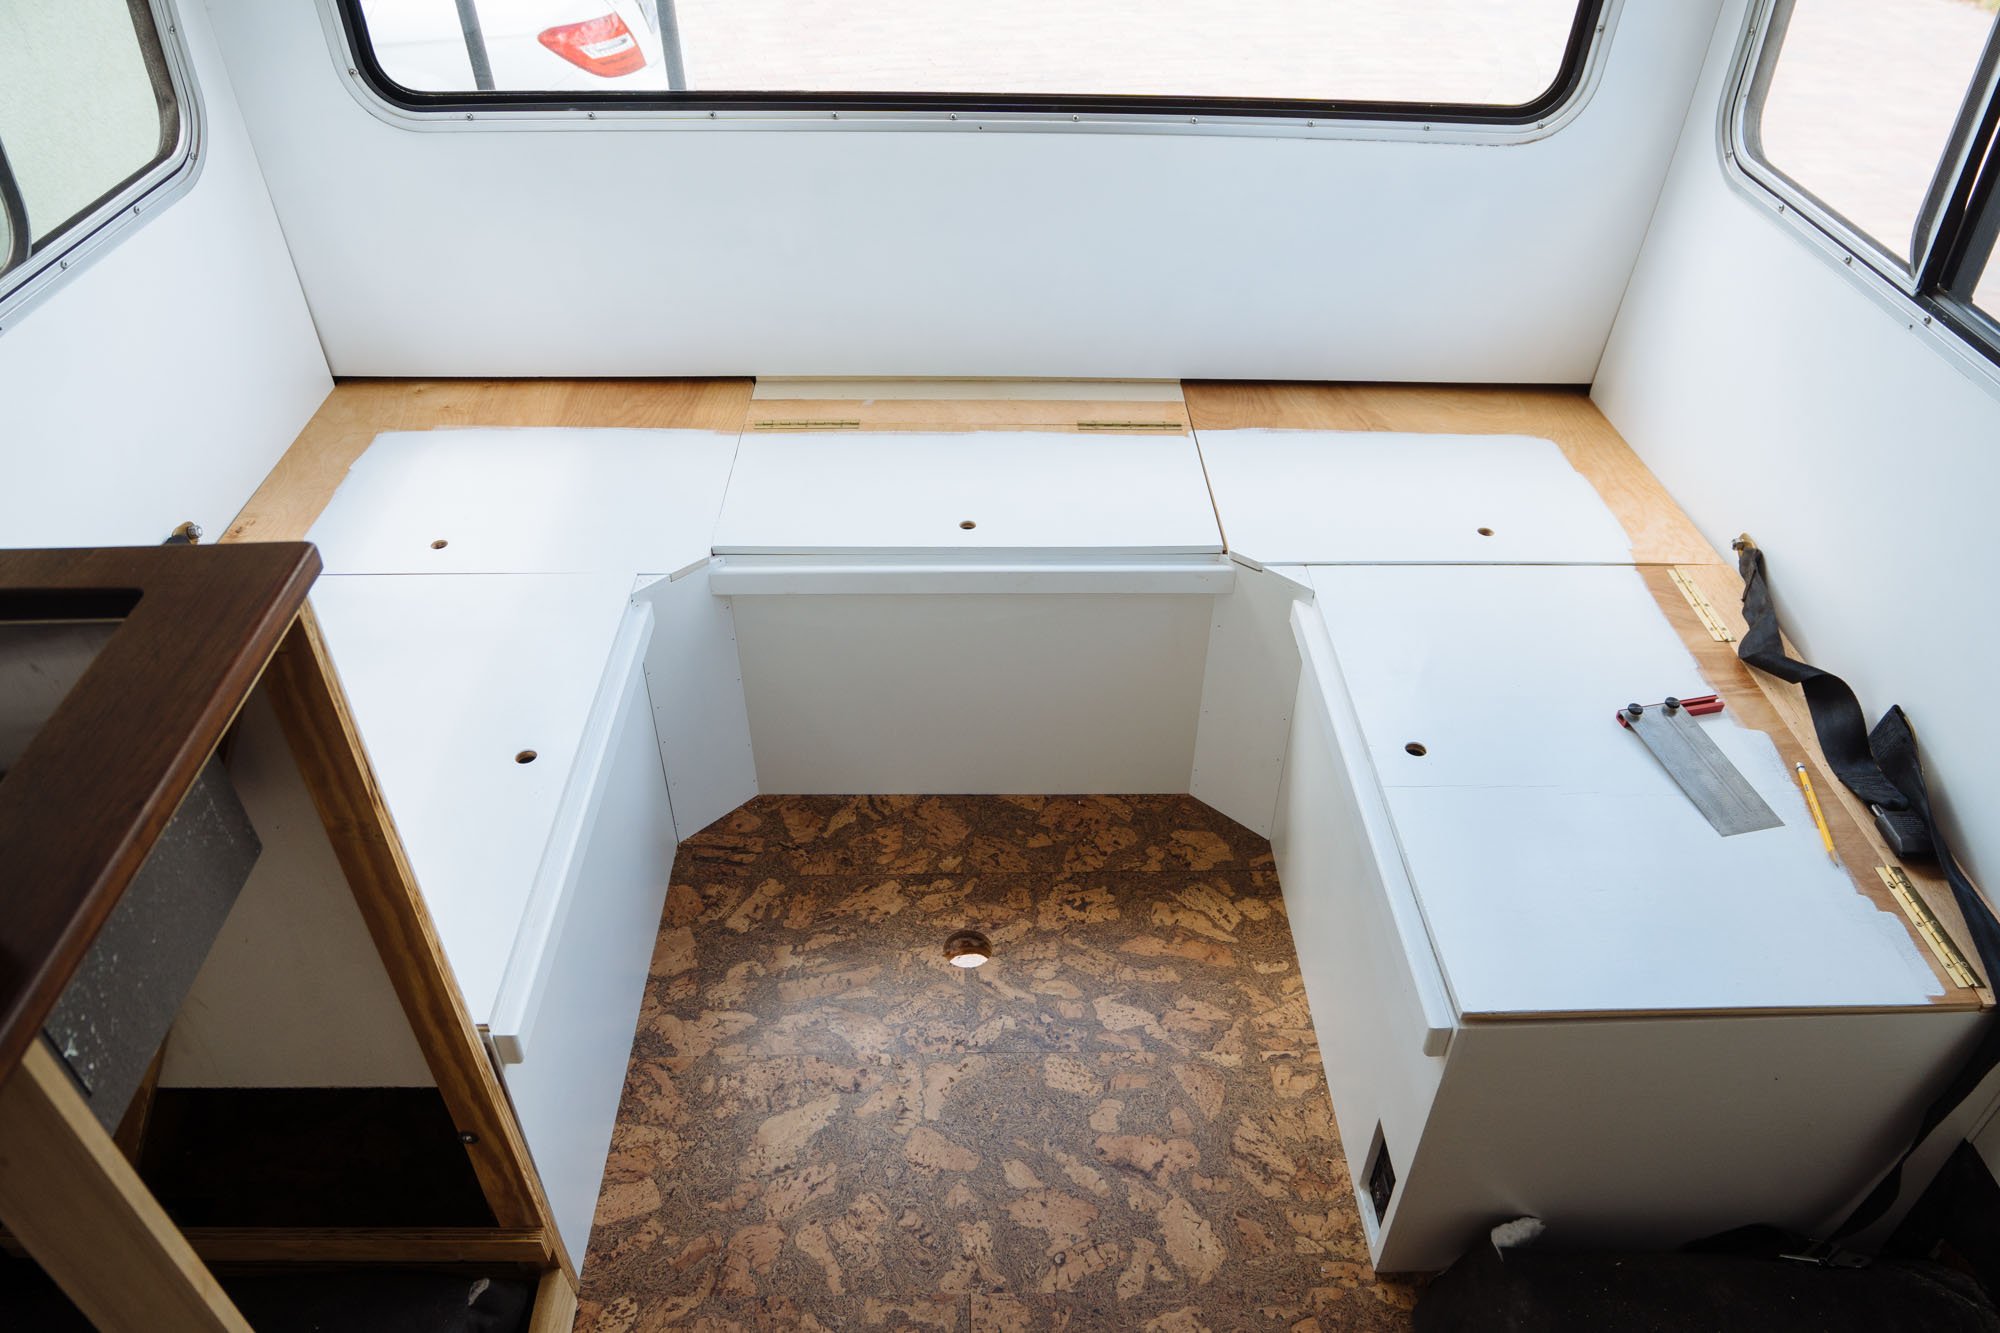
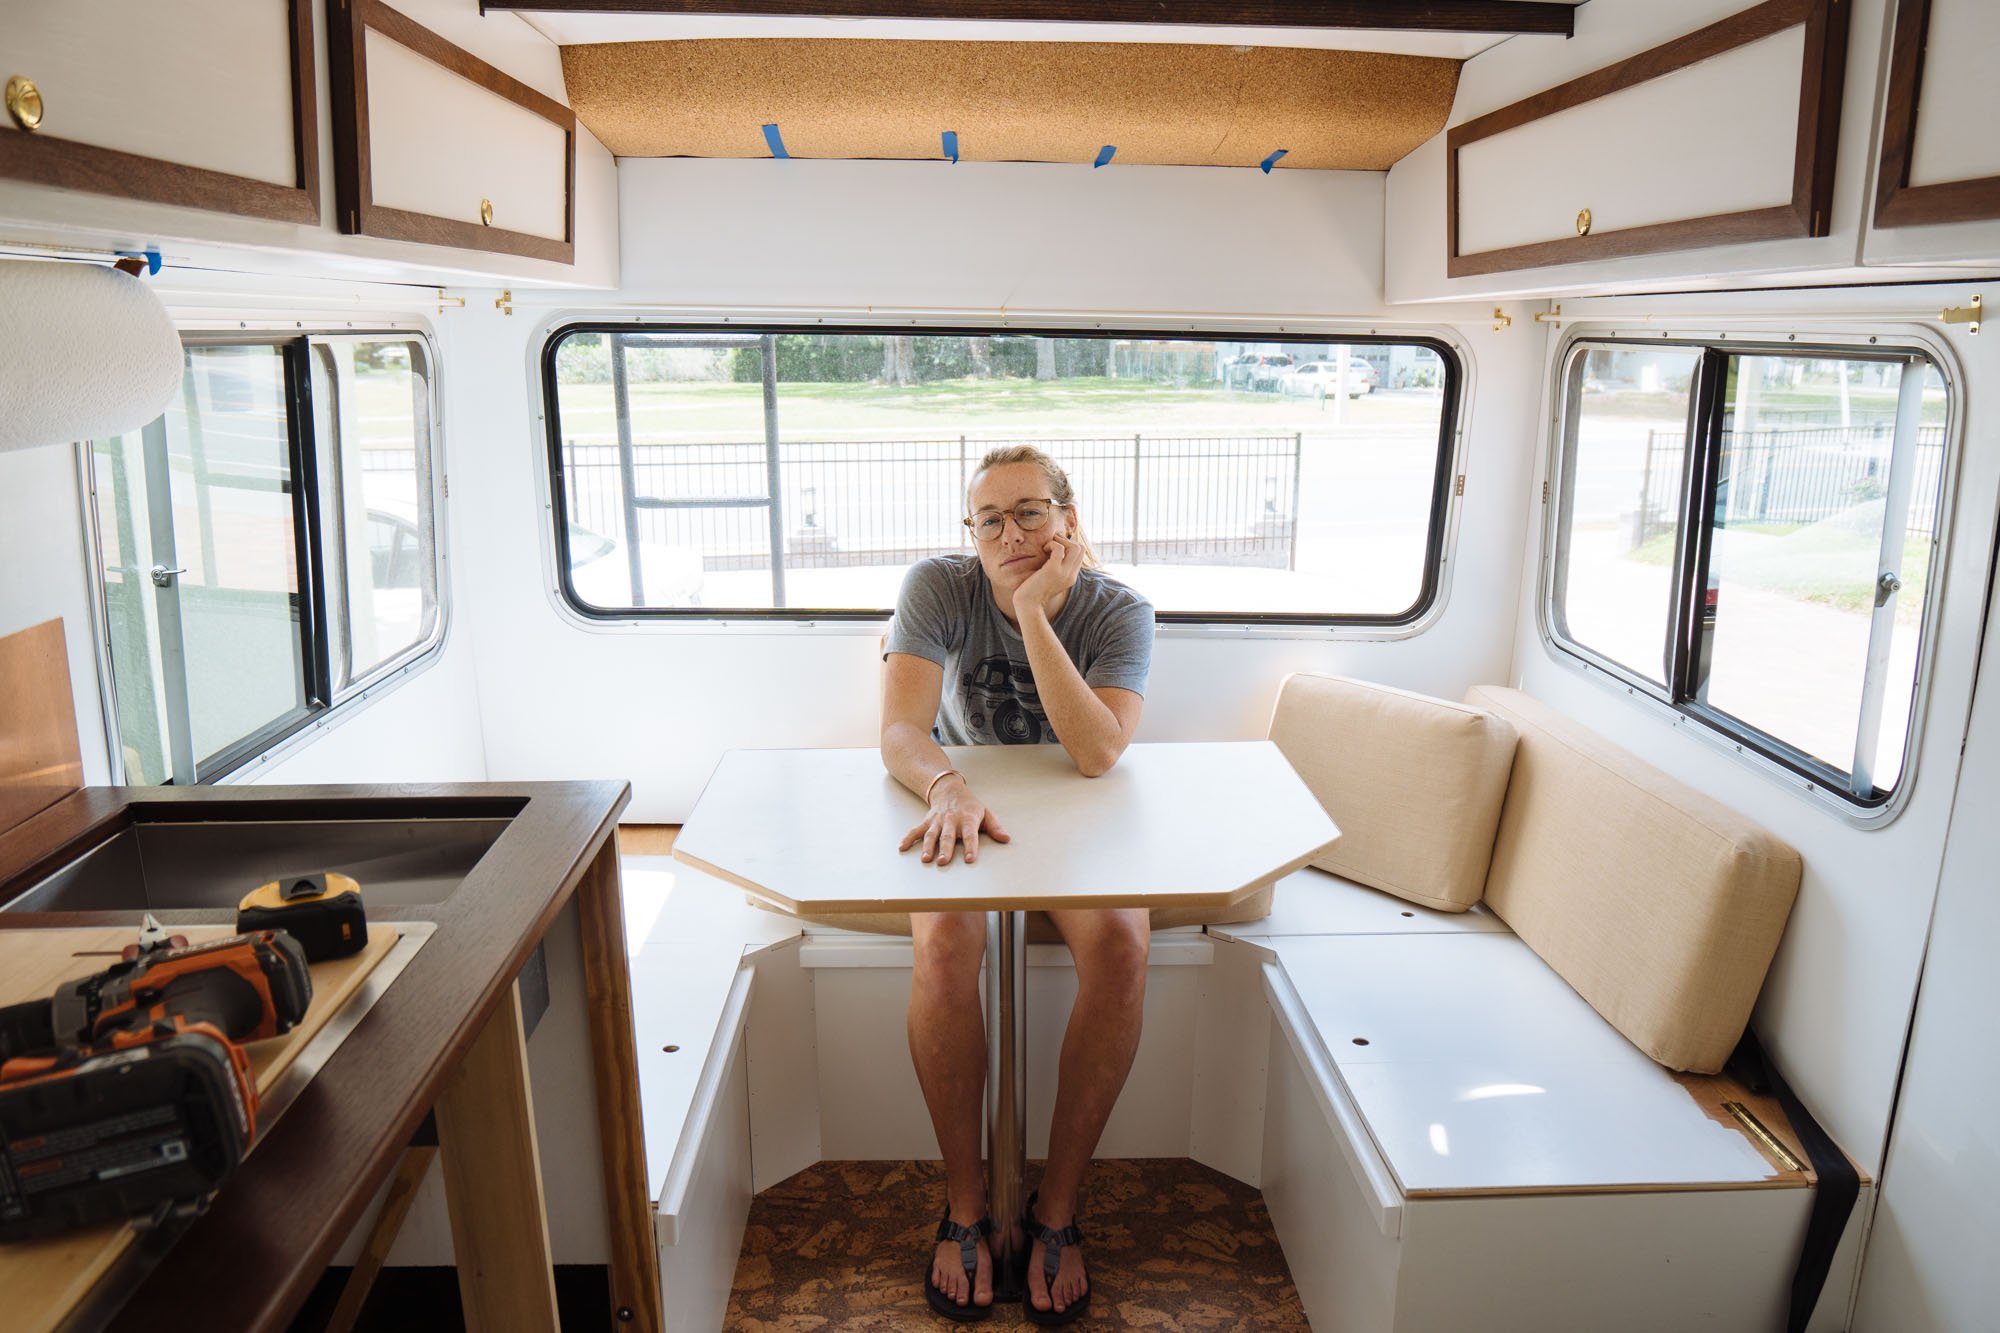
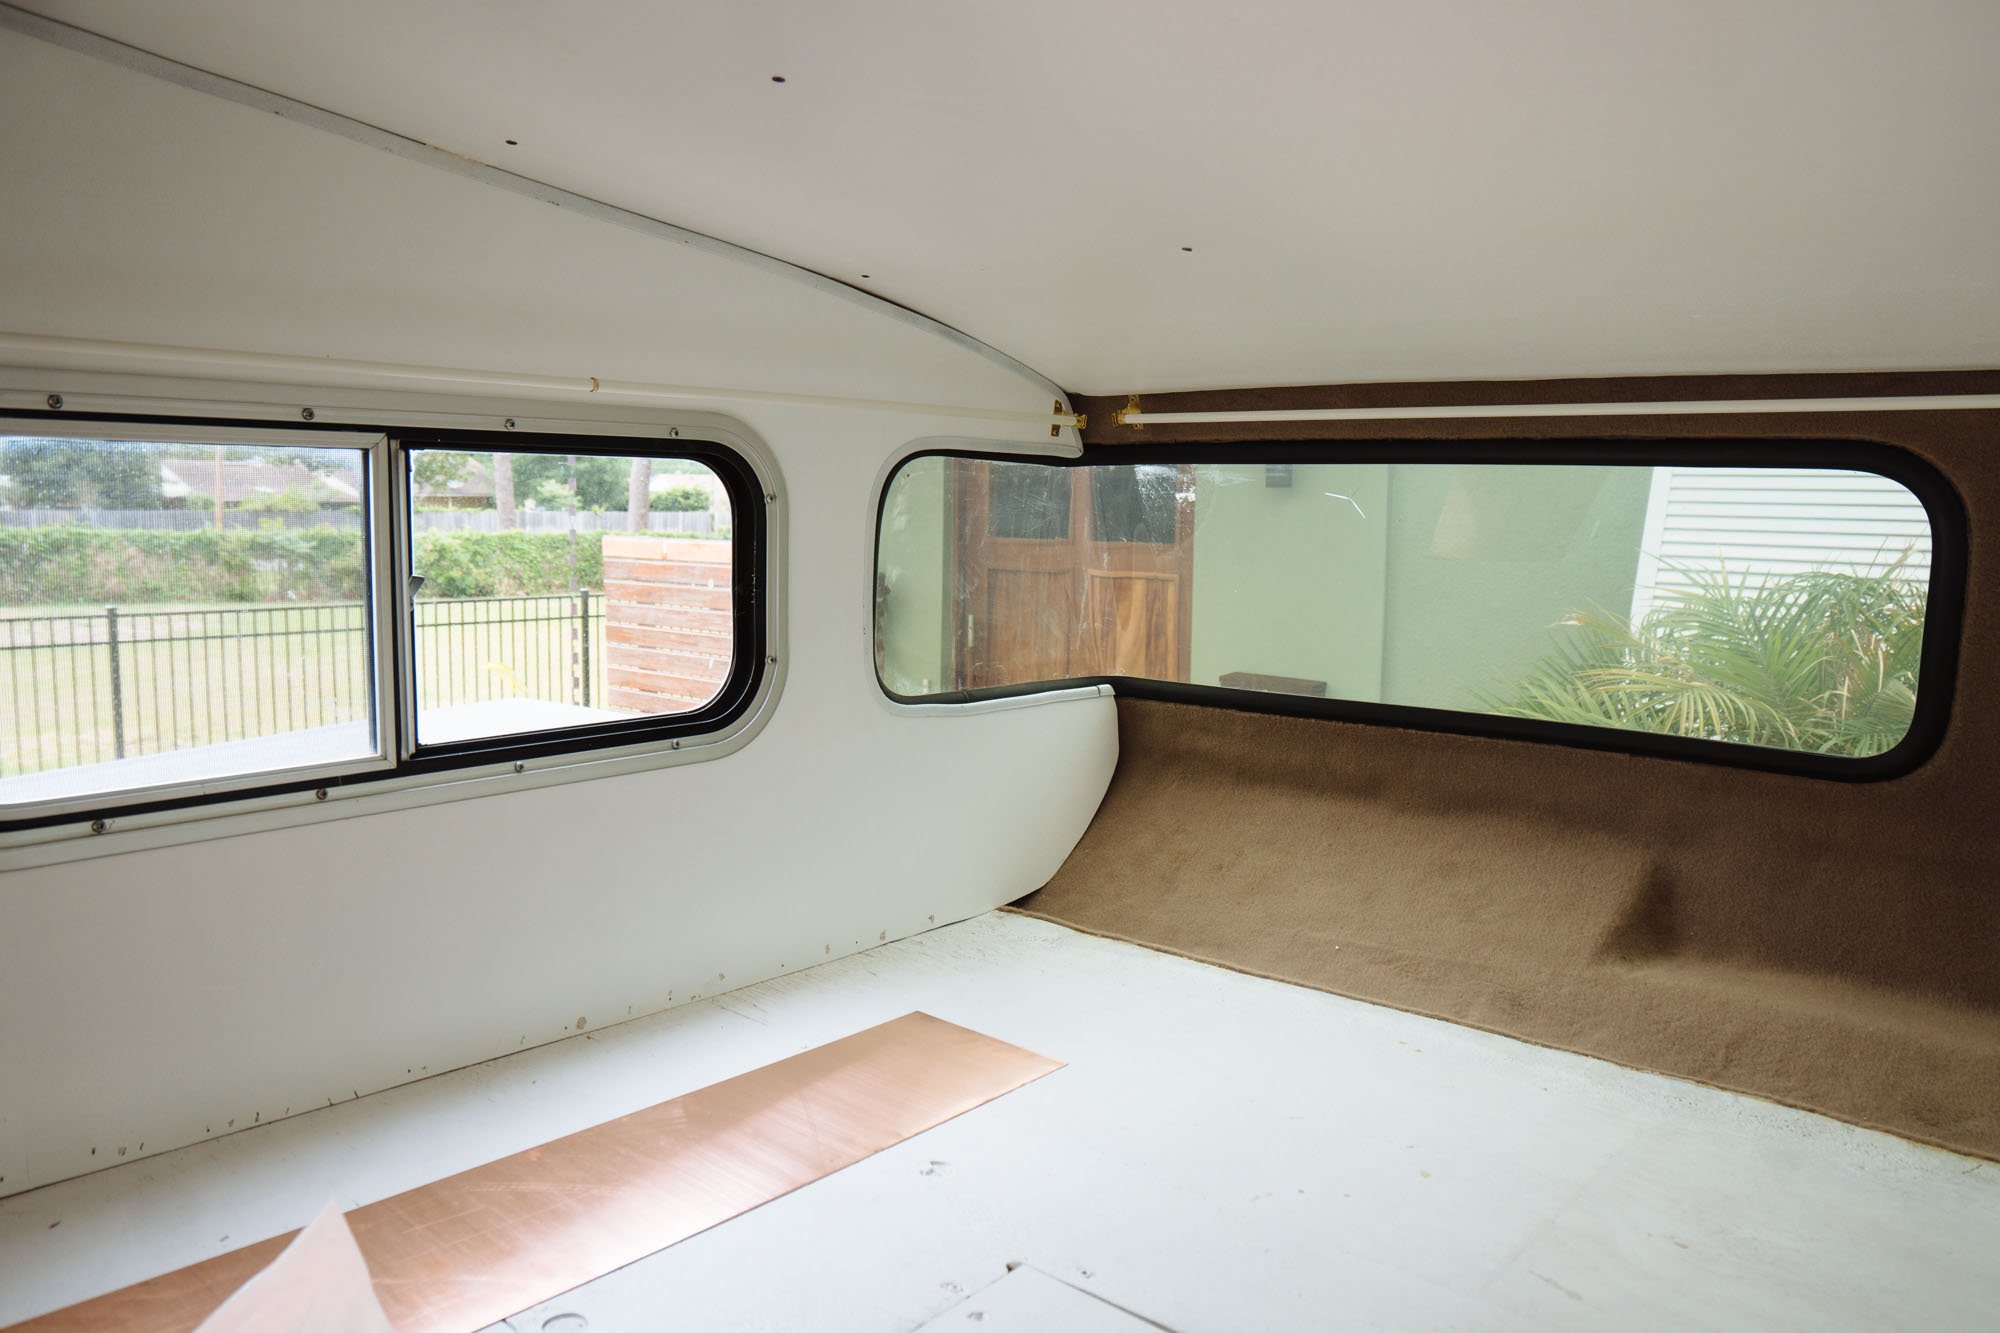
This past week we had the goal of finishing off our seating area in the back. In order to do that, we needed to fill the open gaps between the seating benches with an angled face and make the little rails on the faces of the benches so that the table top can become the bottom of the bed in the event that we have guests or want to sleep on this bed. We made light work of the bench seats, the only thing that remains is the table top, which we're hoping to have done by the weekend.

For a while now we were waiting for our cabinets' hydraulic arms to be back in stock so we could check that little box off our to-do list. Owen was excited to get to work on those the minute they arrived.
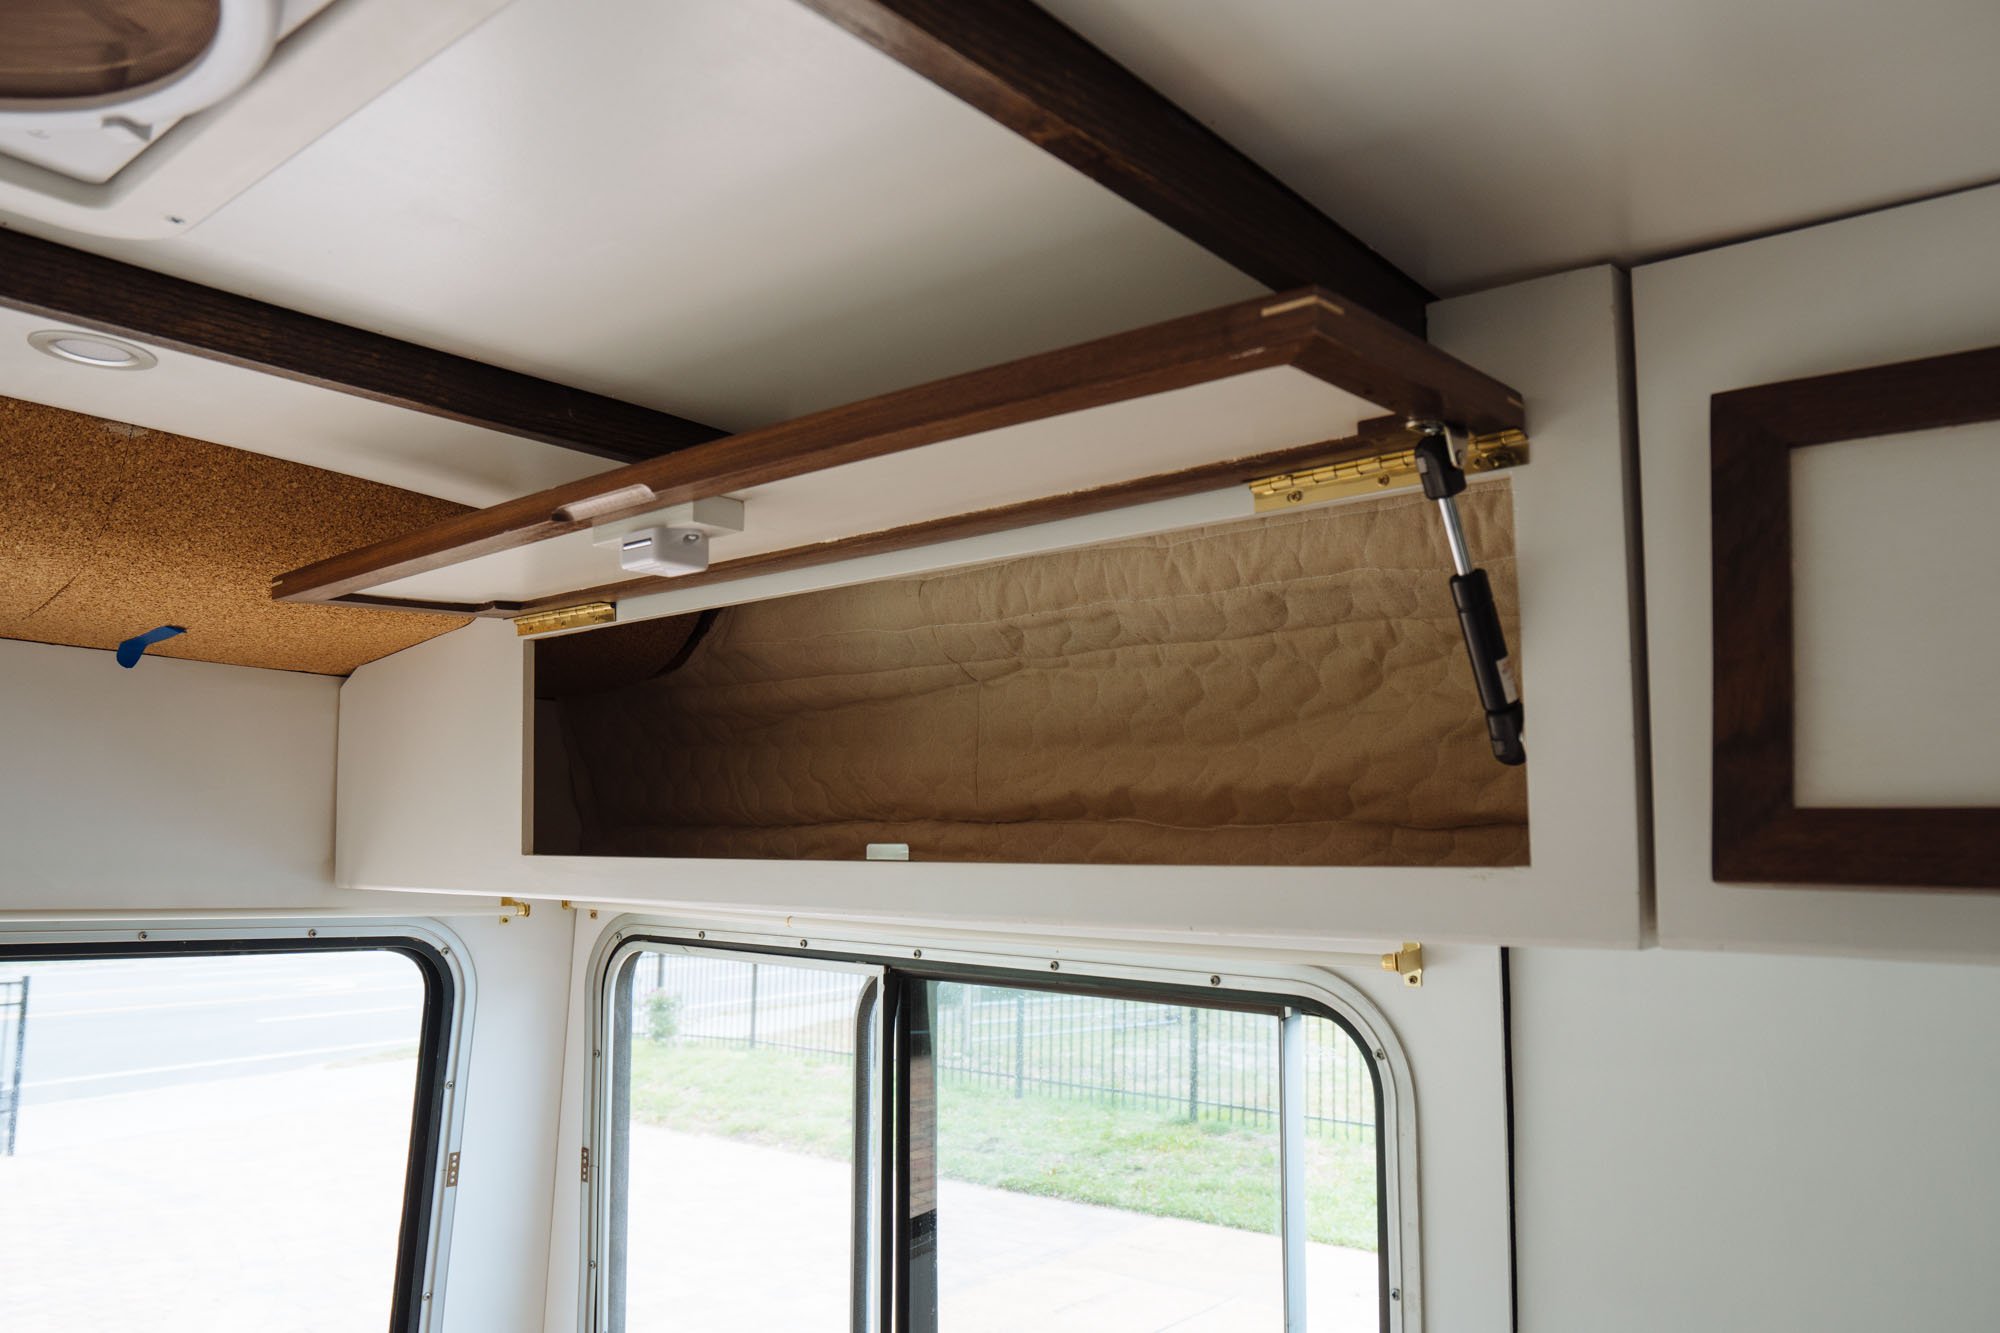
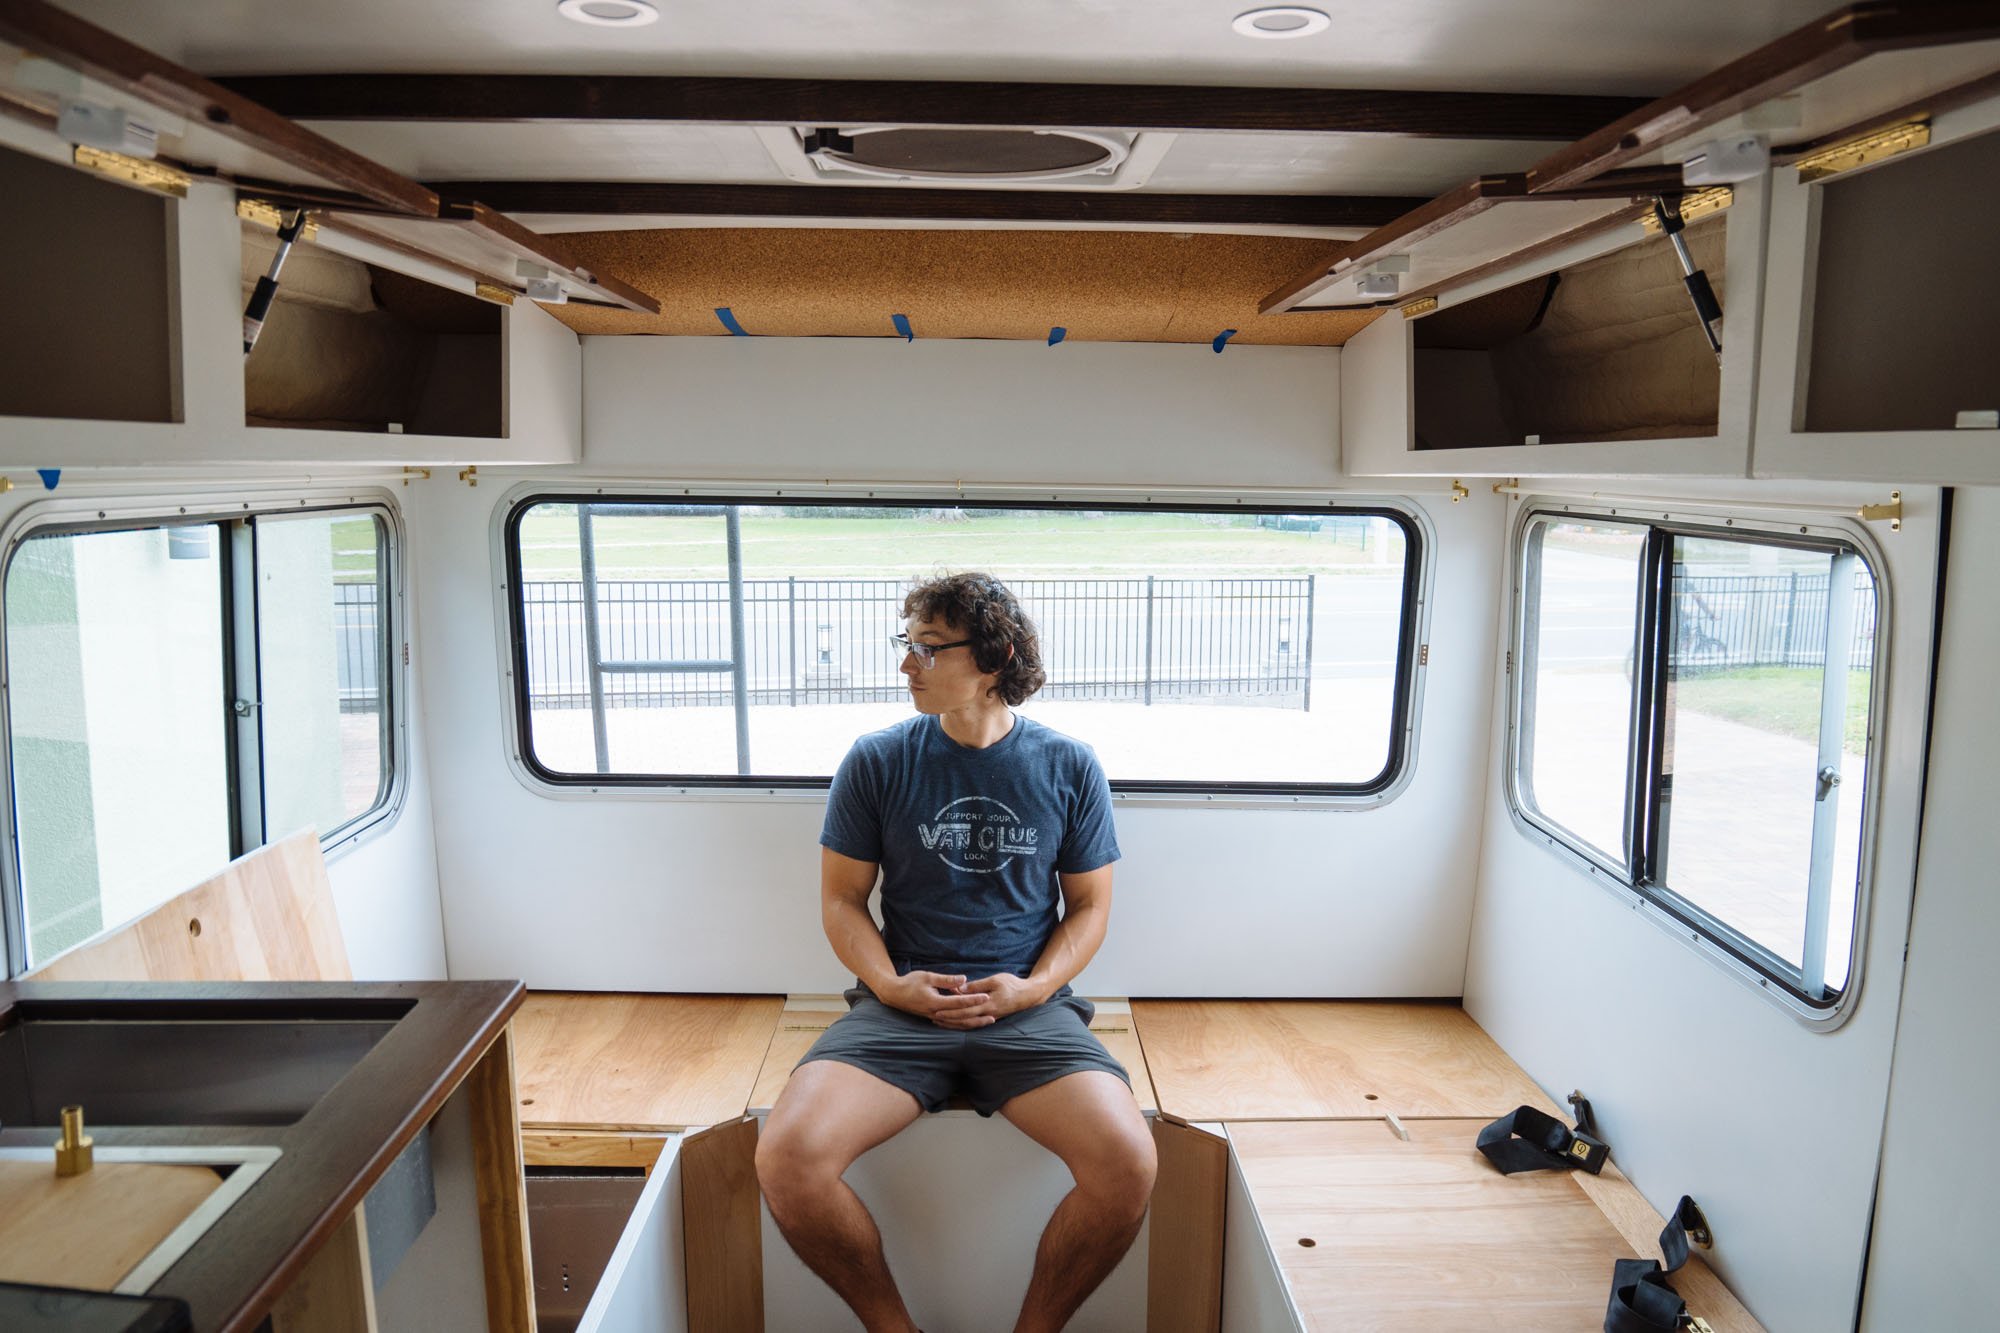
Owen looks good sitting there with his handy work. We've started to notice that this phase of our build is made up mostly of small, little nit-picky projects that aren't exactly fun to do or document...so lets run through them really fast:

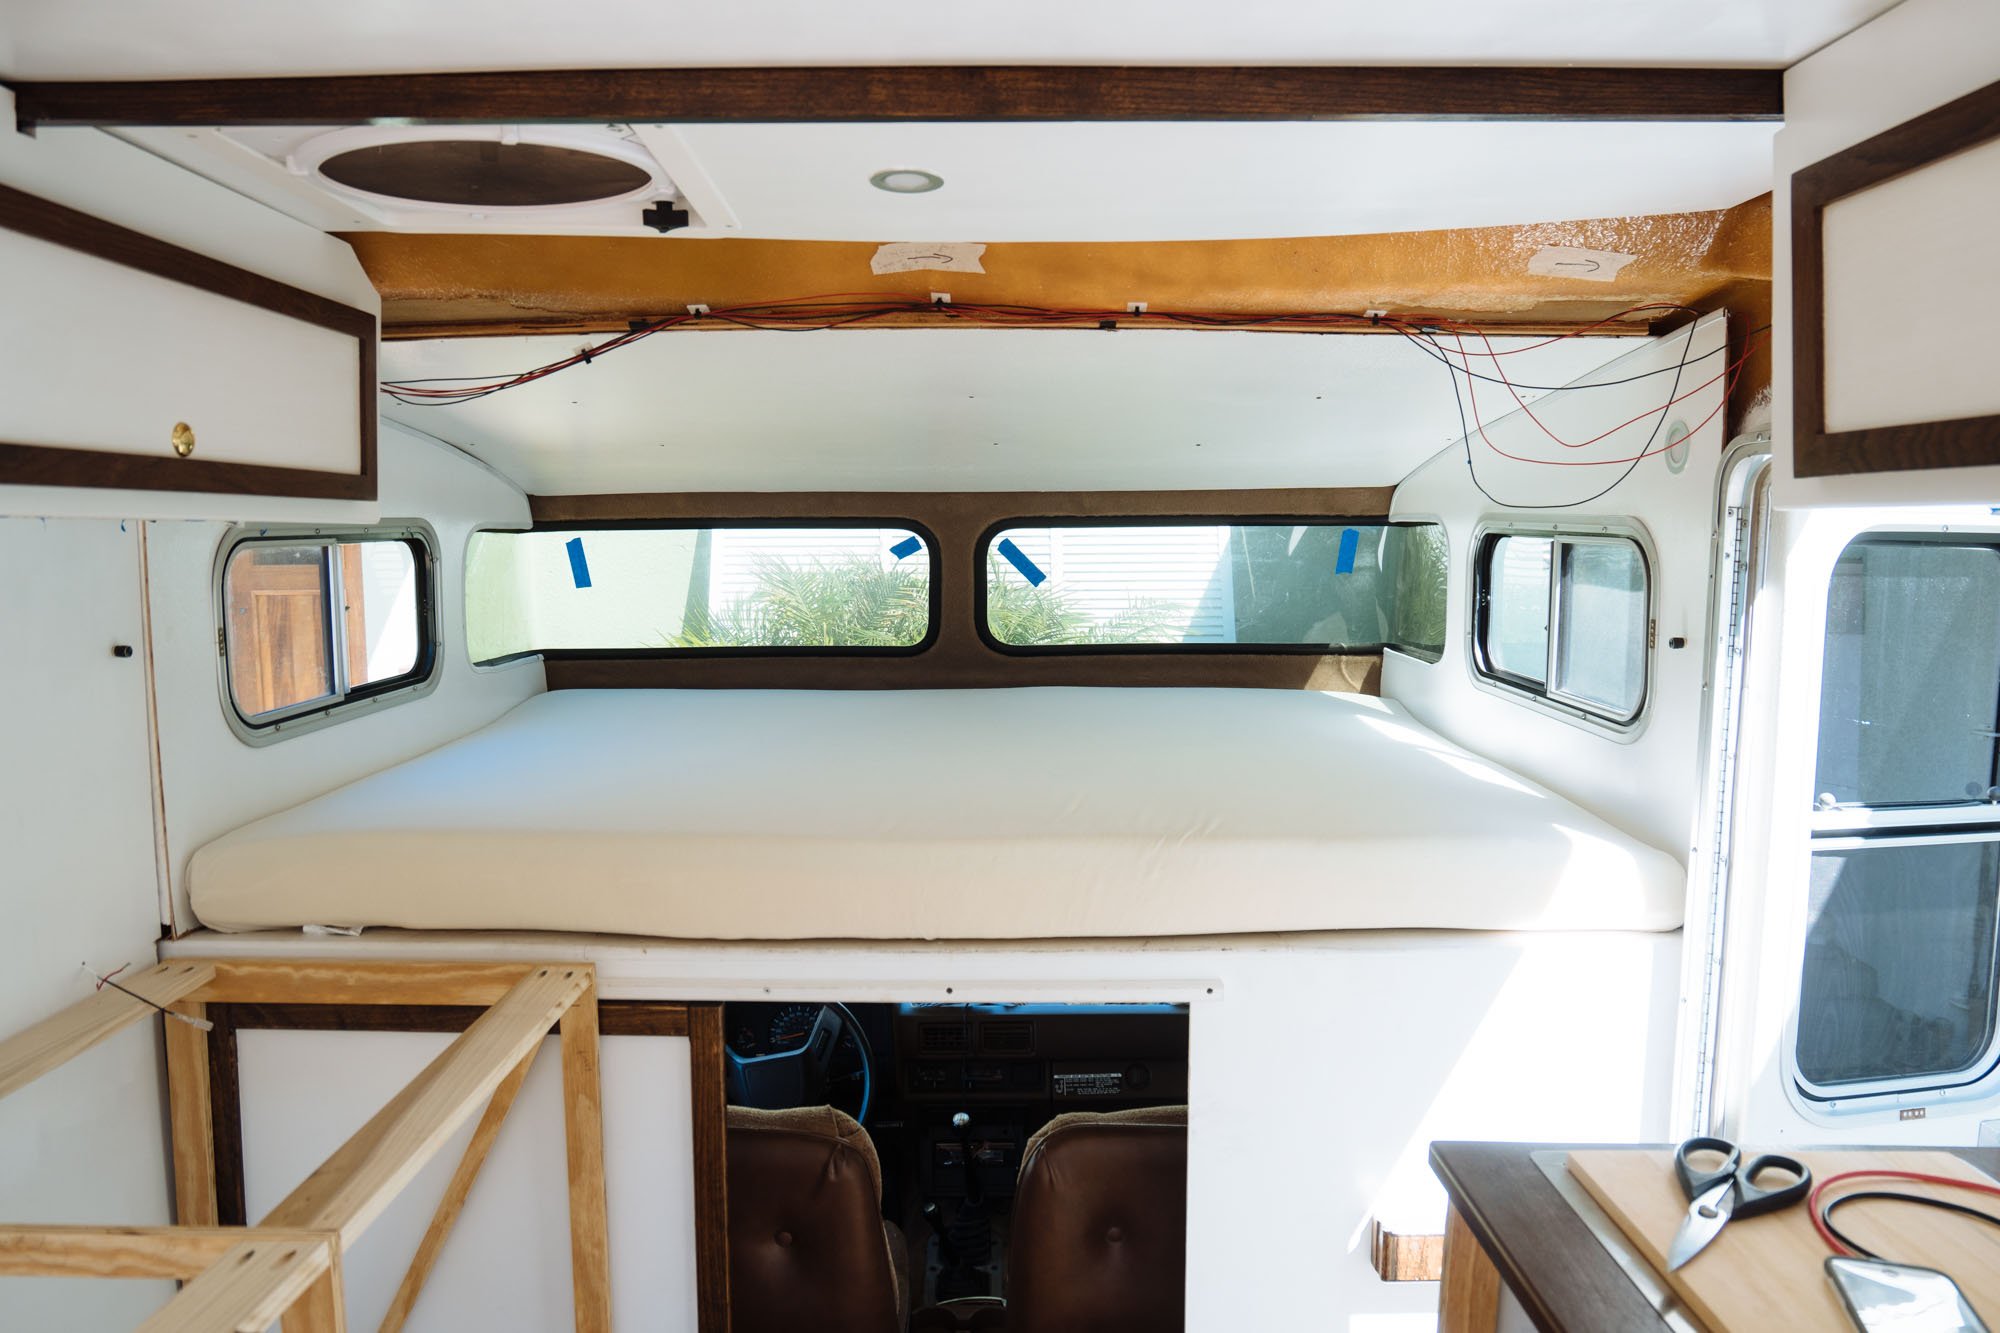
We unpacked our new mattress and spent a night in the driveway in Amelia. It was fun.
I installed curtain rods in anticipation for having new curtains soon!
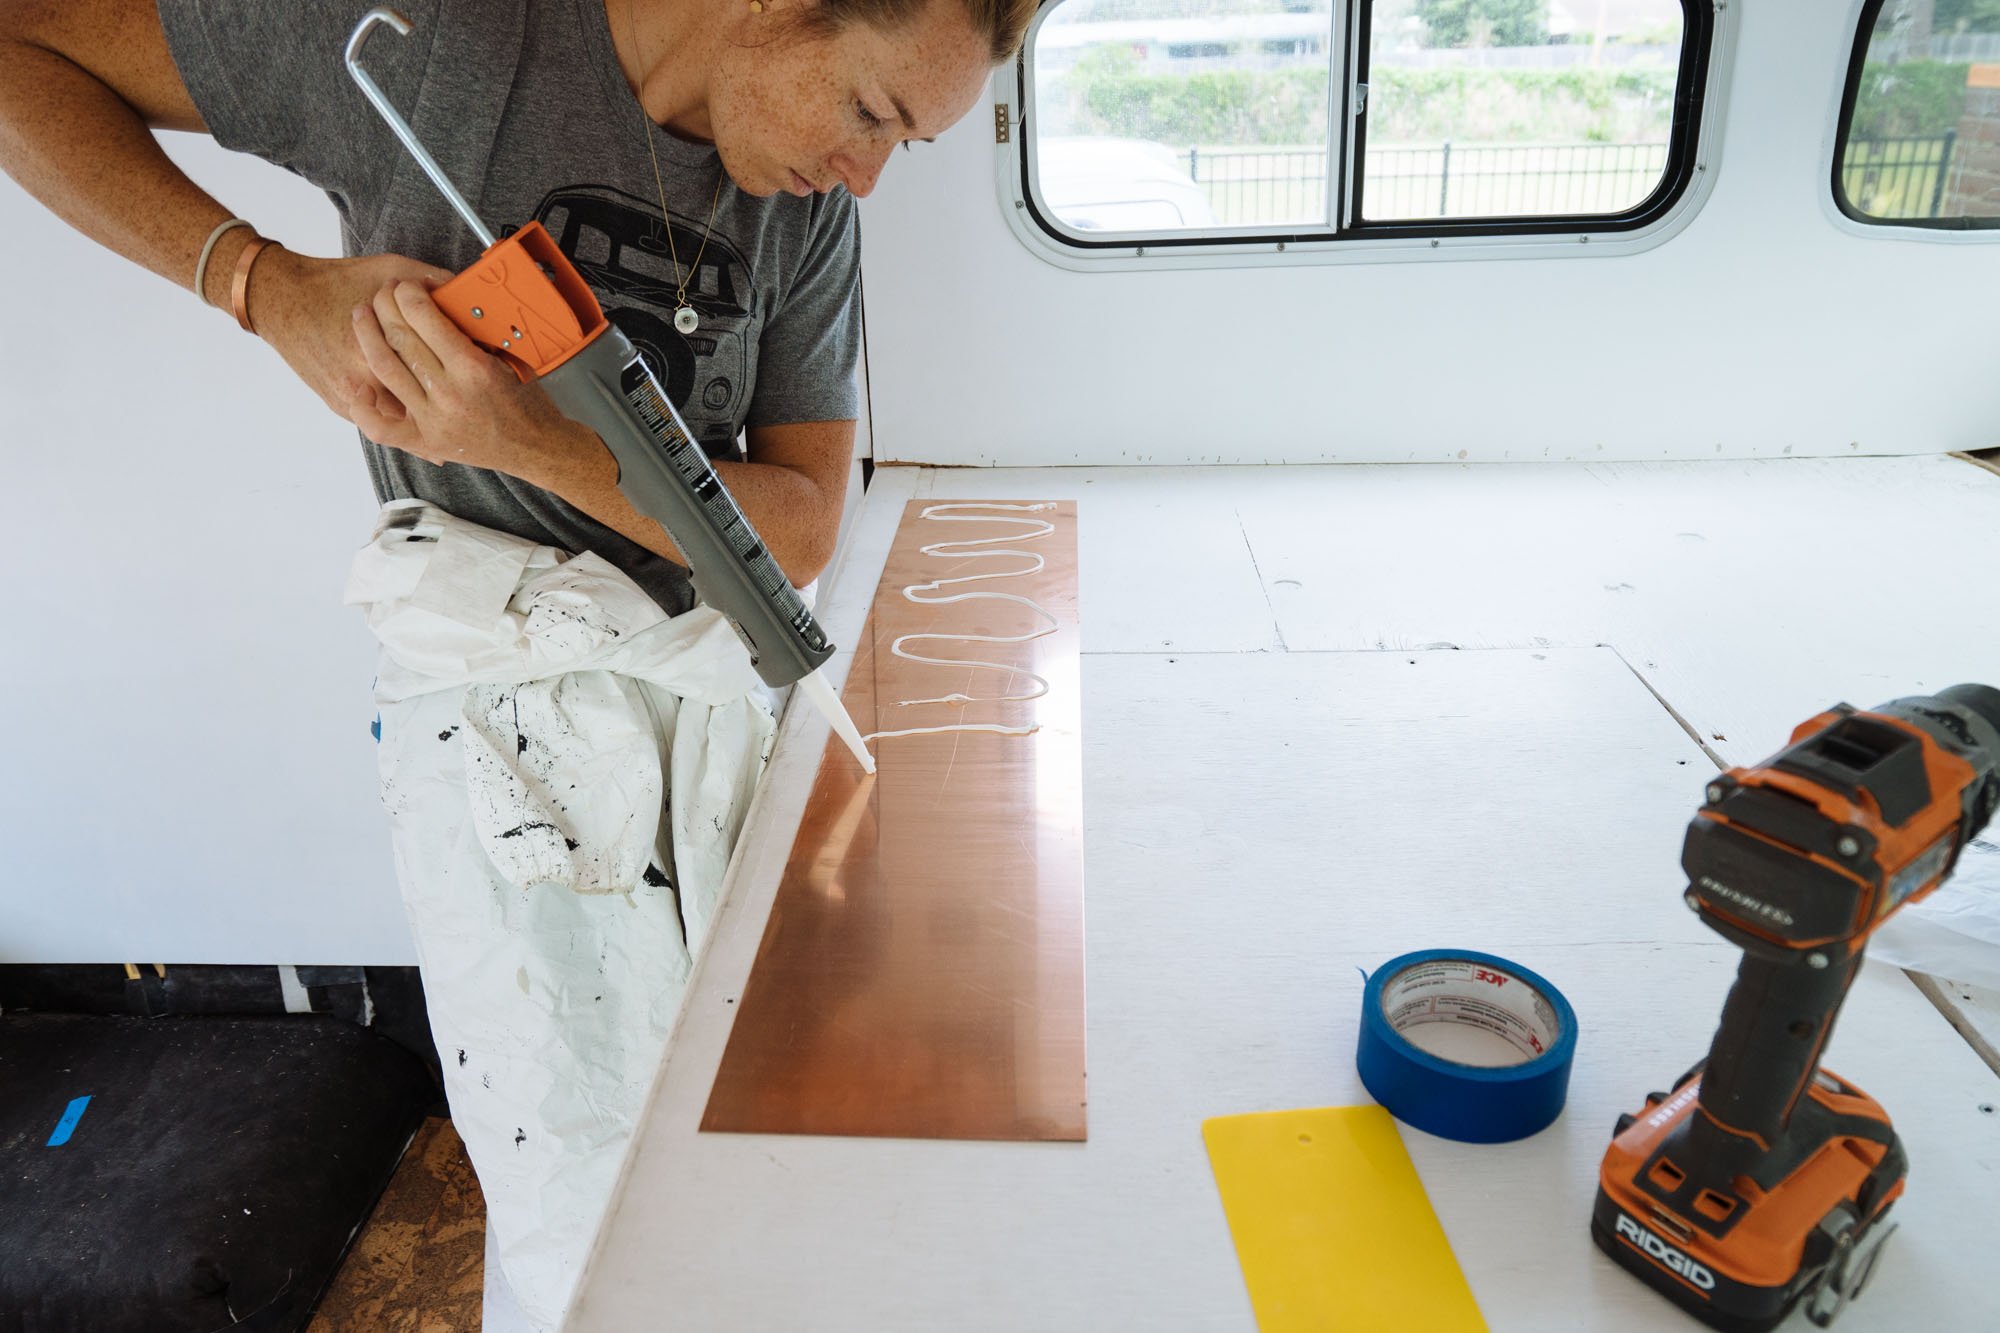
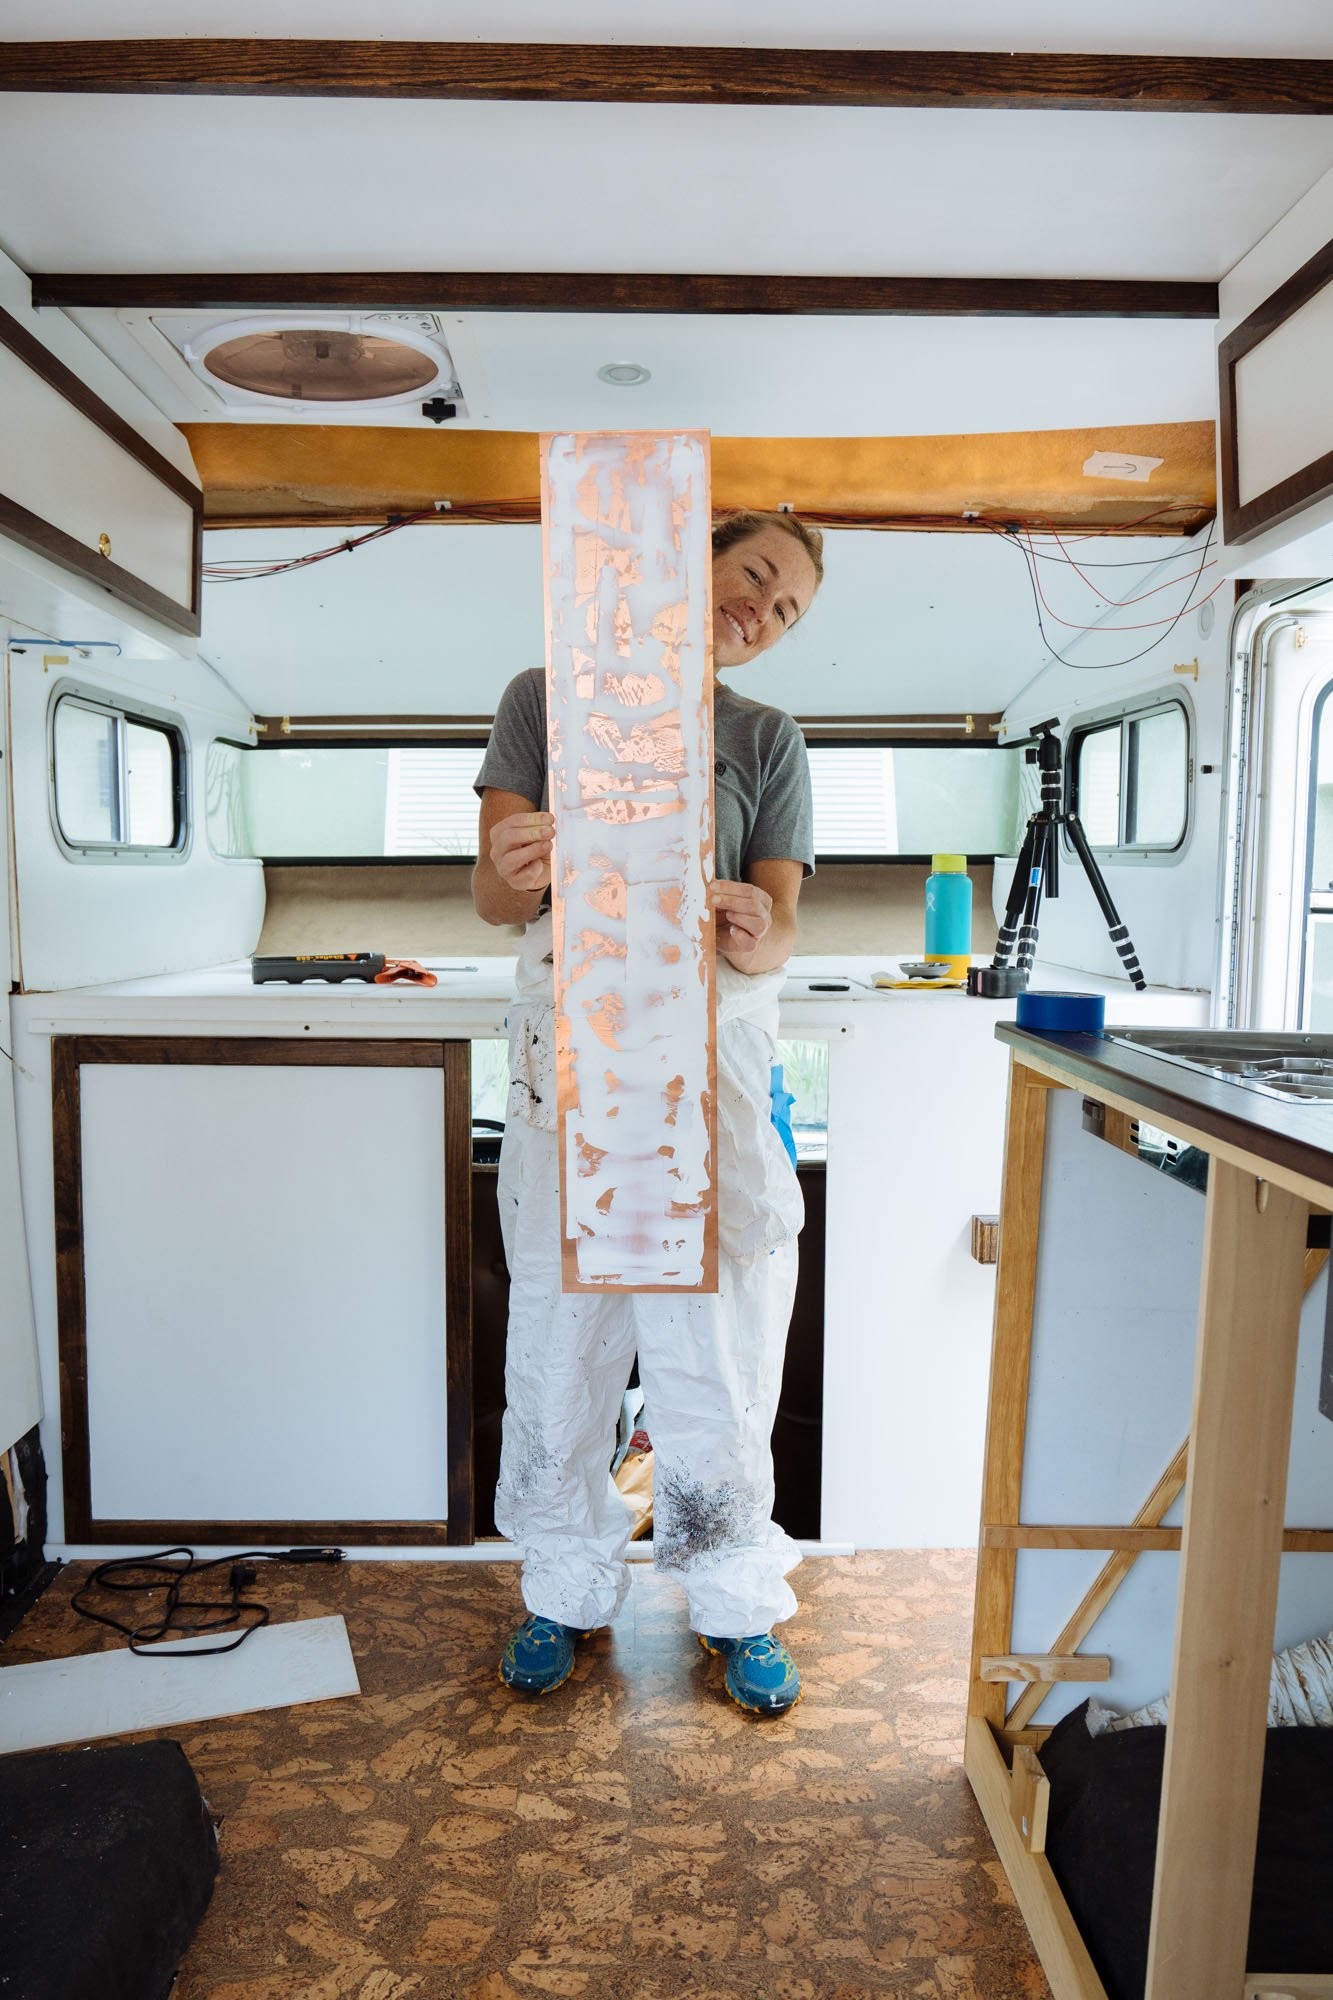
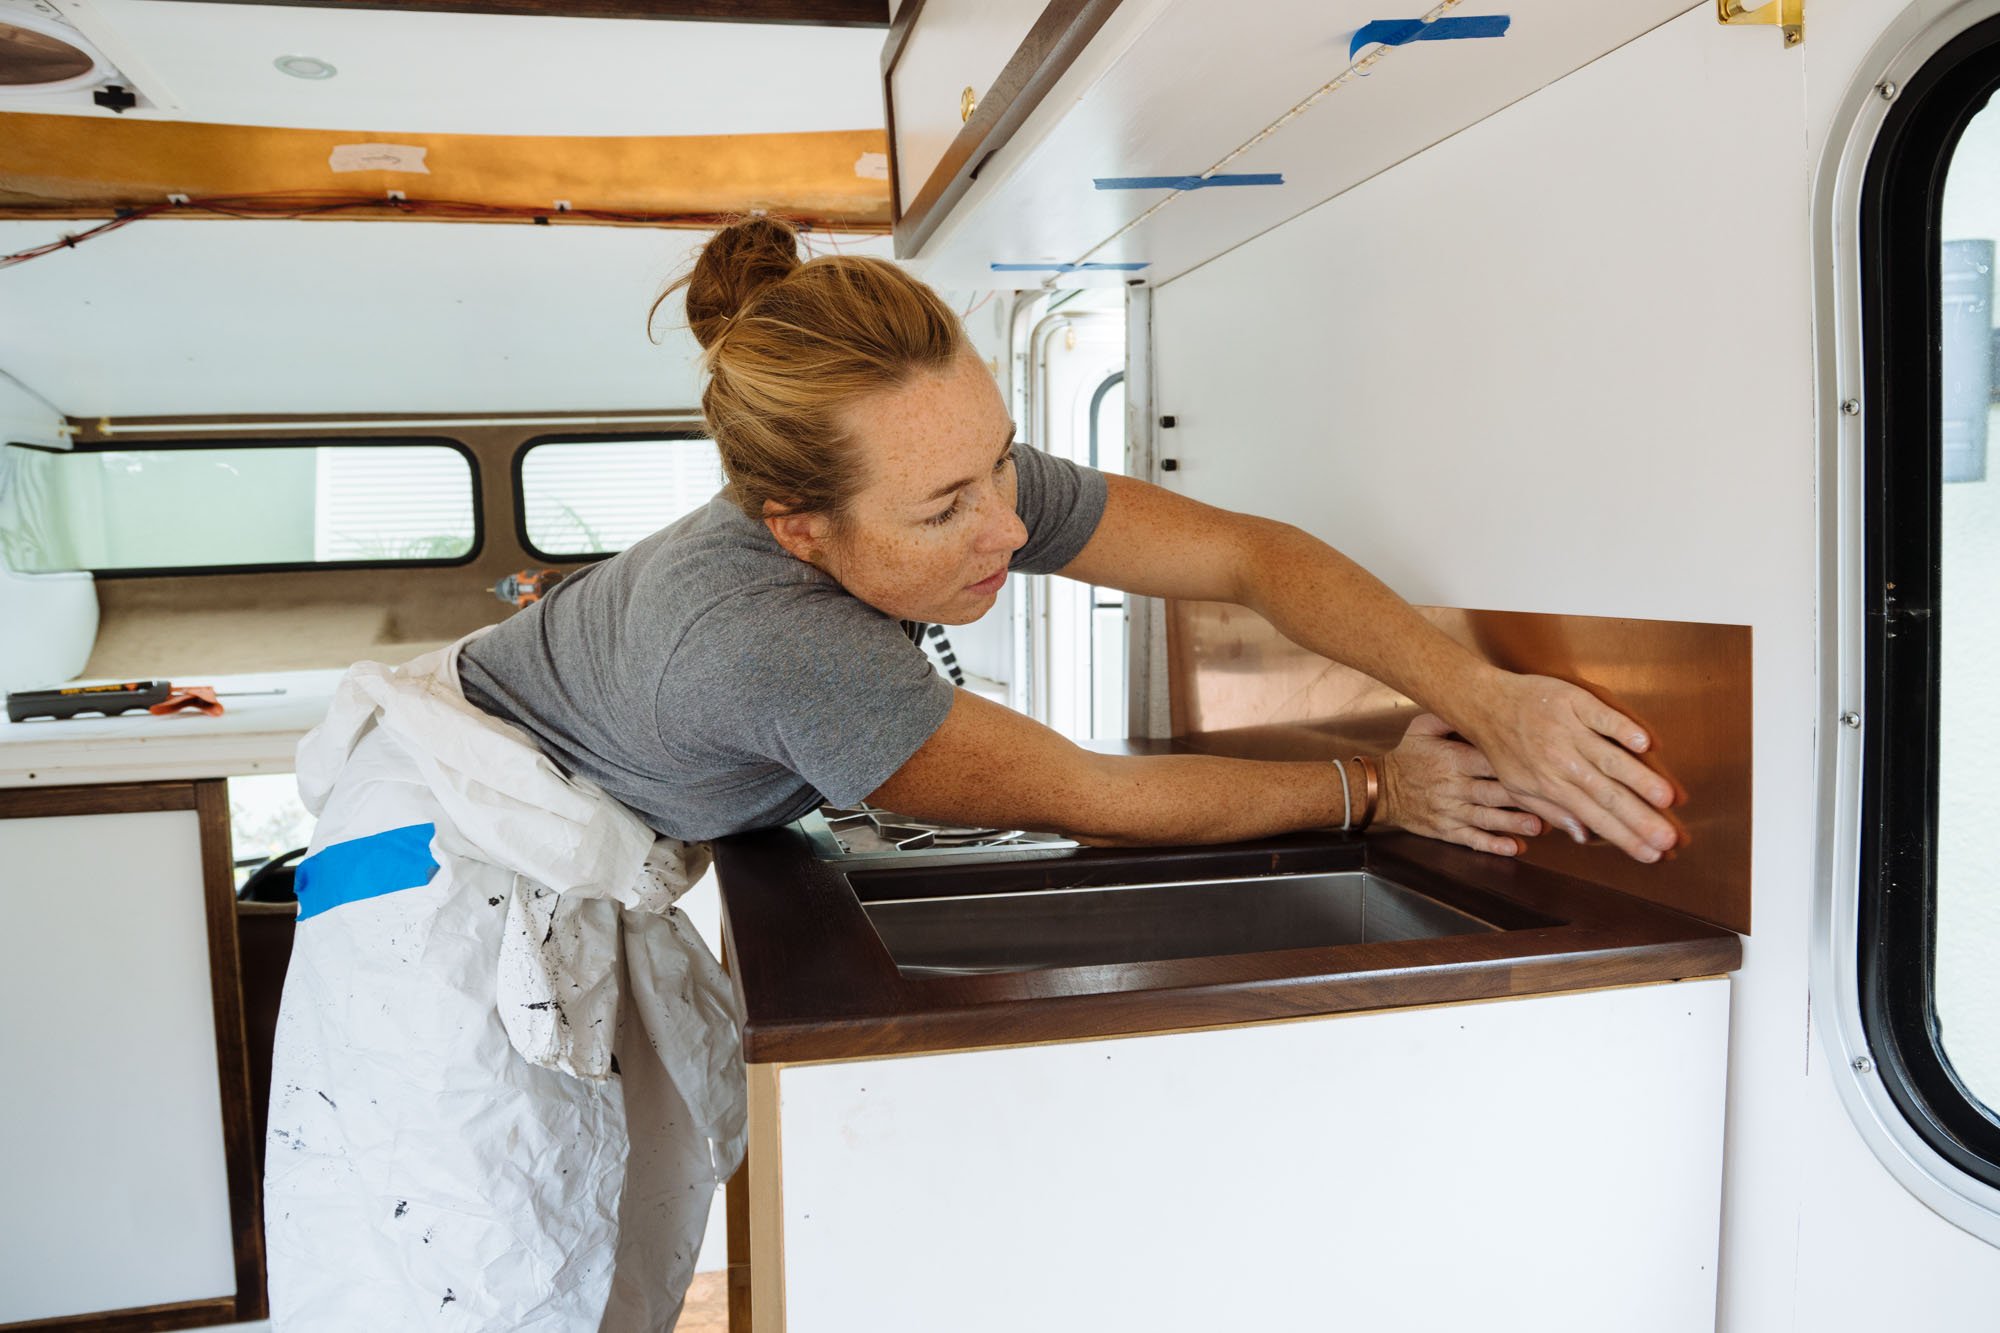
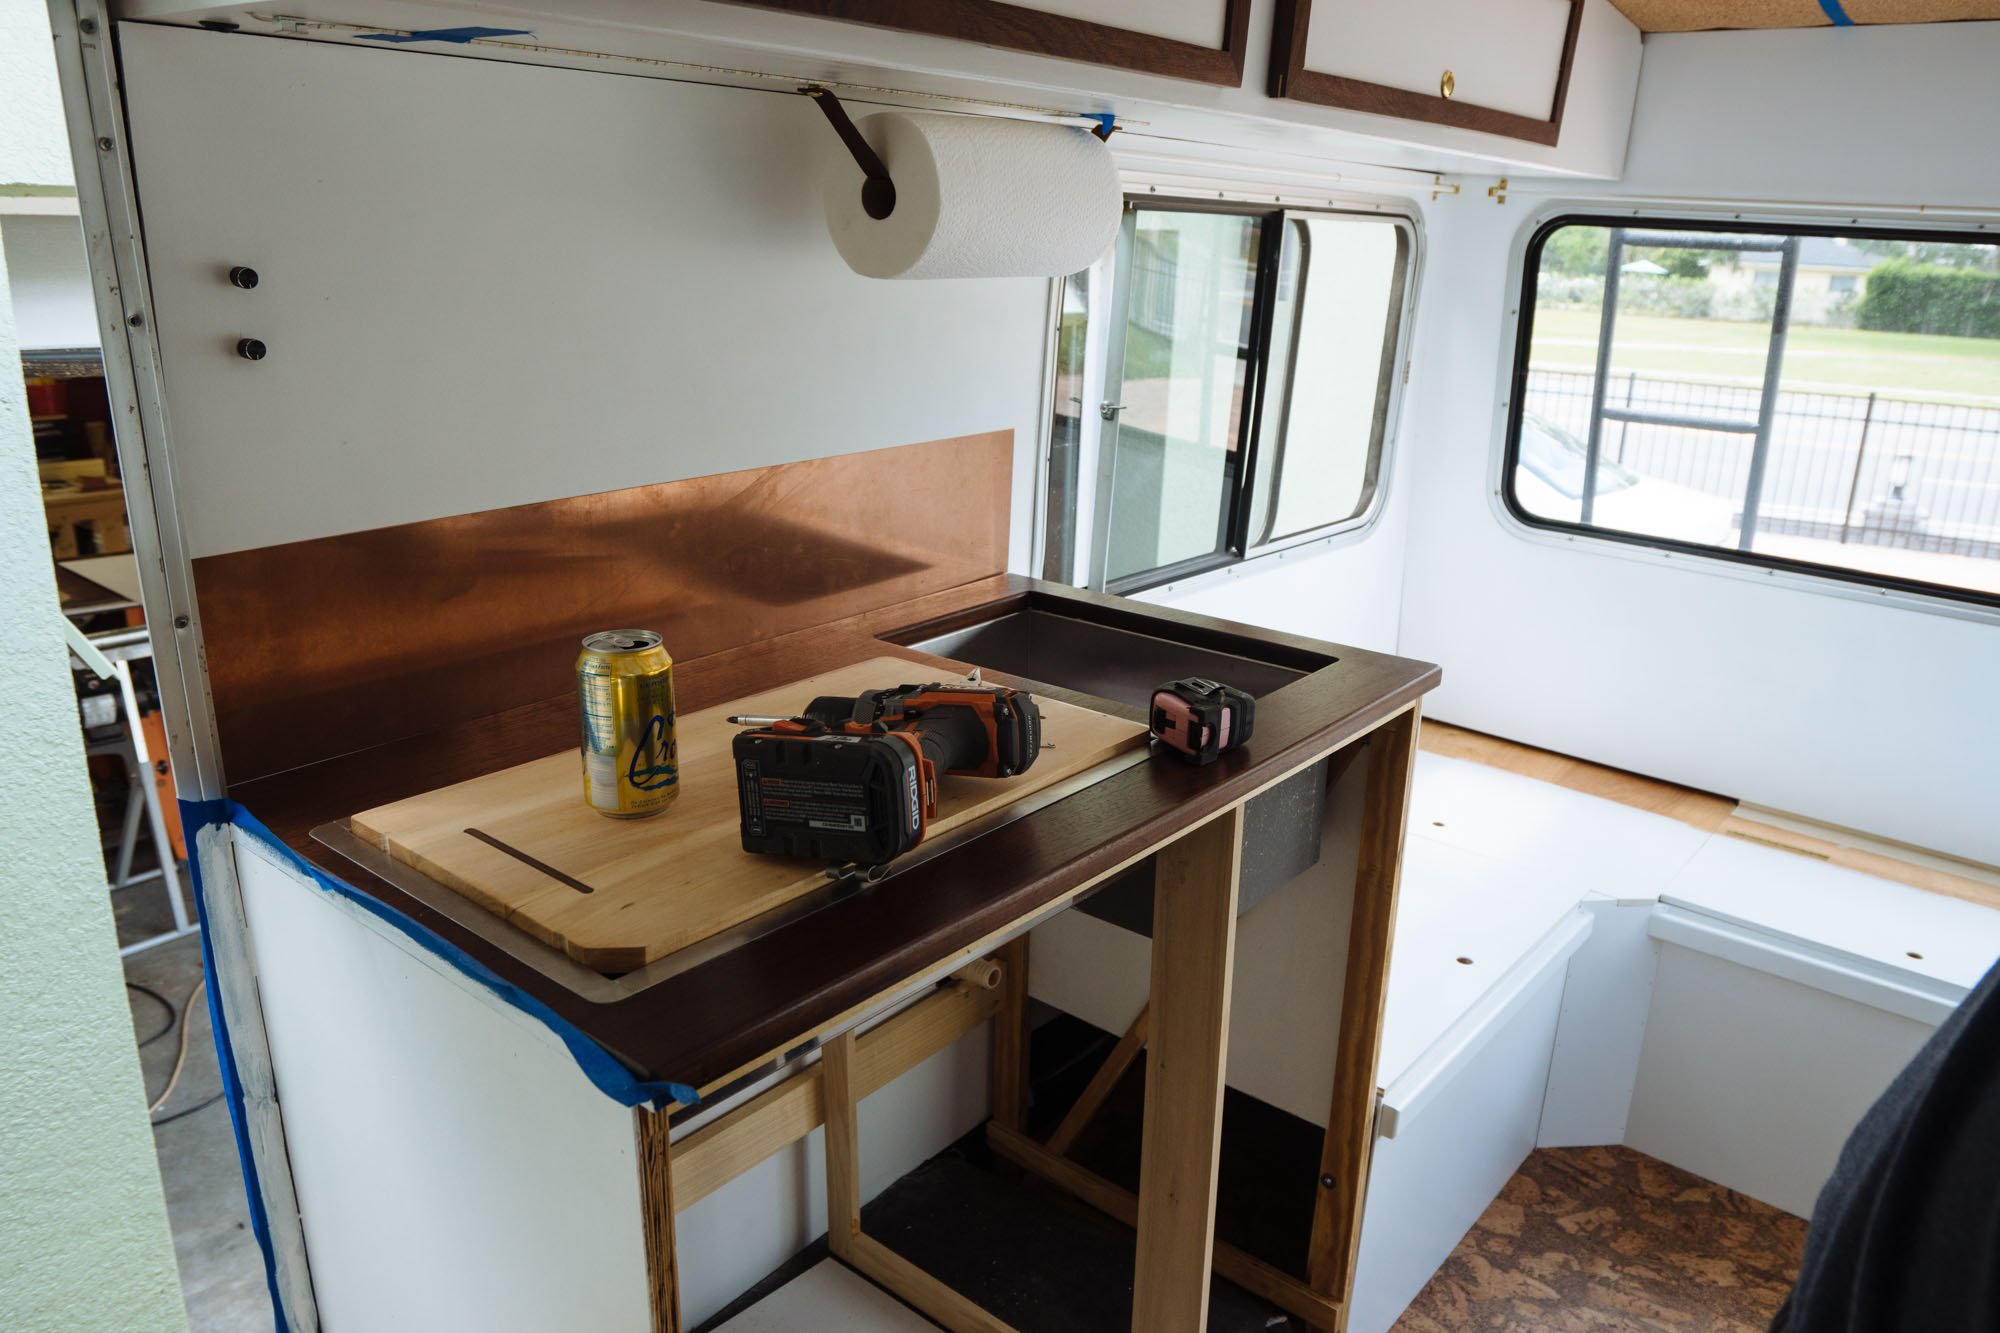
I installed our copper backsplash. It's literally just a single sheet of copper that we hope will protect the wall behind the sink and cooktop.

I made and installed a paper towel holder. I made one for Stanley and we loved it, so I made one for Amelia. The reason it's so great is because it's attached to the wall using snaps so you can easily replace the roll or remove it all together!

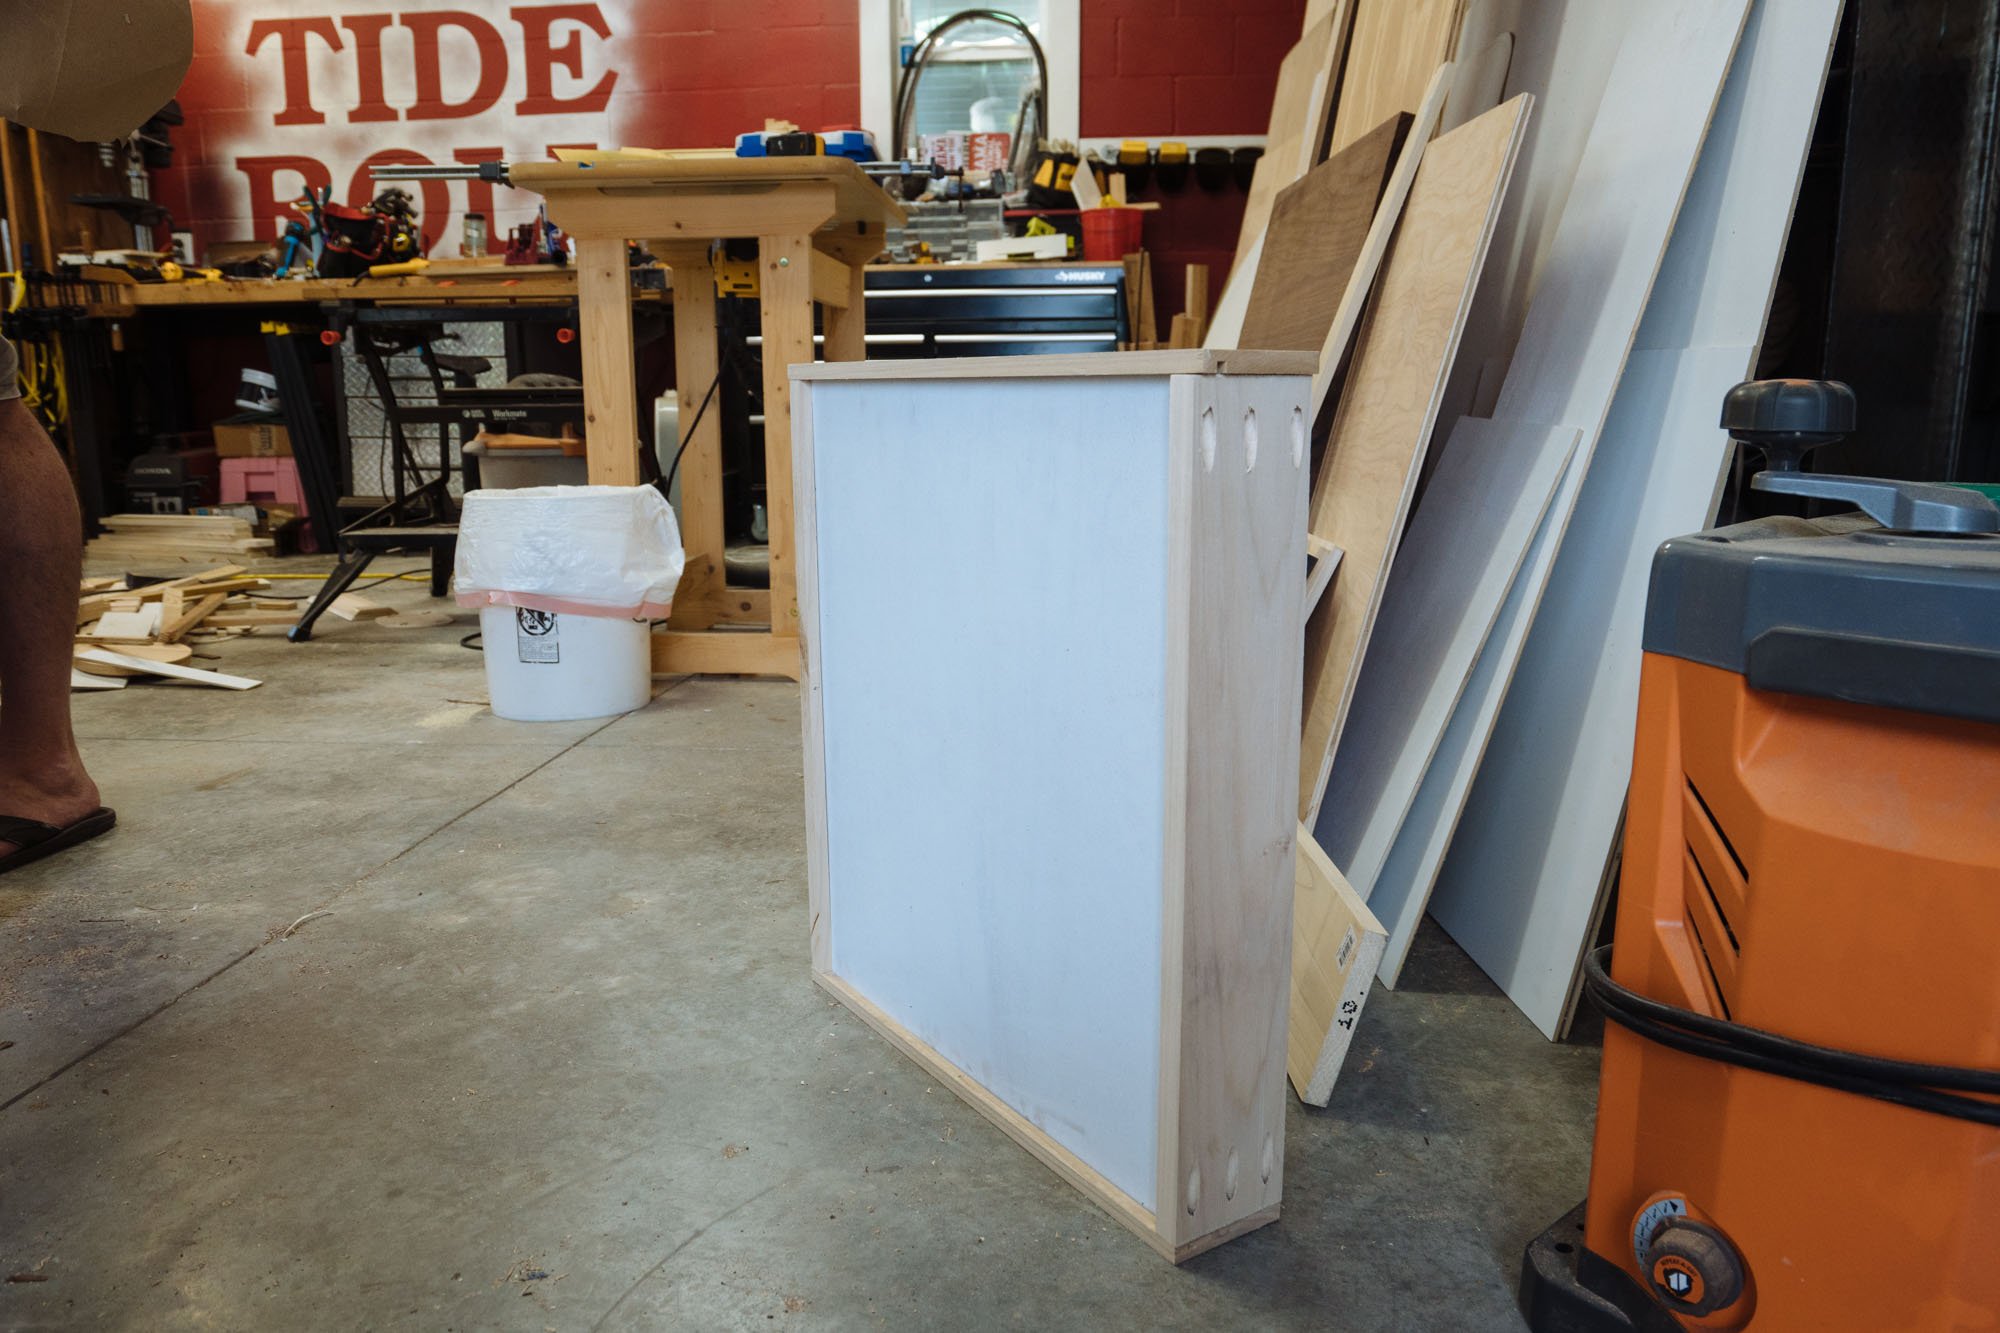
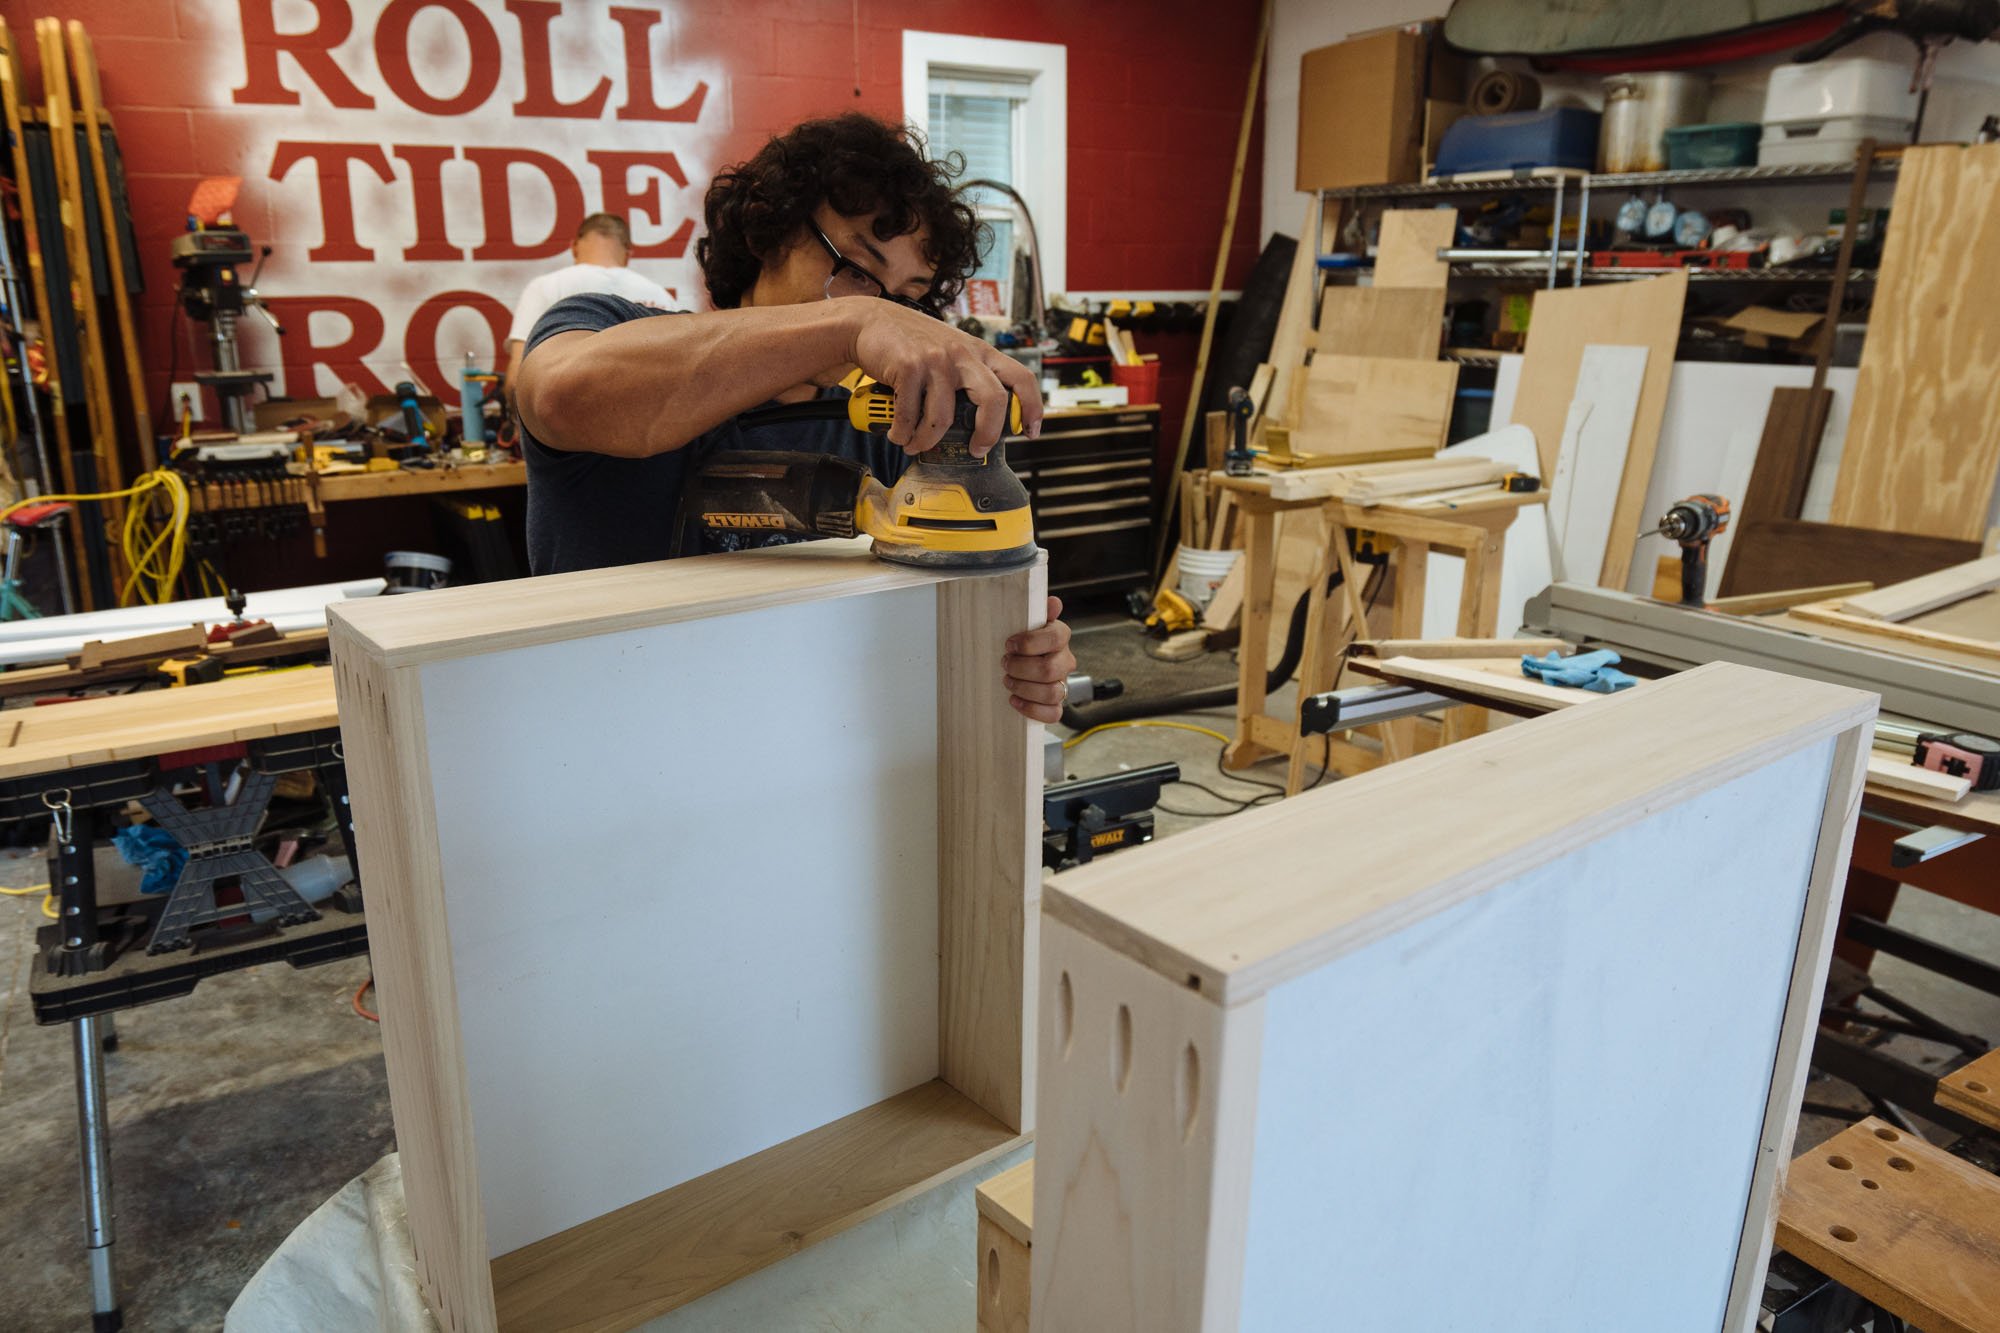
This past week we also moved into filling our cabinets with their drawers. First up, kitchen cabinets.

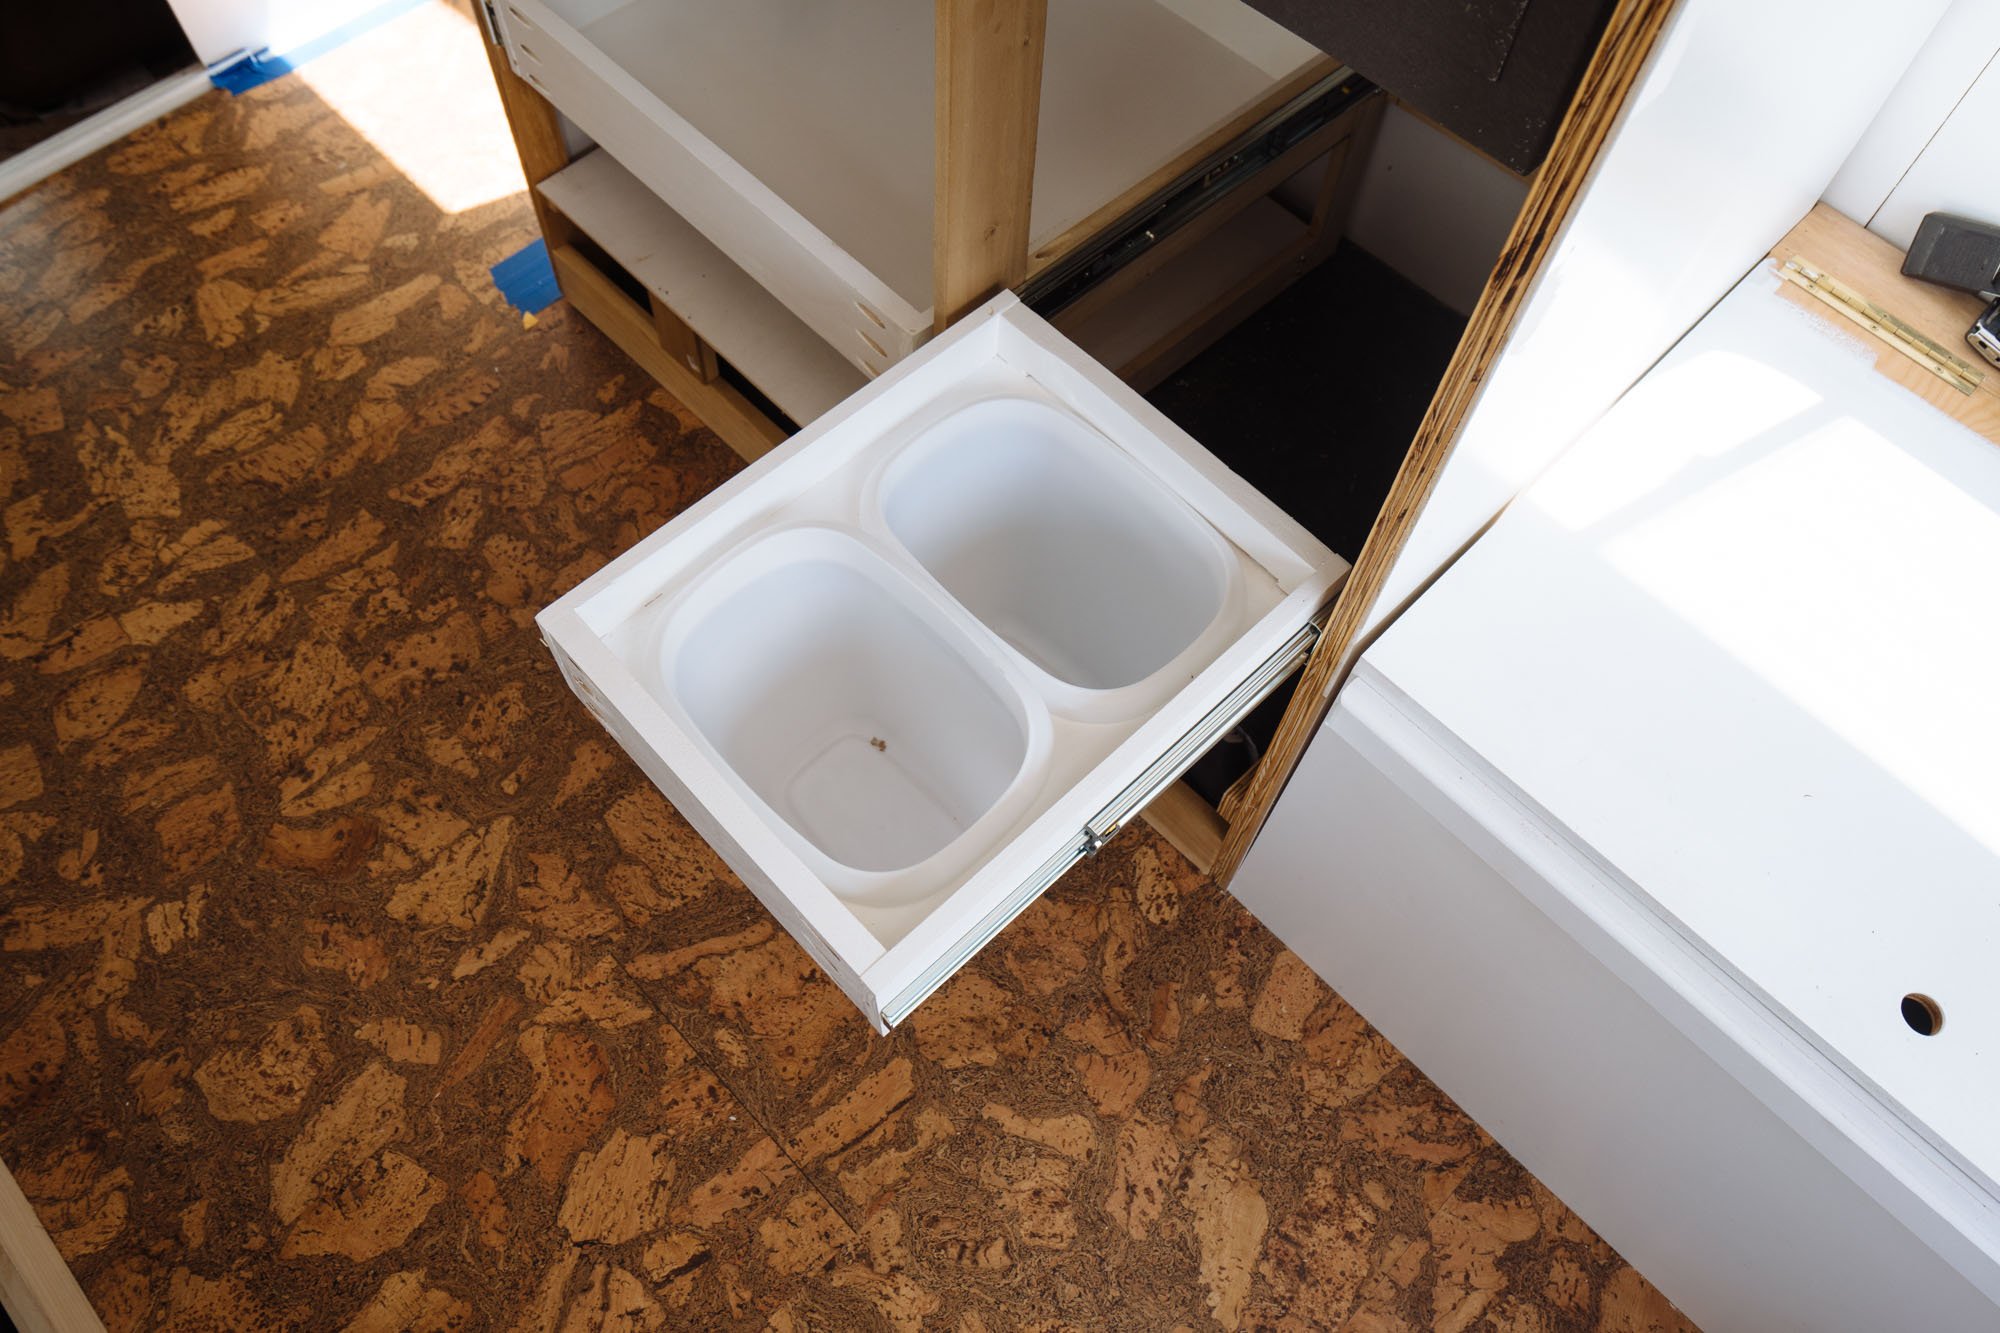
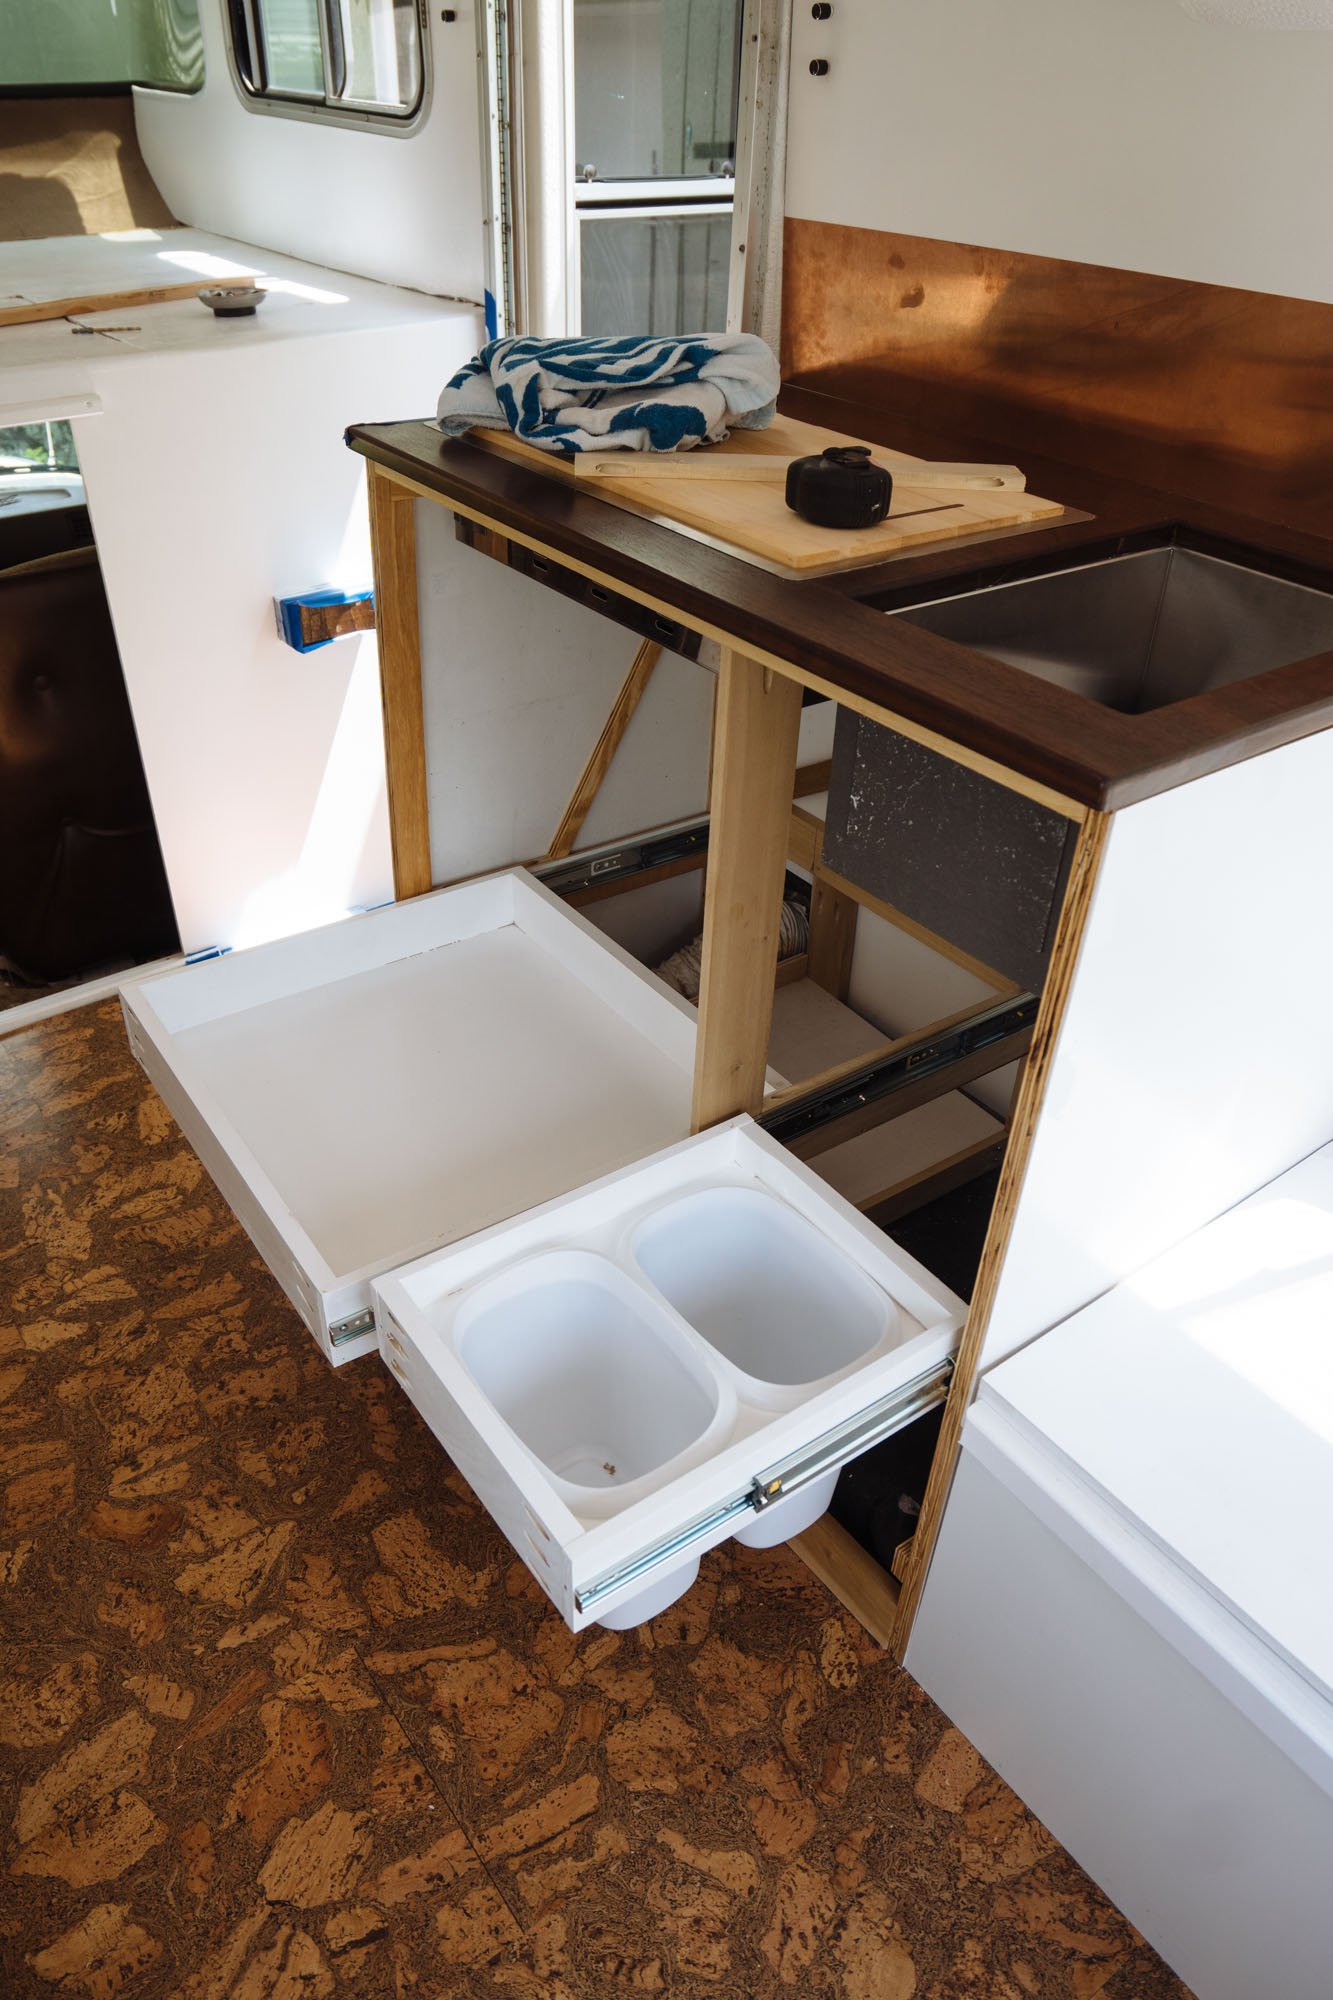
How cute is out little drawer for our trash and recycling?! These little trash cans are really small, but somehow they're bigger than the one that we had in Stanley! We've now made all the drawers for the kitchen side, though we still have yet to install the top drawer that will sit below the cooktop. After we have all the drawers installed we'll move into building the drawer fronts and the facade of the cabinet.
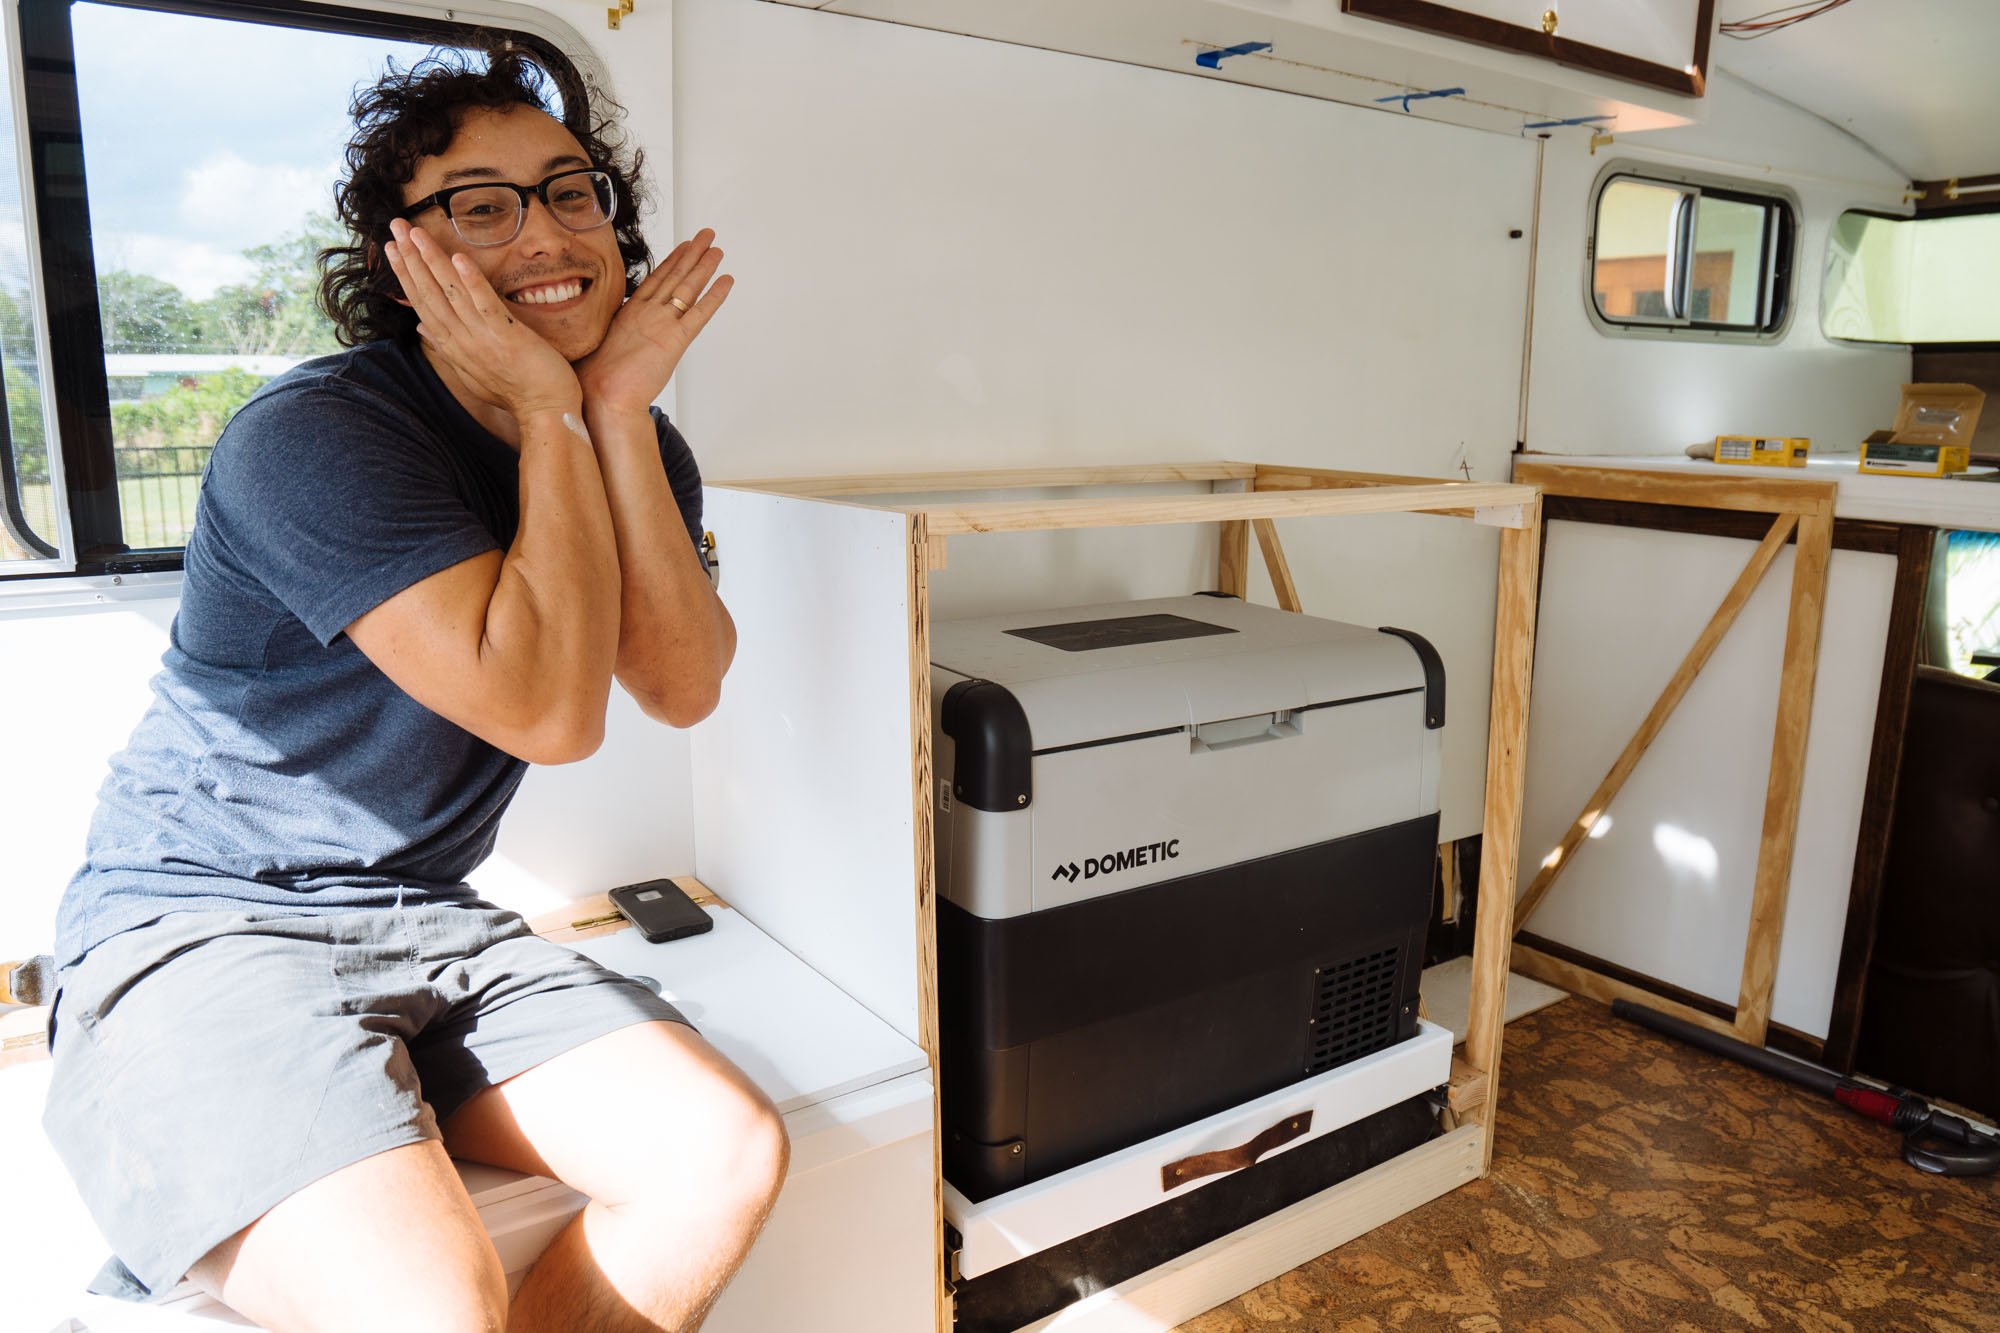
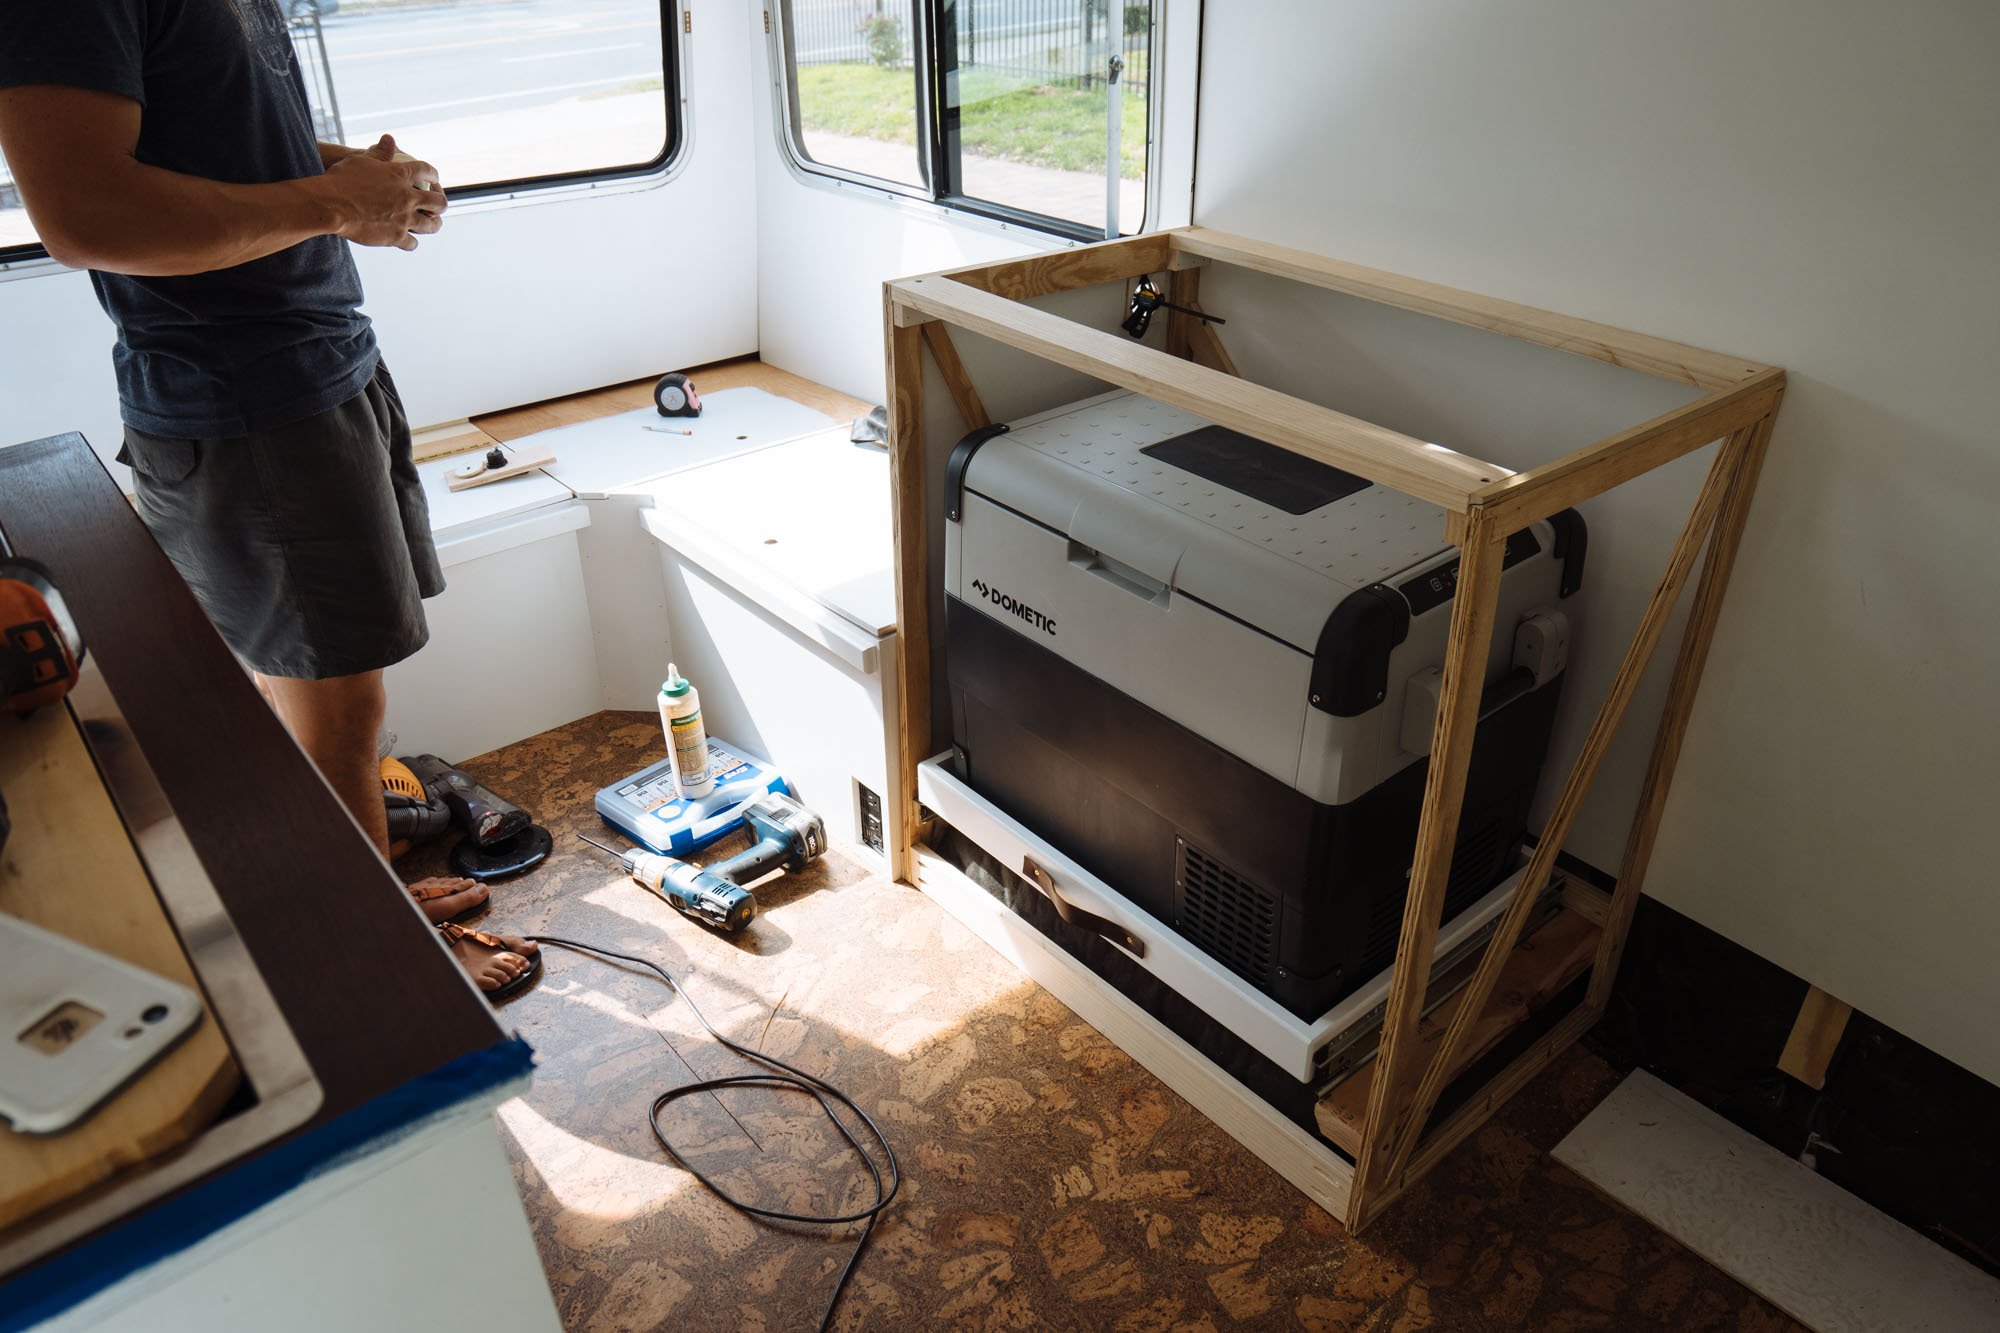
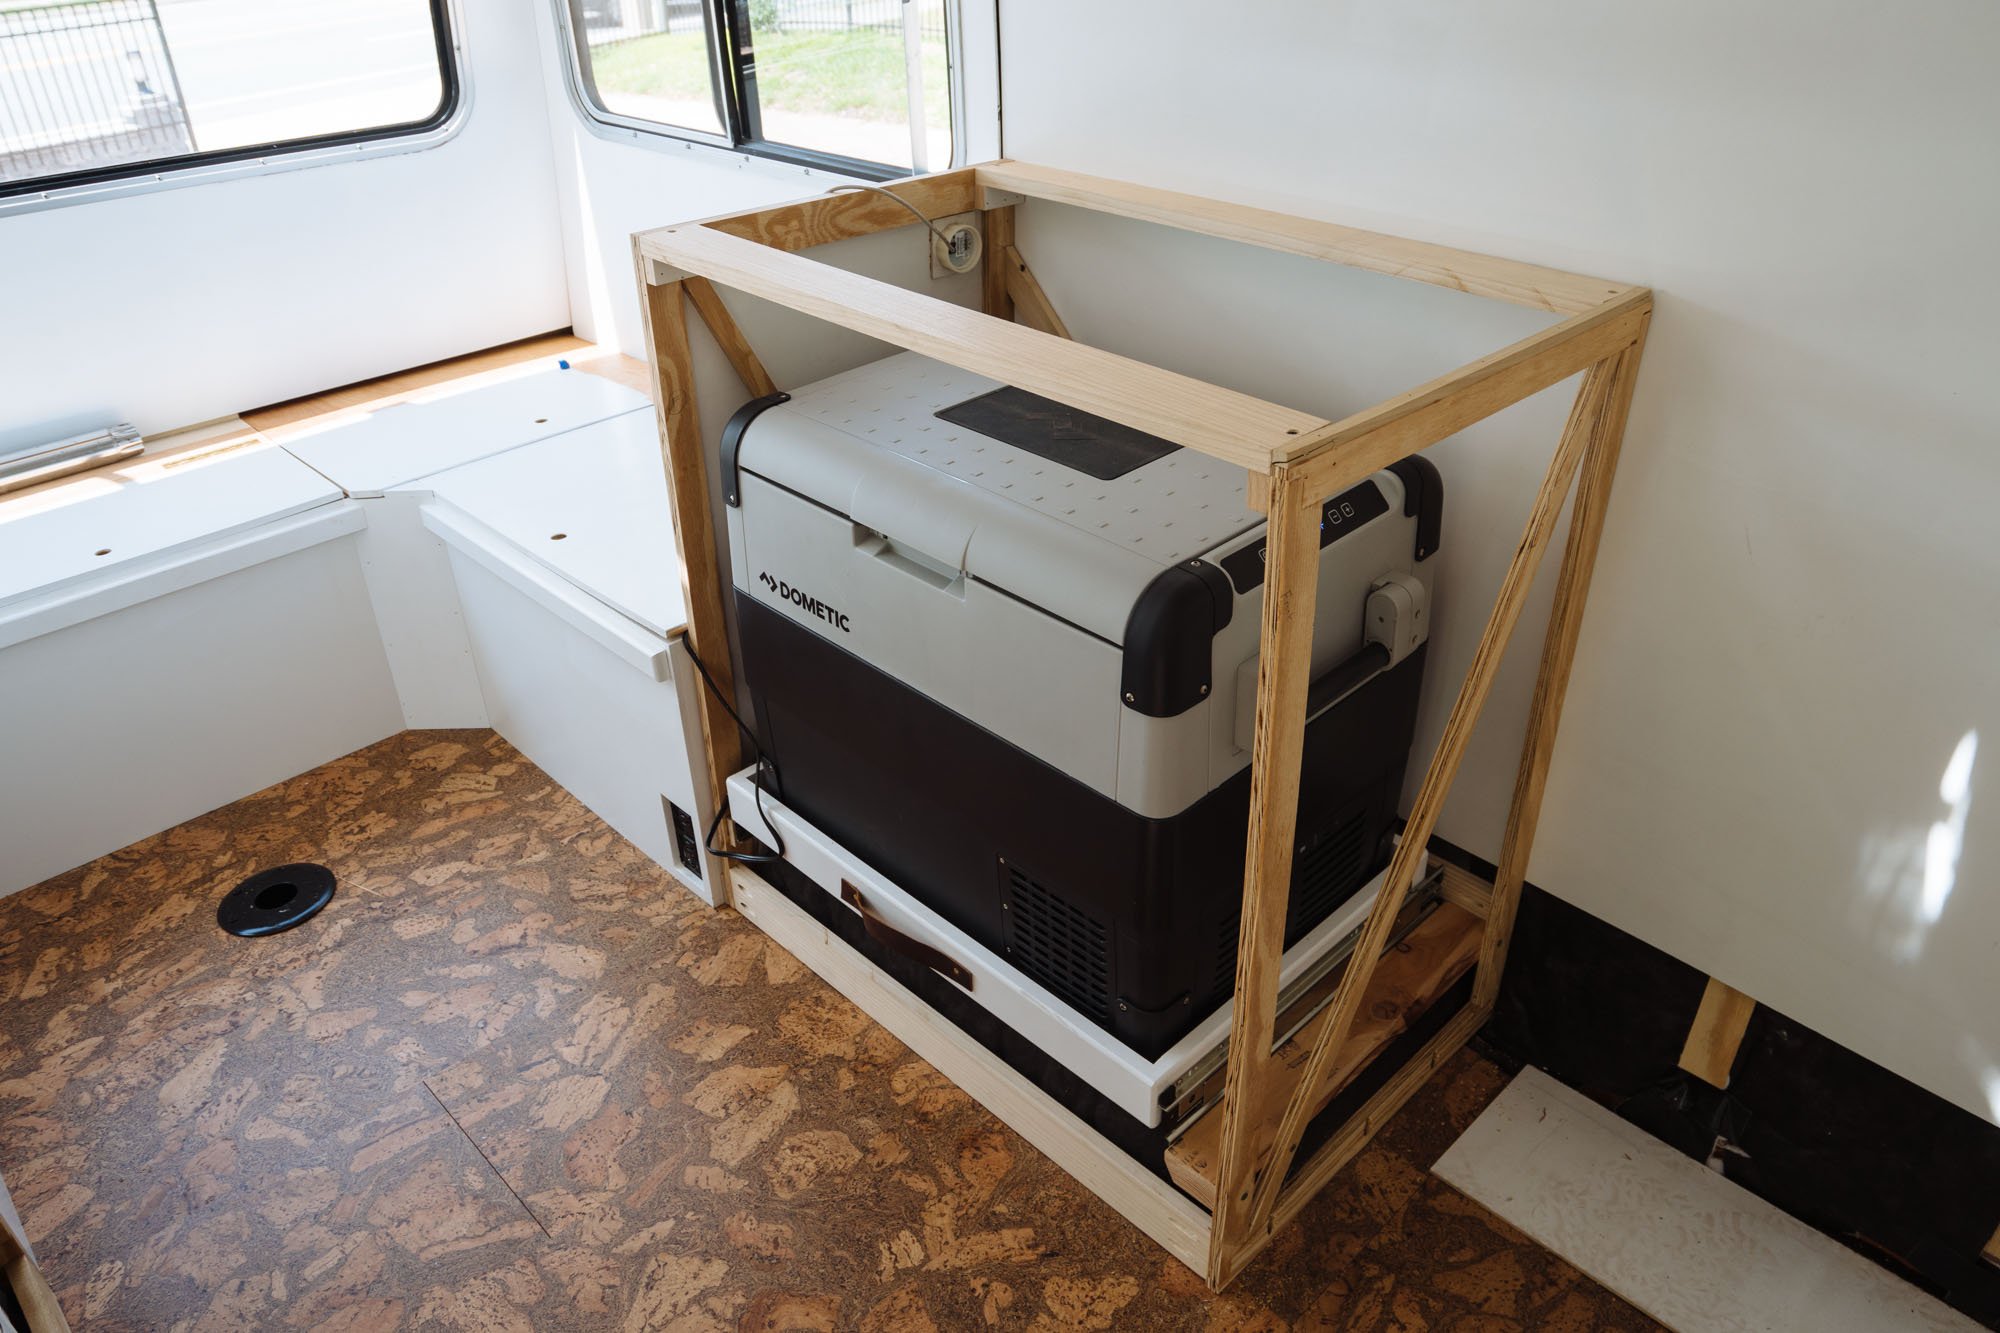
Moving onto the desk cabinets: we installed the frame for the refrigerator portion of the cabinets, installed the drawer and the refrigerator. We'll be leaving the front open so the refrigerator can be pulled out at any given time without having to open a massive door. We'll also be adding a utensil drawer over the top of the refrigerator that will span the entire width of the frame you see there!
Something else that is exciting and refrigerator related, after we dropped the fridge into place it has been running at 32 degrees for the last four days entirely off of our solar system and battery set up! Which means everything is running exactly as Owen planned! Awesome!
See you all back here next week!
MAK

PS: We said goodbye to Stanley this past week. He is on his way to his new home in California, and he will be greatly missed. It seems silly that a car can have such a serious impact on your life, but it can and has. Stanley changed our life for the better by taking us to increadible places, and bringing so many wonderful people into our lives. I'll still wave at every VW that drives by, and remember how wonderful the world looked through Stanley's windshield <3
SUPPLY LIST
For Inquiring Minds
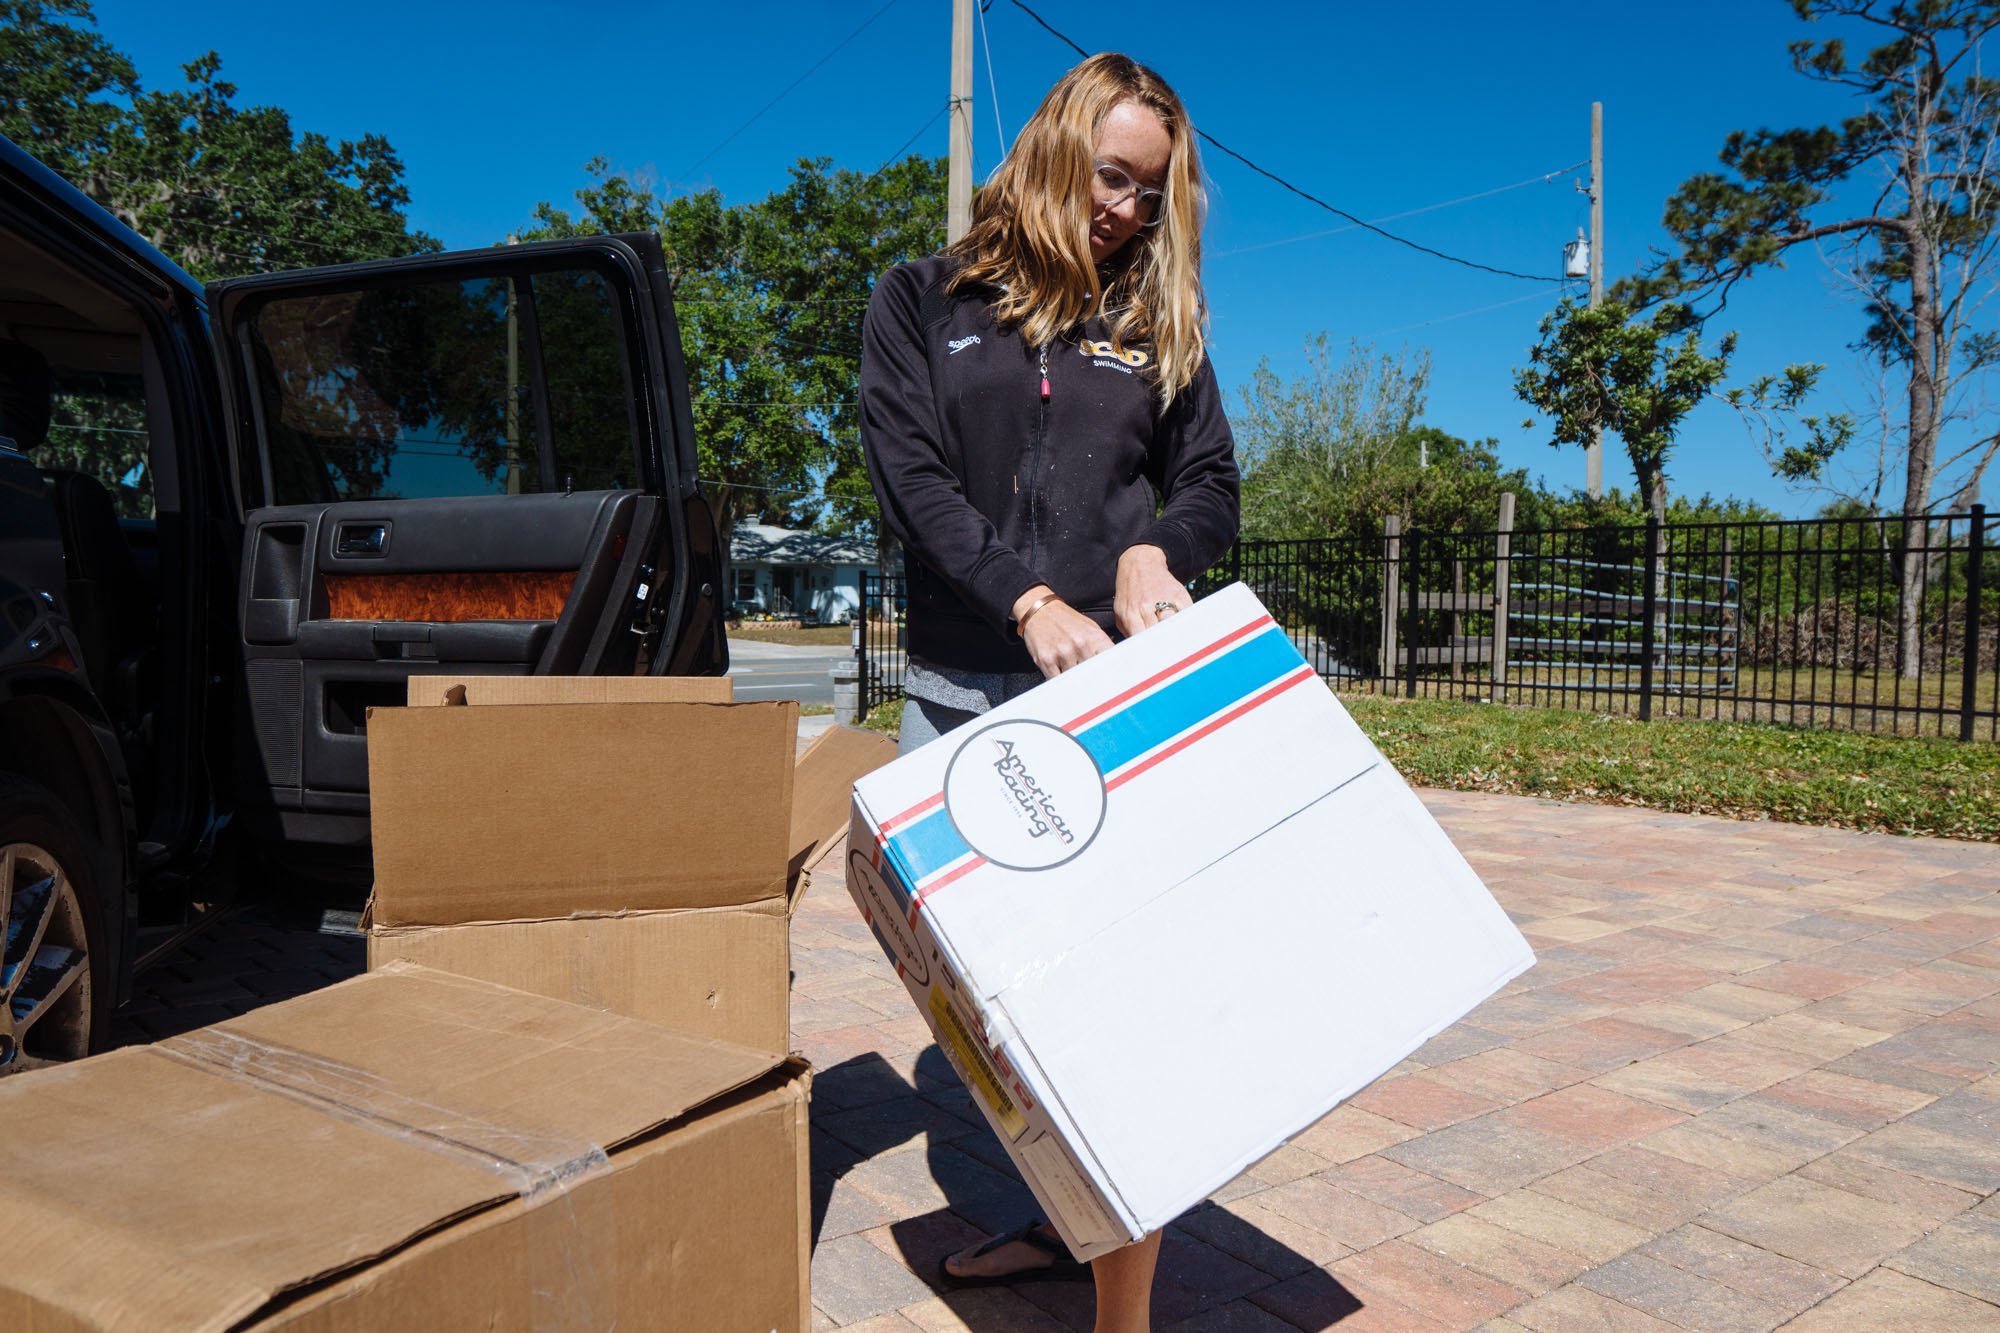
Wheels
American Racing Wheels - We ordered 5 so we have one for our spare (Linked Here)
Cooper AT-3 Tires - We bought 5 so we have one for our spare (Linked Here)
Other Goodies
Hydraulic arms - for the top cabinets. We used just one per door.
Lil Trash Cans - for our trash and recycling drawer
Dometic Refrigerator - We're really into this thing!
If you've made it this far, and you want to know specifically about a product that we've used and I missed it. Please let me know. I'll be sure to fill you in on all the details!