Build Out: Week 17
WALLS, HEADLINER, BUT MOST IMPORTANTLY OUR ELECTRICAL SYSTEM

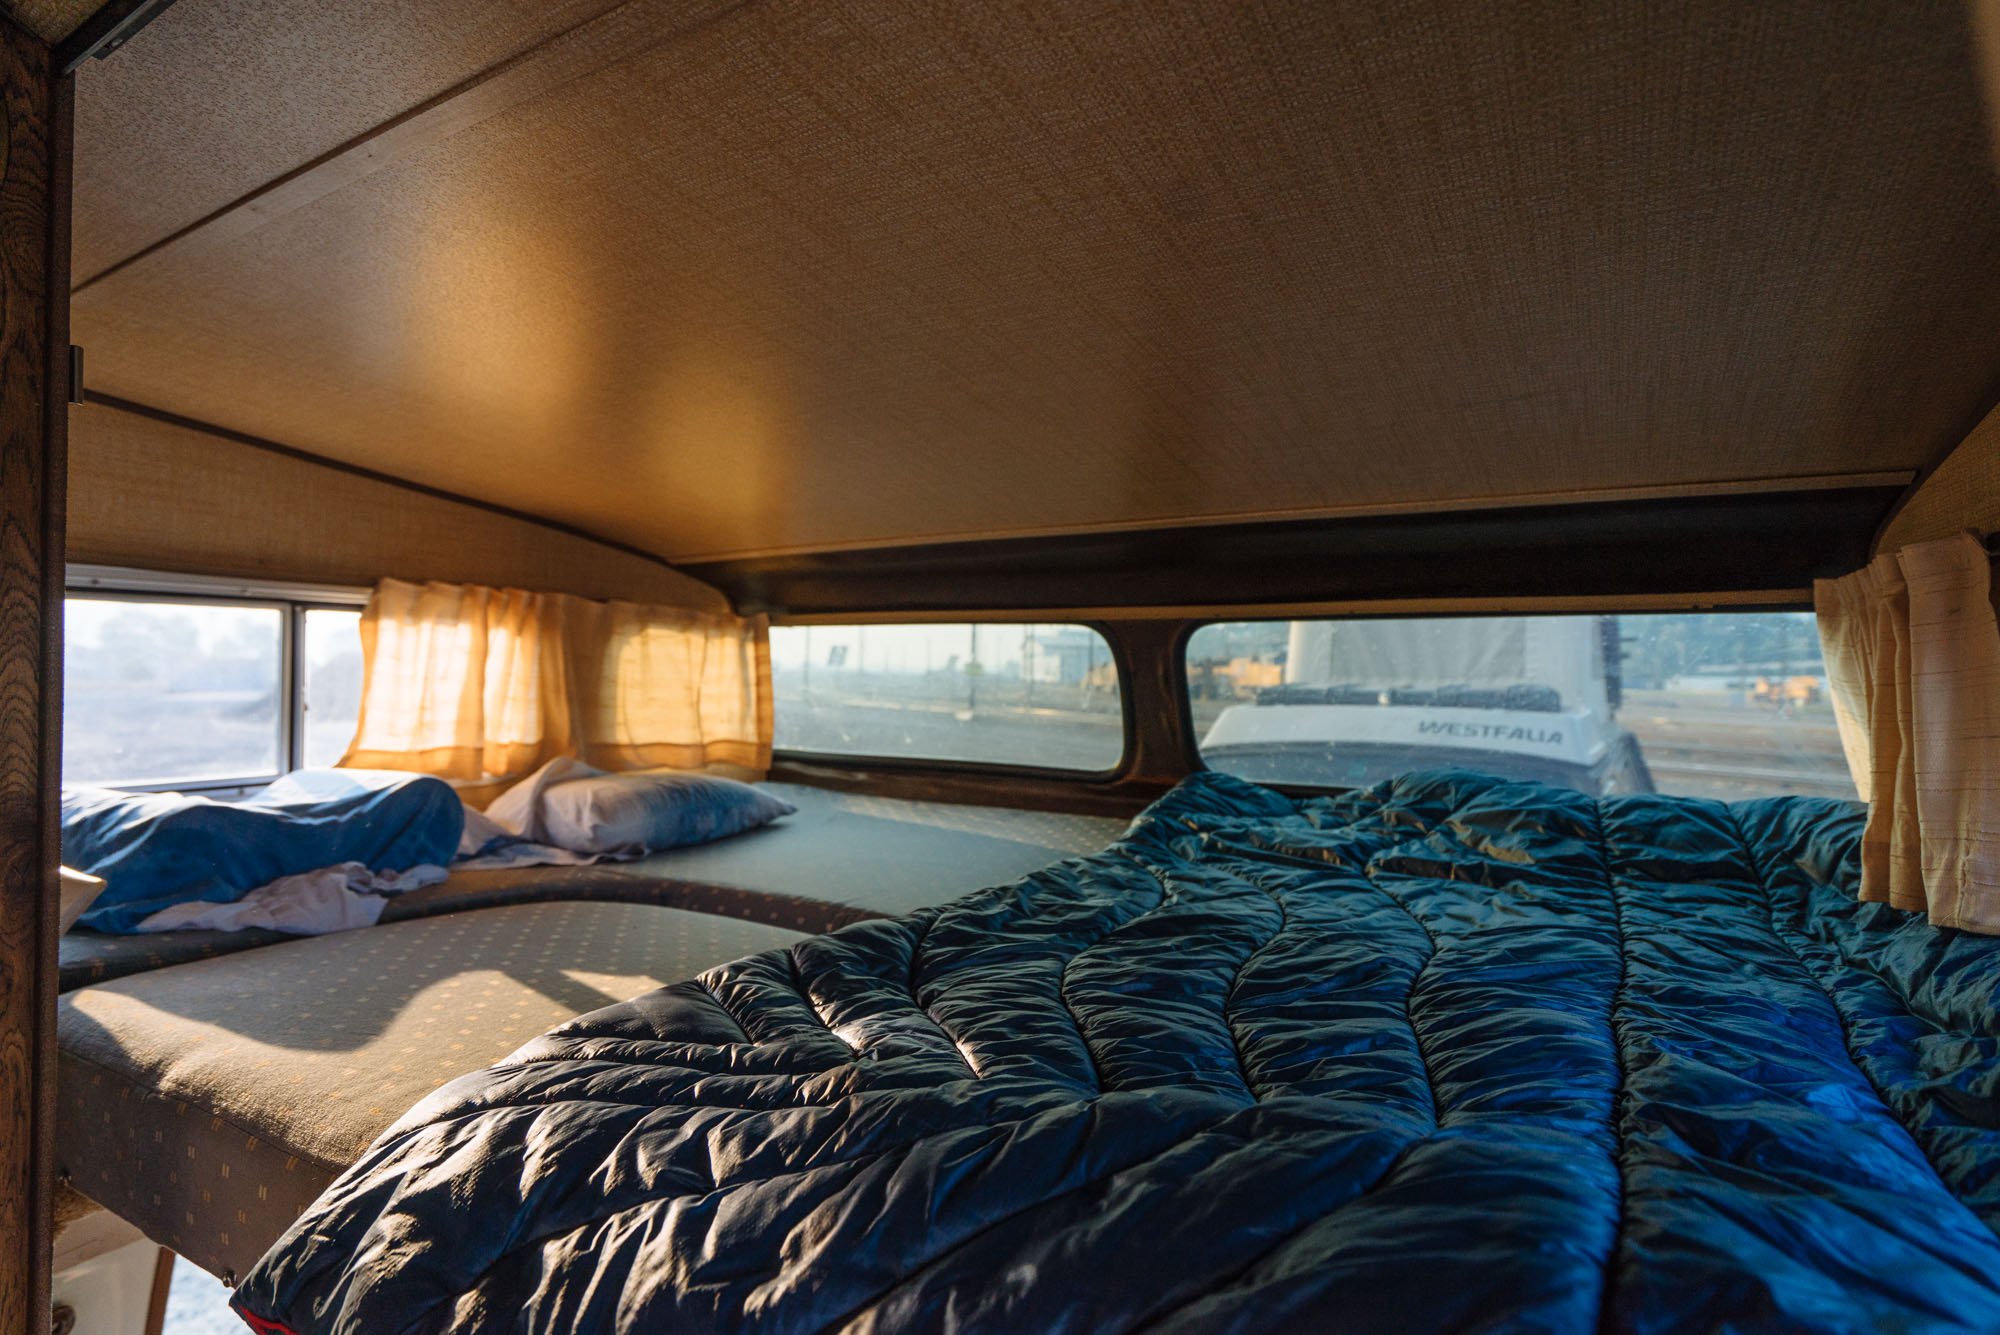
This week I want to start off by showing you a few pictures of the various phases of life the bed area in Amelia has gone through during this build. I think it's the best way to truly appreciate how she looks now.
PS the image above is a wood block print that I made in my free time since being home. I taped it to the garage door so it hangs from the ceiling when we're working with the doors up. I think it's a nice reminder ;)
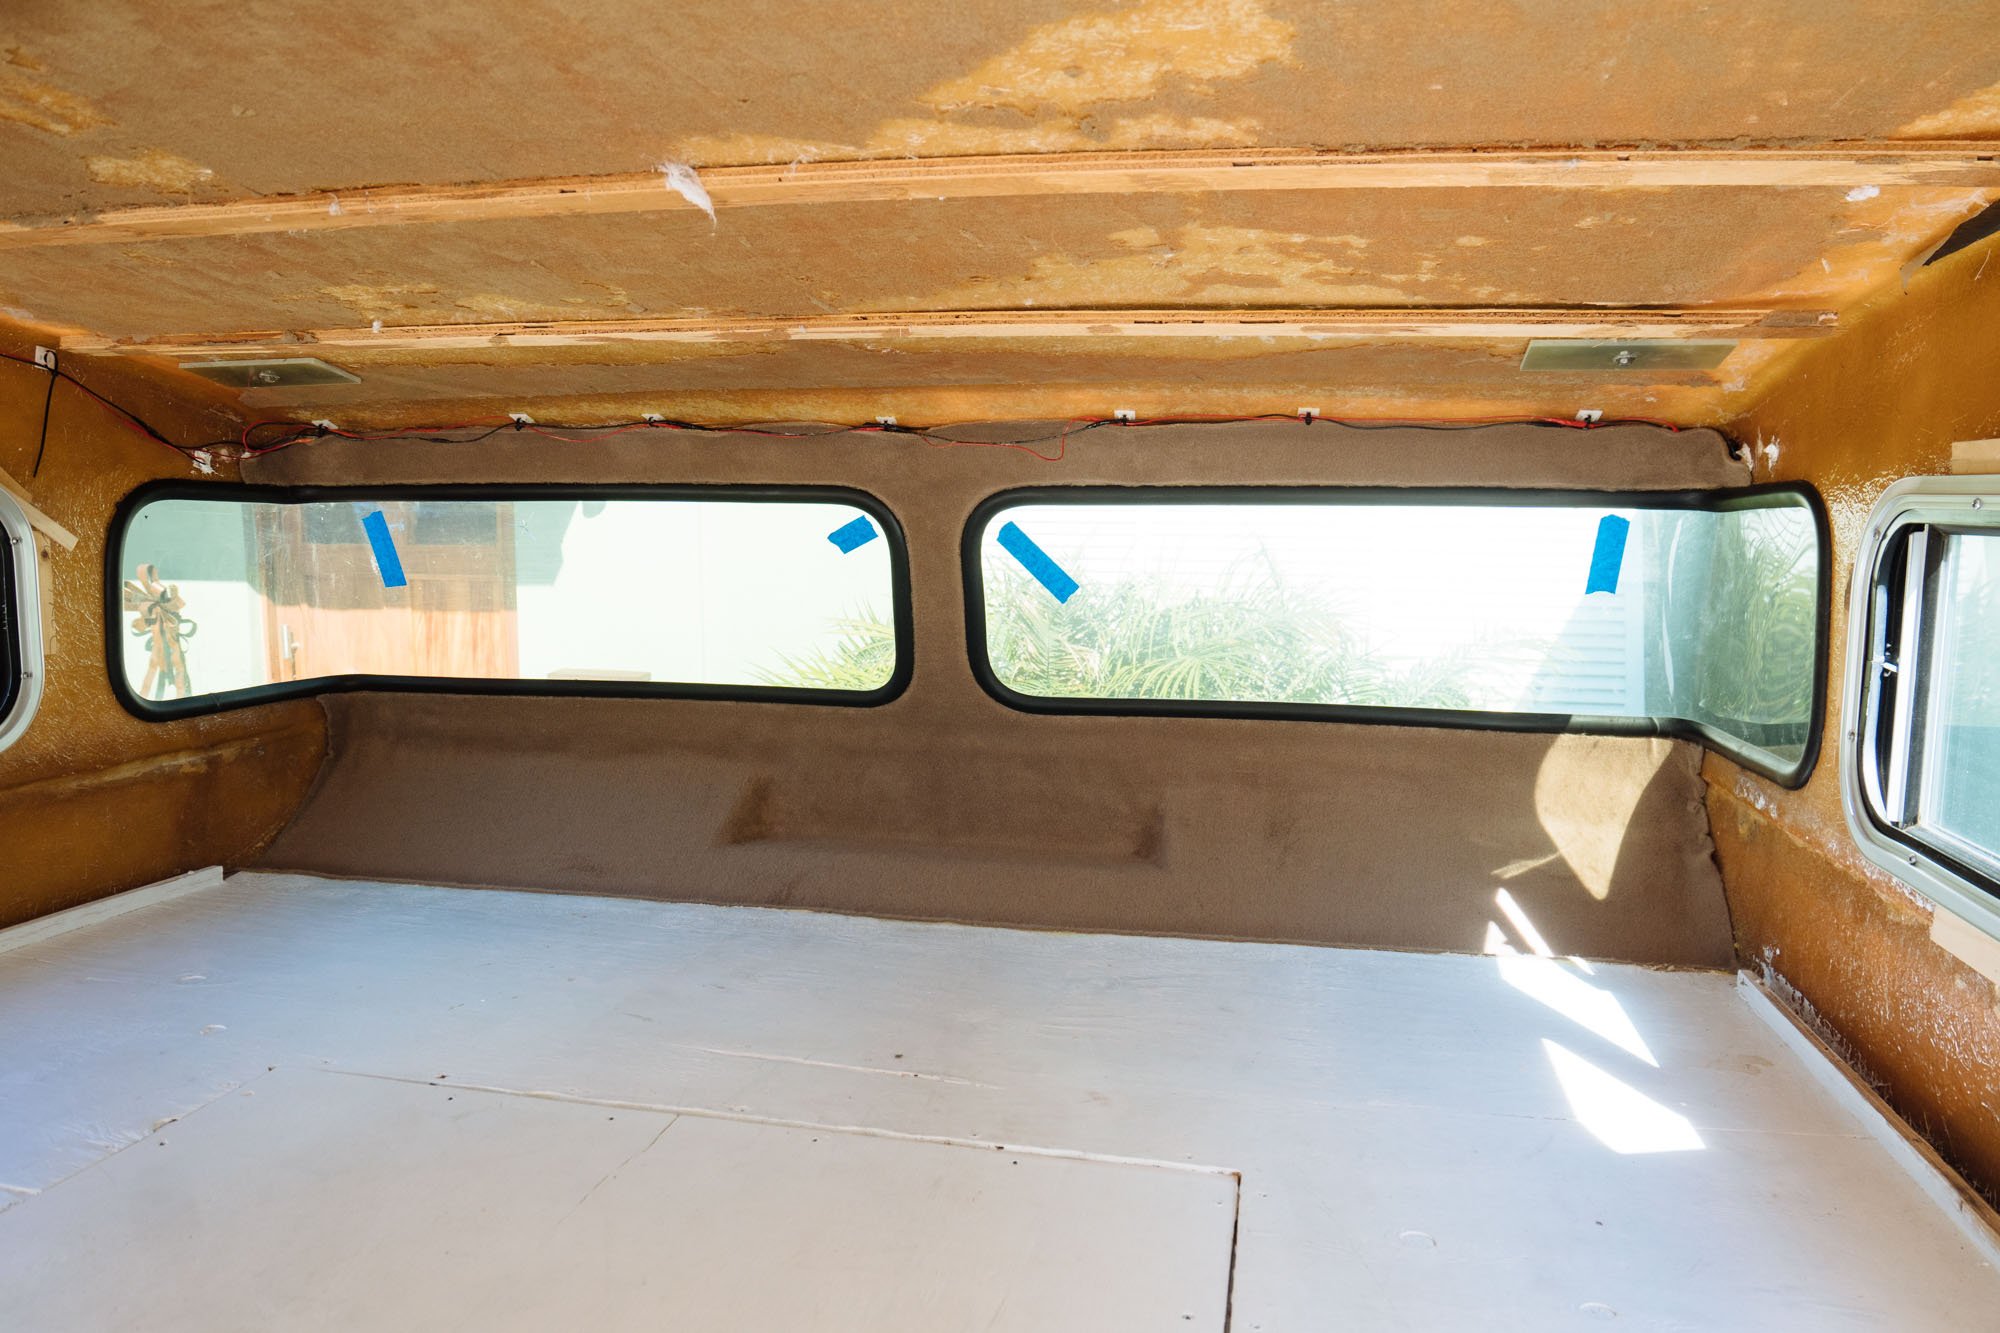
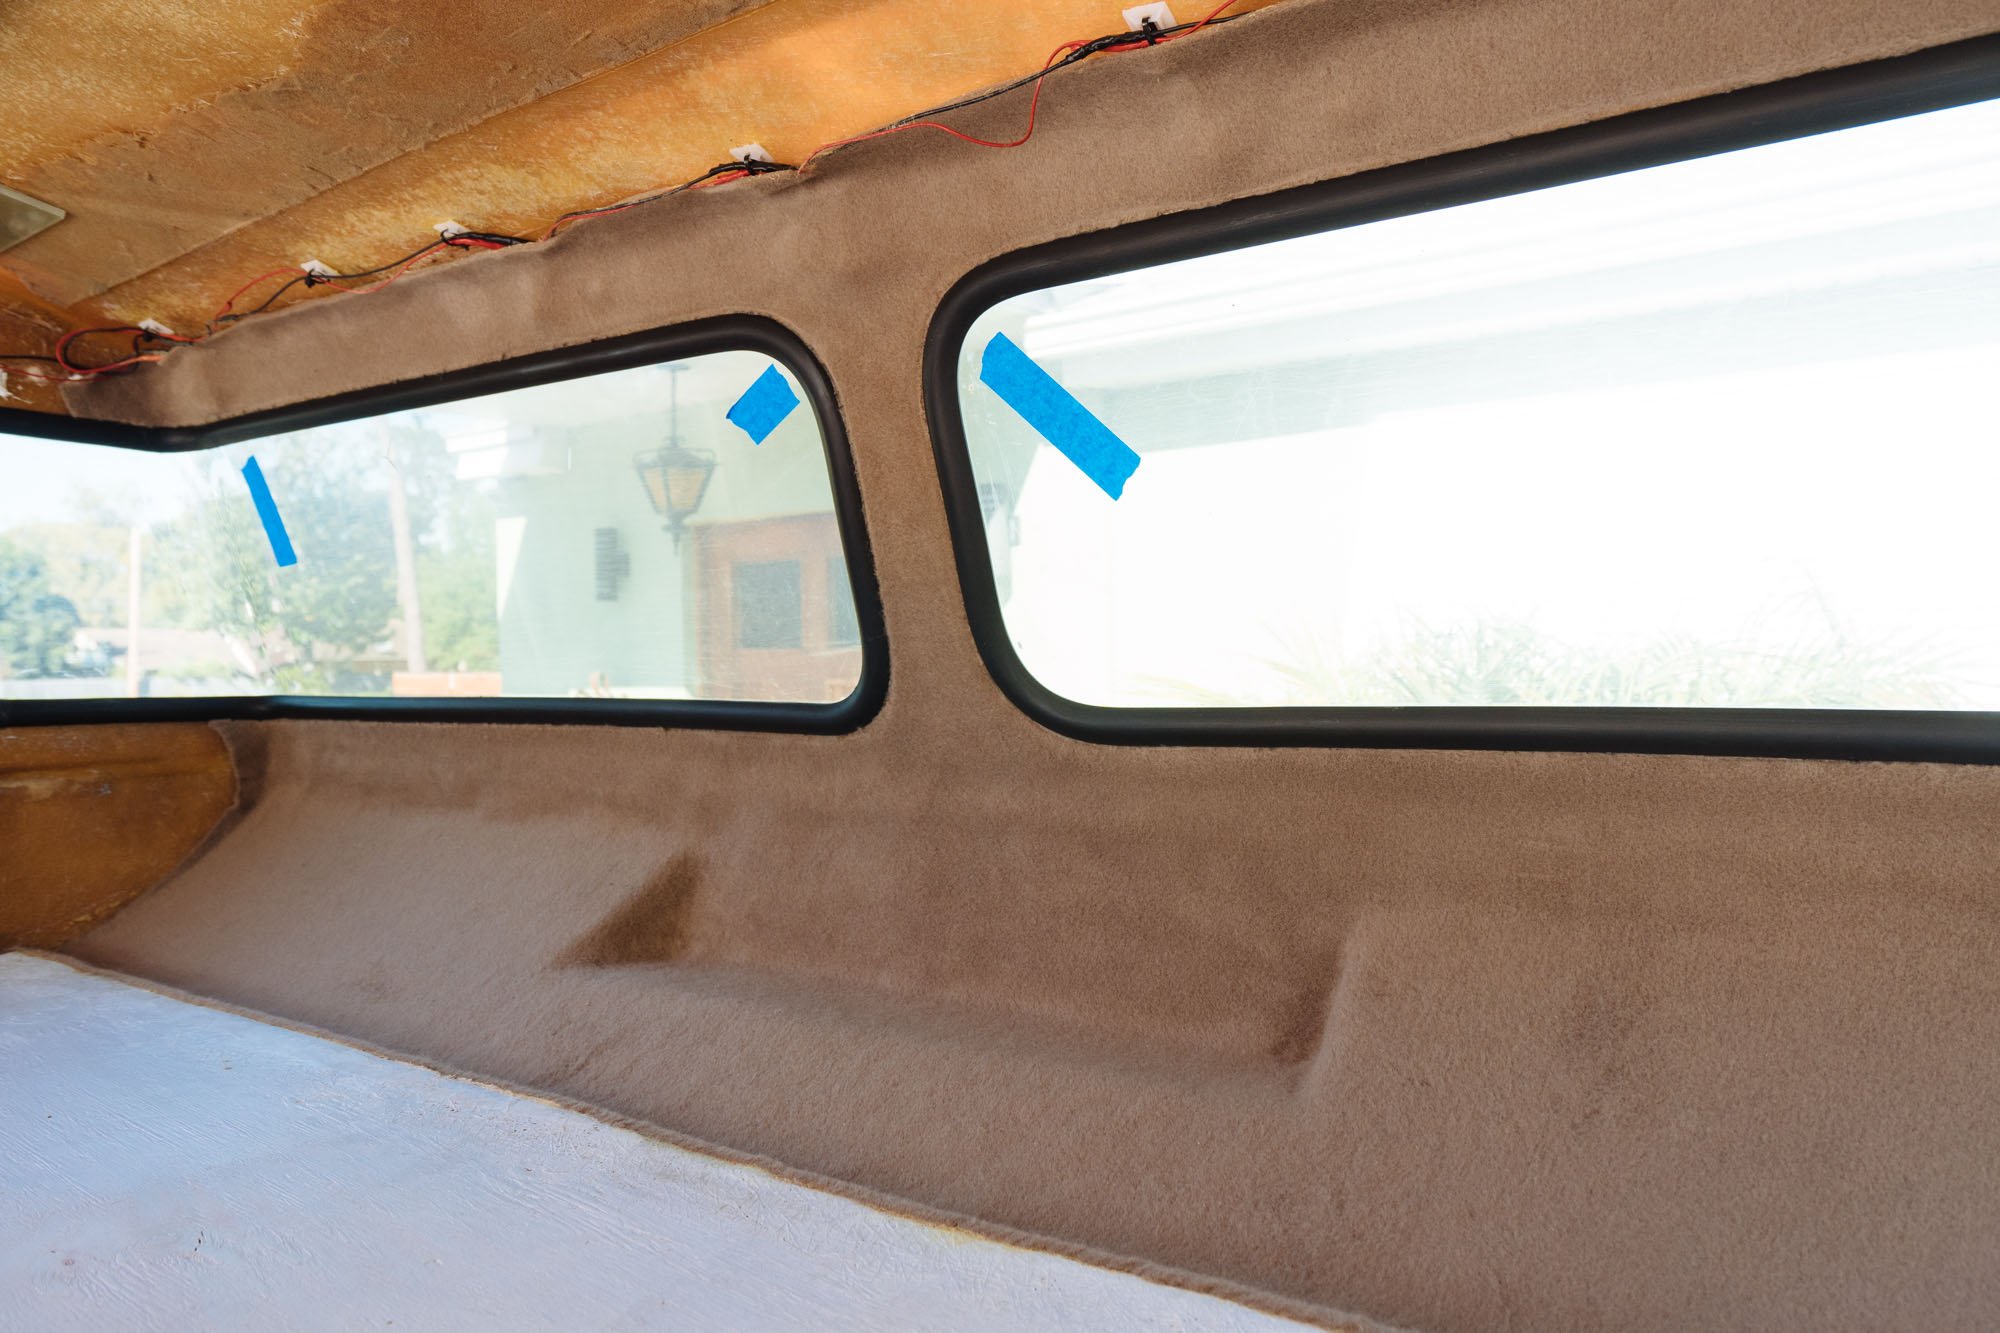
The last two images are of Amelia's front bed wall after just a day and a half with a car upholster! We tried to come up with a few different solutions to do this ourselves. After a few tests, we realized that something this detailed was out of our skillset, and we wouldn't have been happy with the results. When we took Amelia into the upholsterer they knew exactly what should be done to get a bit of insulation on the wall and would be totally seamless once the ceiling and side walls go in. This wall wasn't the only thing that the upholsterer worked on...
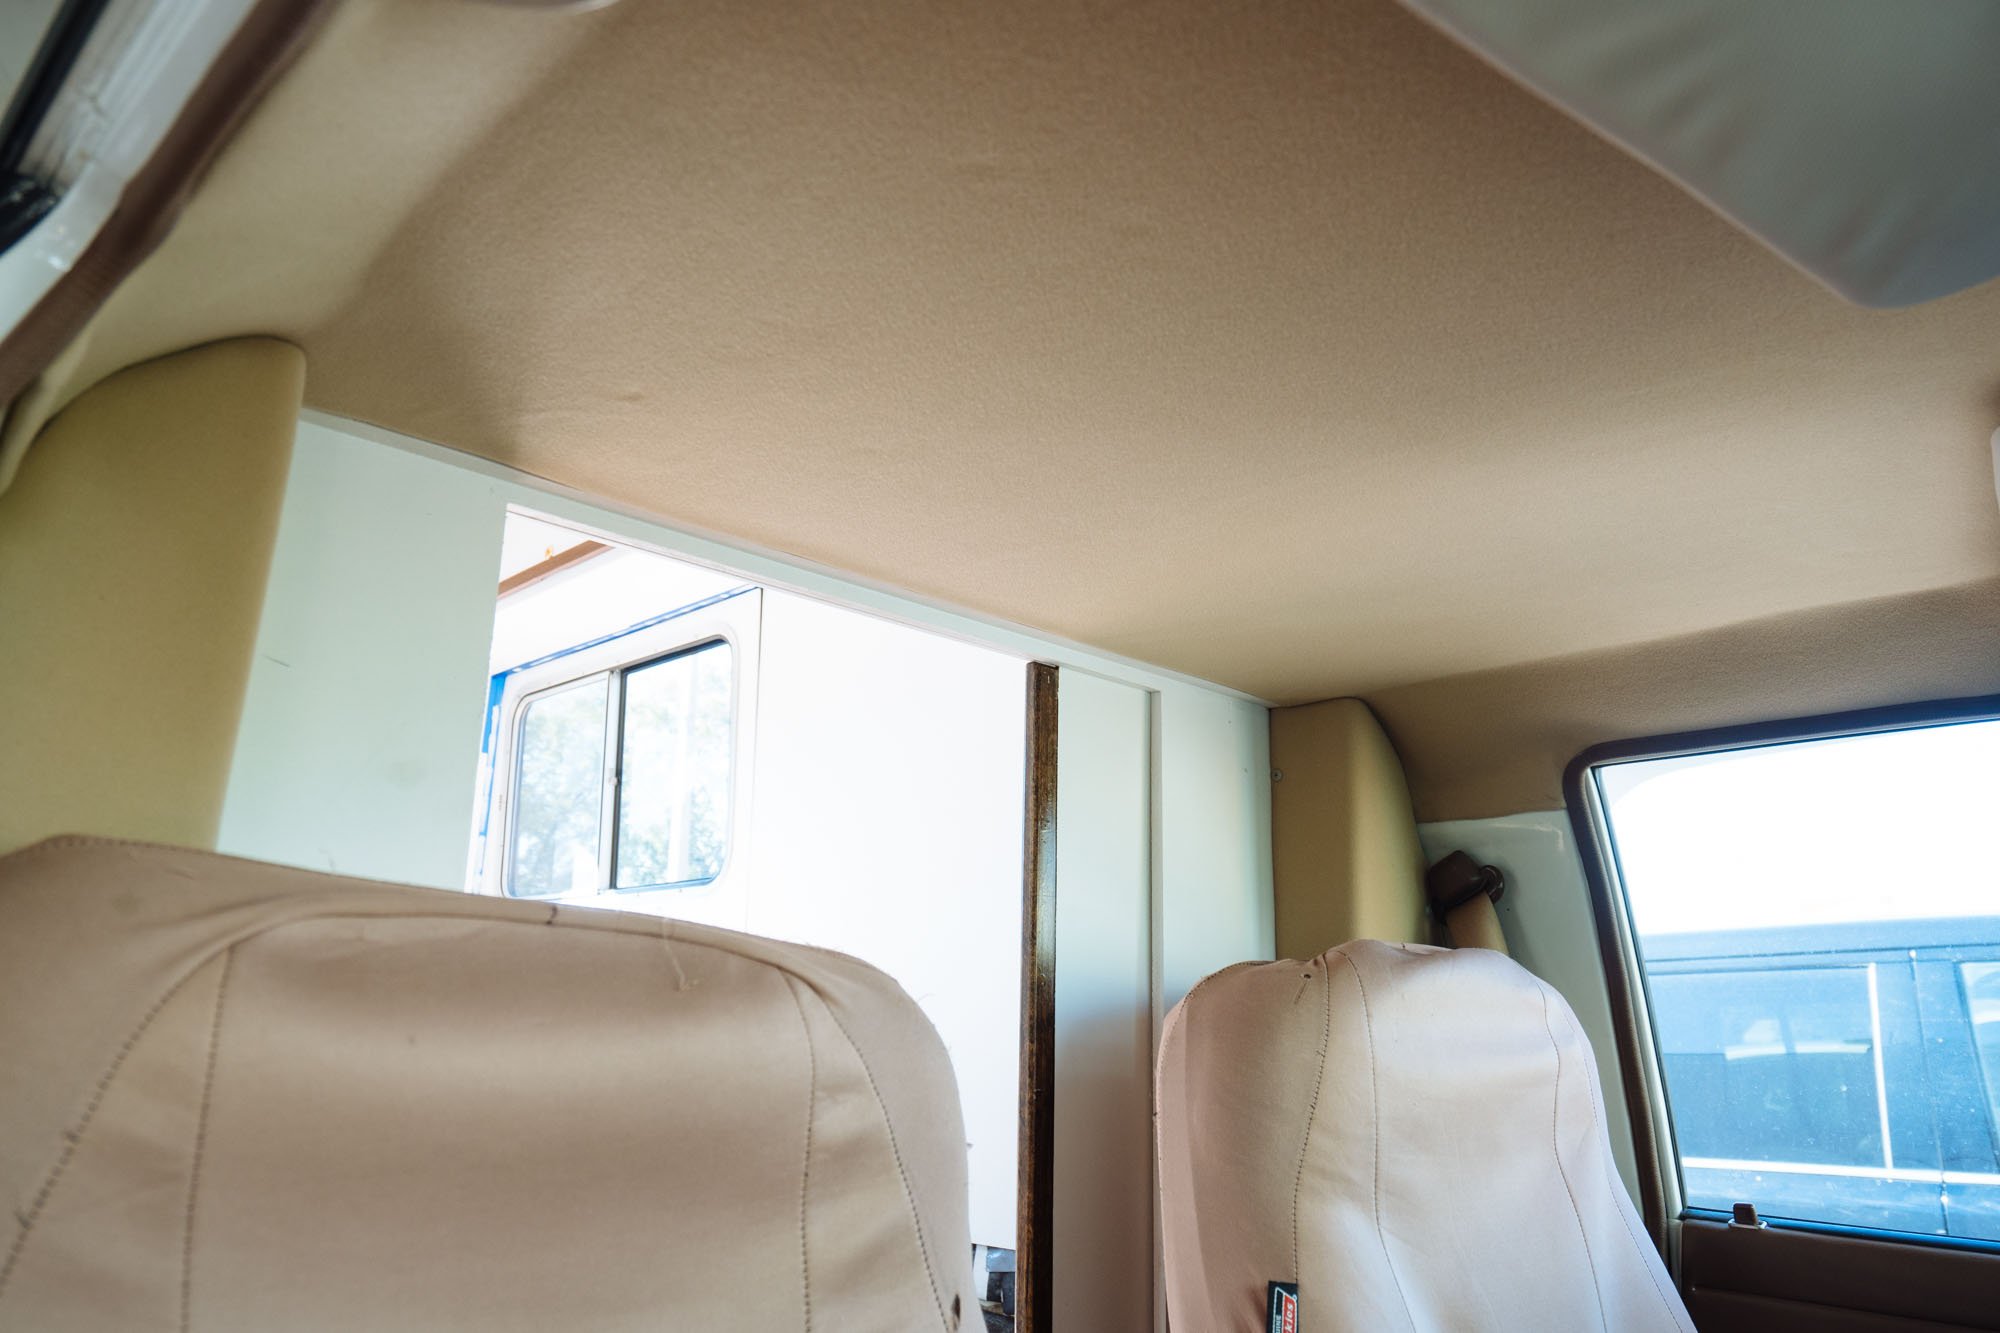
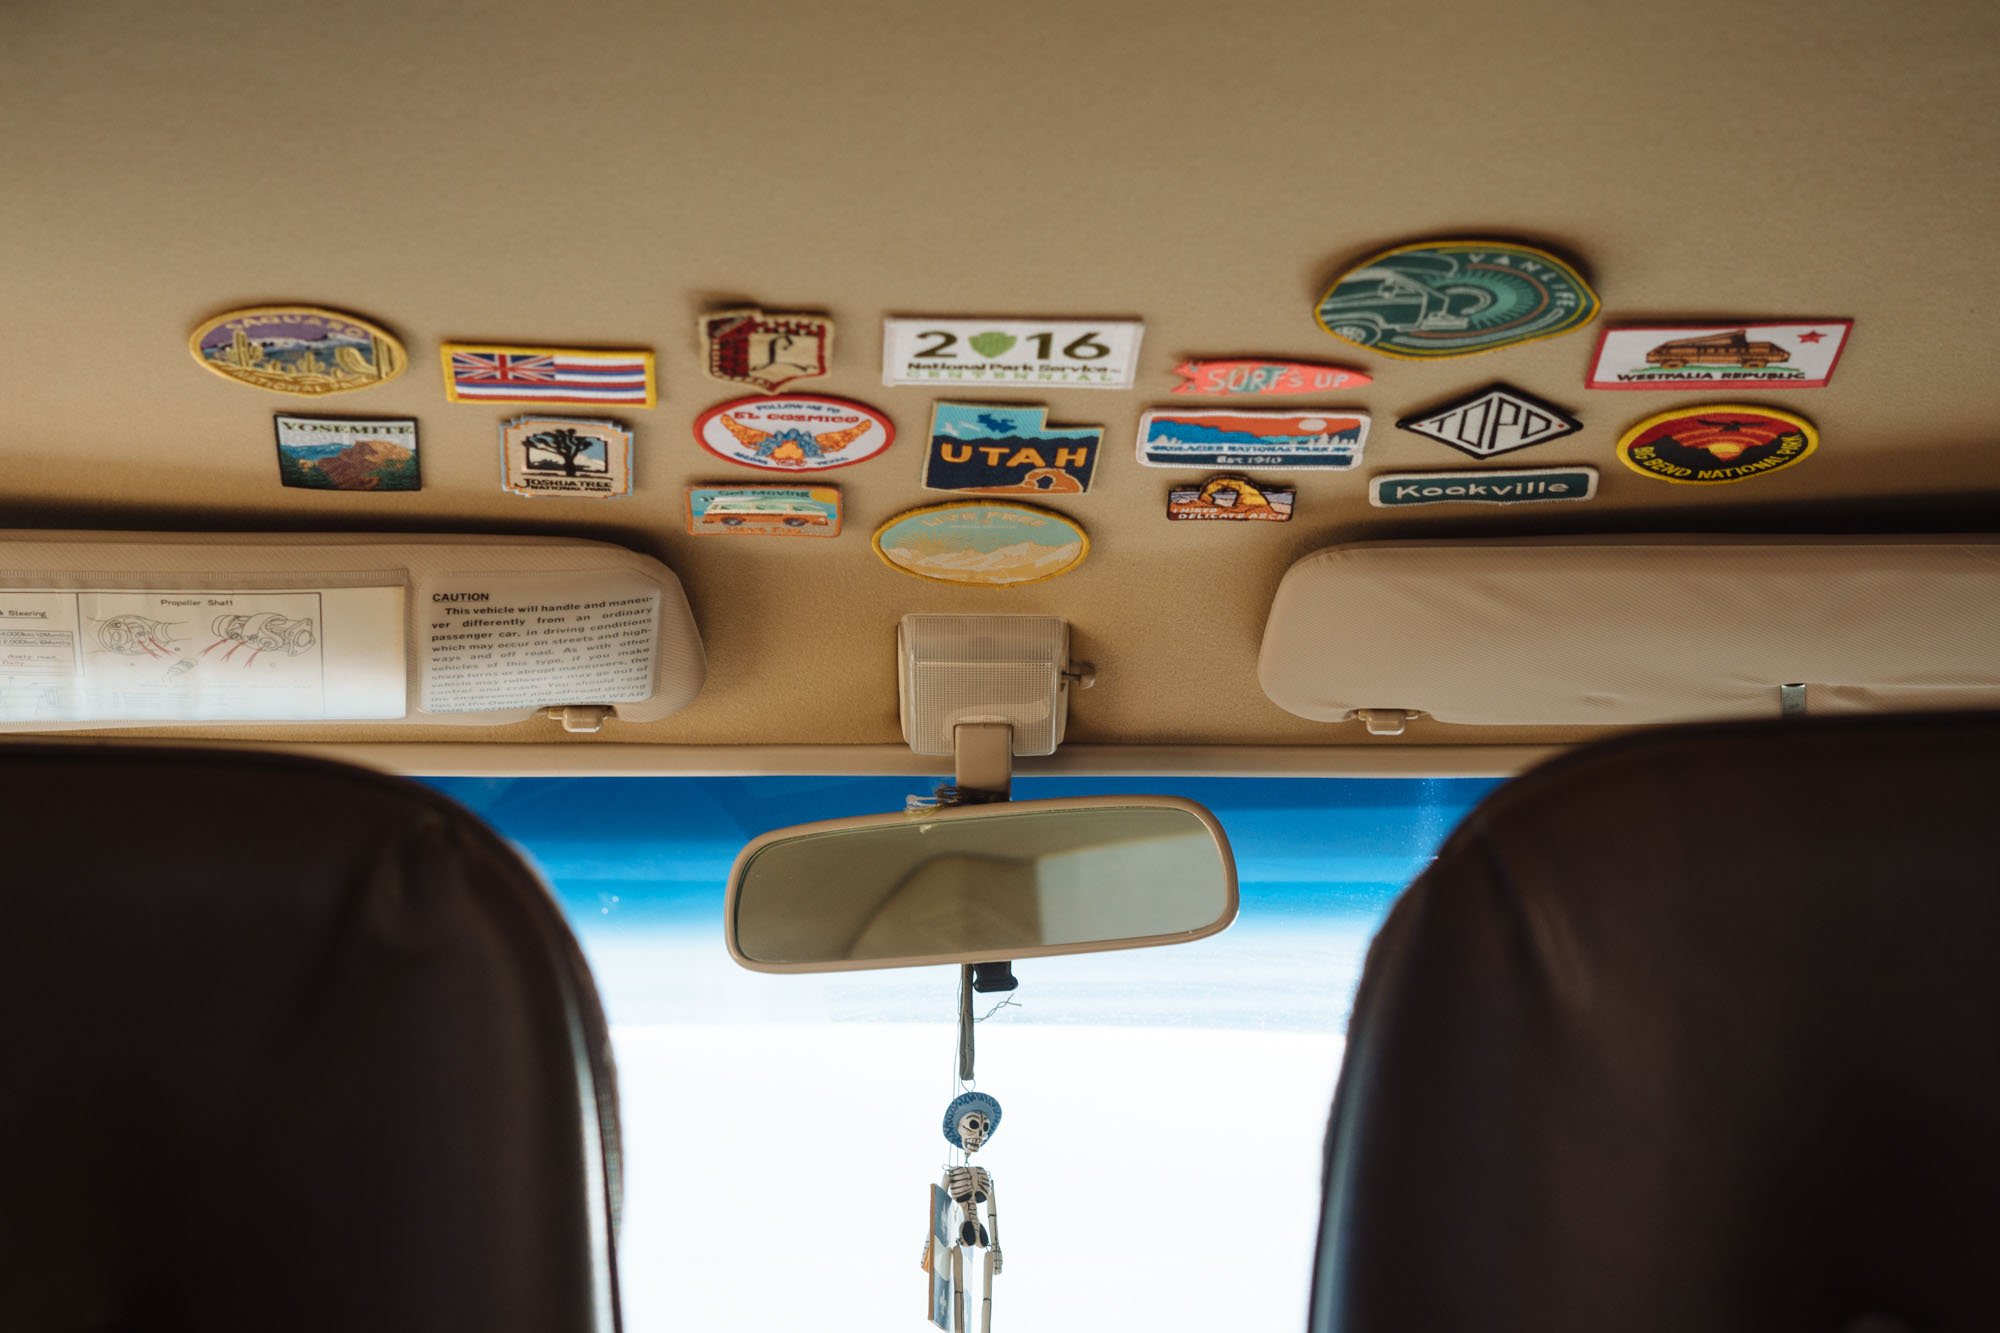
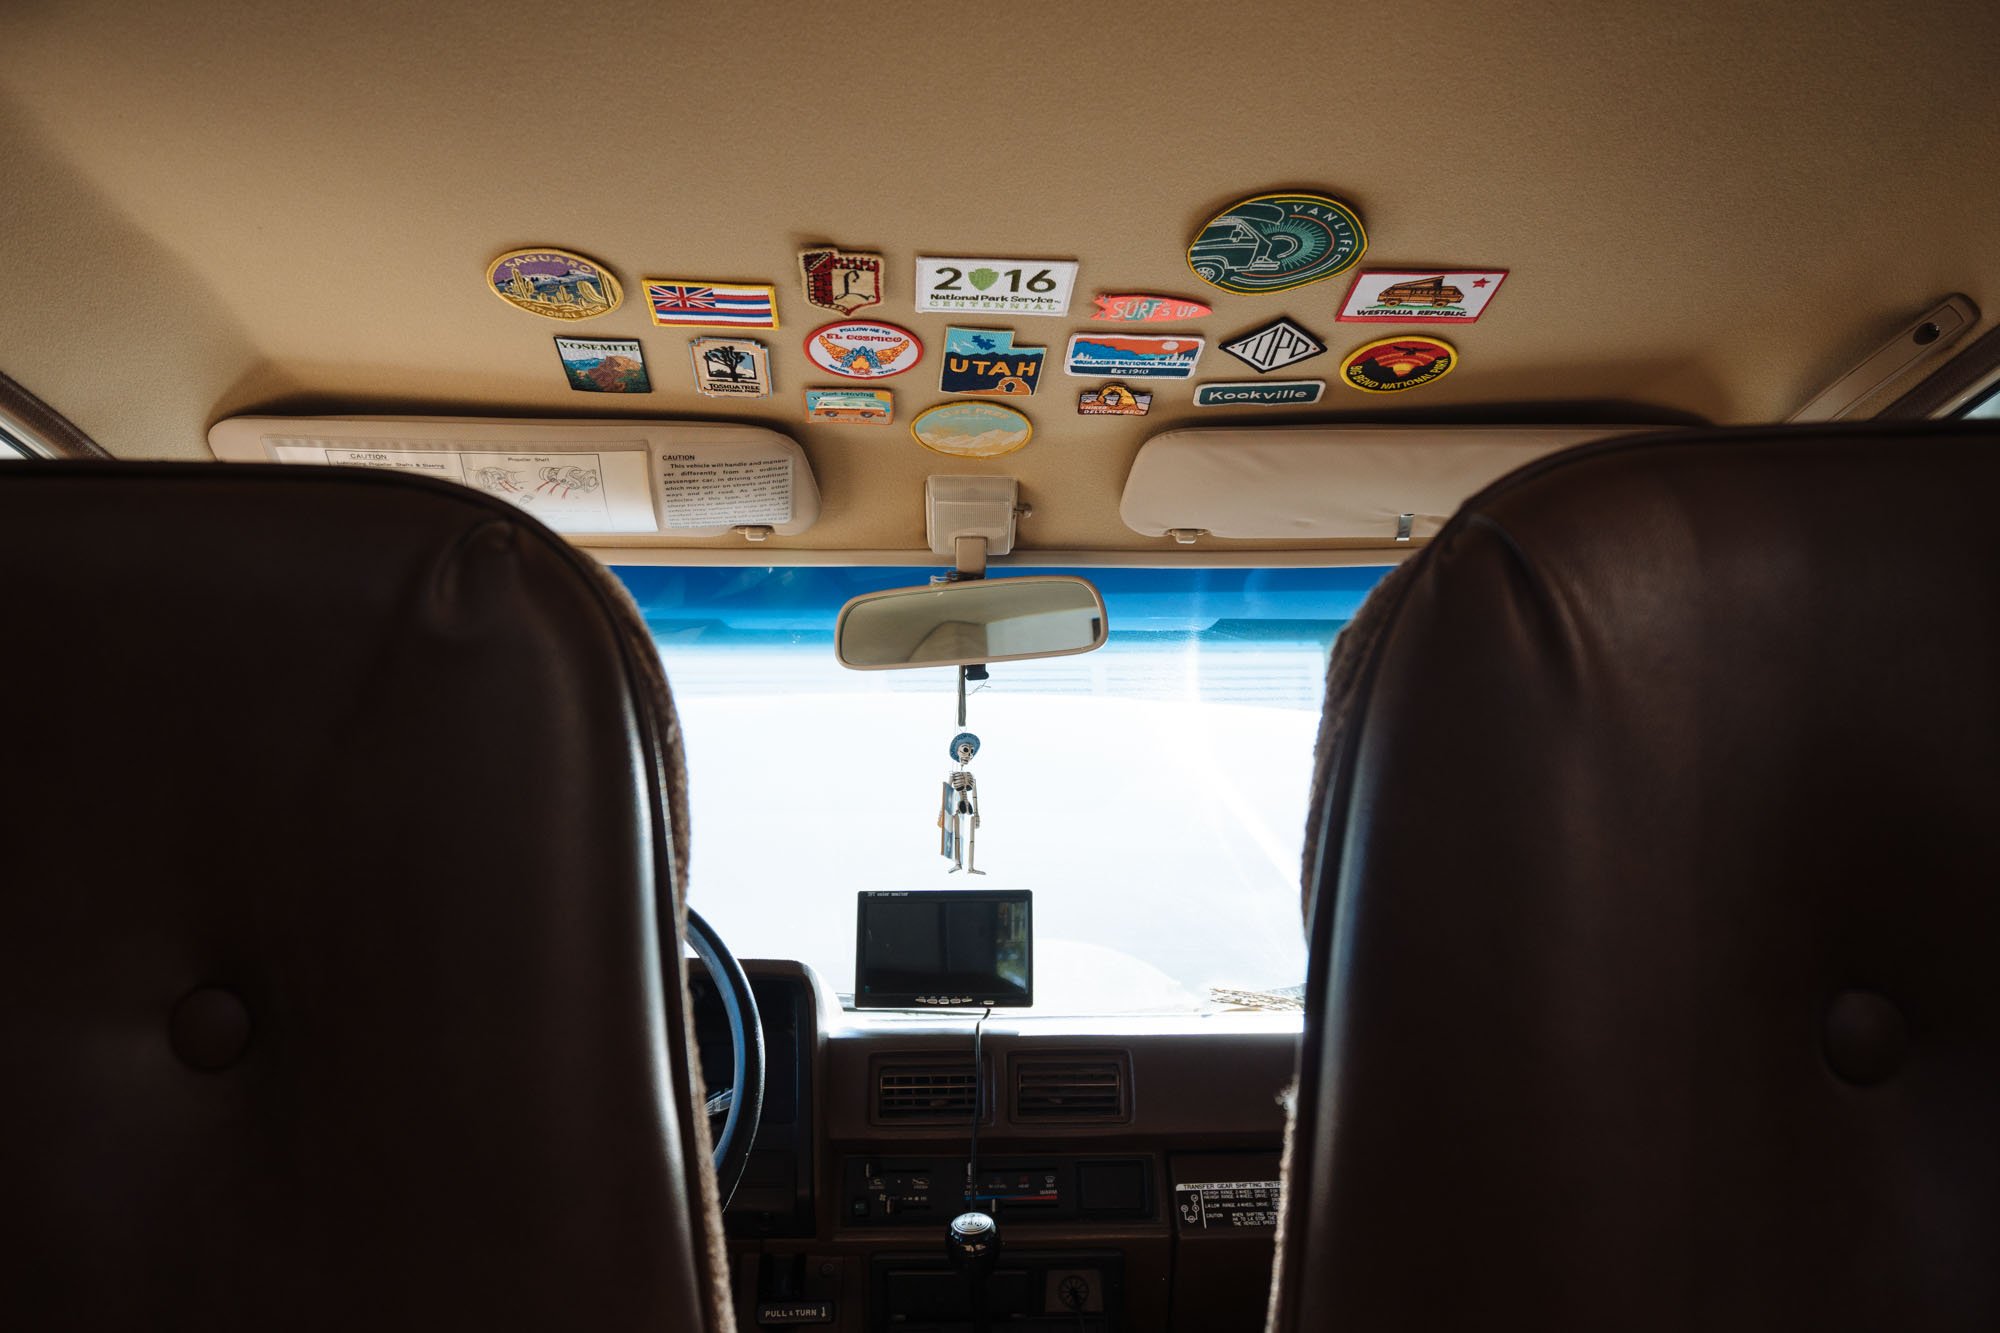
Amelia got a fresh headliner in her cab area. When we decided to fill in the removable portion of the bed it left a large raw wood spot on the ceiling in the cab. Our plan for this area was always to take it in and have it professionally reupholstered. We asked for a fabric that would have the ability to velcro our patch collection to the ceiling. They absolutely delivered! I can't even begin to convey the joy seeing our patches on the ceiling brings me. It's the simple things in life.

As soon as Amelia was back from the upholsterer, we got to work installing the bed area walls and ceiling. For these panels we're actually reusing the original walls because ours were in great shape, and surprisingly, had no water damage unlike every other wall panel in Amelia.
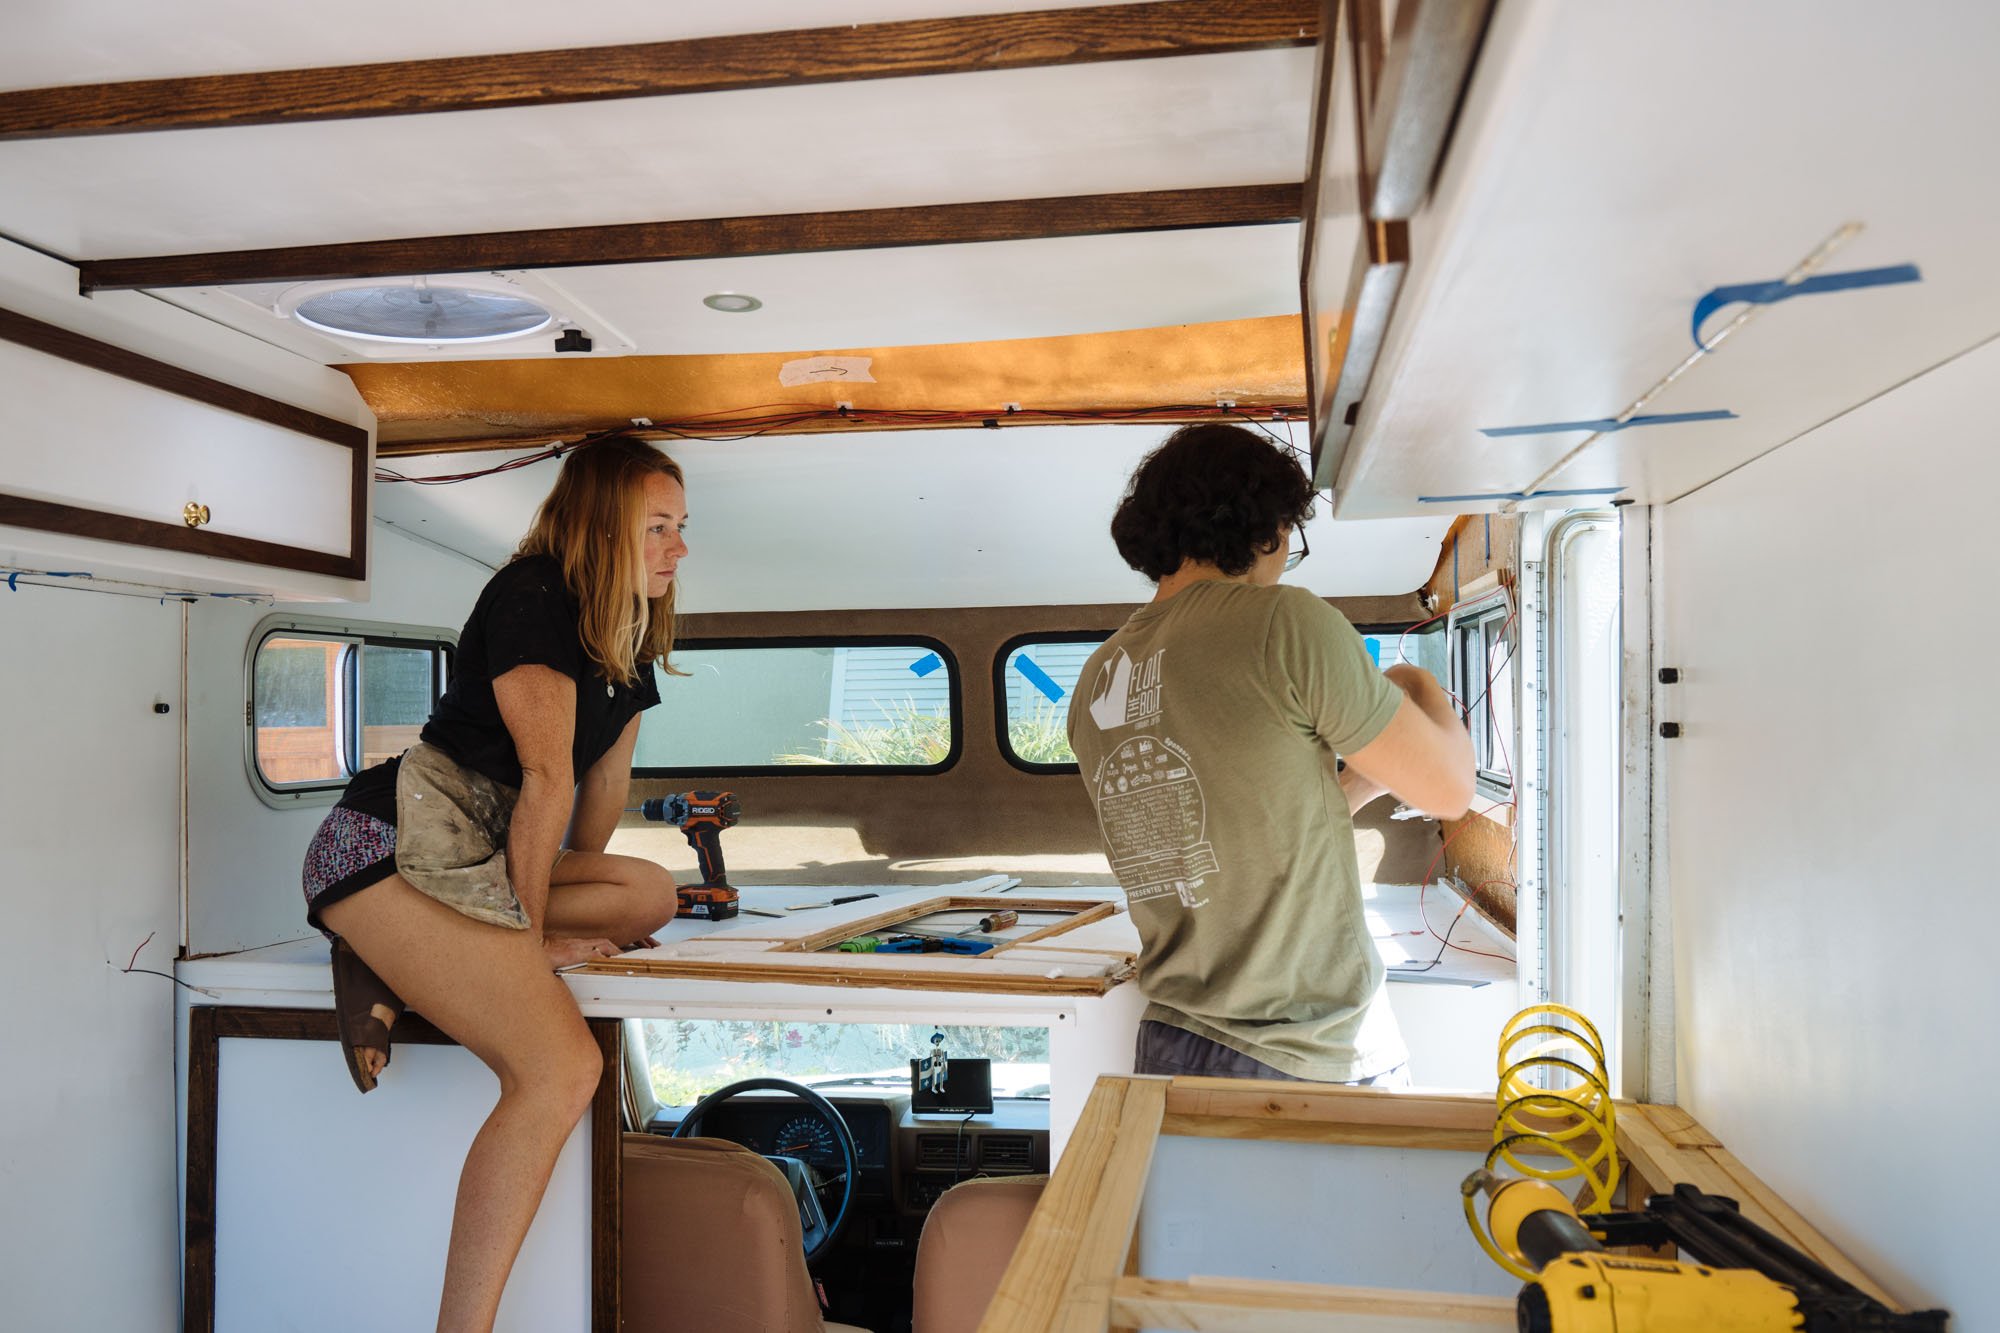
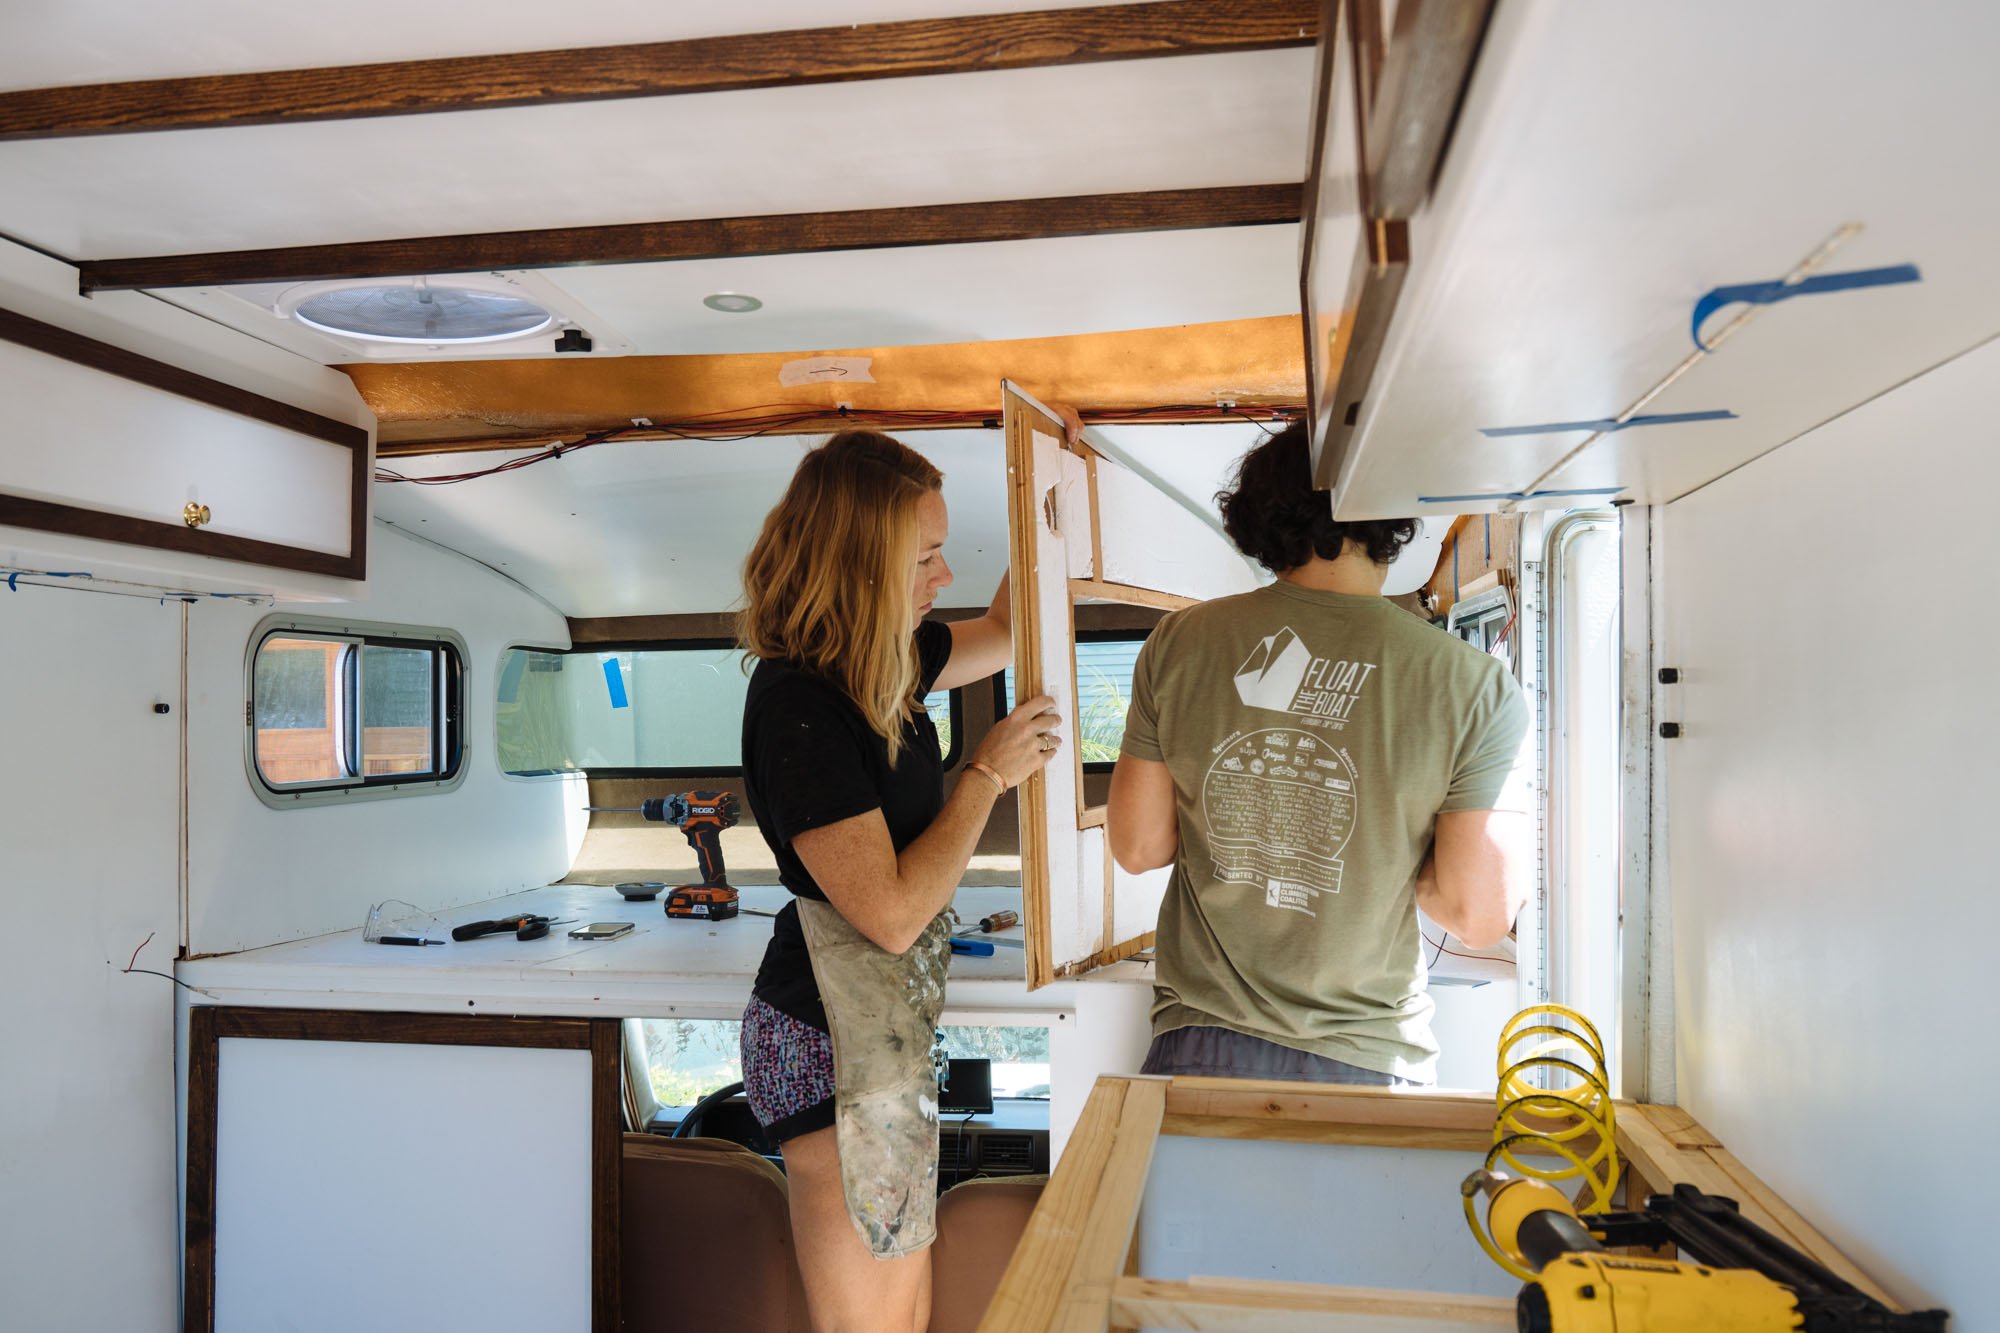

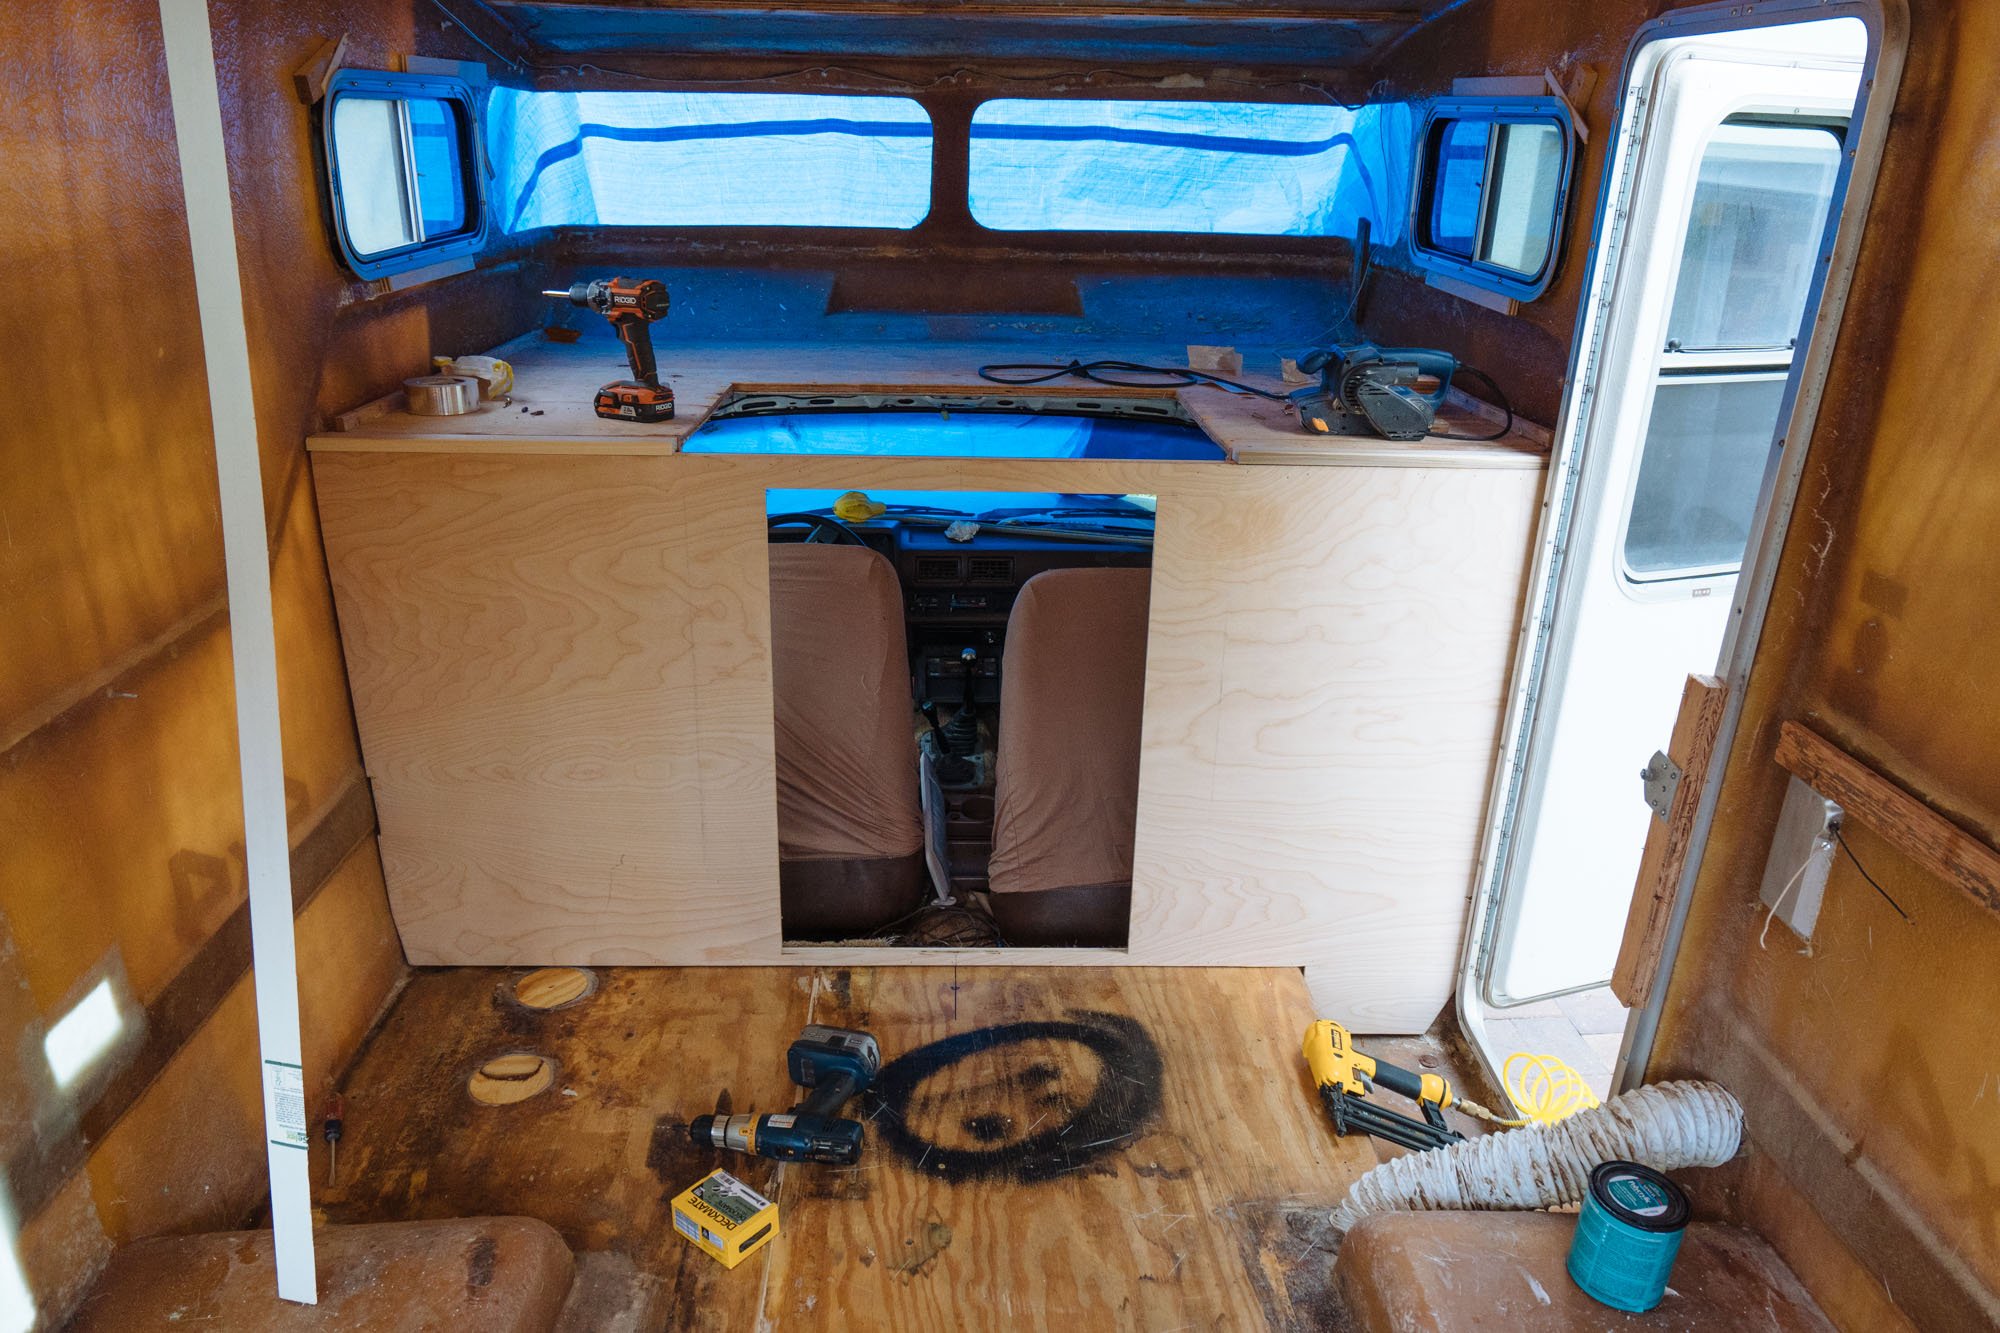
The bed area, previous to this buildout, was so incredibly dark (as you can see in the 2nd image in the post). It's nice to see that our efforts to bring the light into the far reaches of Amelia's interior is working! This area is almost 100% complete. I want to repaint the bed platform when we get a little closer to being complete. Over the course of the build we've used the bed area as a work bench, and the evidence lives in the paint.
We already purchased our fresh mattress for the bed area. It'll remain in the tiny box it came in until we're ready to move into Amelia for good.
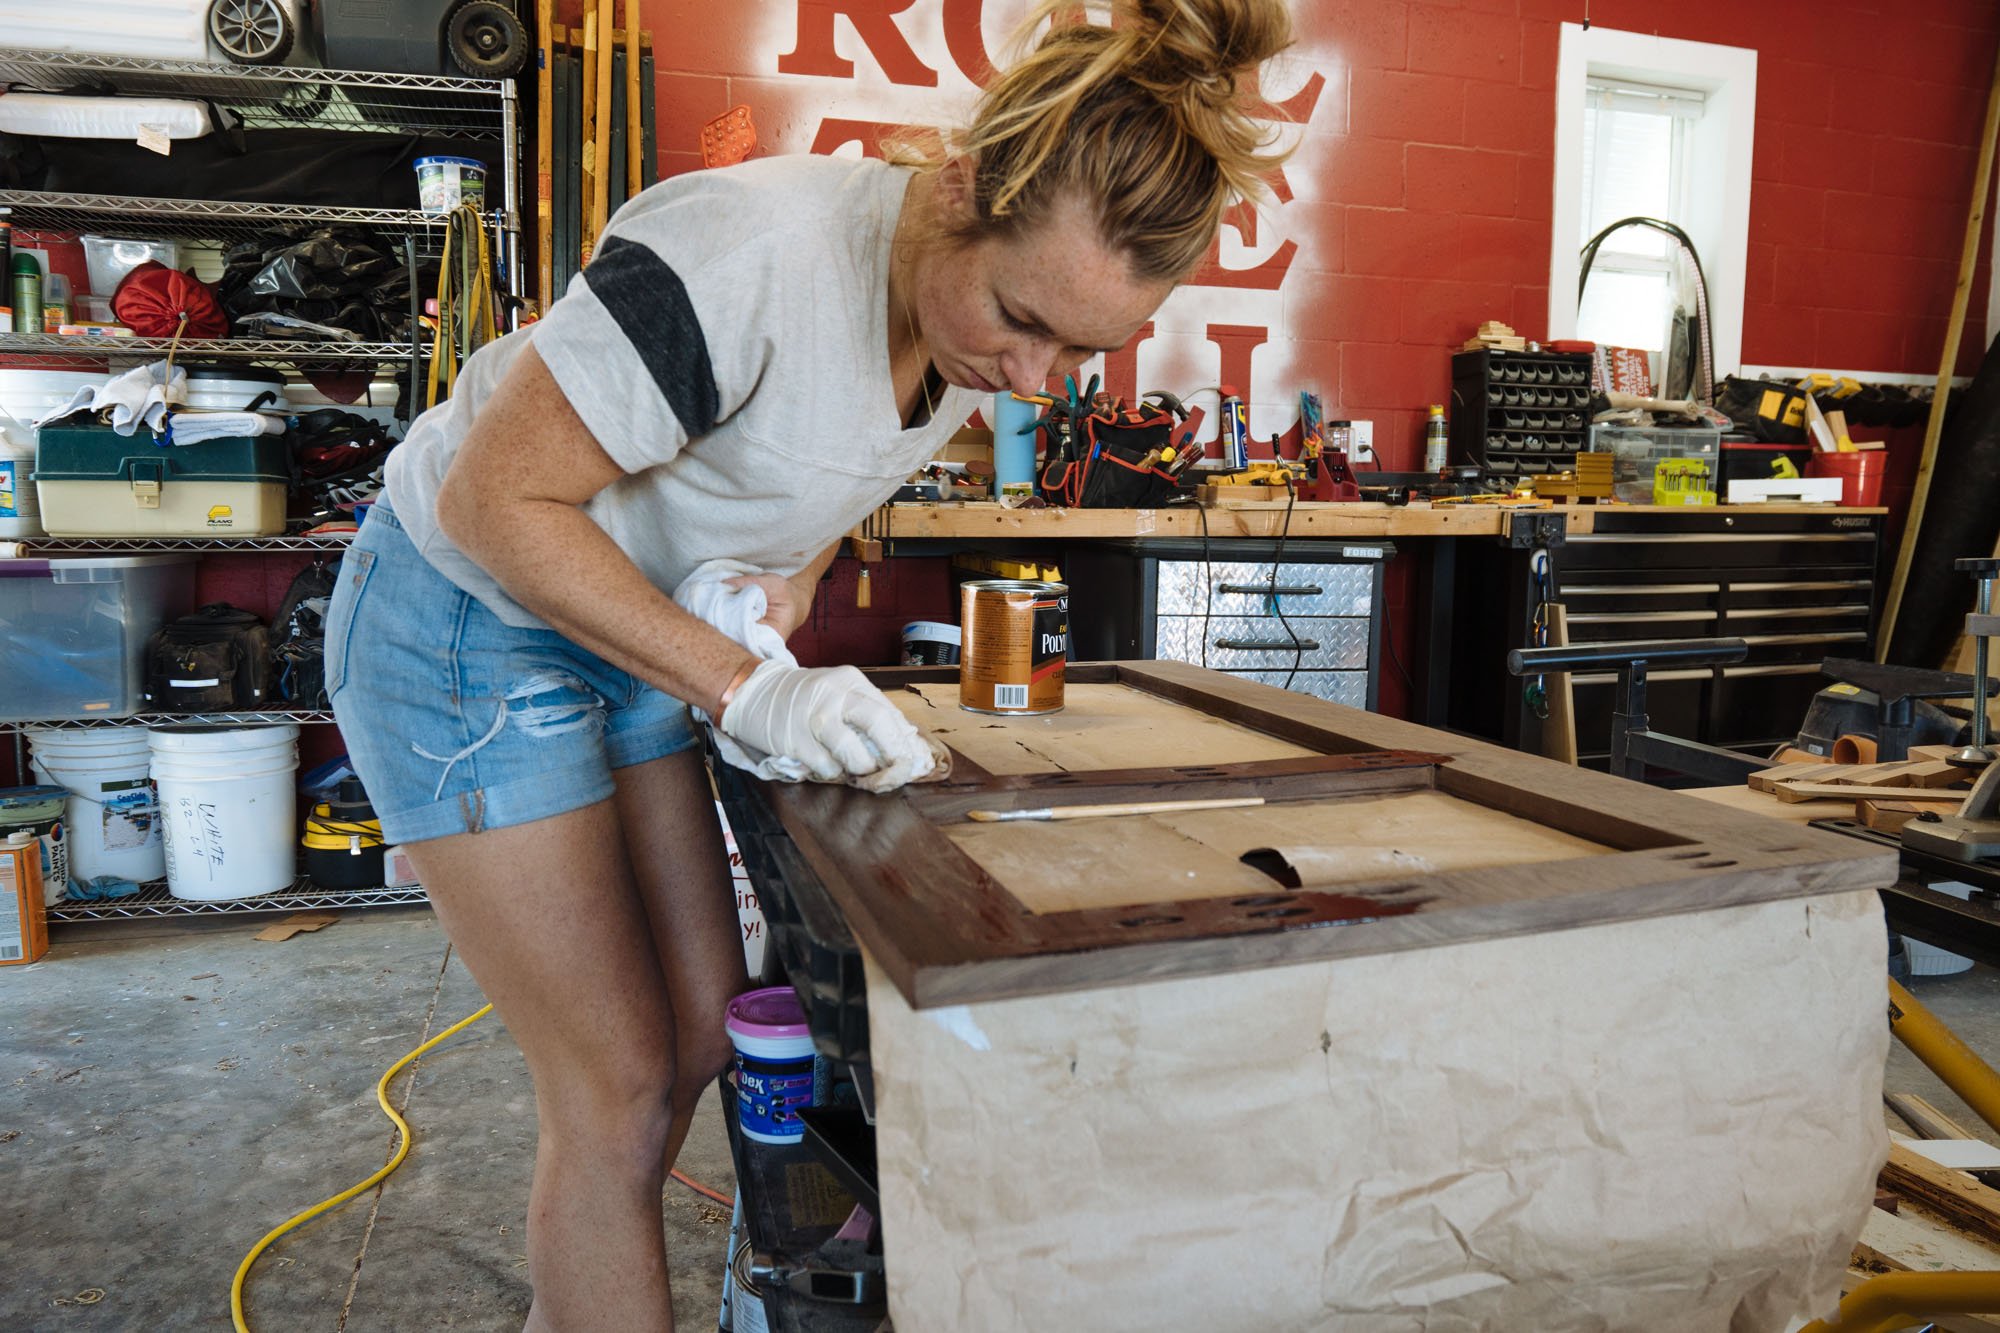
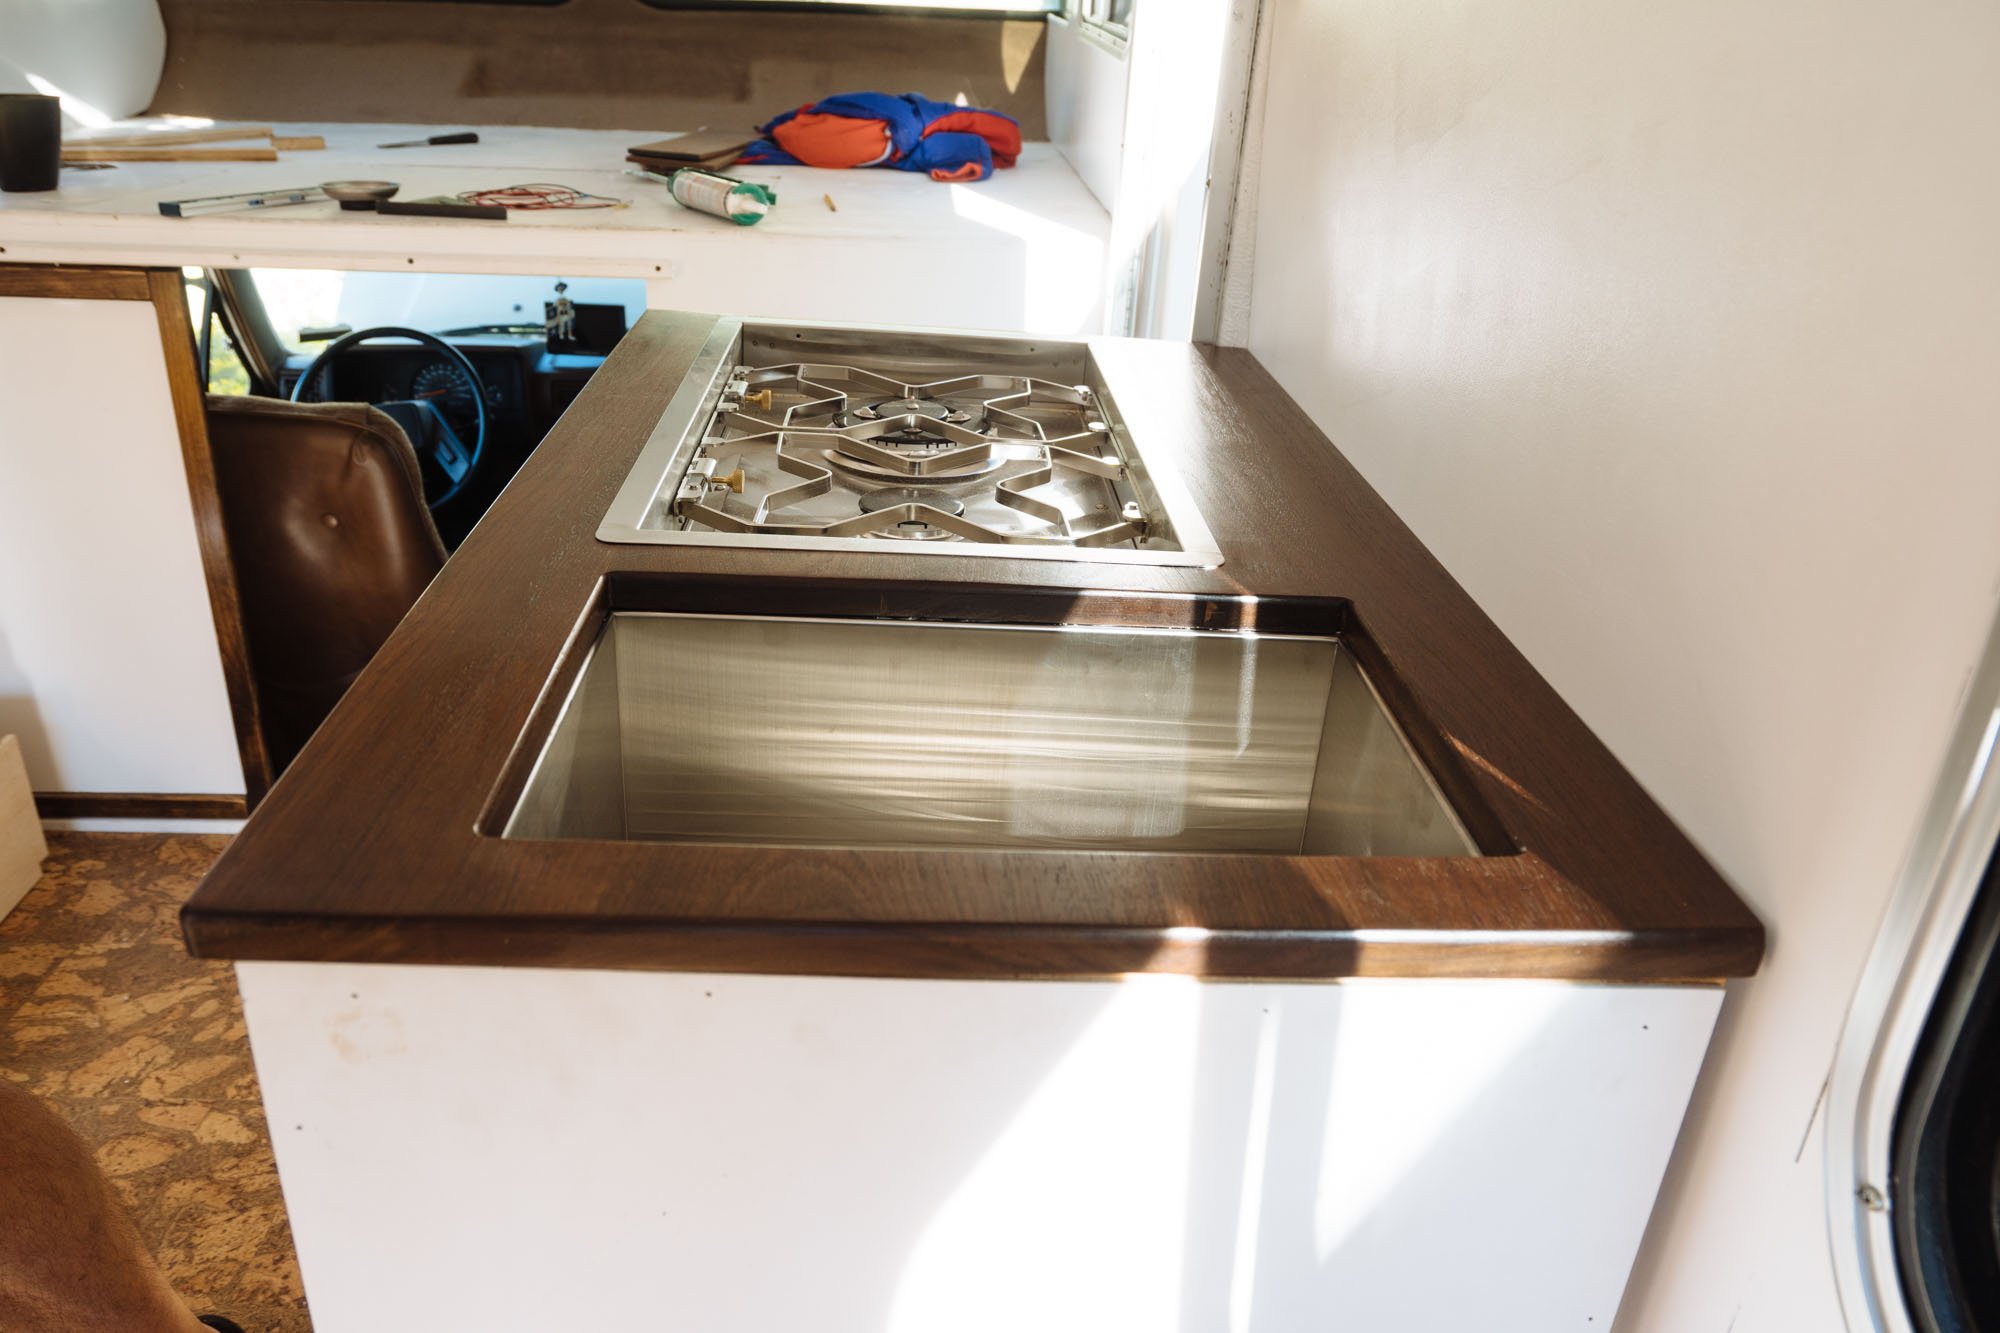
Last week we finished the over all structure of our kitchen counter. This week I set out, getting it coated in poly and sanded down super smooth. I think that in all I did 4 coats of hand wiped poly and sanded it down to 400 grit paper. I wish you all could feel the way this counter top feels, it's heavenly!
With our overall structure of the kitchen cabinet done, we decided that our best move was to build and assemble the rest of the cabinet once the frame was installed. As soon as the installation was complete we got to work assembling our counter top.
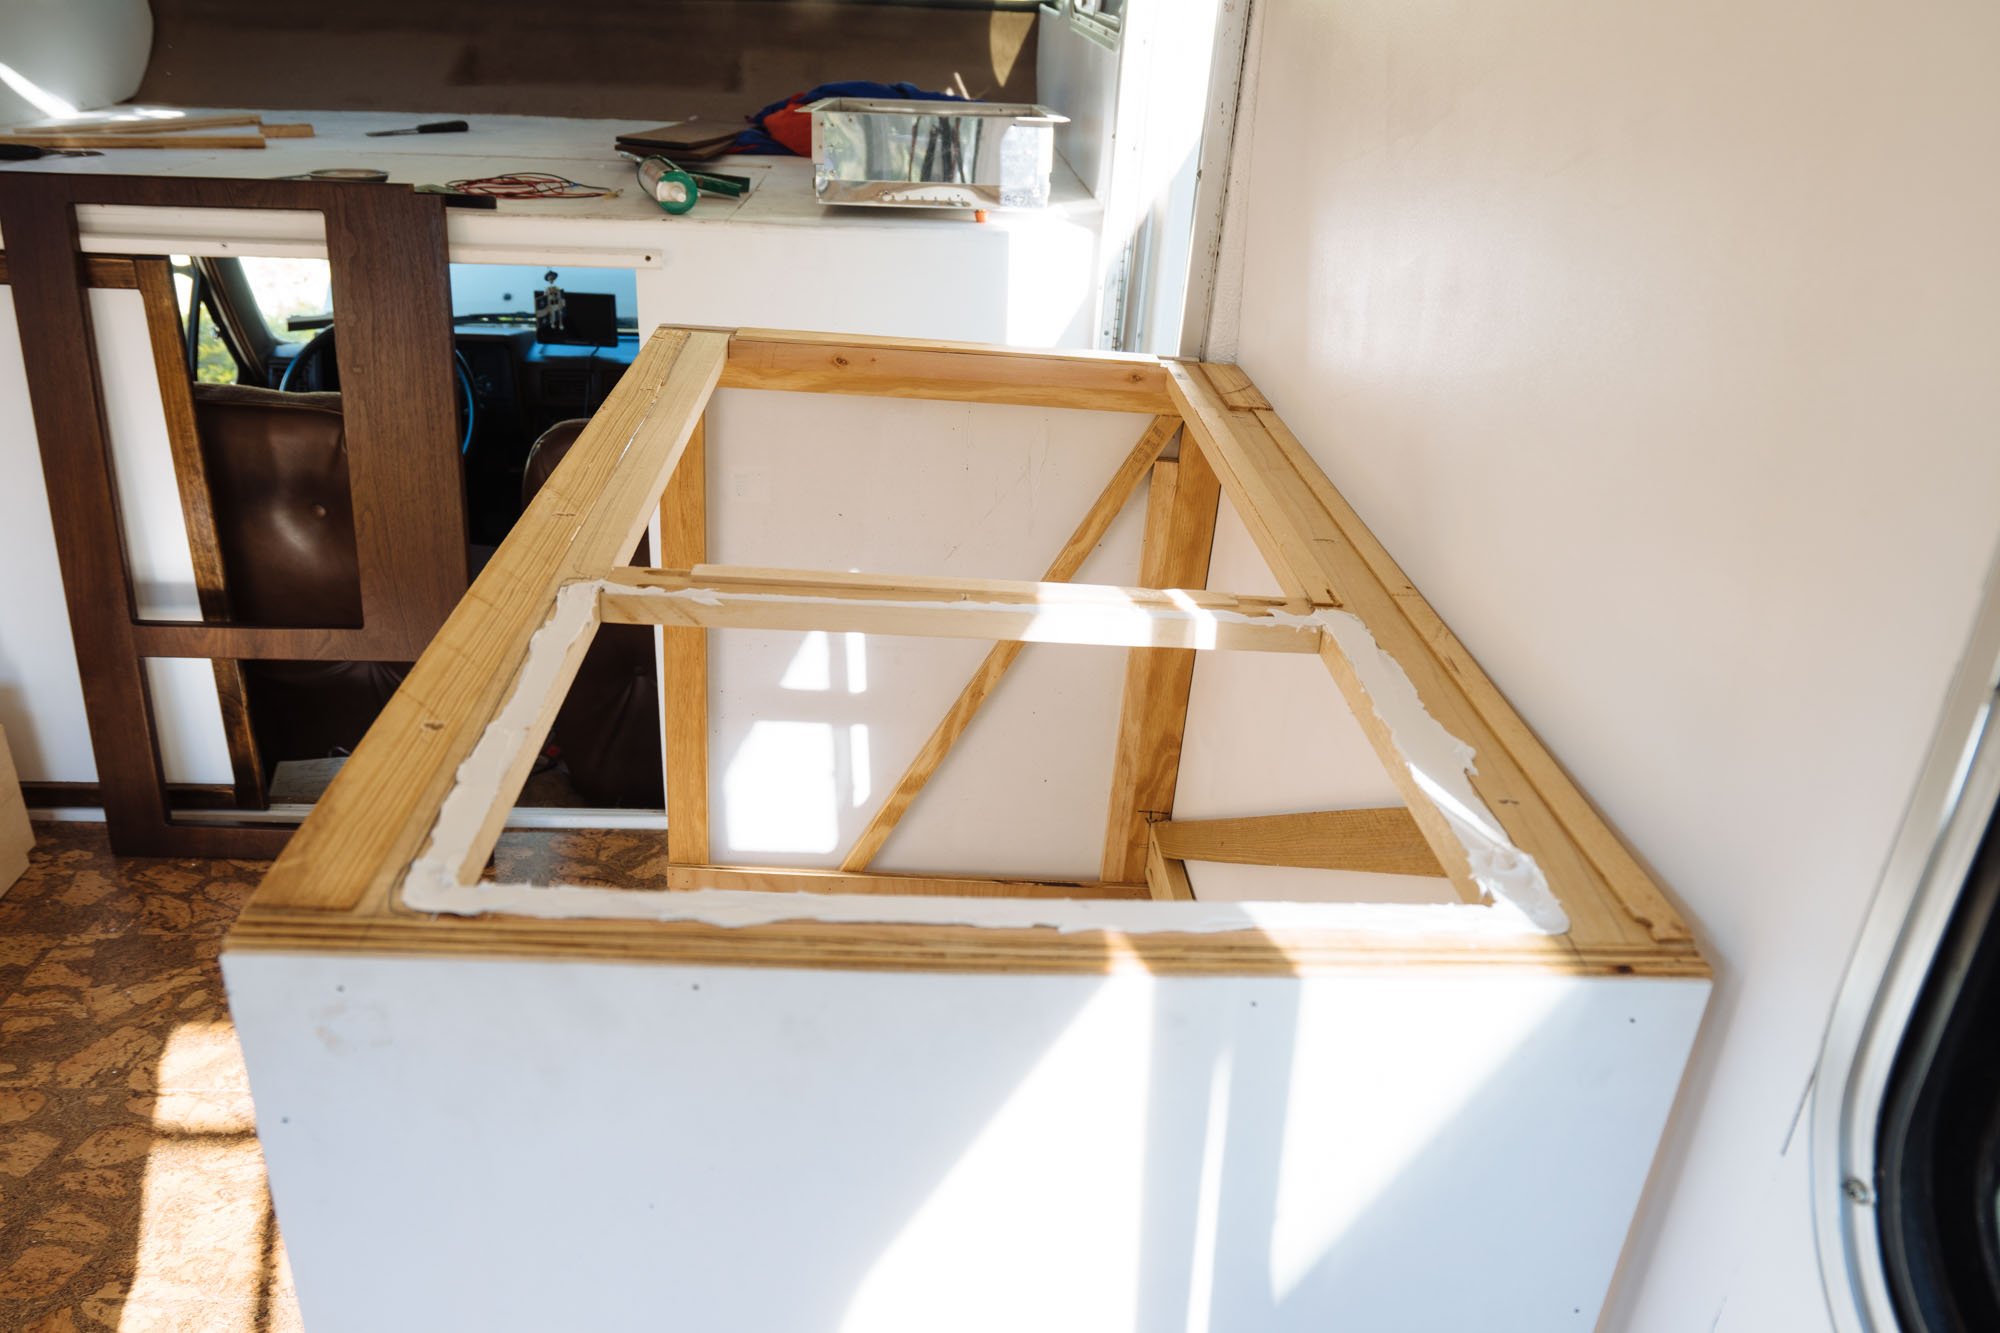
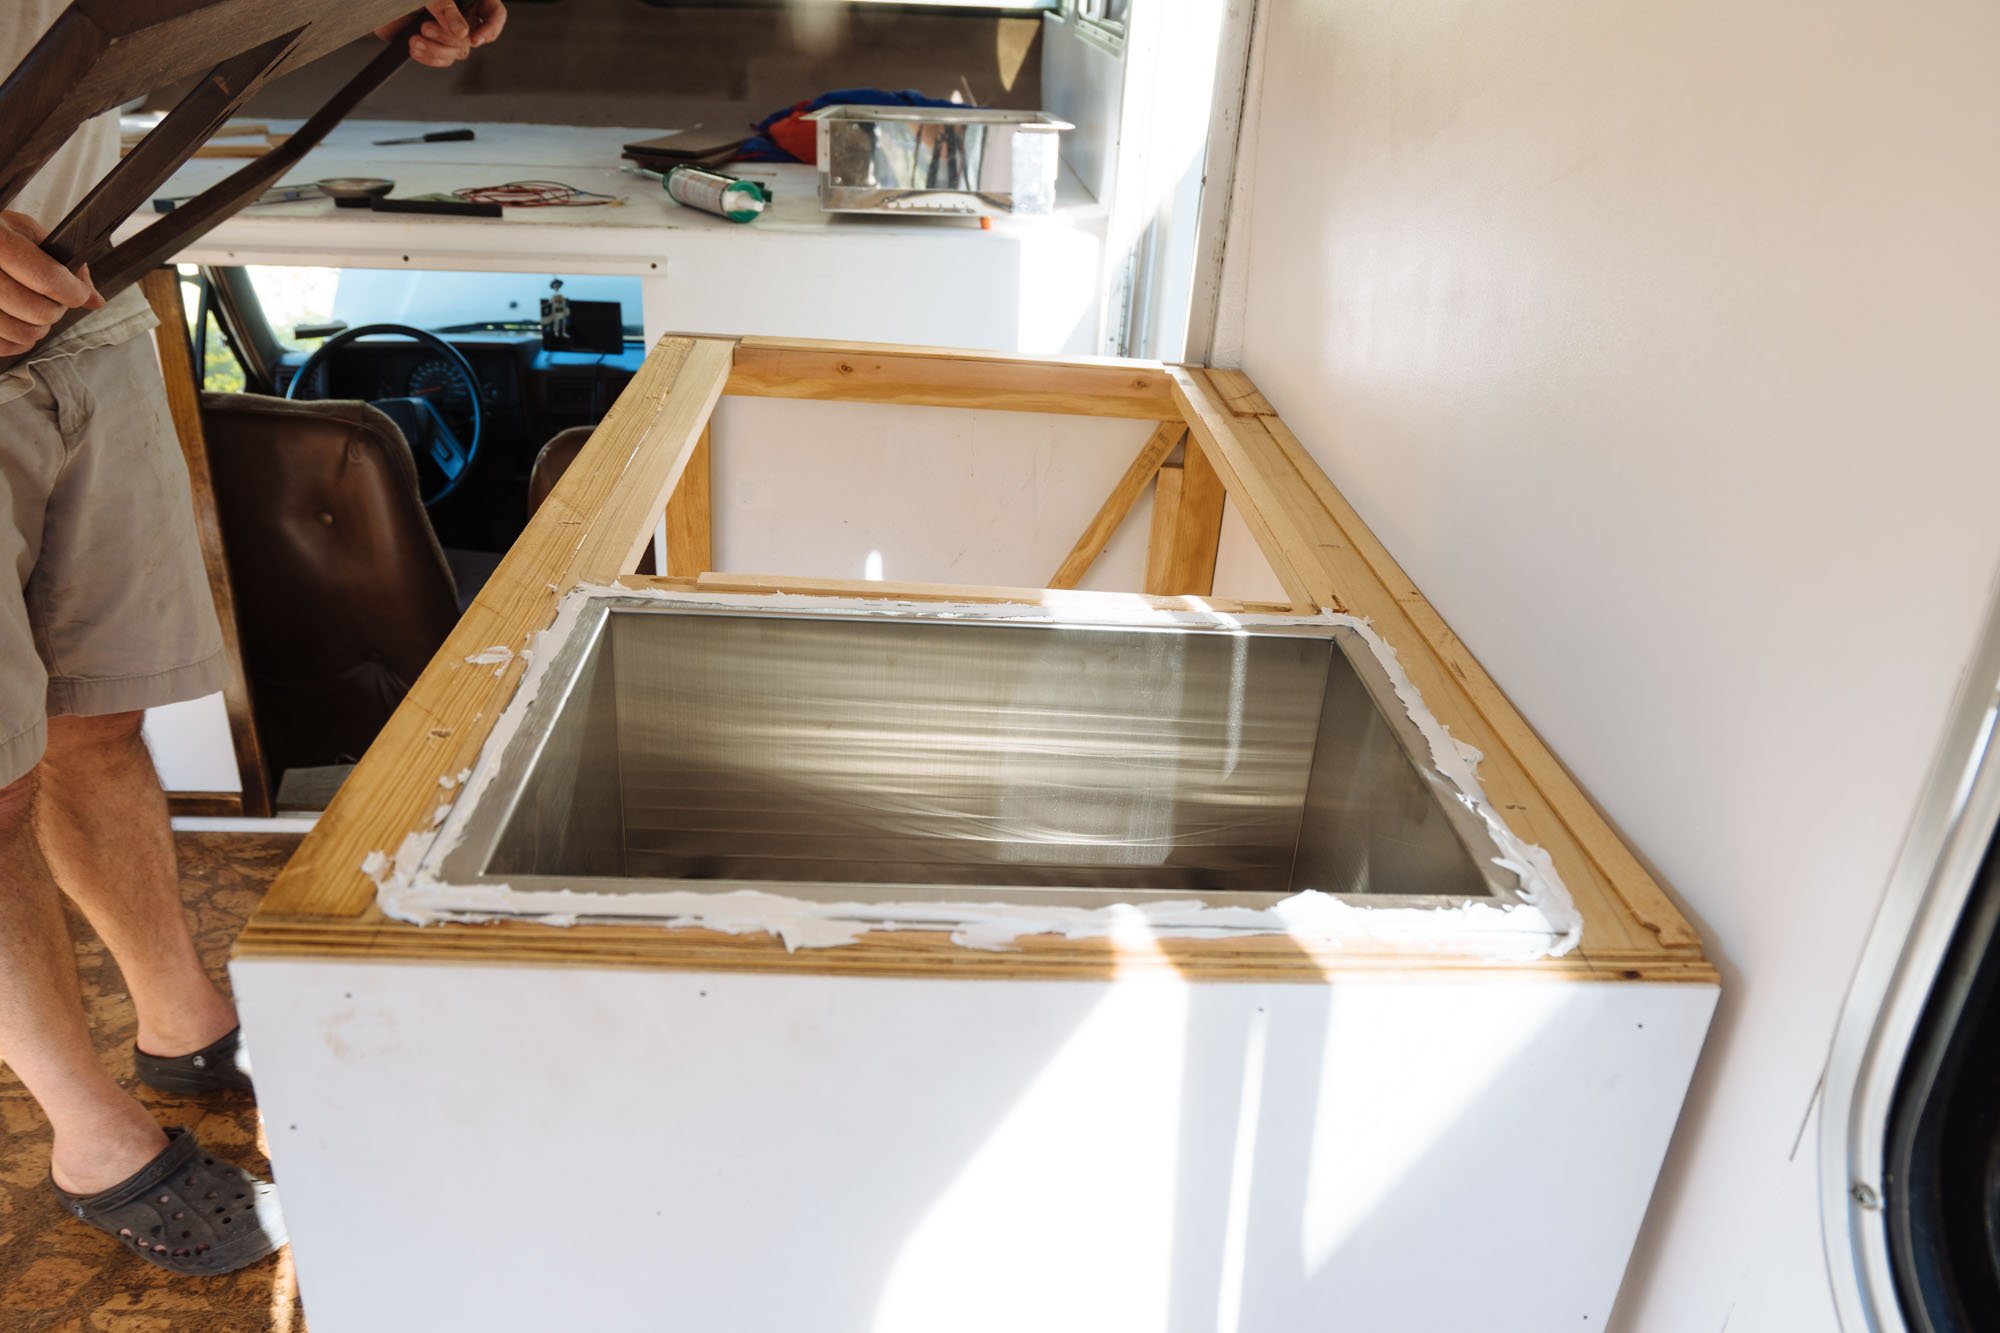
The assembly went as follows, sink caulking below the lip of our under-mounted sink. We built the cabinet in a way that the sink lip would sit squarely on the cross supports, giving it as much strength as possible.
Then we added the water tight caulking on the top of the sink lip. This caulking will prevent the water from running into the seam between the countertop and sink. I also added another layer of protection for the wood by heavily applying poly to the underside of the countertop to prevent any water damage, in the event that any water should find its way under there.
Once all of that was in place we brought in our countertop and screwed it into place from underneath. Then our cook top was installed by dropping it into the opening from the top and screwing it into place.
There are a few finishing touches that we need to do before we can deem the kitchen counter complete. We still need to install our faucet, add a thin layer of silicon around the sink/counter seam, and install the water lines. Otherwise, we're so damn close!

Illustration by MAK
On to the layout of the cabinet itself! We had a hard time coming up with measurements to work with to make these plans until the cabinet was installed. Being that we got the frame installed this past weekend, our available workable space was suddenly made crystal clear. So here is our final cabinet layout: (specific products linked in bold)
This is the home of our Dickinson Marine 2 burner cooktop
Faucet Made by Ambassador Marine
These are our two storage drawers, the top one will be for general food storage. It'll be pretty deep so we have room for dry goods and non refrigerated food items. The bottom drawer is where we plan on storing our cast iron skillet, pot, kettle, and pour over coffee gear.
This is going to be our pull out trash can and recycle bin. They are pretty small, but somehow they're still larger then what we had in Stanley.
So that's the general idea of what we've planned for our kitchen. All drawers will be on full travel sliders and will have the same button latches that we used on the top cabinet doors. They will ensure that the drawers stay closed when we're boppin' down the road.

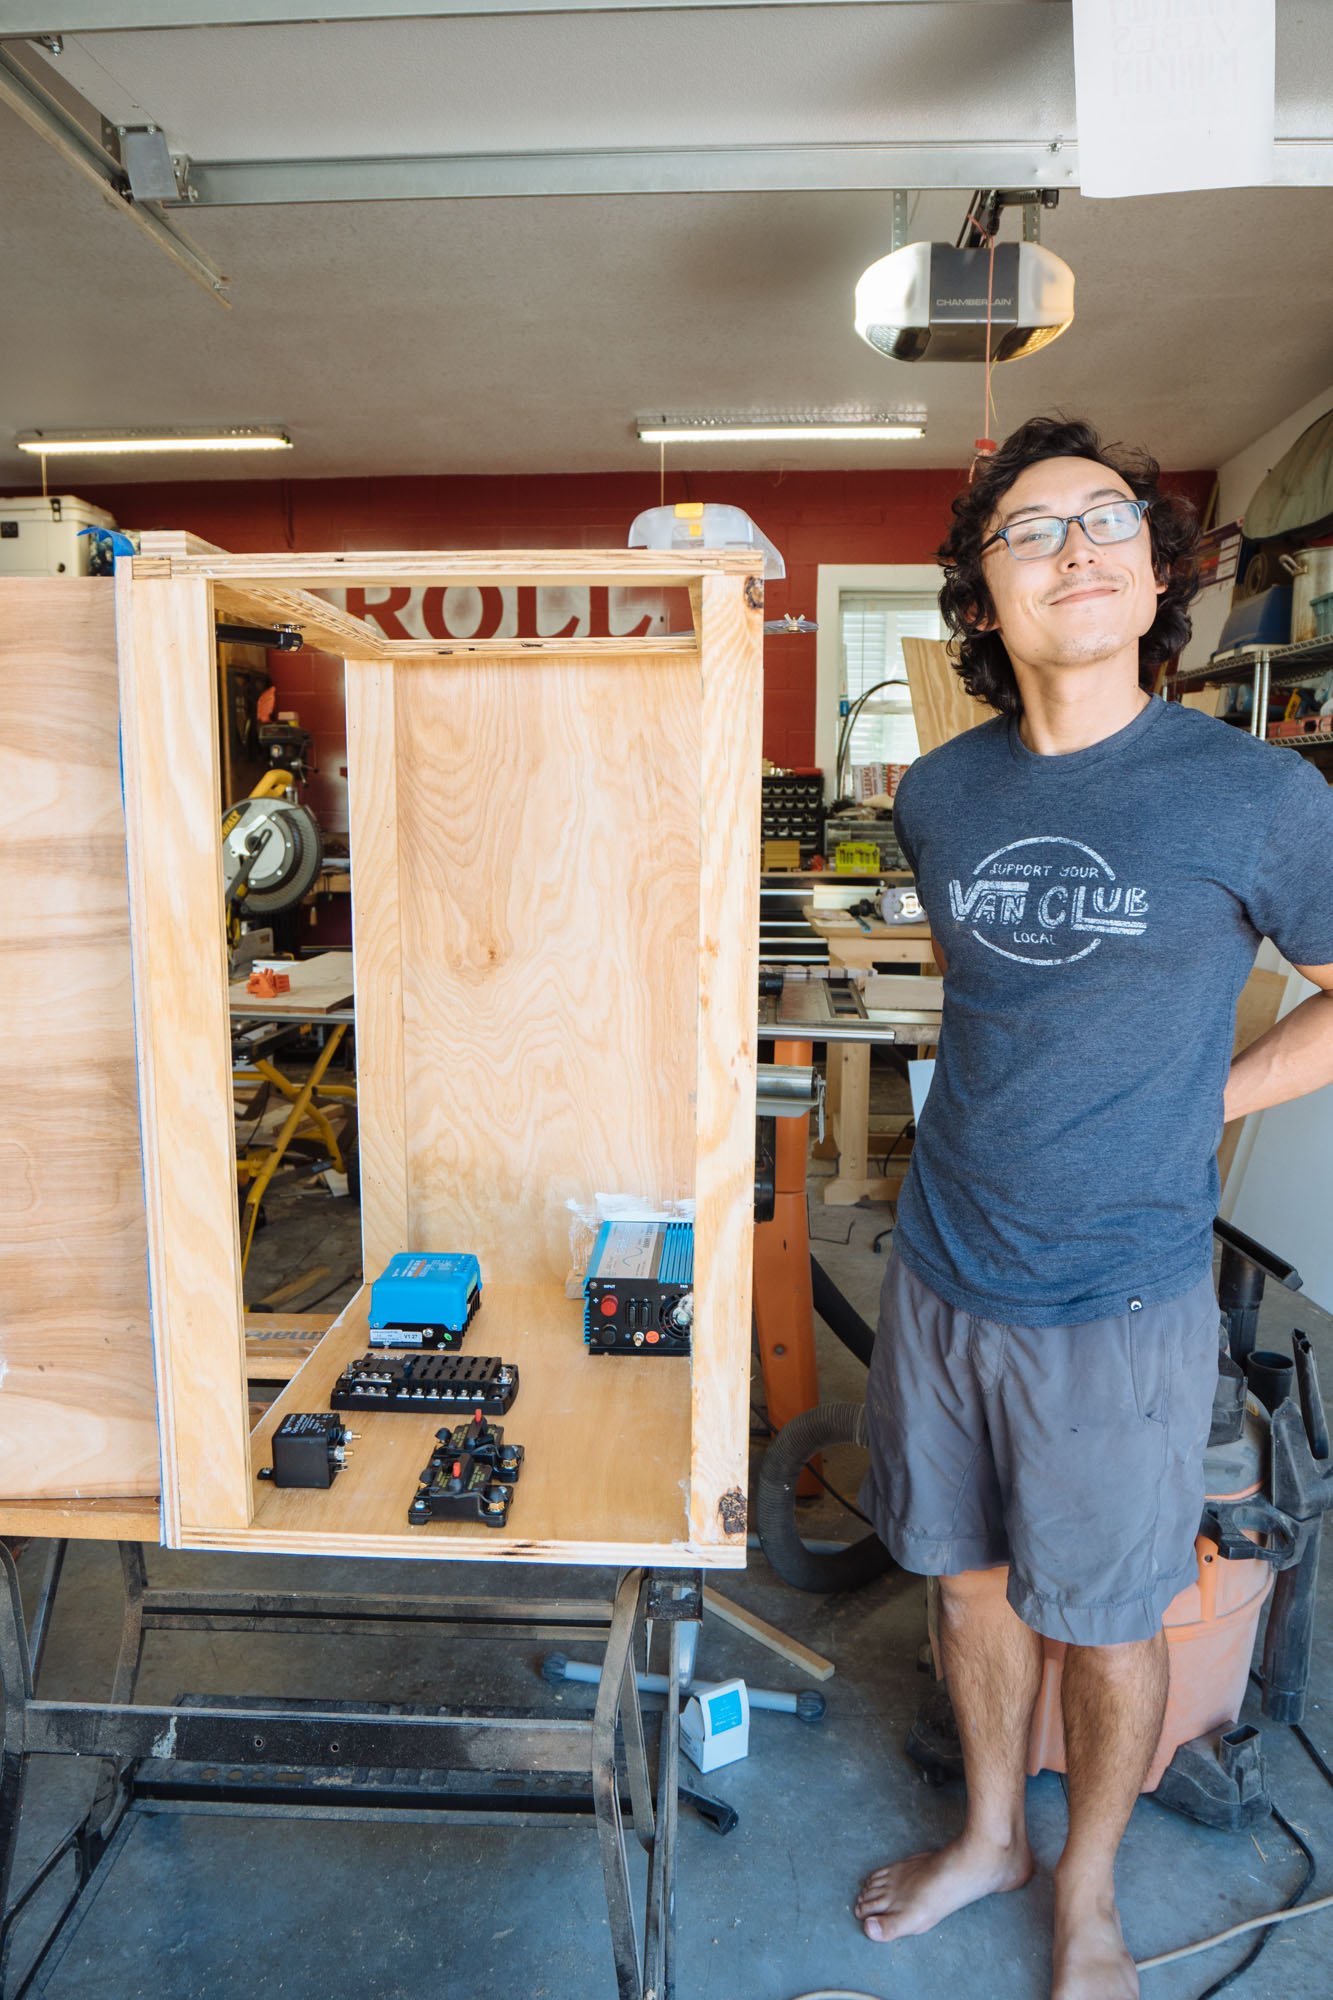
Now, lets talk about some electrical work. Owen seems like he was born ready!
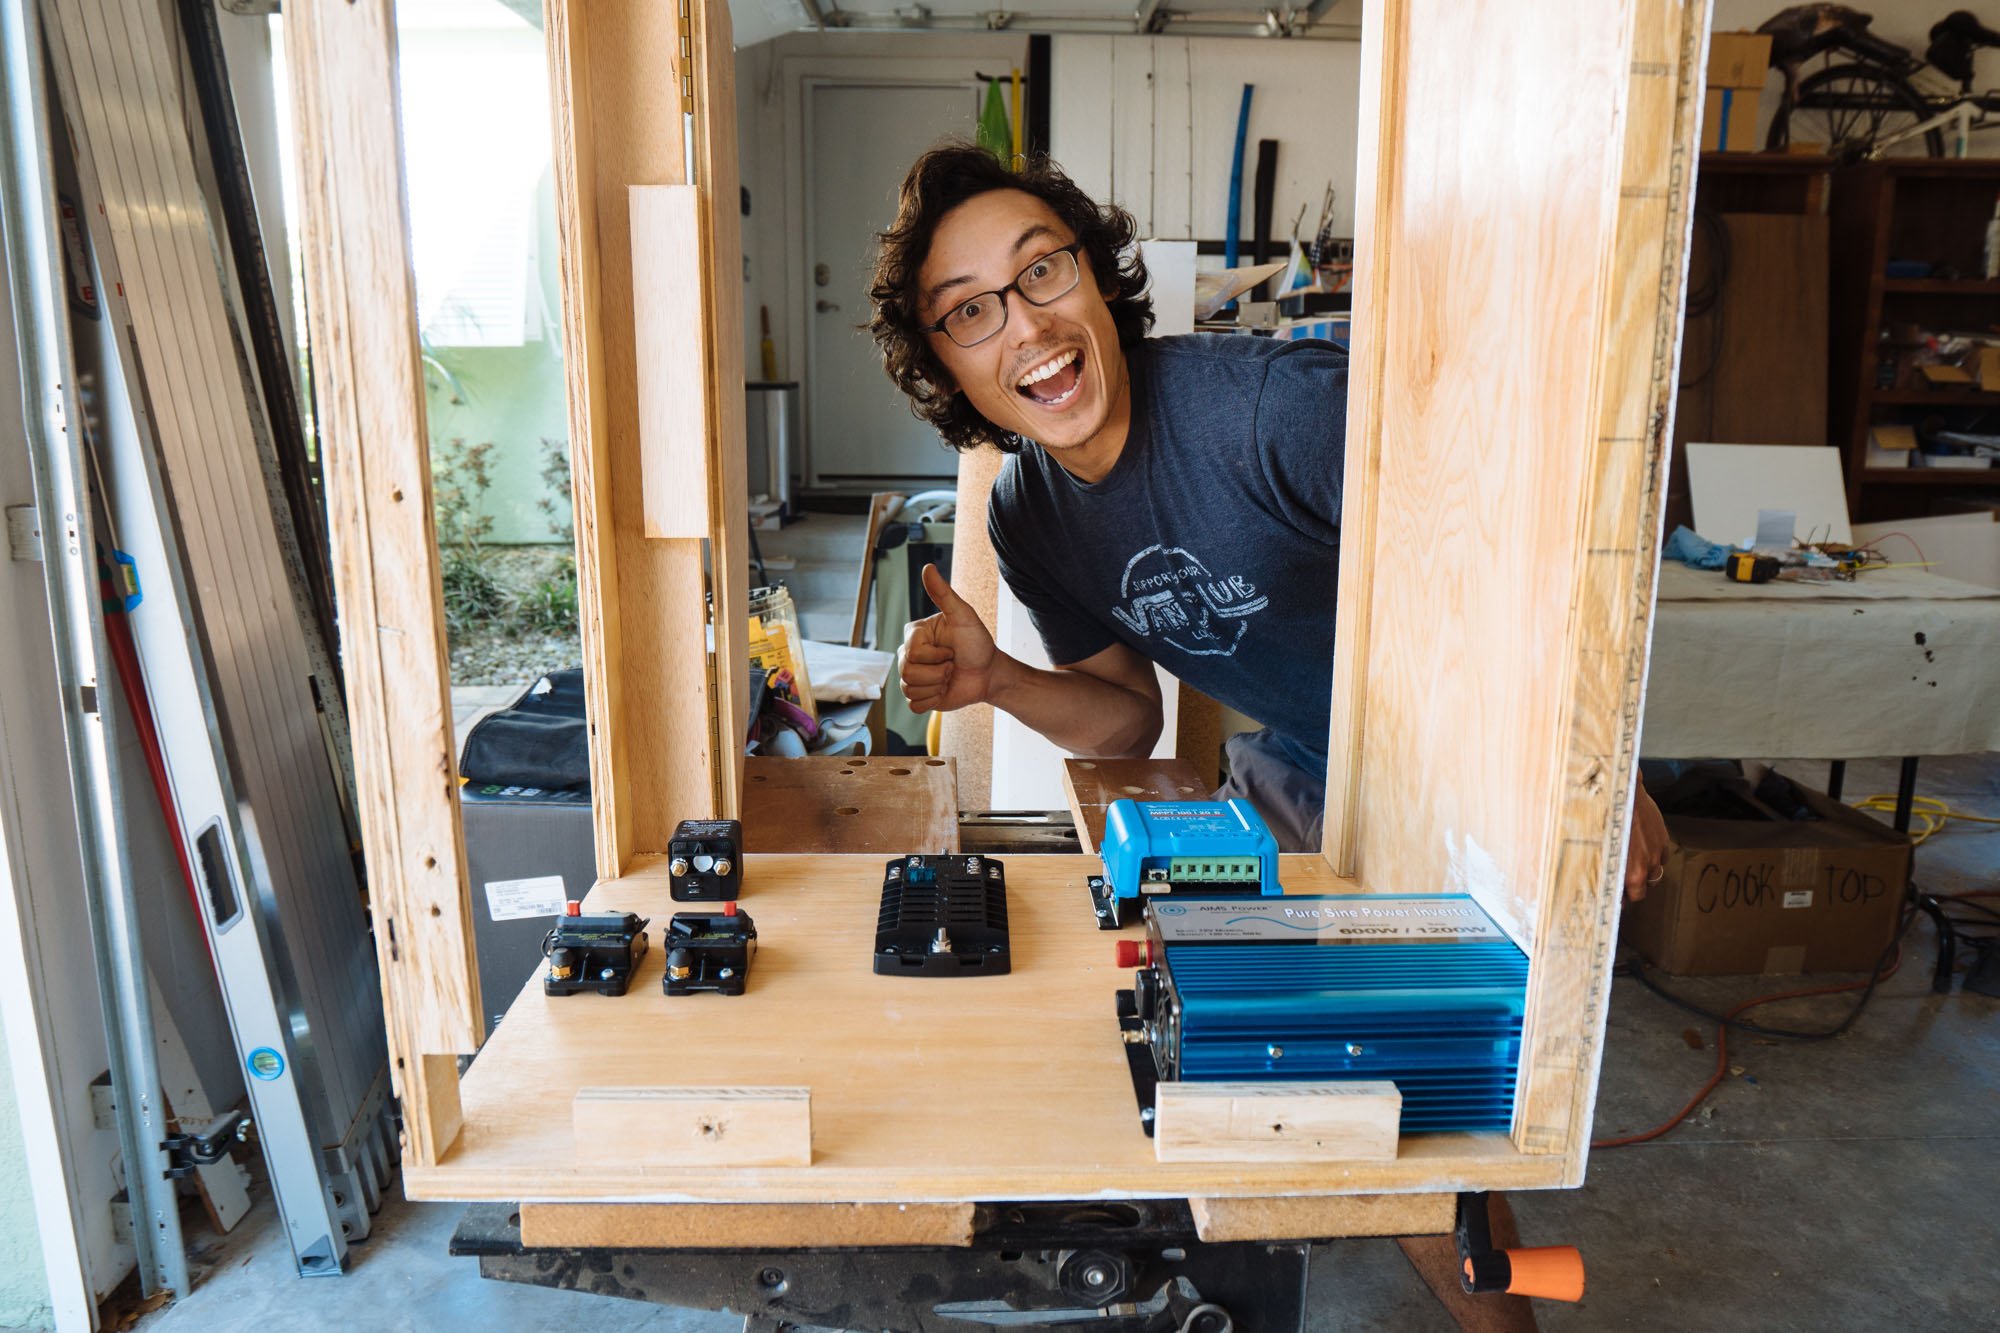
Before we dive in, I feel the need to sing Owen's praises. Before we went on the road, Owen knew nothing about electrical systems, how to work on them, and obviously not how to build an entire power system for a home. He's really come to love the problem solving and planning that is required to build out a system like this. It has been incredible watching him learn, problem solve, plan, organize, design, and be creative with the power management system for Amelia. I'm so proud of him, and I want everyone to know it. OK. Sorry. We can get back to talking about what is happening in these pictures.
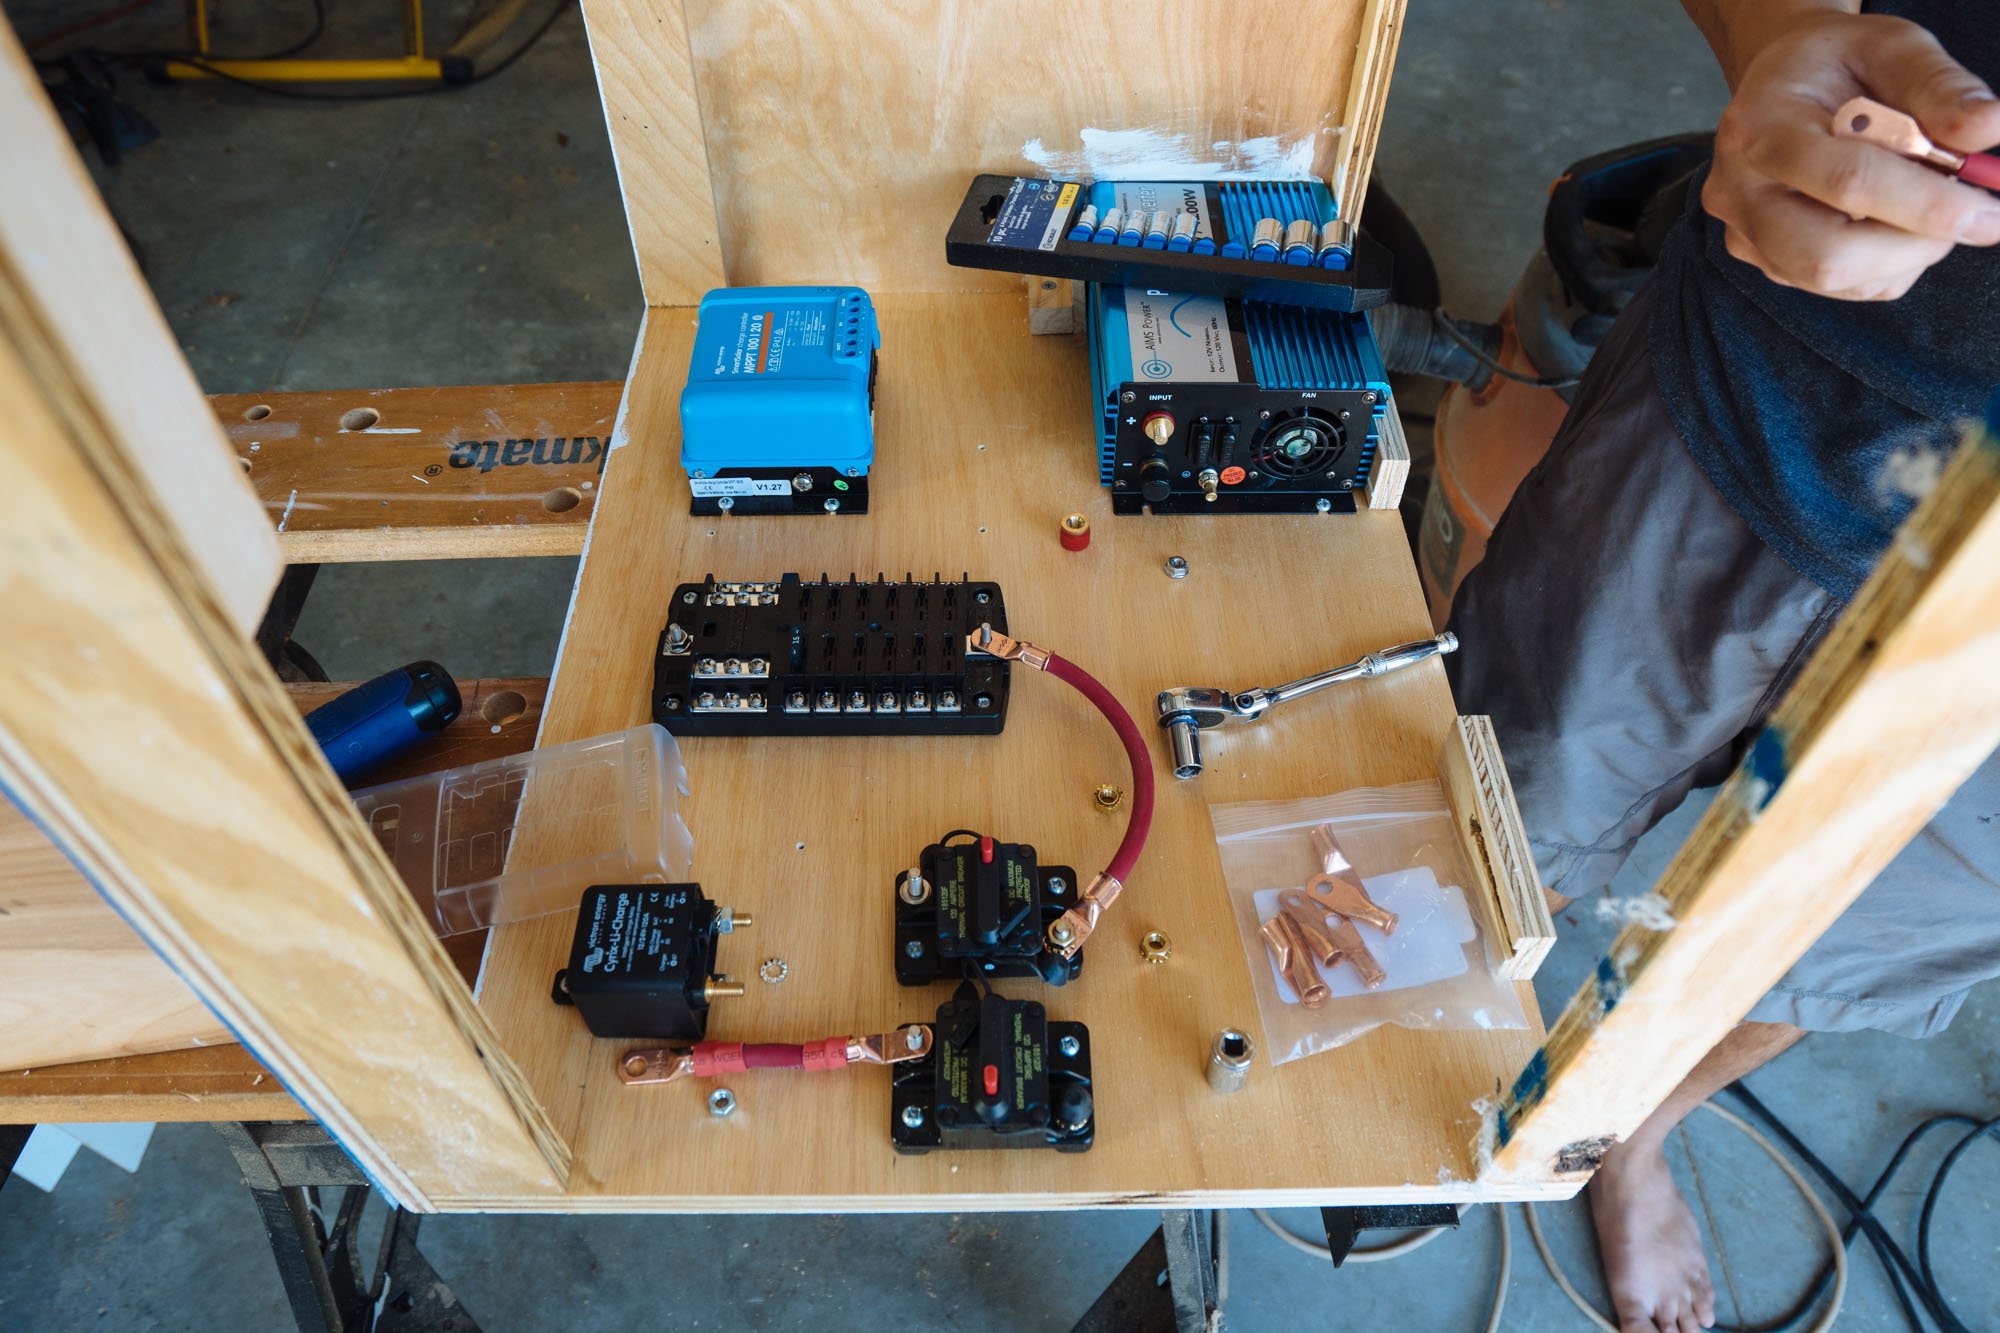
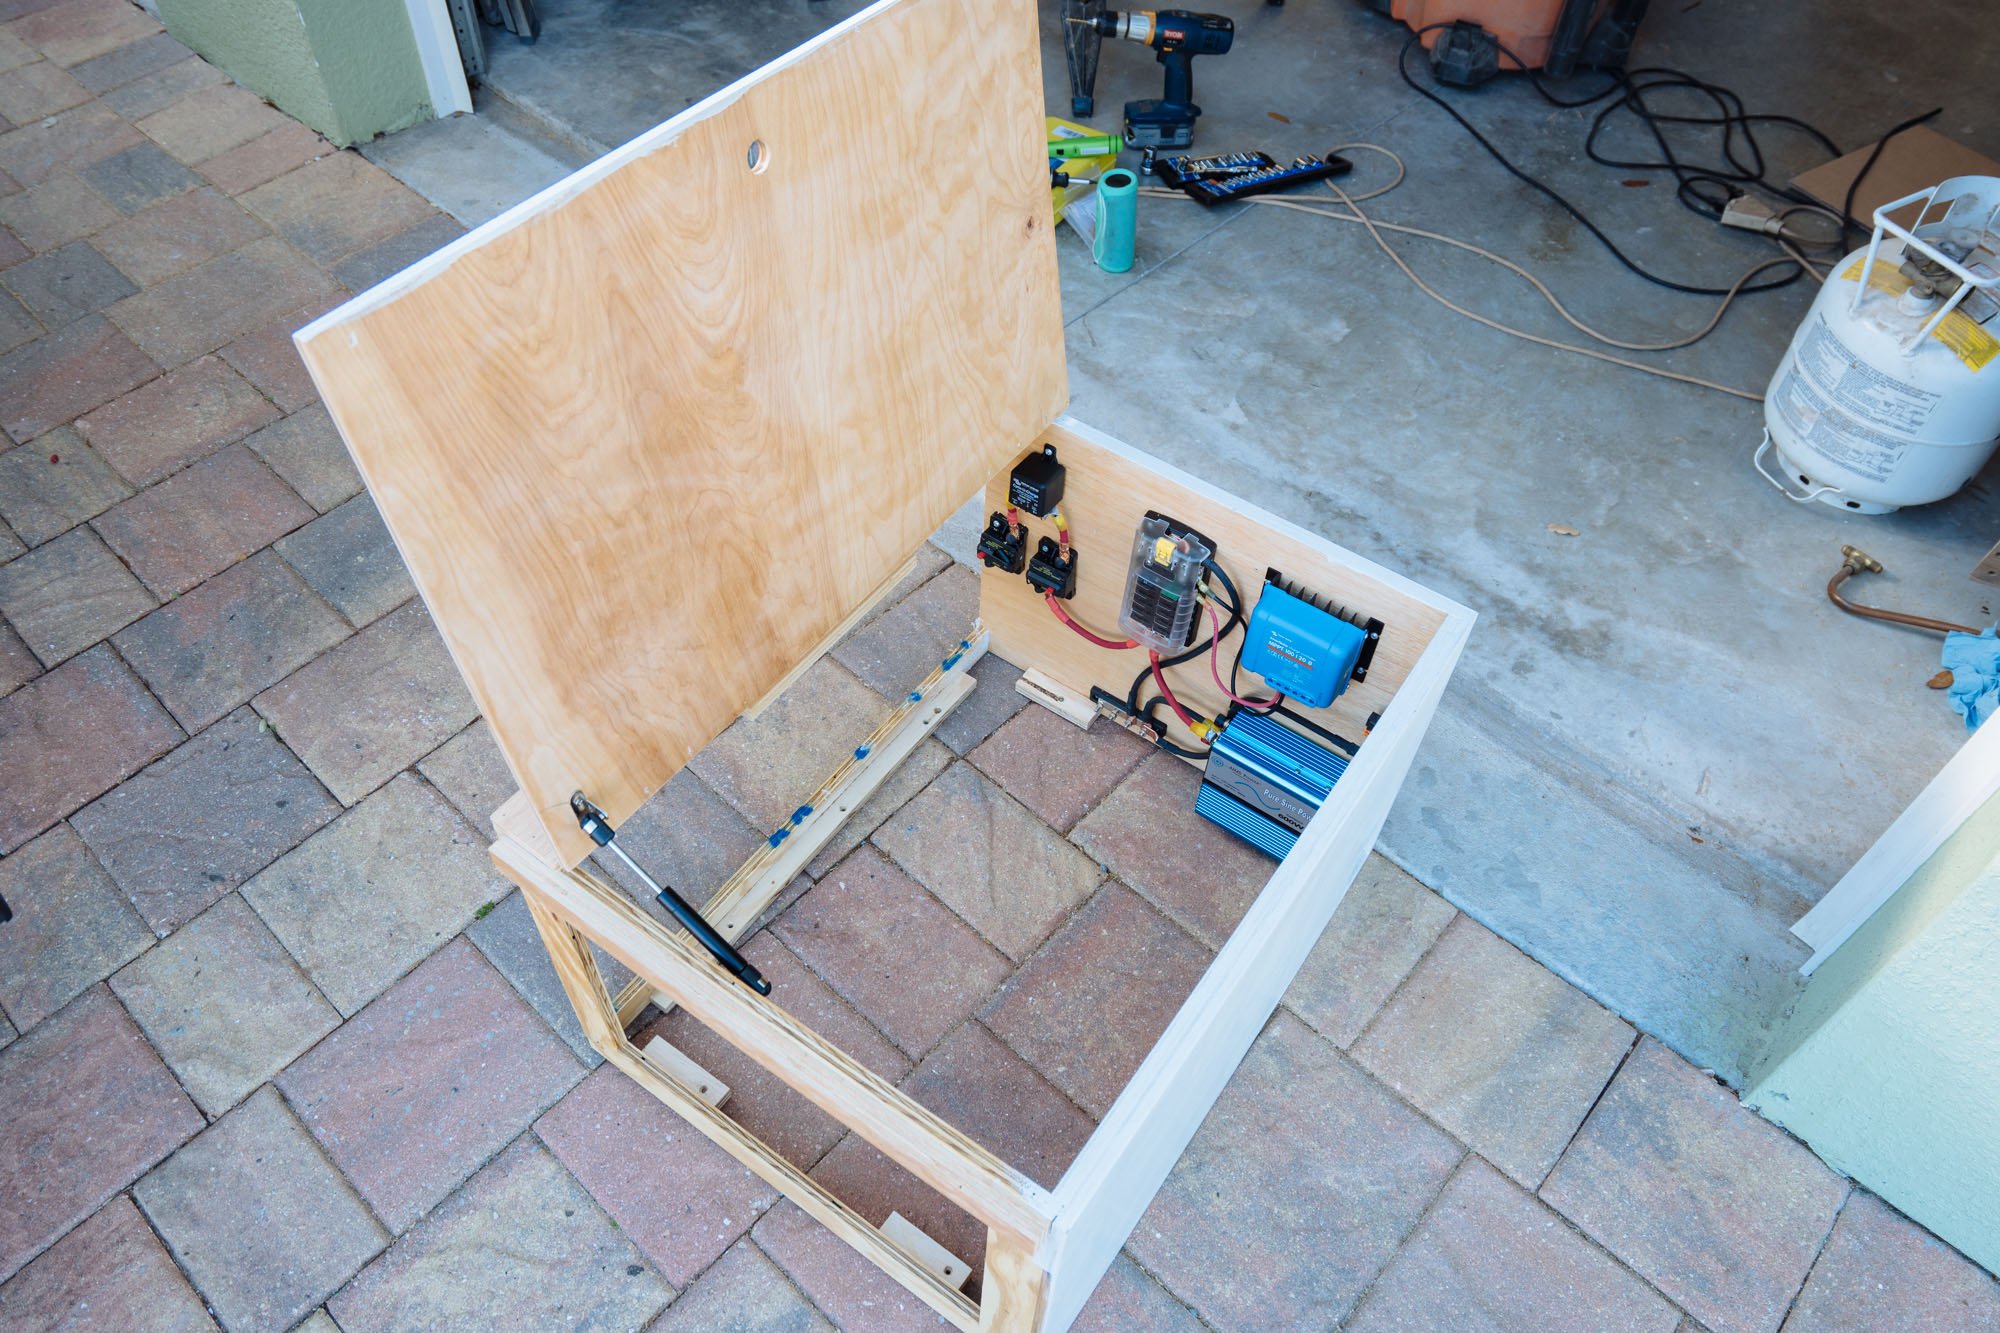
The home of our electrical system is under the bench seat on the driver side of Amelia. Owen removed the bench so he could more easily install and organize all of the components of the power system. When the bench seat gets installed for good everything is still accessible to work on if need be in the future.
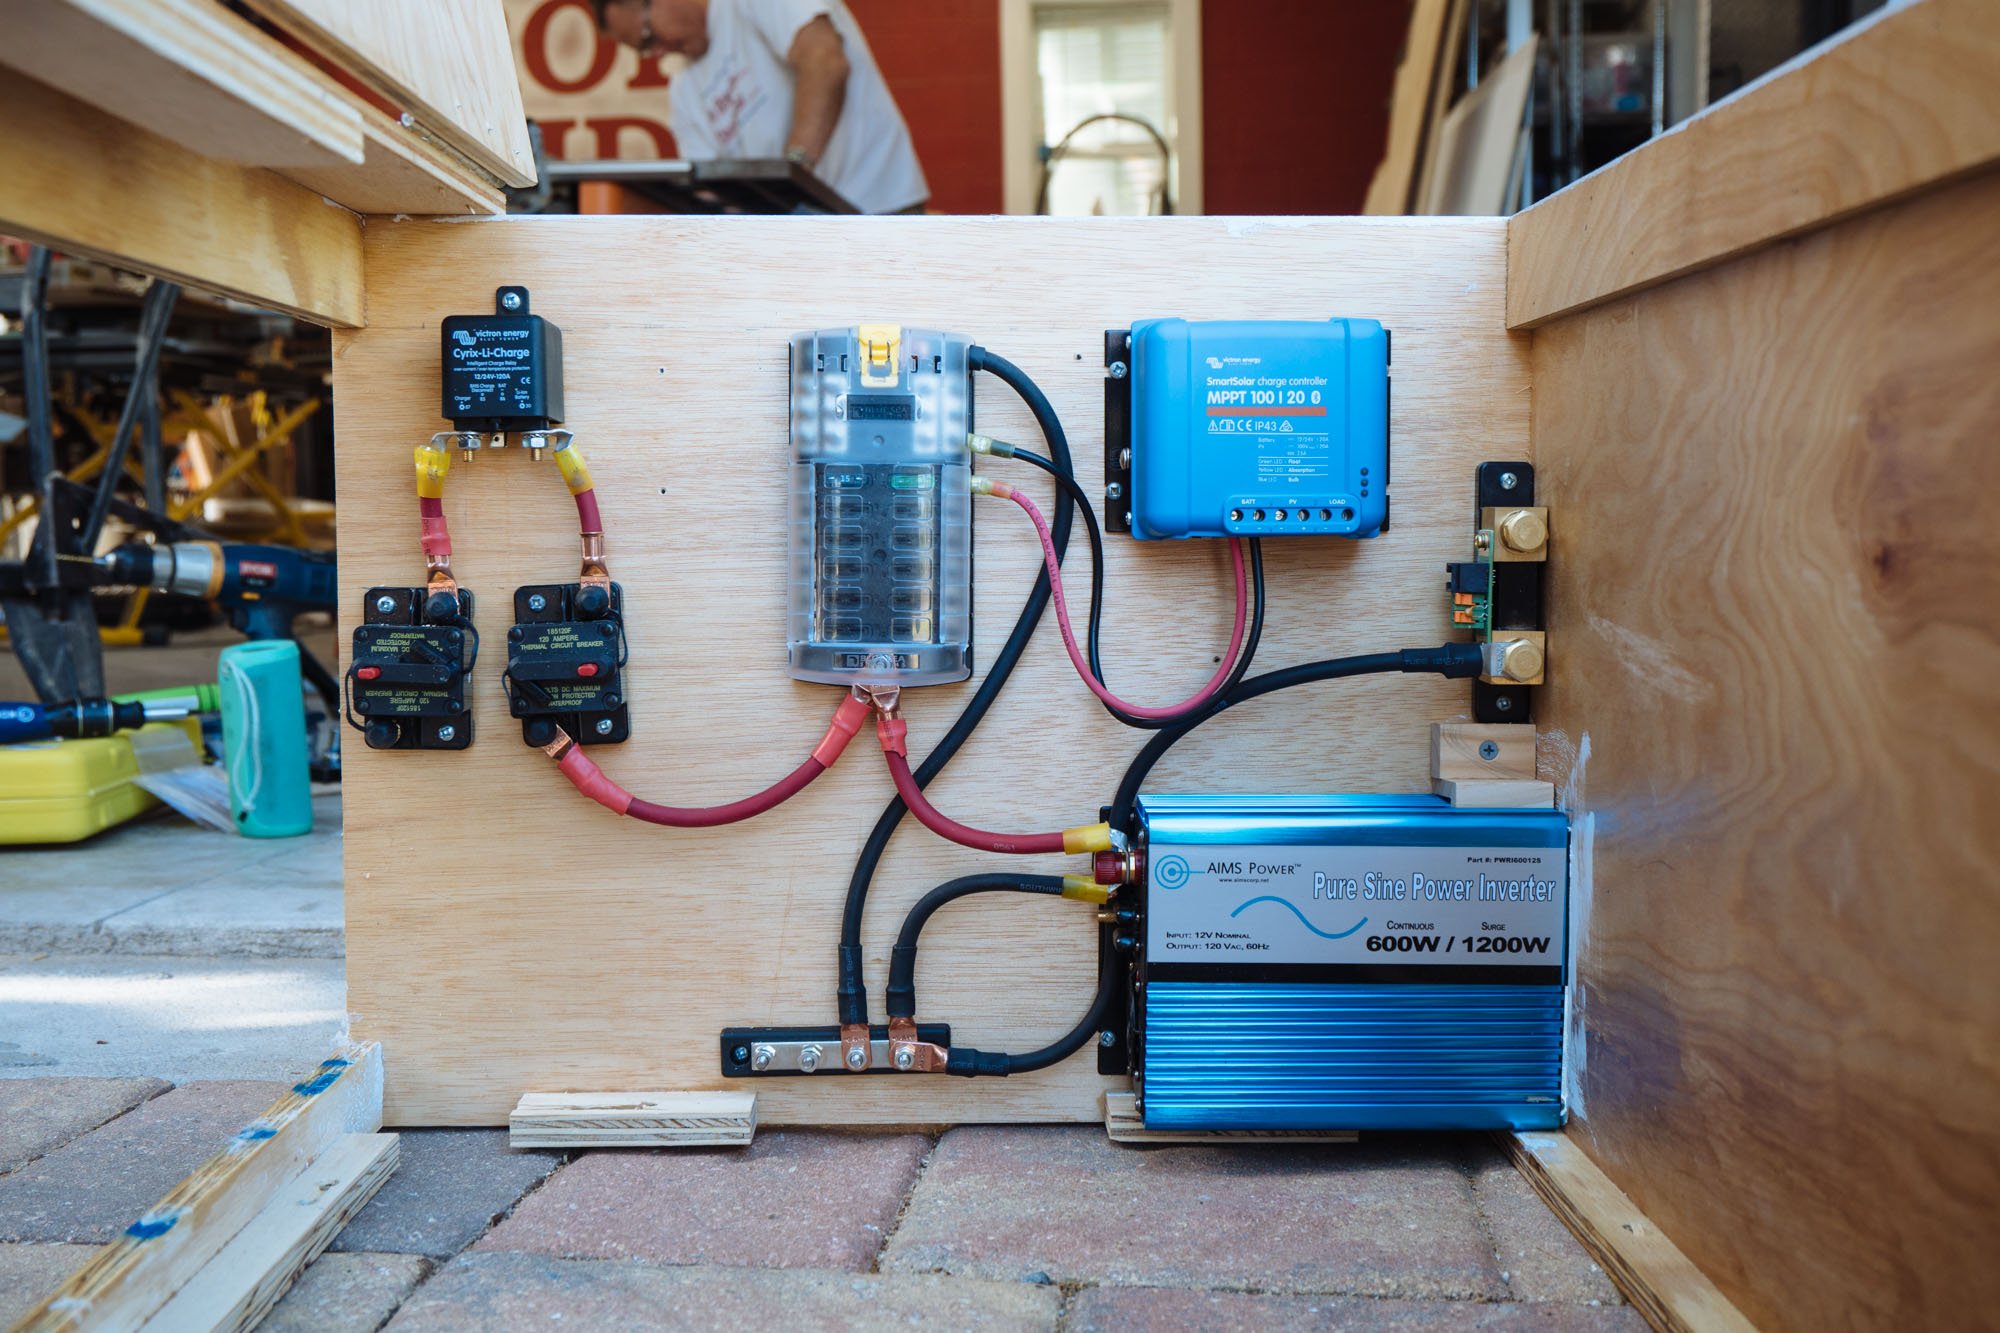
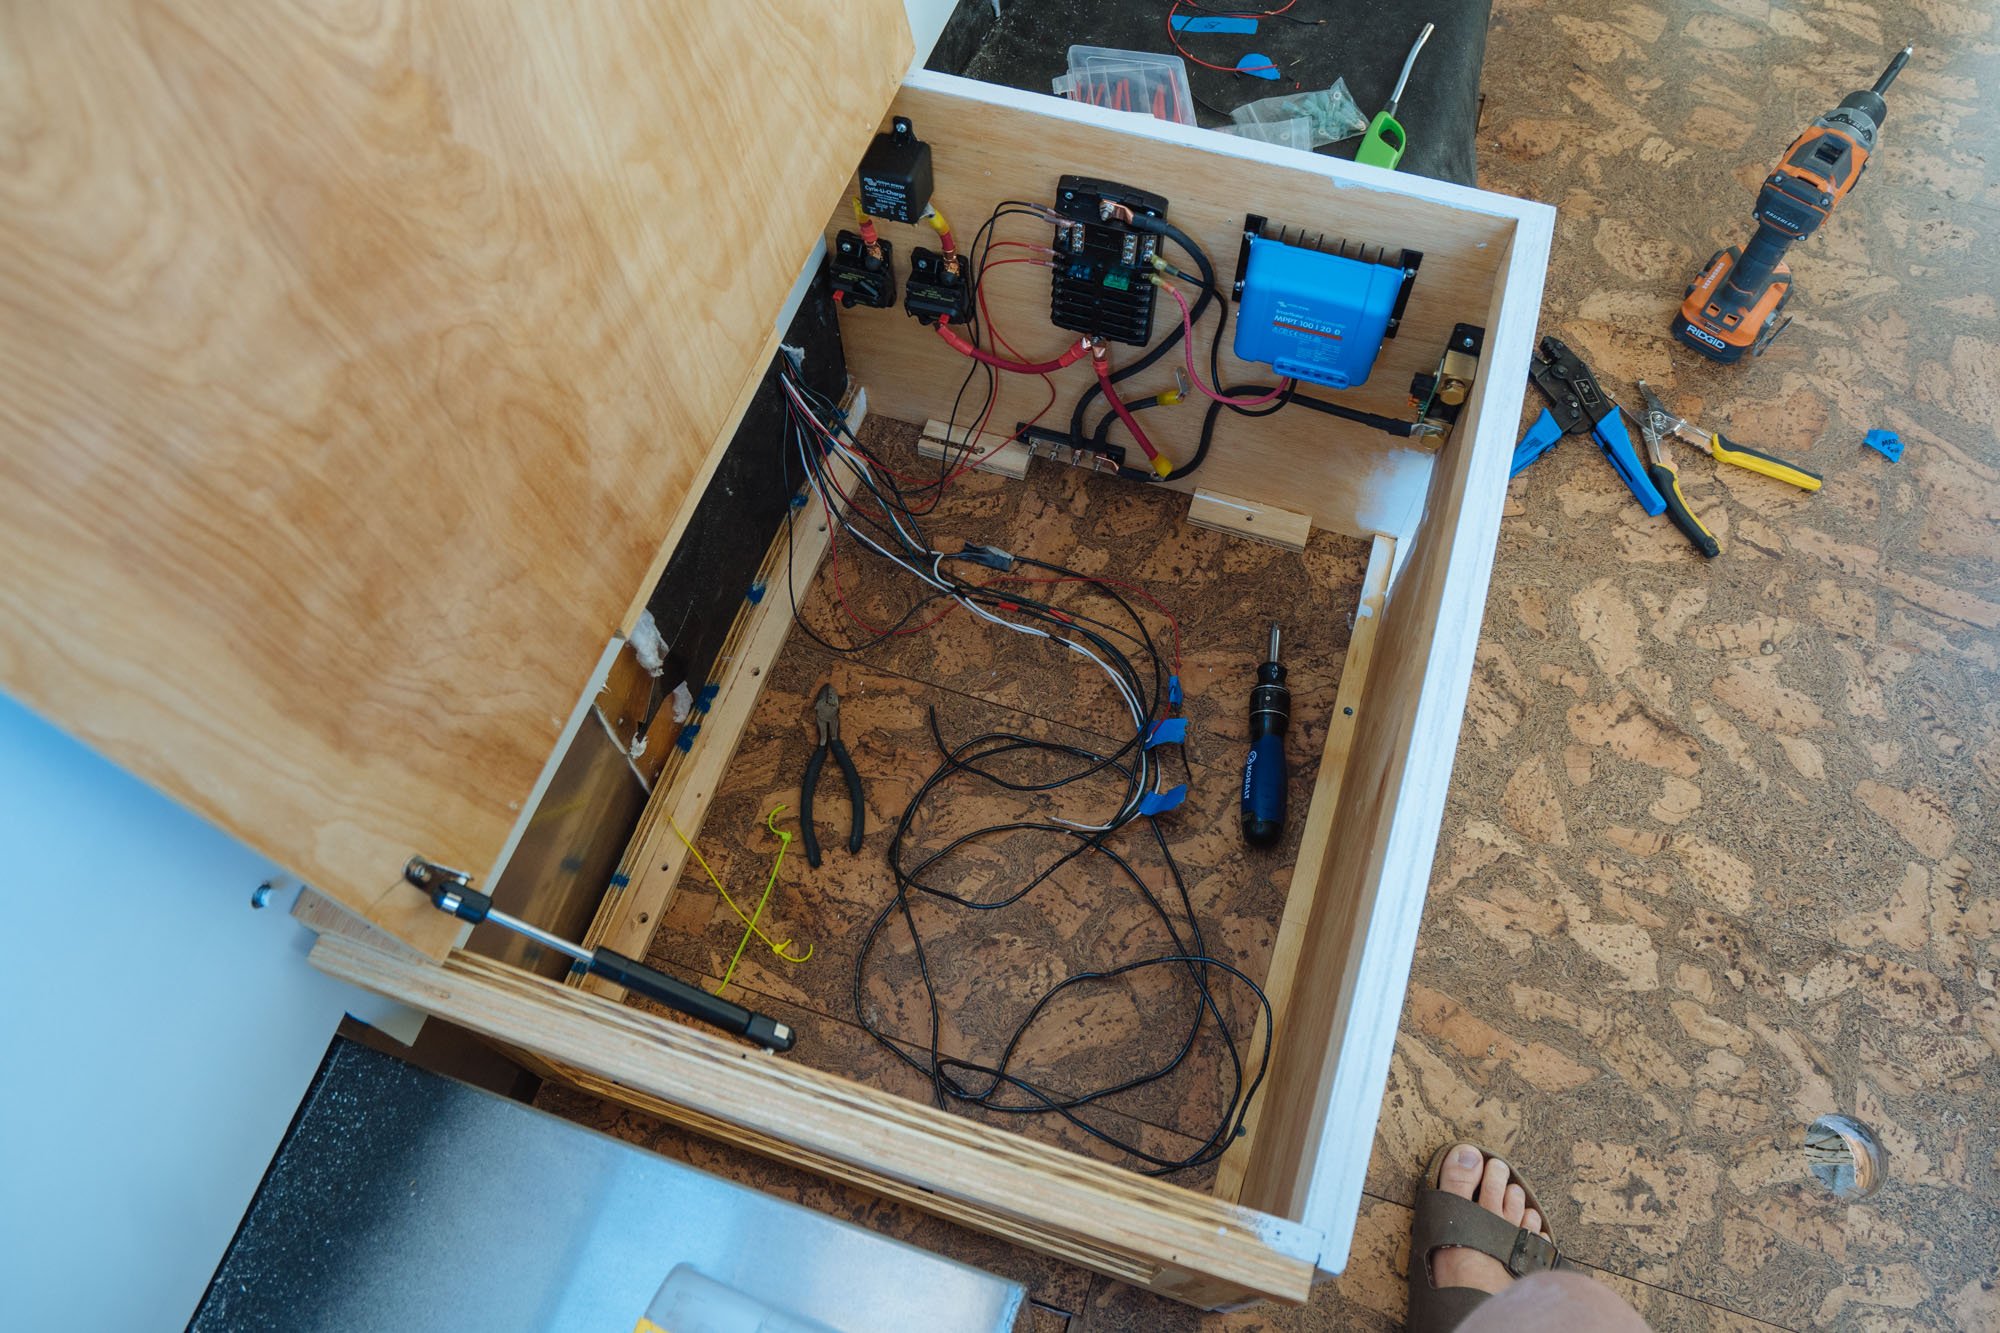
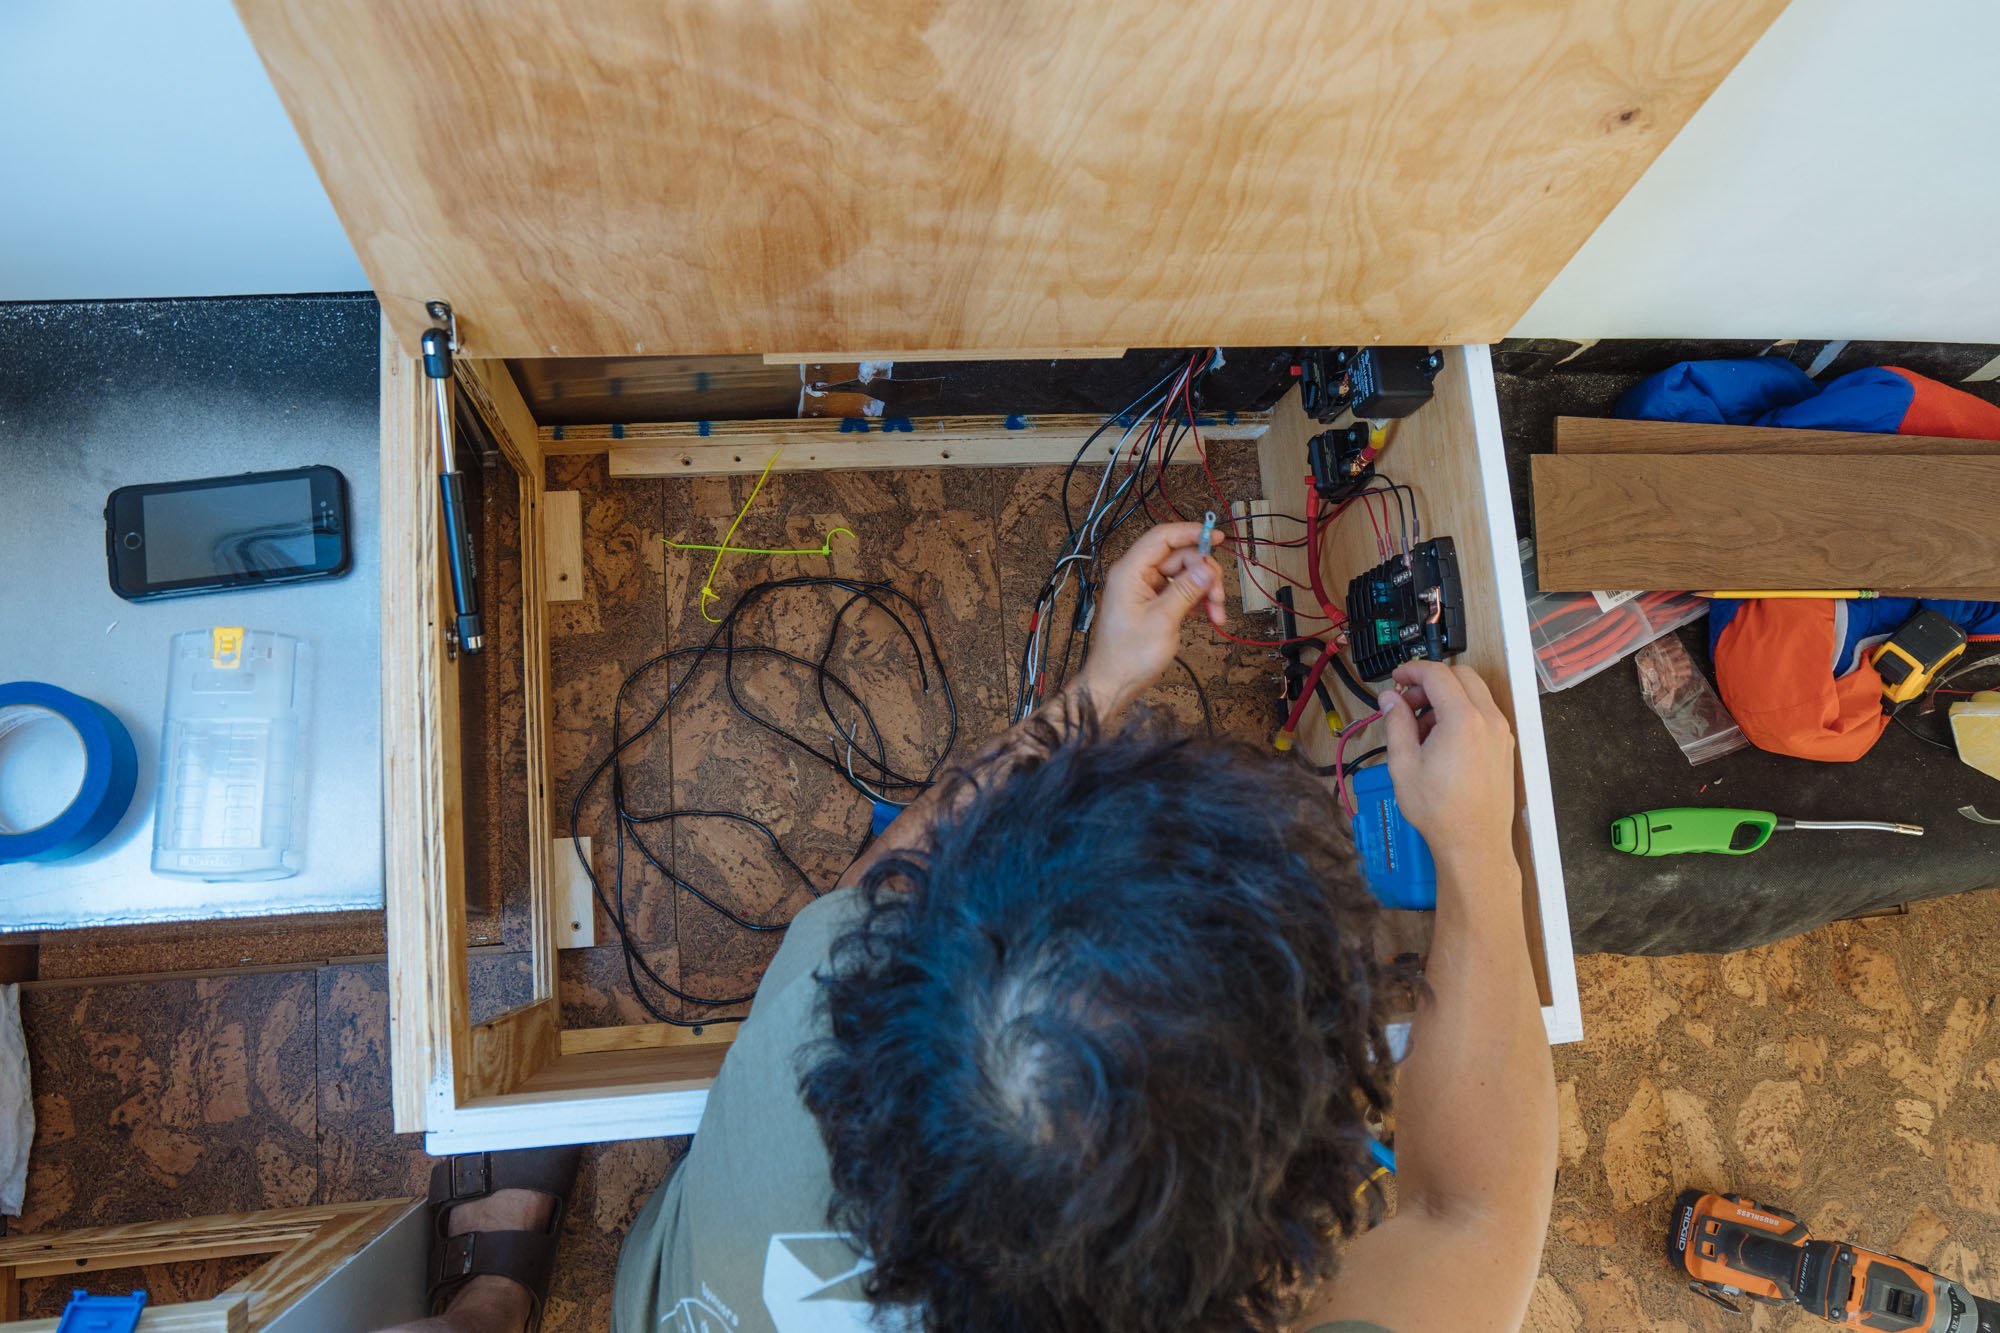
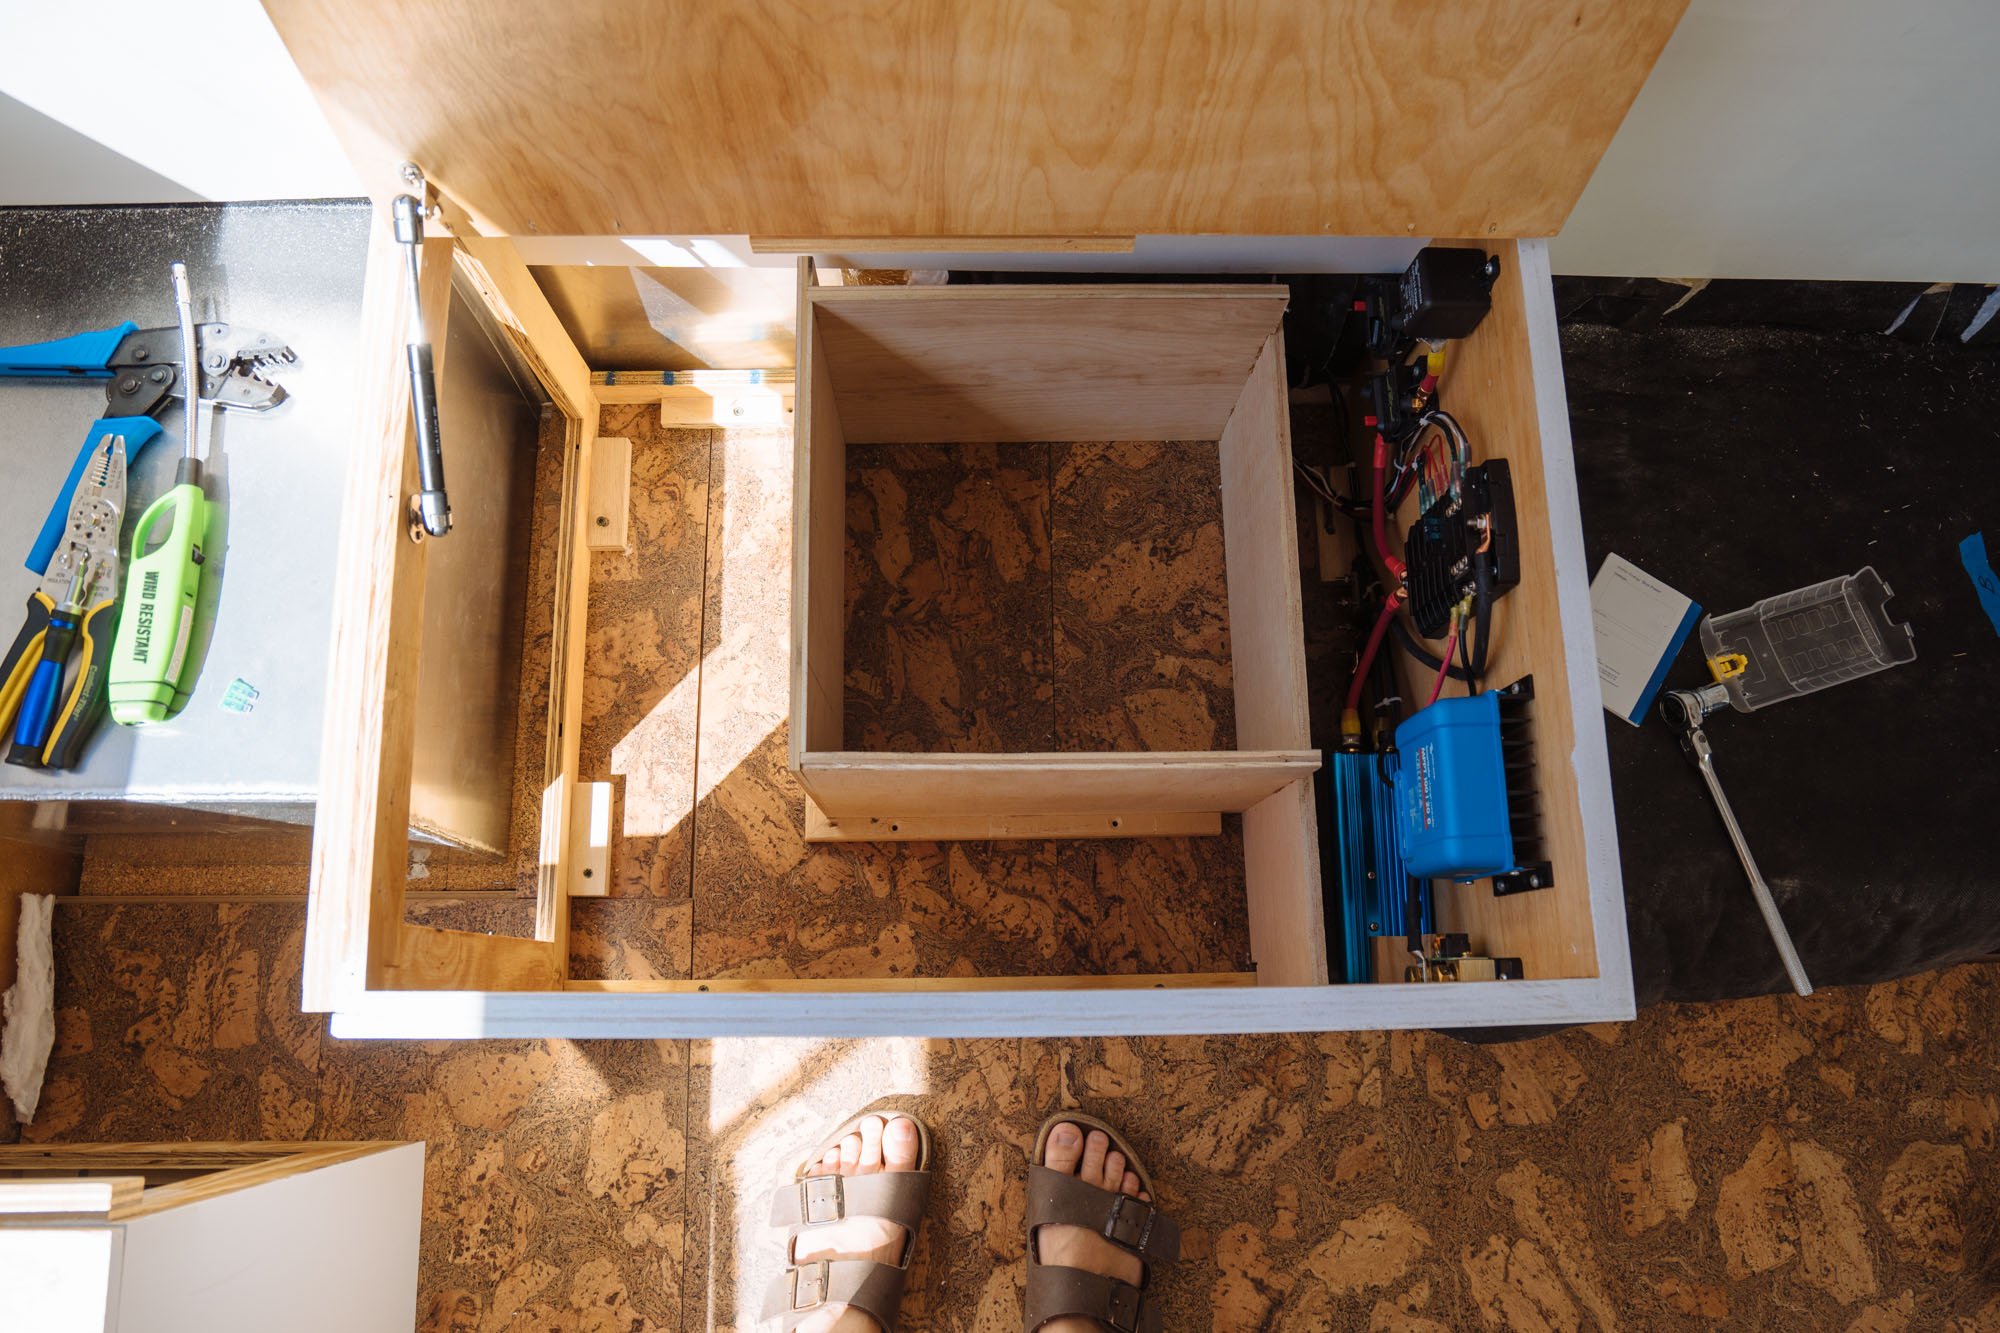
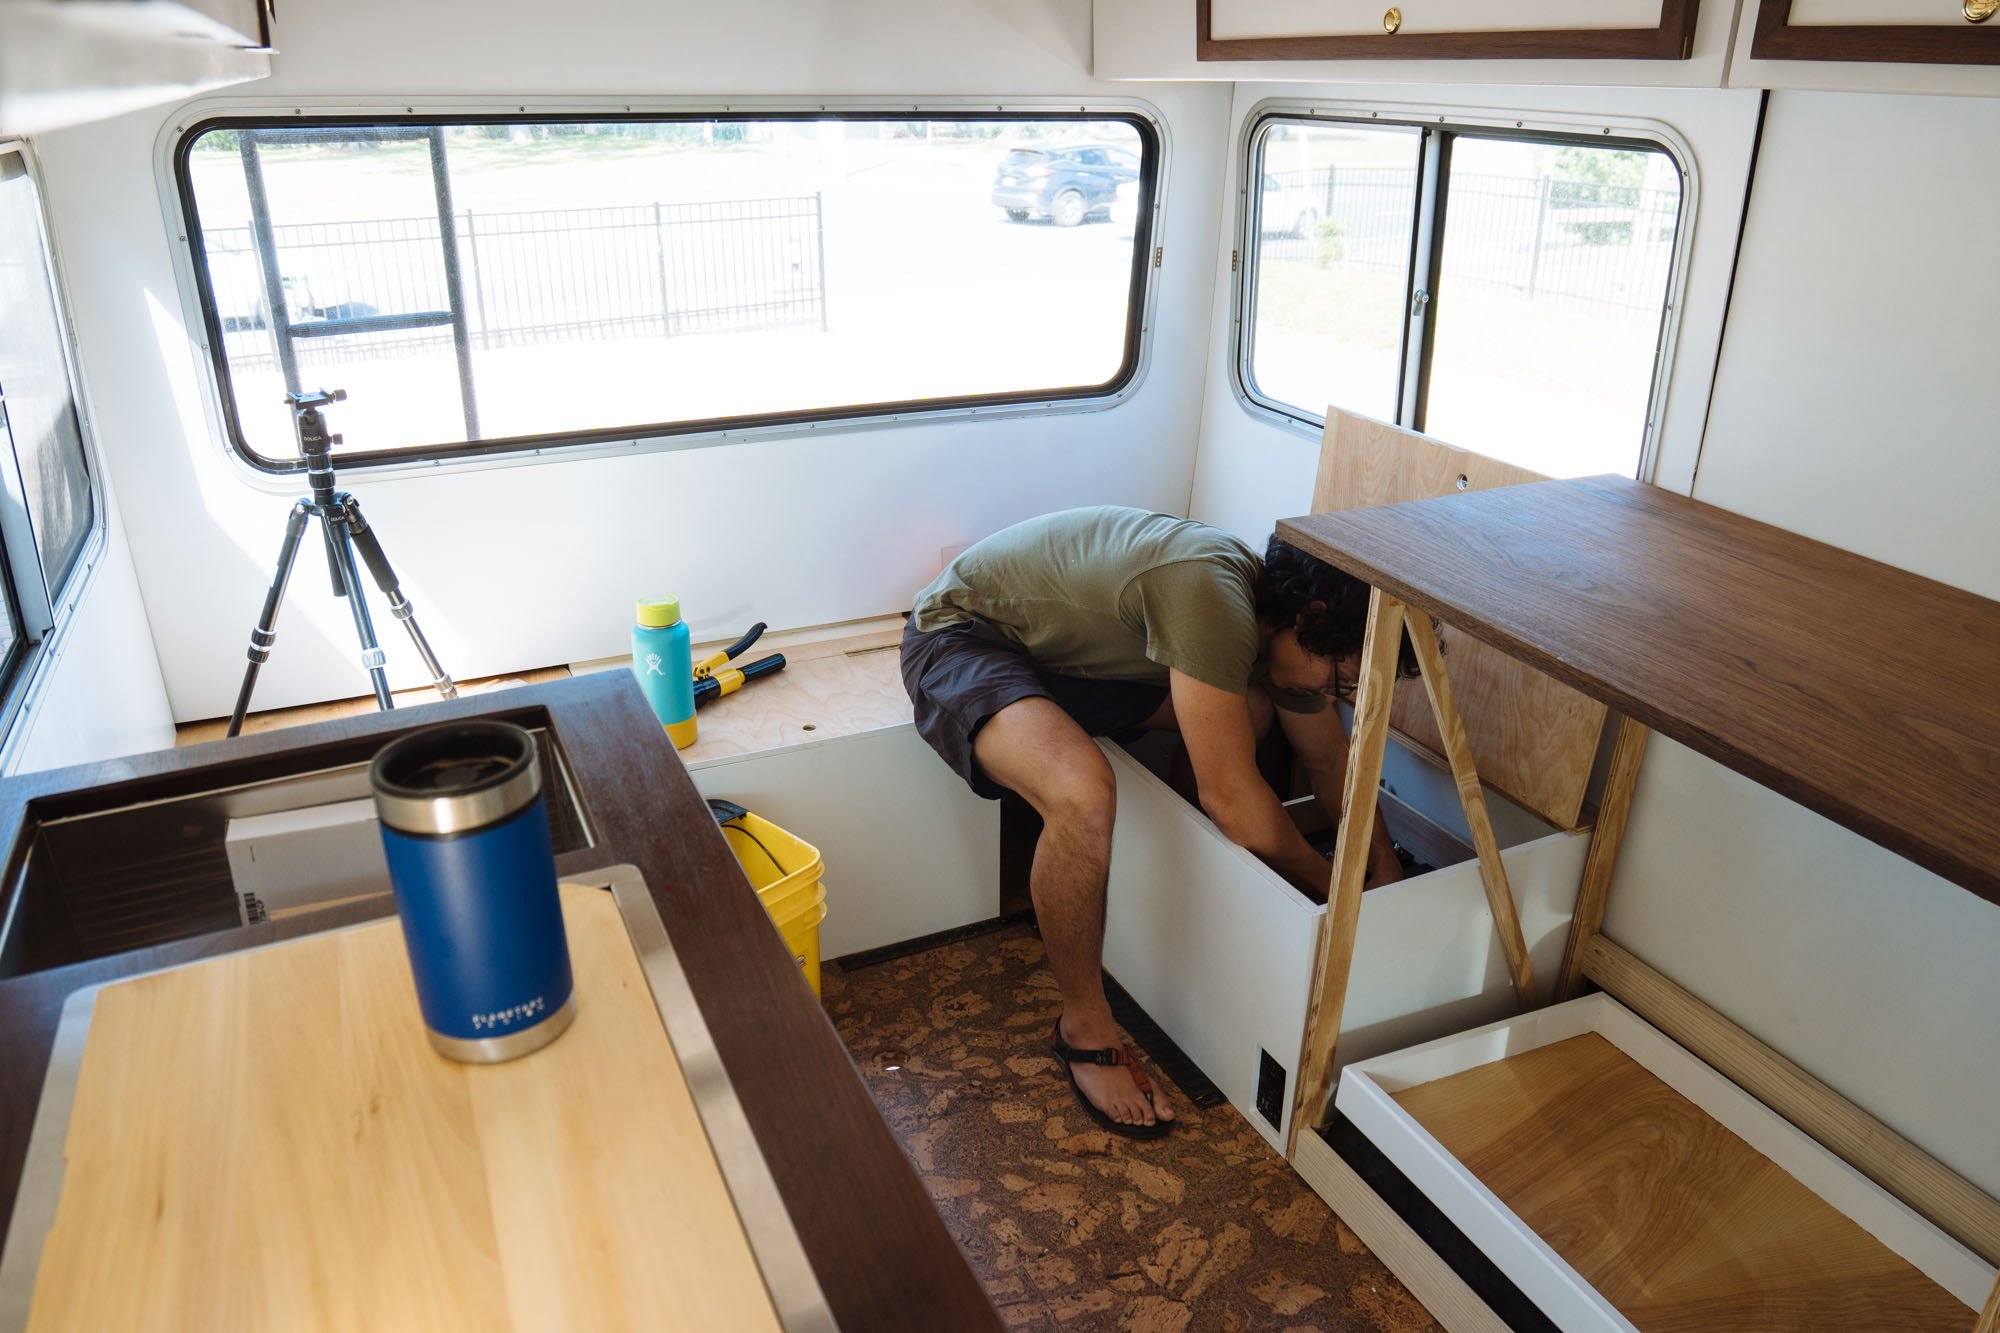
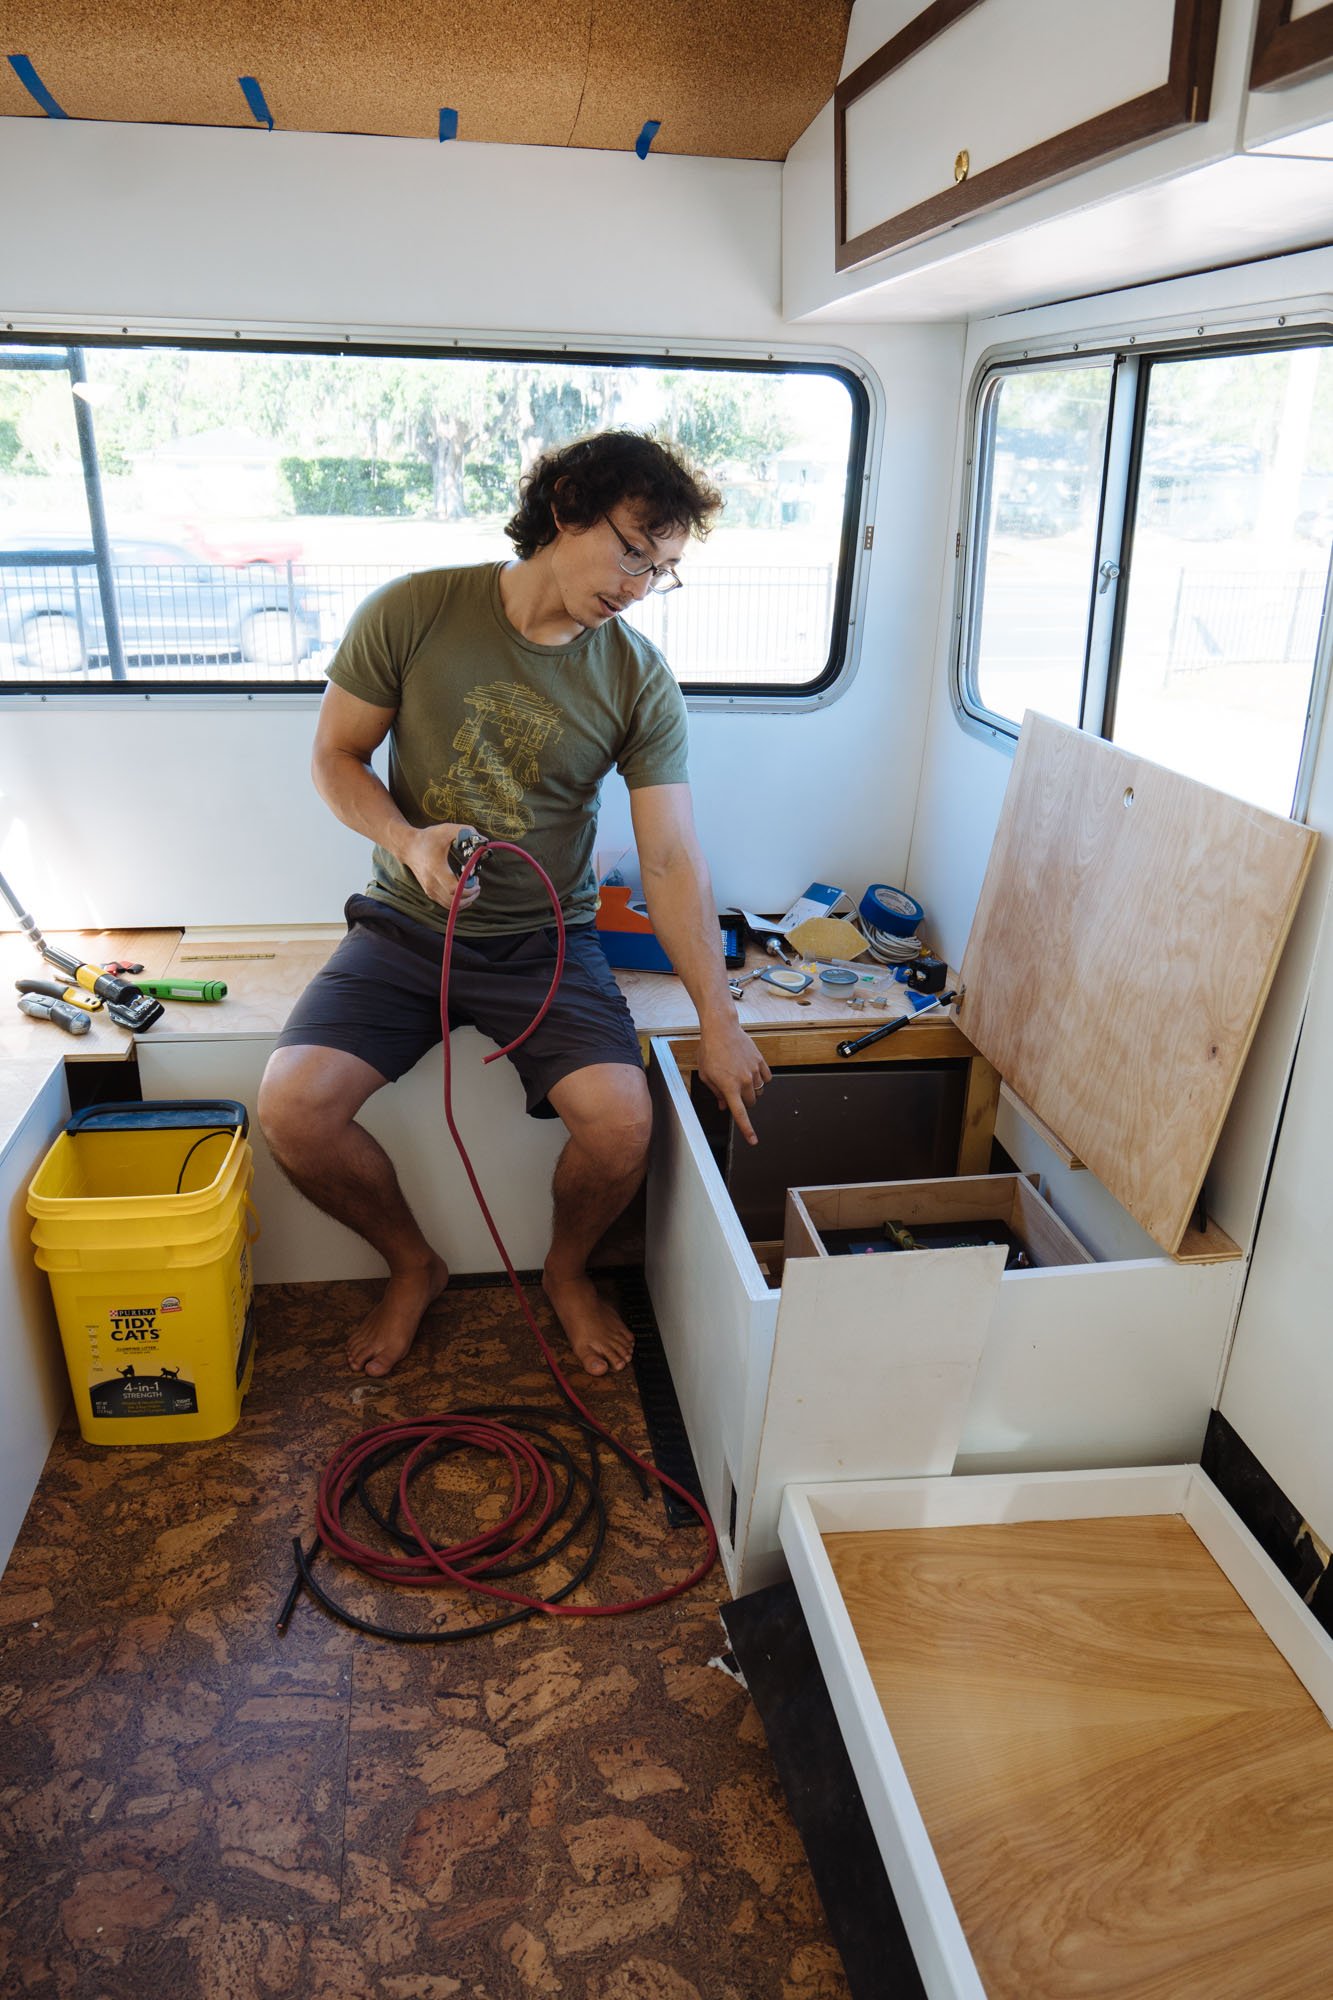
This is not my area of expertise...at all. Owen can much better assist you, so he'll be writing a very detailed and in-depth look into our power system, why it's organized the way that it is, and what all of the products we're using are in the next week or so. For now, I'm just showing you all of these awesome pictures of Owen hard at work. We just felt the only way to do the electrical system justice is to dedicate an entire post to it. It's also something that we get the most questions about. Keep your eyes peeled for it if you are interested in learning more about our solar/power system.
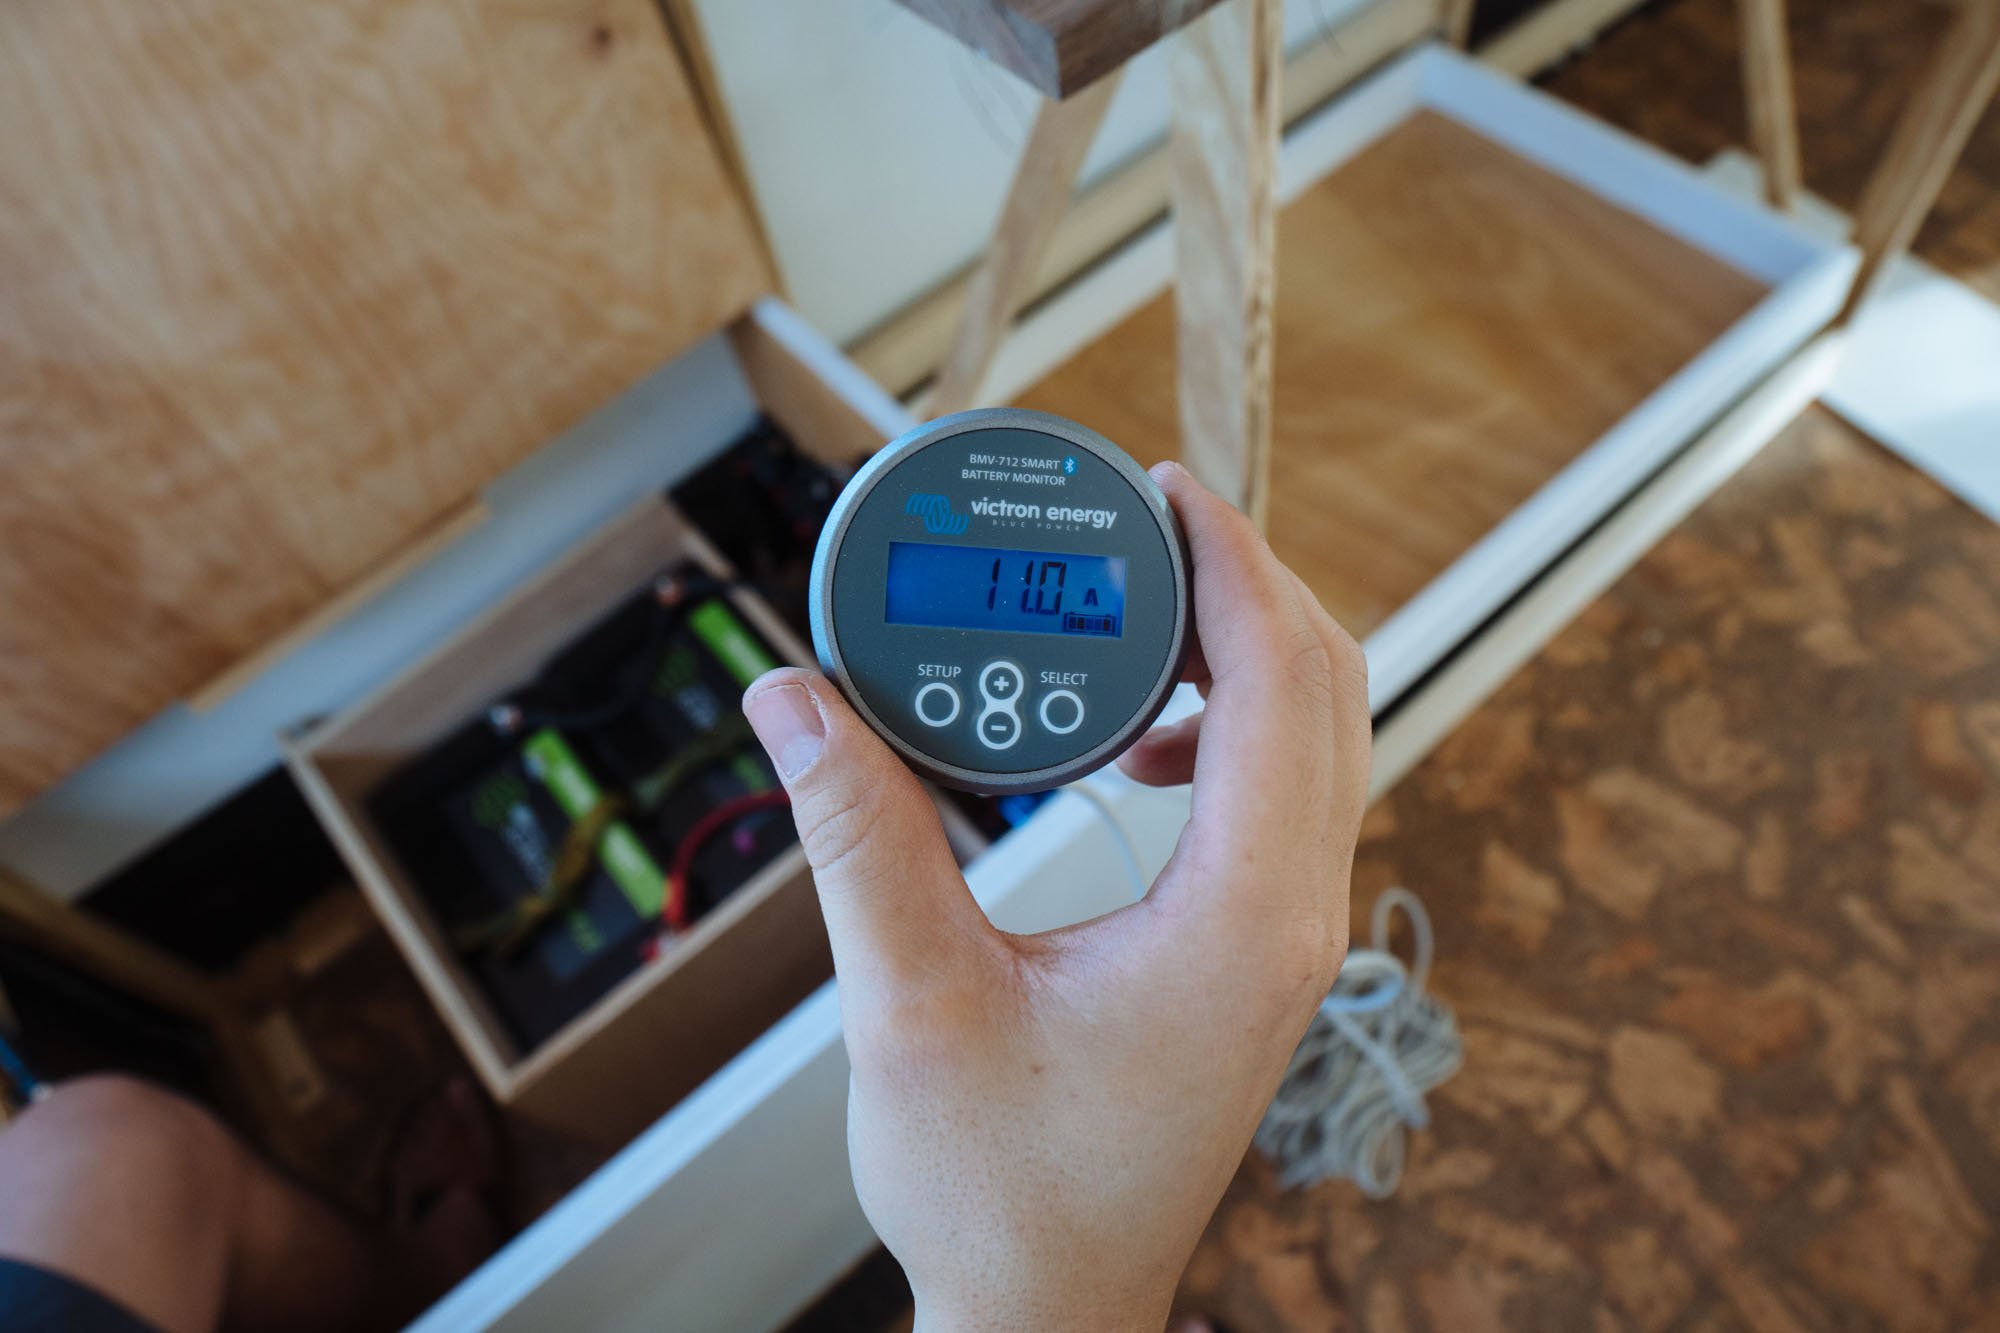
As of this past weekend, our electrical system is complete and running like an absolute dream! We're collecting solar and even working in the evenings under our self generated light!
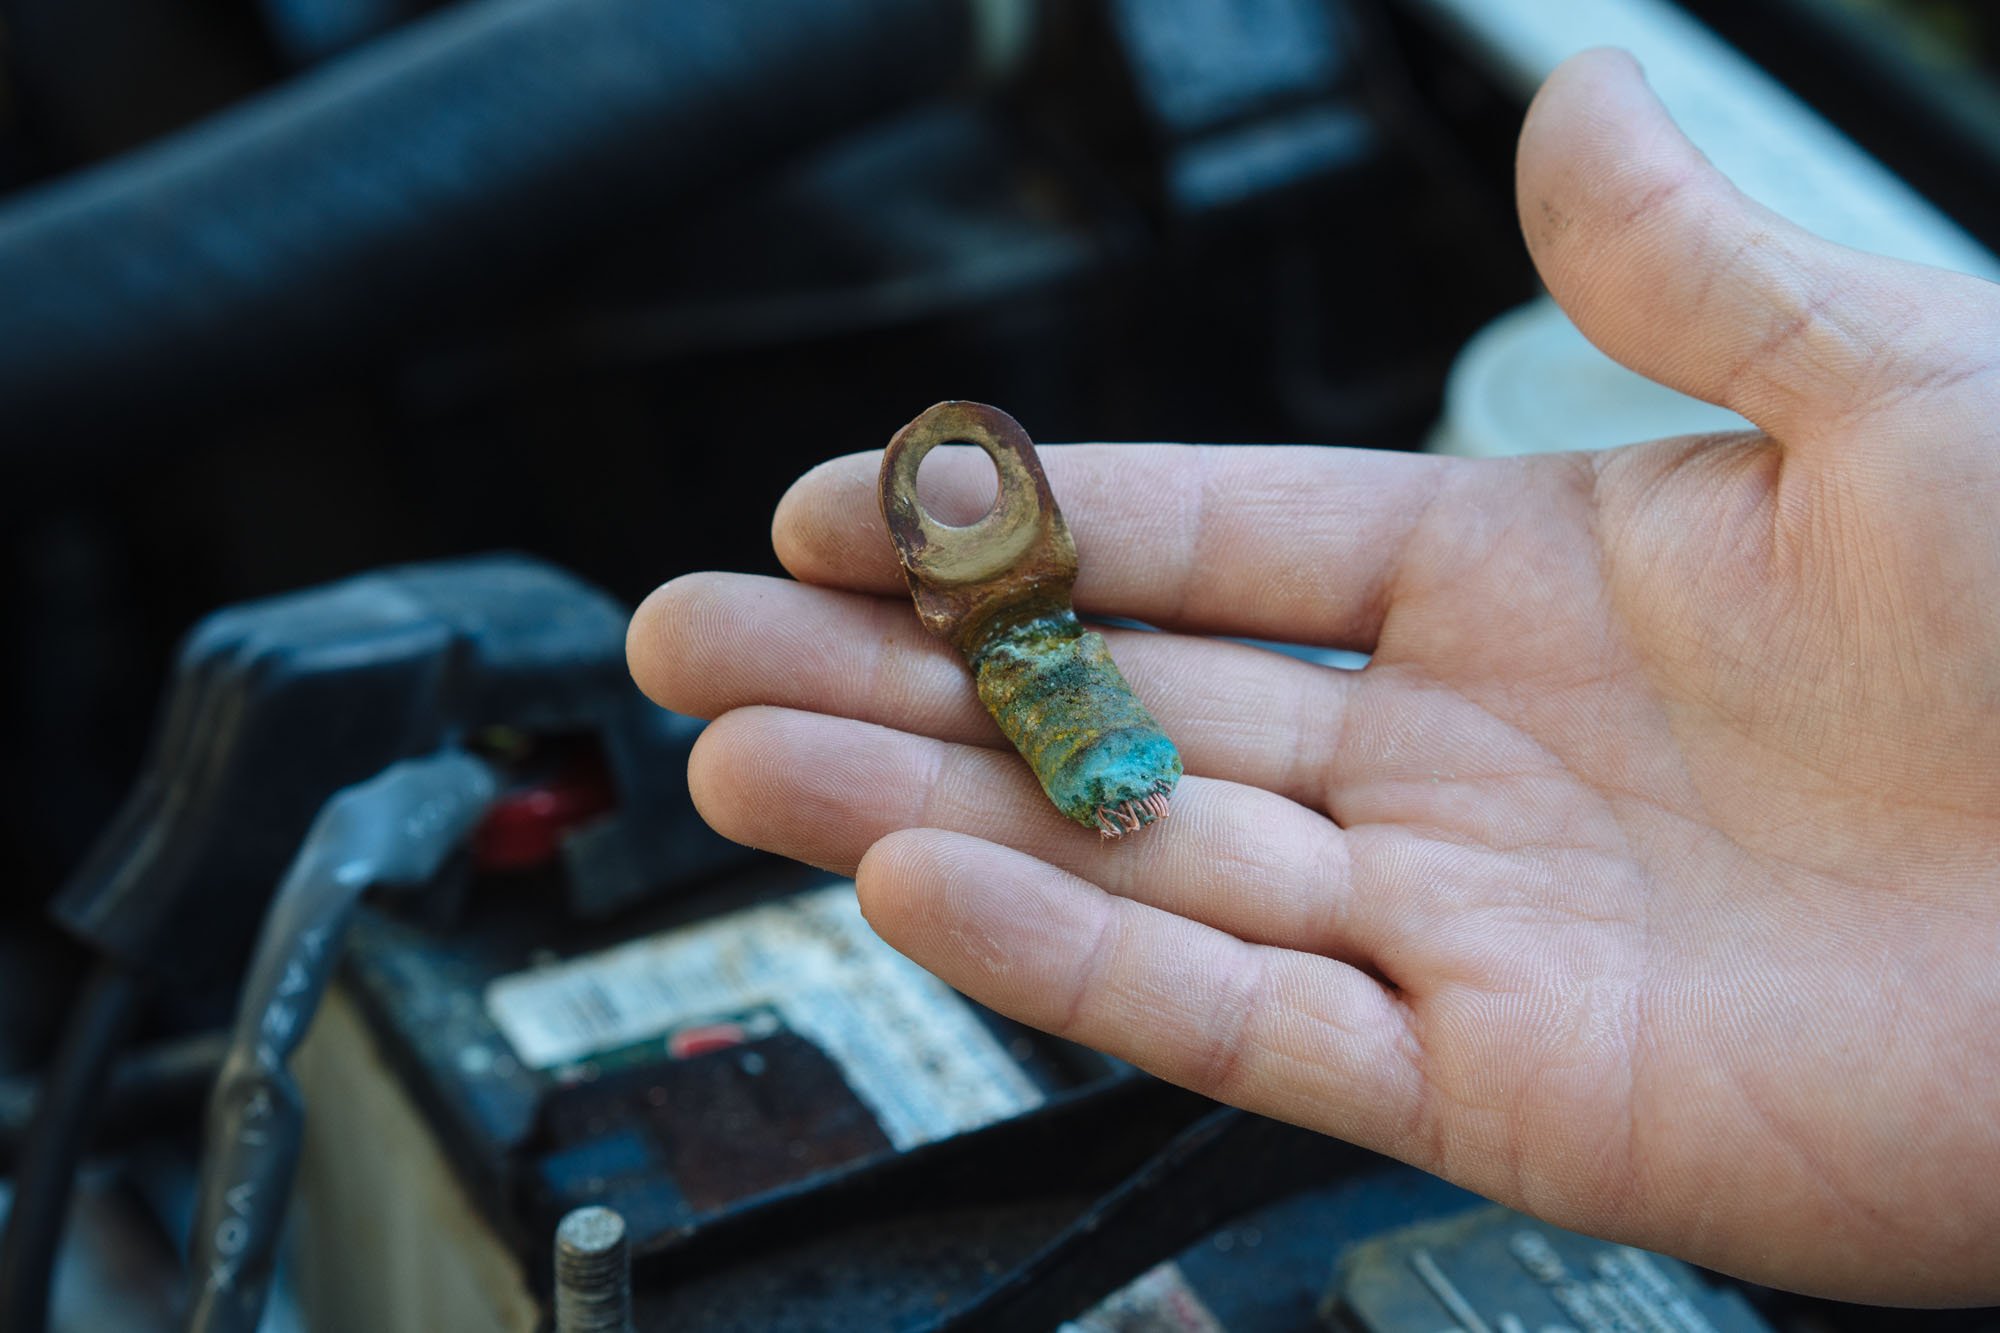

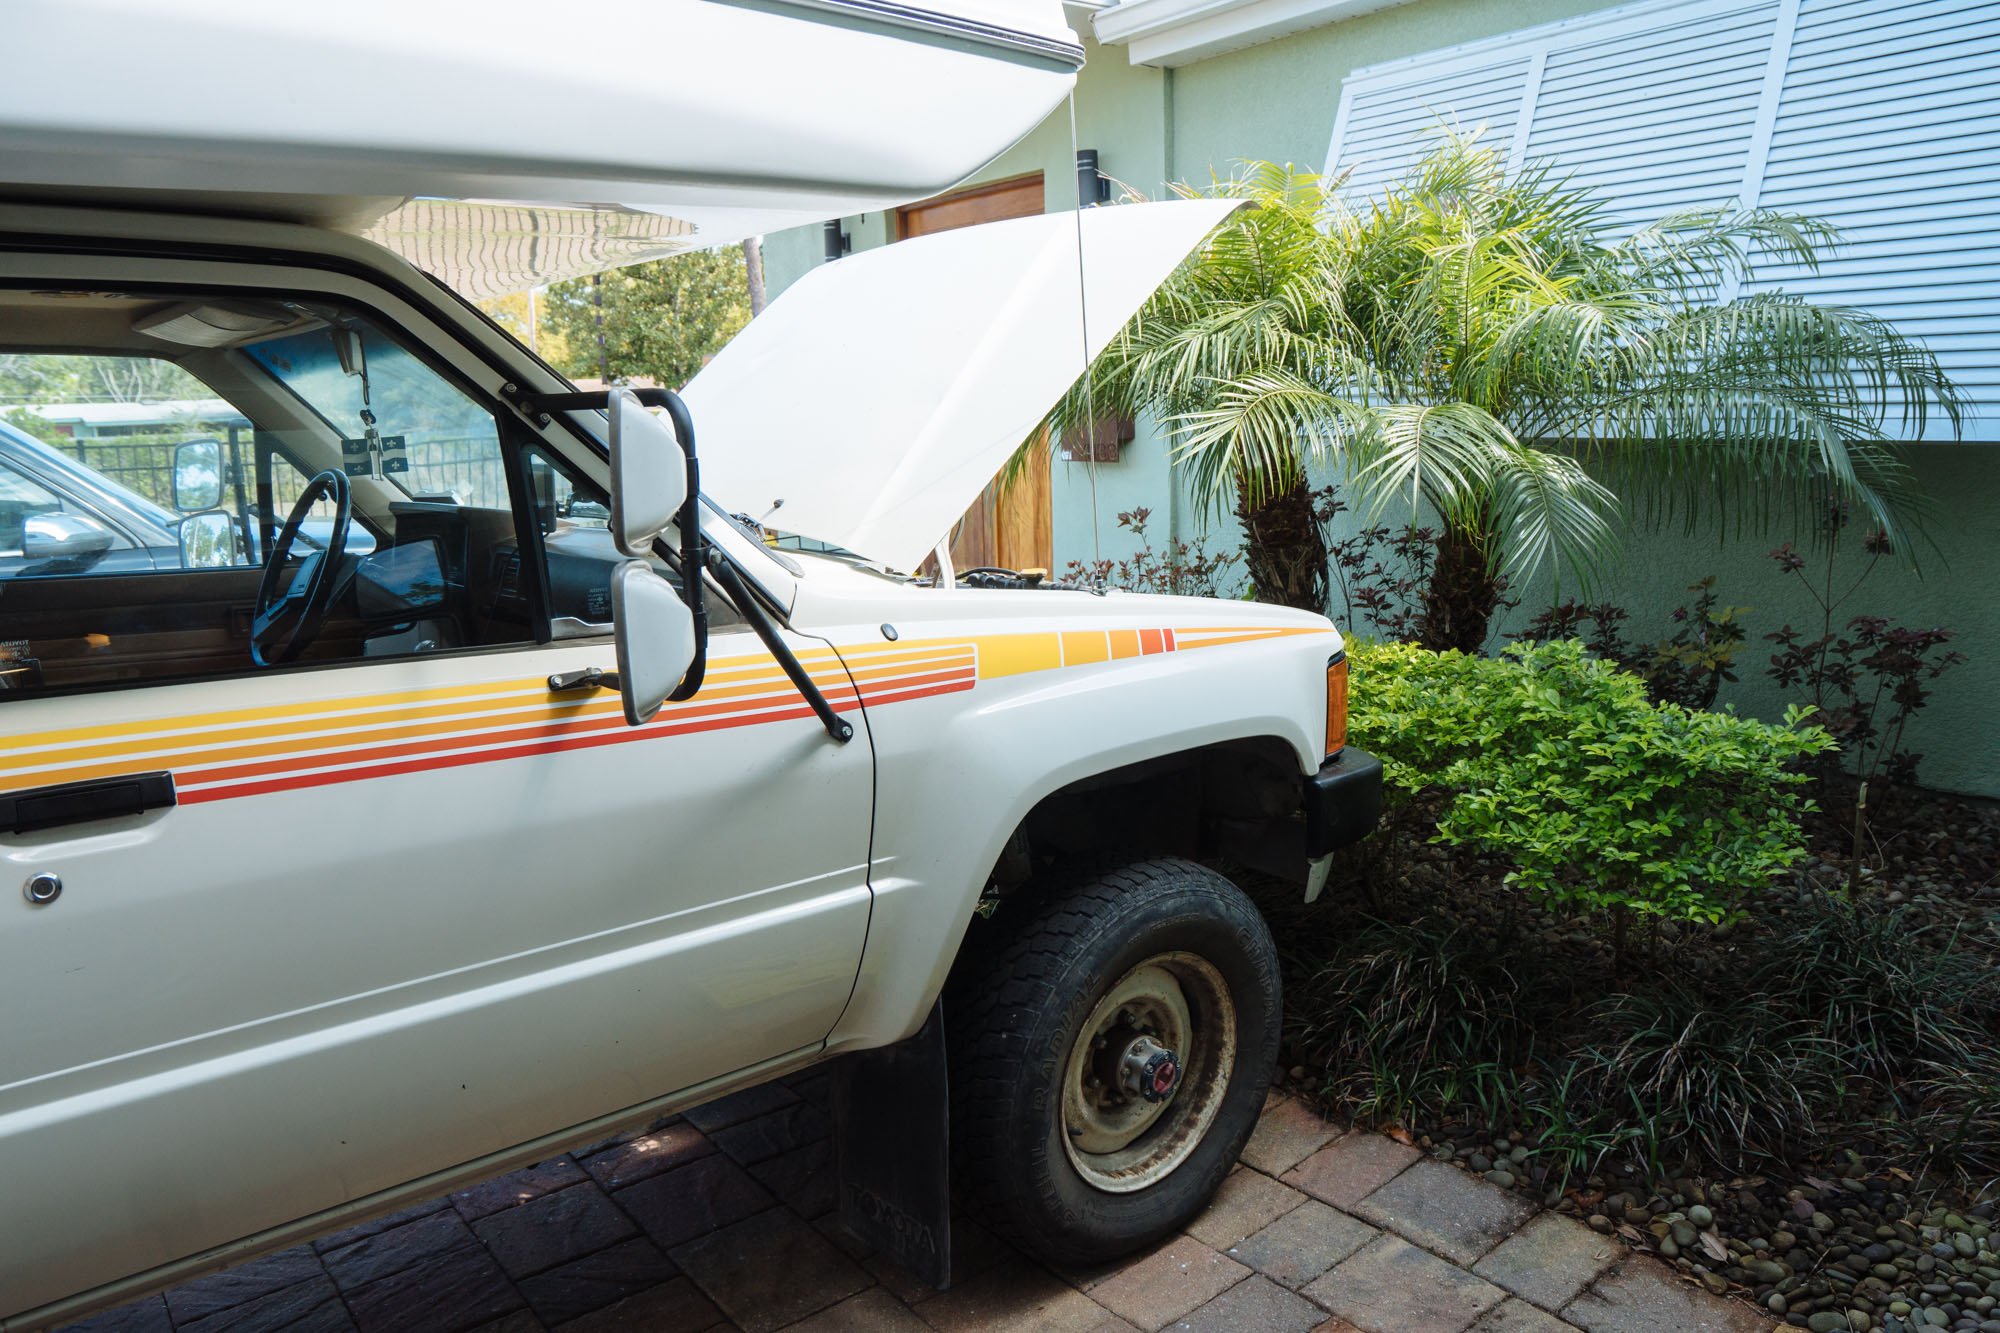
There's also one other small electrical upgrade that happened this past week! While Owen was running some wires to our starter he realized that our battery terminals were SUPER corroded. We've noticed that Amelia can have some pretty weak starts, so this didn't come as a complete surprise to us. Owen ran out and grabbed some fresh new battery terminals, and now Amelia fires up like a dream!
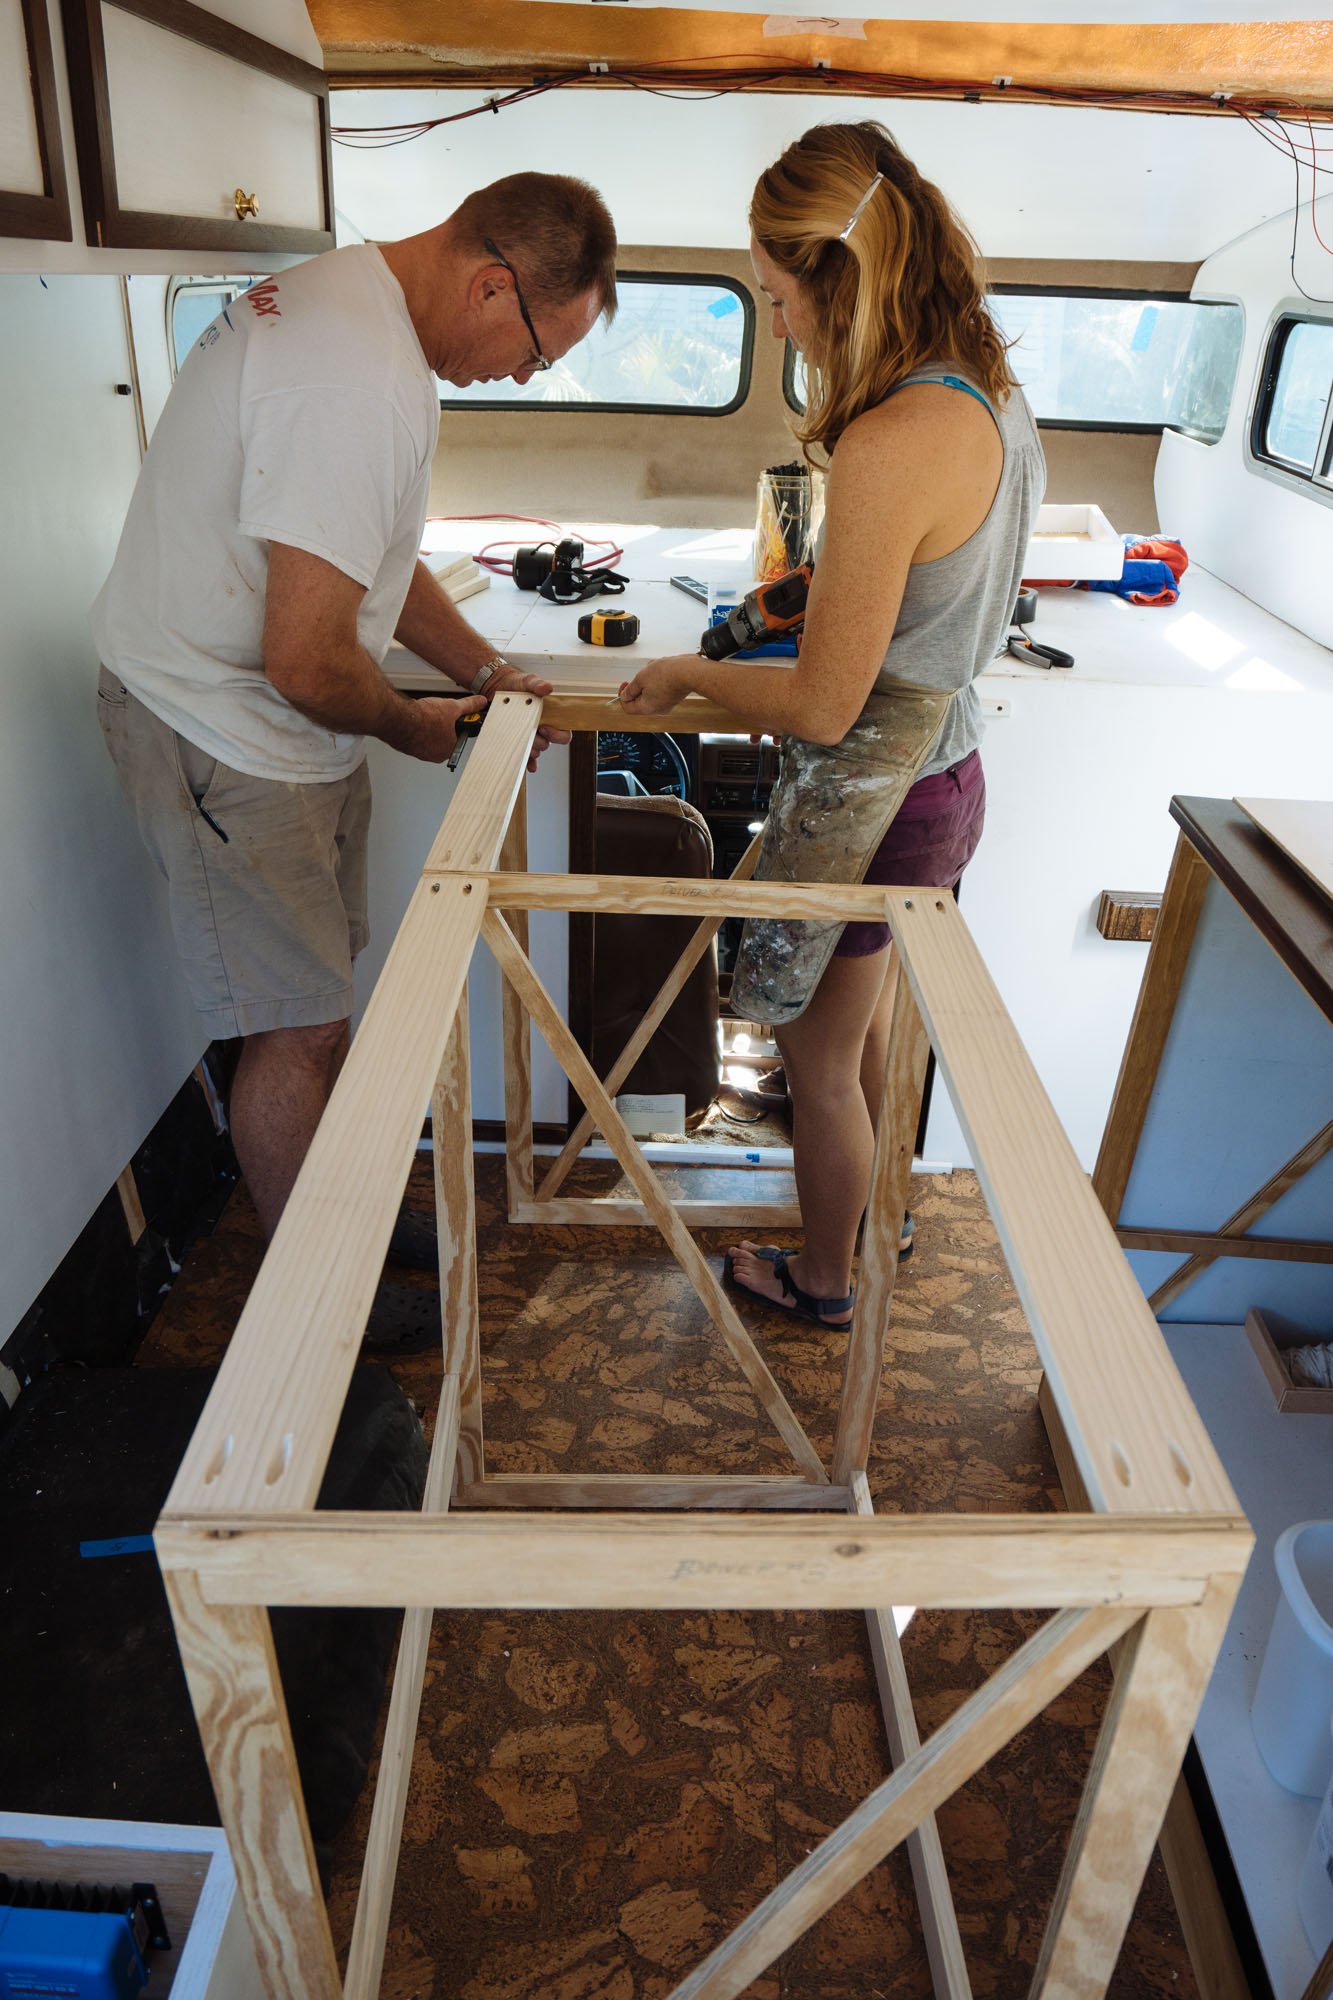
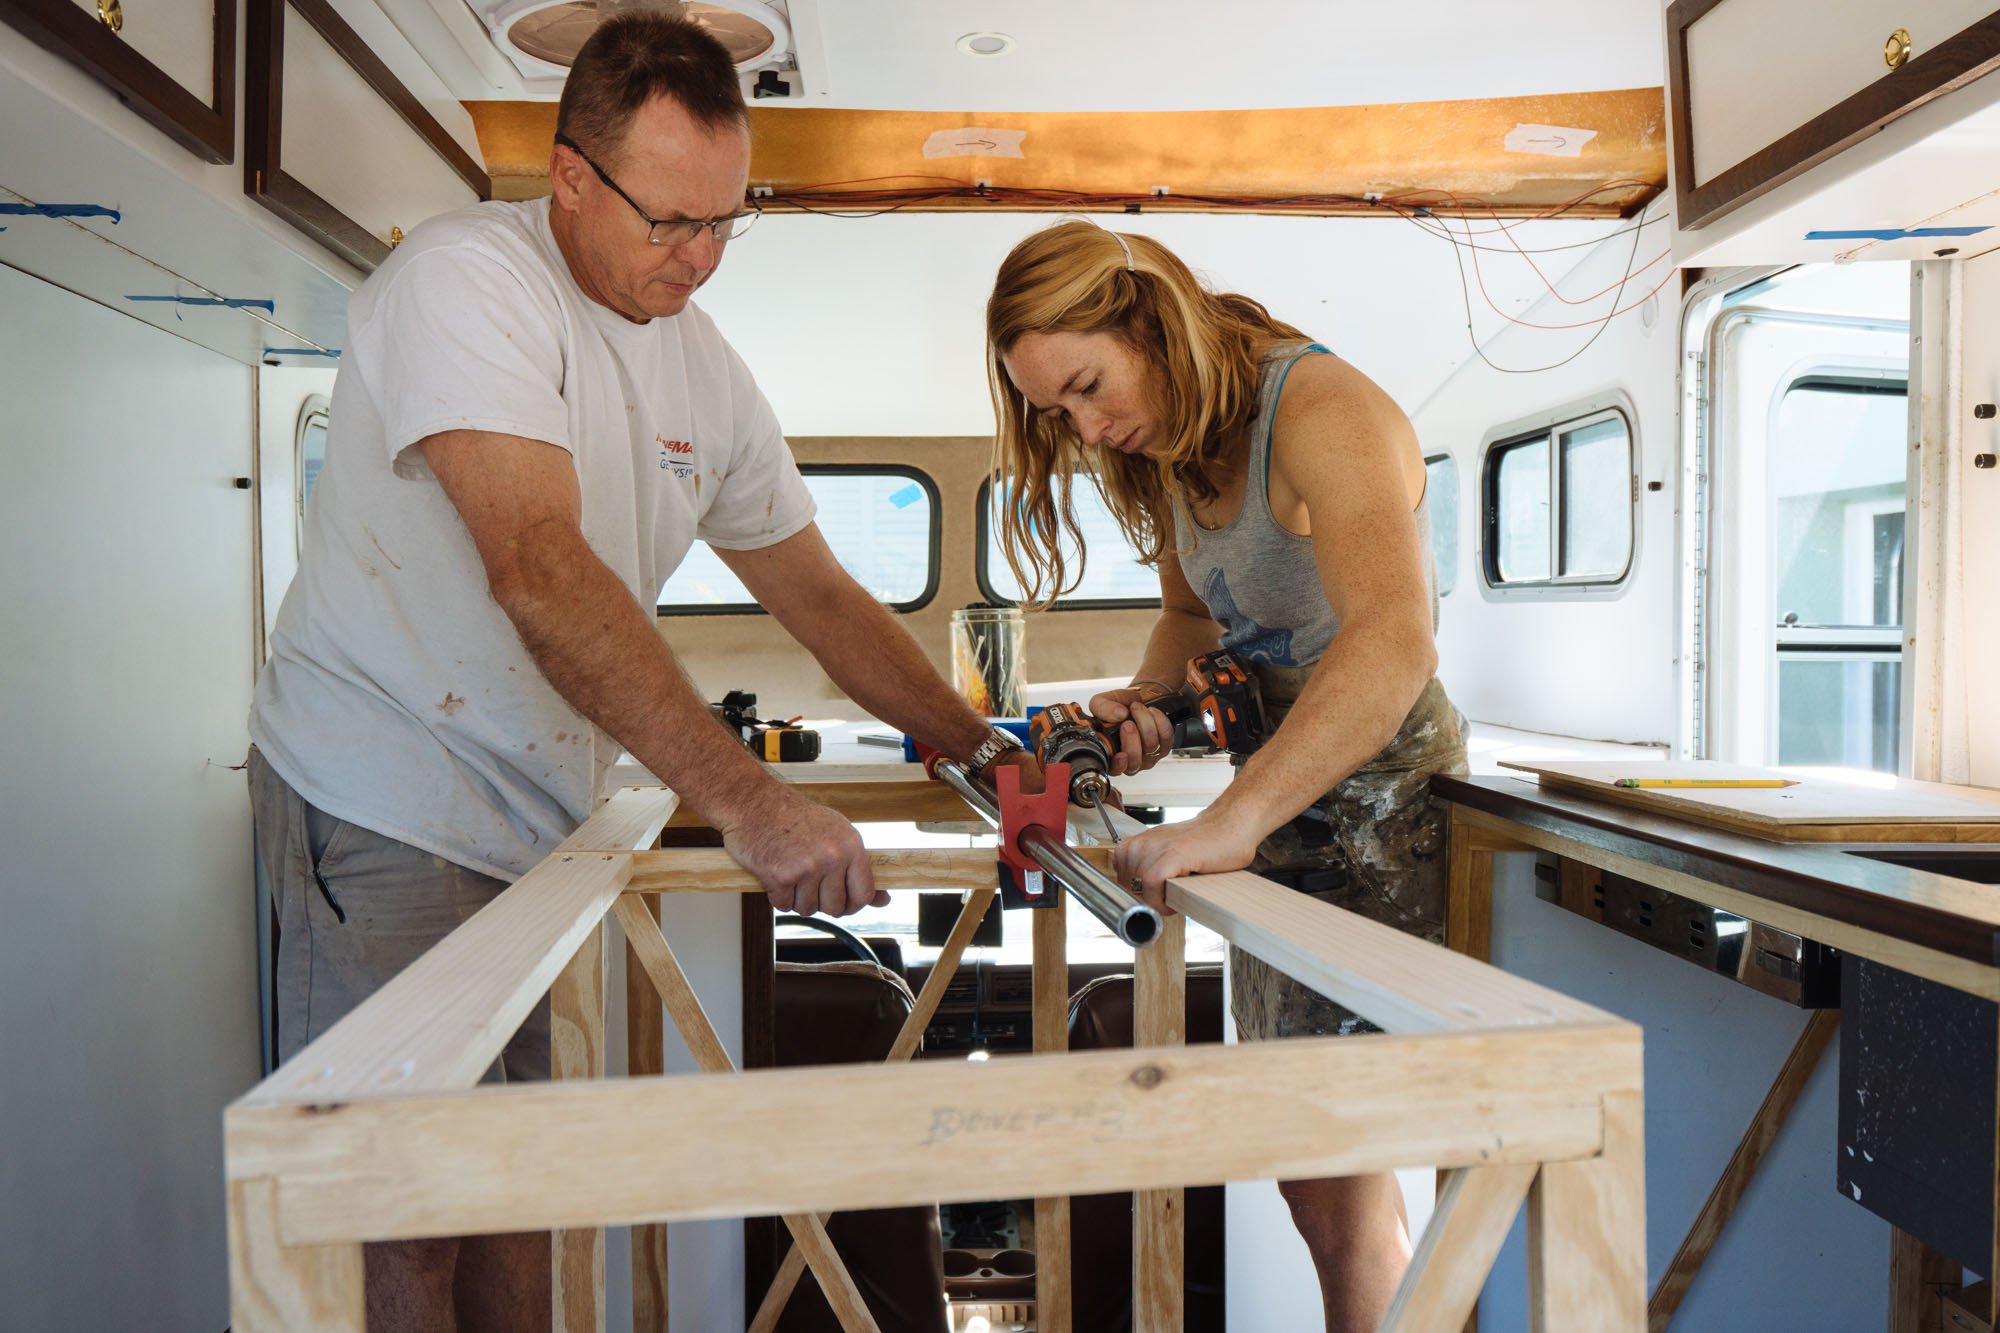
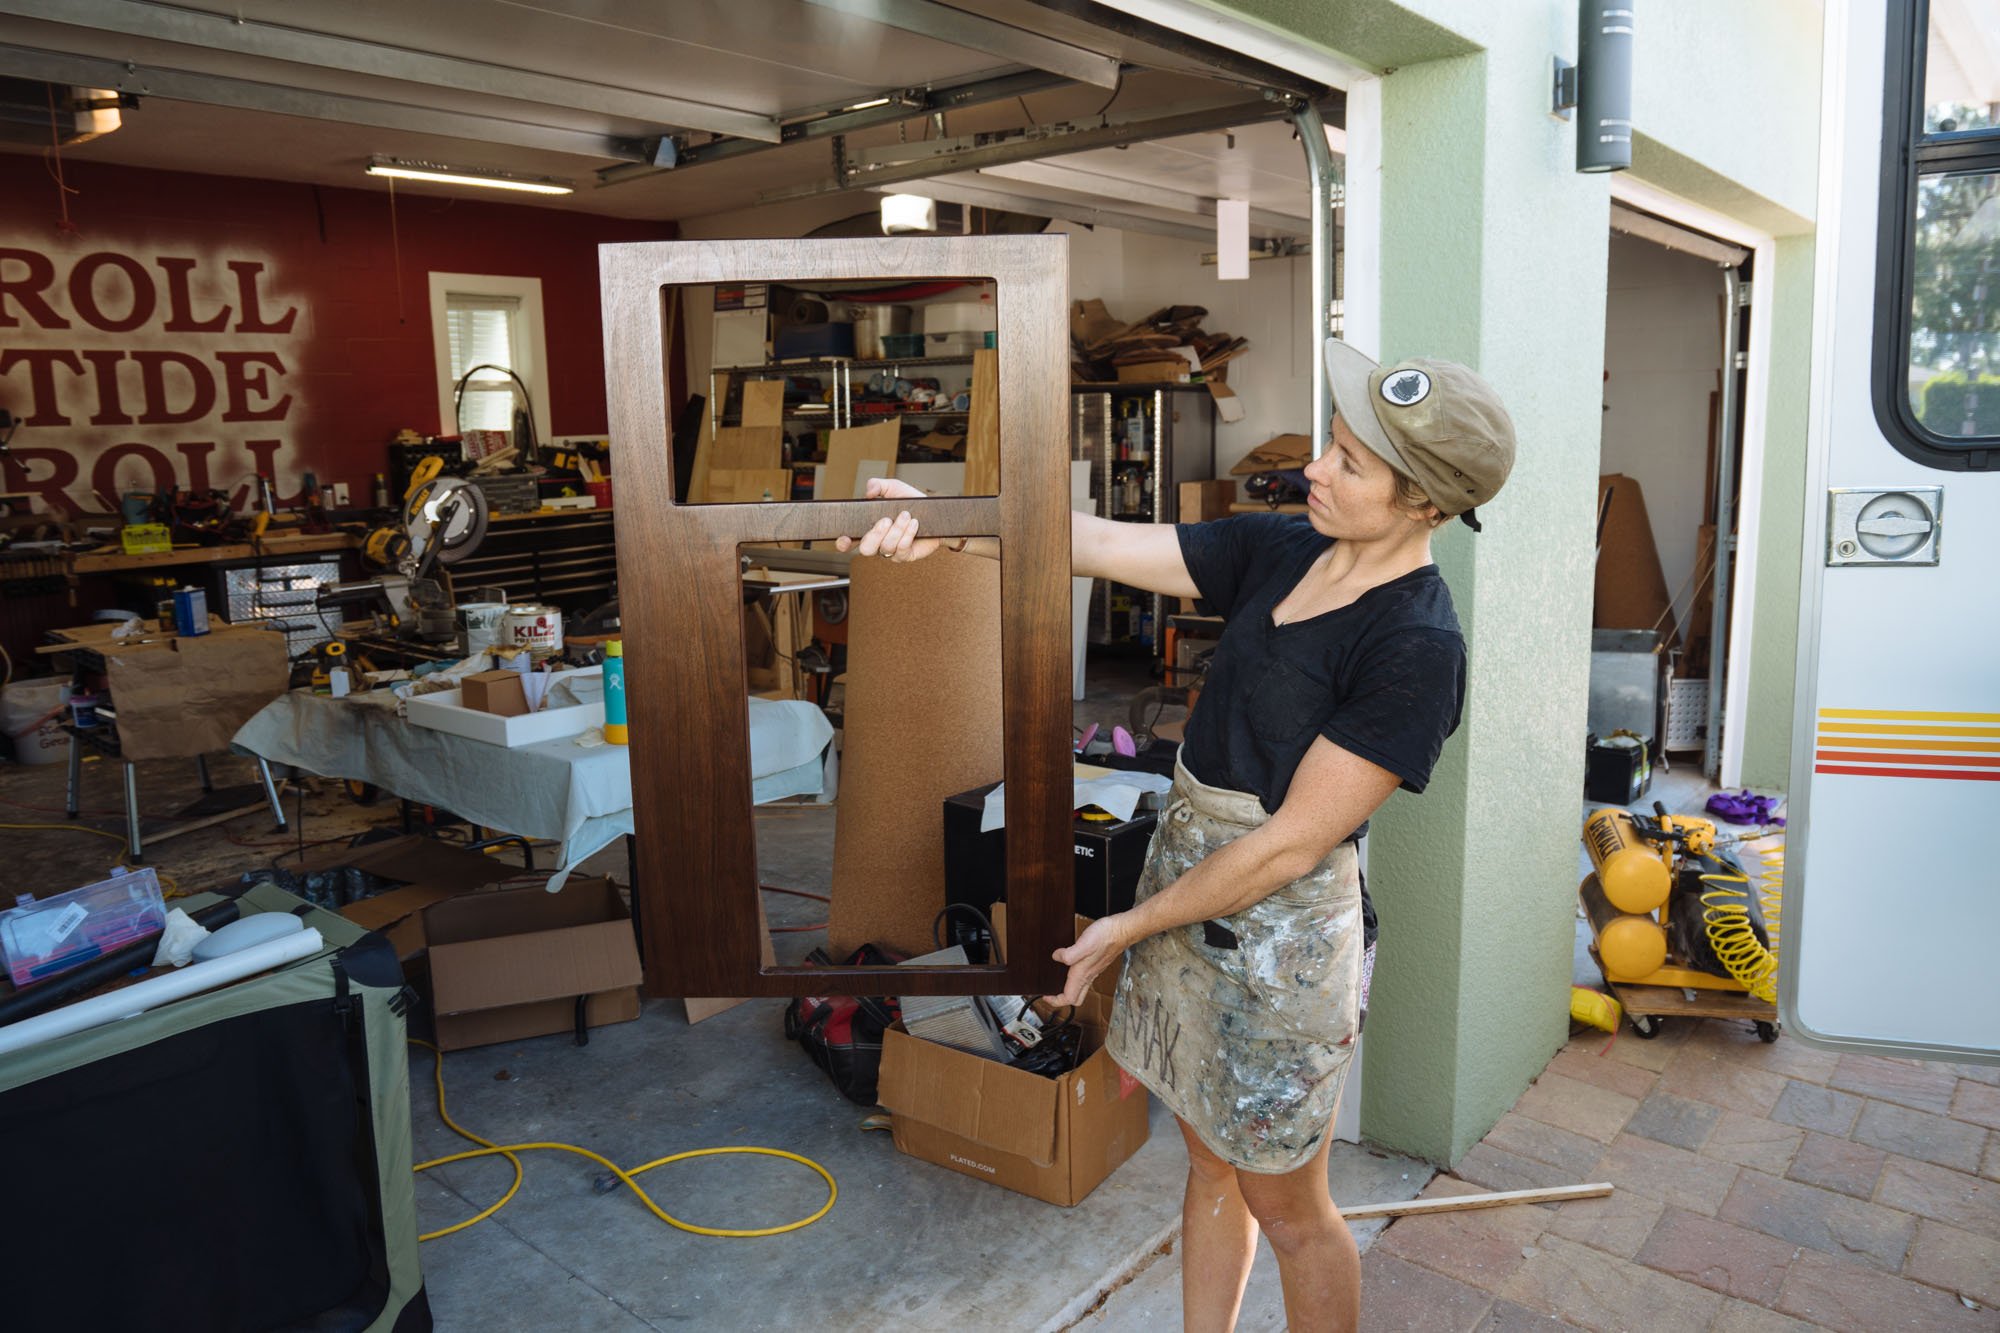
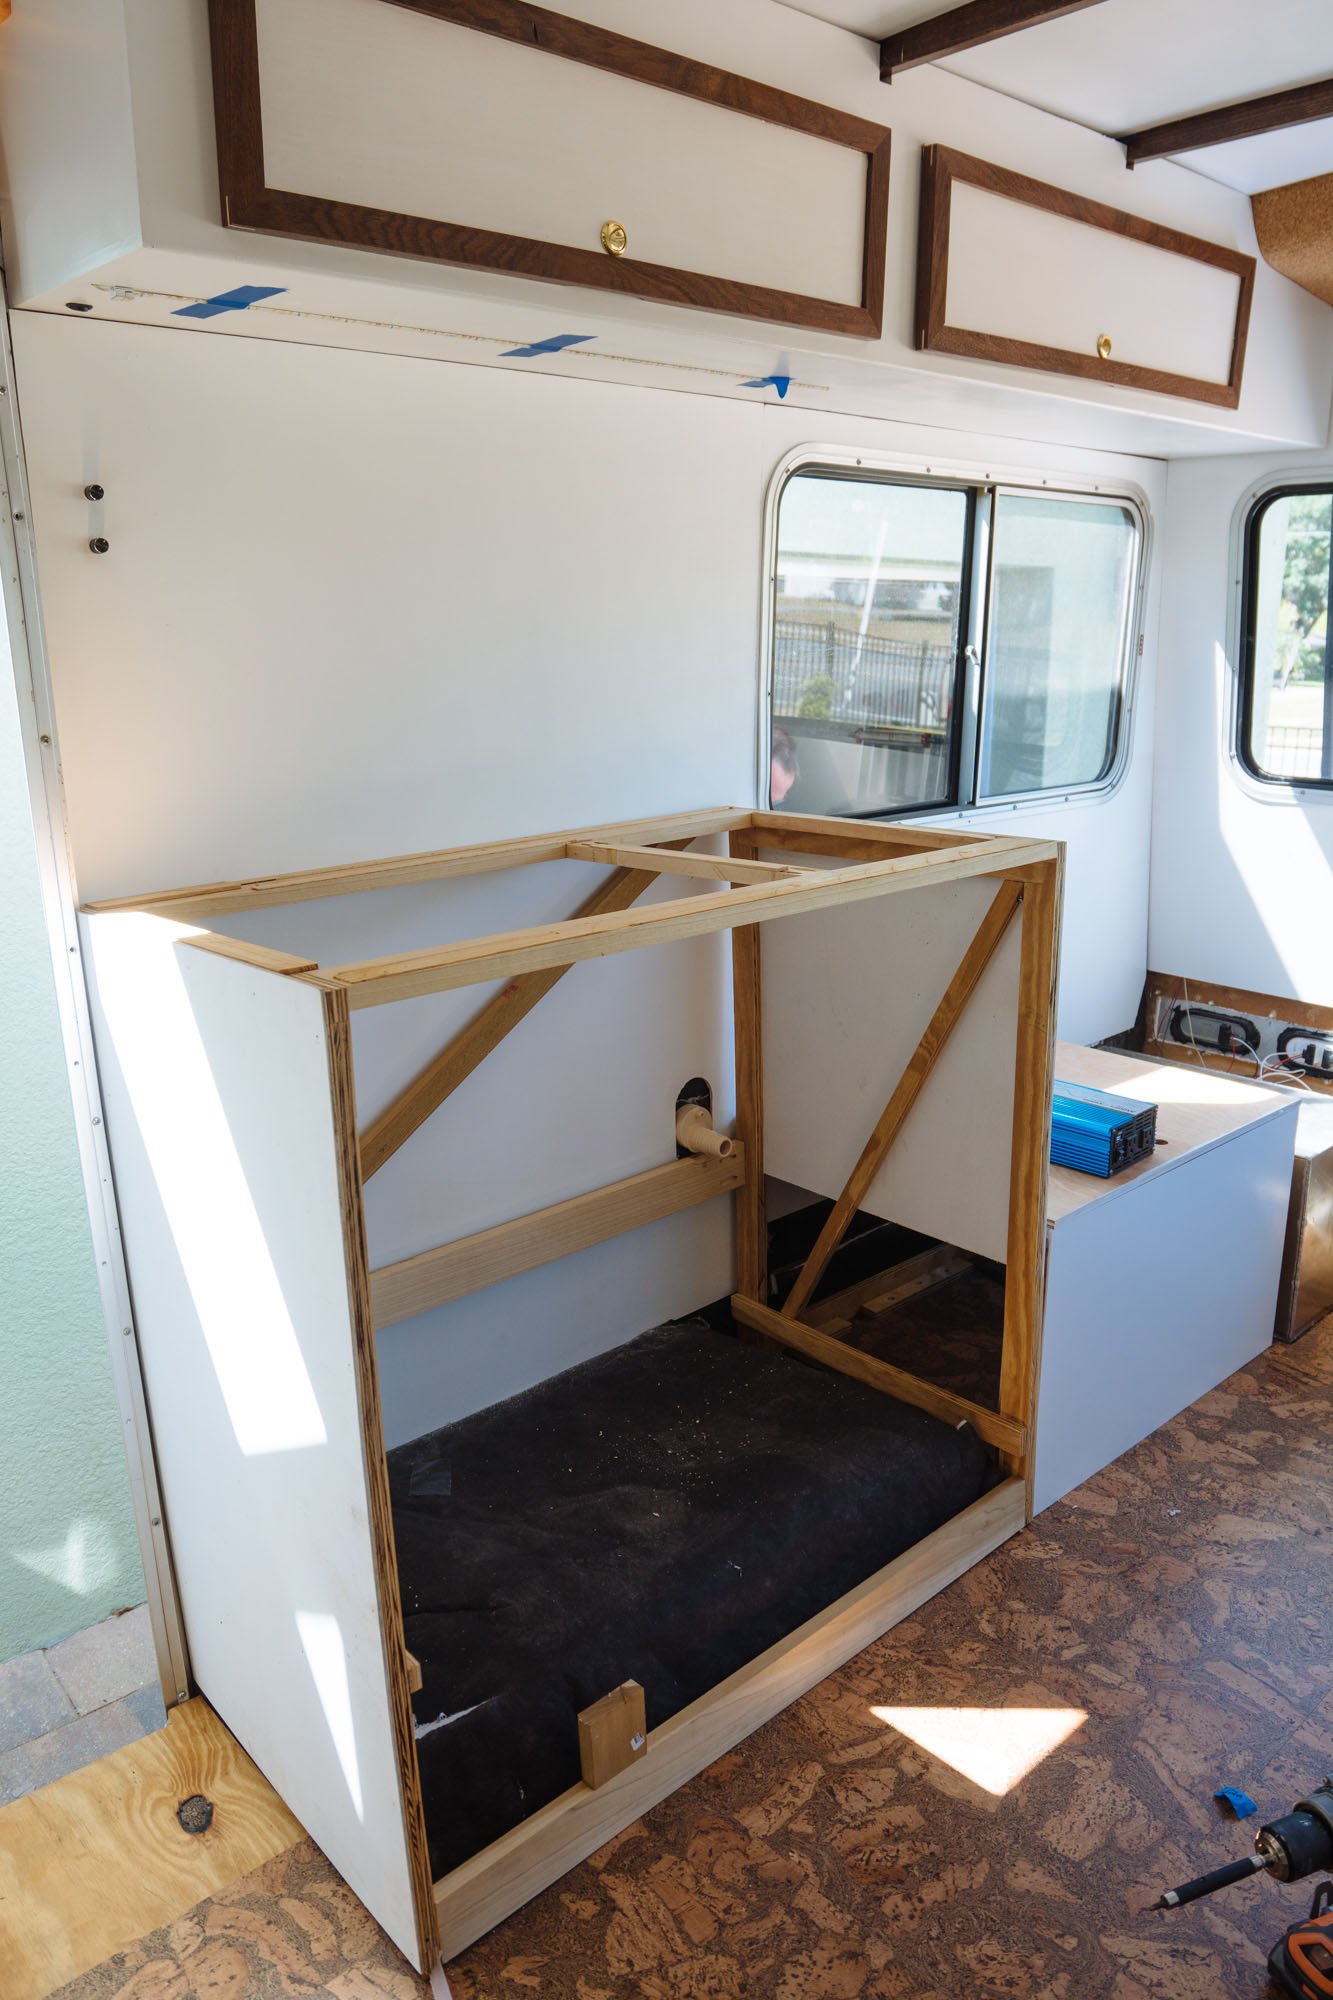
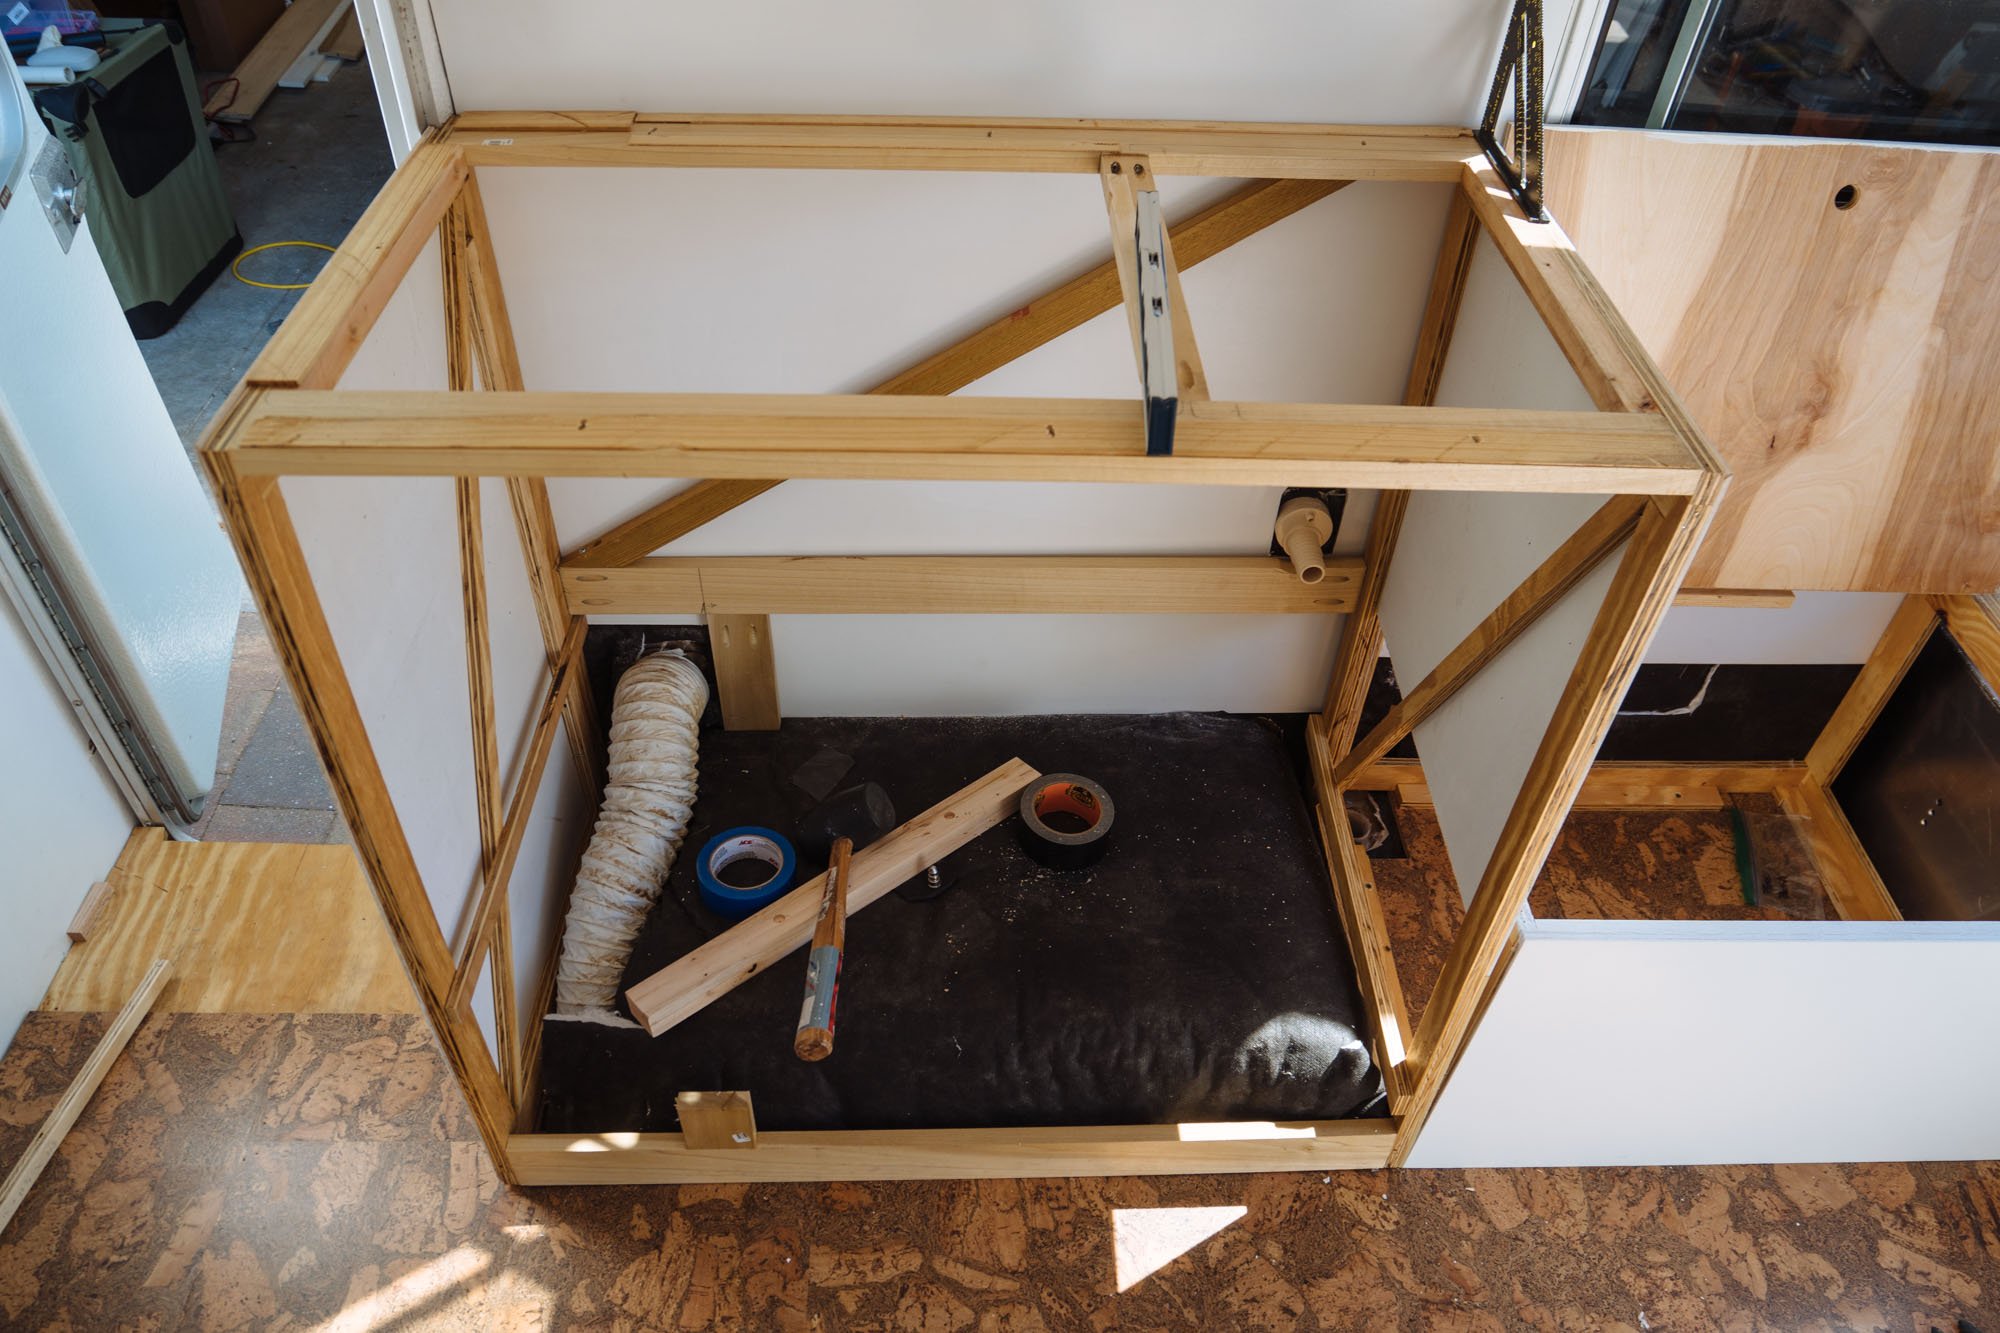
We've also gotten rolling on the skeleton structure for our driver side cabinets! This is about as far as we made it this past week. They're not installed yet, we just wanted to check to be sure all of our measurements were correct and that everything was fitting as planned. Thankfully, that was the case. Now we just need to plan out the breakdown of the draws and features for the cabinet so we can build it out!

Well this happened! We've been working on our upholstery behind the scenes because it's something that we had someone else working on for us. My mom has an amazing Master Seamstress that she absolutely loves, that lives down the street. We turned our cushions over to her a few weeks back with the Sunbrella fabric that we chose. Our idea is that we're going a little more neutral on the cushions because we have some really fun textiles planned for pillows and curtains. As soon as we picked up the cushions we tossed them onto the back bench seats (note: there is still some obvious finish work that needs to happen on those benches). We're so happy with how inviting the cushions look, and it brings a bit more color into the space! We look forward to having these cushions in Amelia full time!
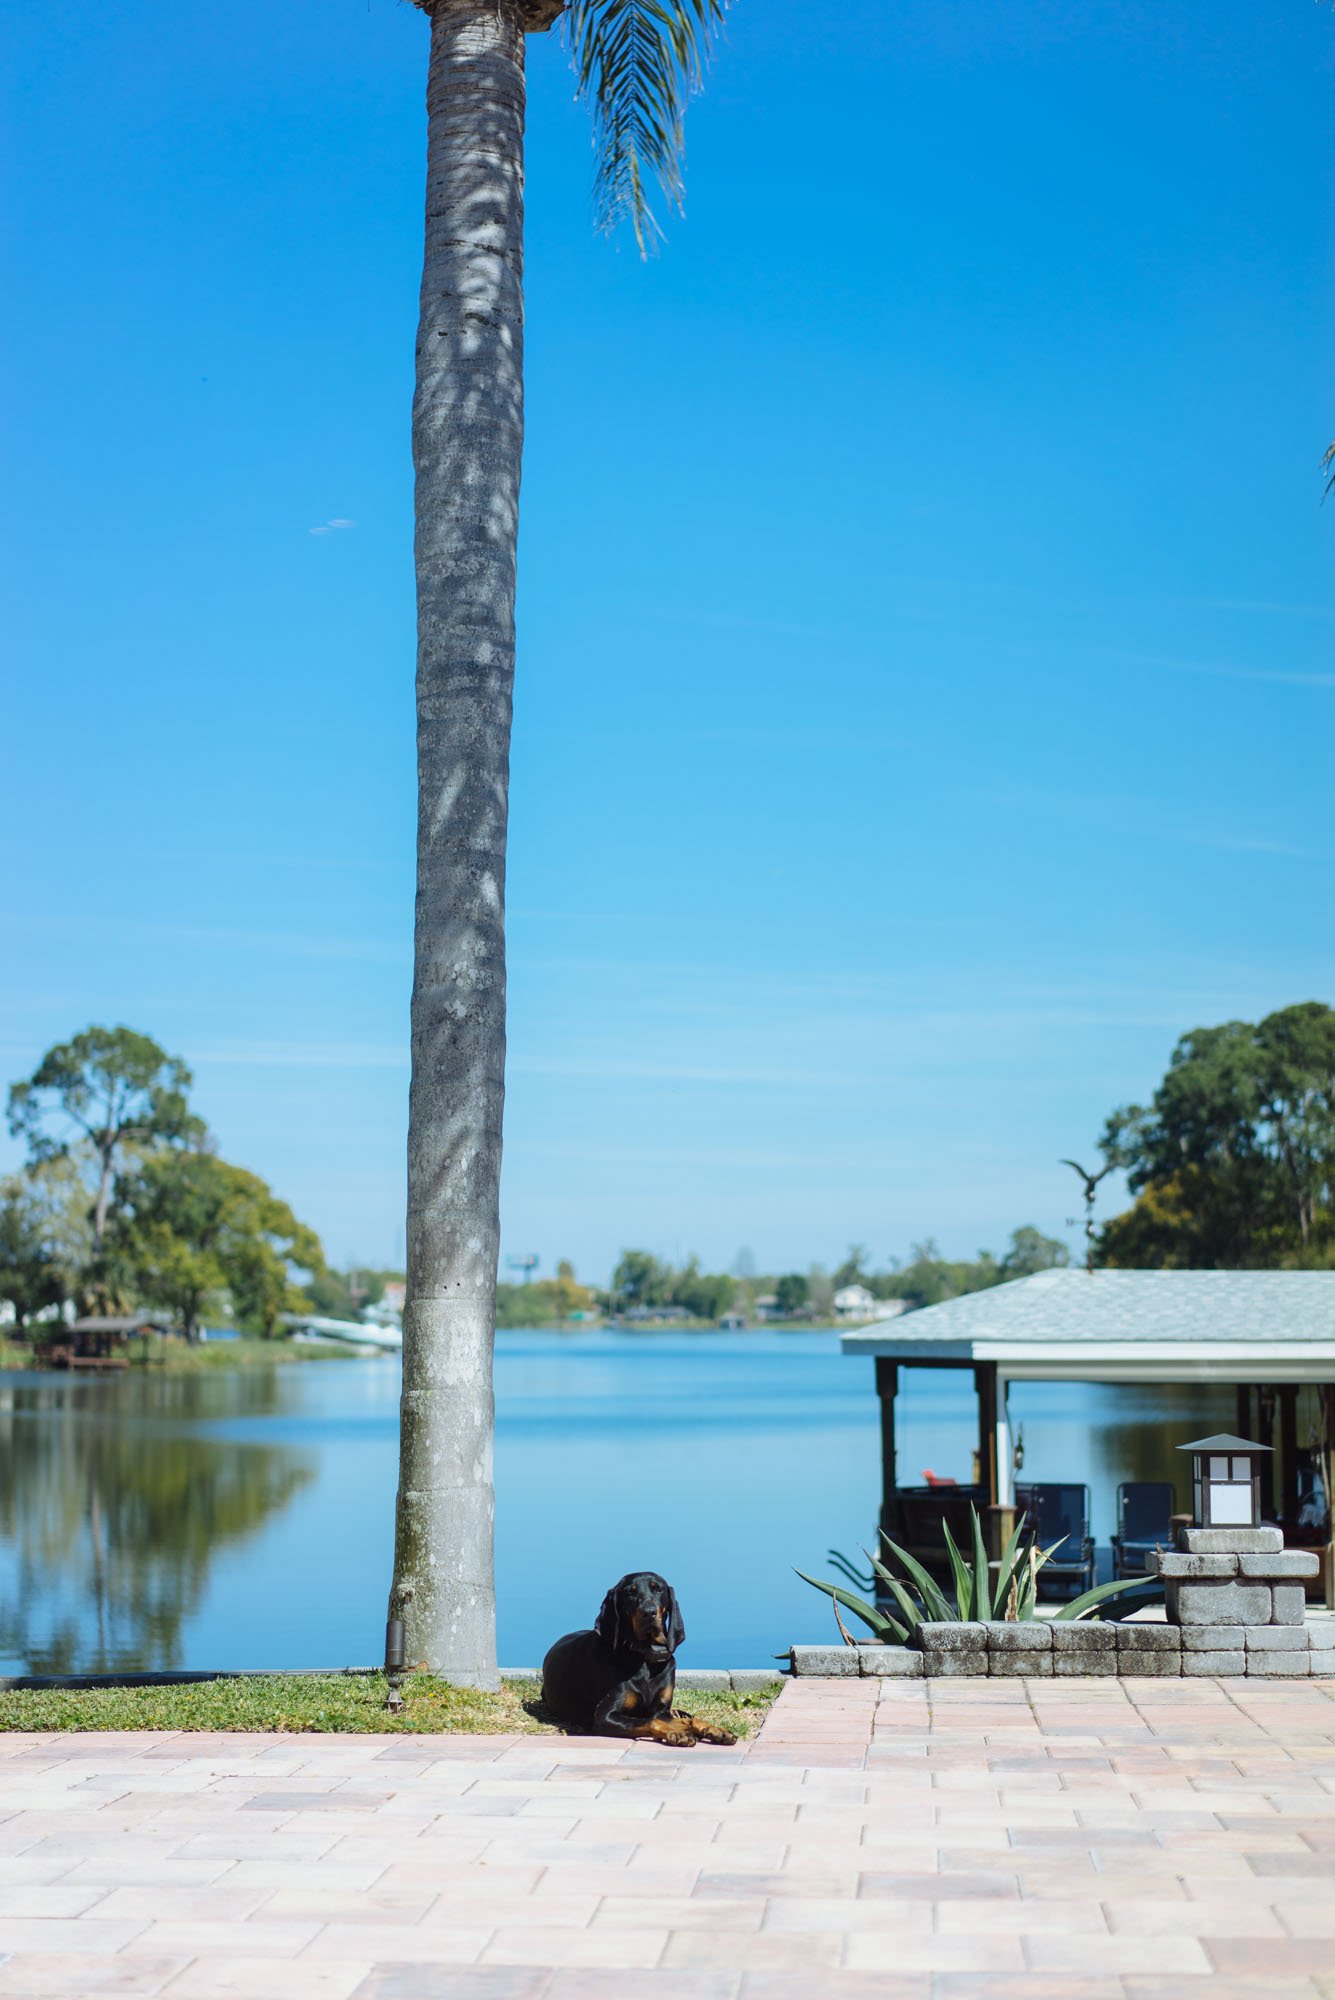

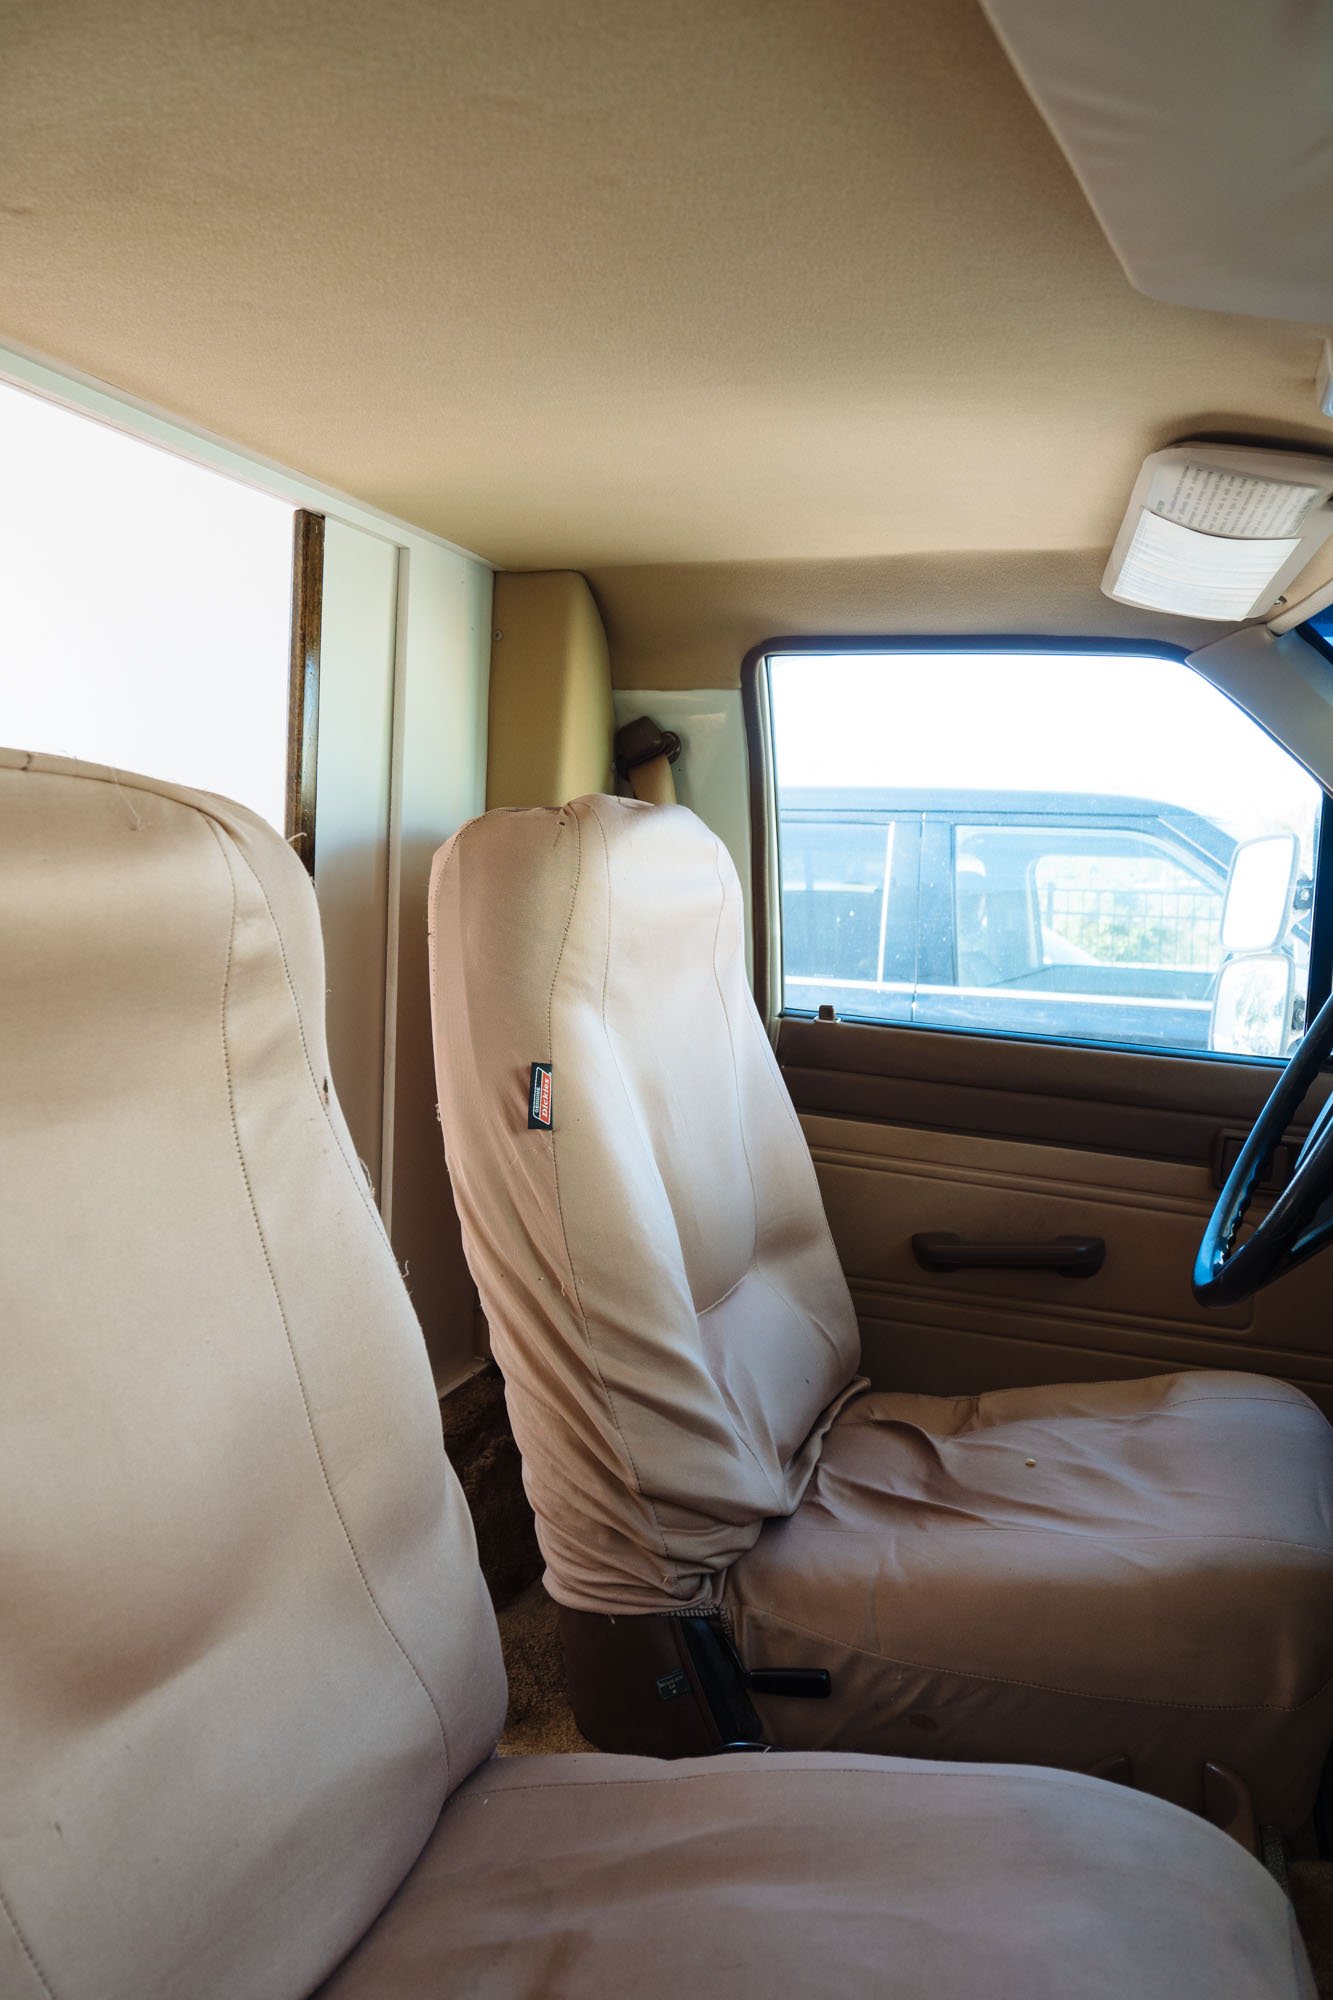
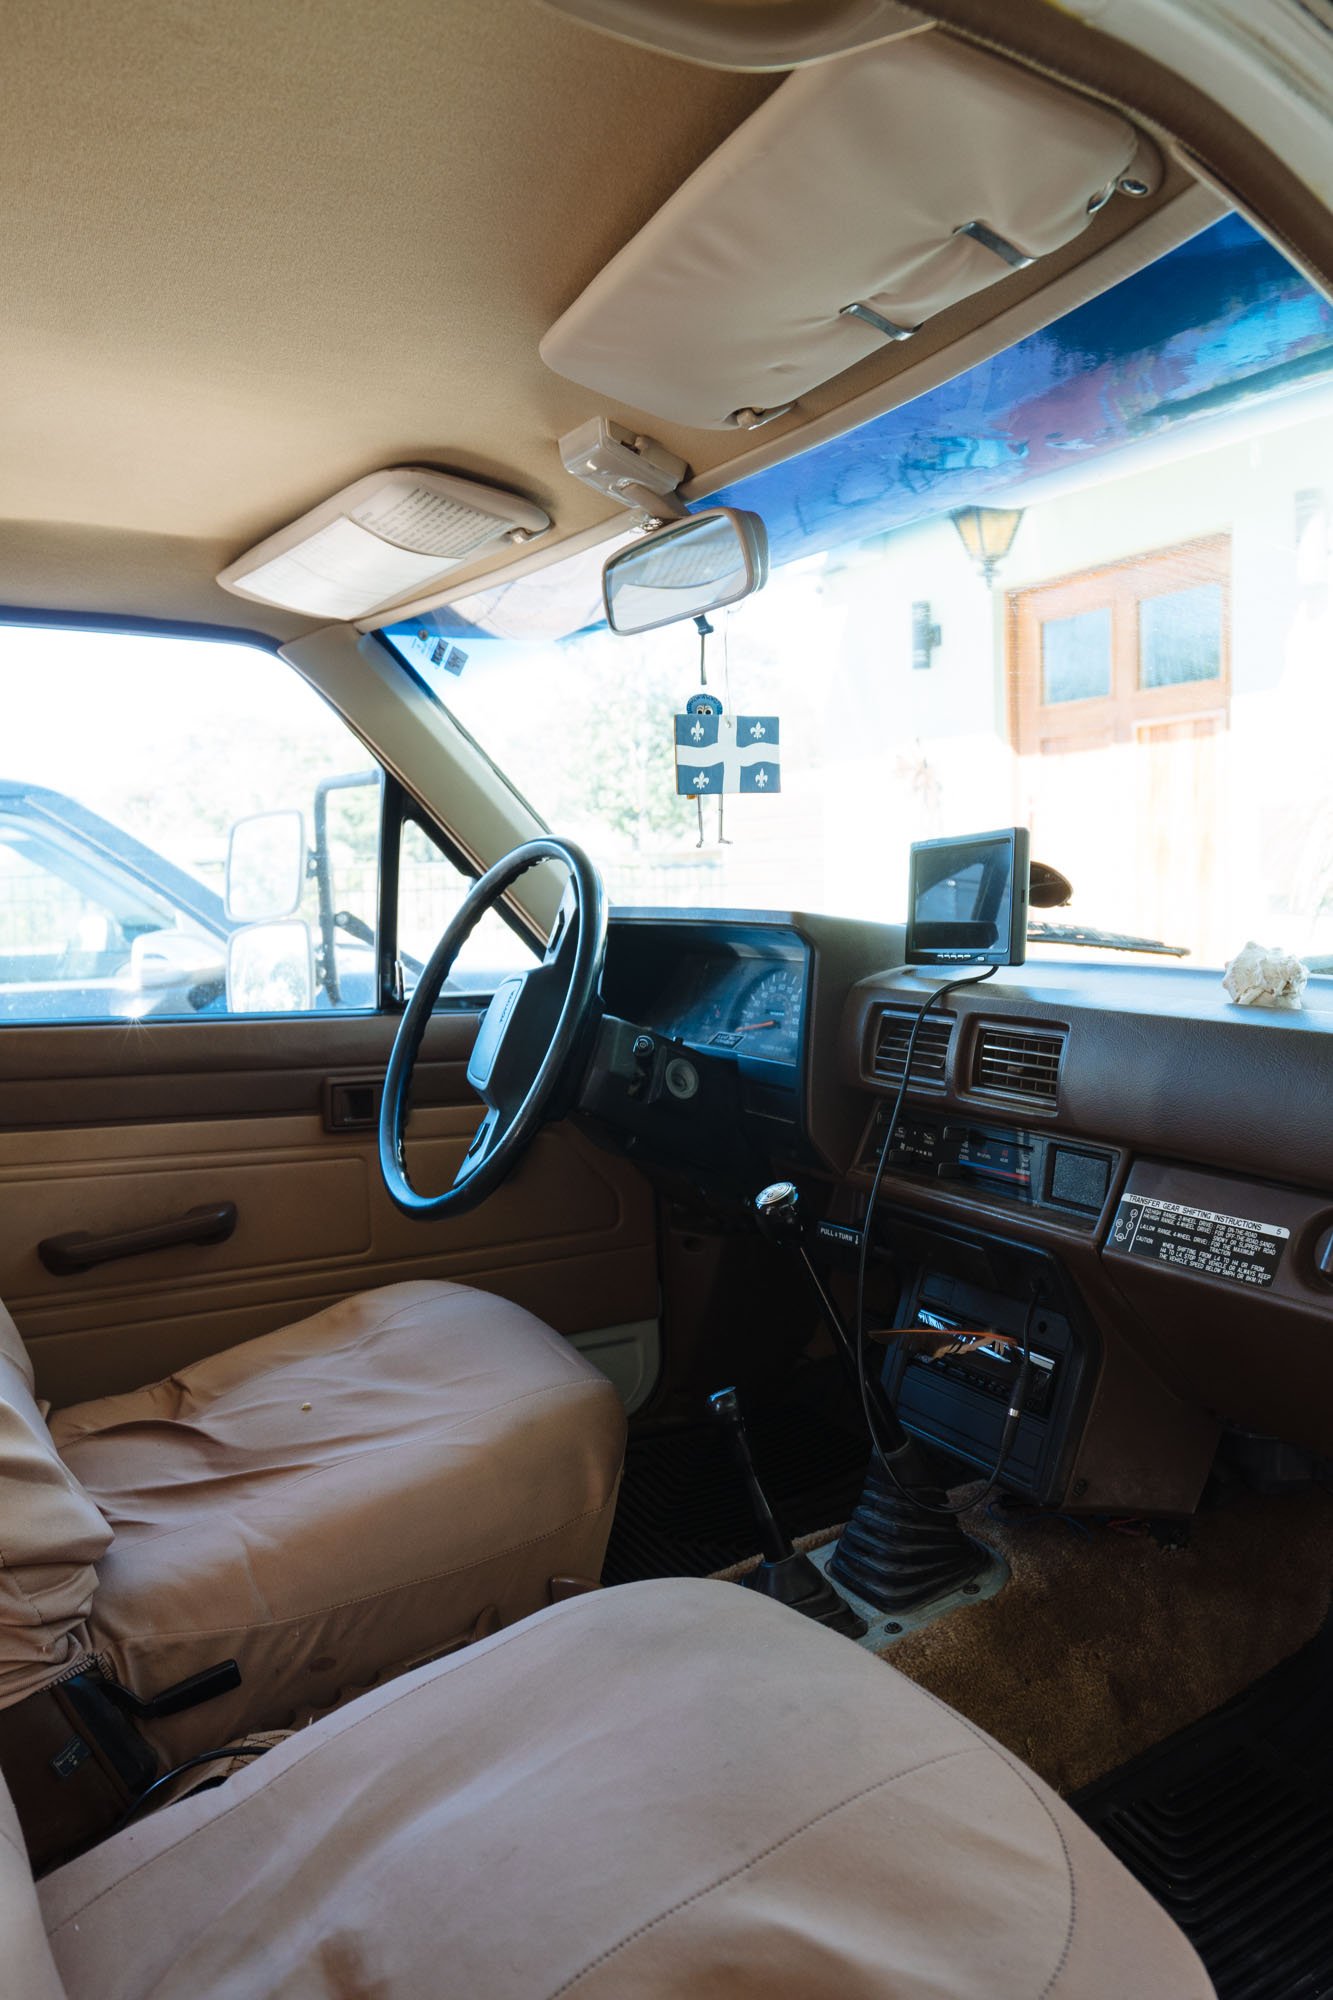
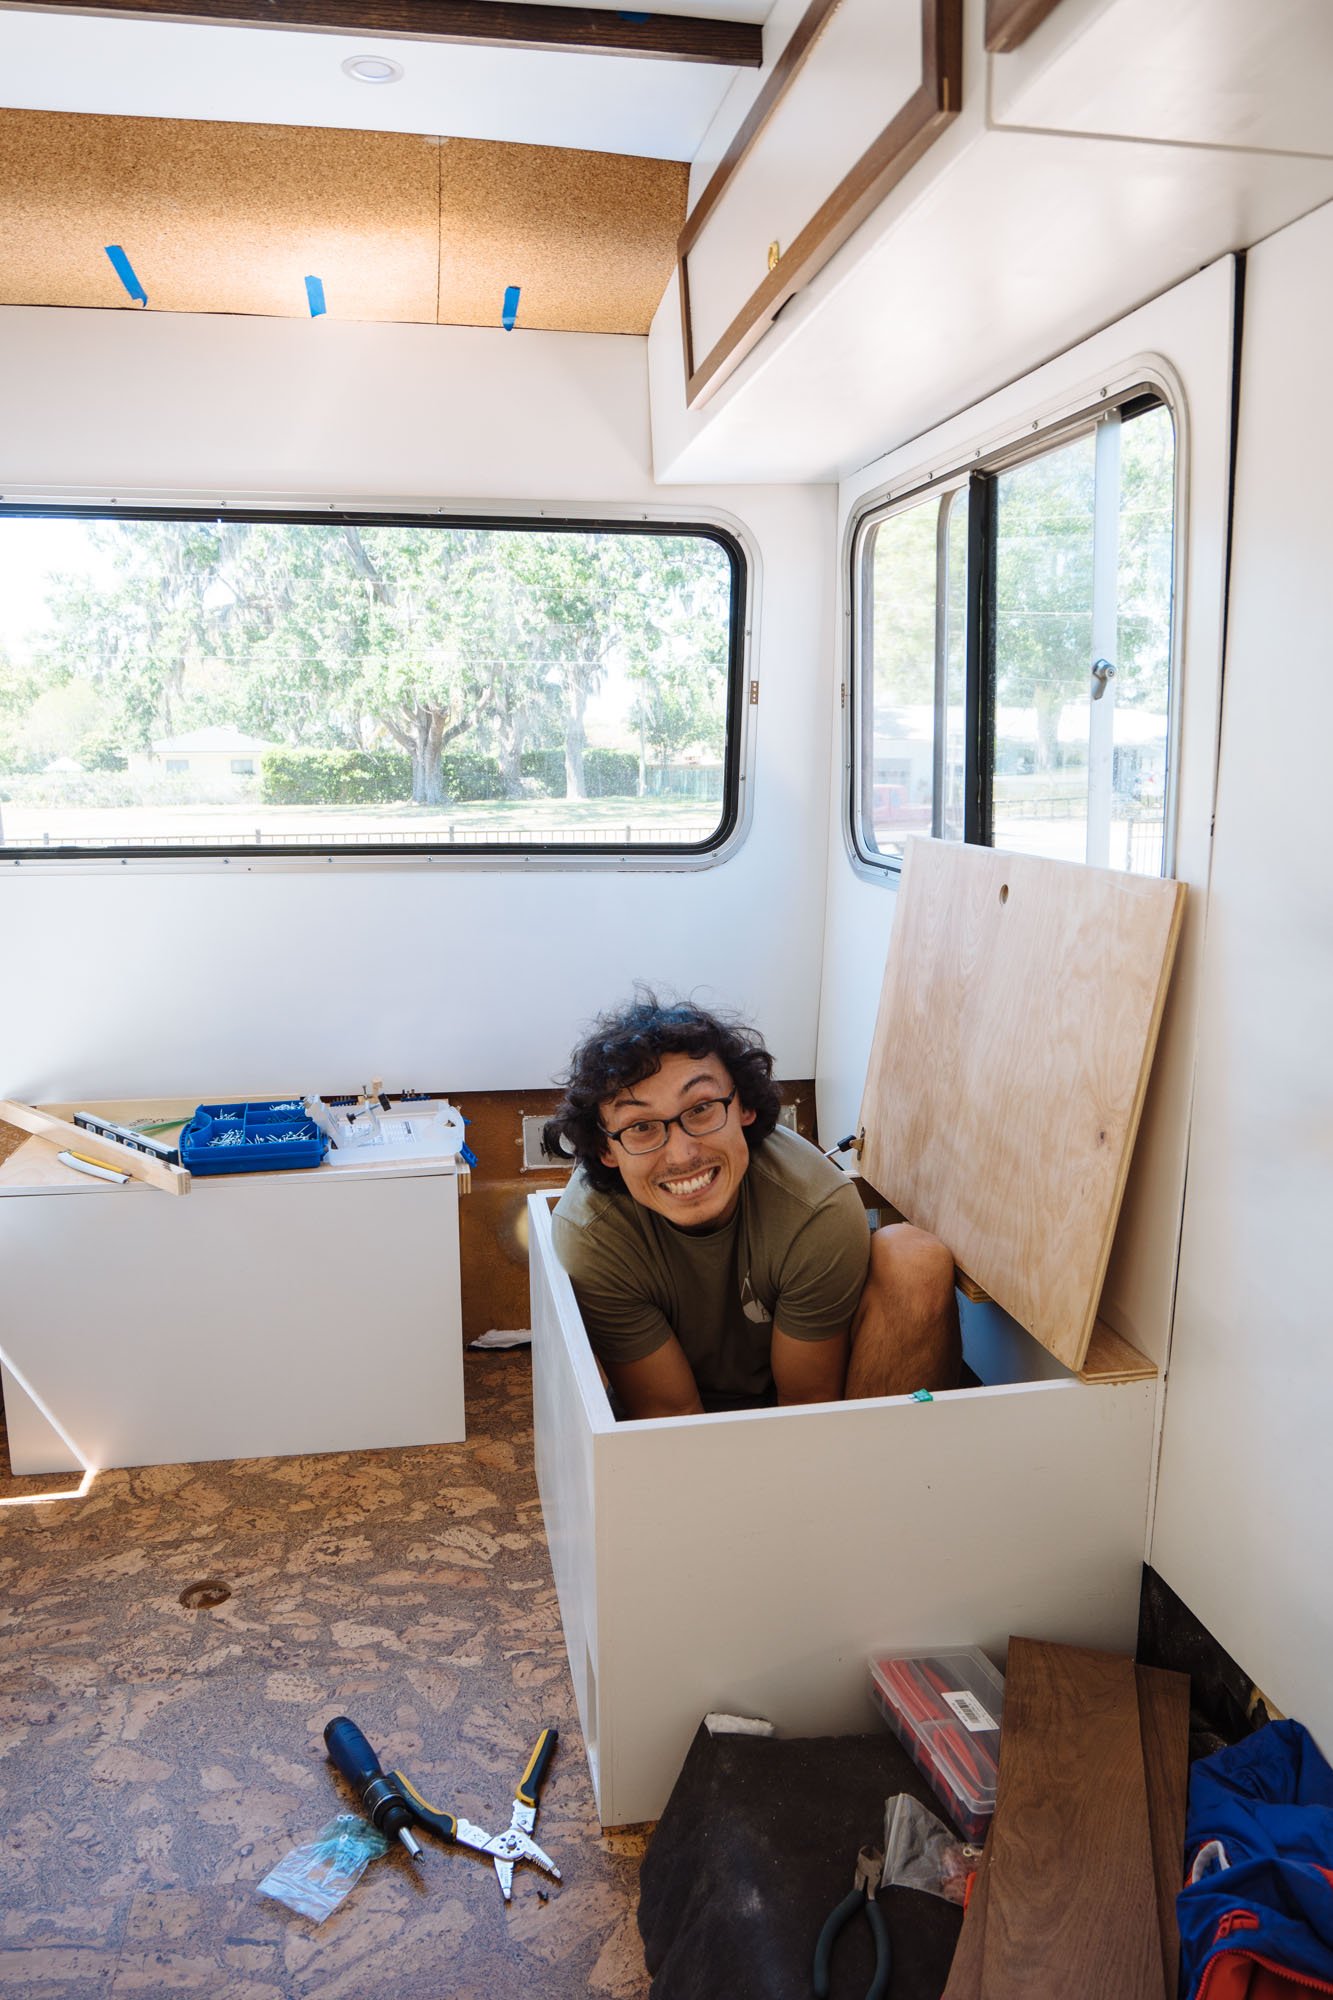
I thought it'd be nice to end on some "life" pictures. Thank you as always everyone for stopping by to check up on our progress! We hope that you're as stoked as we are on the progress.
Have a great week!
MAK
PS: The supplies that need to be listed are for the kitchen set up. They're linked below the drawn image of our kitchen layout. Otherwise the electrical supply list will come in Owen's post about electrical!