Build Out: Week 16
THE WALLS AND THE KITCHEN
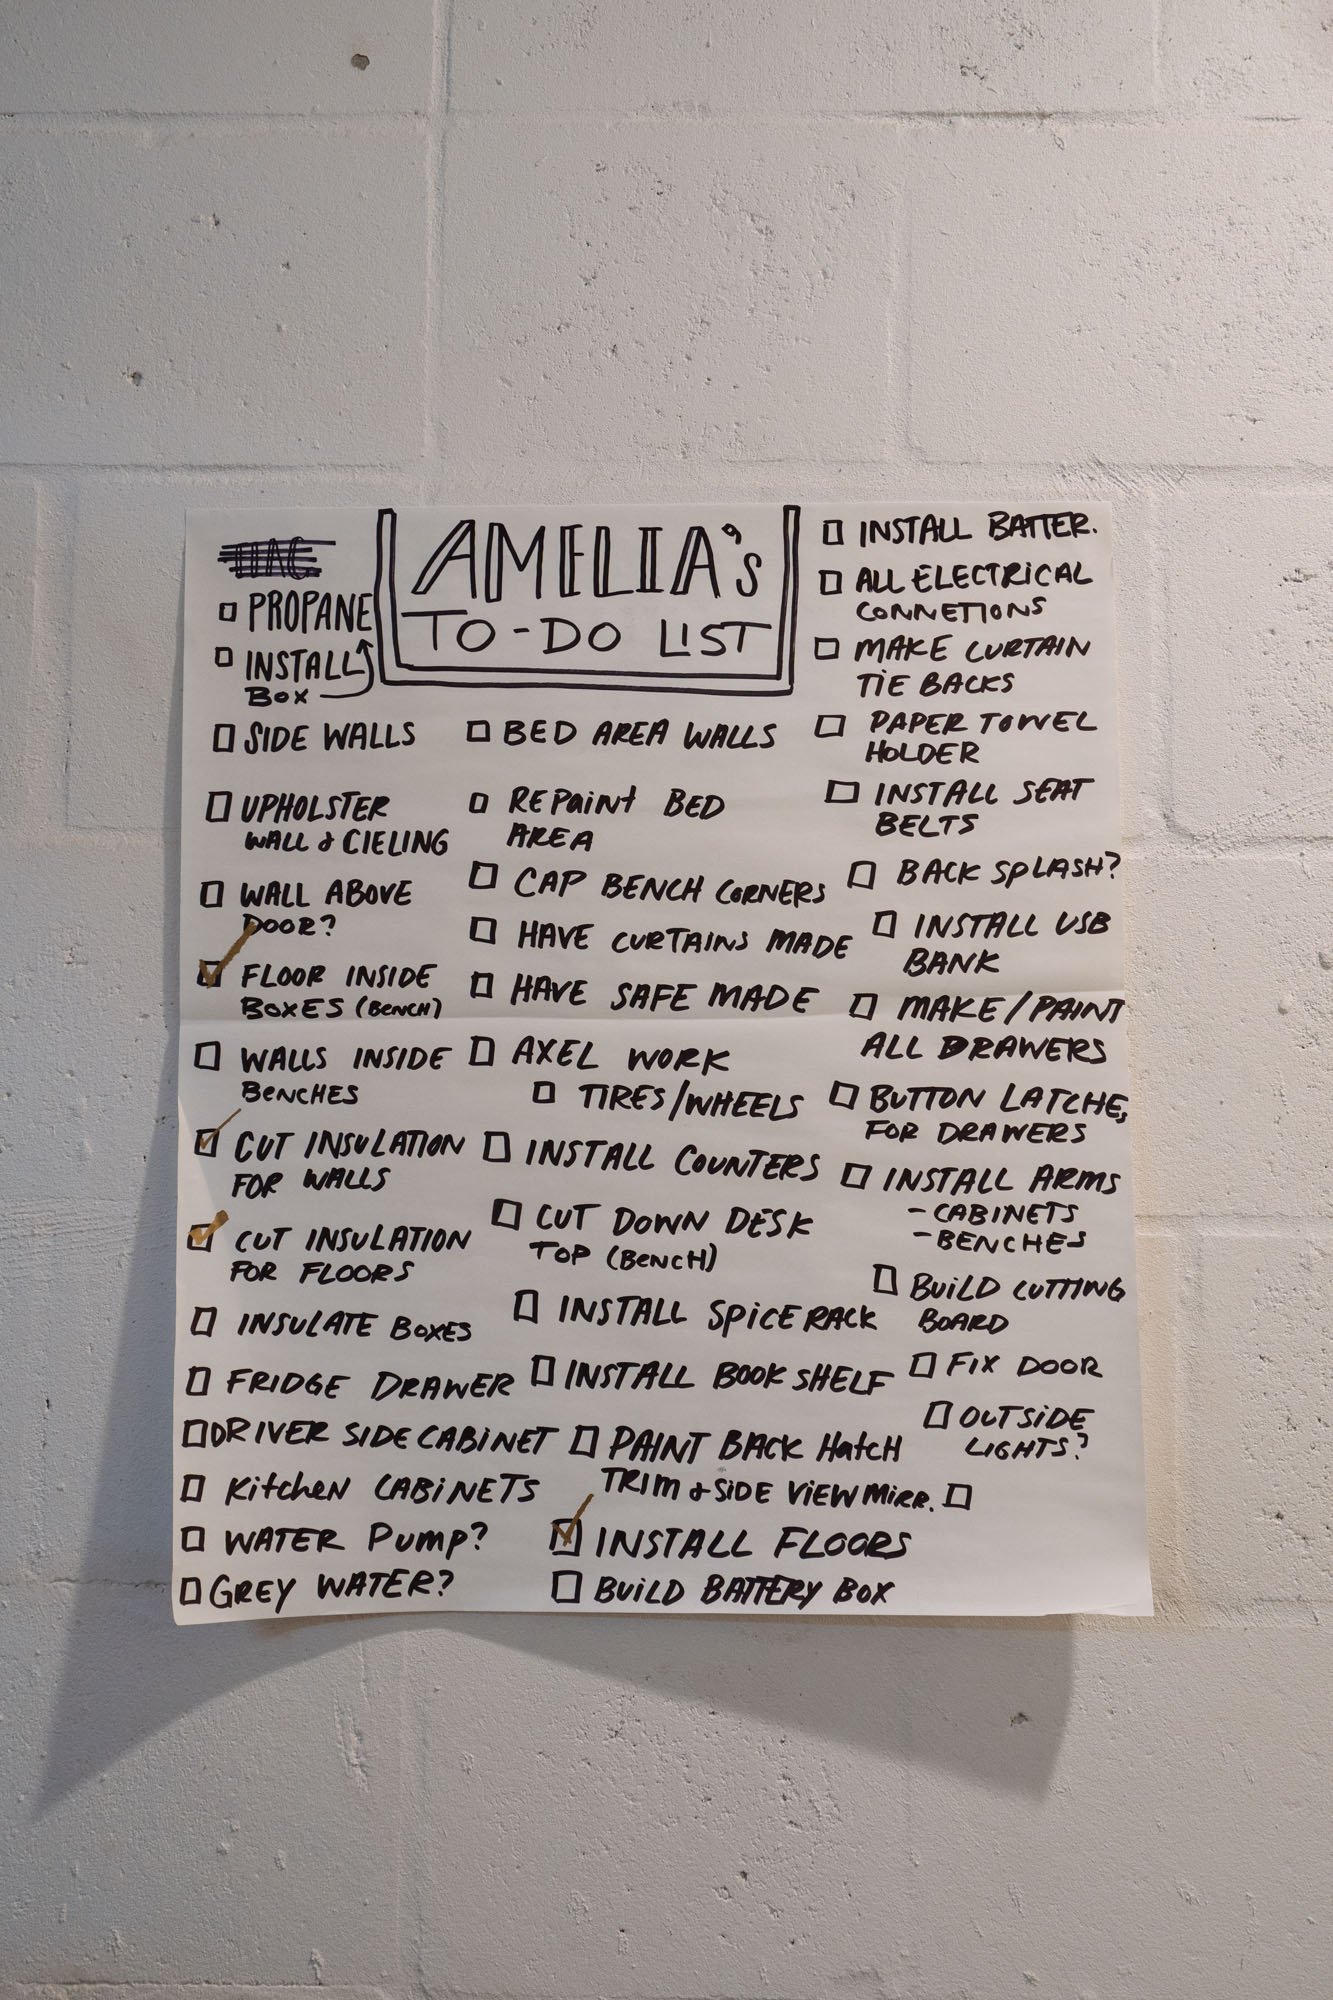
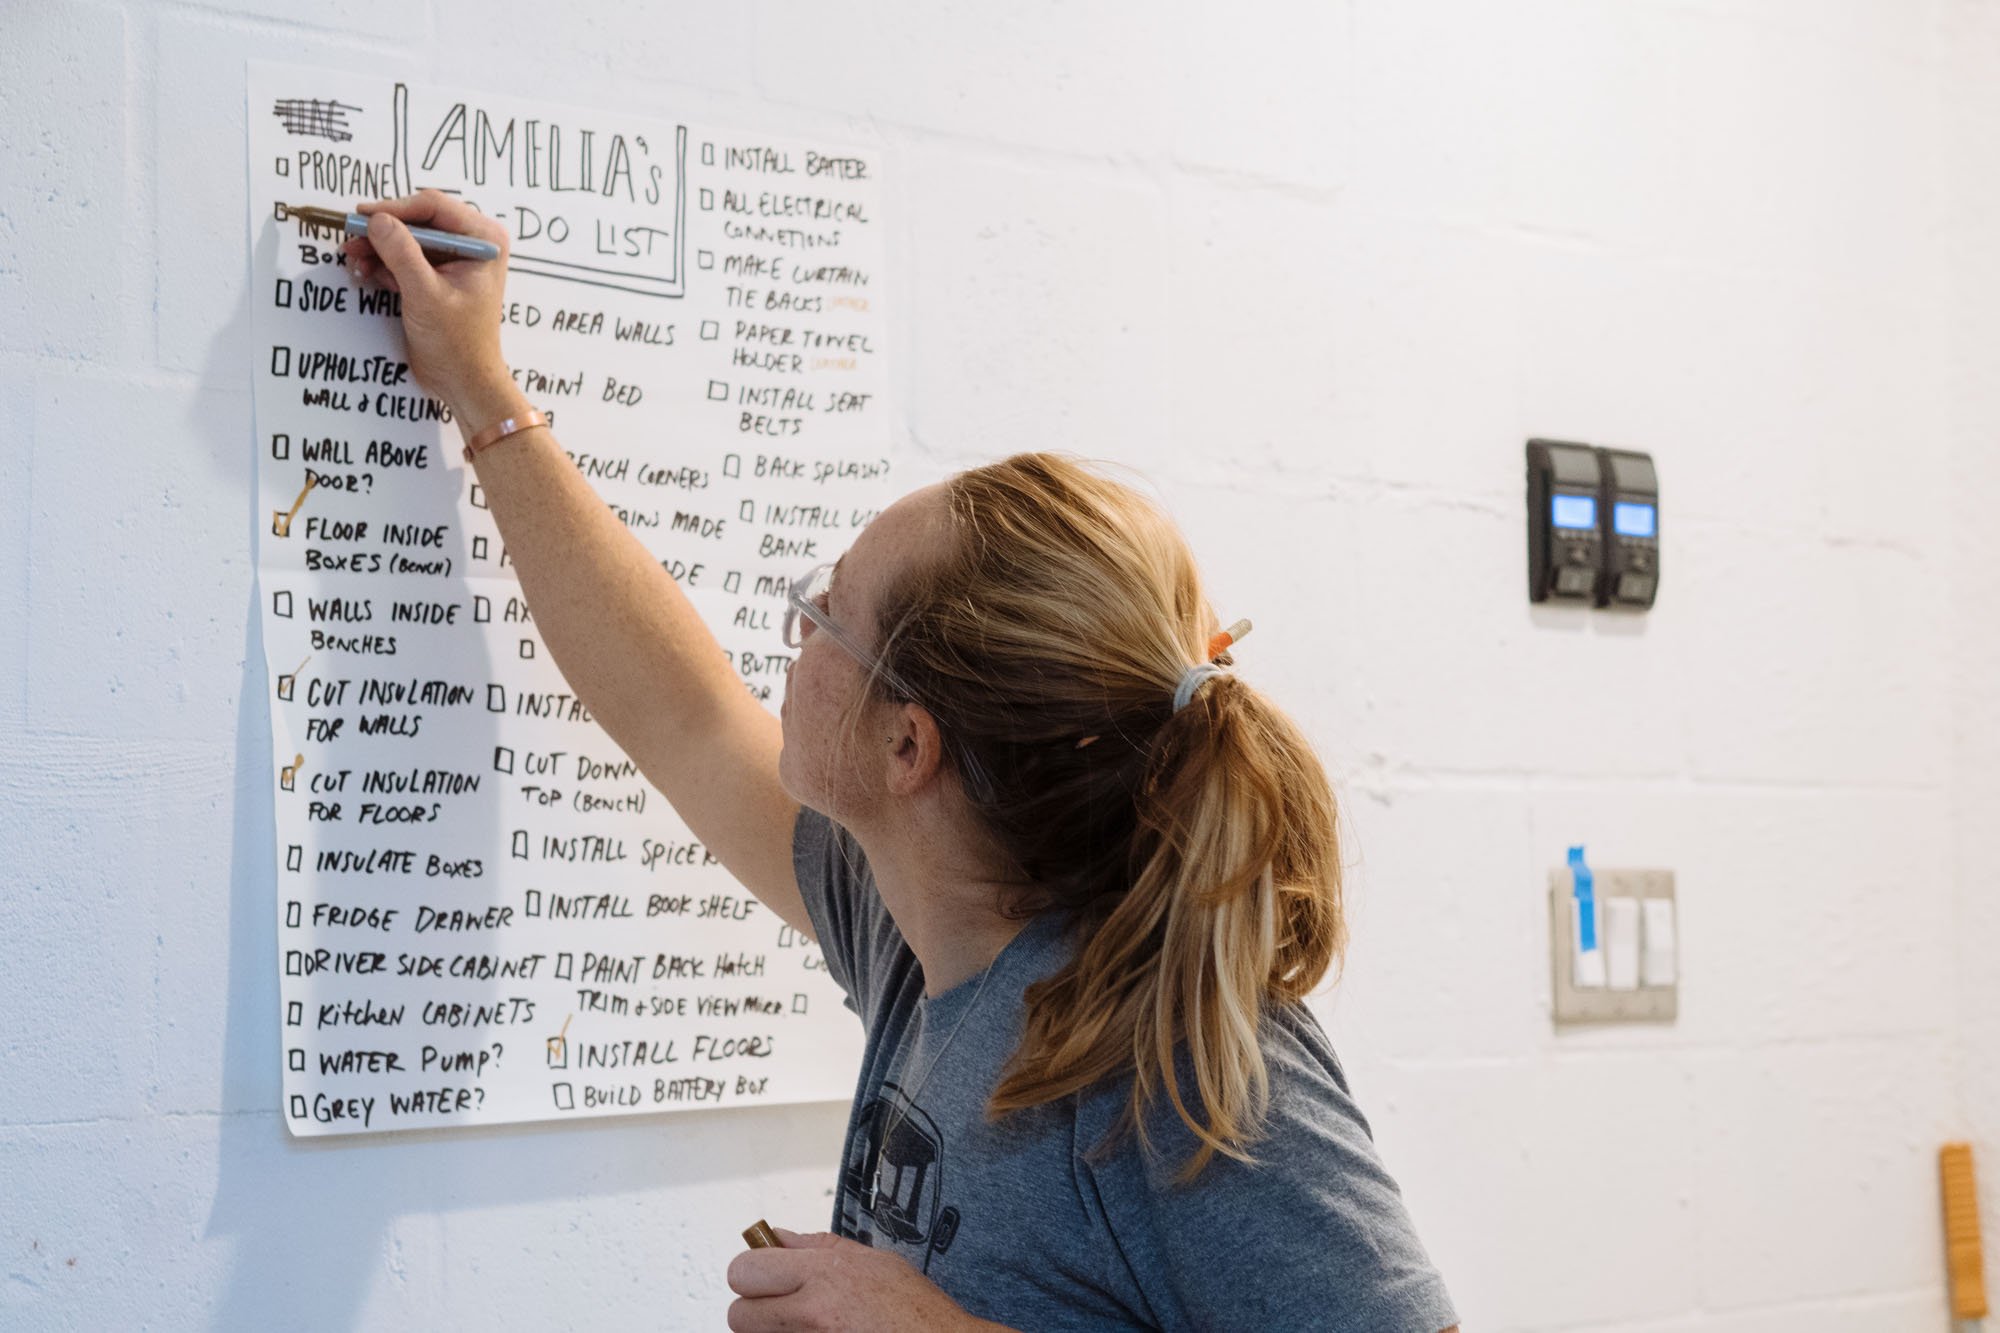
We feel really close to being done with Amelia, even though we know that we have a few more weeks of work to do. We're just now starting to see the light at the end of the tunnel! With things starting to move so fast in the build we needed some organization. We decided to make this giant check list! It's nice to see everything all laid out at once so we can break it down into manageable pieces. Once we make it through that list, we will be peeling out of this driveway and pointing ourselves west!
I forgot to mention last week that we have another installment of our YouTube series following the build out. This video covers resealing windows and MaxxAir fan installation for our skylights!
Now. Lets get to work.

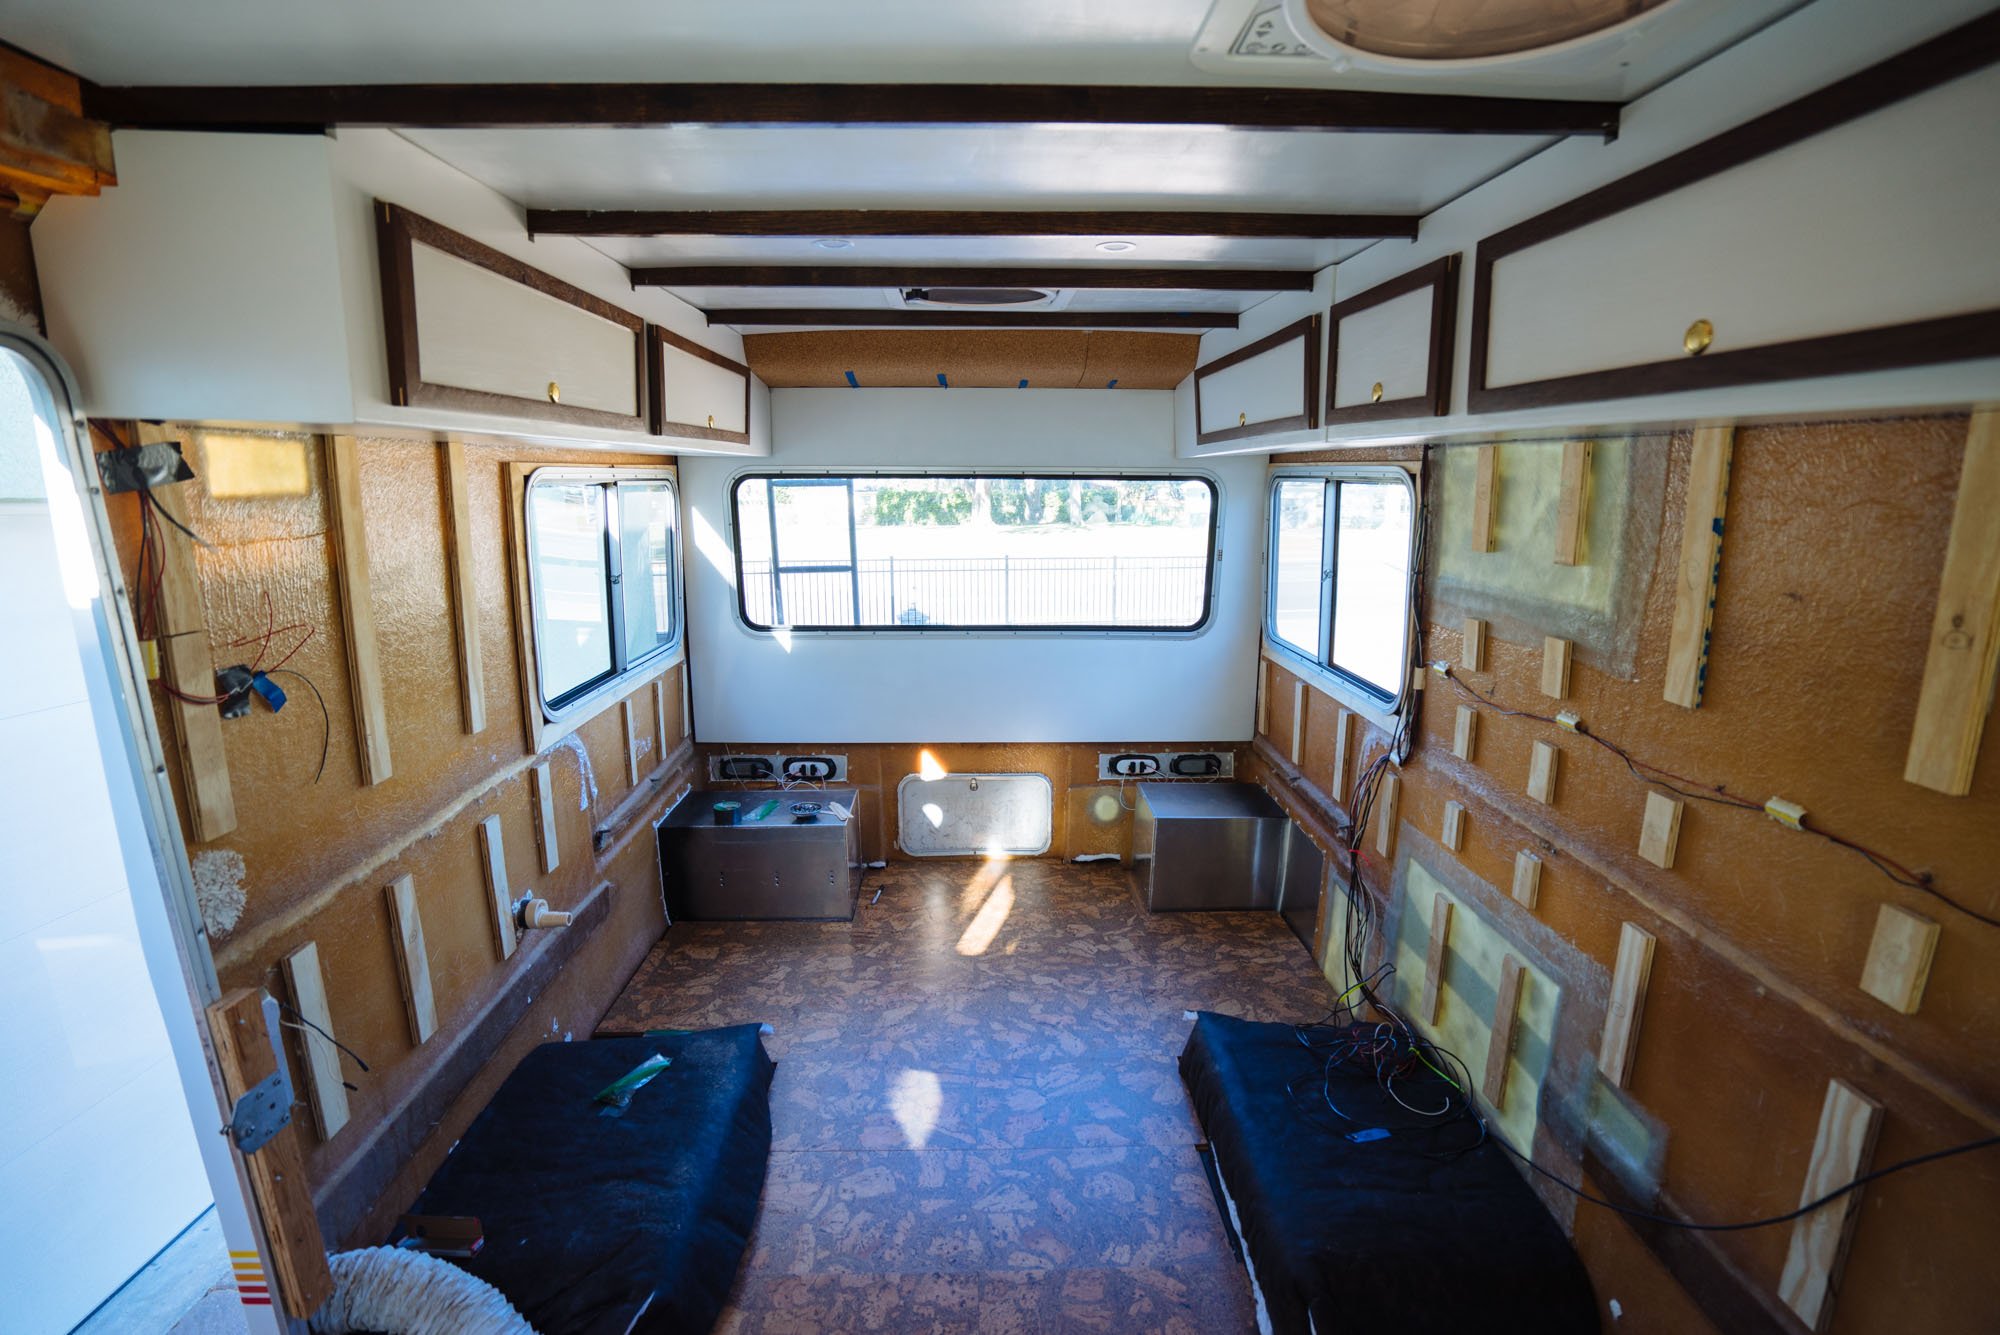
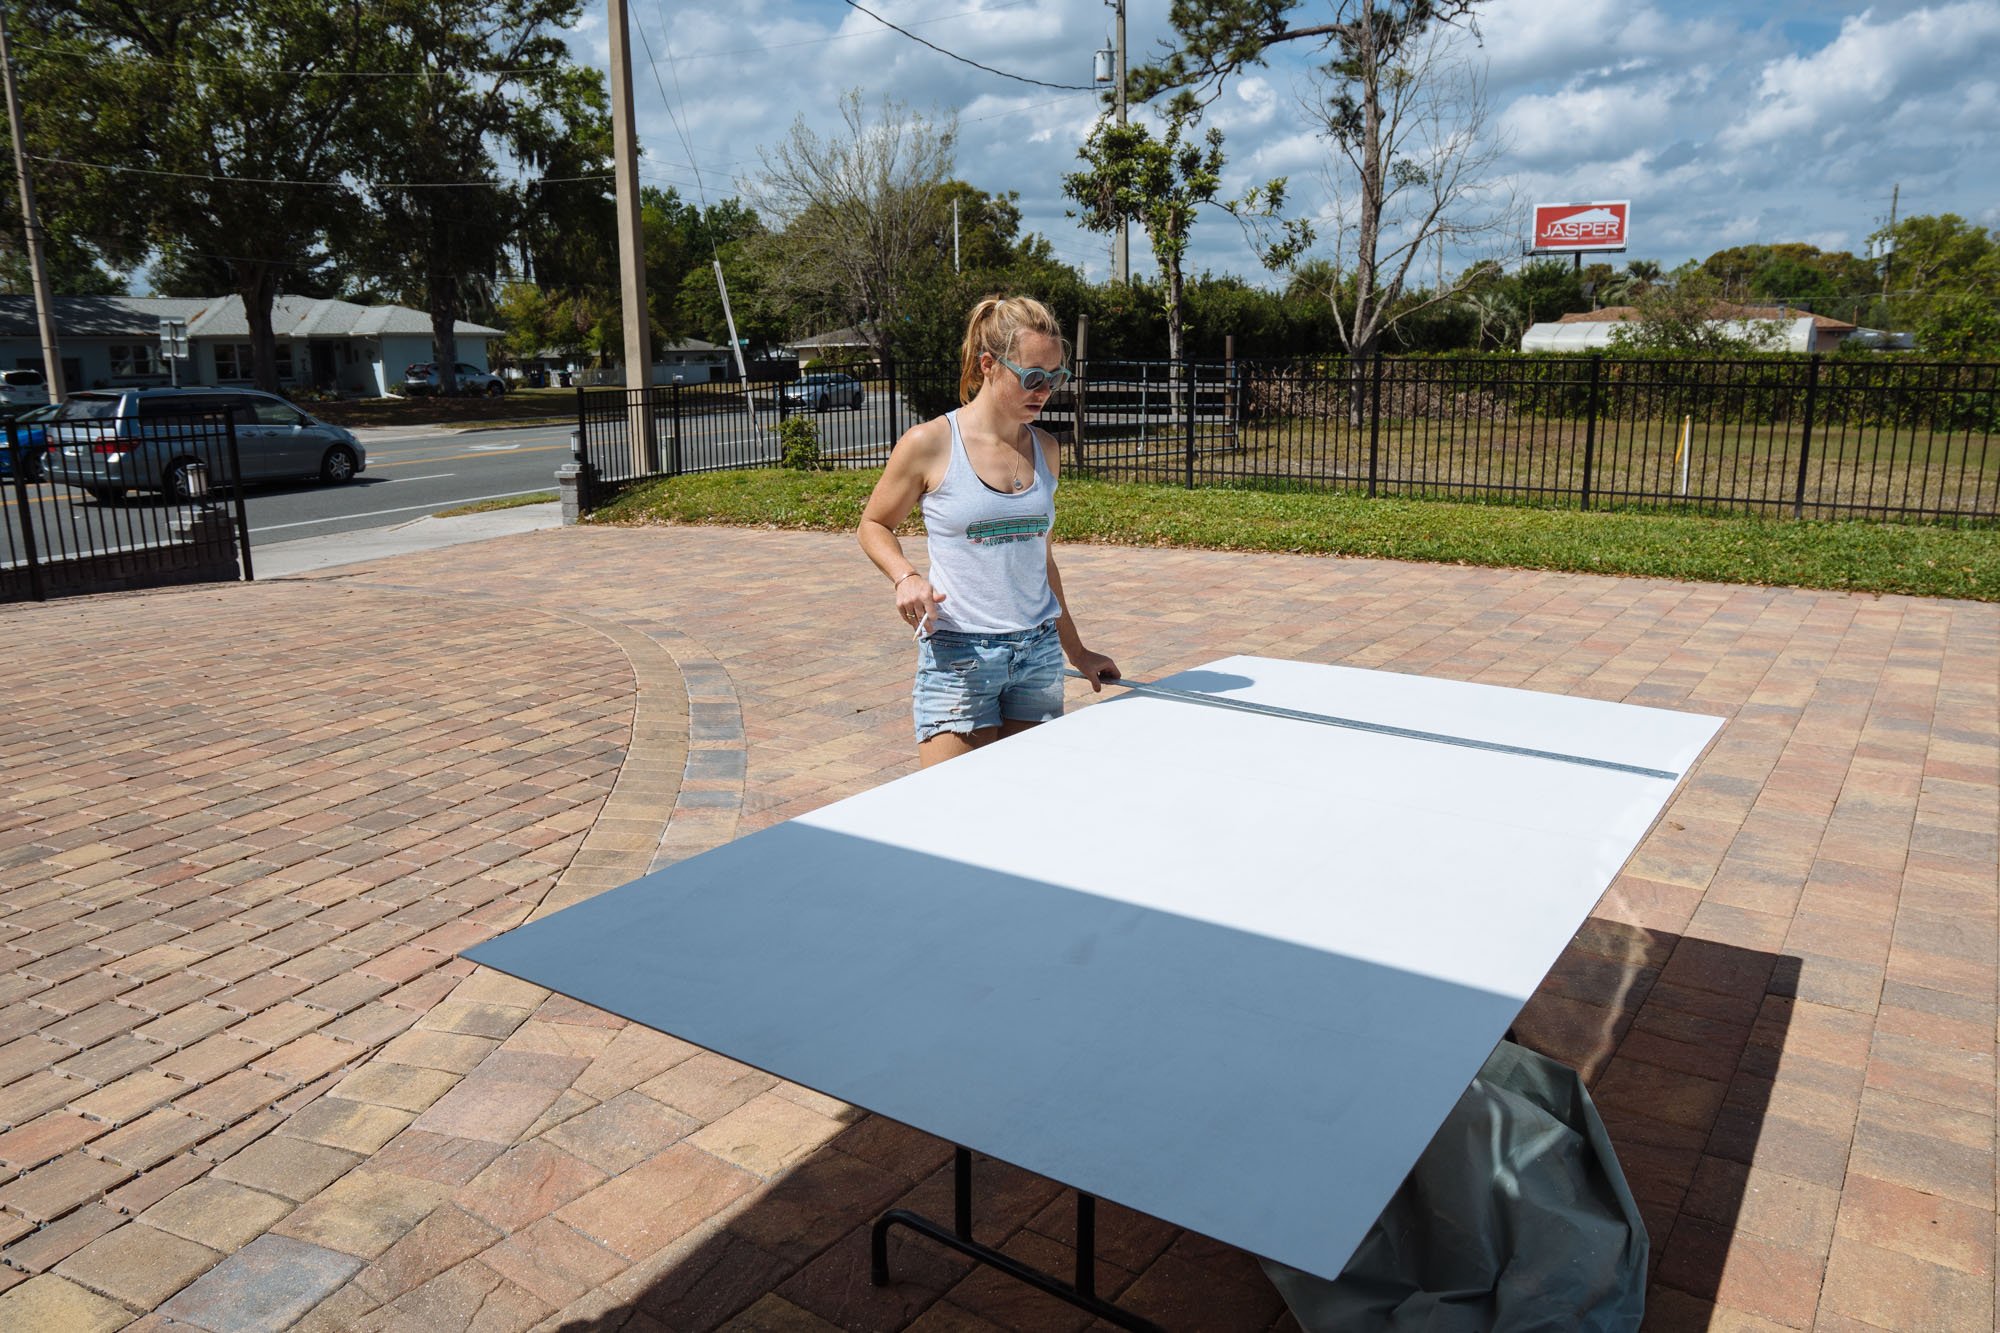
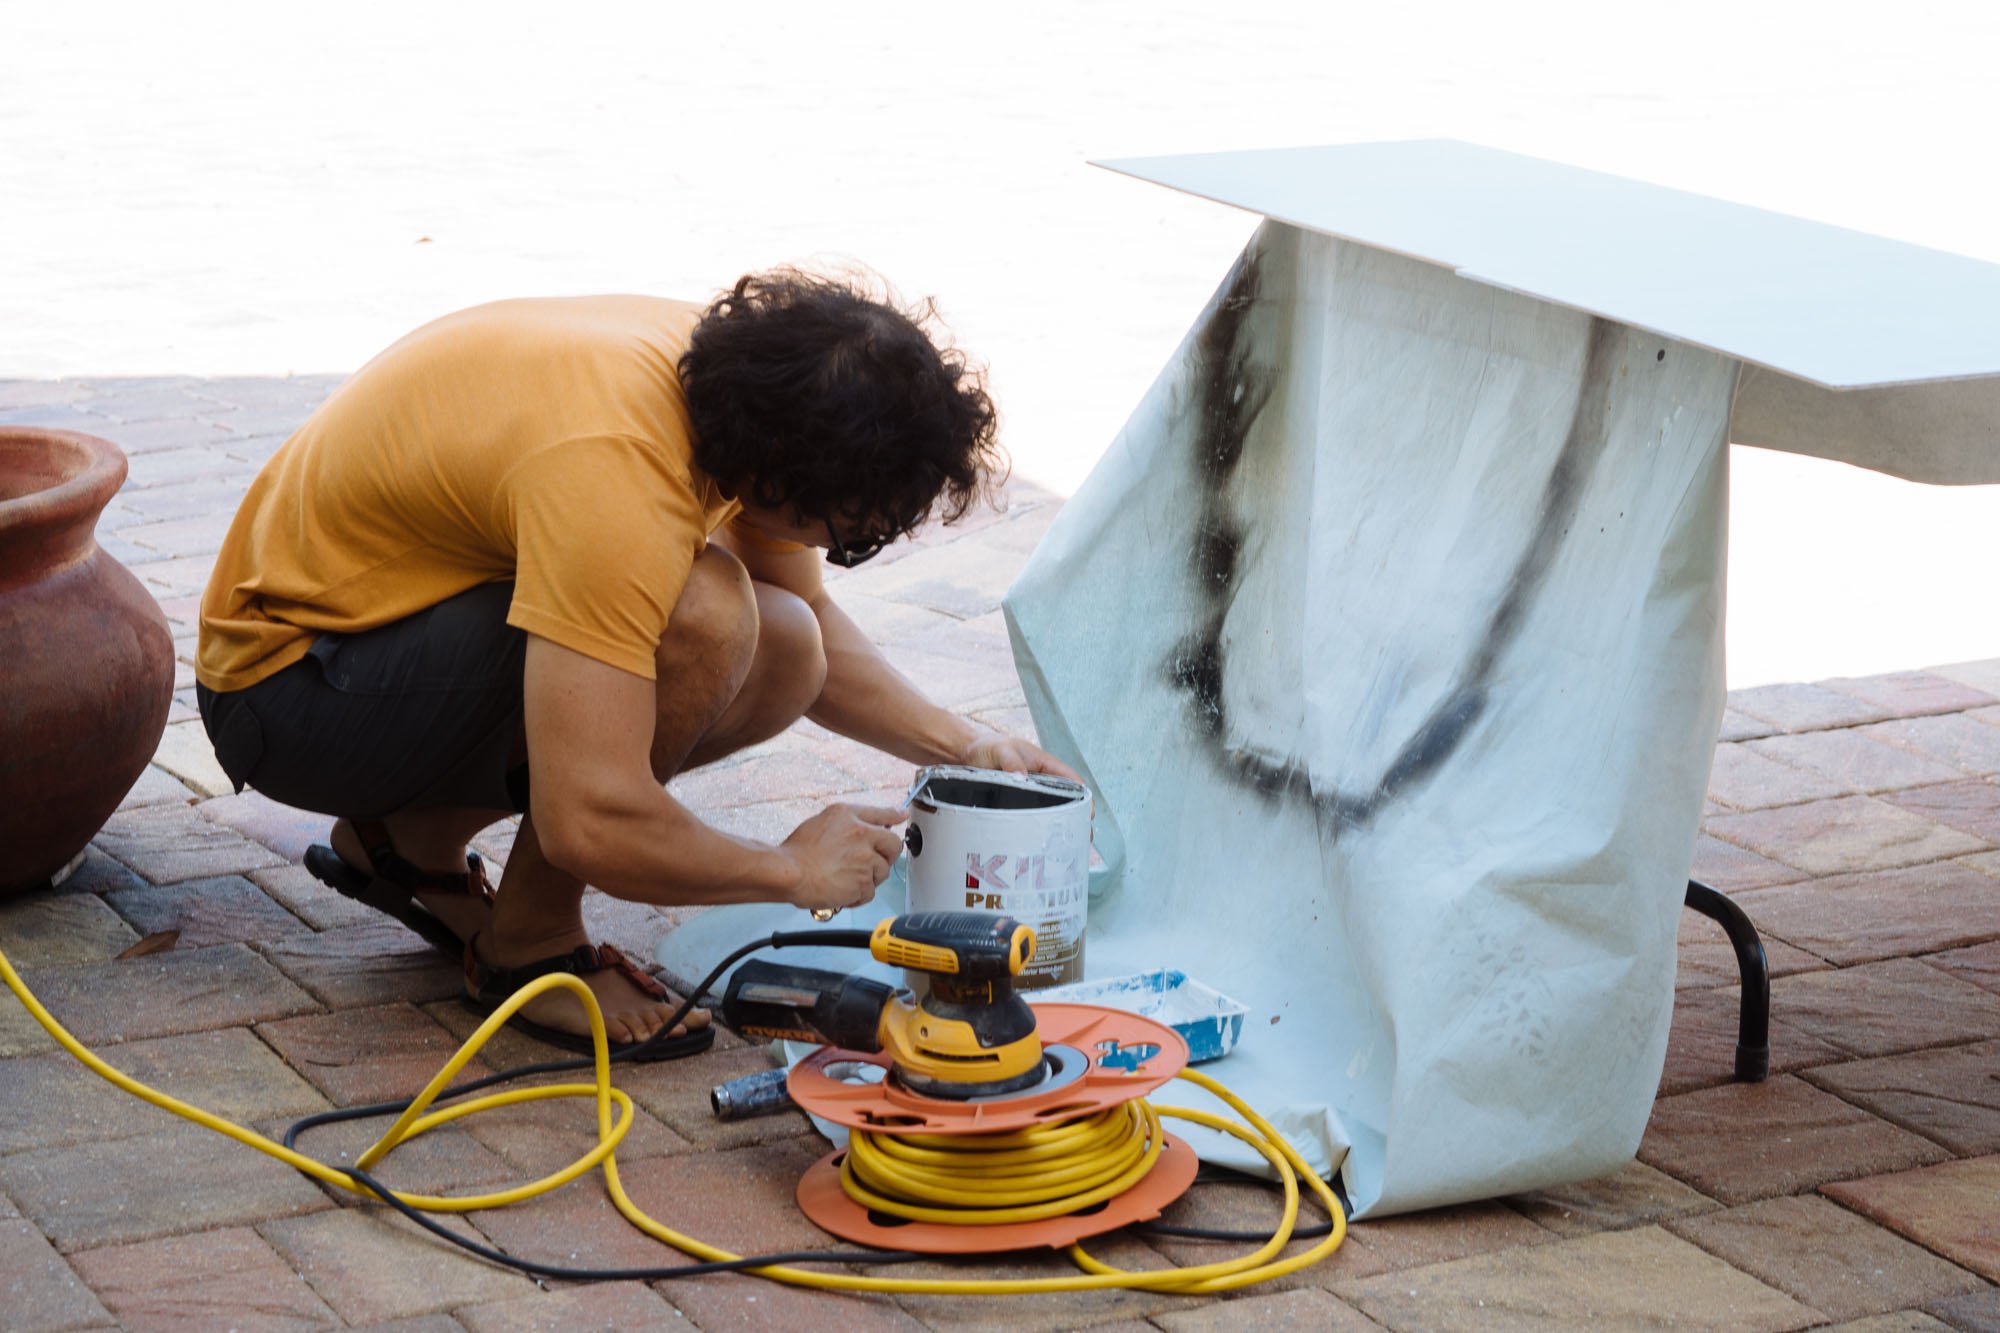
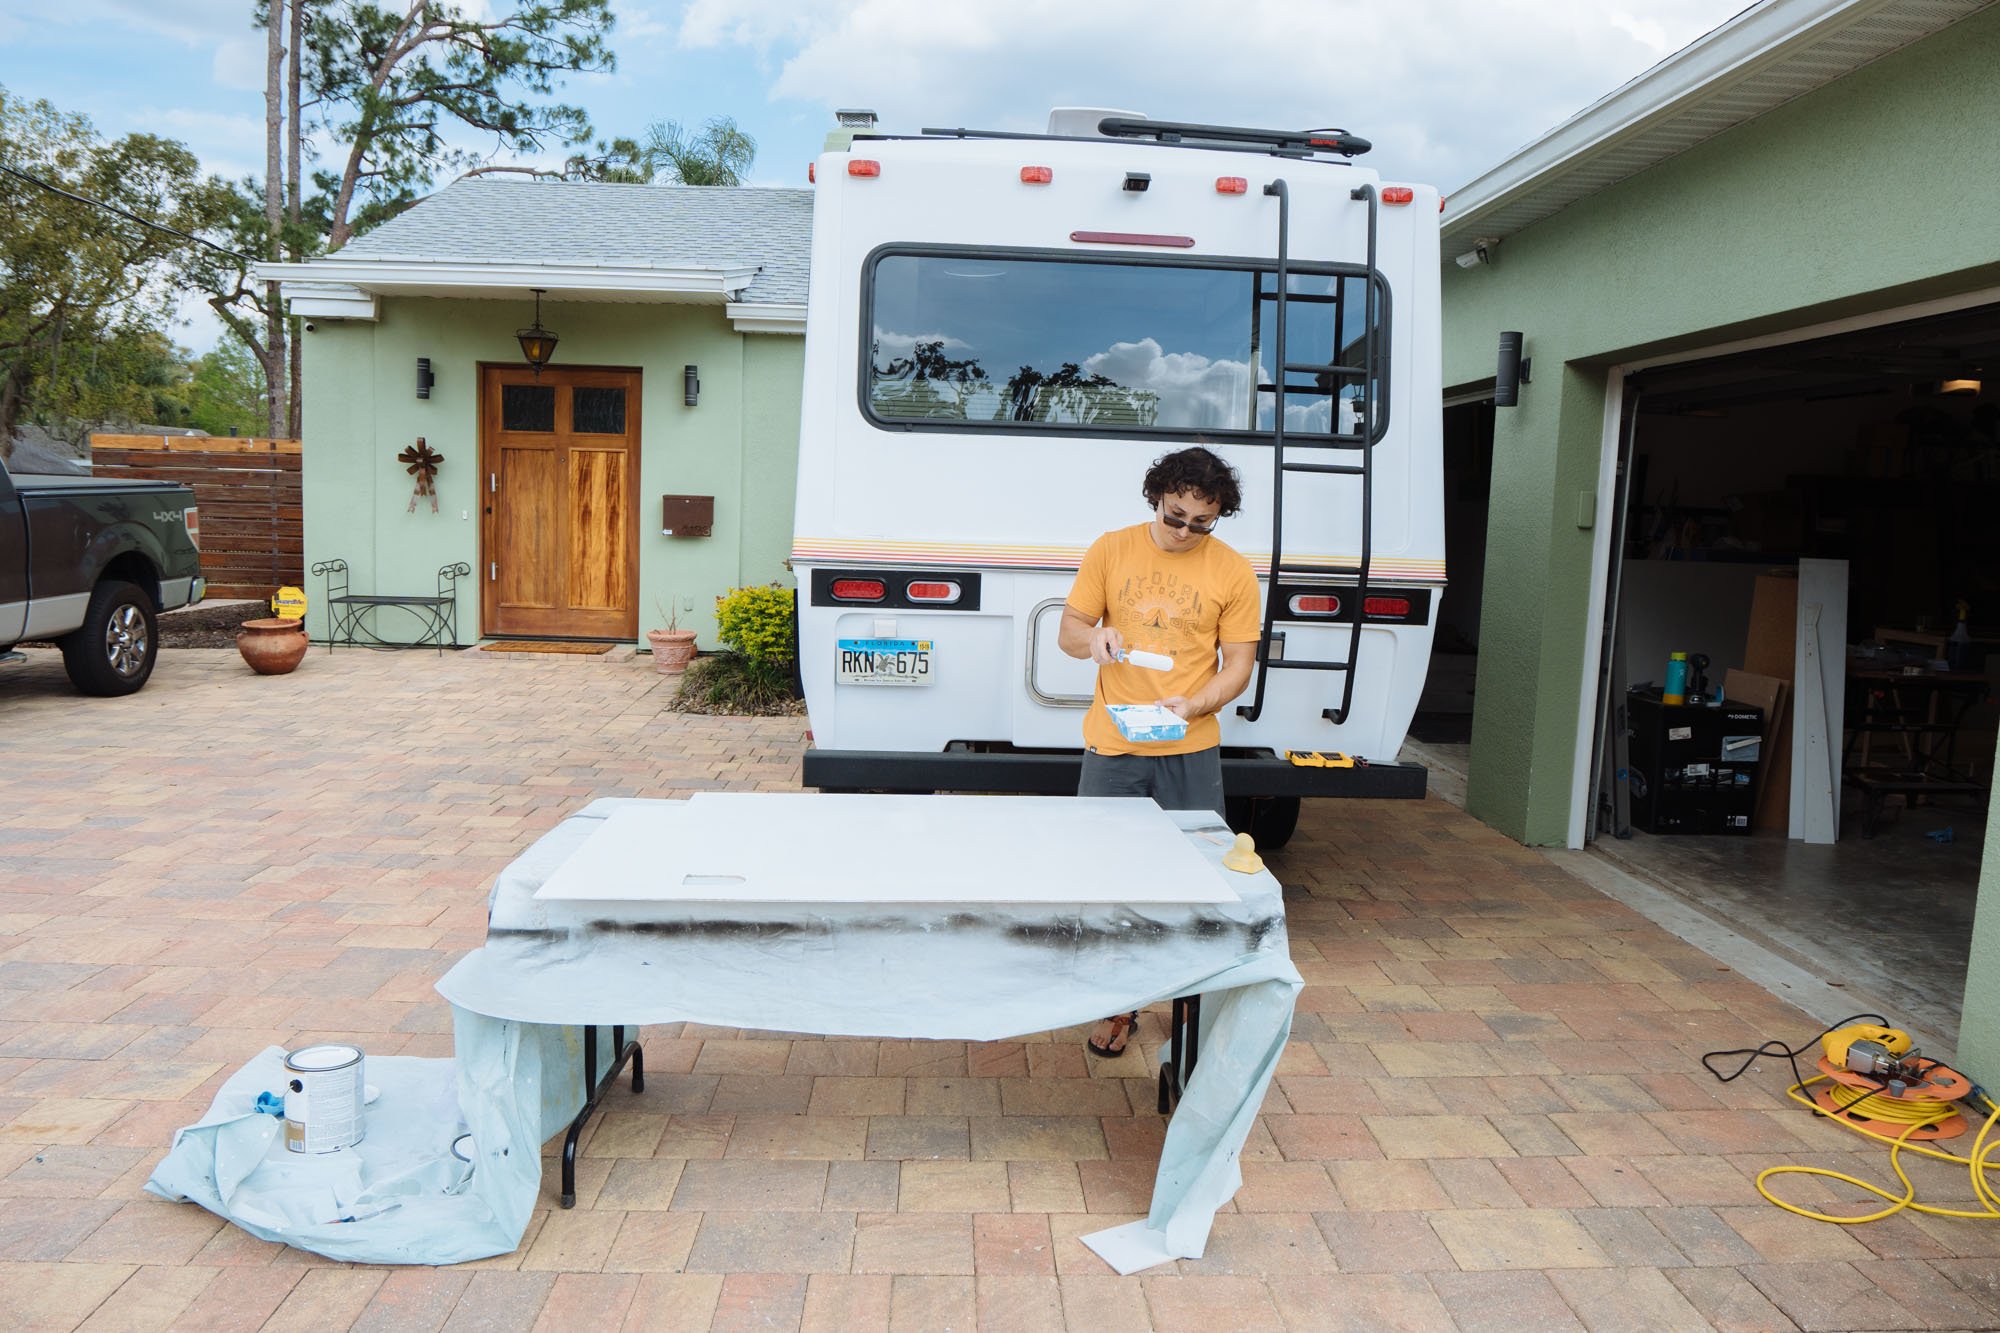
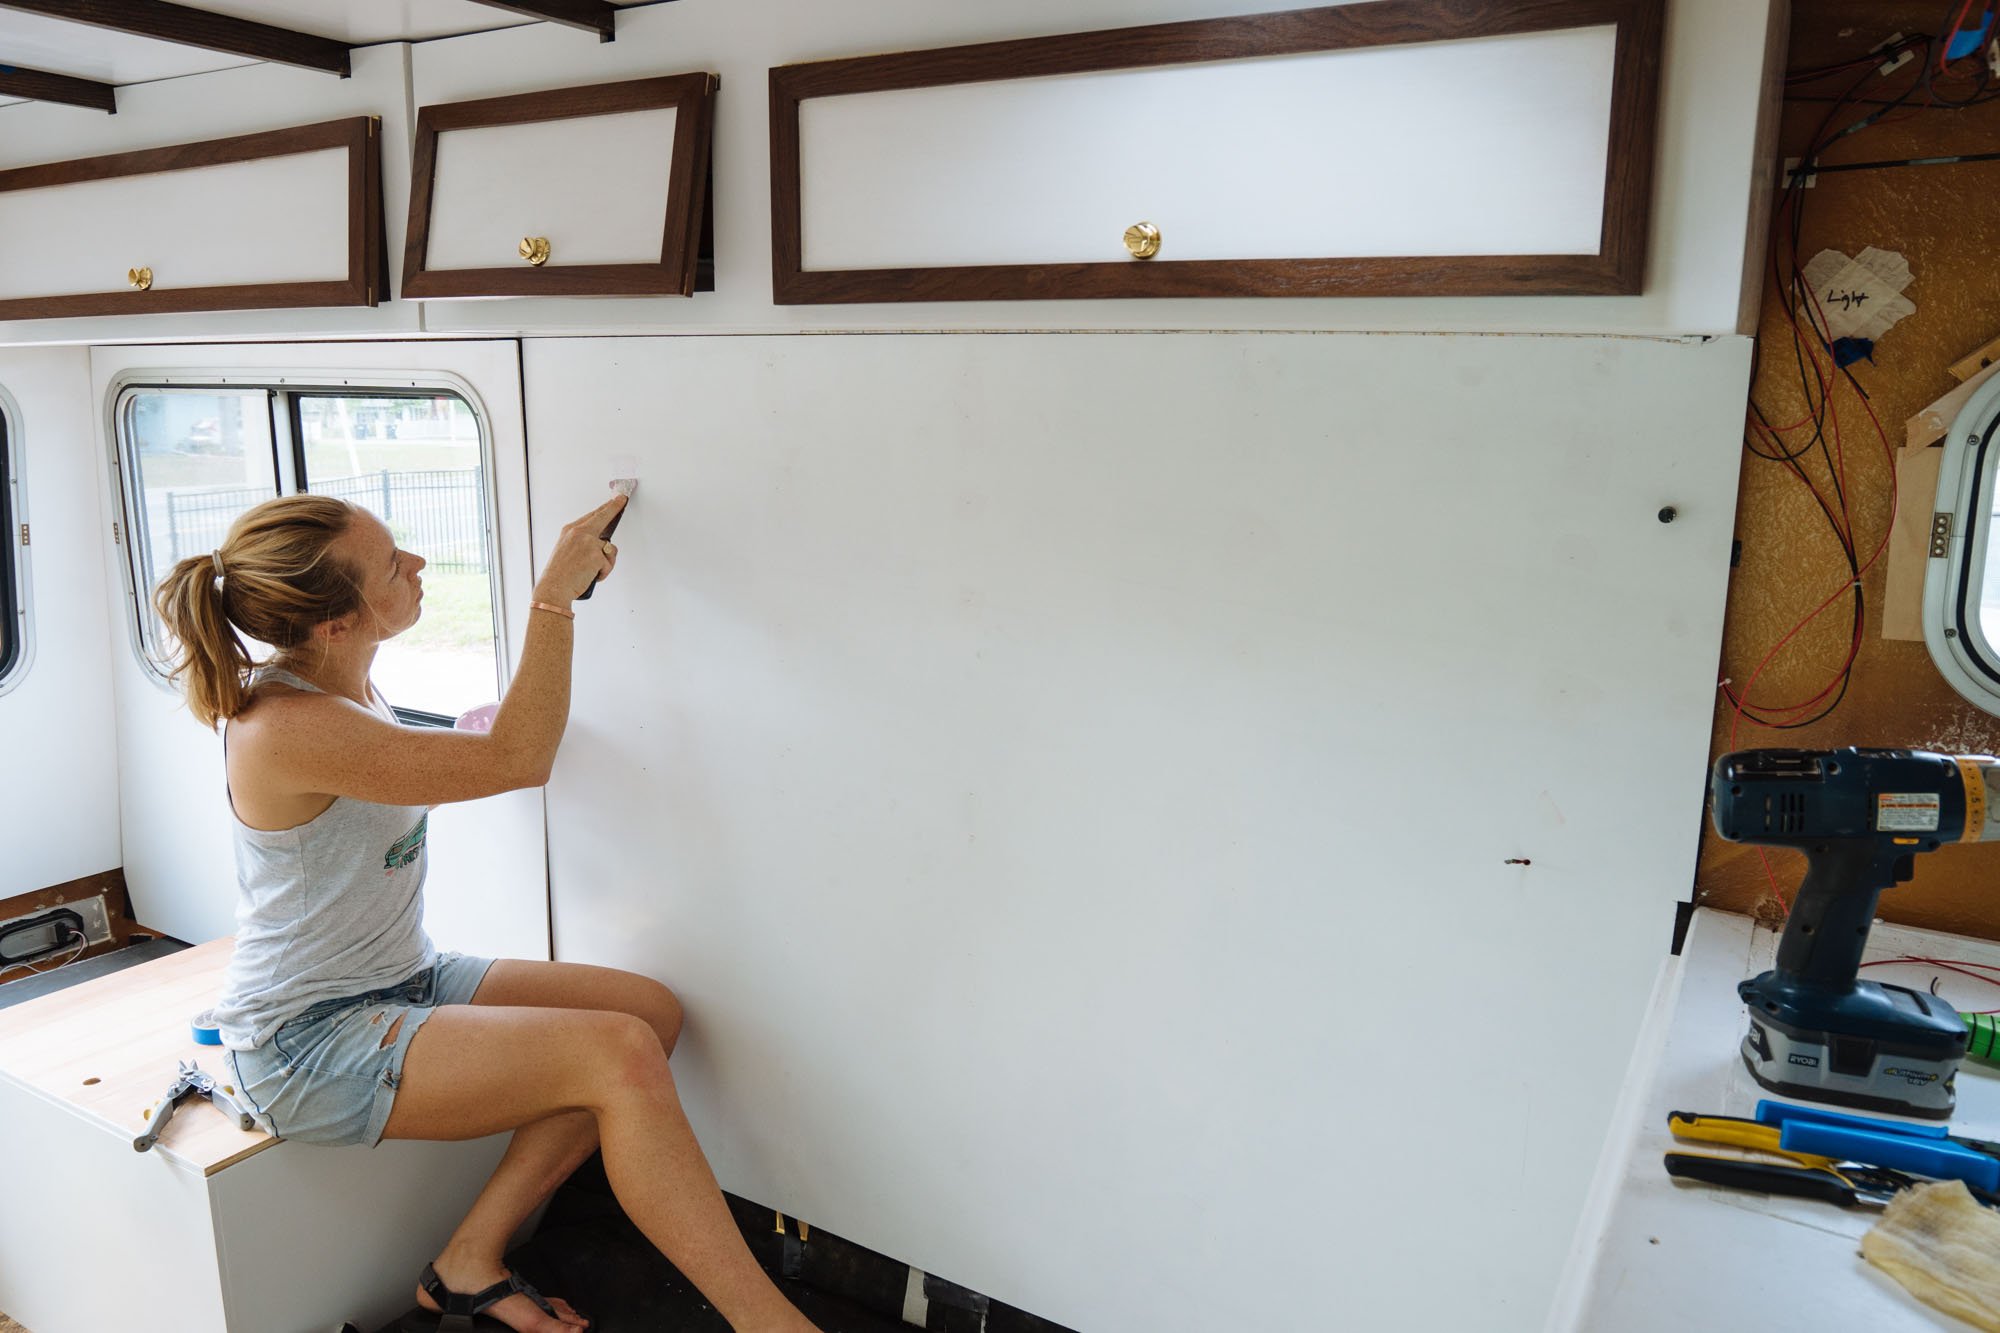
So it's been a few weeks since we installed our ceilings and back walls...but sadly something has happened. I didn't know that if you don't HEAVILY prime plywood the sap and tannins will seep into the white paint in a lovely yellowy stain across the wall. Super unfortunate lesson to learn after our walls and ceiling pieces were installed, but now I know. The only way that I could stop the staining from continuing was to sand the surfaces down, buy stain blocking primer, and get it onto the walls and ceiling. So that's exactly what I did.

There was a good bit of taping that needed to be done, but in the end it was well worth the effort. The walls feel really polished and finished. We couldn't help but take some time to admire how nice it all turned out. The quality of light in our little home is exactly as we dreamed it would be!
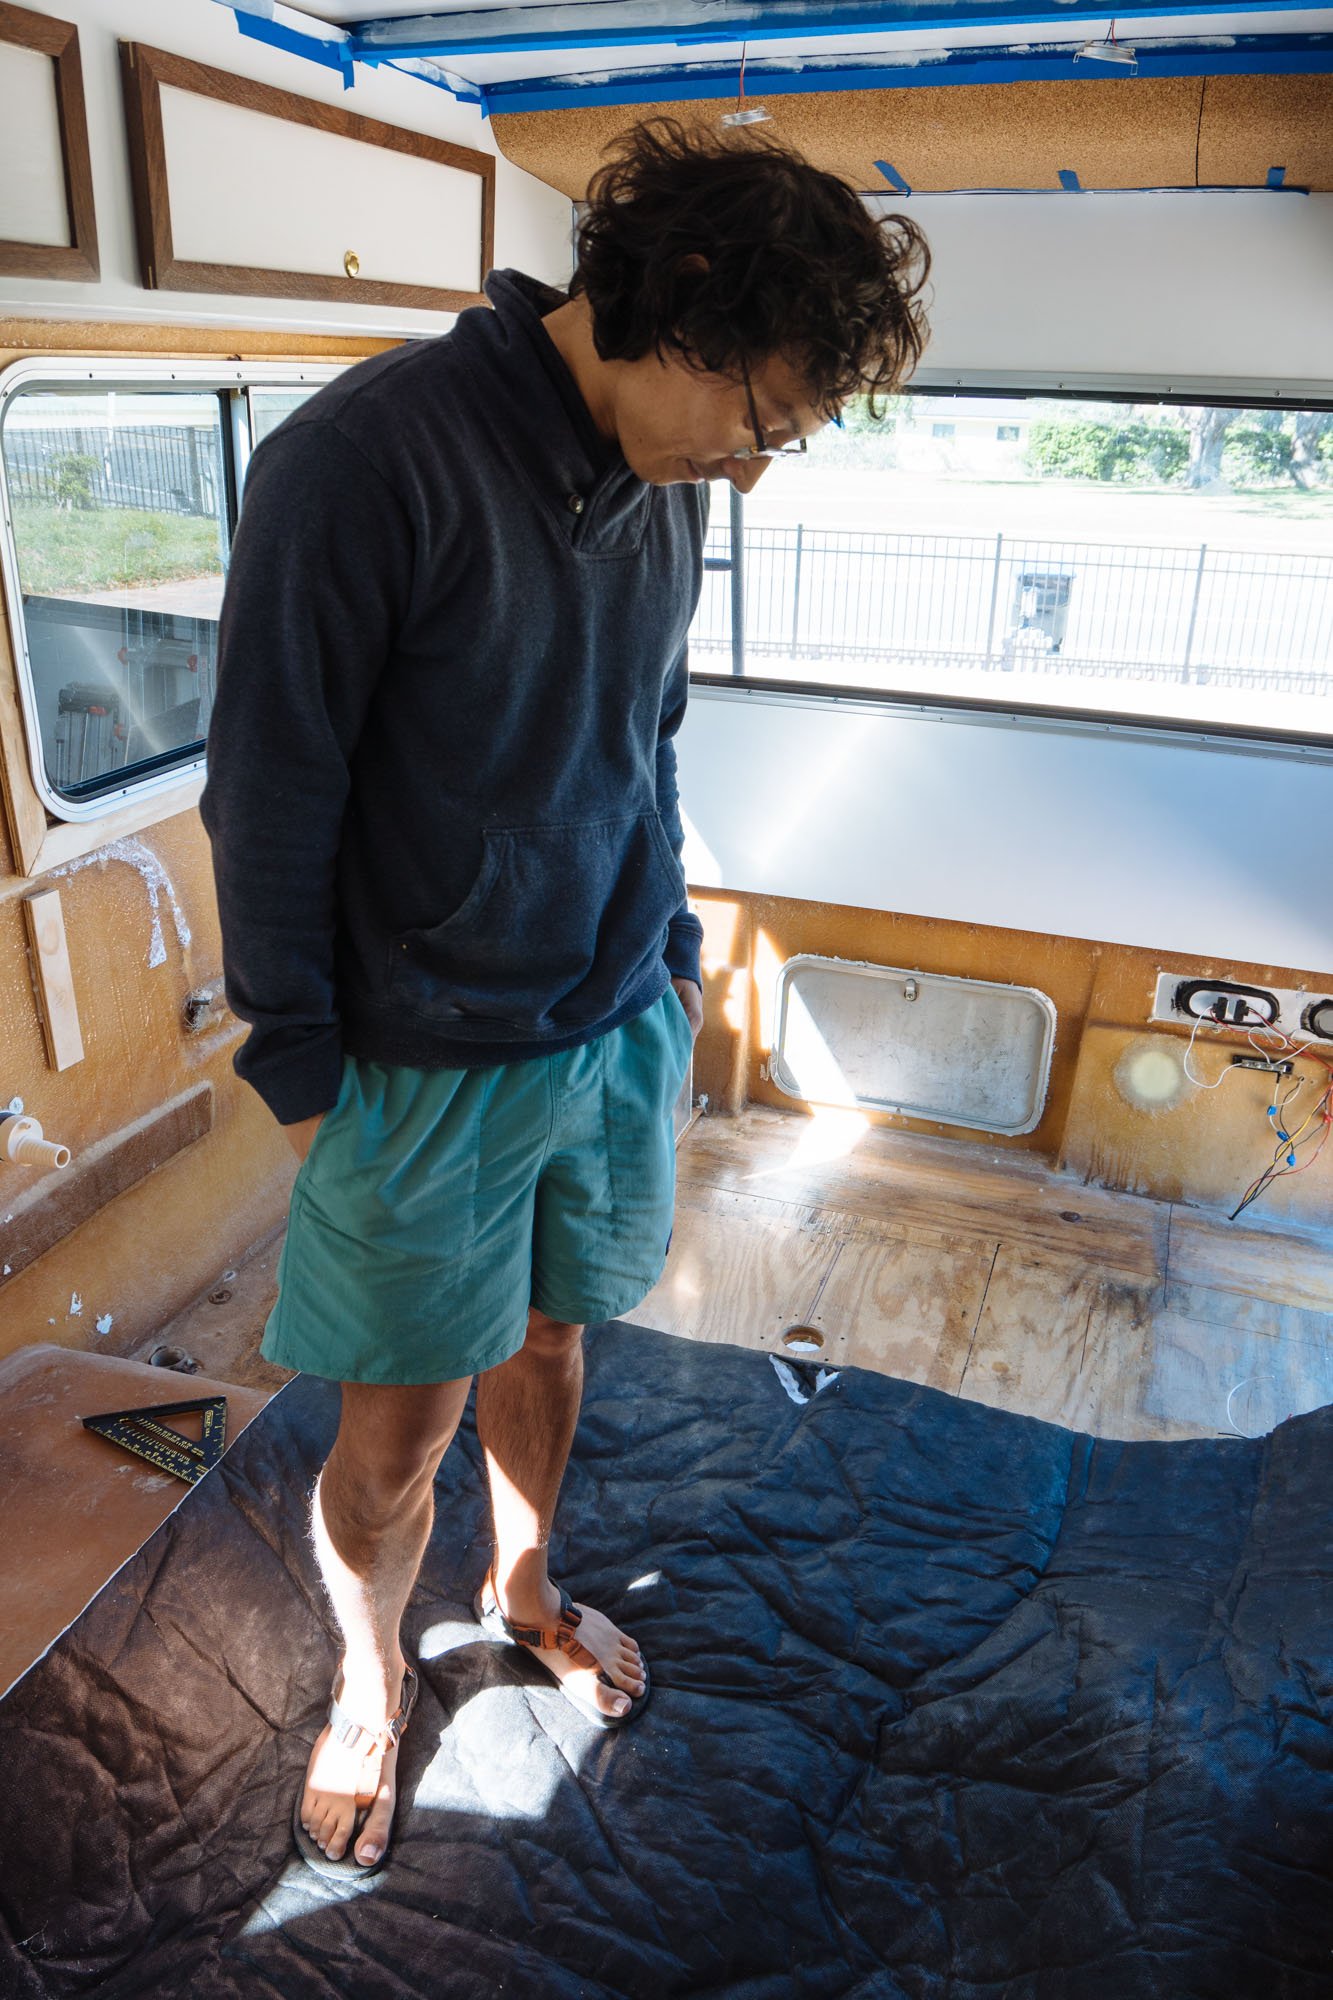
For a long time now, we had the plan to install our floors around our bottom cabinetry. After last week, when we installed our bench seats I spent a lot of time looking at our floors. The more I thought about it, the more I started to feel strongly that we needed to install our insulation and floors first. Our bench seats and lower cabinetry all needed a strong and even base to work from, and our cork flooring could give us just that! After Owen and I ran through all the details we decided to proceed with our new plan and get to work on our floors.
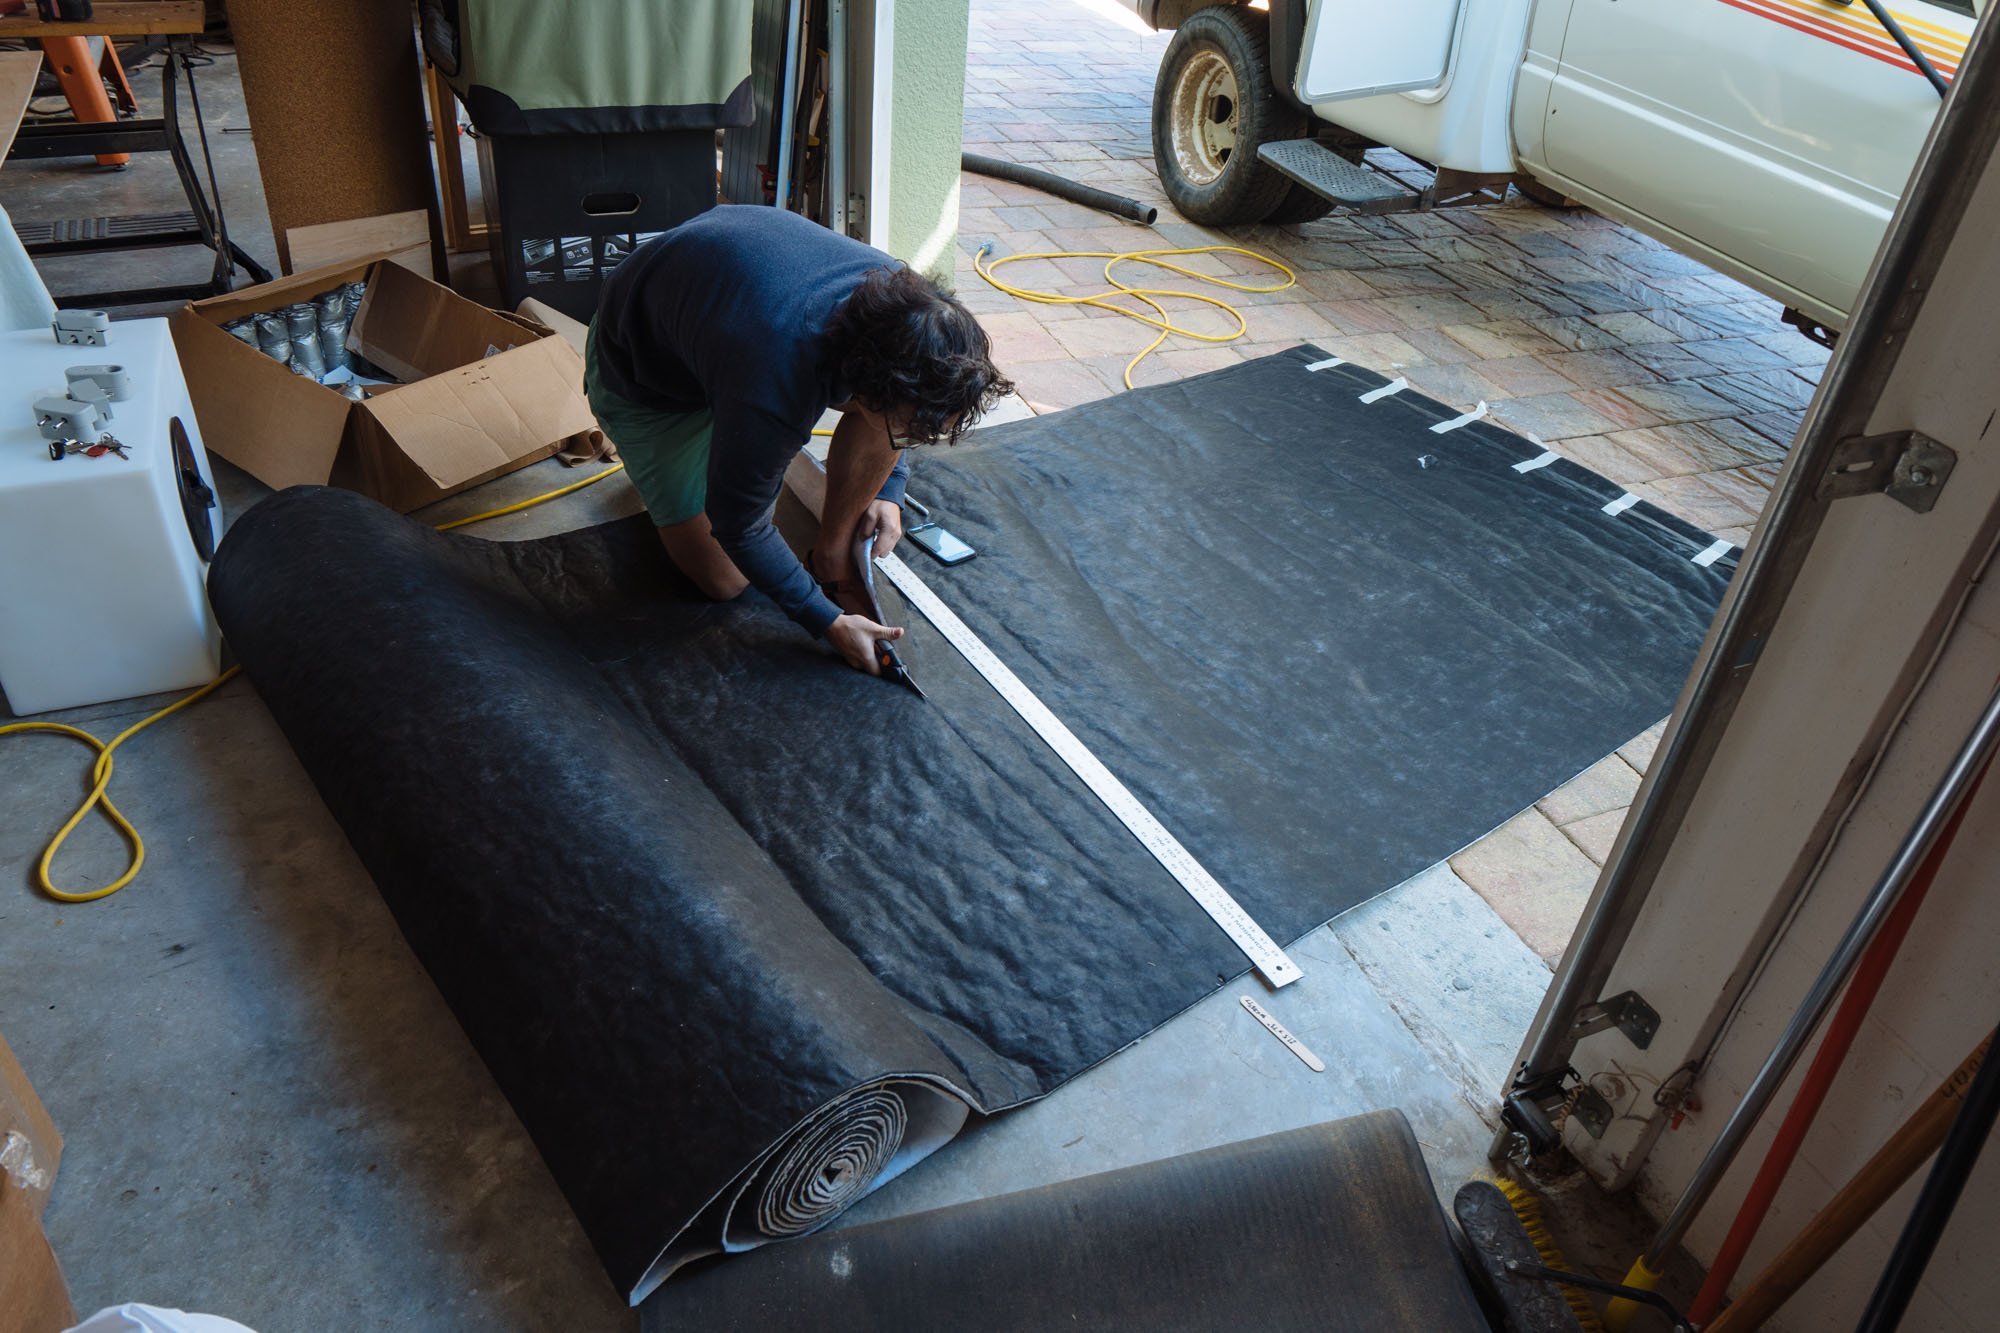
Before our floors could go in we cut all our insulation to cover the whole floor and the wheel wells.
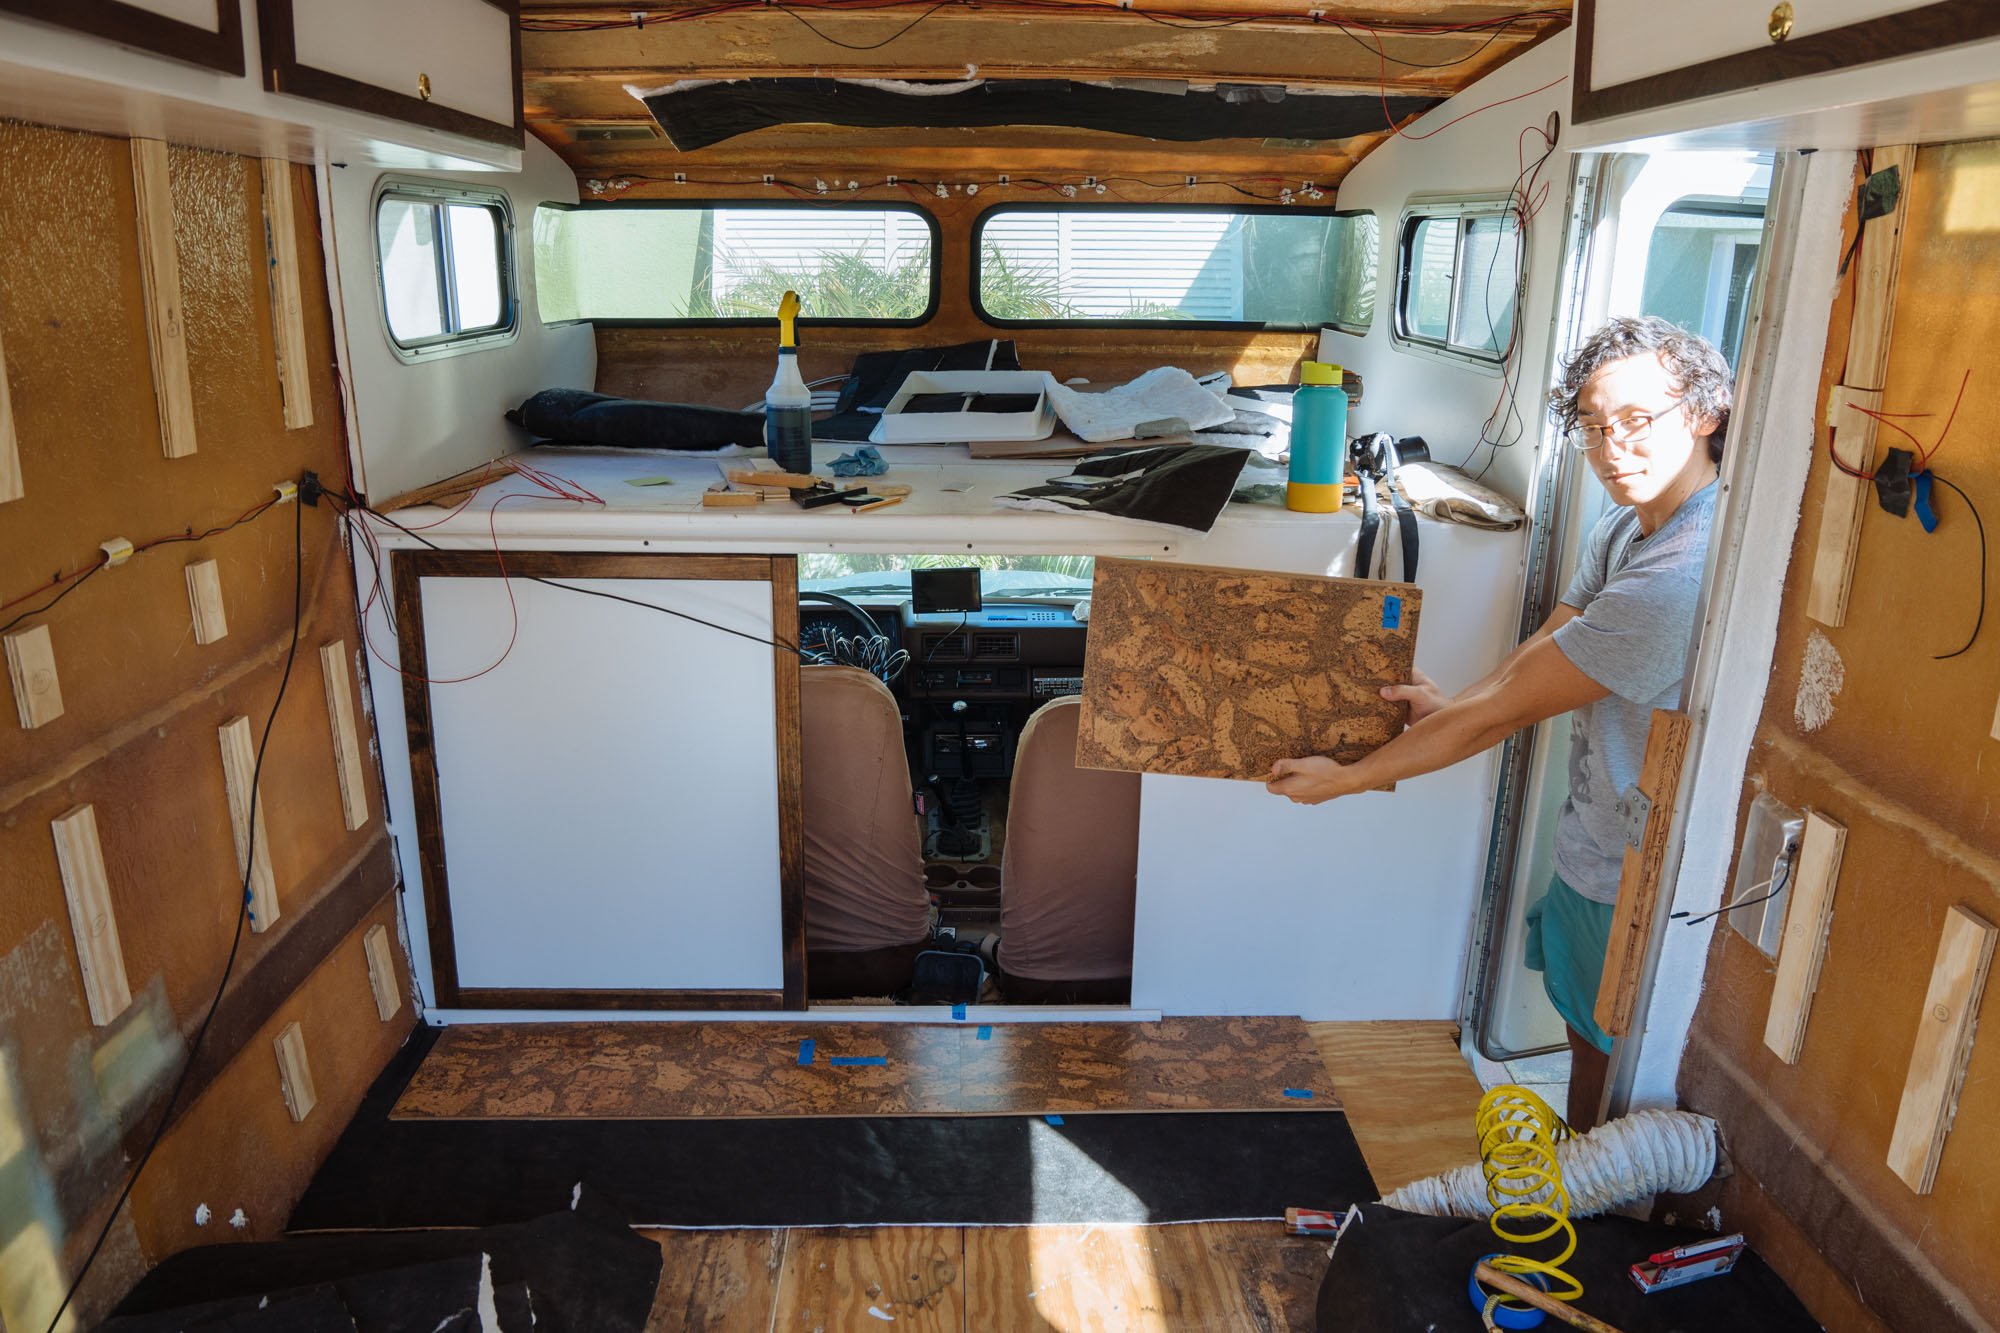
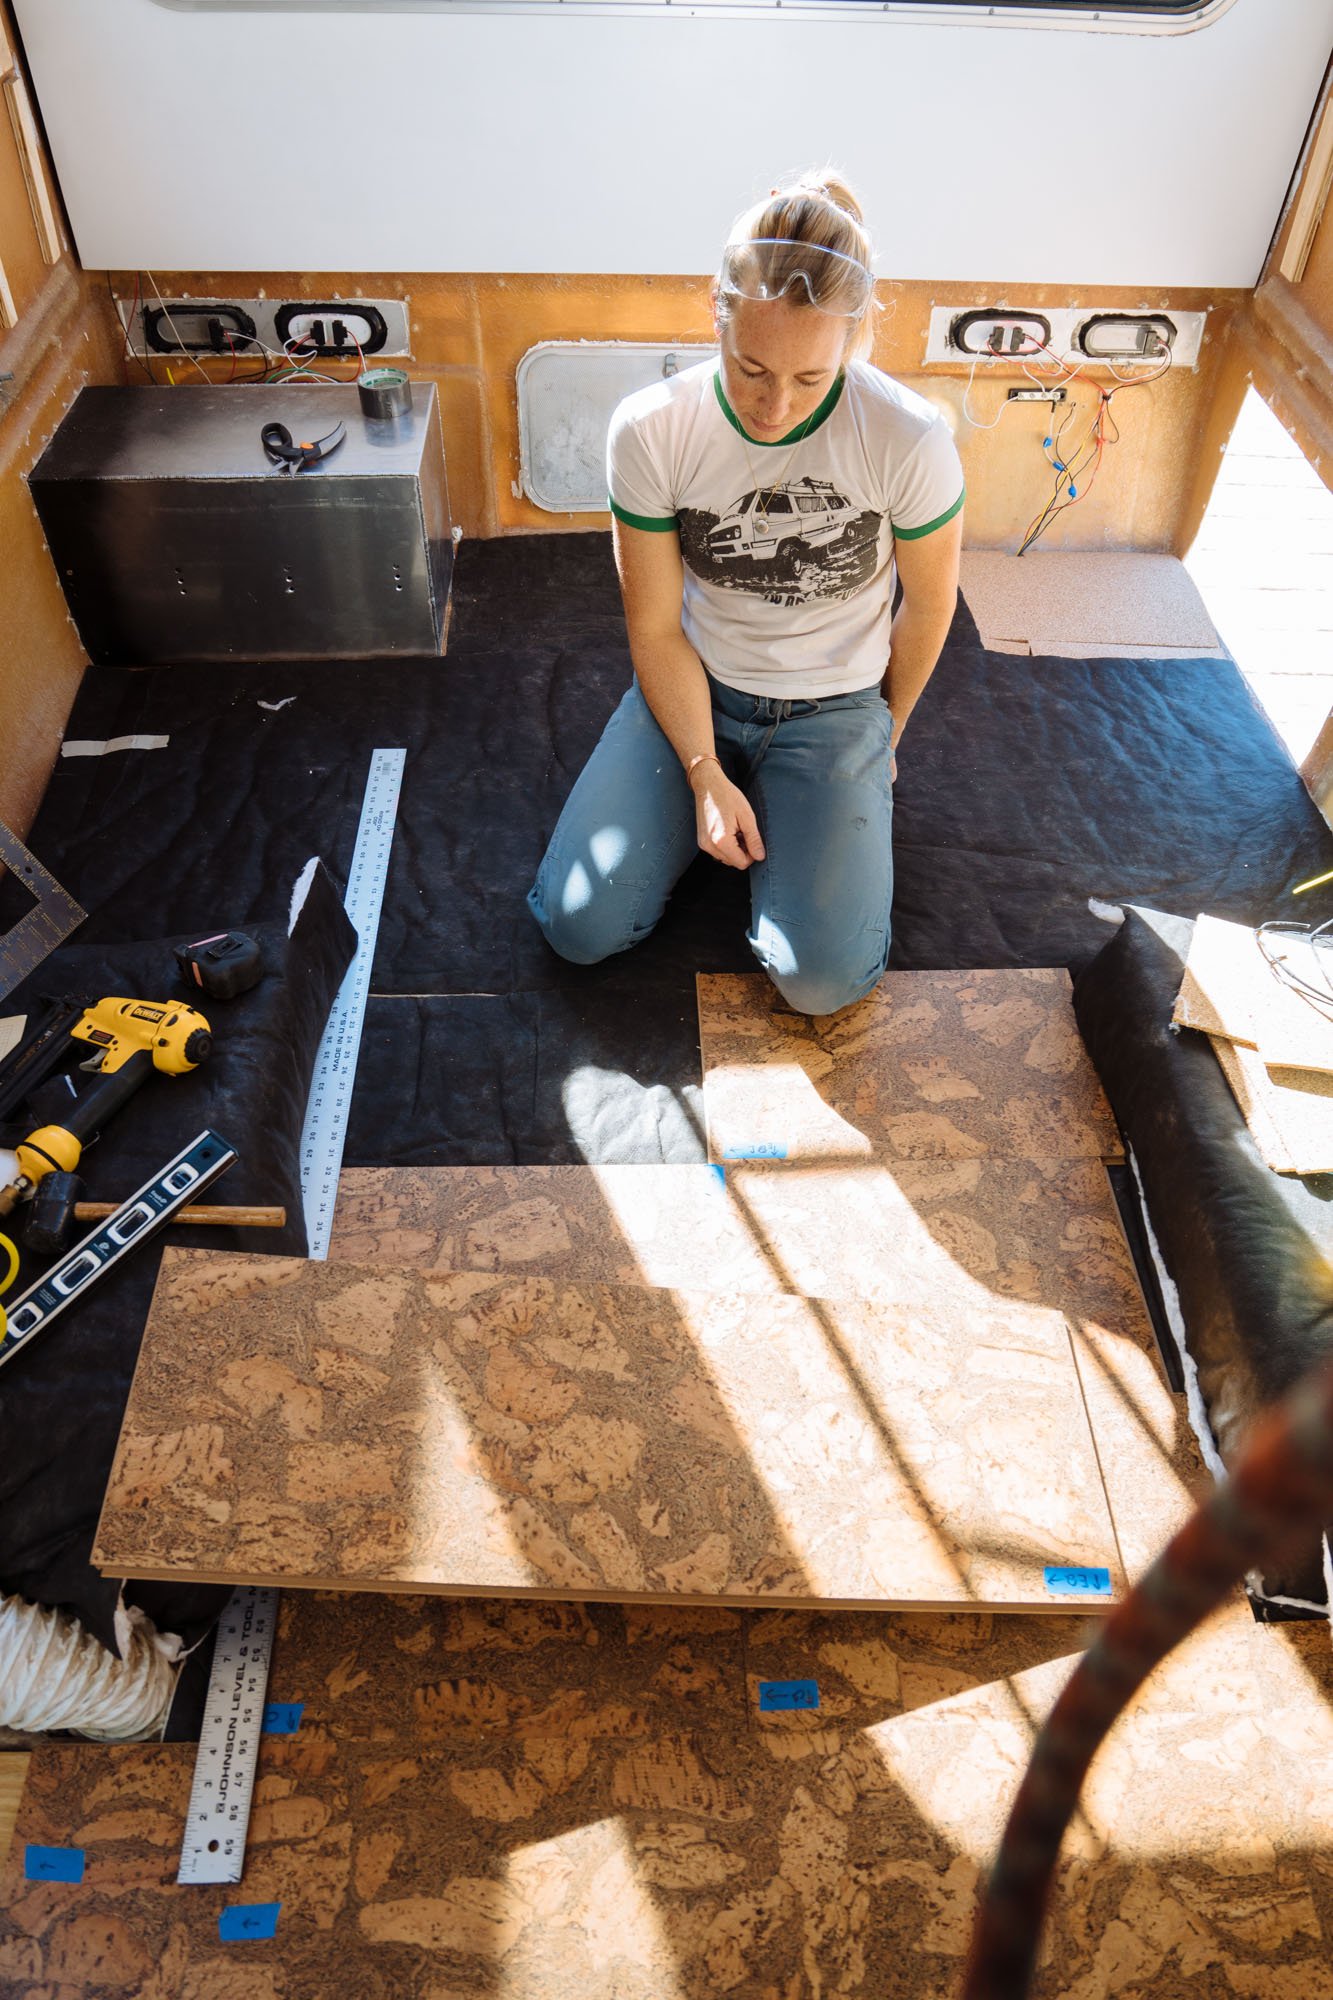
For our flooring we decided to go with cork! There are a whole host of reasons we settled on cork, so let me lay them out for you.
Cork is very insulated: In the past we've been plagued with cold floors in our rig. When it was cold outside sometimes we would mistake the floor for being wet it was so cold. Between the thinsulate and the cork flooring we hope to keep our toe people warm and cozy no matter how it feels outside.
Cork is sound deadening: When your home is a vehicle you have to think about these sorts of things. We wanted to be sure that we were sealing out as much road noise as possible. Cork was the answer (also thinsulate).
Cork is forgiving on the feet: Cork naturally has a little bit of give to it which feels great on the feet an knees when you are standing for a long time. "Why will we be standing around for long periods of time" you may ask? The driver side wall will be one, big, long standing desk where we plan to spend our work days standing and working. Before Owen and I hit the road I stood and worked most of the time, so I'm really looking forward to getting a standing desk back!
Cork is ecologically responsible: enough said.
Cork is good looking: Well, we think so anyways!
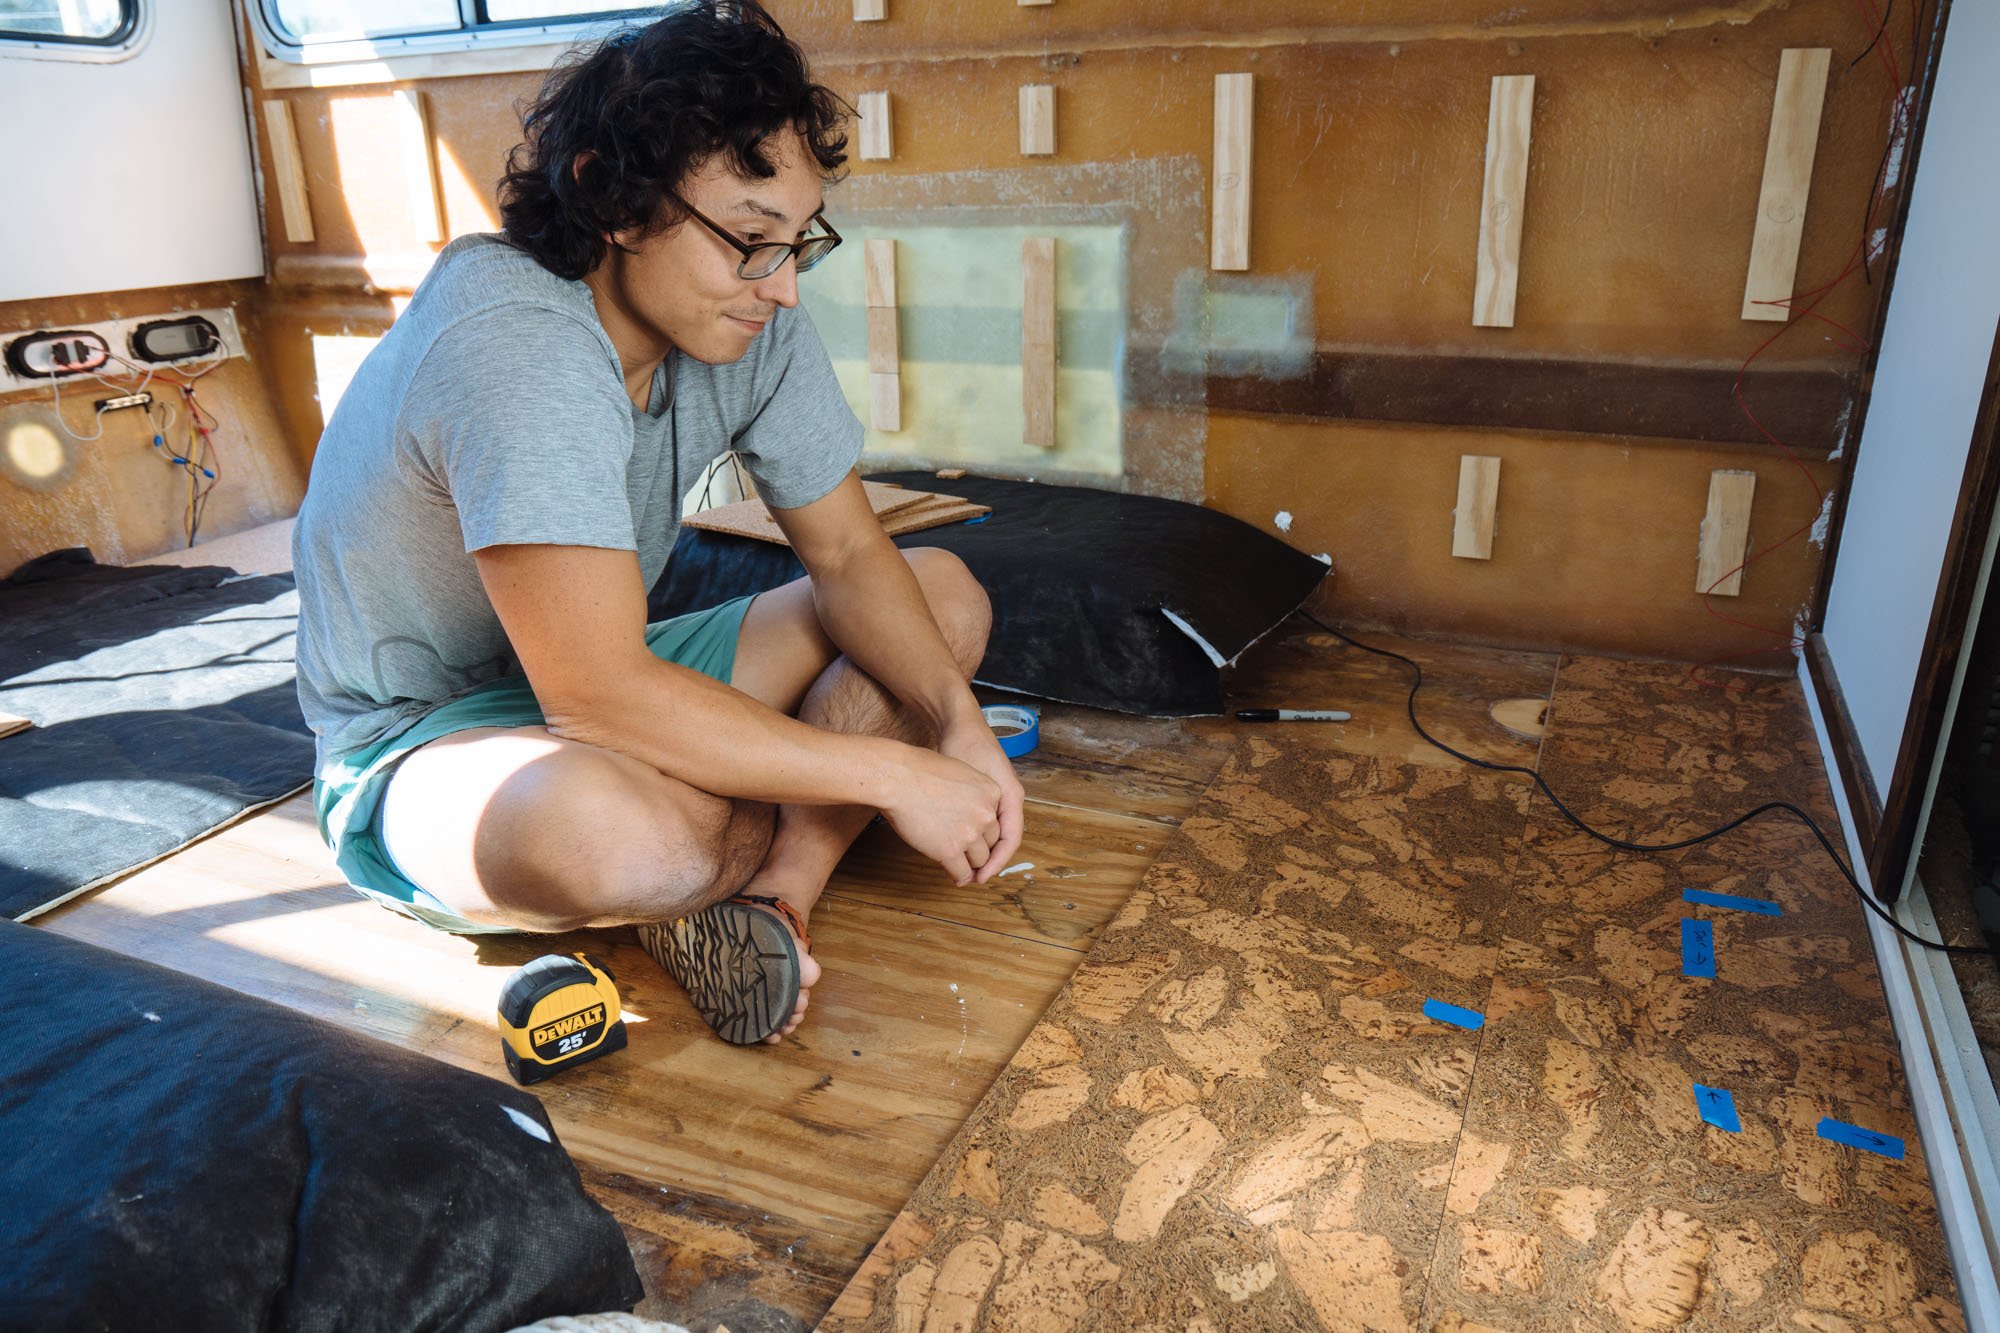
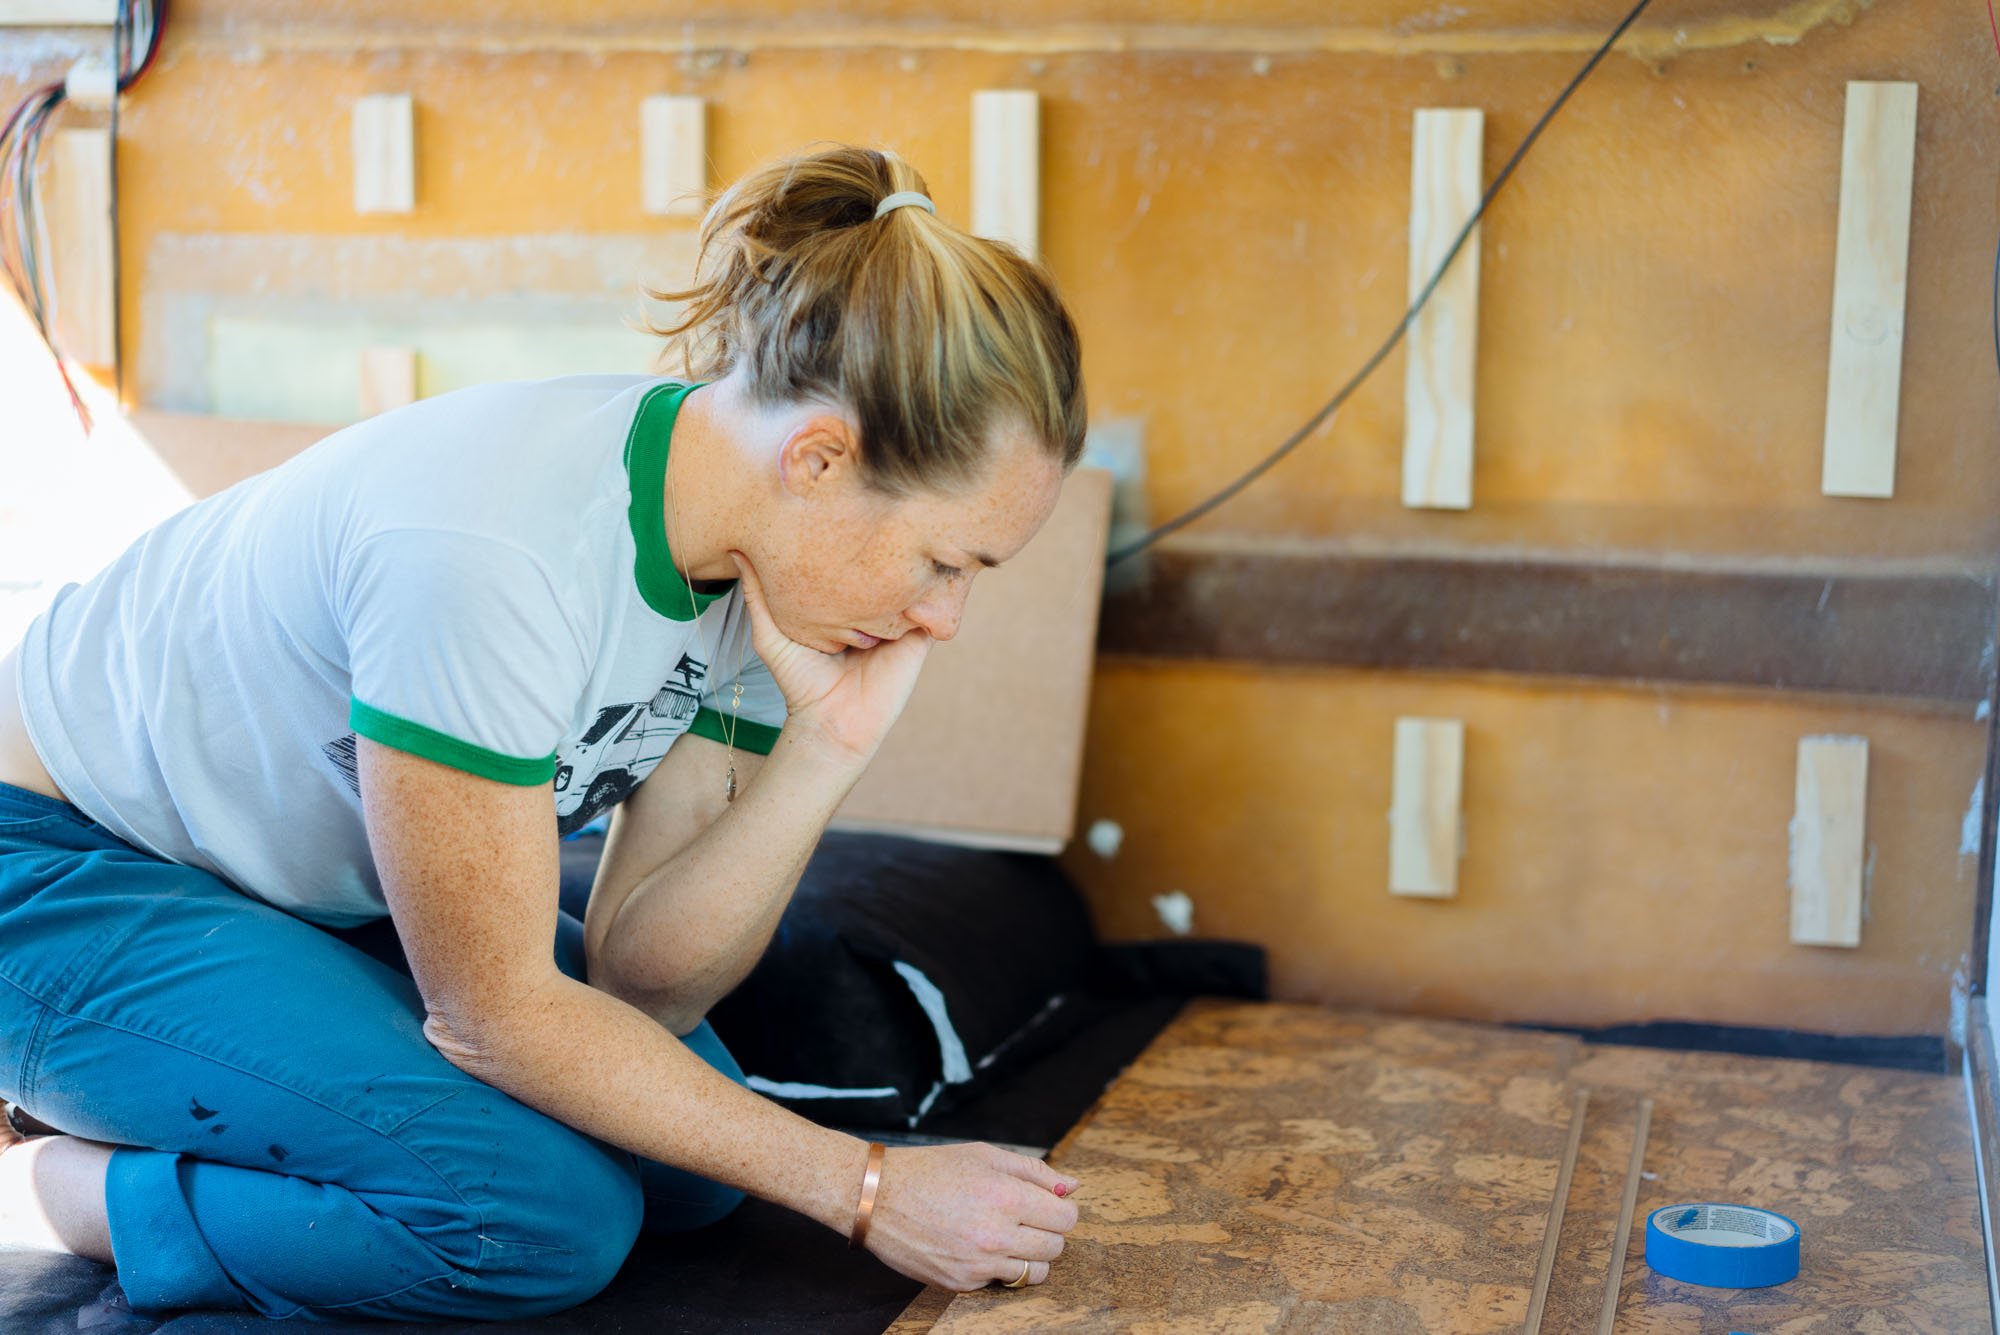
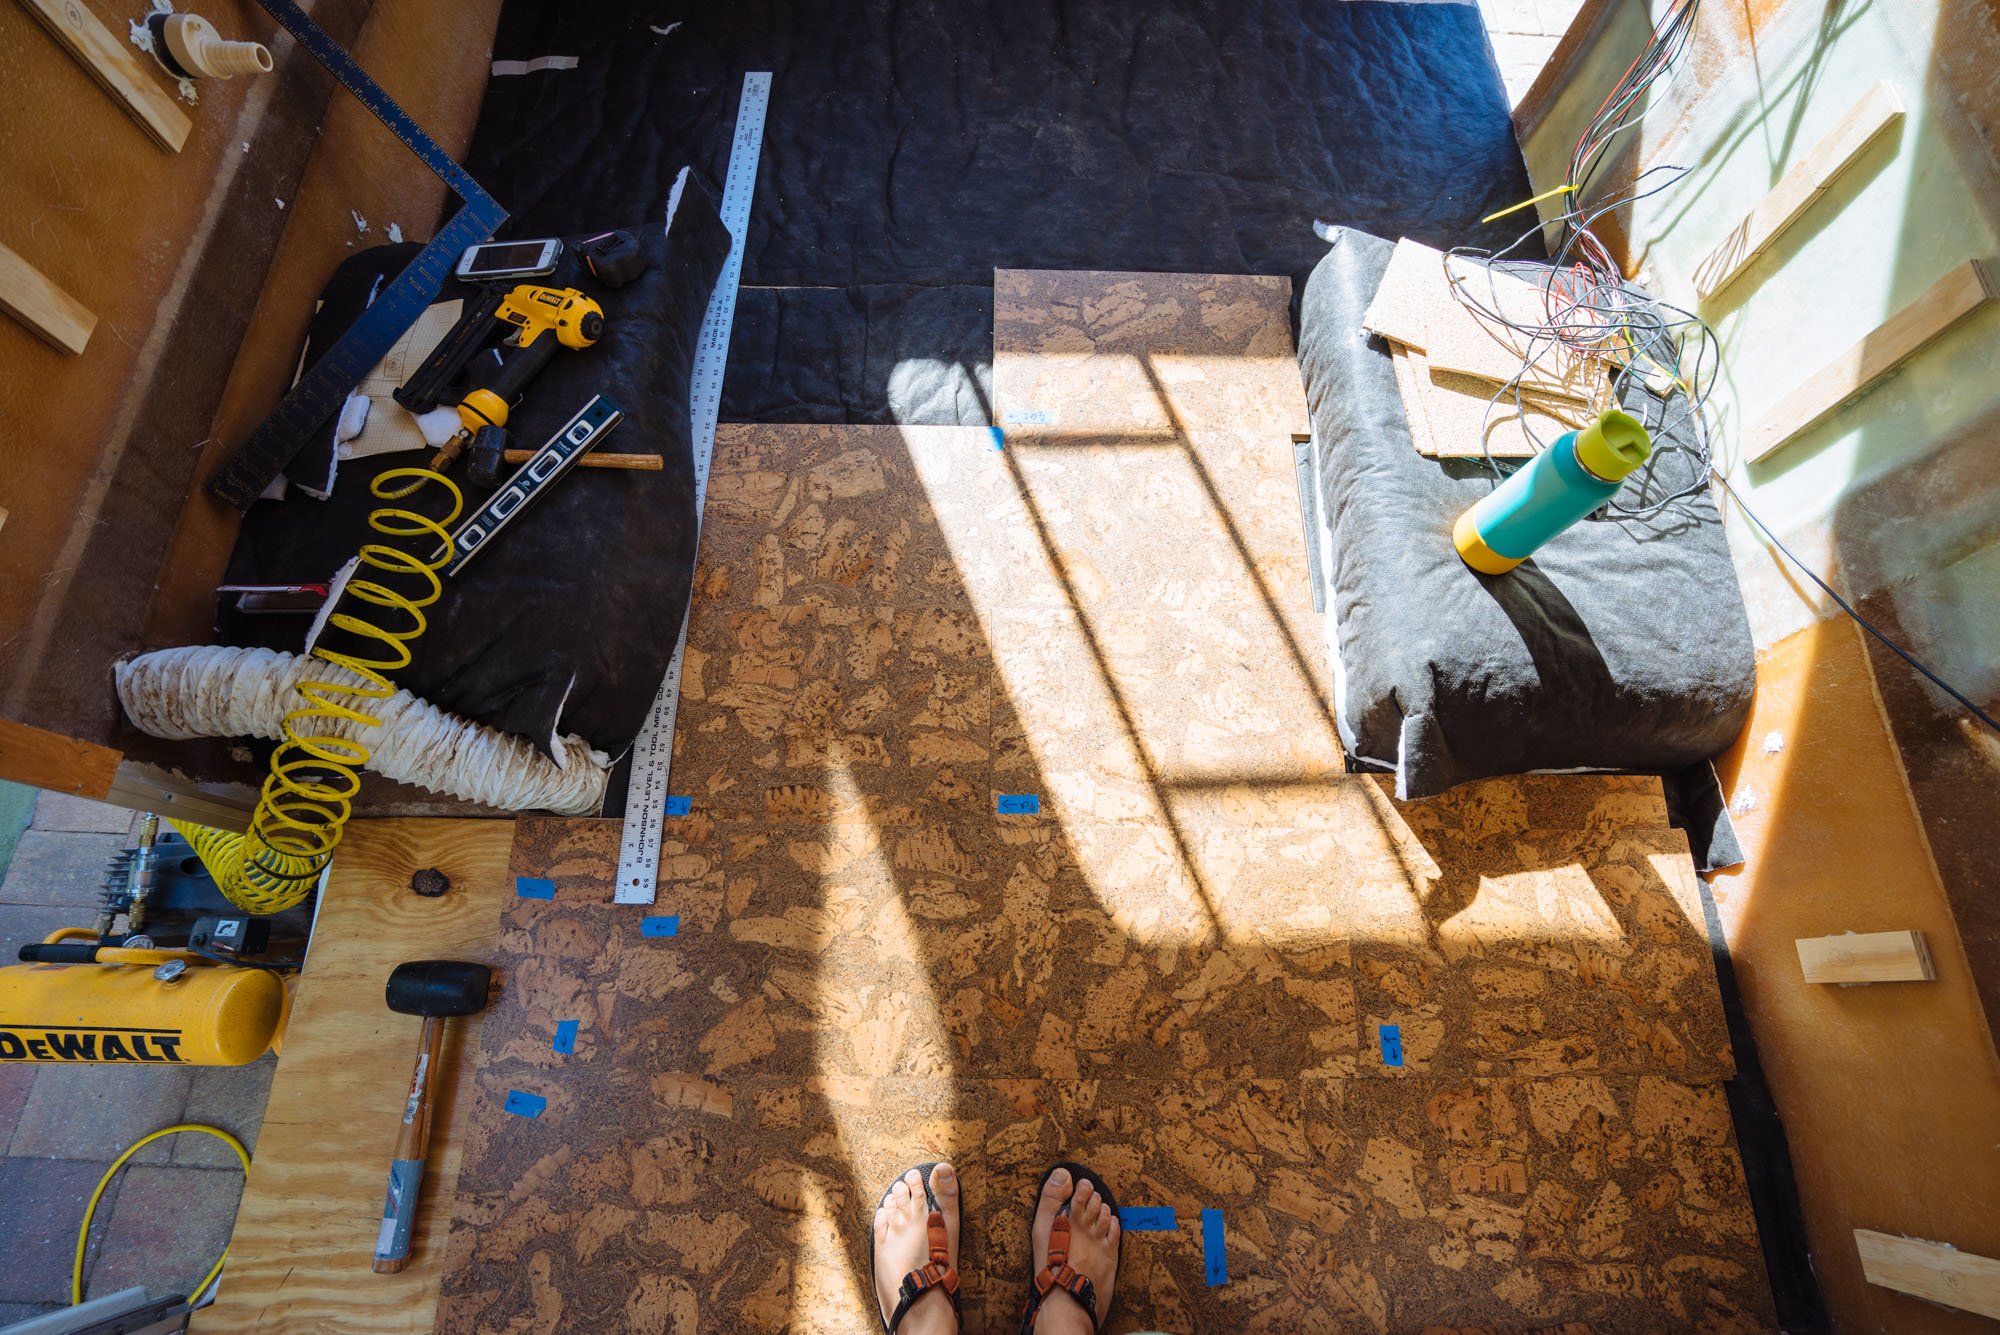
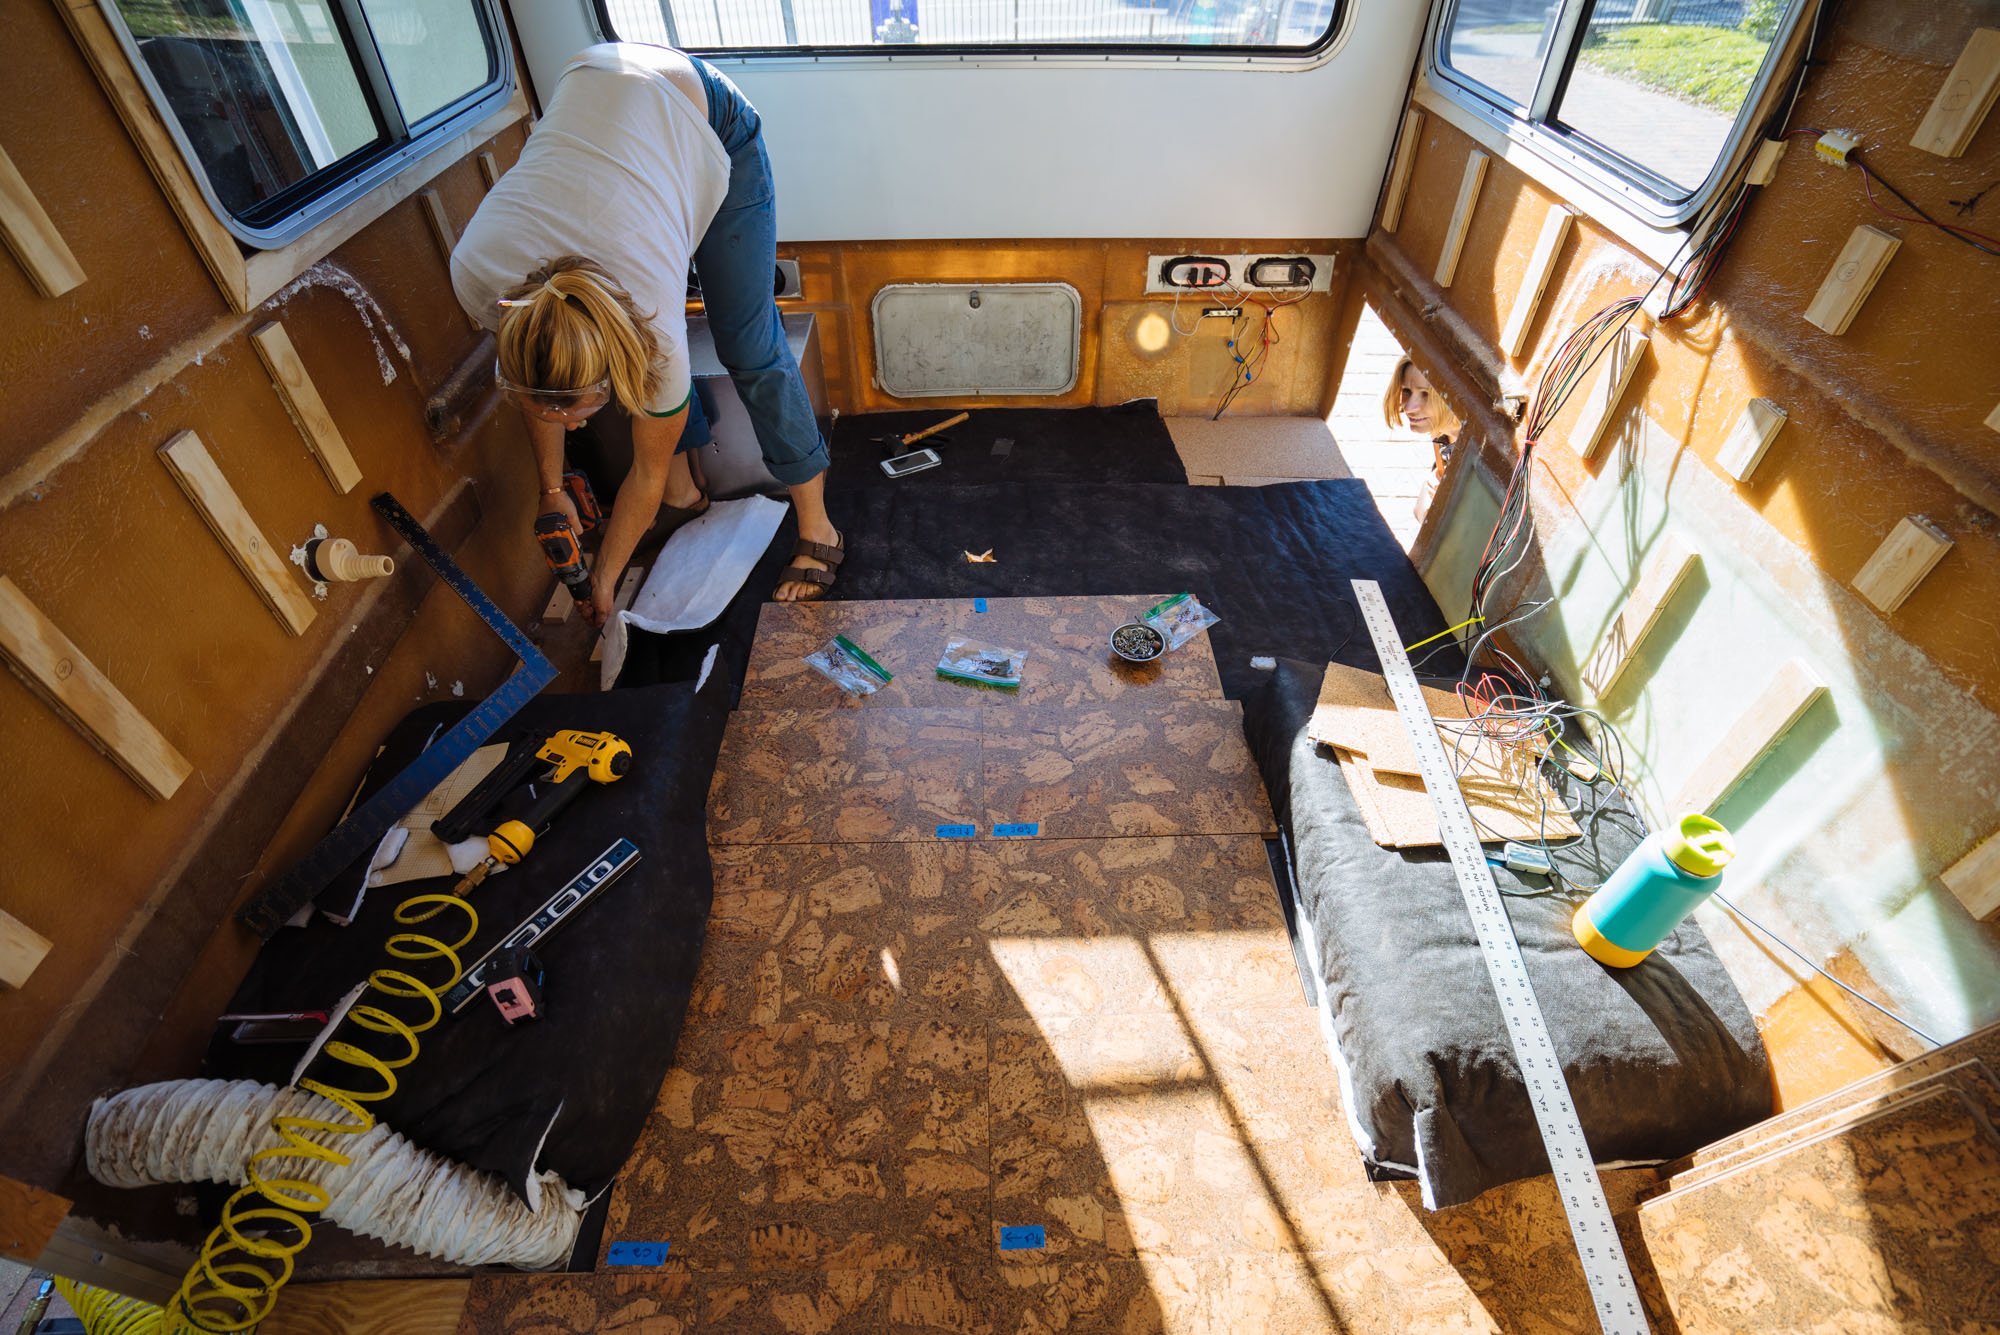
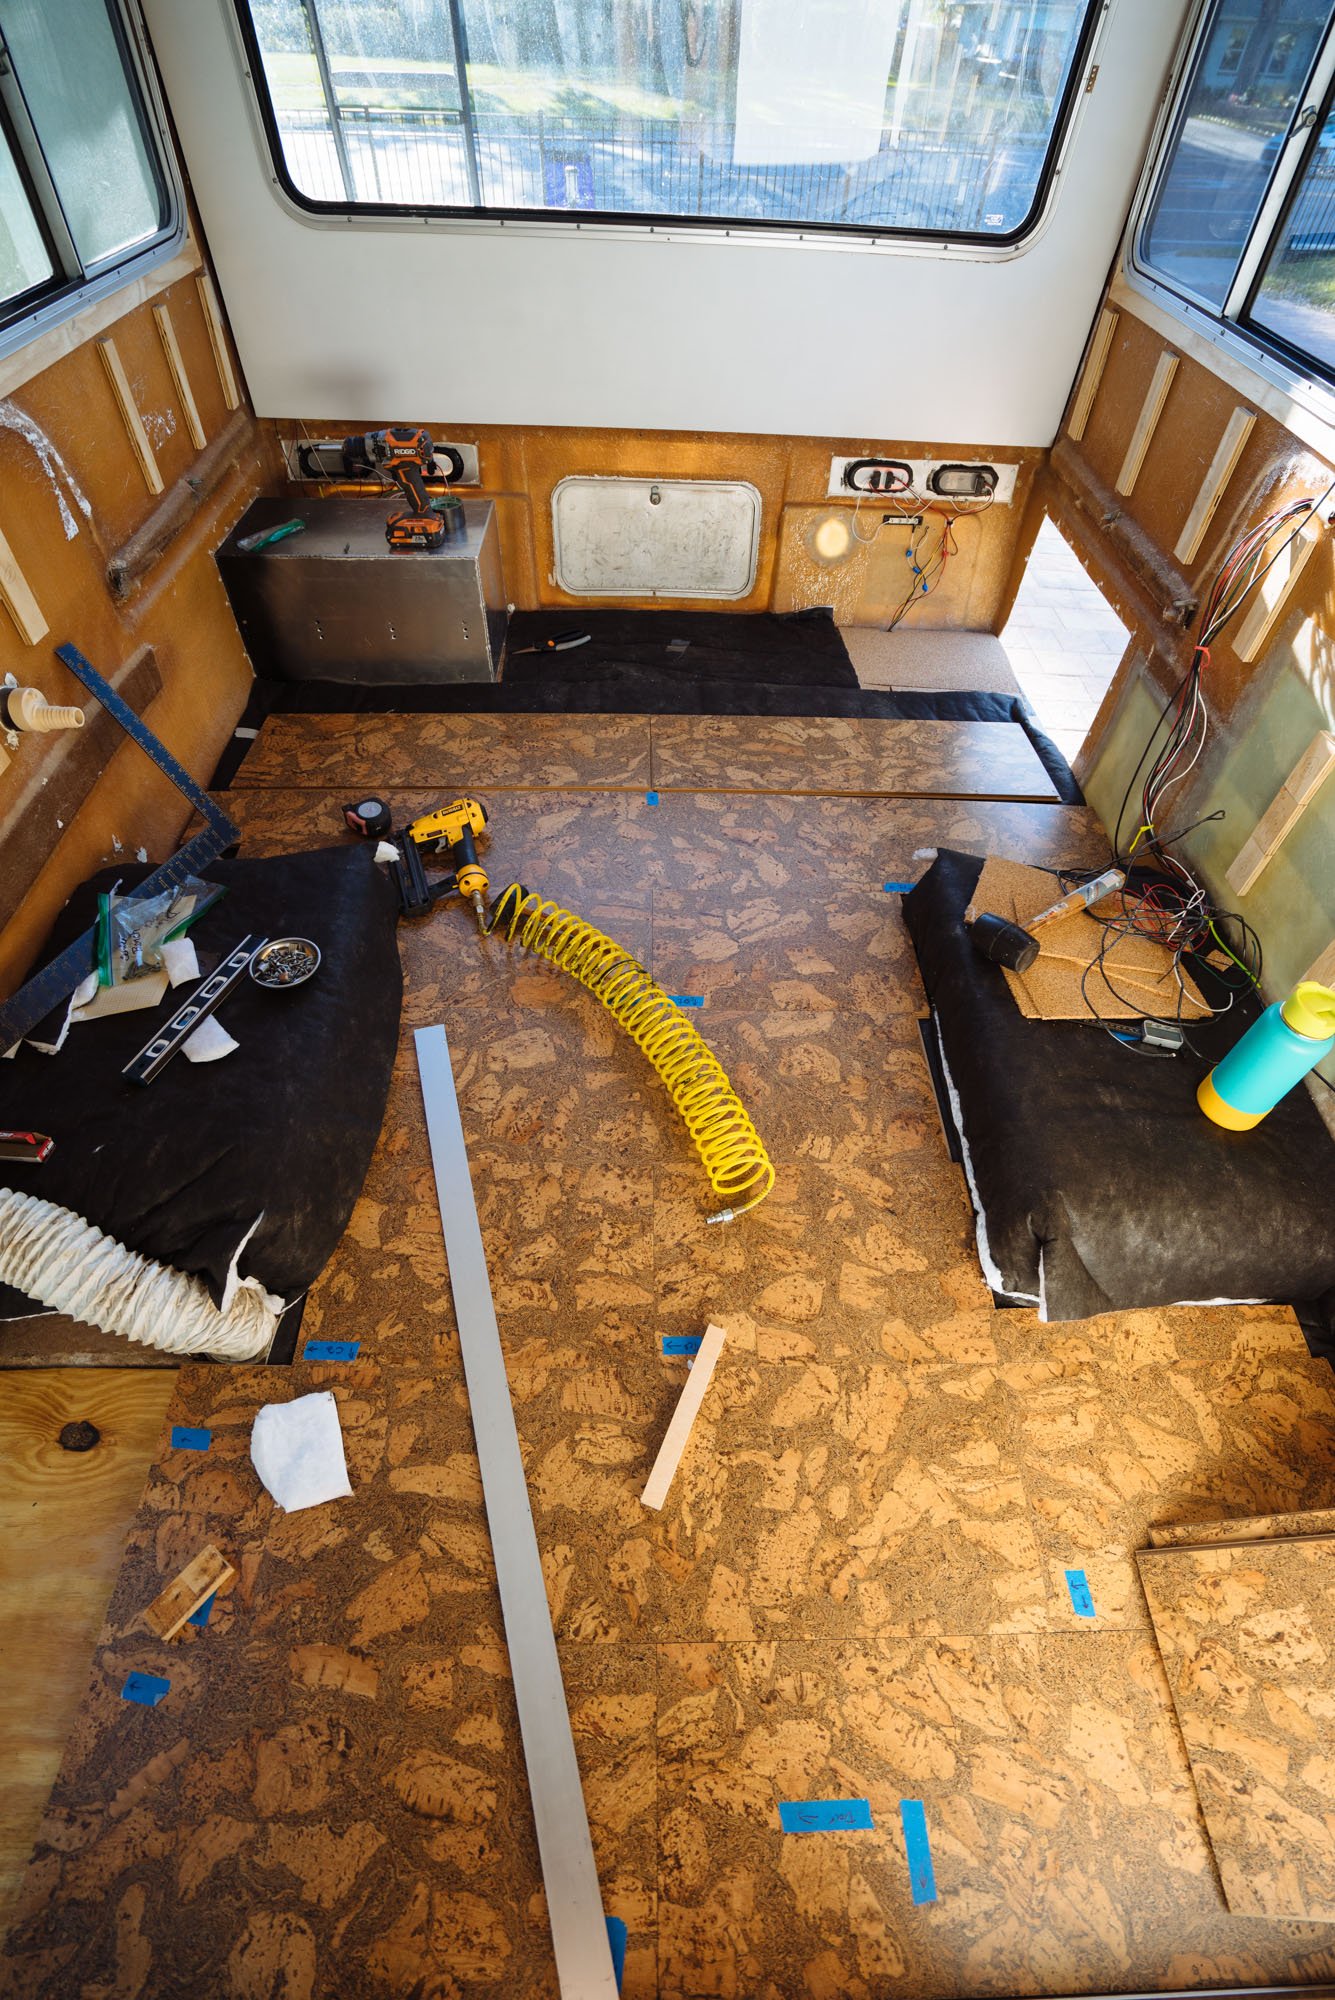
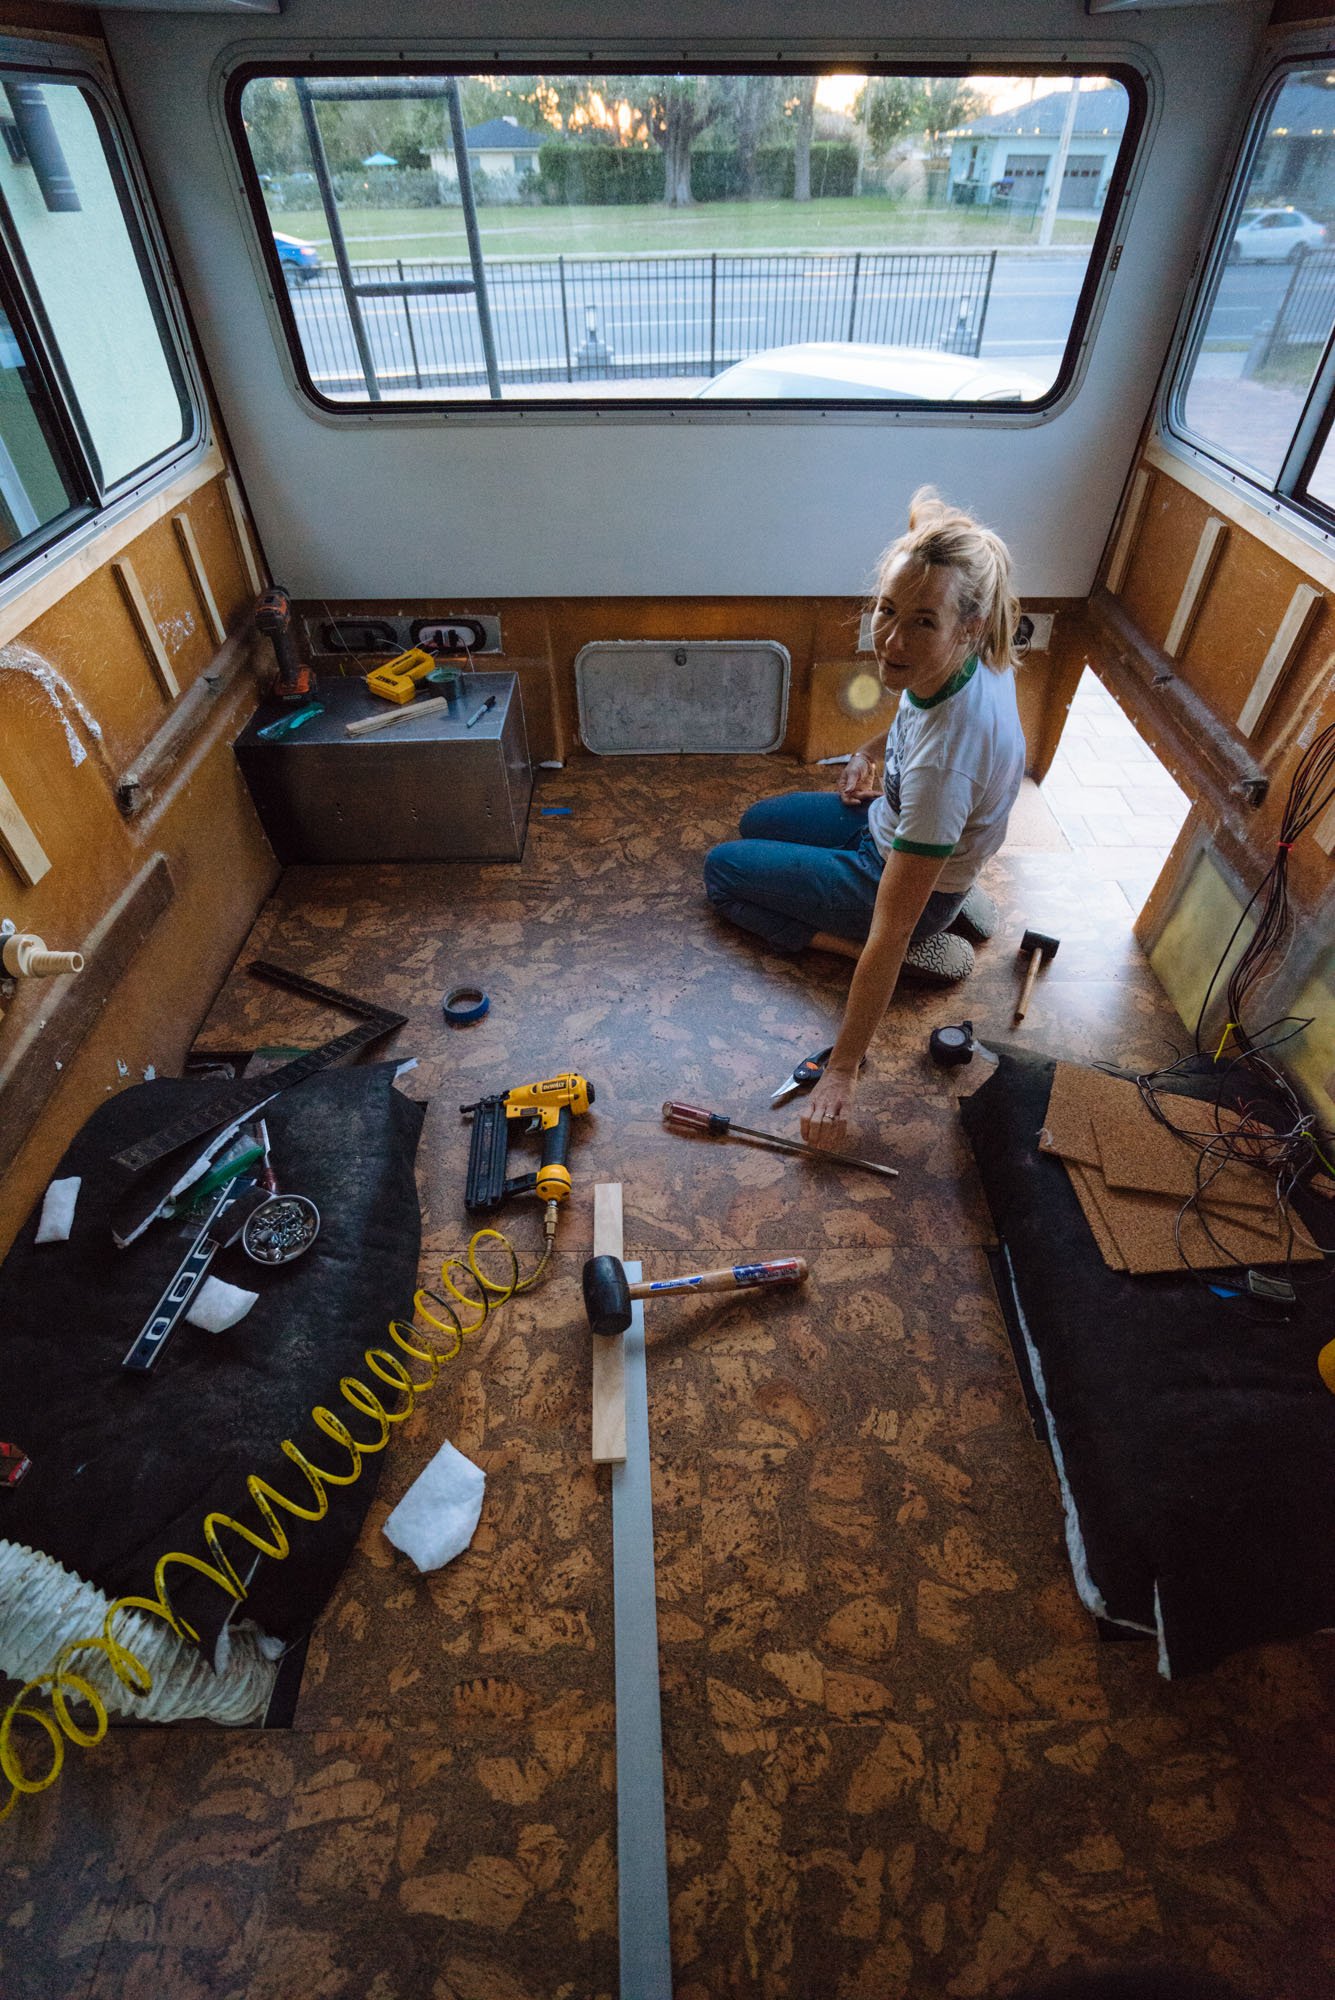
We went with locking cork tiles for ease of installation, low and behold, installation was super easy. We moved slowly through the process to be sure that our measurements were dead on, and that everything was being laid tightly into place. After each row was installed, we brad nailed the previous row into place to be sure that everything was staying exactly as we left it.
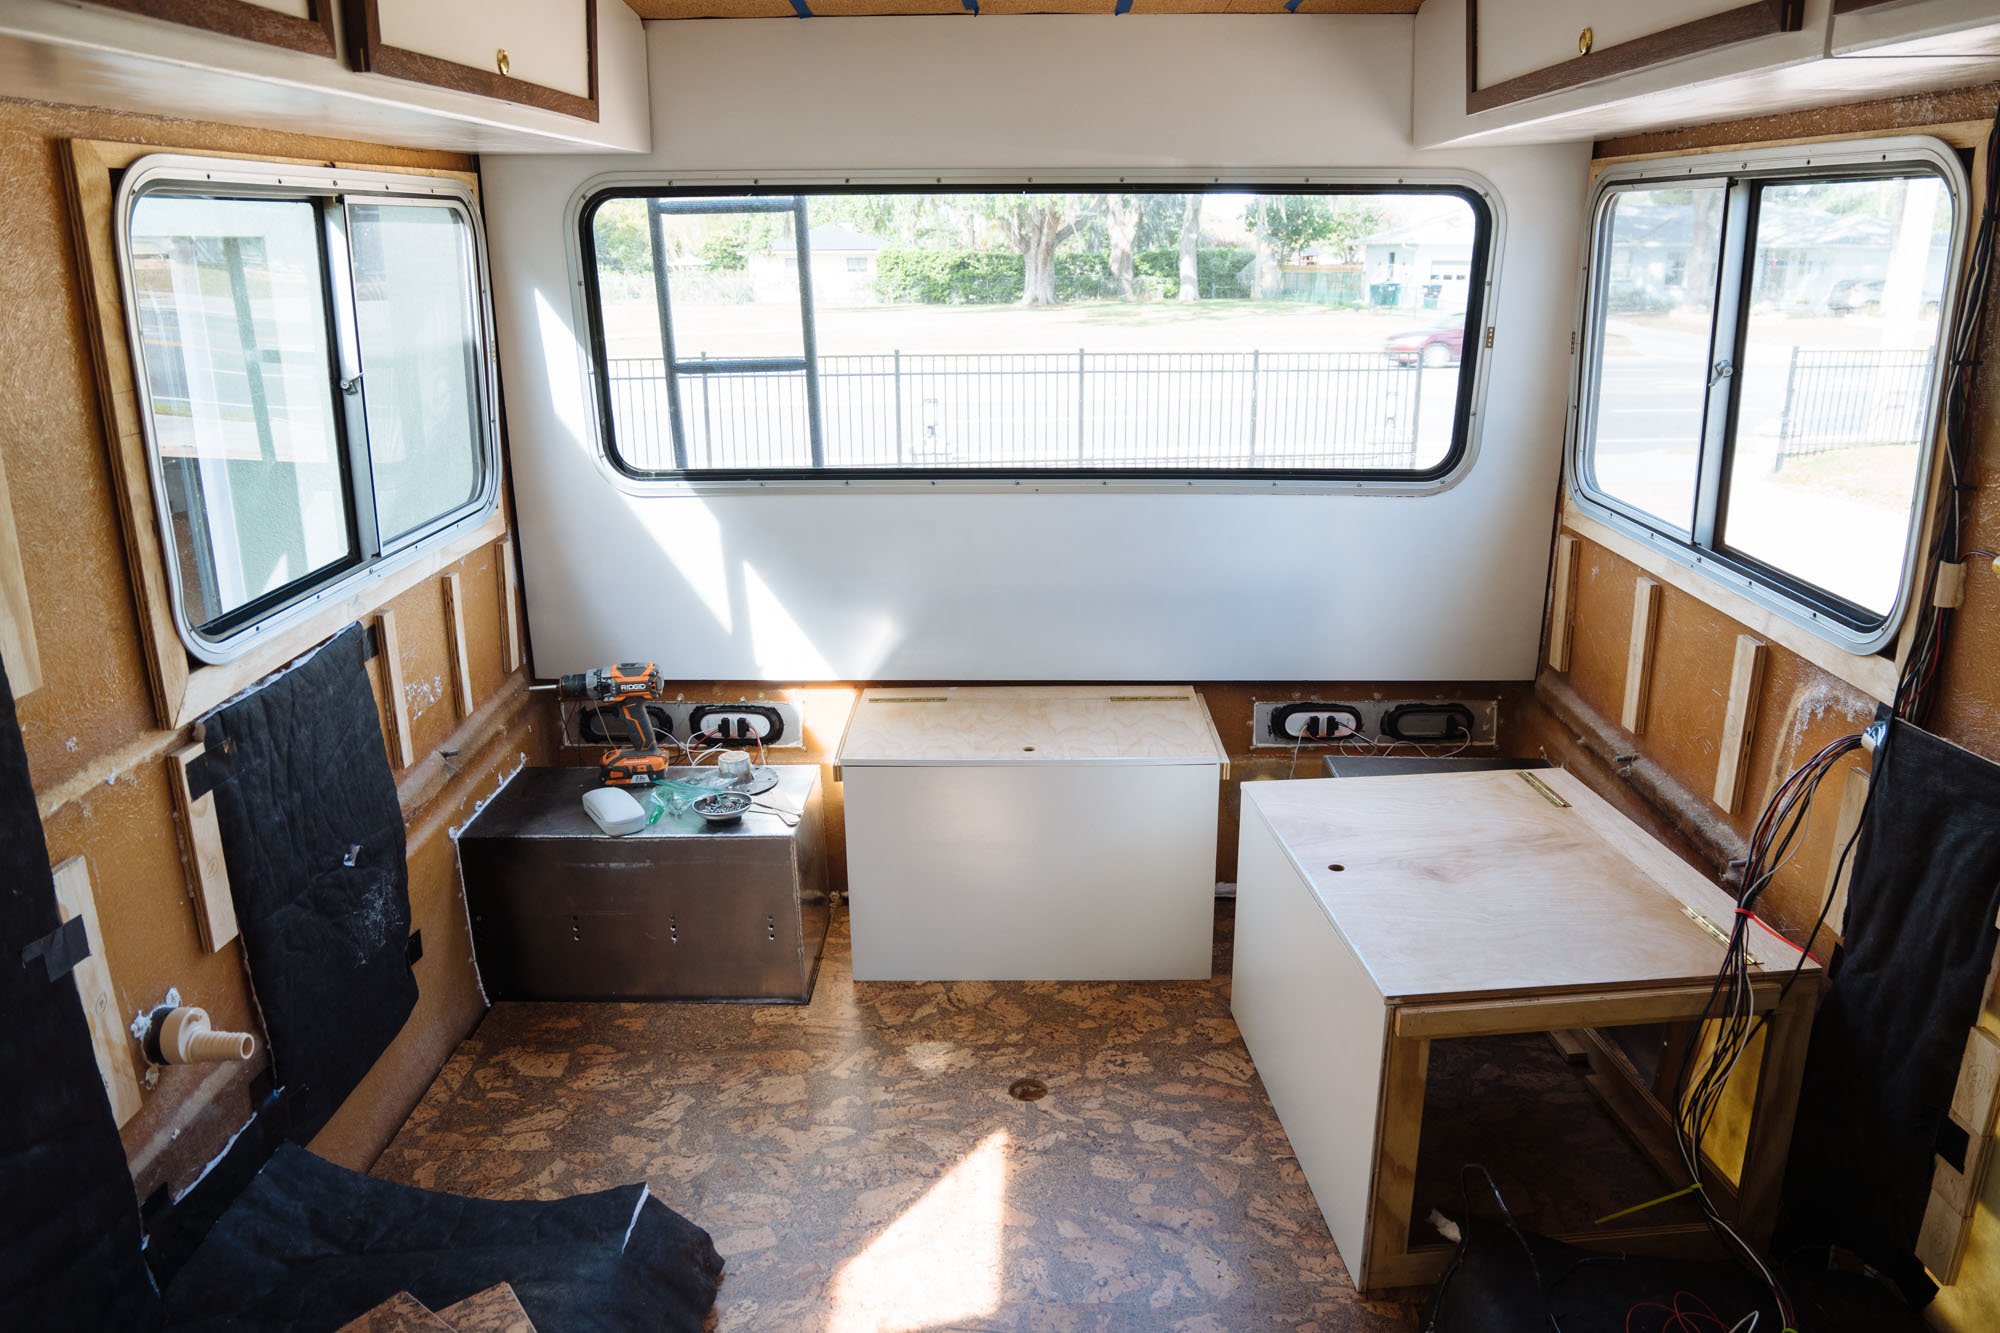
With the floors installed over our layer of thinsulate (which is the only type of insulation that still works when fully compressed) we had a bit of a bounce to our floors. I initially was pretty worried about how much flexing the floors were doing when we were walking on them, but as soon as we reinstalled out bench seats the floors were completely secured into place! They are now totally rigid and feel very solid. We're now looking forward to getting our bottom cabinets installed so we can sure up the floor everywhere!
MAN! Those floors are everything we dreamed they would be. So into this cork pattern!

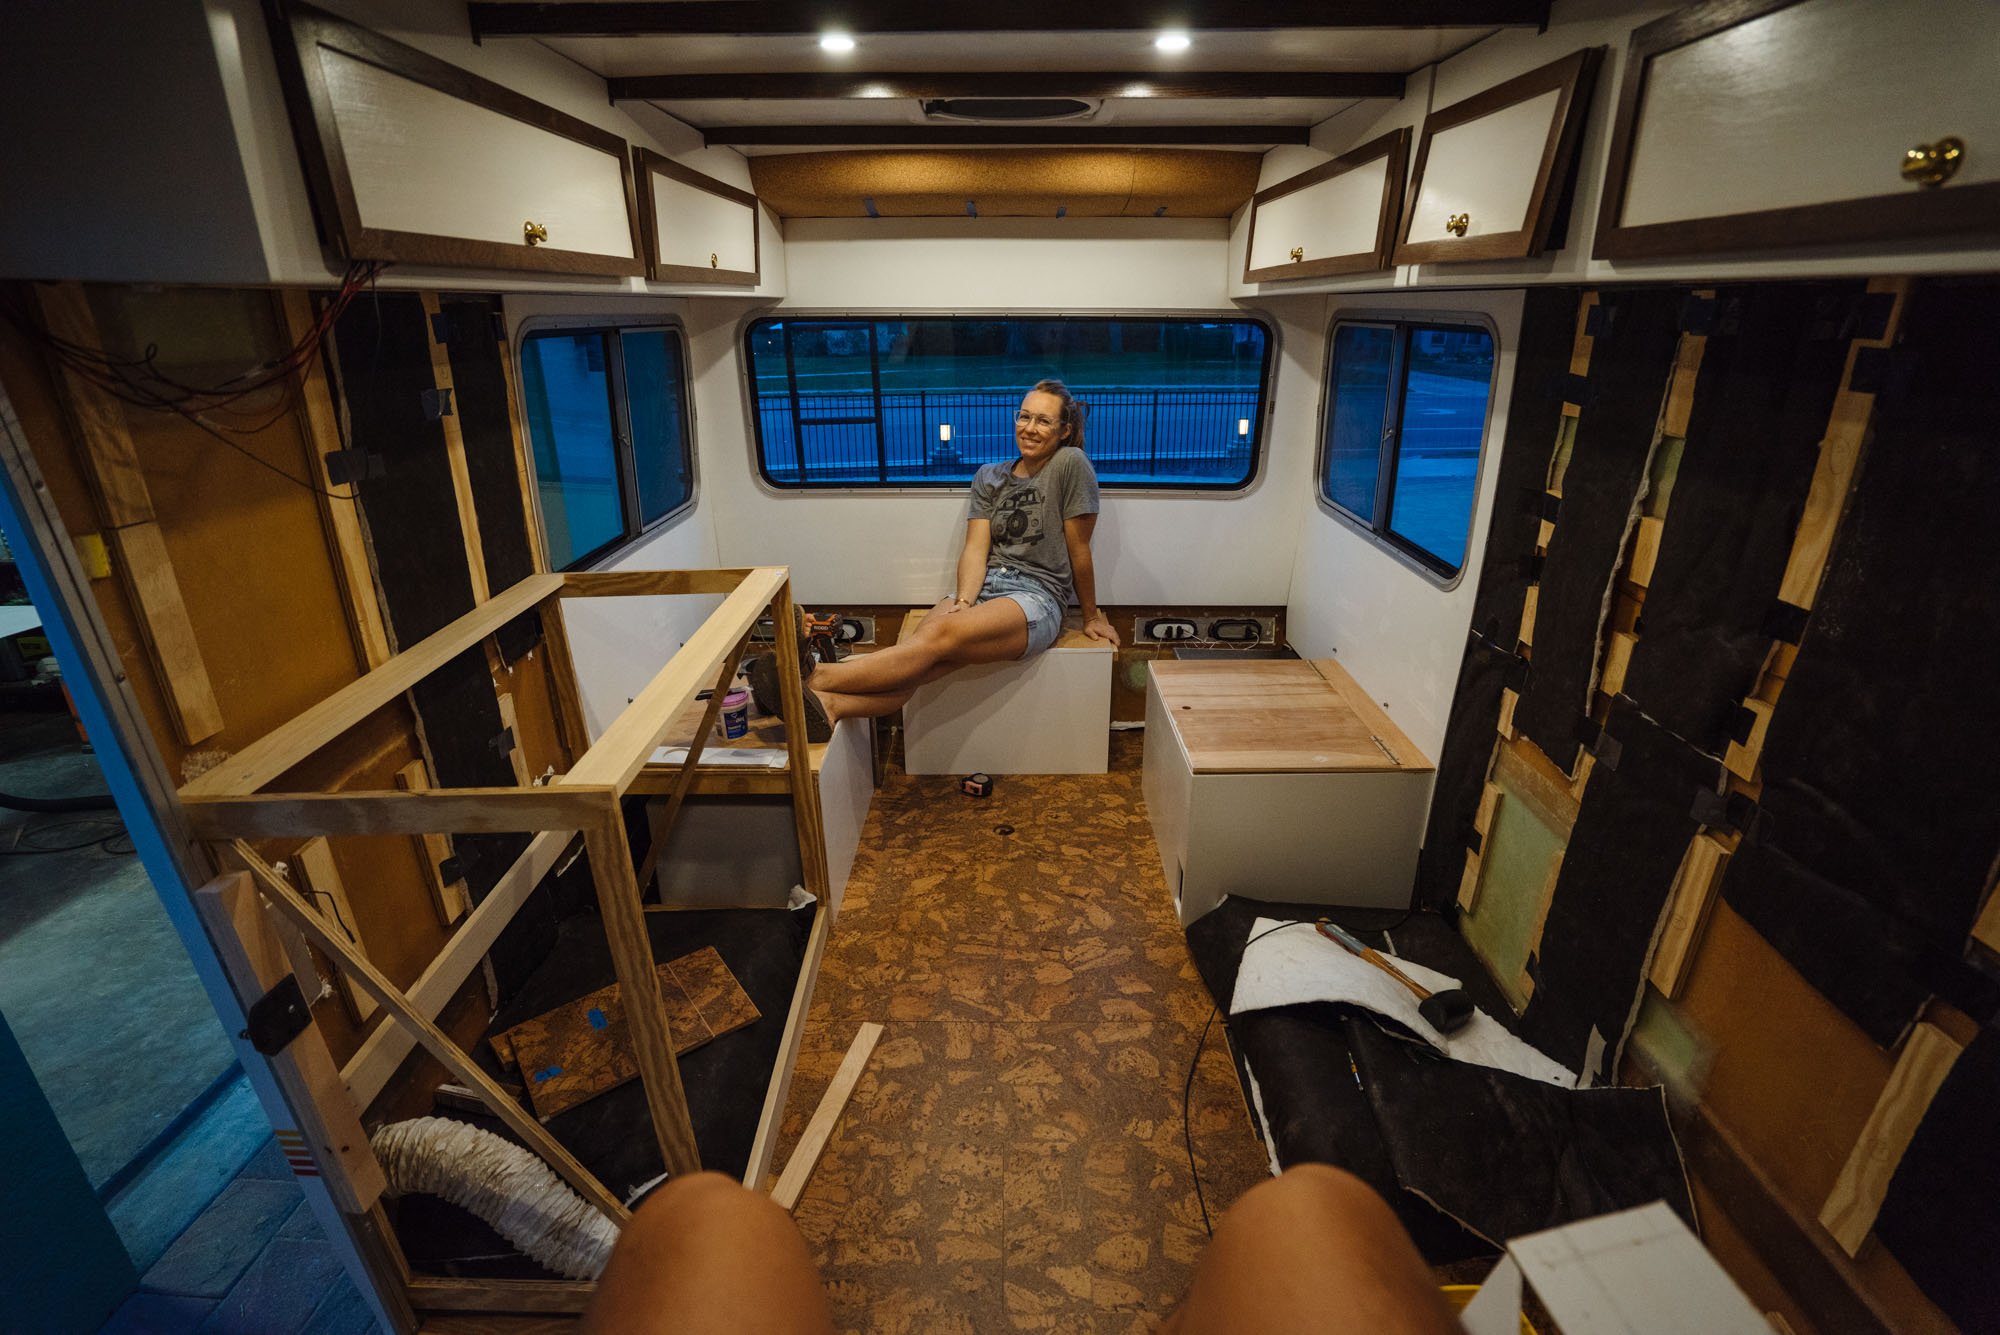
It's time for some walls! I've been dreading working on these side walls. There are just so many things to be worked around, such as the windows, and they need to be cut in the exact right place. The window frame needs to fit just inside the opening, the top of the wall needs to be perfectly flush with the top cabinets, AND the back wall slants out! I decided to take it slow by glueing up the wall supports and repeating aloud "you can do this" for what felt like hours.
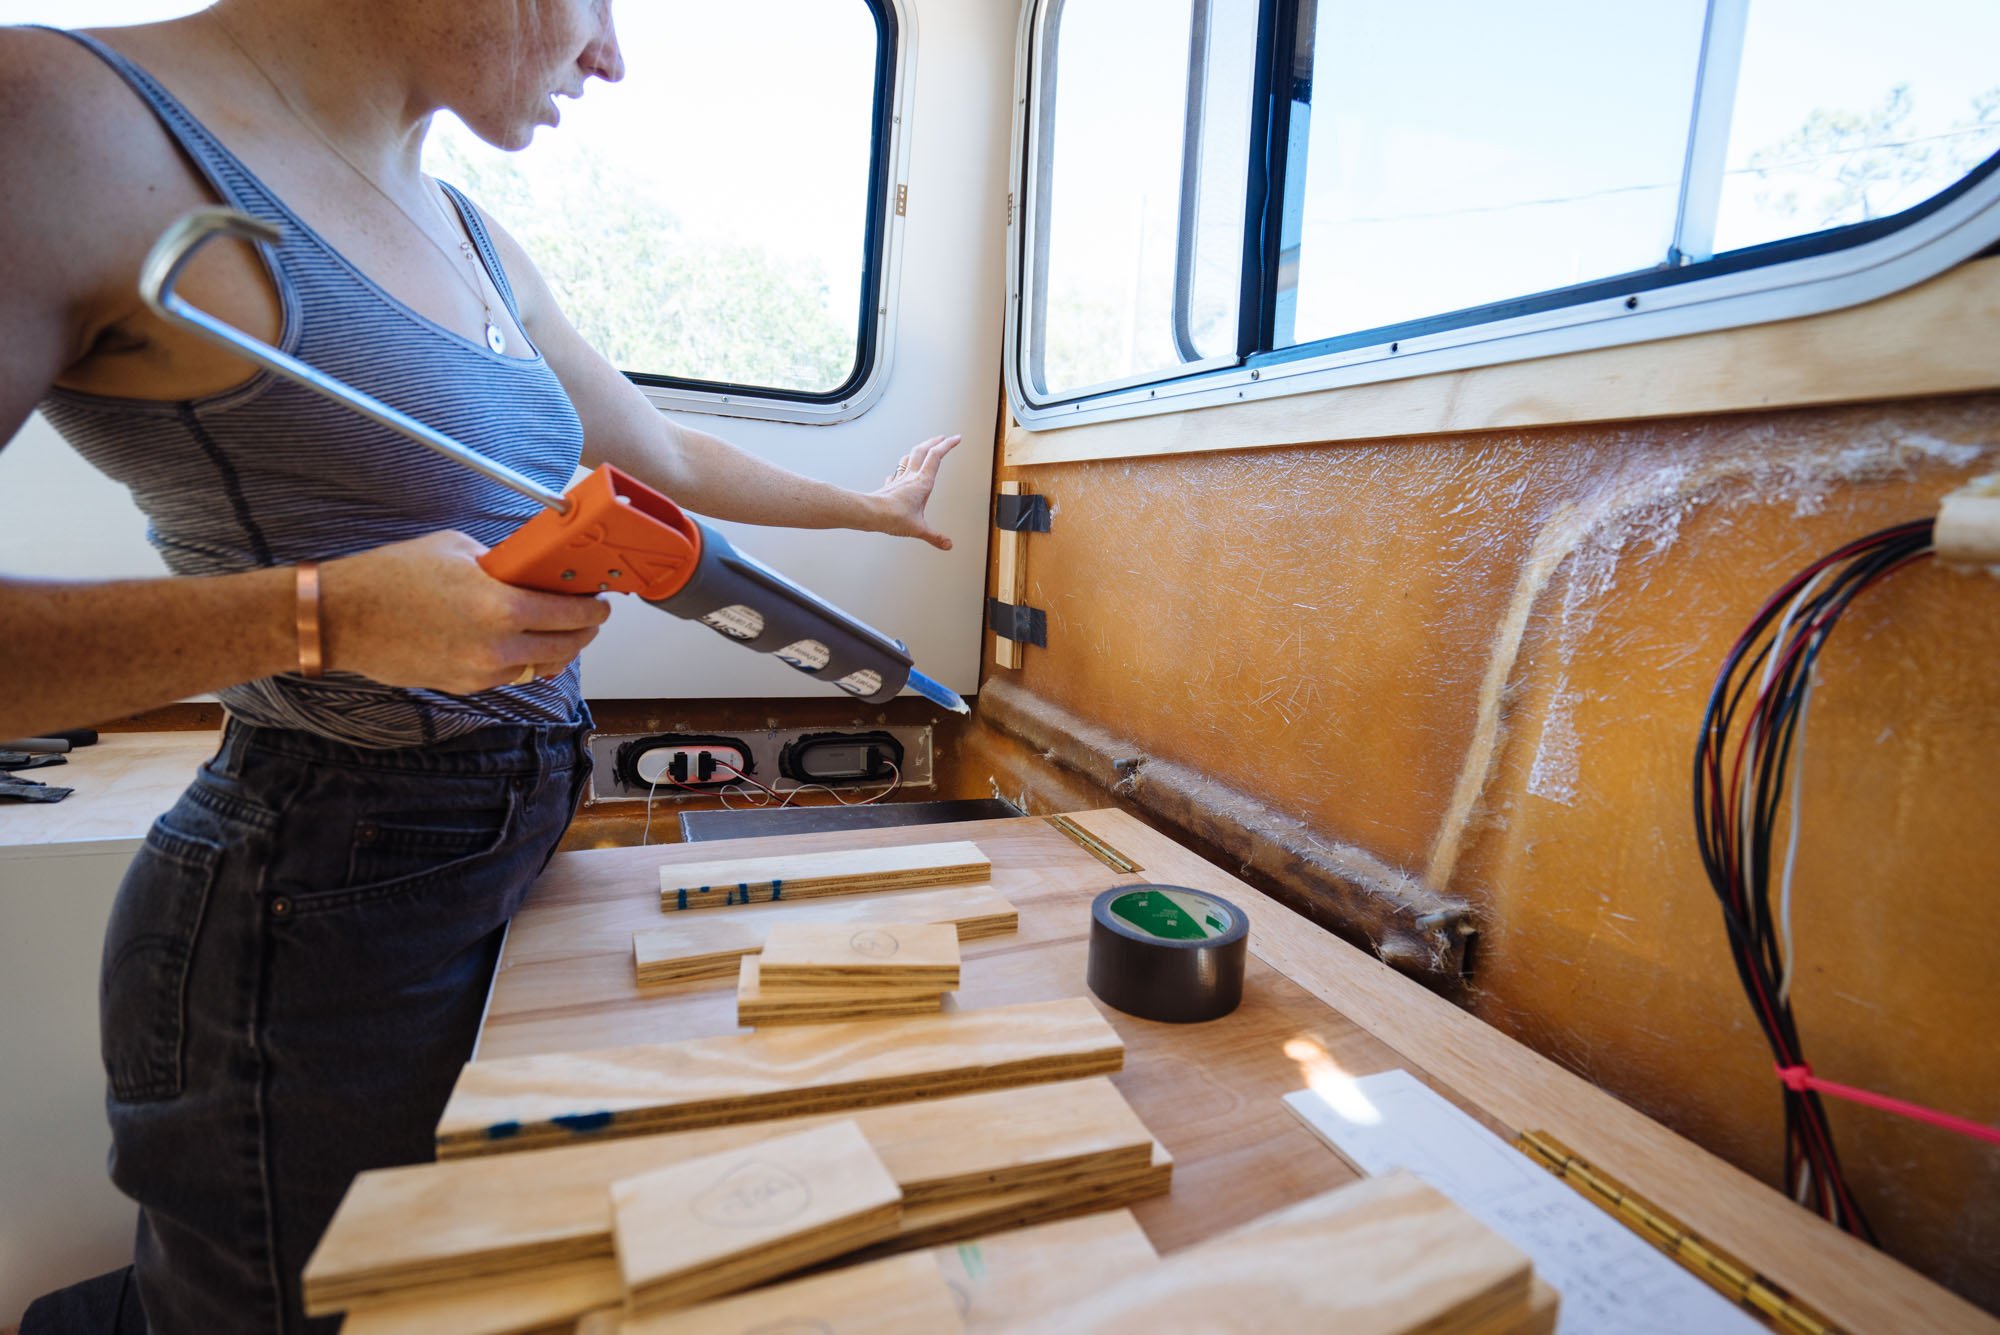
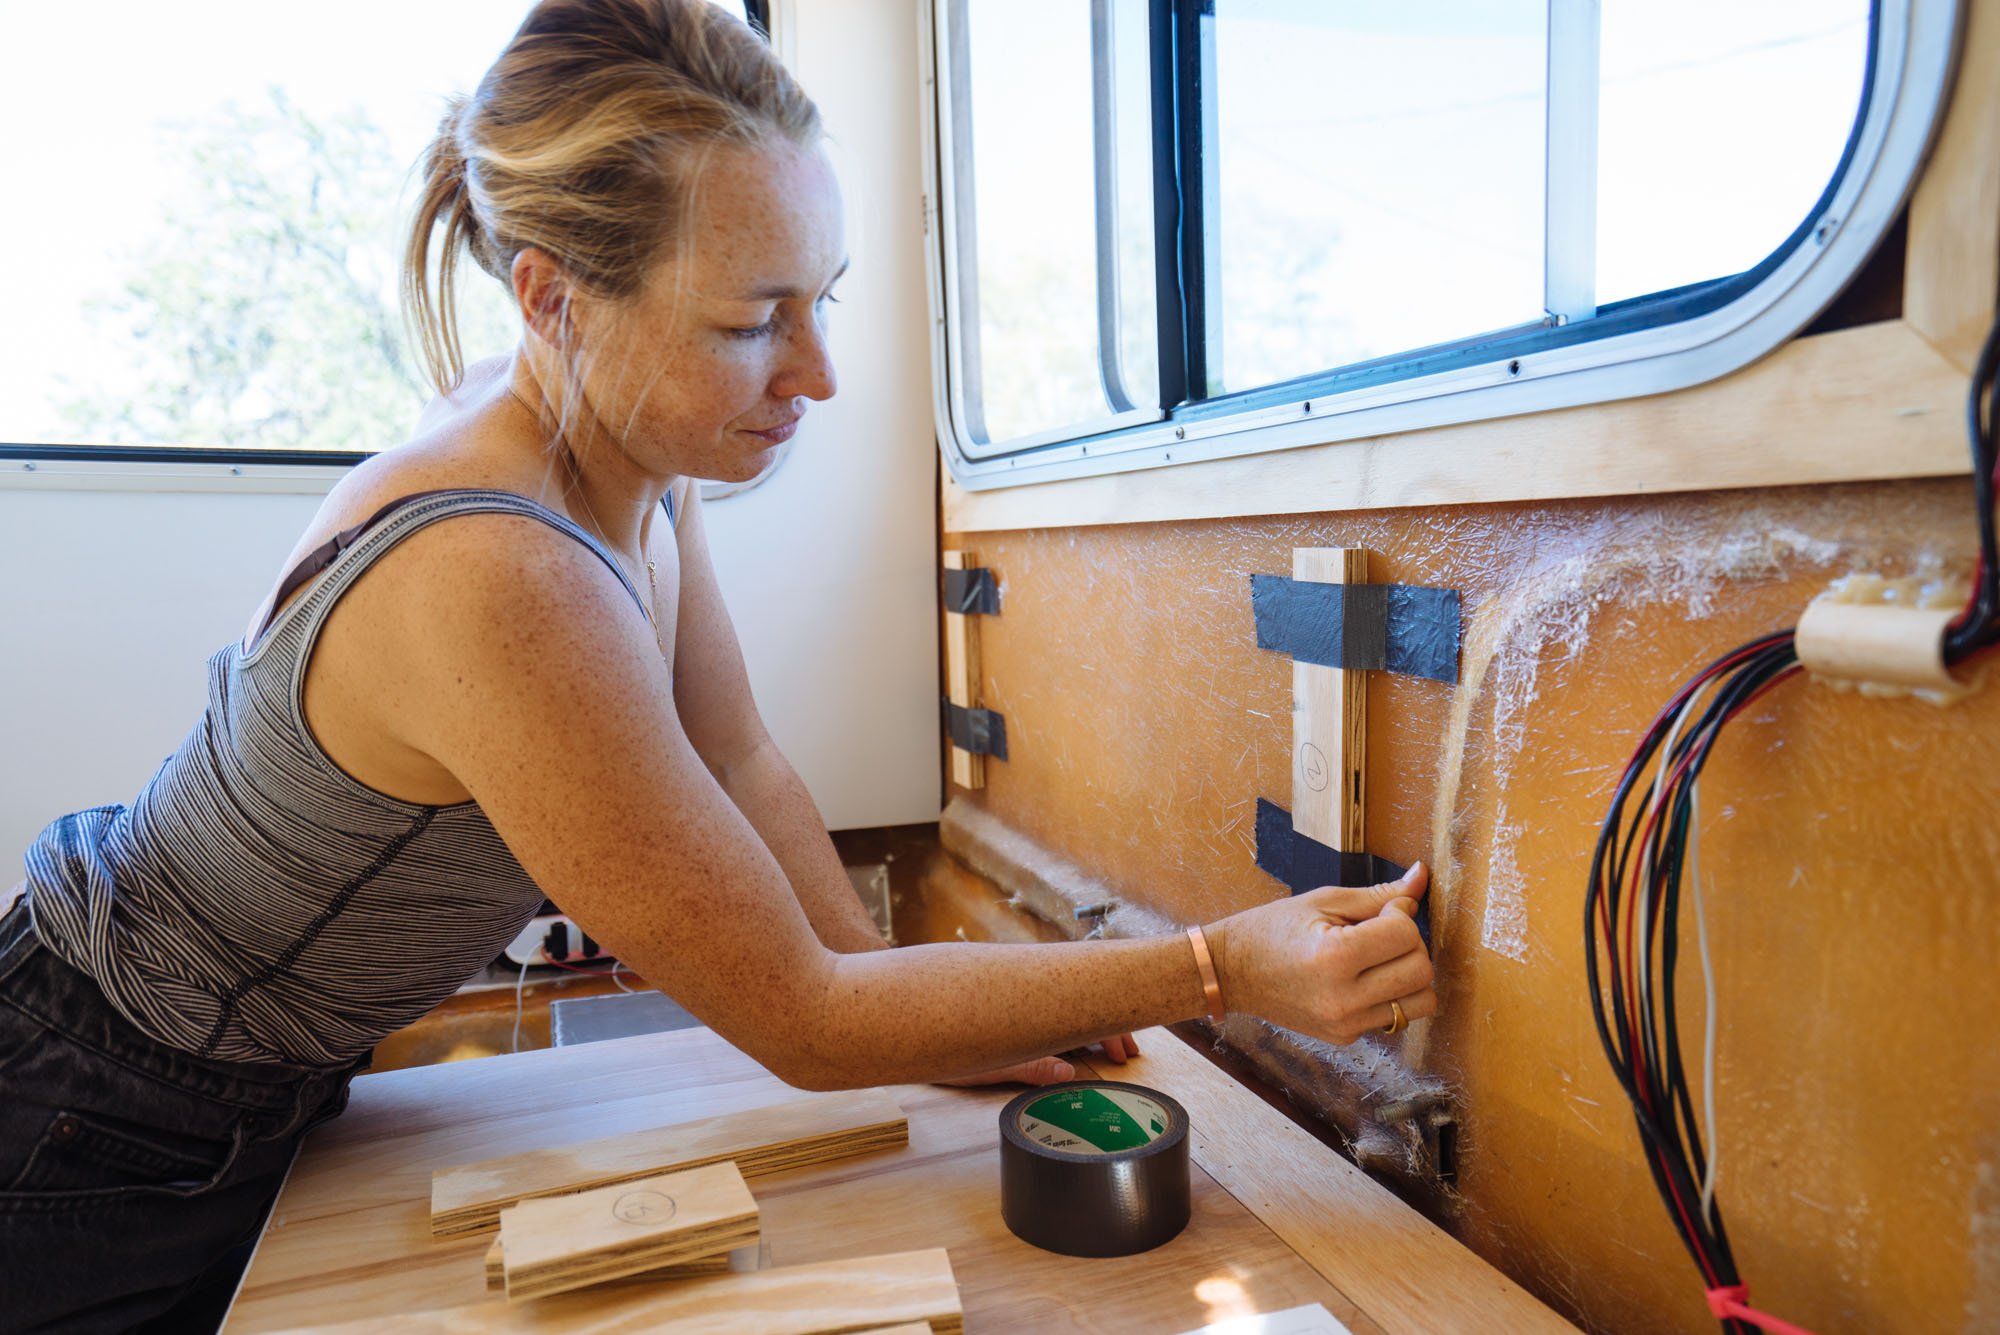
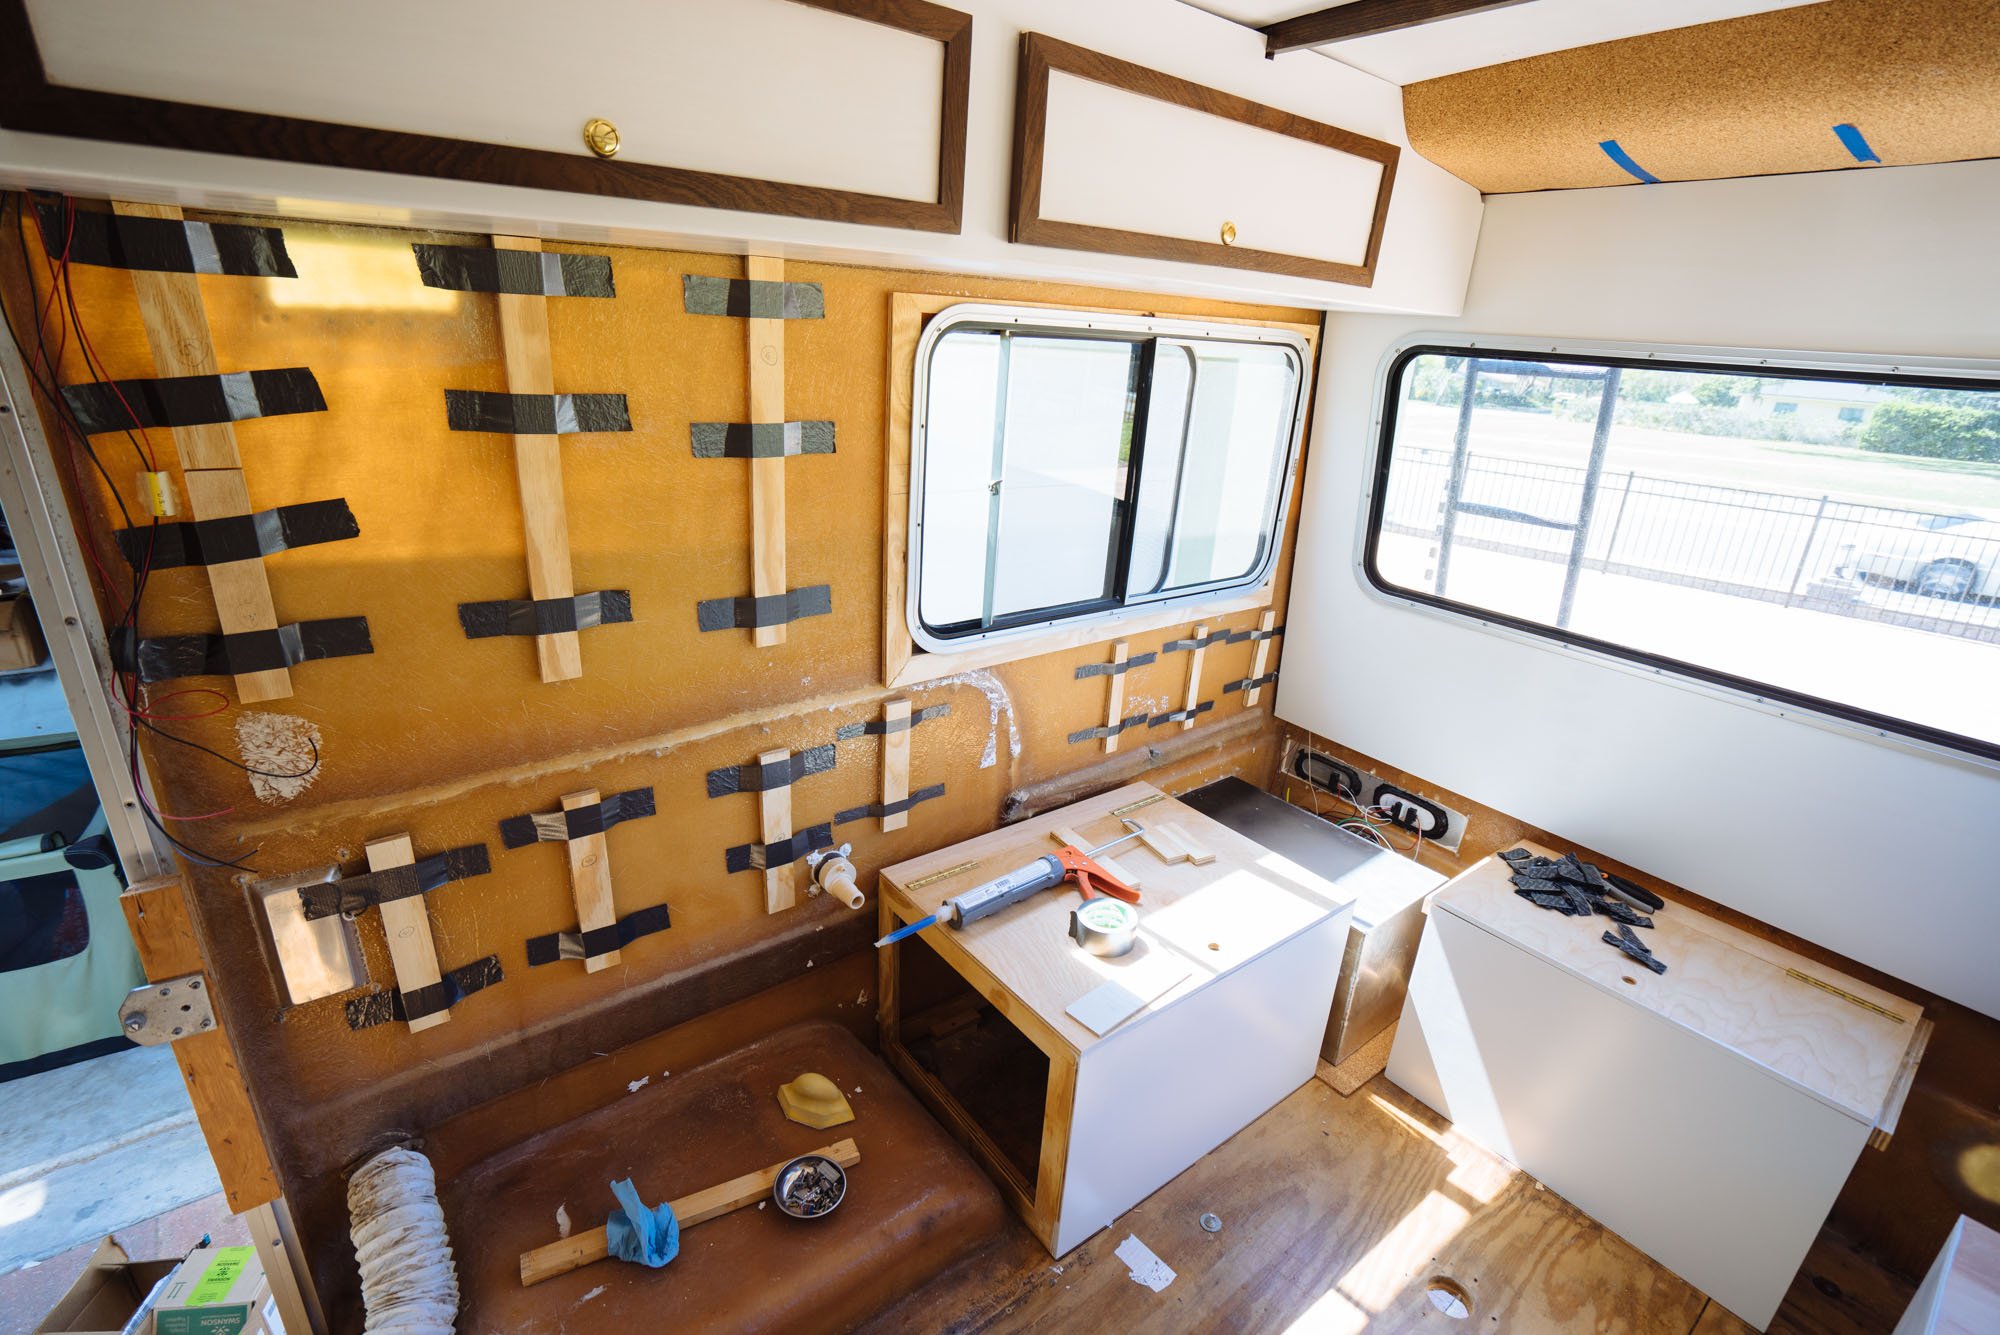
These wall supports were adhered in the same way they all have been, with epoxy and duct tape! After 24 hours of cure time we moved into outfitting the walls with insulation.

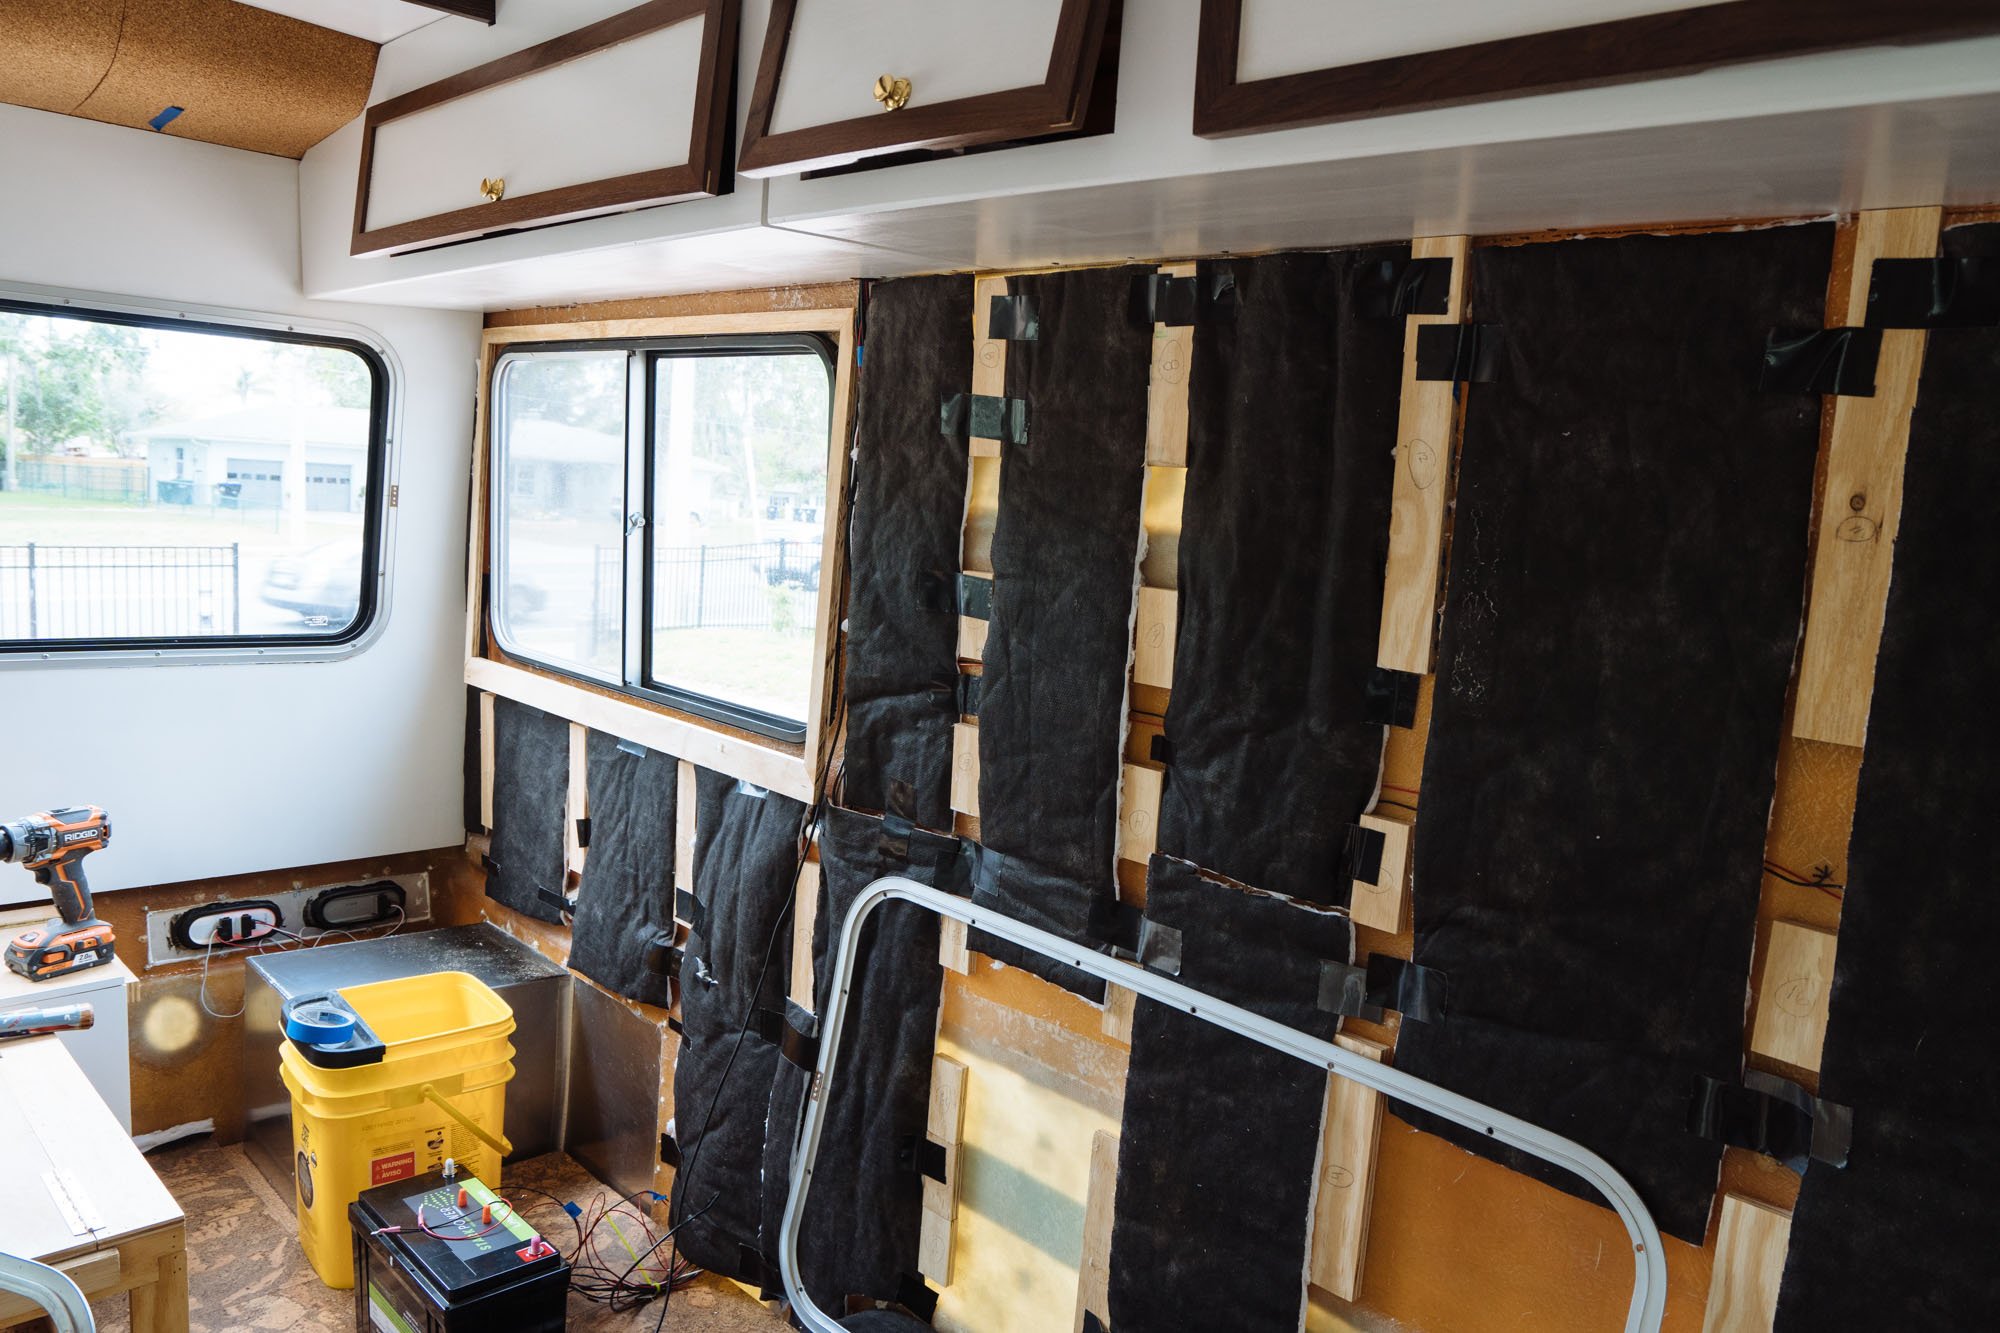
We decided to break our walls into two sections for the installation. The back wall panels would be 4' high and wide enough to push our seam just to the left of each of the side windows. That way when the walls are all said and done our side curtains will hang over the seam in the wall to disguise it. We will also be adding little seam trims to cover them once we have all the walls installed.
We started from the back to knock the hardest wall panels out first. These were complicated little guys to cut. I'll be totally honest with you and say that I cut two that were so far off that we had to buy more plywood and start over! Not proud of it, but it's true. There were many attempts dry fitting them, and then taking them back out to shave off edges, widen the window opening, and touch up the primer from being man handled before they were finally ready to get installed.
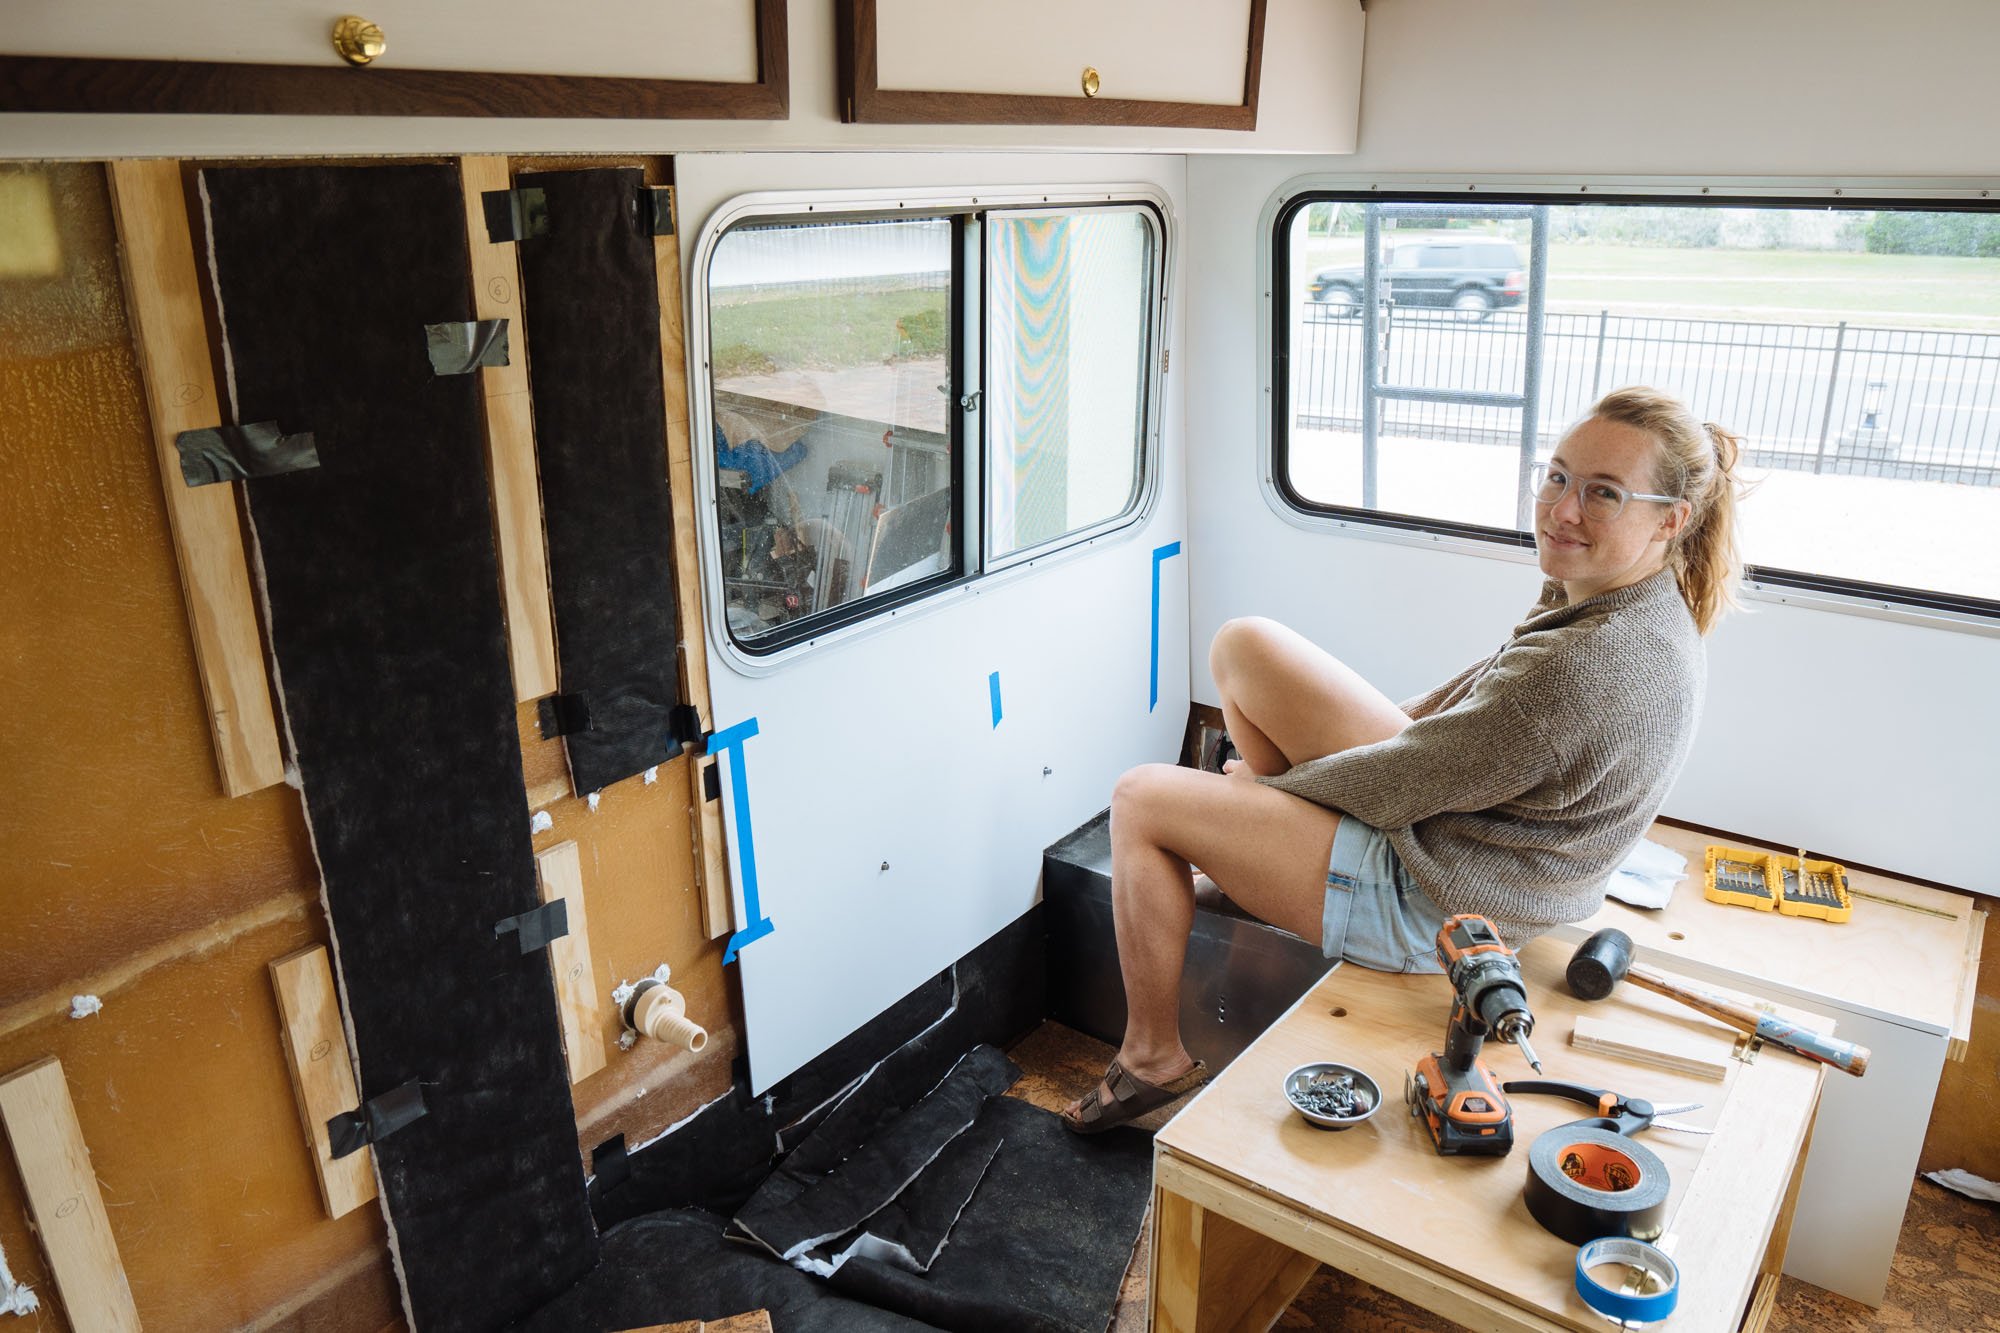
Naturally we had to take the bench seats out AGAIN to get the walls in. But it was well worth the effort to get a nice clean install!
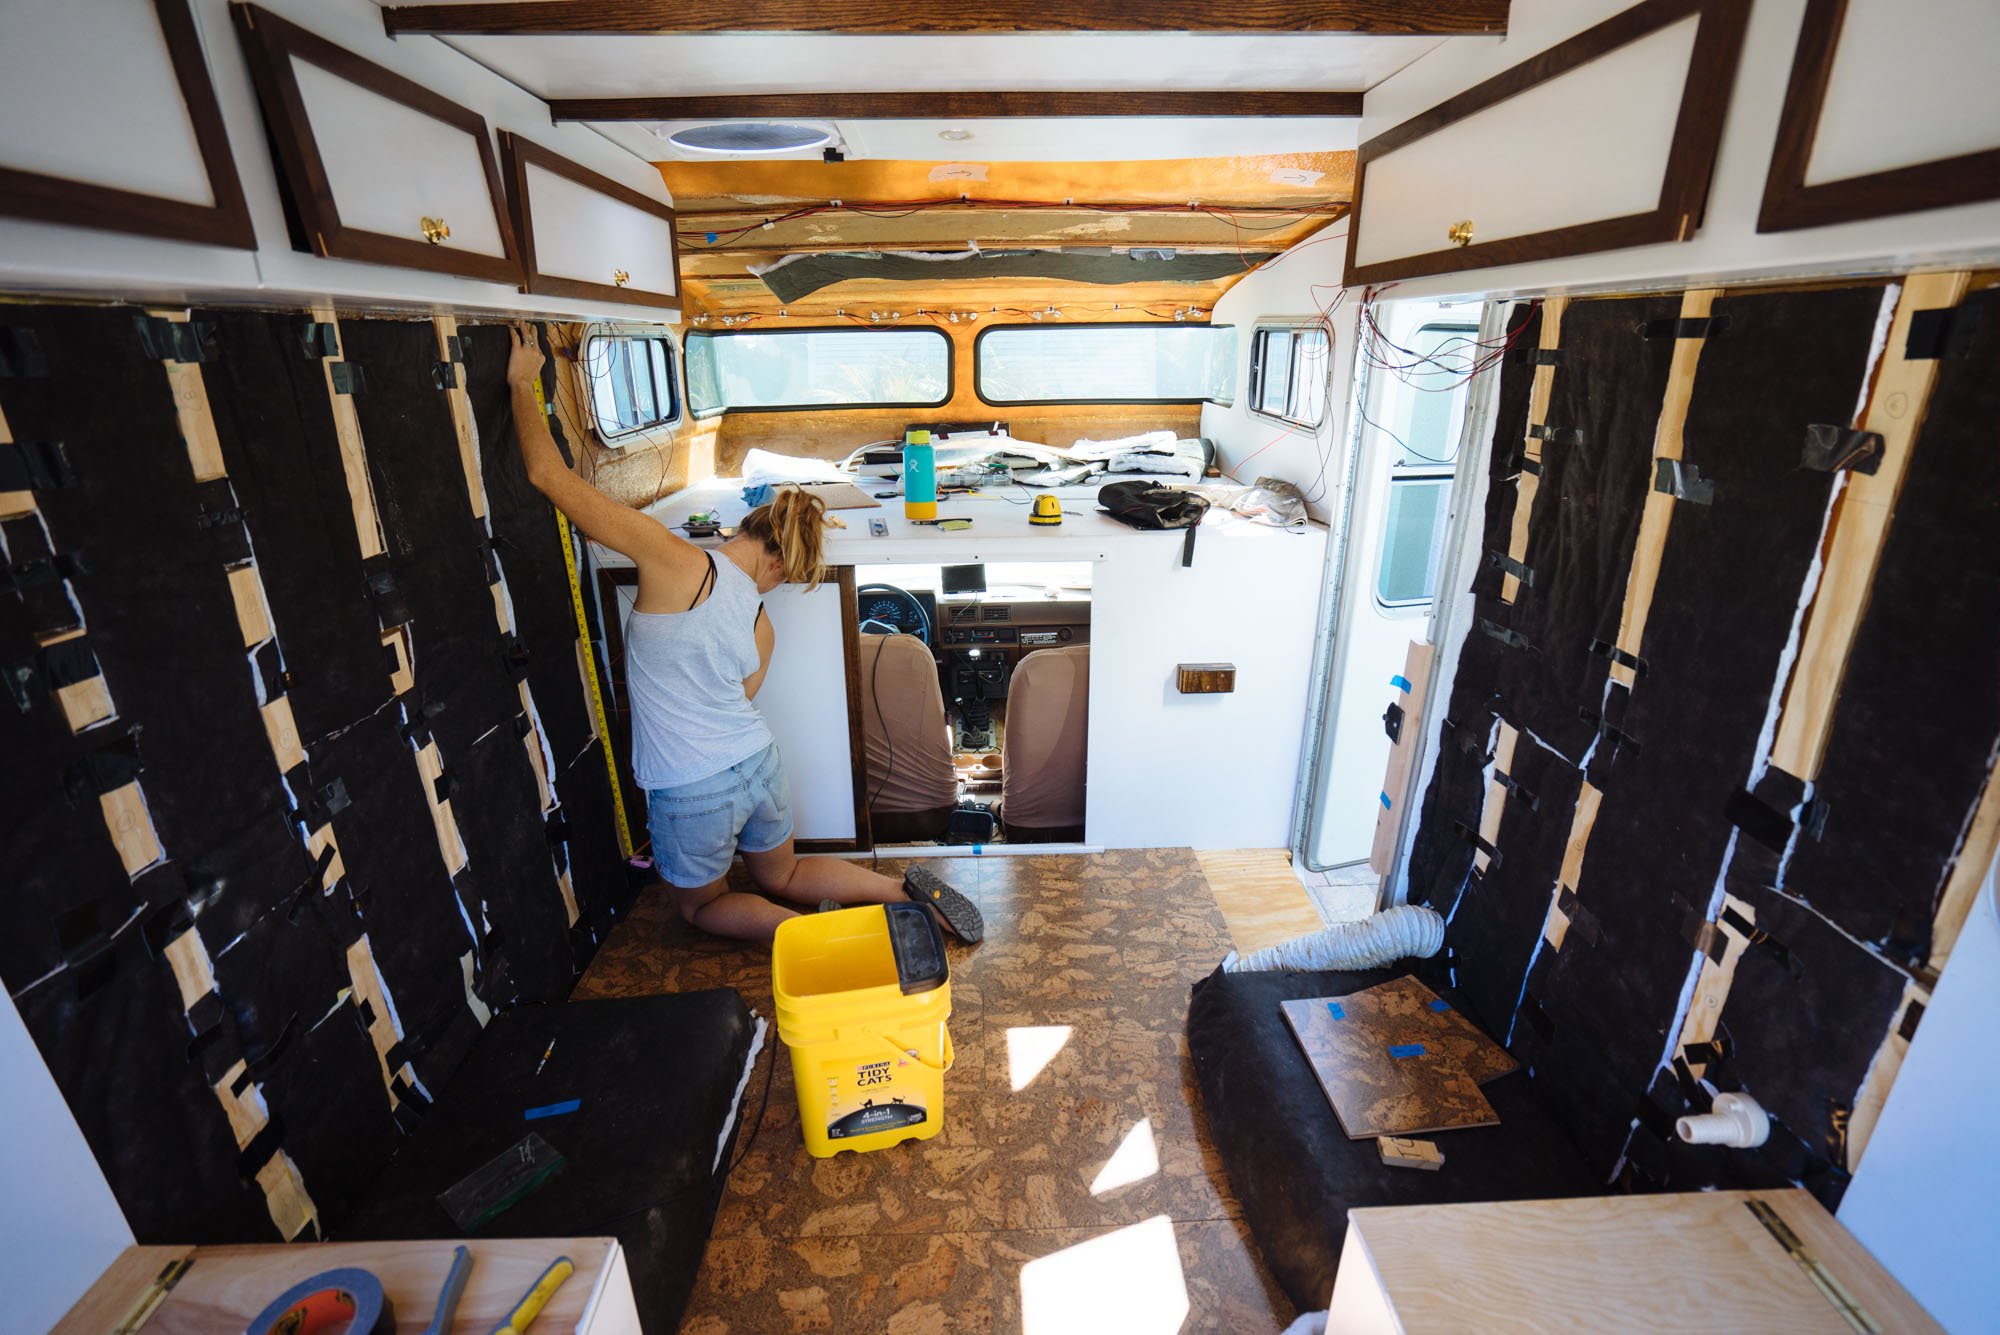

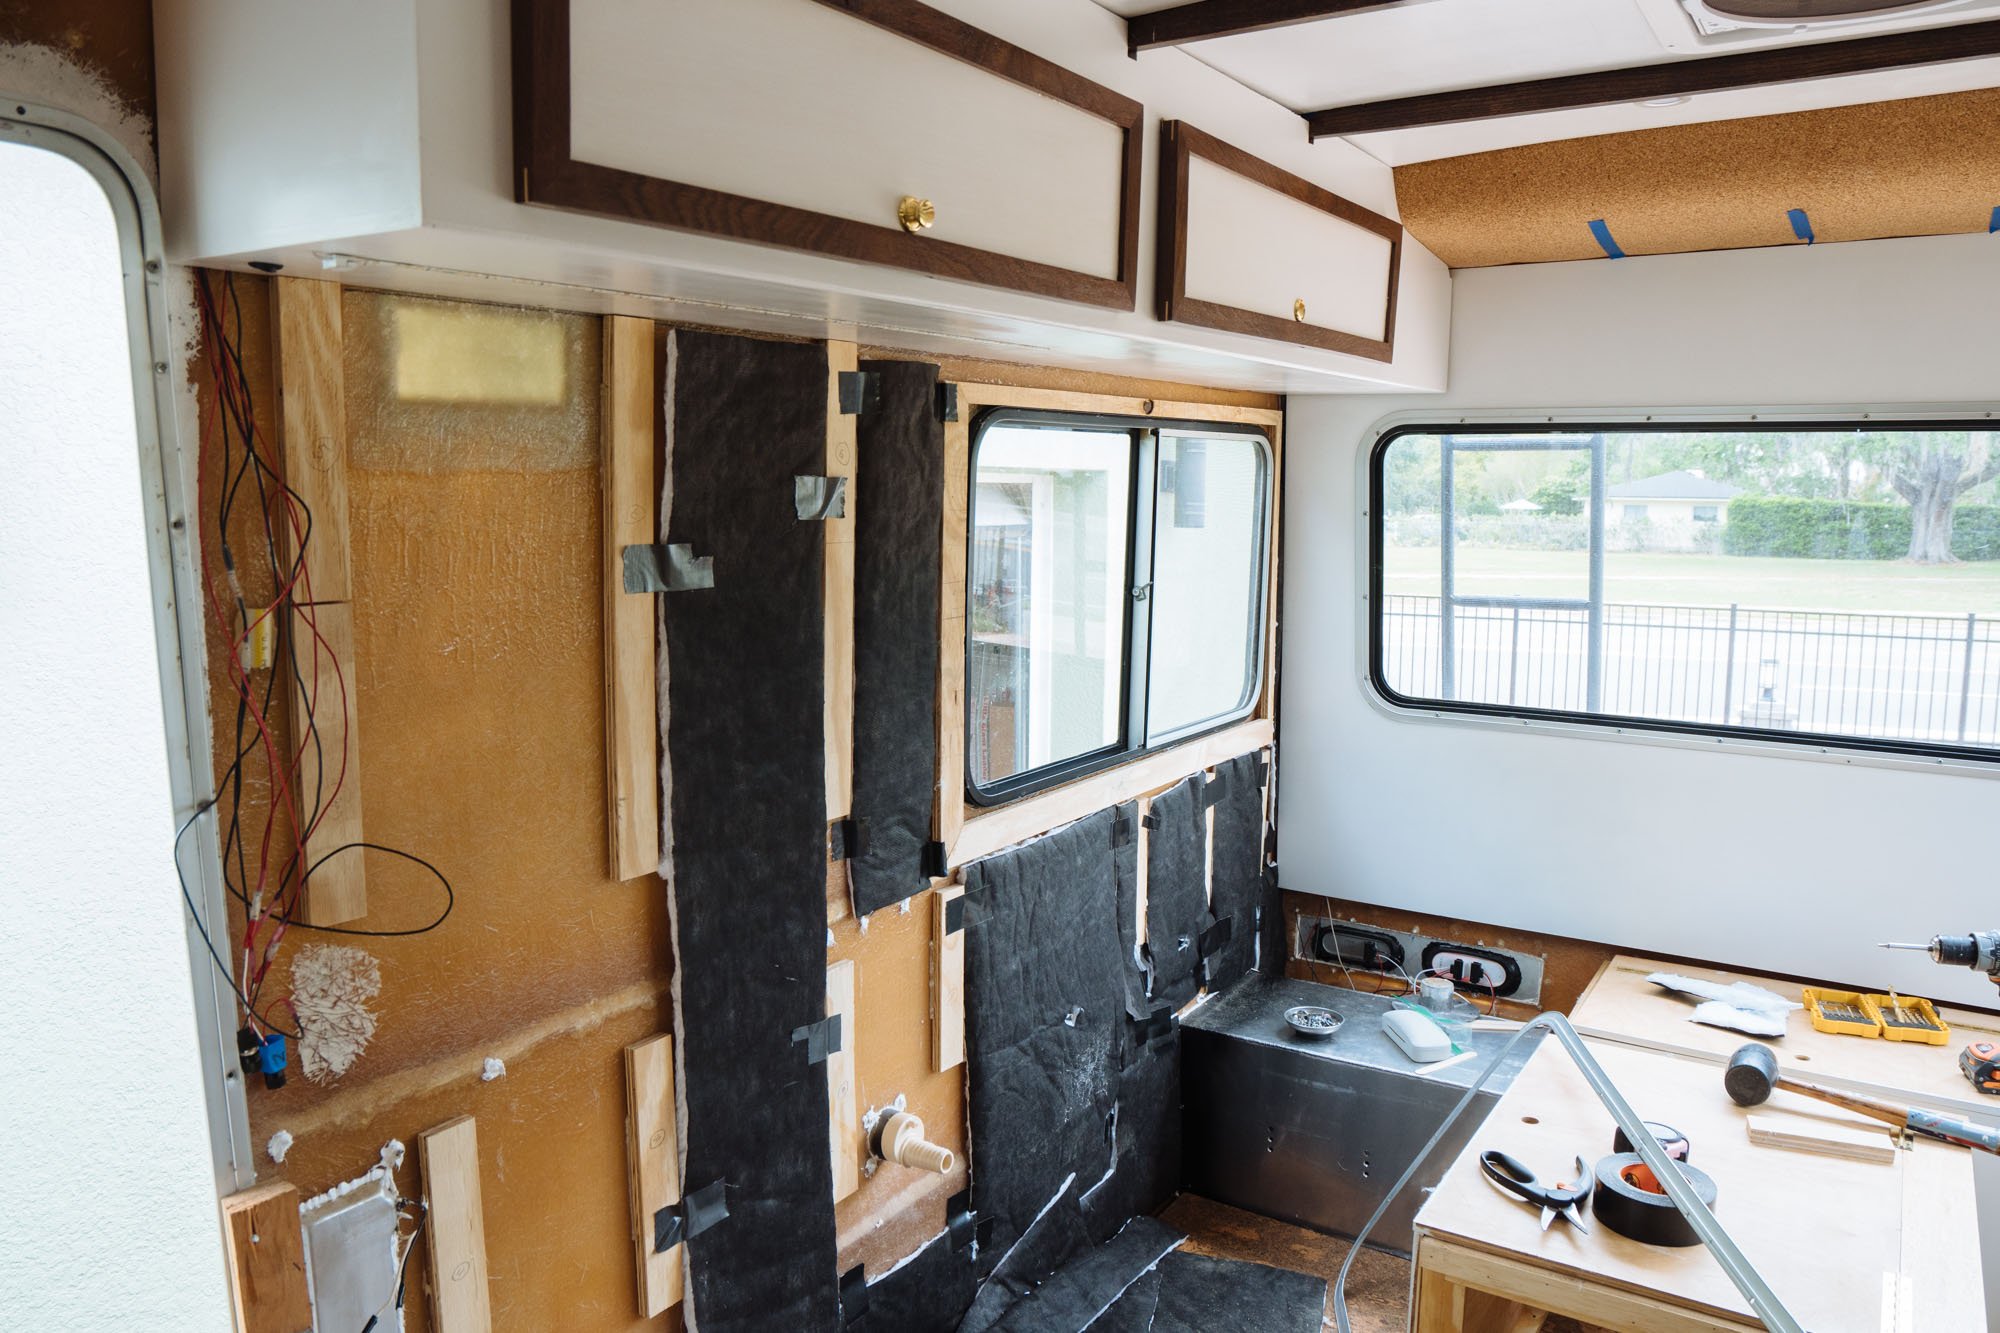
The prep work for the next set of walls was more of the same. Insulation, lots measuring, lots of dry fitting, lots of trimming little bits off the wall and priming.
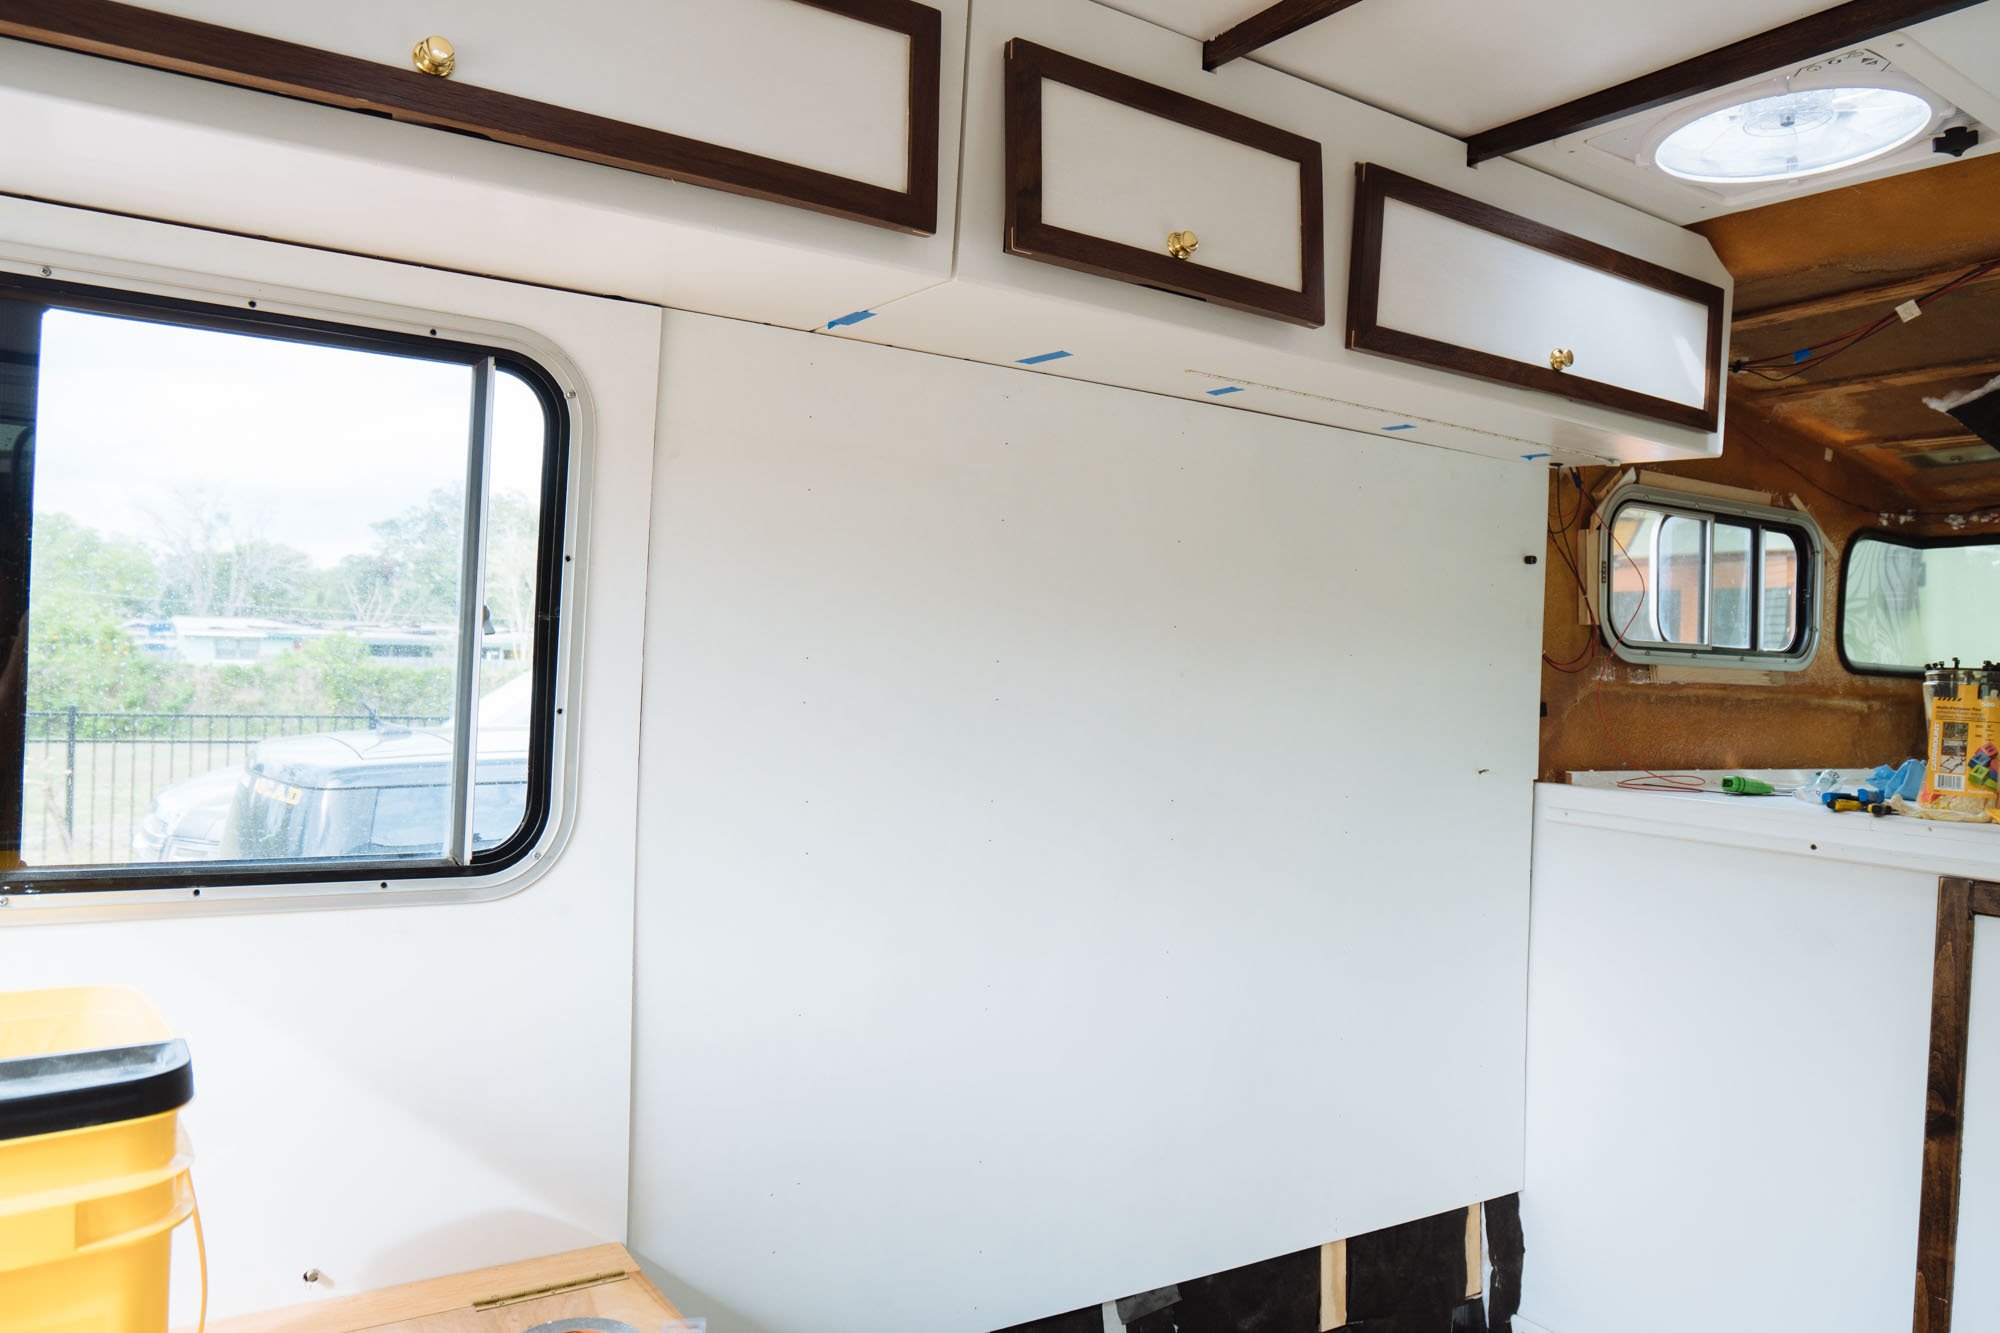

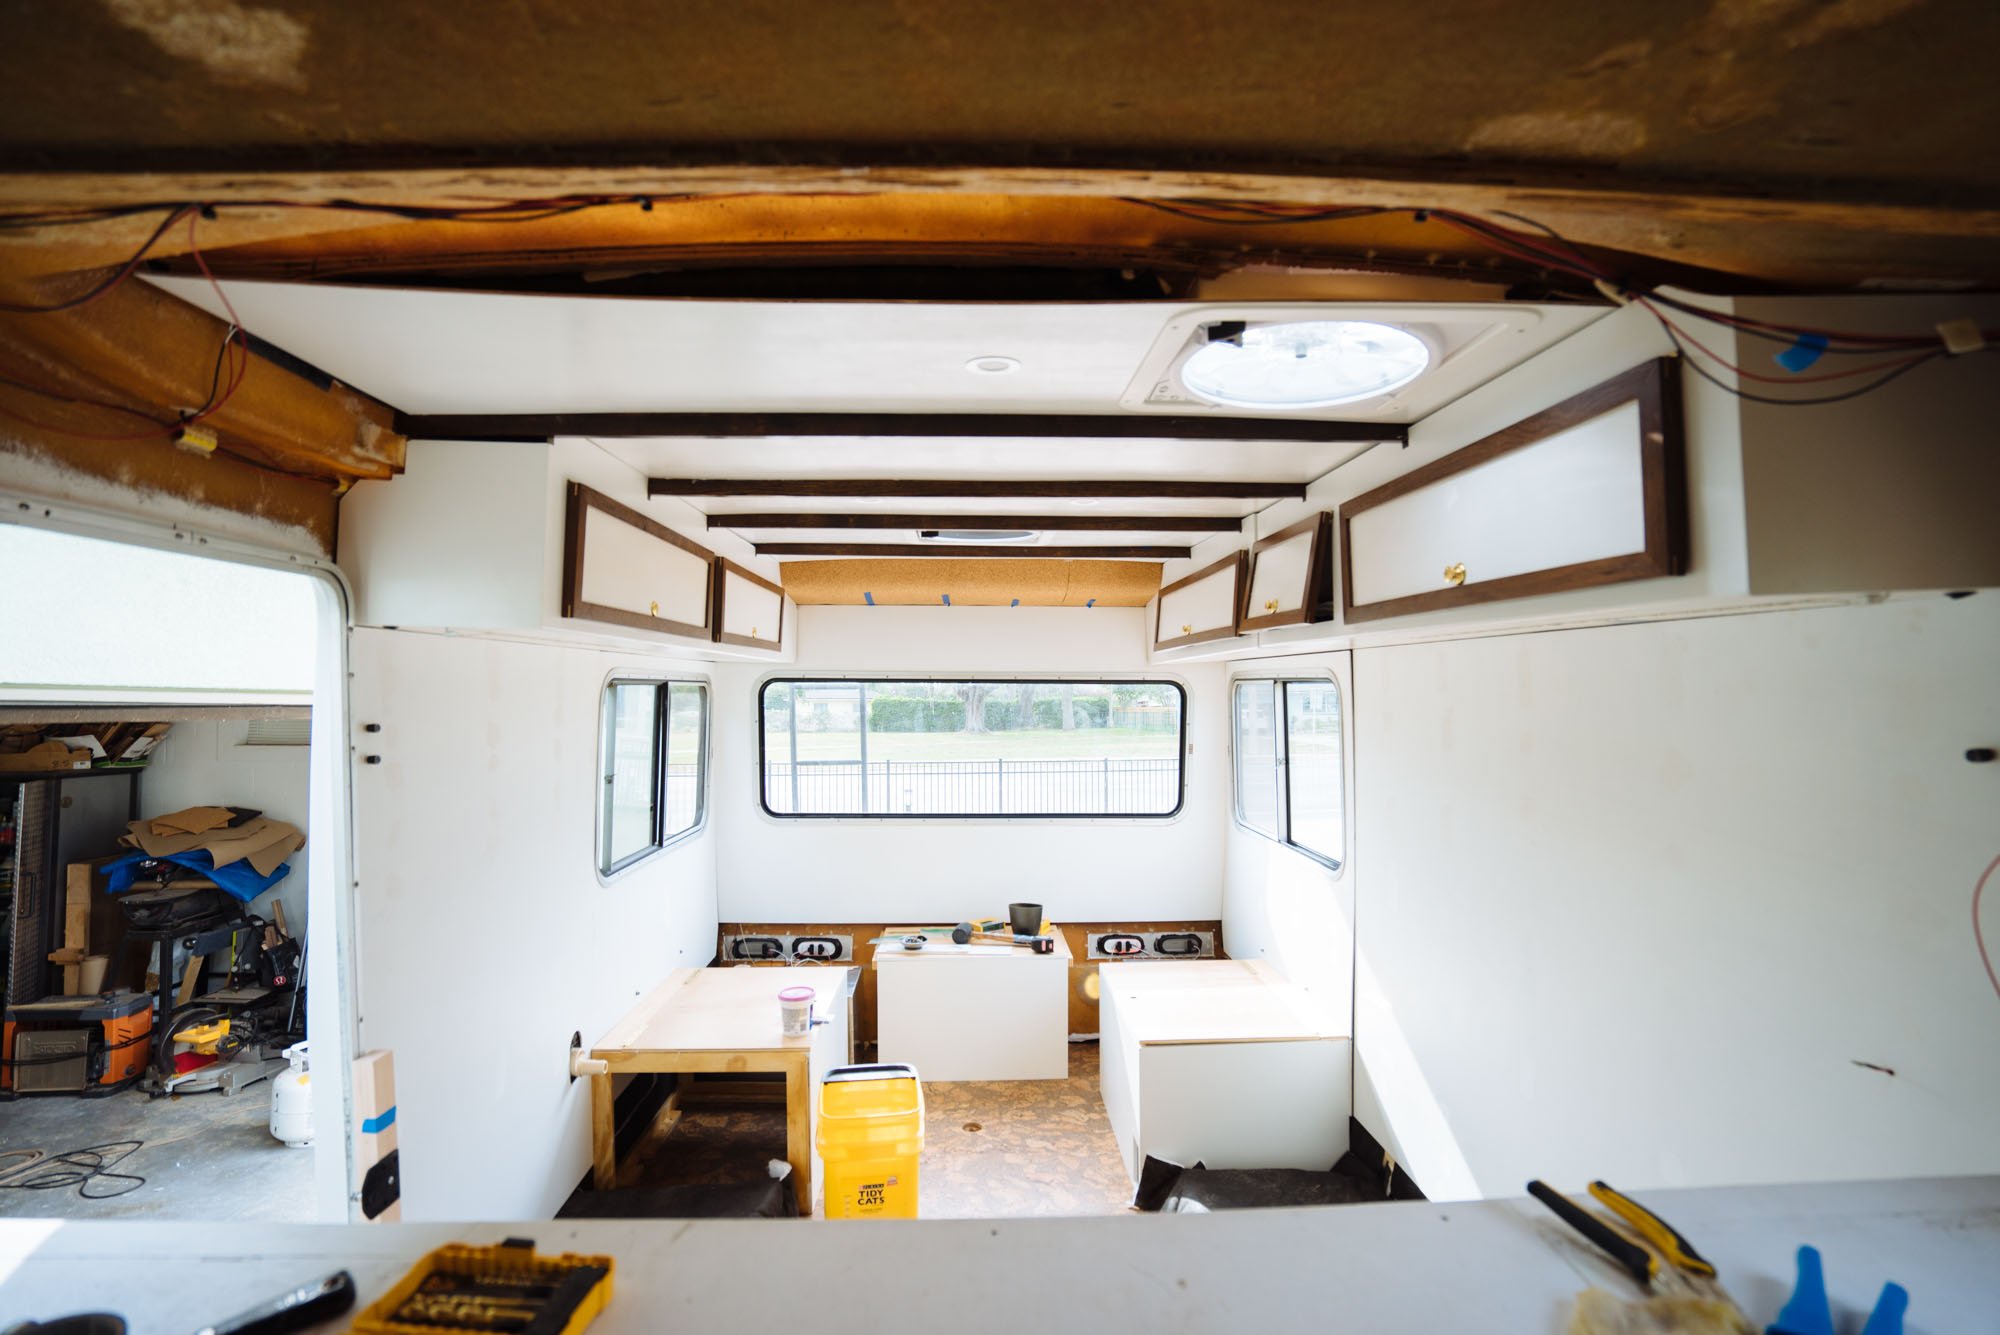
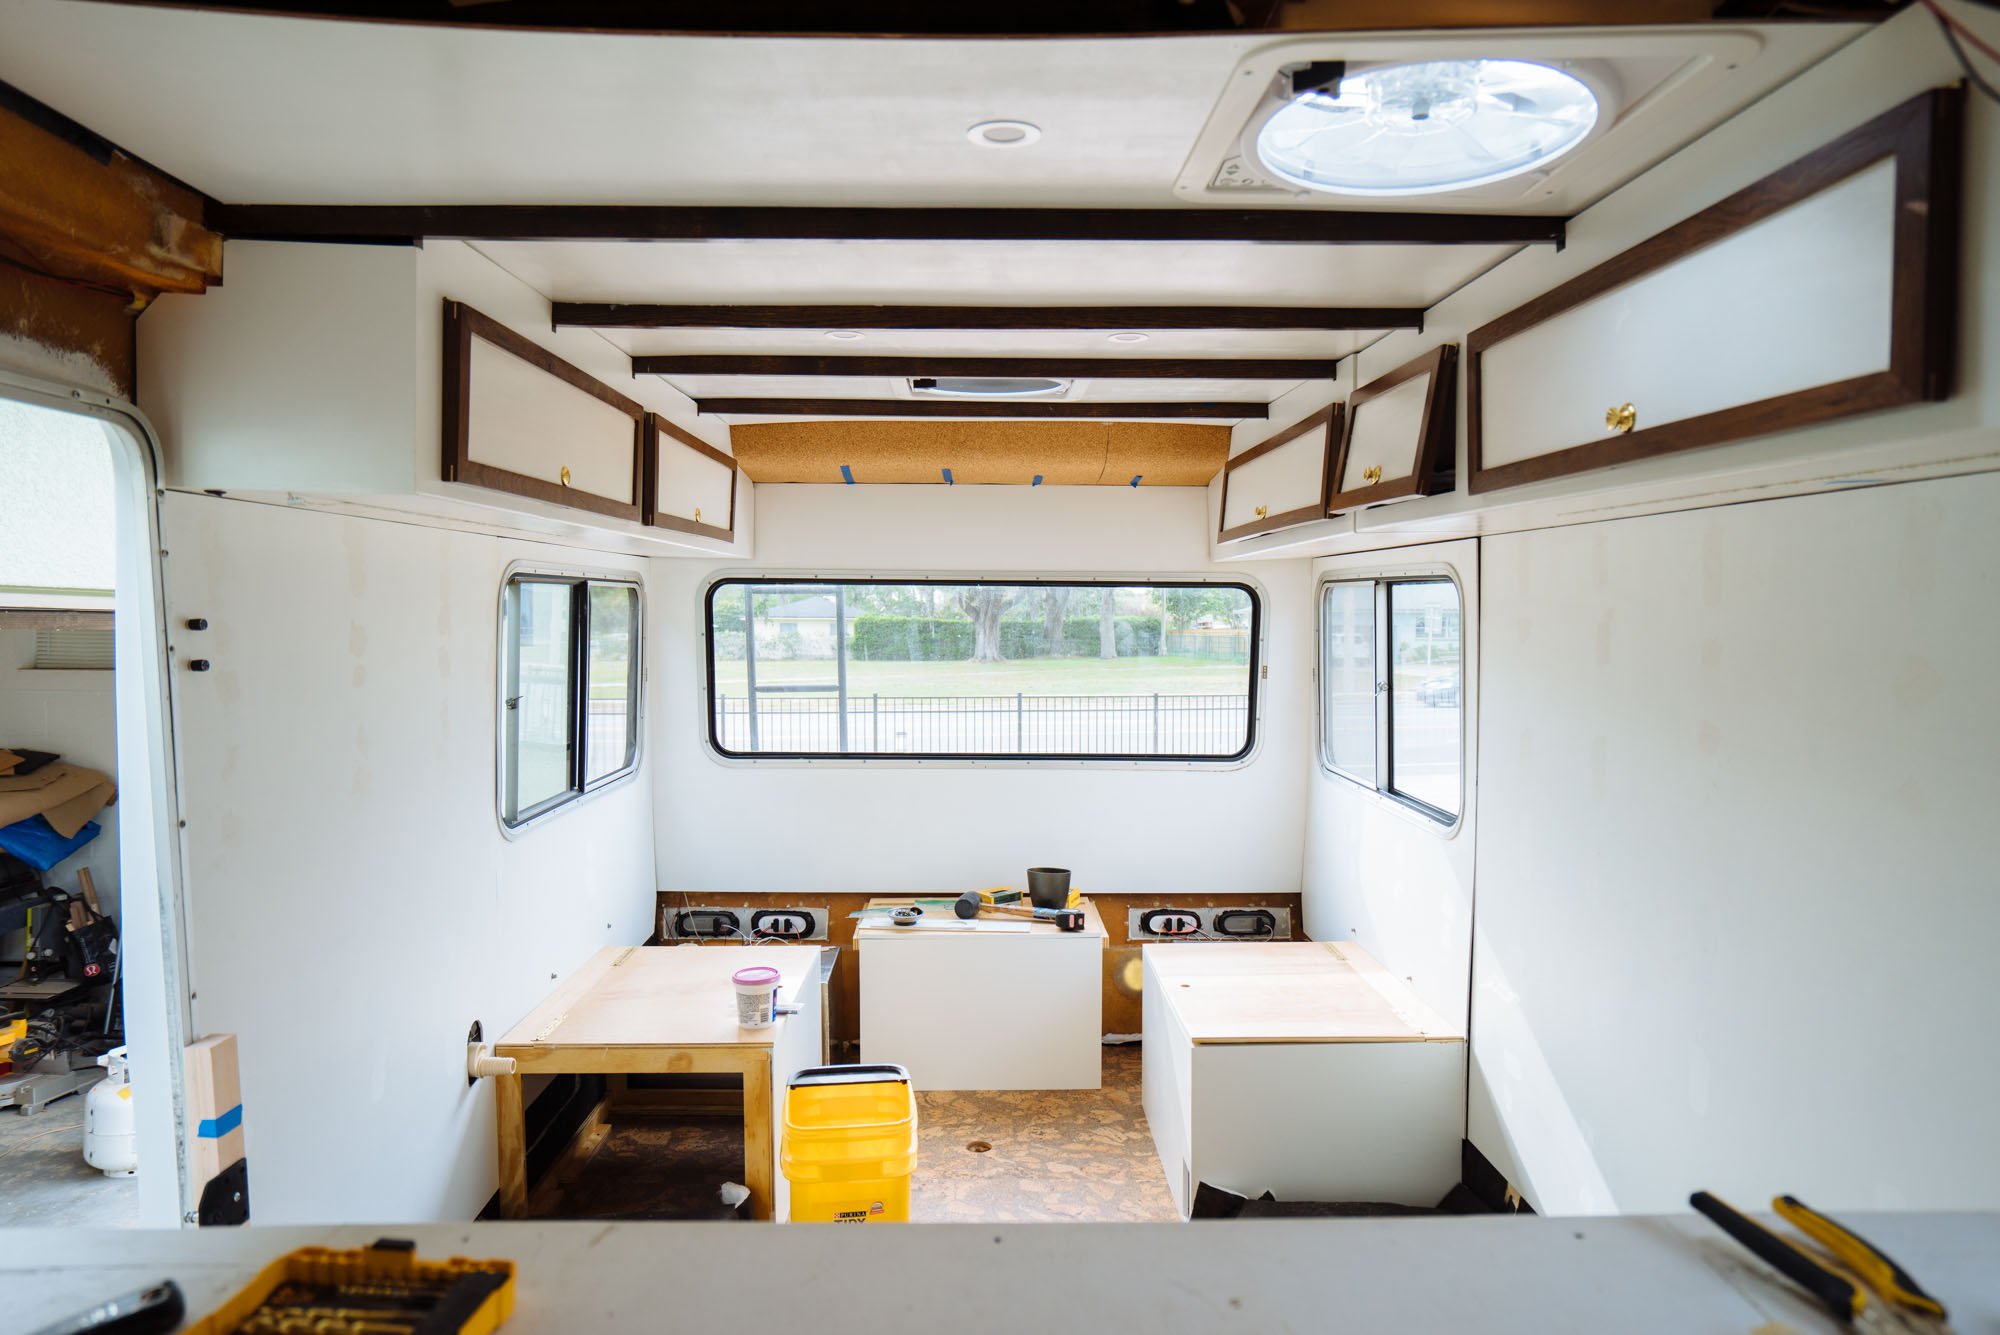
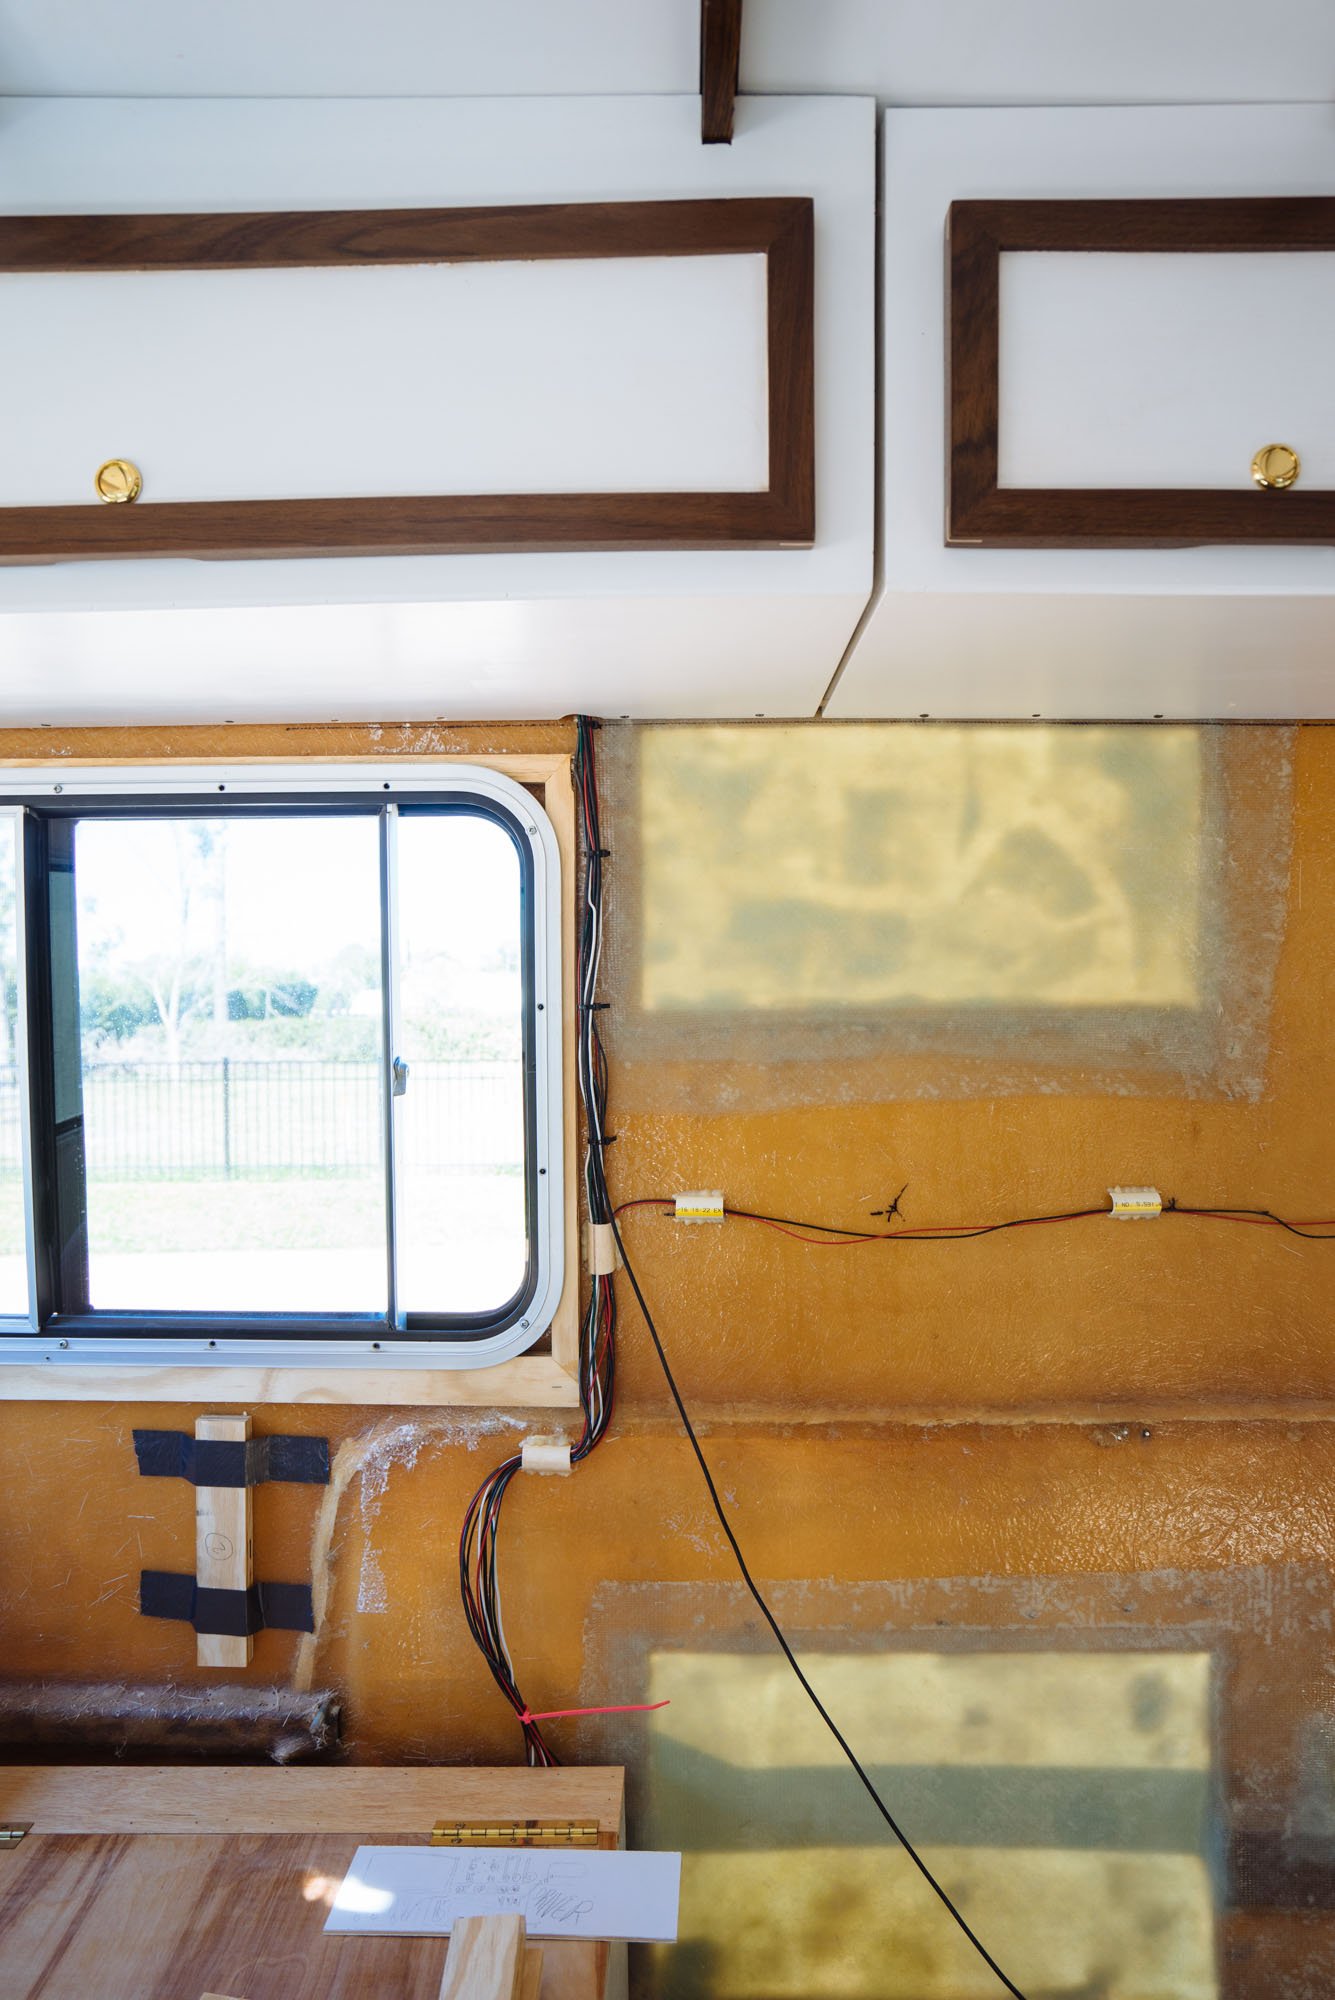
Owen and I have always been big fans of a lot of light in our living space. In Stanley we were lucky enough to have so many windows that allowed for so much light to enter our space. When we purchased Amelia that was one of our biggest beefs with her. There weren't as many windows as we would like. If I 100% had it my way, and I didn't care about the structural integrity of Amelia's exterior walls, I would have added a window on each side. But alas, that was a can of worms we were a bit afraid to open. So instead we decided to use classic interior design tricks to extend the light that comes into our little home with the color white. I know this looks like a lot of white right now, but I promise we have a plan to tone it down and warm up the light a bit.
Another reason (maybe I'm just justifying our decisions) it's good that we didn't add windows to the middle section of Amelia is because when we're at our standing desk we won't have a window right in front of us to stare out of. We found that when we worked in Stanley, we would catch ourselves staring out the window for long periods of time. Maybe now we can stay on task a bit better ;) Who am I kidding I would love more windows!

After our floors went in Owen and I realized that we really needed to make a push to get our propane box installed to fill the last hole in our interior before the rain set in. This box physically has been ready to install for the last few weeks, but there were a few big reasons why we had yet to do so. We know nothing about working with LP lines. We wanted to know what our plan was for running our LP before we installed it. We went to numerous gas stores, rv service providers, and gas companies to try to figure out how to run our LP lines. No one would really talk through it with us. We fully understand that people didn't want to be liable if they advised us improperly, but we were just looking for advice on where to look, how to learn, how to move forward even a little. We've never had so many people turn us down. After a good bit of Googling we "learned" enough to know that we needed a two stage regulator to be installed inside our box. We felt like once we had the regulator installed, everything else could be figured out later and dealt with after the box was installed.
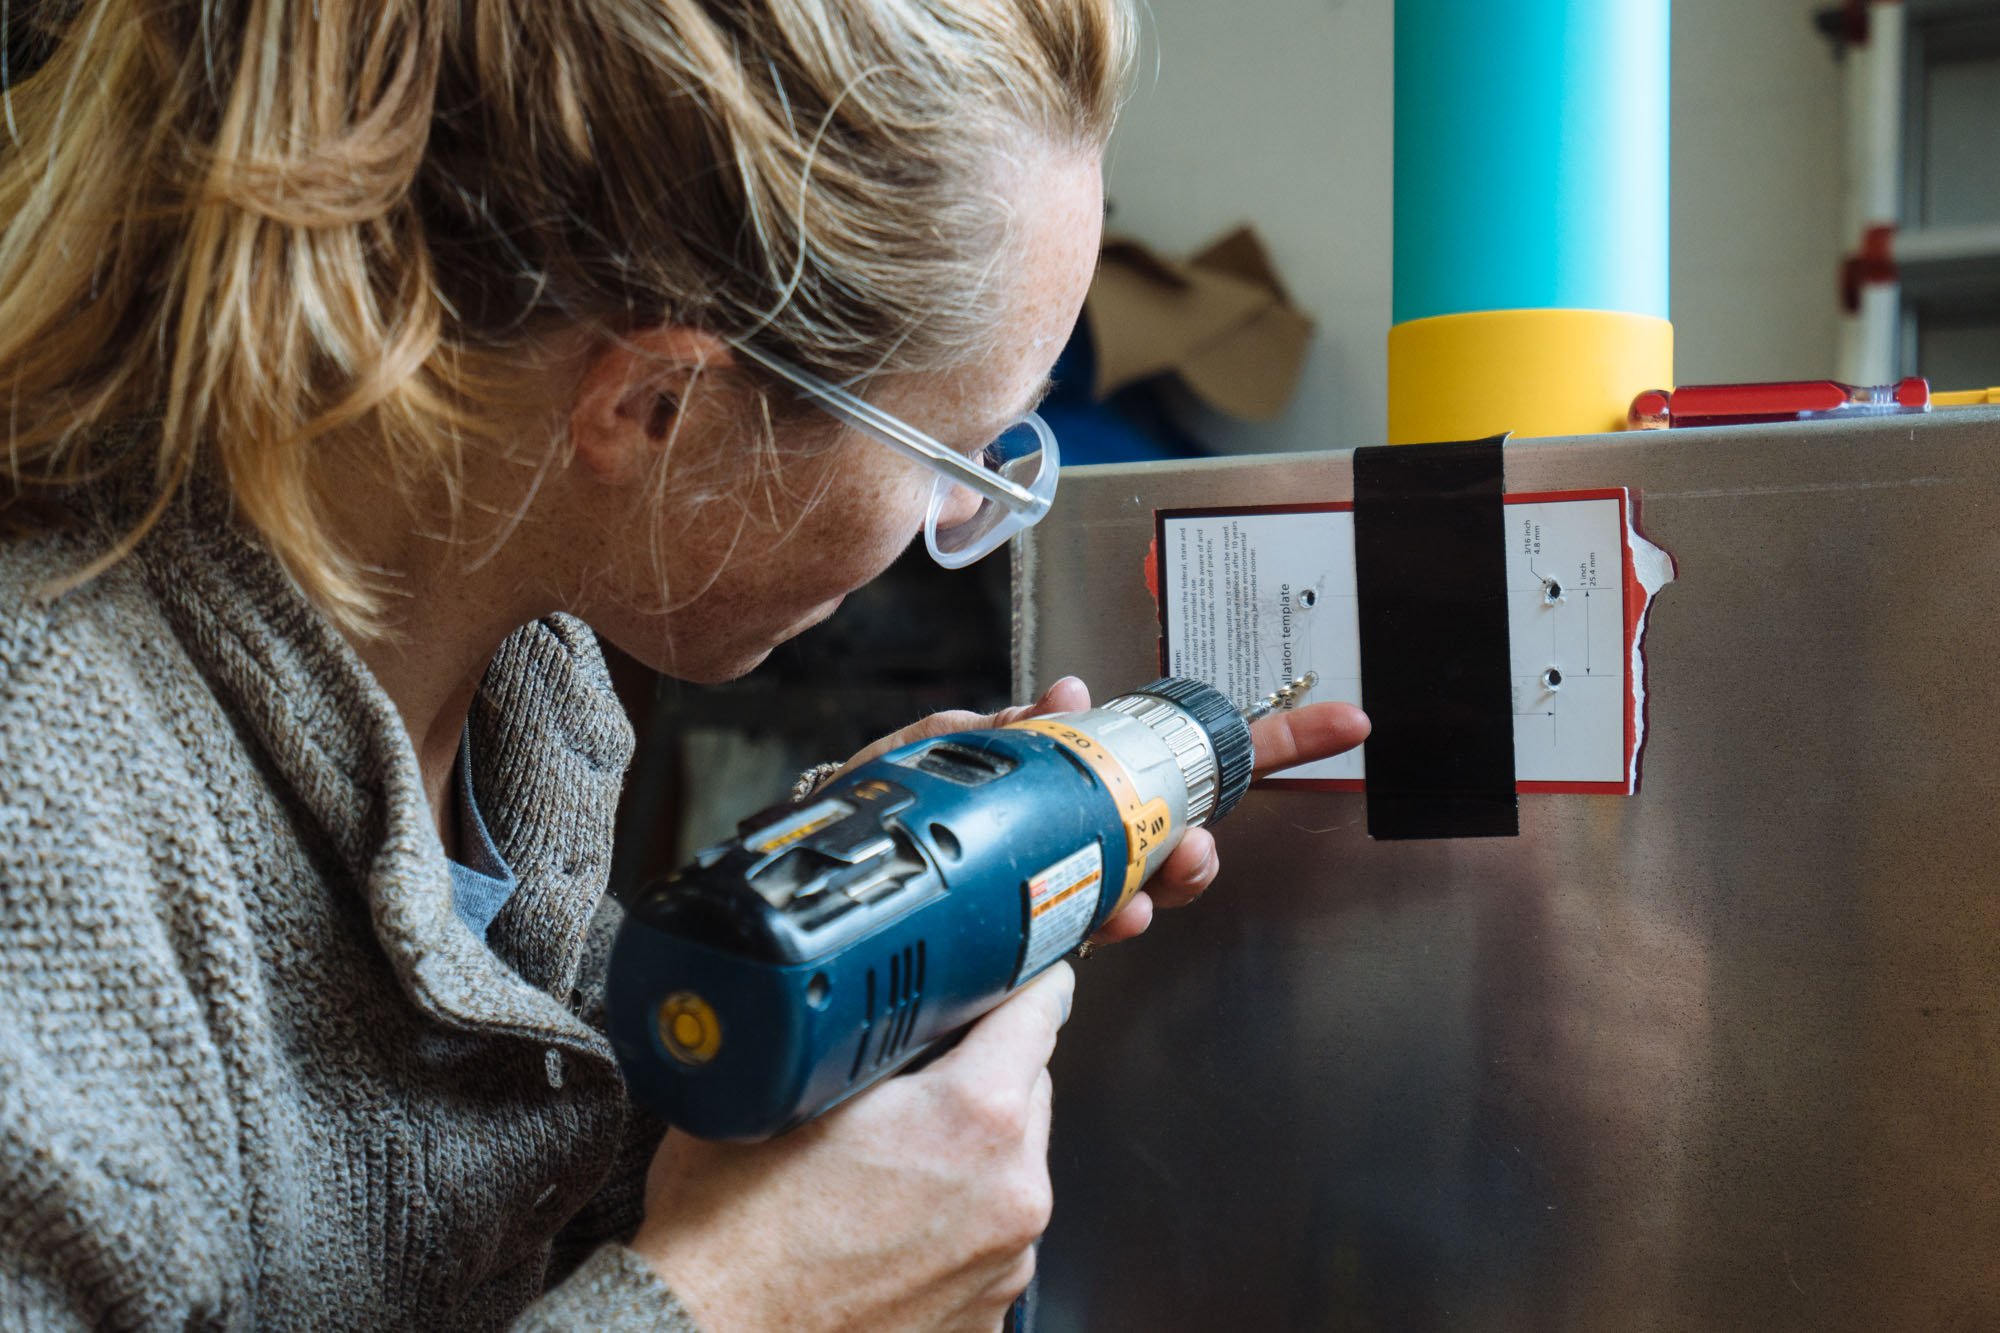

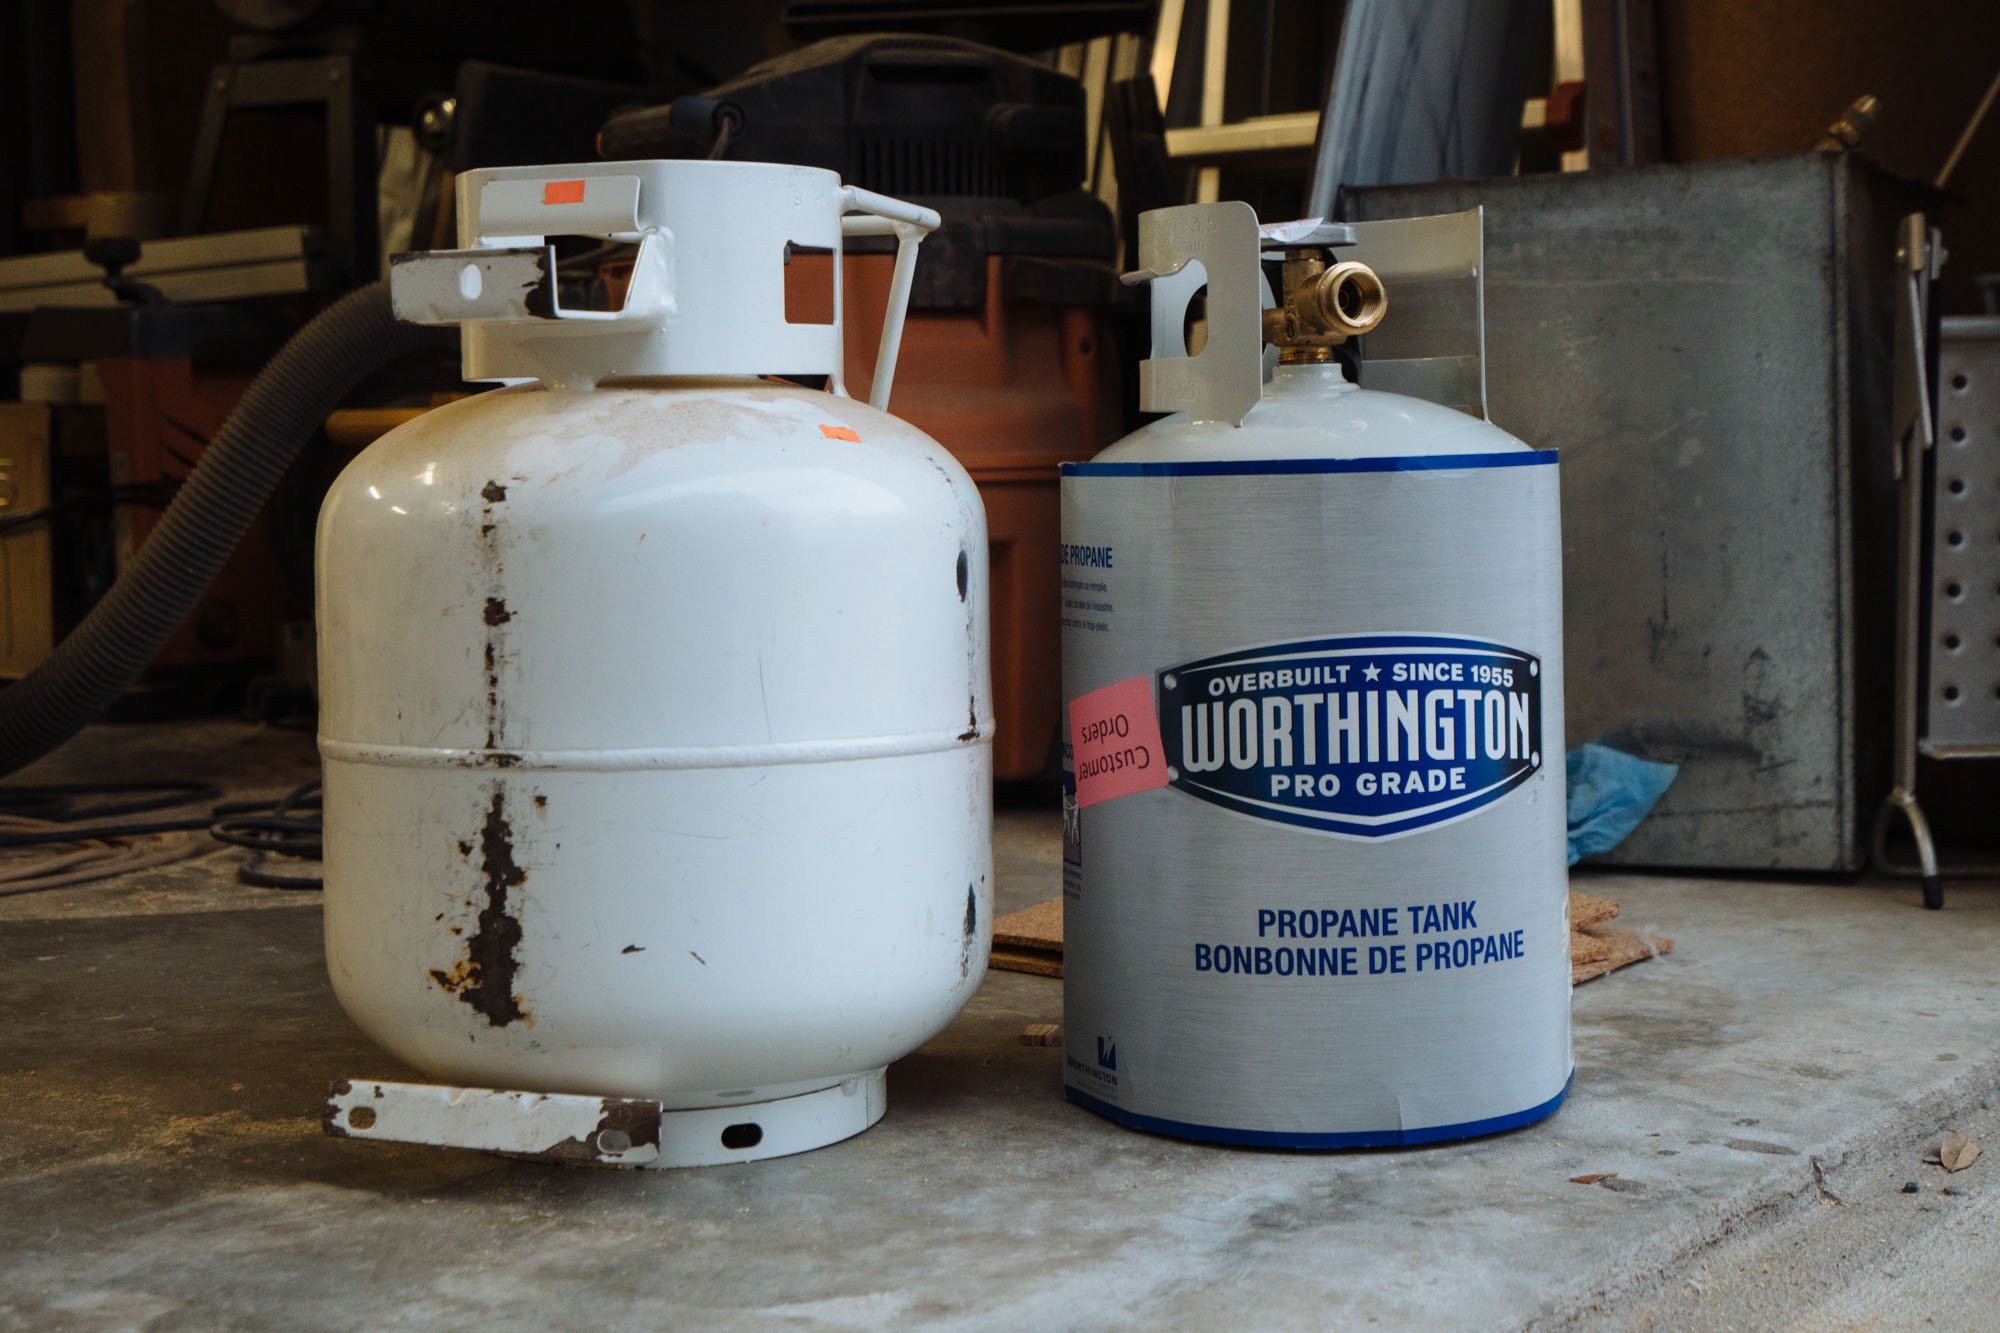
Low and behold, we designed our propane box to be made about half an inch too small. There was absolutely no way that we could get our regulator and our 20 lb. tank in there at the same time. Luckily, we kept calm and talked through our options. We landed on dropping down to an 11 lb. tank. The 11 lb. tank is 10 more pounds then we're used to having, and it bought us back more than enough space for our tank and regulator. We were more than fine to make this compromise! After a few brief phone calls around we found this beautiful Worthington Powder Coated tank that was never picked up from West Marine. We drove straight over to pick it up!
Side note: everyone at West Marine now knows us by name we spend so much time there...
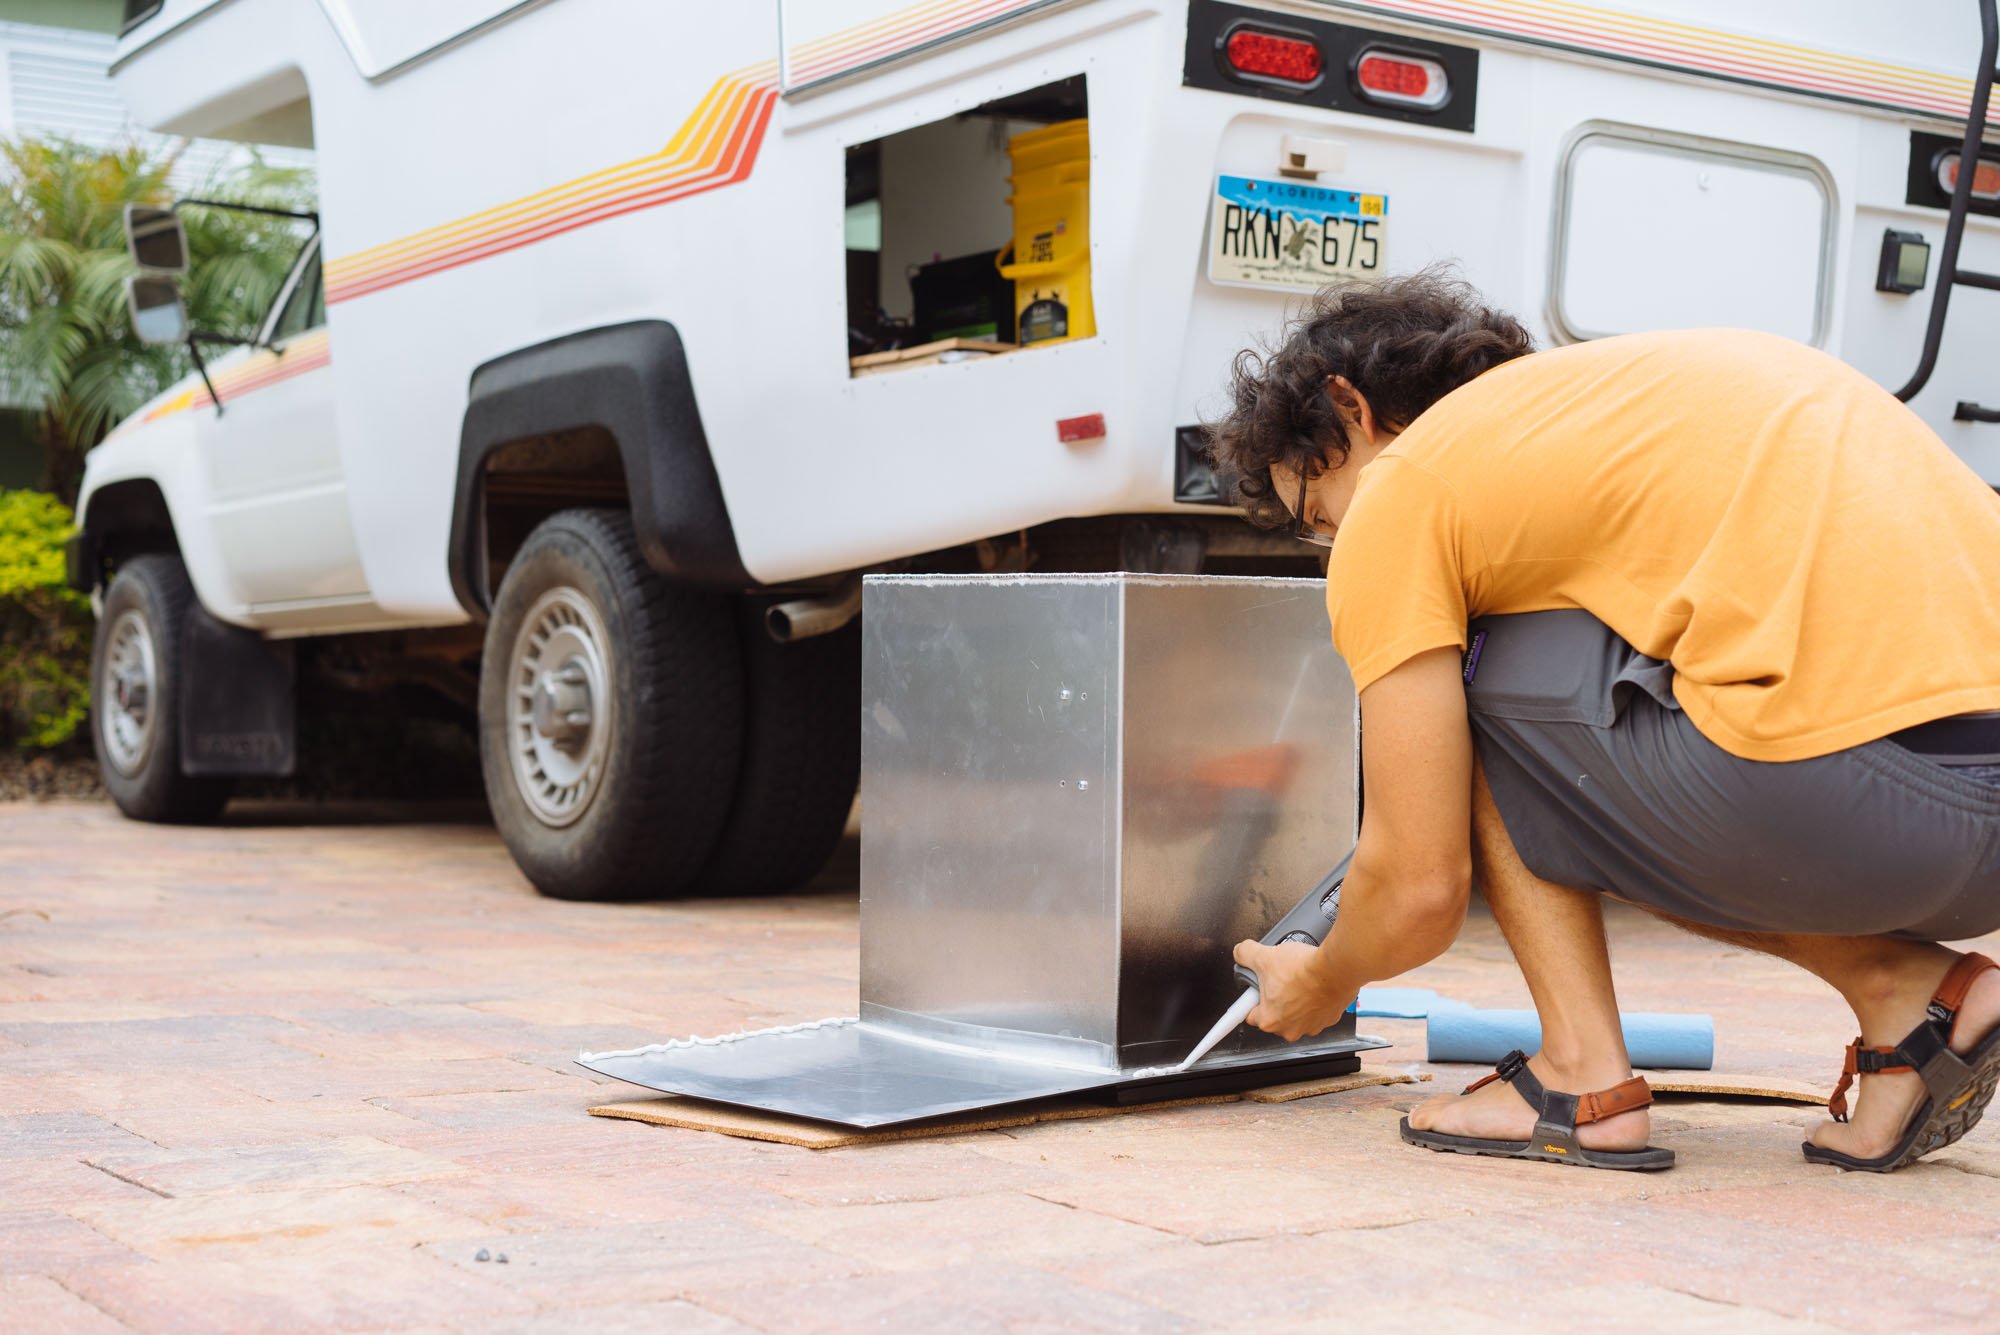
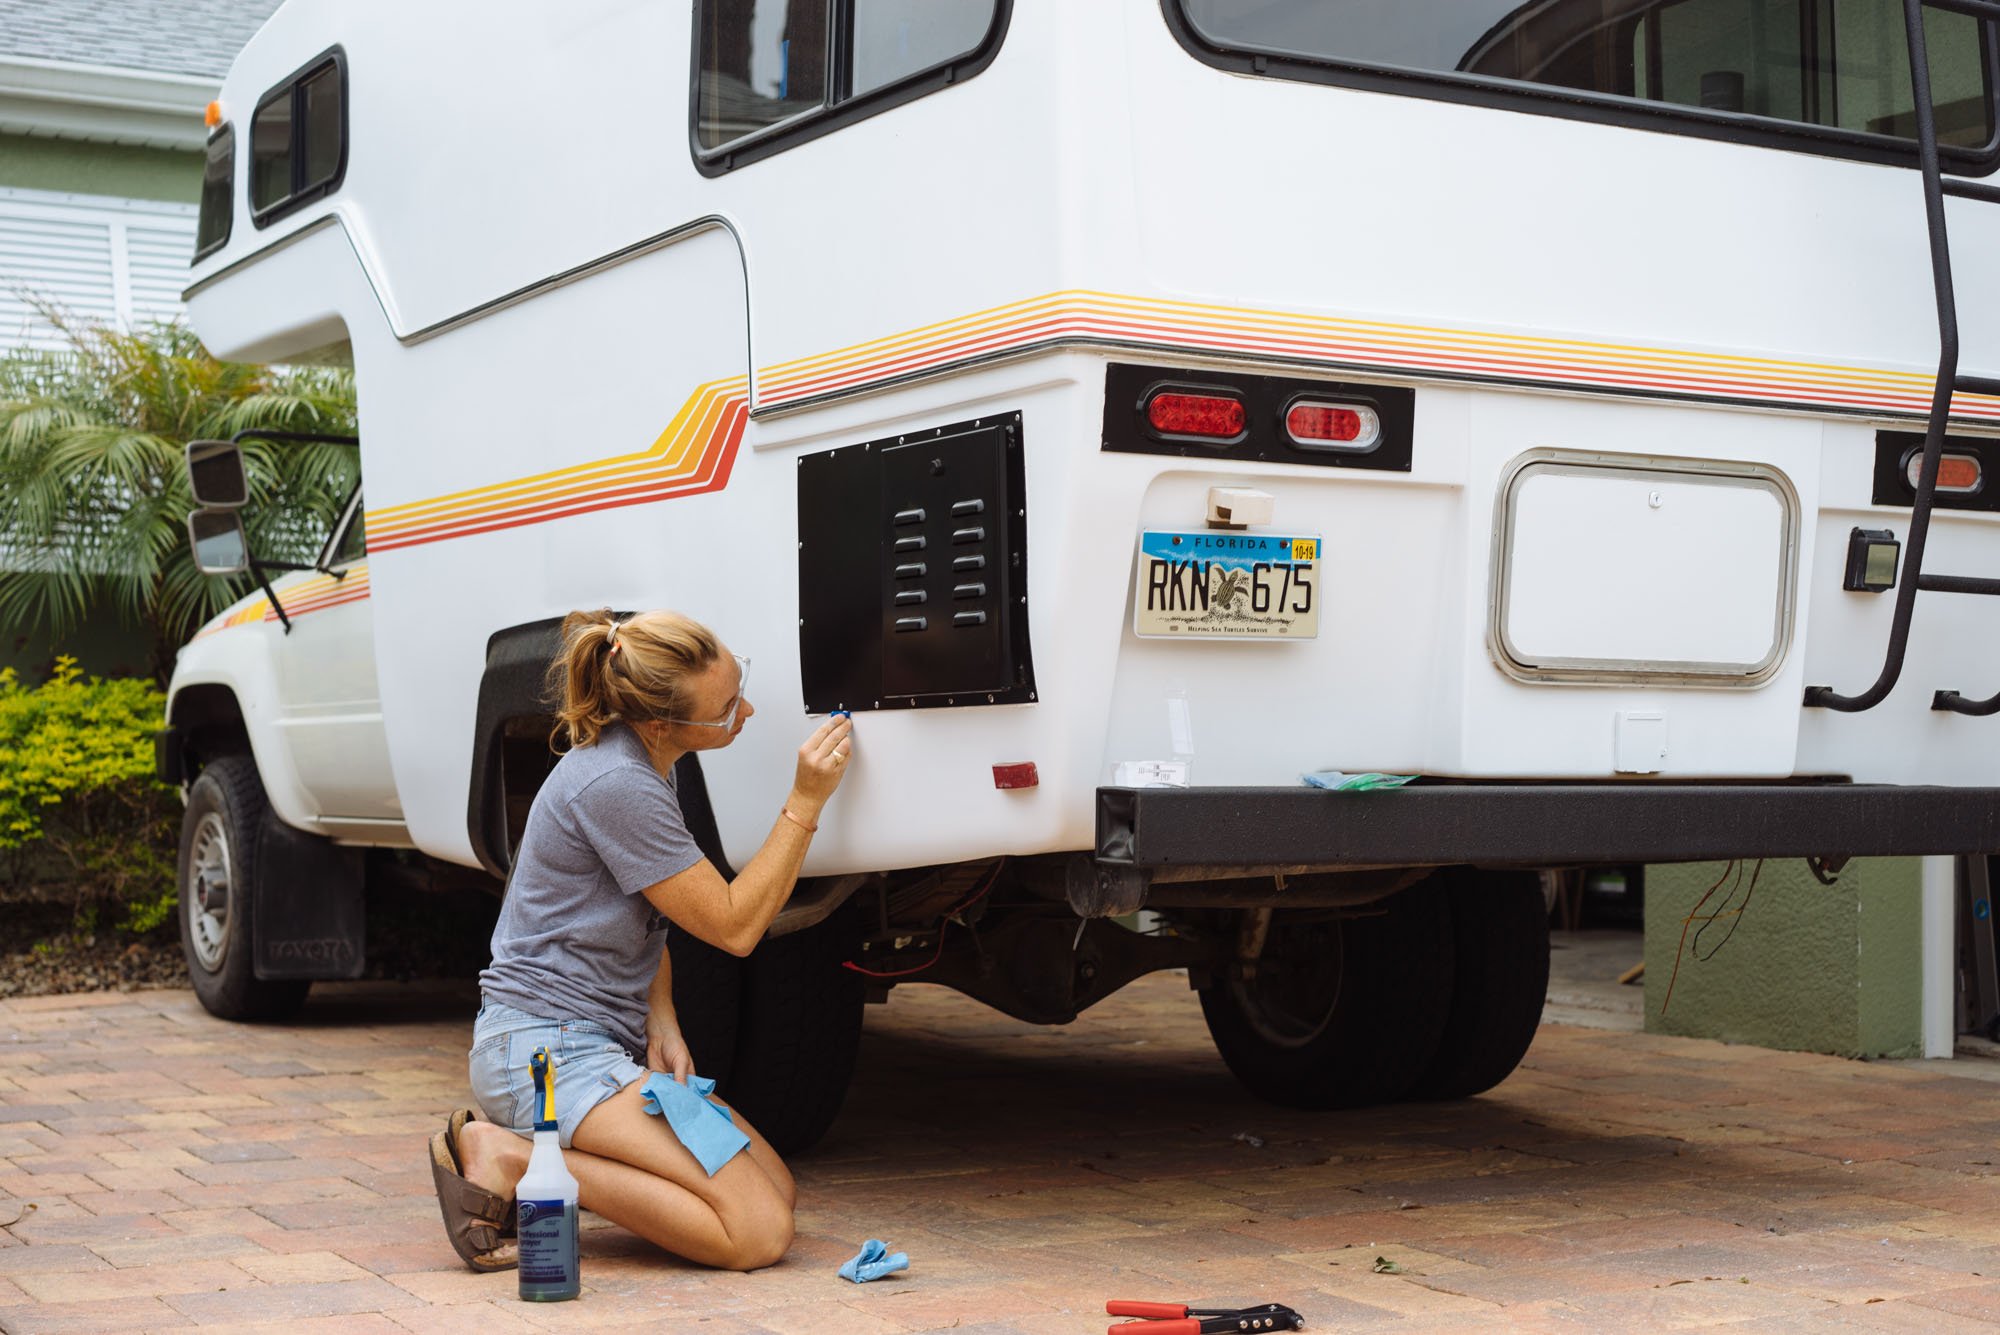
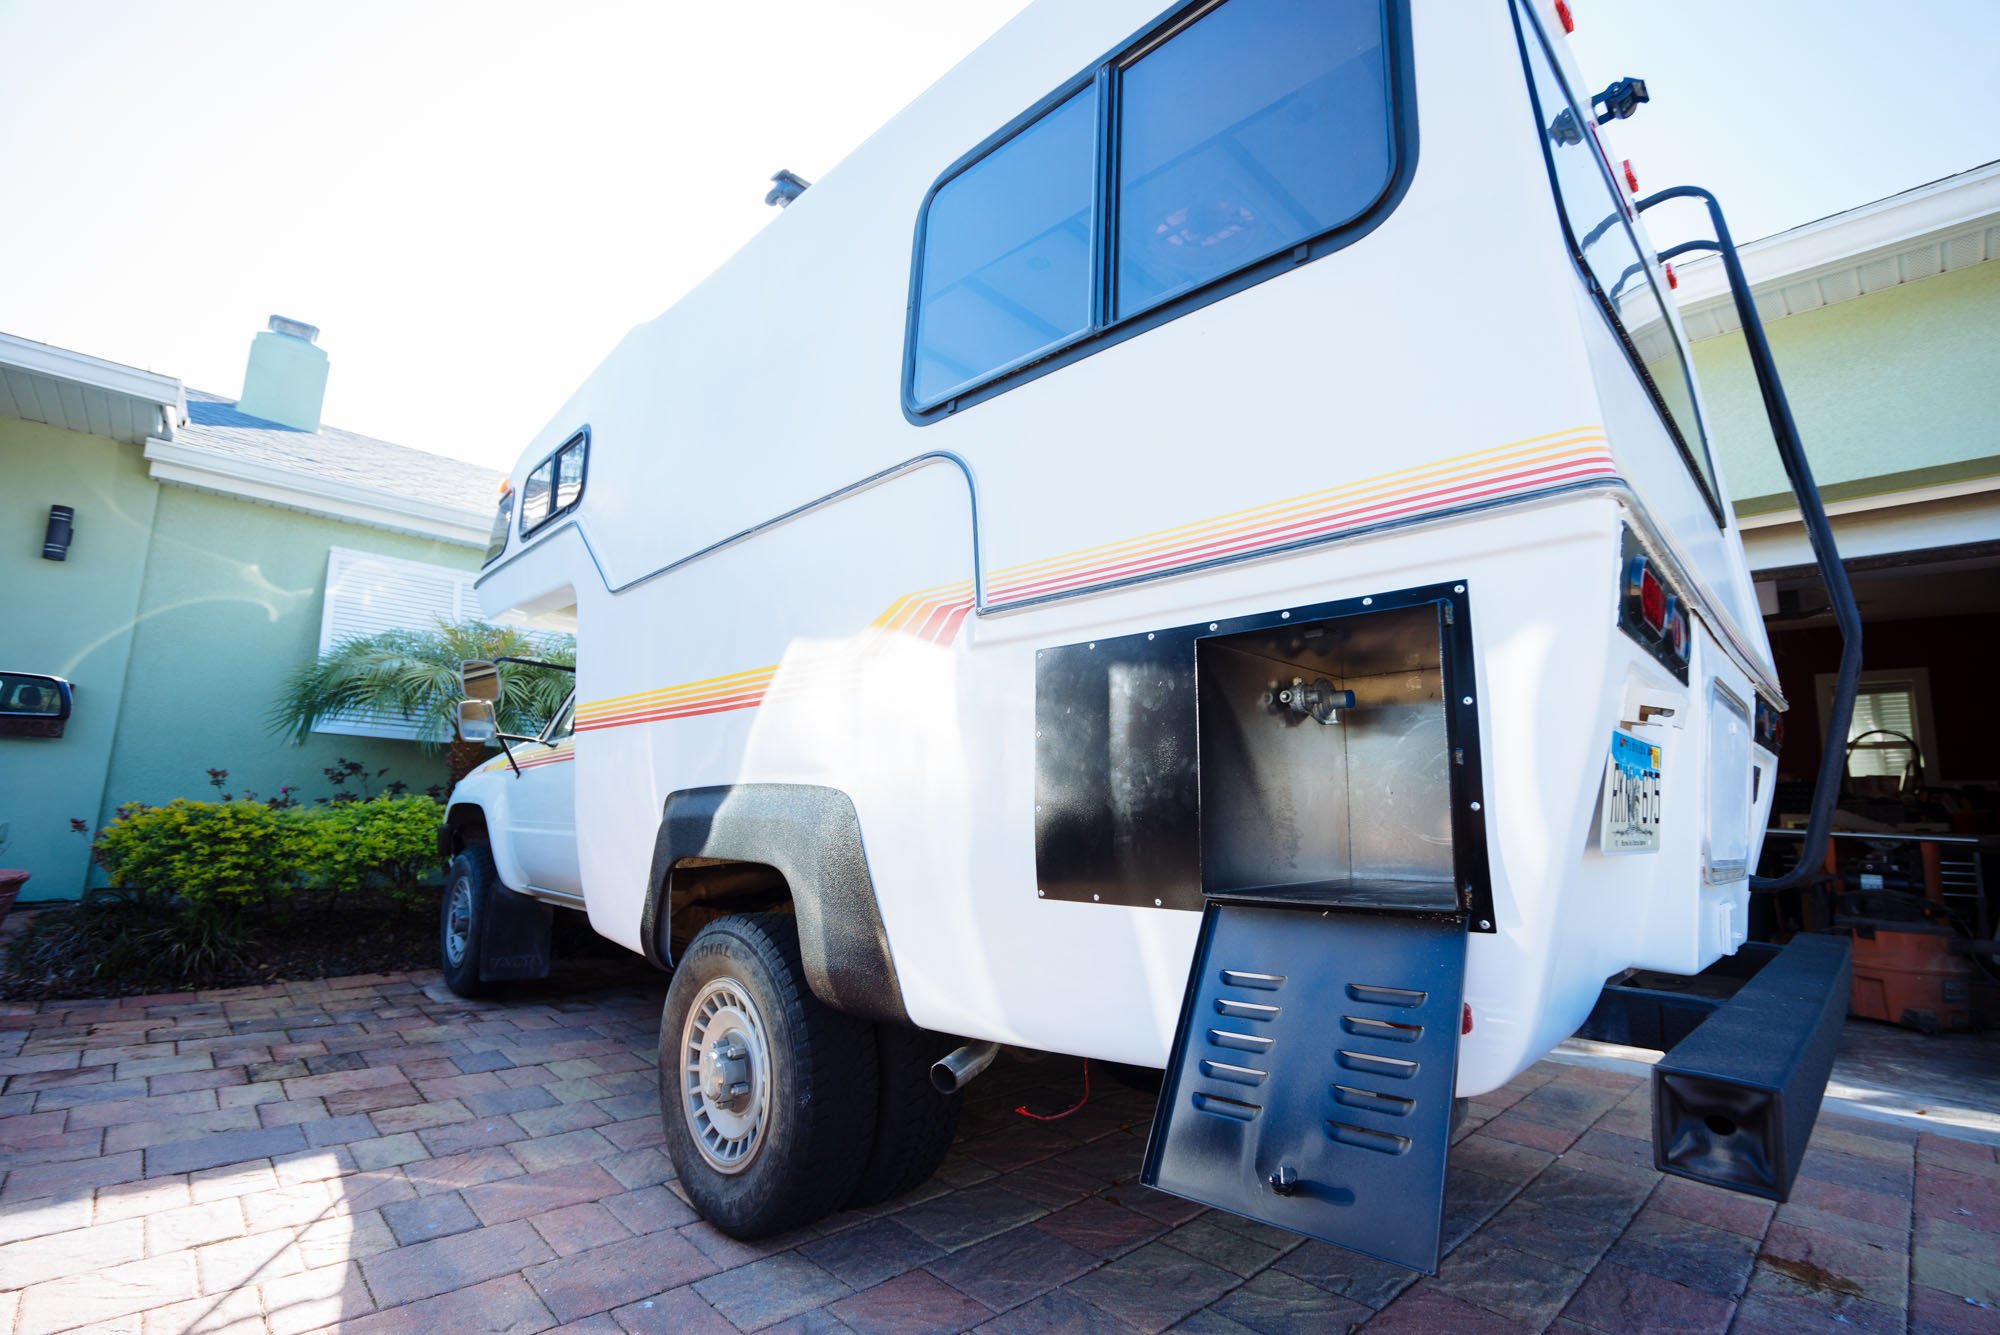
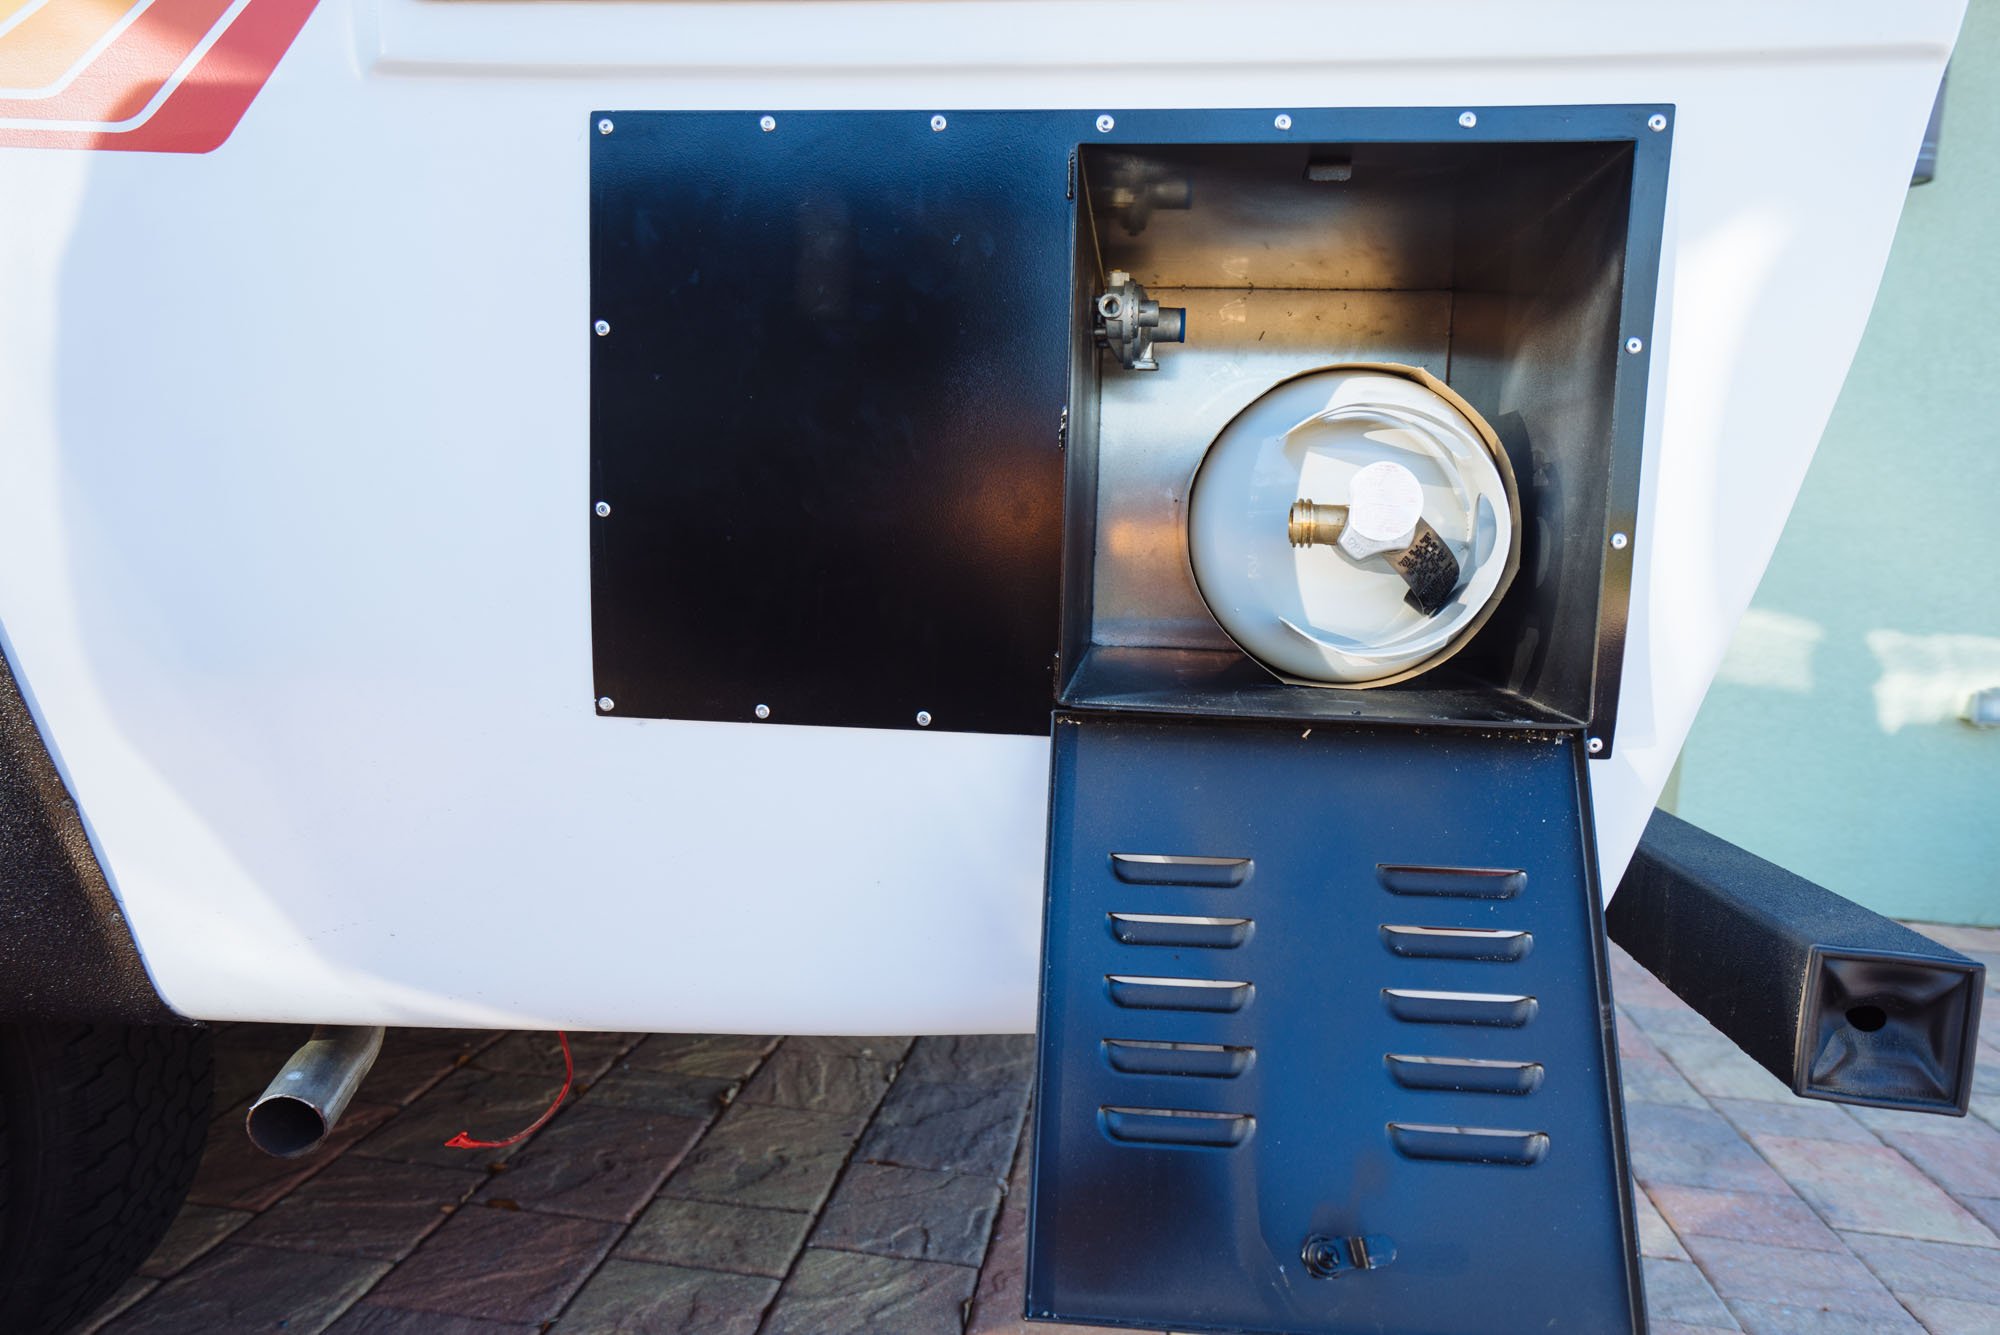
Immediately after we returned from West Marine we got to work on getting the box installed! As usual, we pop riveted the box into place and sealed the edges with sikaflex. Vicker's metal work absolutely knocked this box out of the park! It fit the opening so well that it made our job installing it a breeze. As soon as the box was in, we slid our propane tank into place to marvel at our fast thinking and handy work. We're happy to finally close the chapter of the build that included gapping holes in the side of our exterior! As for figuring out the LP lines...we're saving that for another day.

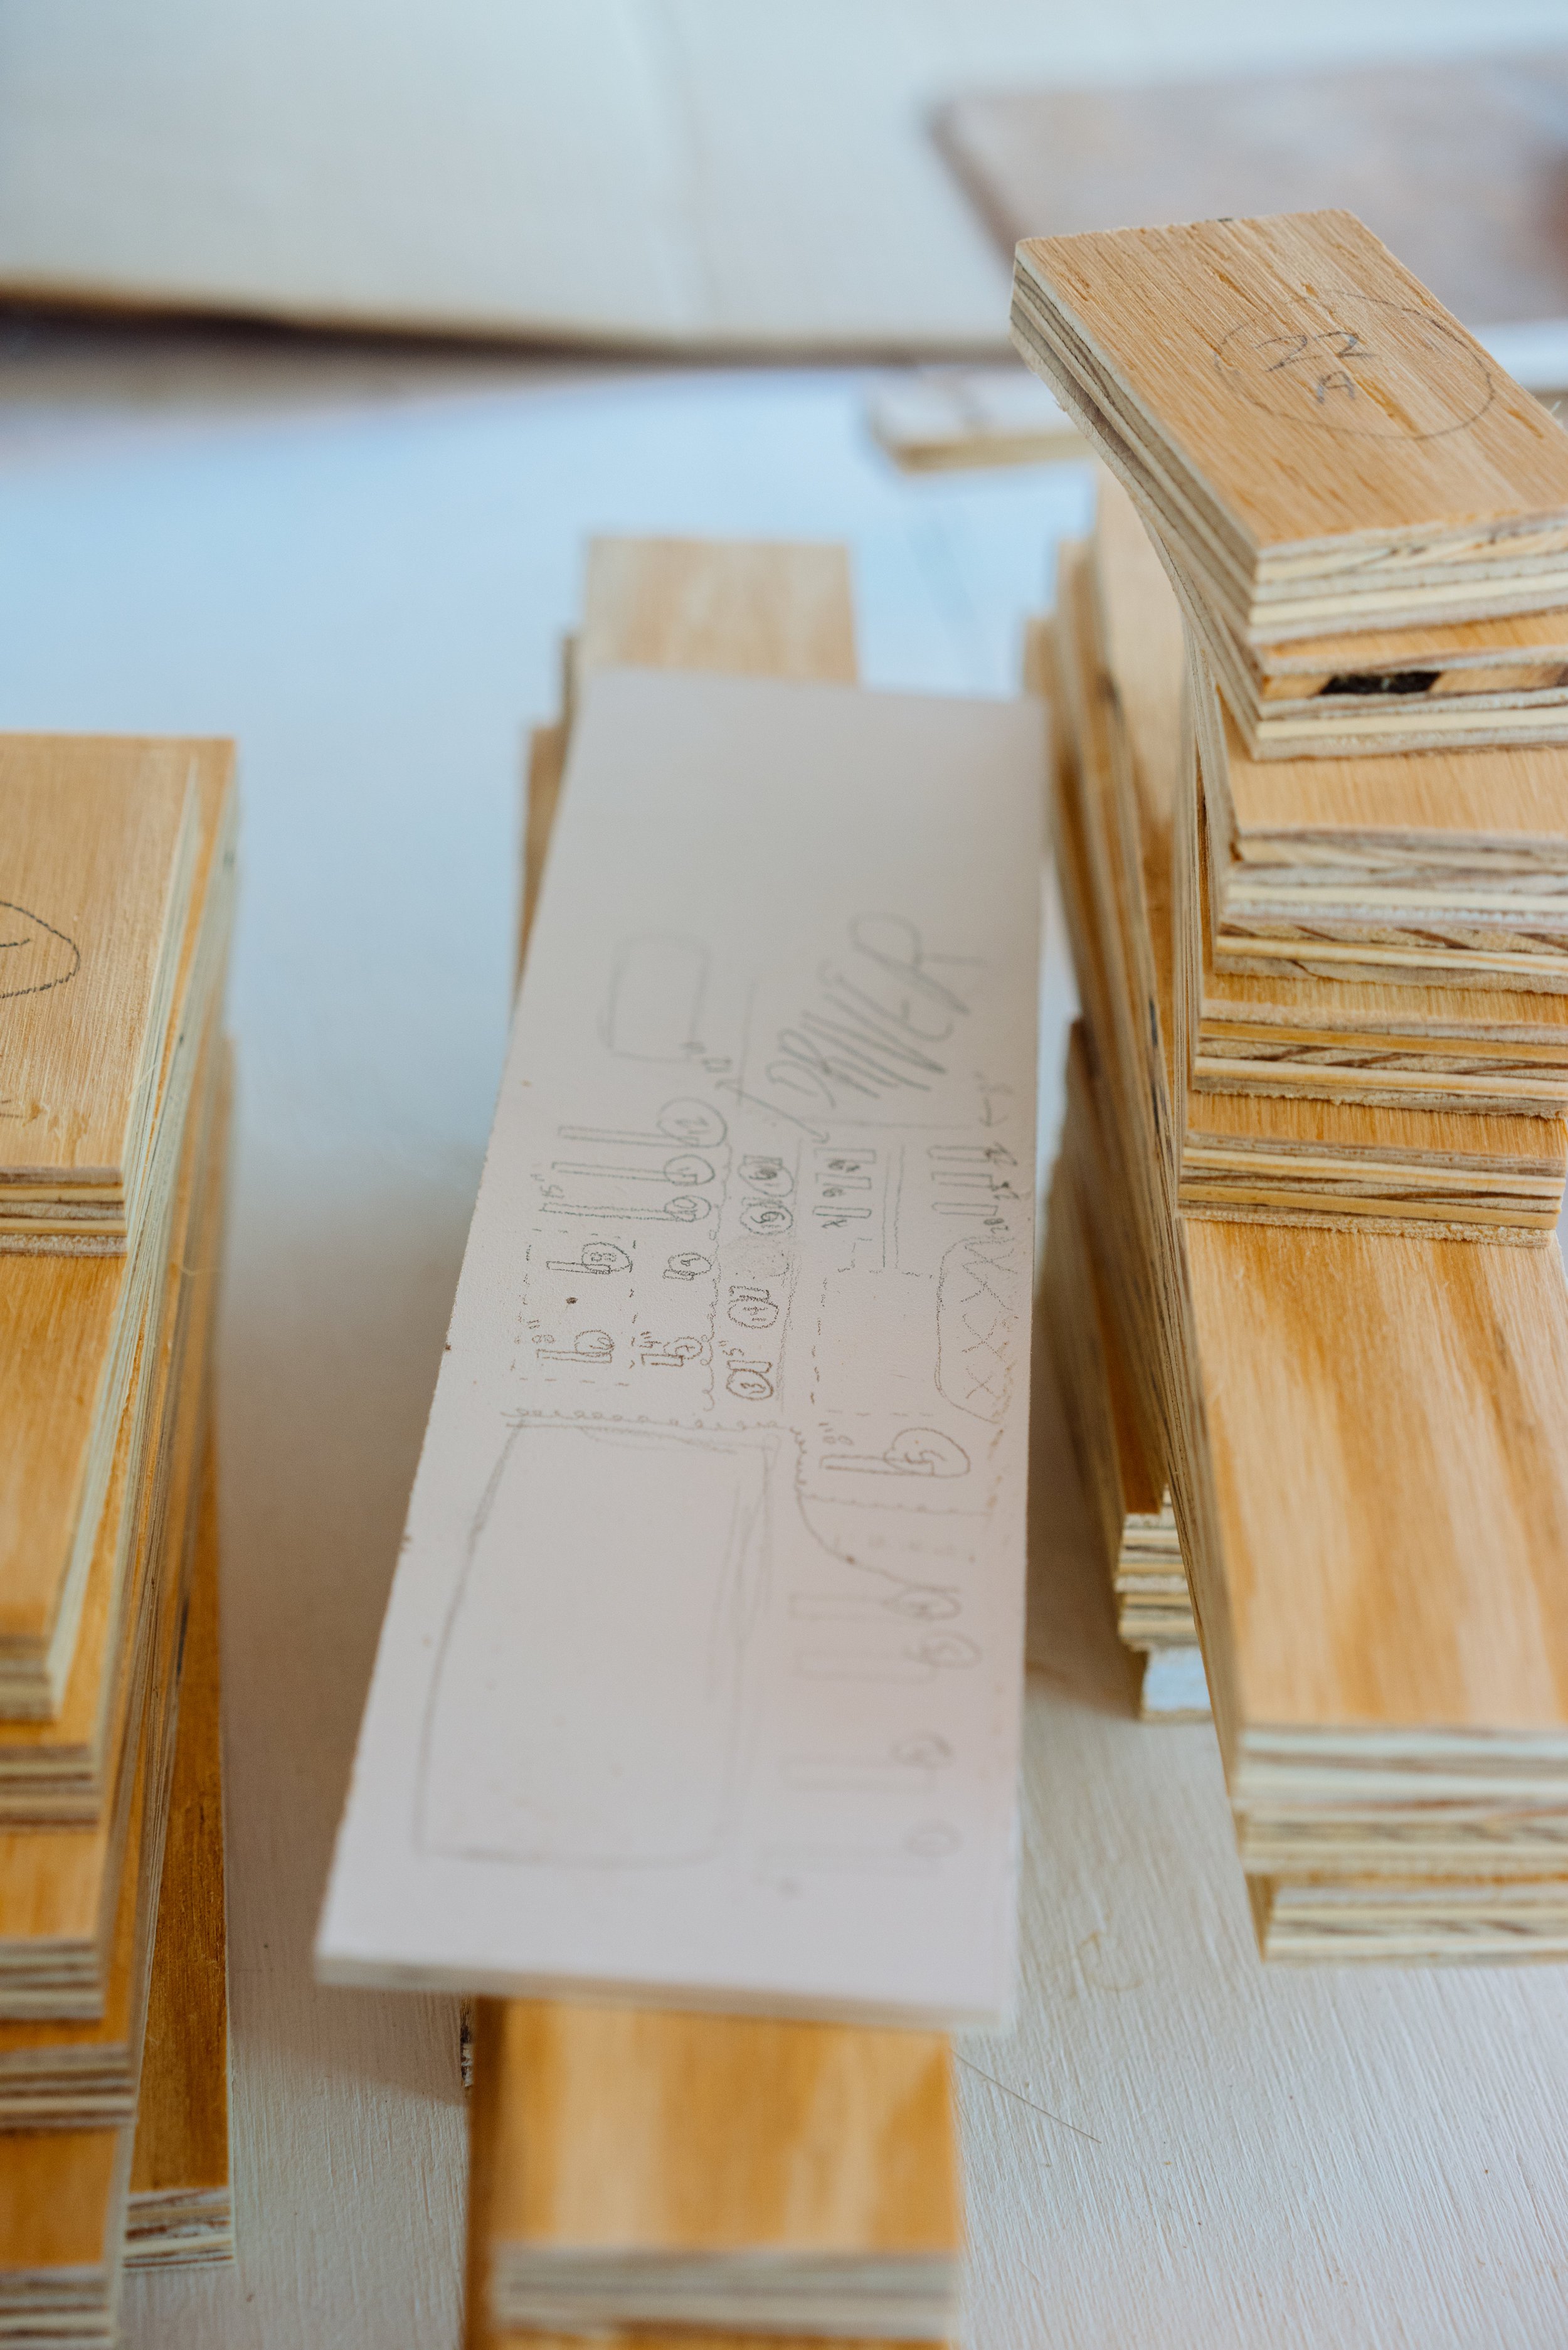
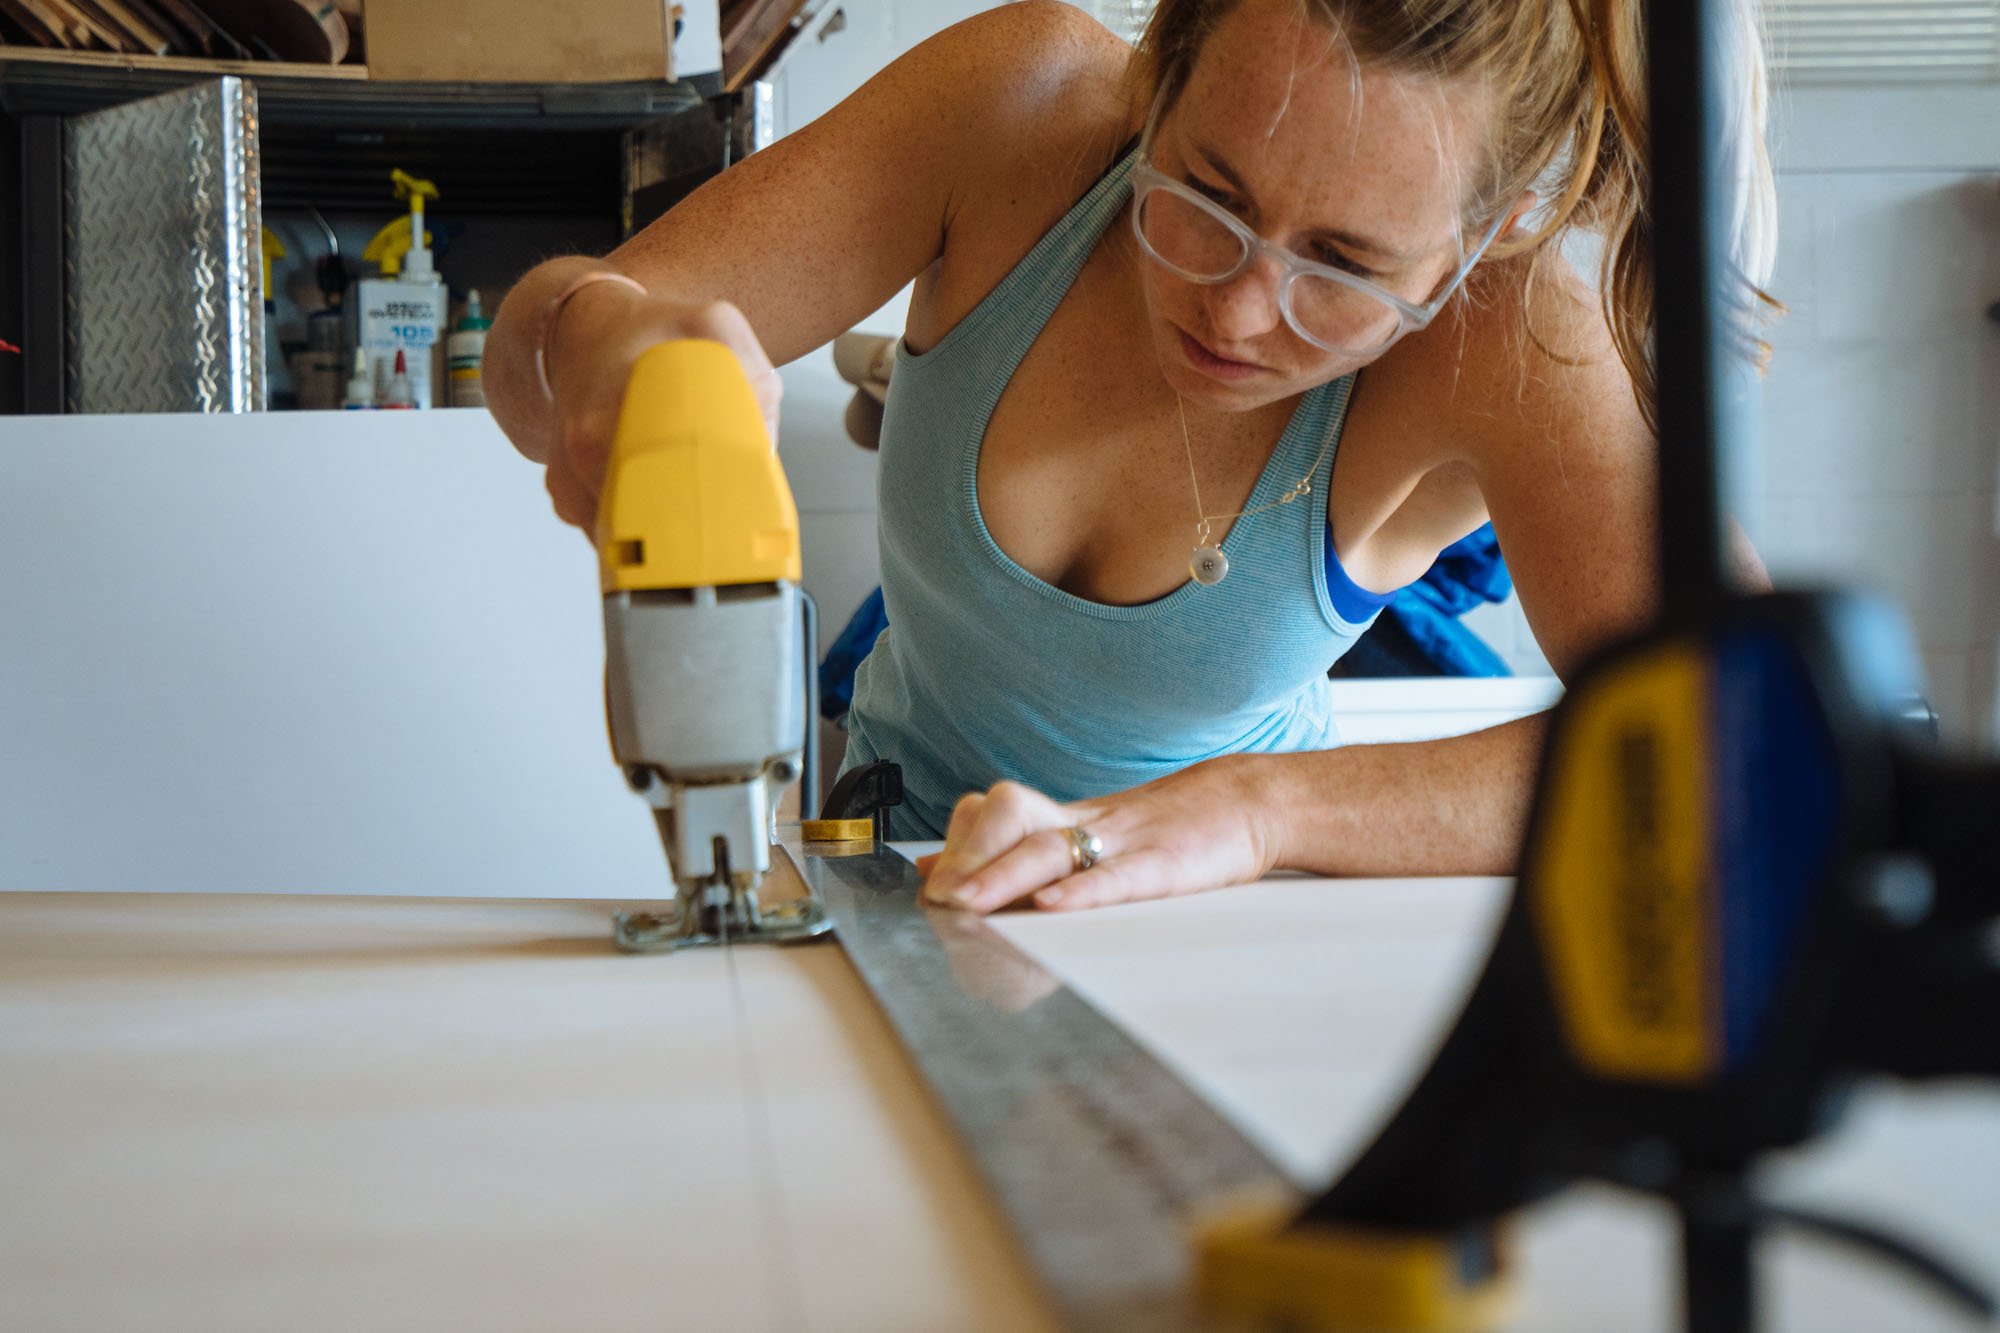
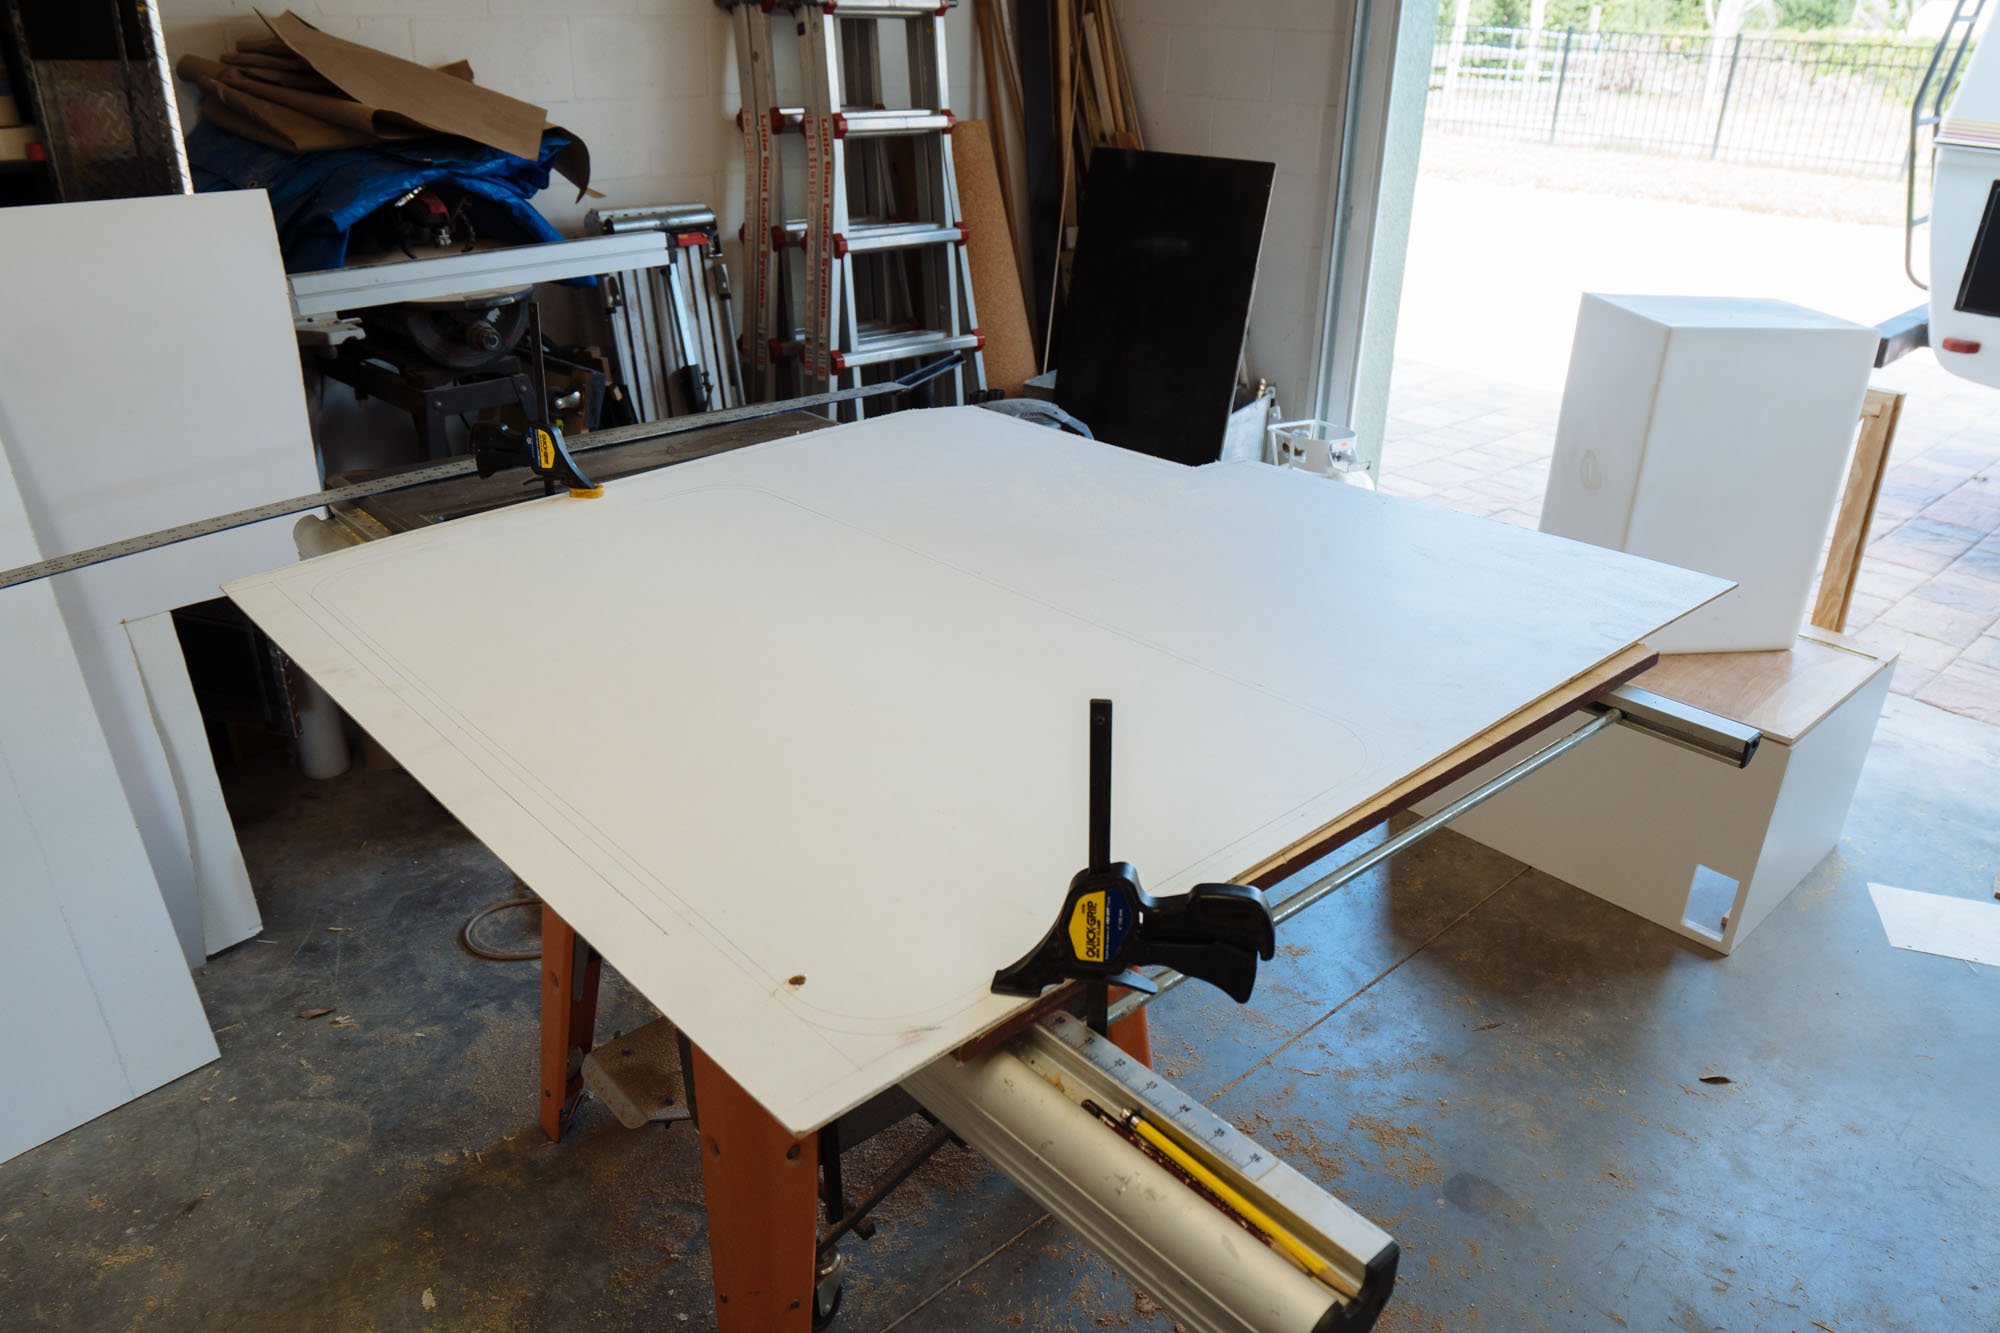
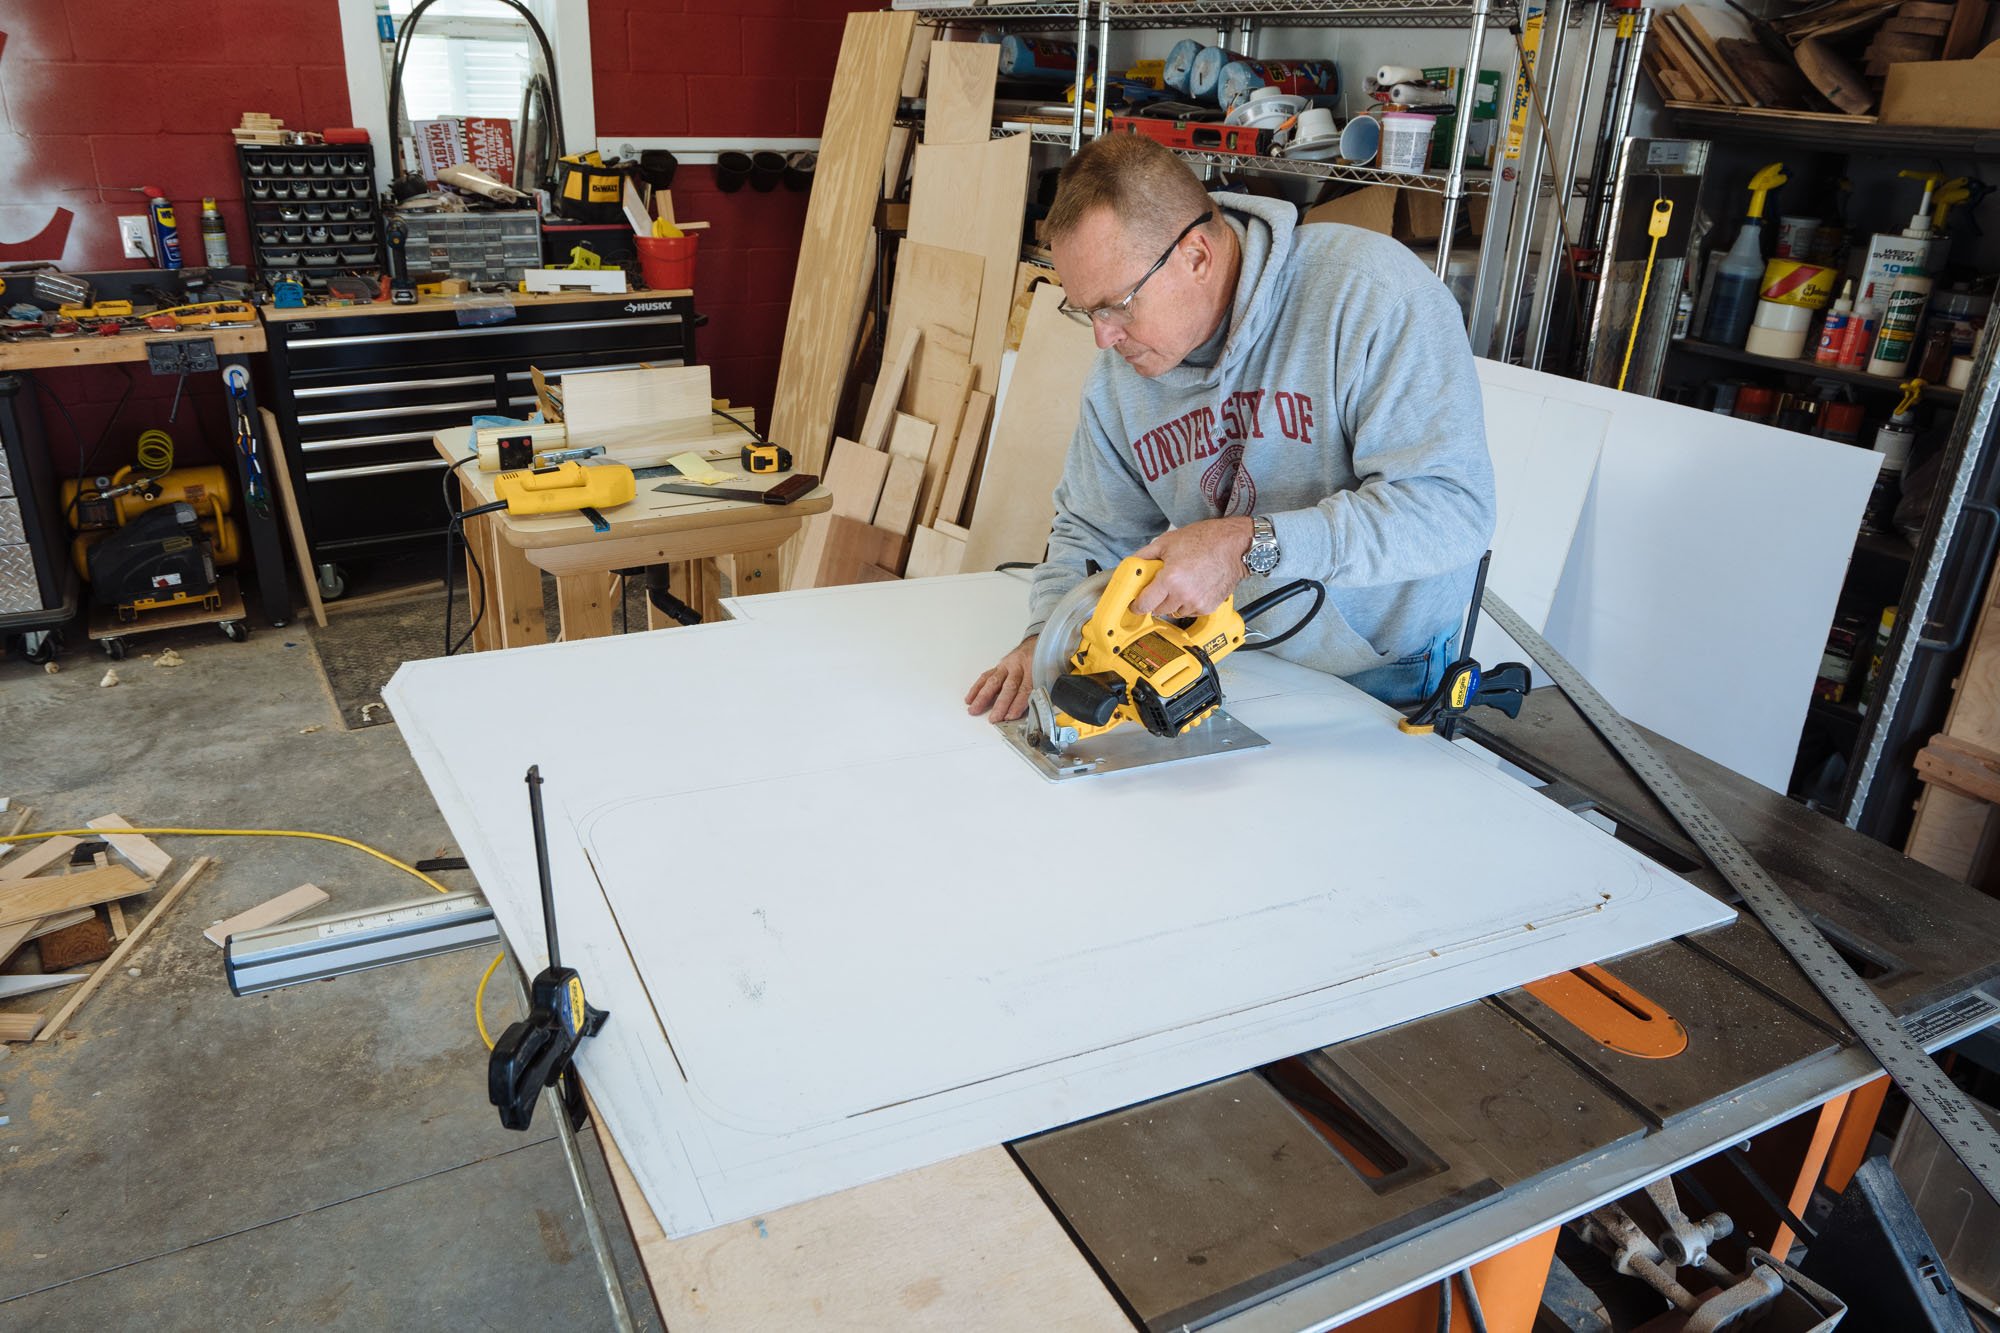
This past week we noticed we were having a hard time capturing everything that was going on because we were all moving in so many different directions at once. While Owen and I mastered our walls, which was very much a two person job, my dad was drafting up the frame work of our kitchen cabinet. This is really his specialty, and it shows in his accuracy when working around obstacles and his ability to get such a solid frame together that weighs nothing!
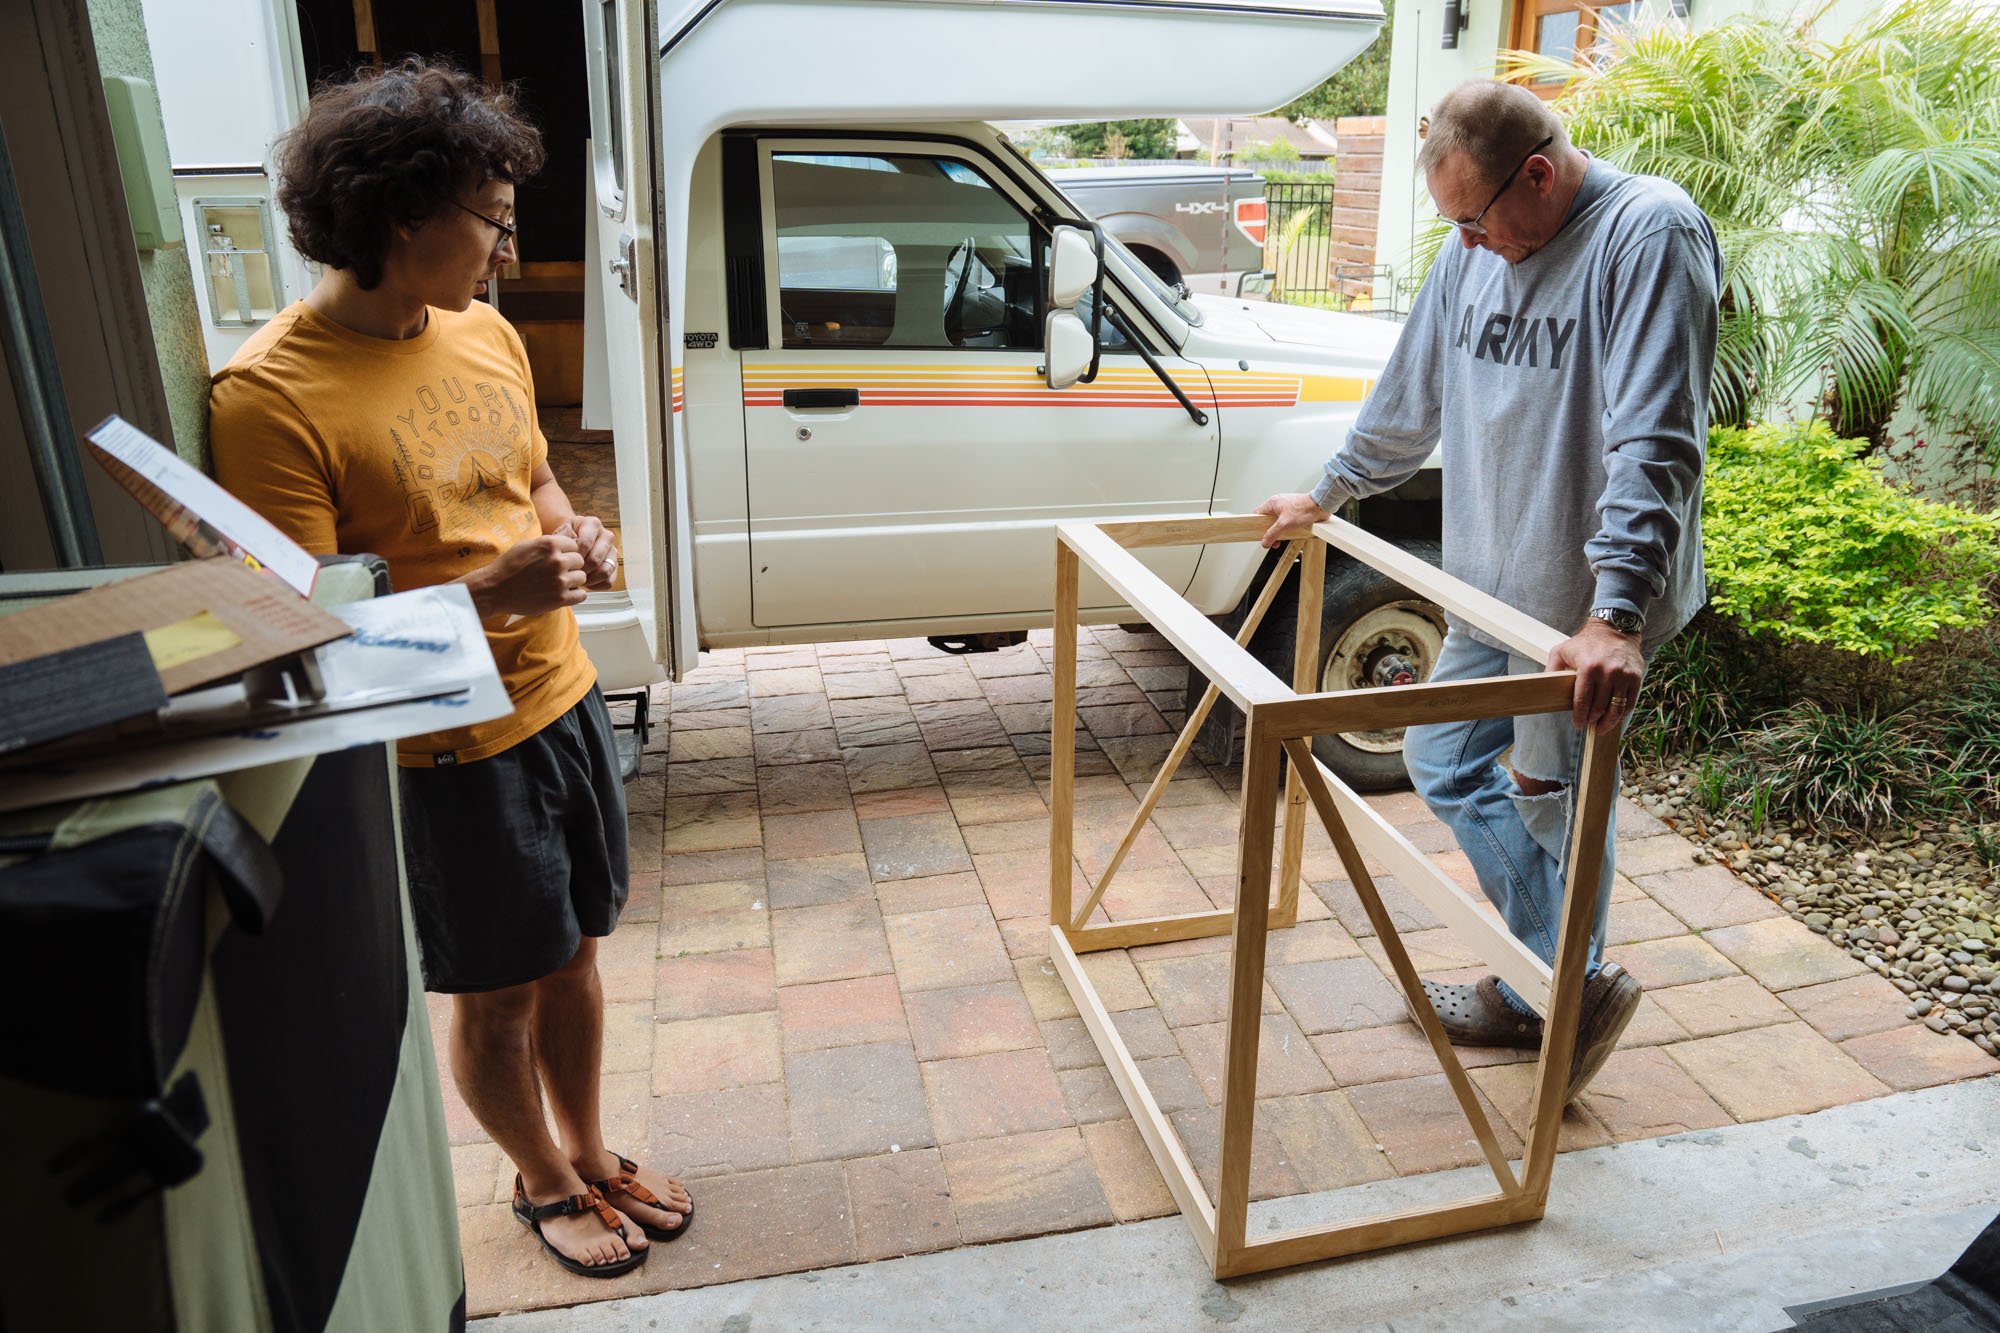
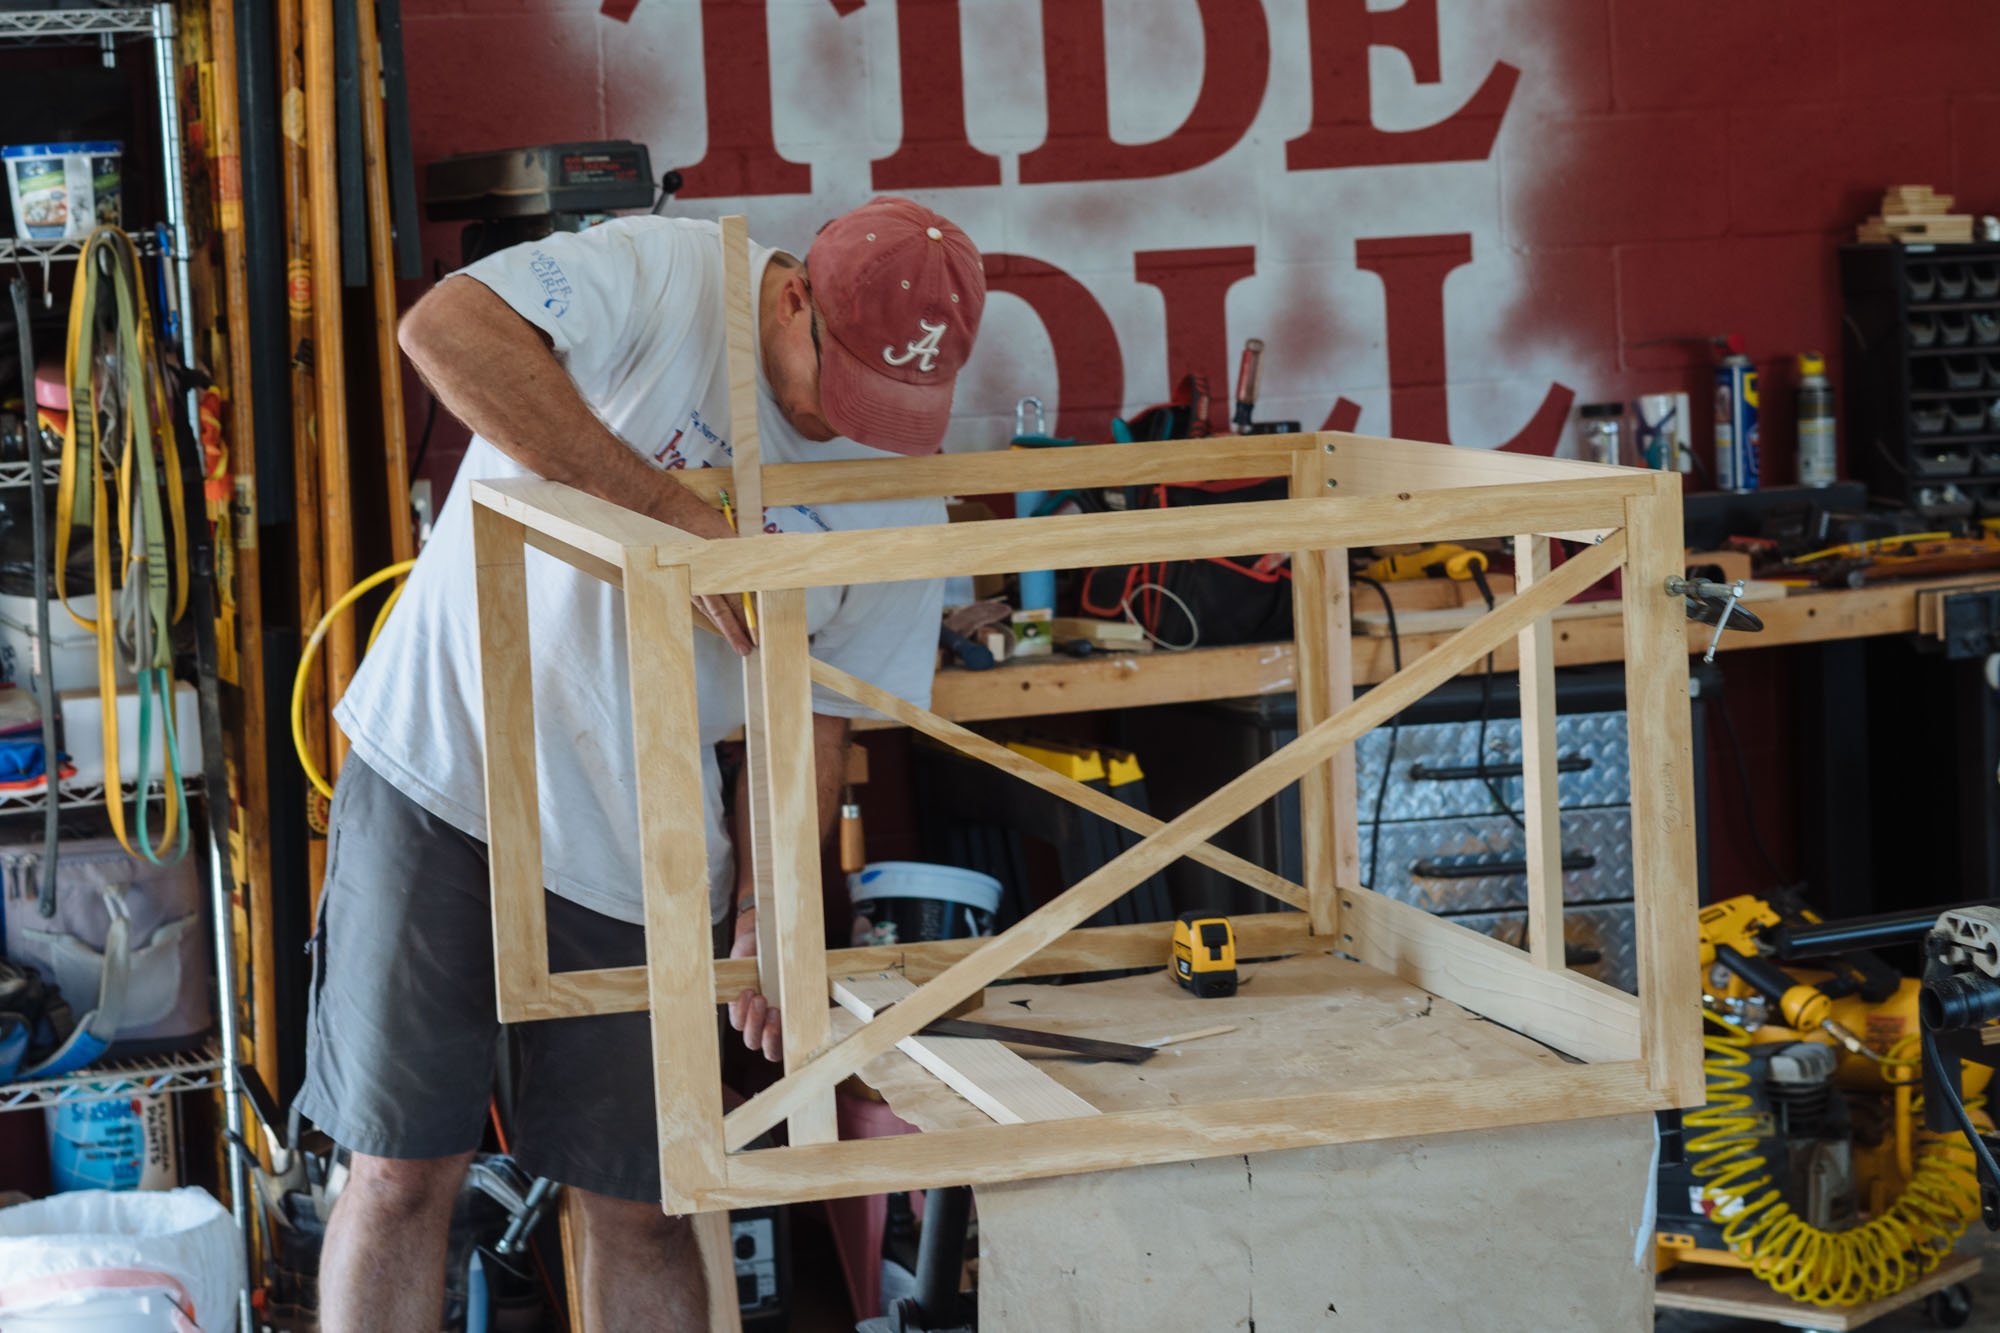

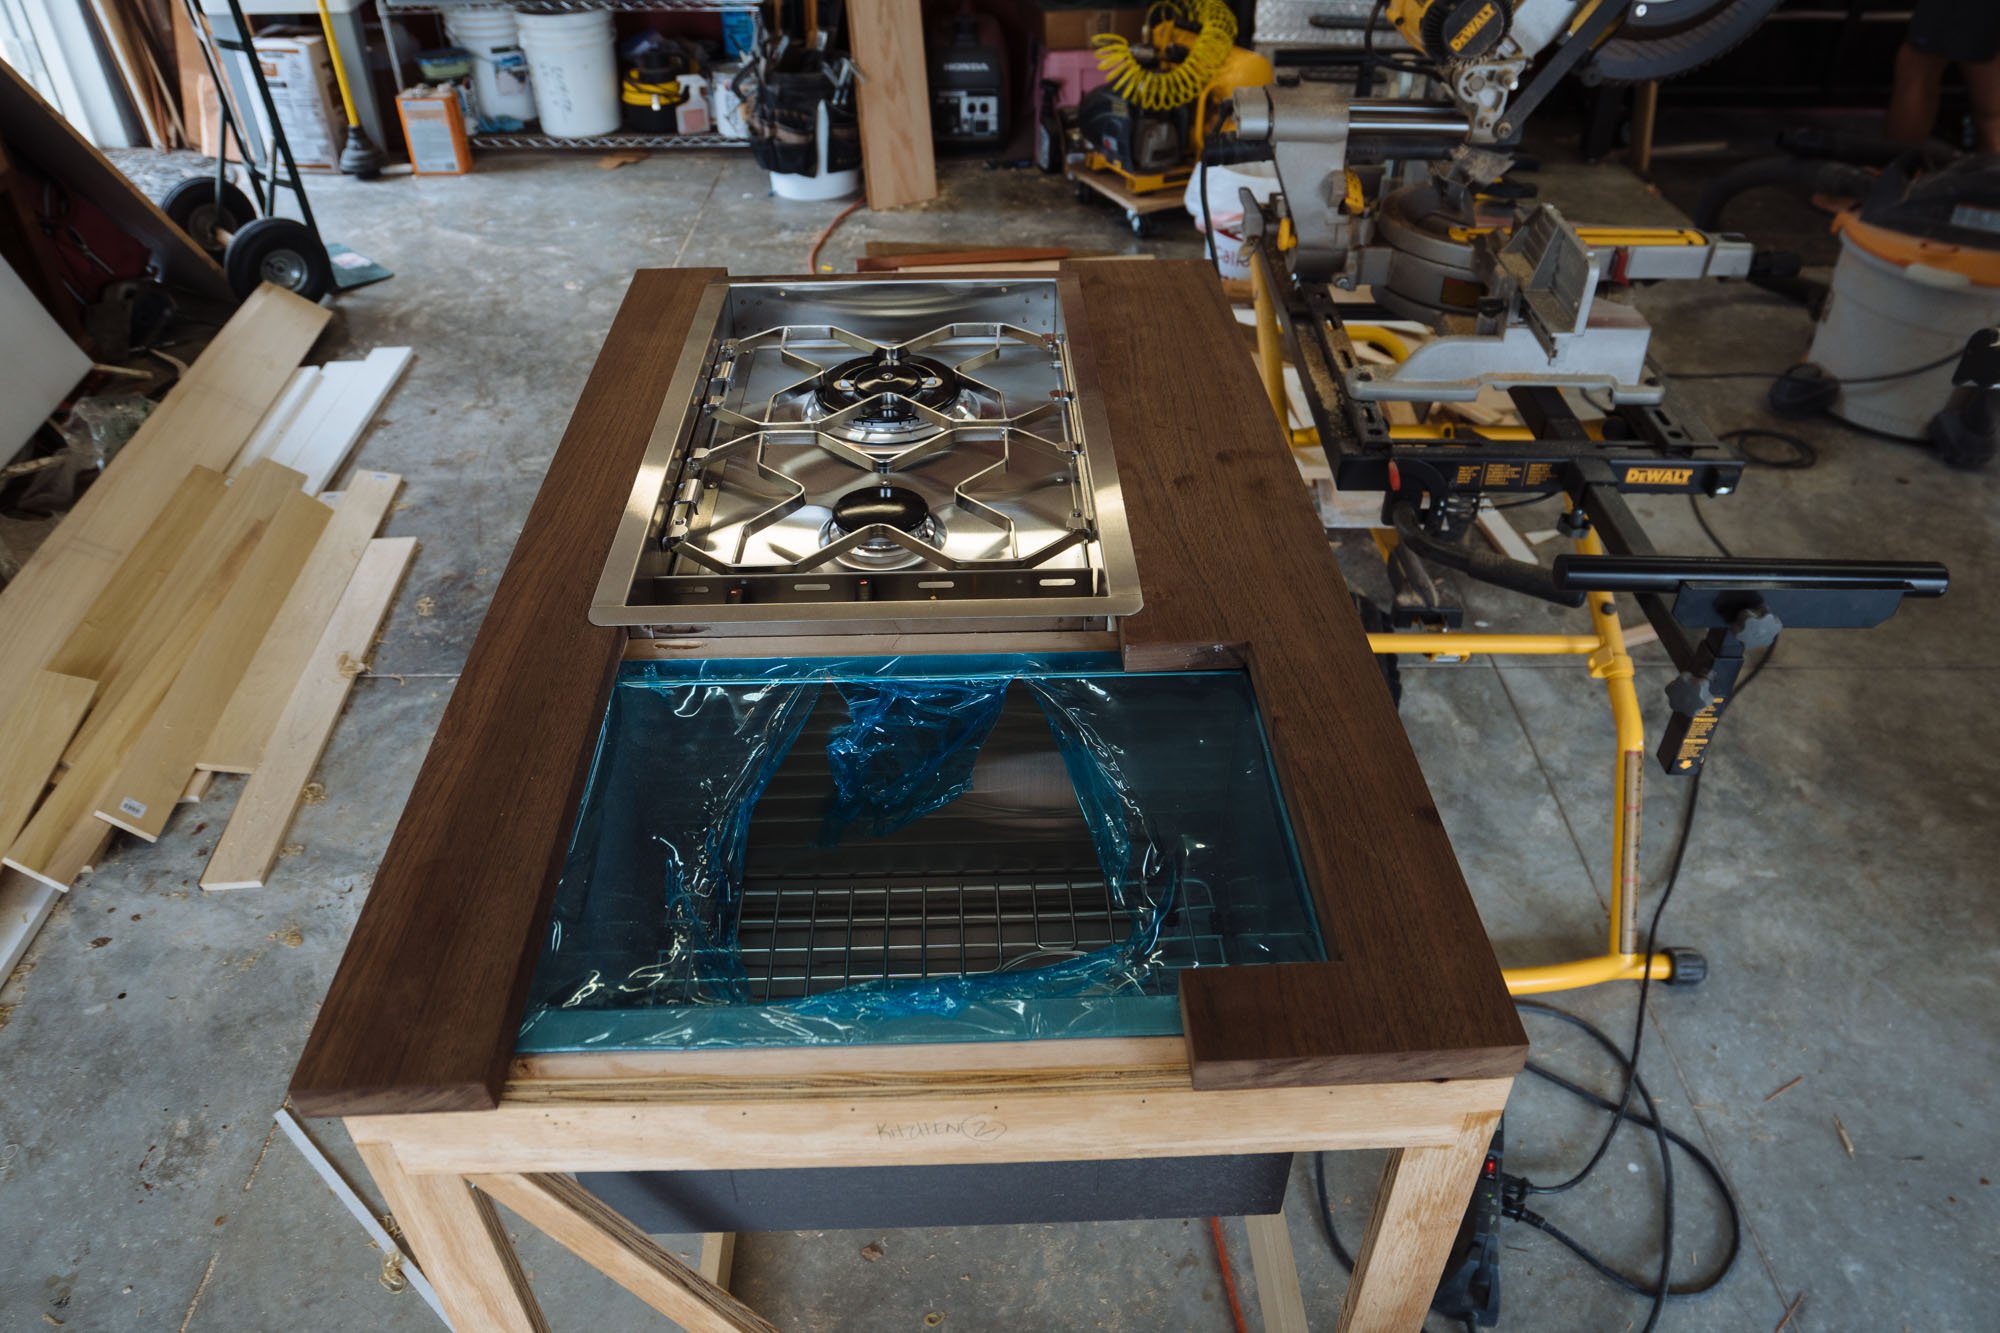

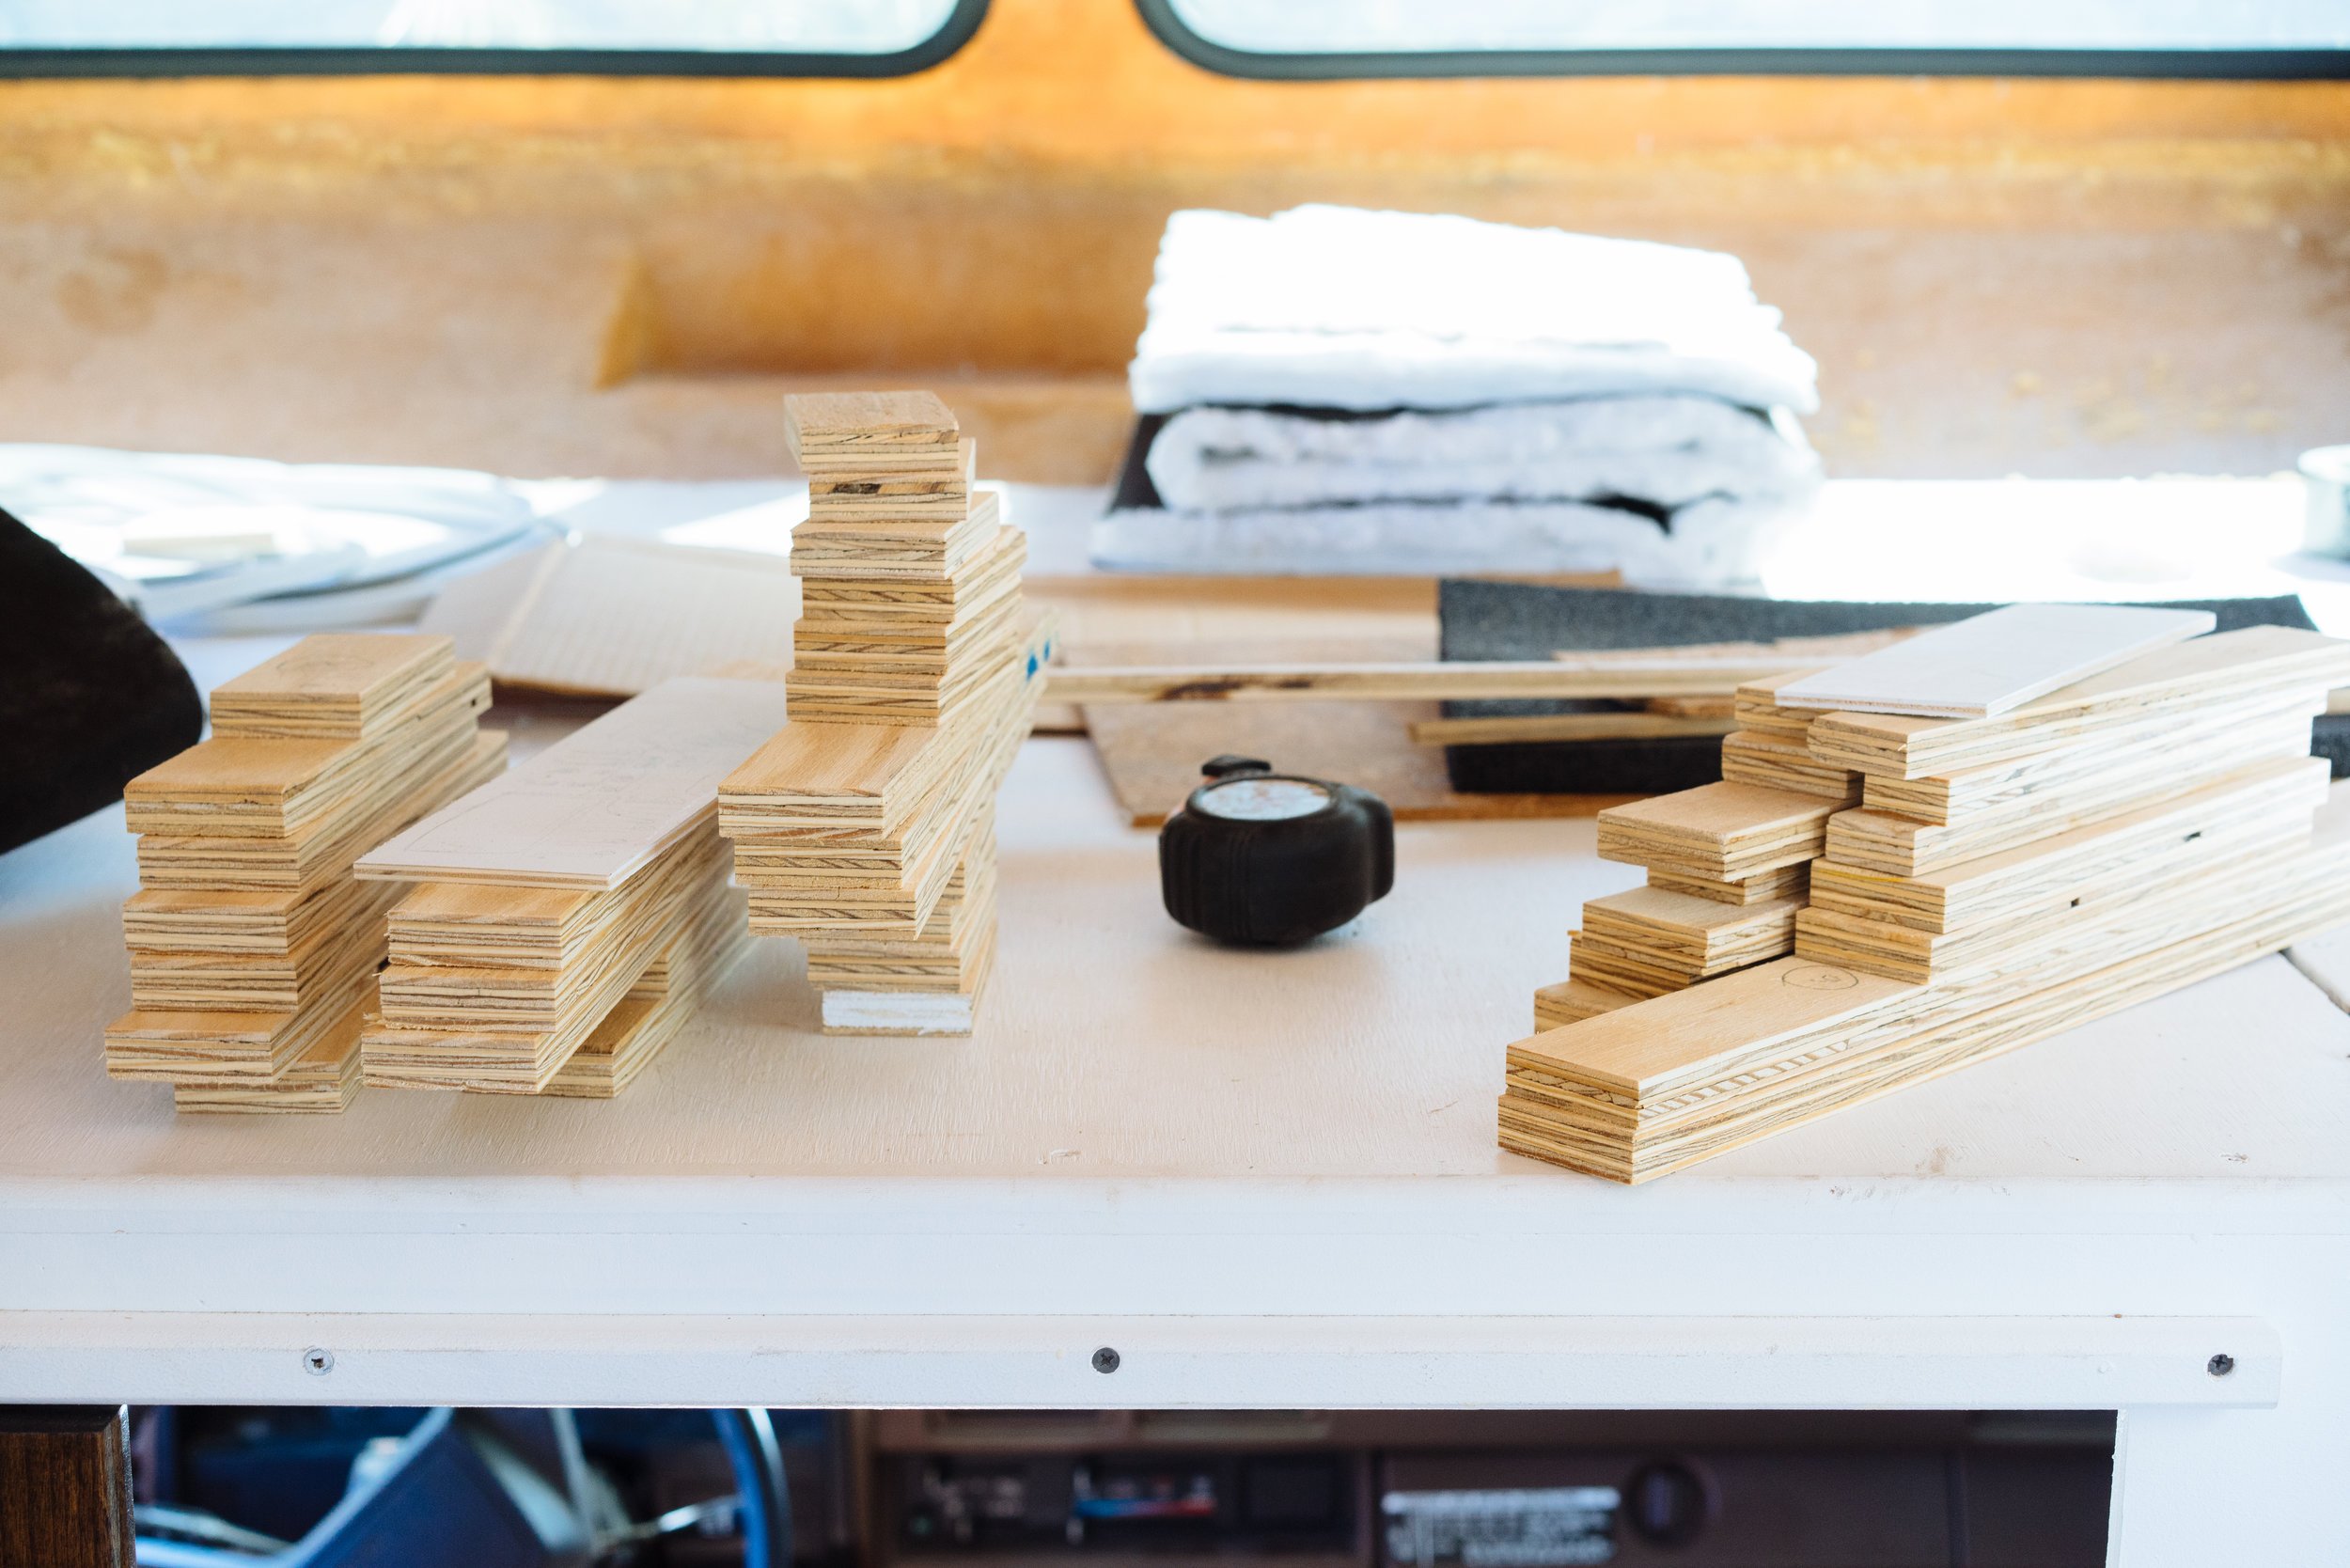
As we were building the frame work for our kitchen we realized that we needed to make our cabinets in a way that could be completely disassembled so it could fit through the door, and then reassembled in it's home in Amelia. Glad we realized that before we had a final kitchen set up already made! Our kitchen will break into five pieces when we install - Front, back, two sides, and top.
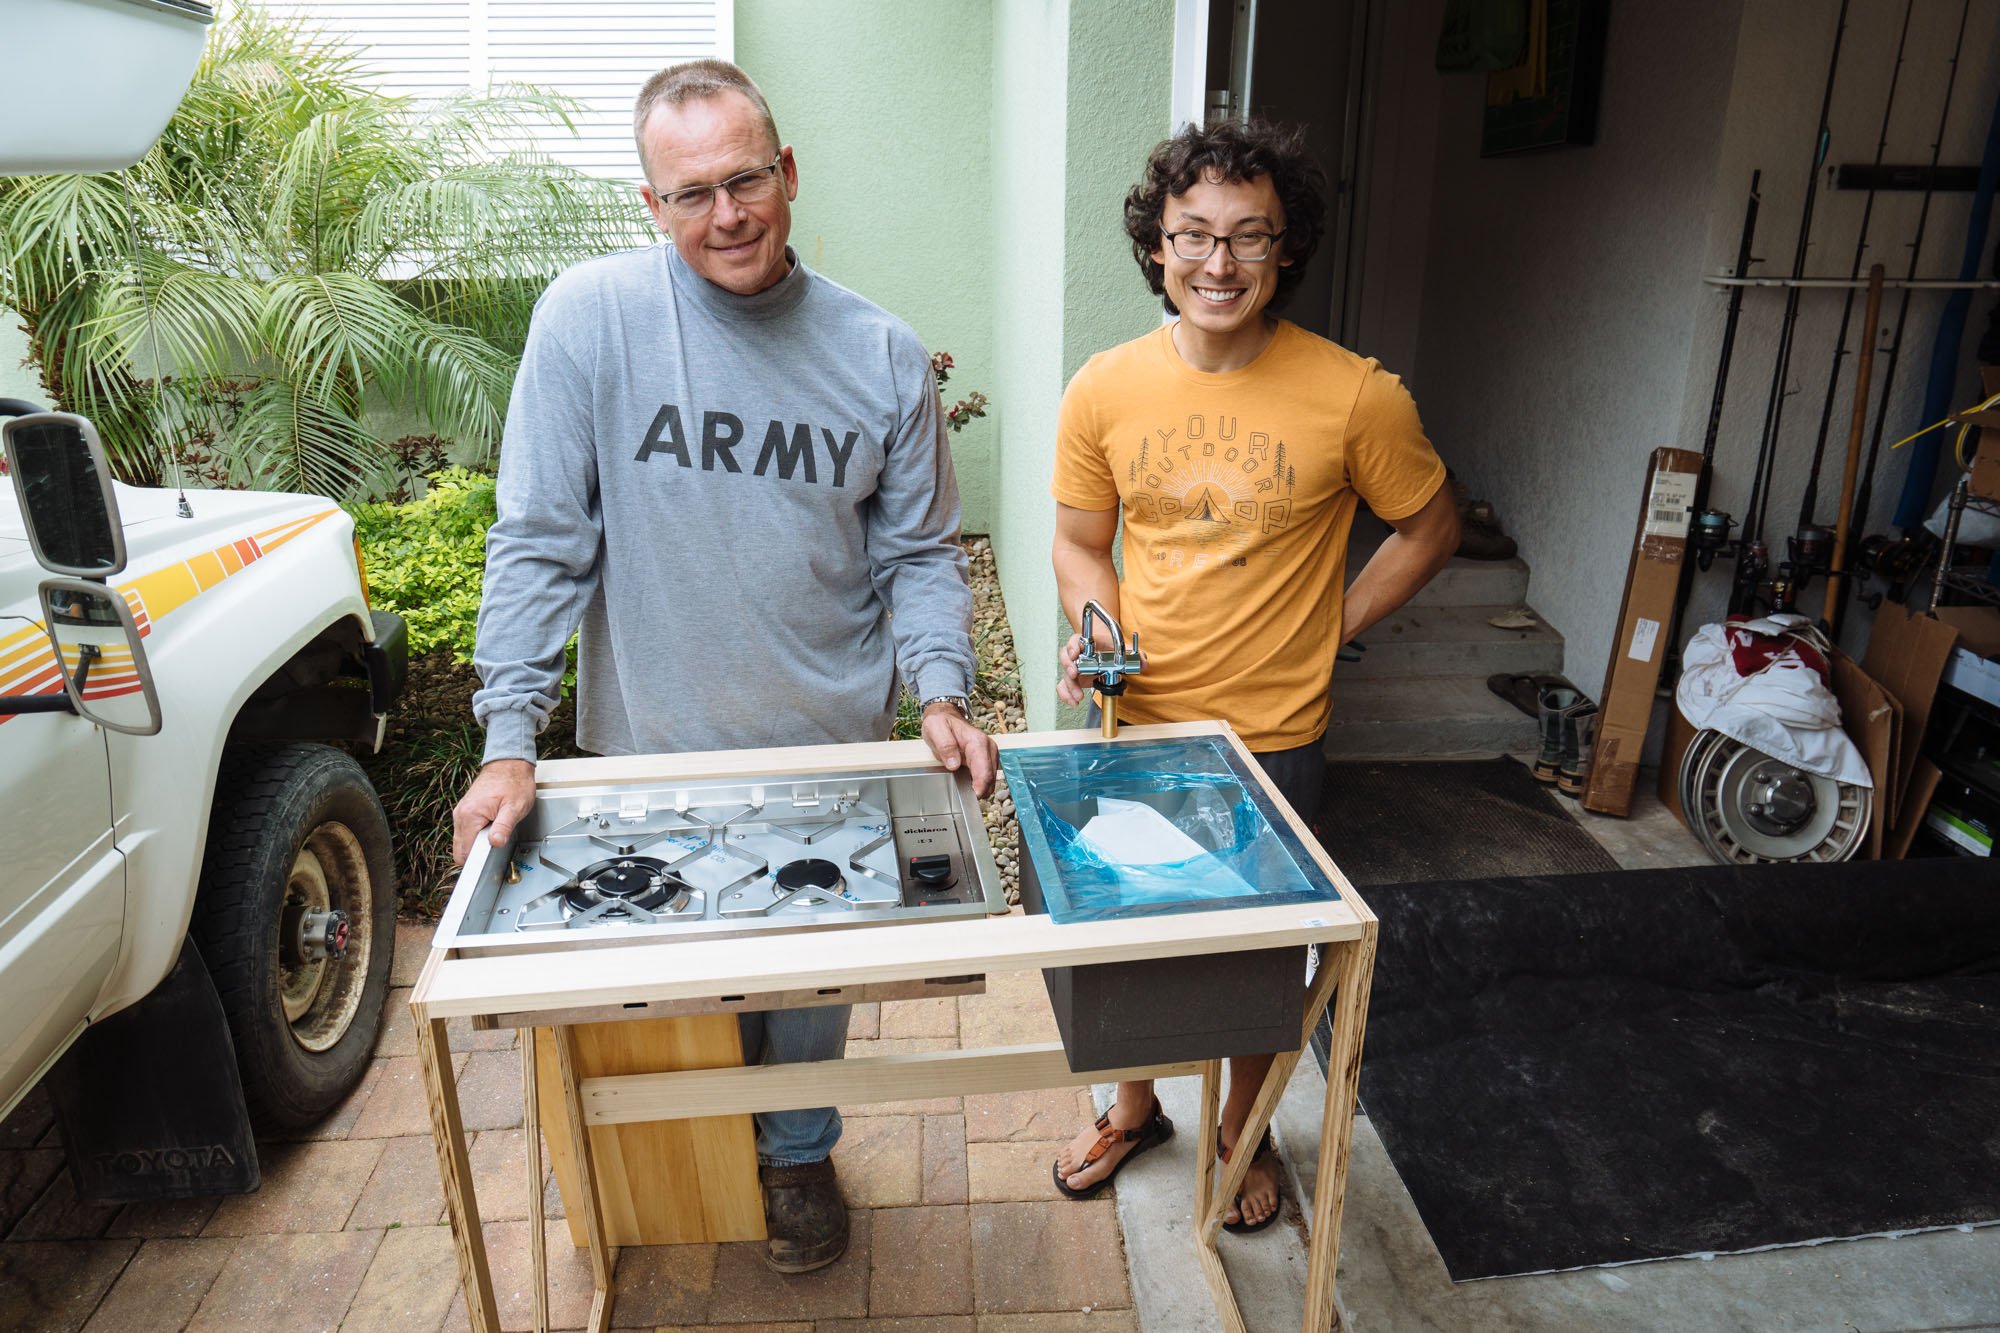
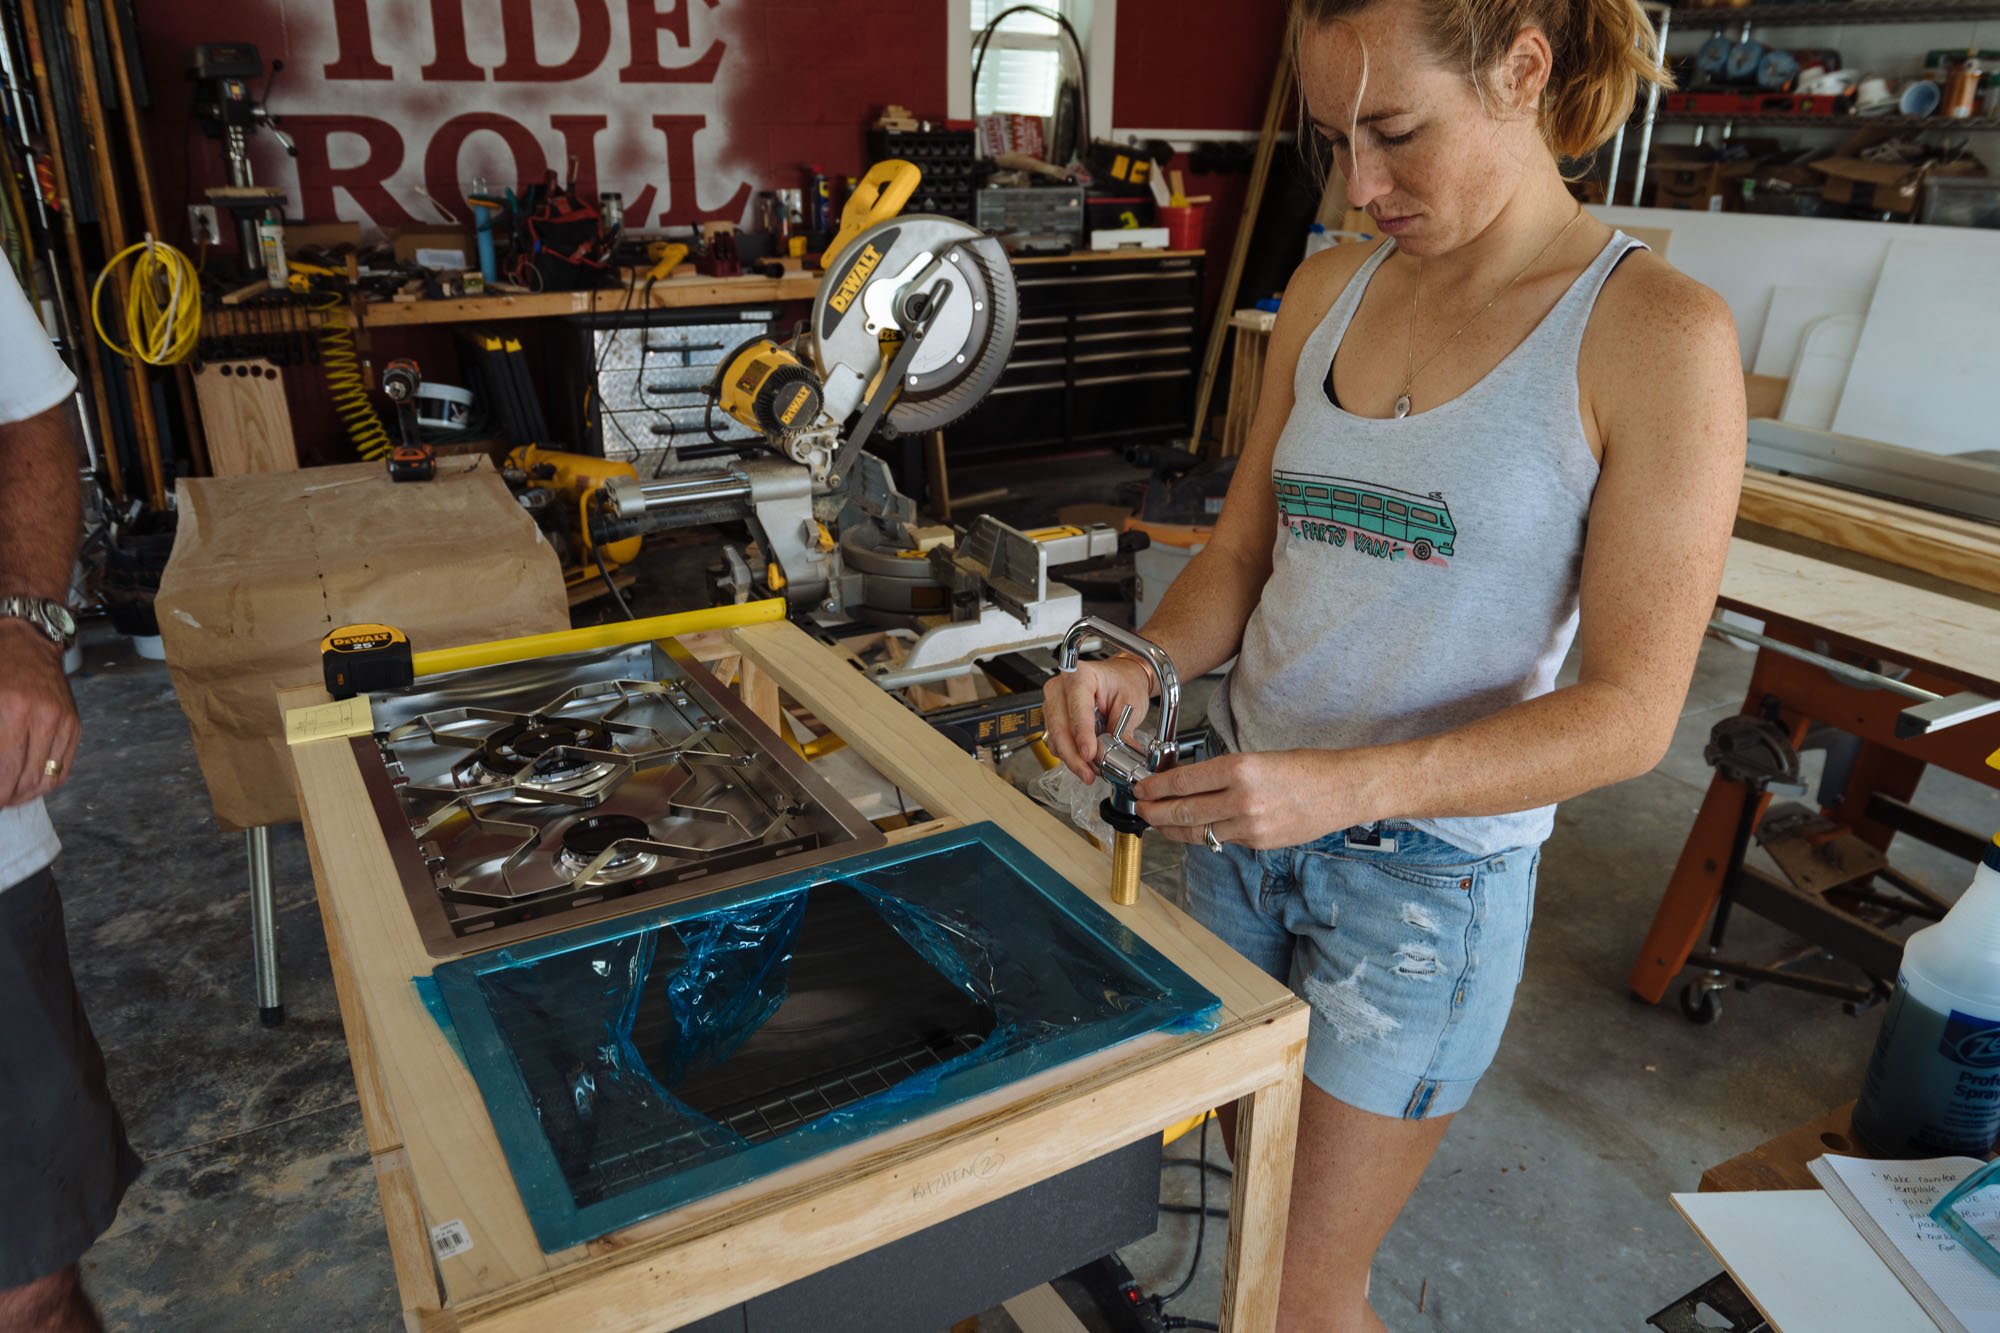
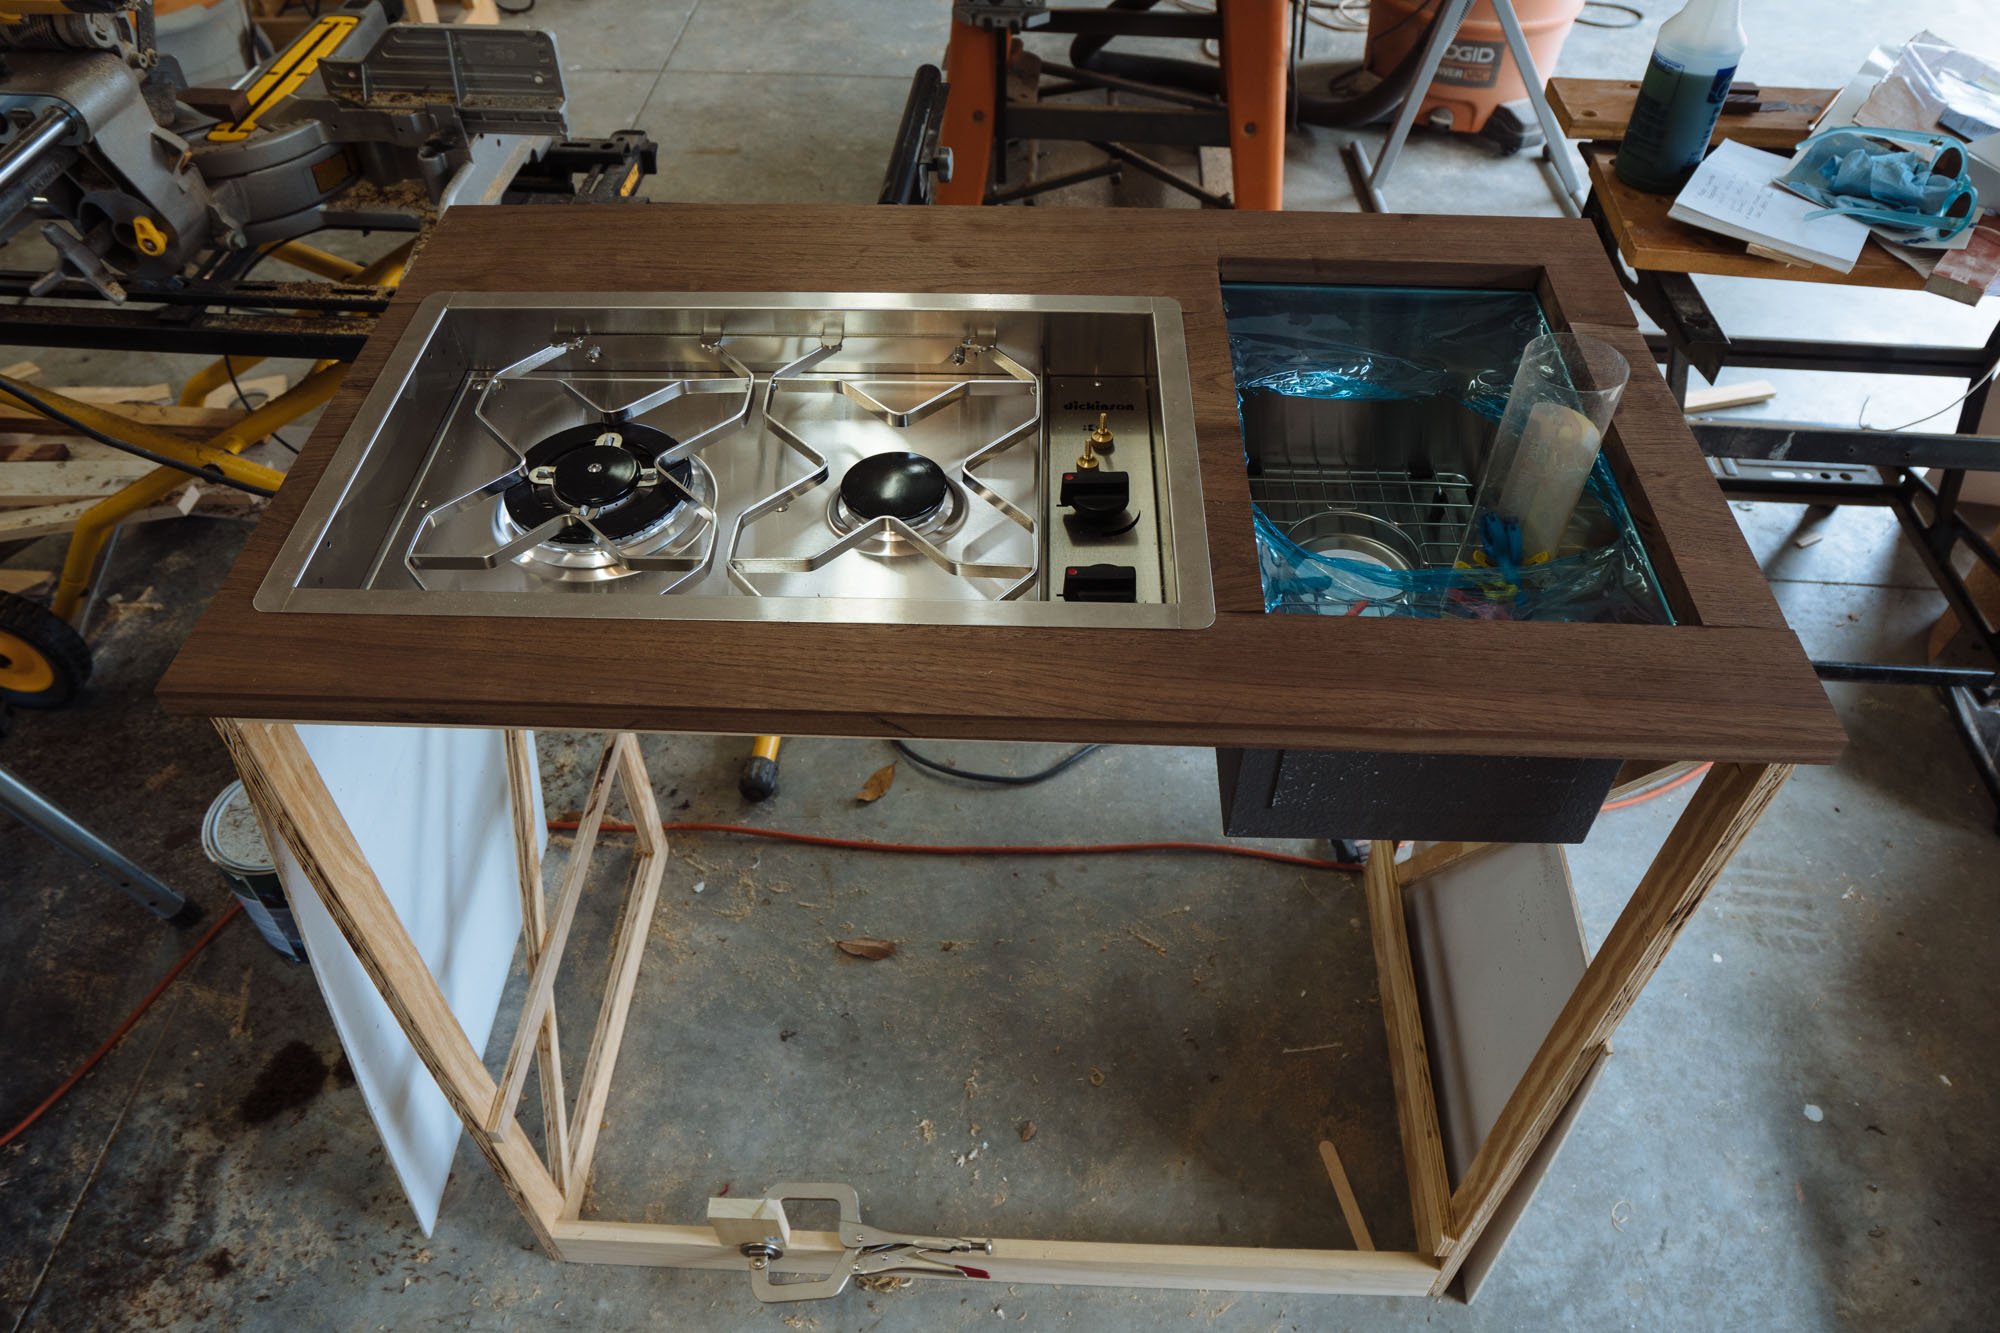
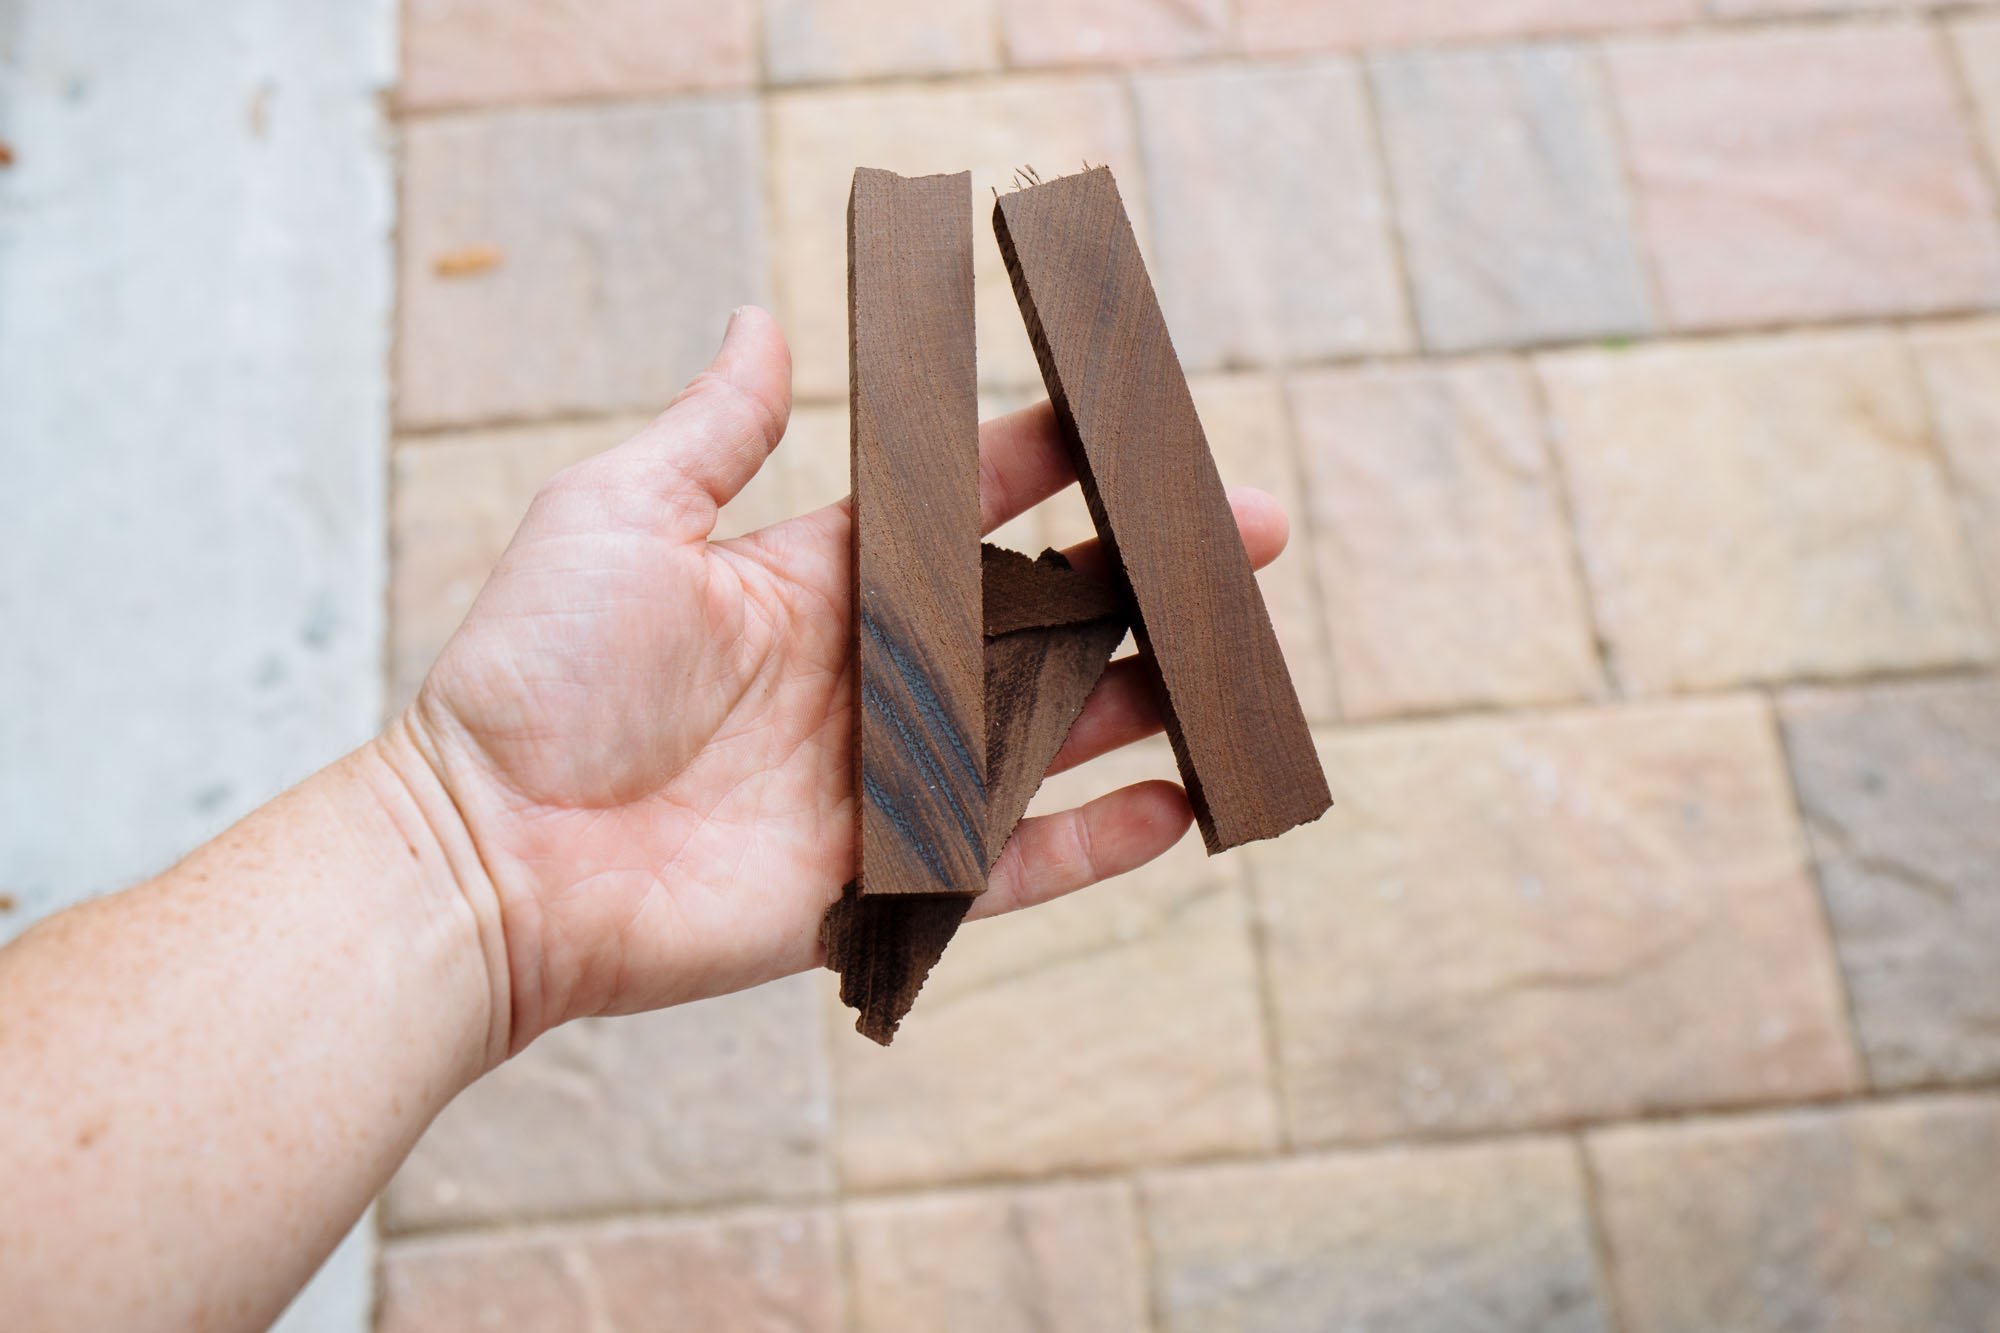
Our countertop is made of a bunch of scrap wood from our other table top and it couldn't have worked better even if we planned it (and we most definitely didn't). The above images depicts how much Peruvian Walnut remains from our purchase! Crazy right?! The finished product will have our drop in cooktop, under mounted sink, and faucet!
This is my dream kitchen you guys! I'm so excited seeing it come to life!
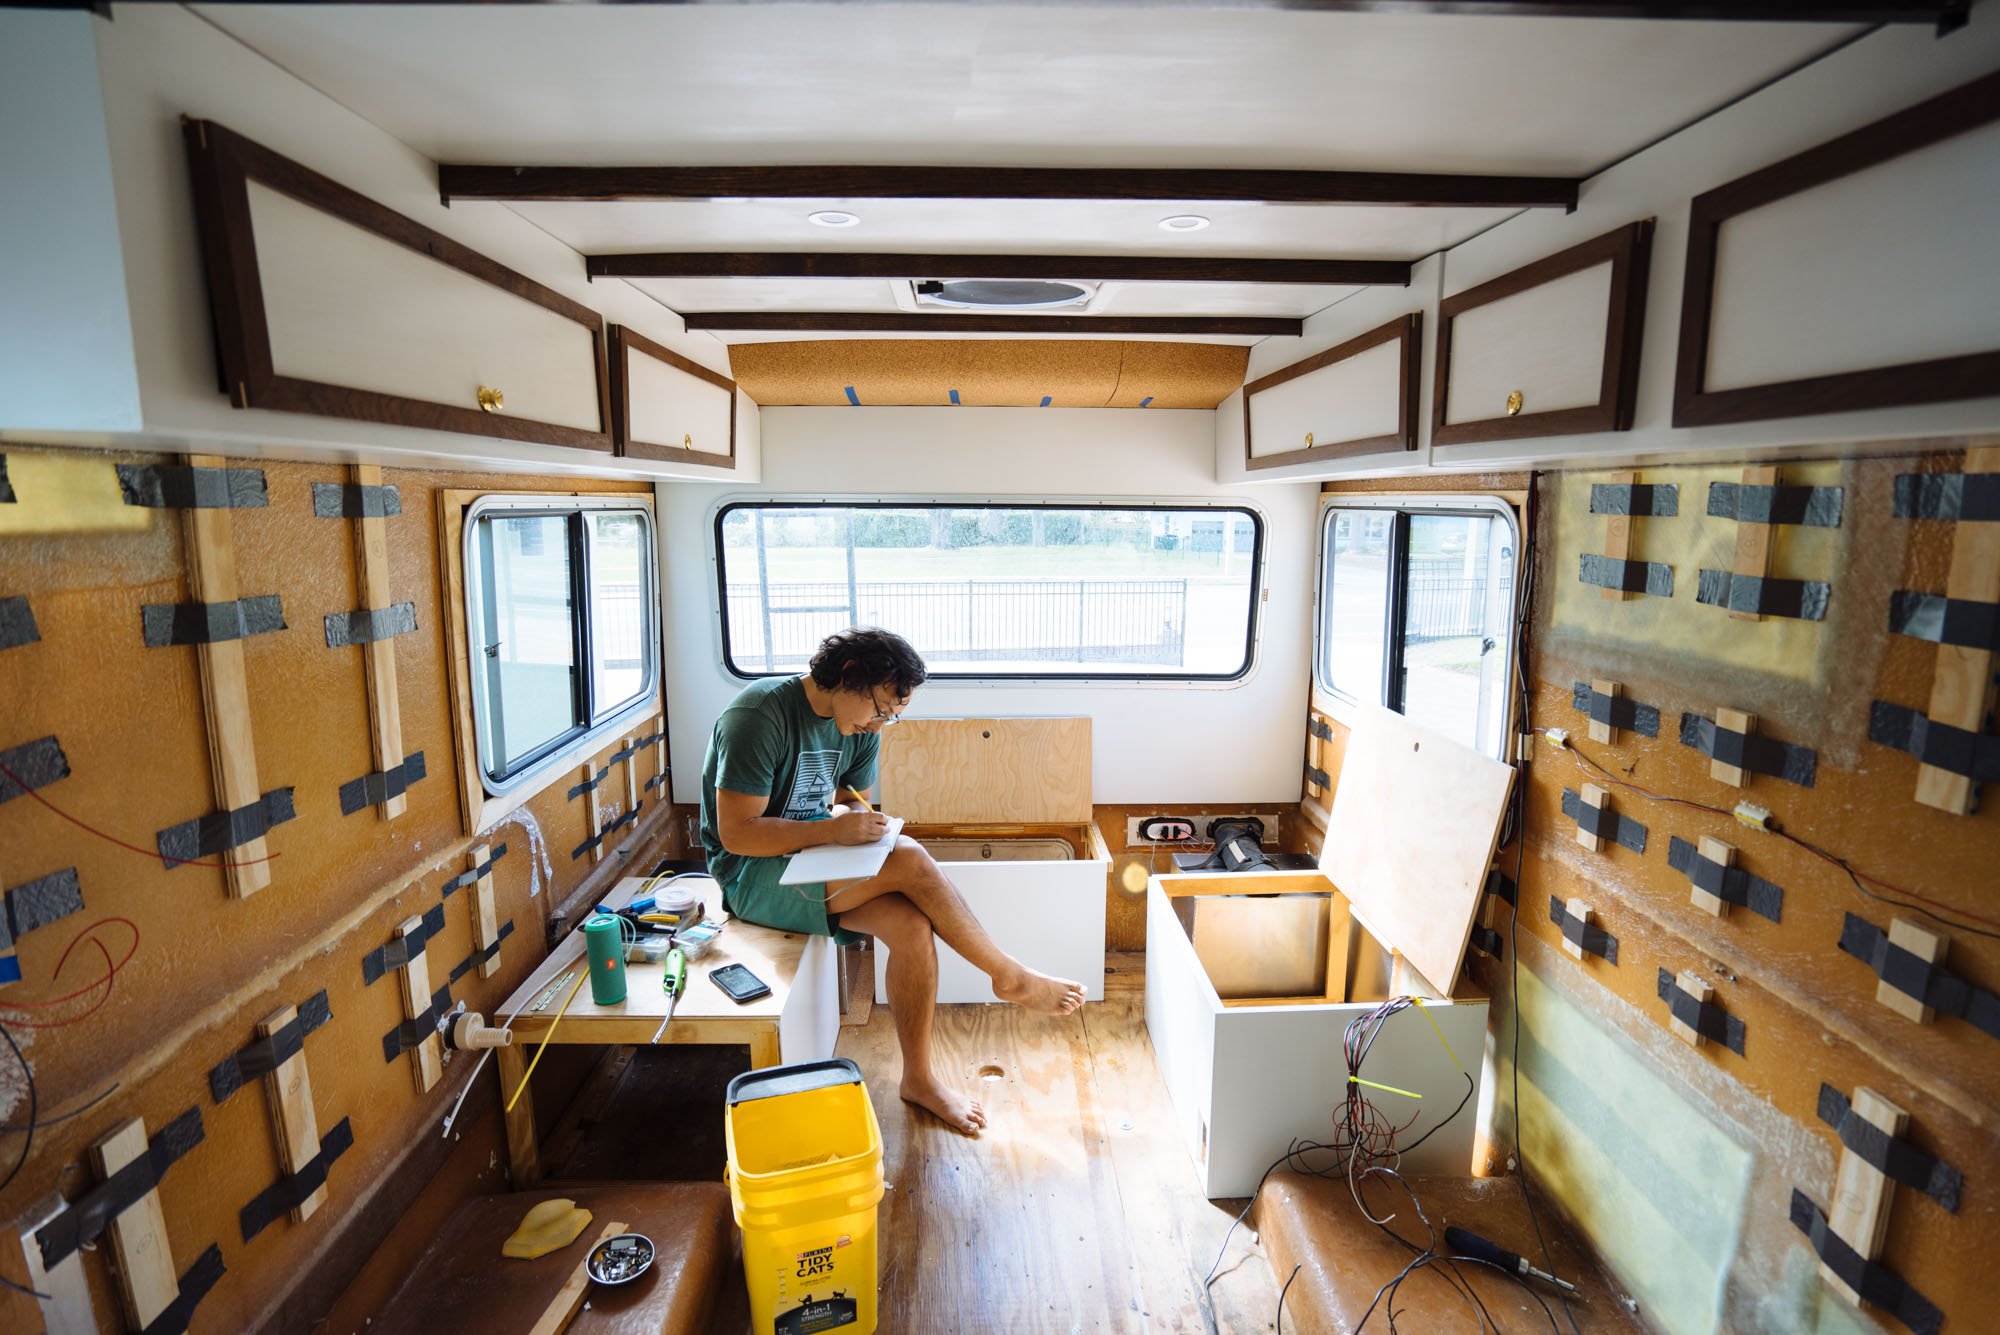
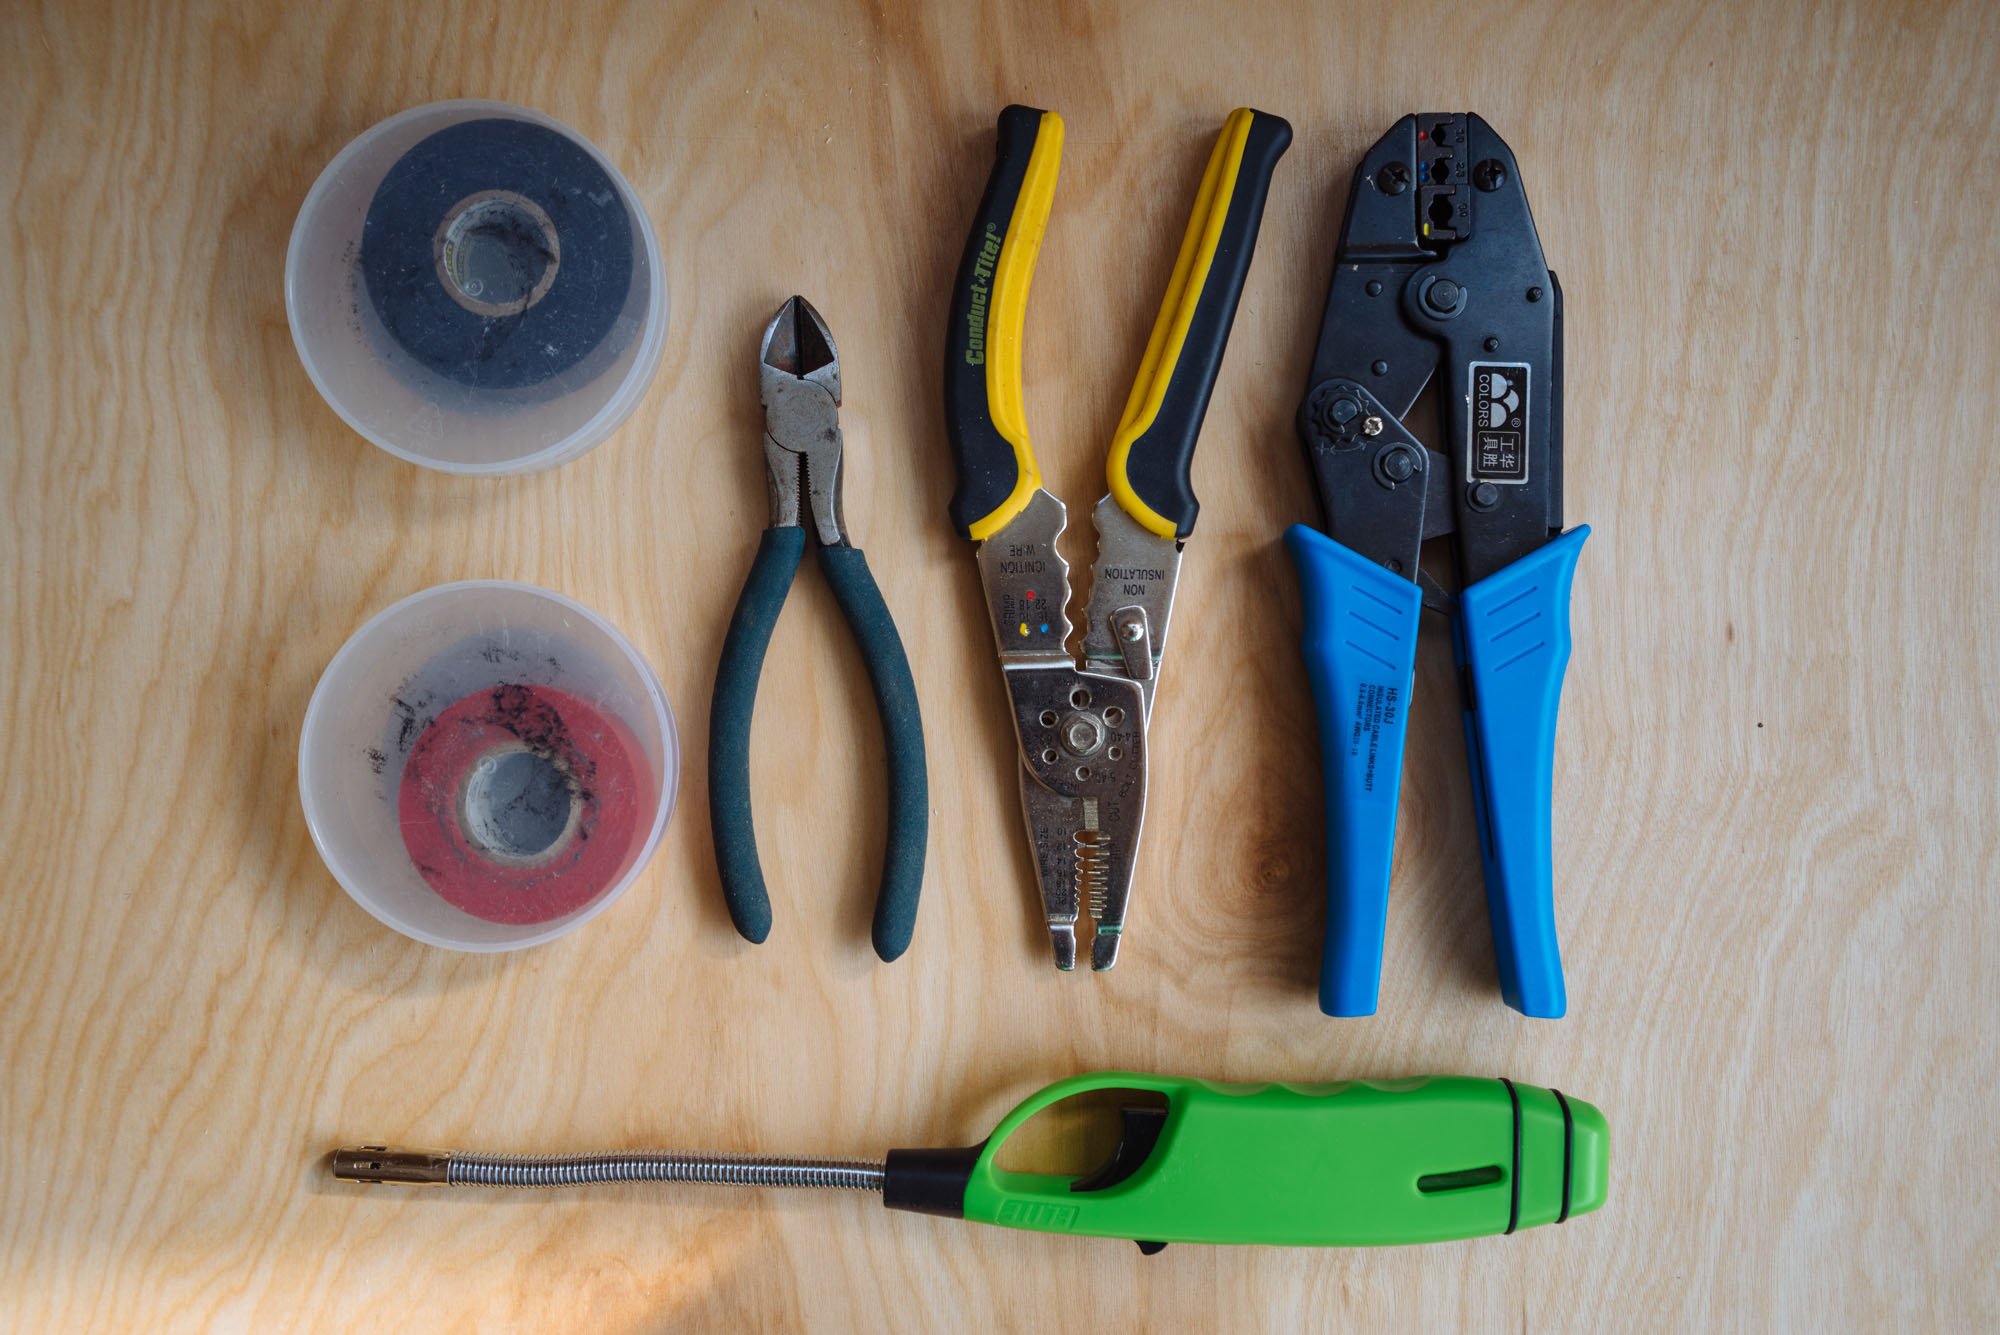
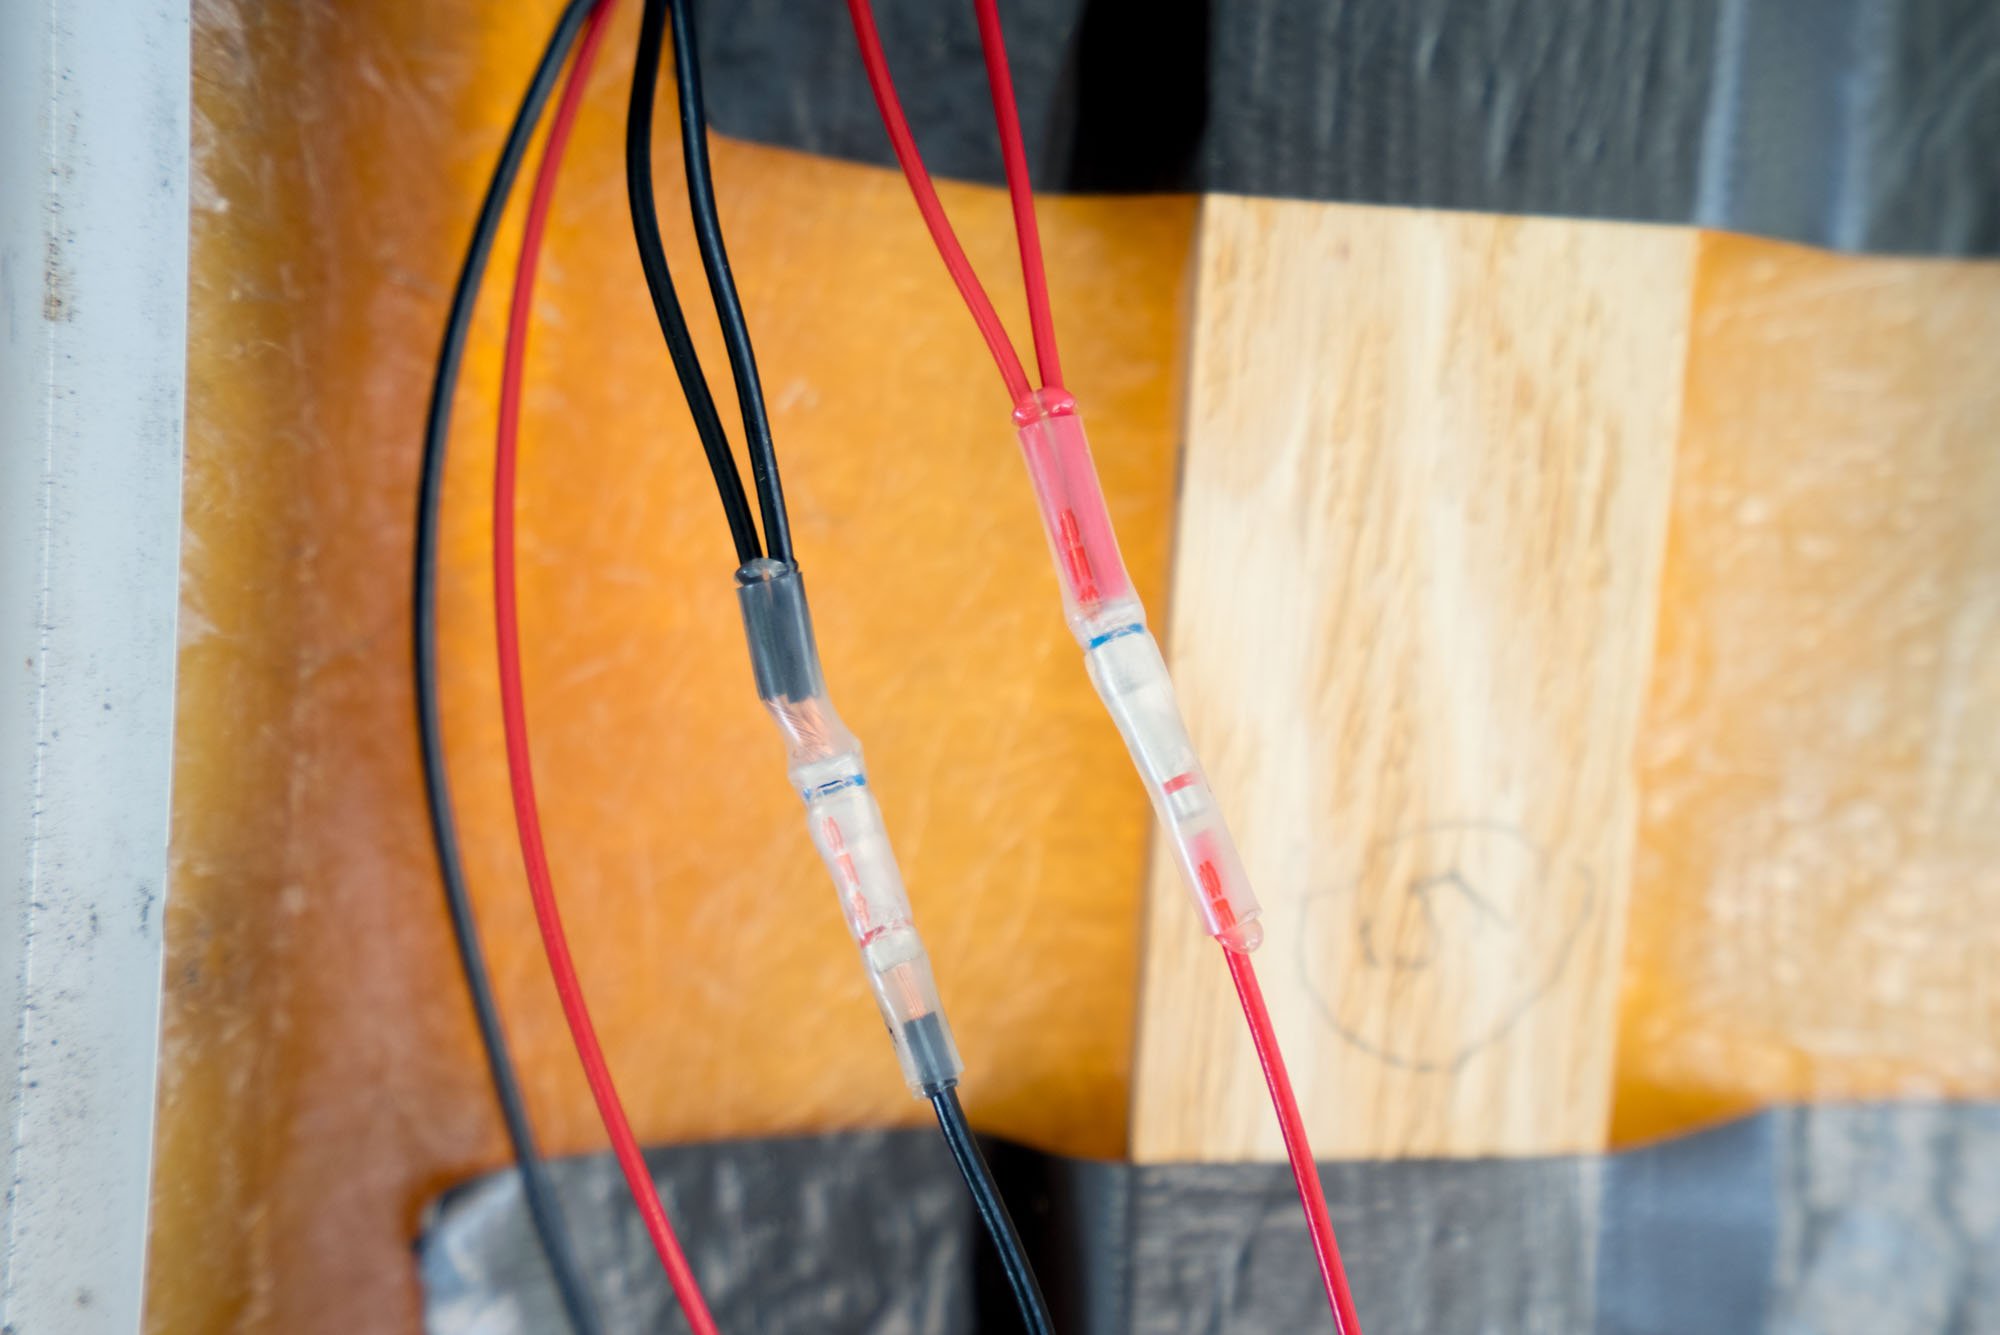
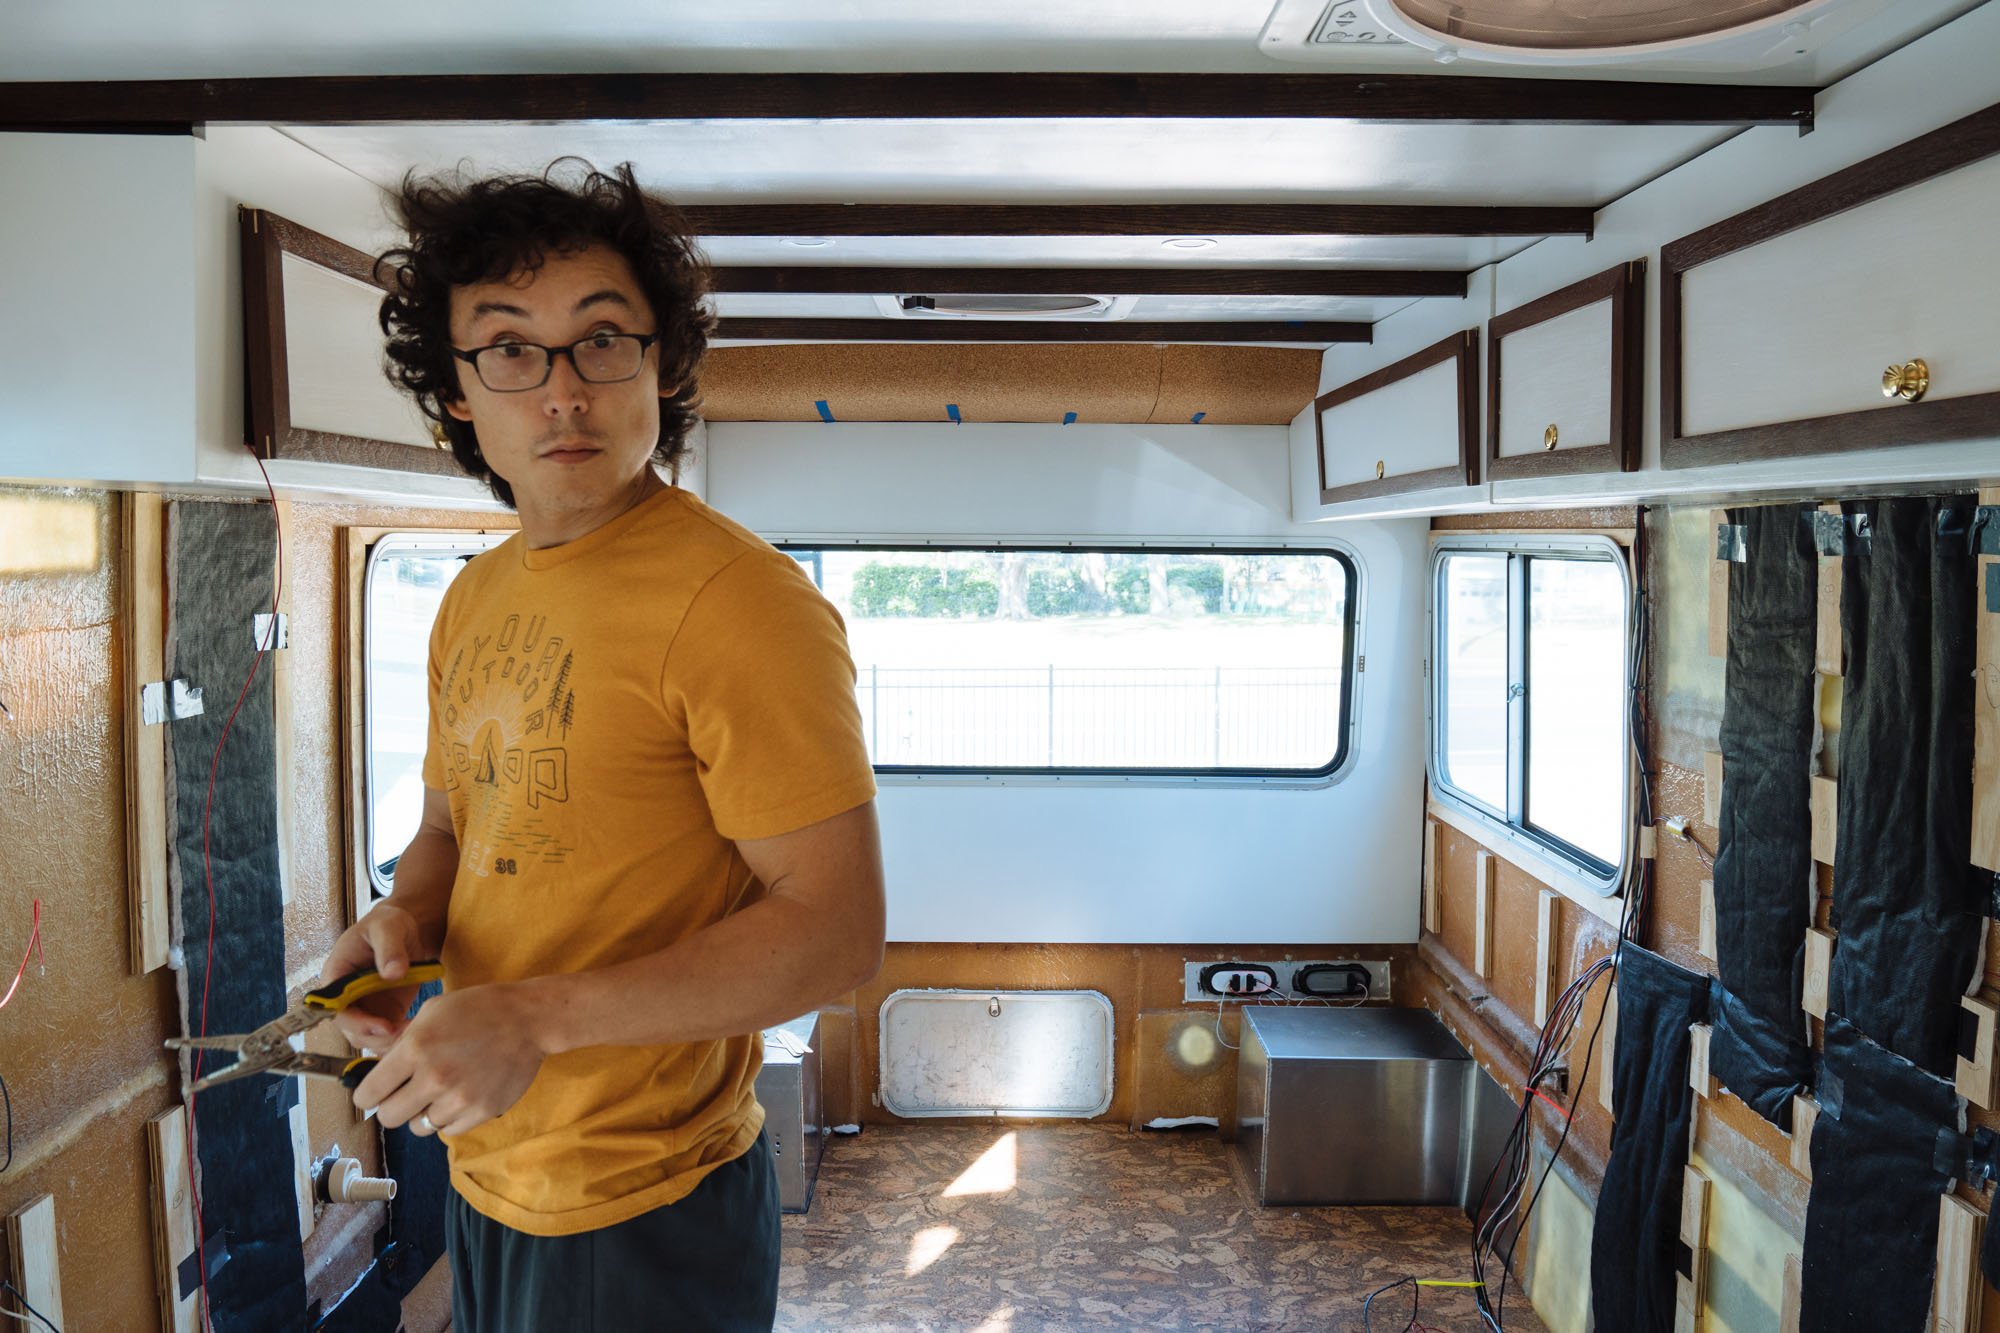
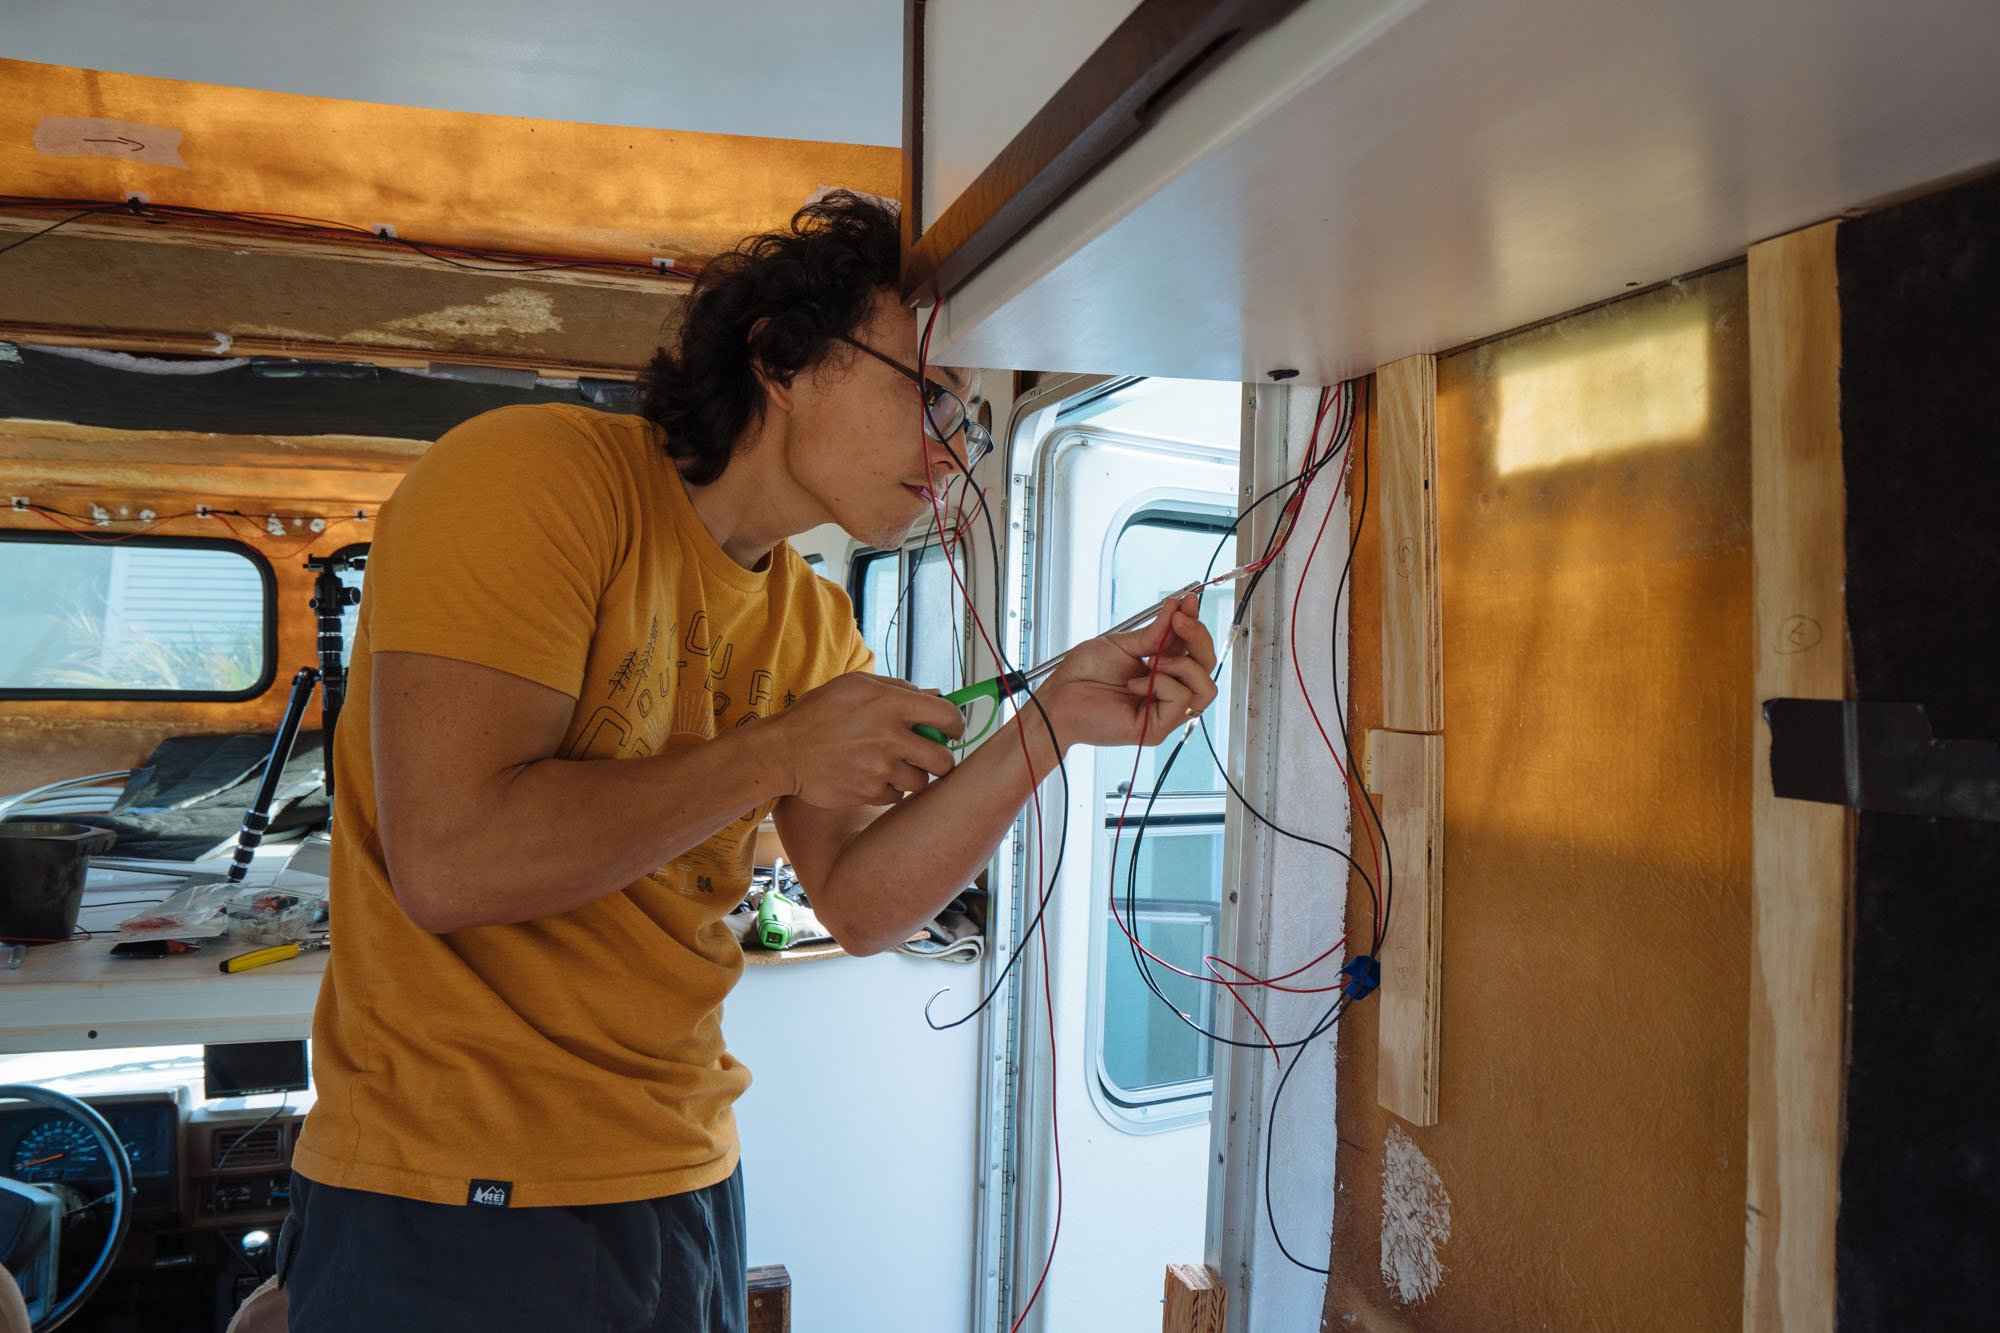
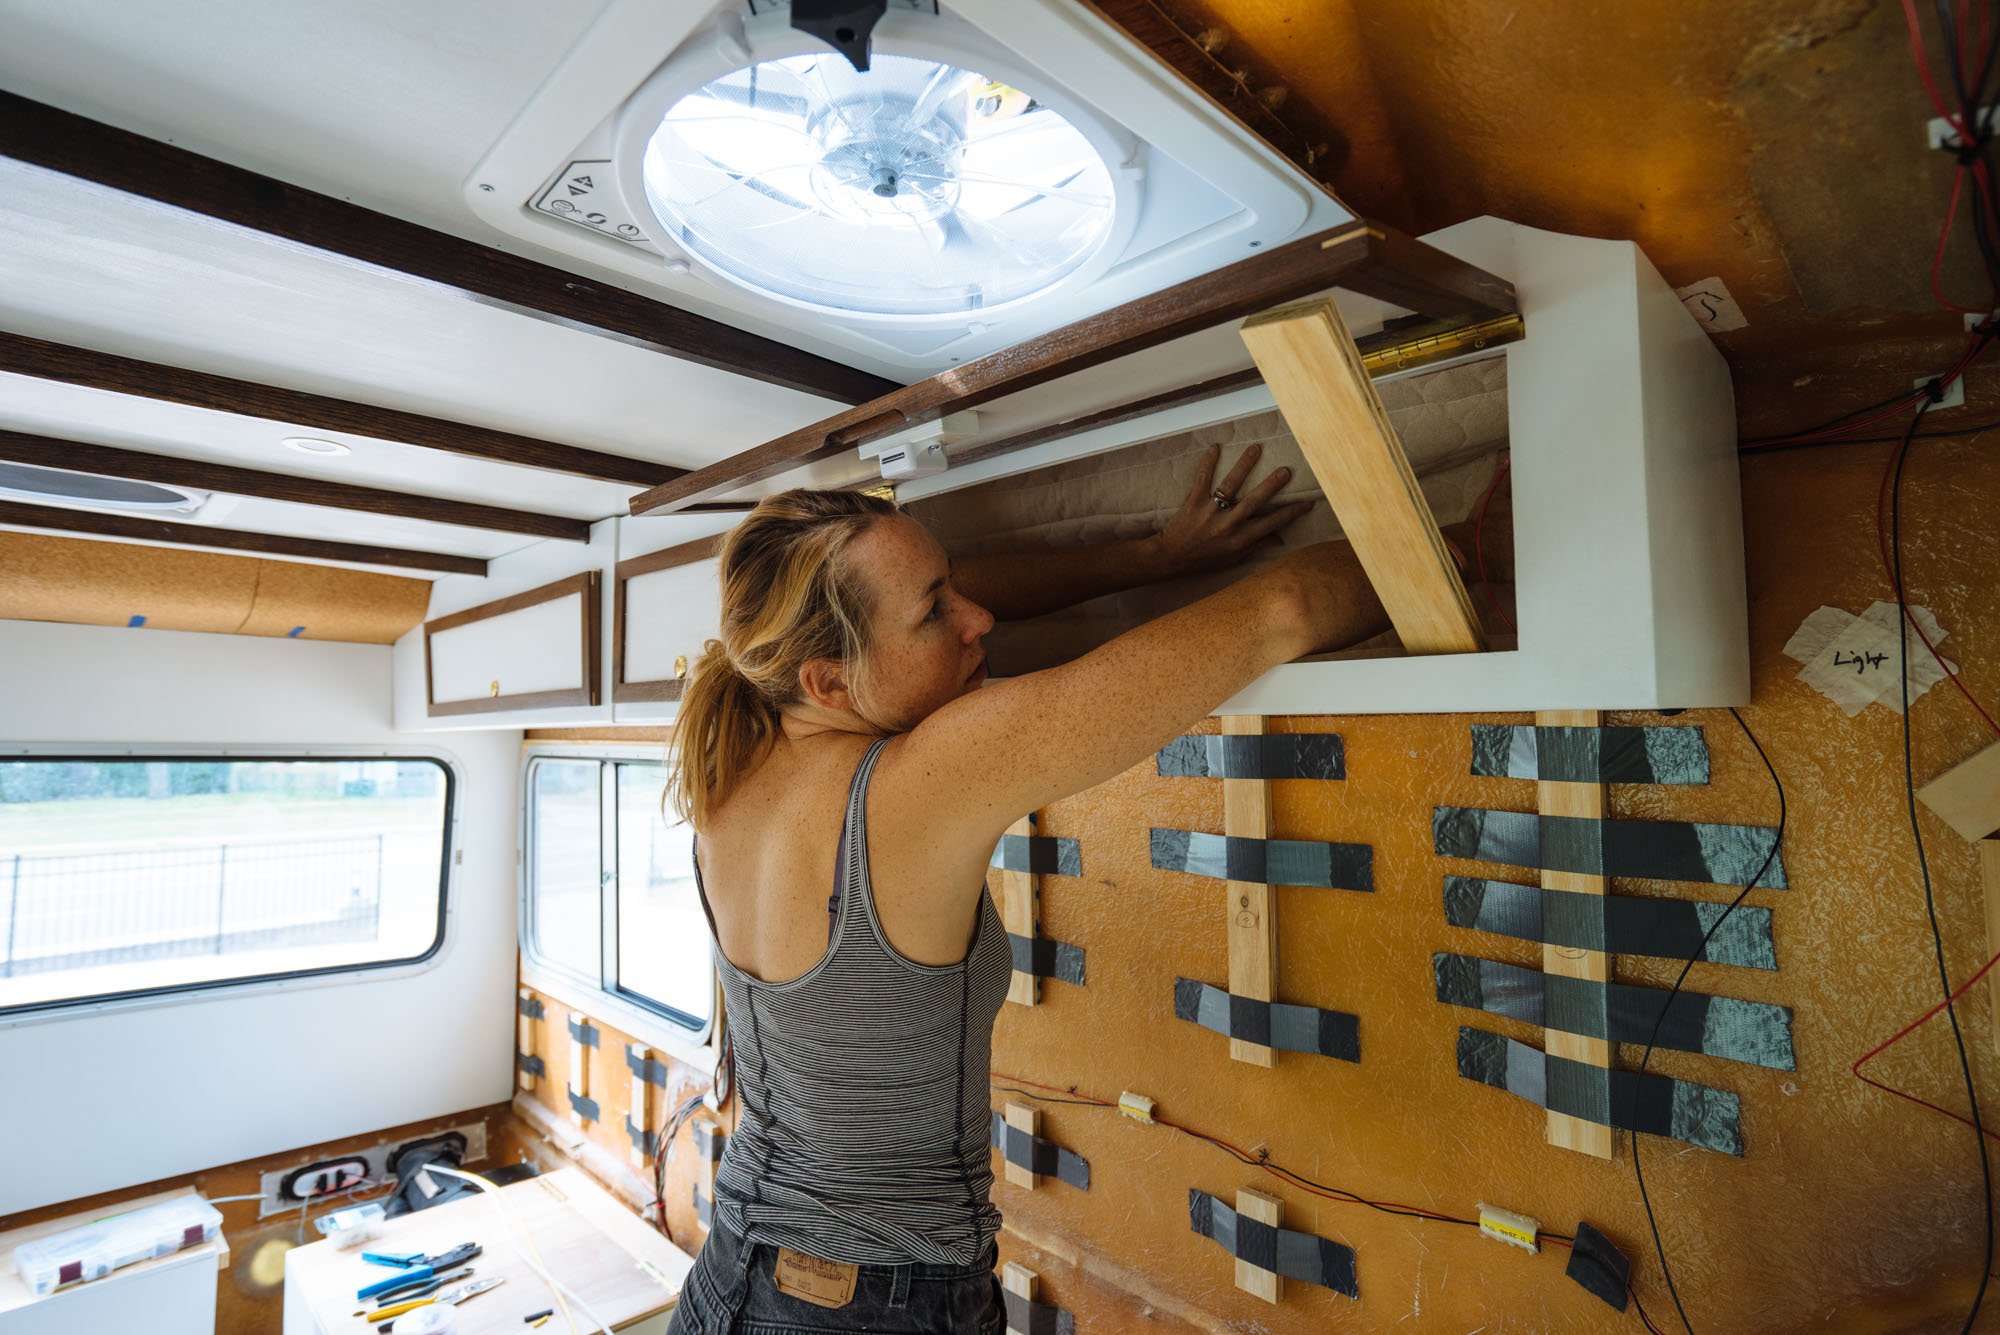
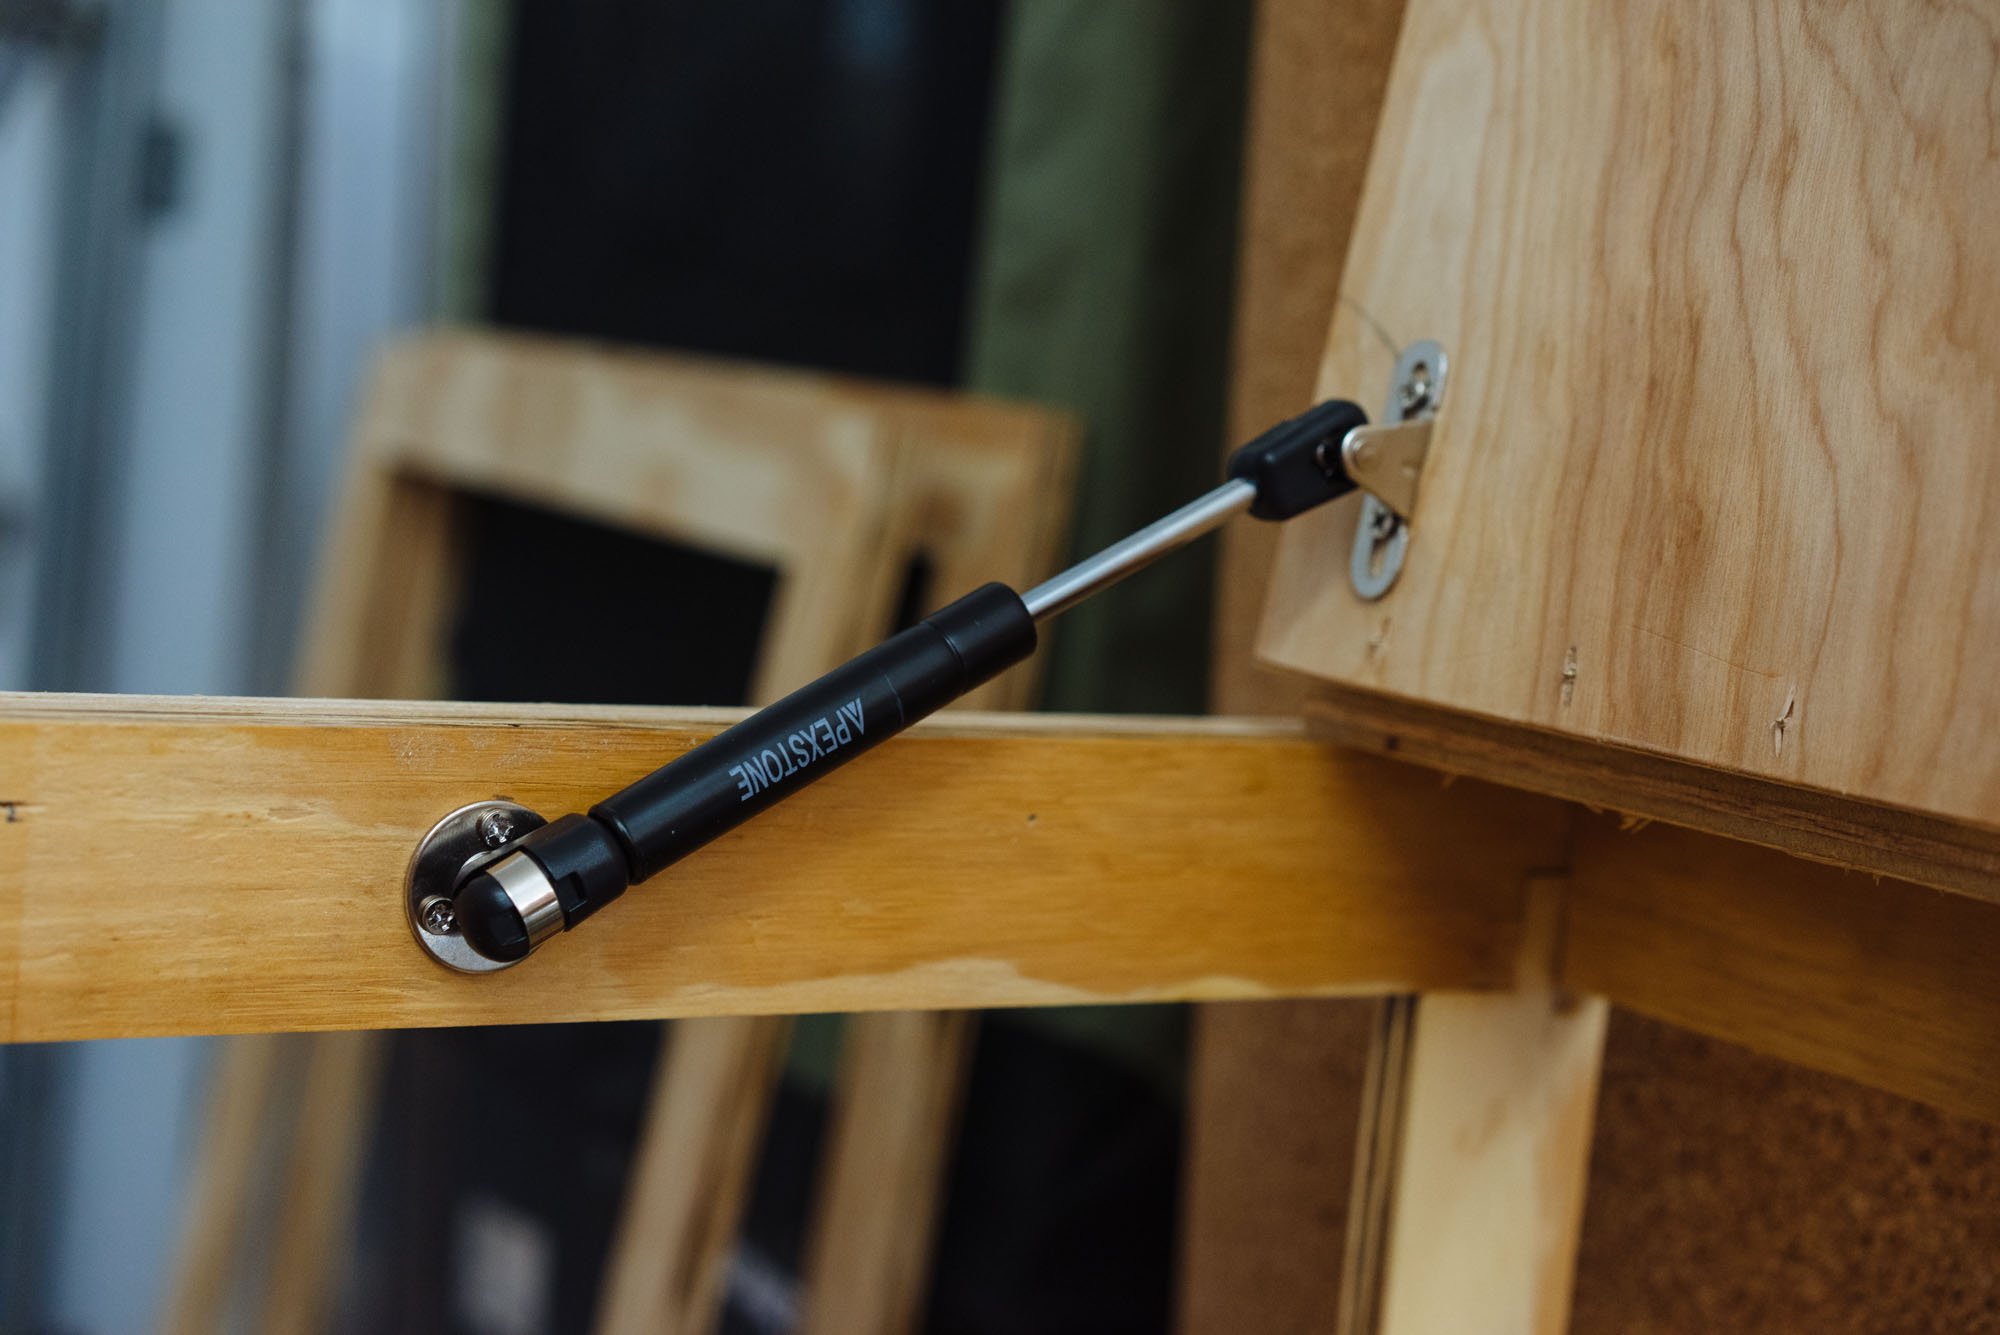
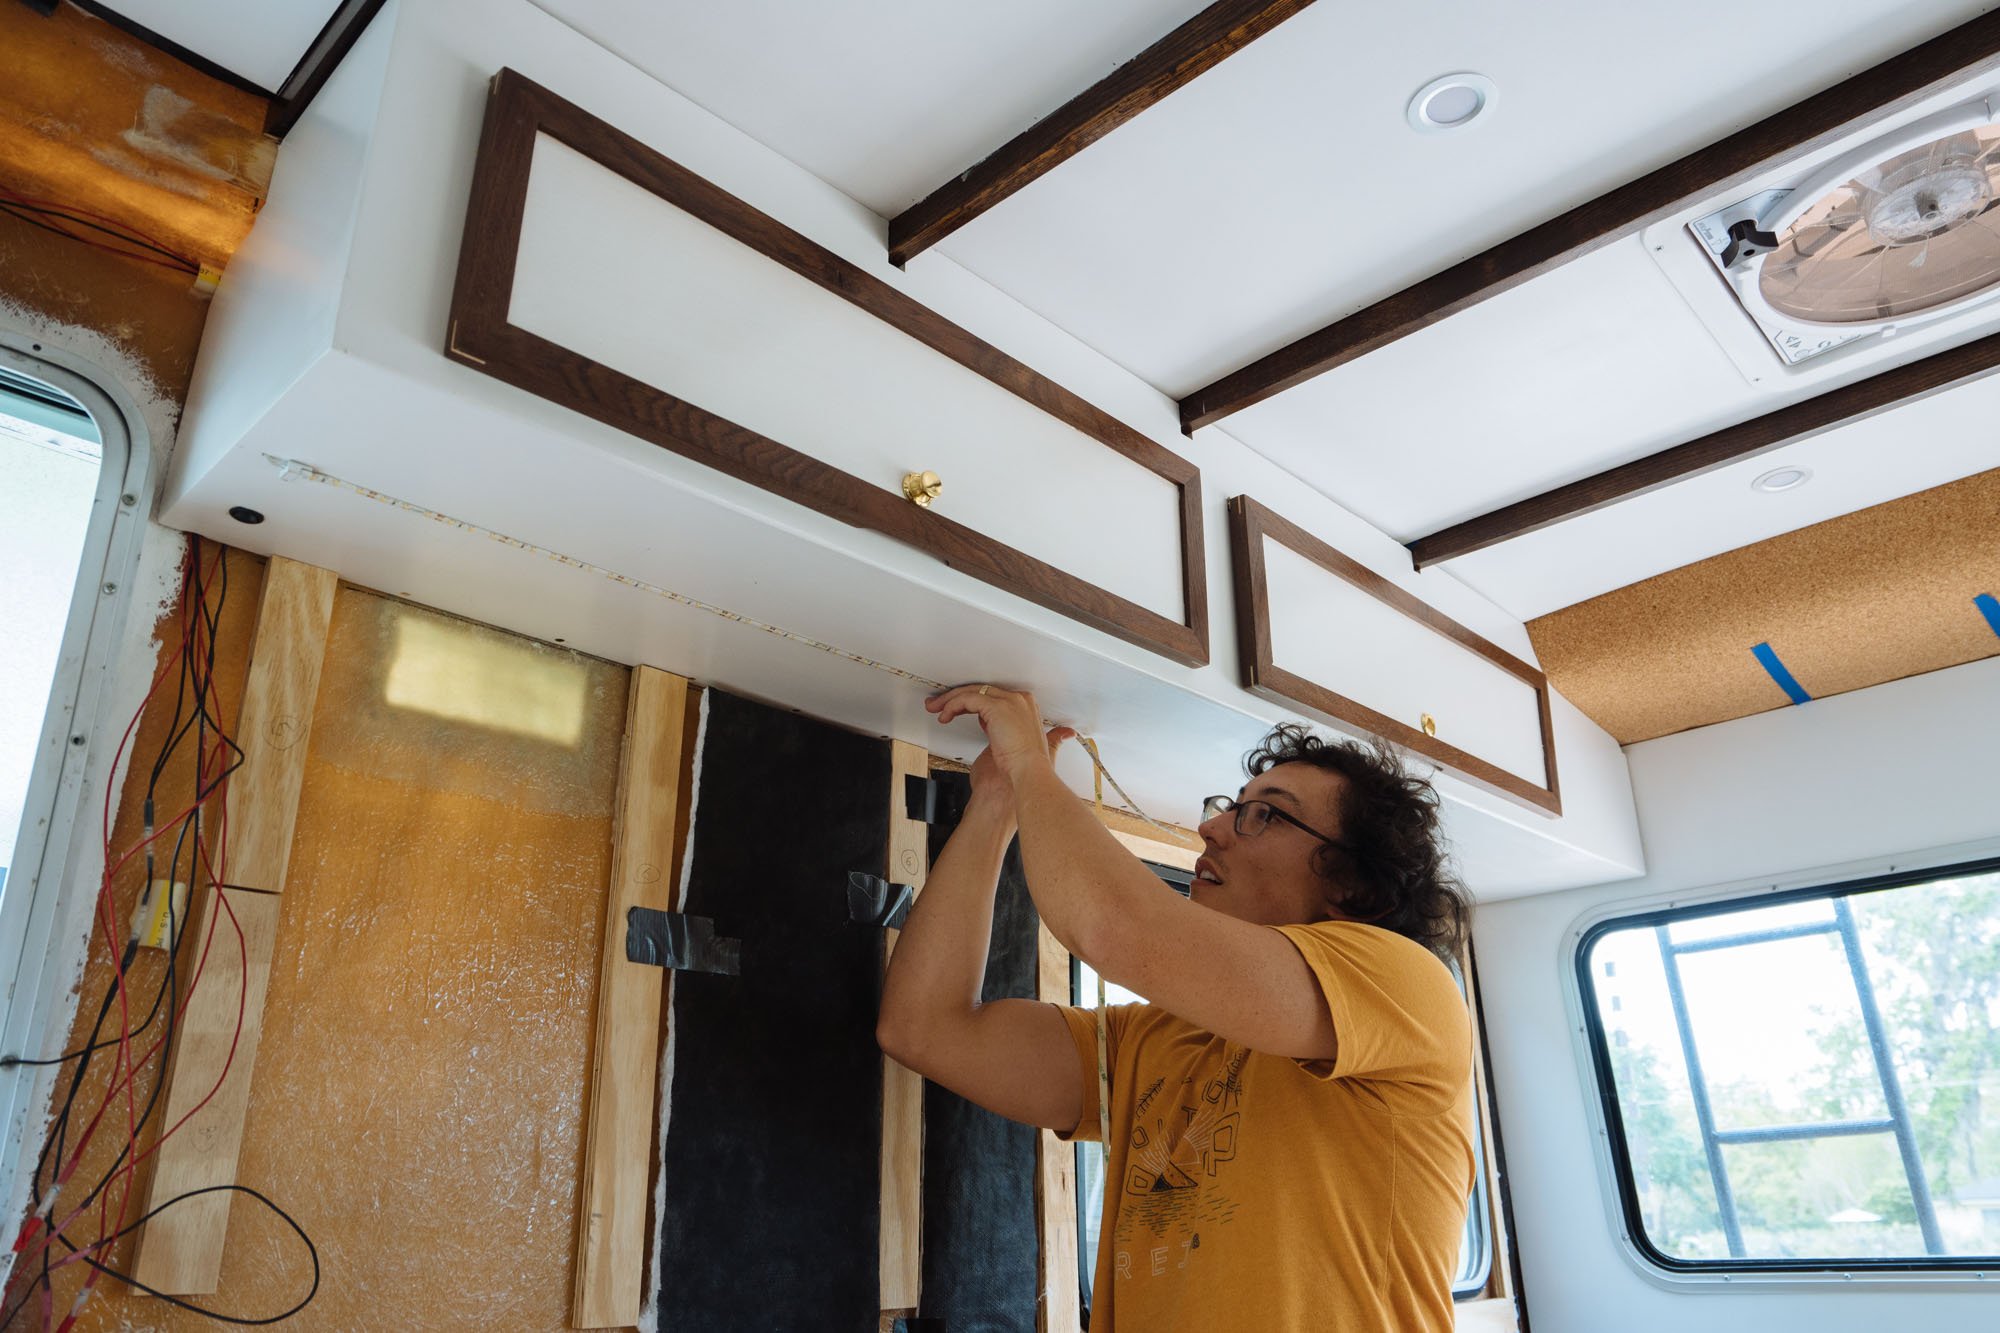

Here are some additional scenes from the past week around the build. Owen working on electrical, me working on installing the insulated covers for the back wall in the top cabinets, installed bench seat hydraulic arms, etc. etc.
Good things are happening around here <3
SUPPLY LIST
For Inquiring Minds
Floors
Thinsulate - For all insulation
Cork Flooring - For the floors, obviously. We ordered 3 boxes and used 2.25 boxes (linked Here)
Brad Nail Gun - for nailing our floor panels
3/4 Brad nails - We used this size to be sure that they went in far enough to hit our subfloor
Rubber Mallet - essential for getting each board to fit perfectly
Painters tape - we used this to mark each board to be sure they were in order and the proper trims were being made to each
>
Walls
Duct Tape - ole faithful
West Marine 610 Epoxy - Used it to glue up my wall support pieces
Dewalt Jigsaw - for cutting the opening for the window
Kils Premium Primer - Stops the paint stains! Thank god!
Kitchen
Dickinson Marine Caribbean Two Burner Gas Stove (linked here)
12" Sink
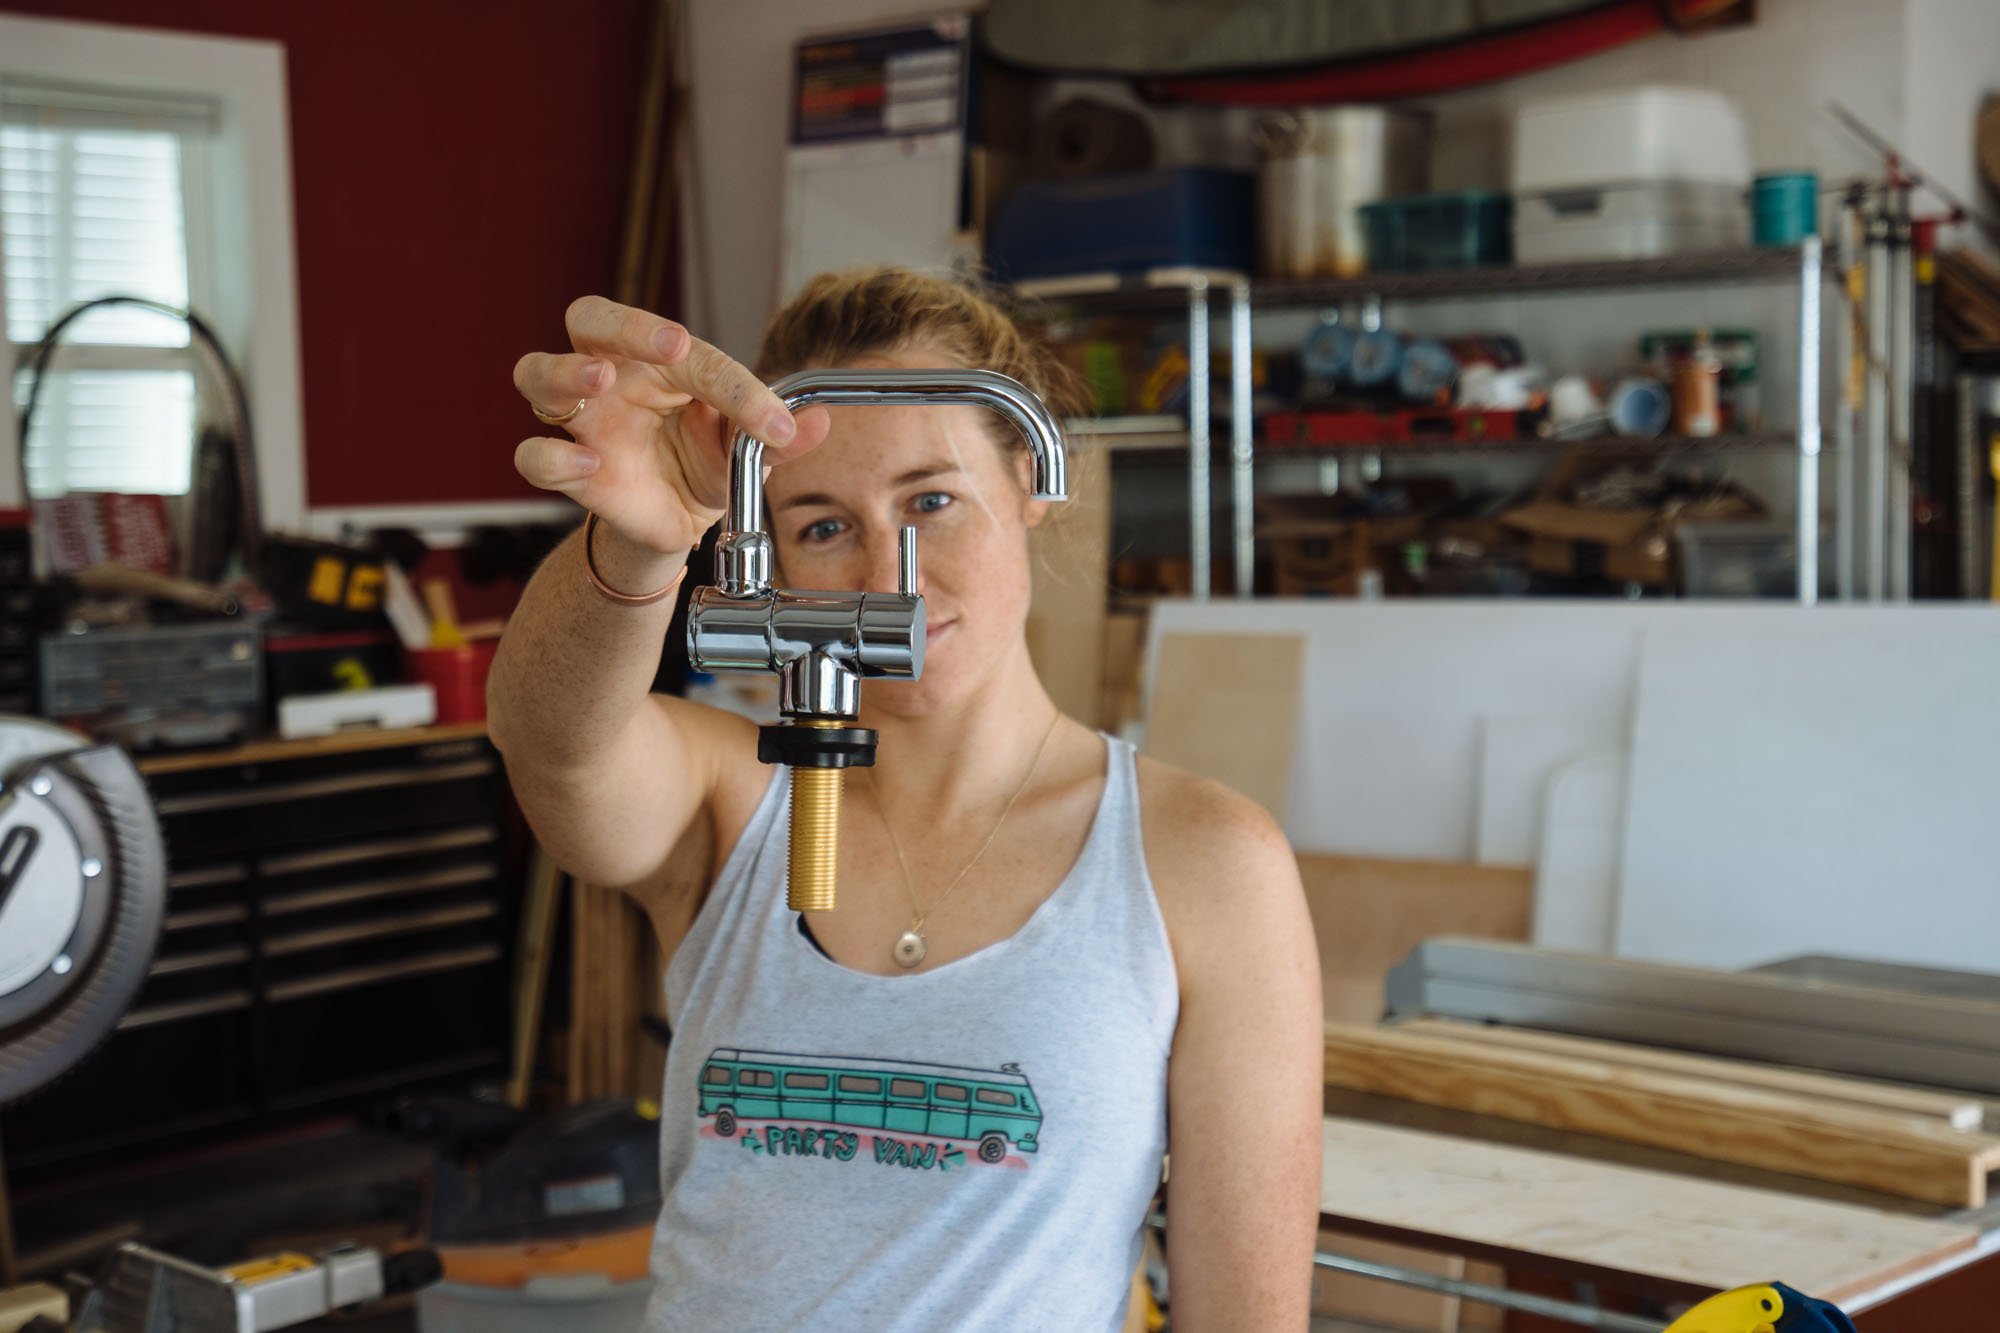
Ambassador Marine Faucet
Odds & Ends
Hydraulic Arms - for the bench seat lids
11 lb. Propane tank - for our LP storage box (Linked Here)
LP regulator - for our LP storage box