Build Out: Week 15
Top Cabinet and Bench Seat Install

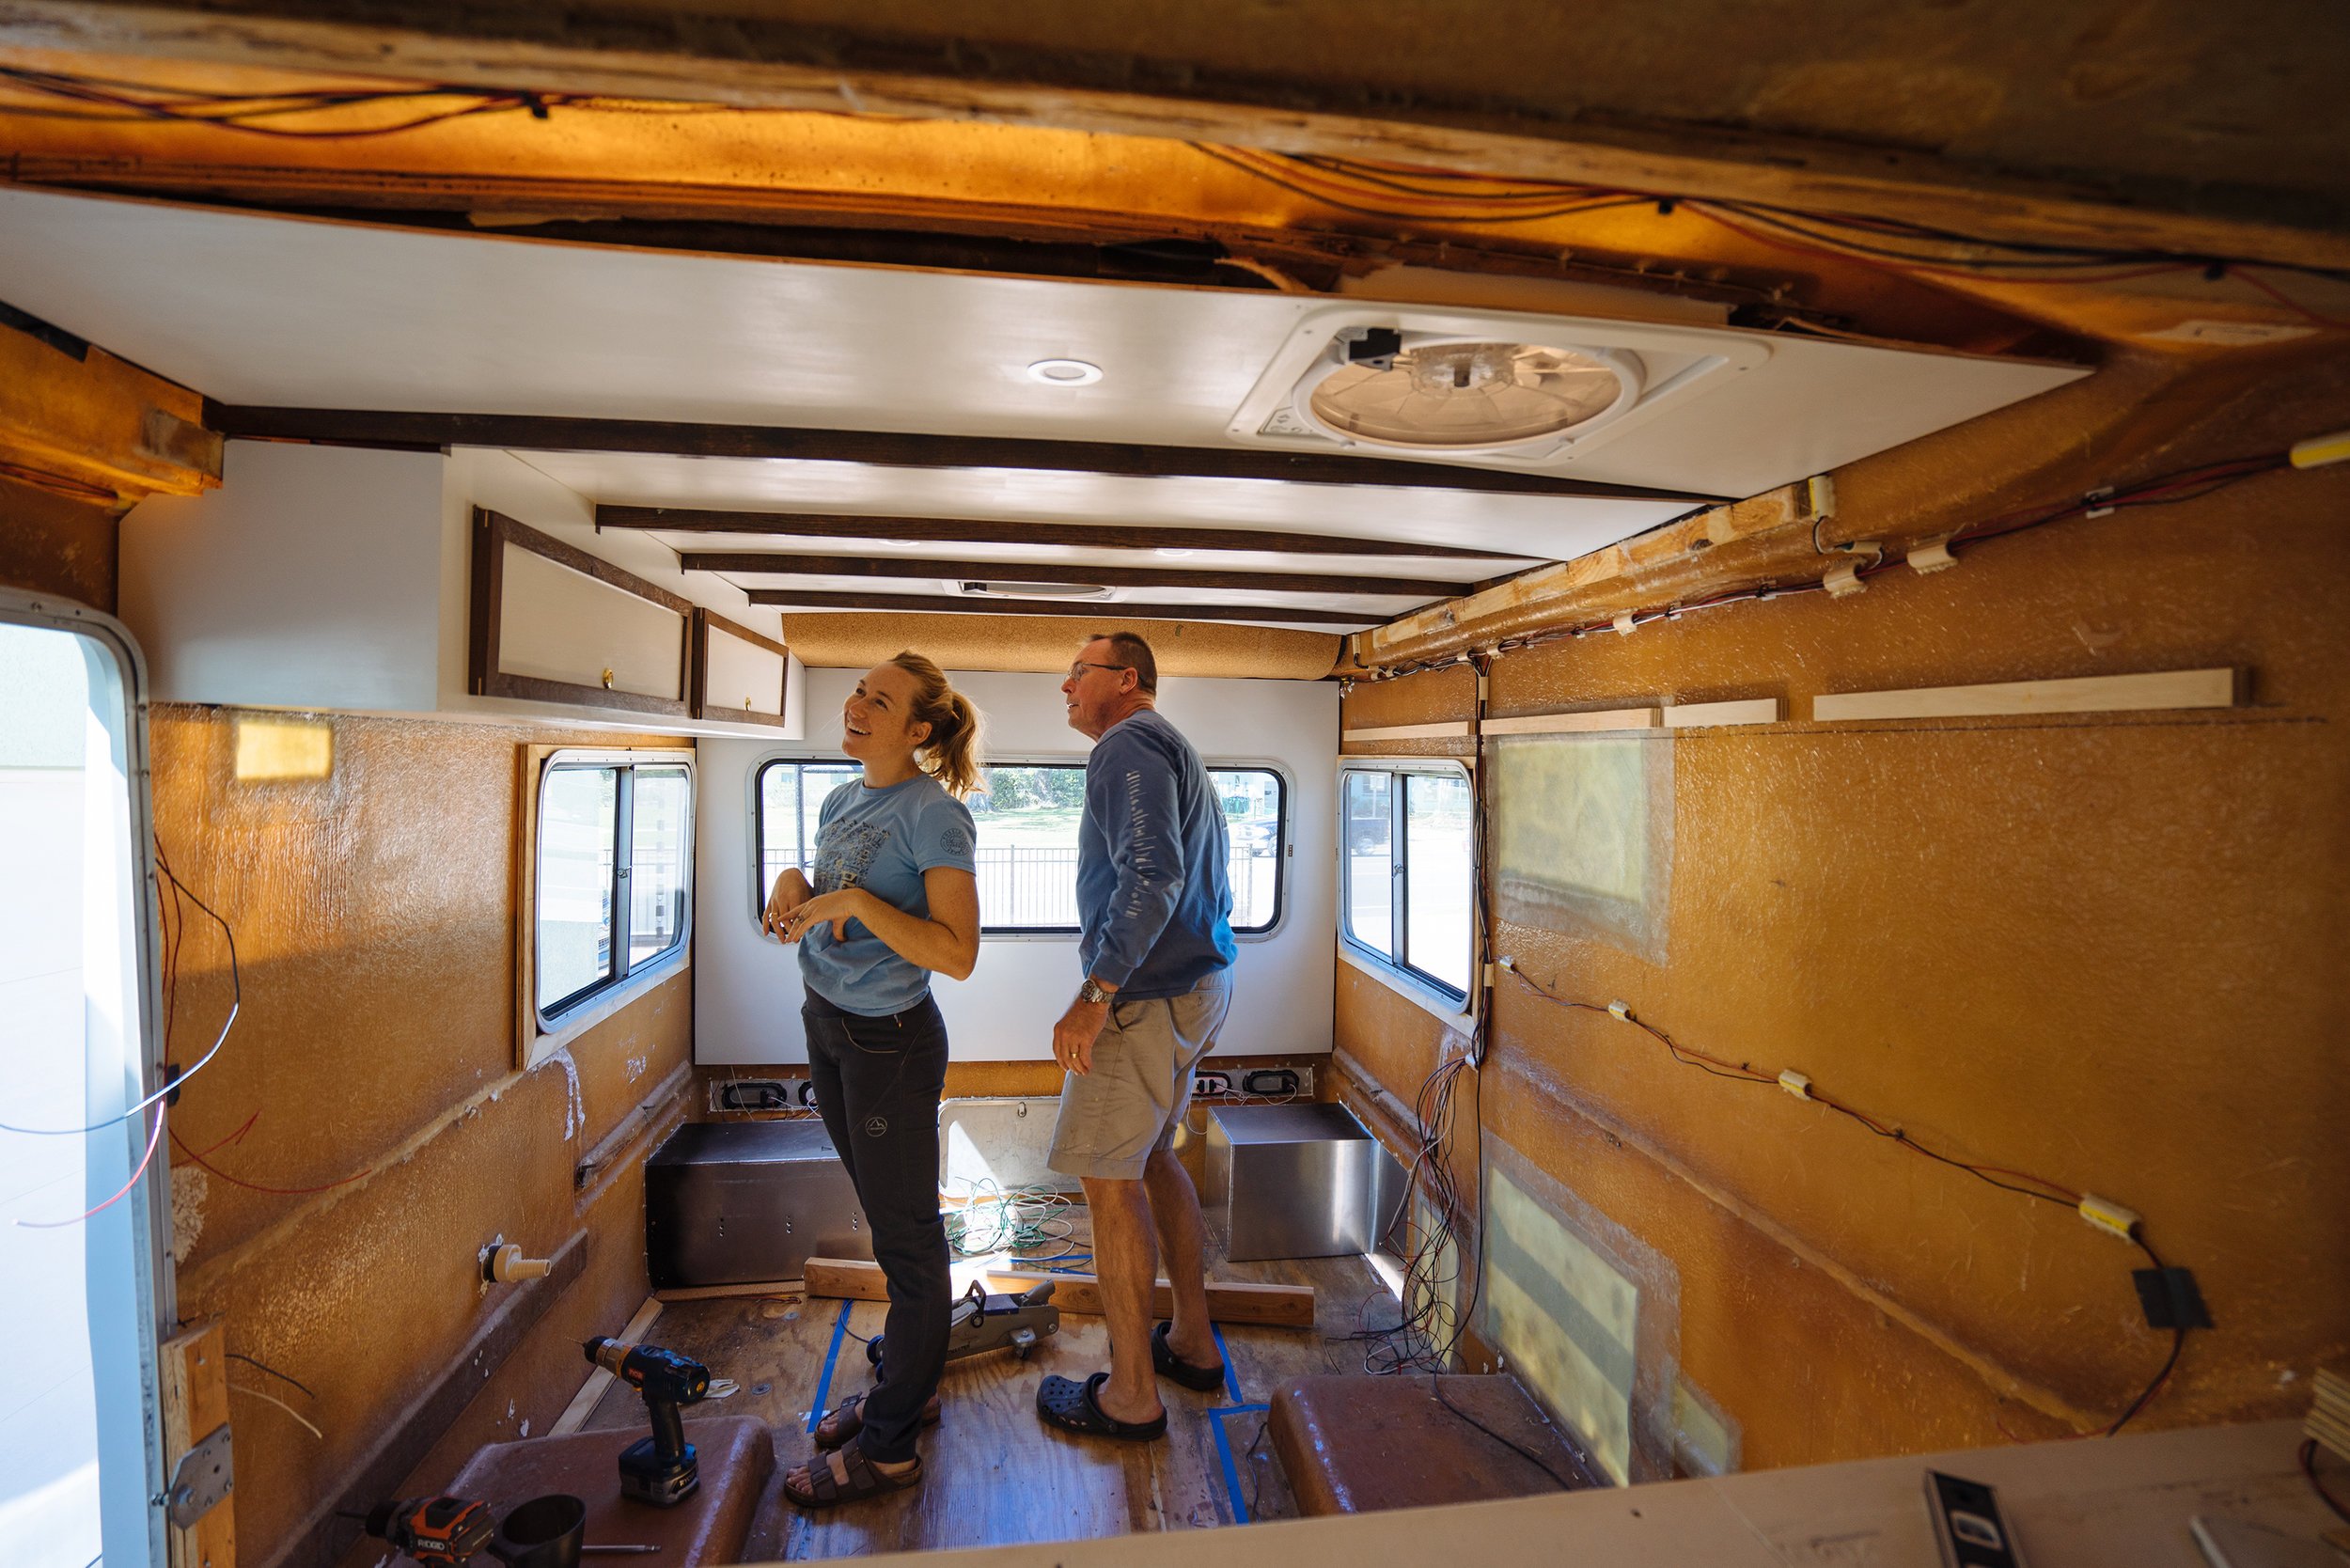
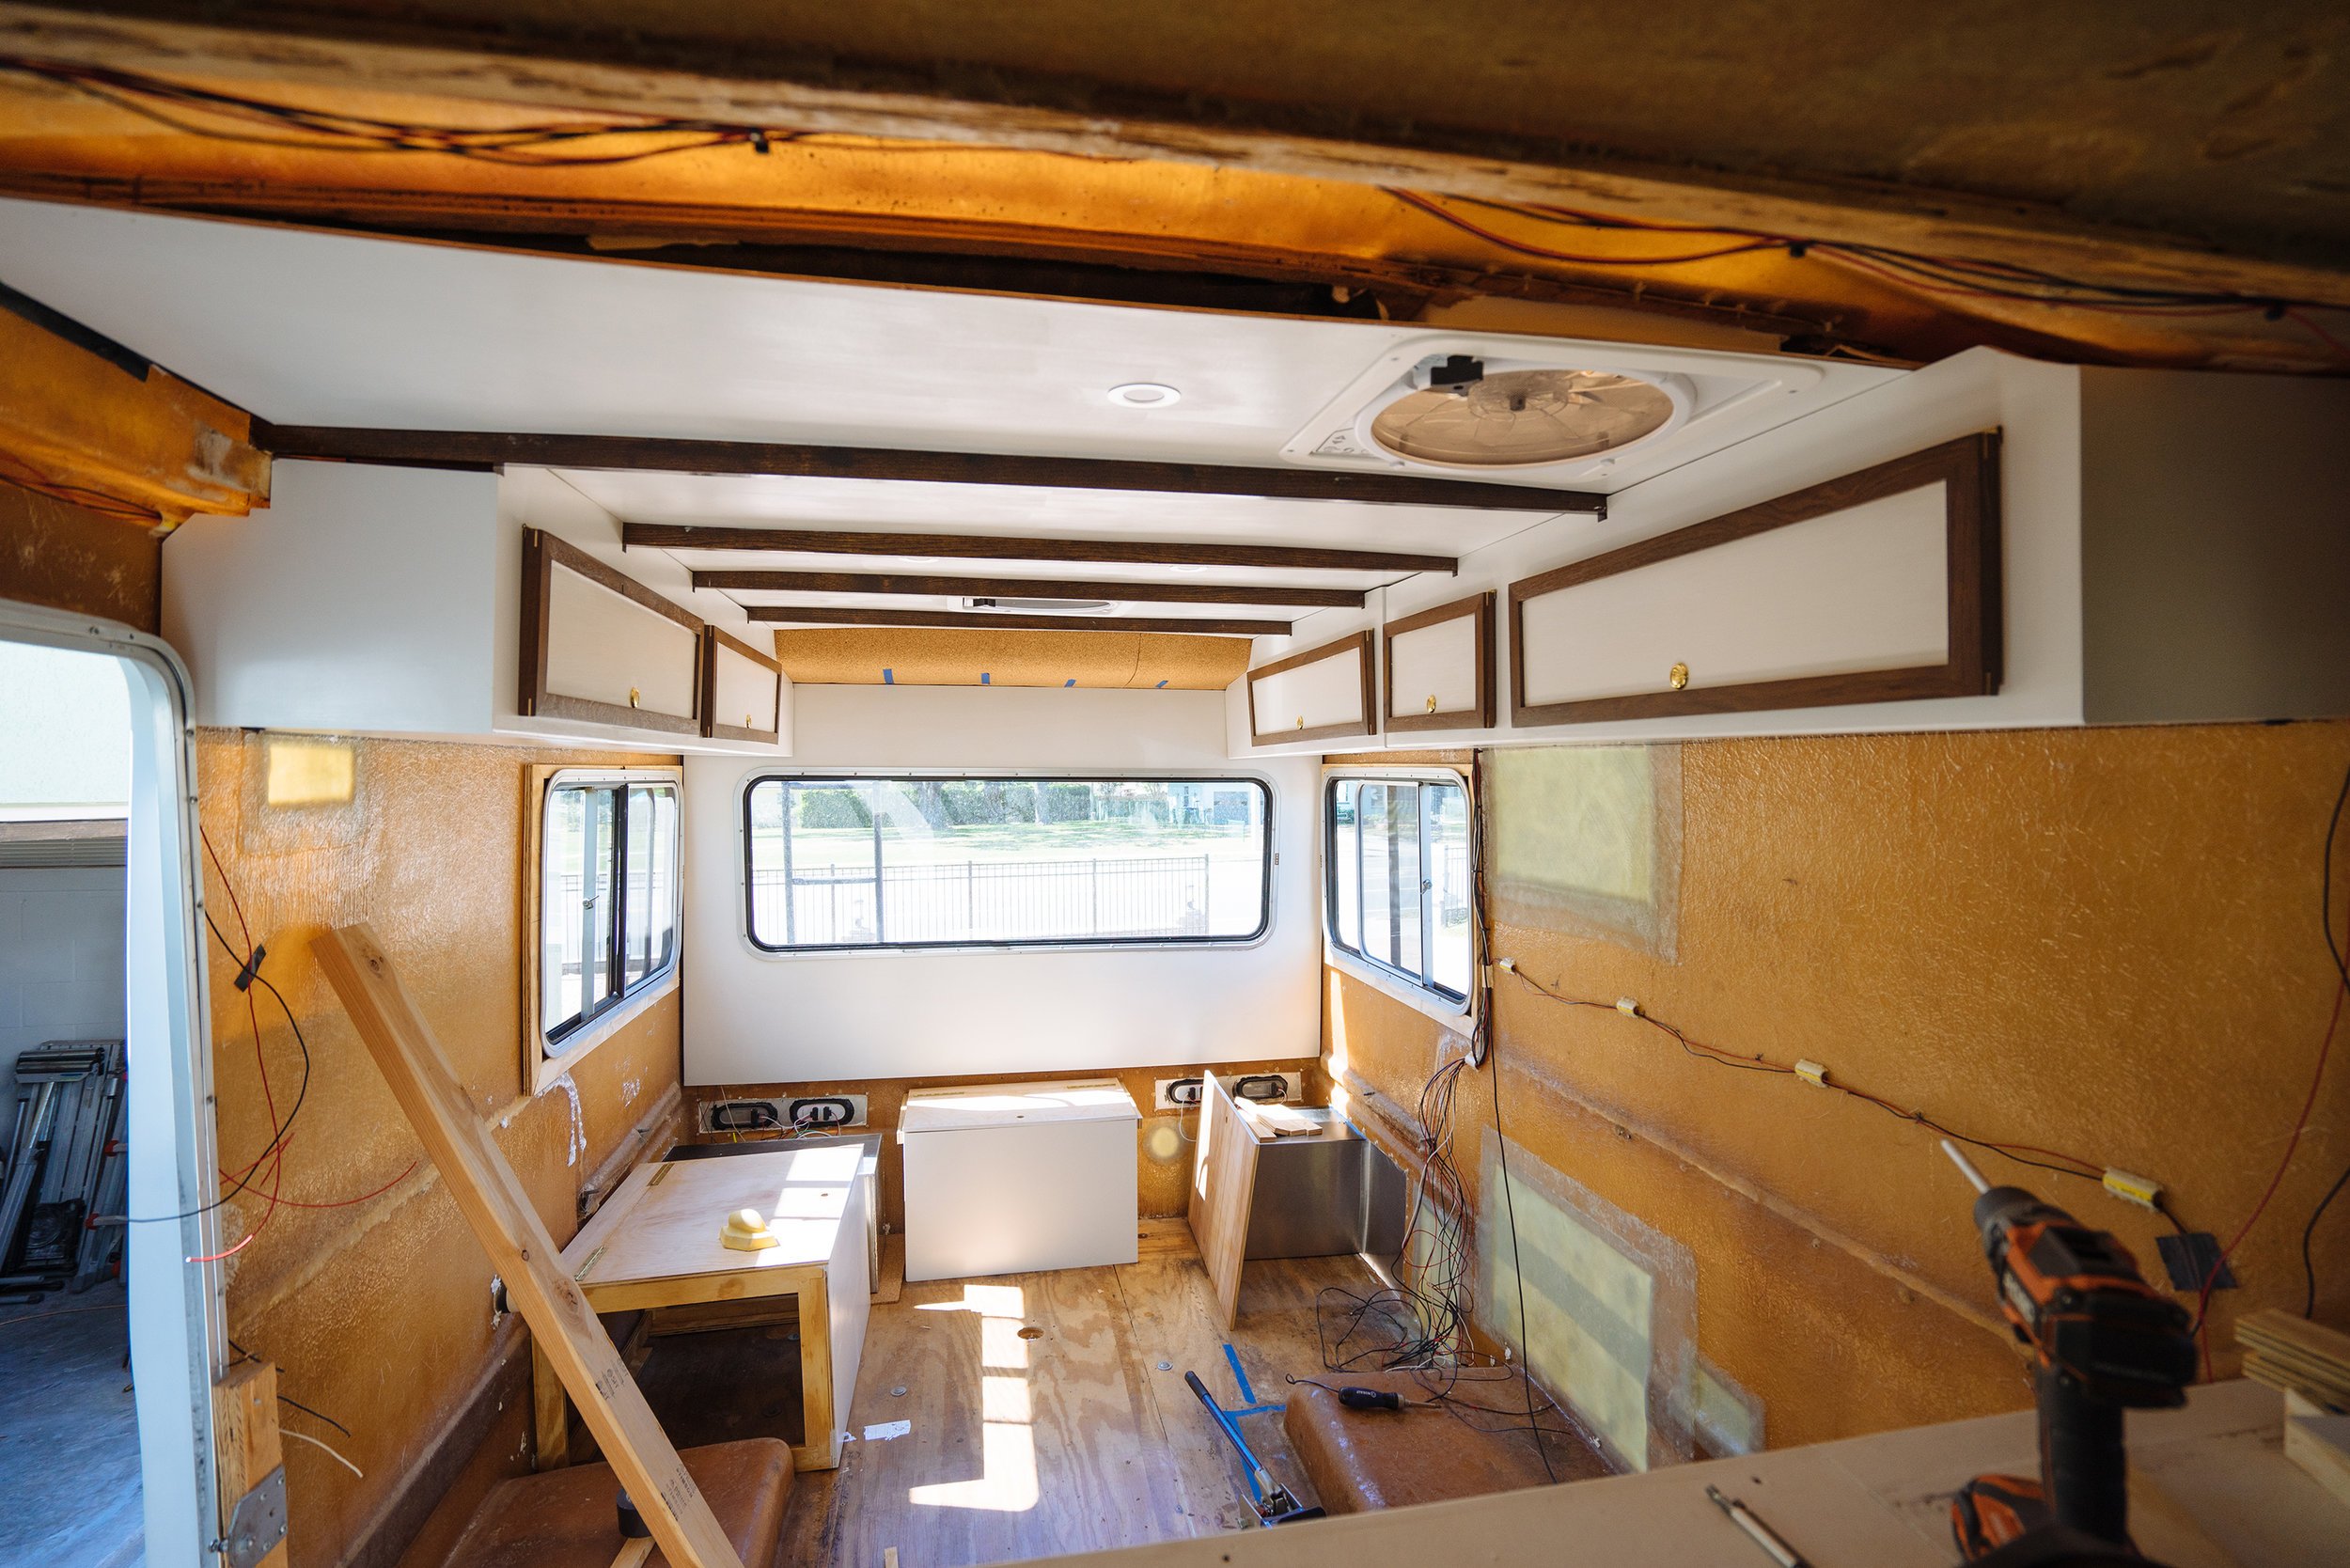
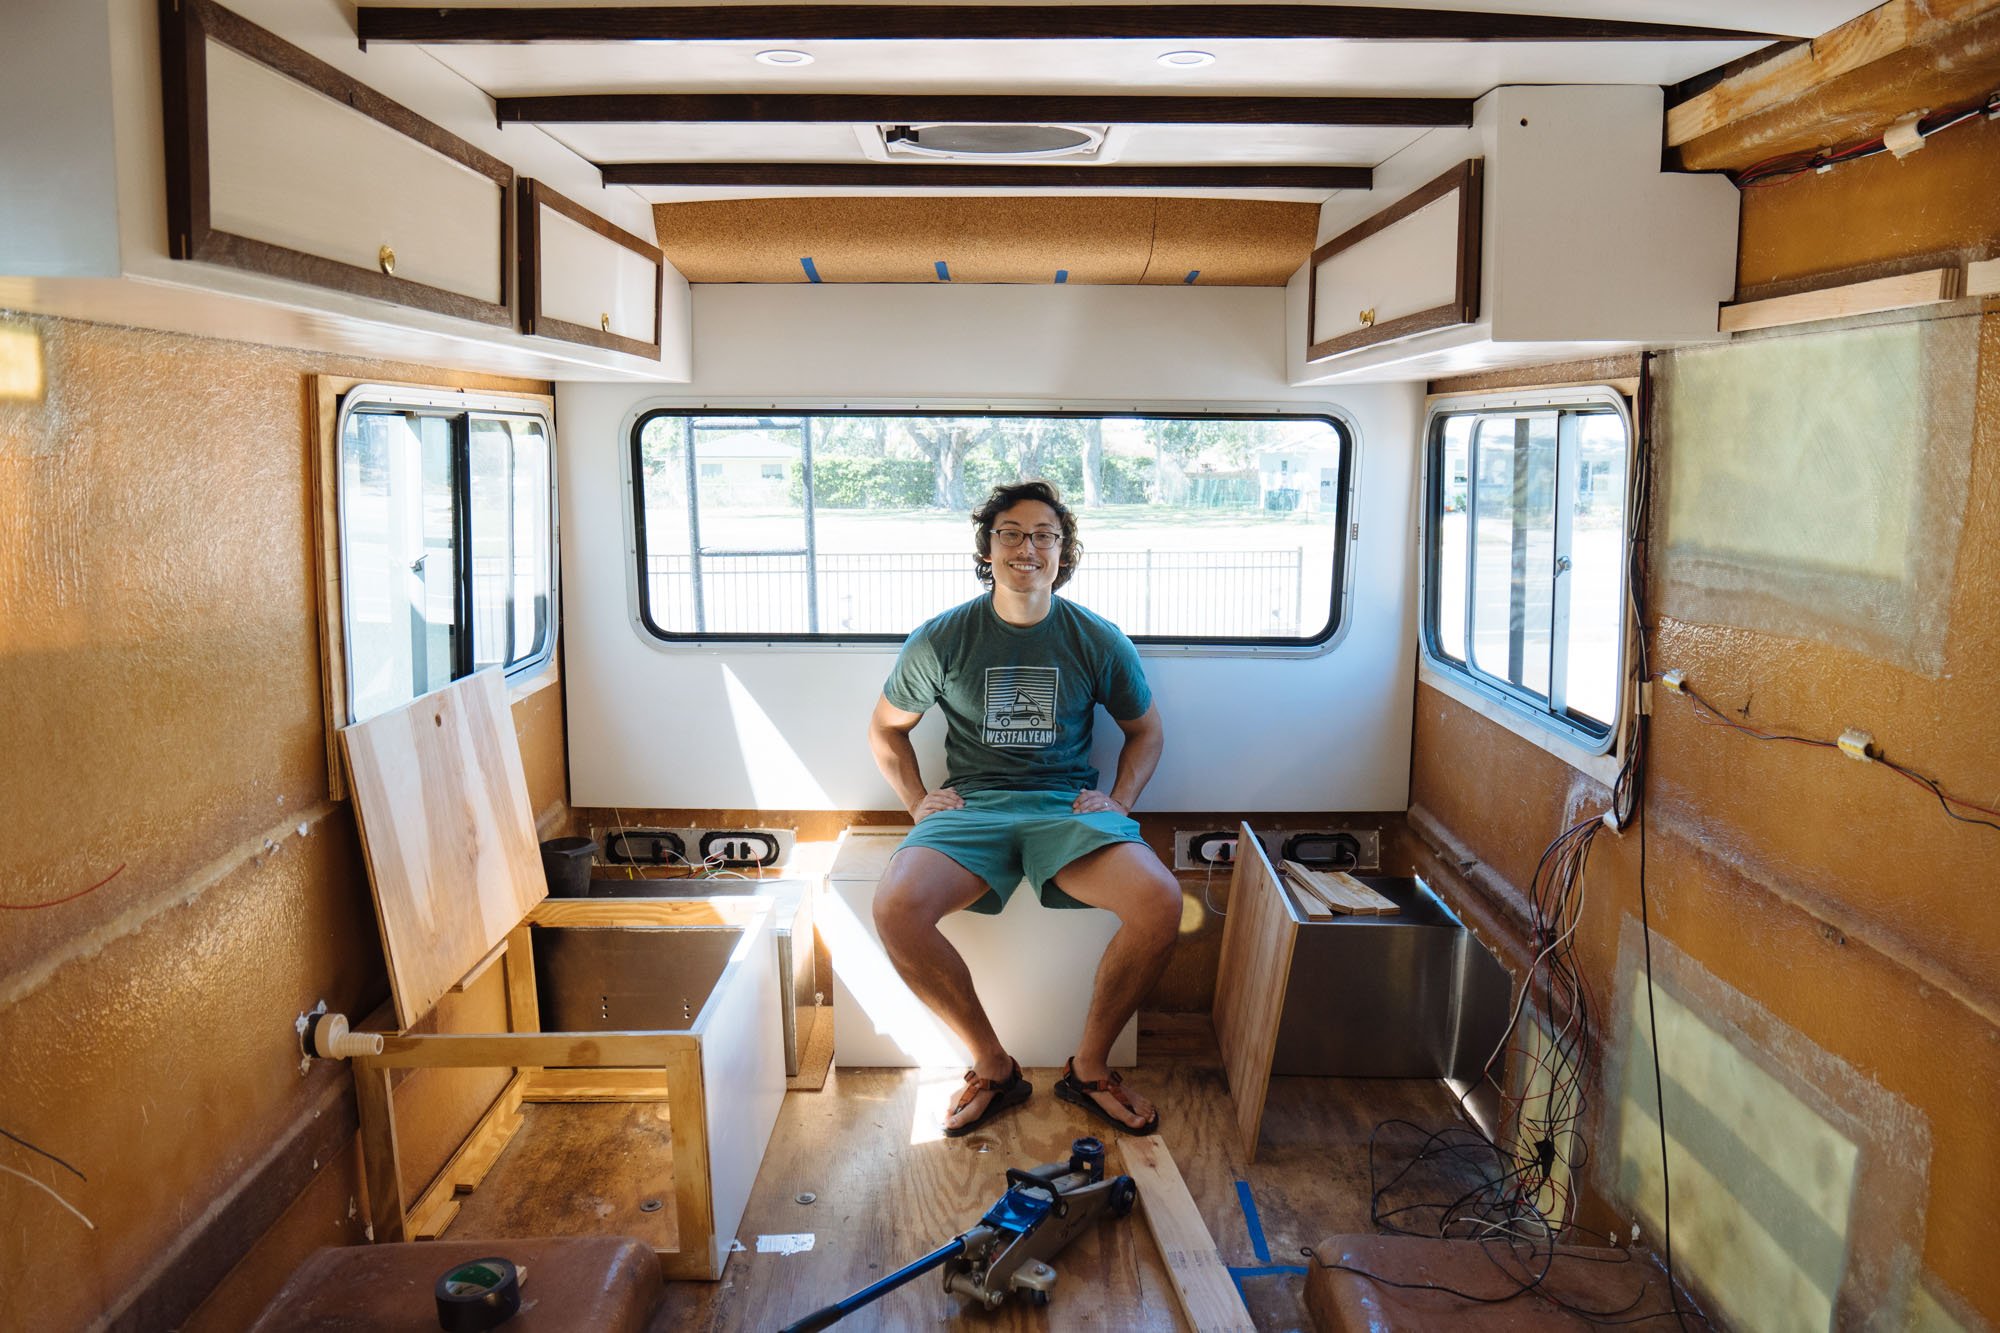
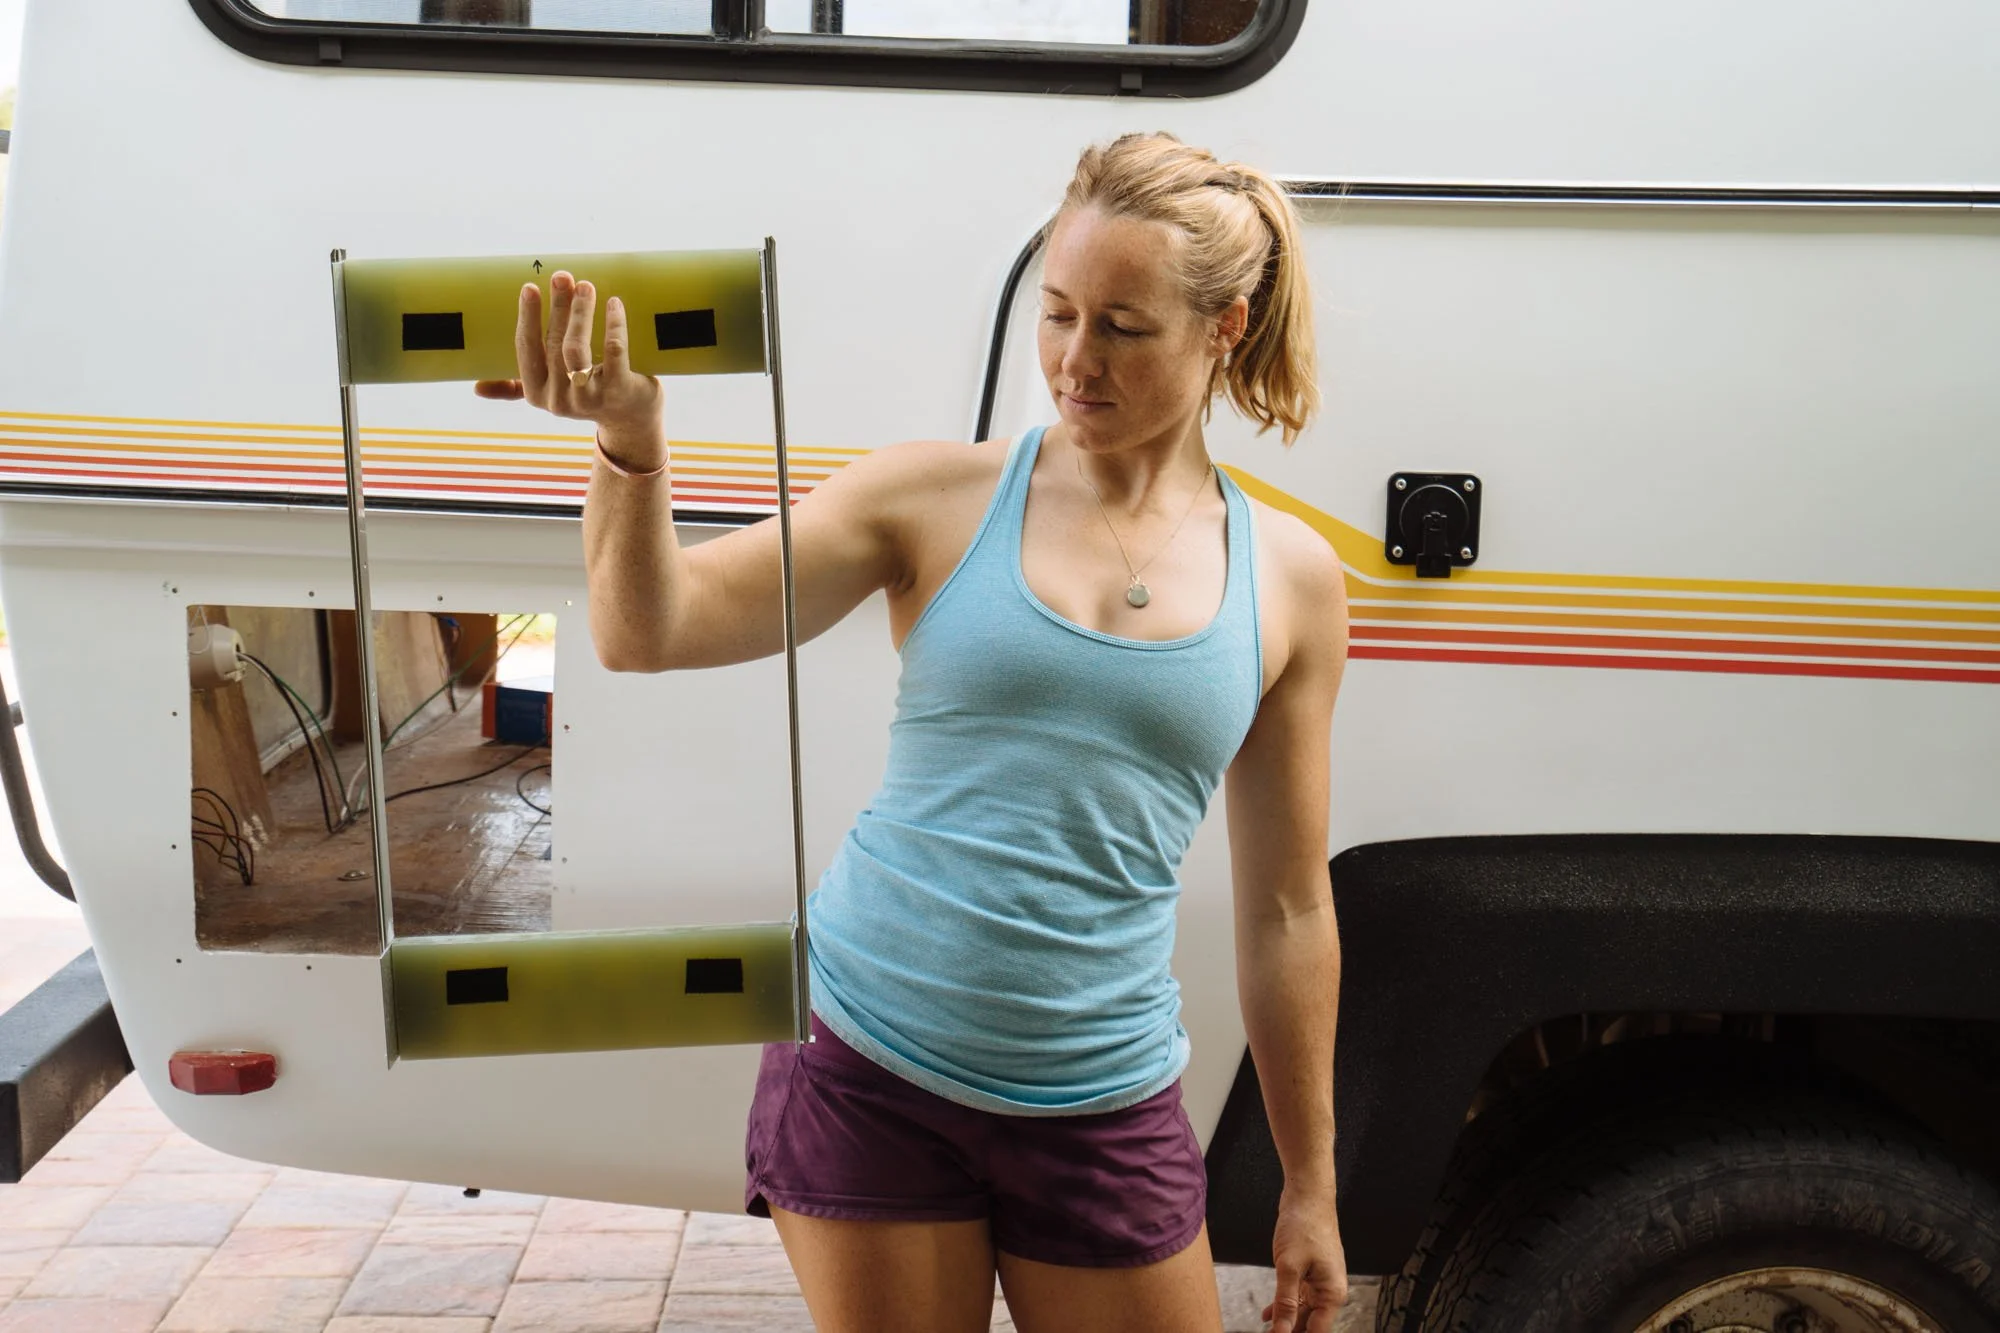
This is the last time you will see Amelia's interior this empty! Let's get into it shall we?
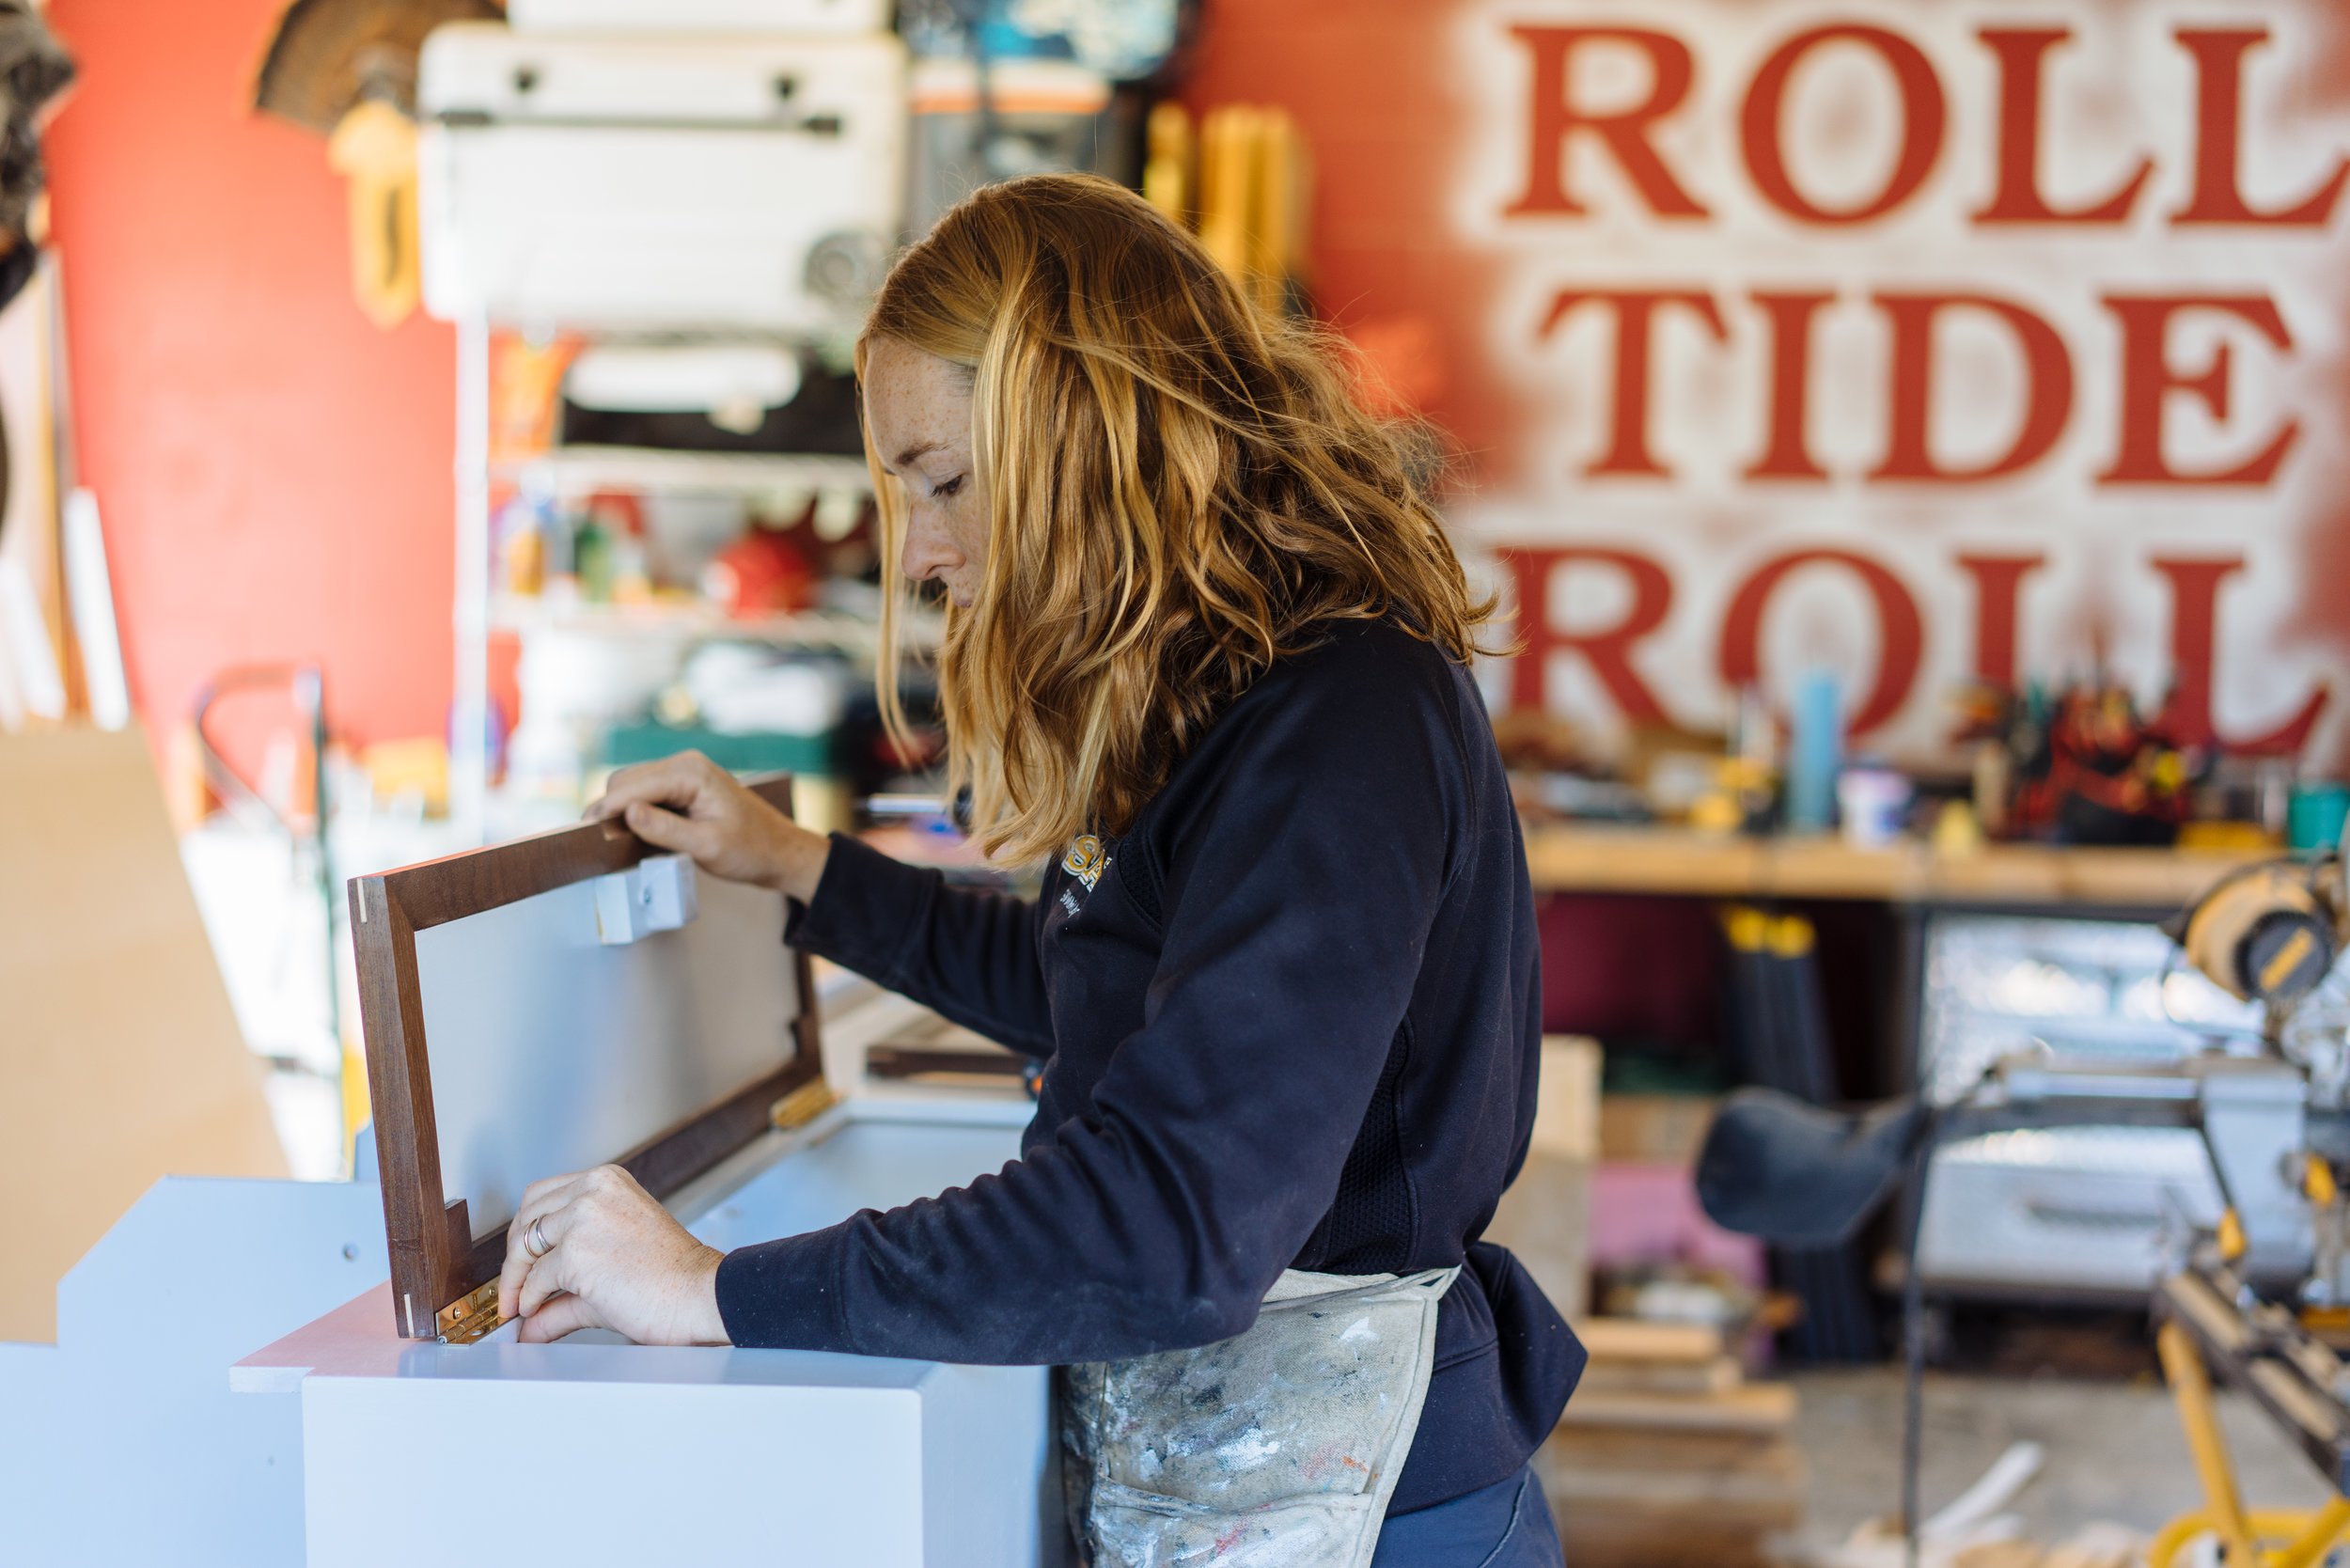
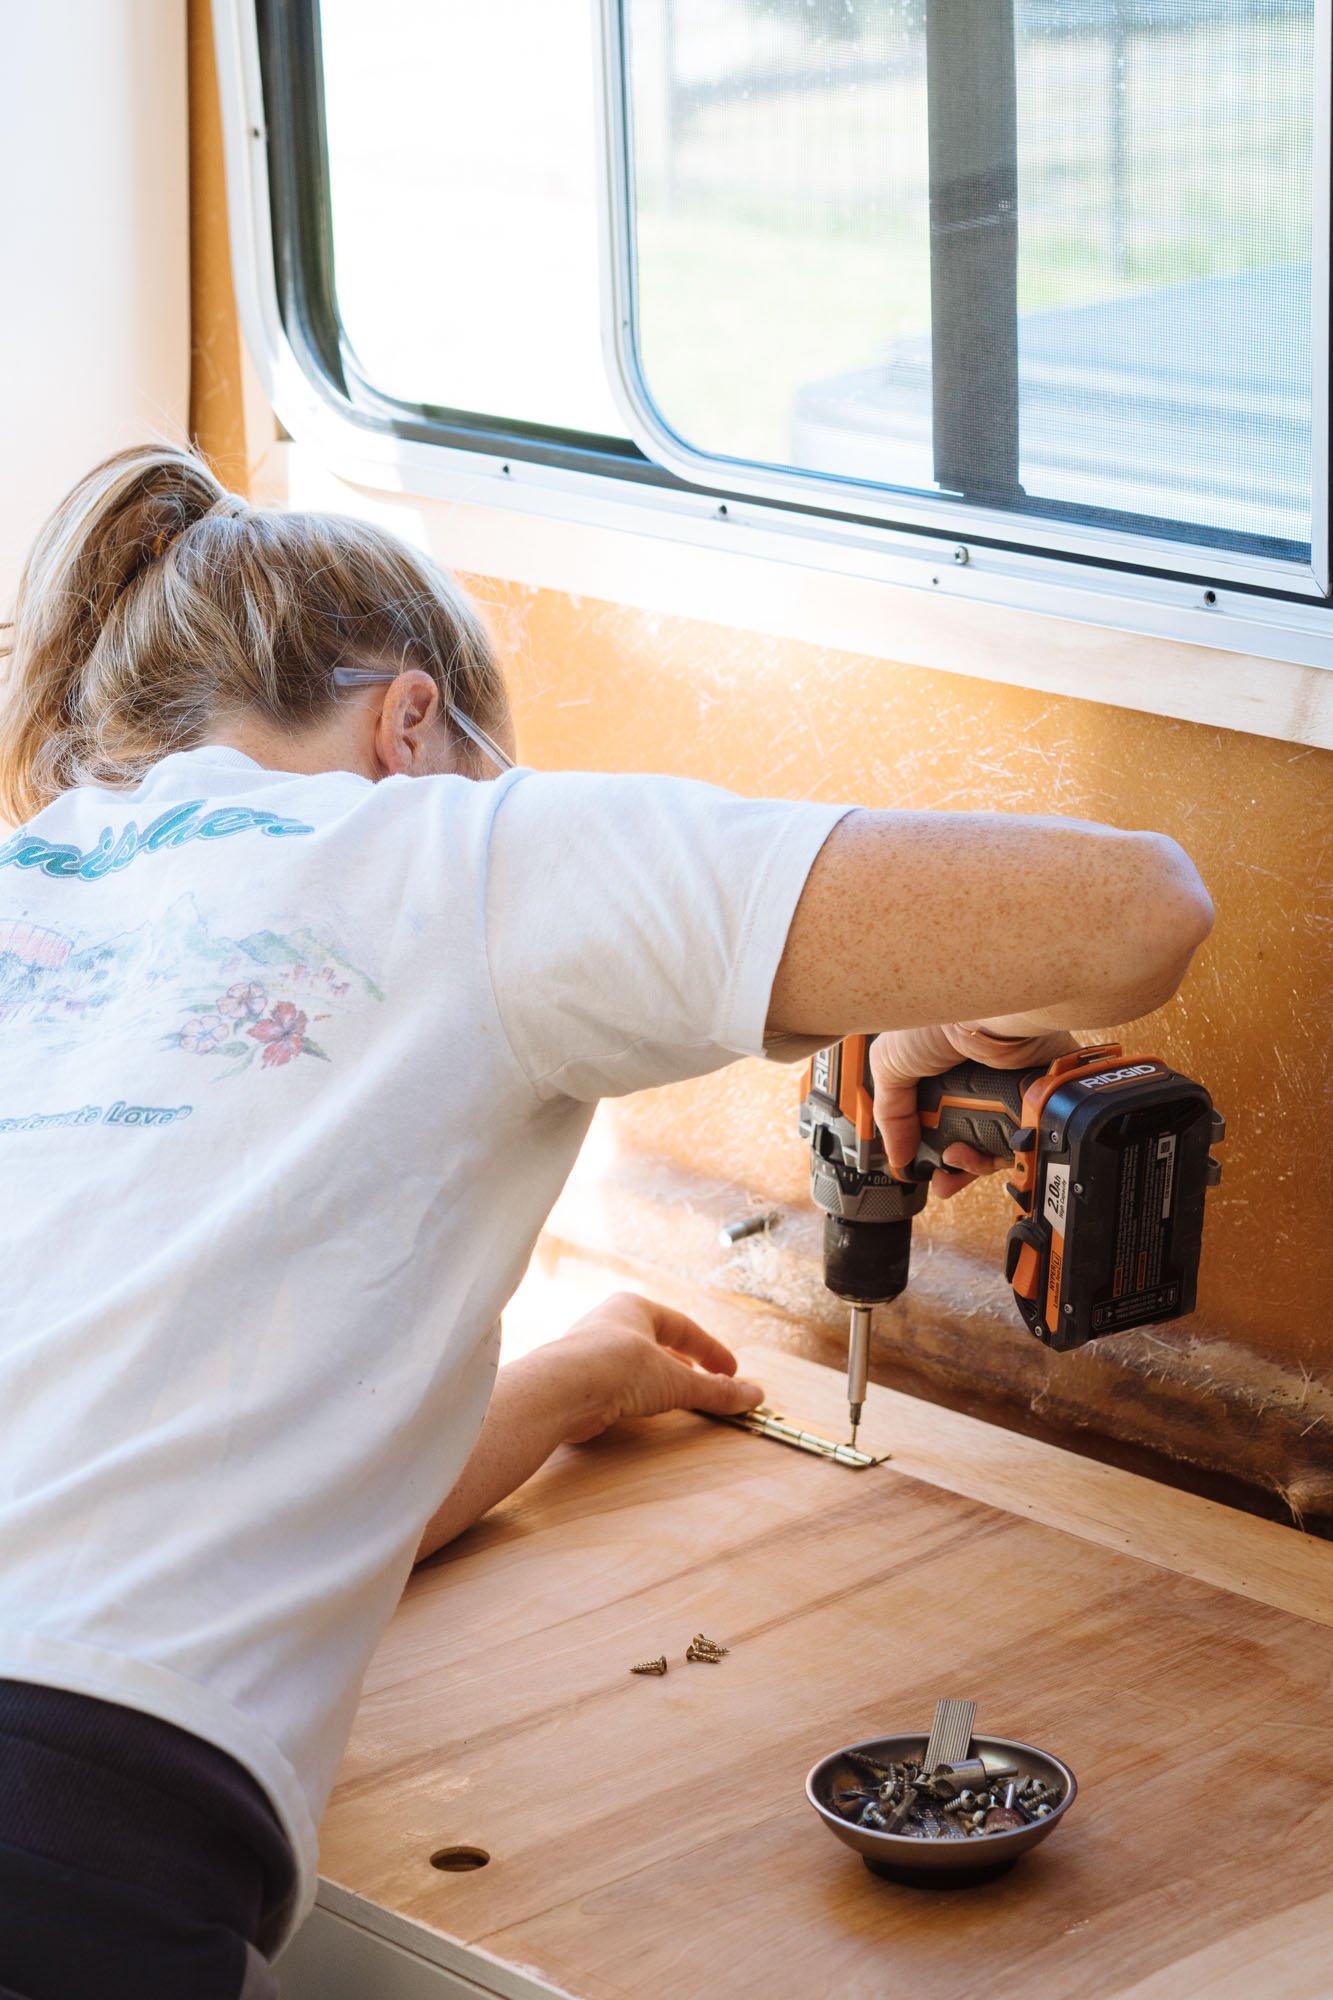
The last step before we could install our top cabinets was getting our button latches and hinges installed in the doors. I was under the impression that it might take a bit of work (like seemingly everything else) but it actually took less than 30 mins to install them on all 5 doors! It's going to be so nice to go around corners and not have cabinet doors fly open and dump all of our belongings on the ground! Man, it's really the simple things in life ;)
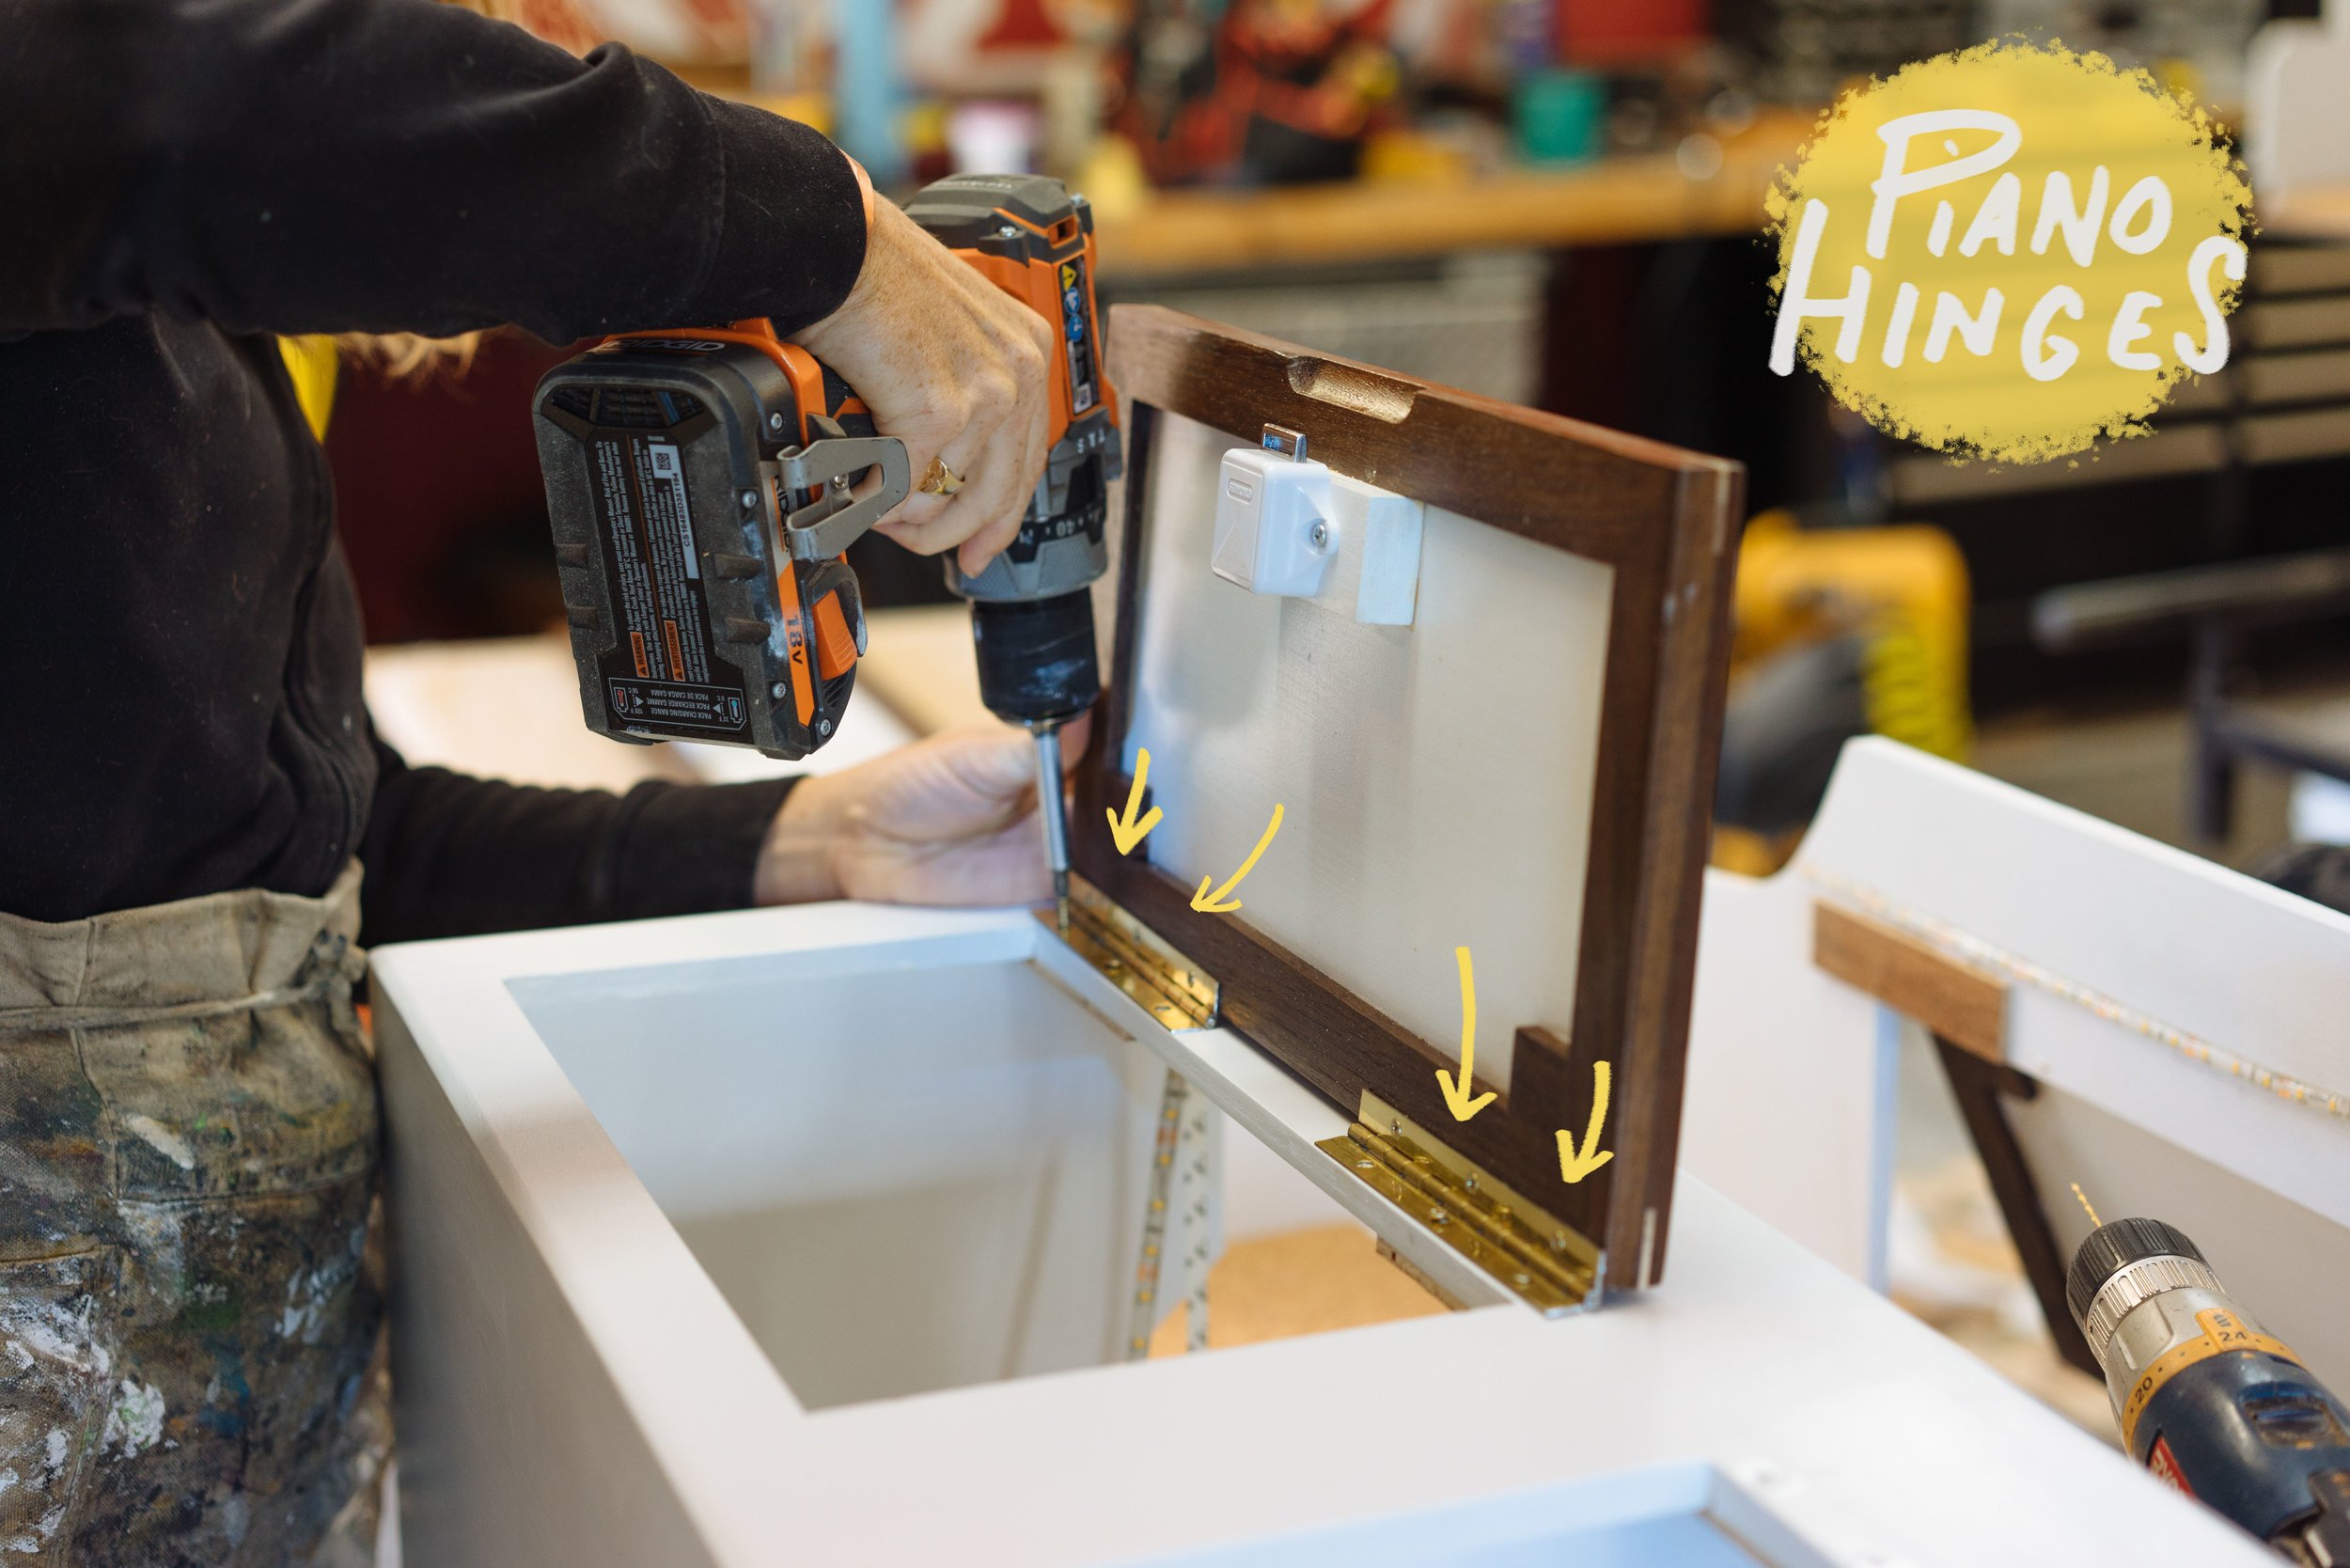
On the subject of hinges: We happily found and settled on simple piano hinges (they'll be linked below)! They move smoothly, have a large range of motion, and they can be cut down to any length! Bonus, they're way cheaper than the last pair of garbage hinges we tried. Sorry, I never knew I'd feel so strongly about hinges.
Alright! Cabinets are done. Now lets get these bad boys installed!
You see that face?! That's pure joy to FINALLY see these cabinets take their place in our home! #1 is in!

Cabinet #2 is in!

Cabinet #3 is in and I'm still a little beside myself writing this three days later! We're over the moon with how our cabinets have turned out!
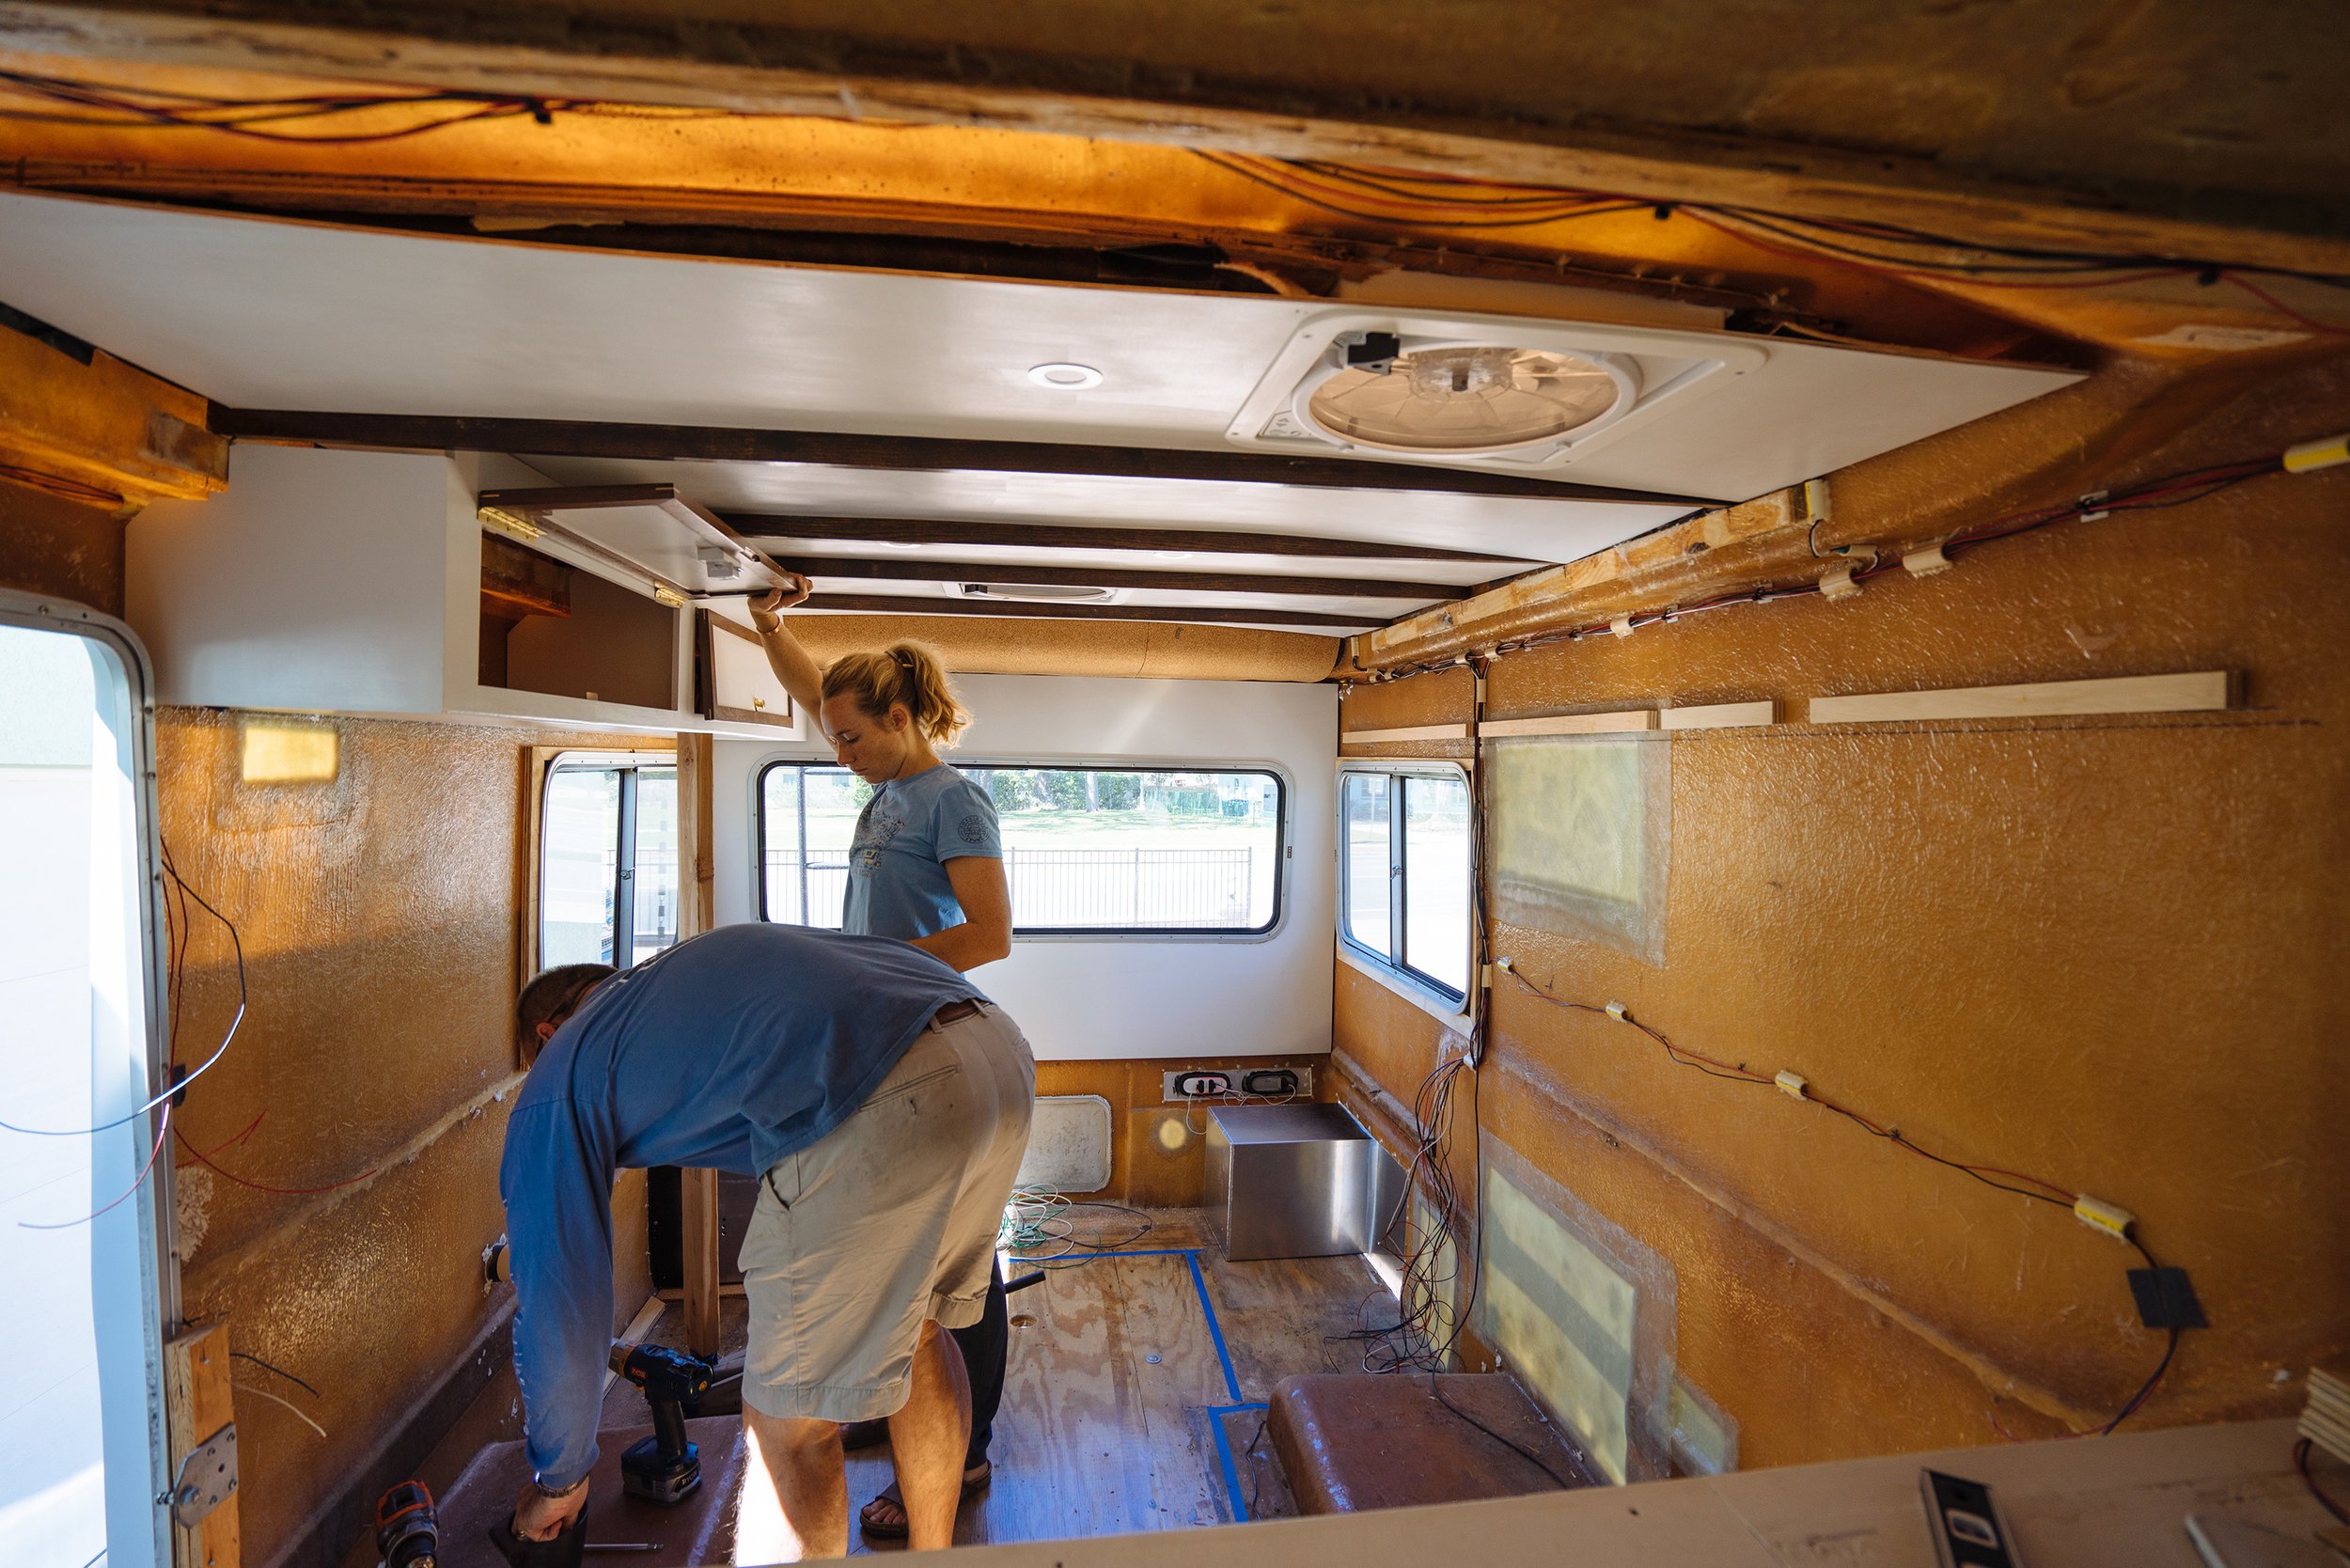
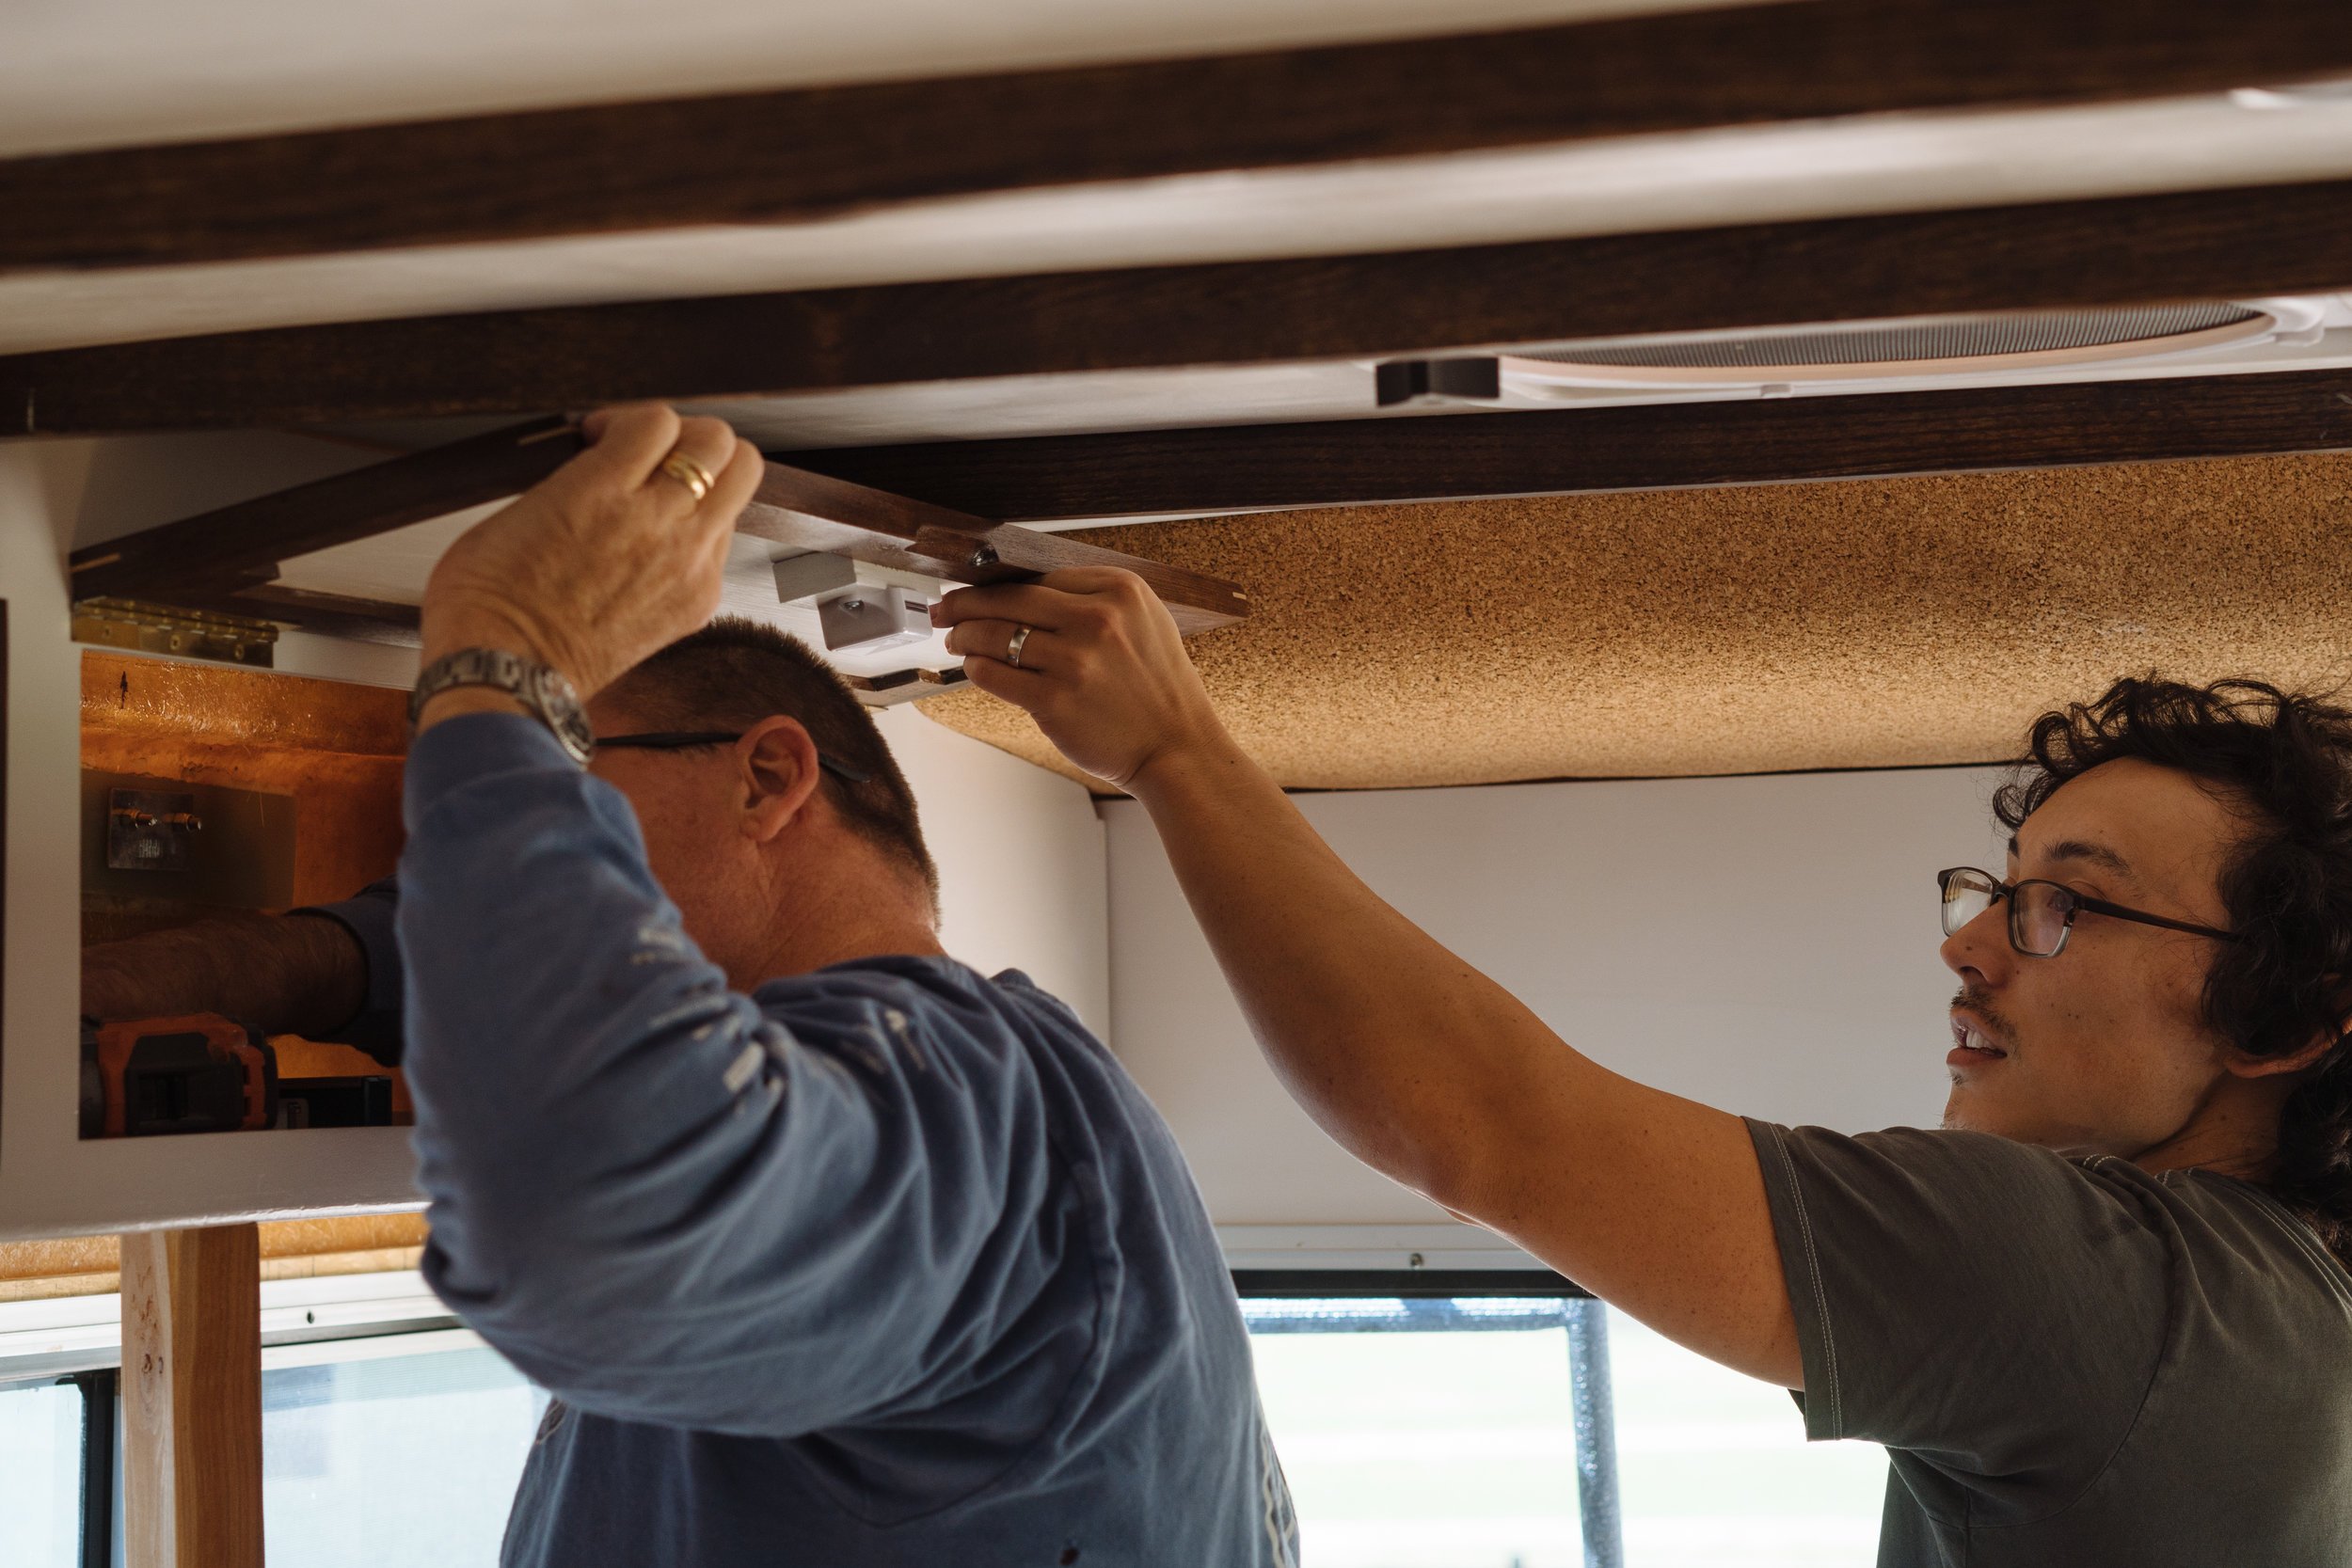
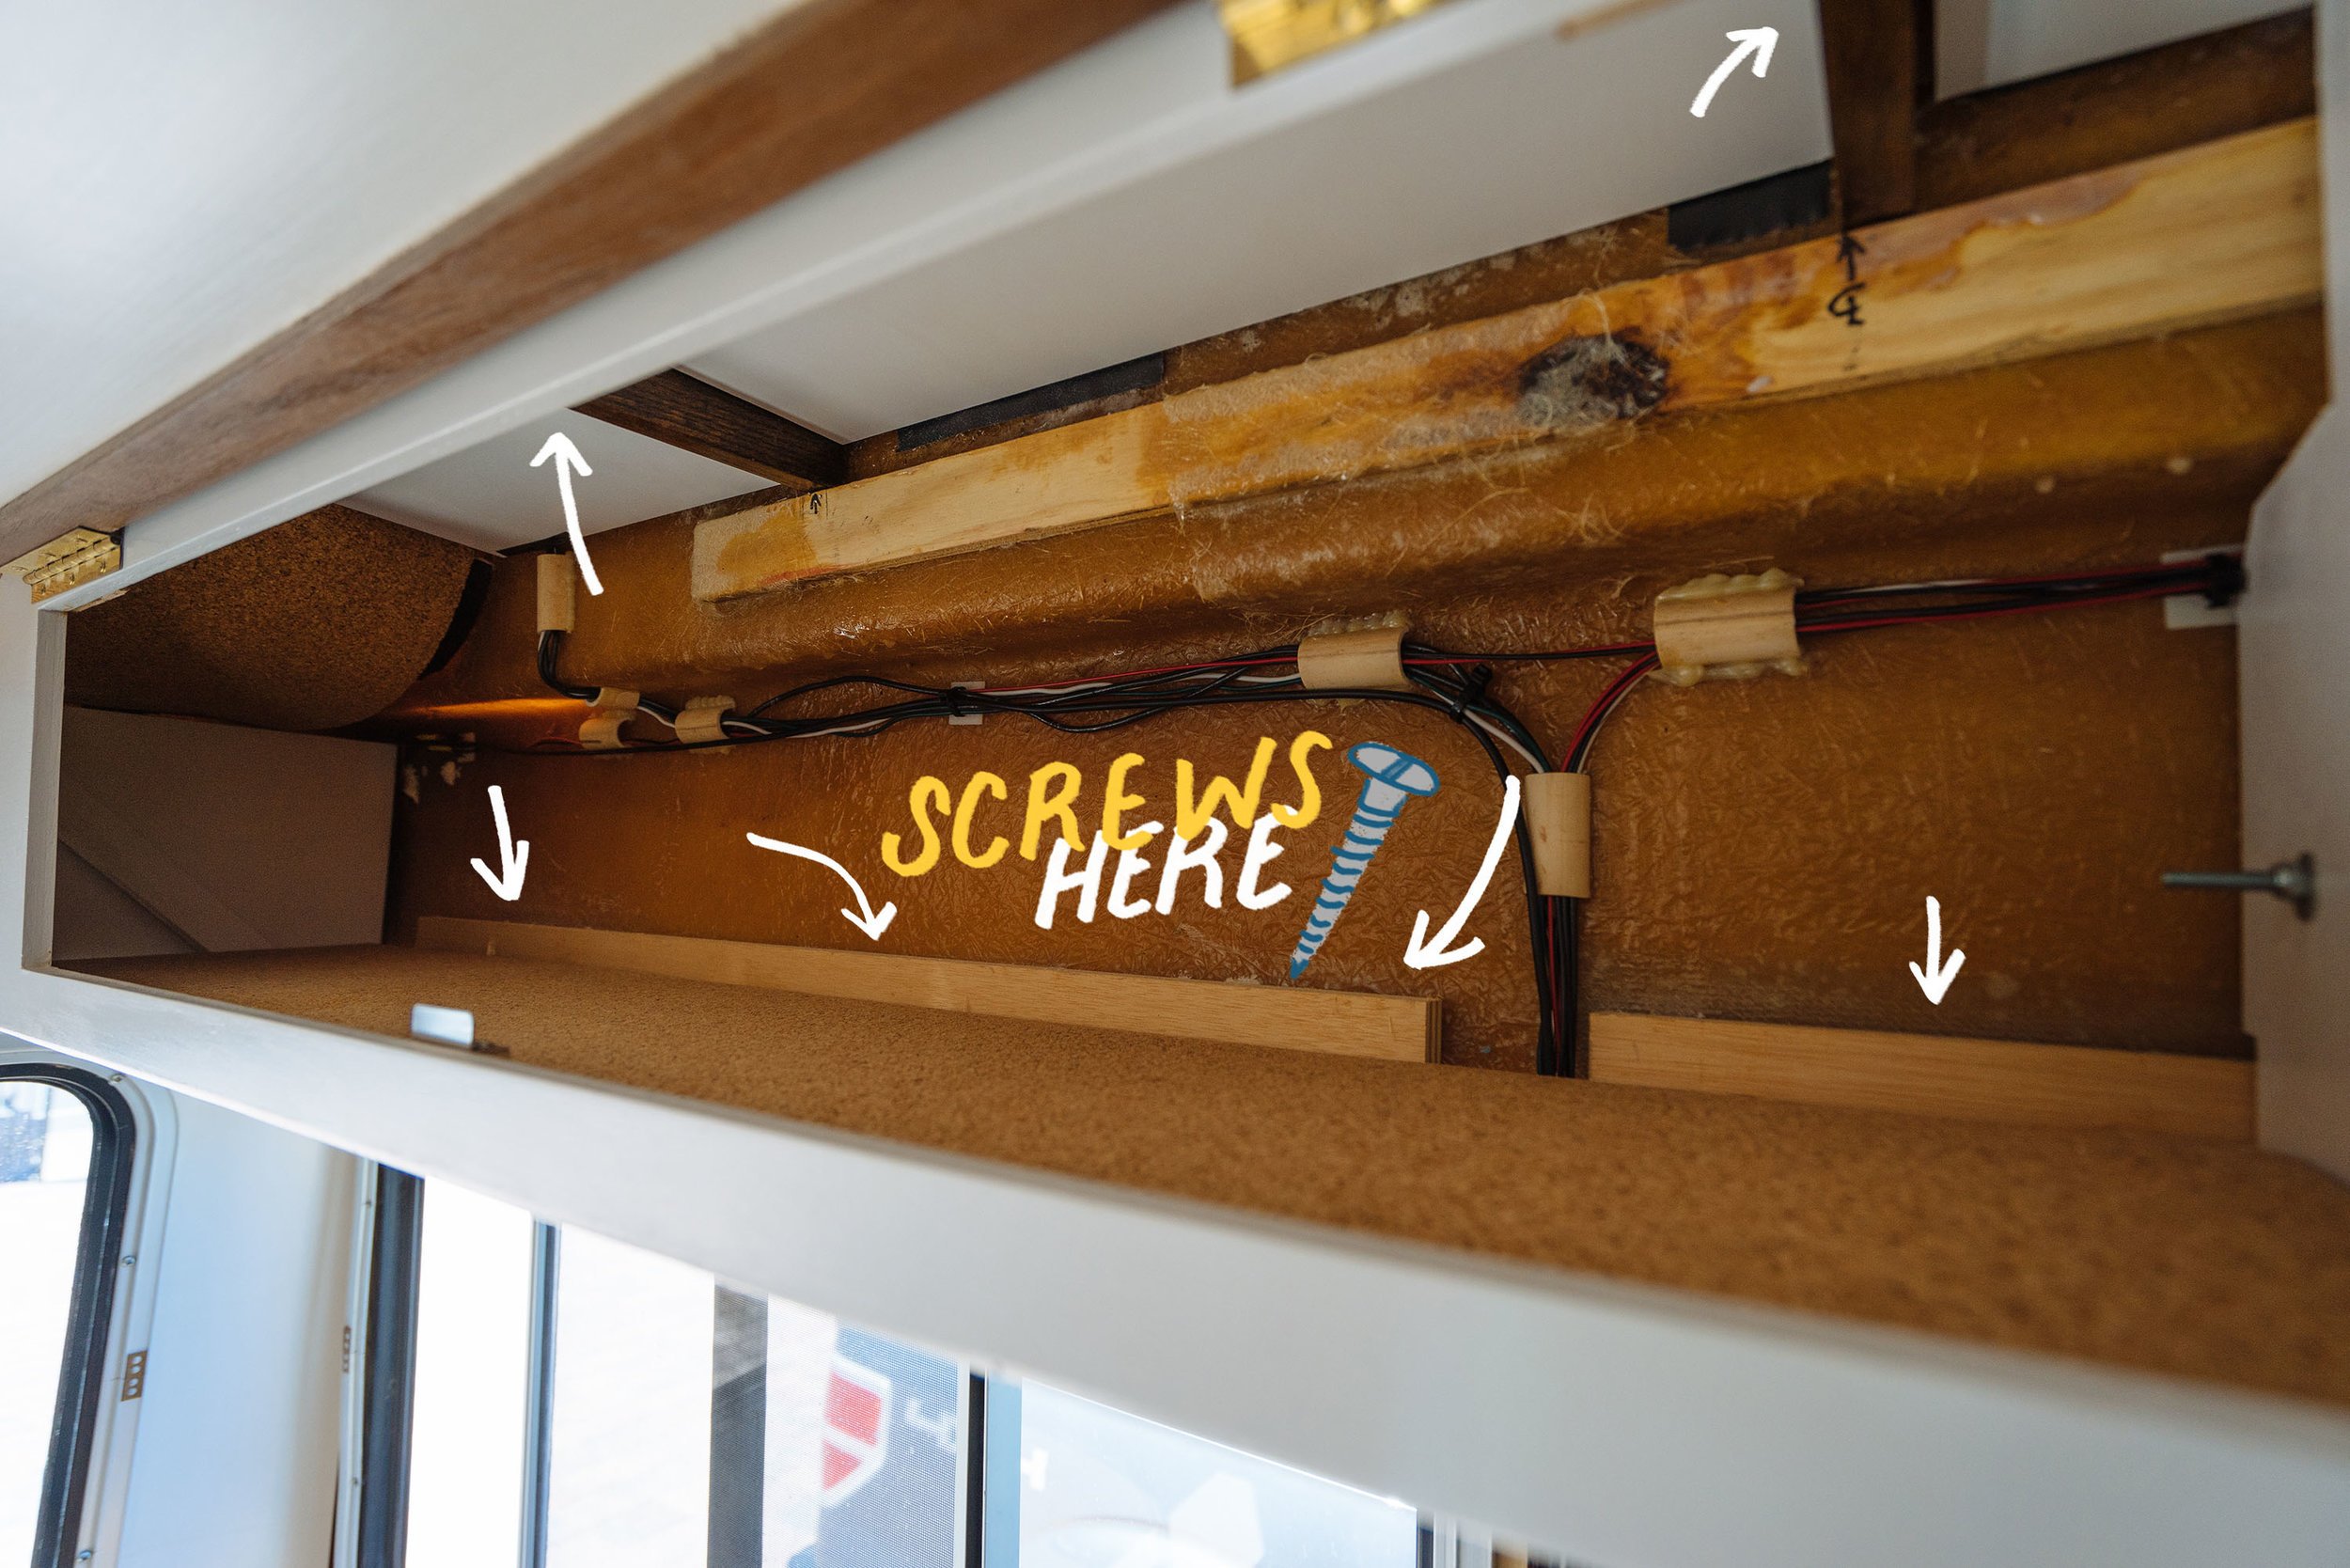
To give you a little insight into how they're installed, we screwed them in through the bottom into those support pieces you see in the image above as well as into the exposed cross supports on our ceiling. Now our cabinets are apart of our outside wall support system.
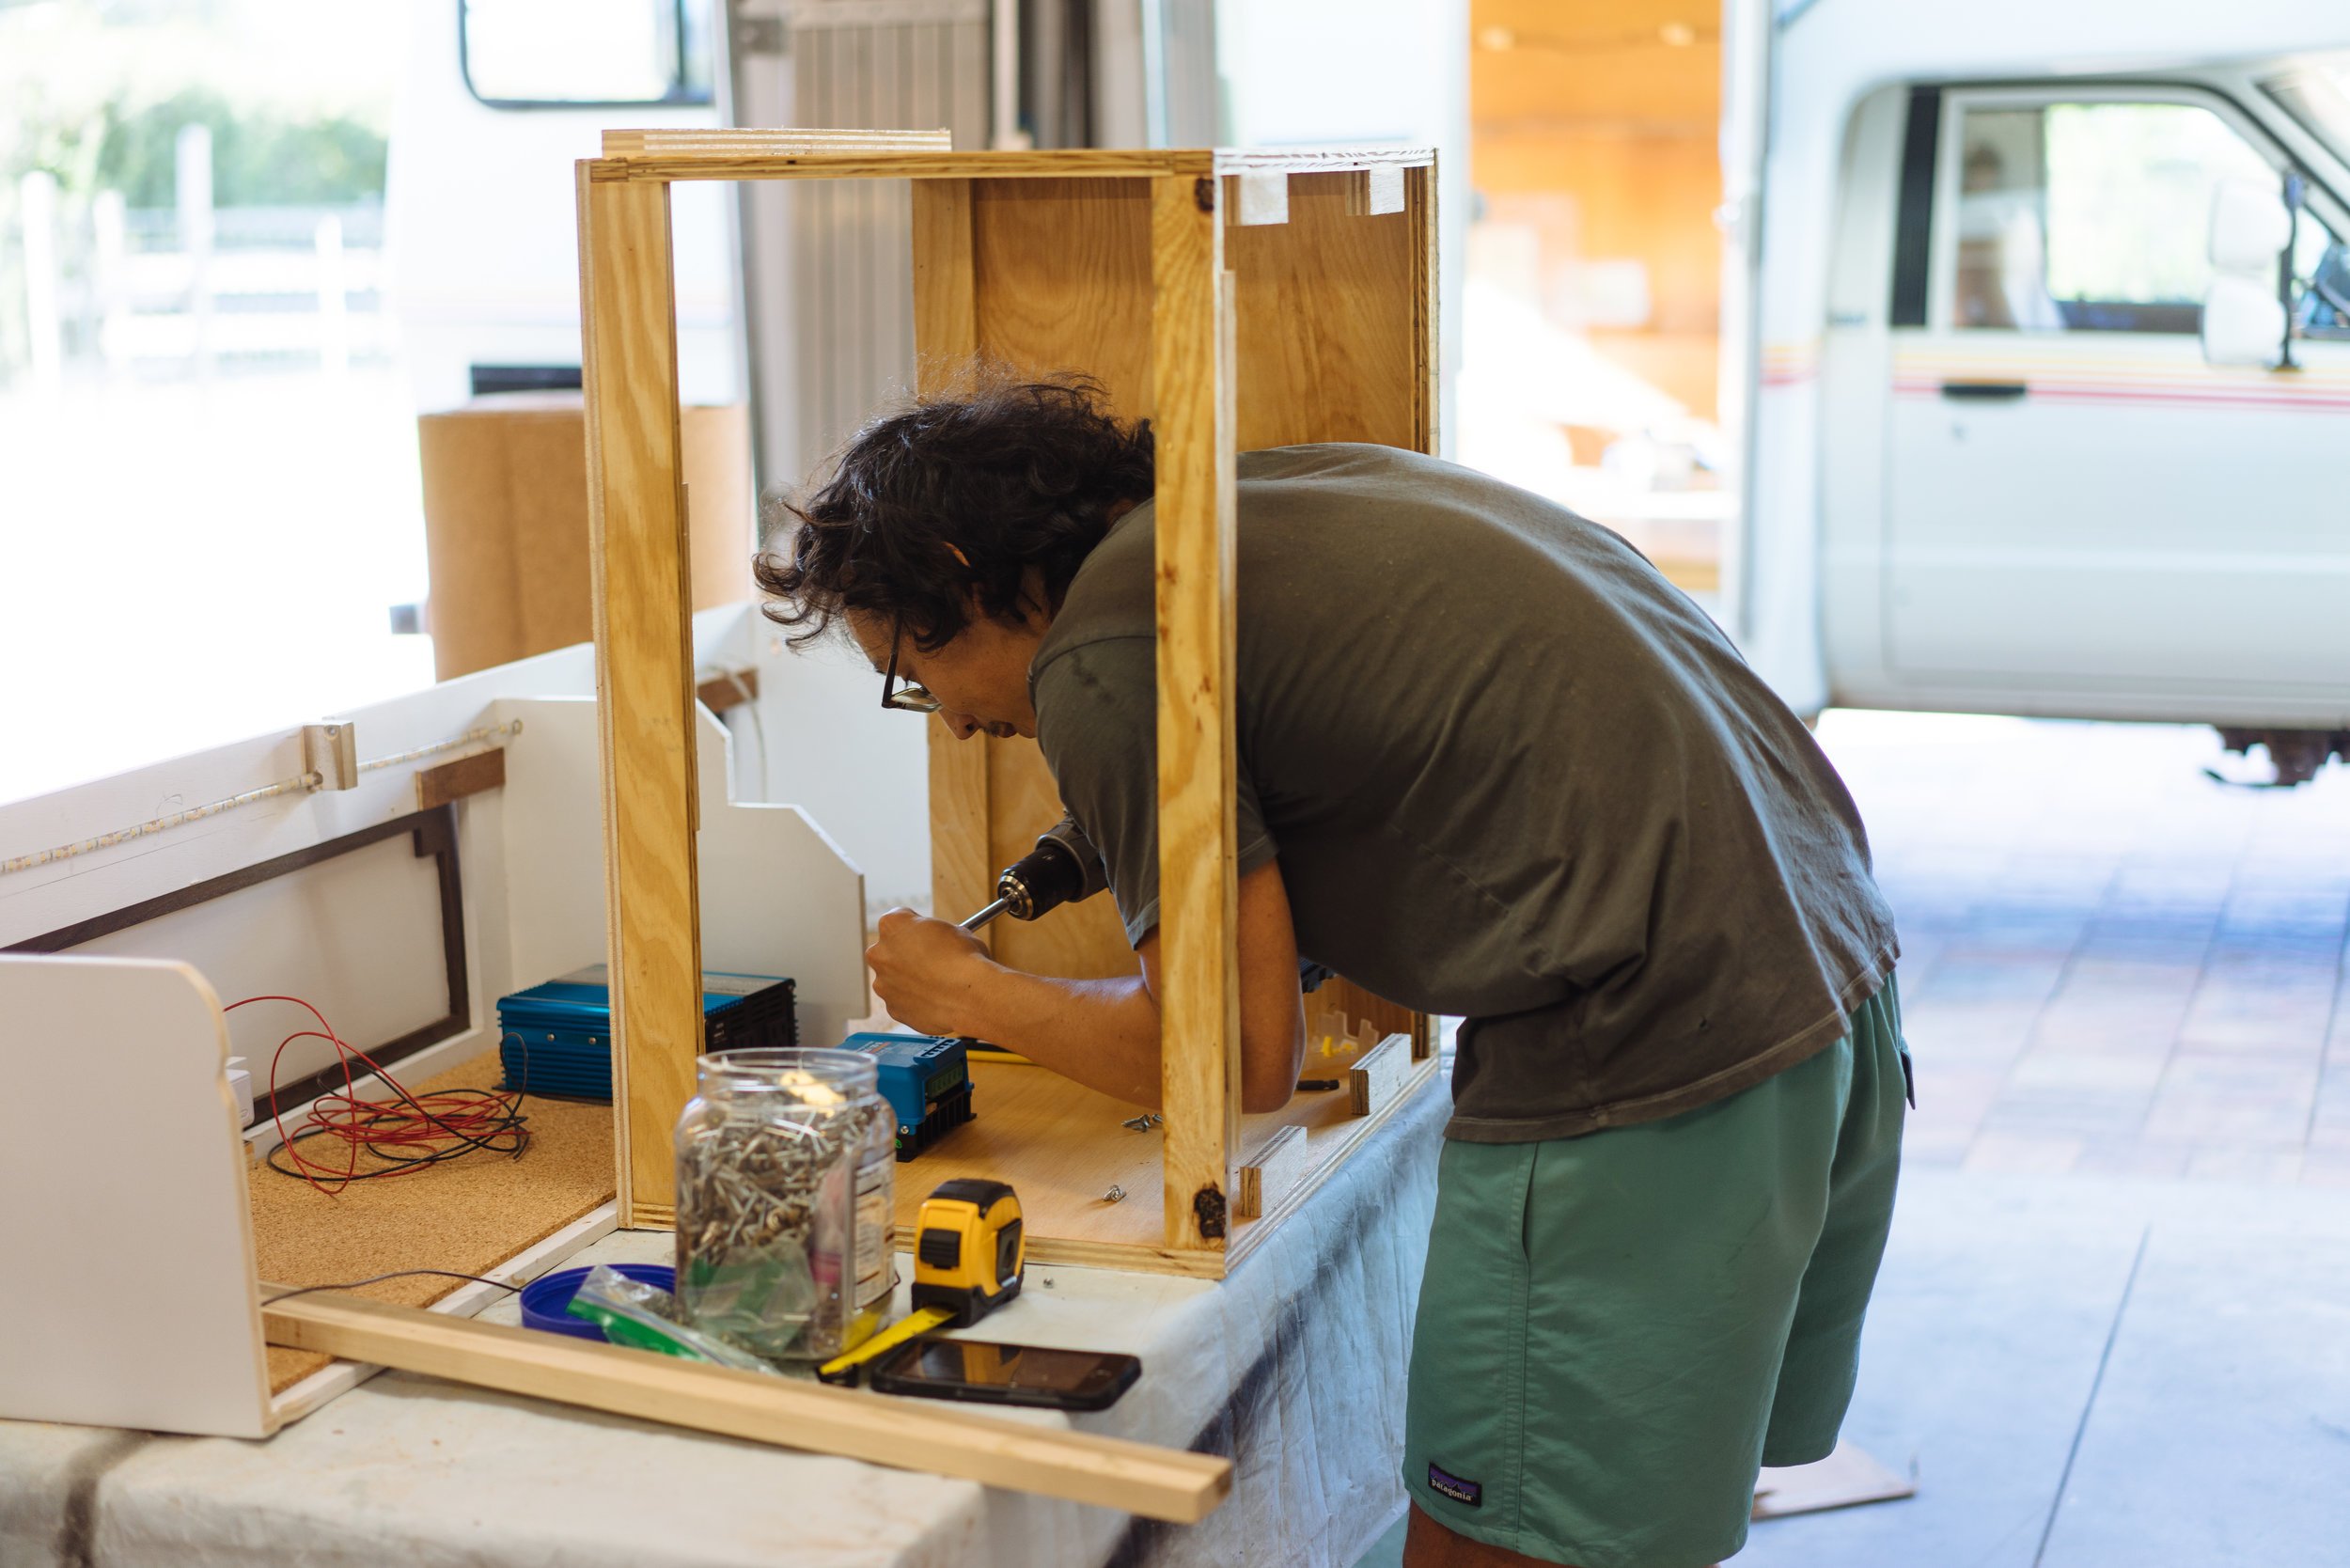

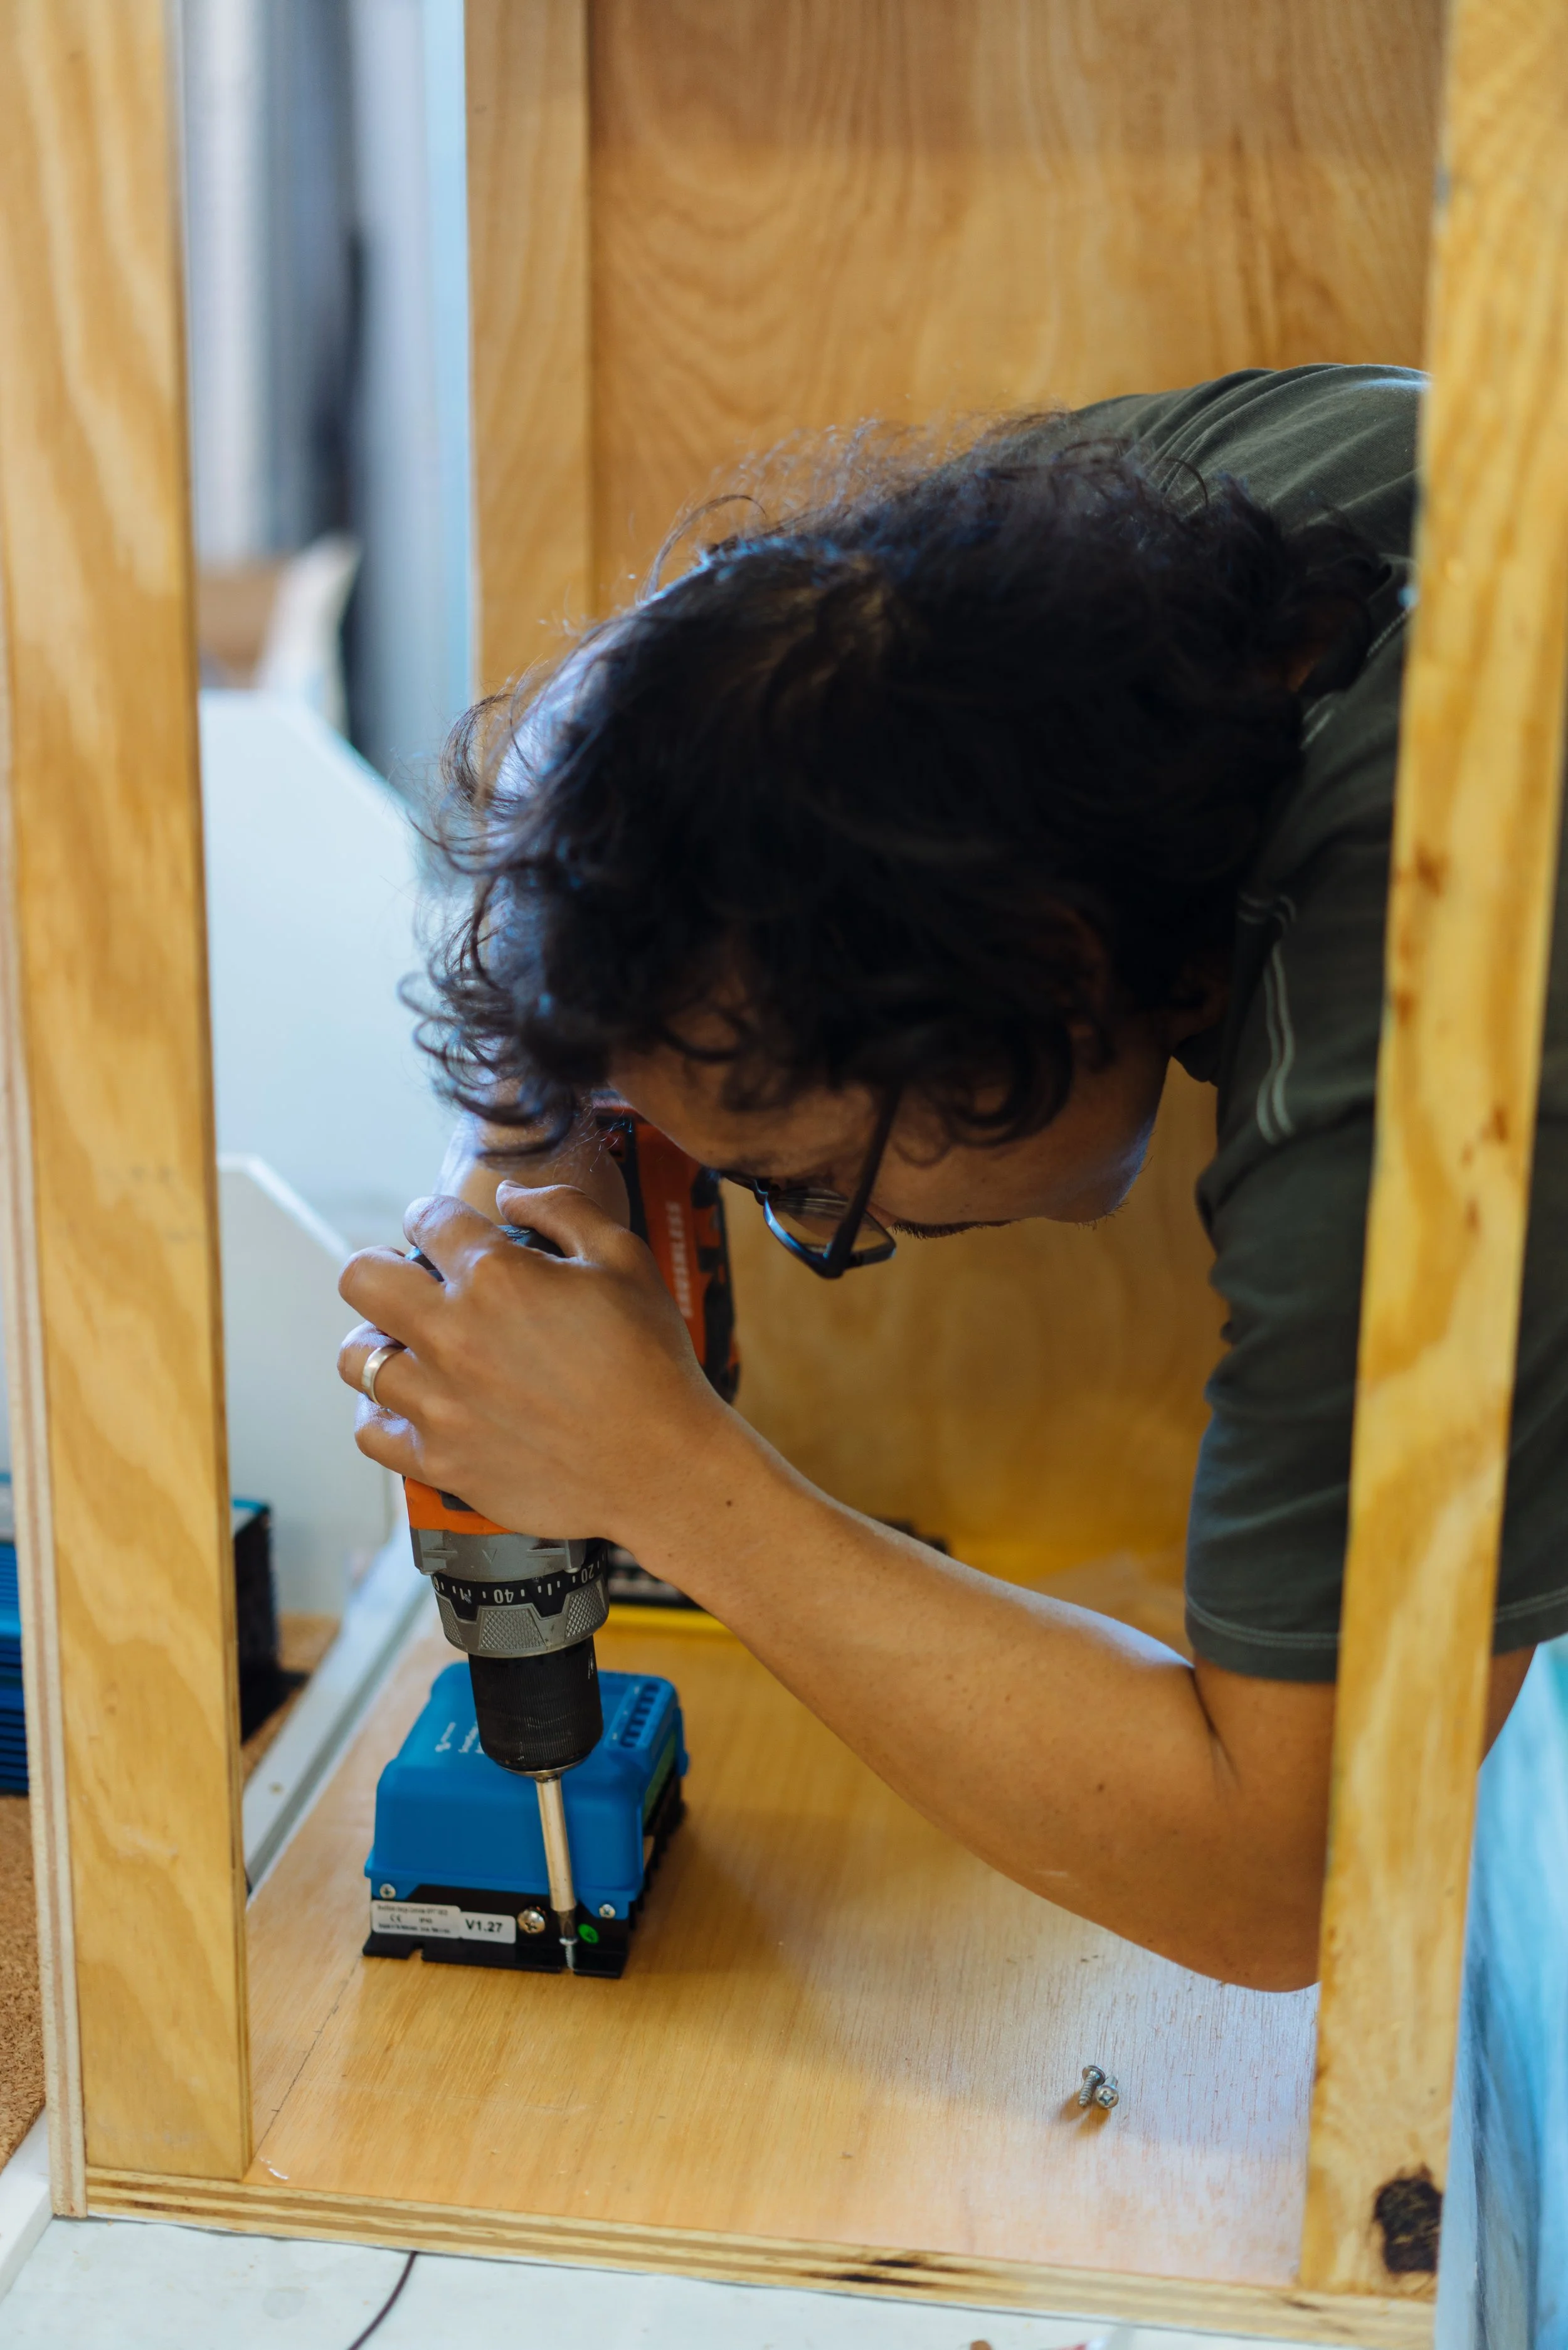
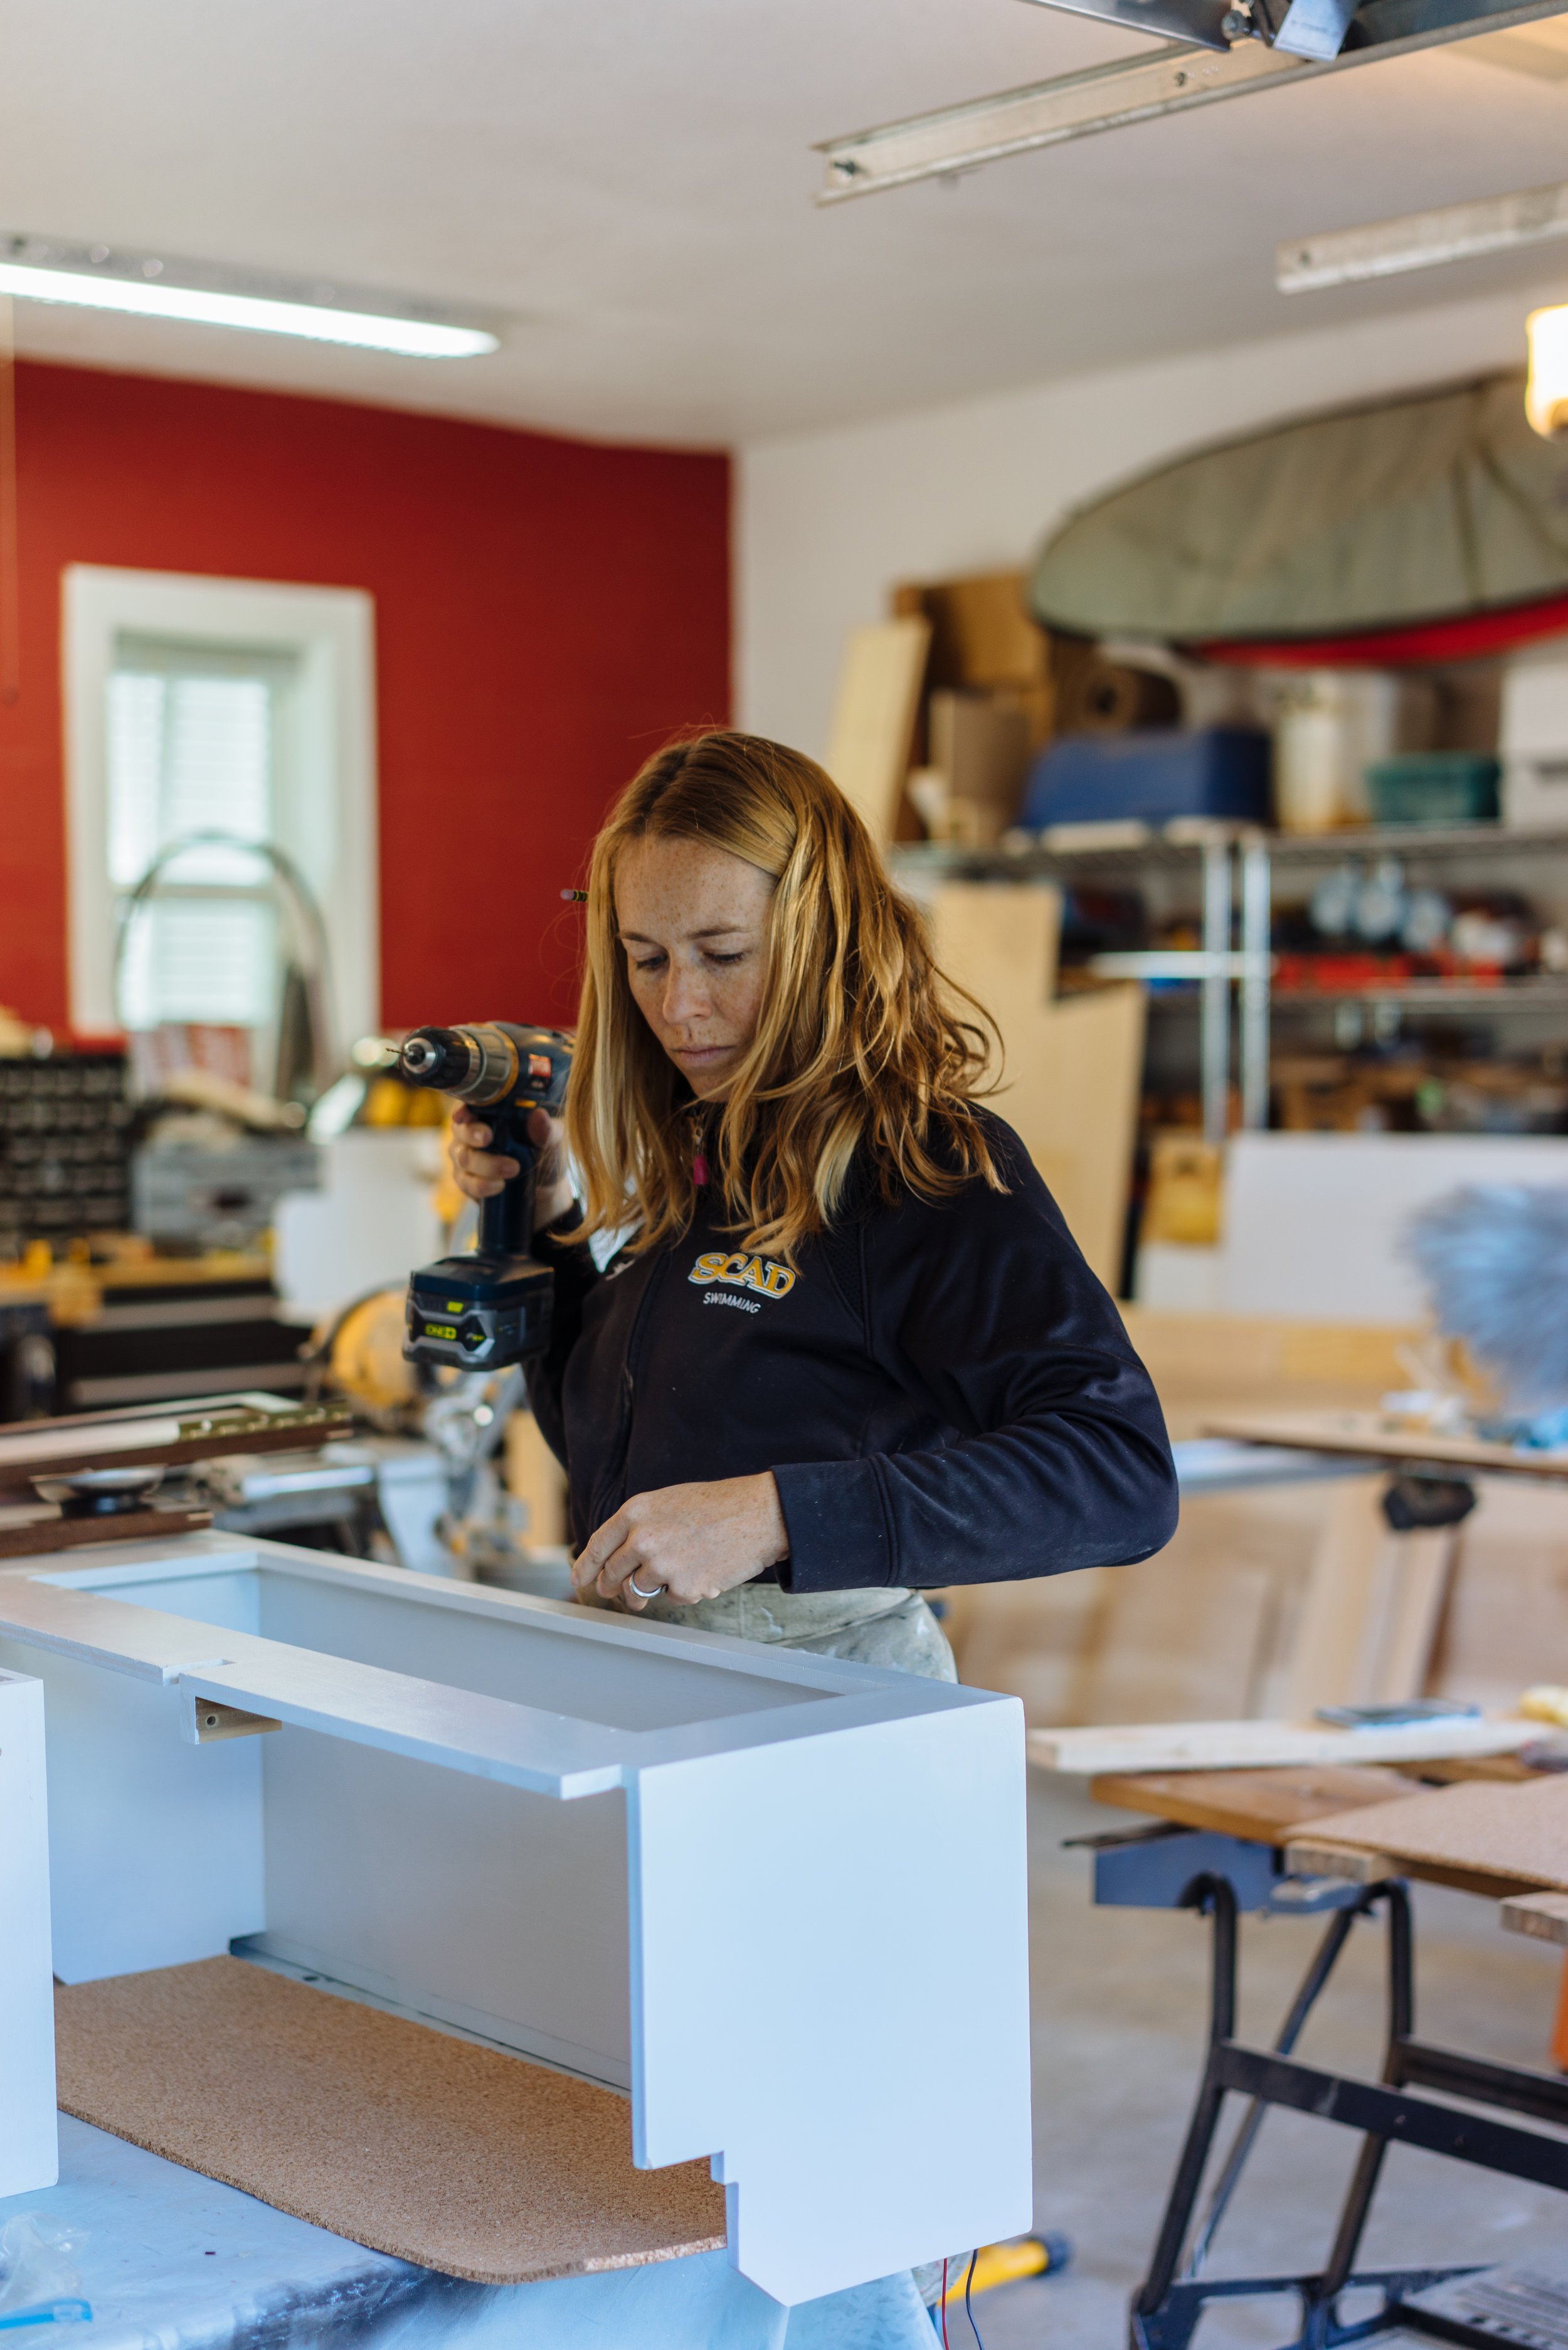
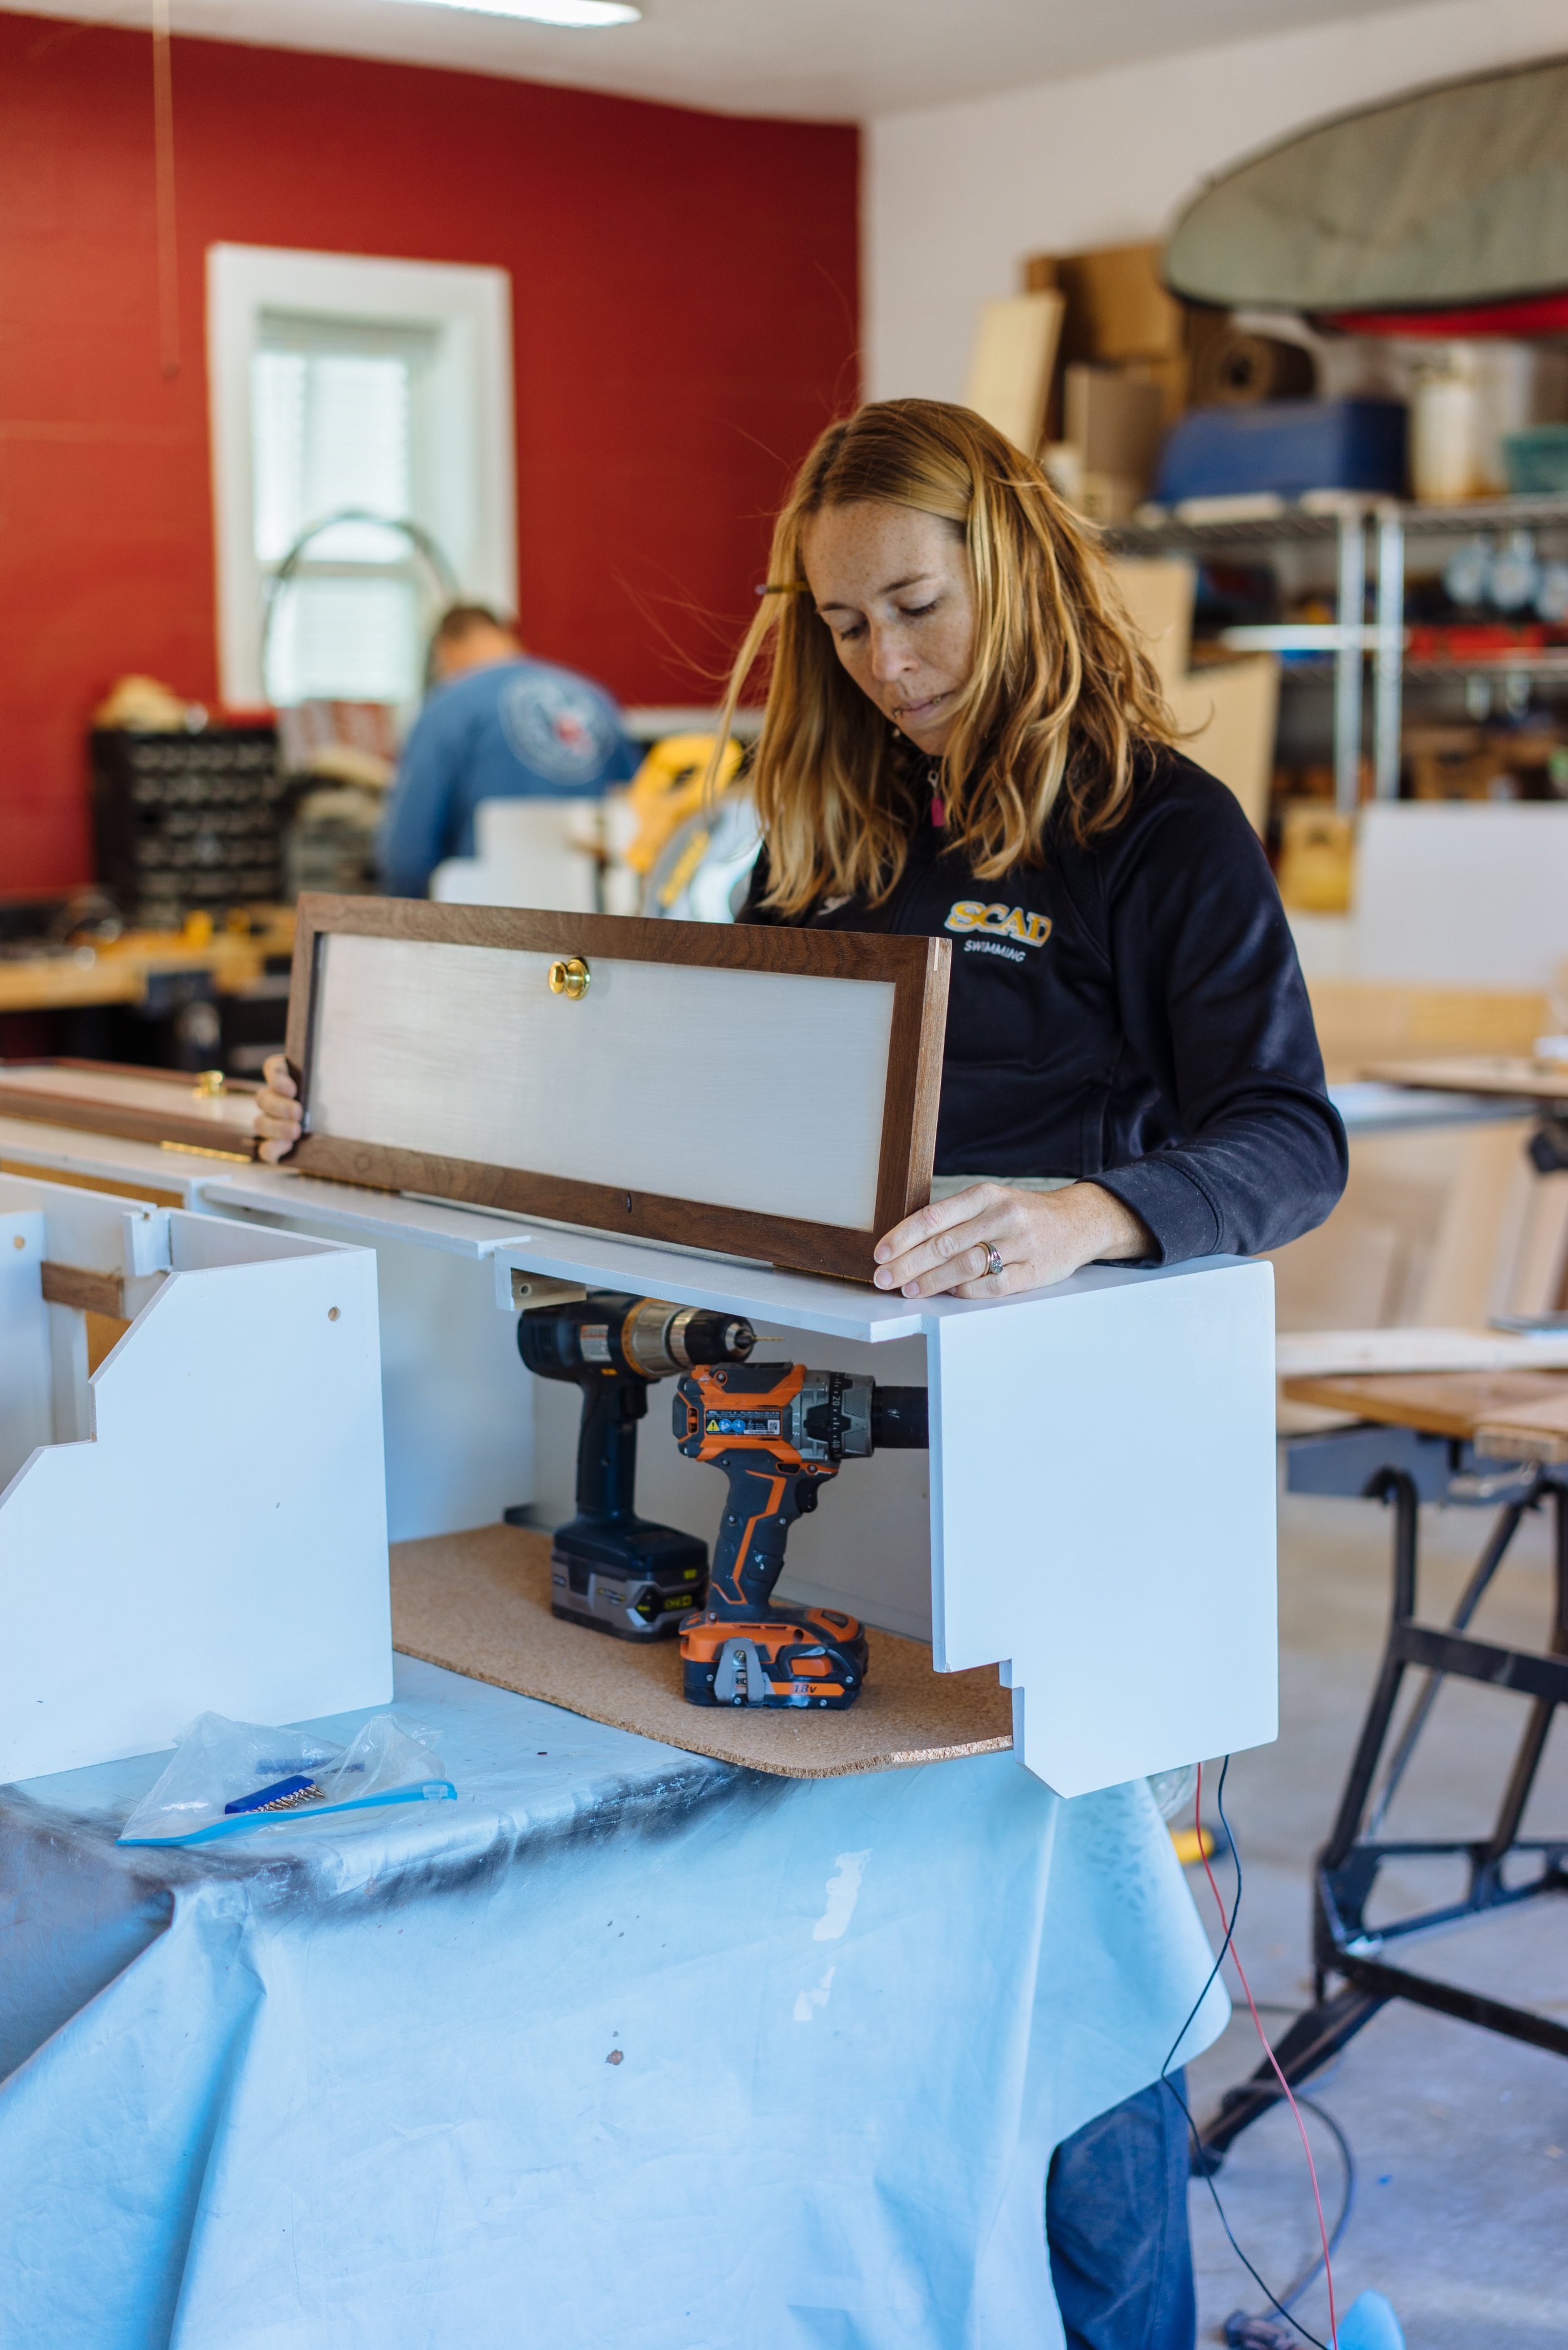
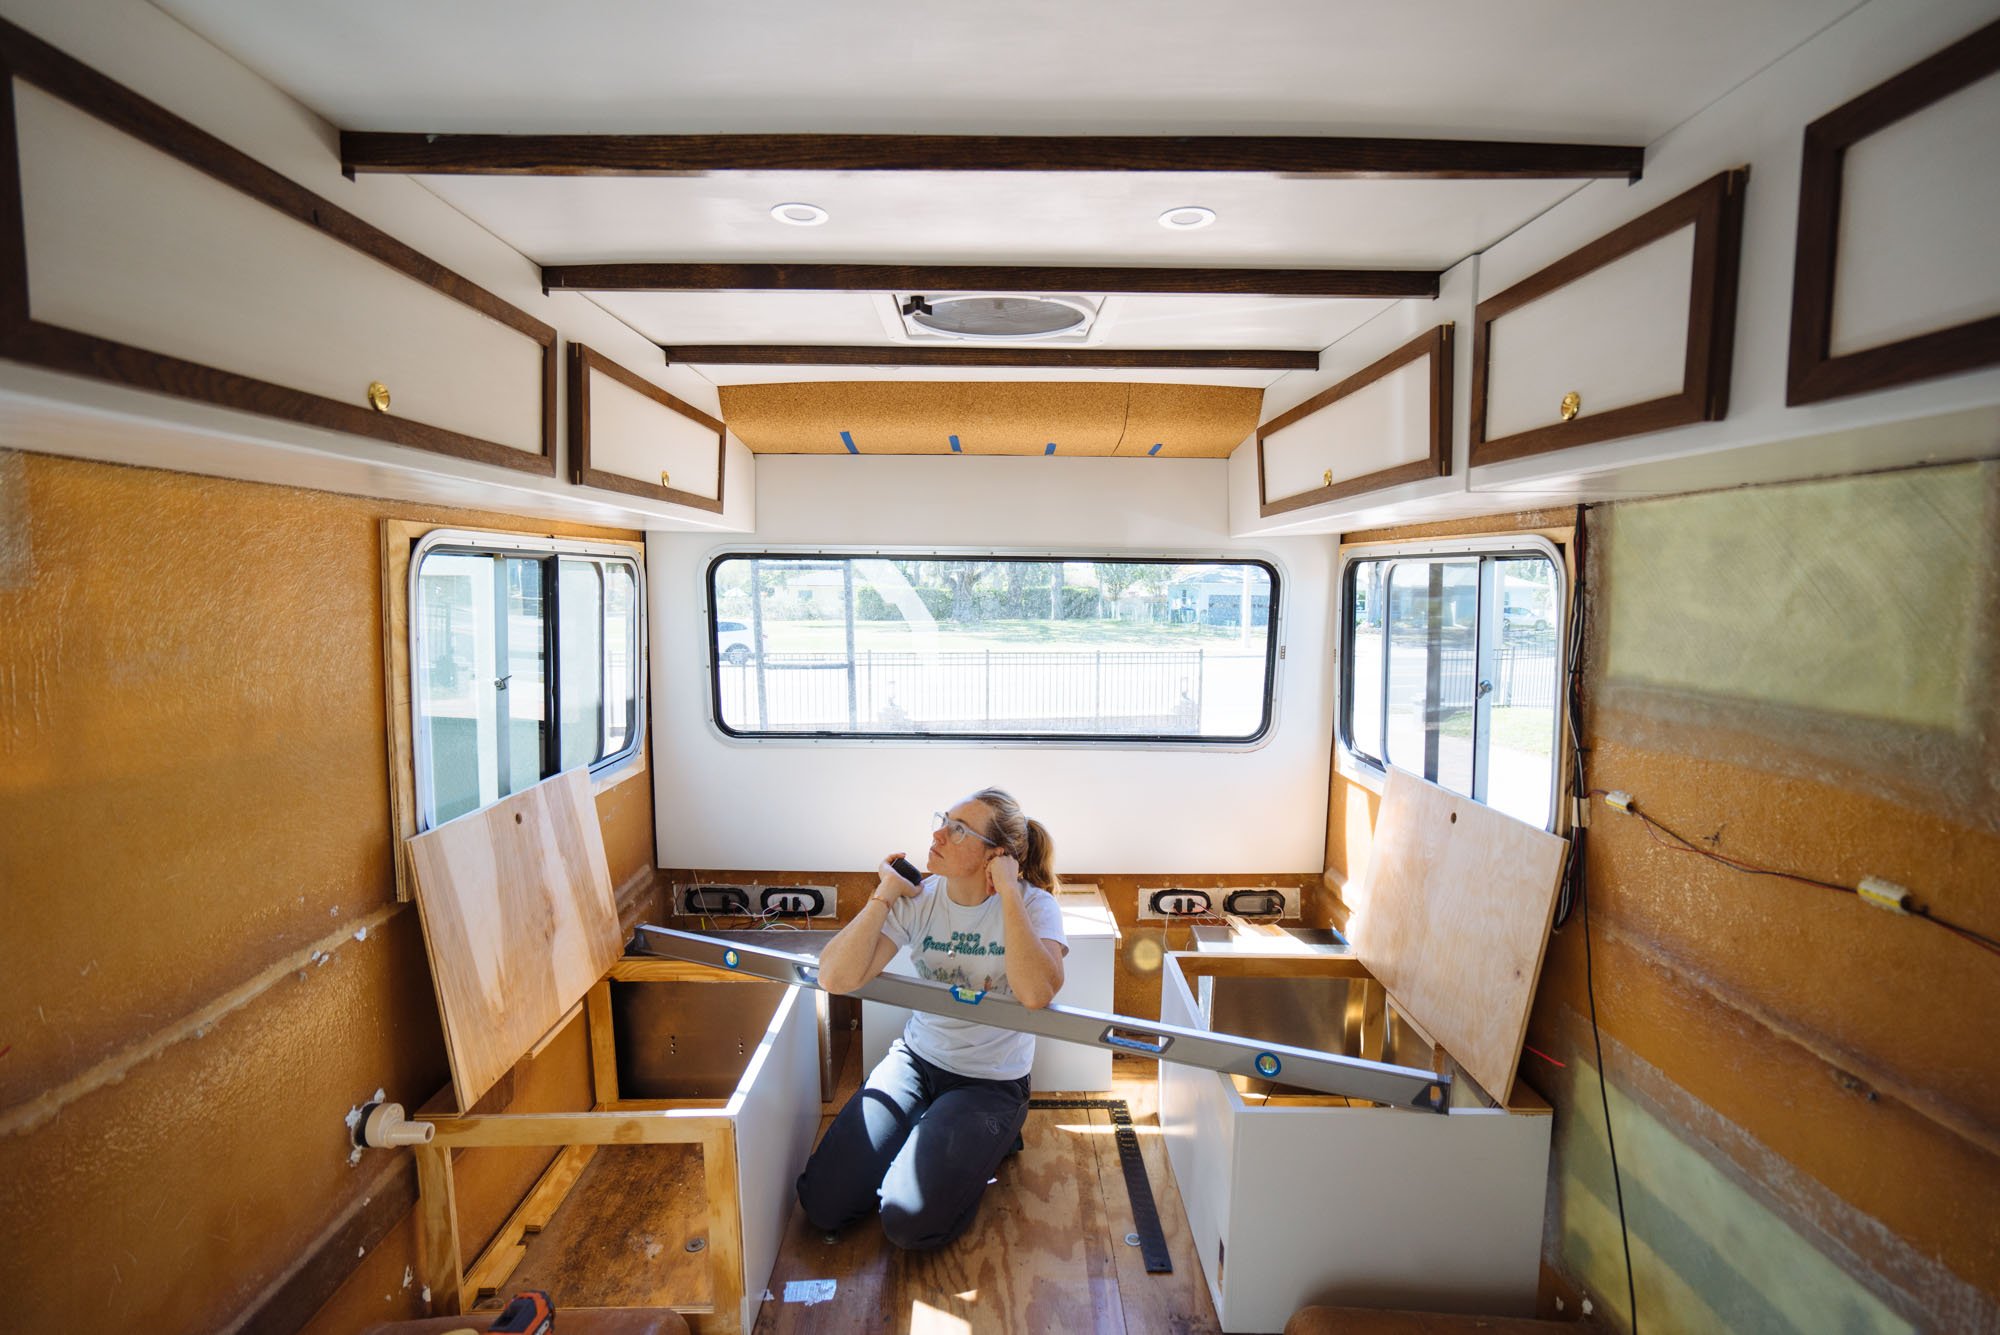
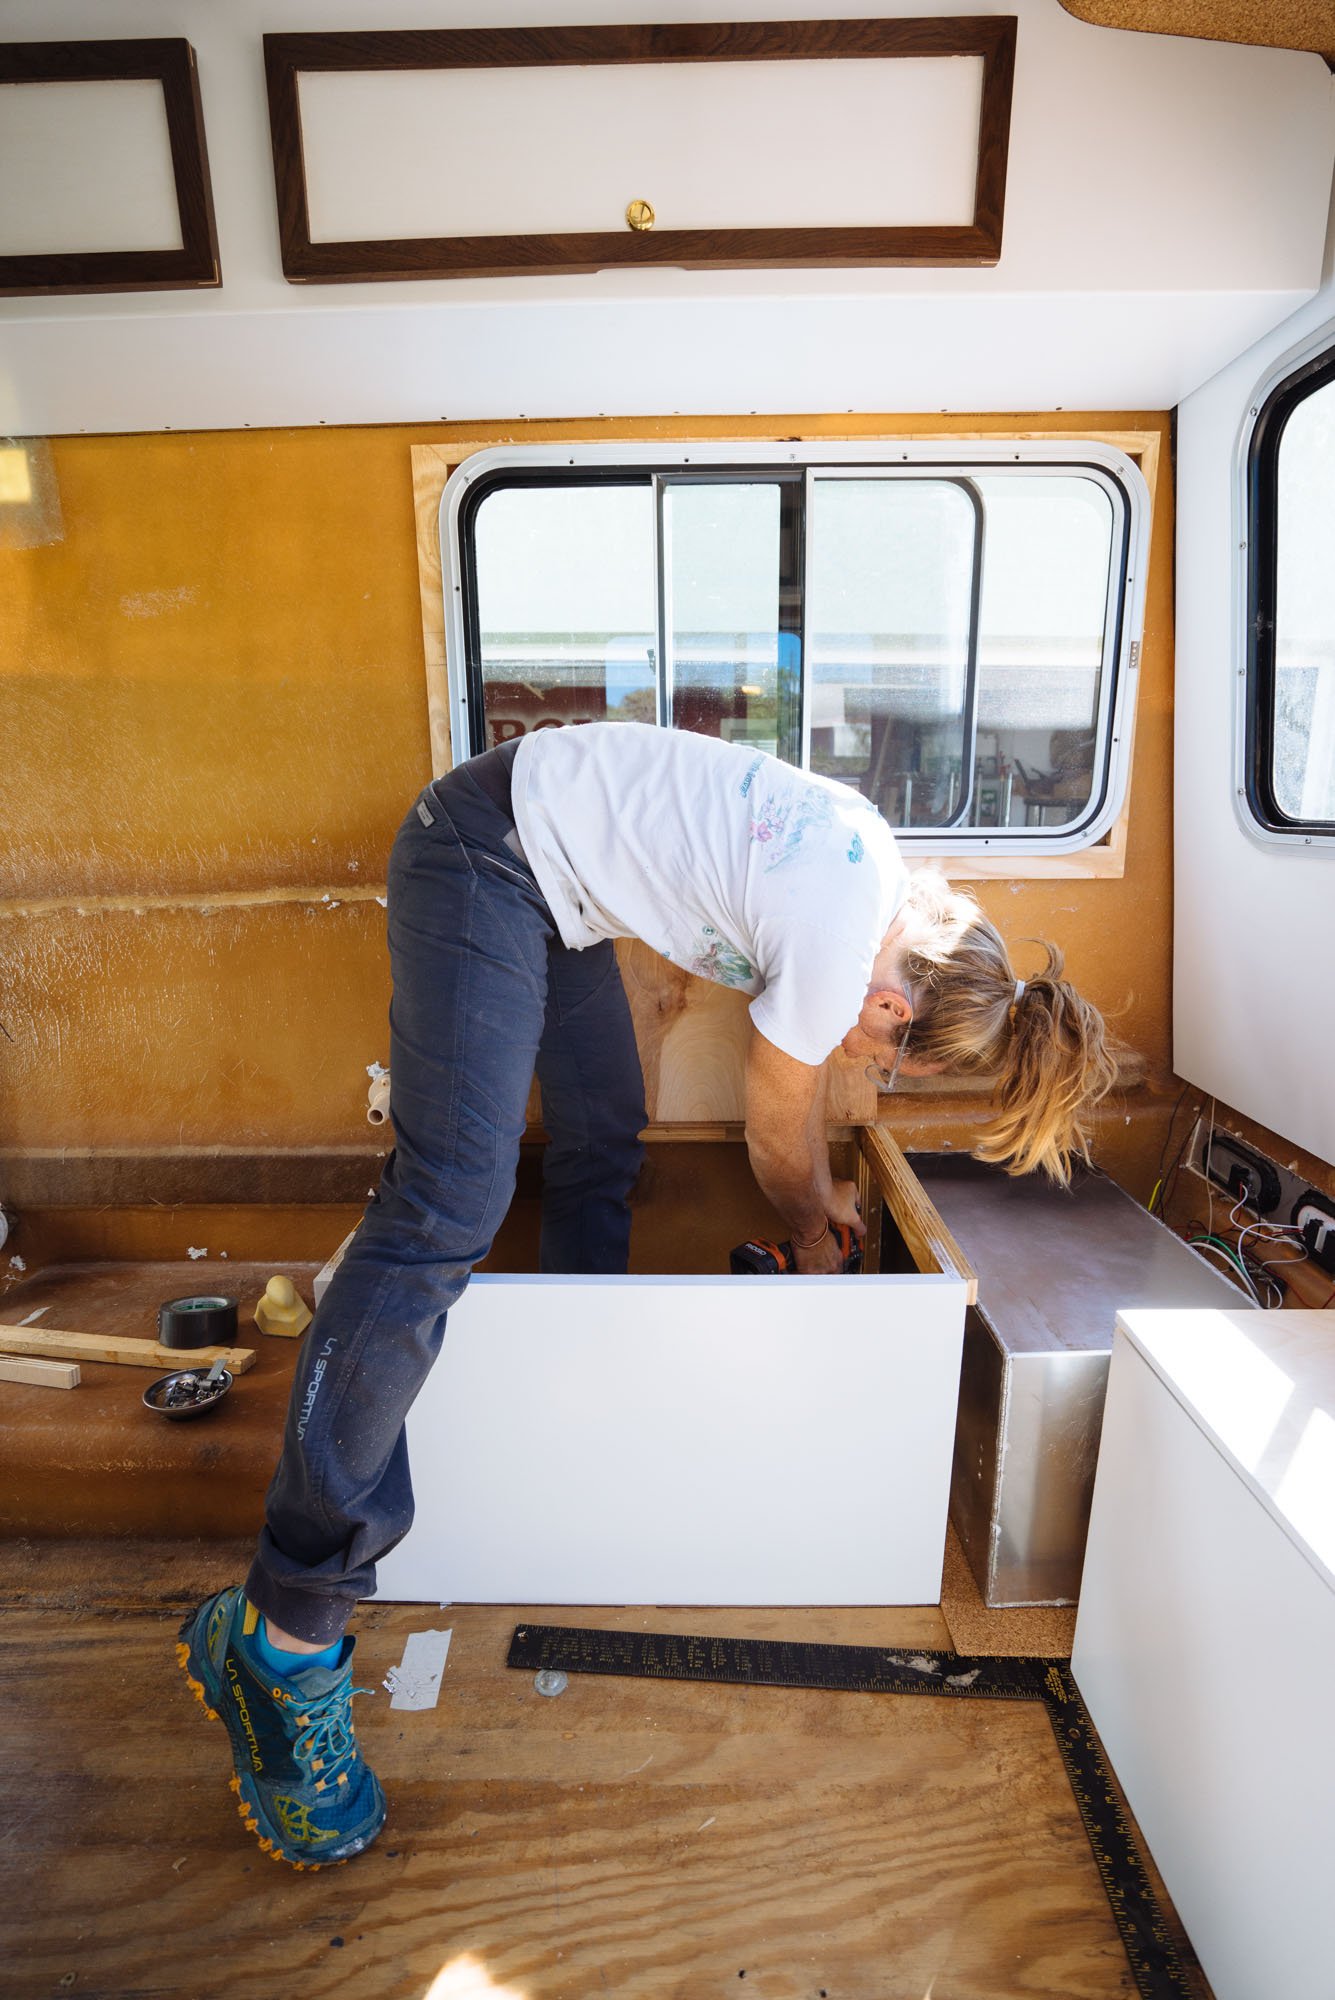
After a short celebration over the top cabinets we quickly moved into bench seat production. Before we installed the benches Owen wanted to pre-drill holes for all of our electrical management equipment. It's easier for him to get his whole body in there to mark up straight lines and lay things out while the bench is out. Nothing was installed for good, simply laid out for mockup and prep work purposes.
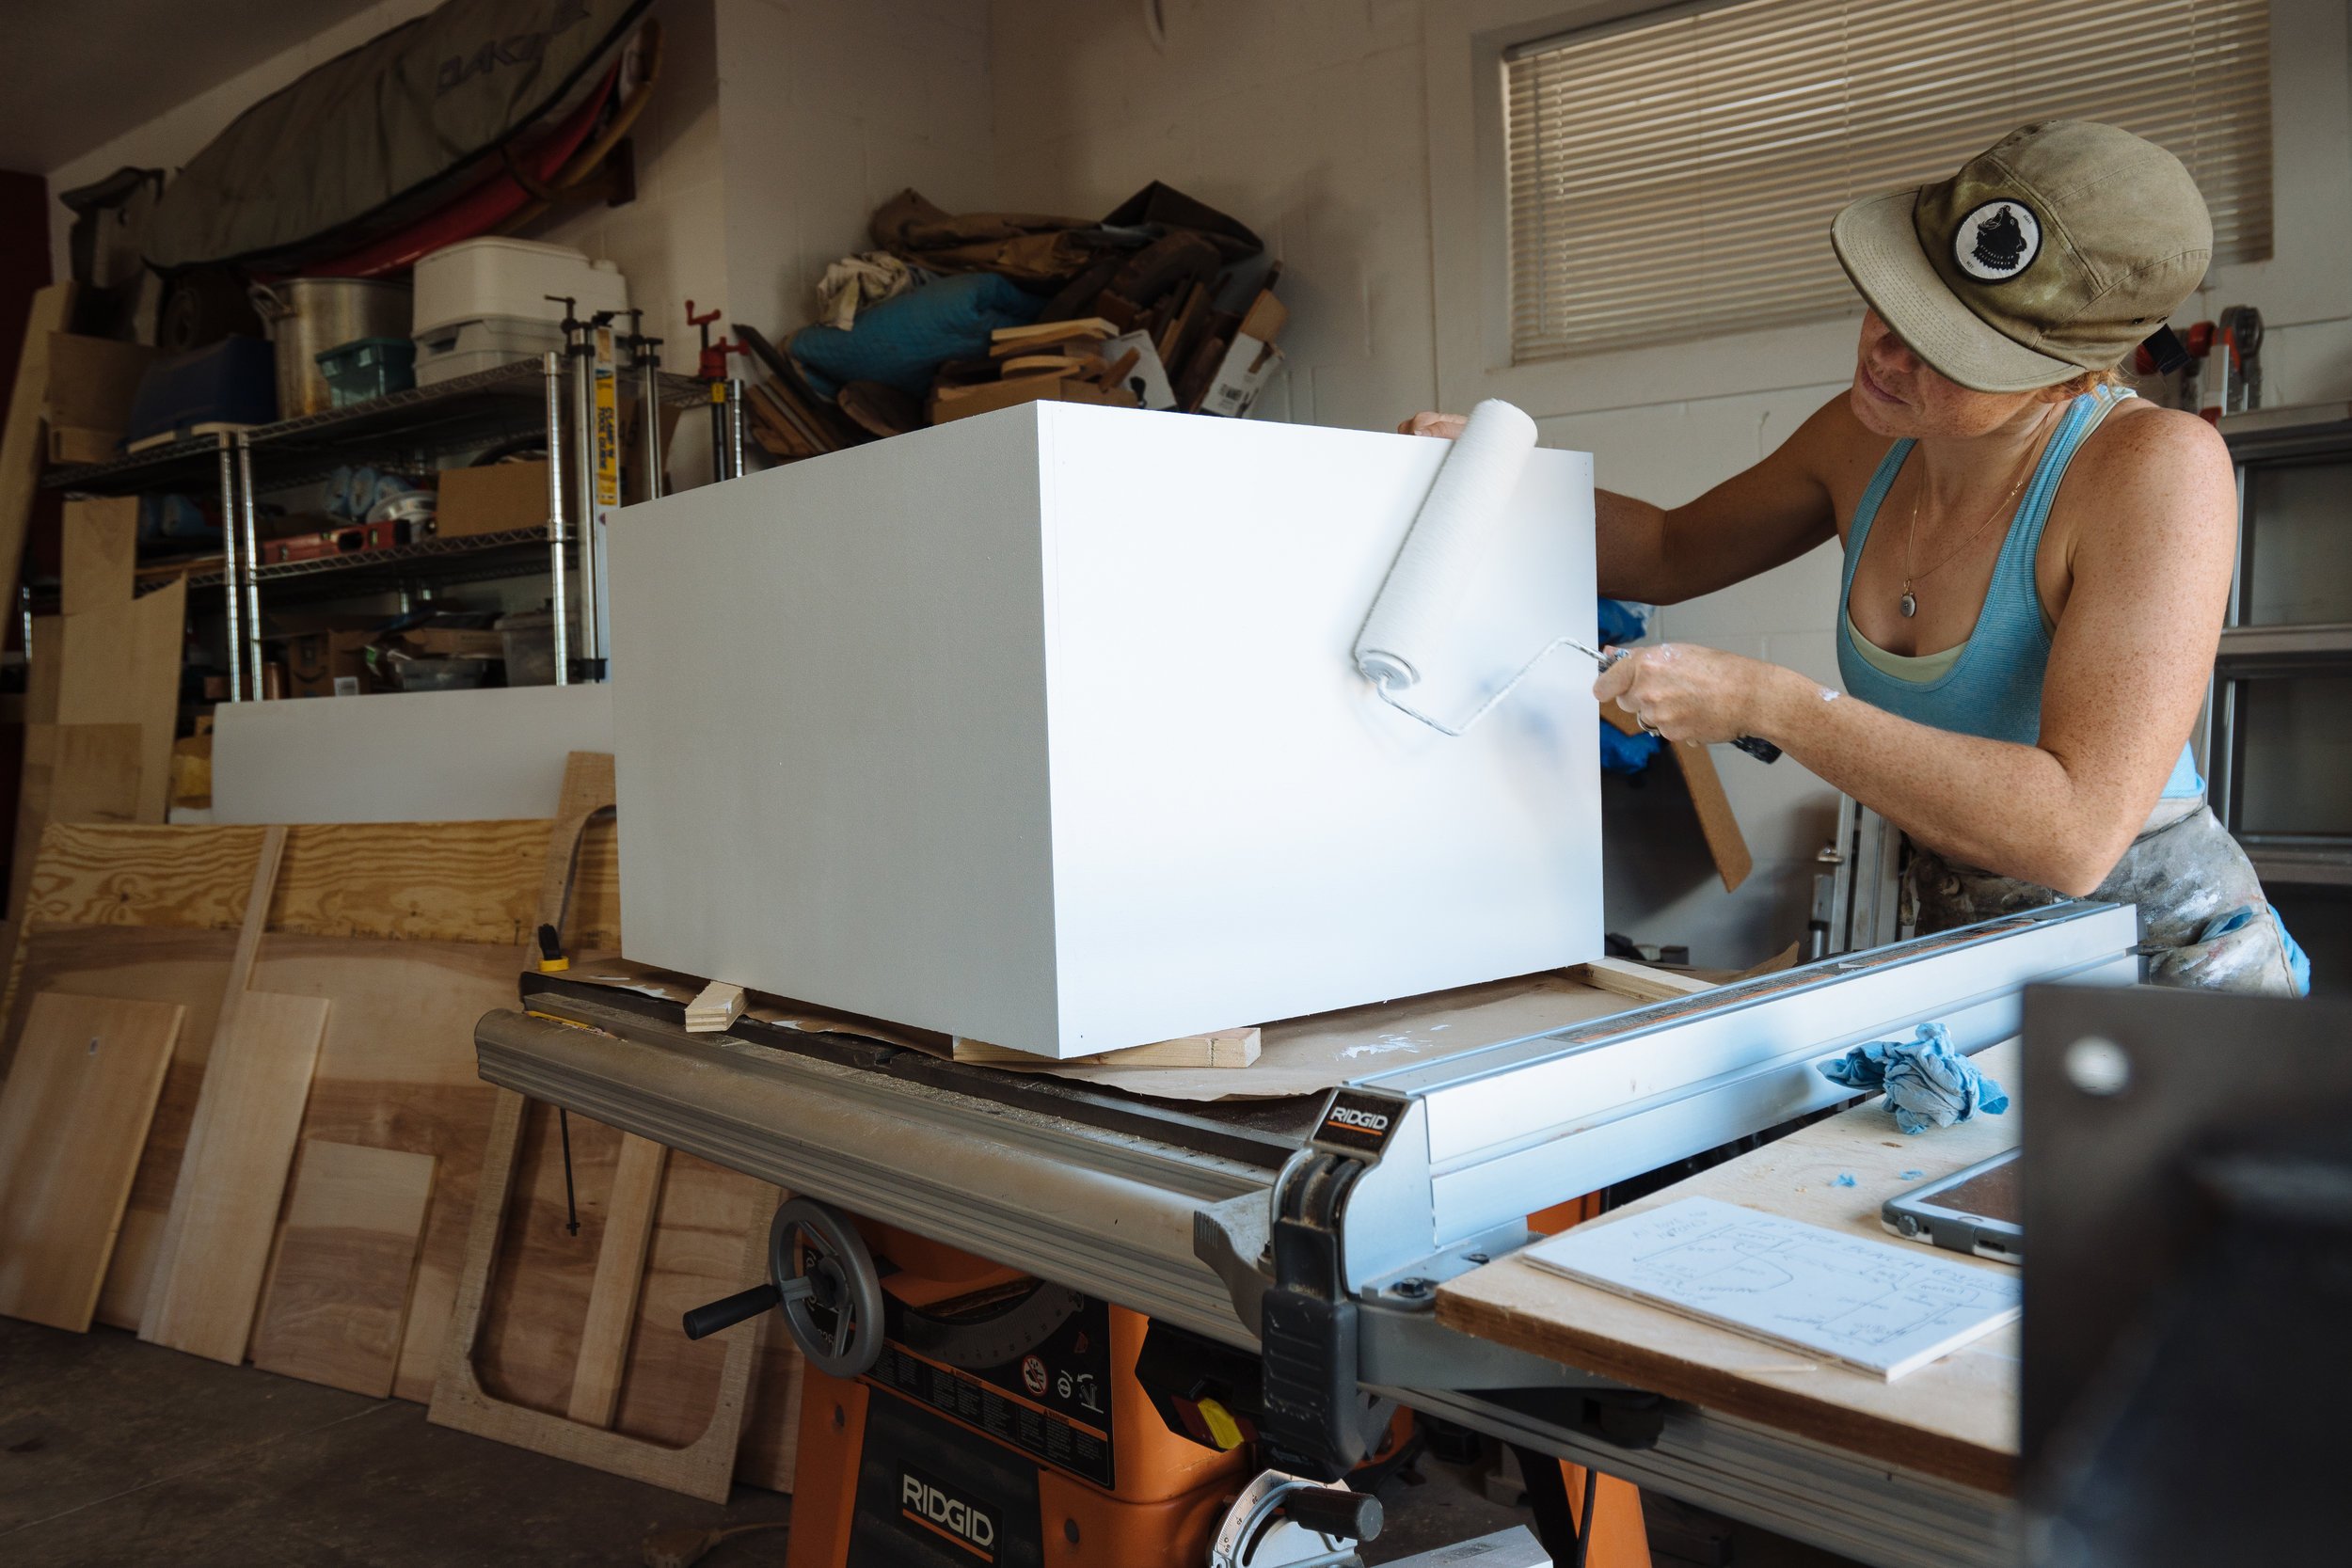

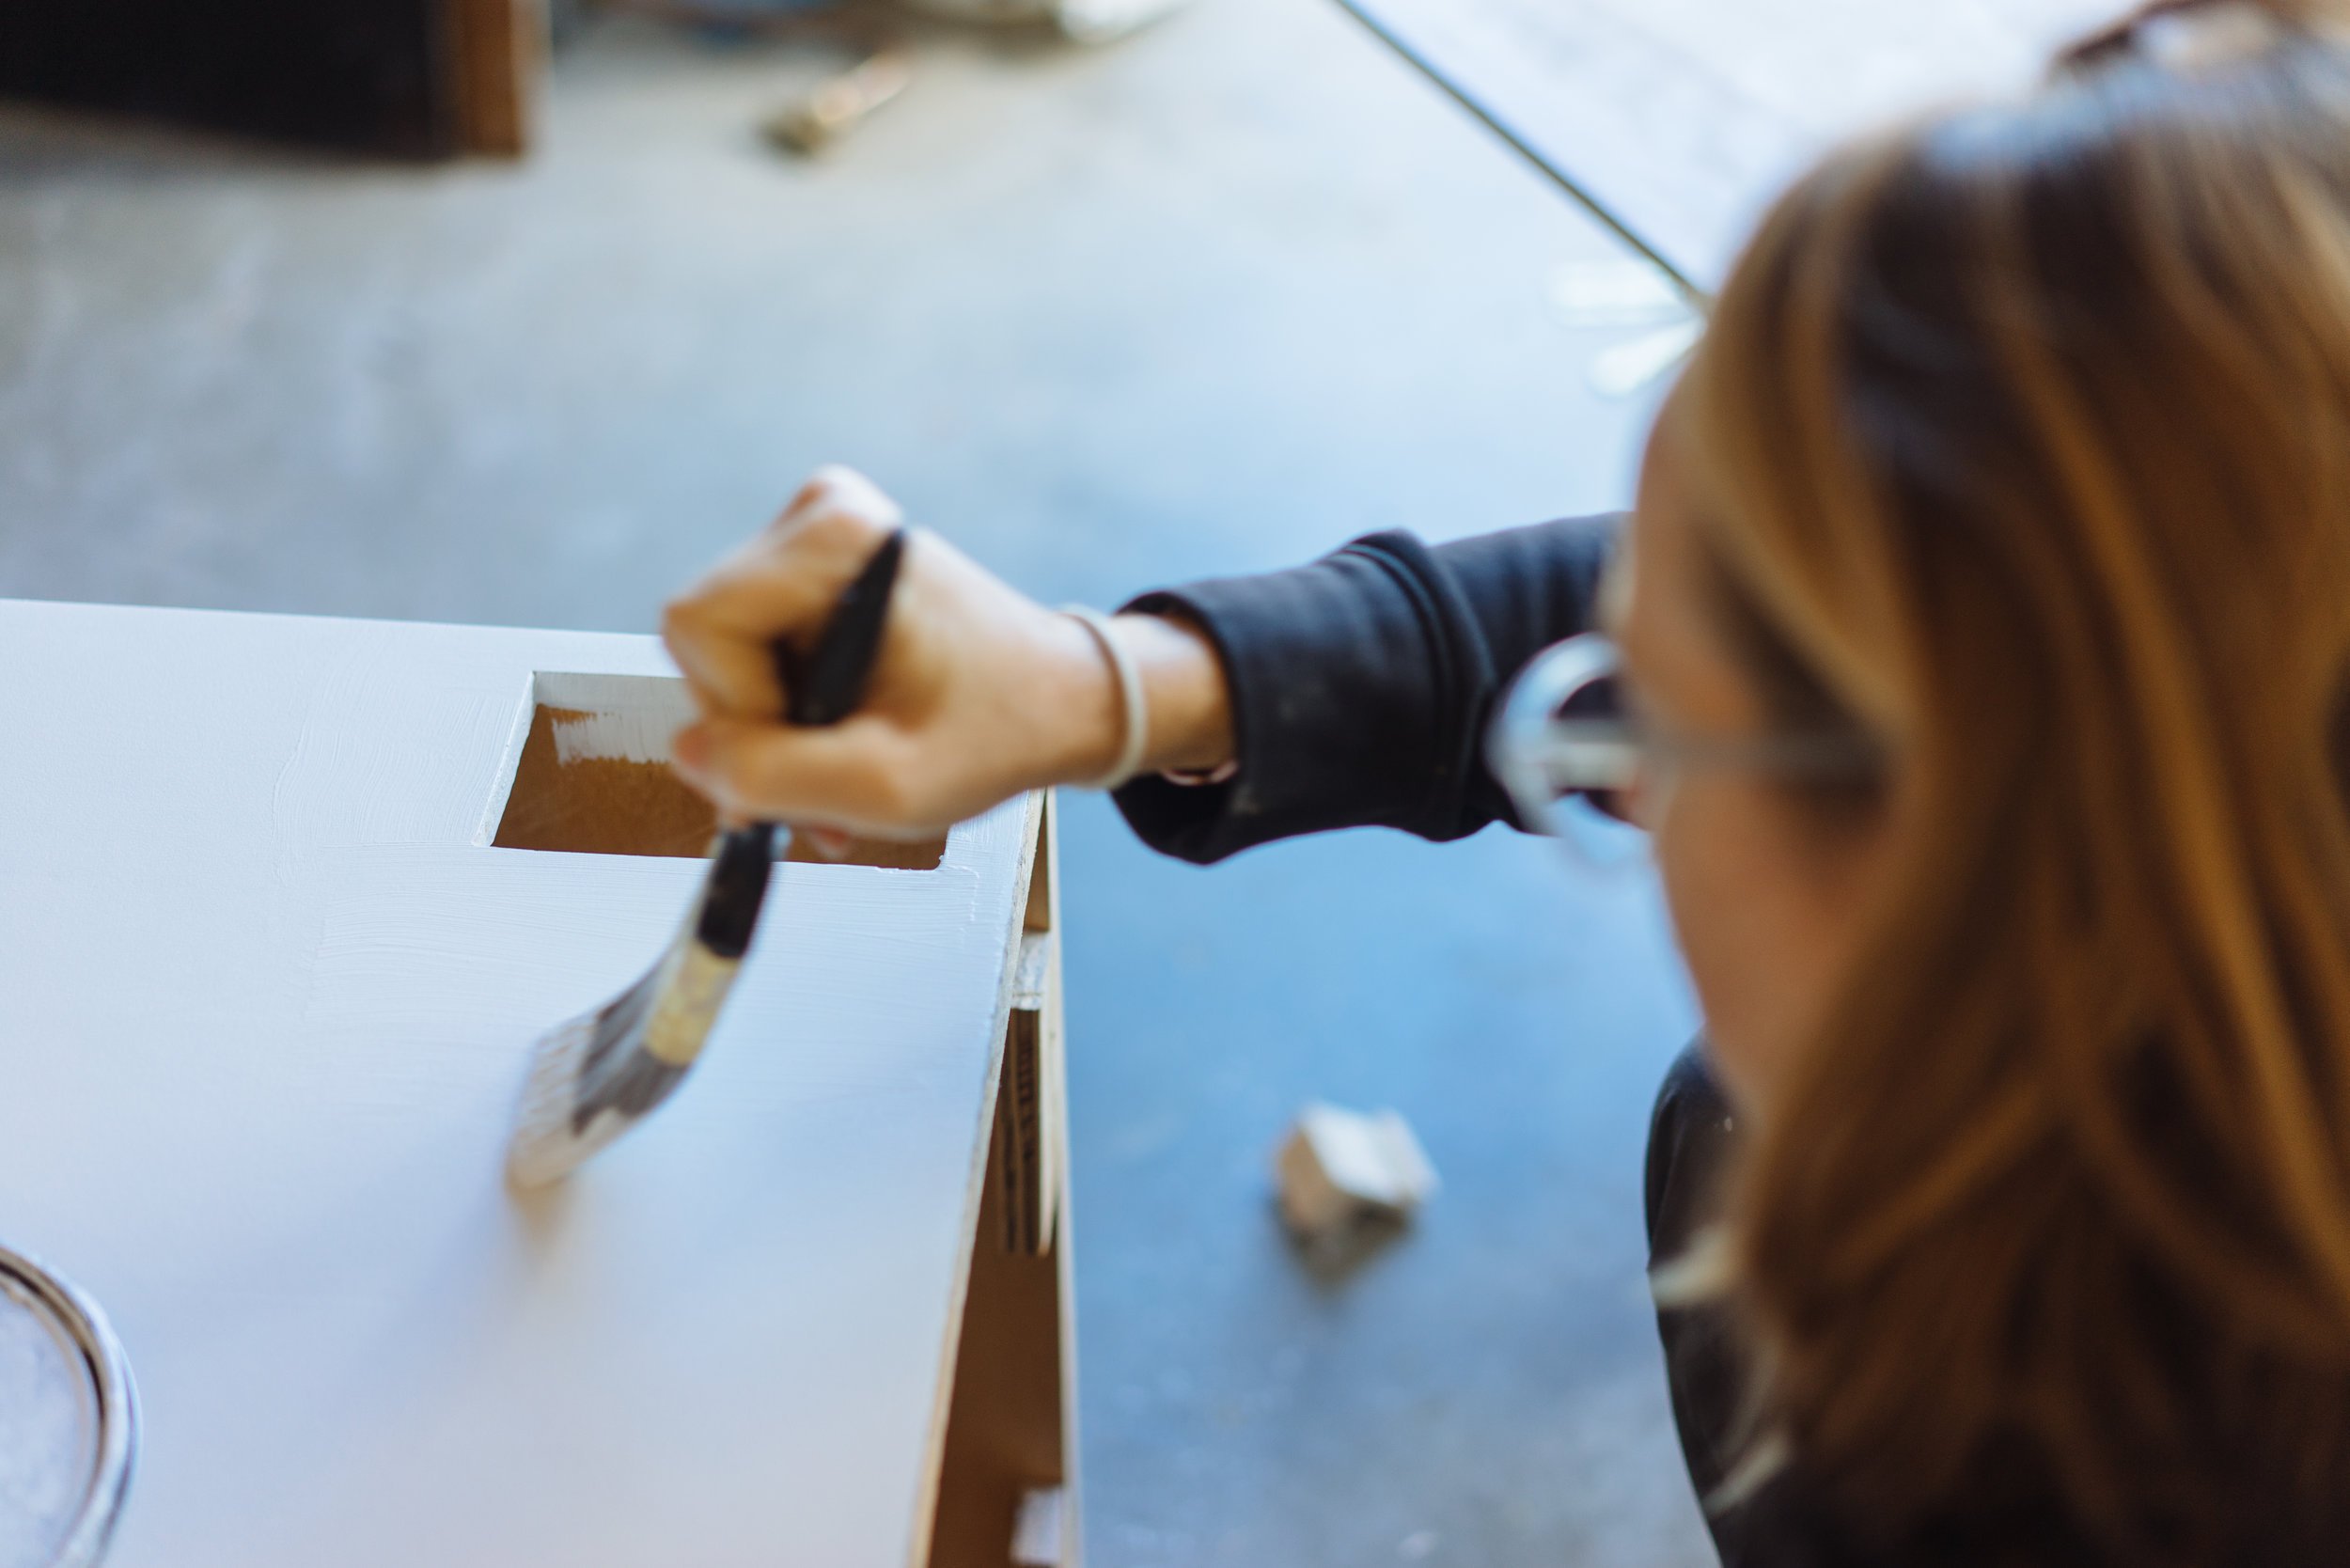
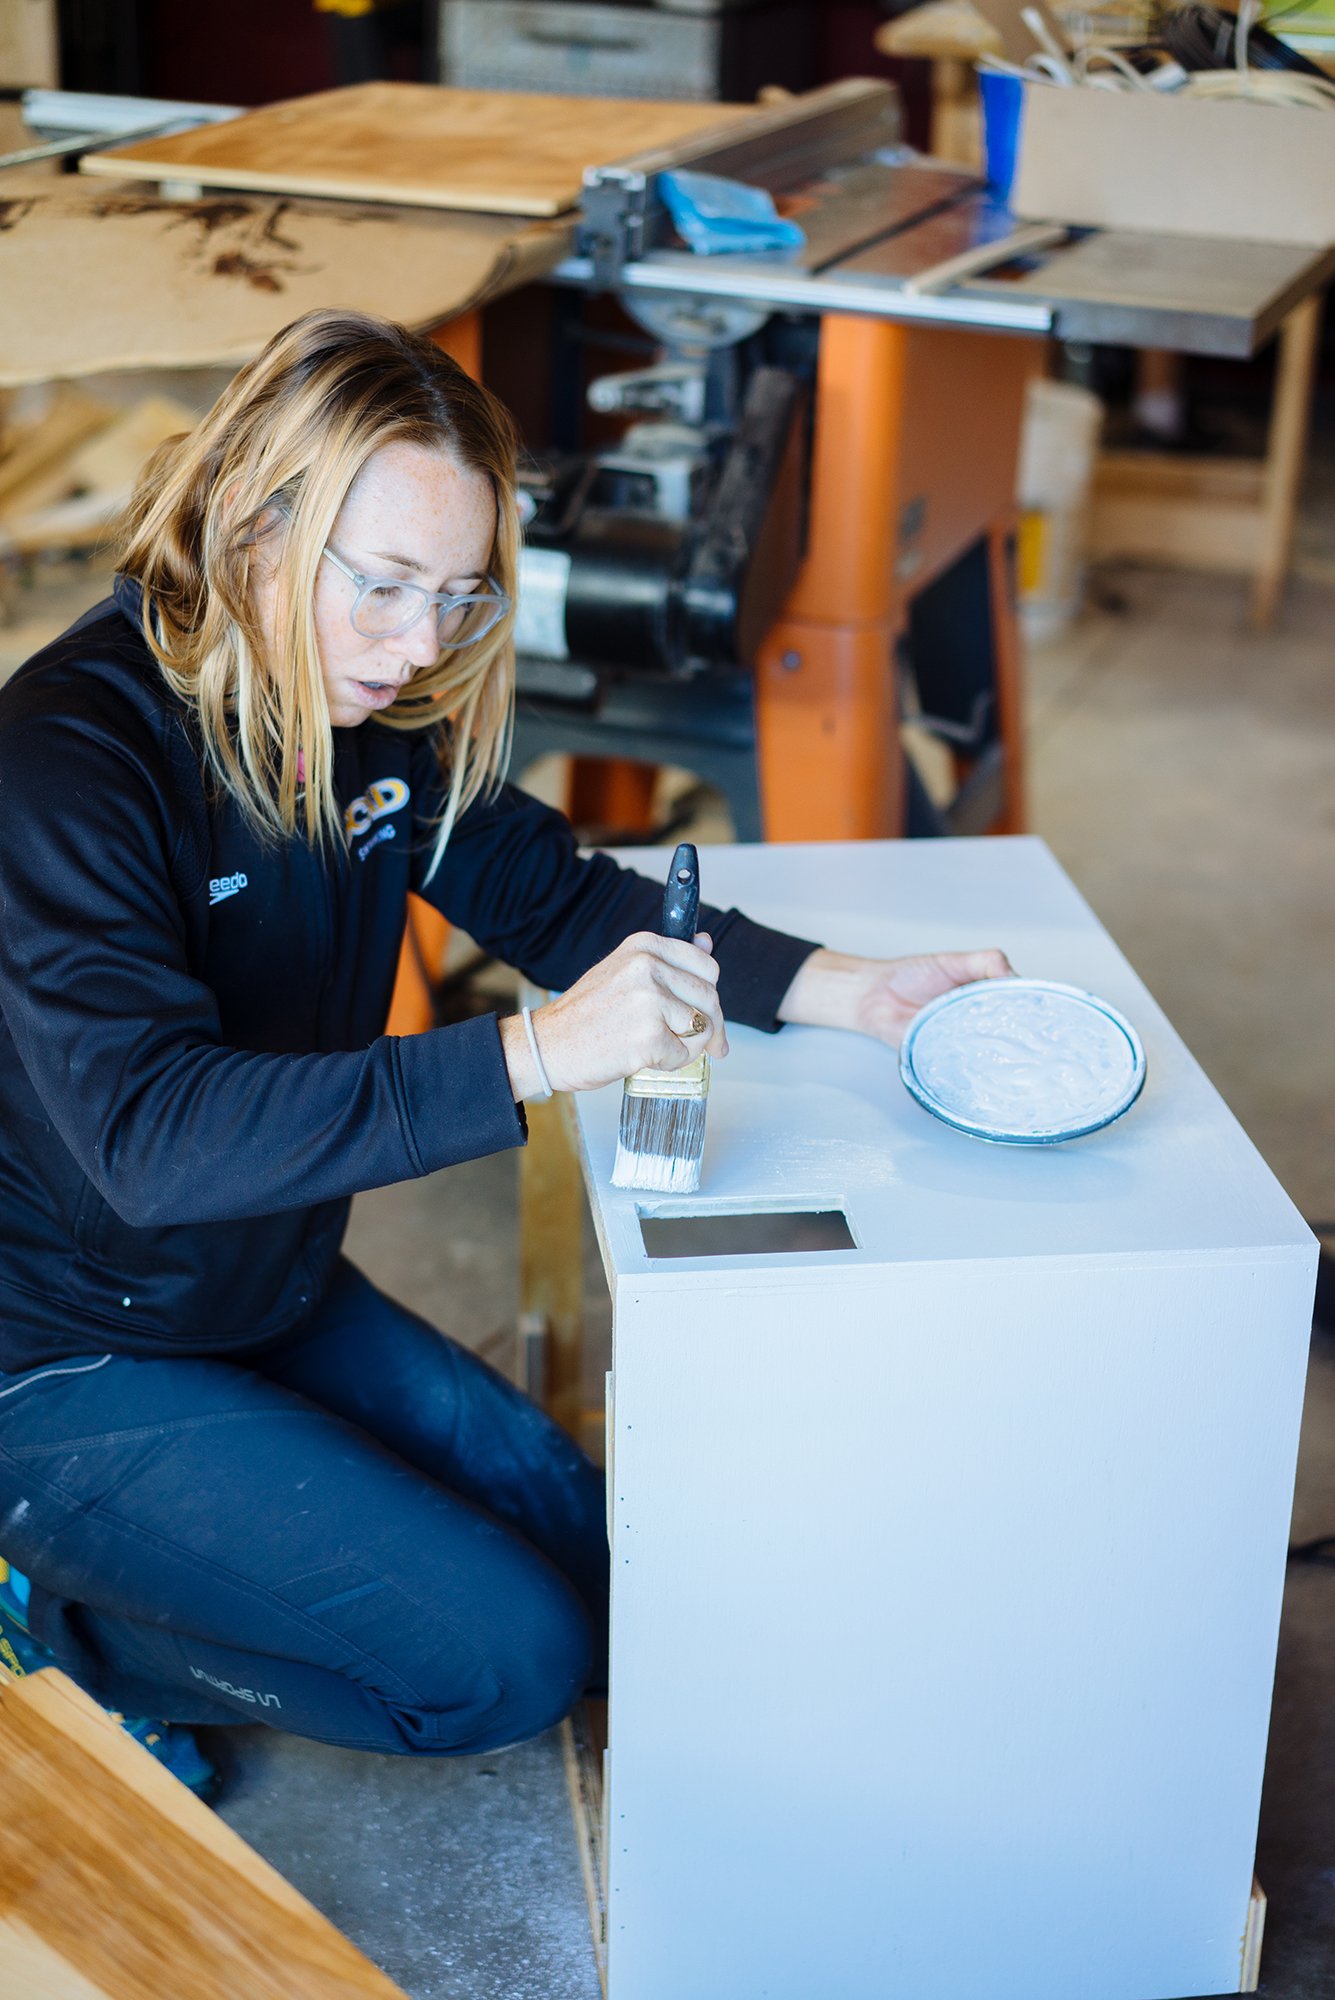
While Owen worked on electrical layout I worked on painting the outward faces of our benches that'll be visible when they're installed. We also cut a hole in the face of our electrical bench so that we can have access to our inverter. That's where we'll plug in all of our electronics for 110 charging!
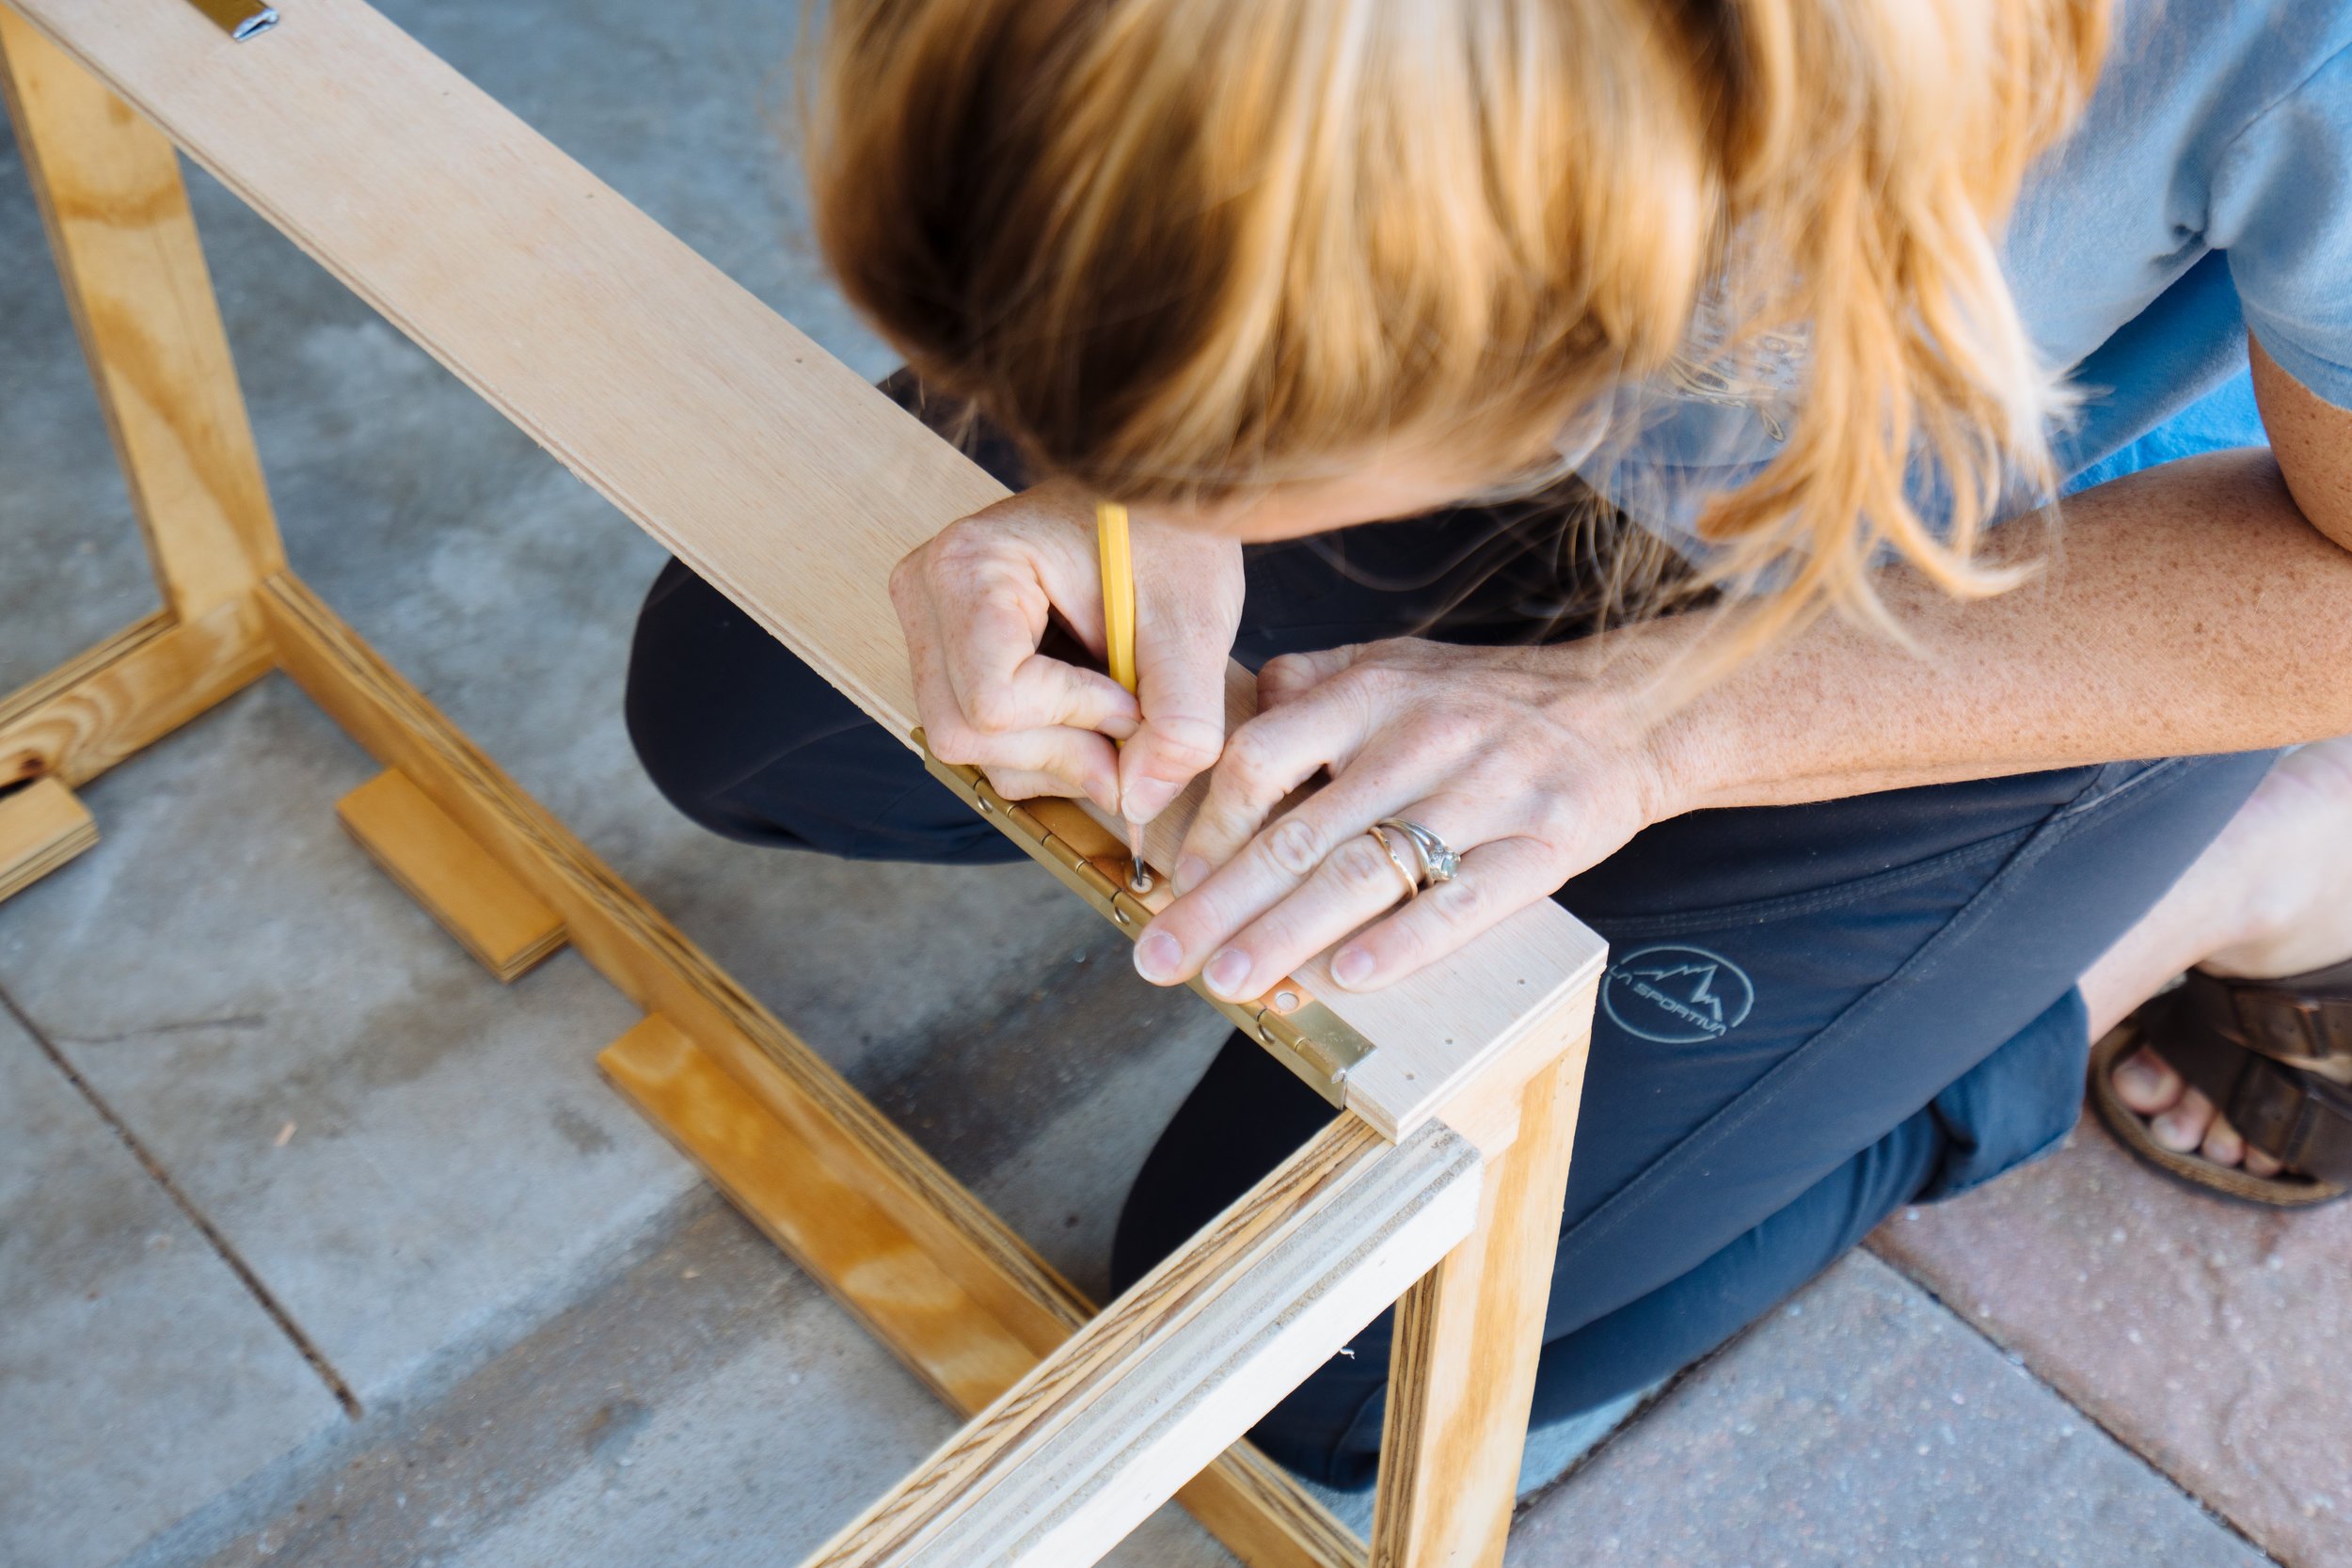
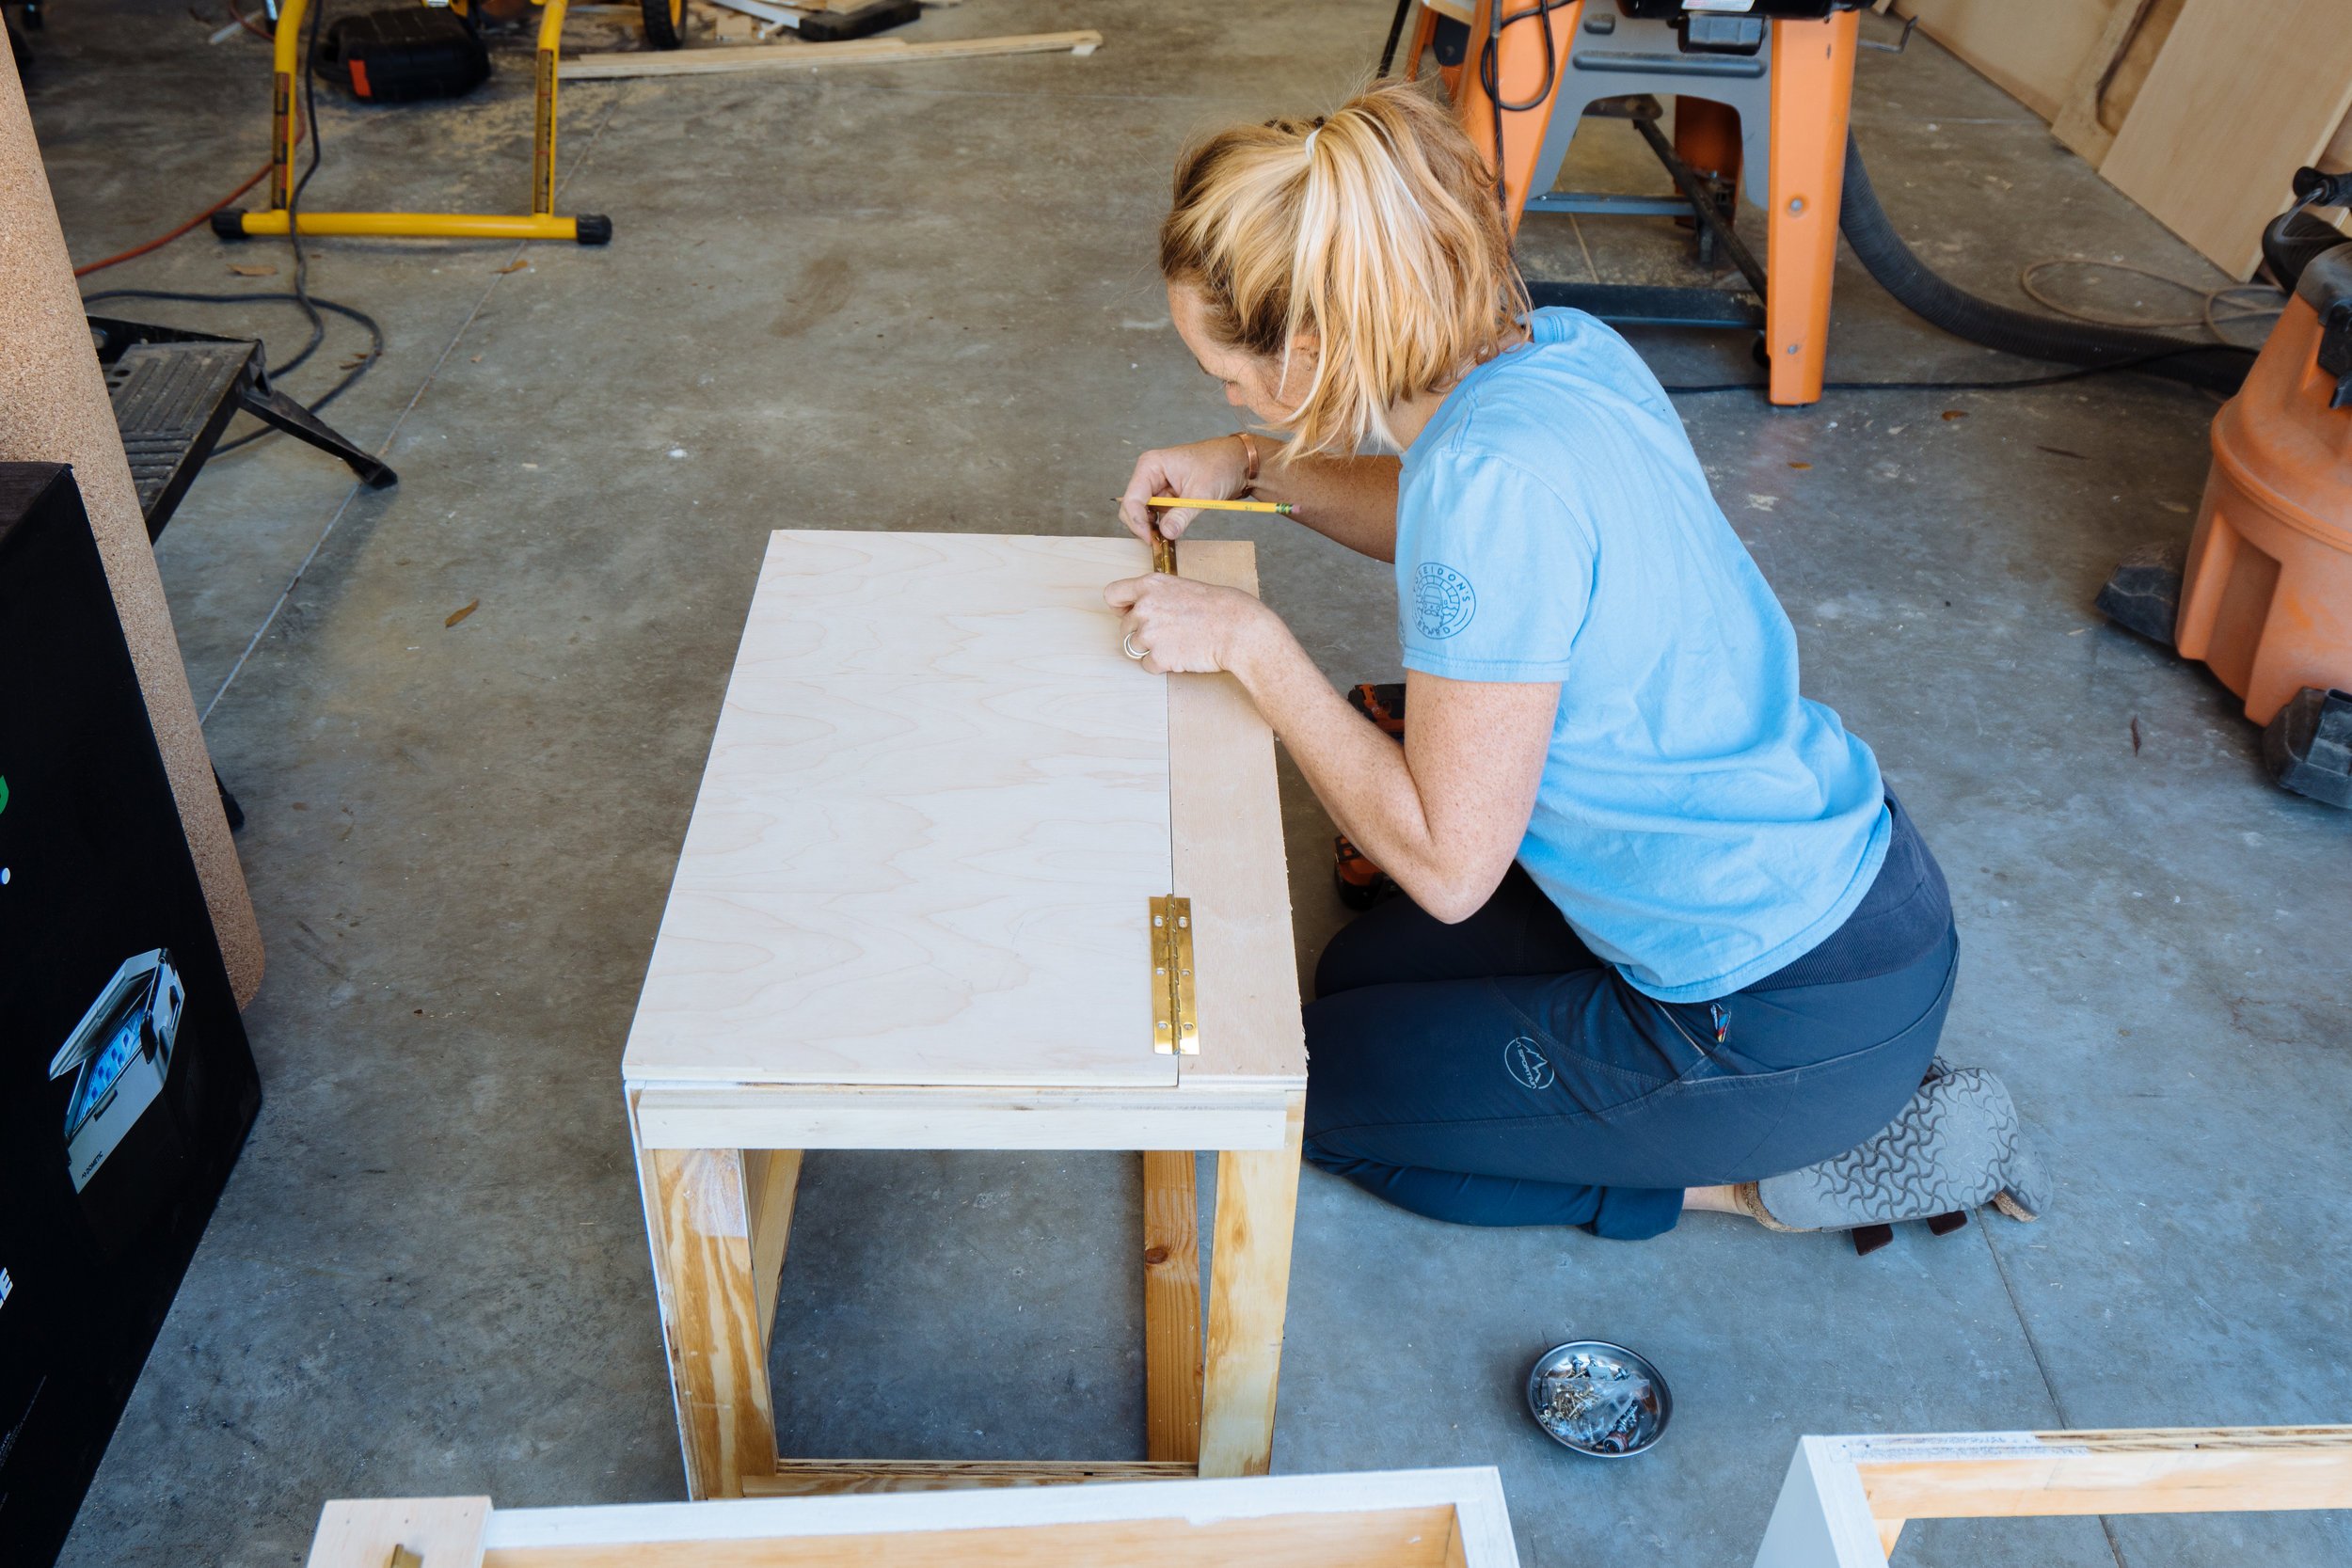
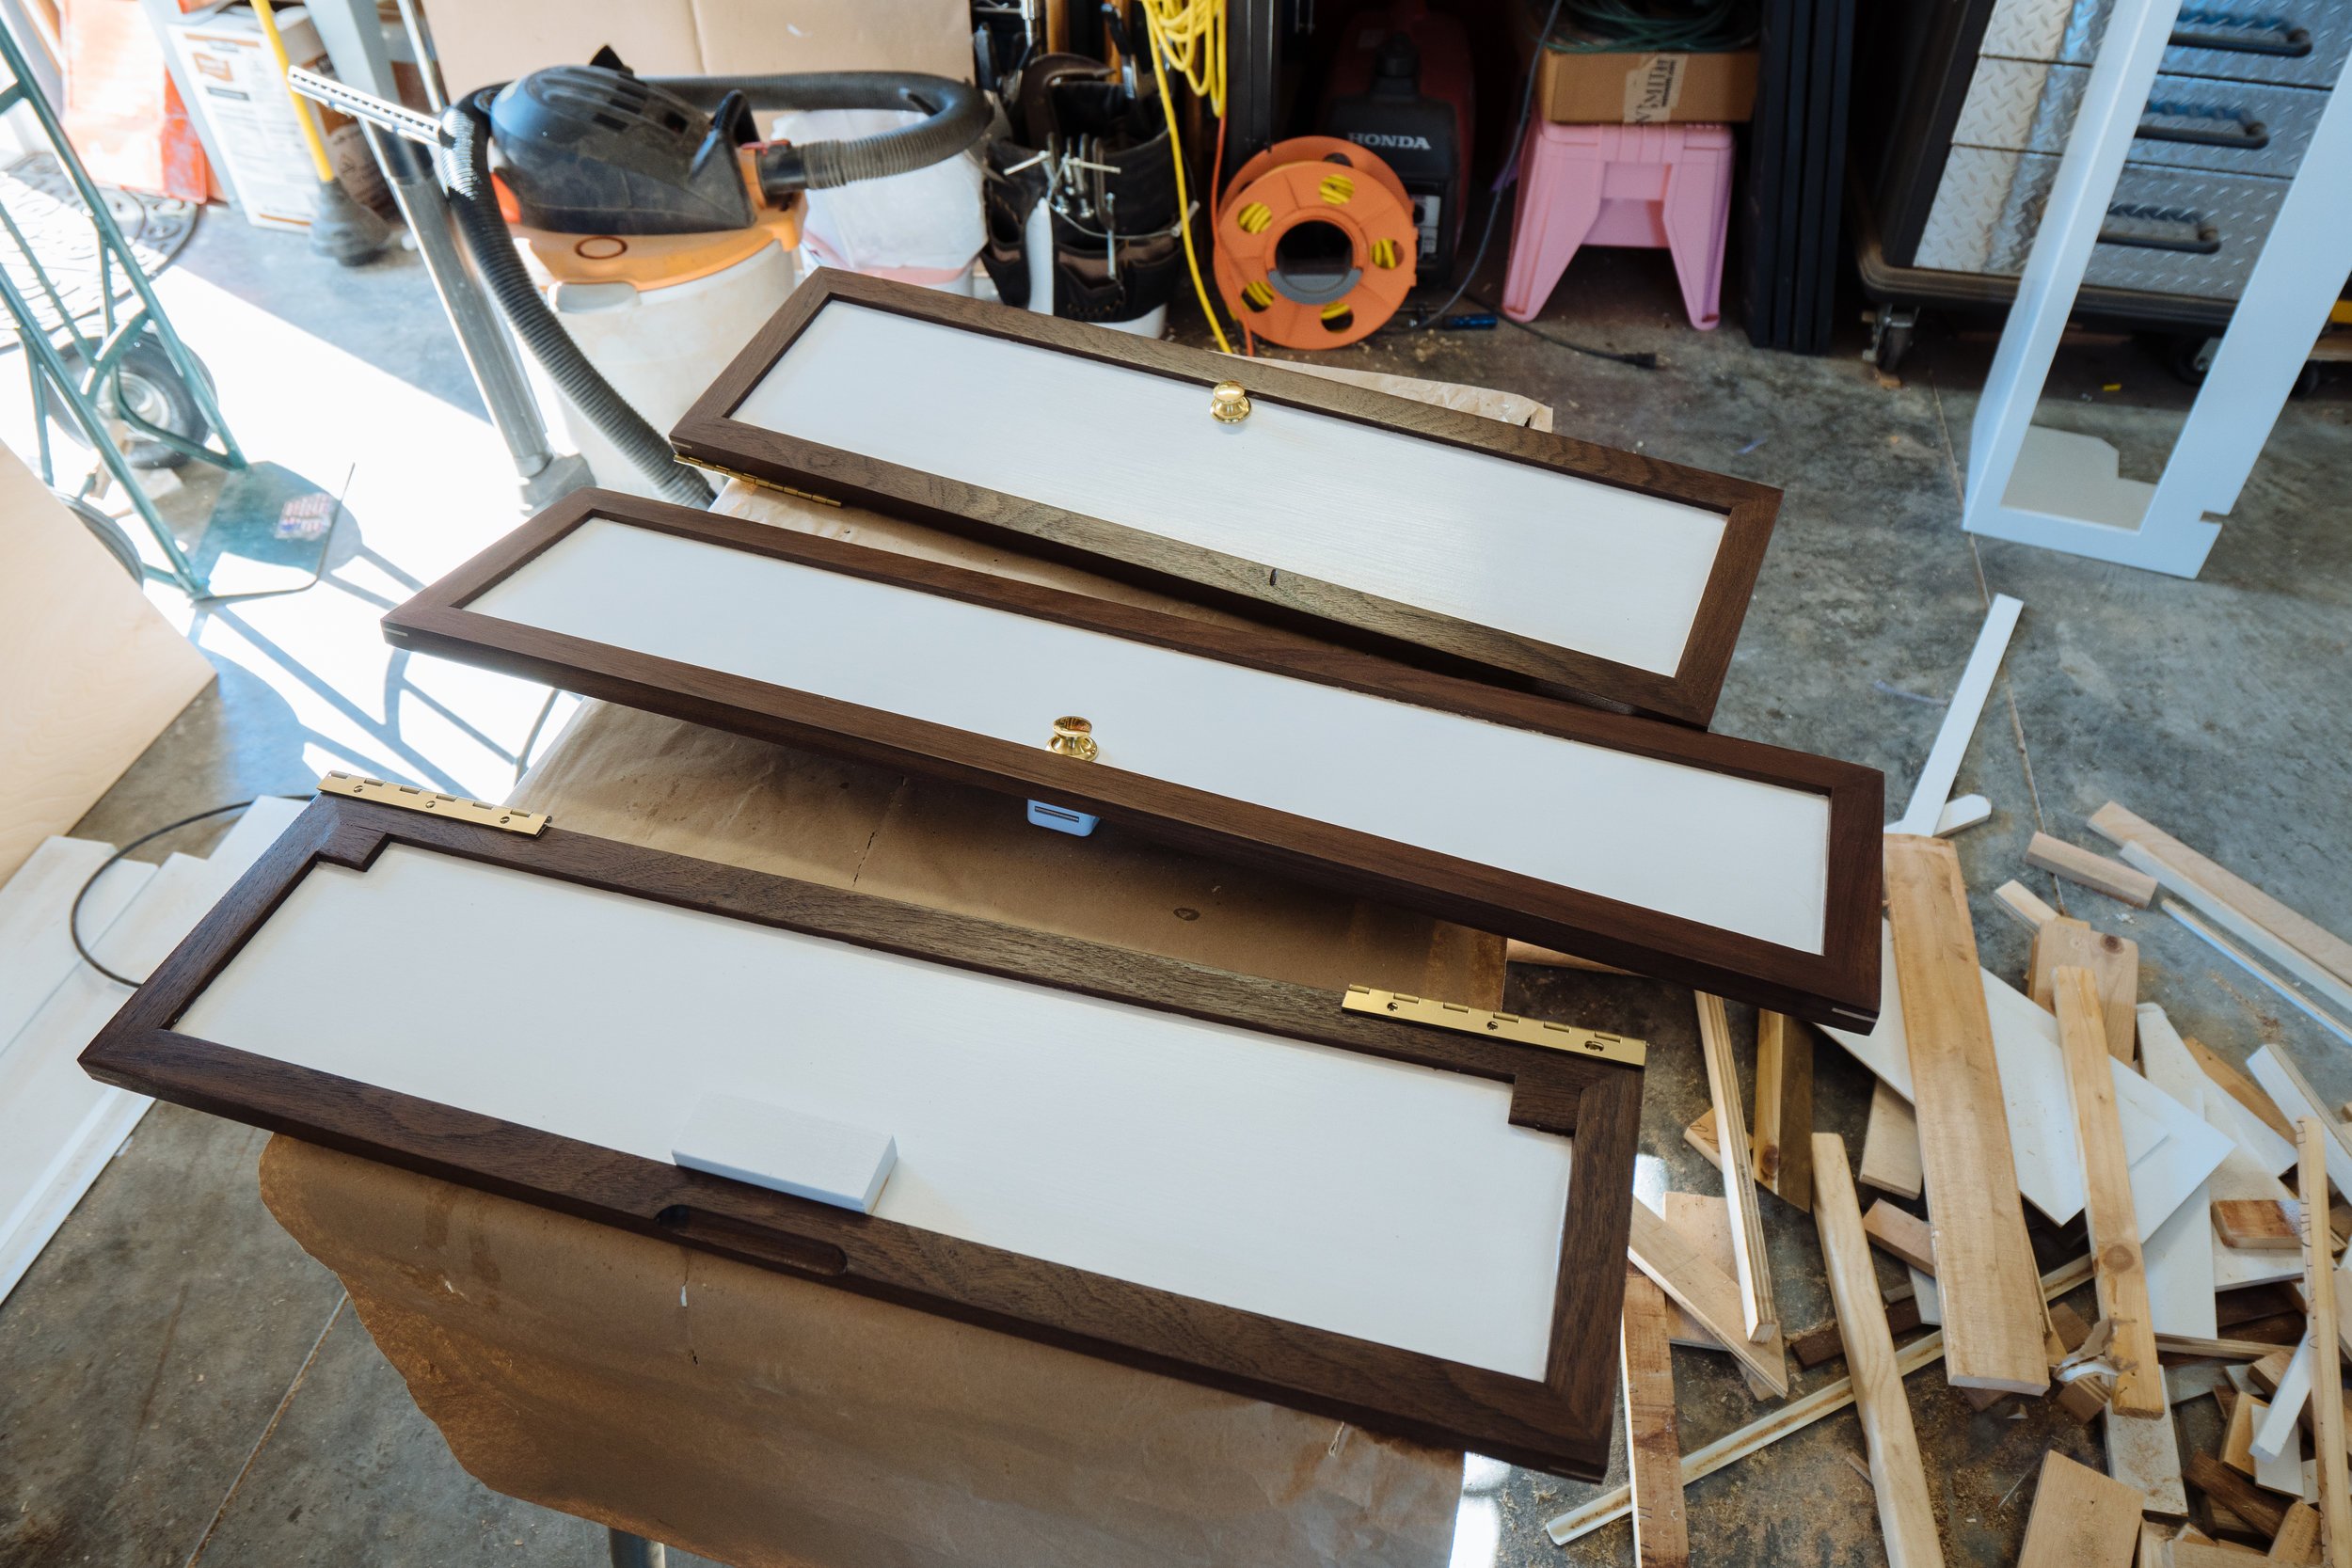
For the tops of our bench seats we decided to go with hatch lids so we could access anything that is stored below. In Amelia's original interior there were little doors on the face of the benches to access the below storage. To be honest, we weren't really into that for some reason. The things that'll be stored under the bench aren't everyday access things (ie. water tank, electrical managment system, and our tools) so we wanted something simple and easy to use!
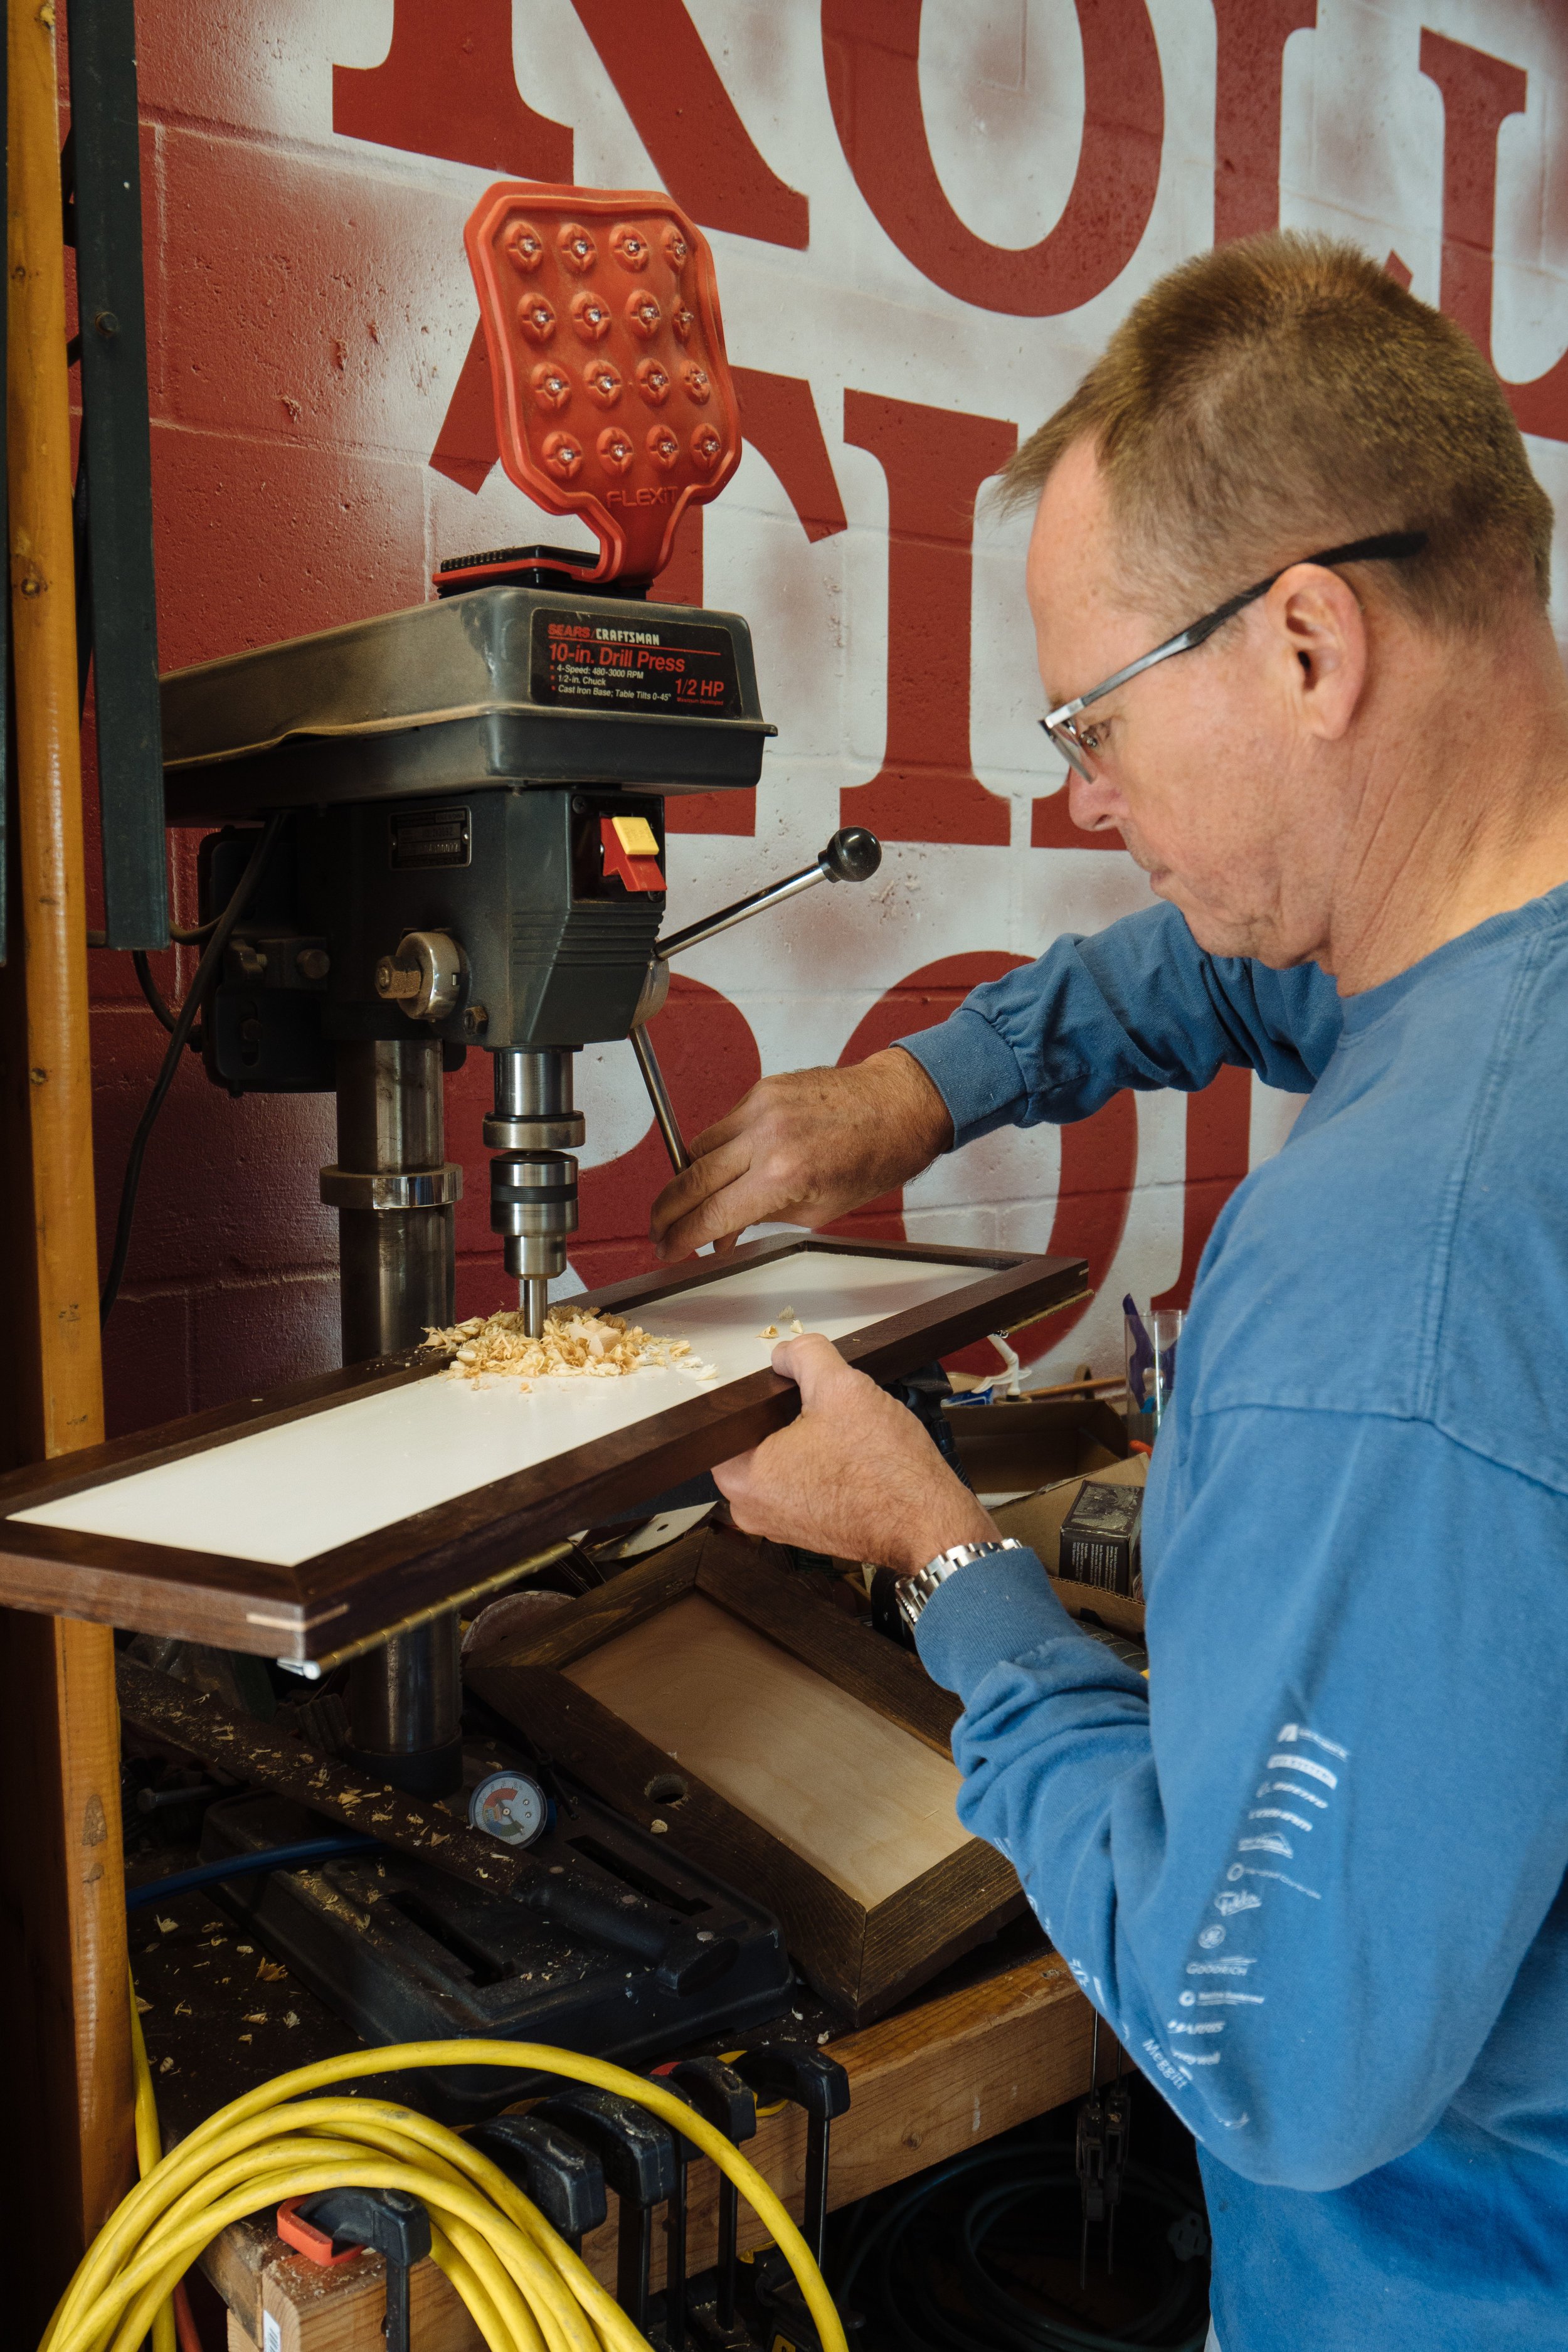
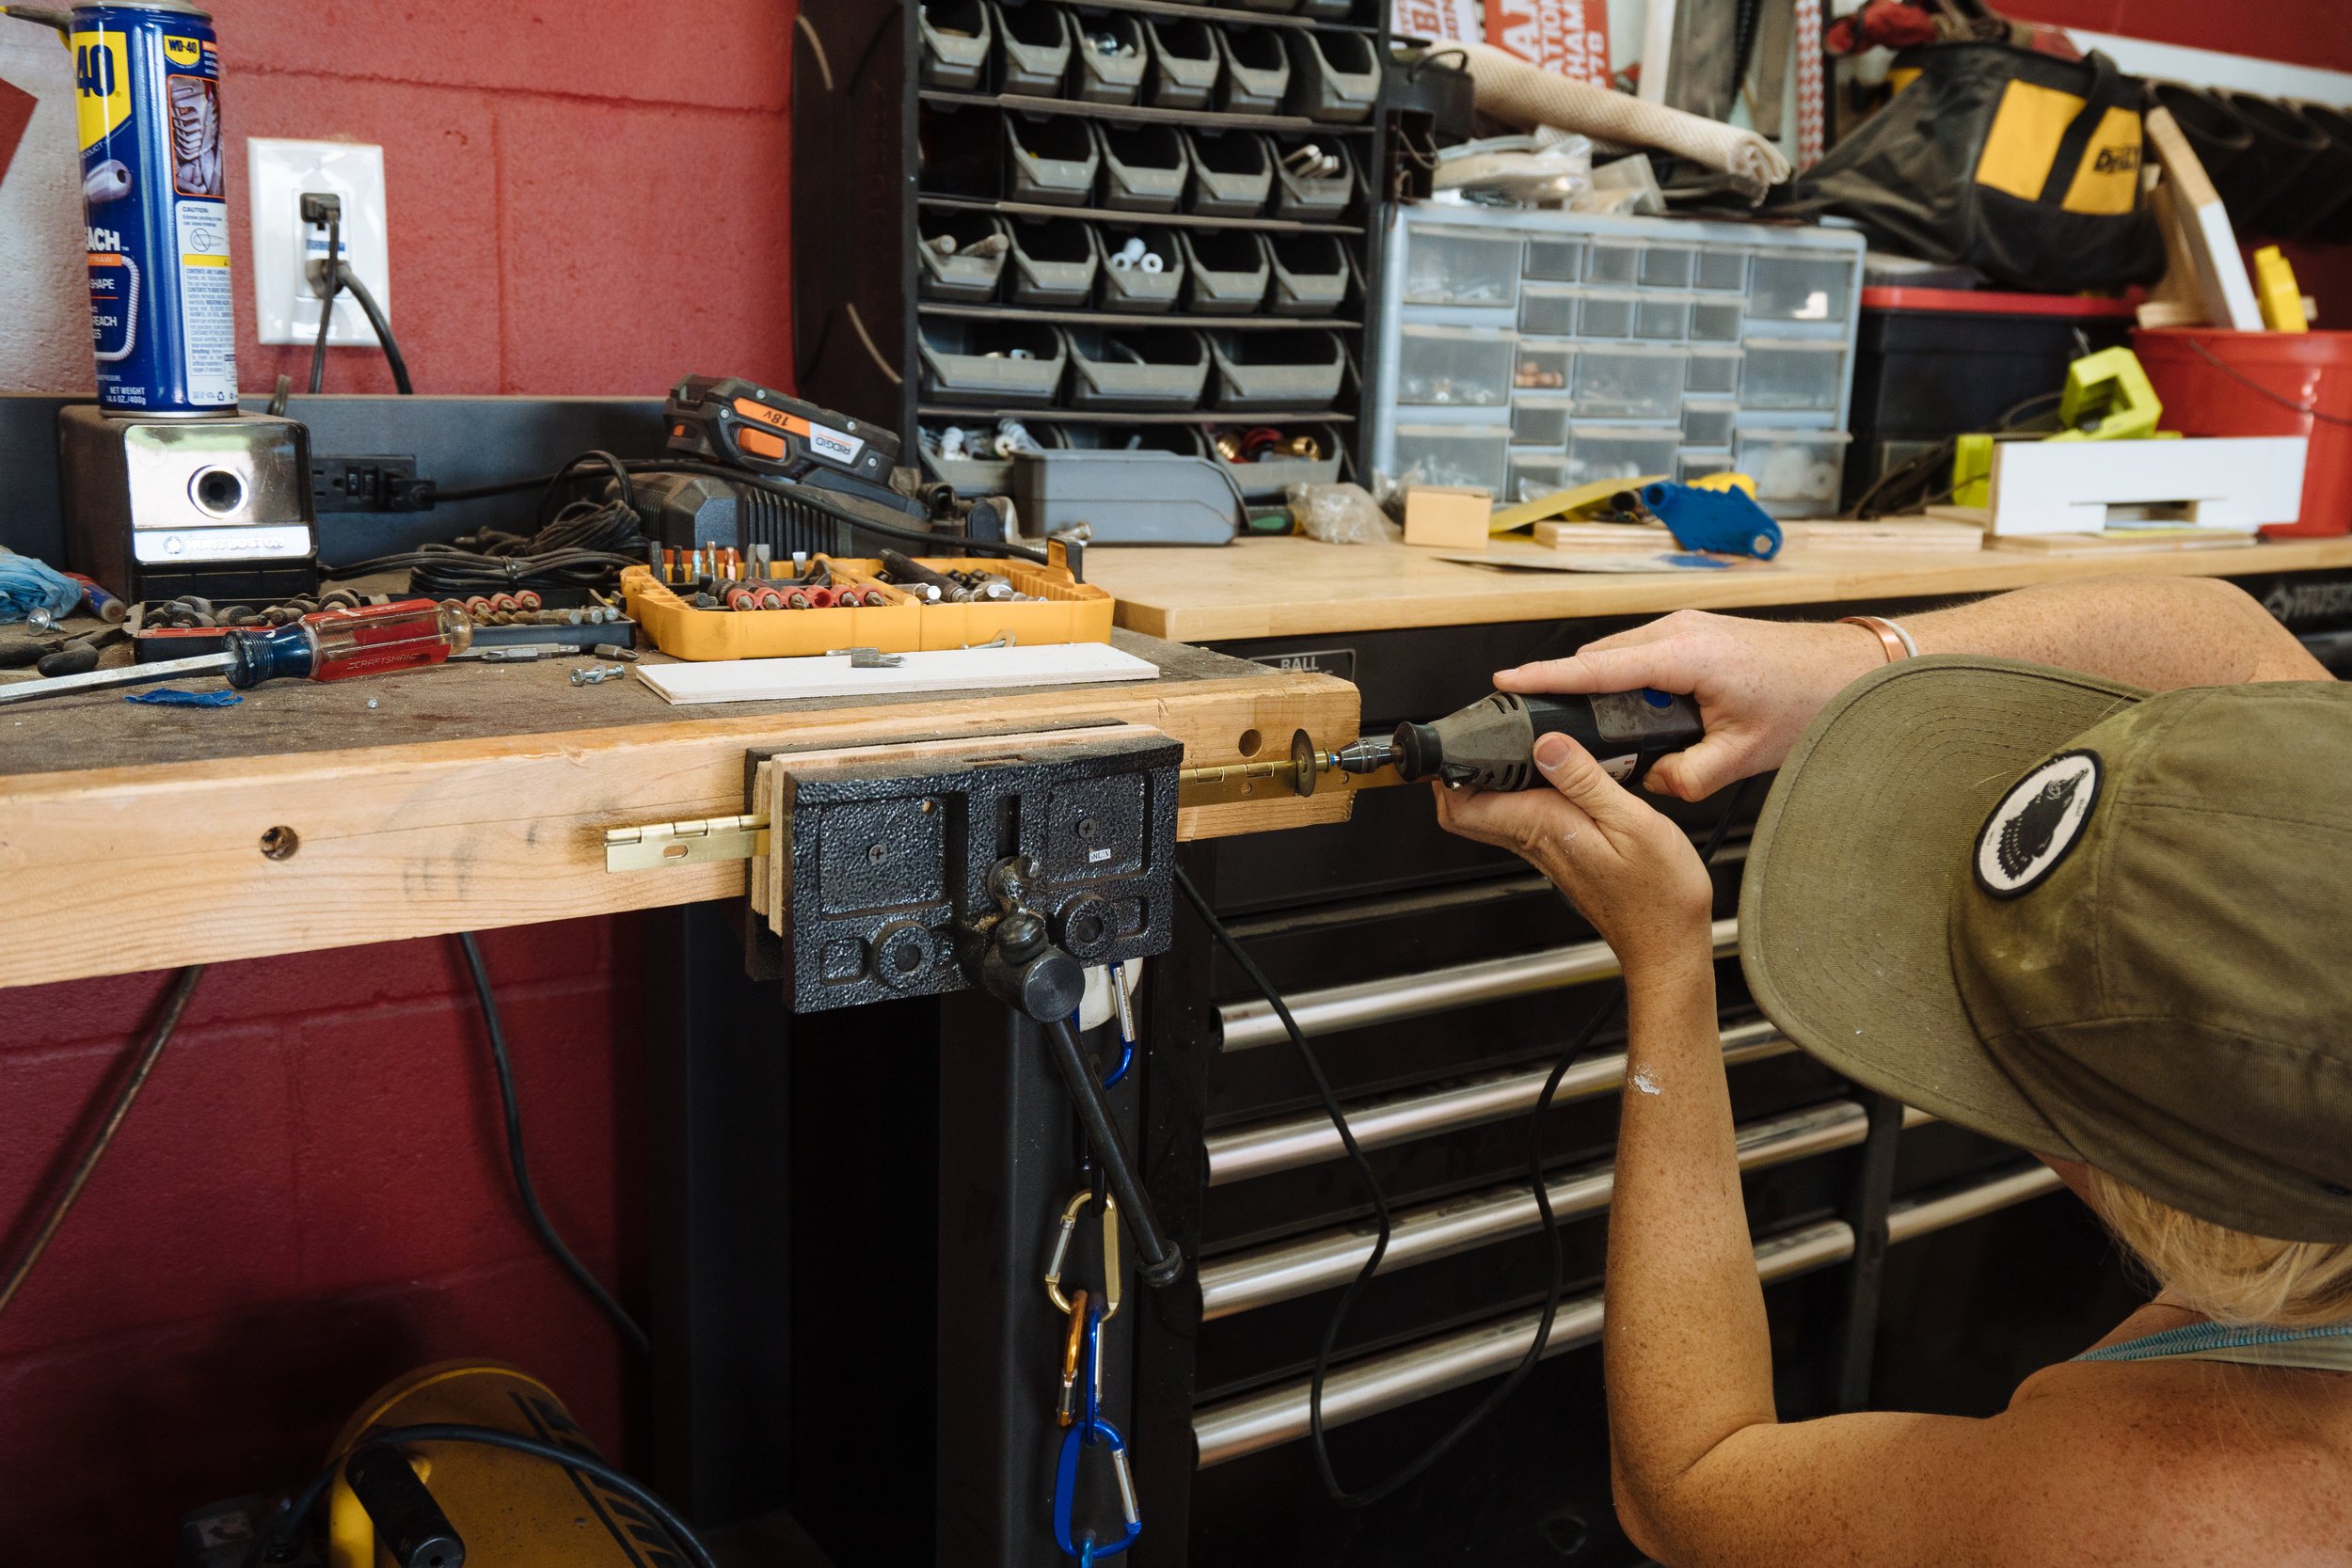
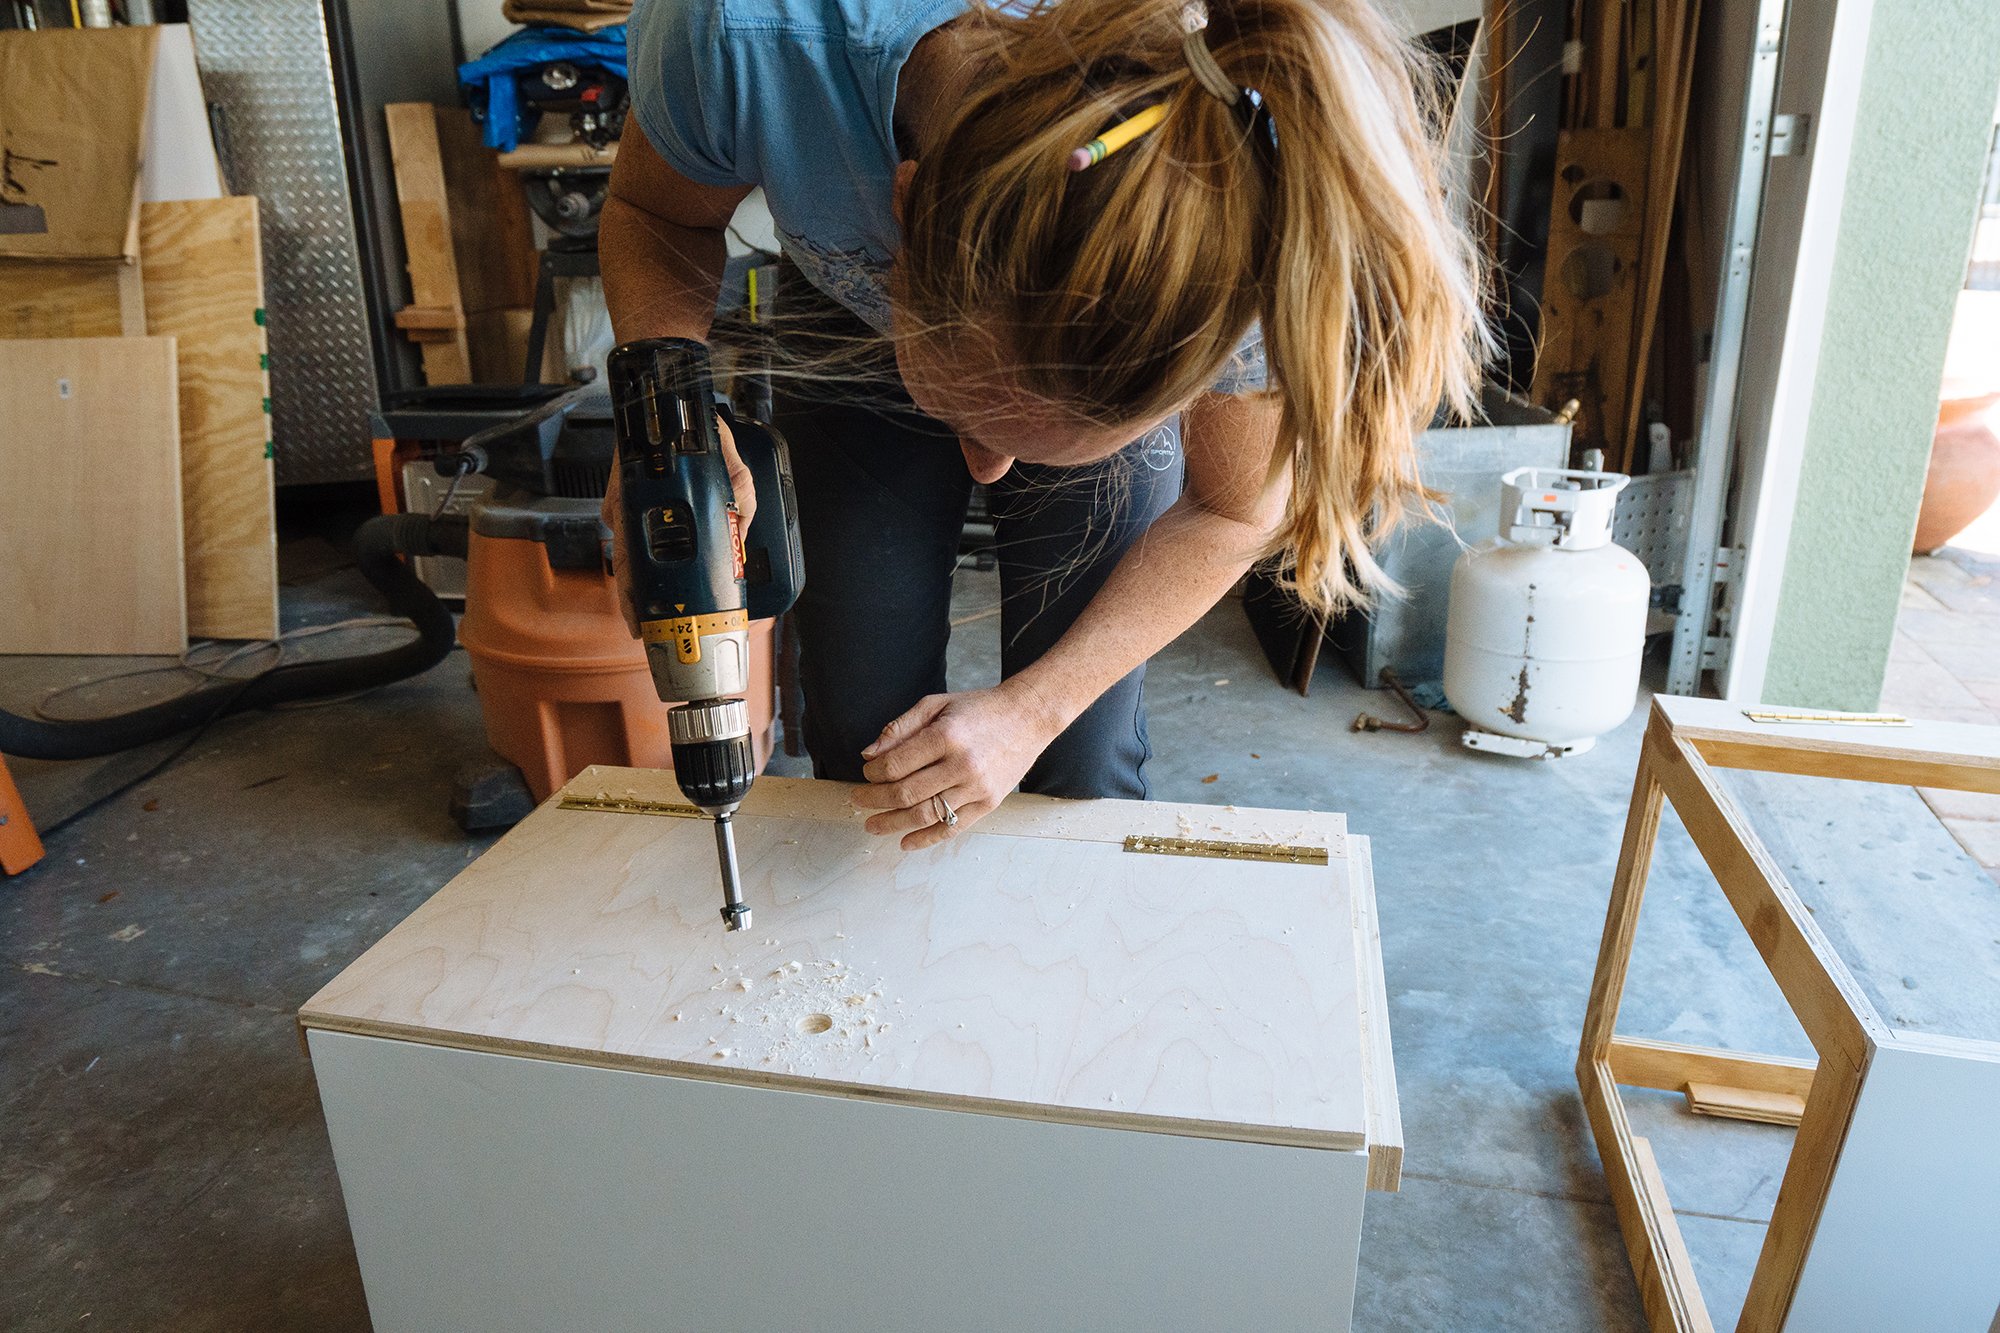
For the hinges we used left over piano hinges from our top cabinets. We ended up having the exact amount we needed down to the inch! Couldn't have planned it better if we tried. To open the benches we used a 3/4th inch forsner bit to drill a simple finger hole!

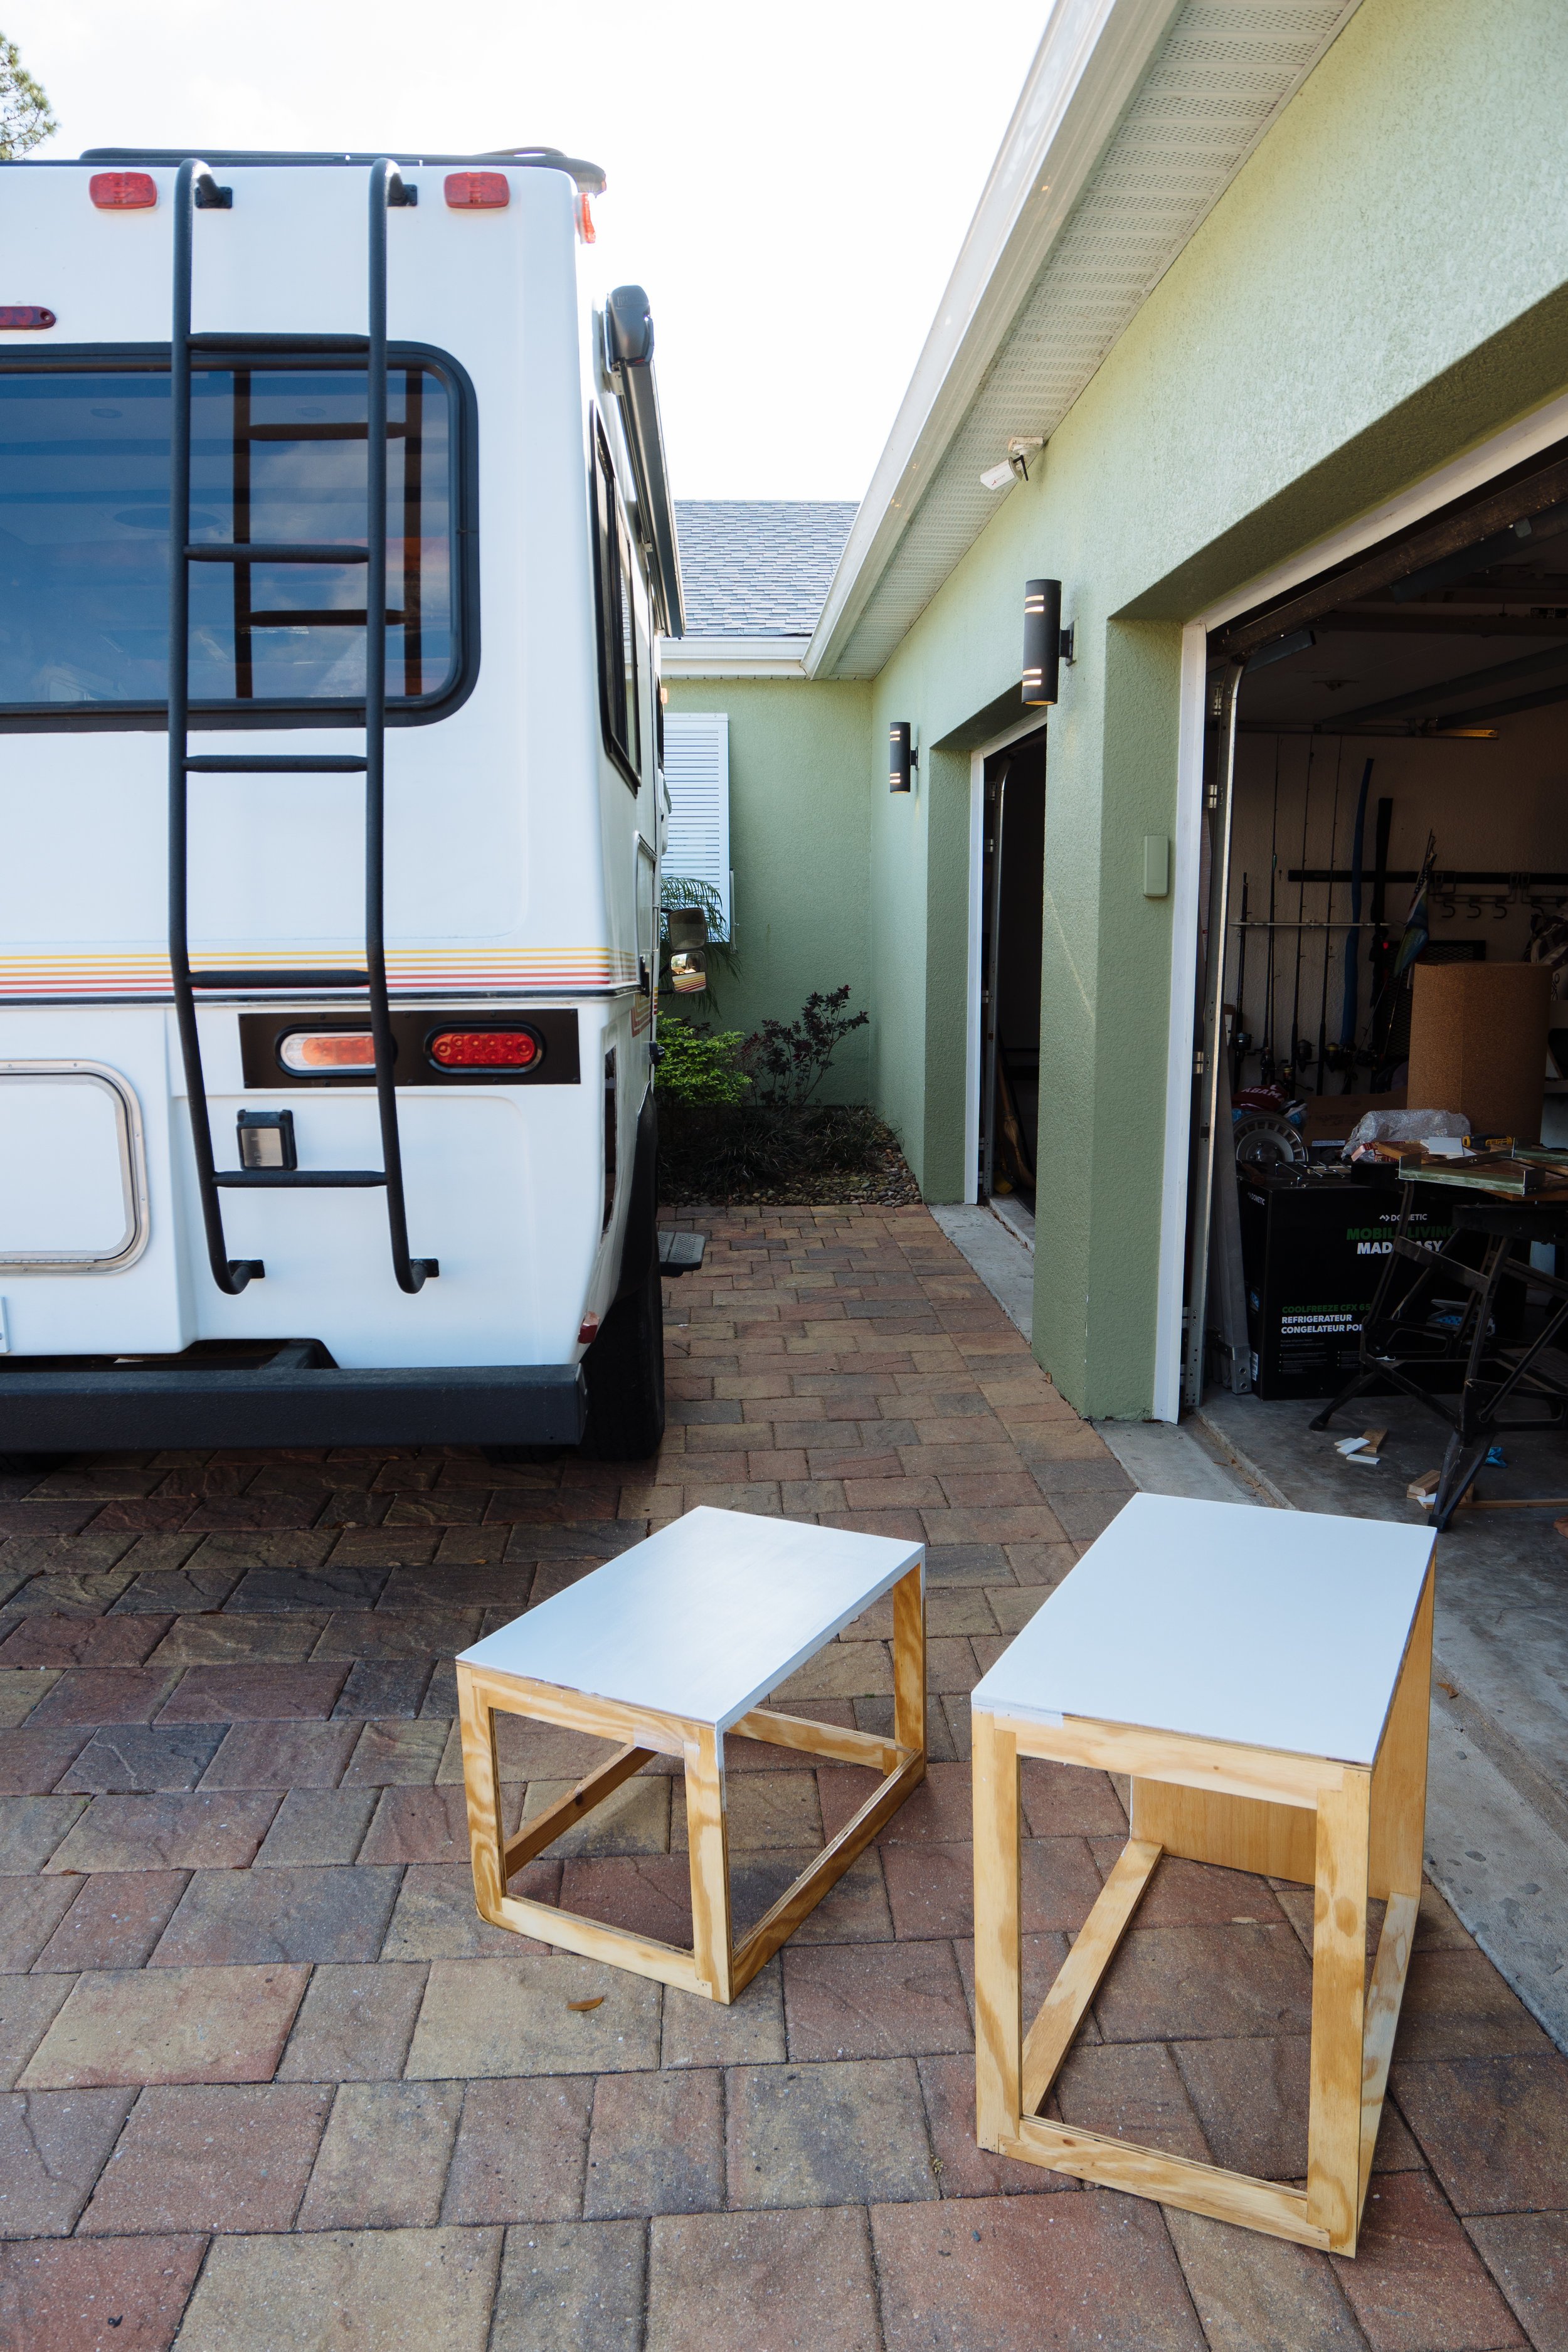
So simple. So easy. So nice! Now all that is left is to install them.
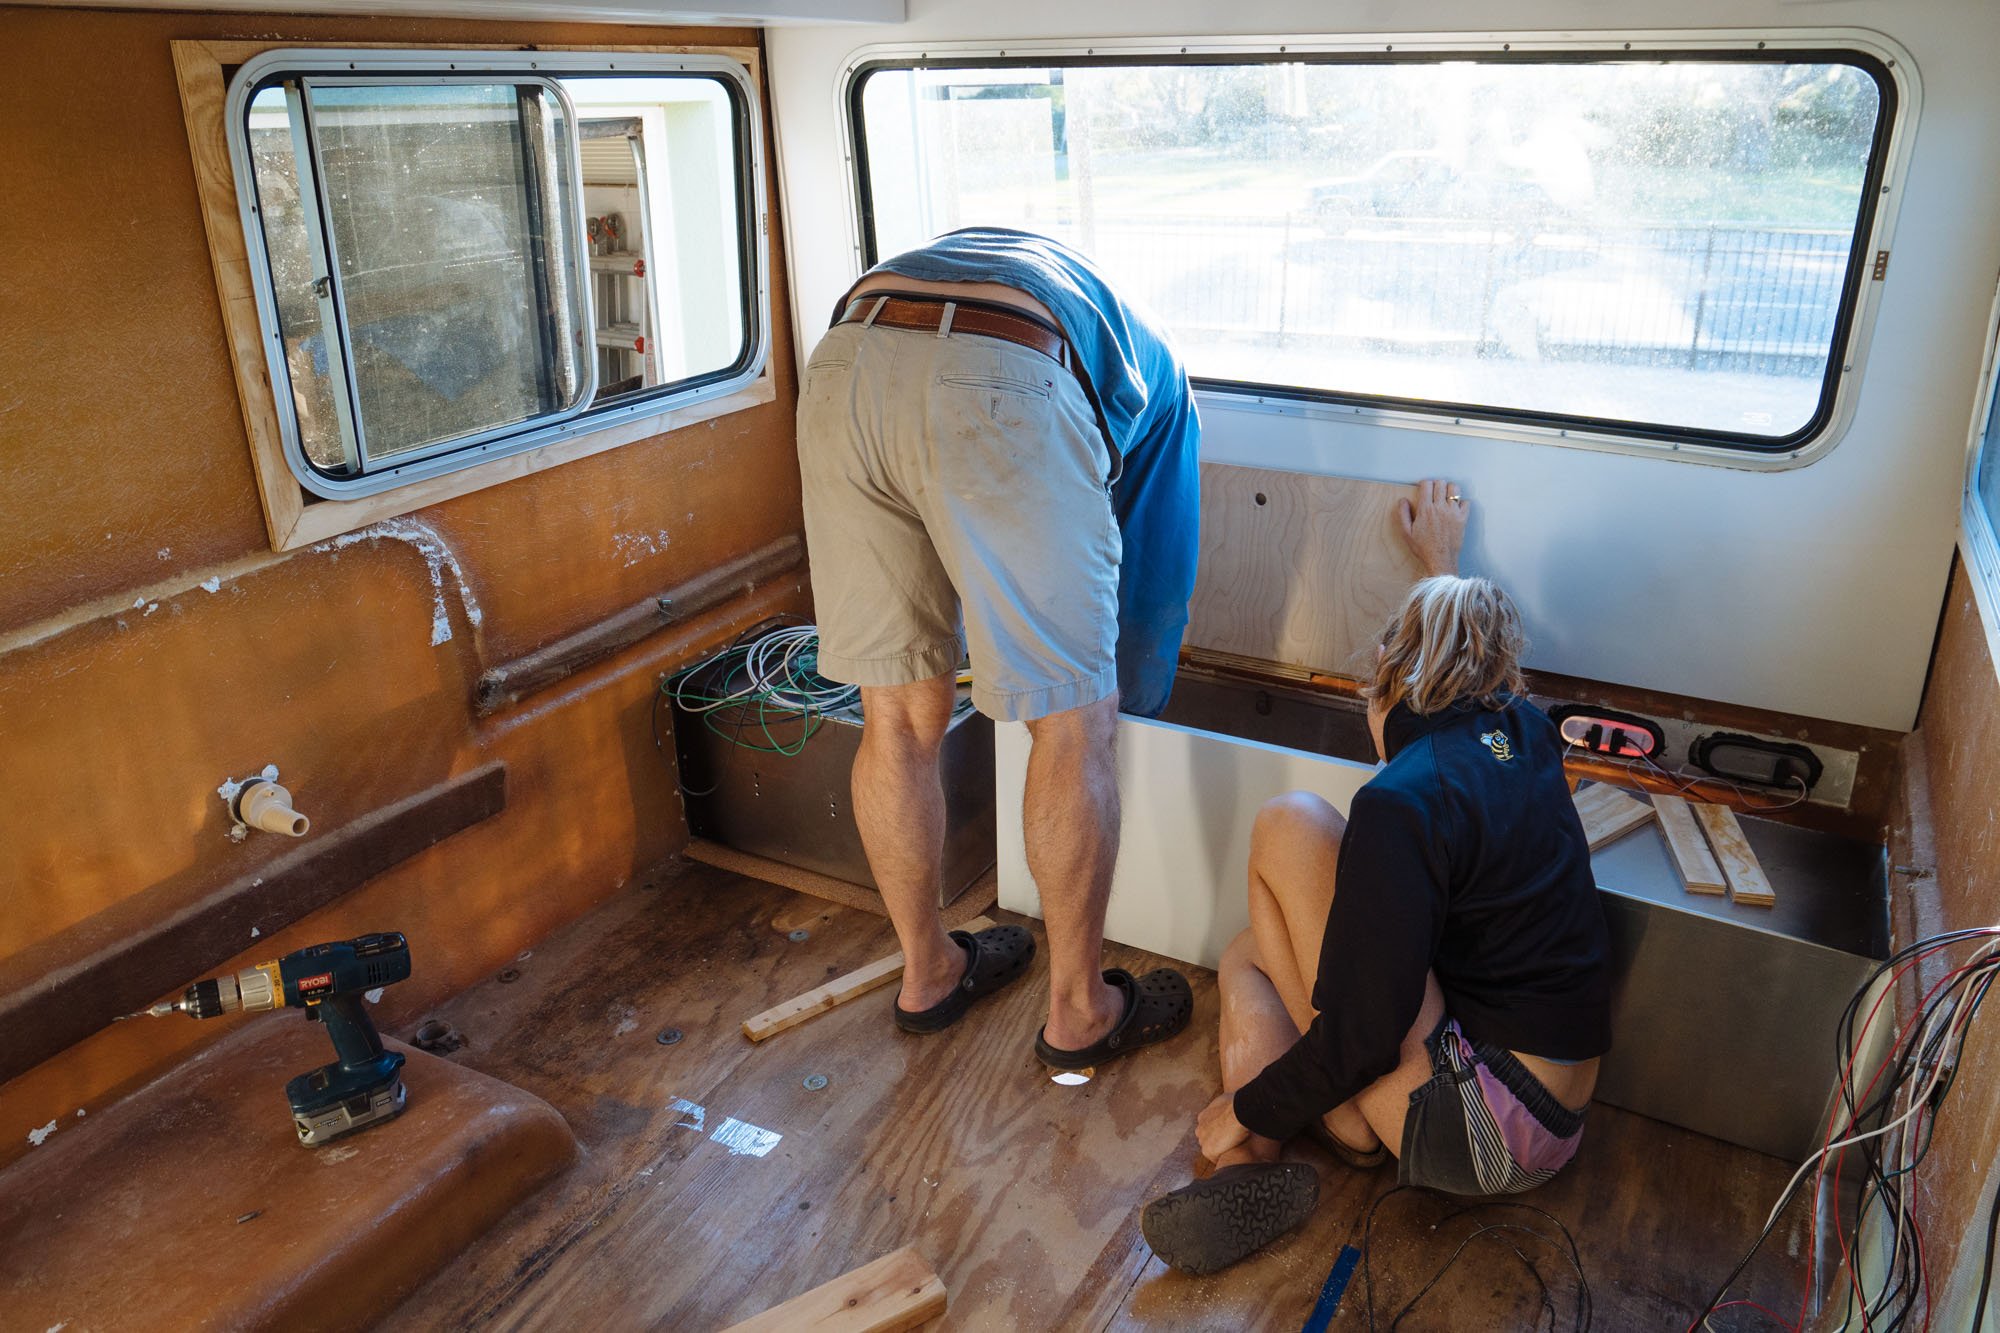
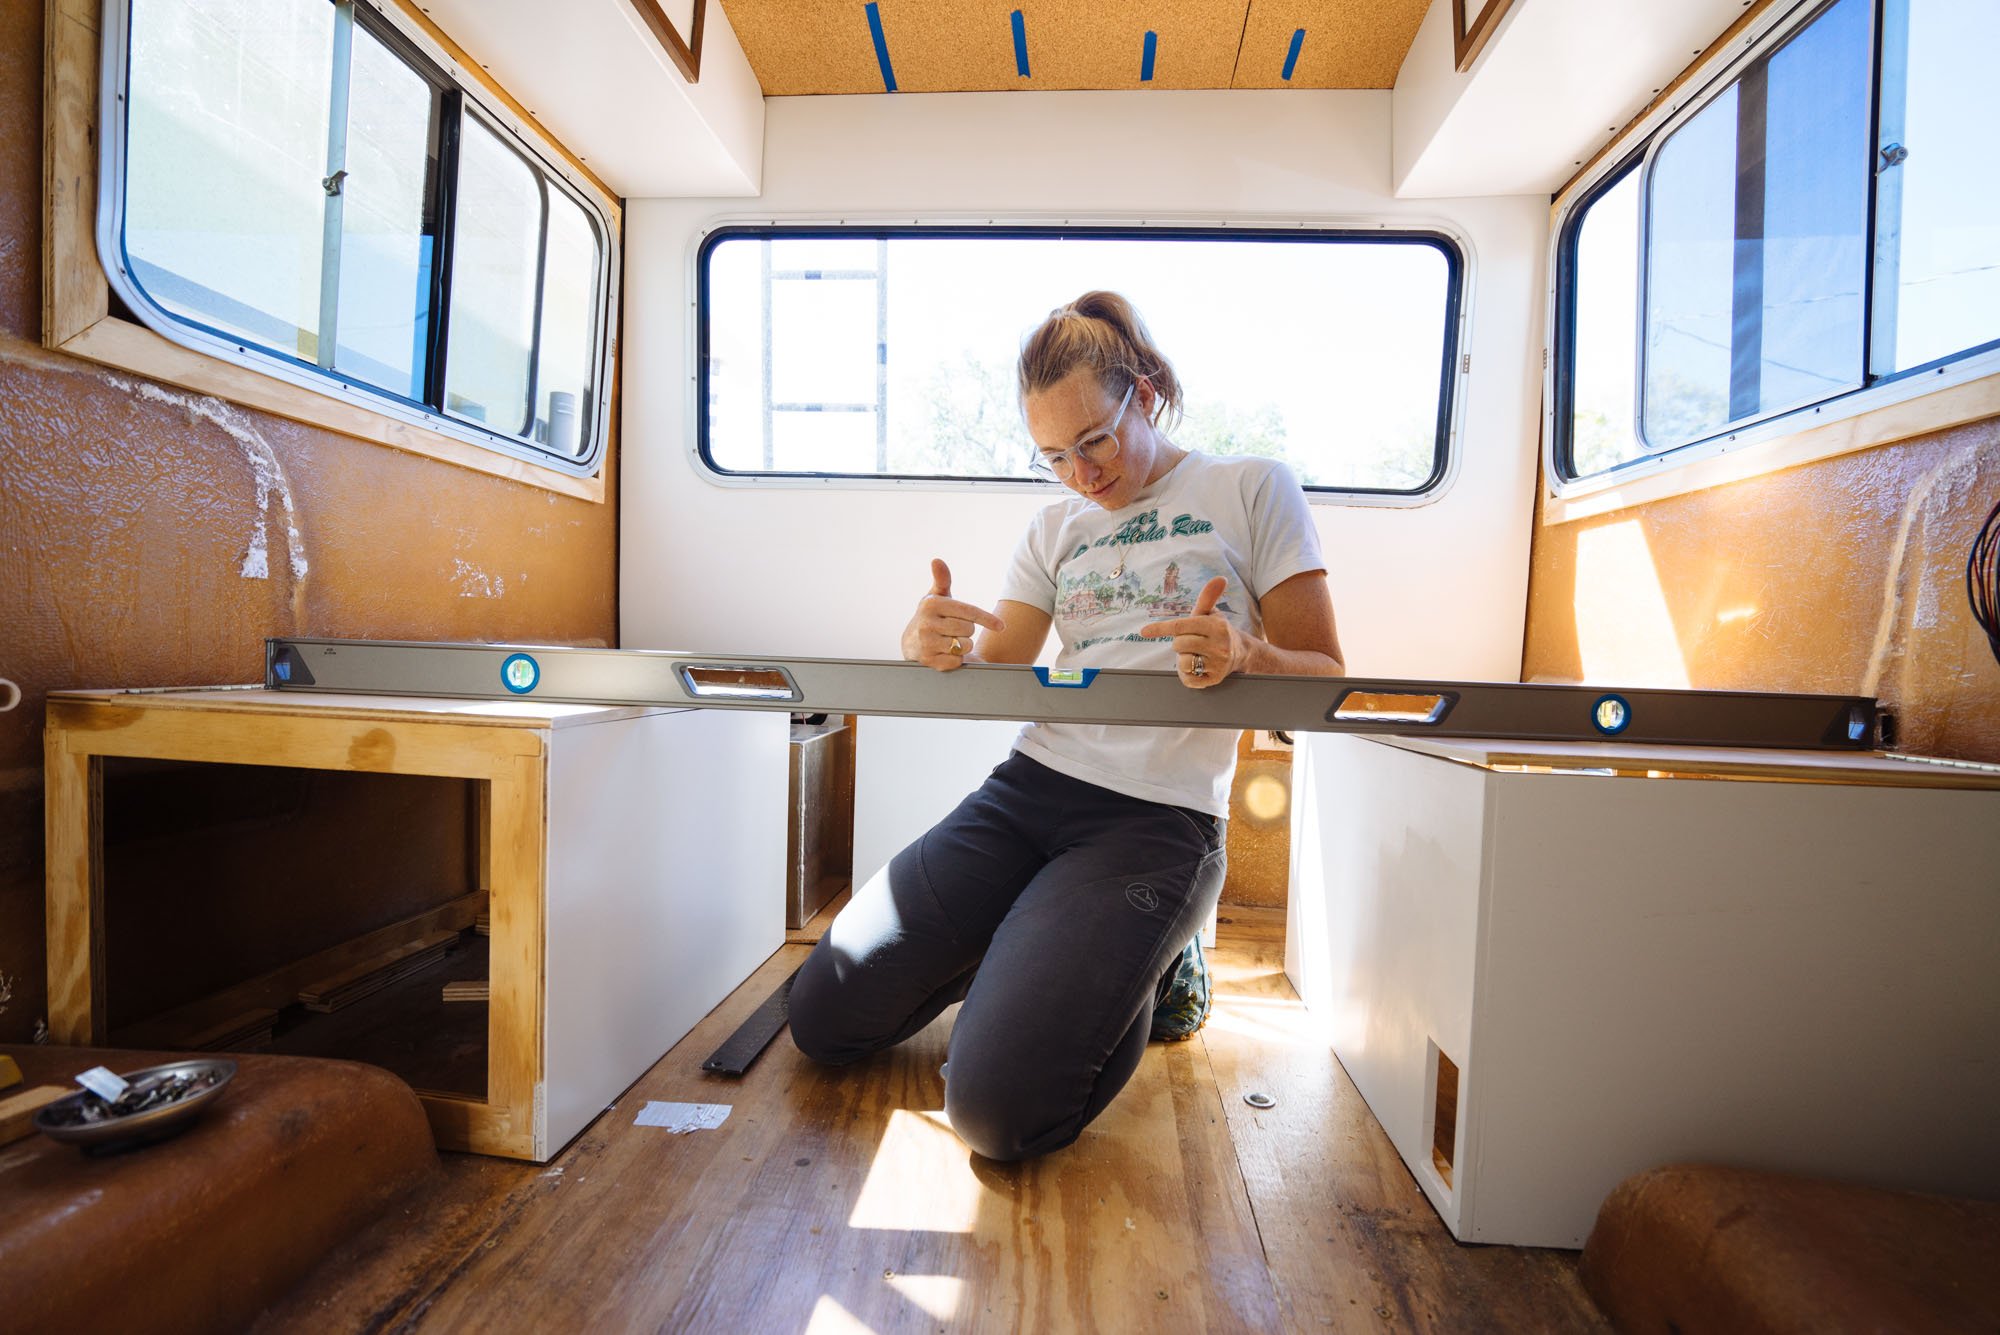
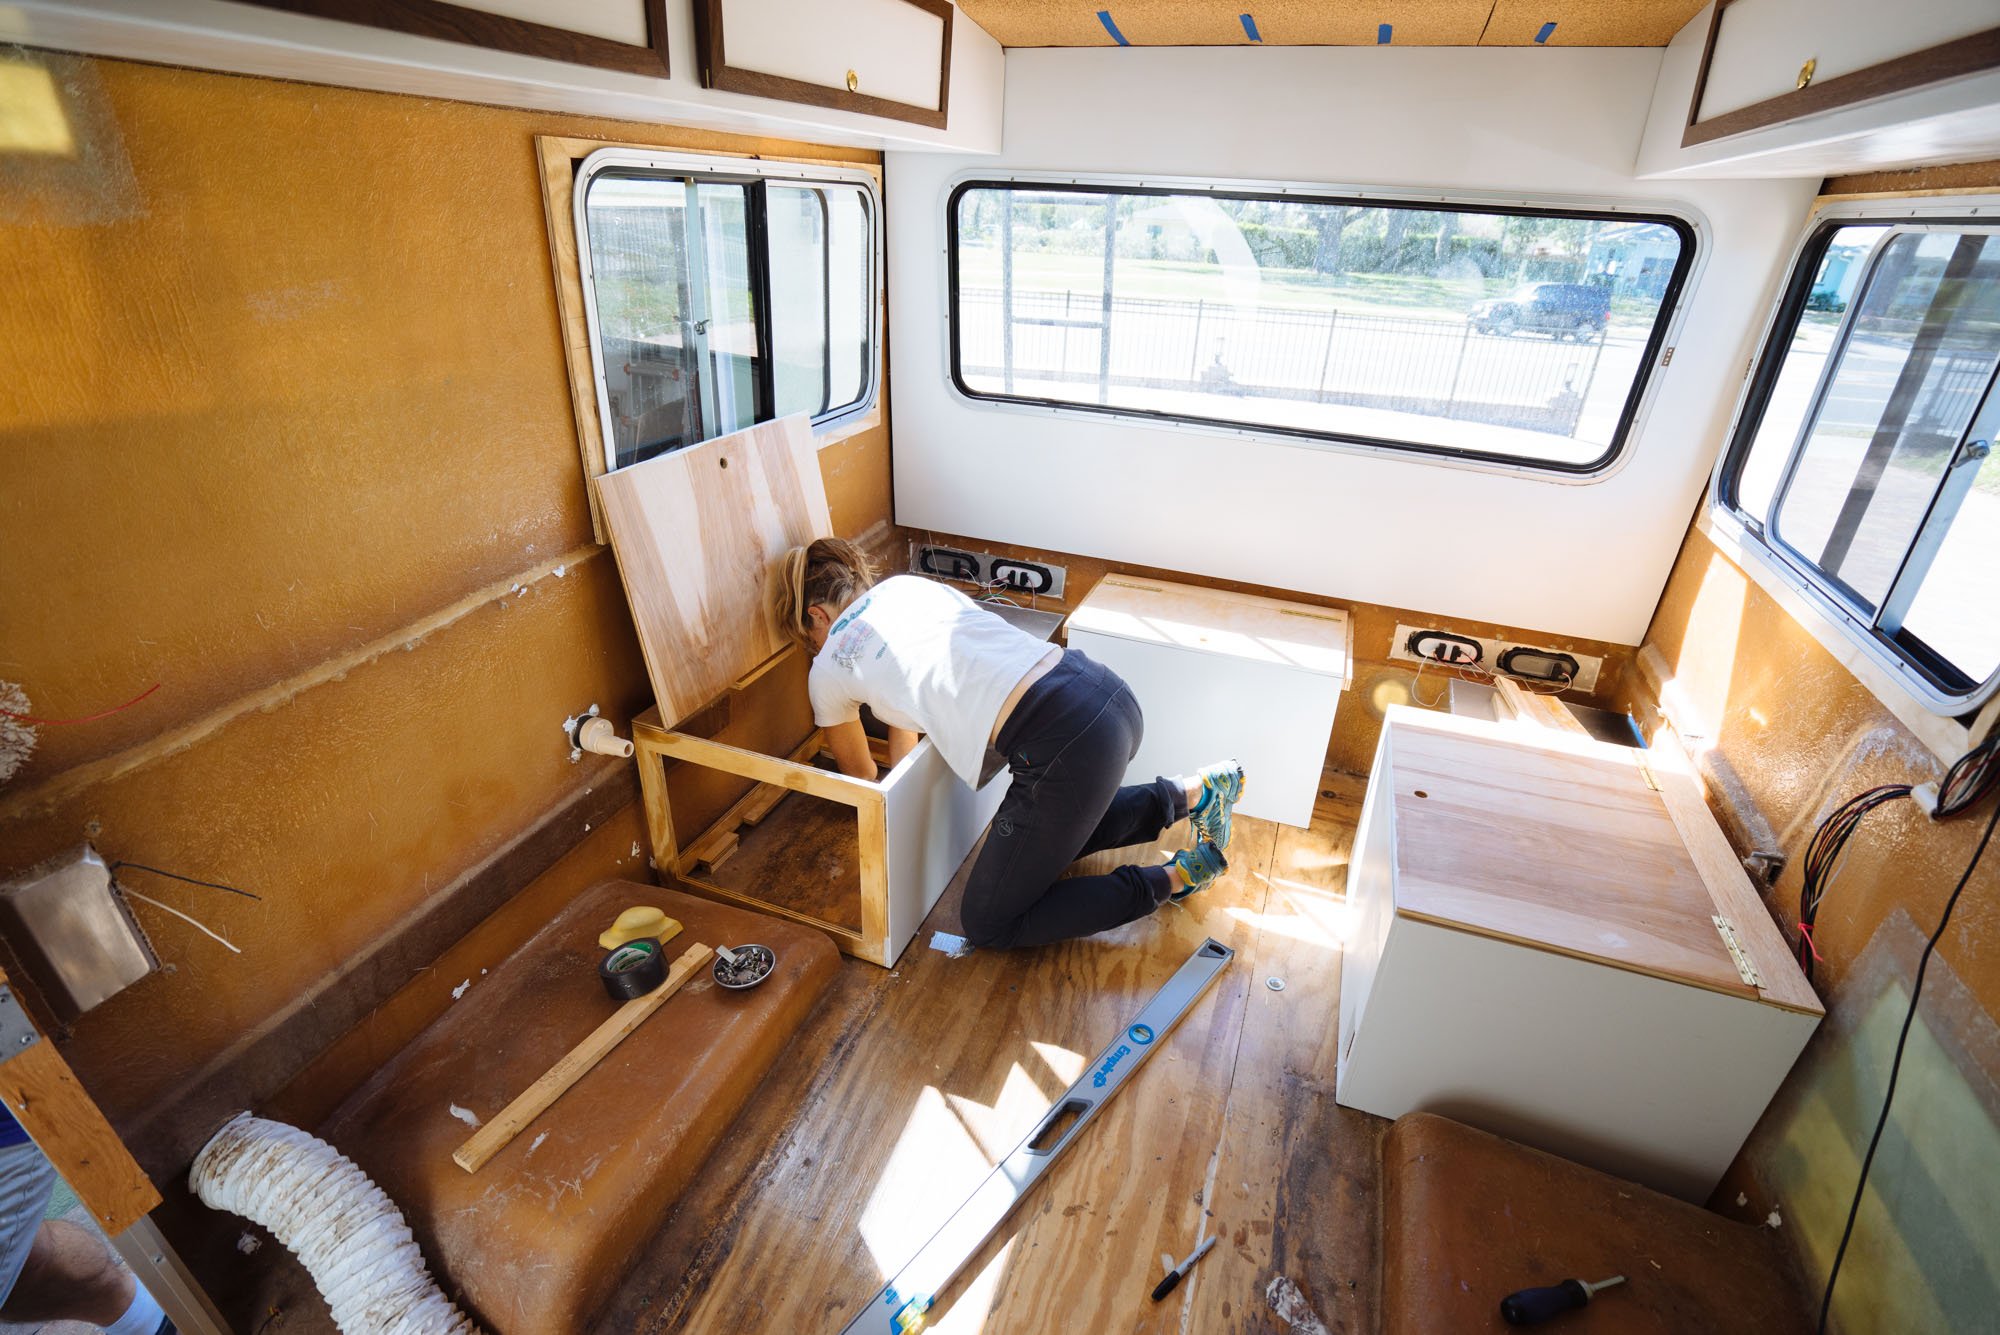

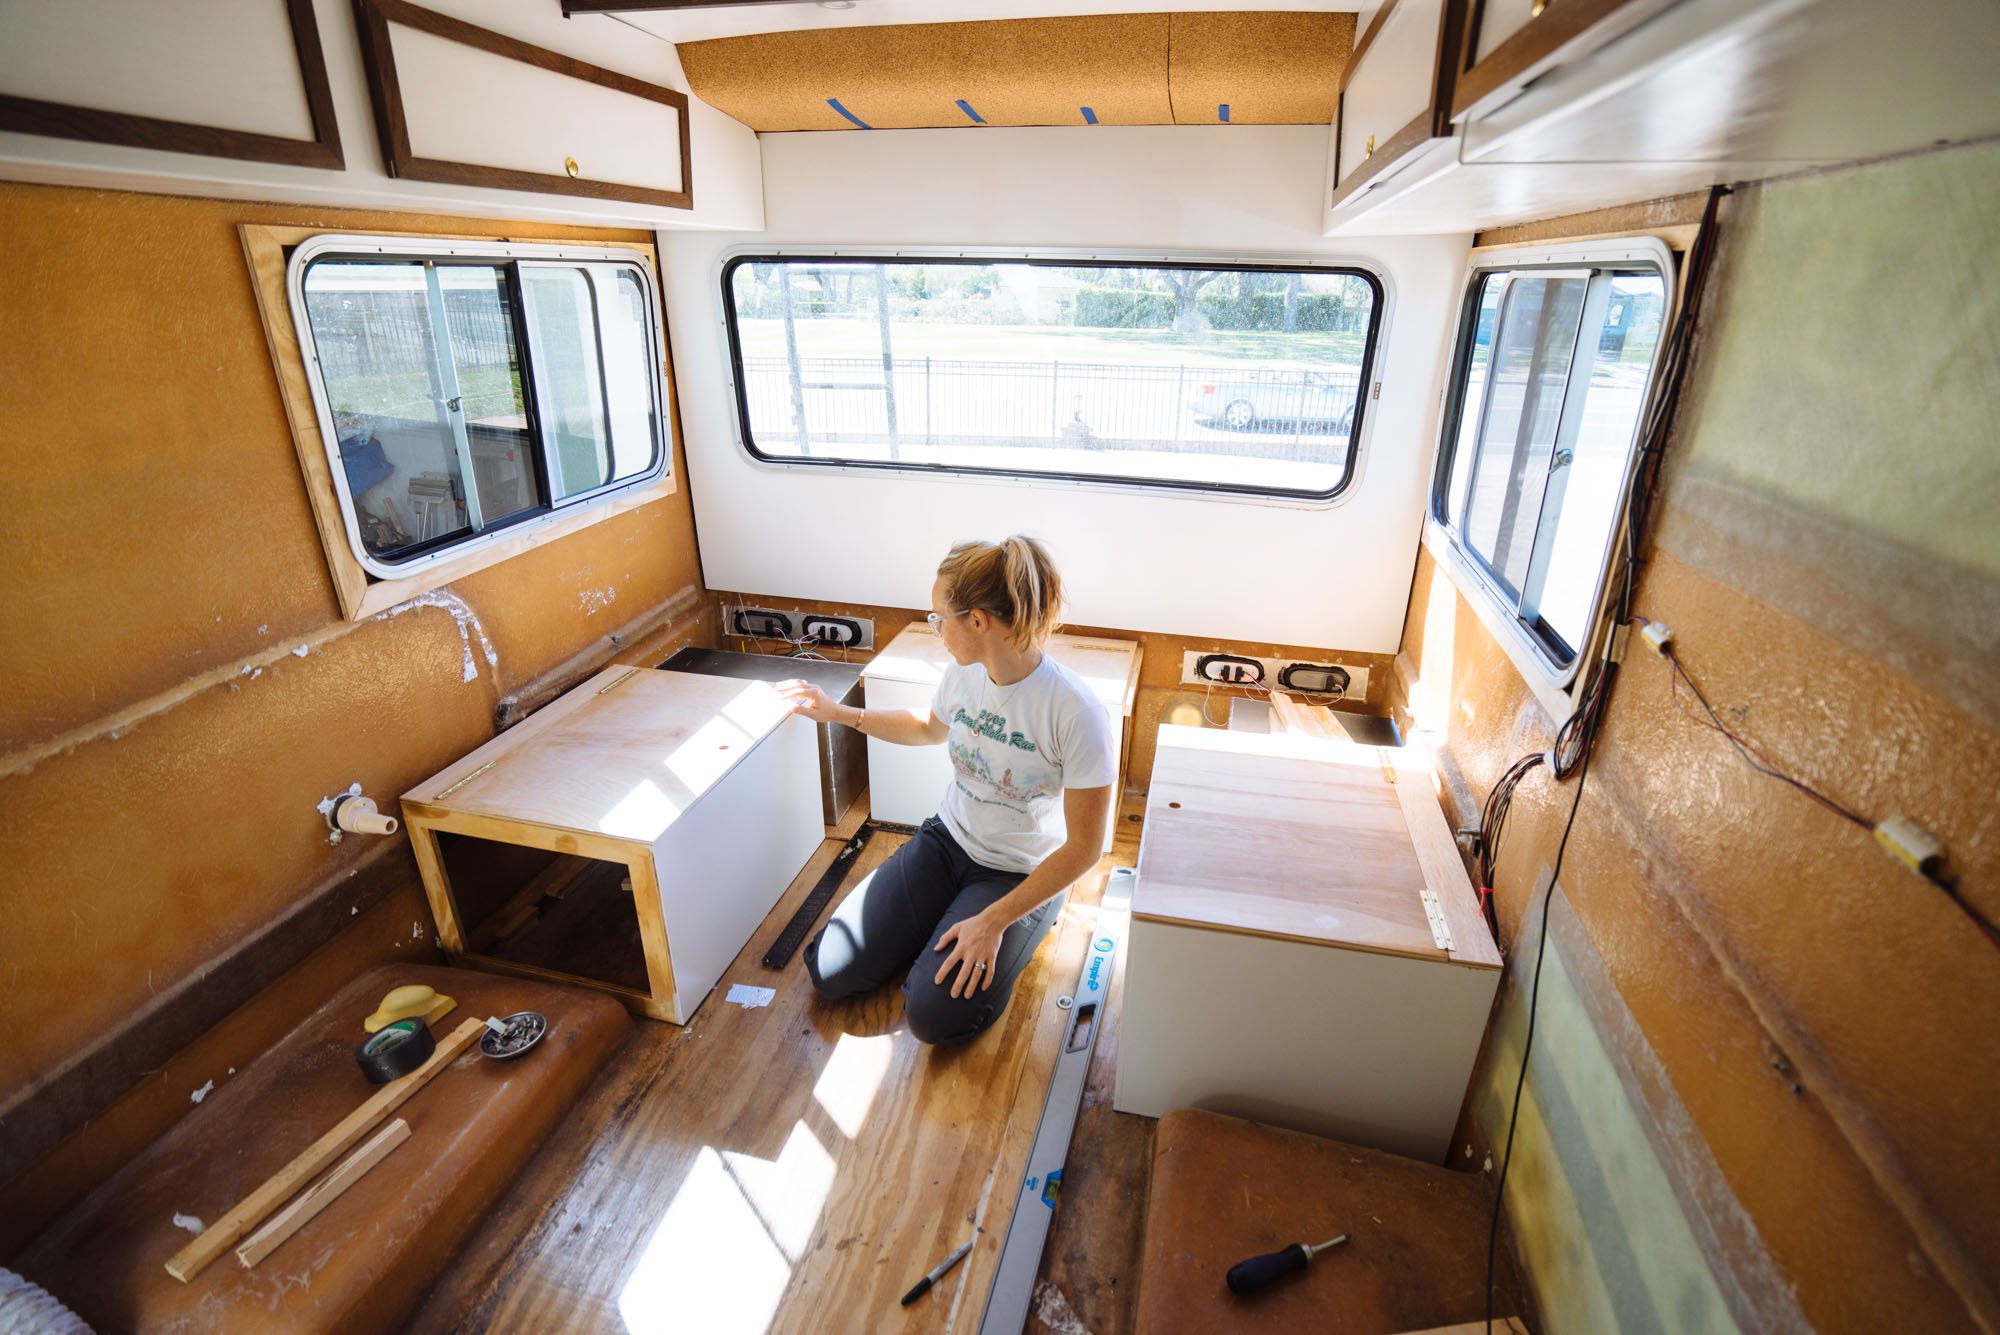
It was a bit of a process installing the bench seats. The floors slope down as they go towards the outside walls, so we took some extra time to make sure that the benches were nice and level when they went in. We ended up needing to add little shims towards the back that were as thick as 3/4th of an inch! They're screwed directly into the floor using outdoor decking screws.

Here they are installed and lookin fine! We plan on running our walls back behind the bench seat so we figured we should go ahead and establish where the benches need to sit on the floor. We can easily take them out and reinstall them if need be. We also needed to get them in so we could start taking solid measurements and get moving on our bottom cabinets!

After installing the bench seats I promptly went outside and destroyed the old bench seat out of celebration! Man it felt good!

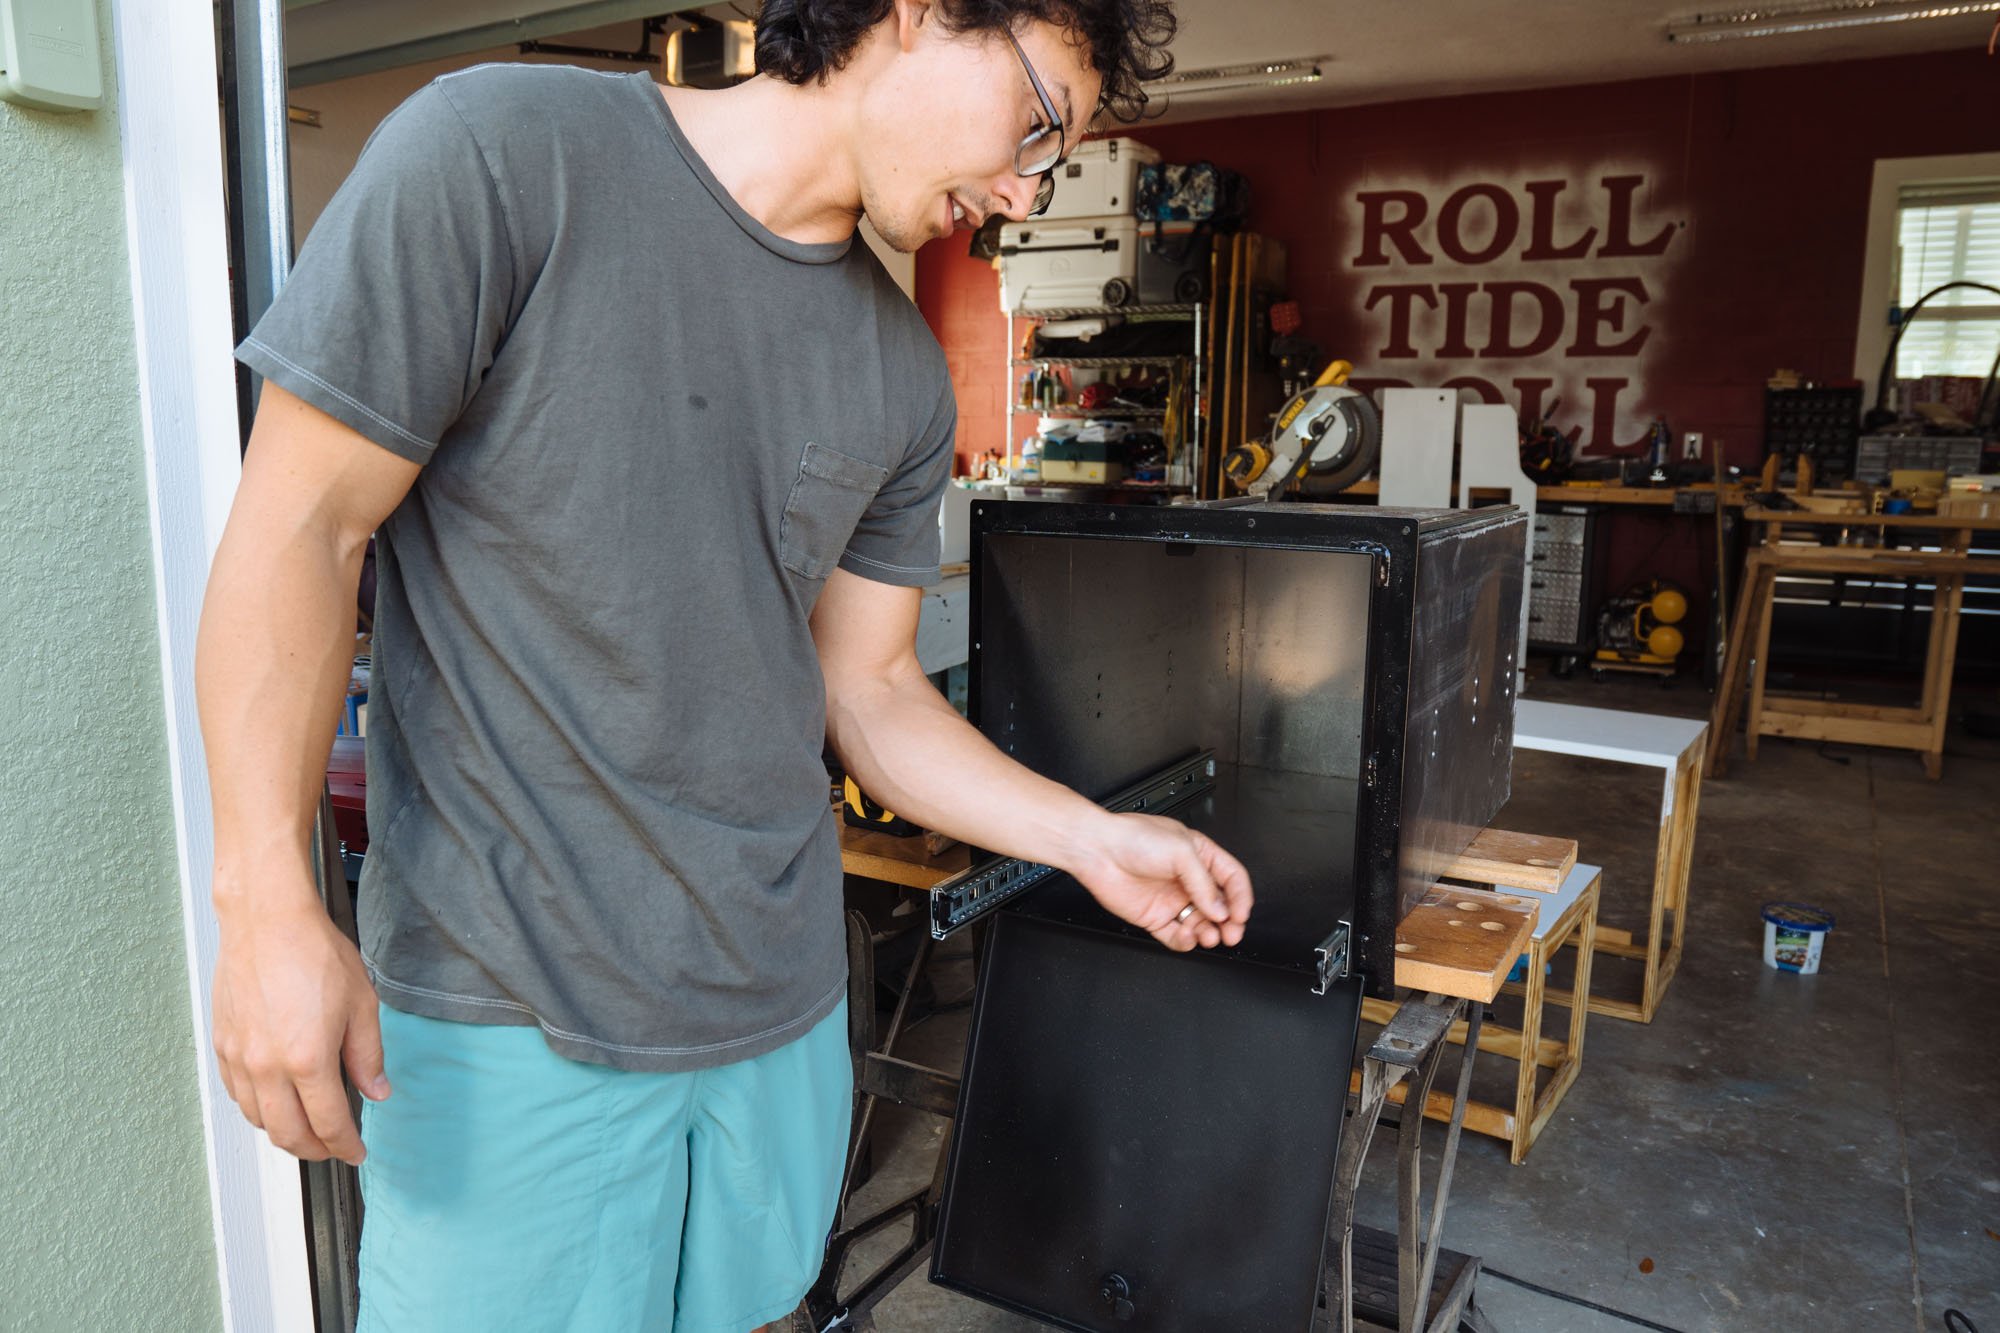
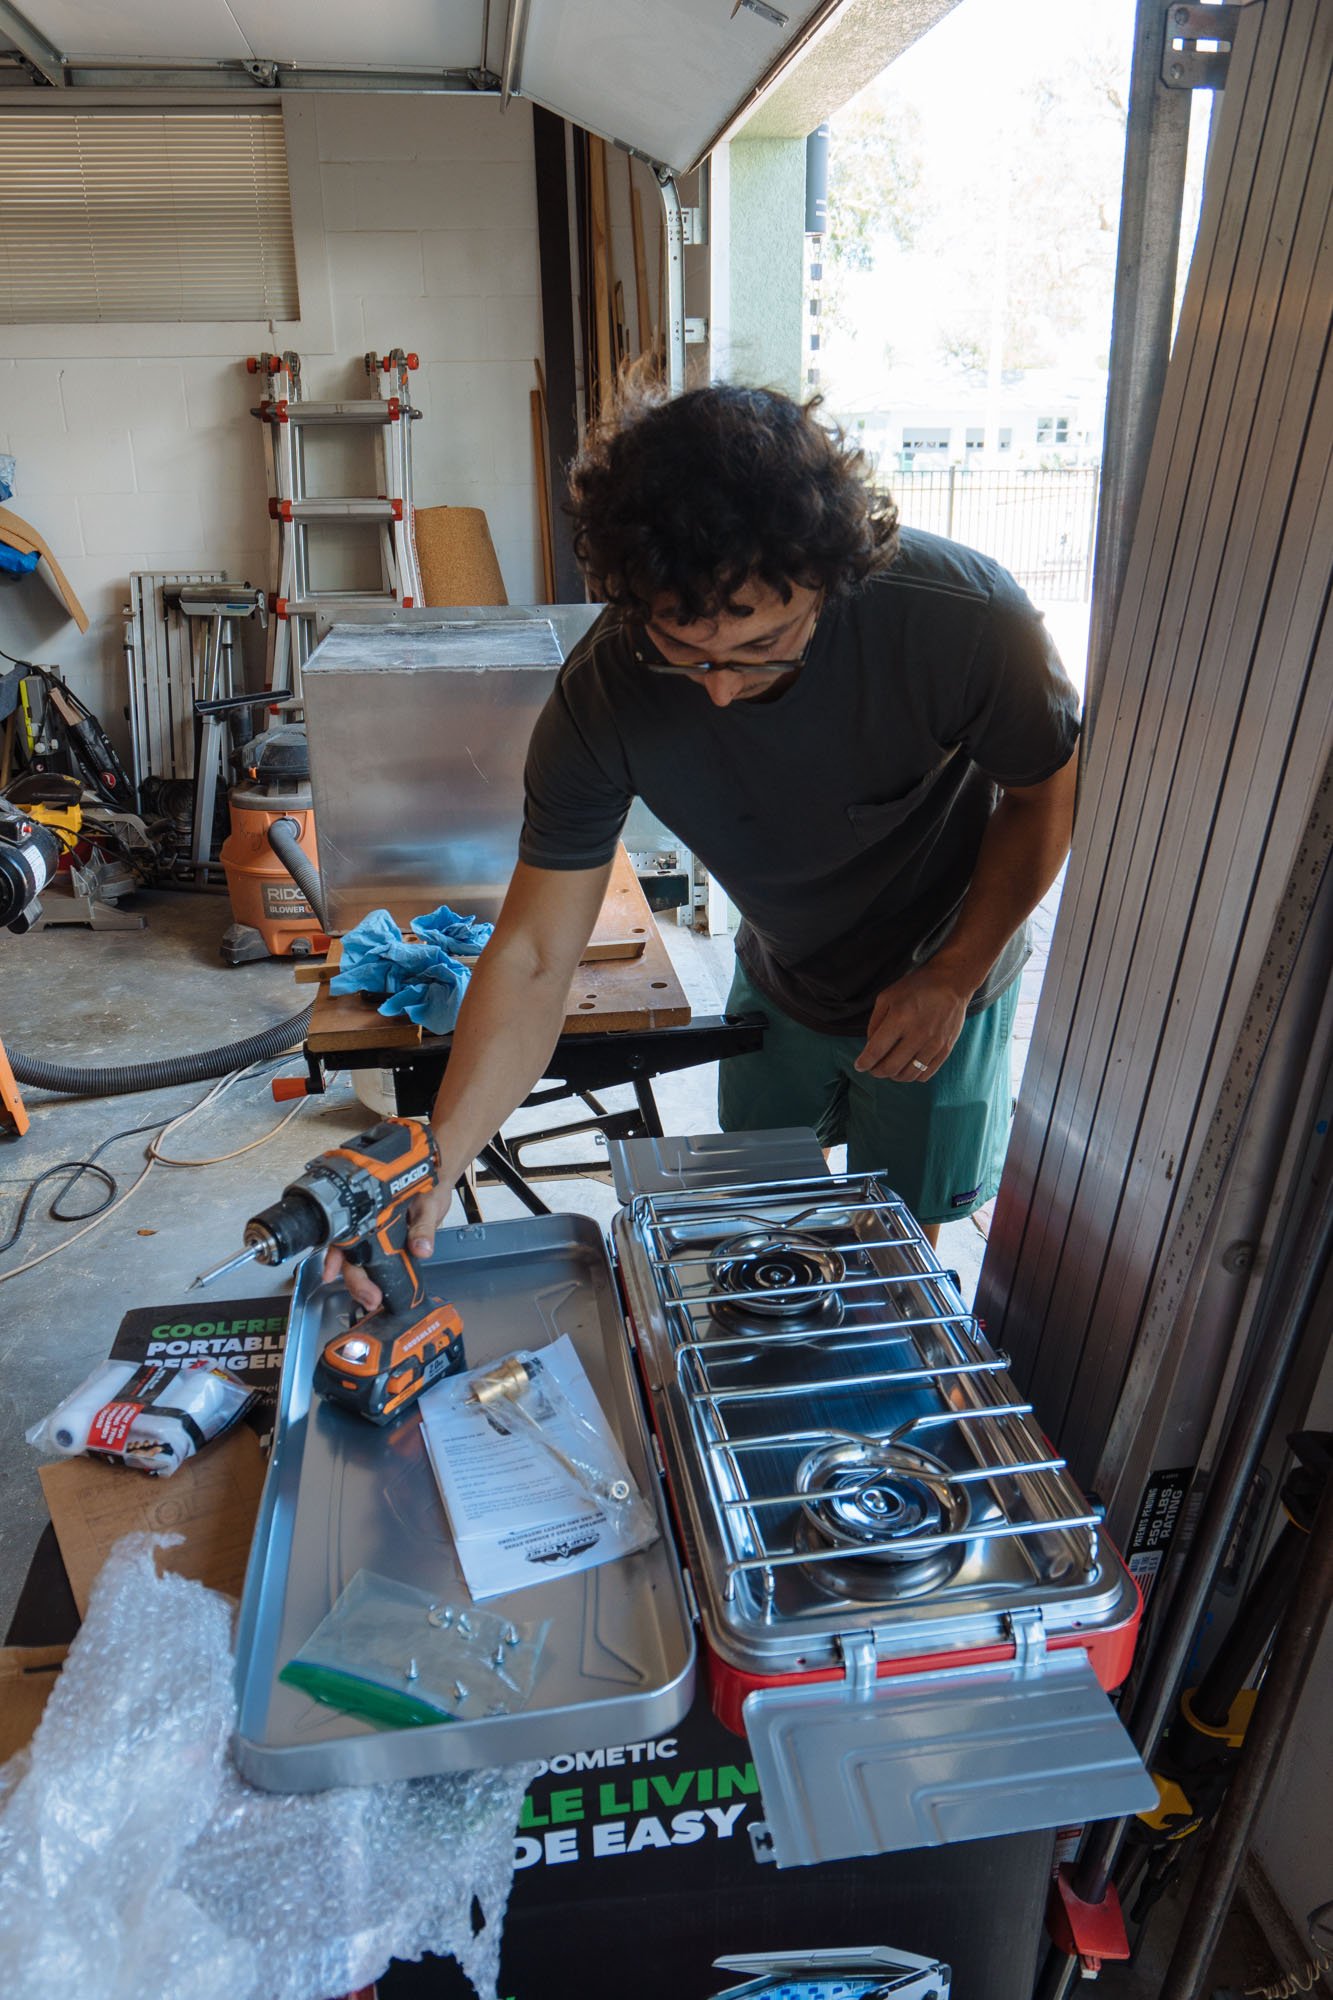
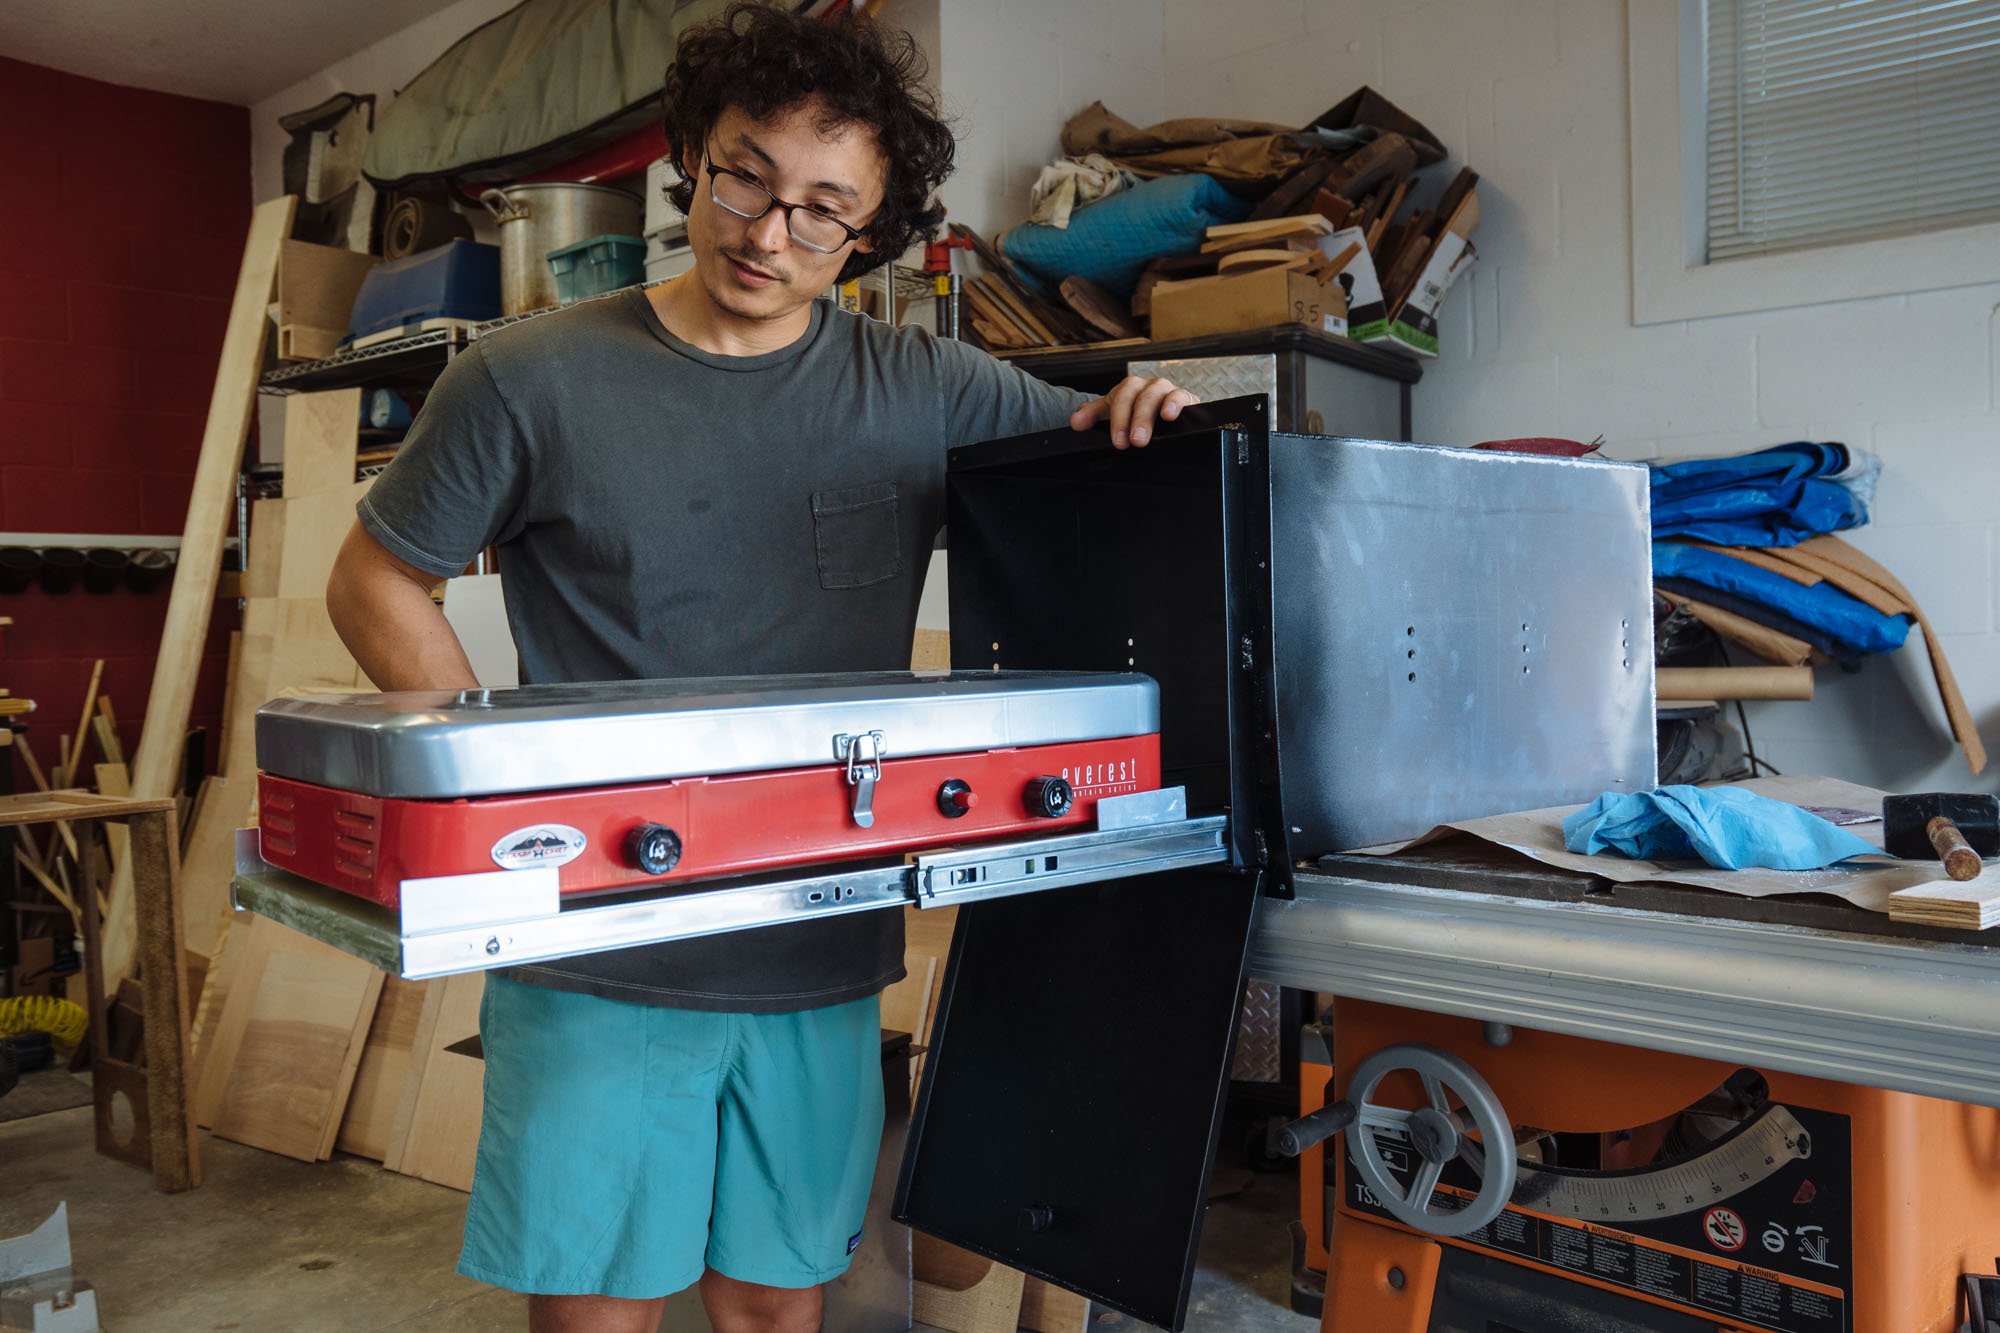
If all of that wasn't enough we also made some serious progress on our pullout outdoor kitchen! We got these amazing draw slides from Rockler that needed to be installed in the sides of the box so we could then come up with a way to install the cooktop itself.
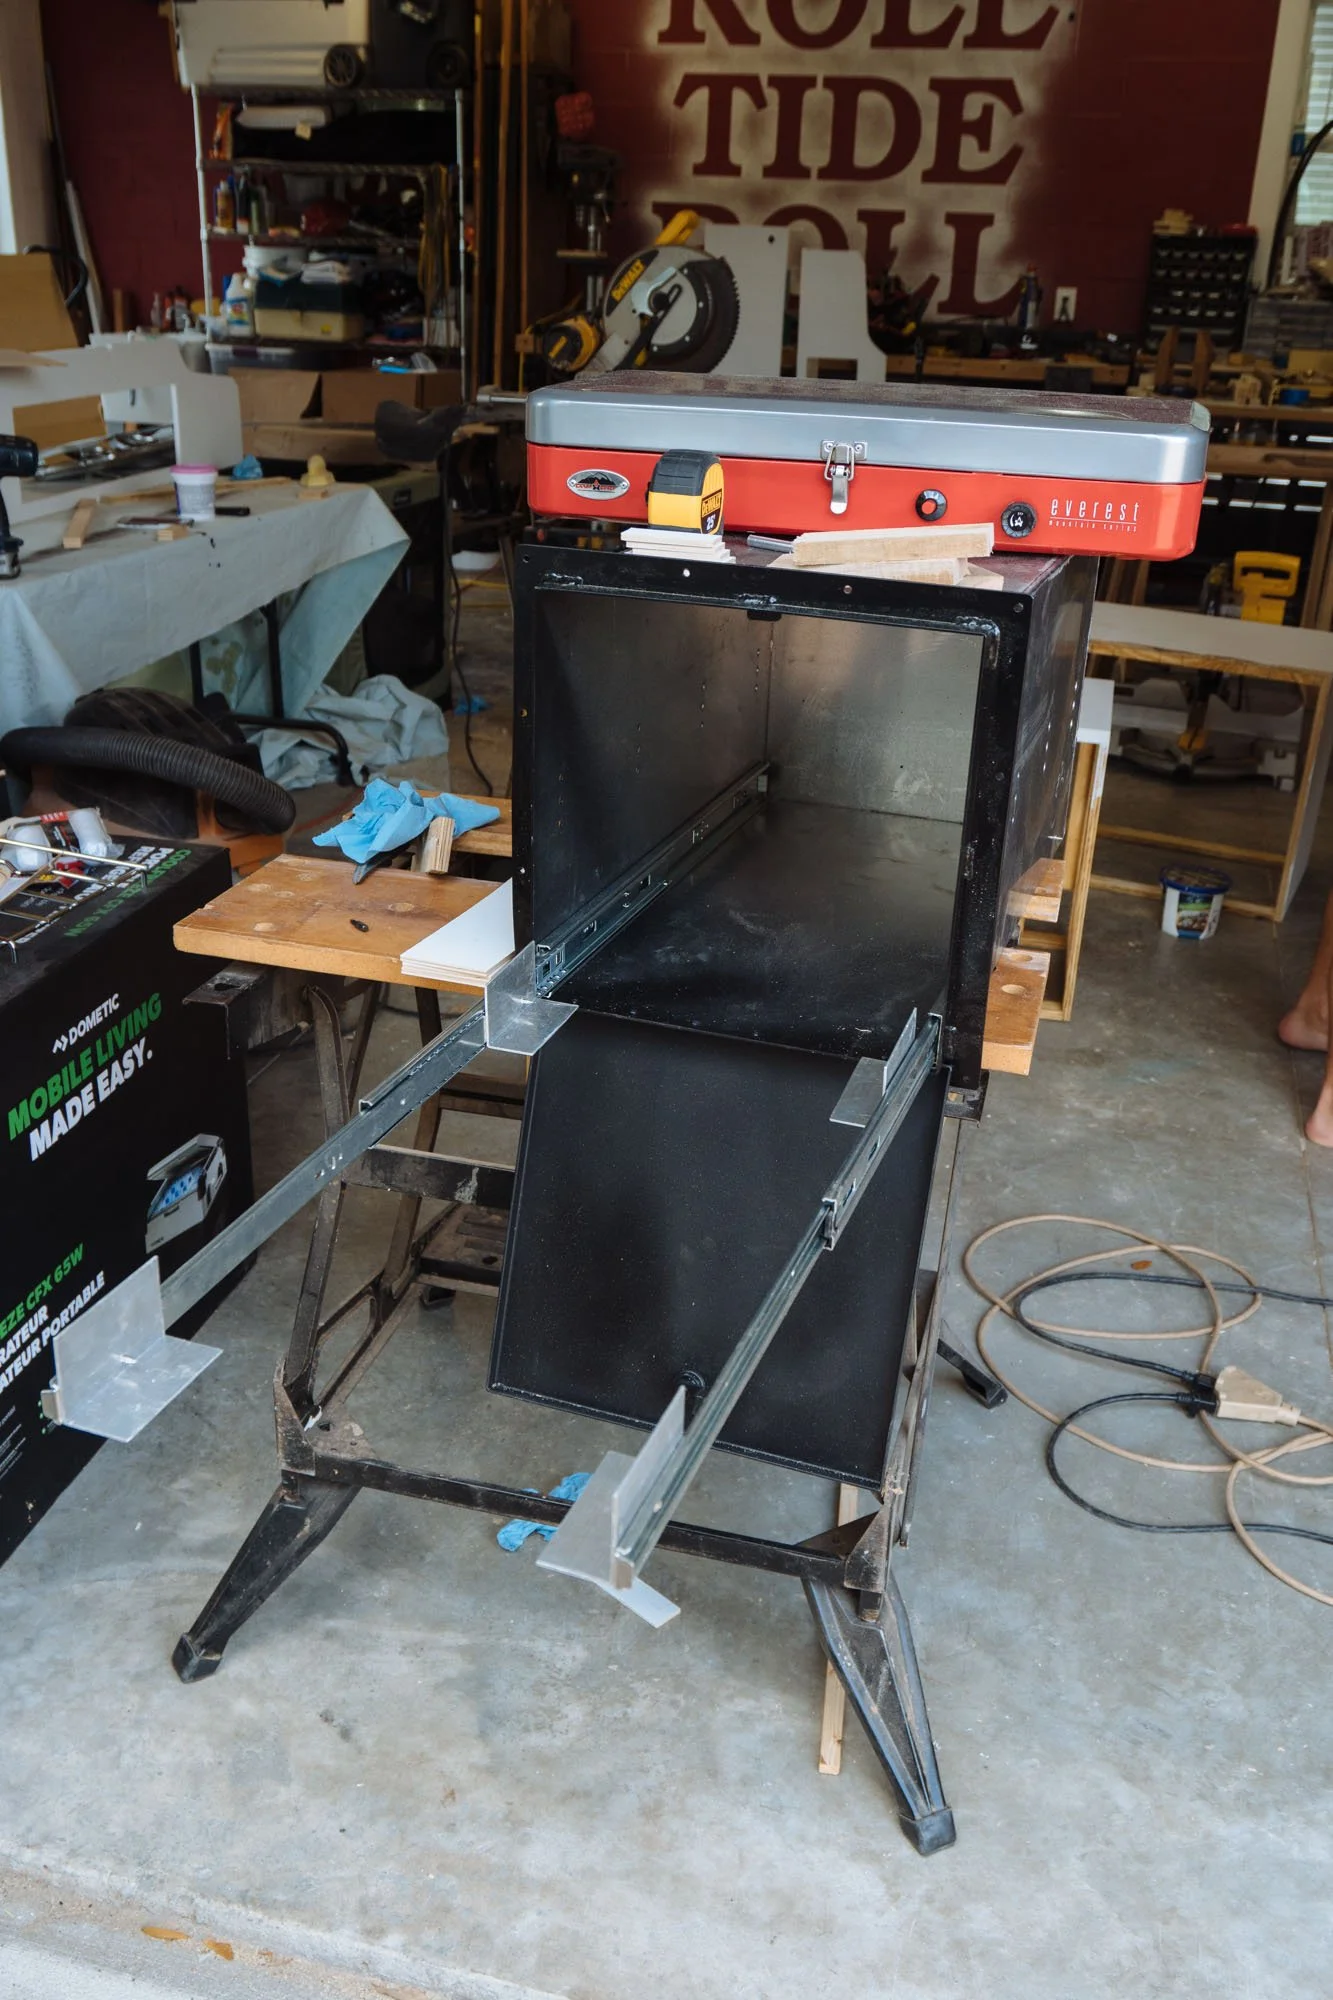
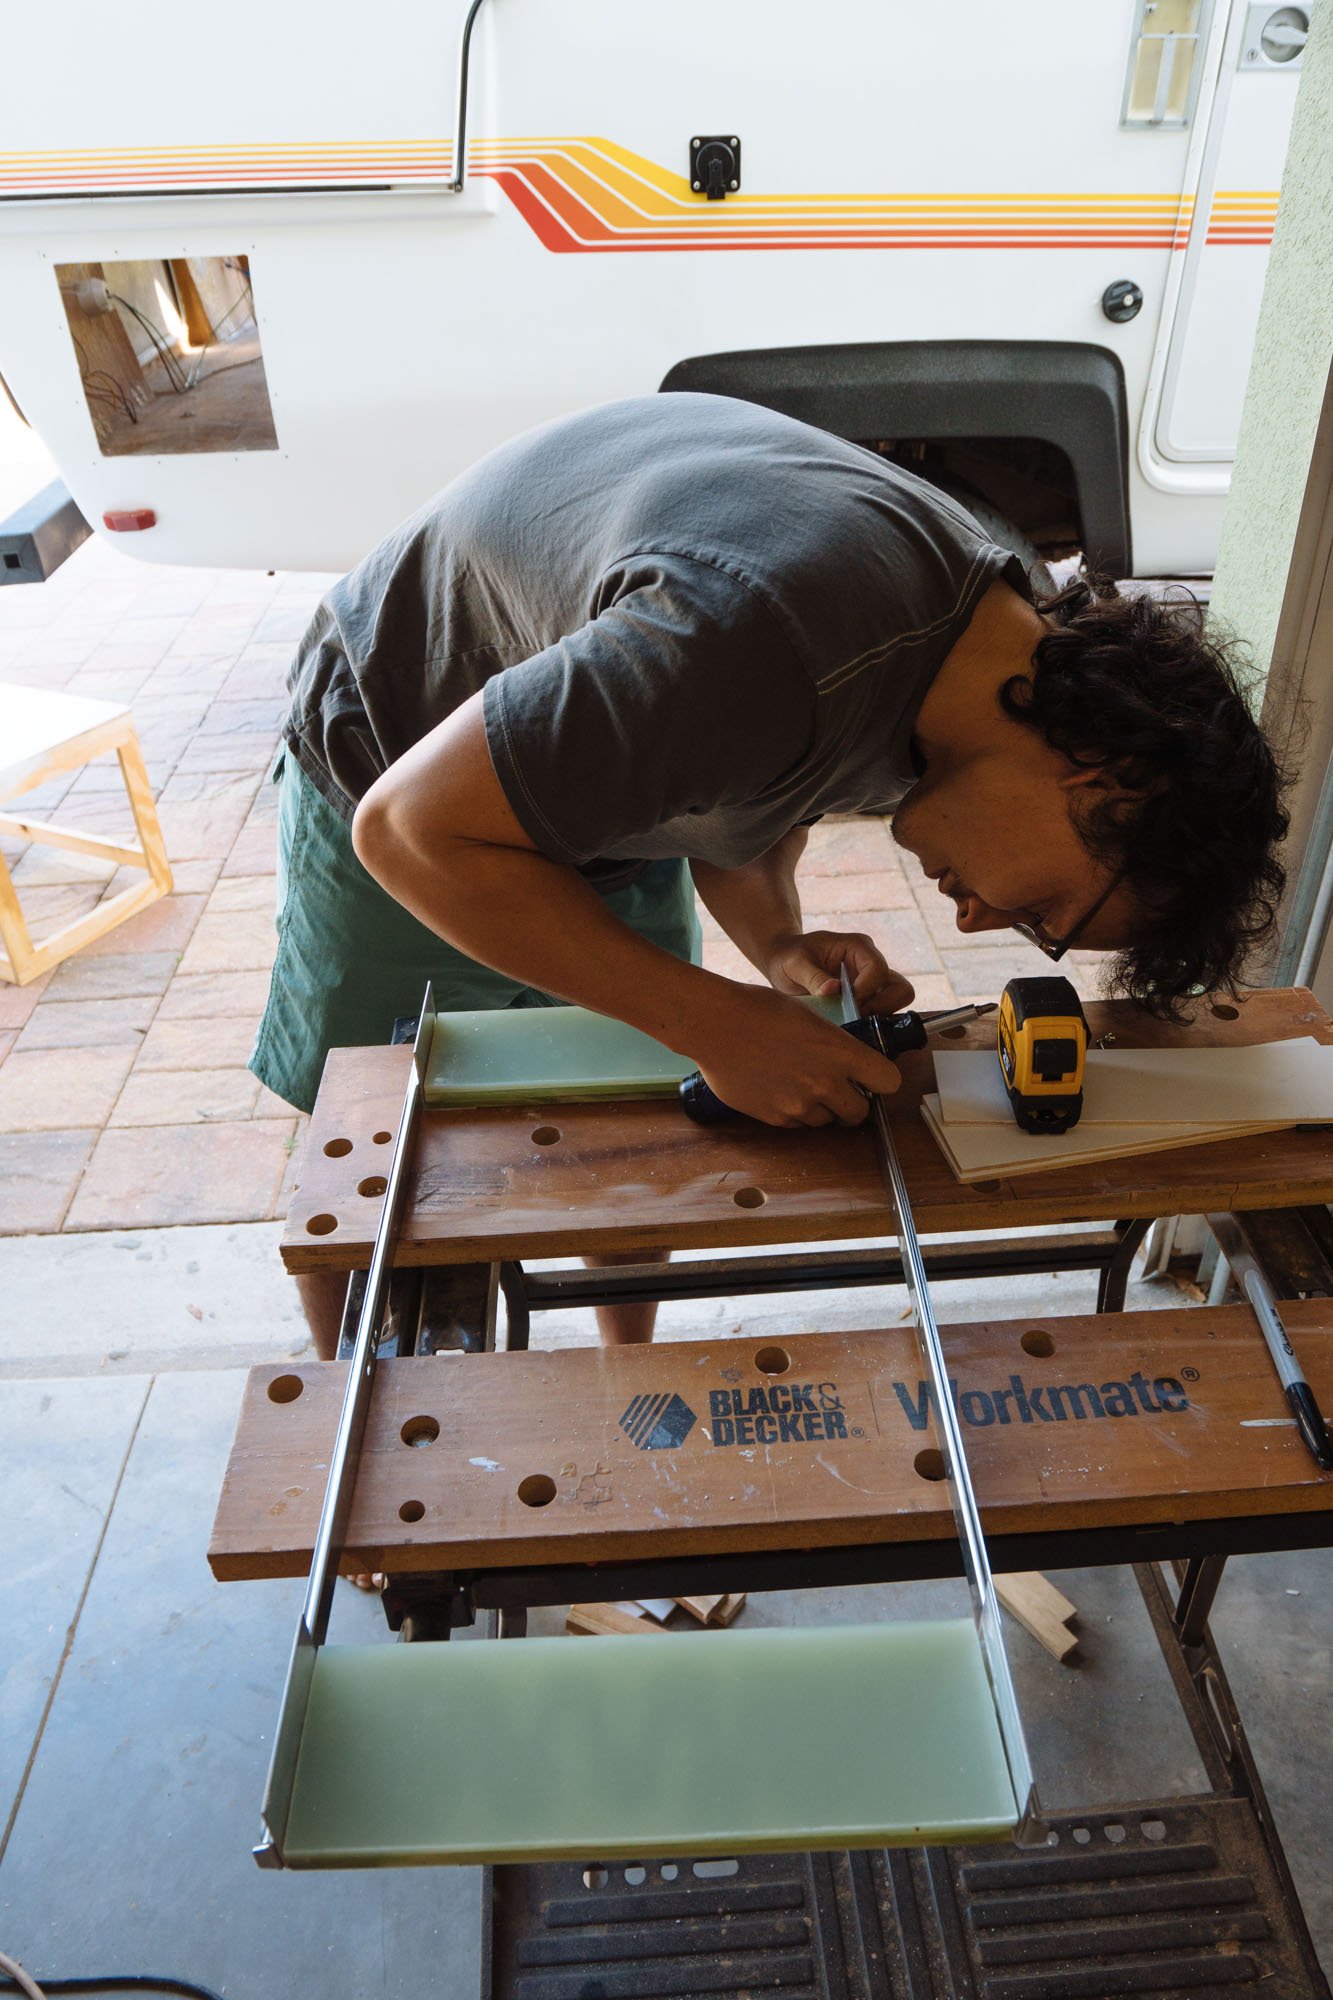
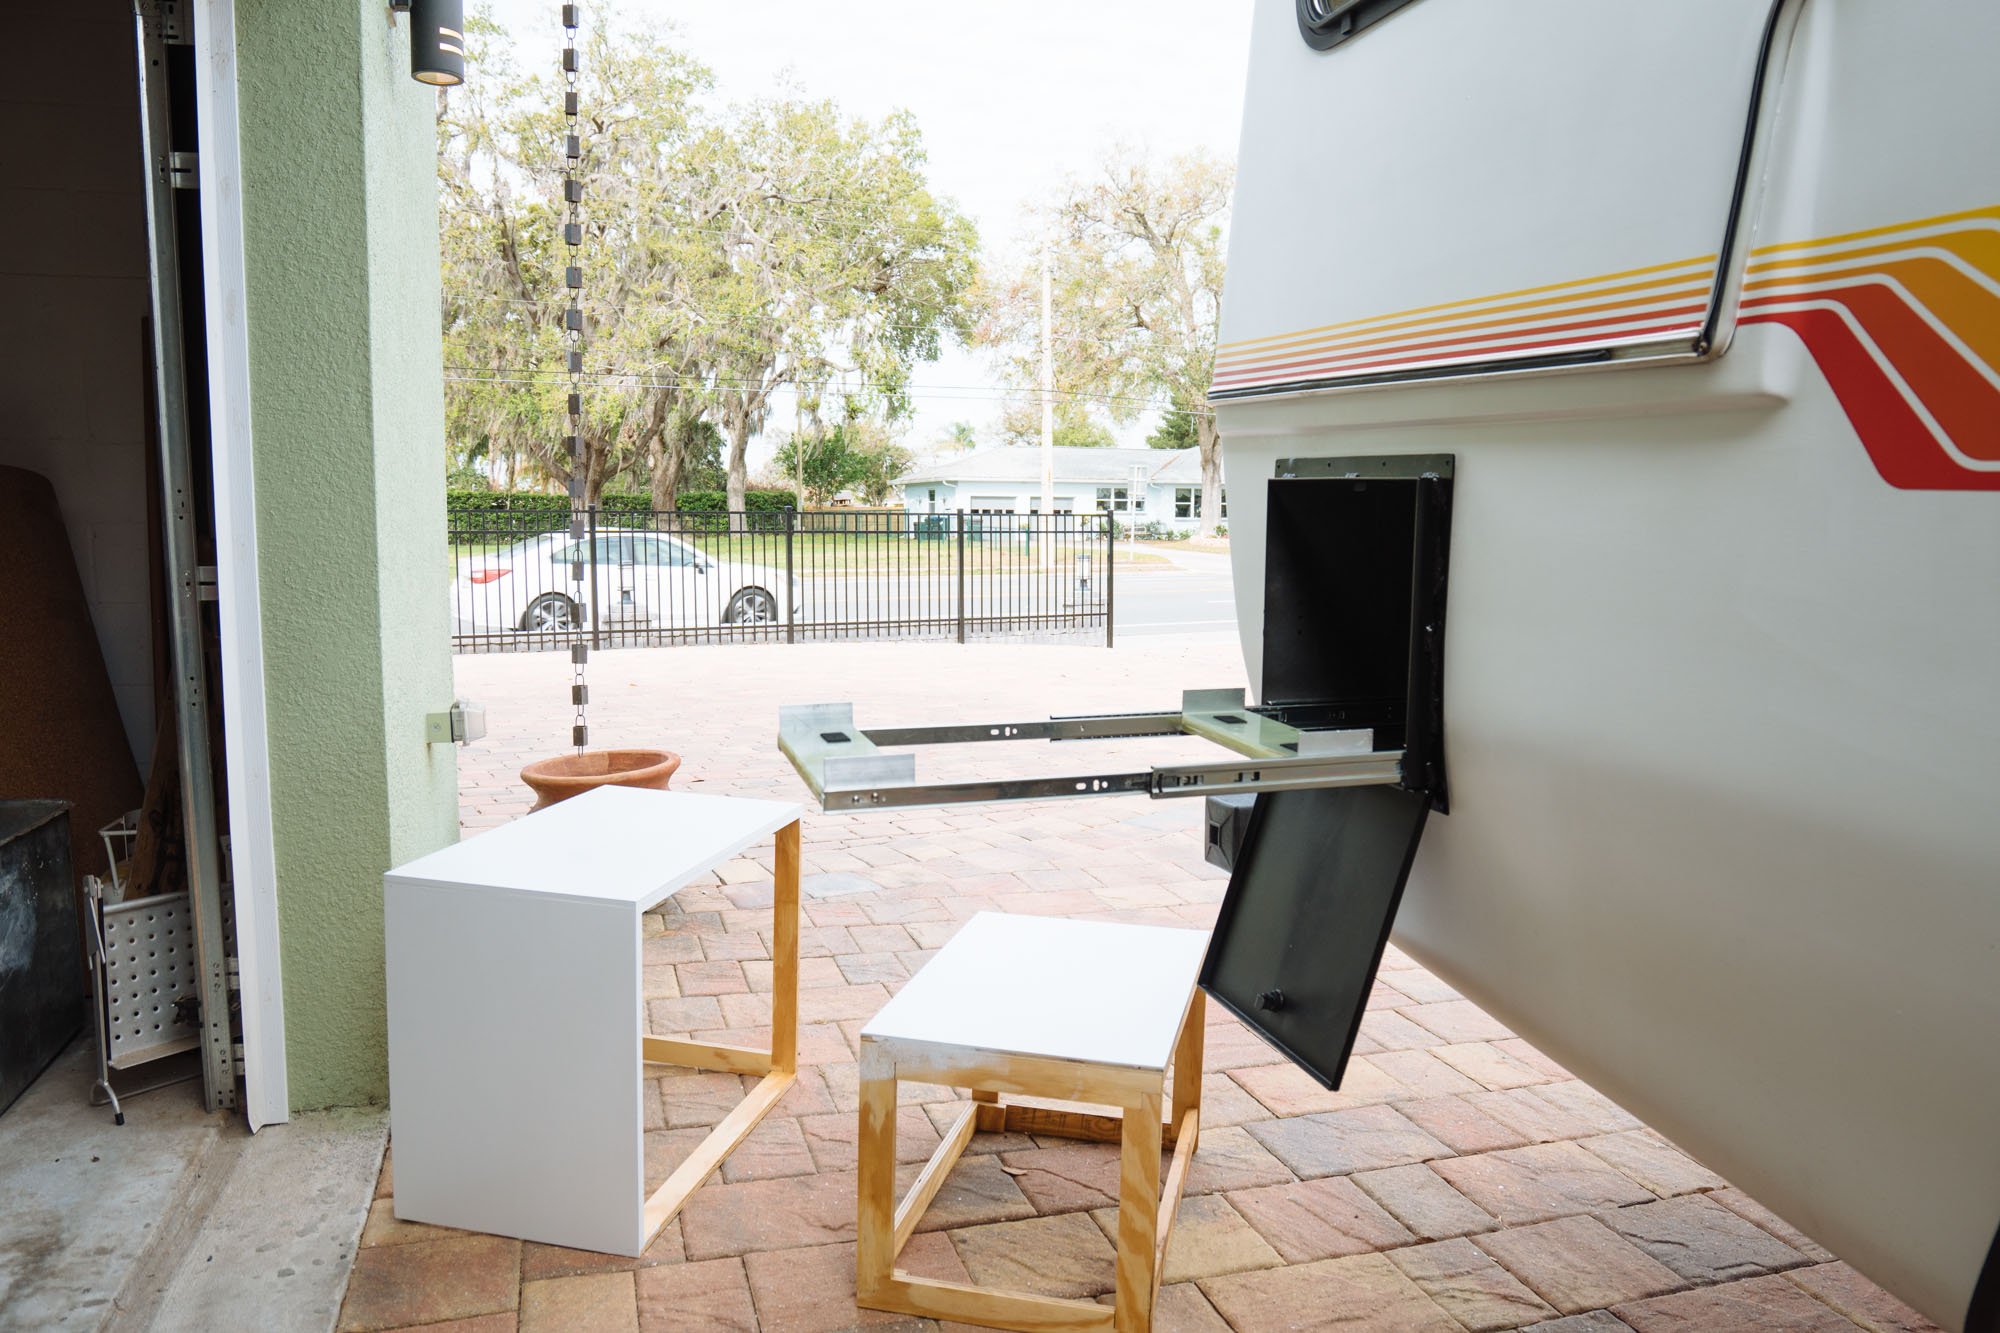
Once we had our sliders installed we decided to go with aluminum "L" that would hold cross supports for our cooktop to rest on...
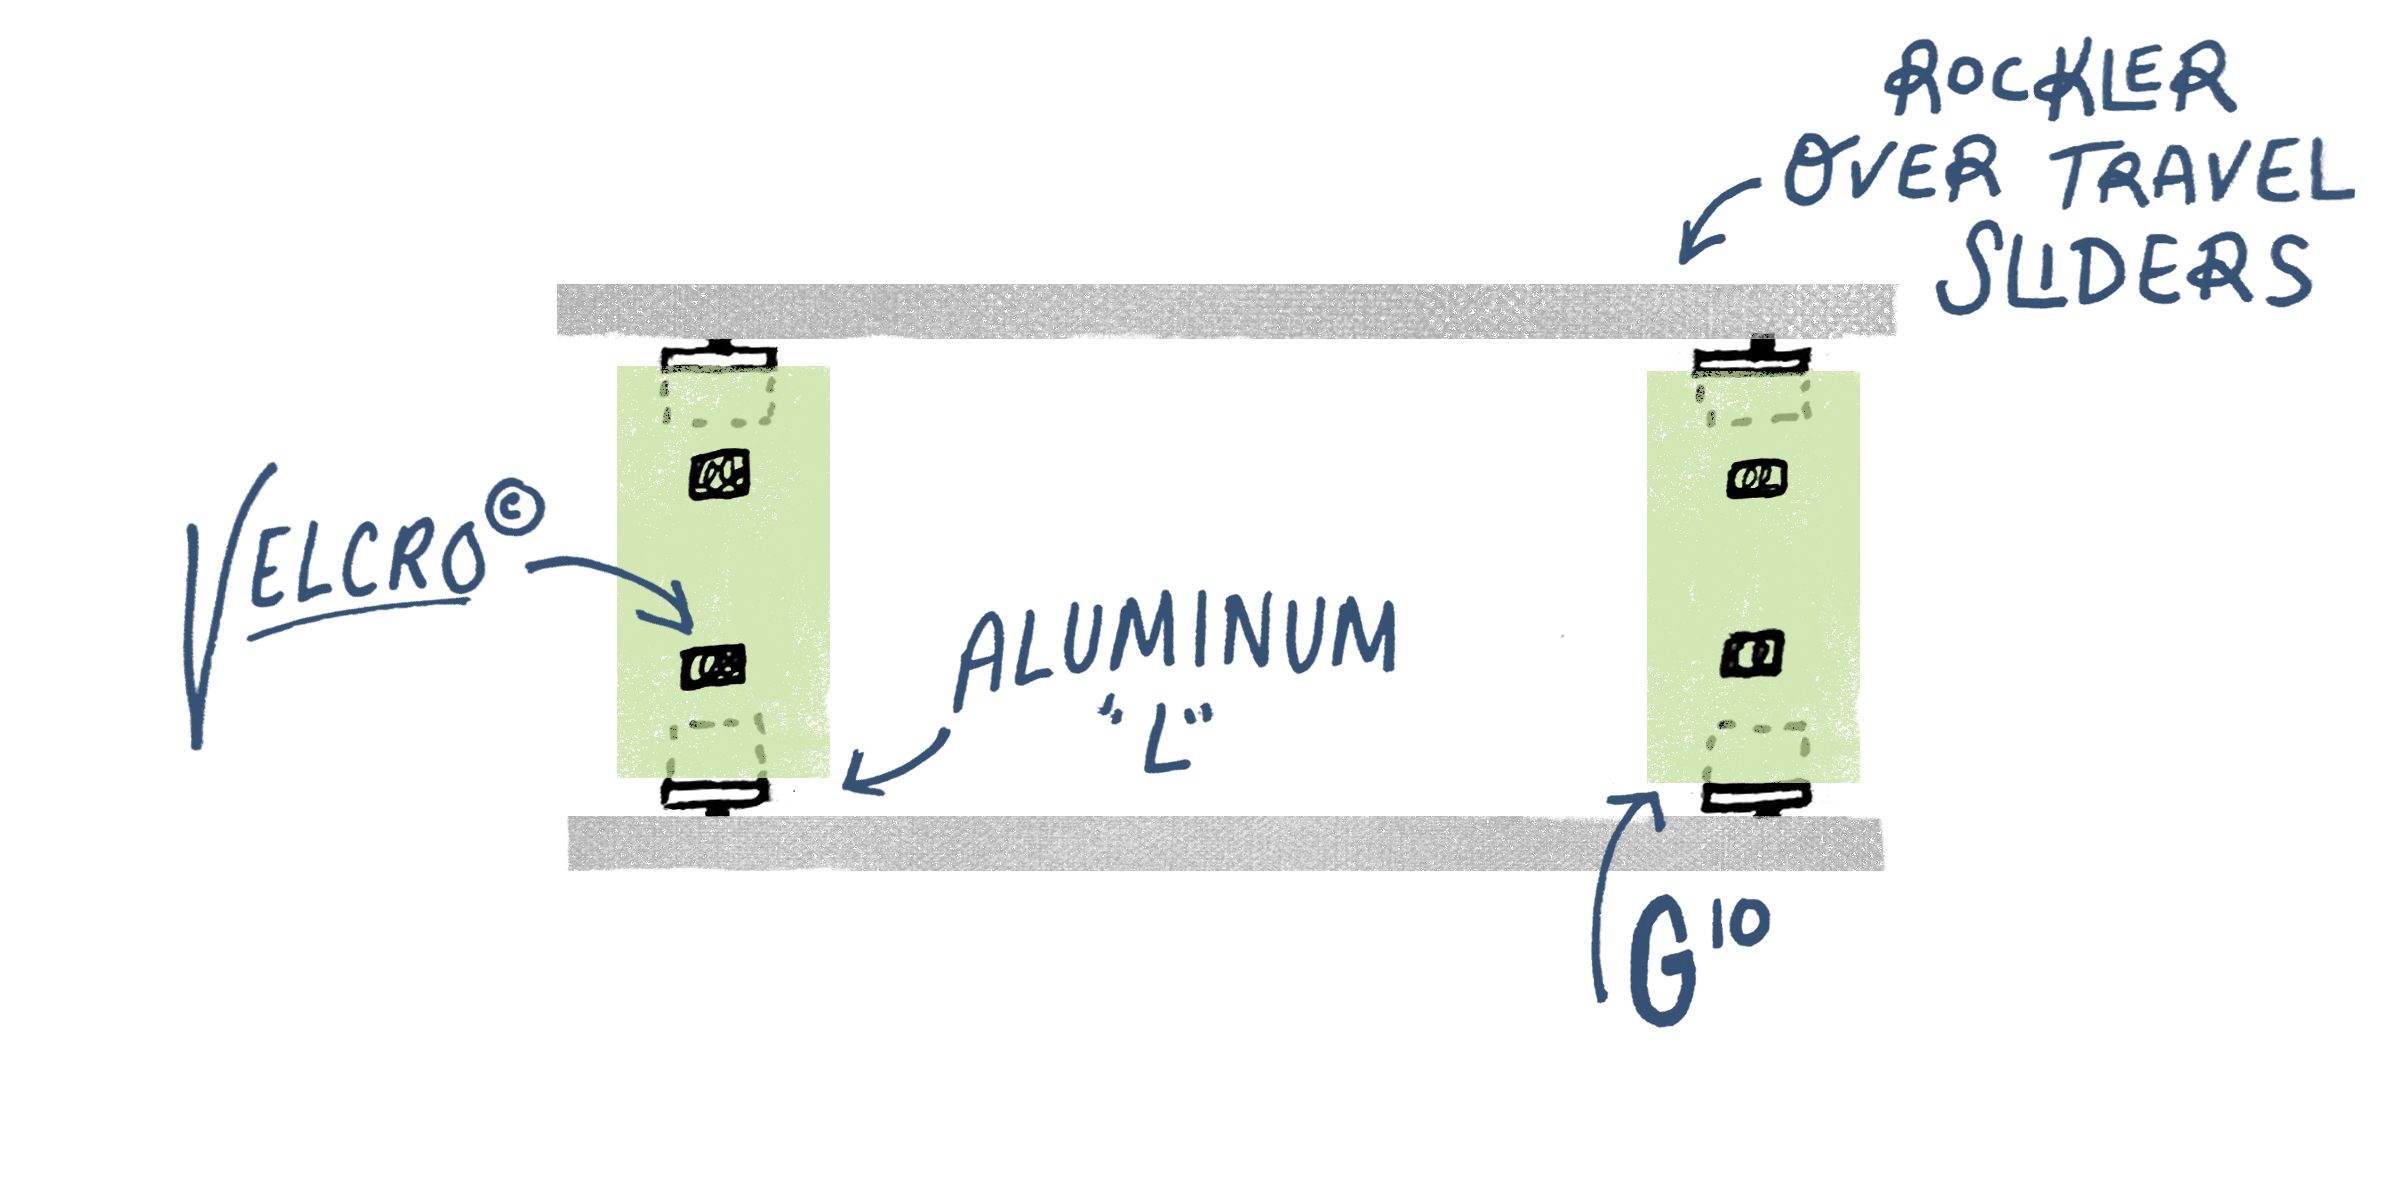
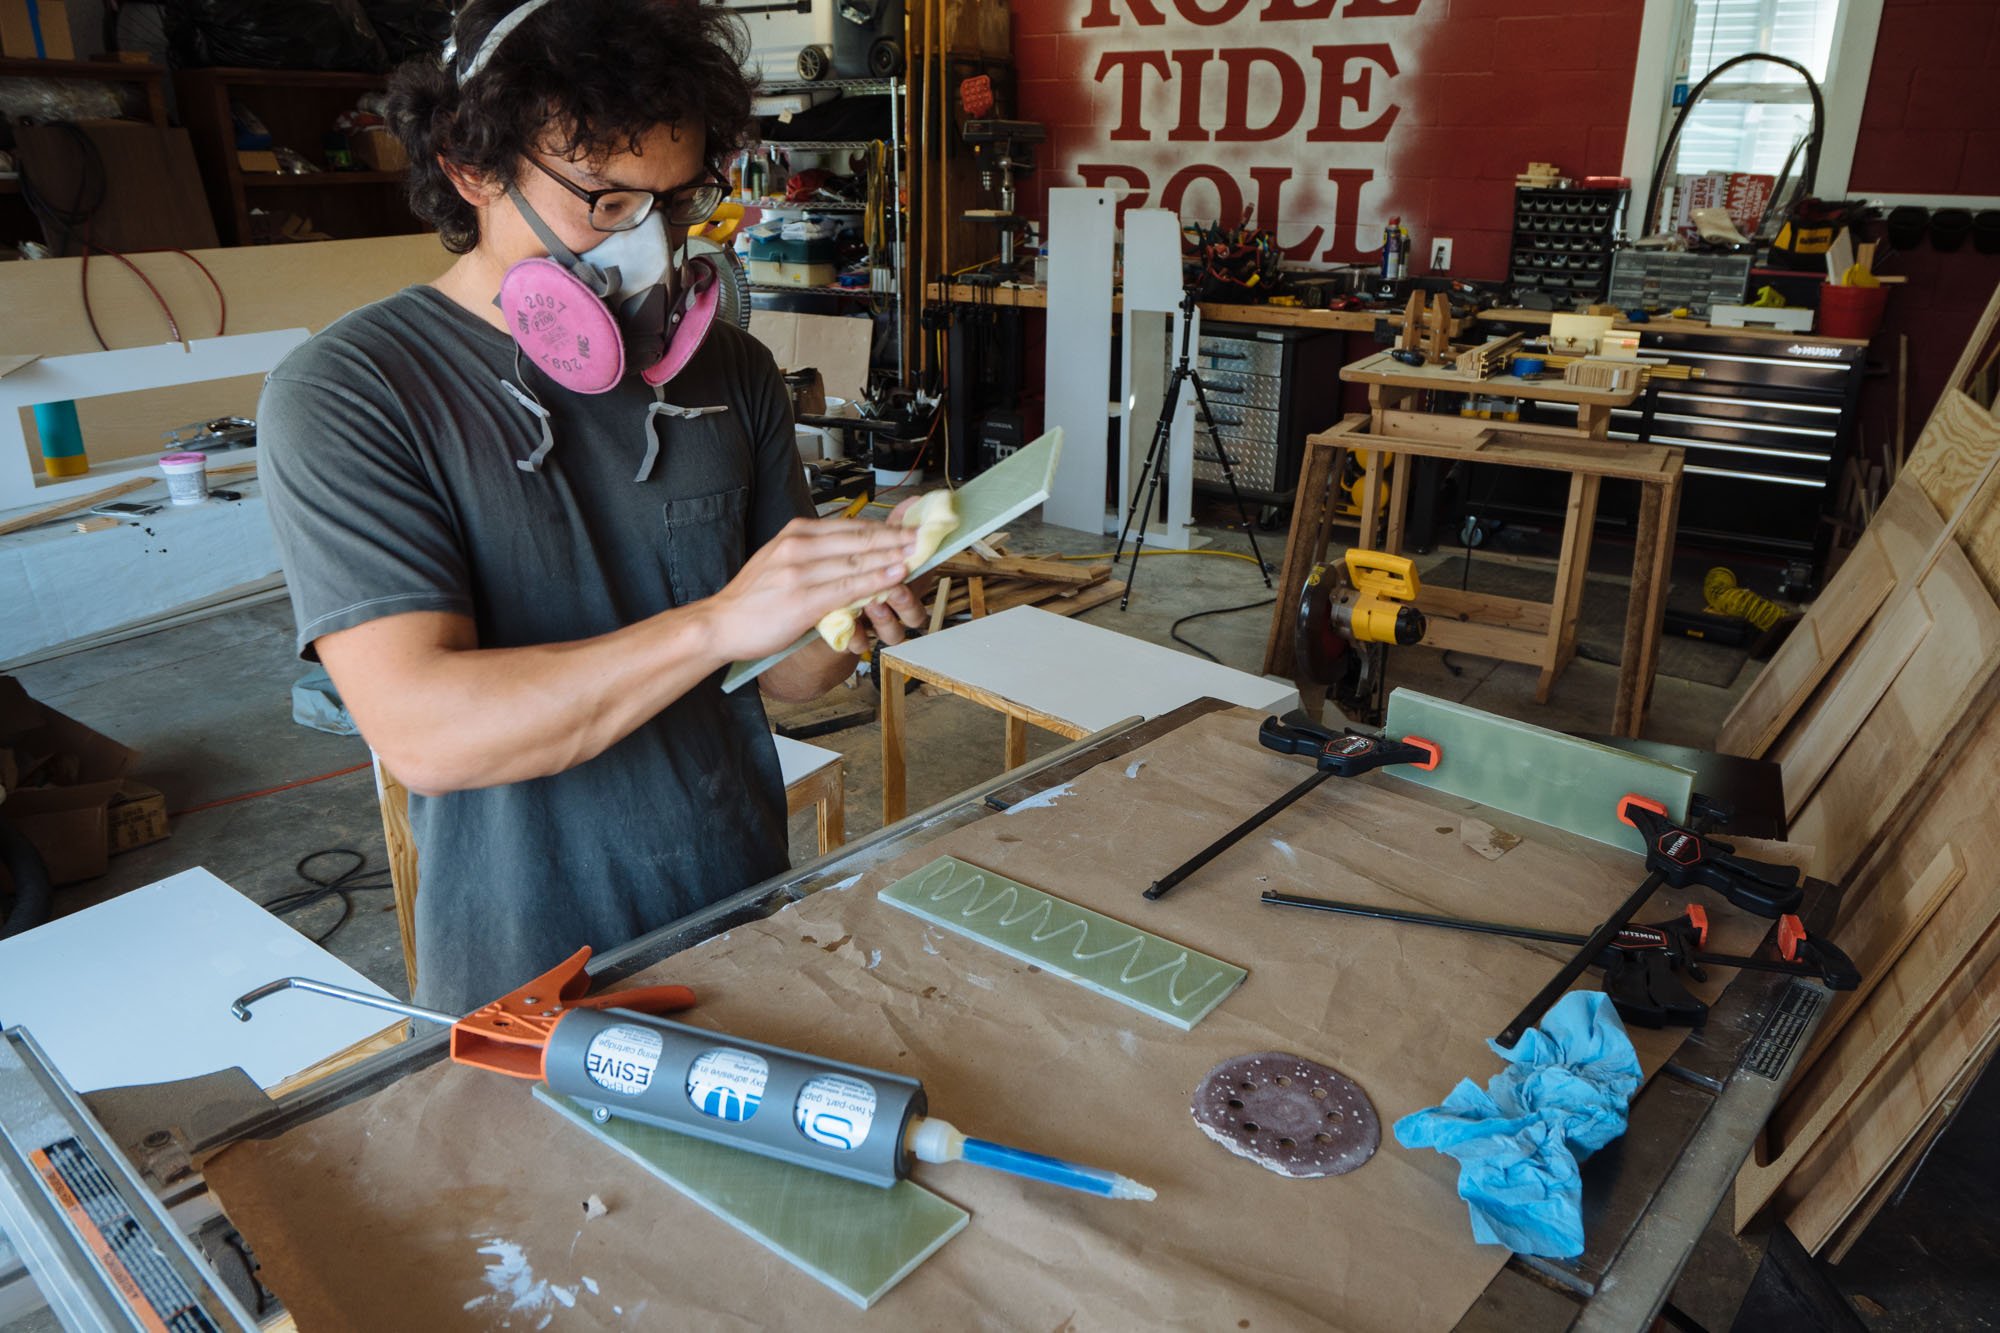
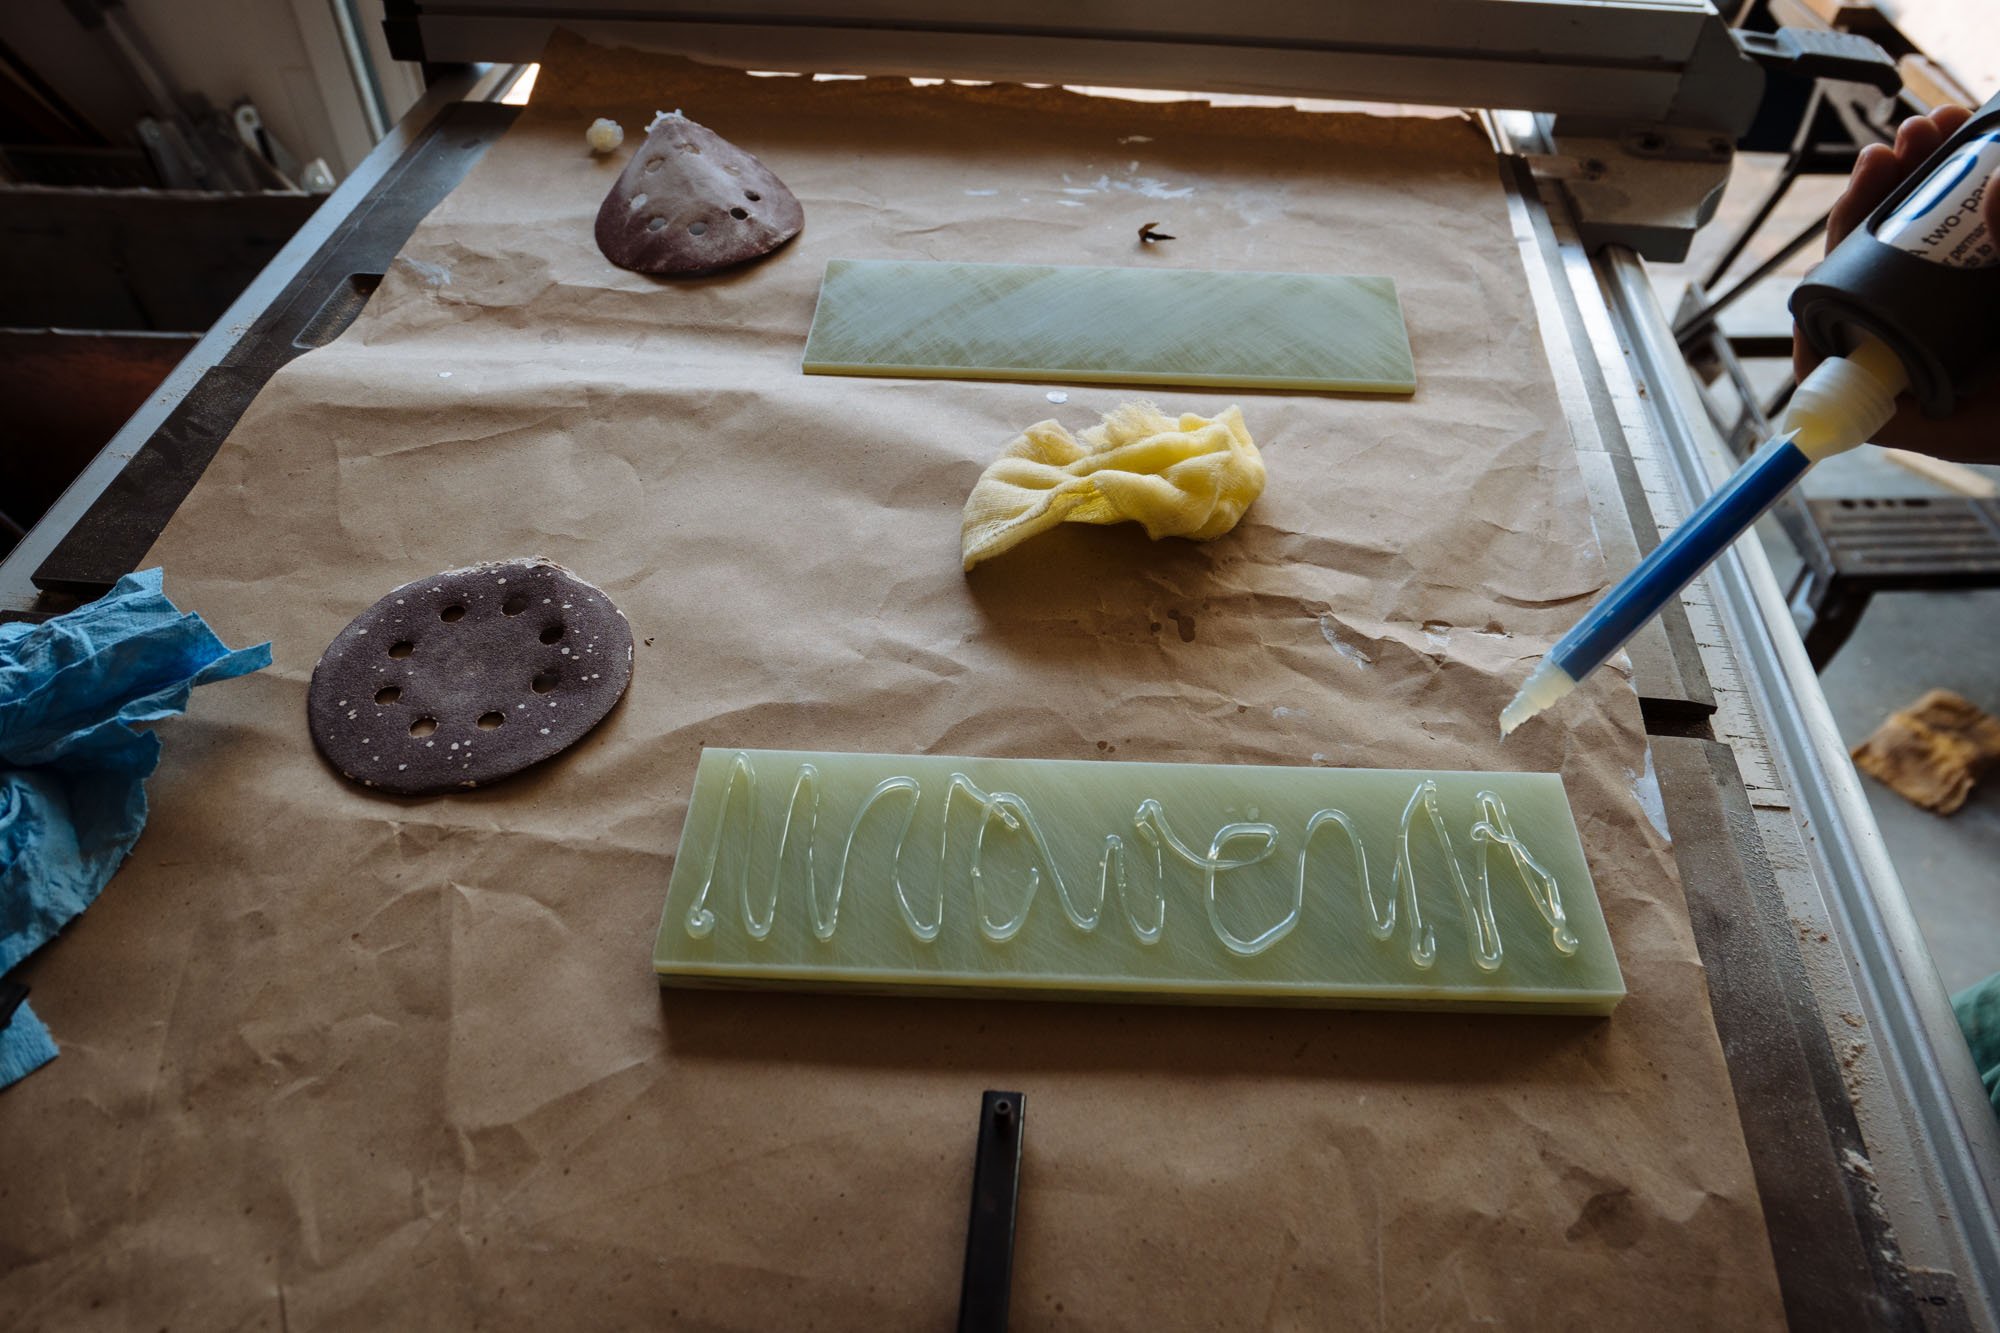

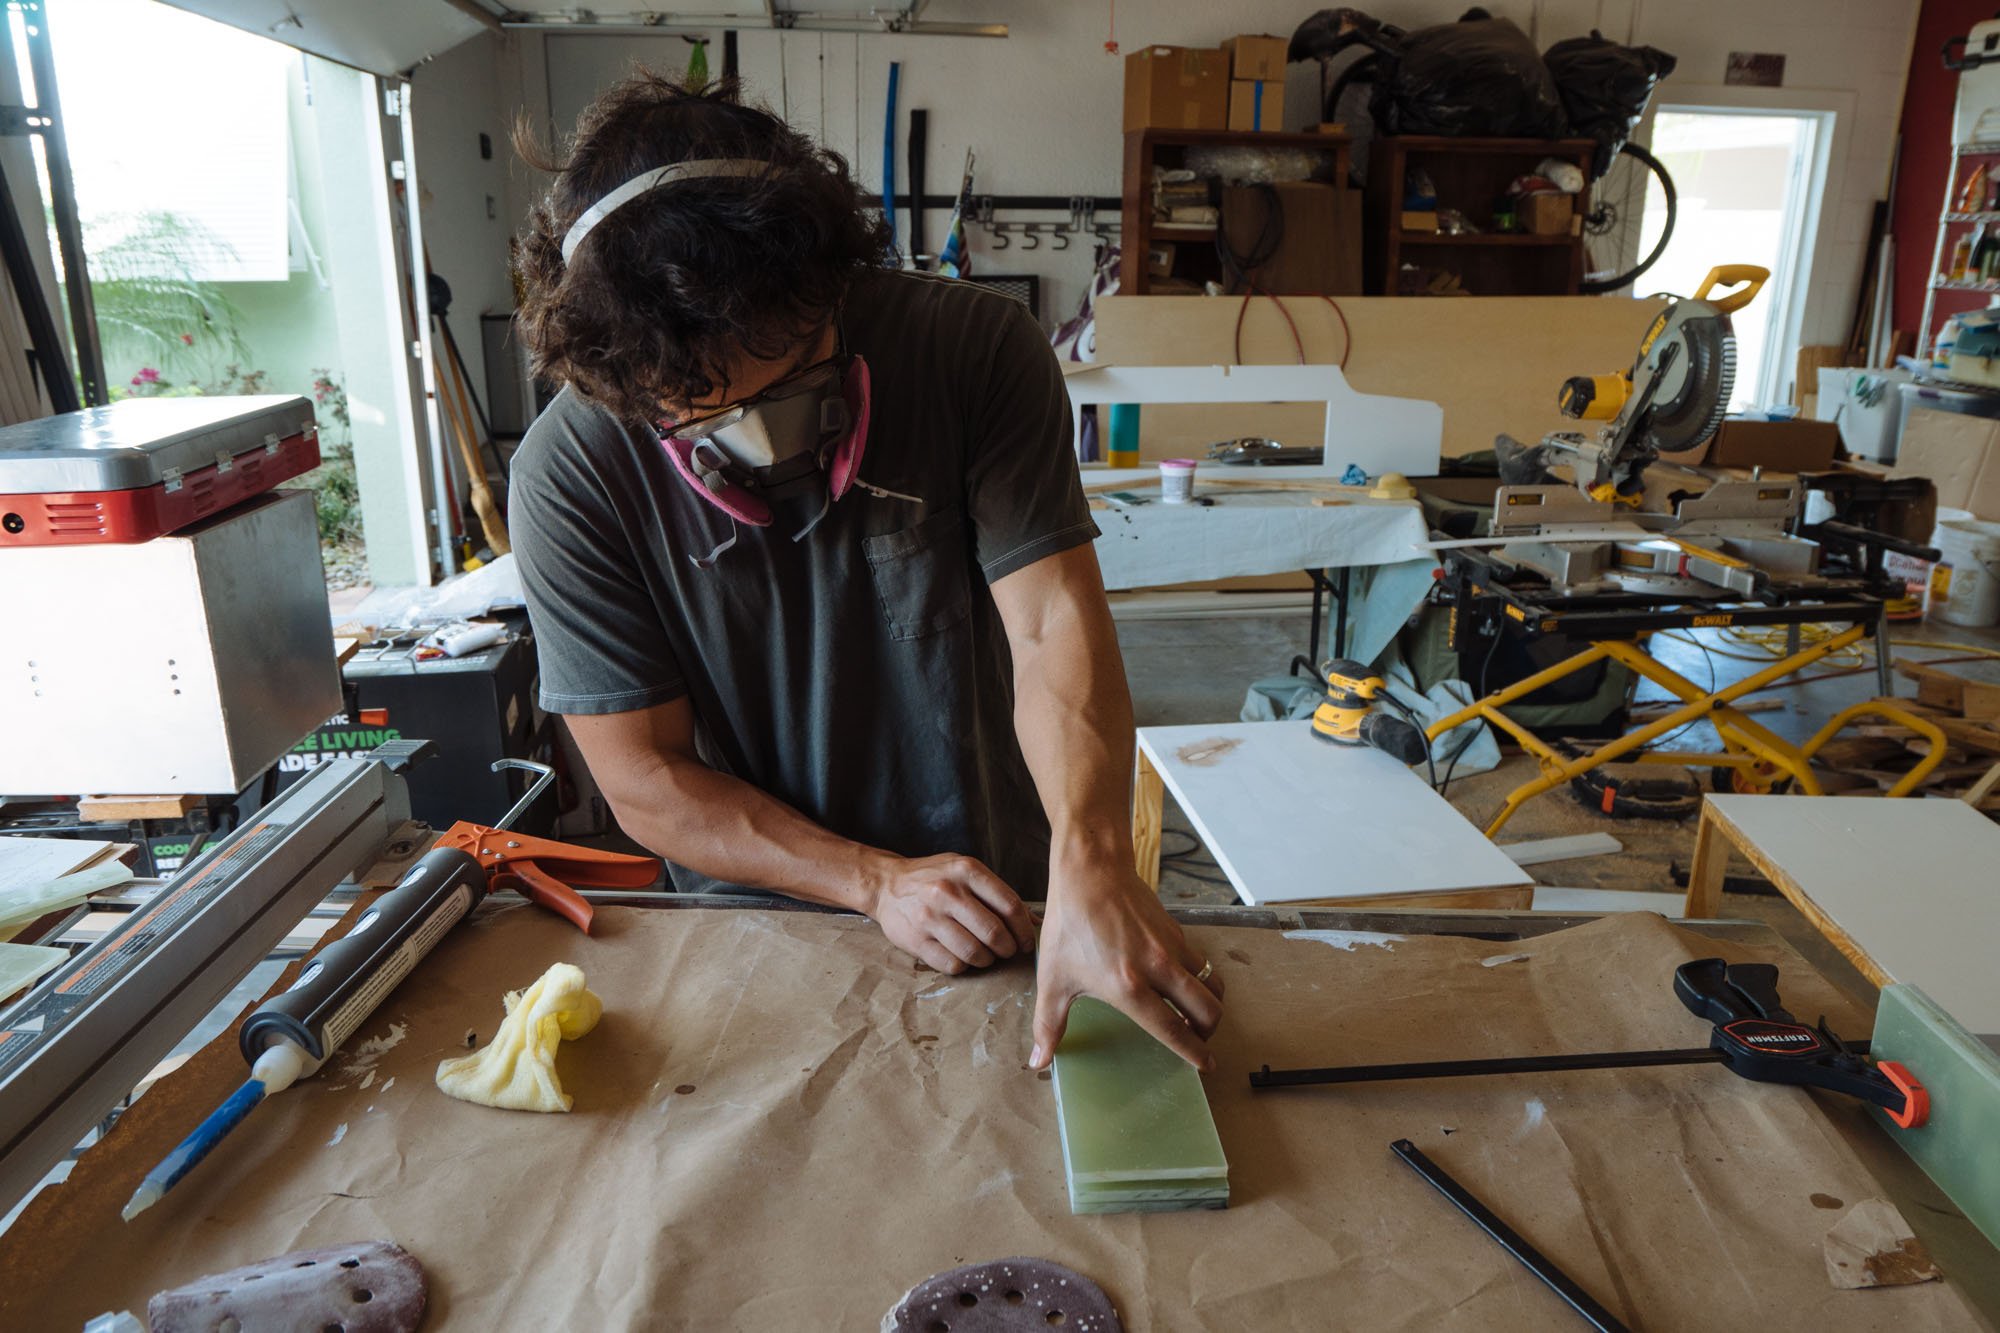
We made our cross supports out of some spare G10 blocks that we had laying around. We went with the G10 because we had extra and it's weather resistant! We glue up 3 pieces to make it thick enough to drill a screw into the sides. Owen wrote his name in Epoxy and he was proud of it ;)
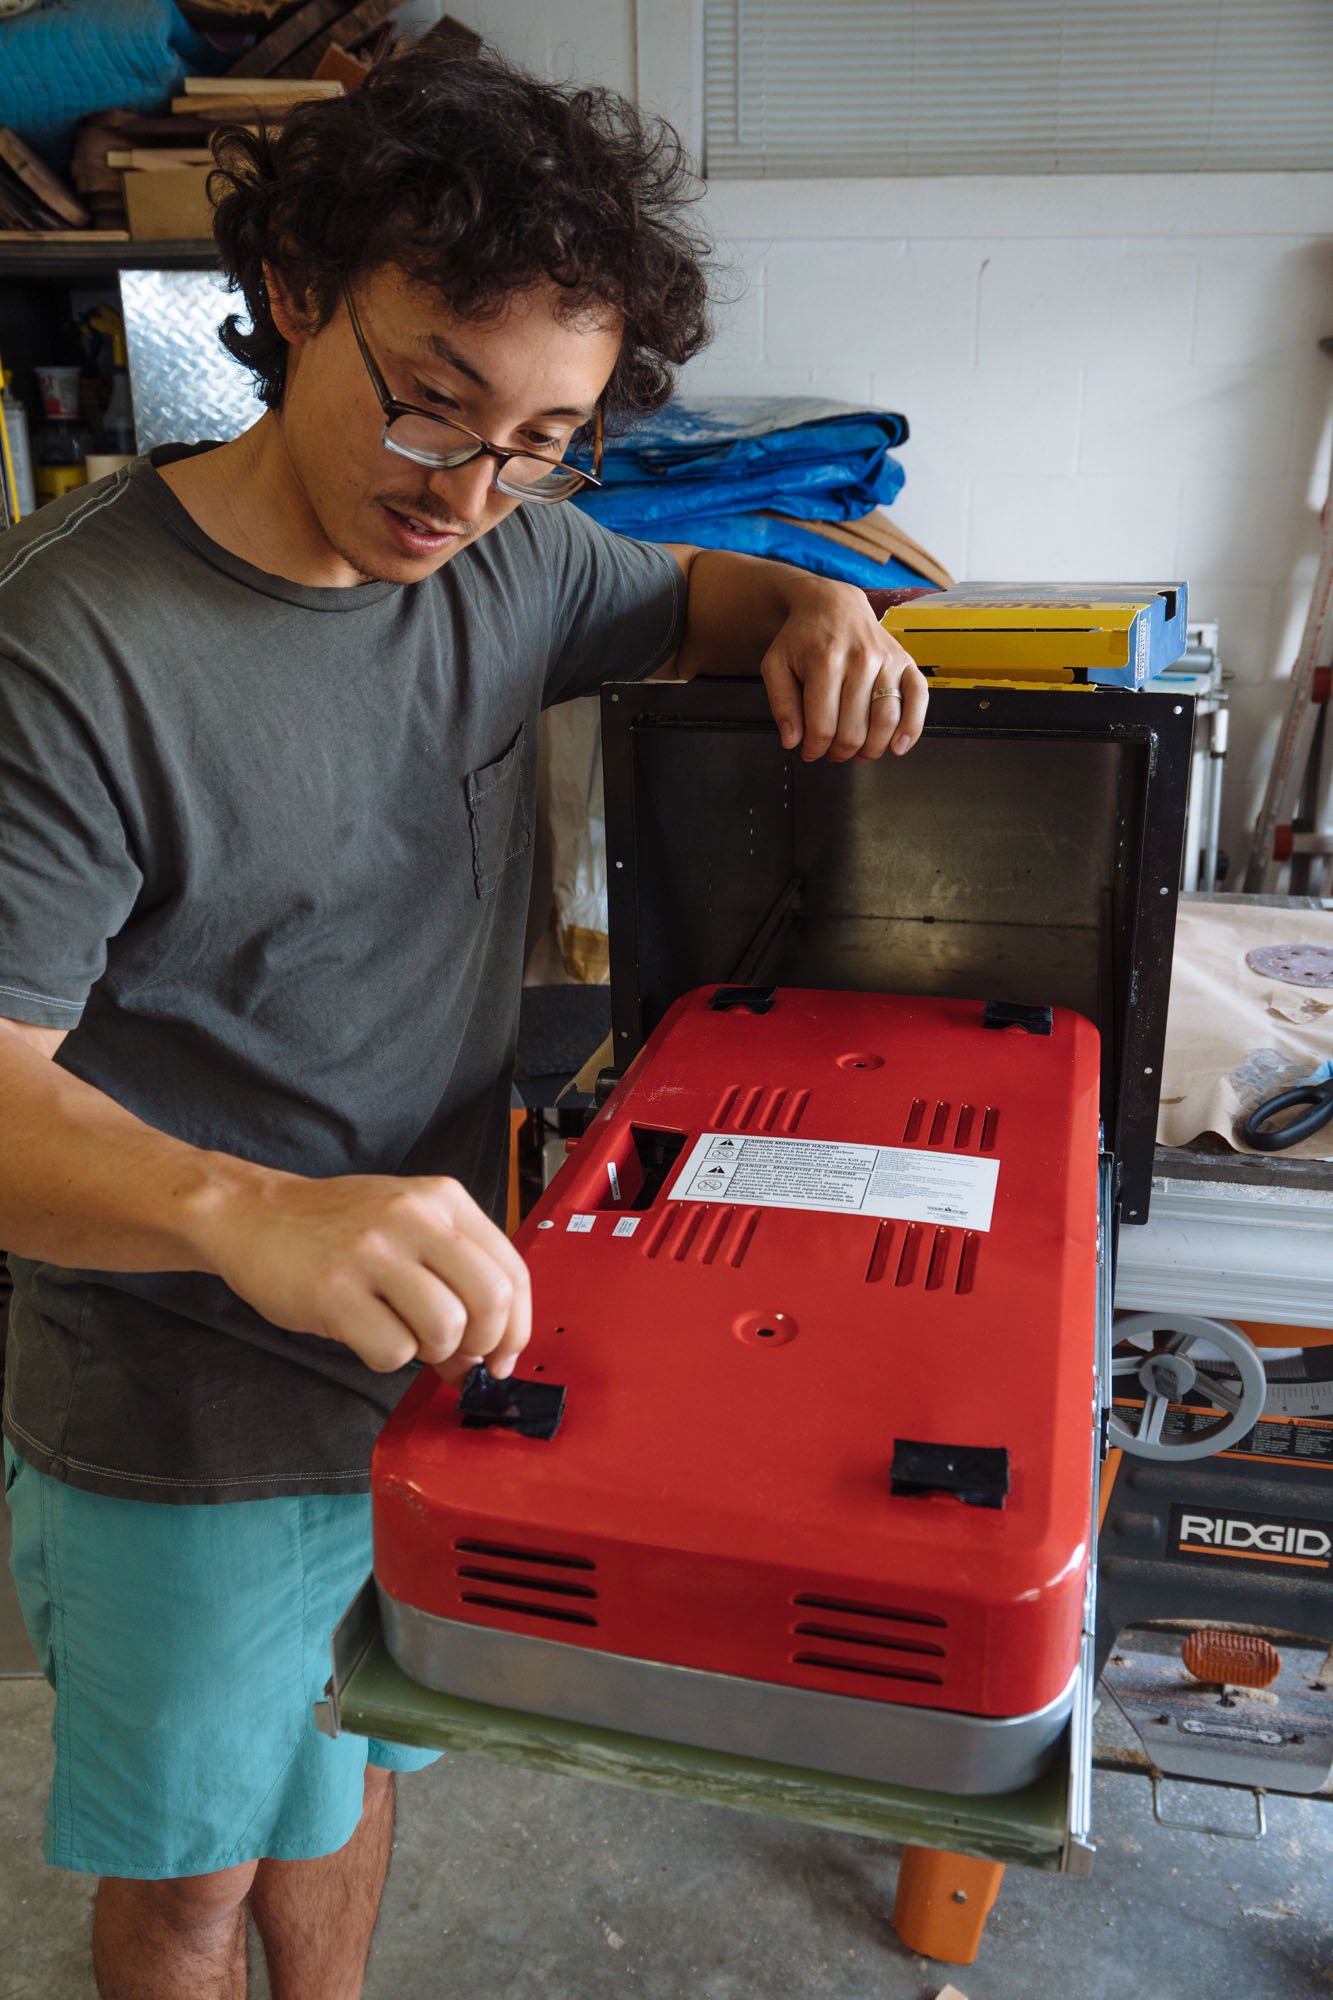
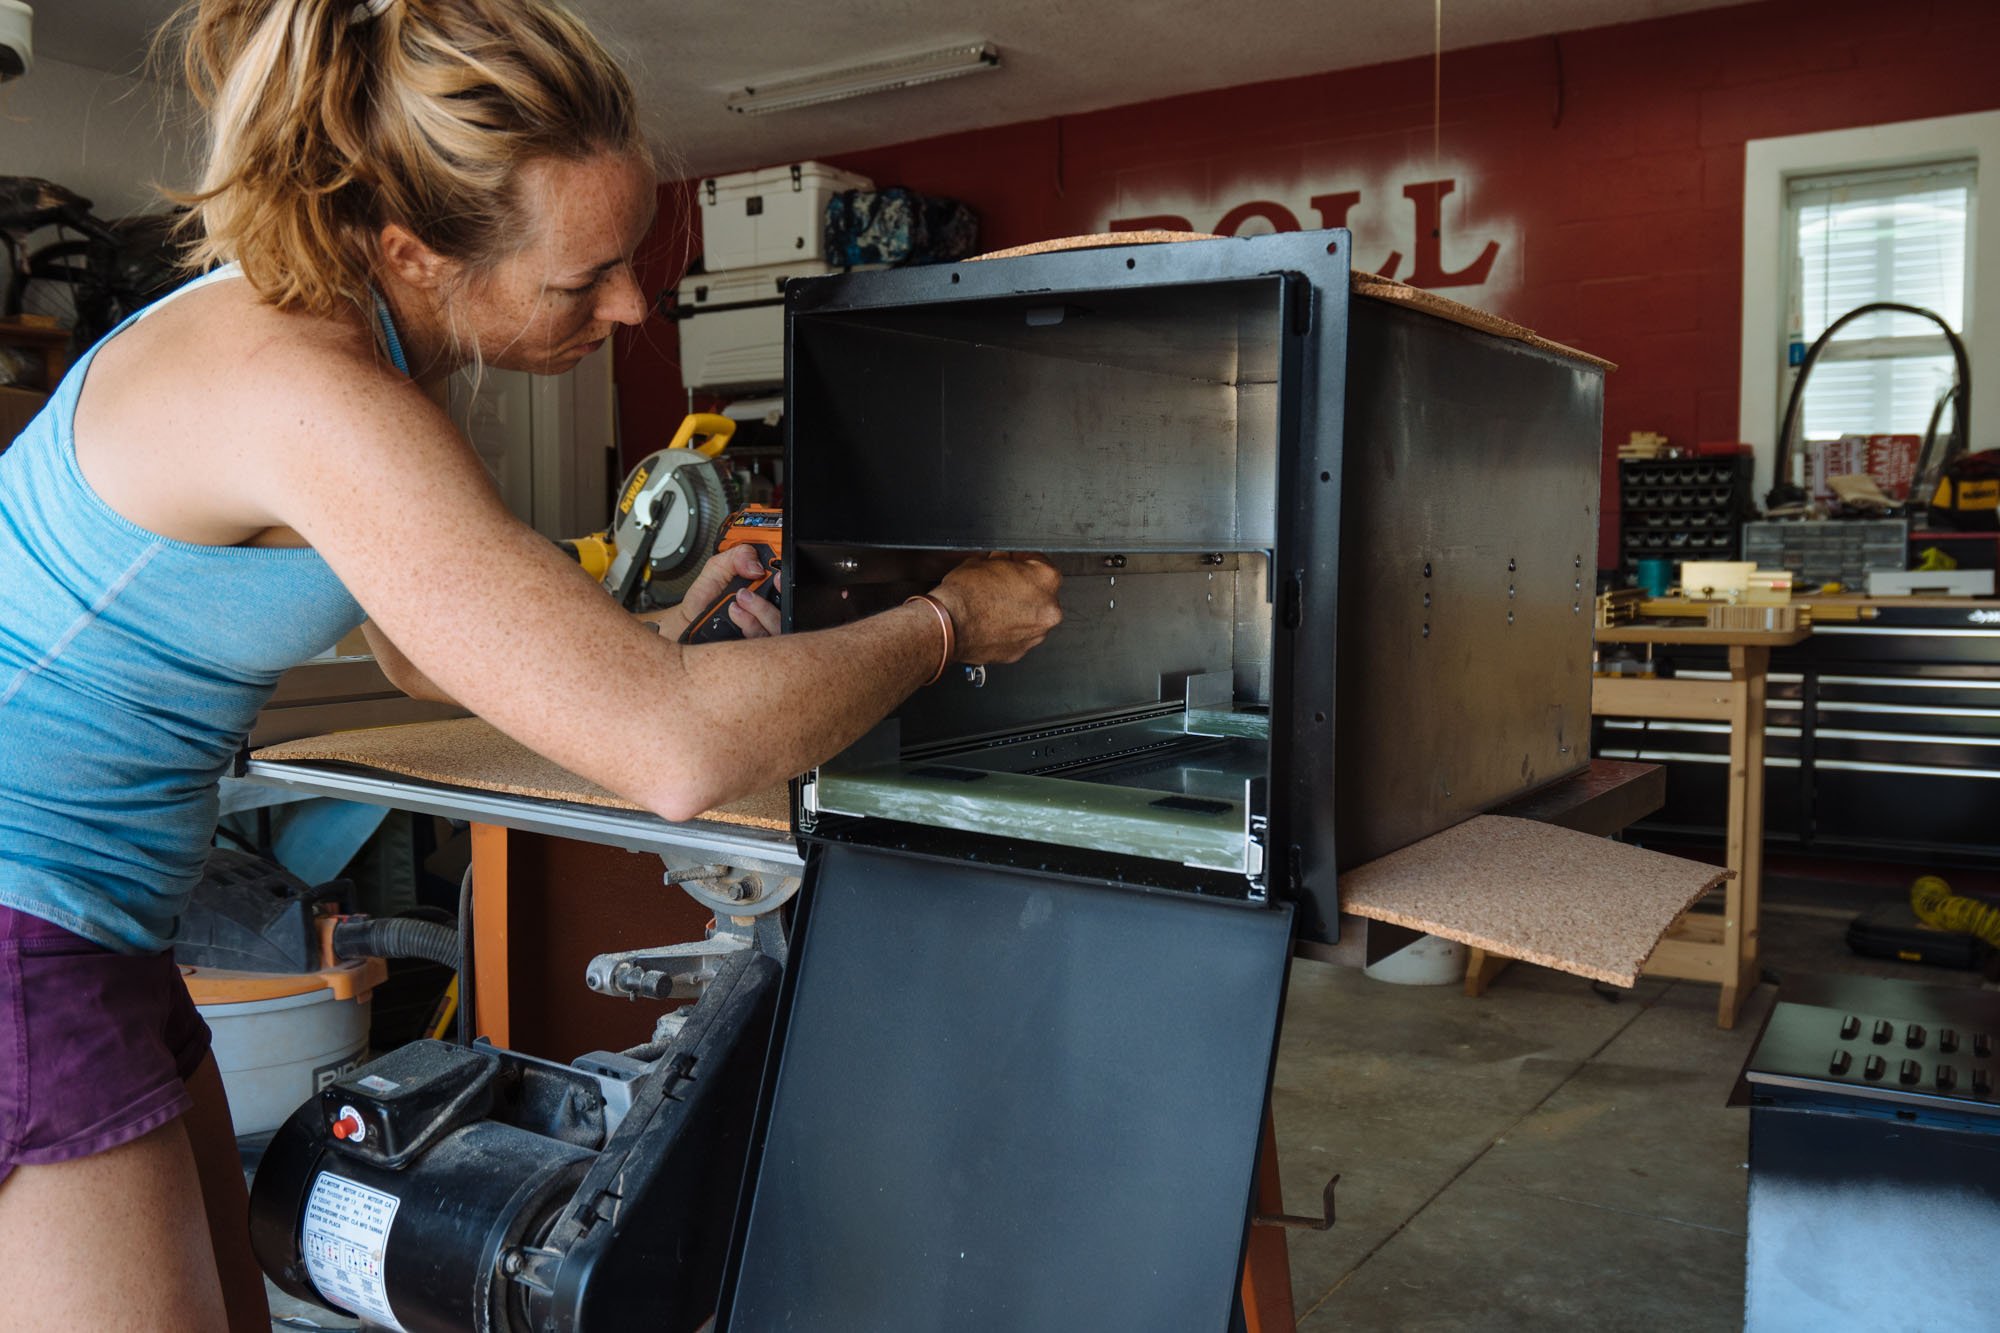
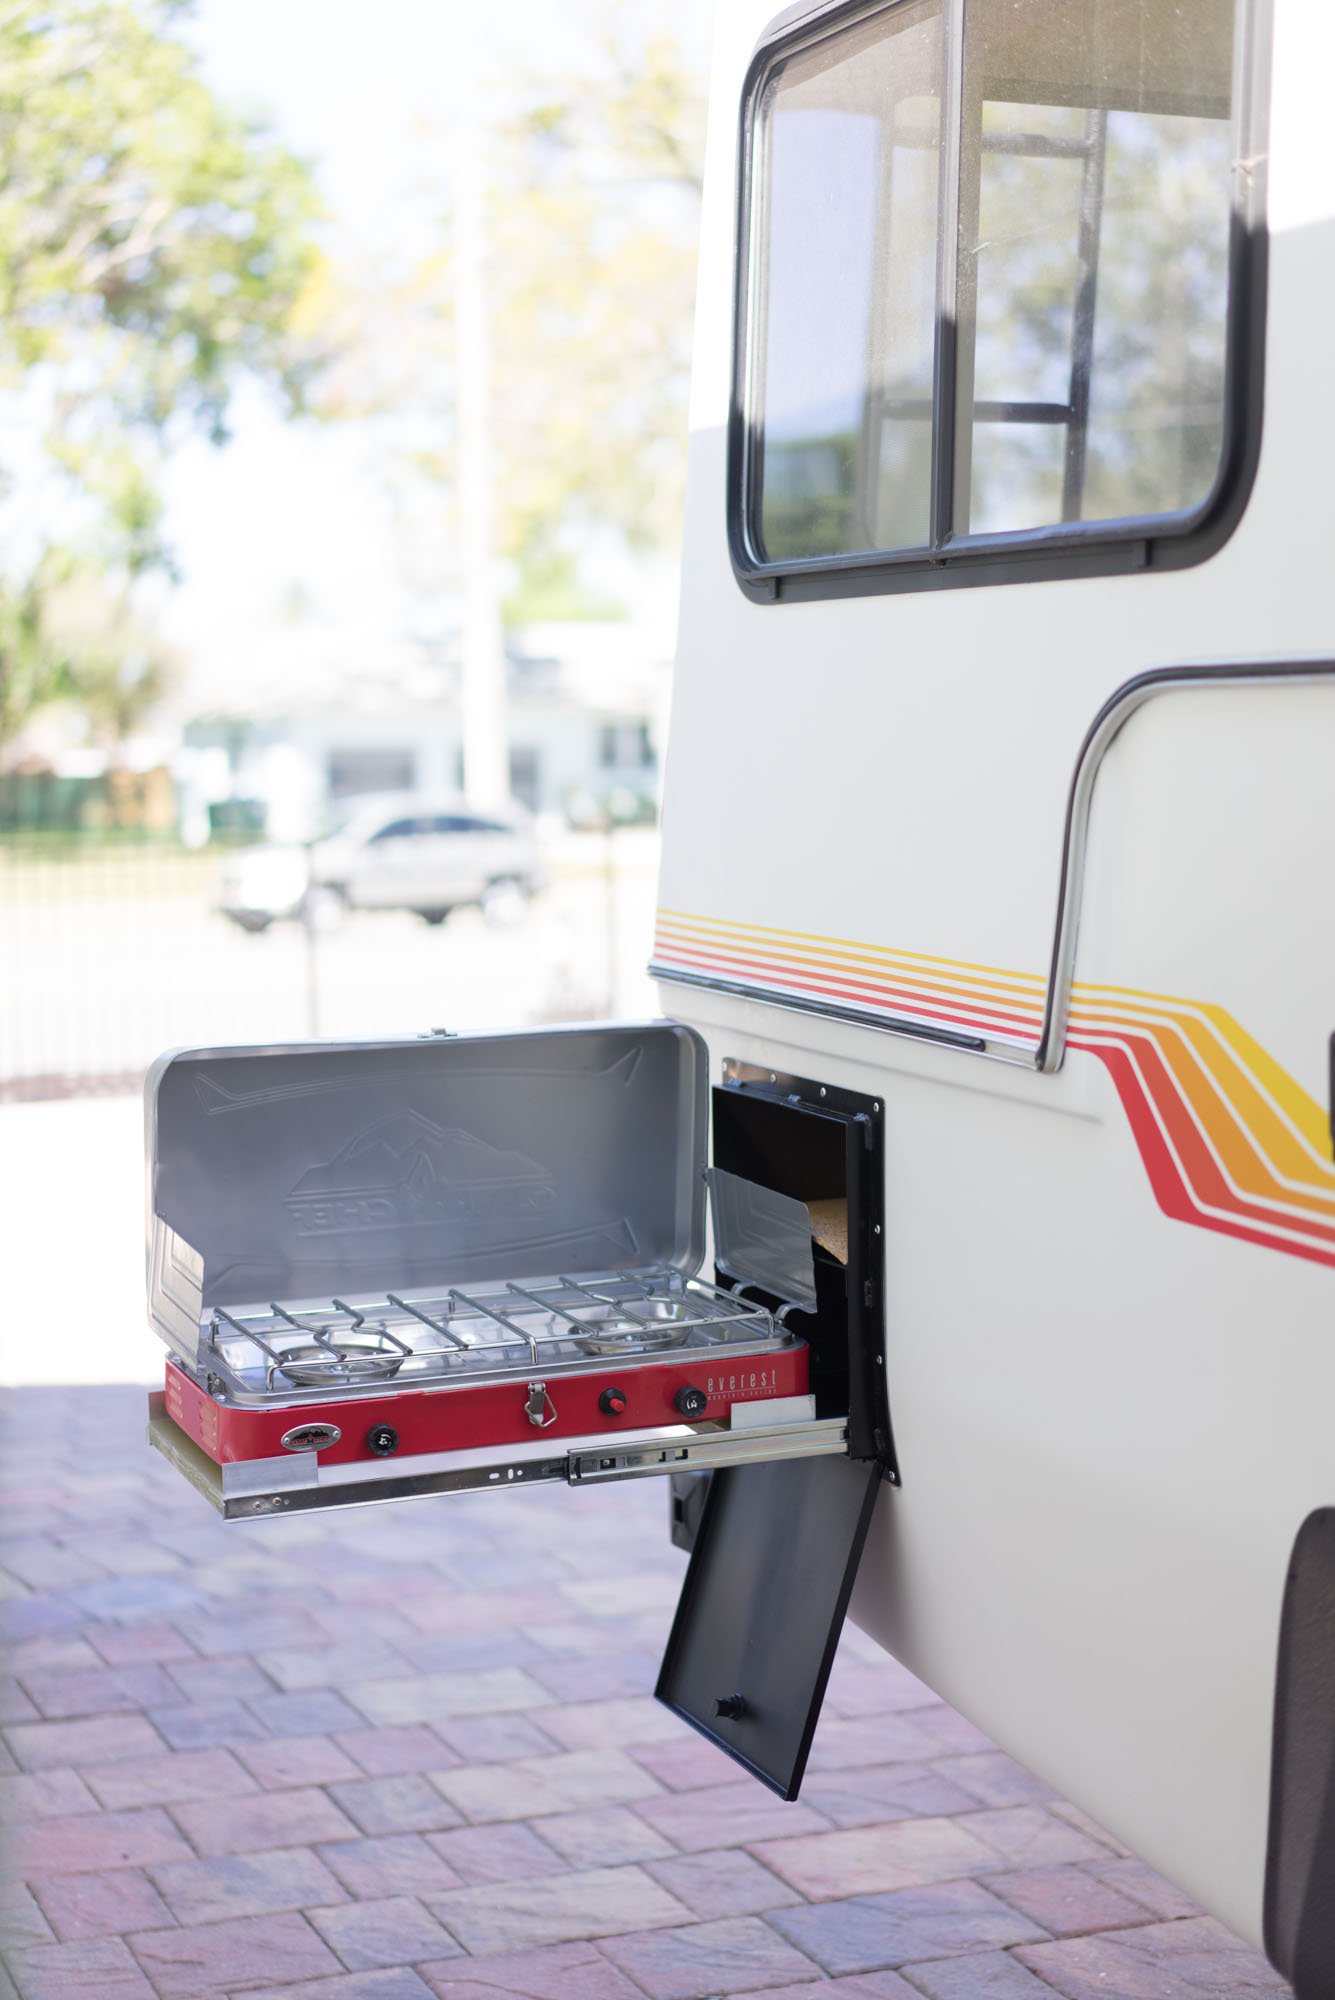
After our cooktop cross supports were cured we installed them into our drawer sliders to be sure that everything was working smoothly. It took a little bit of fine tuning to get everything gliding smoothly on the tracks. To hold the cook top on the tray while we're moving around we used little pieces of industrial strength velcro. We still want to have the option to take the cooktop out and use it in other locations so we felt the velcro was a low maintenance and easy to replace solution. Once we knew that everything was working the way we wanted, I reinstalled the top shelf into the box. Now we're ready for the final installation of our box!
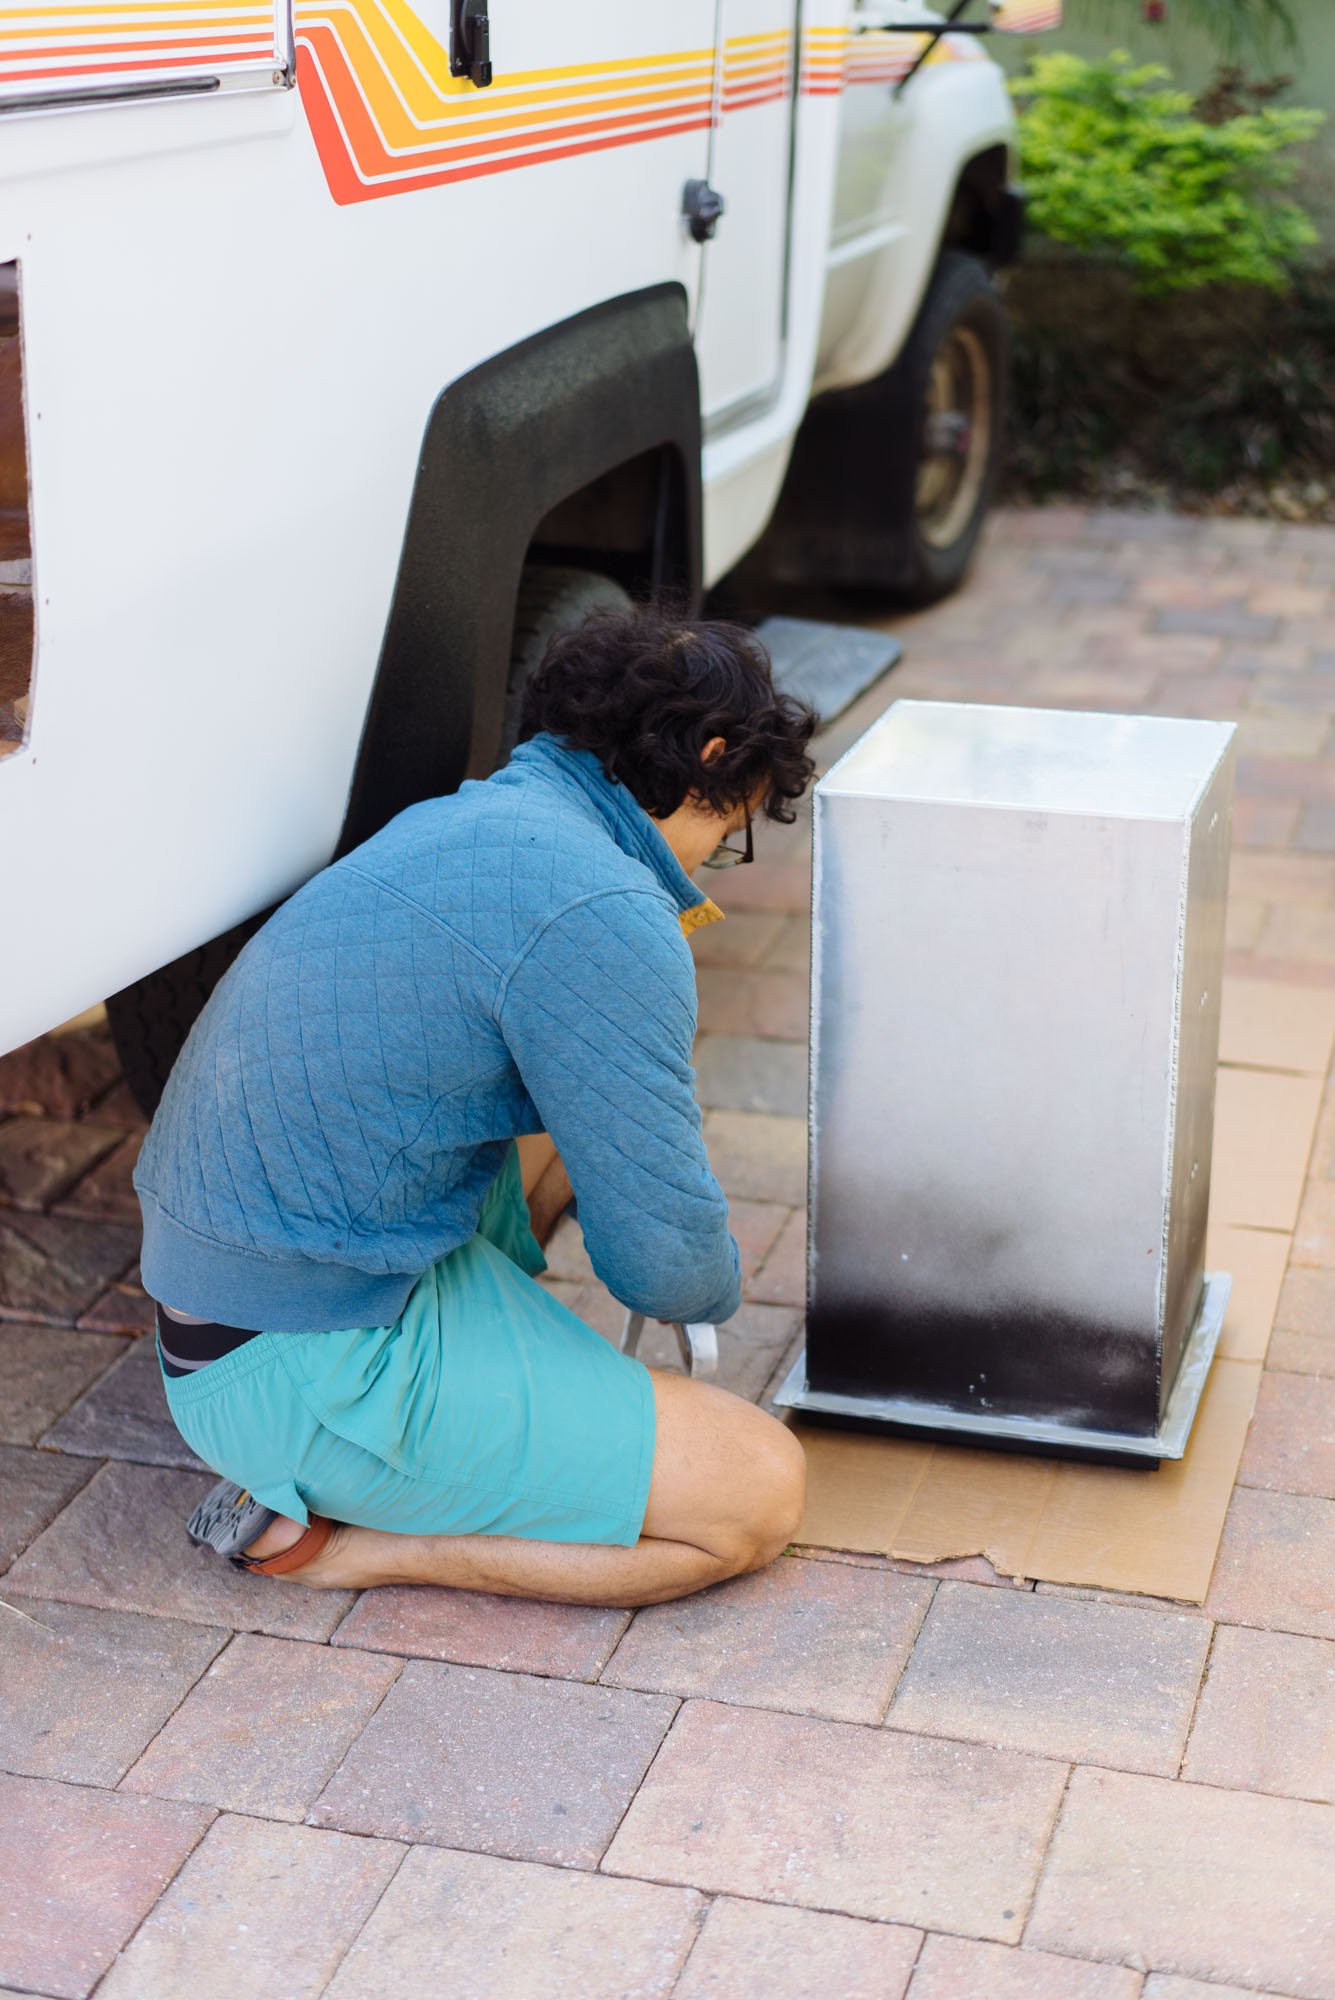
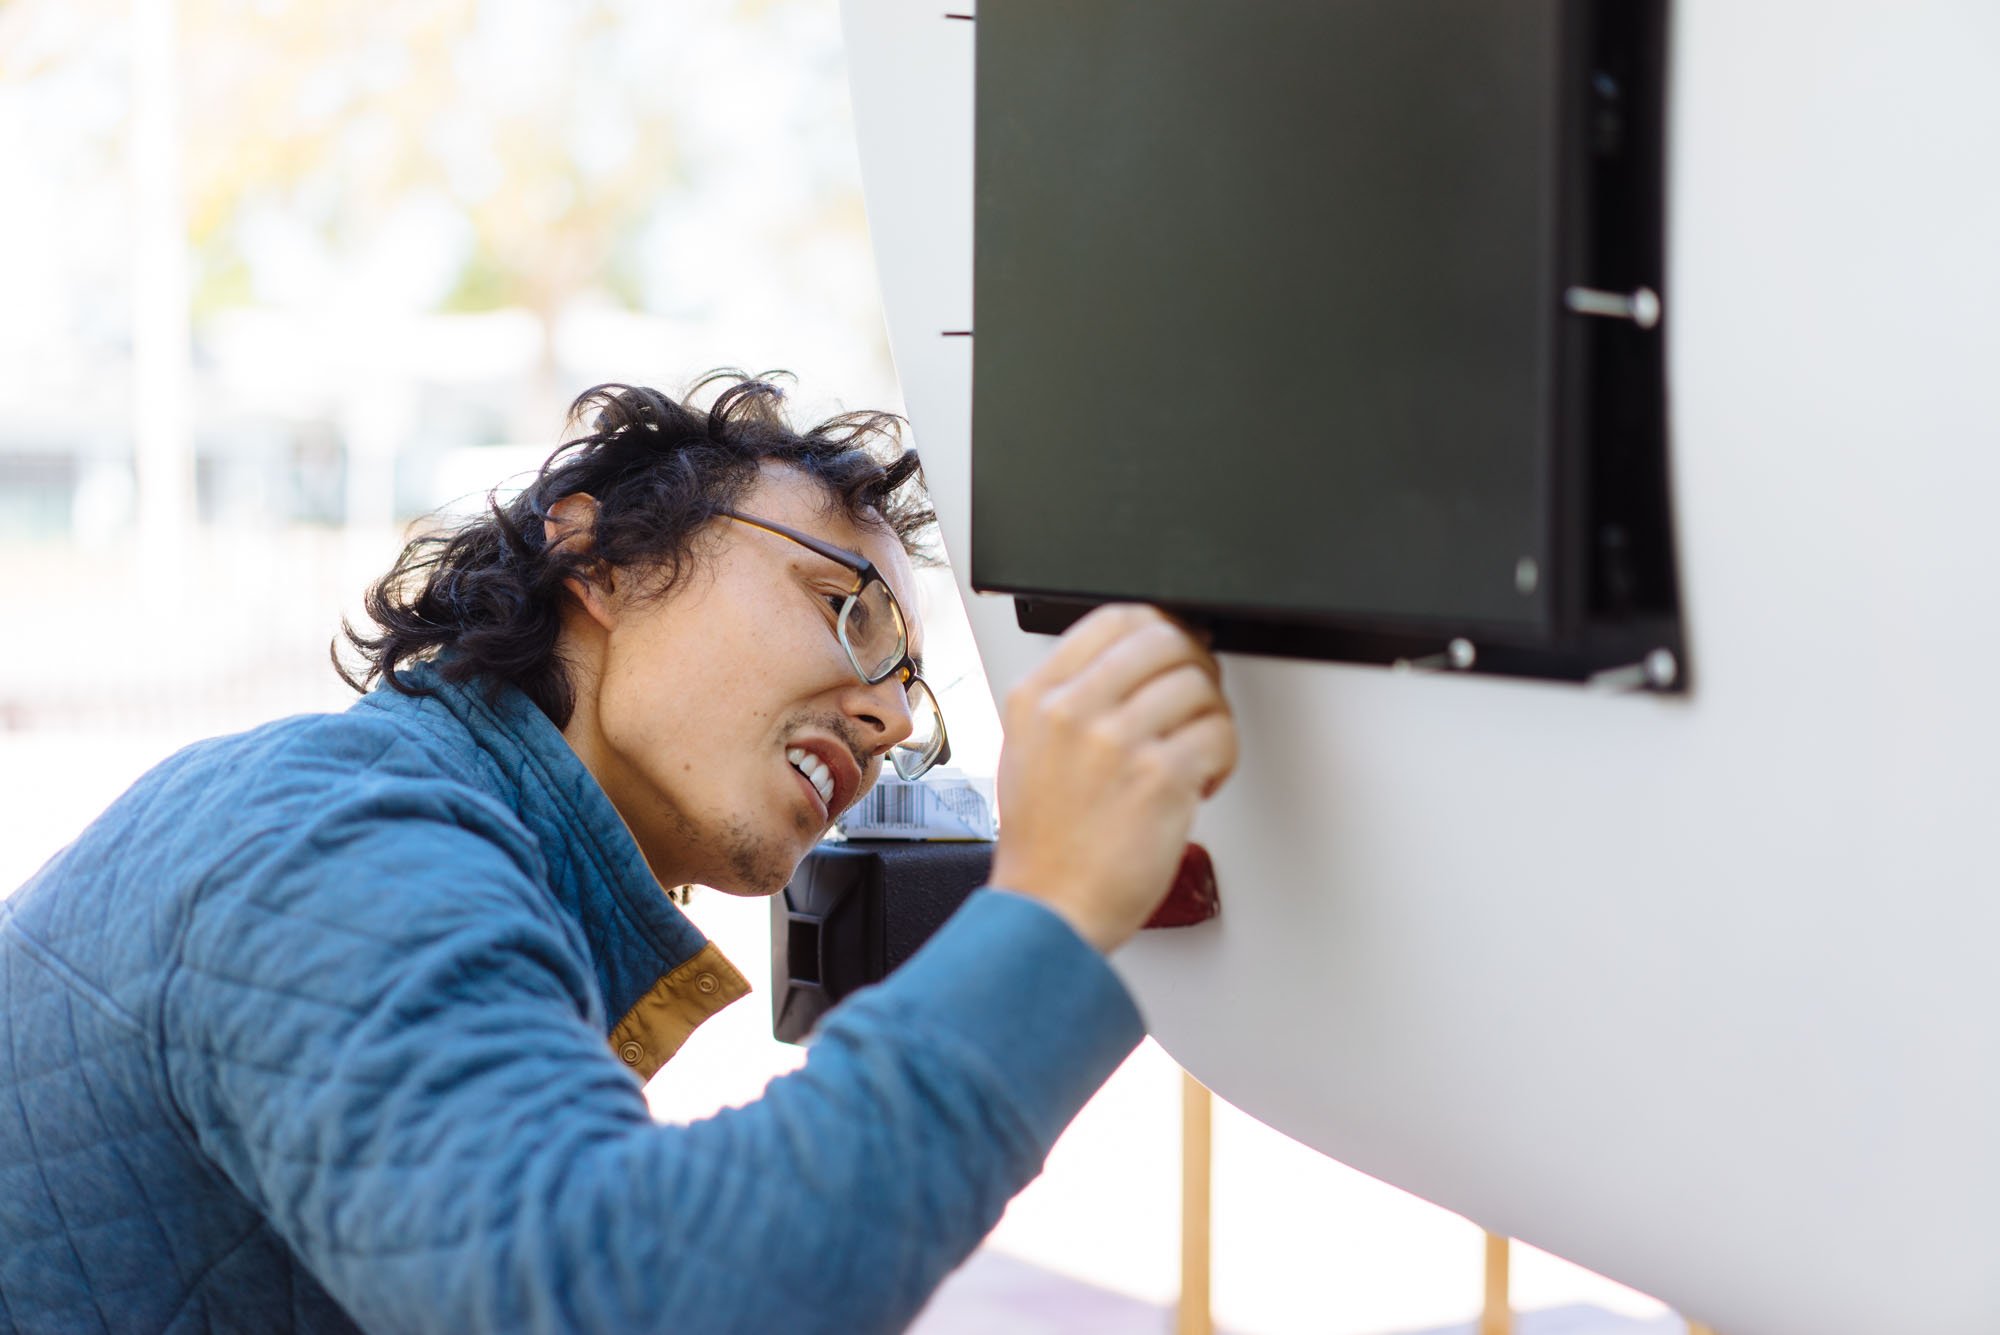
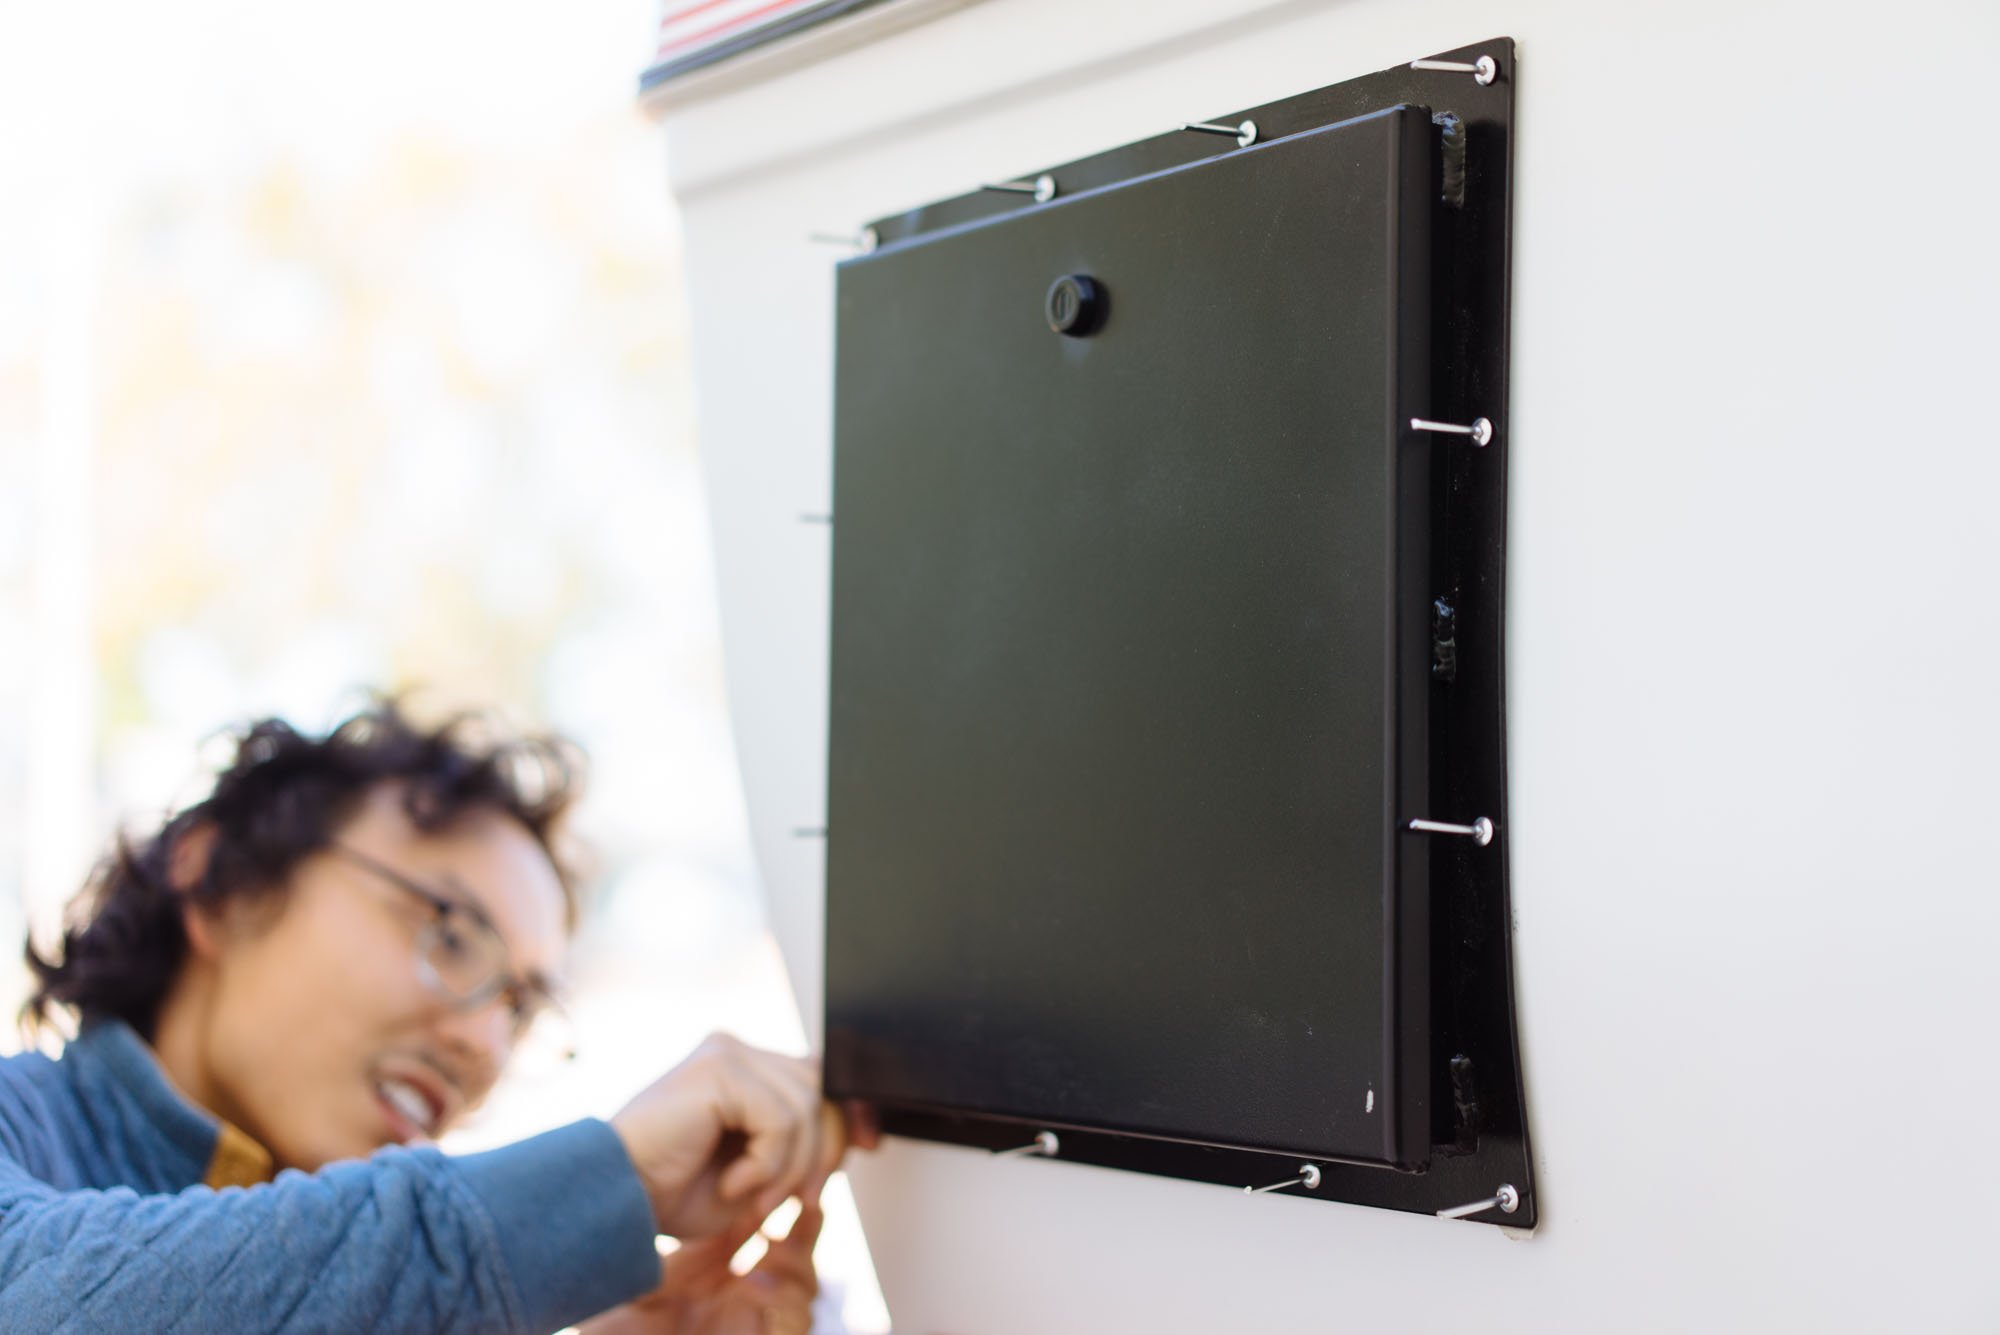
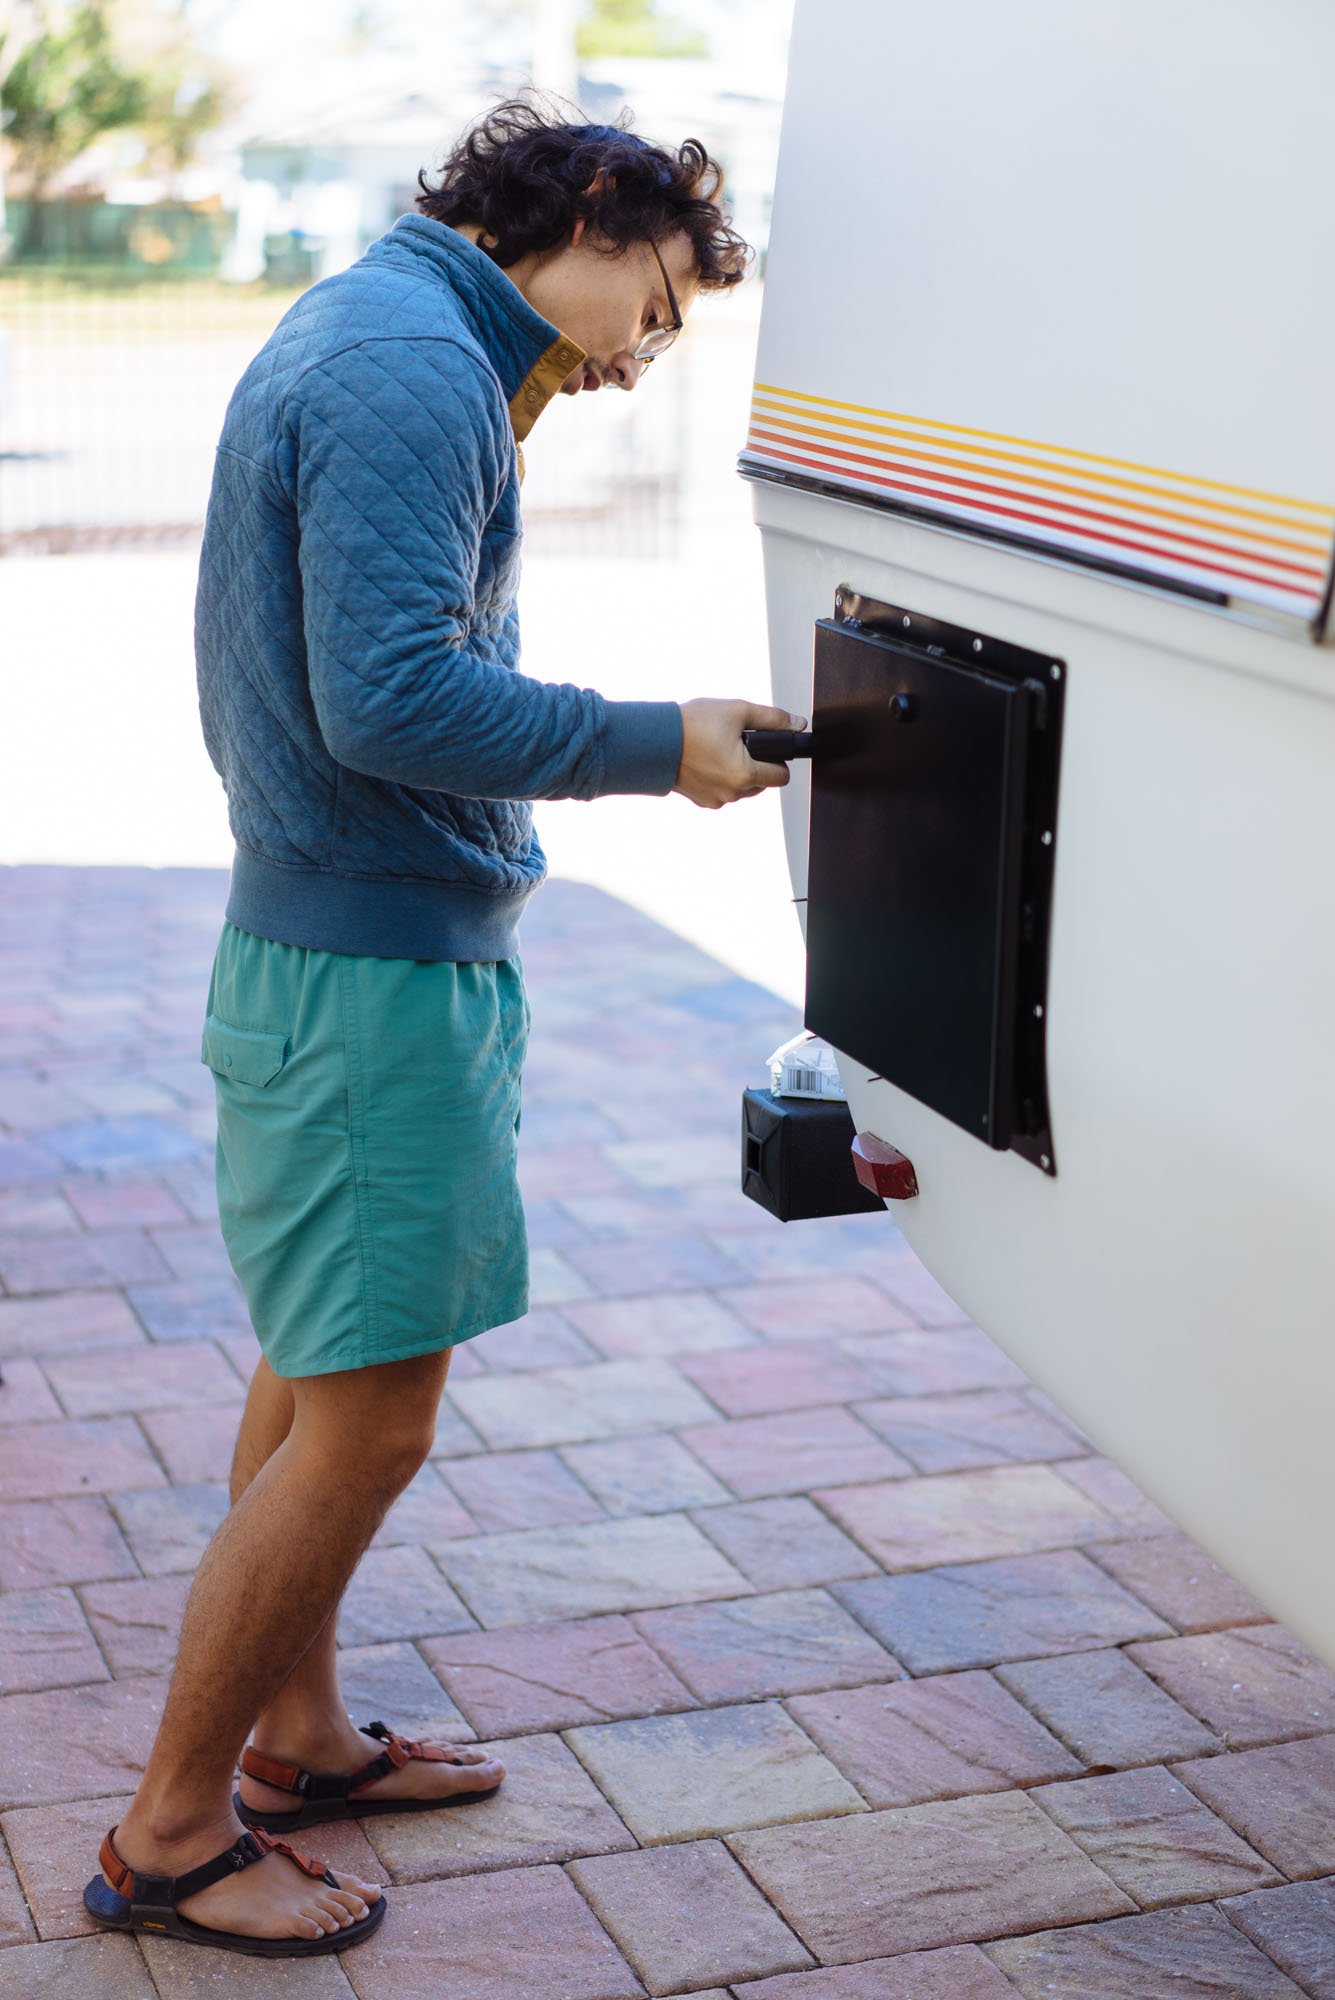
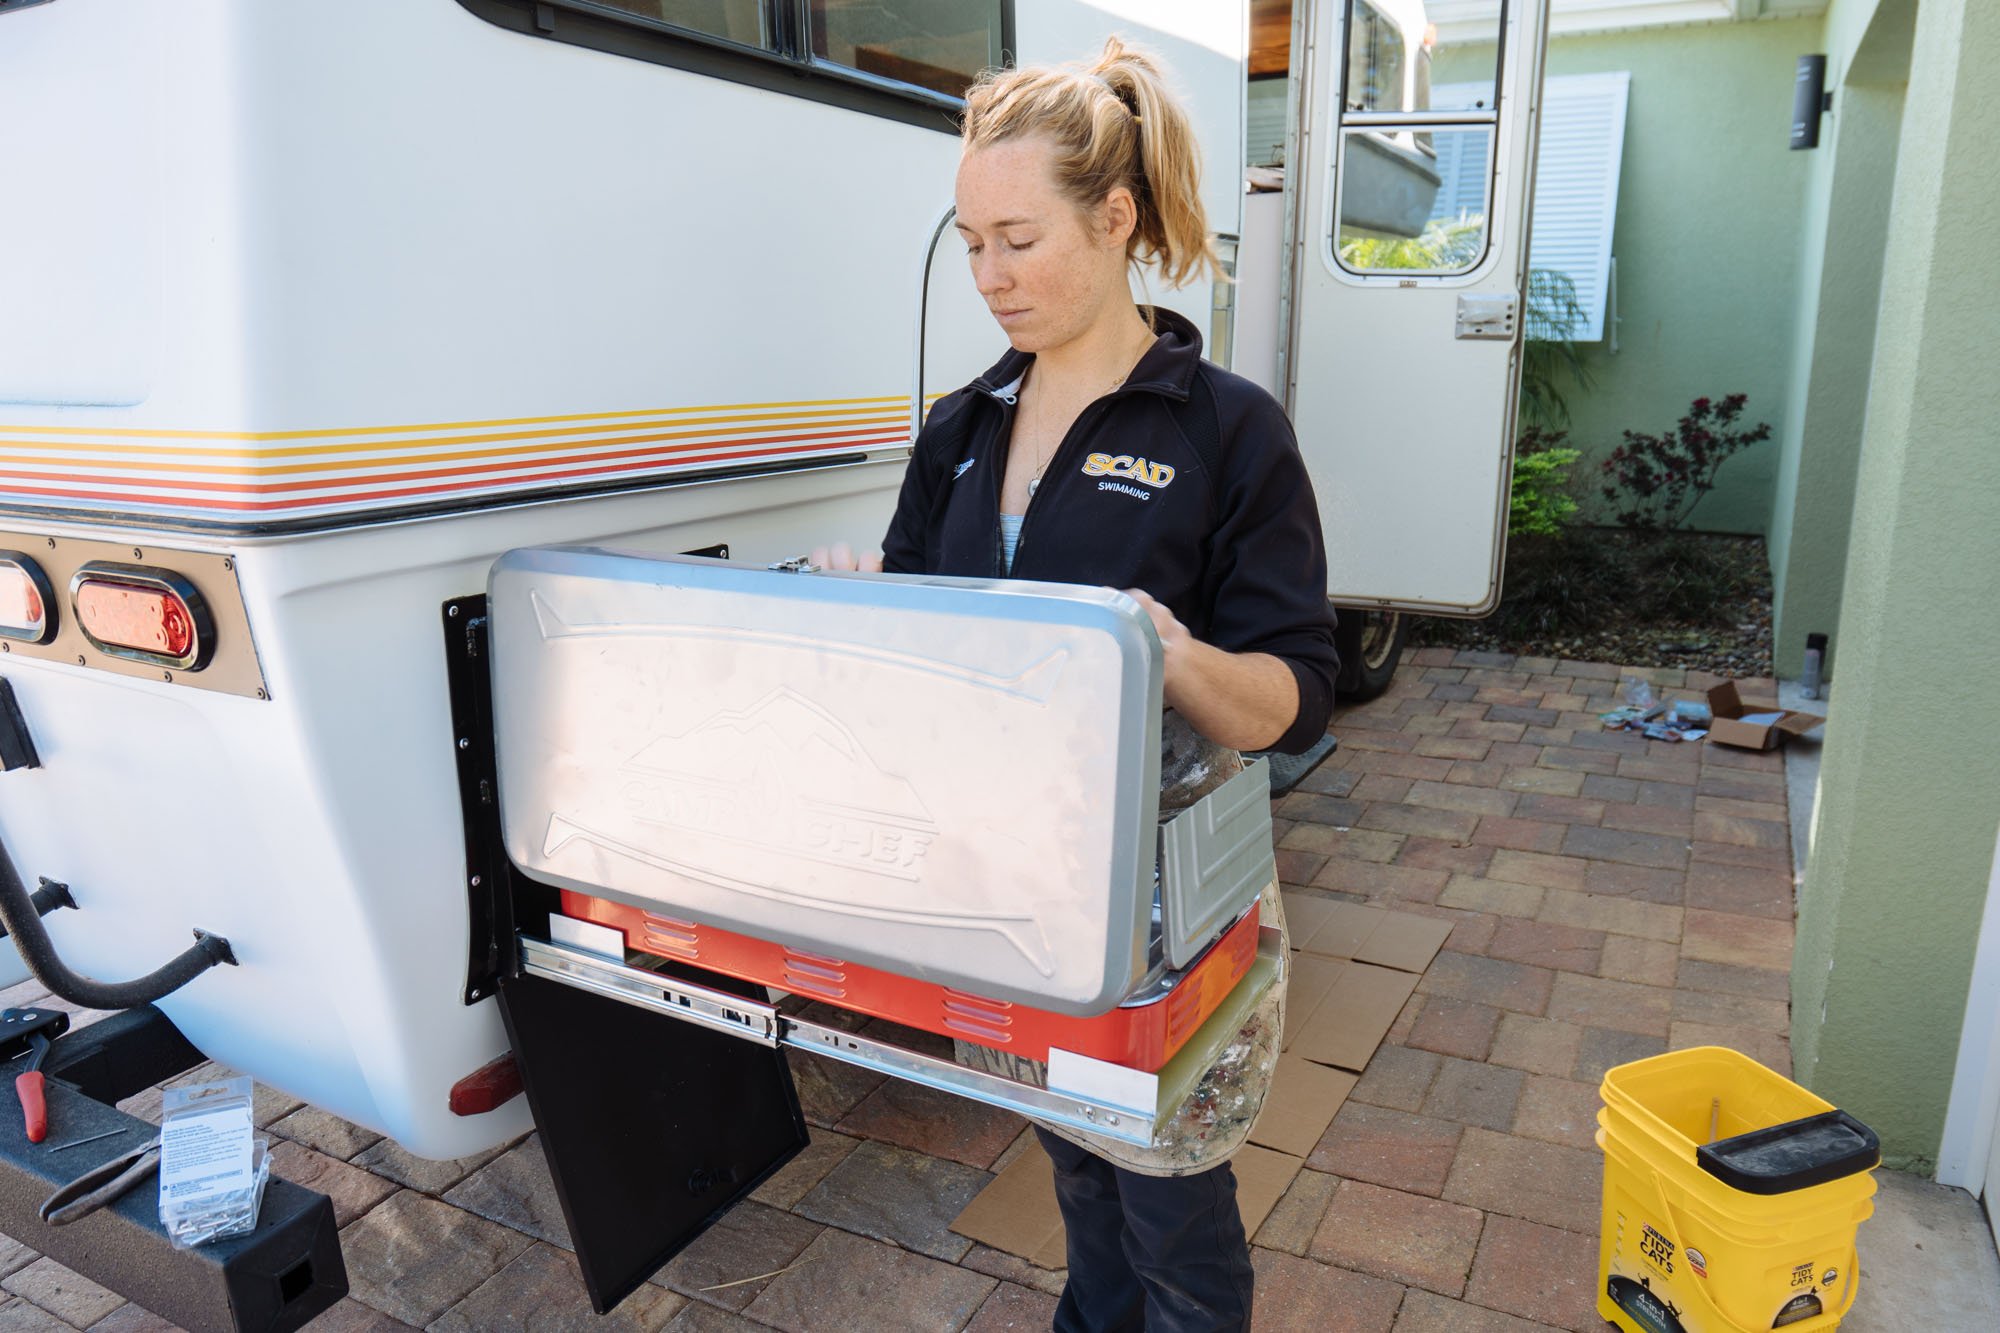
We decided to go with rivets to install the box itself. We've really come to like how solid rivets are once they're installed into the exterior wall. Once we got the box installed, we reassembled our sliders and our cooktop! Getting this box installed has been 3 months in the making. If you remember, it was quite a journey just to have them made, so this was a pretty triumphant week!
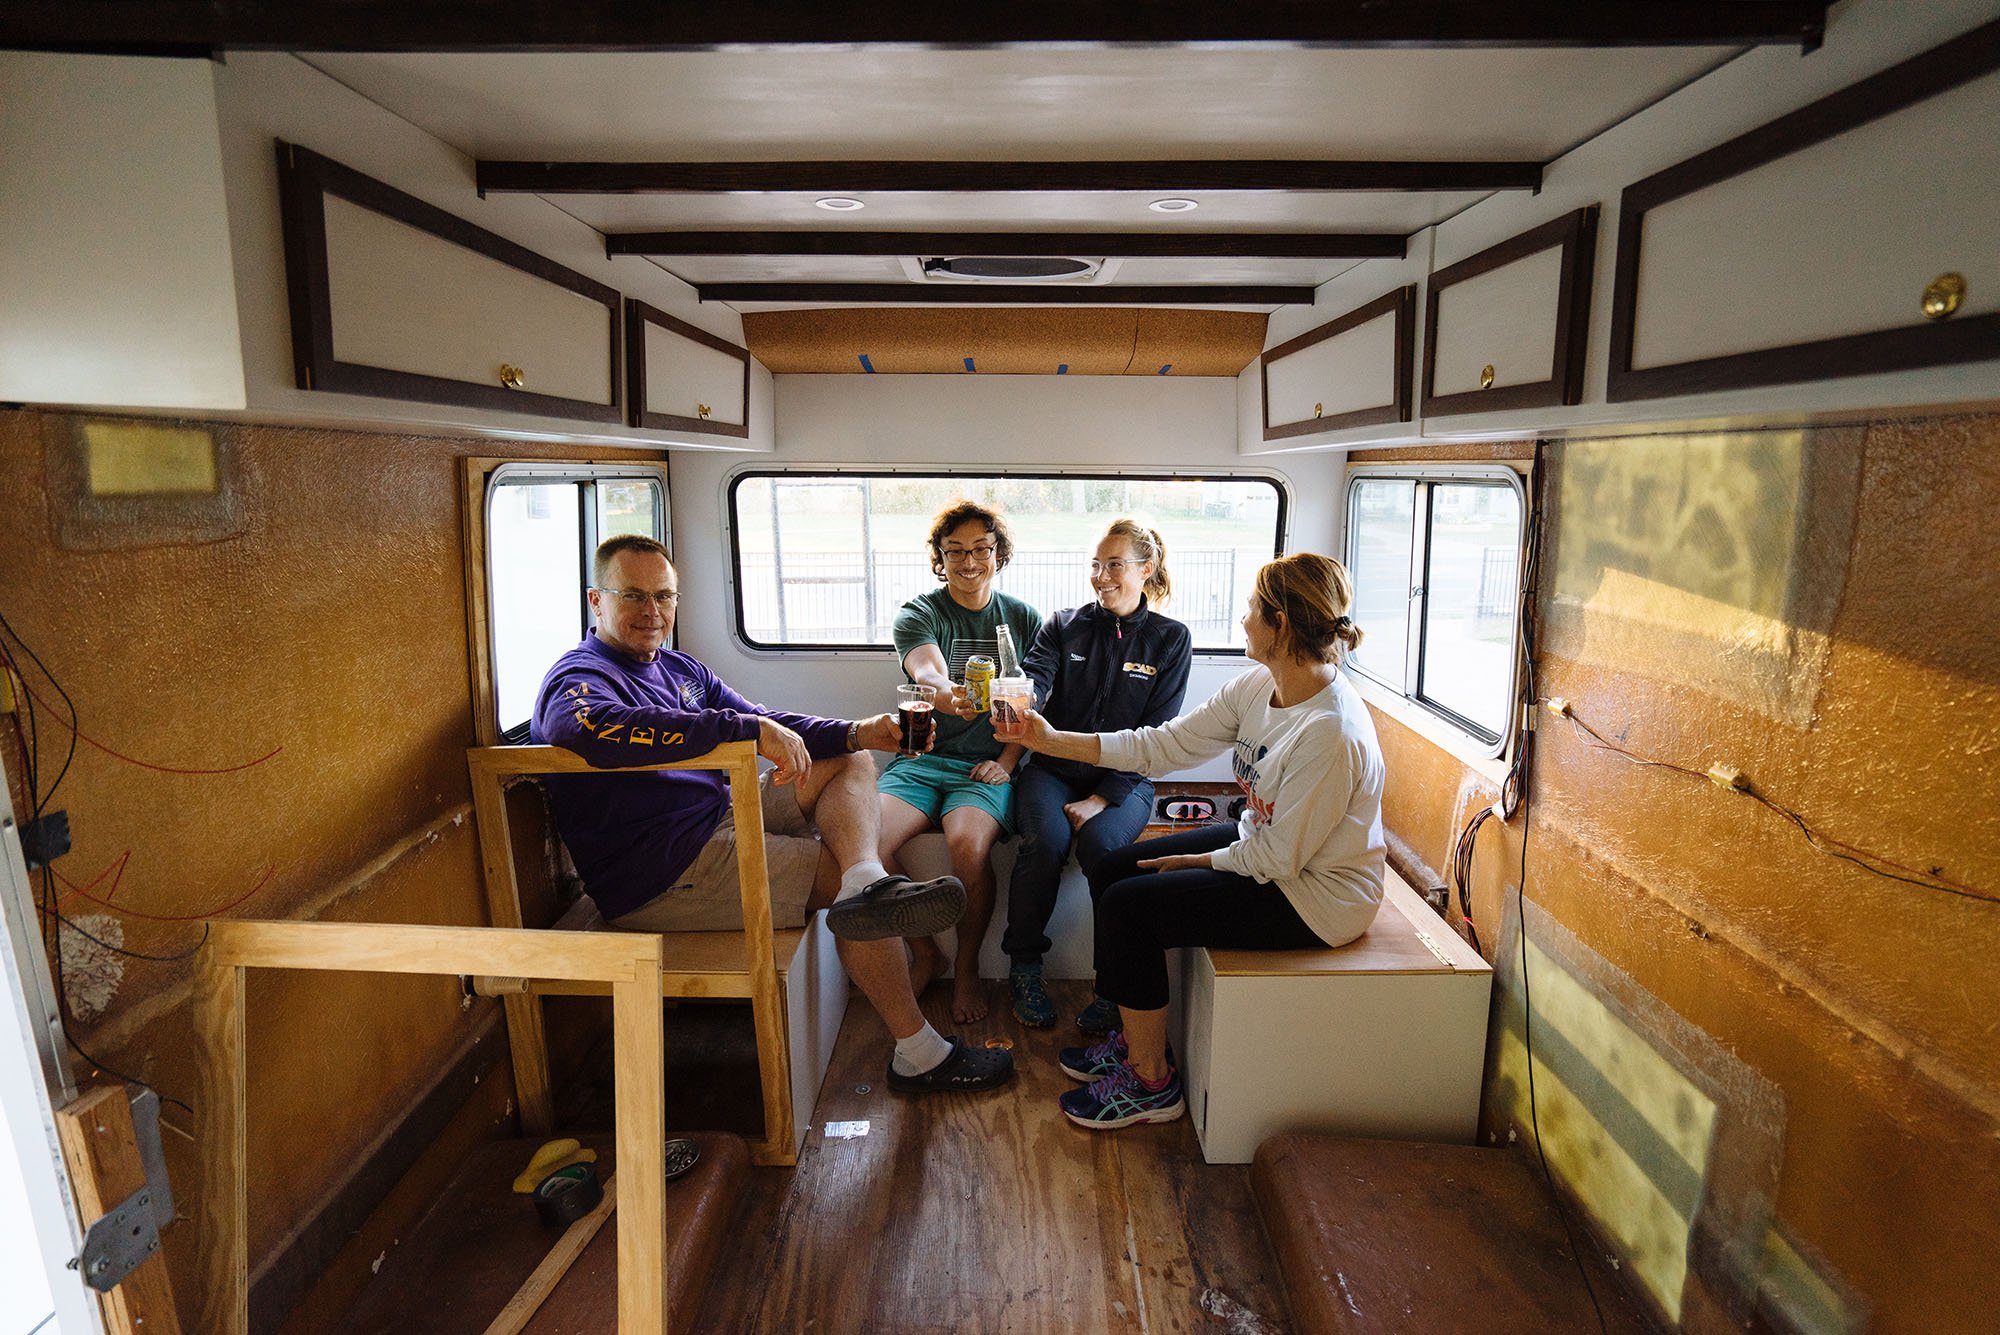
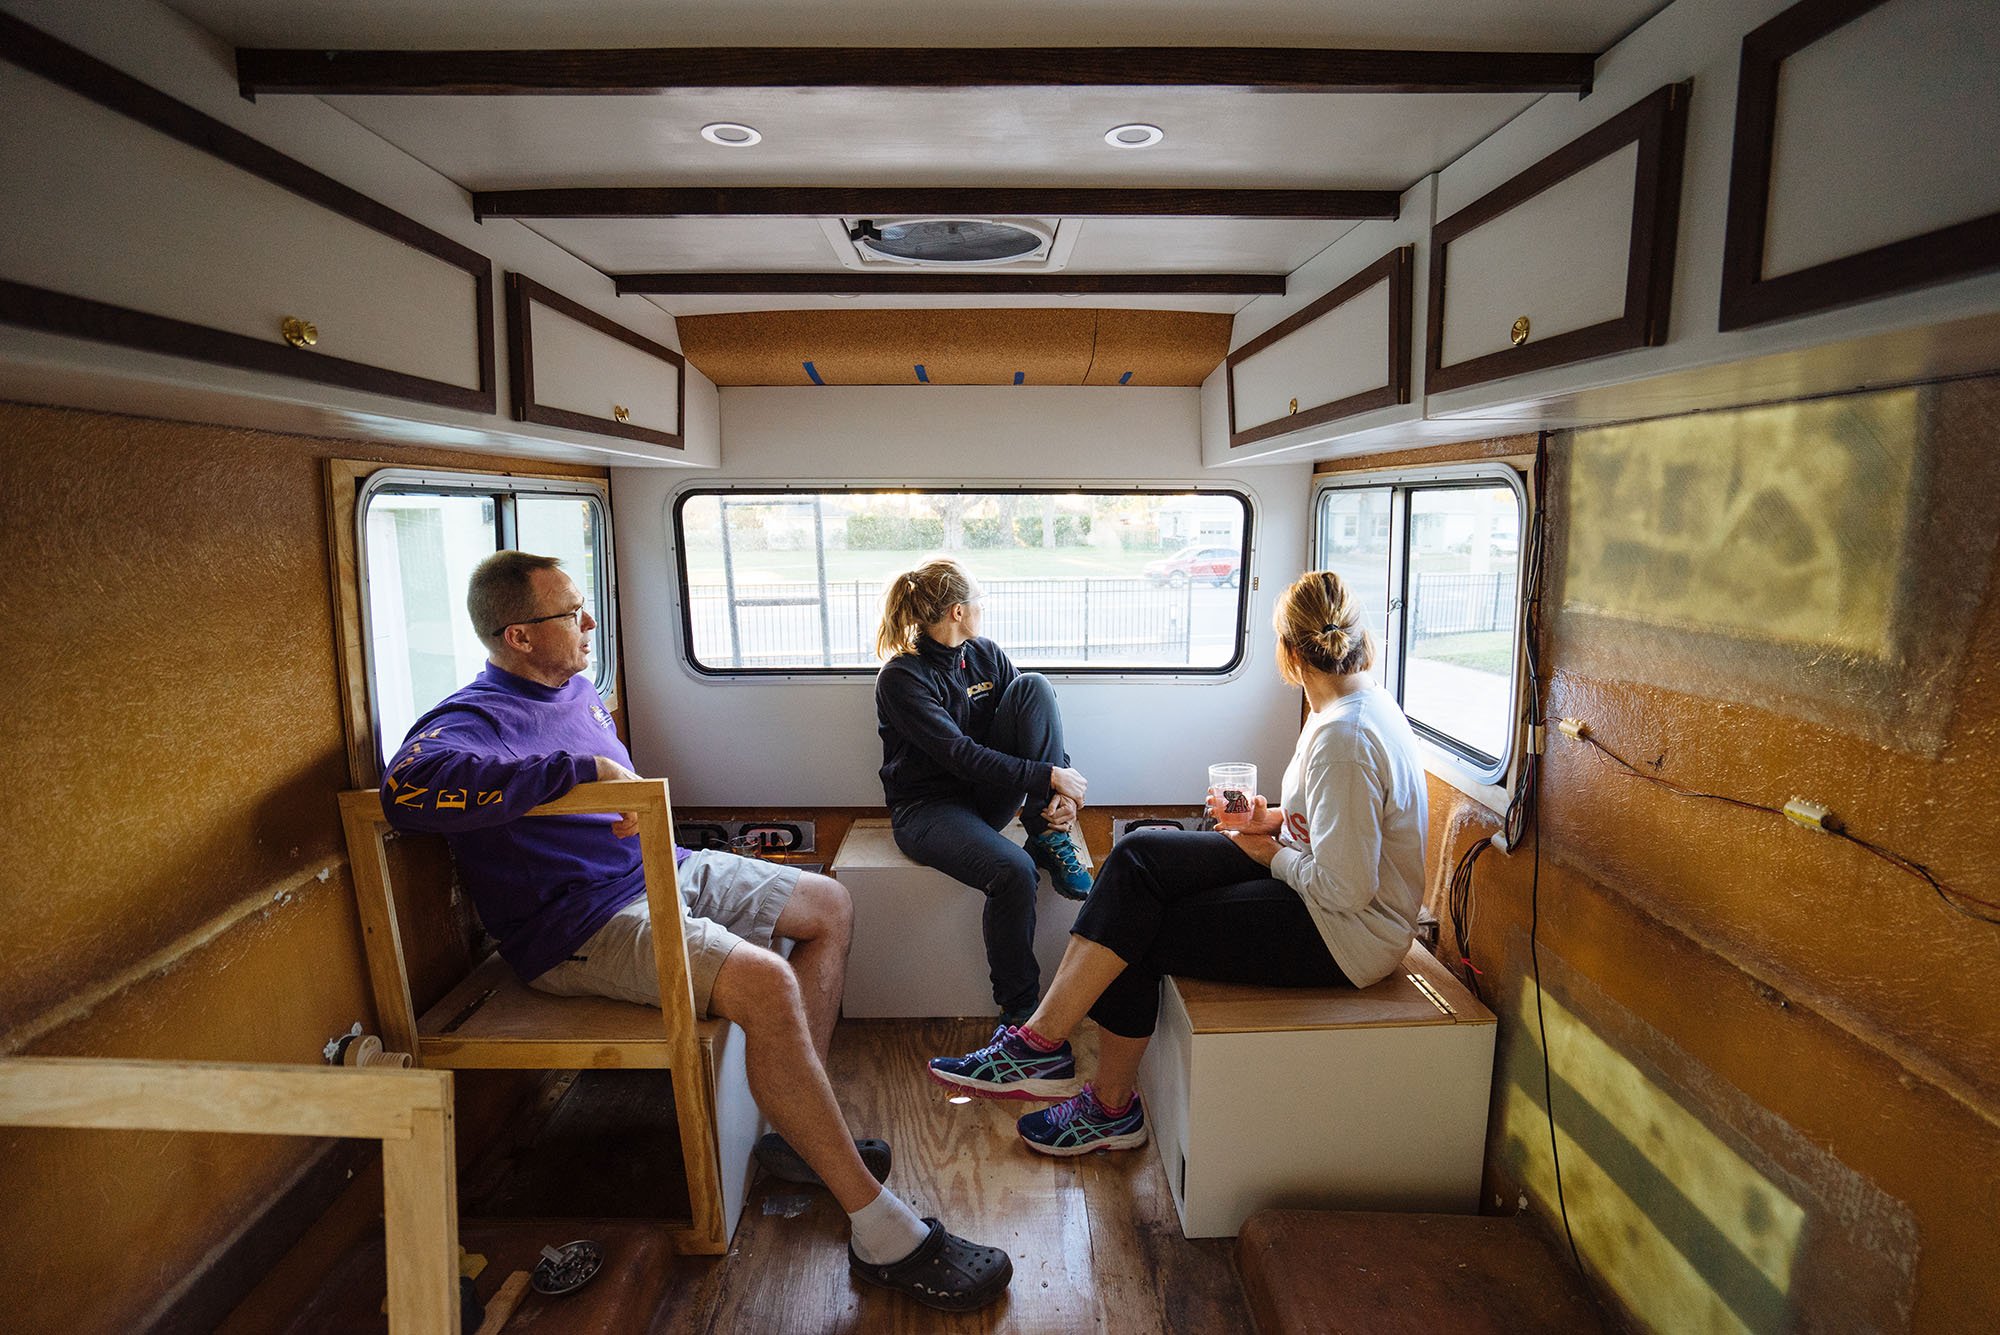
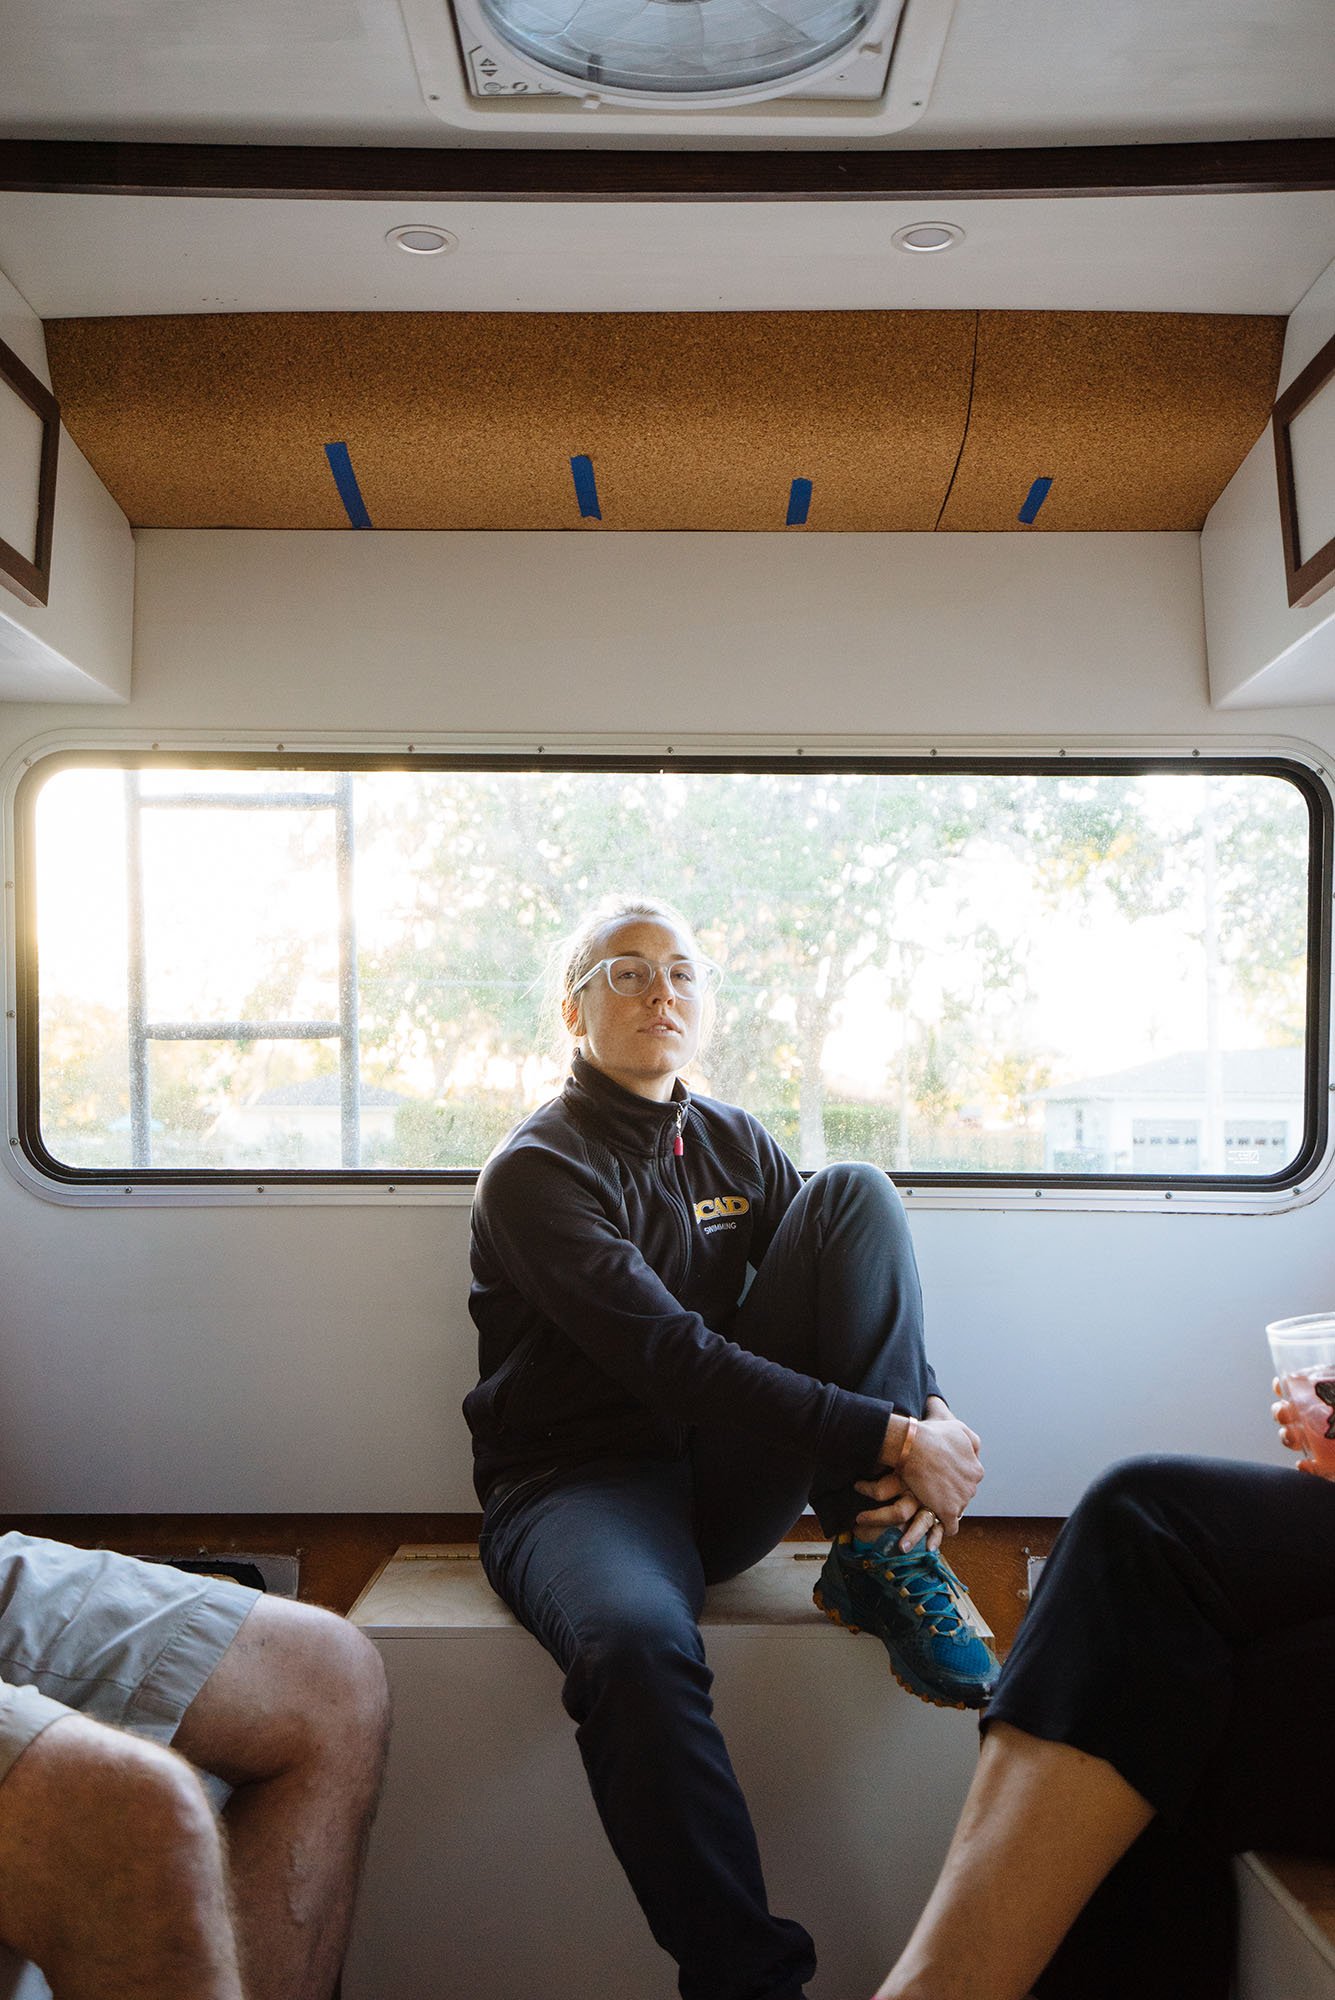
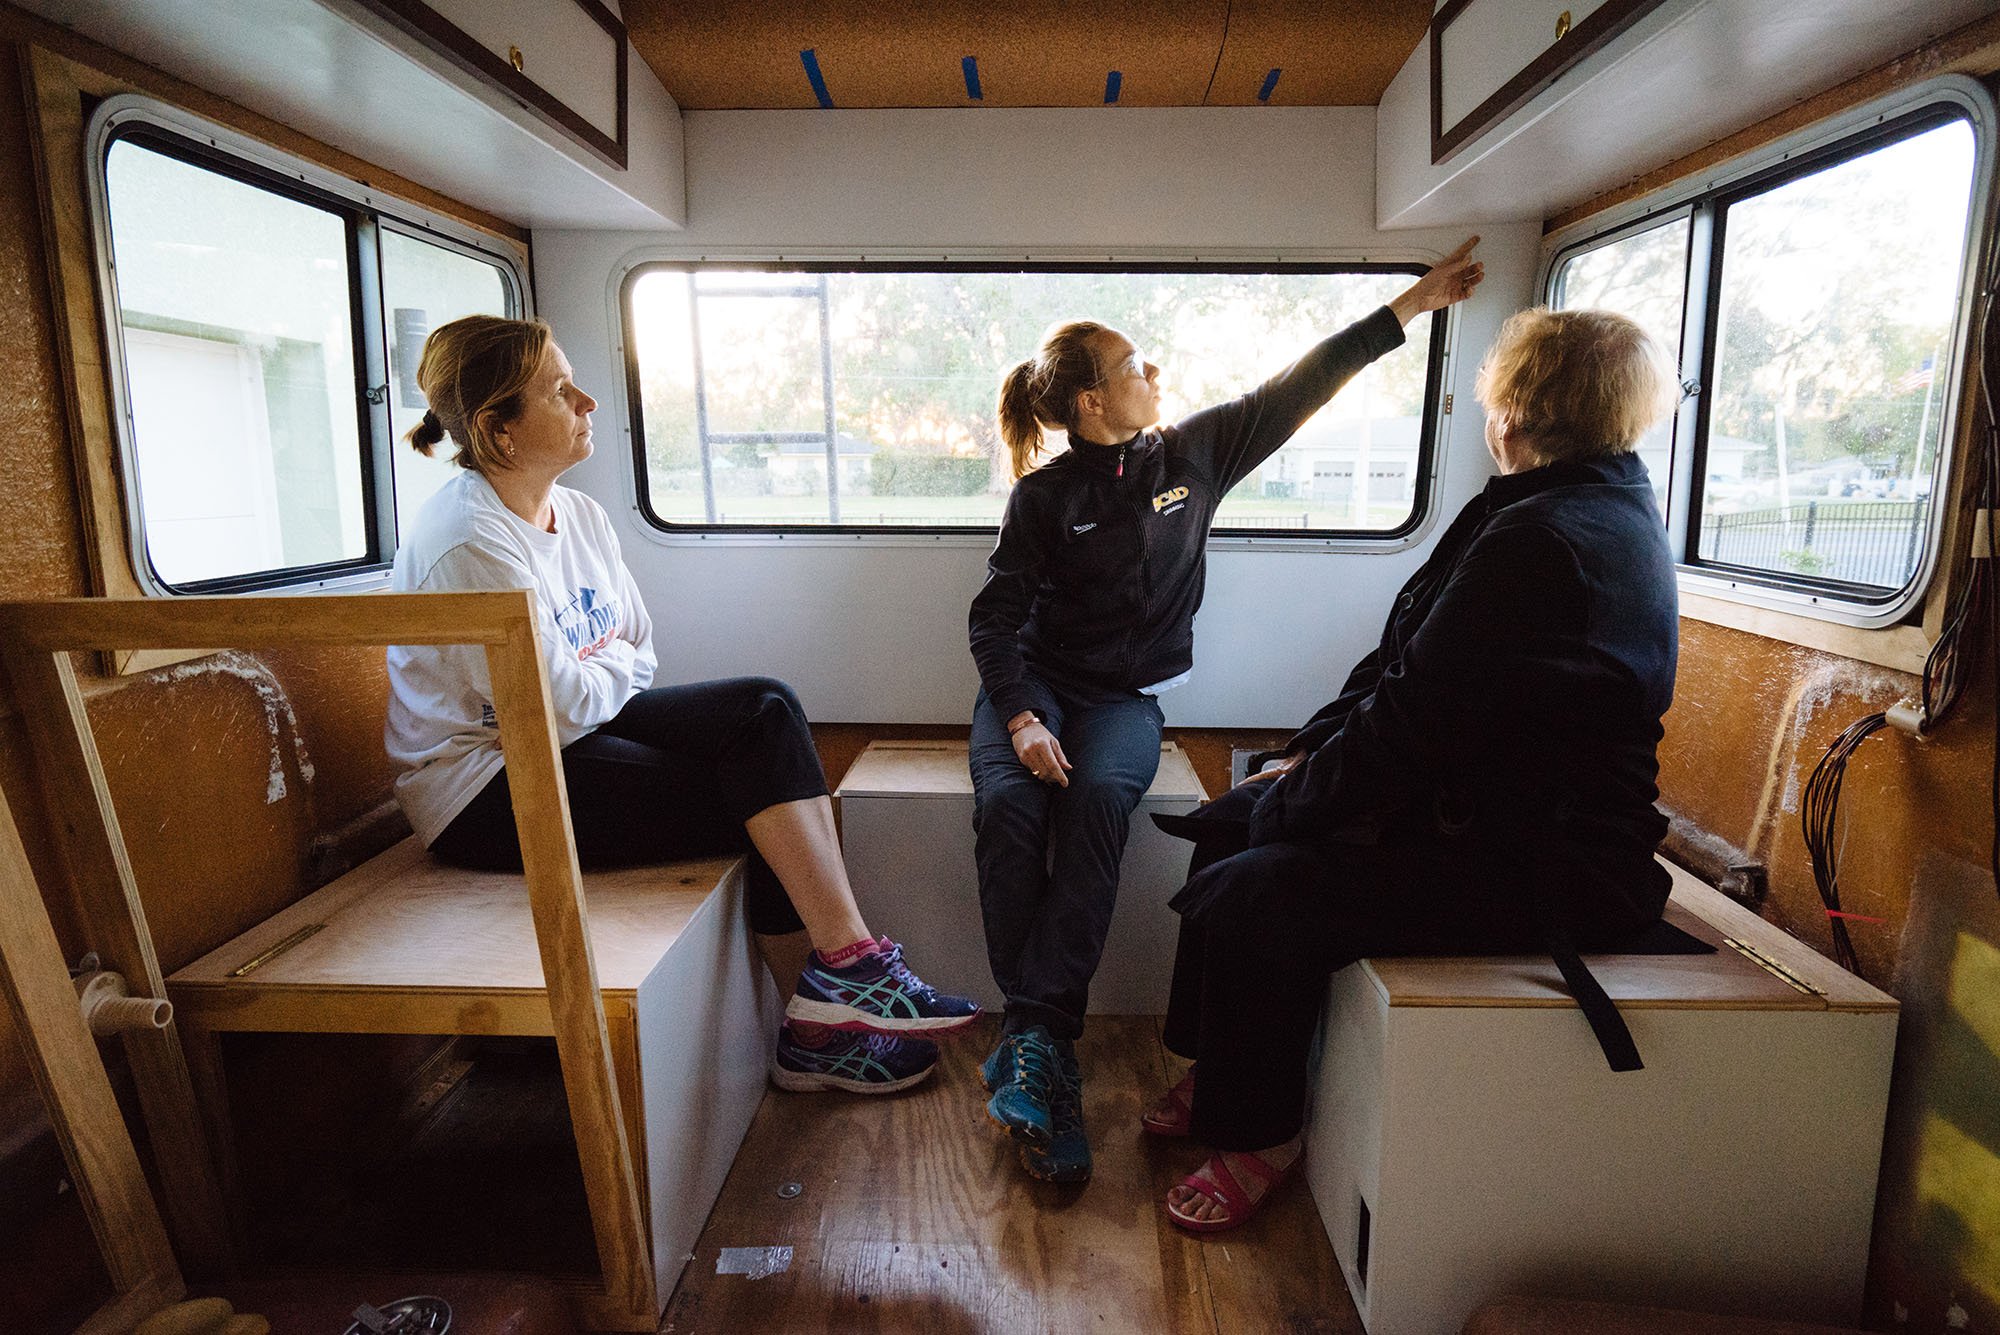
We decided the best way to celebrate the end of an incredibly productive week was to all take a seat on our new benches for a toast! It was so fun to sit still and enjoy our handy work. Even my Grandmother came by and hung out with us in Amelia. These pictures give me a lot of joy! We're so excited for more moments like this in our little hand made home.
SUPPLY LIST
For Inquiring Minds
Cabinets
Piano Hinges - for our cabinet doors (and we used them on our bench seat hatches)
Pull Out Kitchen
Camp Chef Stove - The cook top of choice in our opinion (Linked here)
Rockler Over Travel Sliders - For the slide out feature, we used 24" long sliders that come with 1" of over travel (Linked here)
G10 Blocks - For our cross supports (Linked Here)
Industrial Strength Velcro - To hold the stove in place