Build Out: Week 14
Back Wall & Beginning of Bench Seats

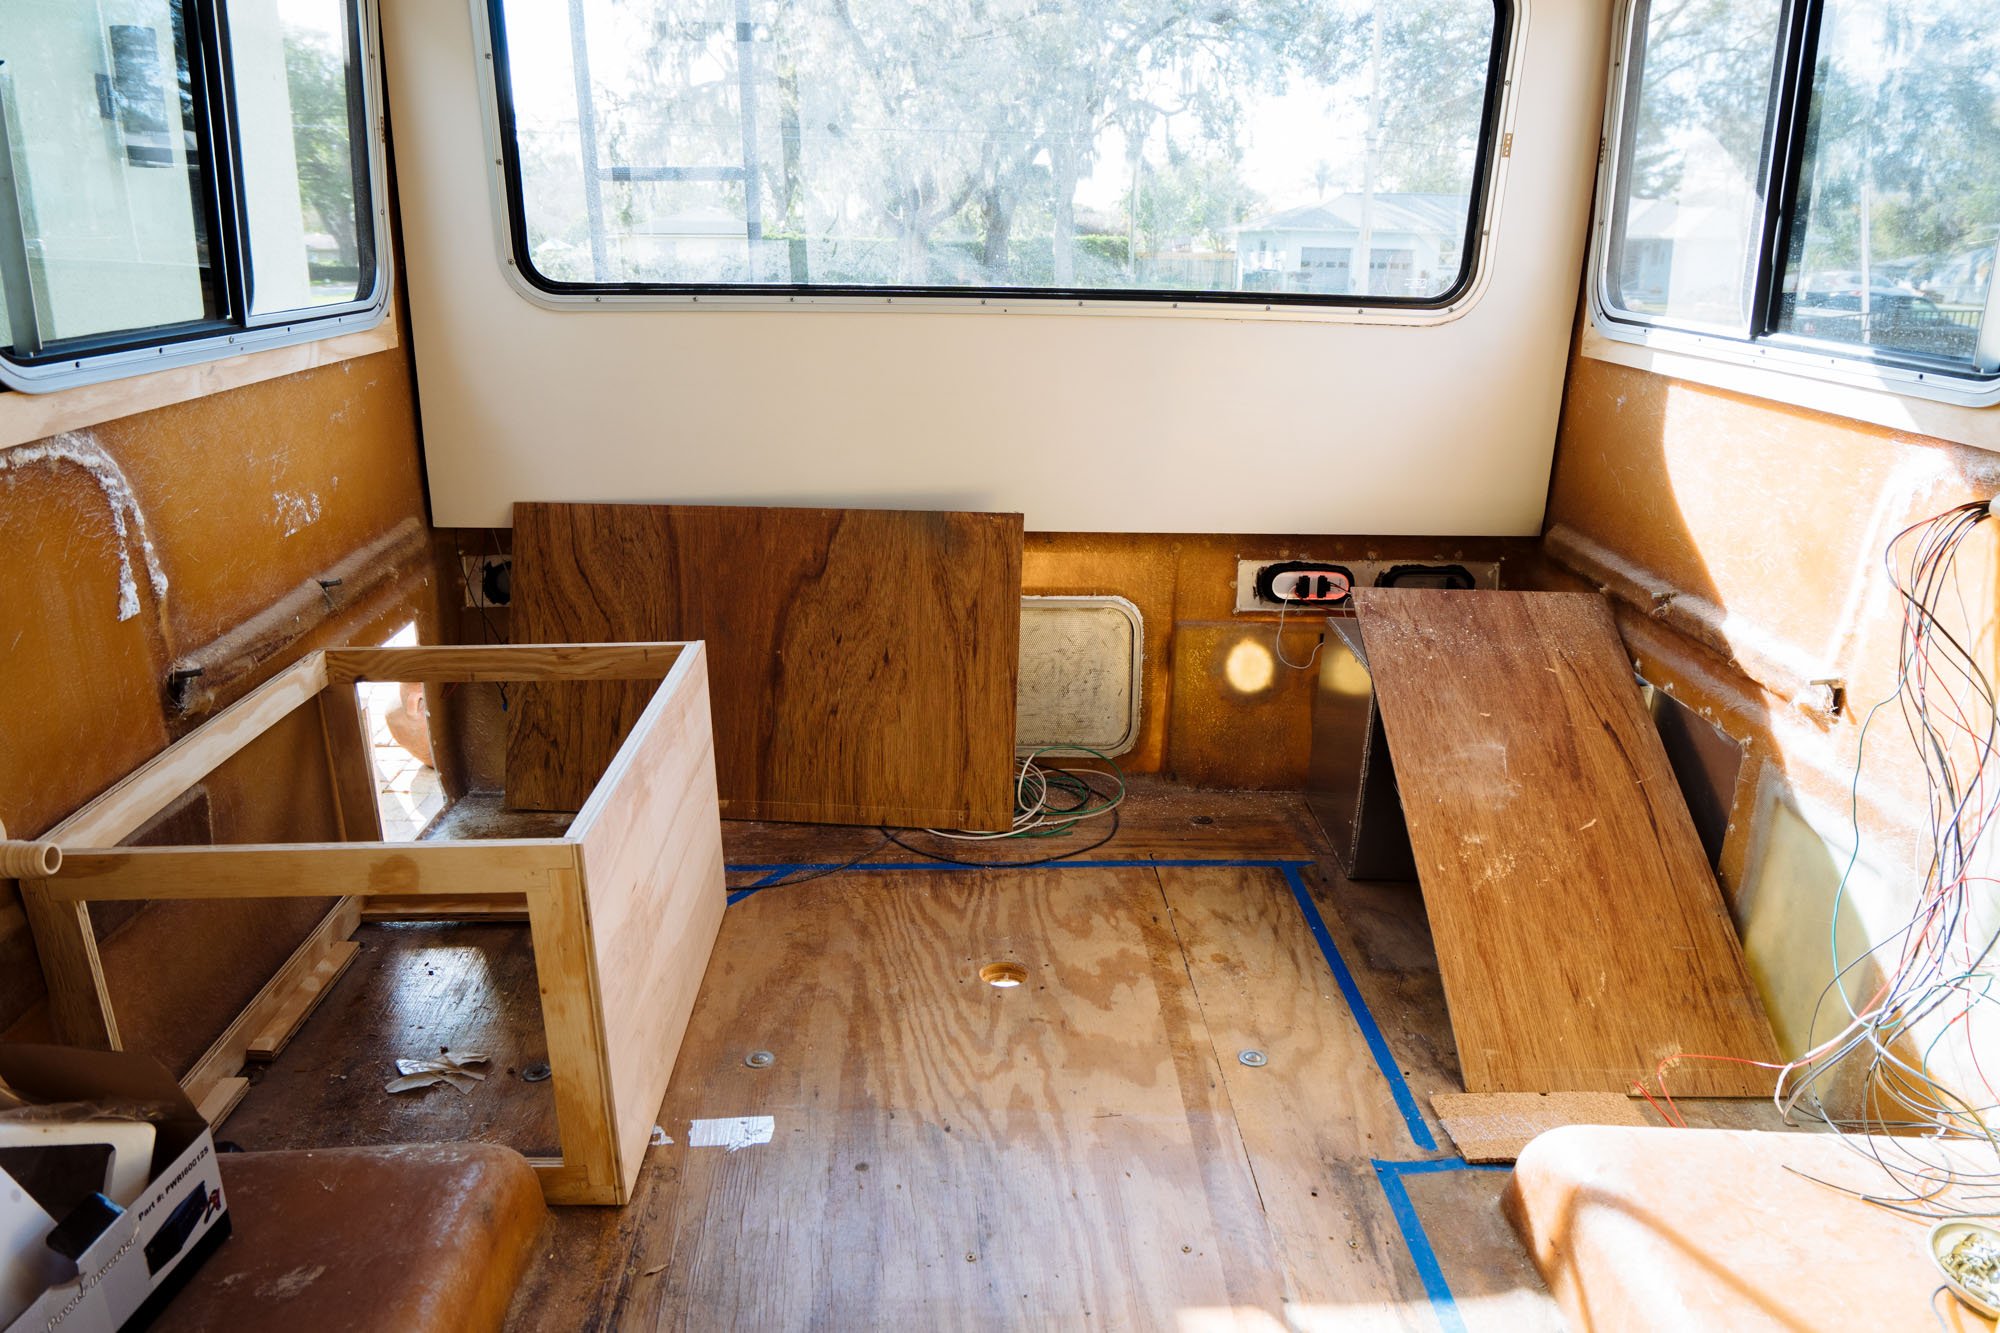
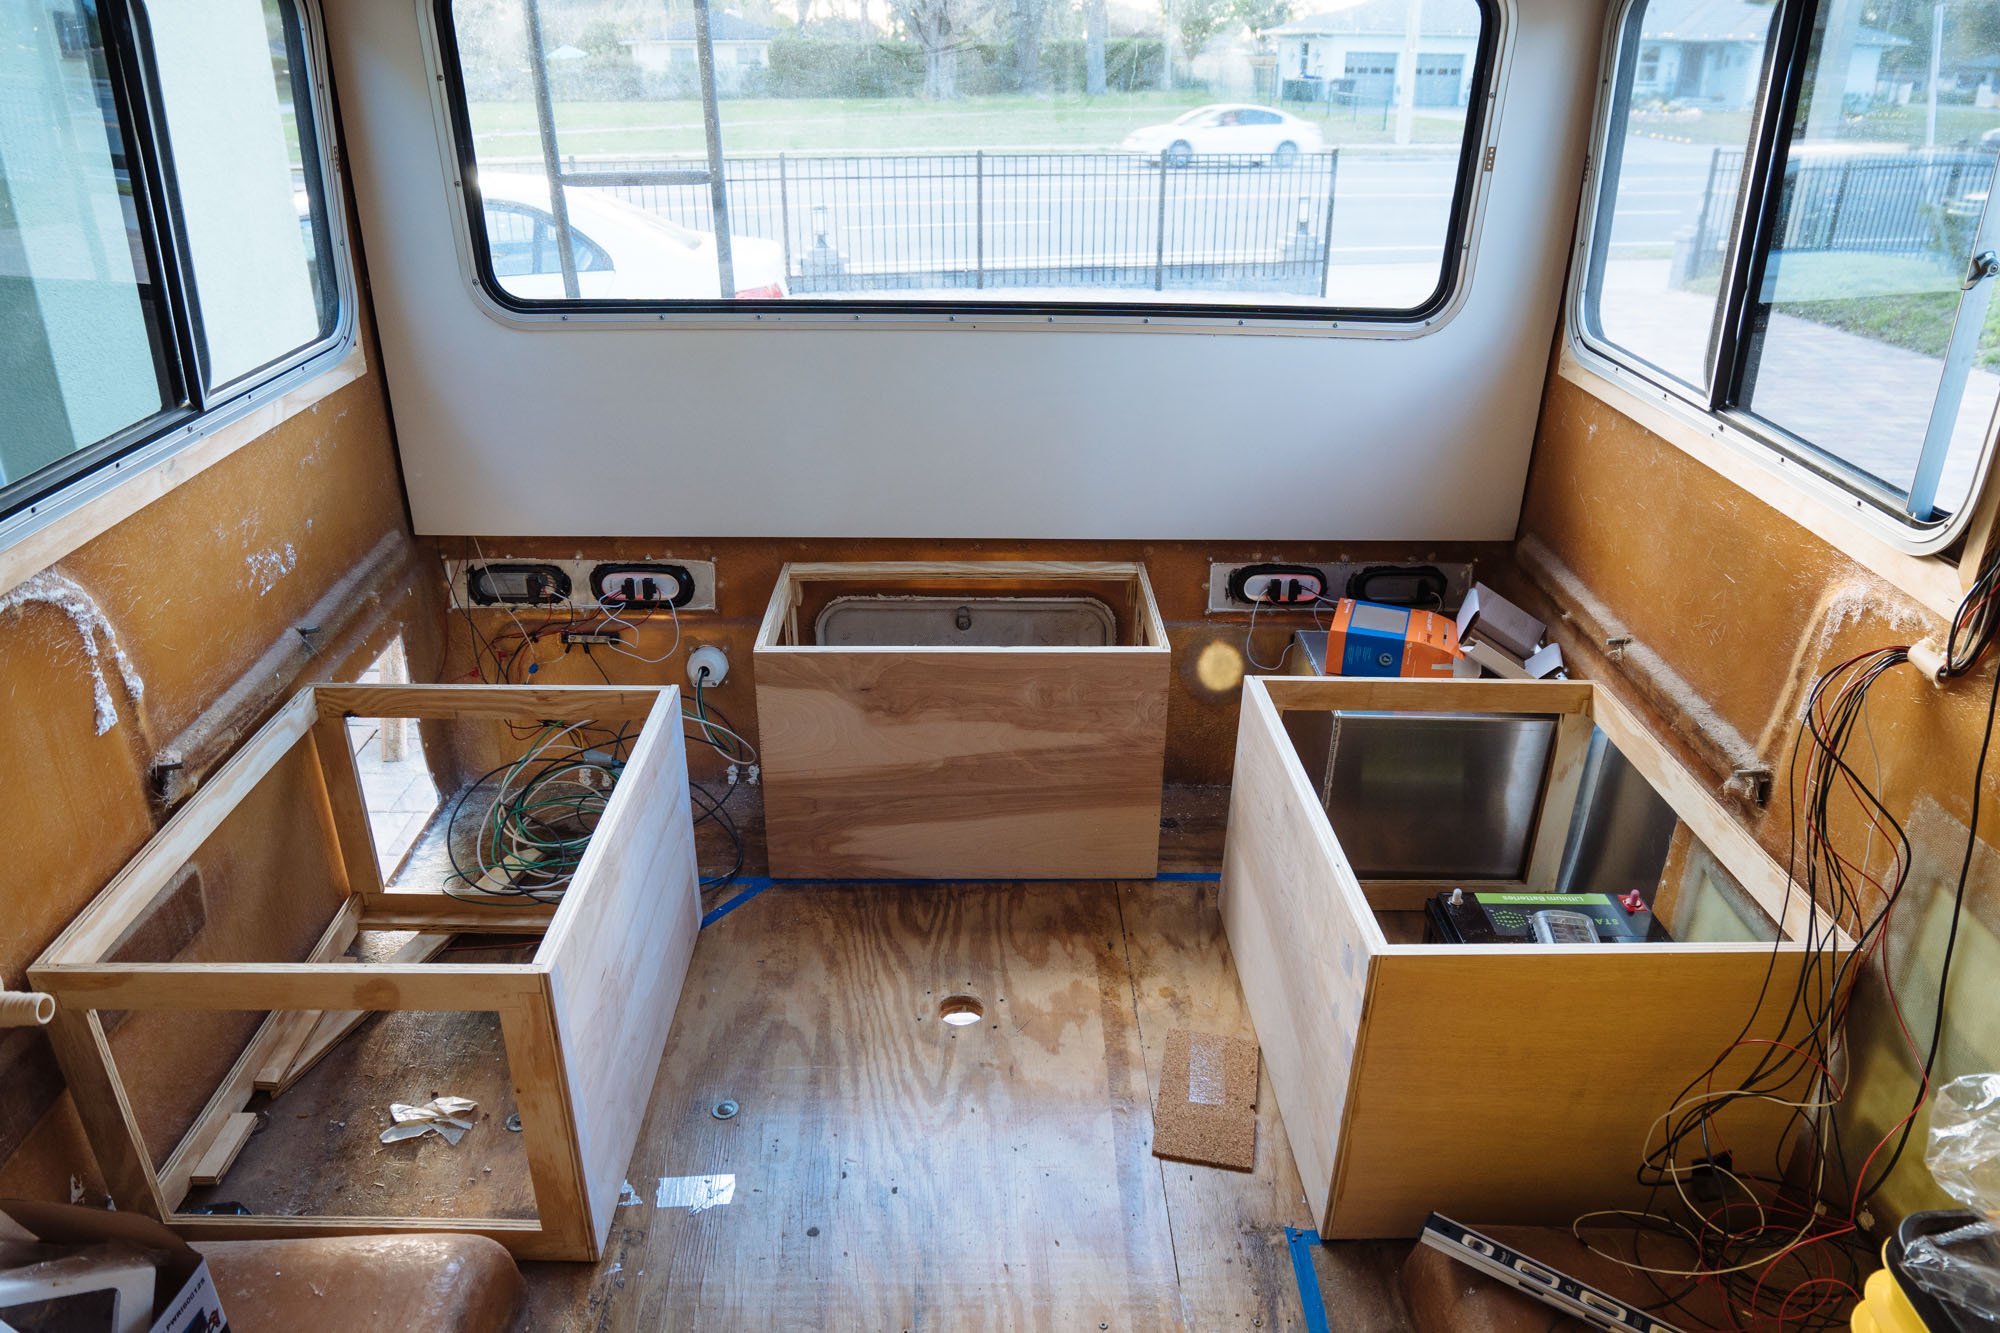
Get a load of this chaos. Good thing we finished the bed platform early in the build.
At some point this week I realized, I've worked on Amelia everyday for the last month! There has been so much to do that I haven't even considered taking a day off. I'm still undecided if I should be proud of that fact or embarrassed, but I do know that I'm a woman on a mission to finish this truck!
Thankfully, this past Sunday my cousin asked if Owen and I wanted to take a day off to surf over at New Smyrna Beach with him and three more of my cousins. We semi reluctantly put our work down and agreed to go. Even after being on the water for five hours that day I still managed to pack about two hours of work in on Amelia when we got home that evening. I think I have a problem. ;) We took a bunch of pictures but they were in film, so it'll be a few days before we get those images back.

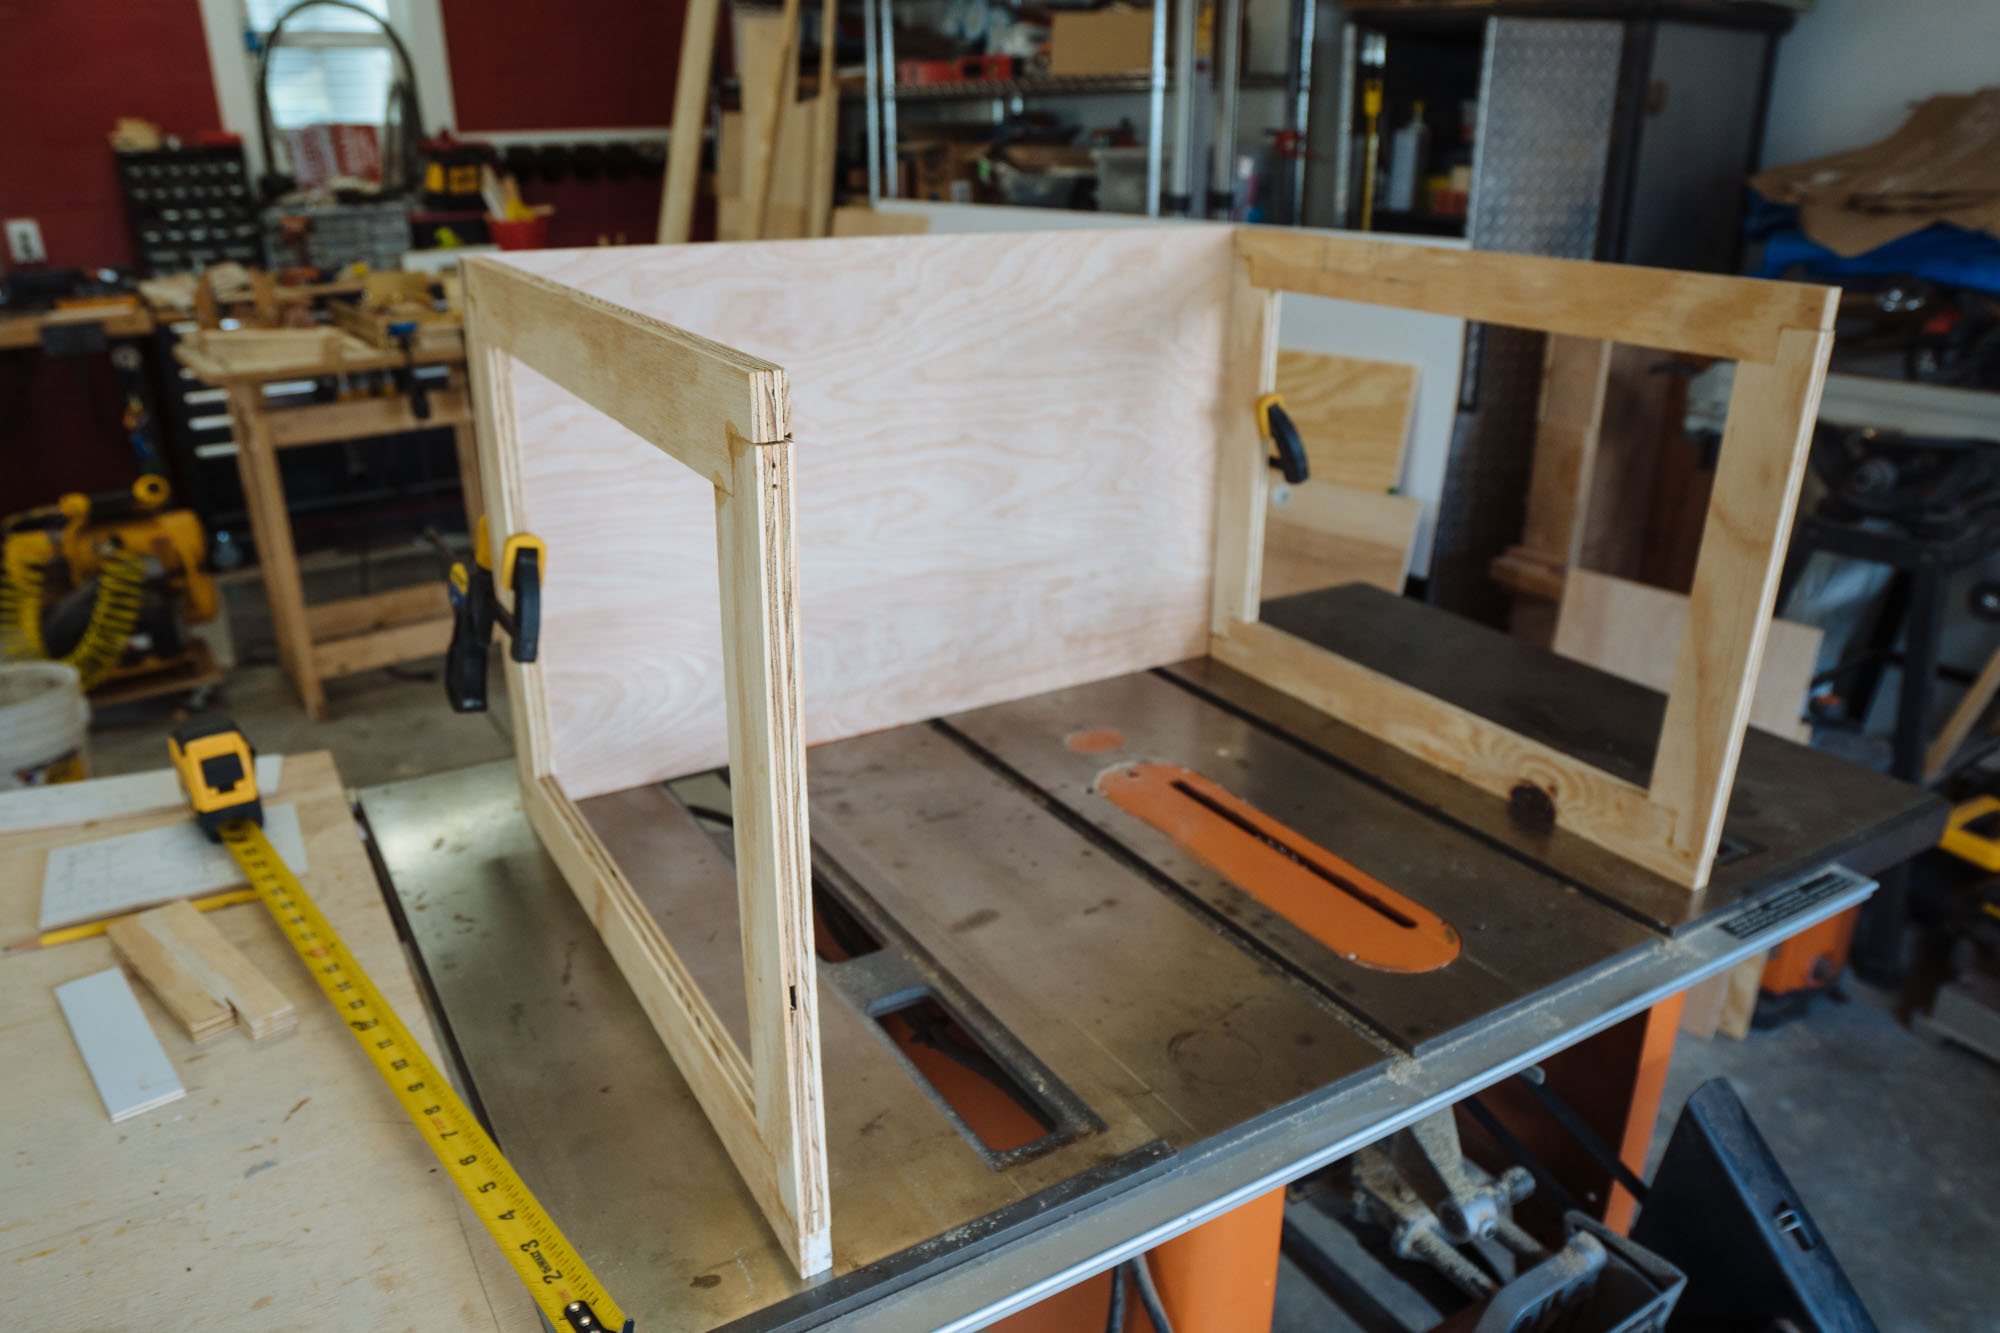
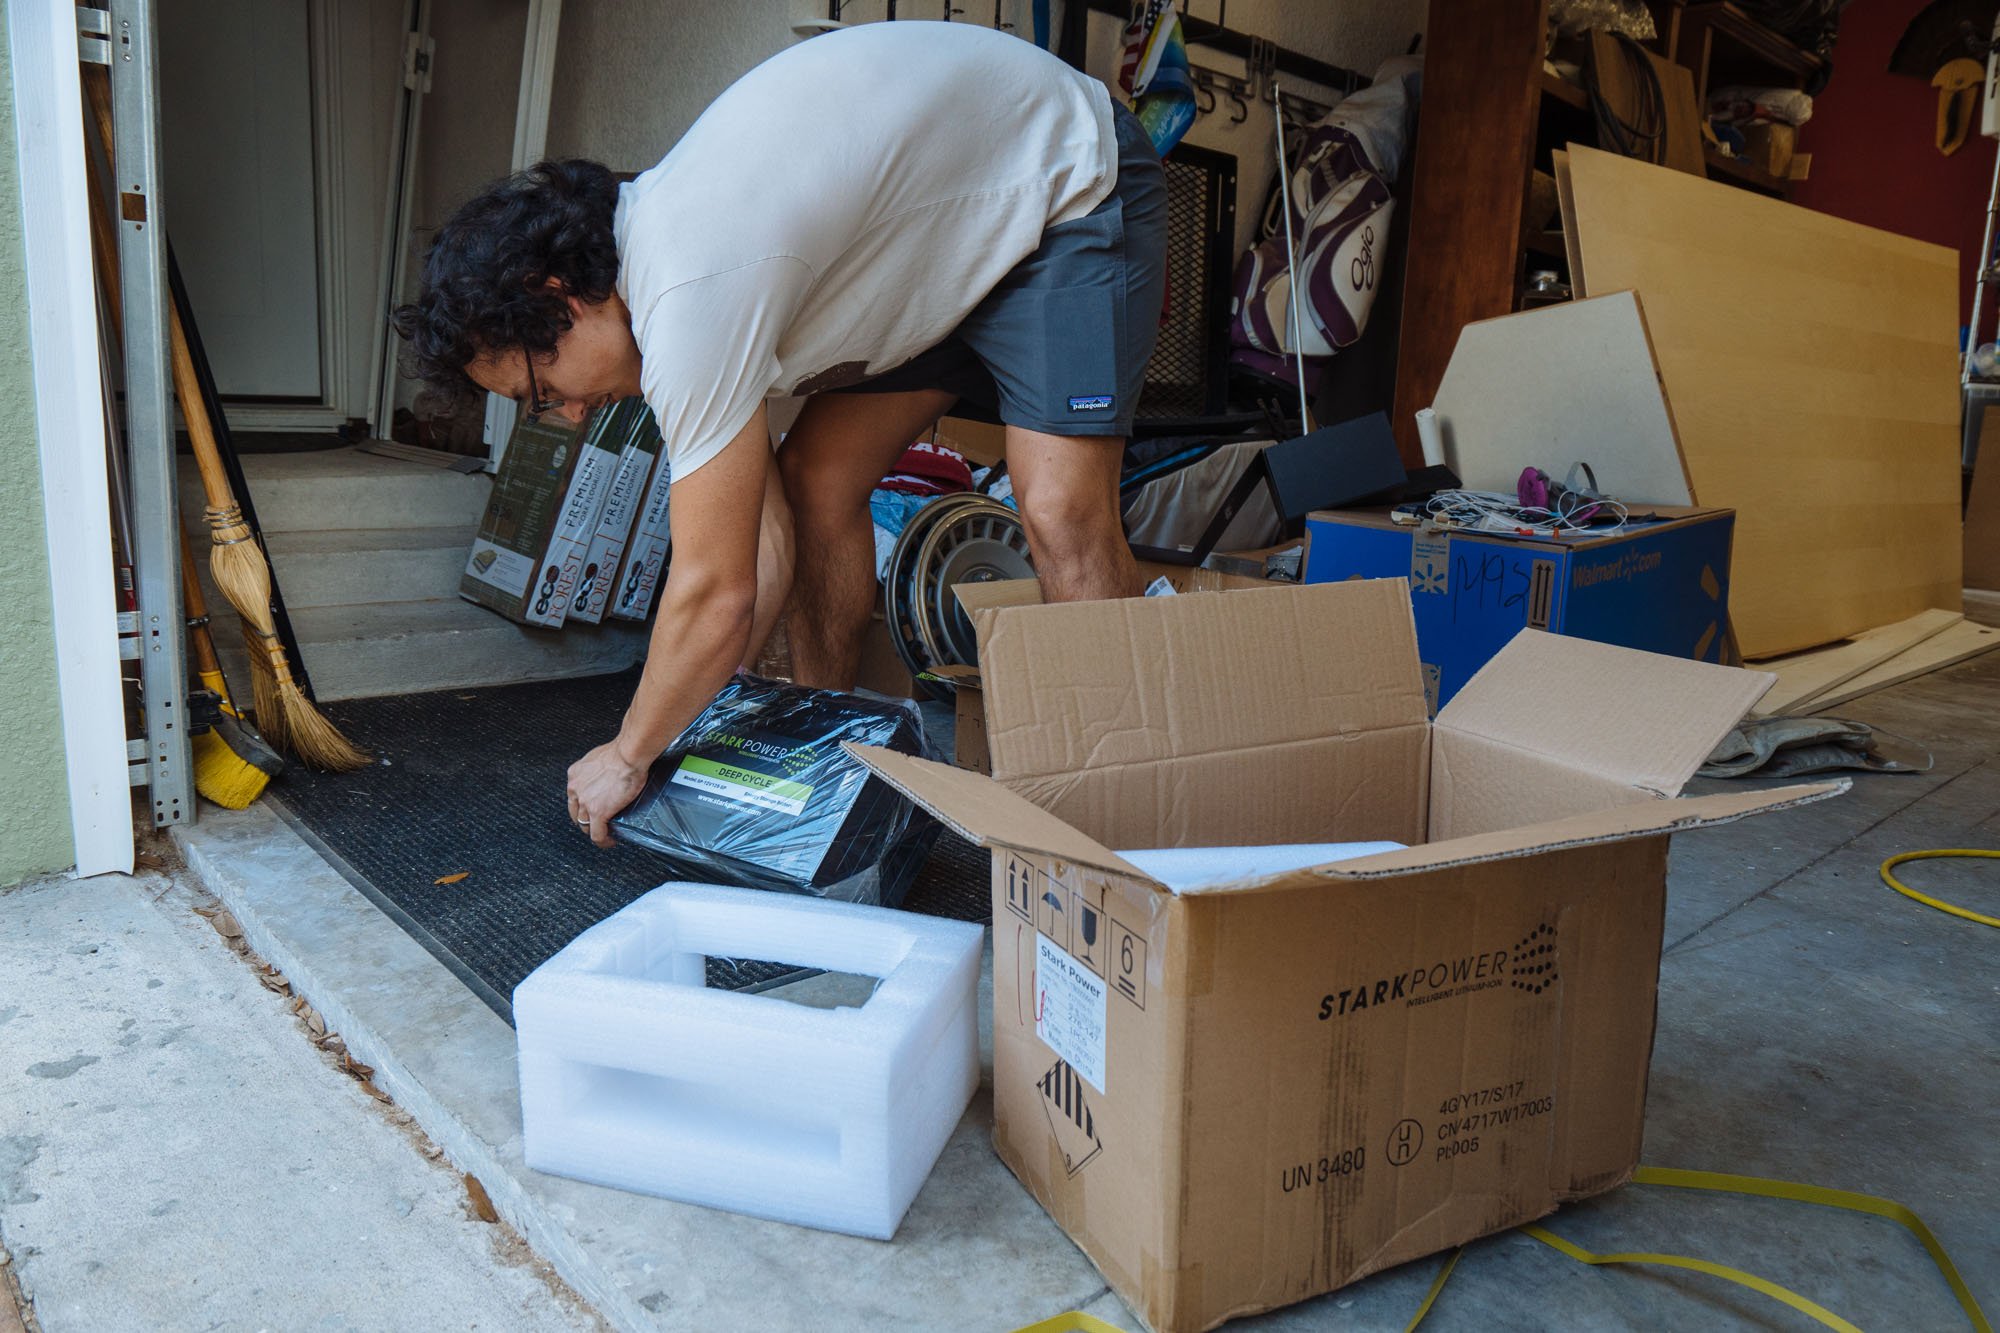
We're rolling into our cabinet construction FULL STEAM AHEAD! This beauty, pictured above, is our new refrigerator which has kindly been given to Owen and I for our new home by the fine folks over at Dometic. This is the first time we've had a chance to open it because we're finally getting into the phase where we're going to be building a cabinet for it! We'll talk more about our refrigeration system at a later date, we're just too excited about it and wanted to sneak a peak and get some measurements!

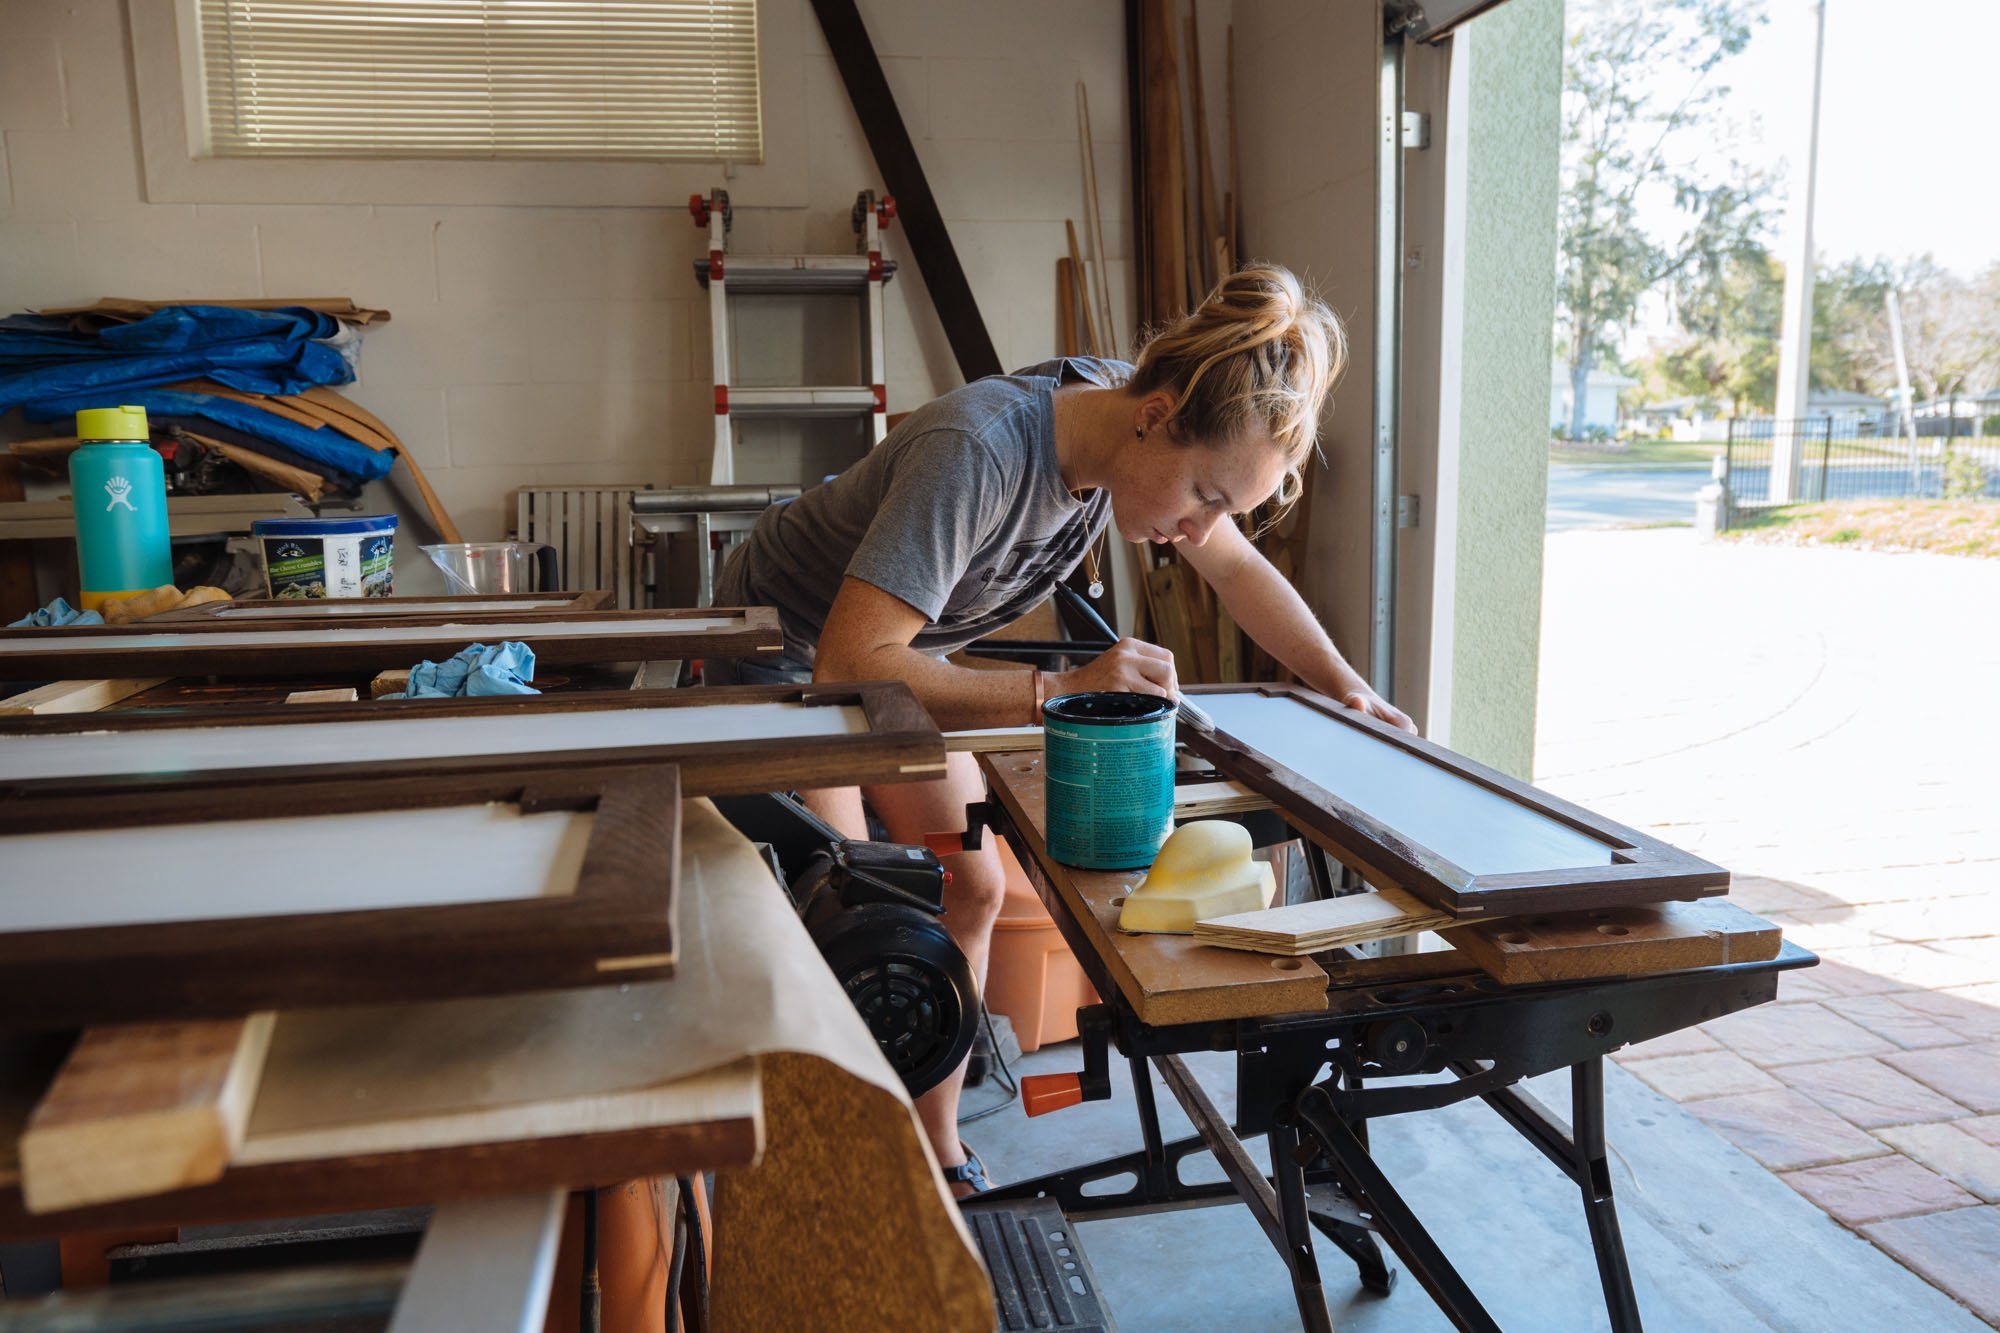
We're so incredibly close to being able to install our top cabinets! Some of the last things that needed to be finished were the touchups on the doors and top coat. We also needed to install the doors with their new hinges/support struts and make insulated wall coverings for the back wall. This week I knocked out all but one of those things. First up on the list was painting and polycrylic for the top coat.

After the doors were complete, I directed my attention to the hinges. Our goal is to have some sort of mechanism that holds the door both open and closed. Open so we can dig around in the cabinets without having to hold the door open, and closed so that when we're driving our sh*t doesn't spill out everywhere. The old cabinets in Amelia had a really bad habit of swinging open around turns...it was a mess...and we'd love to avoid it in the future. All of that being said, we tried these hinges:


Hated 'em. Installed them and then took them off faster than I could take a picture of them. They're overhead bin hinges, which is great, but they were so persnickety! You had to open it just to the perfect hight so the hinge would catch and hold open. If you opened it too wide it would slam closed. If you didn't open it wide enough it would slam closed. In the off chance that we did open it correctly the hinges held the door open at such a low angle that it was hard to access the anything in the cabinet. Moral of the story is NO. These hinges are a hard pass.
On a side note: Rockler is an amazing store and they make really great hinges, tool, latches, and drawer slides these were just not right for us. Back to the drawing board.

Next item on the list: figure out something for the back wall inside the cabinets. If you remember back to our original interior video tour the inside of our cabinets were carpeted. I struggle to put into words how "not ok" I was with the carpet. However, I do understand why they used it. The wall inside of our cabinets is a stair step of right(ish) angles. It would be hard to make something ridged to cover the walls, fit insulation back there and still have room in our cabinets. The carpet was a great insulator and sounds deadener. So here is what we came up with. I'm going to take the quilted cotton that you see above and line it with insulation, and velcro it up onto our walls in the cabinets. The other great thing about this option is that we'll also be able to access our wiring which runs along the wall inside our cabinets! So here goes nothing...
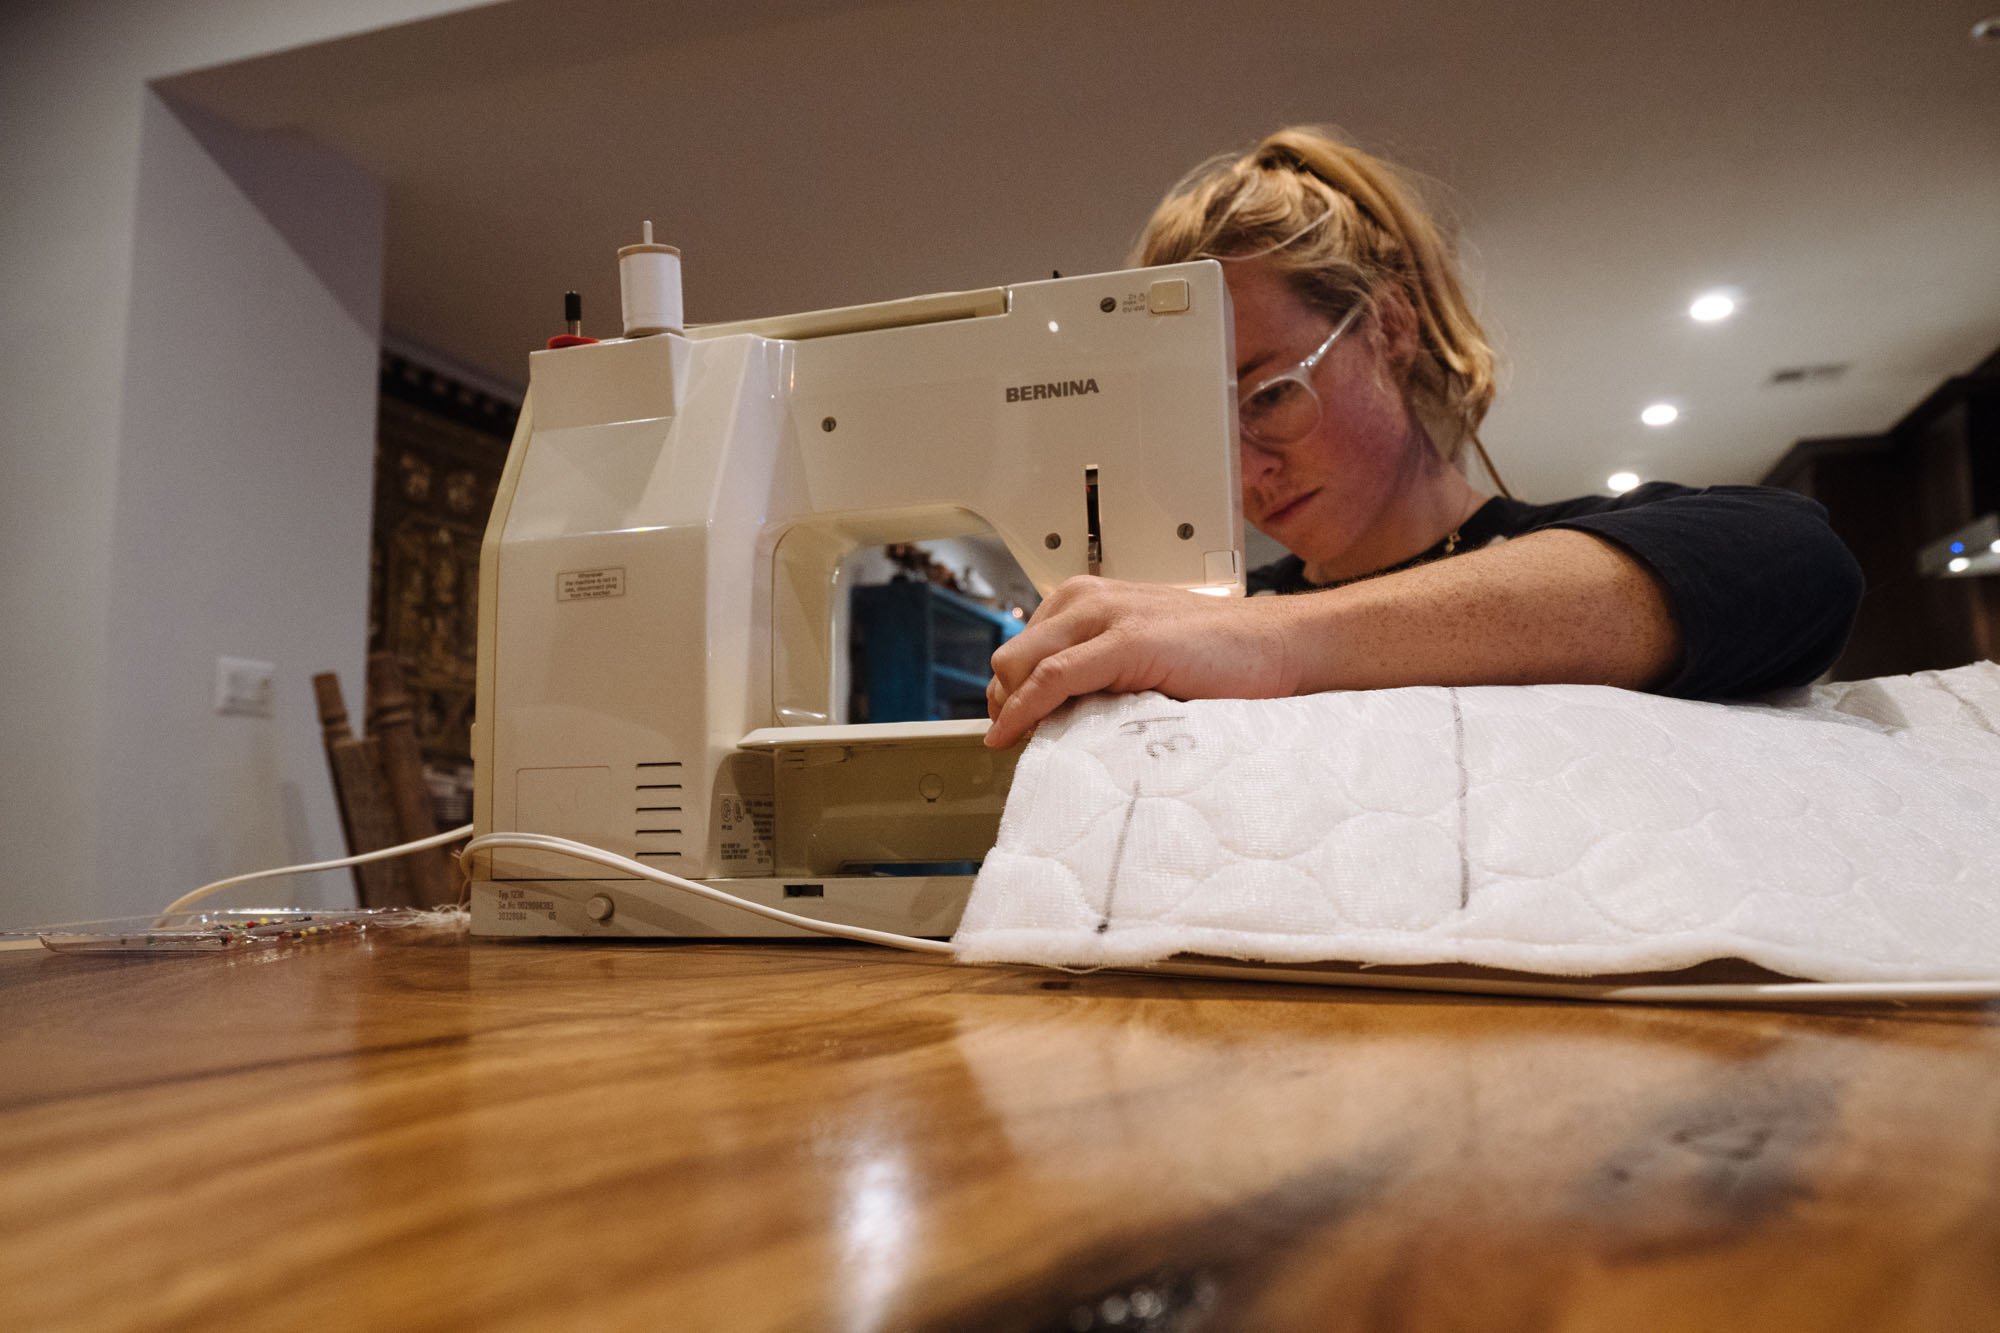
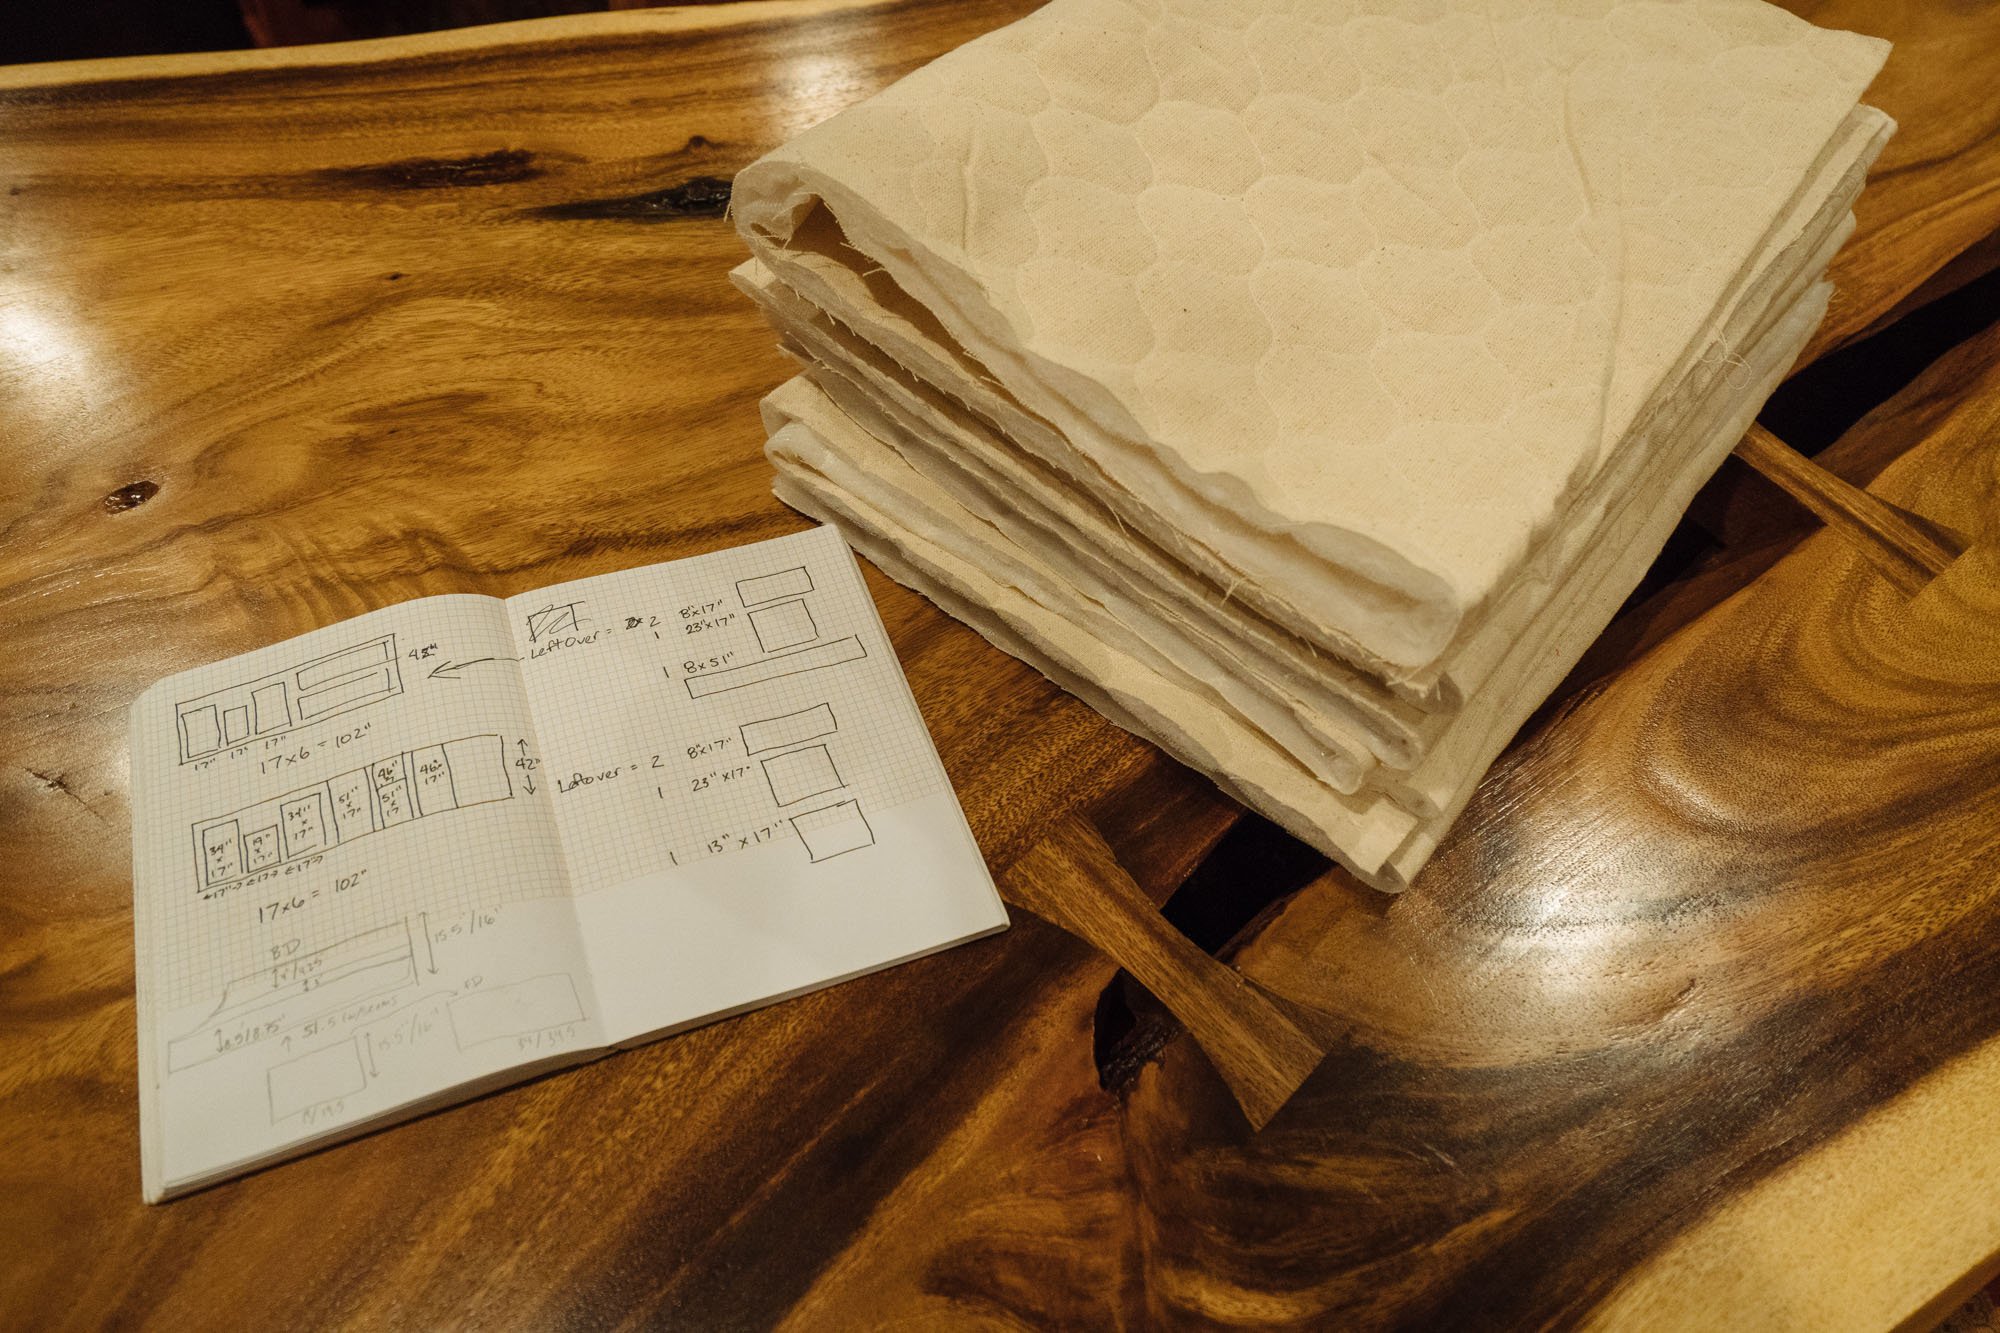


Here are the results! Ok, this is the first time I've ever used a sewing machine. I'm a hand stitching kinda gal. My mom gave me a few quick lessons, and I took to it pretty quickly. I'm really happy with the results. I made one of these panels for each of the cabinet sections to be sure that every bit of exposed wall is covered and insulated as much as possible!
This coming week we'll reevaluate the hinge situation and hopefully get those top cabinets installed!

One night over dinner my dad asked how we planned to light the inside of our cabinets when we needed to access them at night. In Stanley, we had little lights hanging from the ceiling that we'd point towards the cabinet and that was about it. We never even thought about installing lights inside the cabinets! Needless to say, we're stoked on the idea and got to work on making it happen!
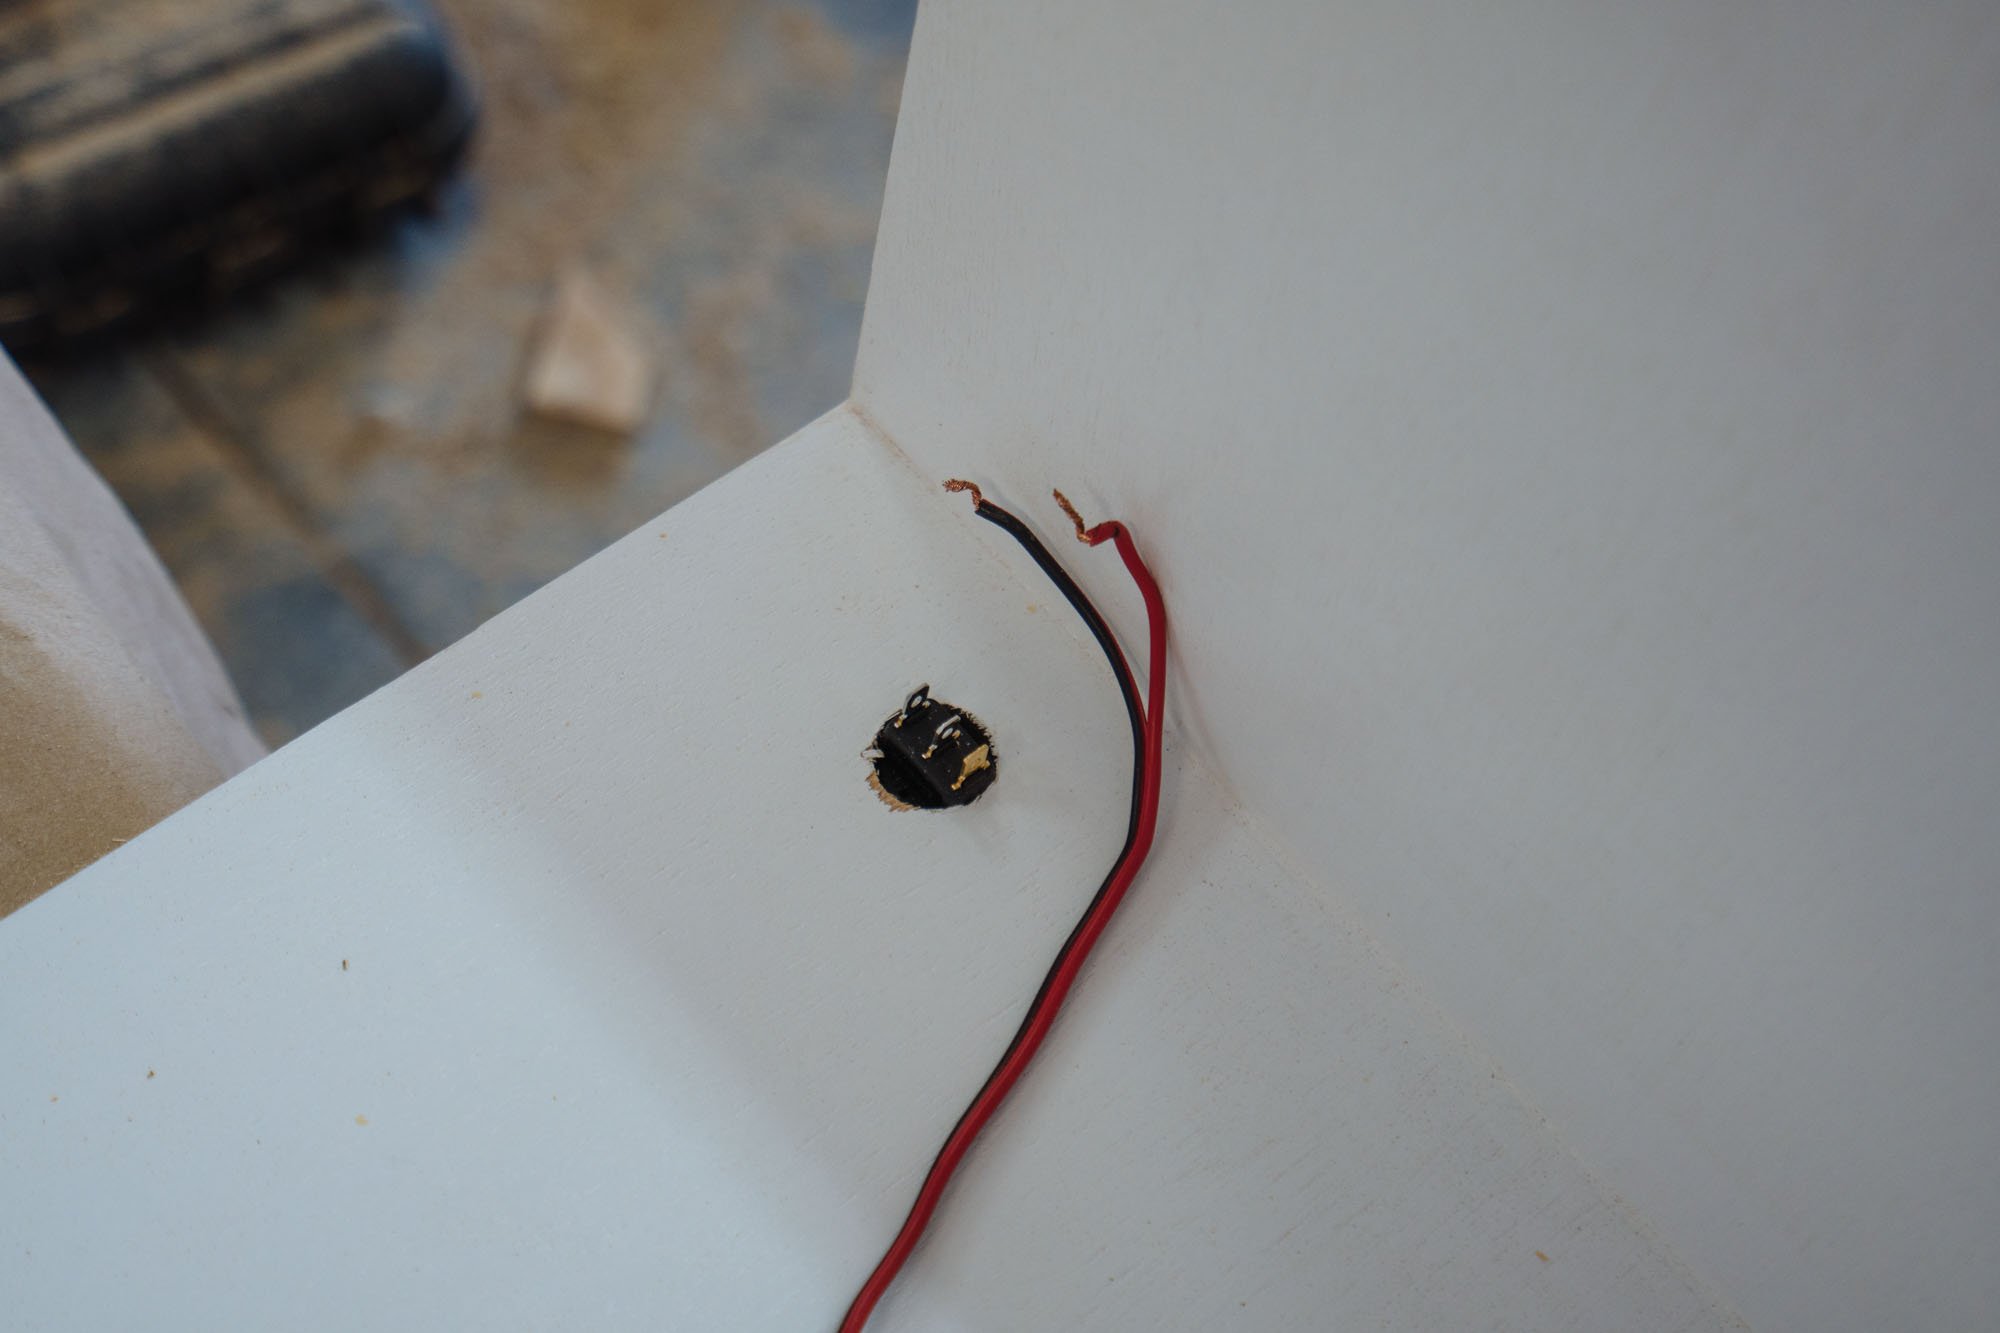
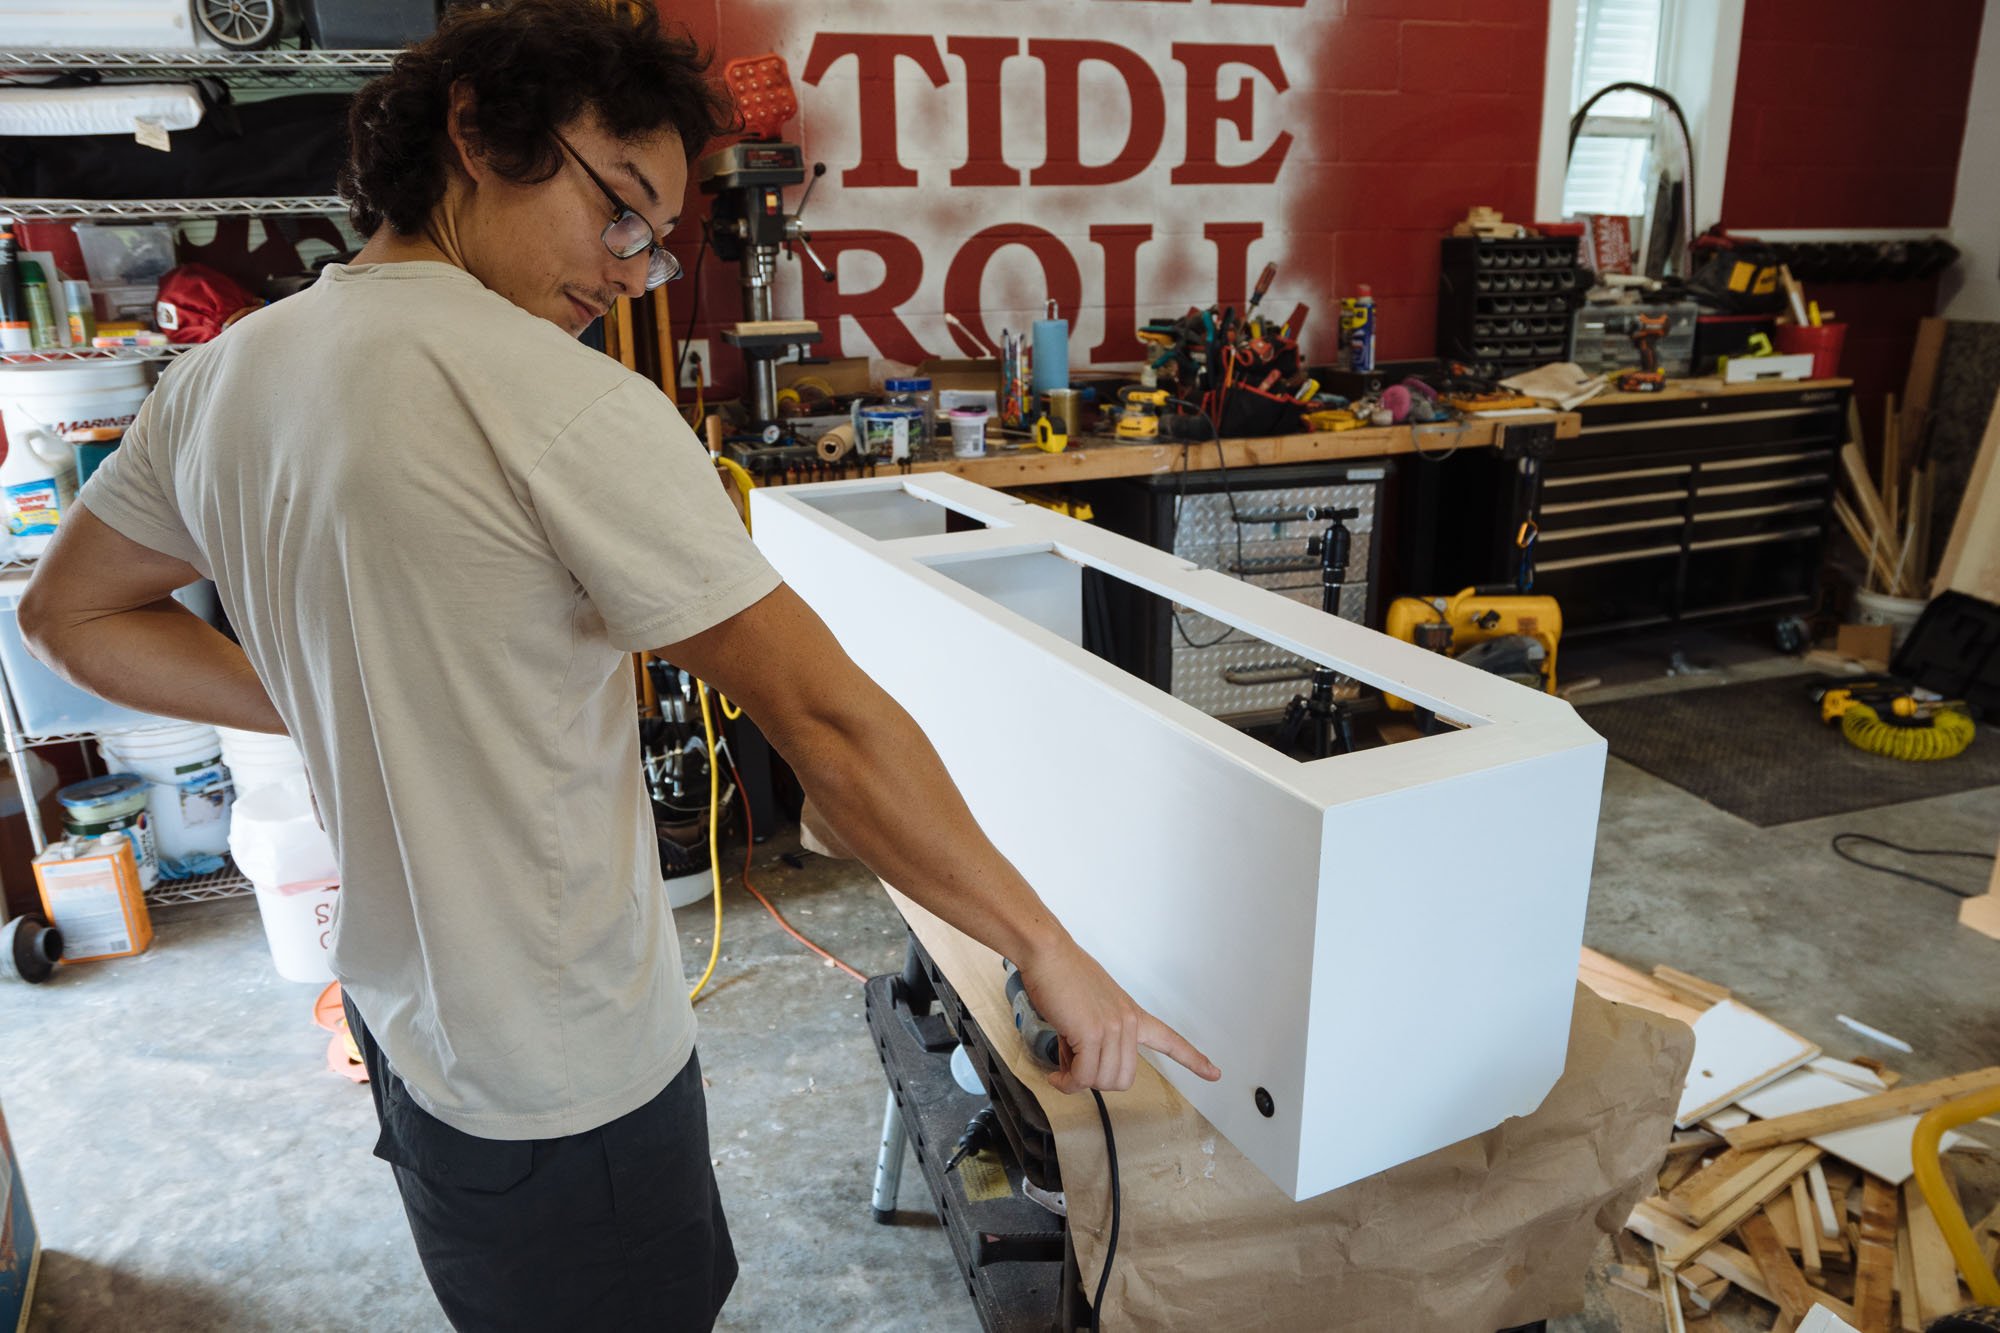
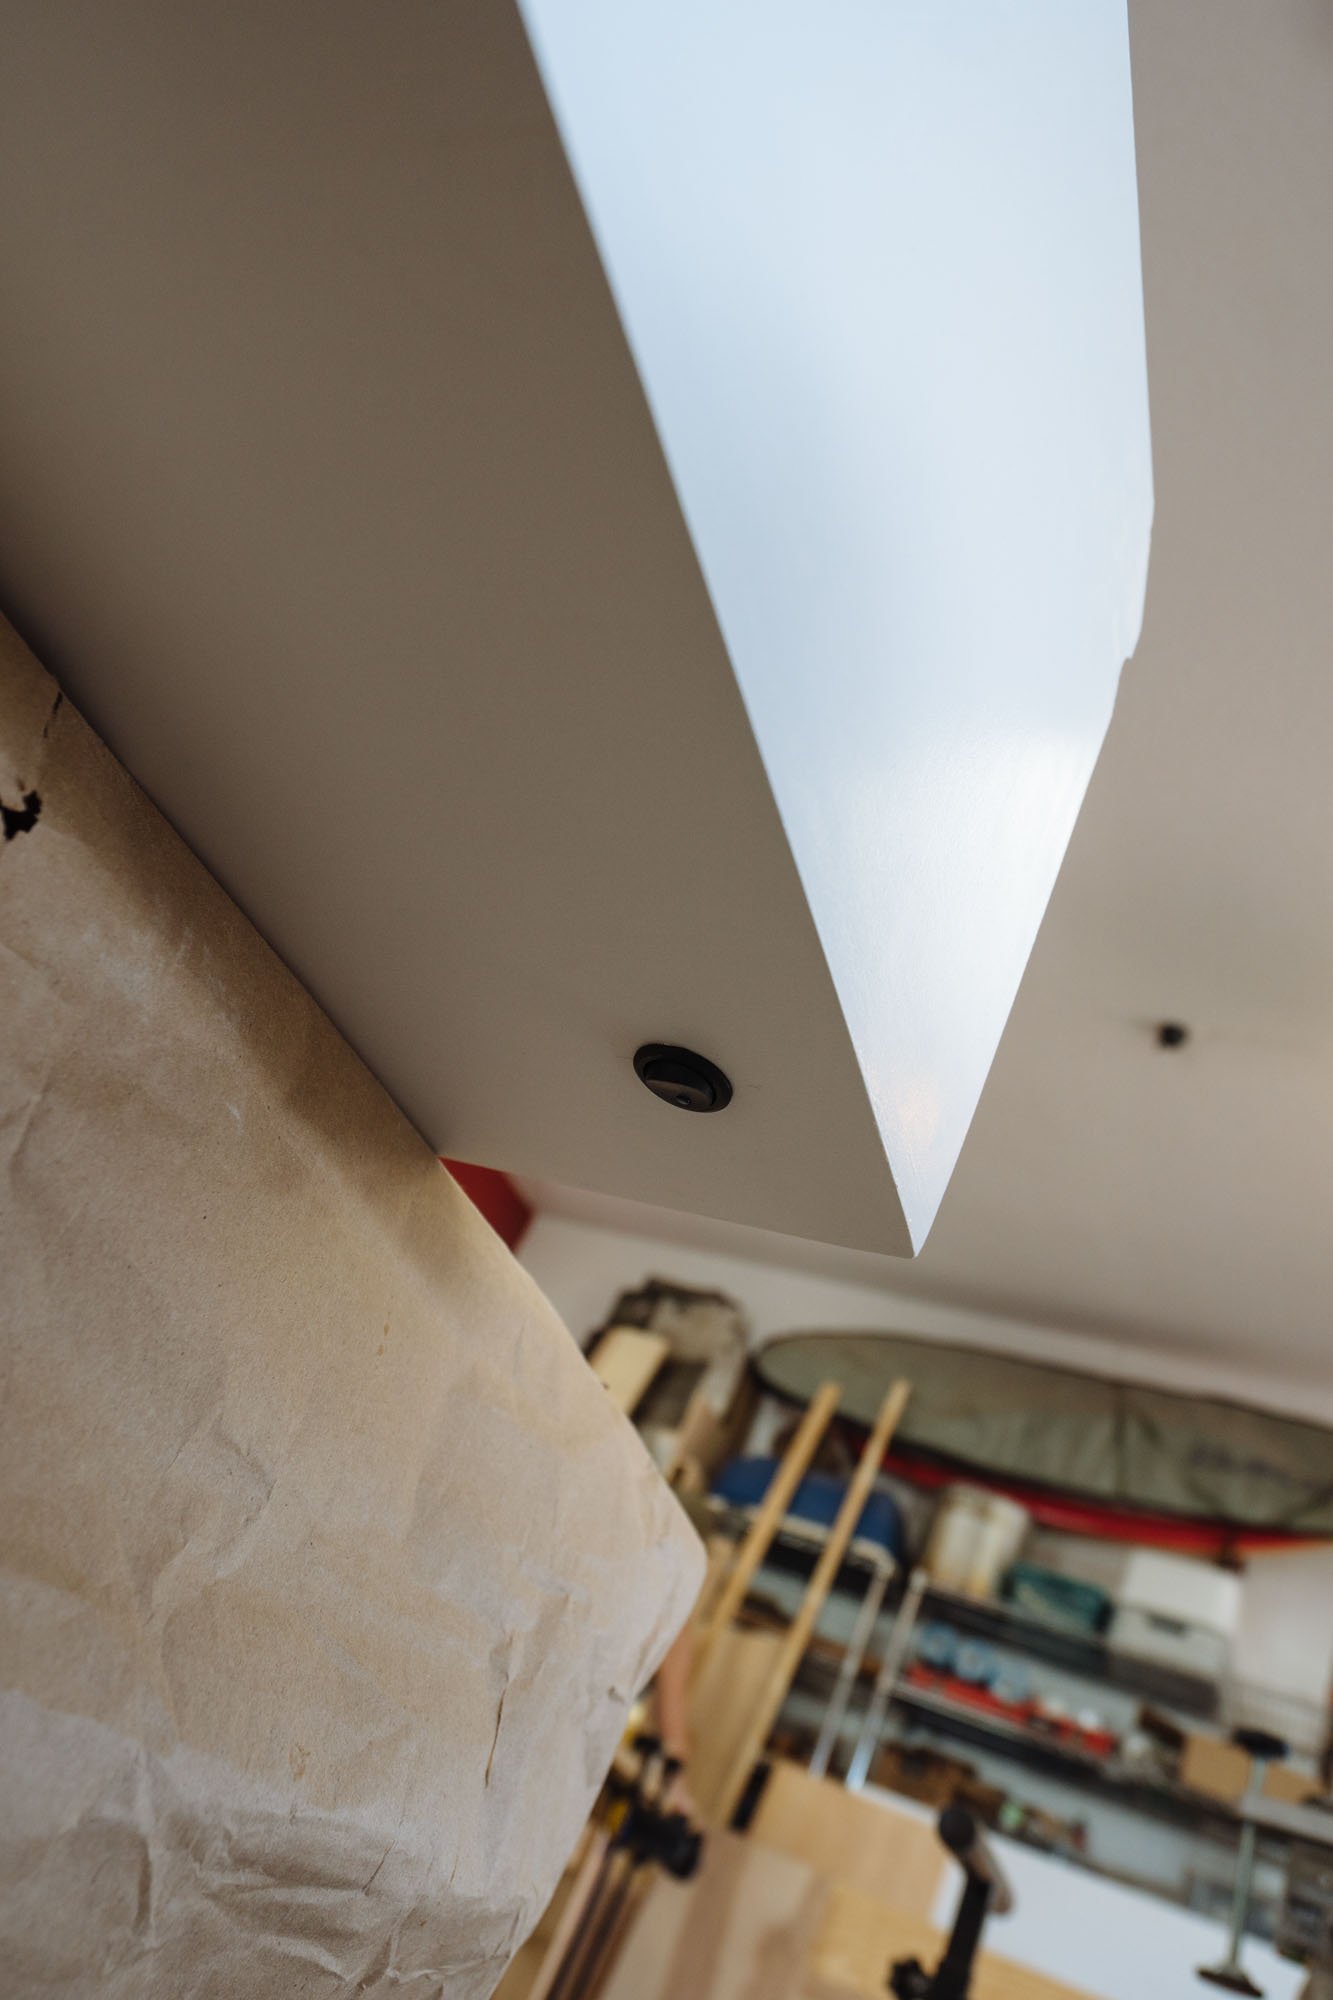

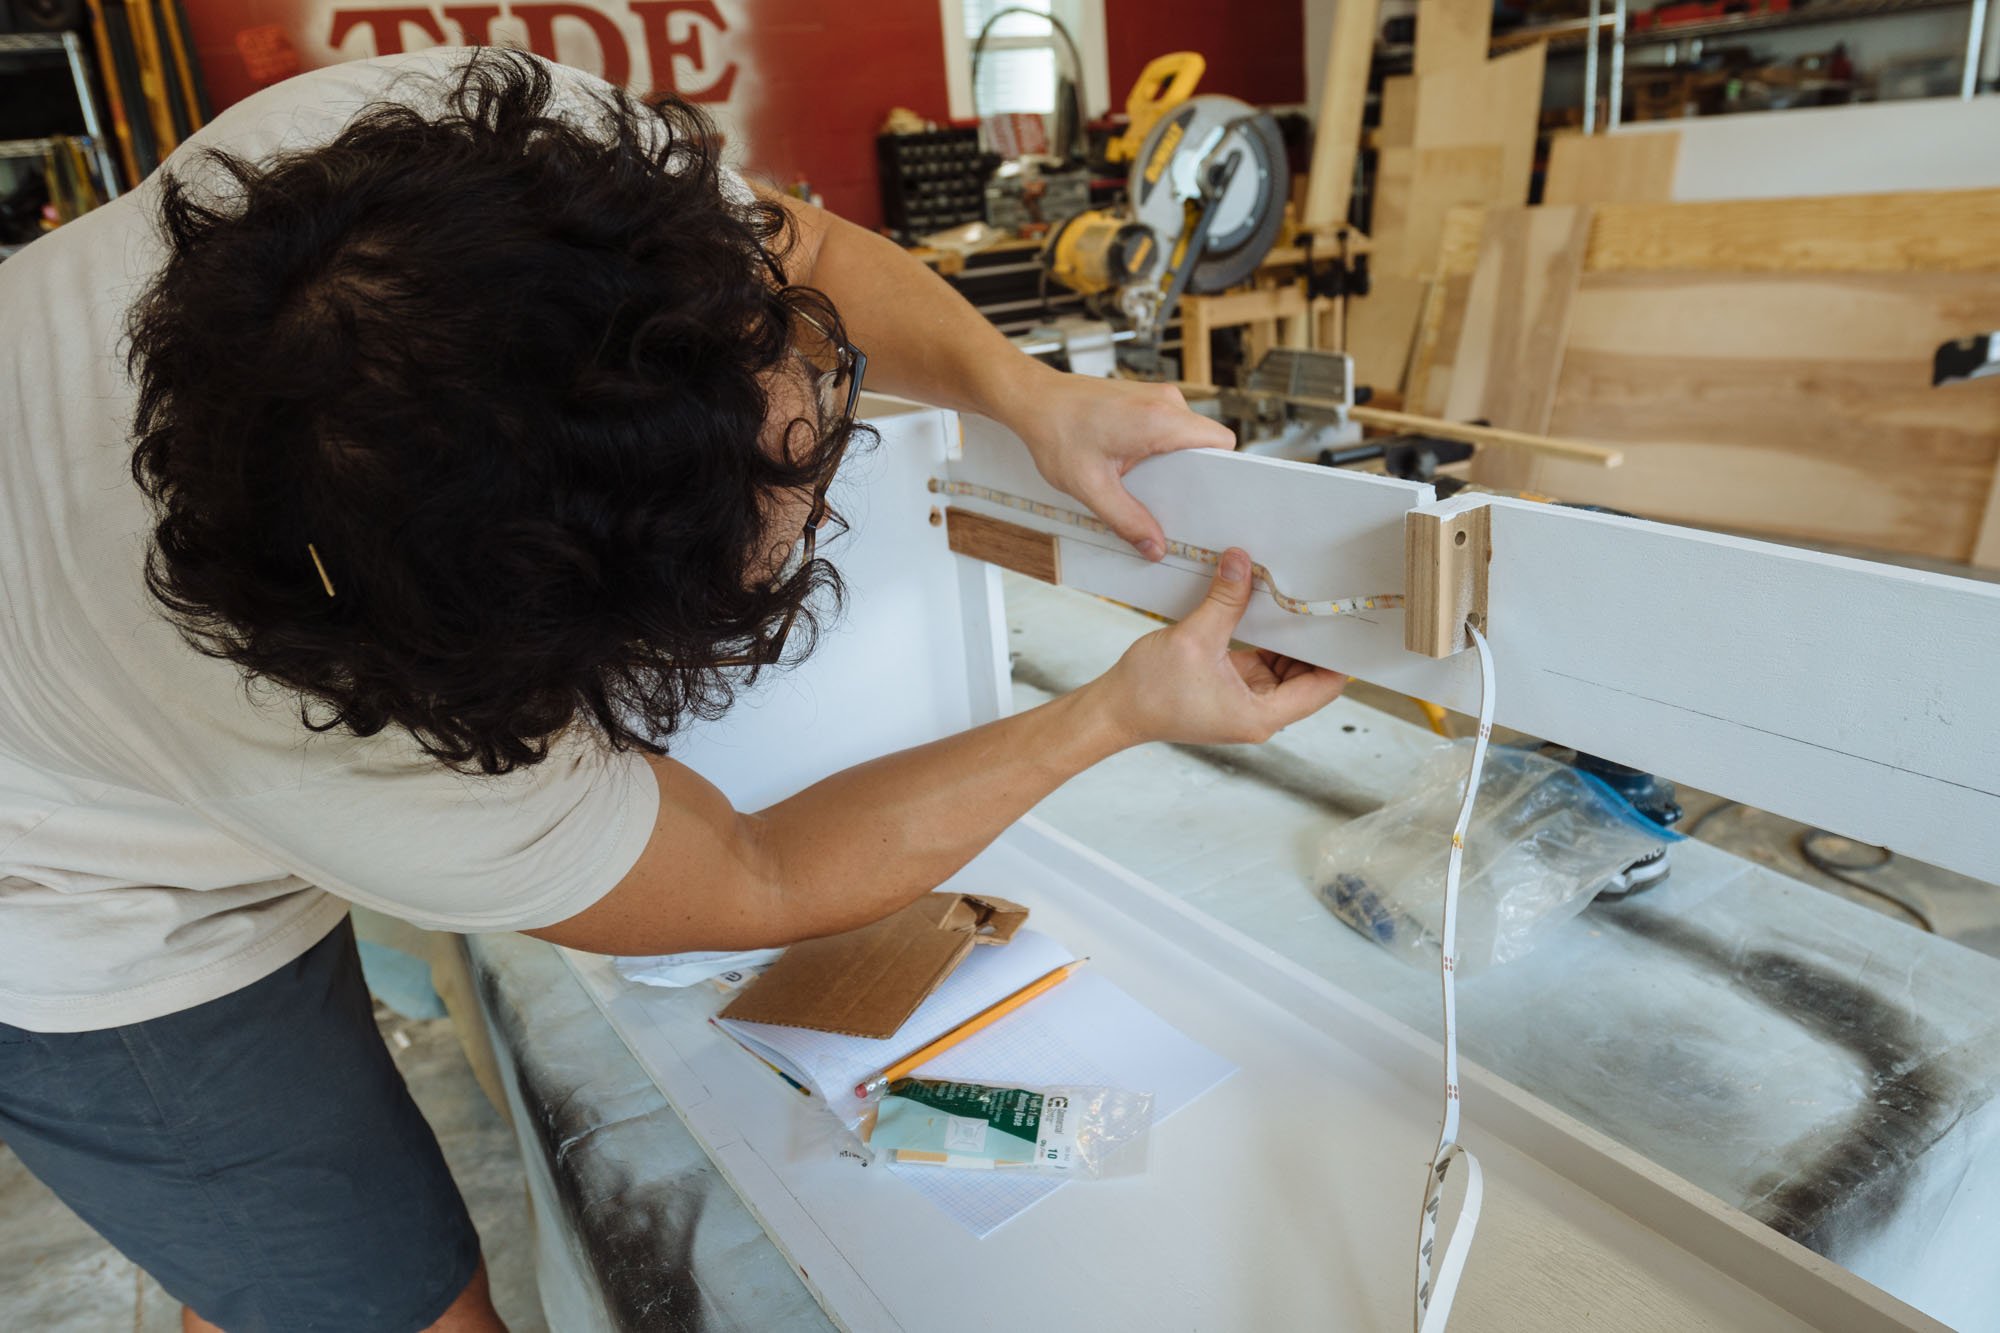
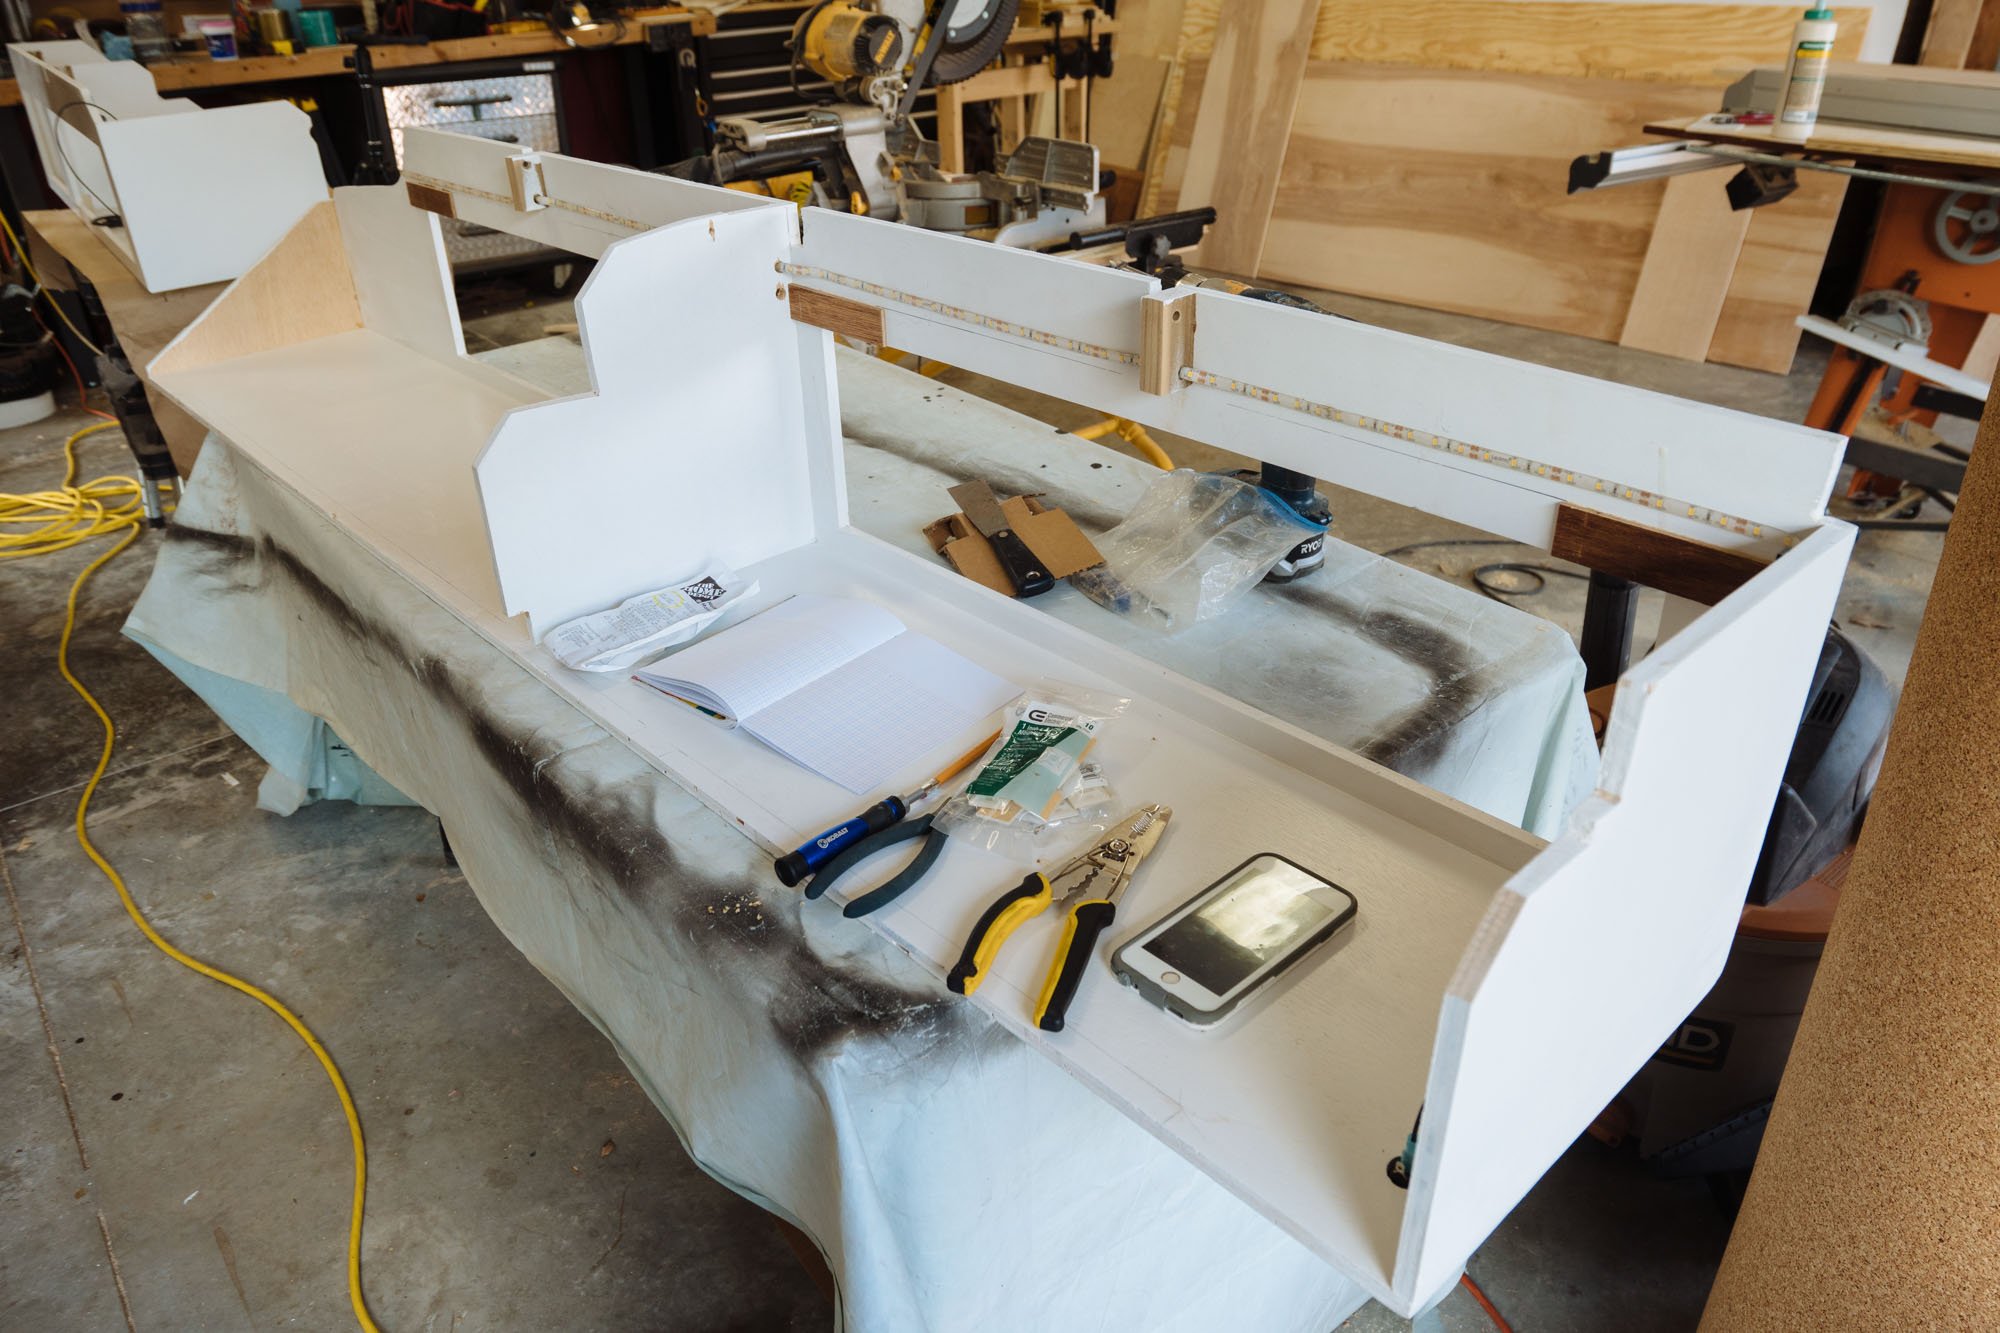
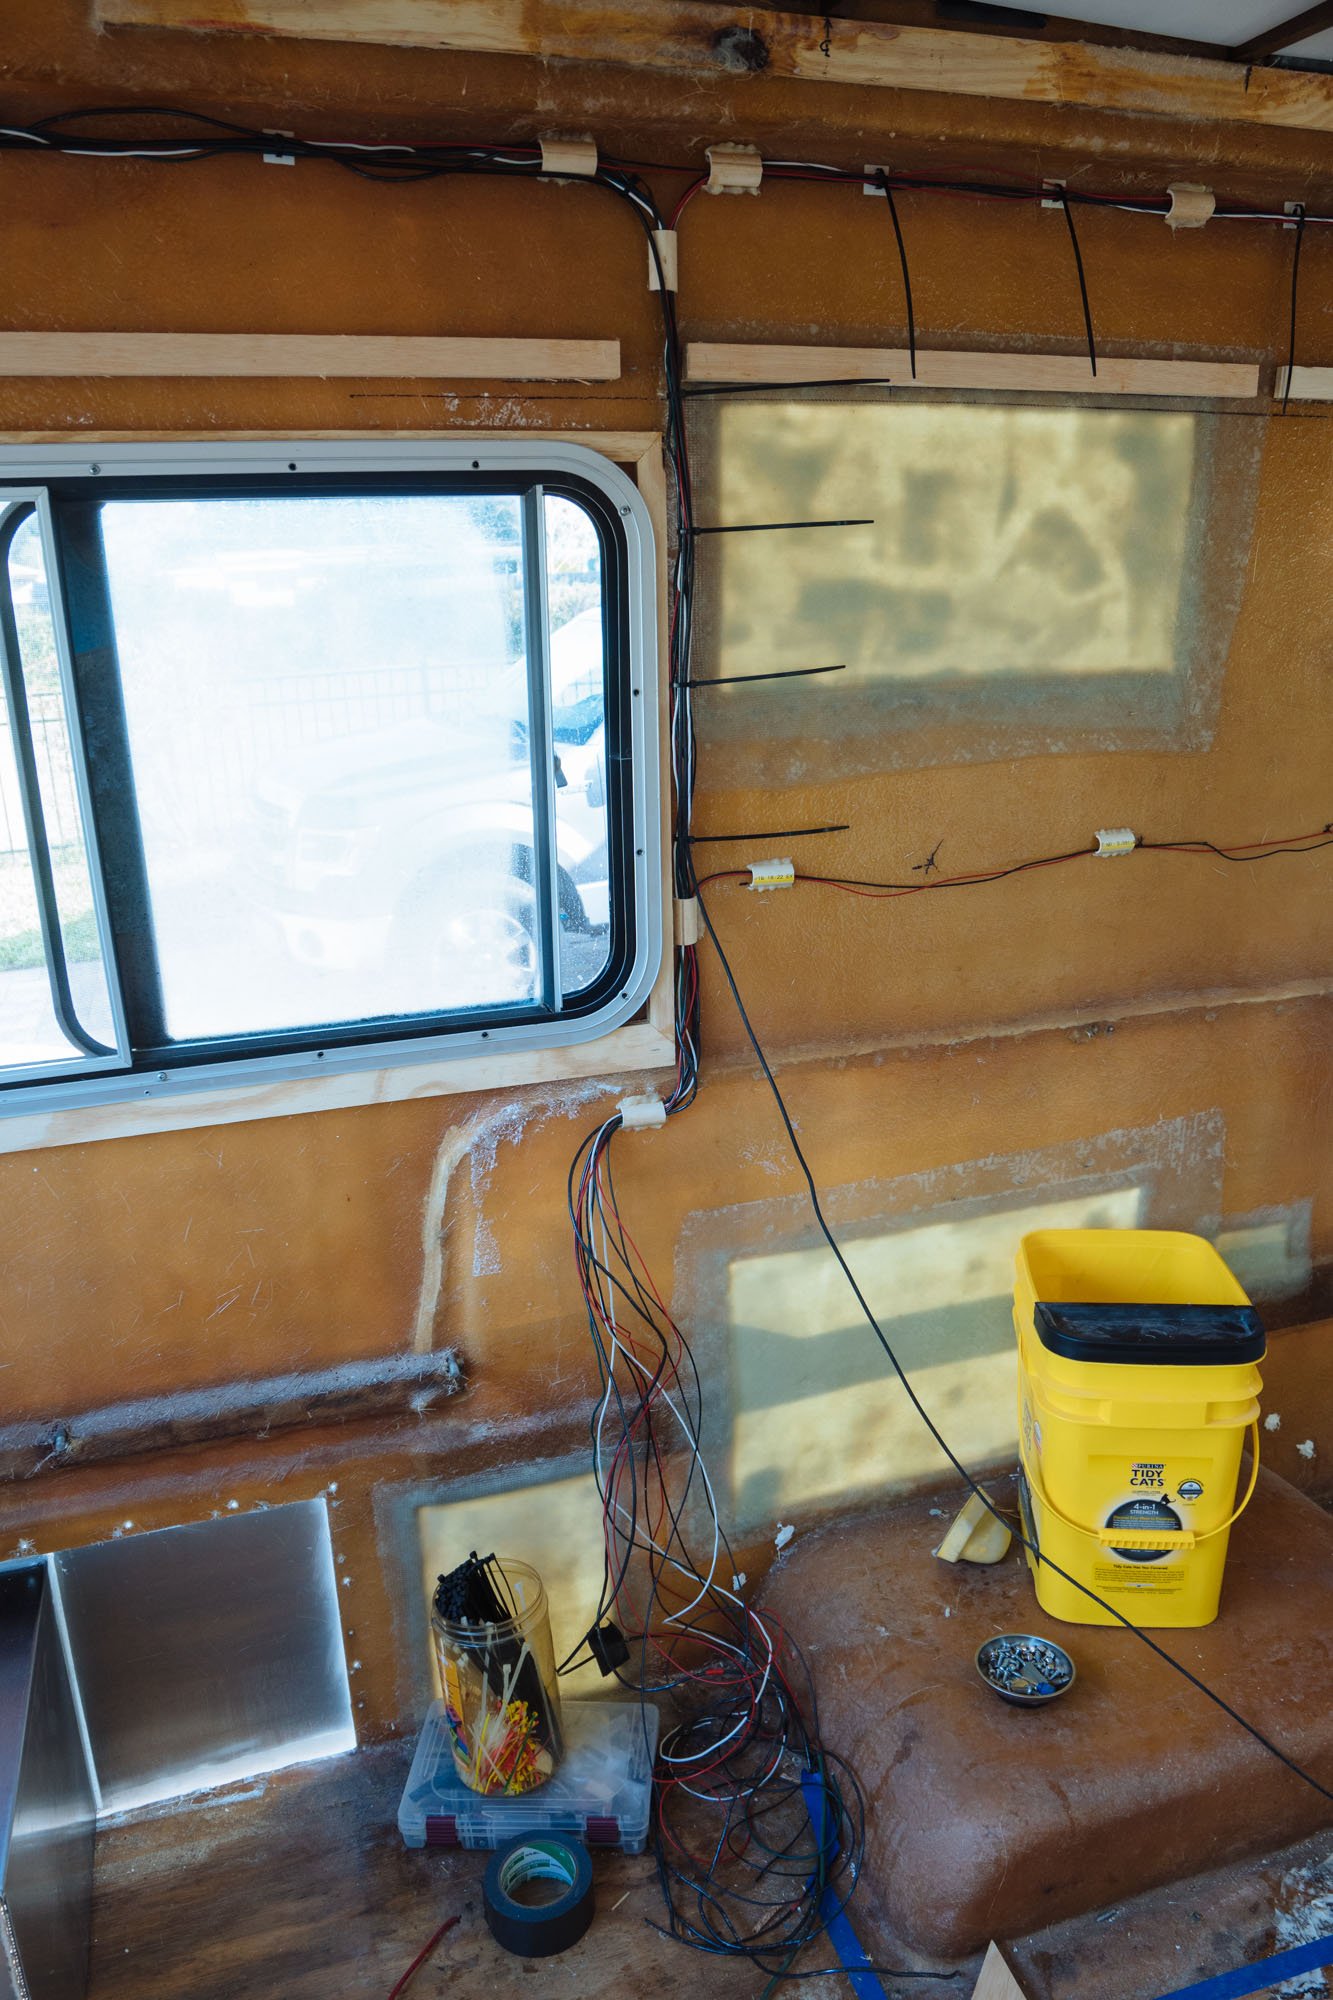
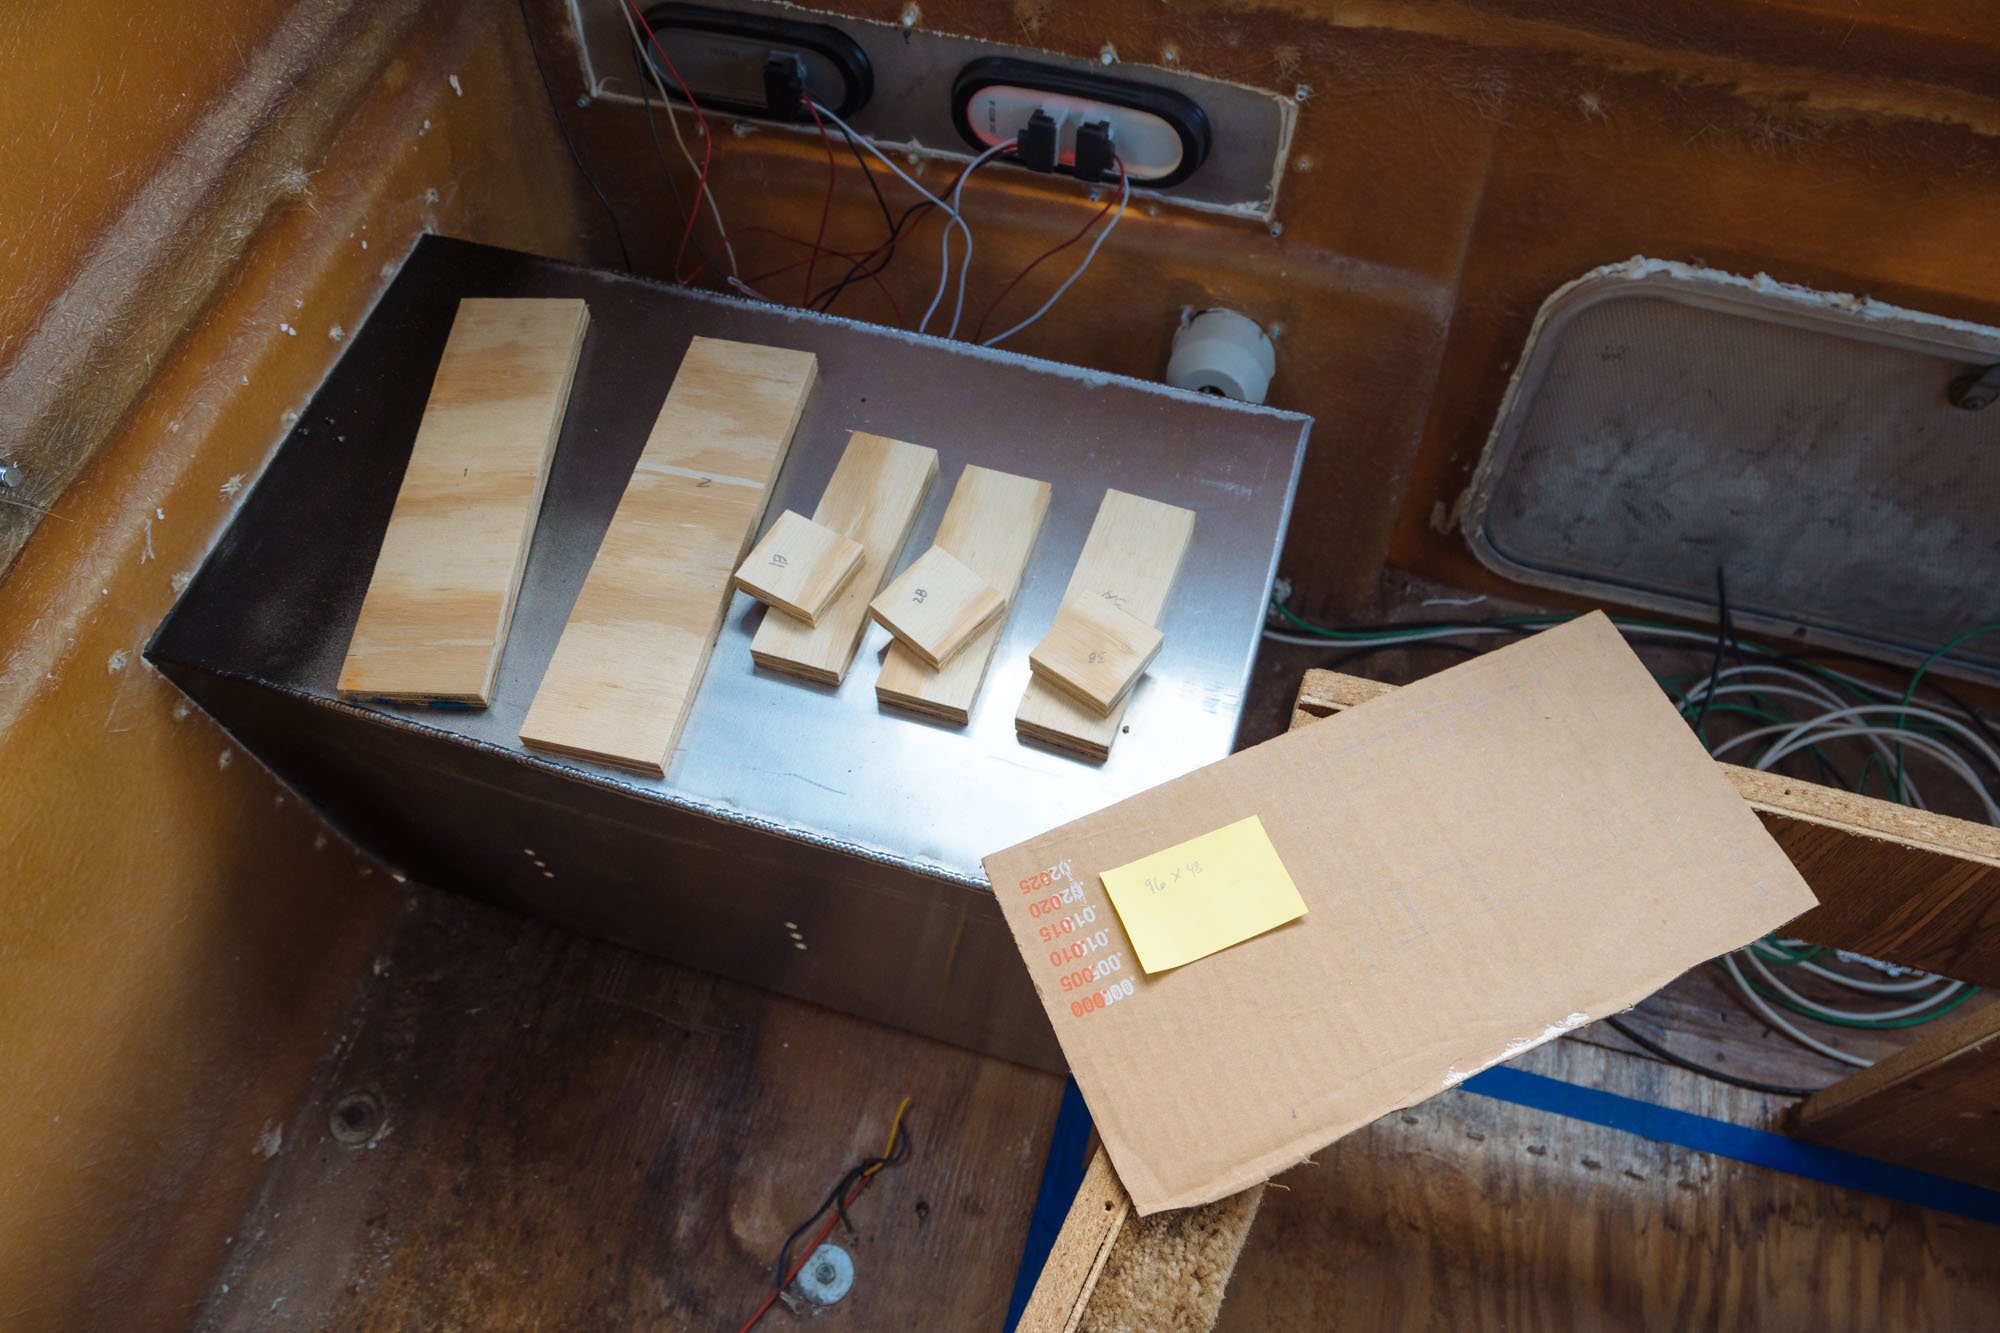
We purchased these little switches and some outdoor LED rope for the job. Our cabinets are separated into different compartments so we decided to drill a holes through the walls and run the entire length of the cabinet. Once the cabinet is installed we will just need to flip the switch to illuminate the interior of our cabinets. We have one switch under the driver side cabinets, and the other is on the passenger side.

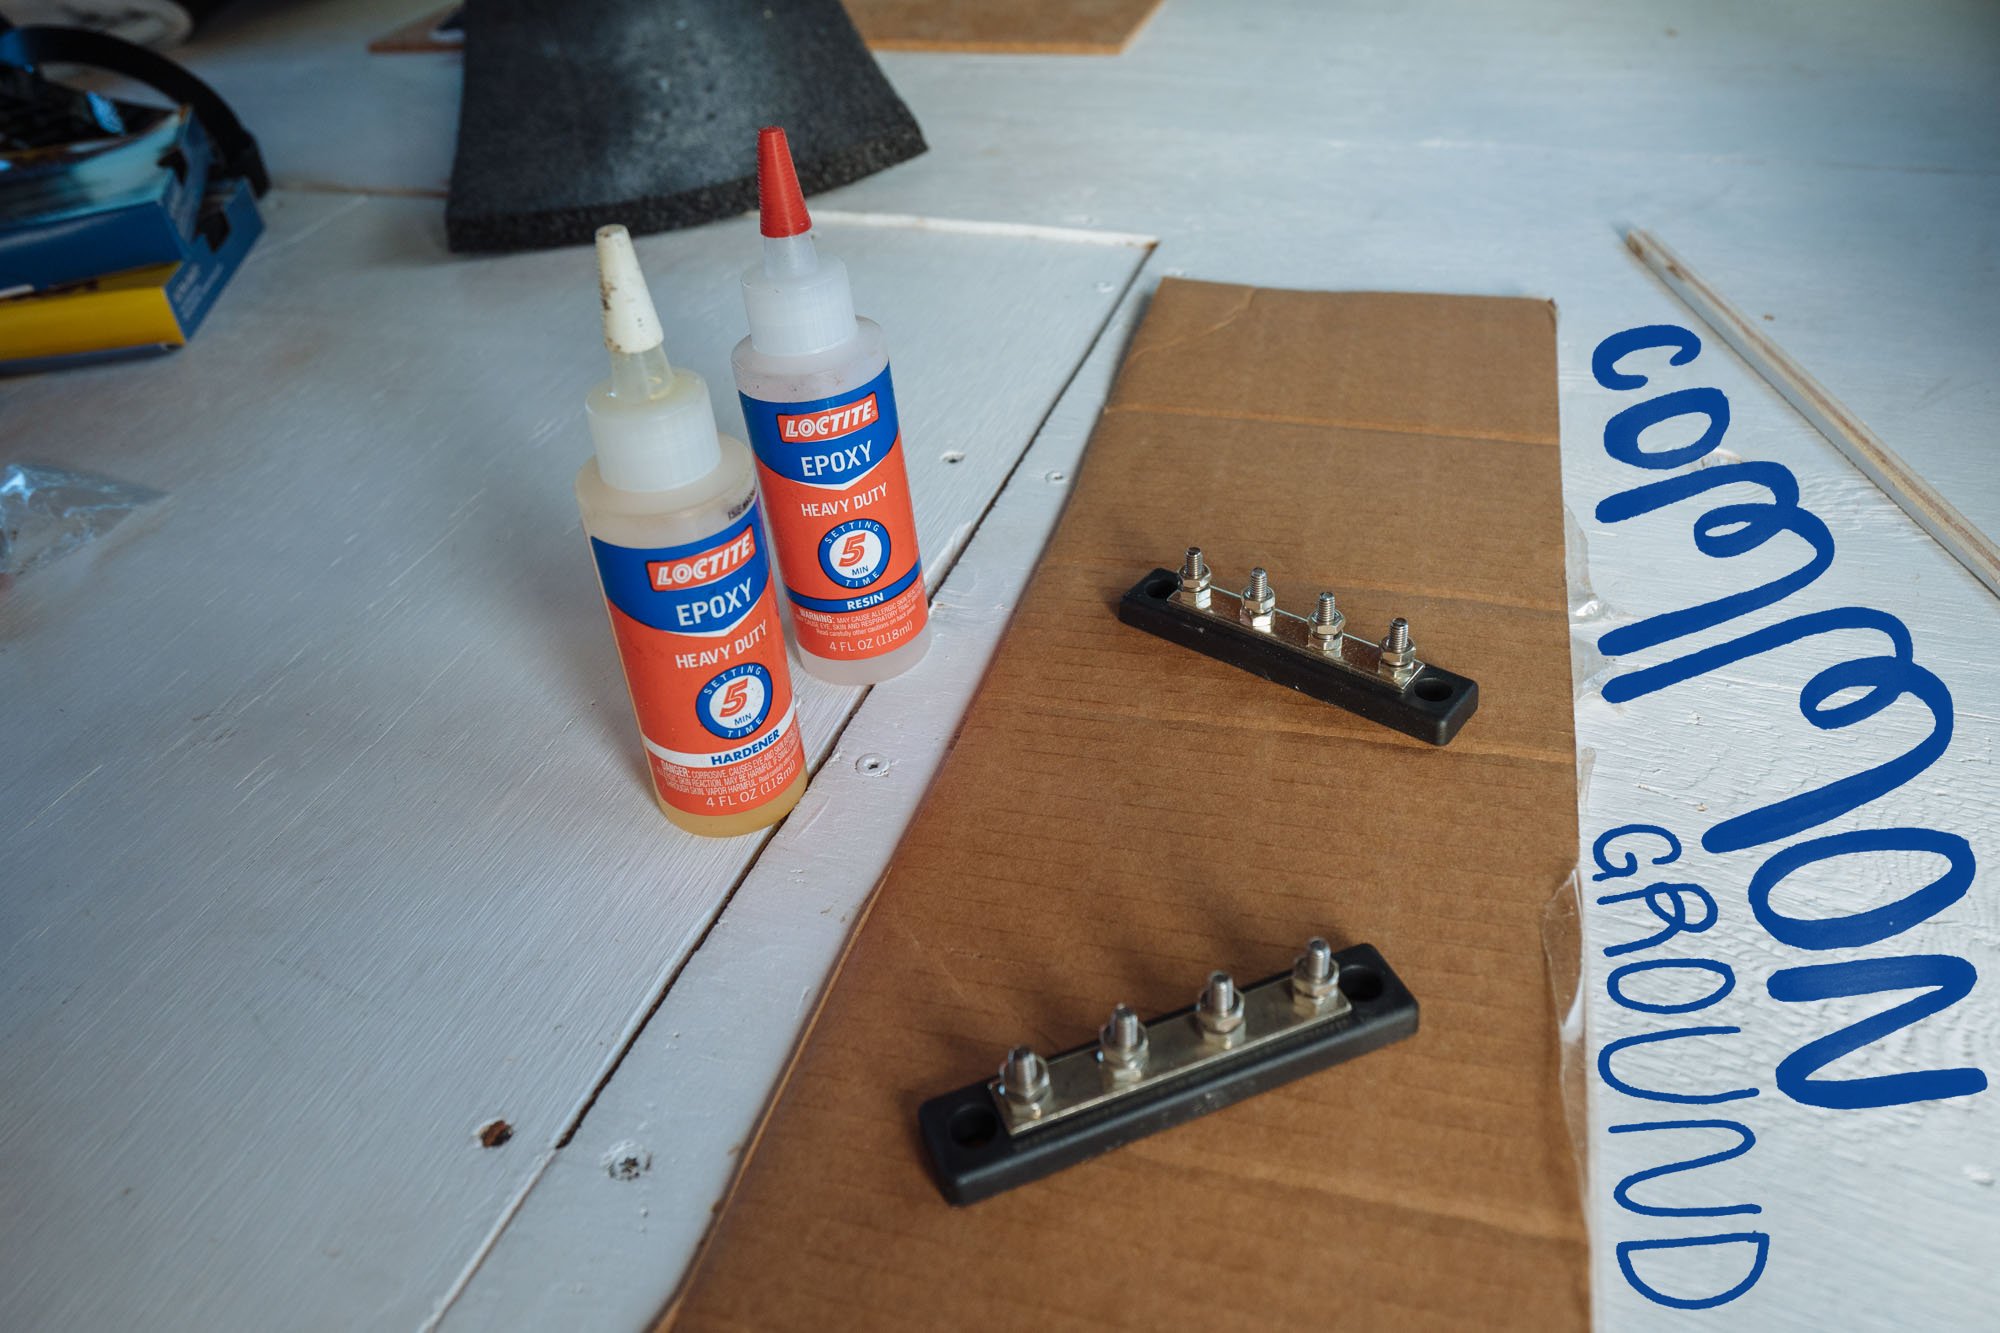
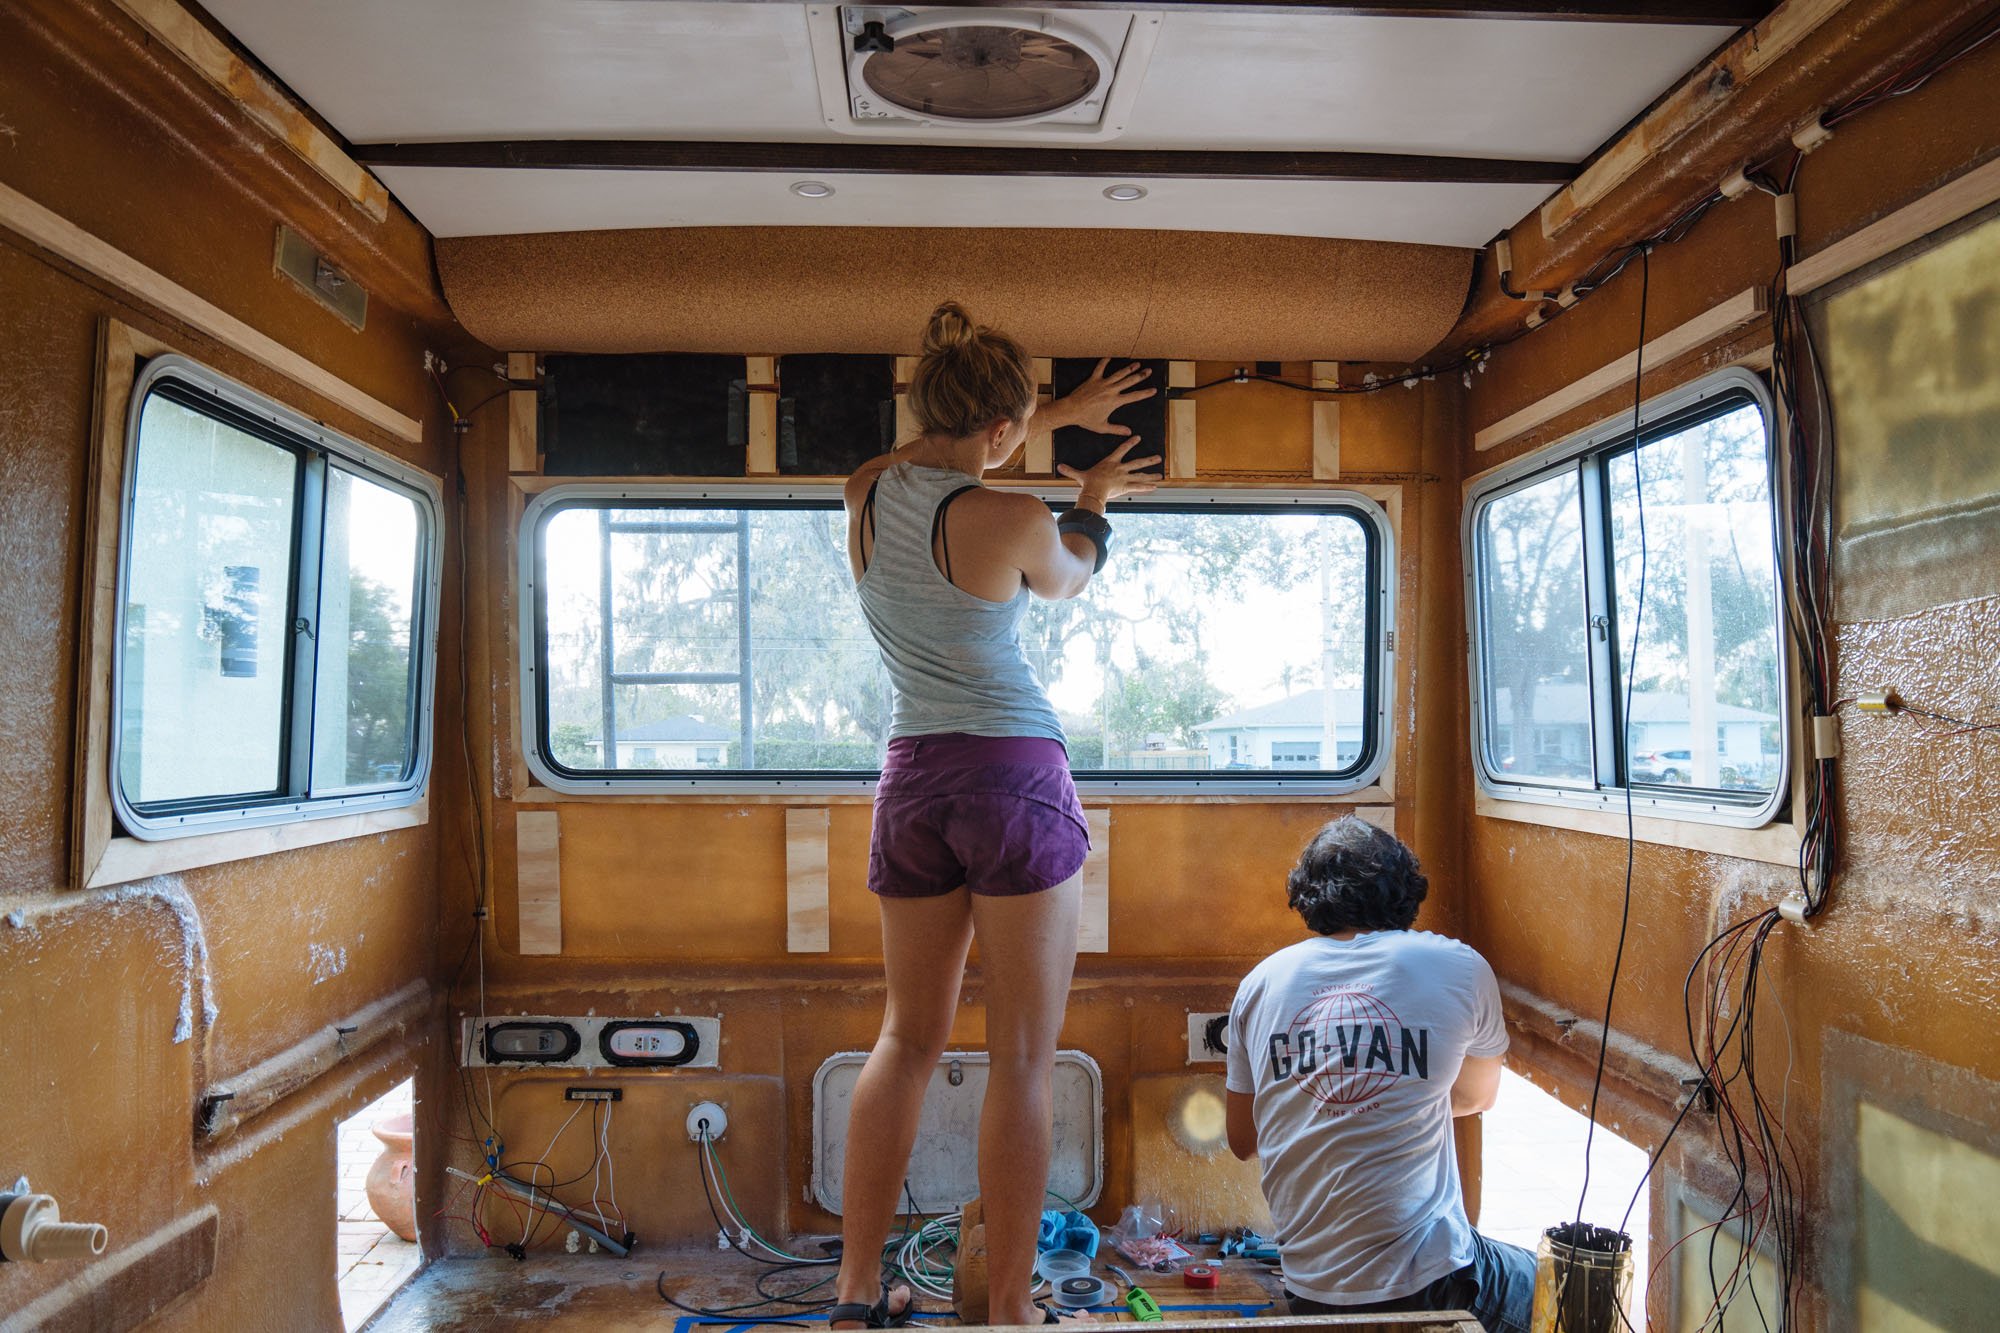
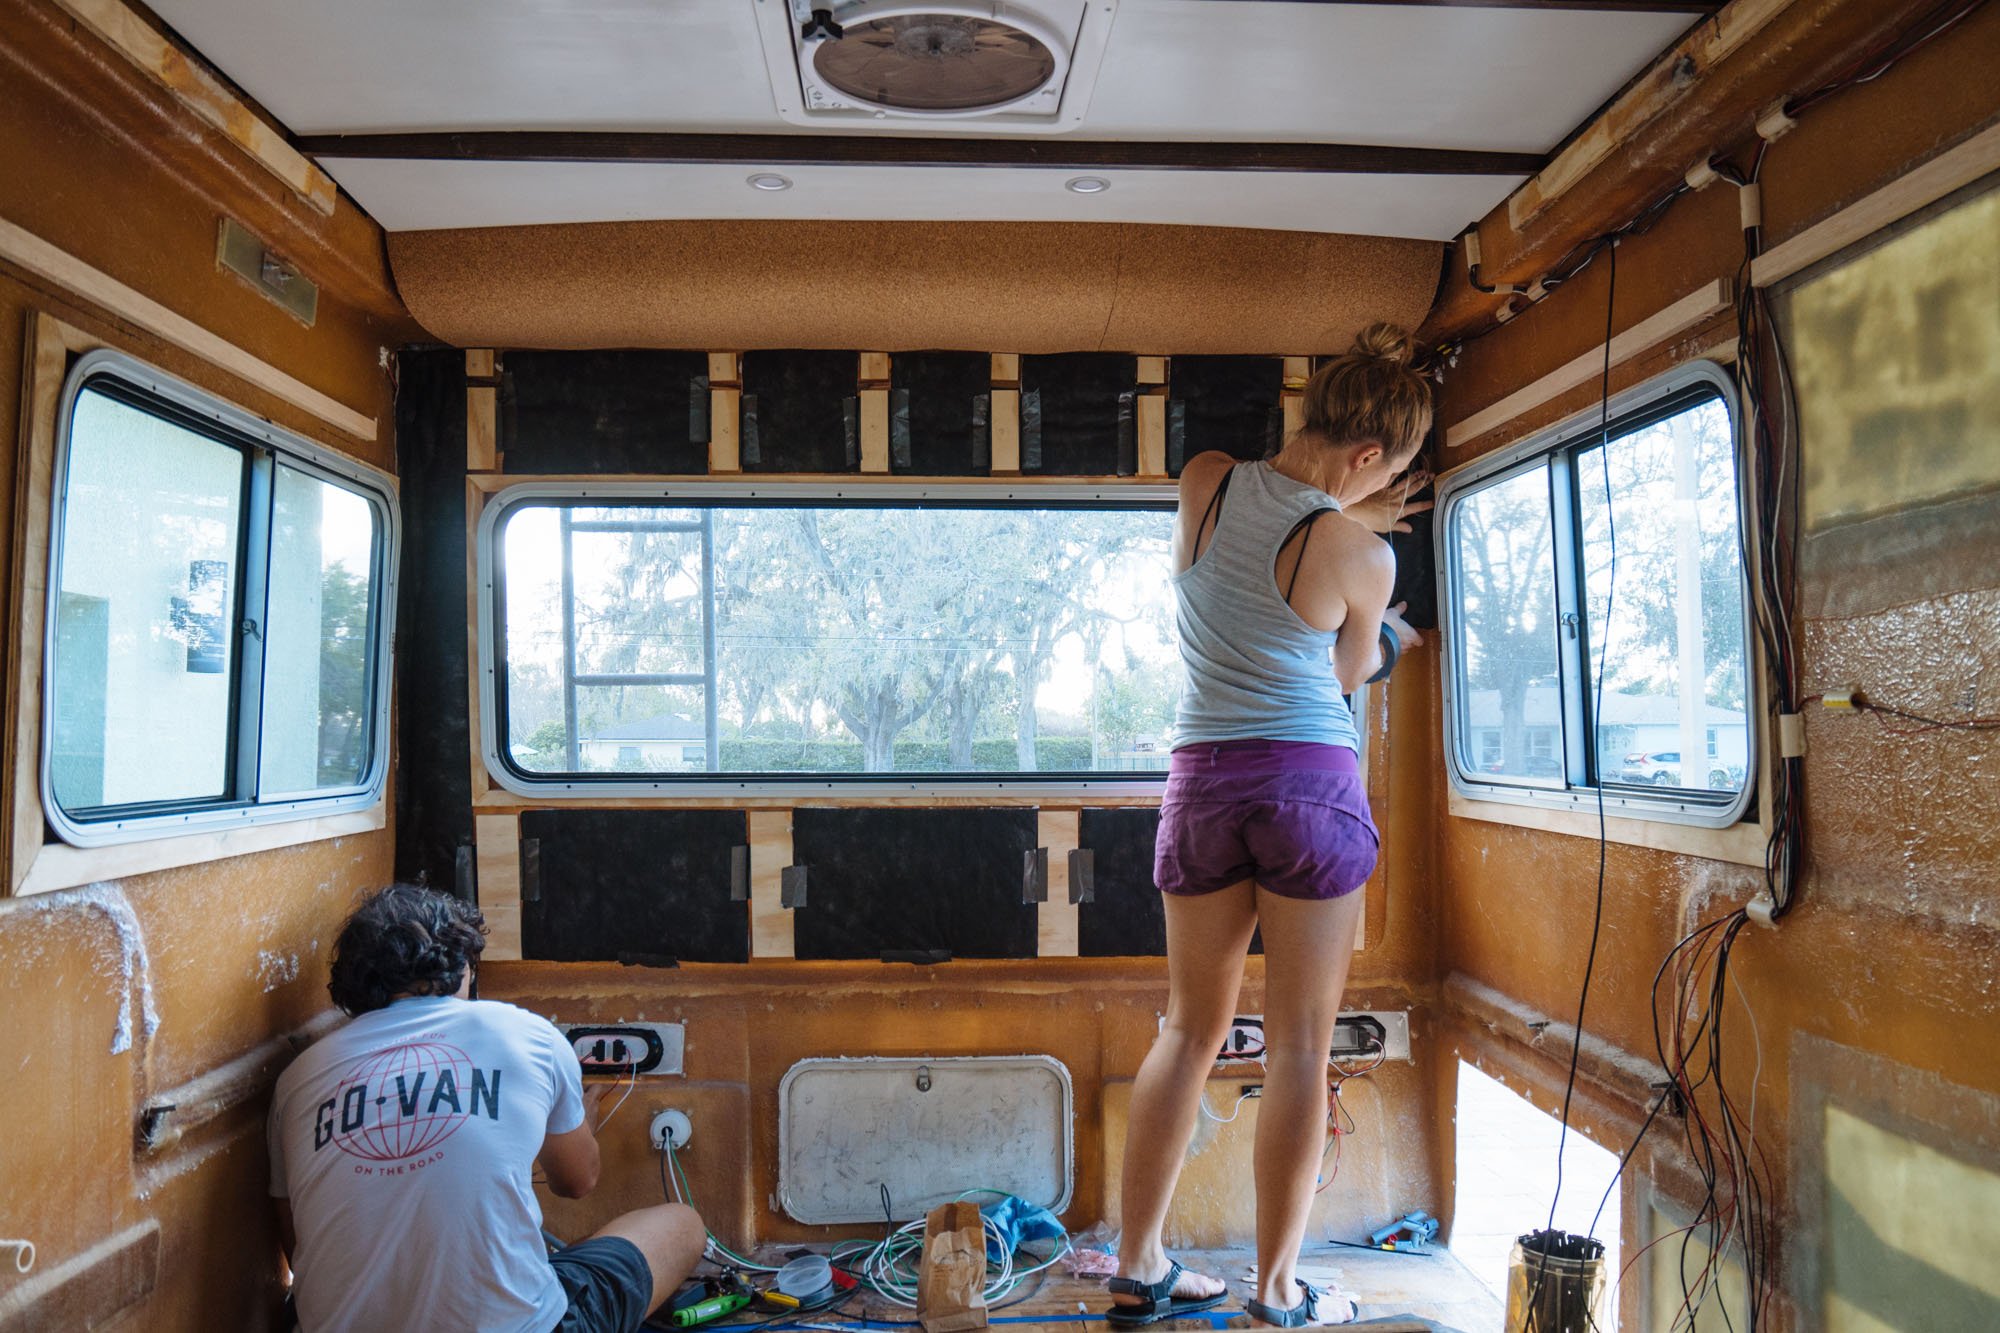
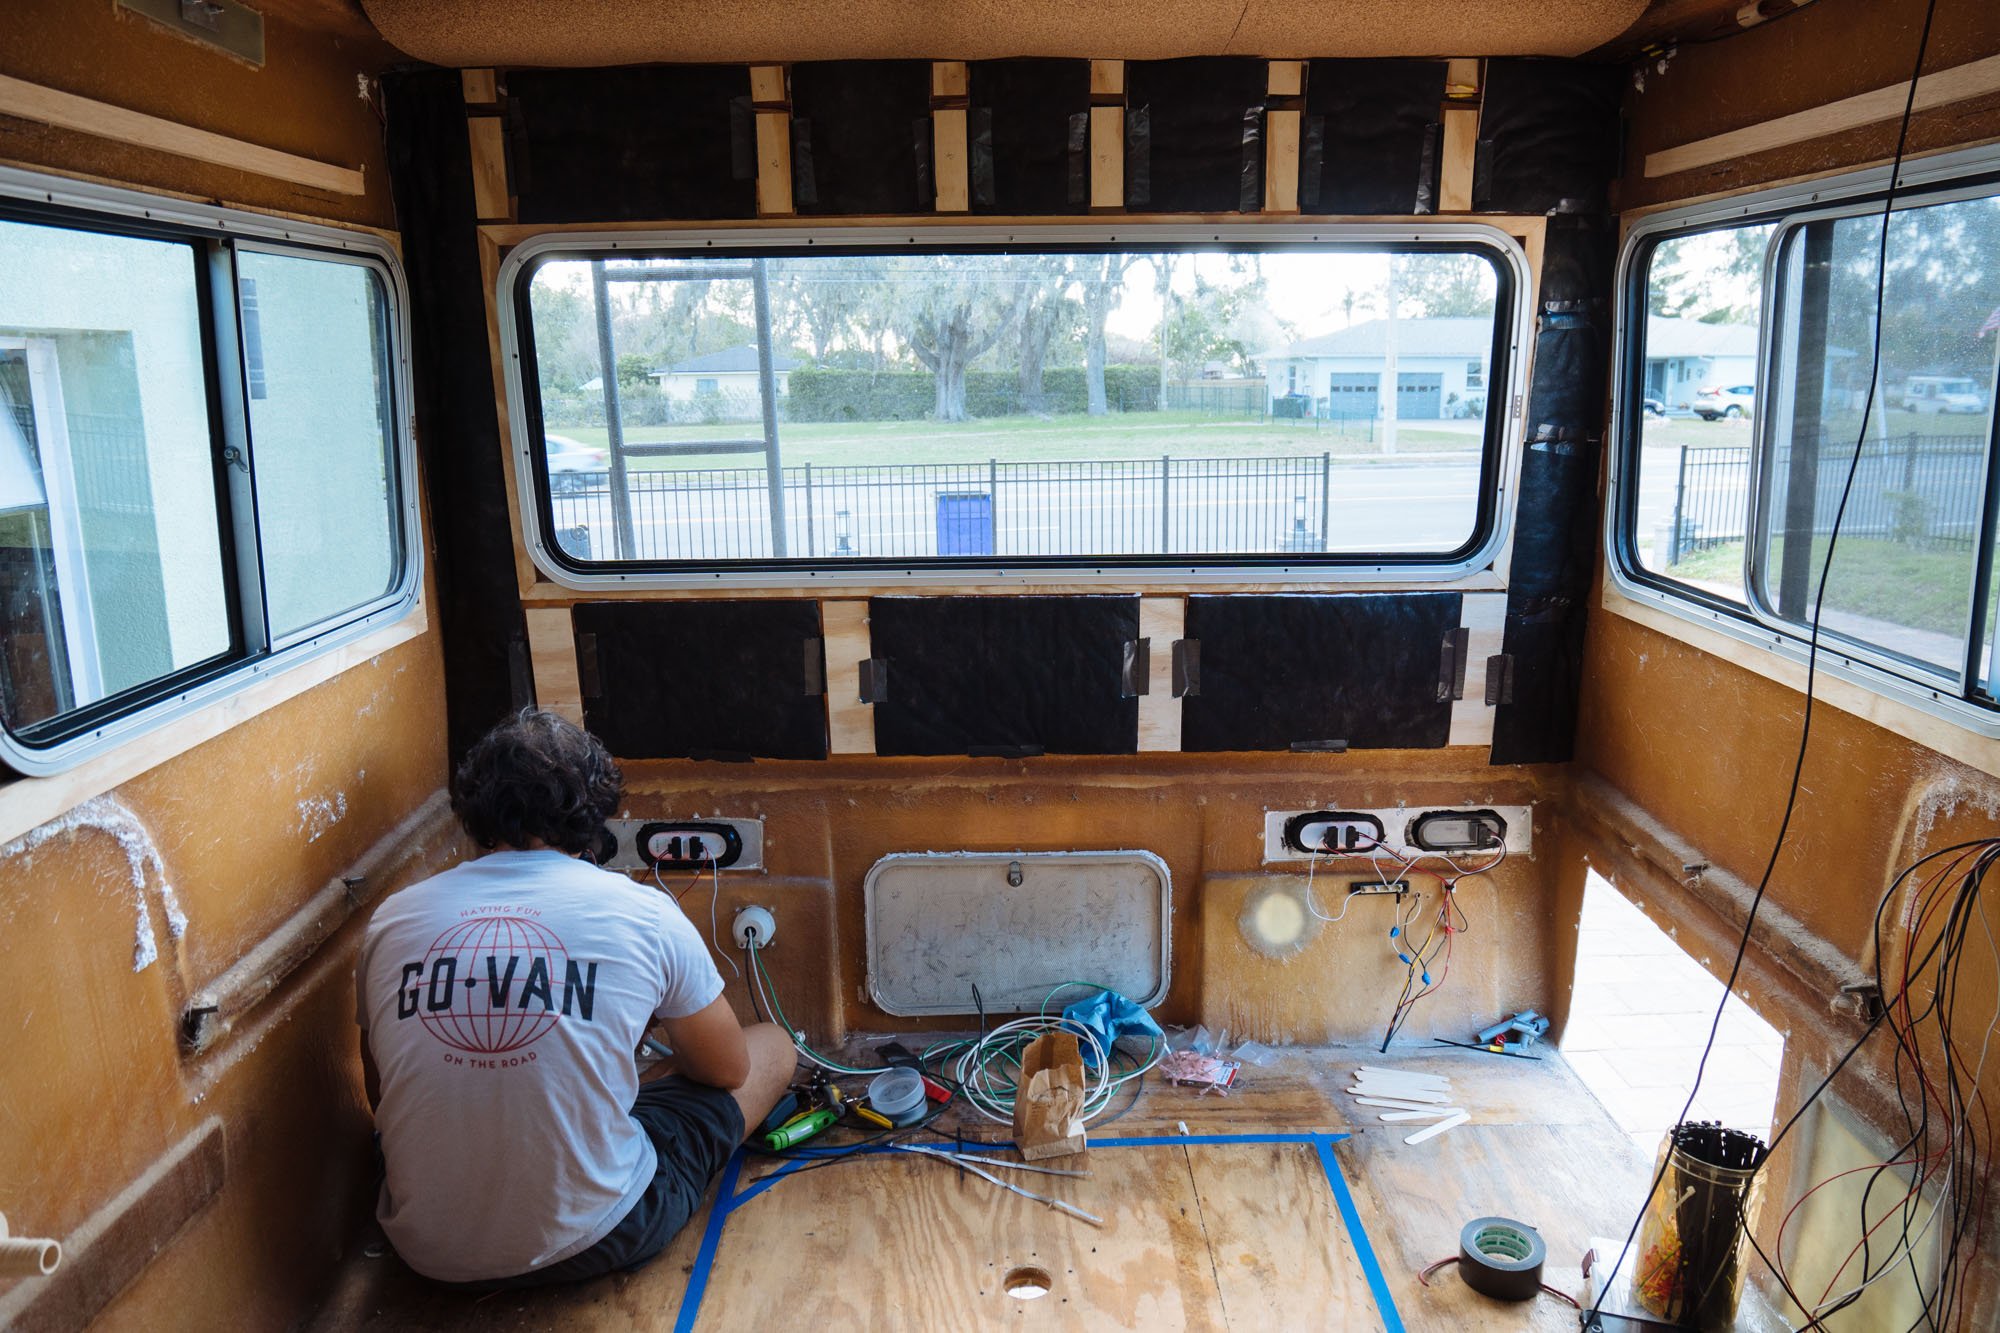
This week Owen did a hell of a job finishing up all of our wire organization and management in preparation for installing the back wall panel. He also ran the last of the wiring for our new cabinet lights, installed a new common ground for our taillights, and zip-tied everything together to make it look nice and pretty.
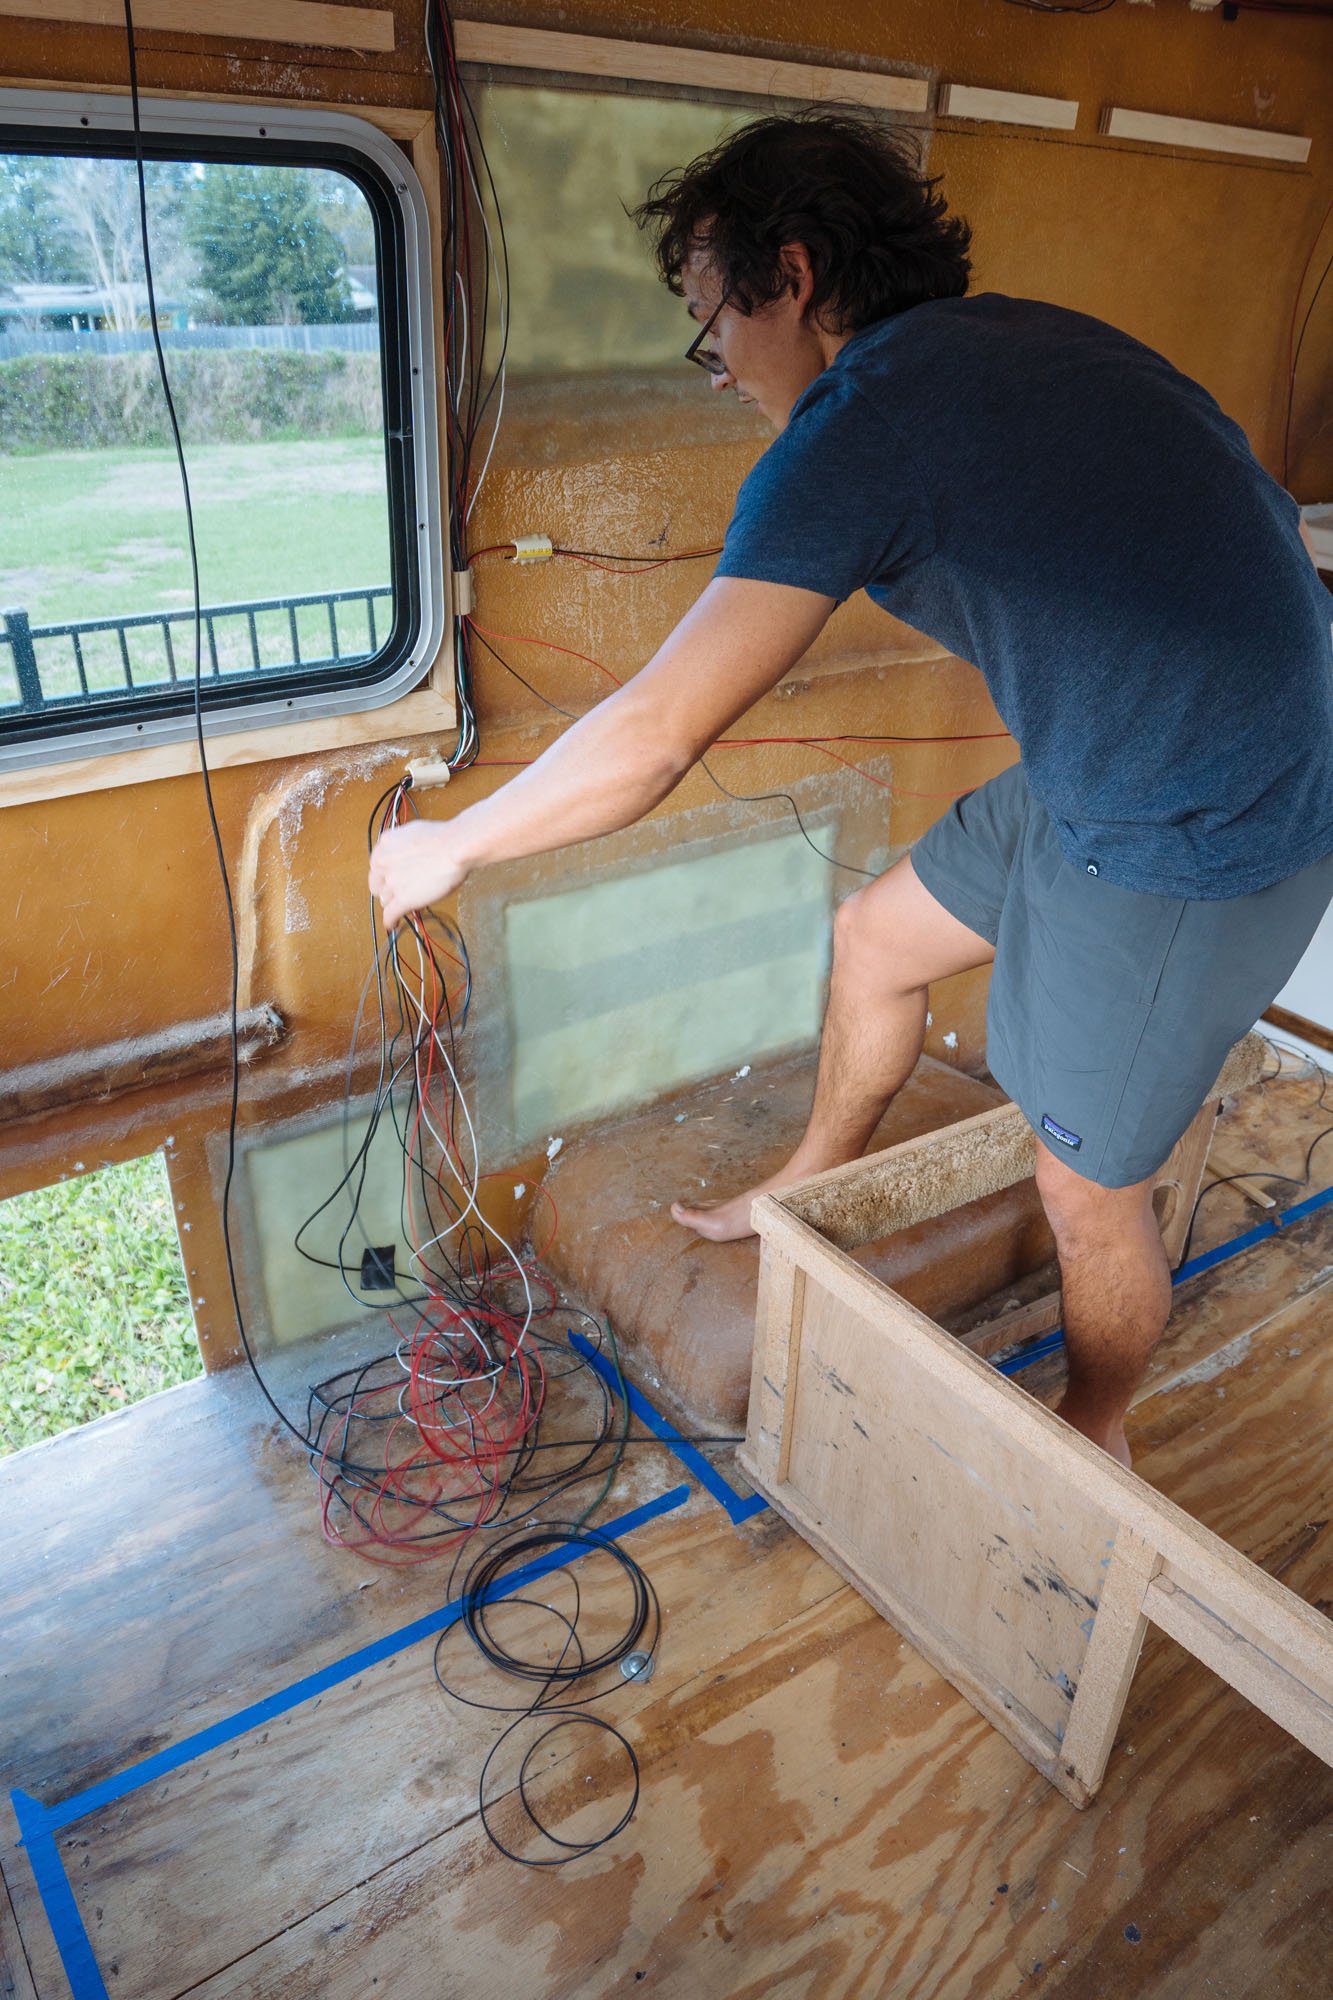

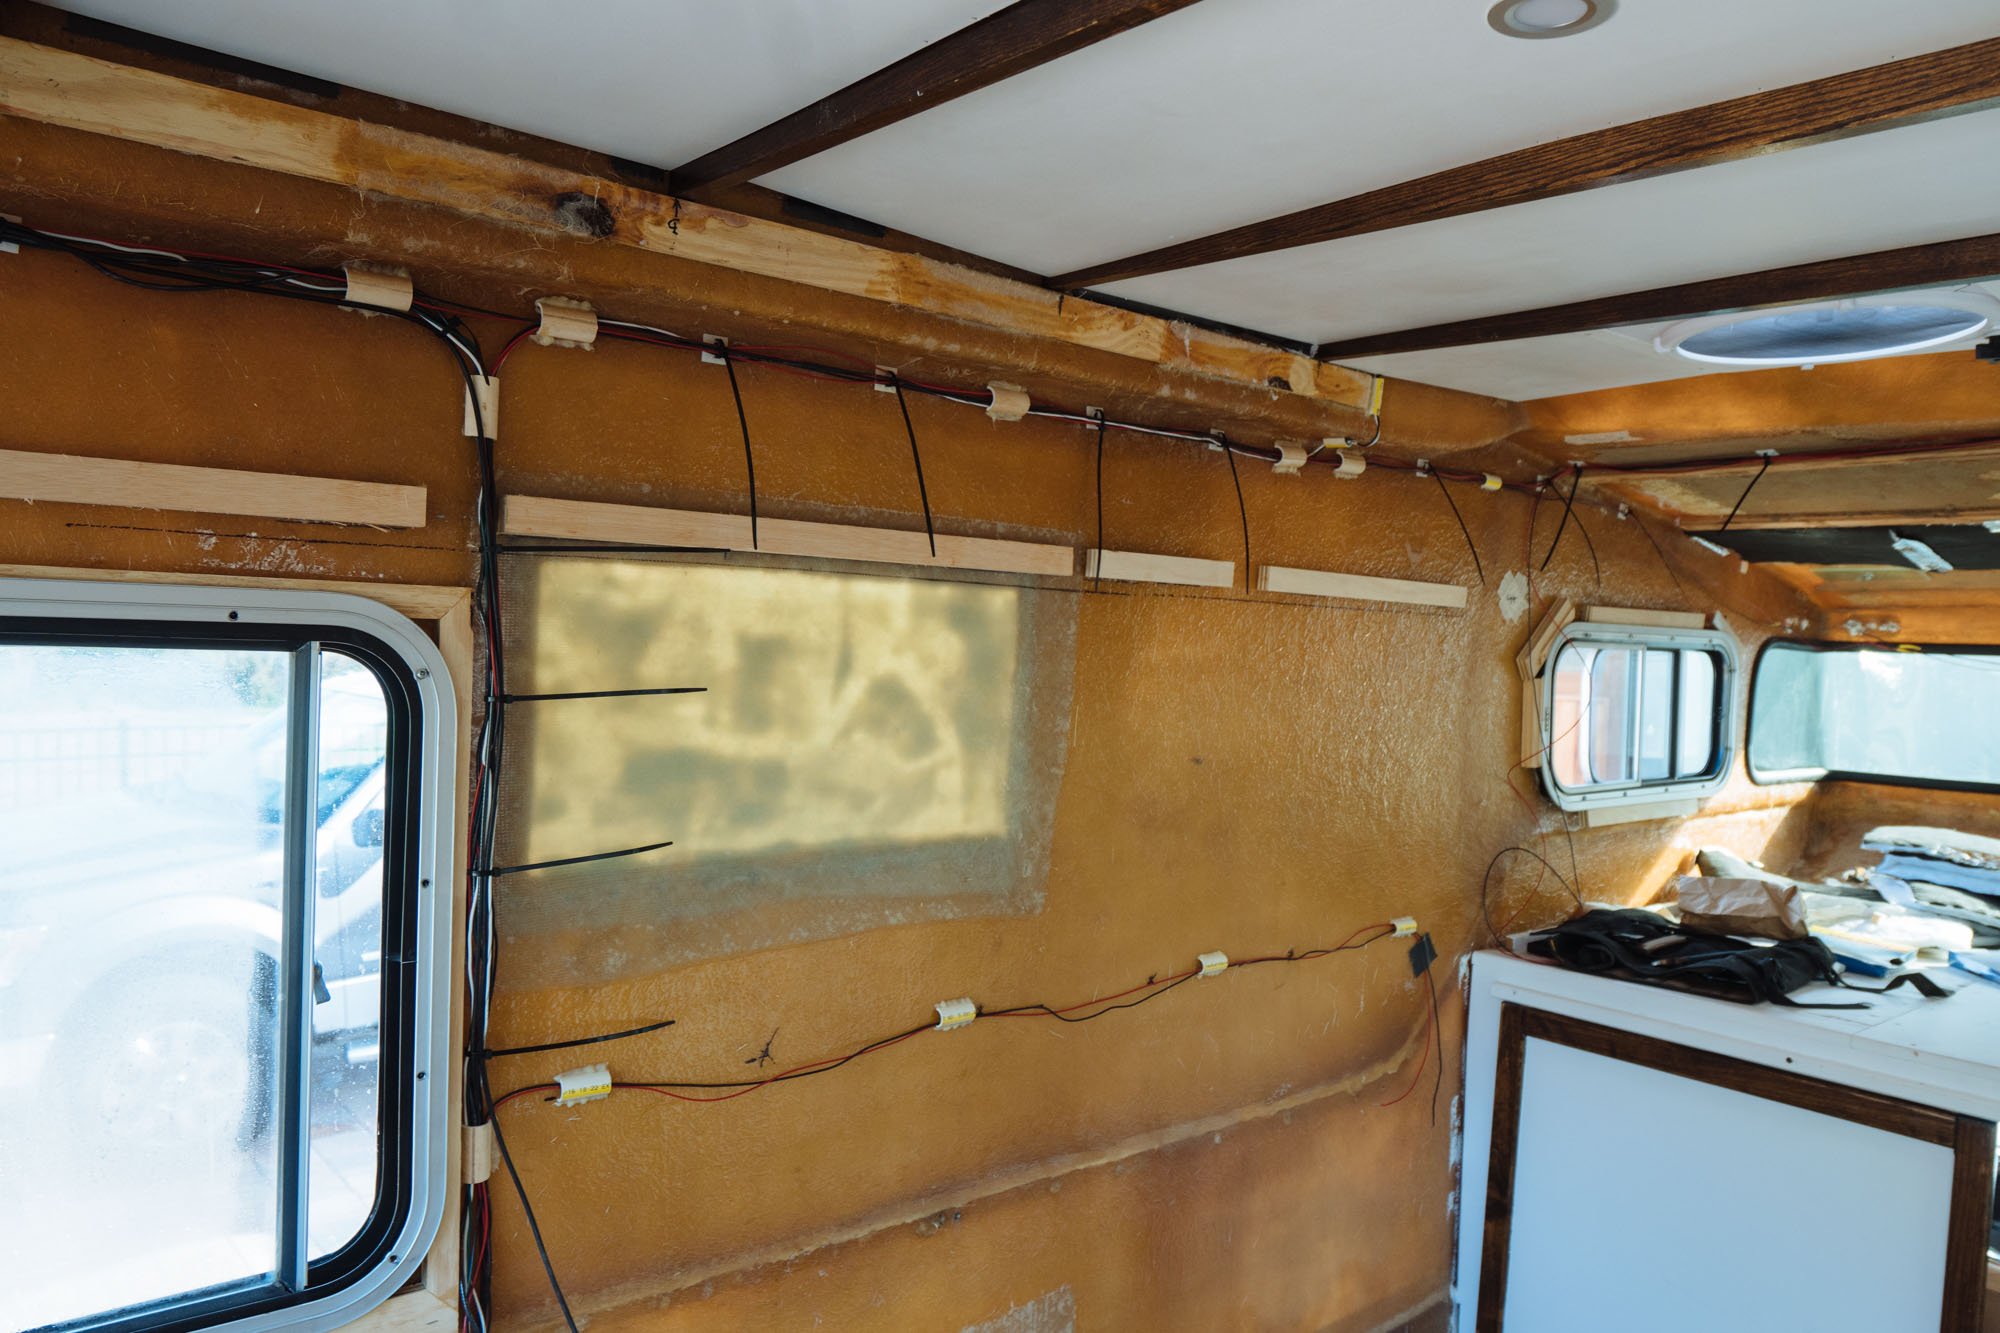
While Owen was working on the wiring, I got to work on making our back wall and getting everything ready for its installation.
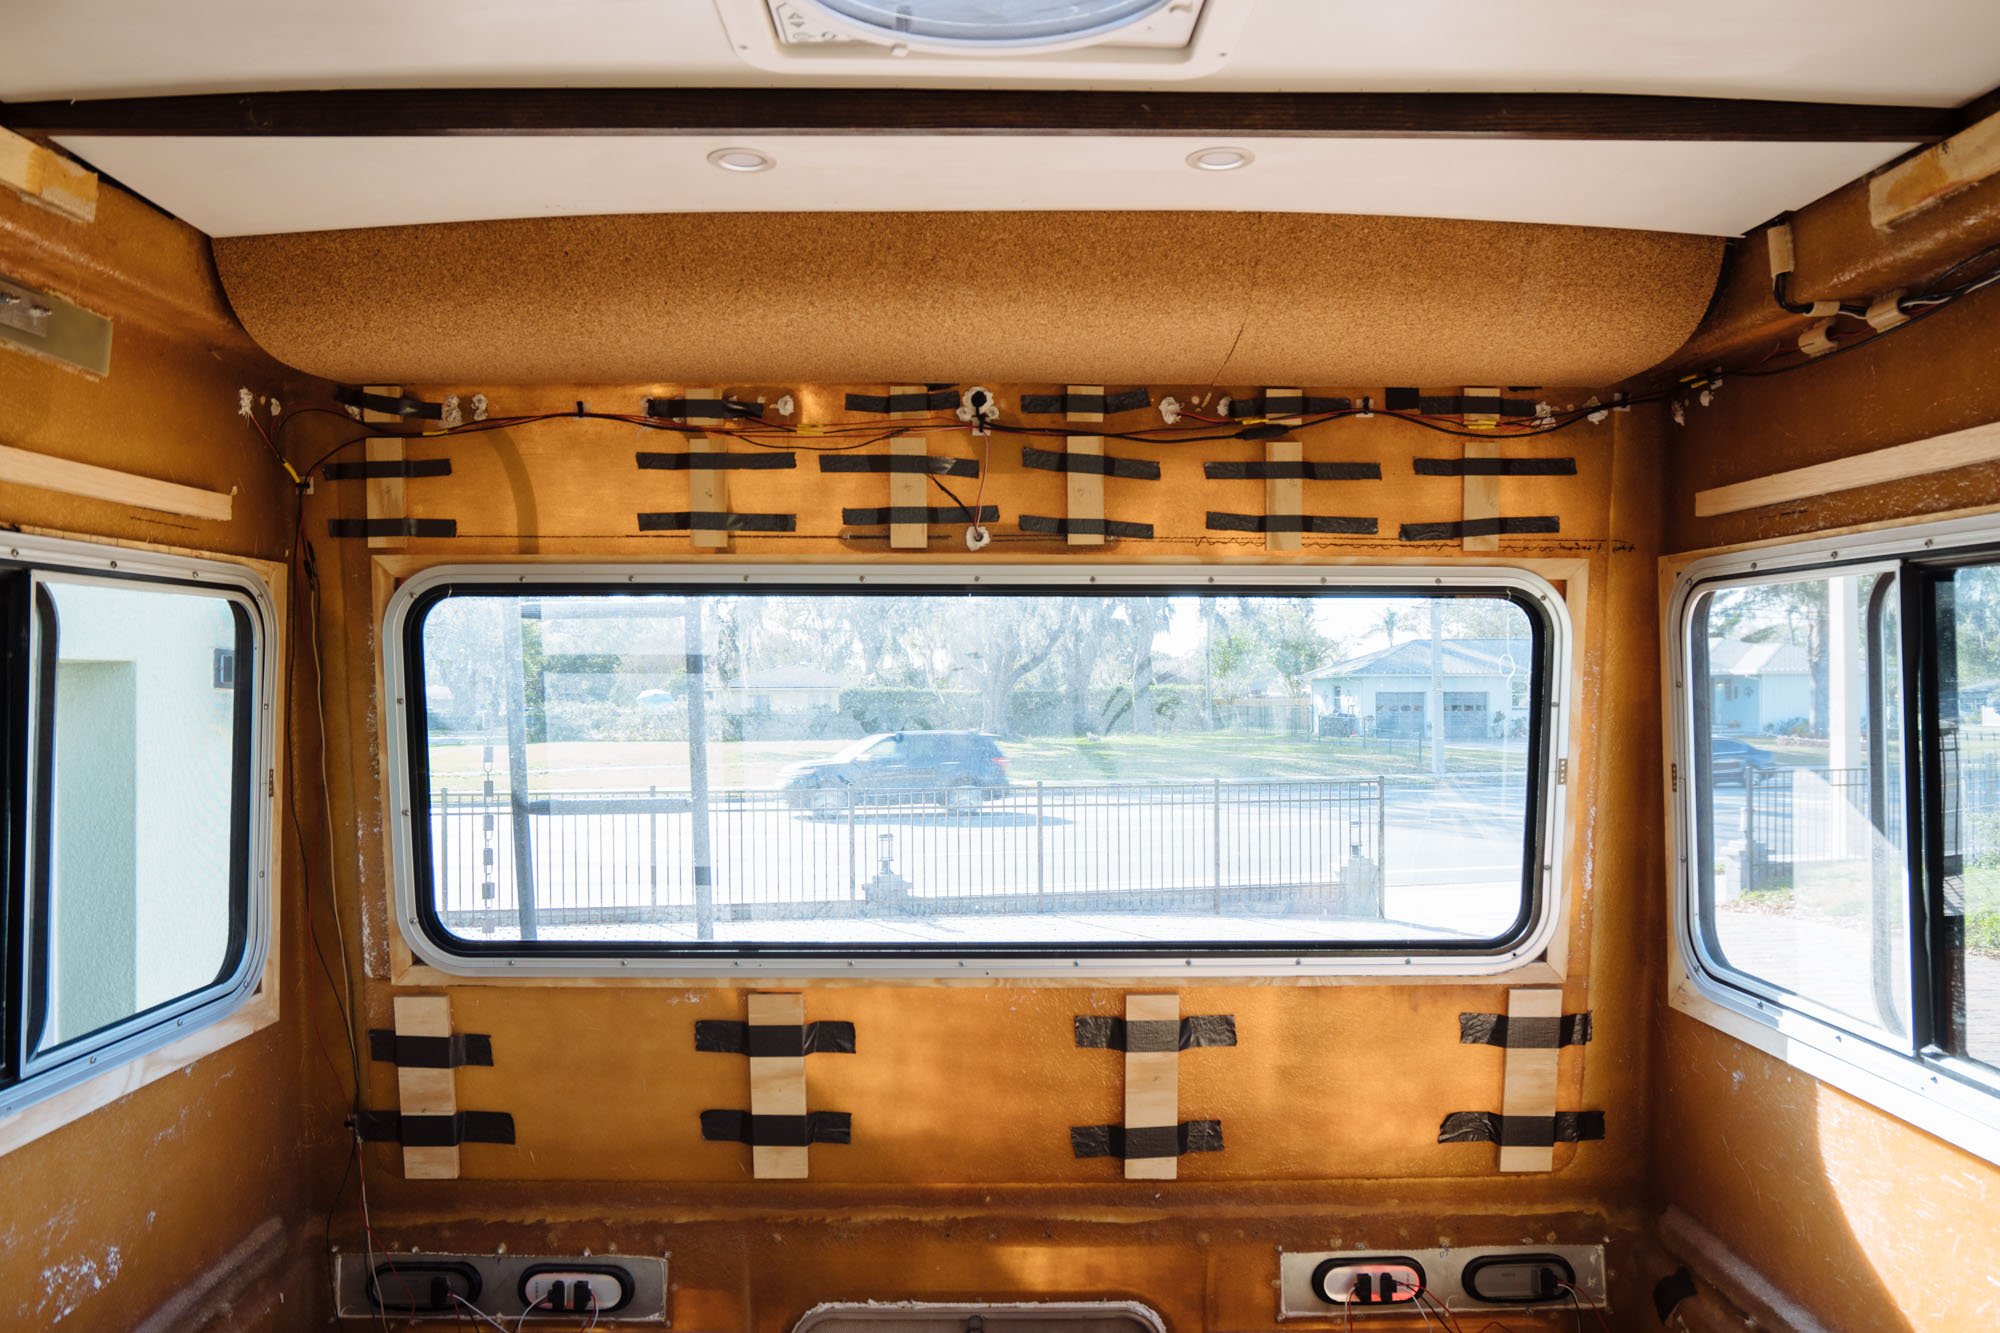
Step 1: Glue up wall supports. These are the pieces that we will brad nail into when the wall gets installed. I used my favorite West Marine 610 epoxy to glue them to the wall, and duct tape to hold them in place while they cured.
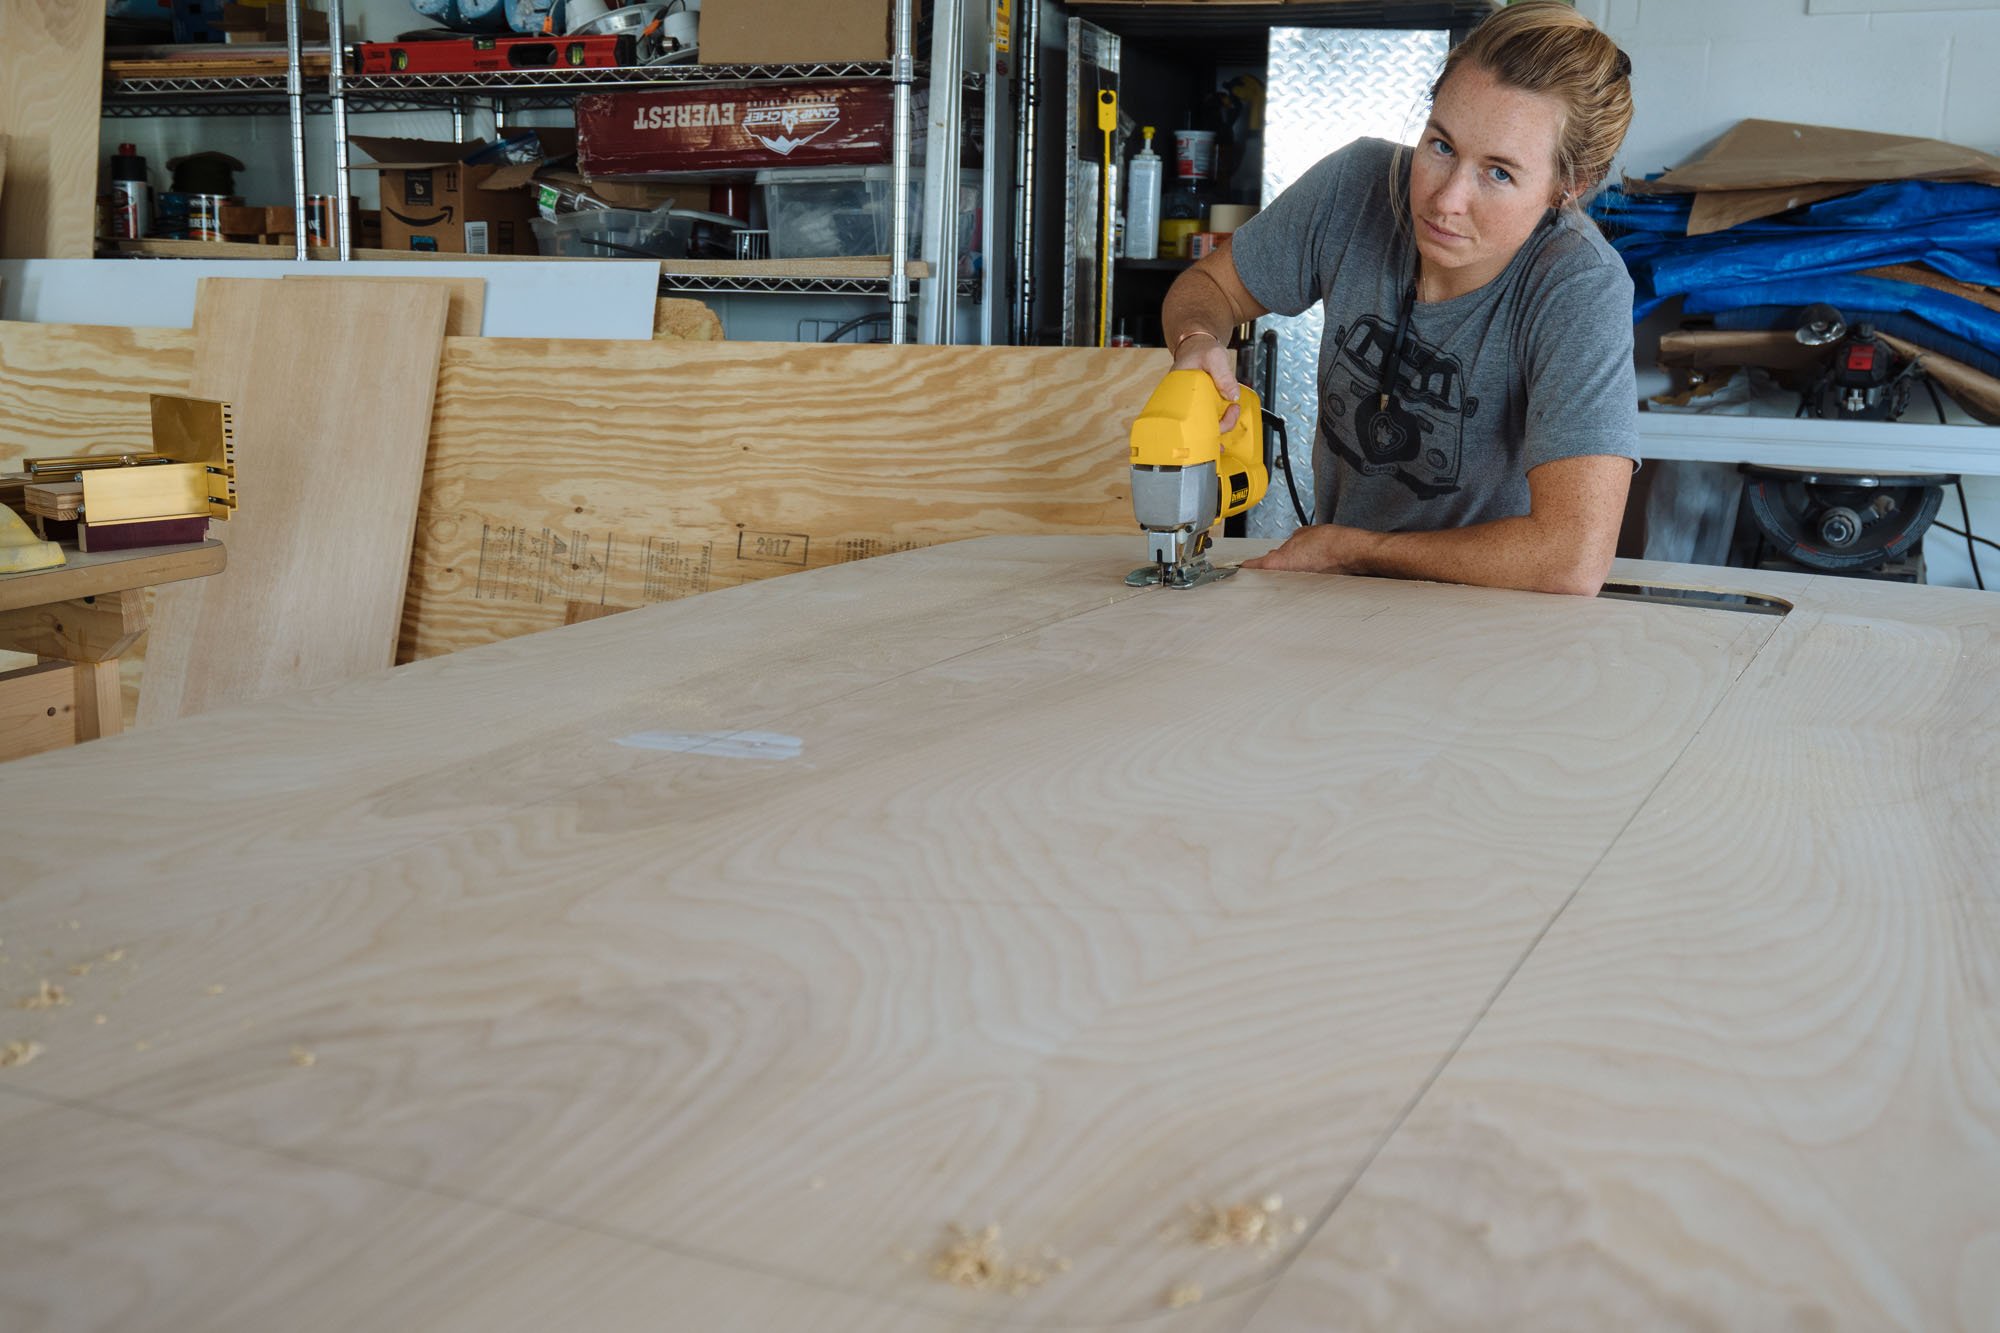
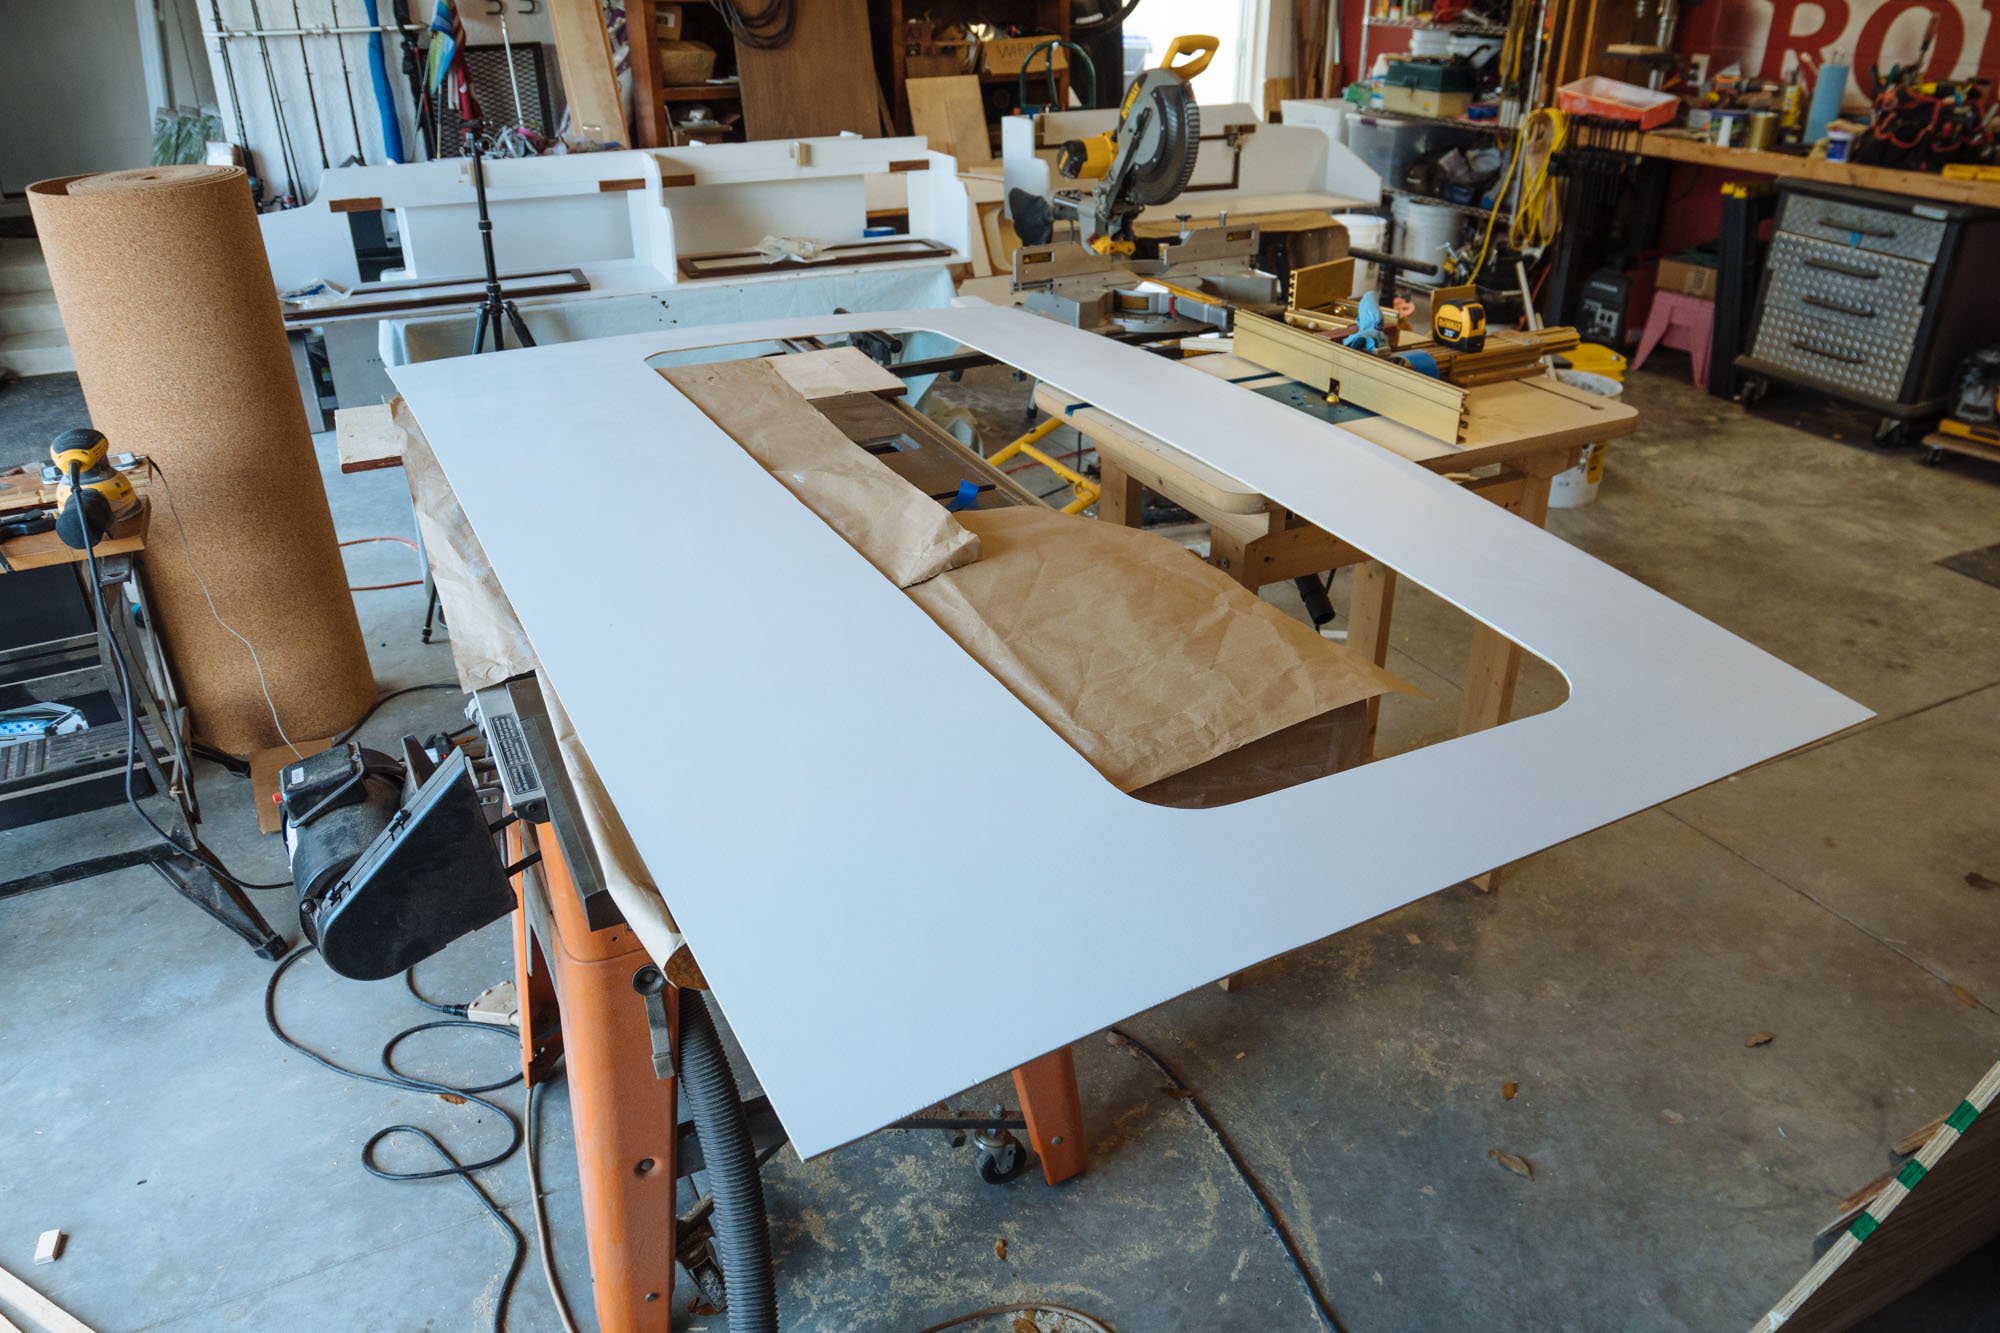
Step 2: Make wall. I did this part second because I wanted to use the time while my epoxy was drying to make the wall panel. I used 1/4" ply and cut it to shape using a jigsaw. Once the wall was cut, I painted it with 2 coats of paint and 2 coats of Polycrylic.
Step 3: Cut and install insulation. I used the same ol' thinsulate to cover all open wall with insulation. Duct tape to hold it into place while the wall is waiting to be installed. Nothin' fancy.
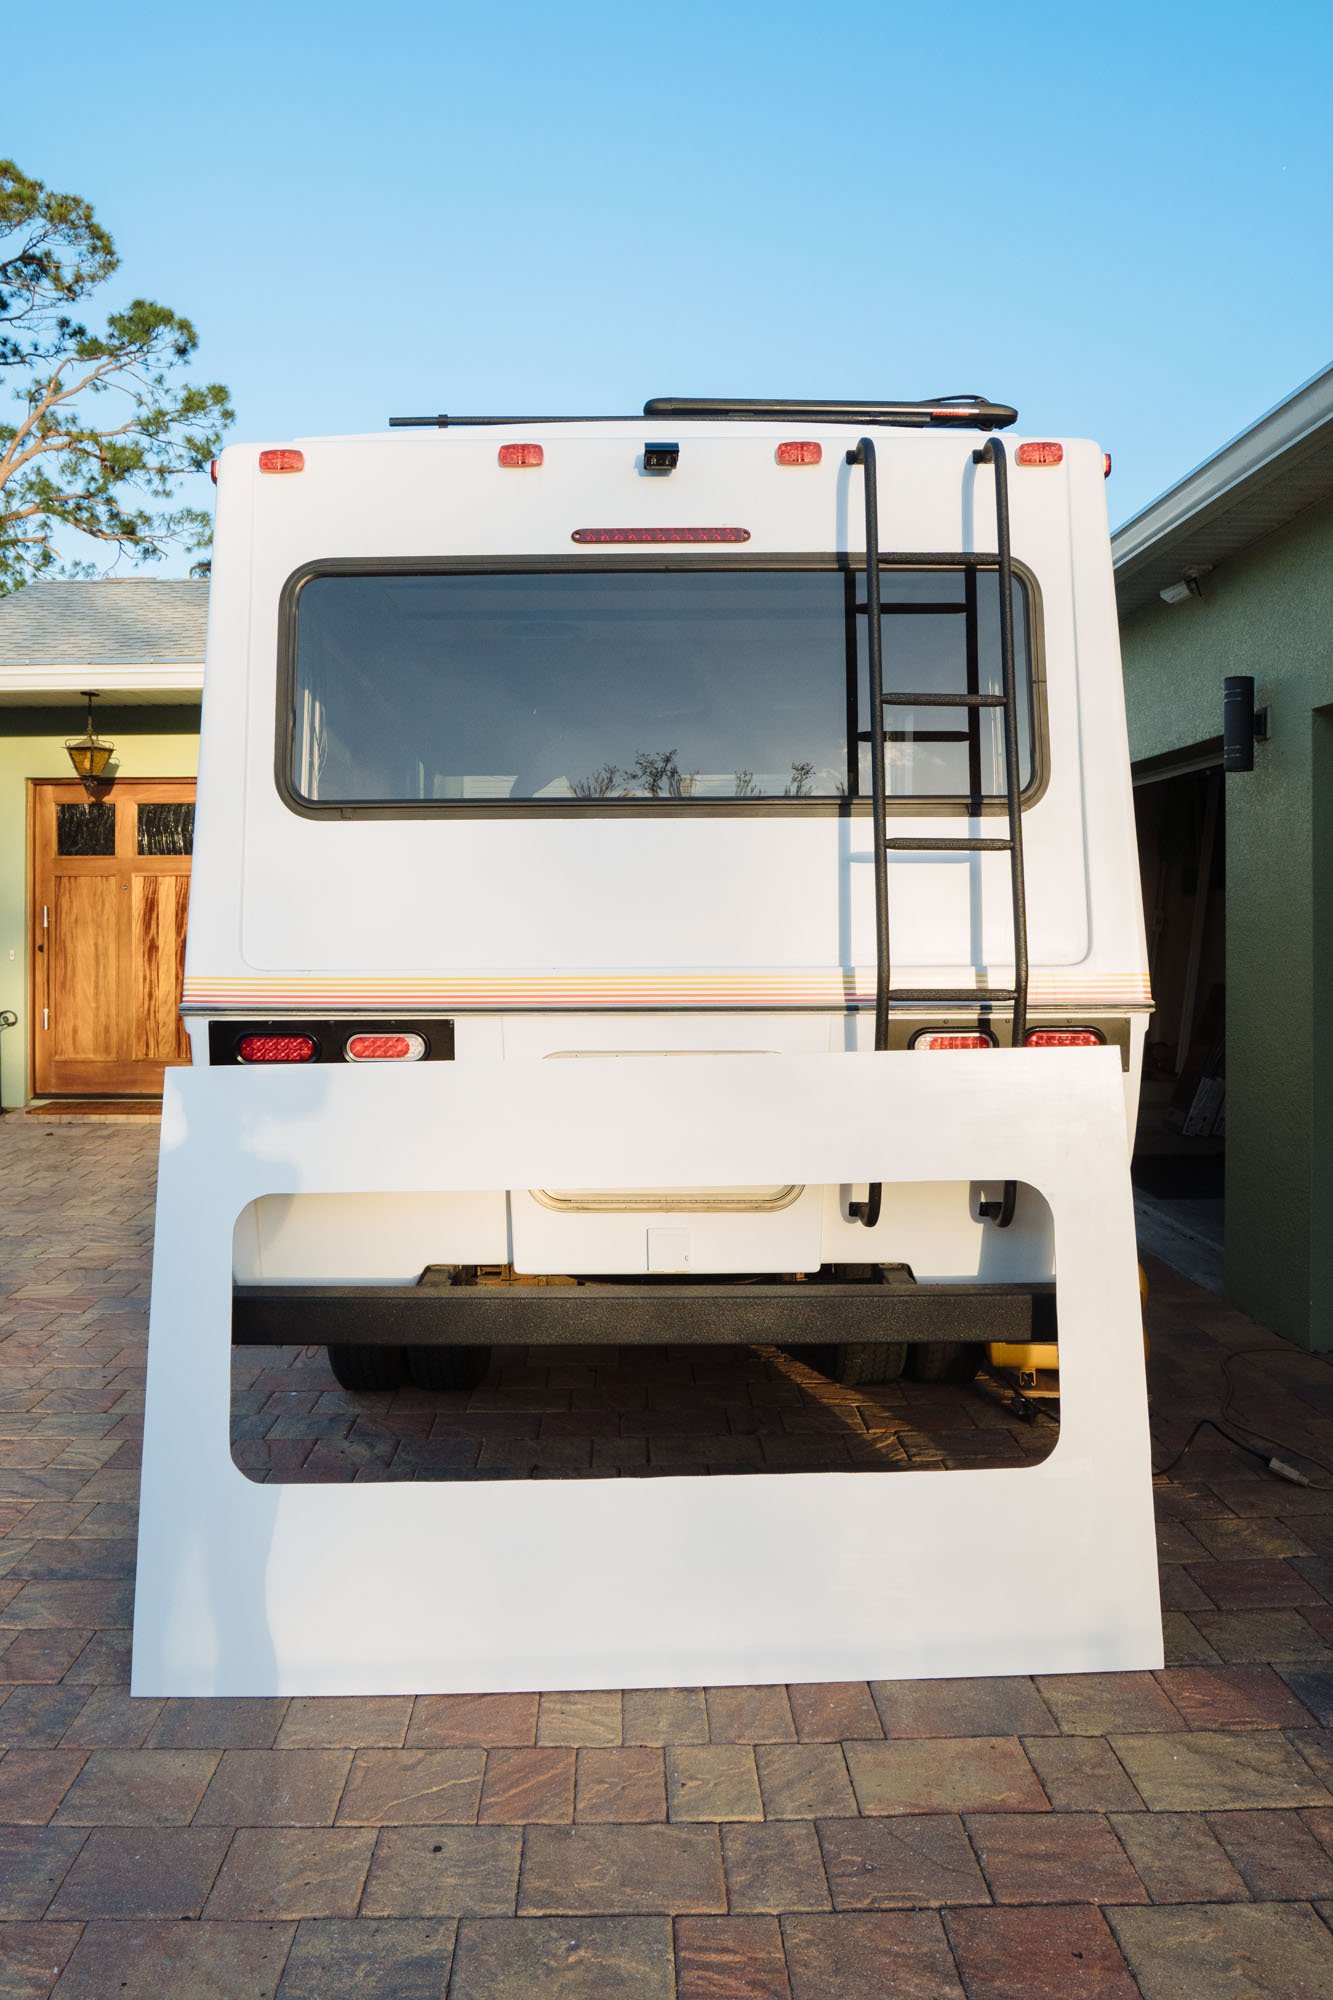
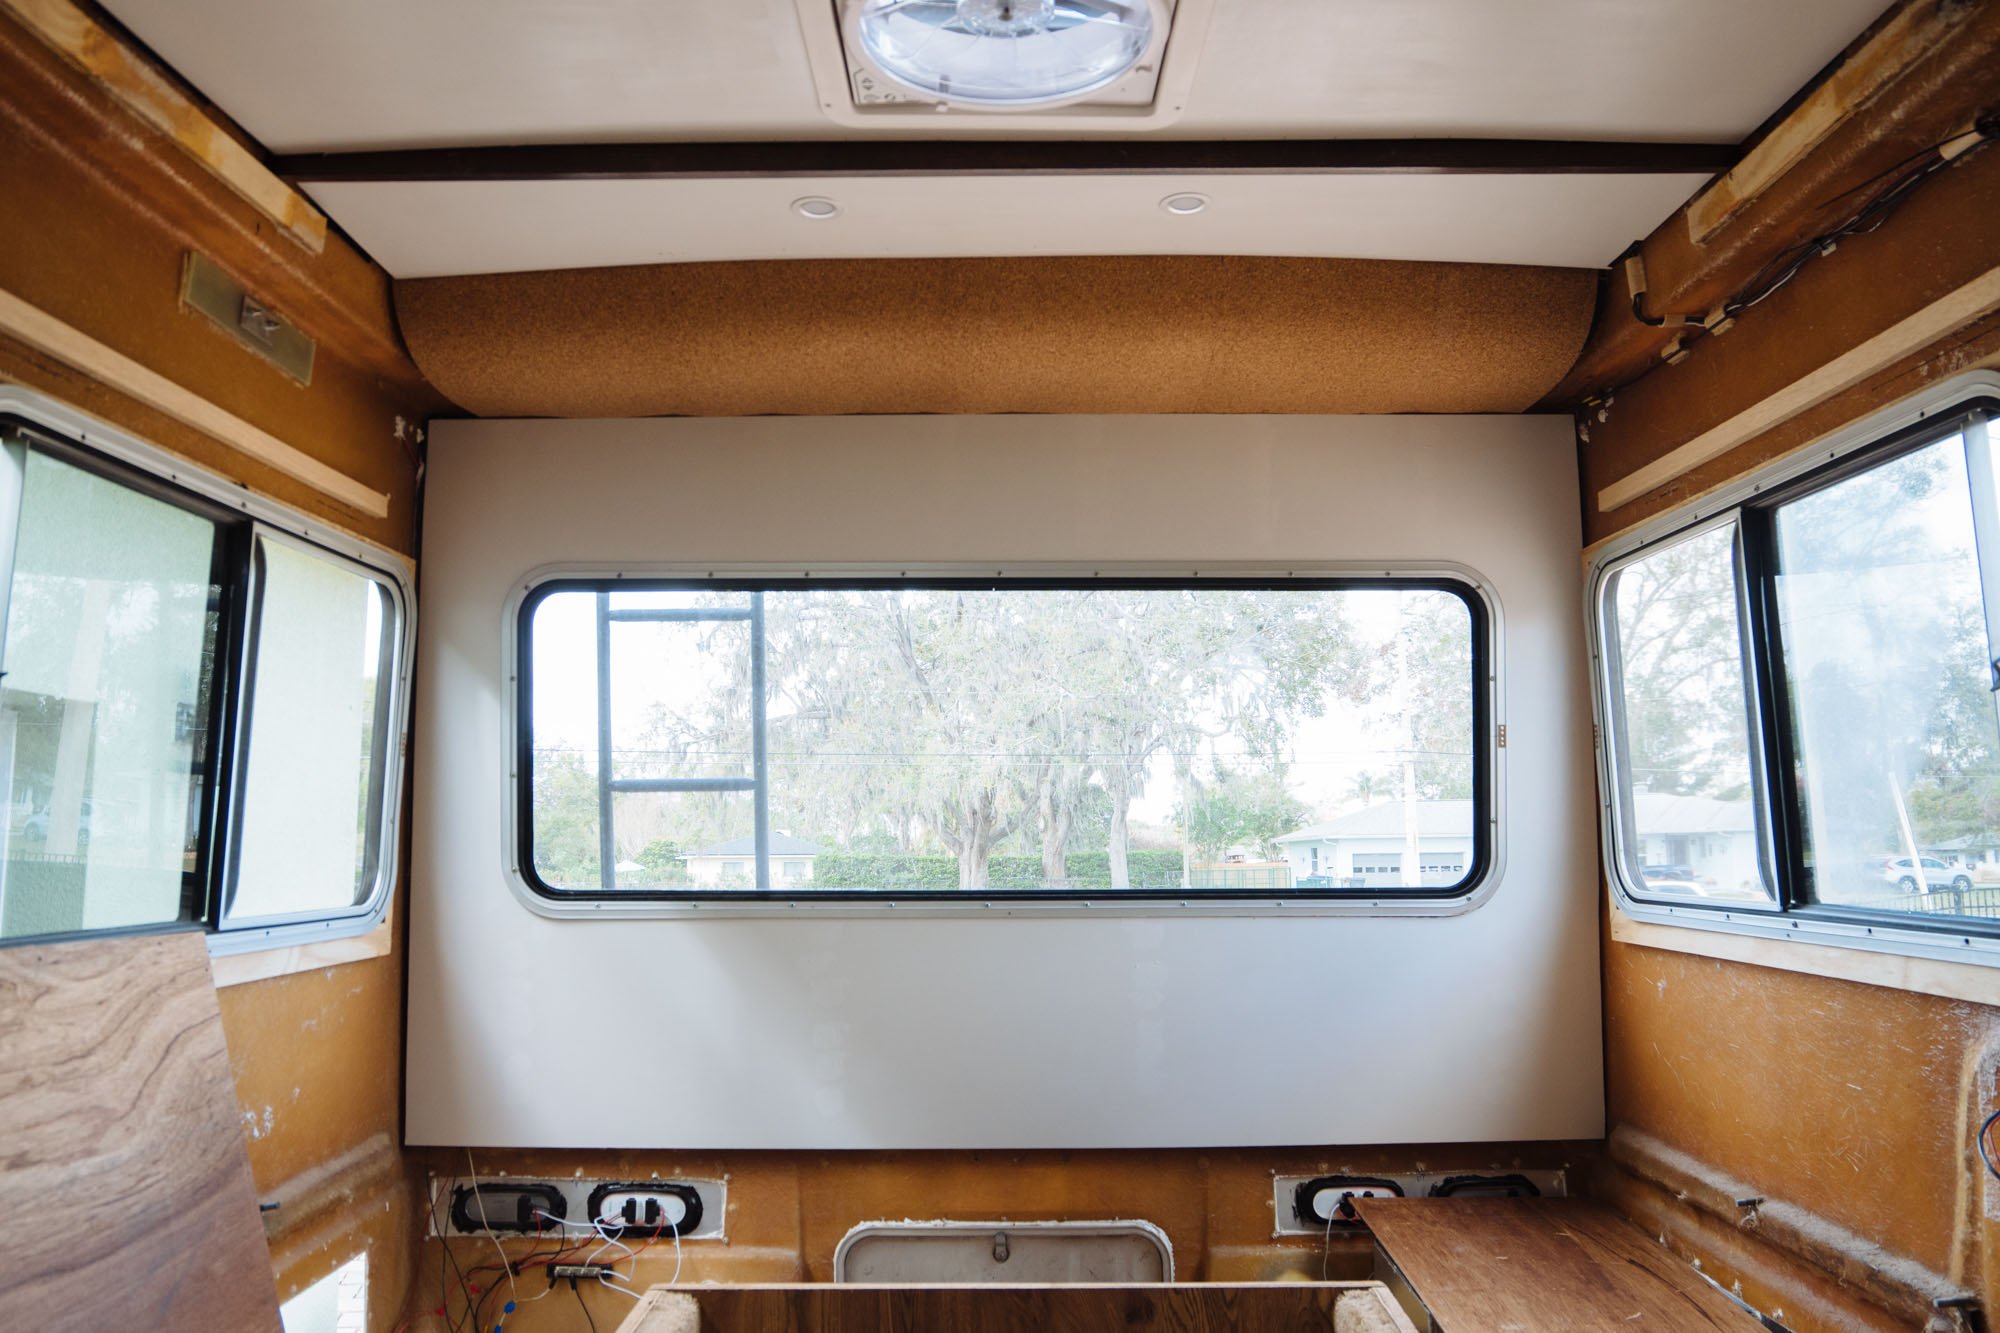
Step 4: Take your freshly painted wall and install. We used 1/2" brad nails and nailed into the wood struts that were installed in step 1. We marked where they were on the wall with painters tape to be sure we weren't sending nails into the fiberglass.

Step 5: Finishing touches. I went over the wall and filled all the nail holes with spackle and then sanded to a nice clean finish. Then, step back and enjoy your handy work!
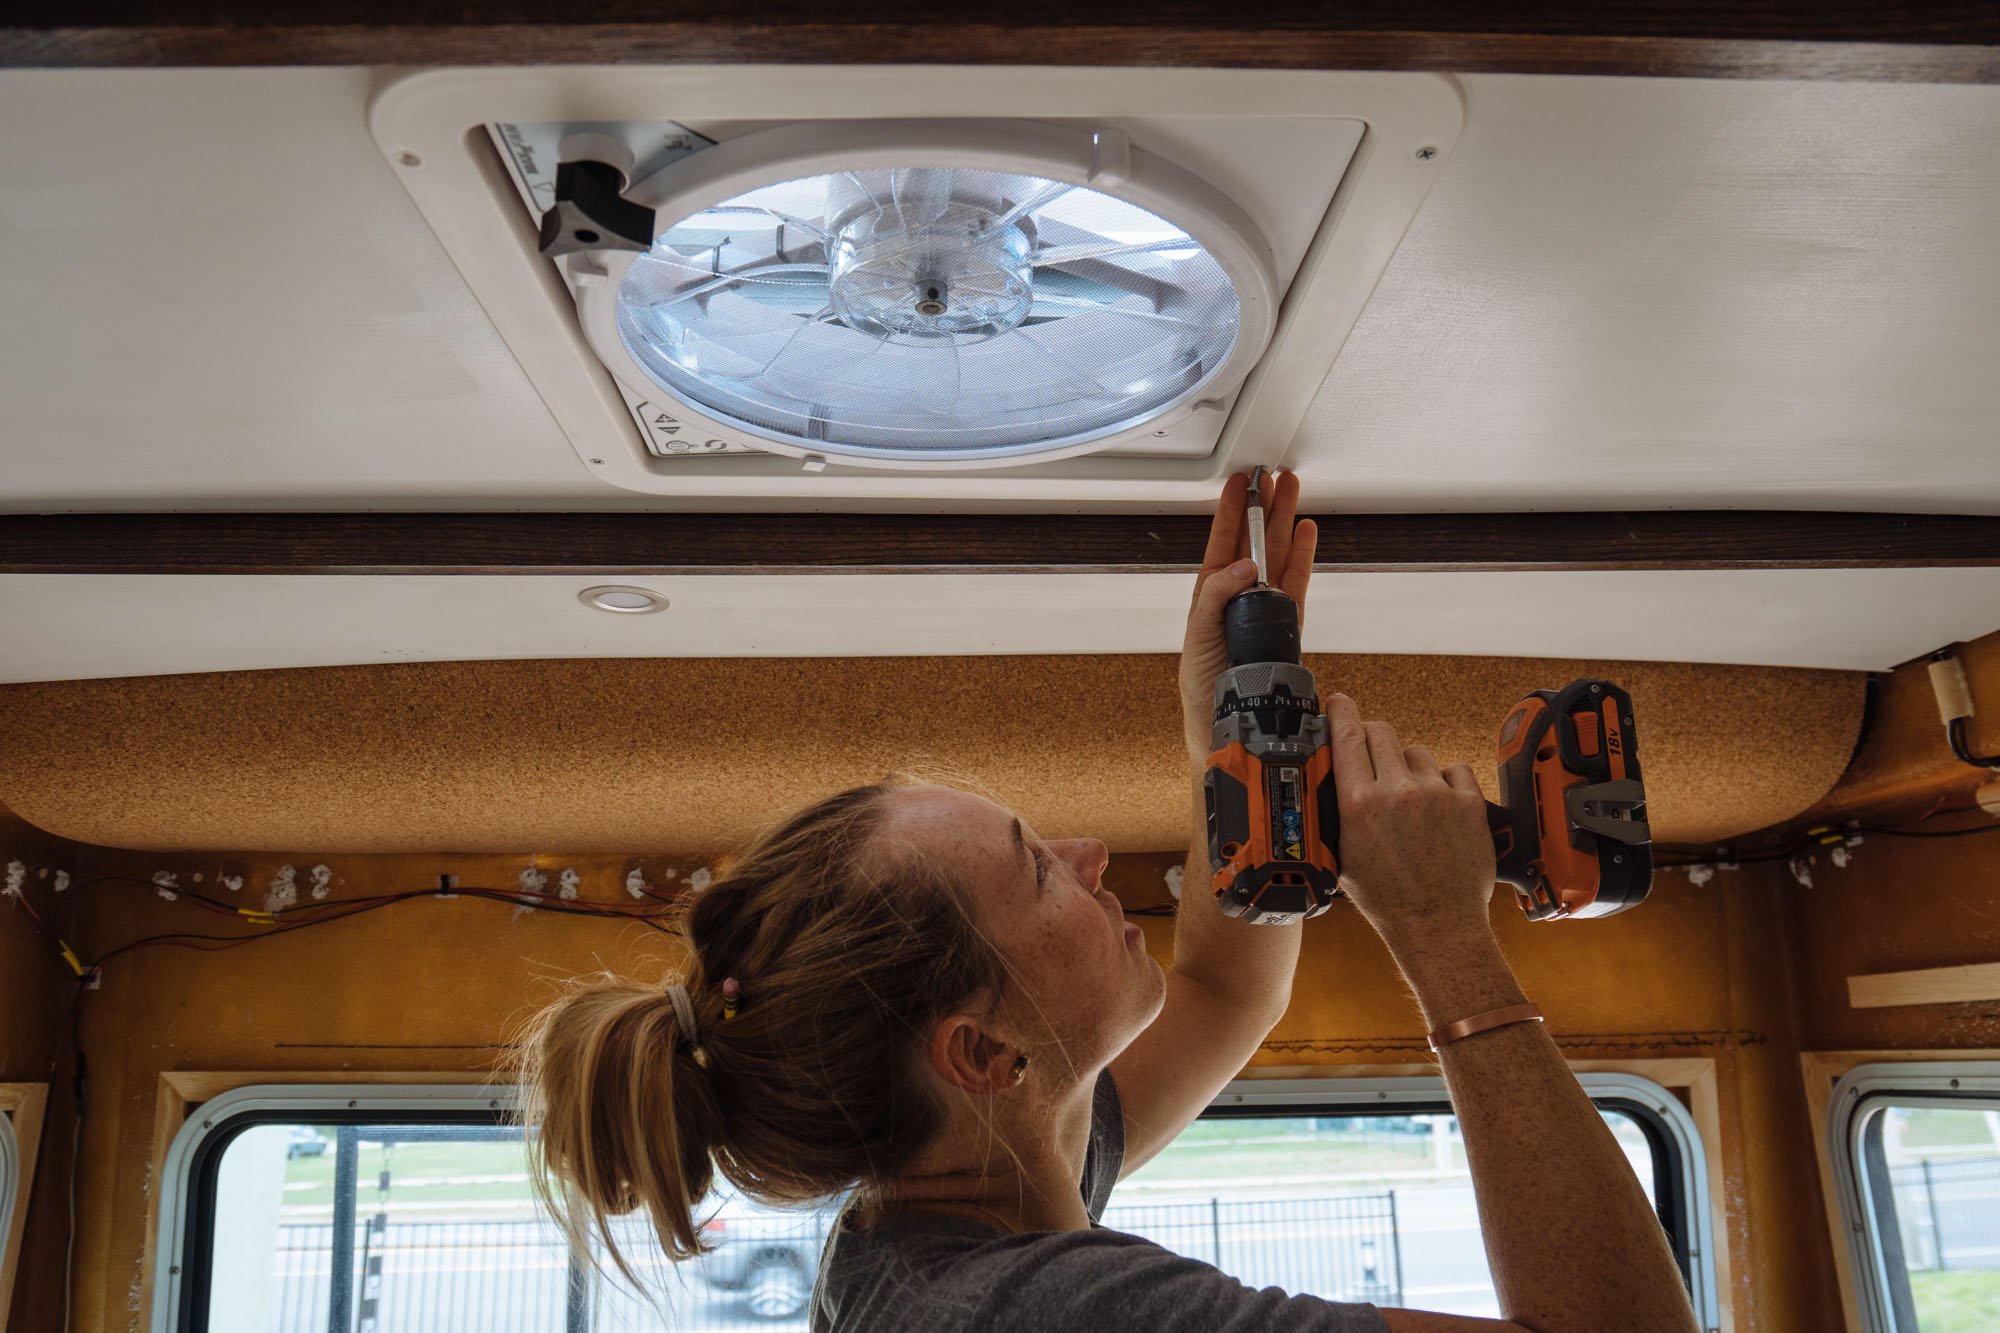

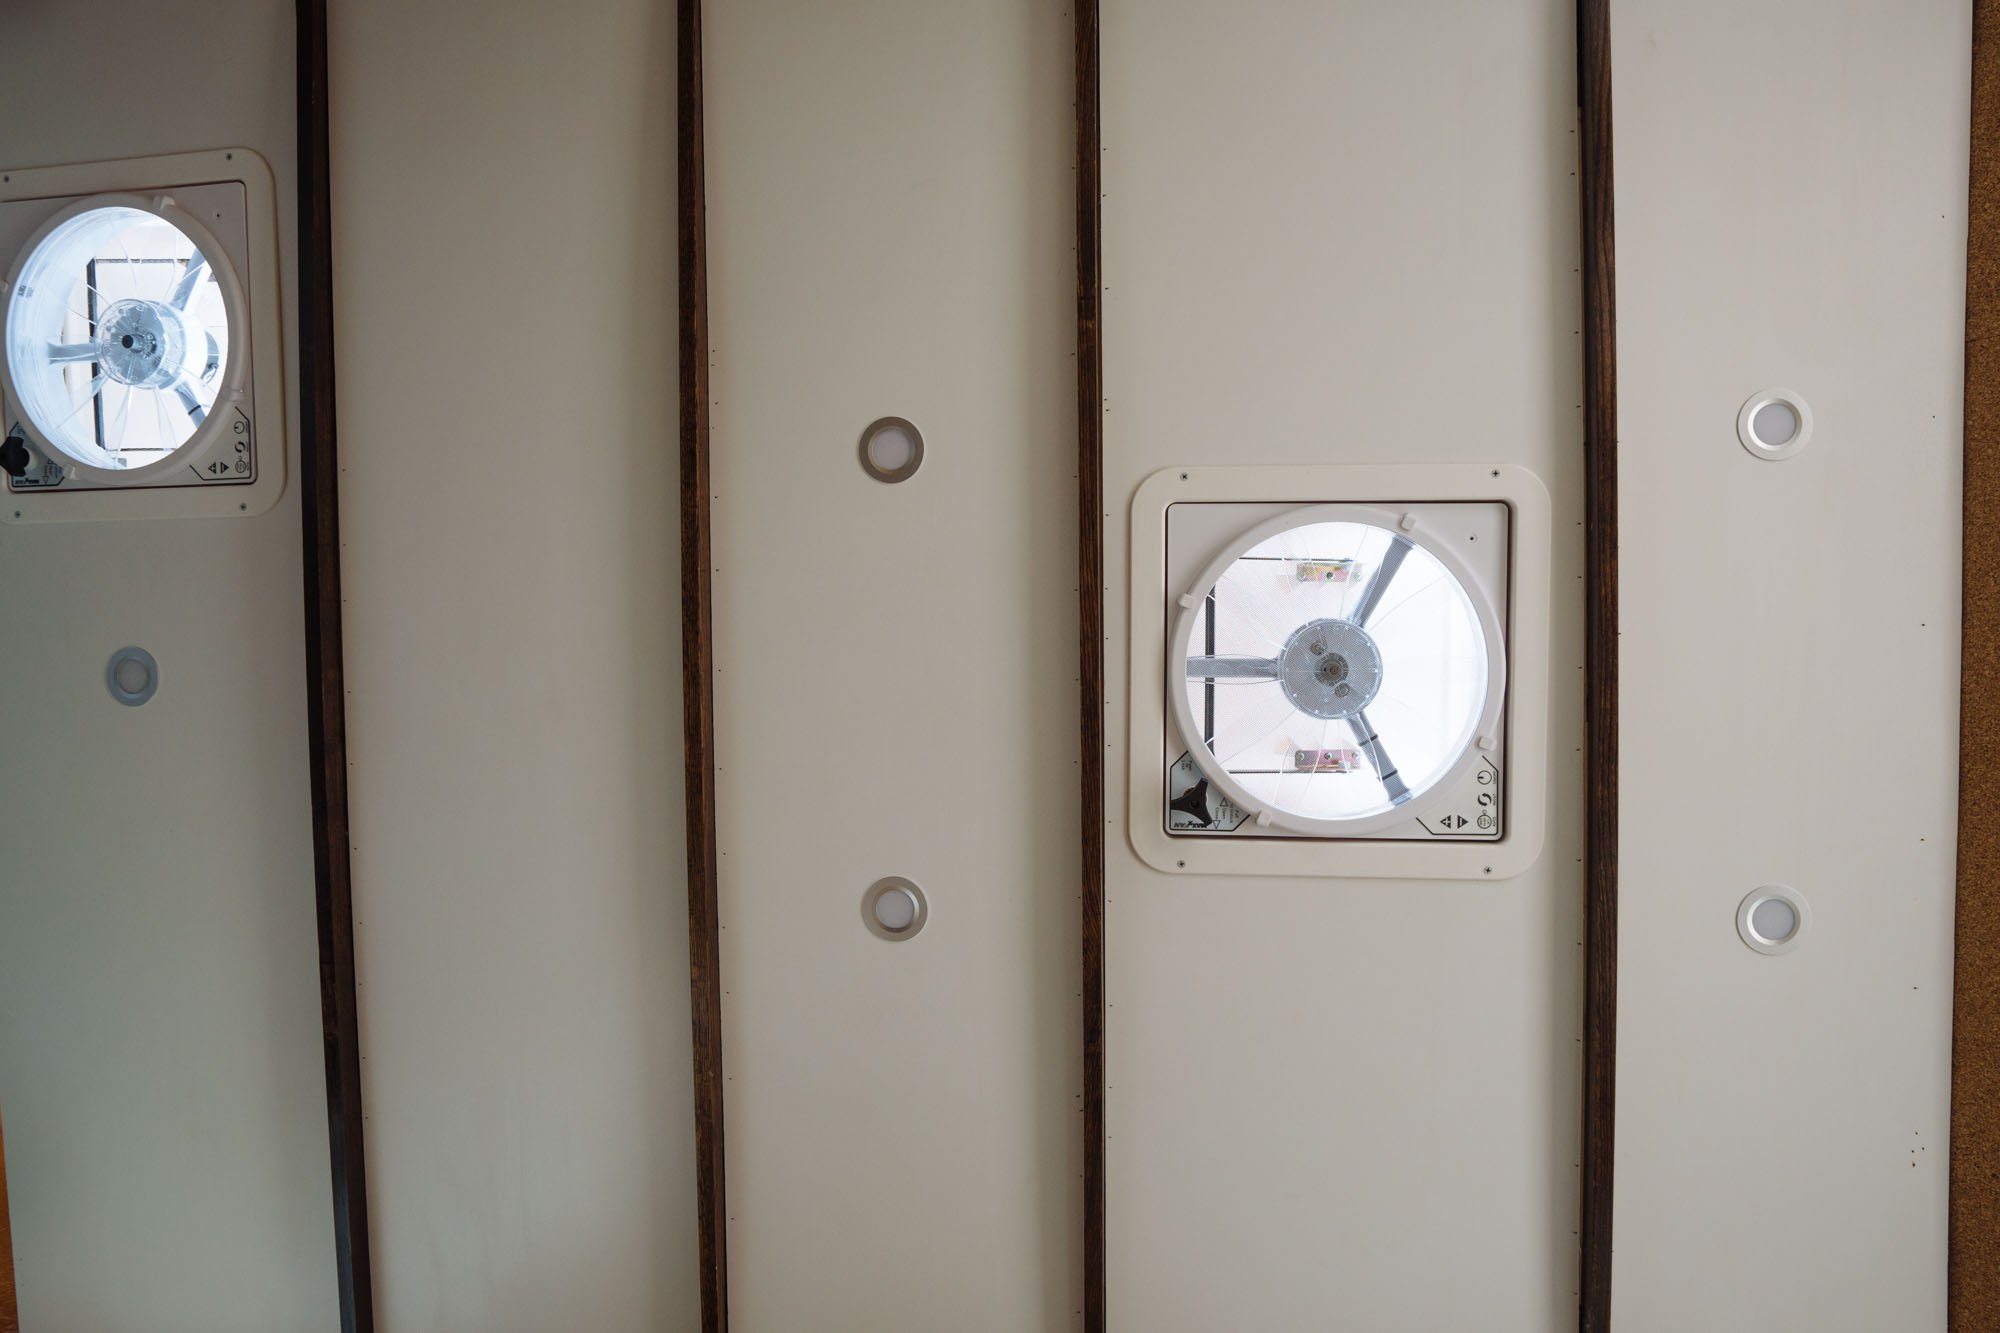
While we're on the subject of walls, this week we cut our sky vent trim pieces down to size and got them installed. Now the ceiling is just waiting for the top cabinets to go in!

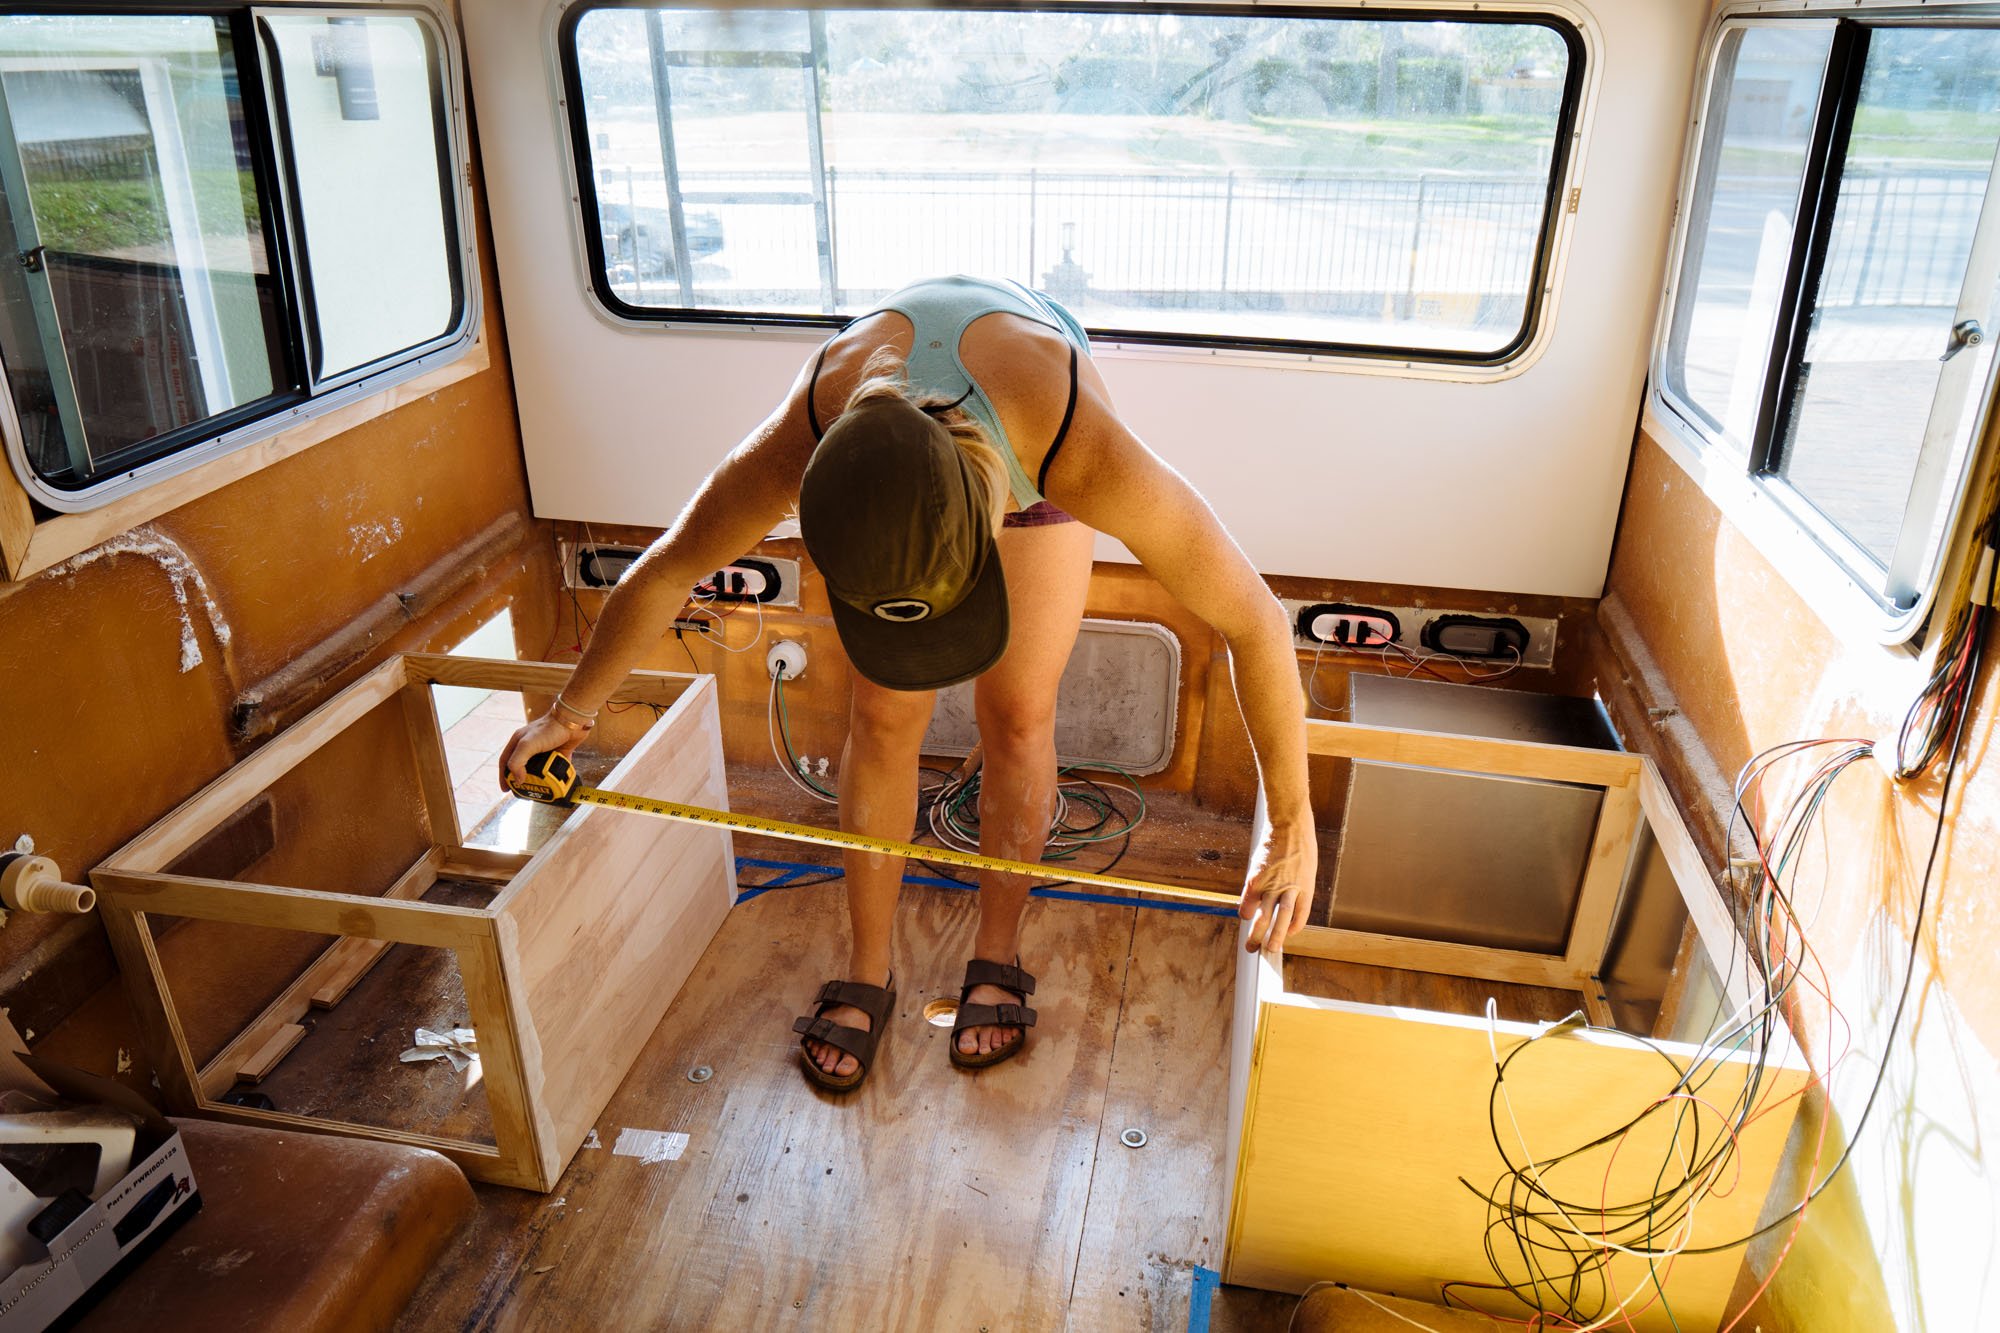
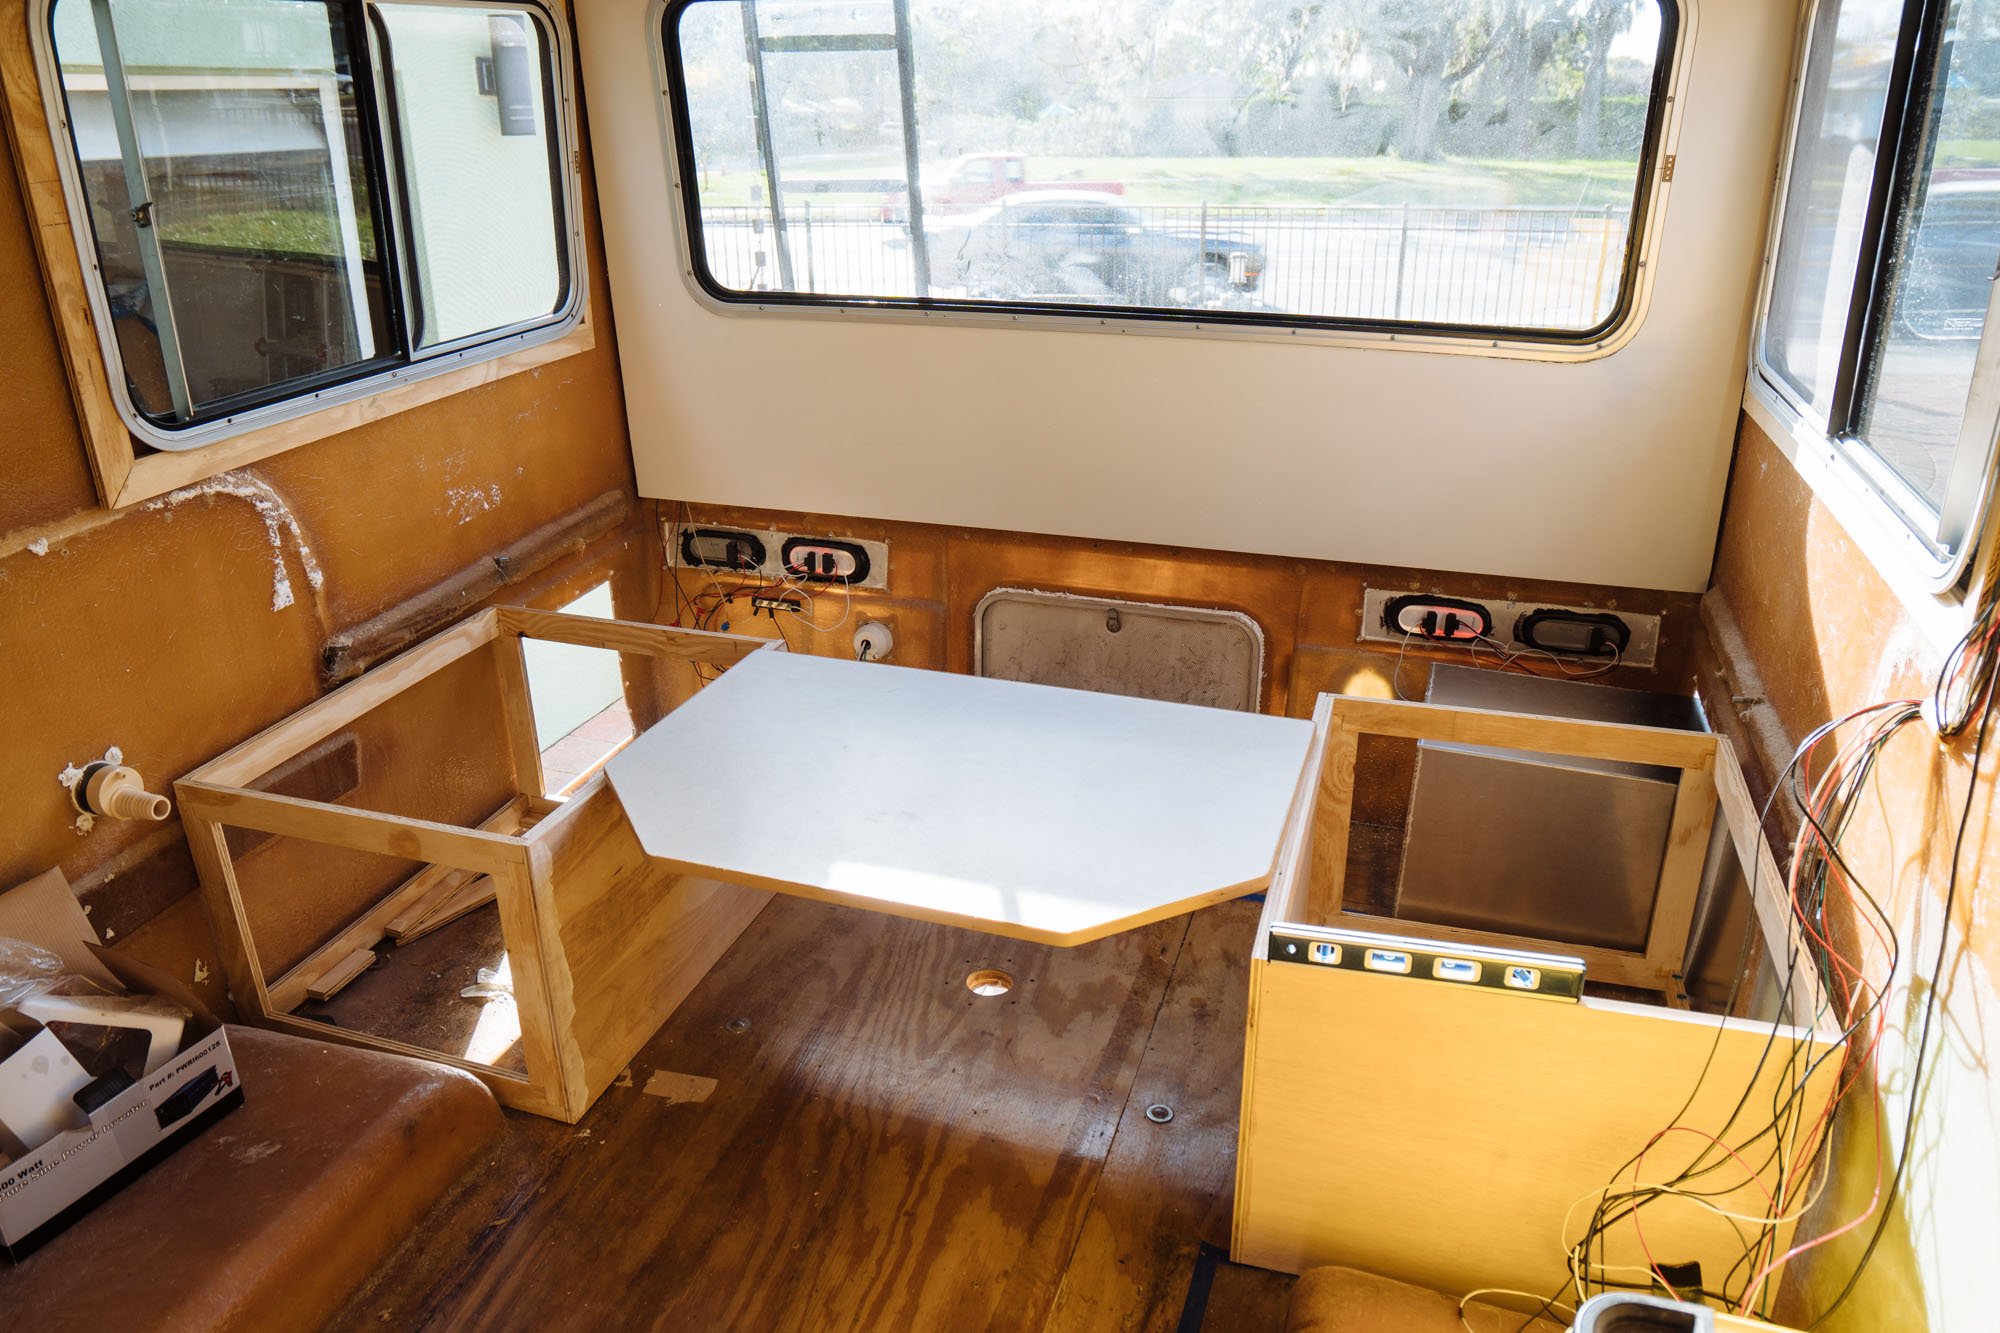
After our back wall went in Owen, my dad, and myself sat on the floor in Amelia and had a long "meeting of the minds". It was really just a long conversation on strategy, what was left to do, and what order we plan on tackling it in. At the conclusion of our meeting we decided that we're going to build Amelia from the back wall forward. The reason we decided to take on the interior in this order is because we're using the original back bench cushions, which are being reupholstered at this very moment. Those cushions are our known measurements that we need to make work, then everything else will get built around them. Seems weird that cushions are such a driving force, but we needed to start somewhere, so we might as well start where there are some specific numbers to work with.
So lets make some bench seats shall we?!
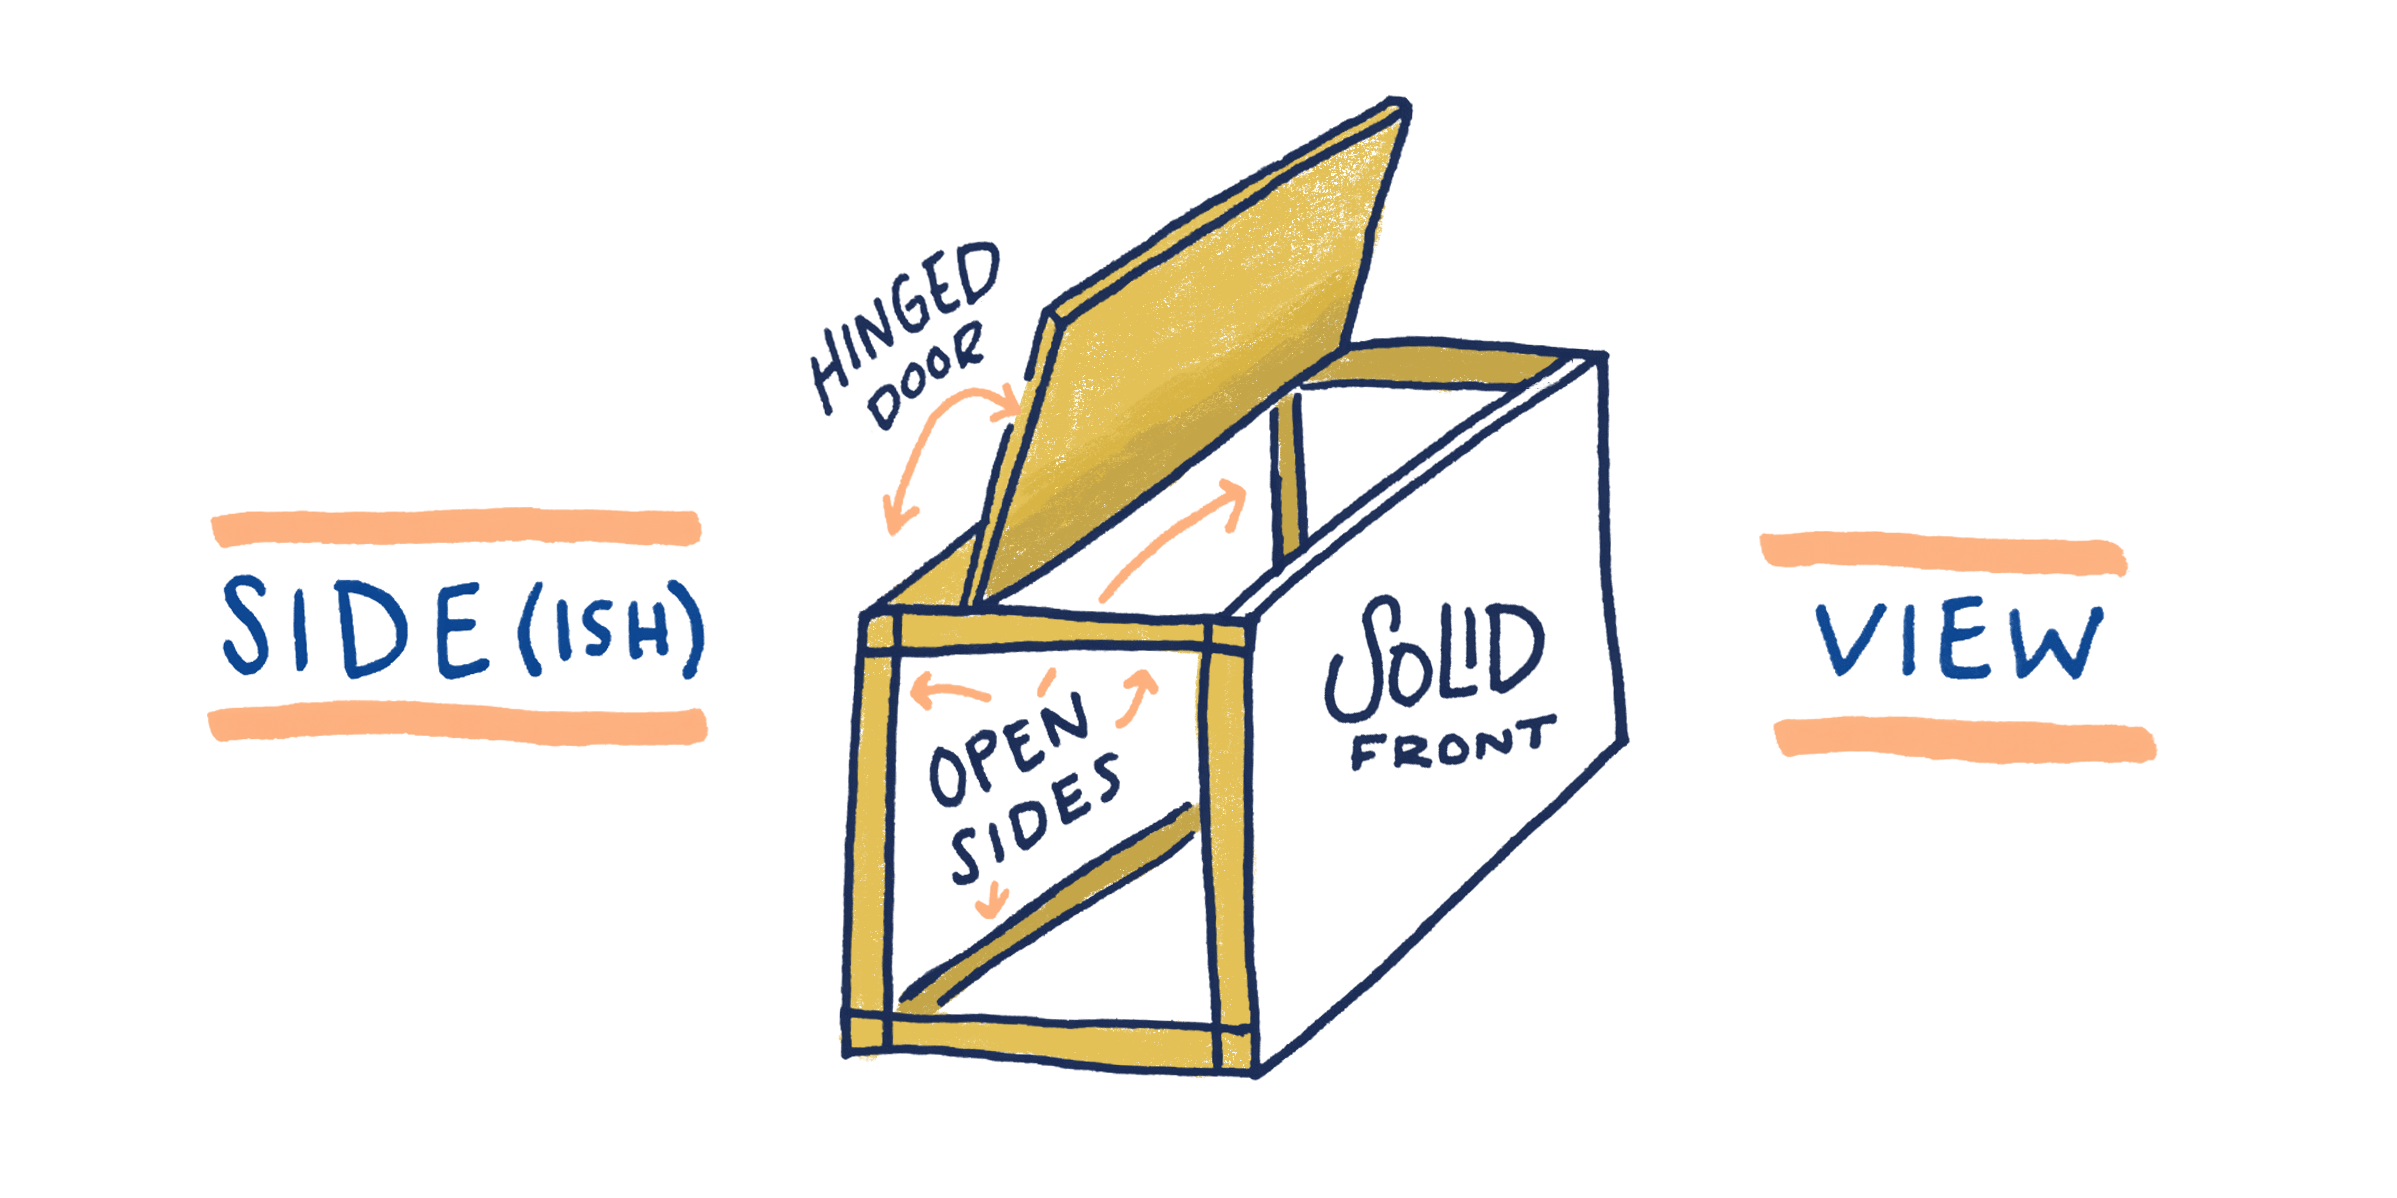
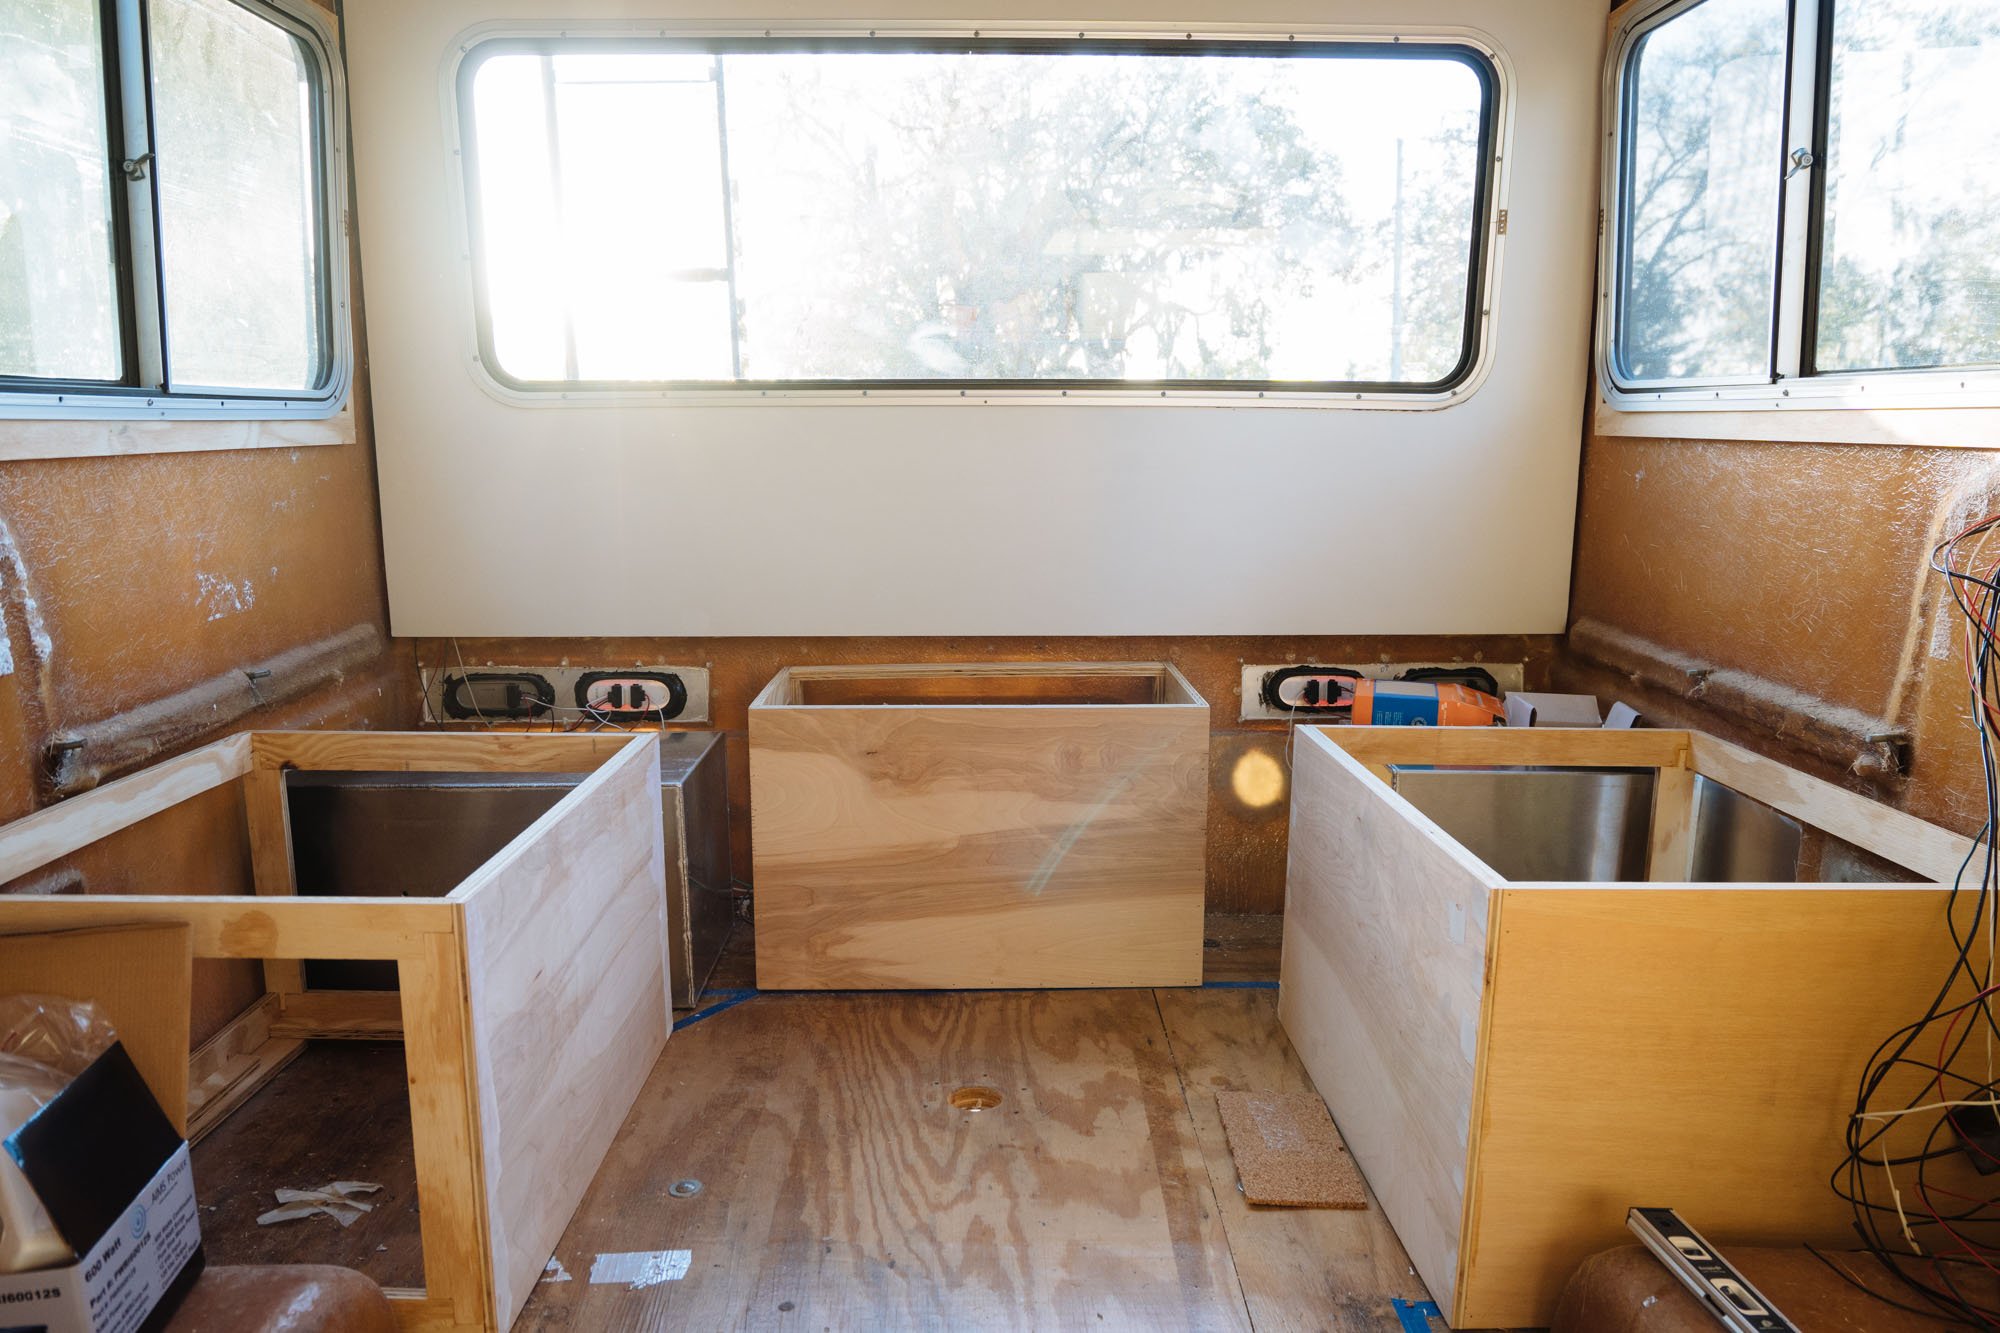
Our original bench seat might have been the most poorly made thing in the entire rig. When we started taking it apart we were completely amazed that it had managed to not collapse in any of it's 33 years on the road! We're taking things in a different direction this time around, so allow me to explain. I made the above illustrations to help depict our plan. We're making our bench out of three separate pieces as labeled in the "top view" illustration. These thee pieces will sit between the boxes that we had fabricated. Each of the bench seat boxes will house something specific such as the water tank, our electrical system, and our "Garage". The garage is a compartment that is accessible from the outside. We plan to keep our tools, levelers, hose, and other fun things like that. The tops of these three boxes will have a top hatch so we can access anything under the bench seat with ease.
In the side(ish) view image you can see that only the outward facing wall of the boxes will be closed. We are planning to leave all other sides open in an effort to save on weight of the finished bench seats. We also plan to cap the areas over the two aluminum boxes once the bench is installed.

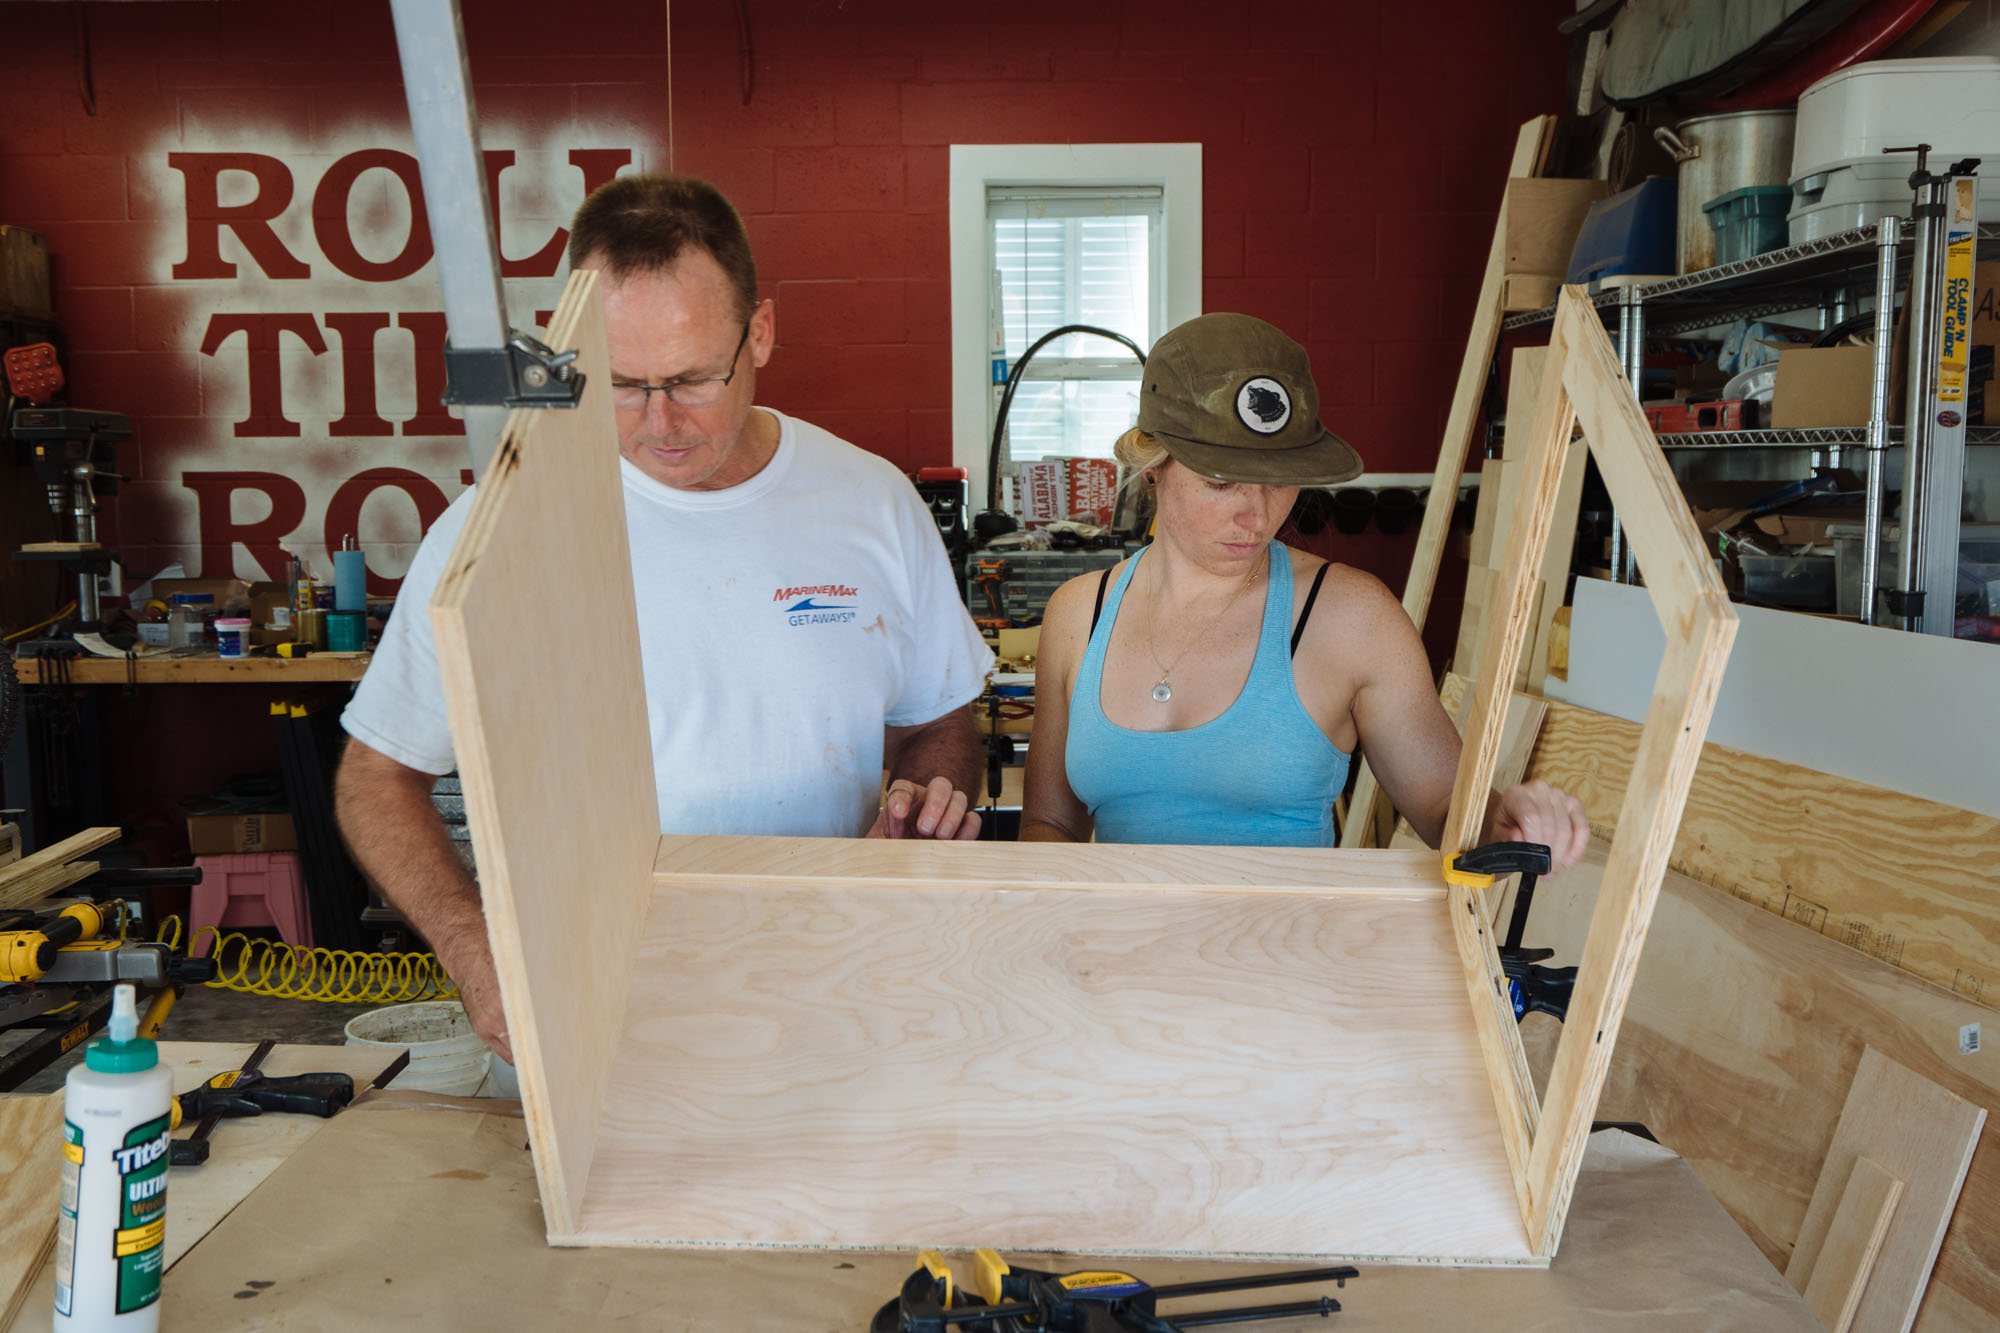
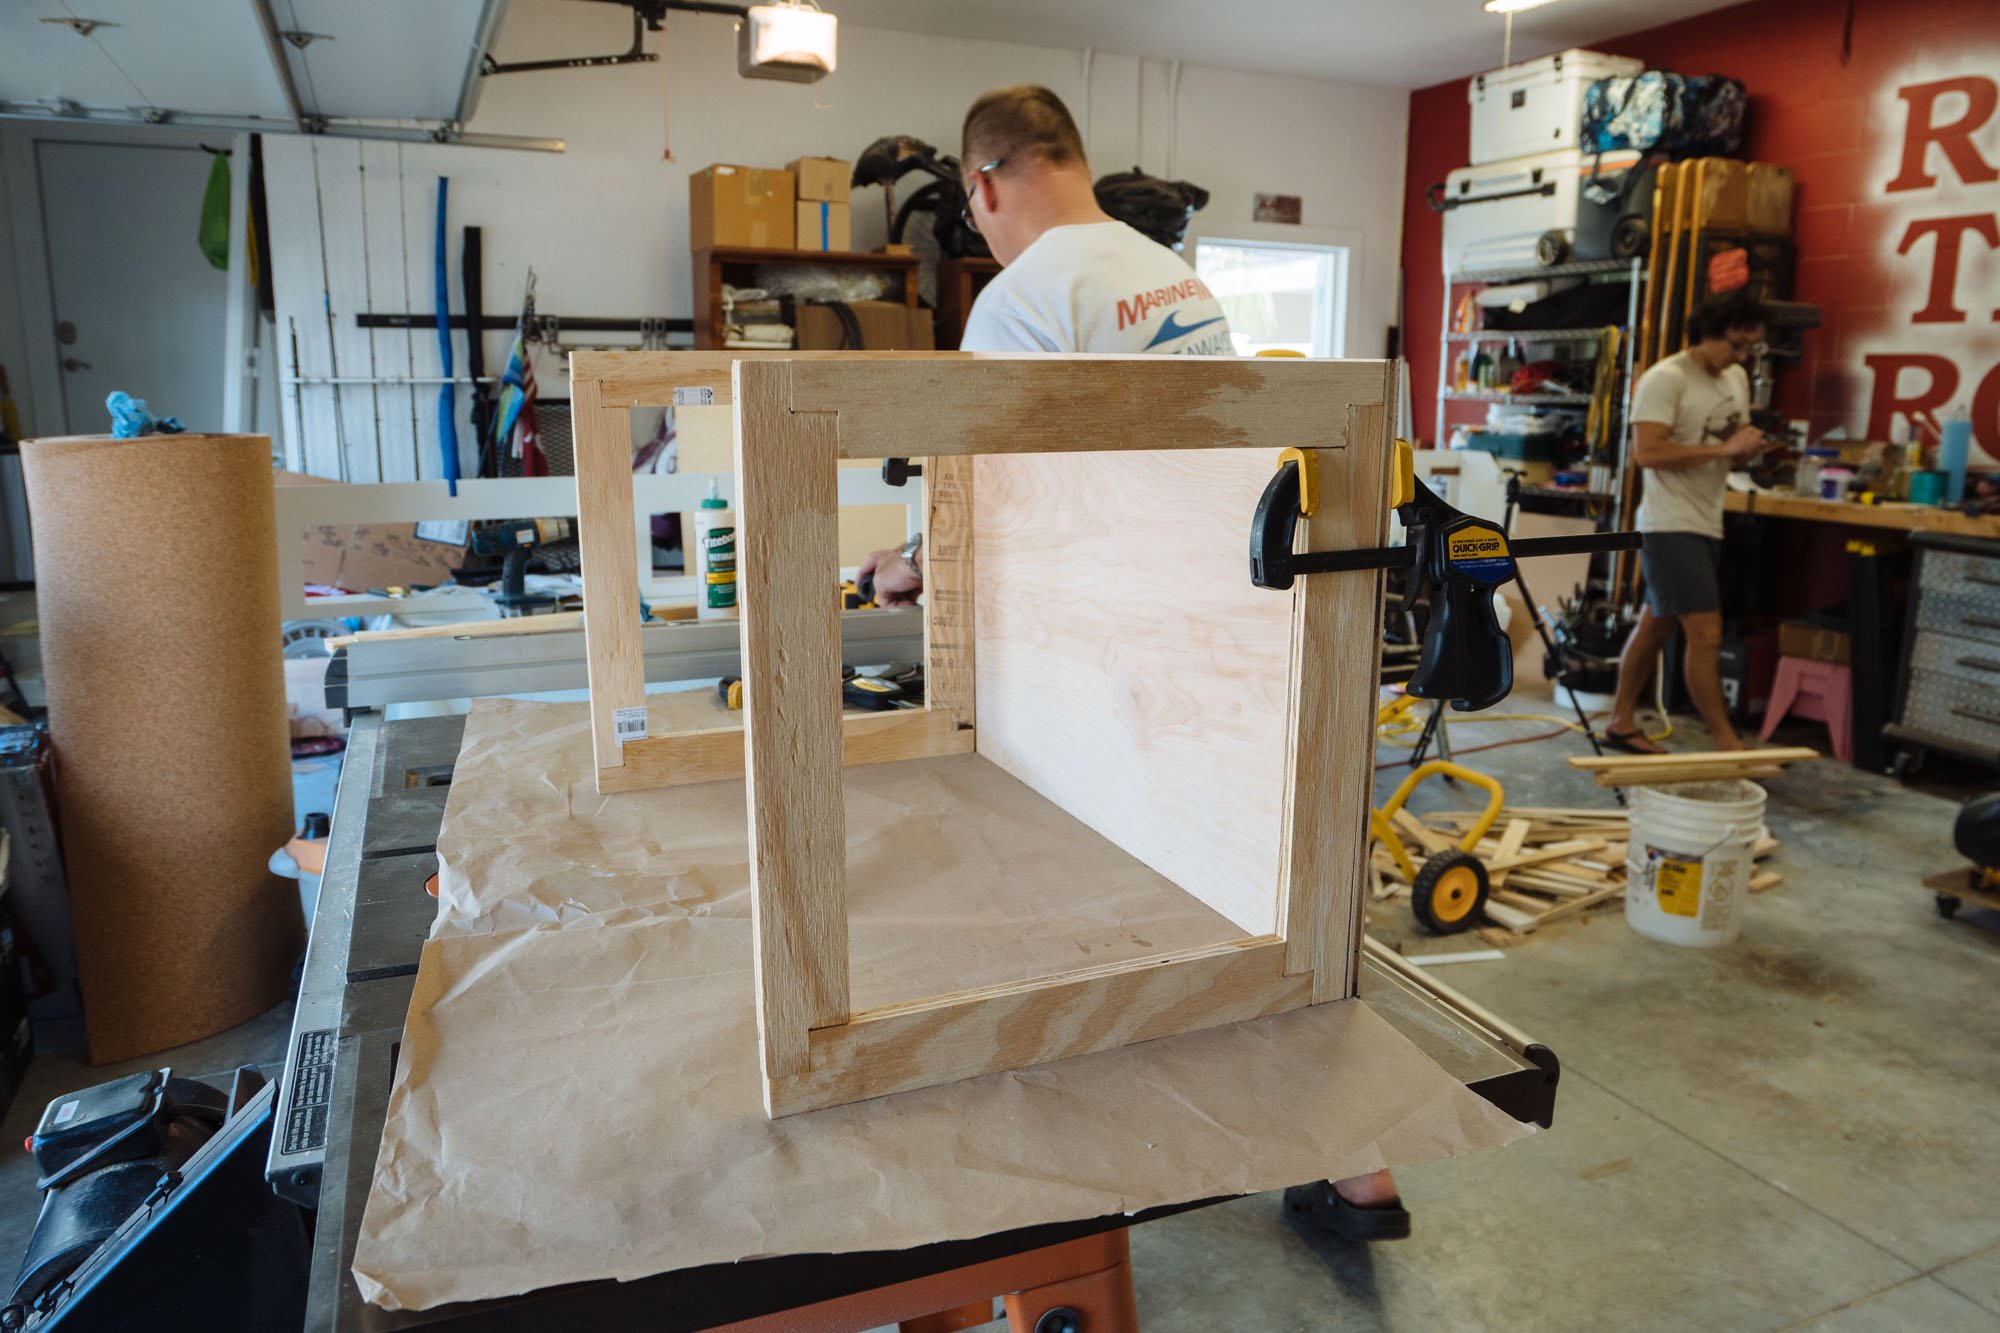
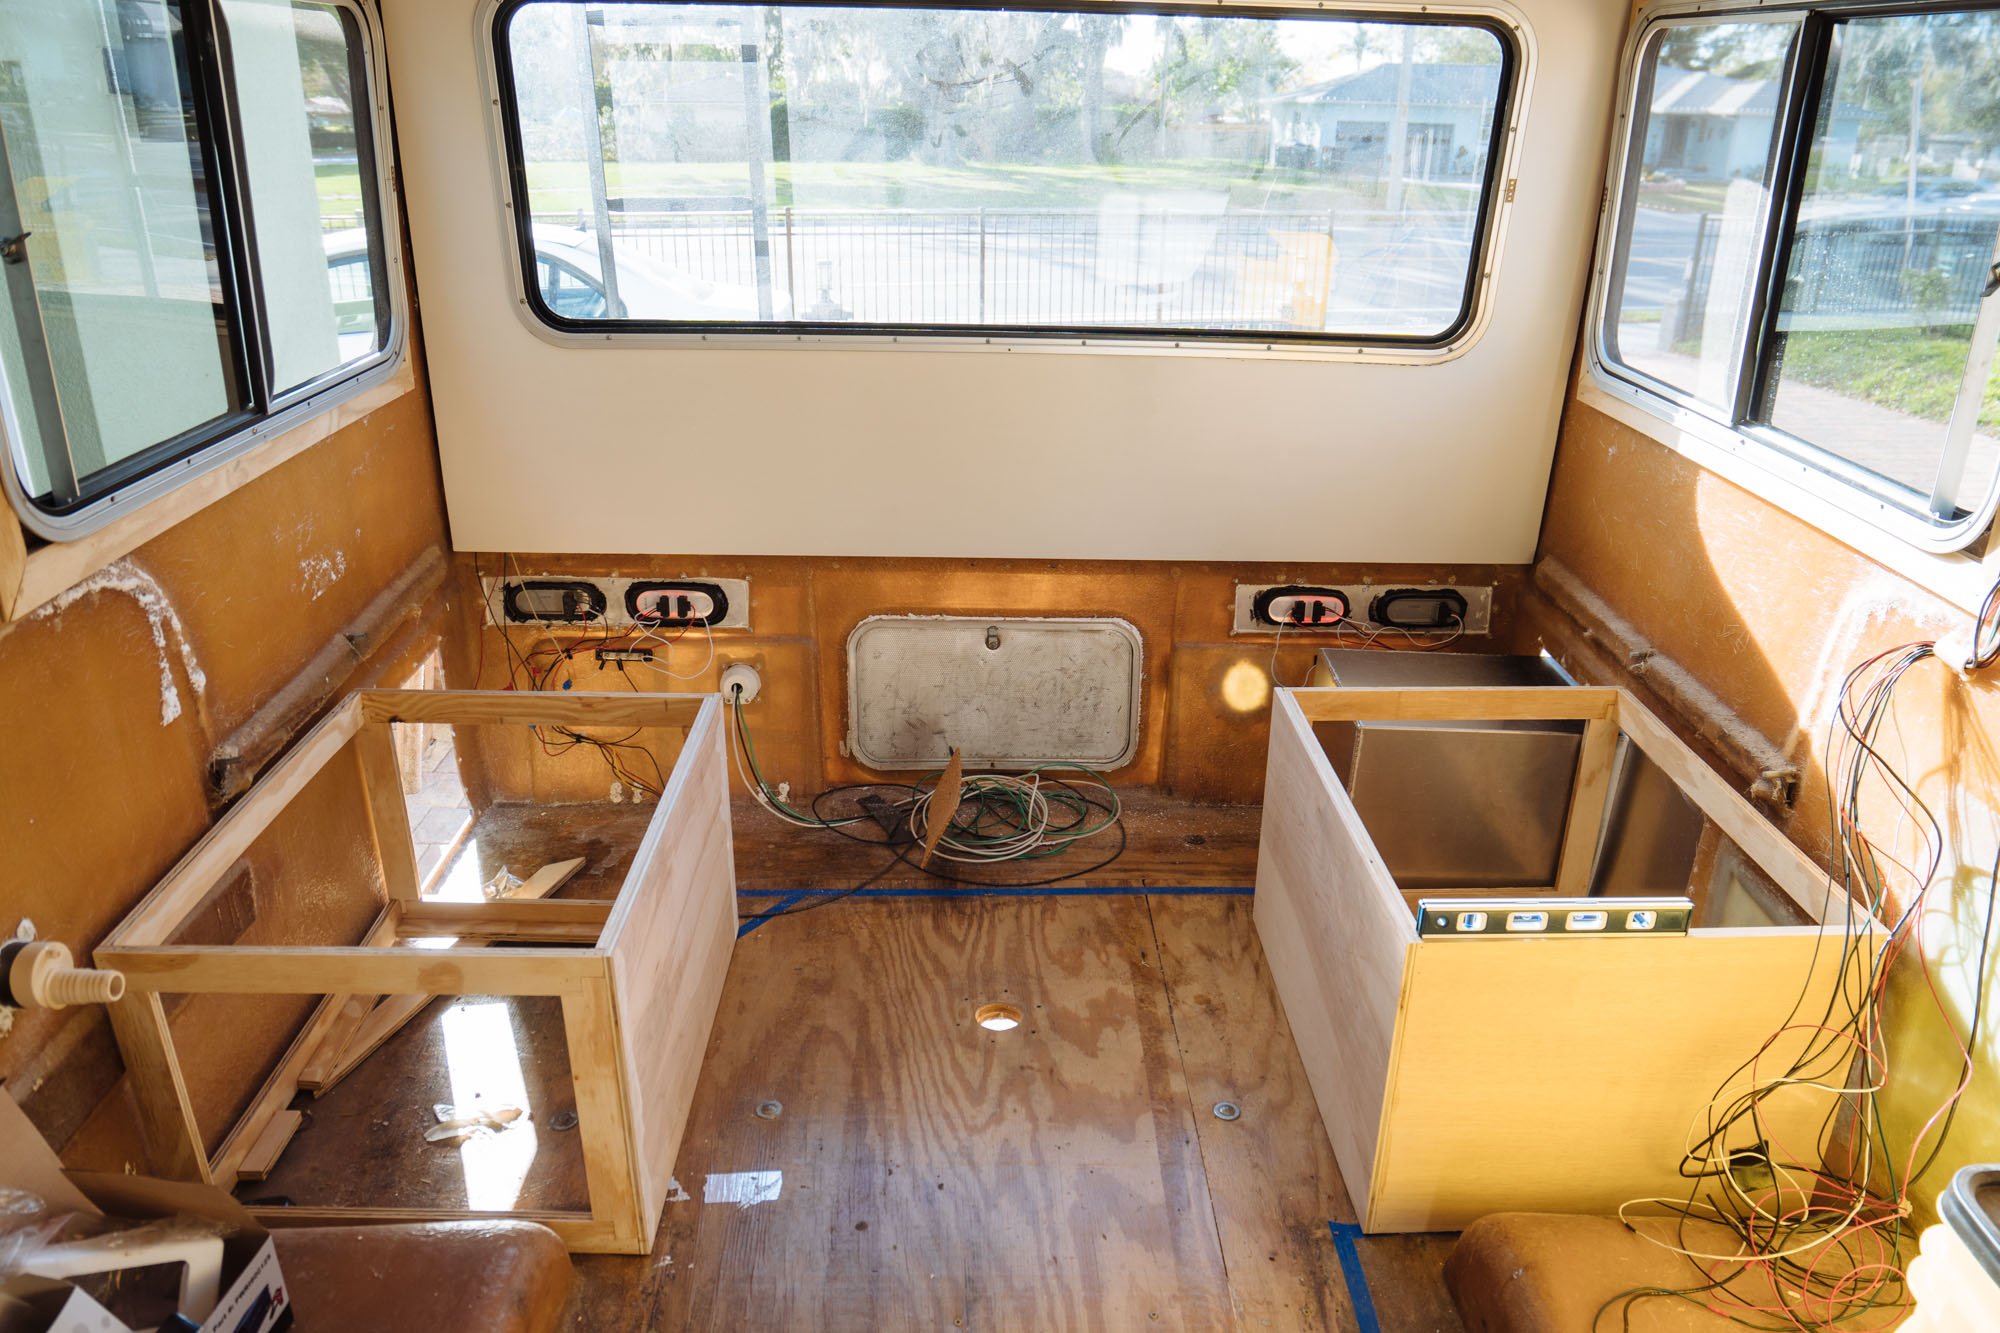
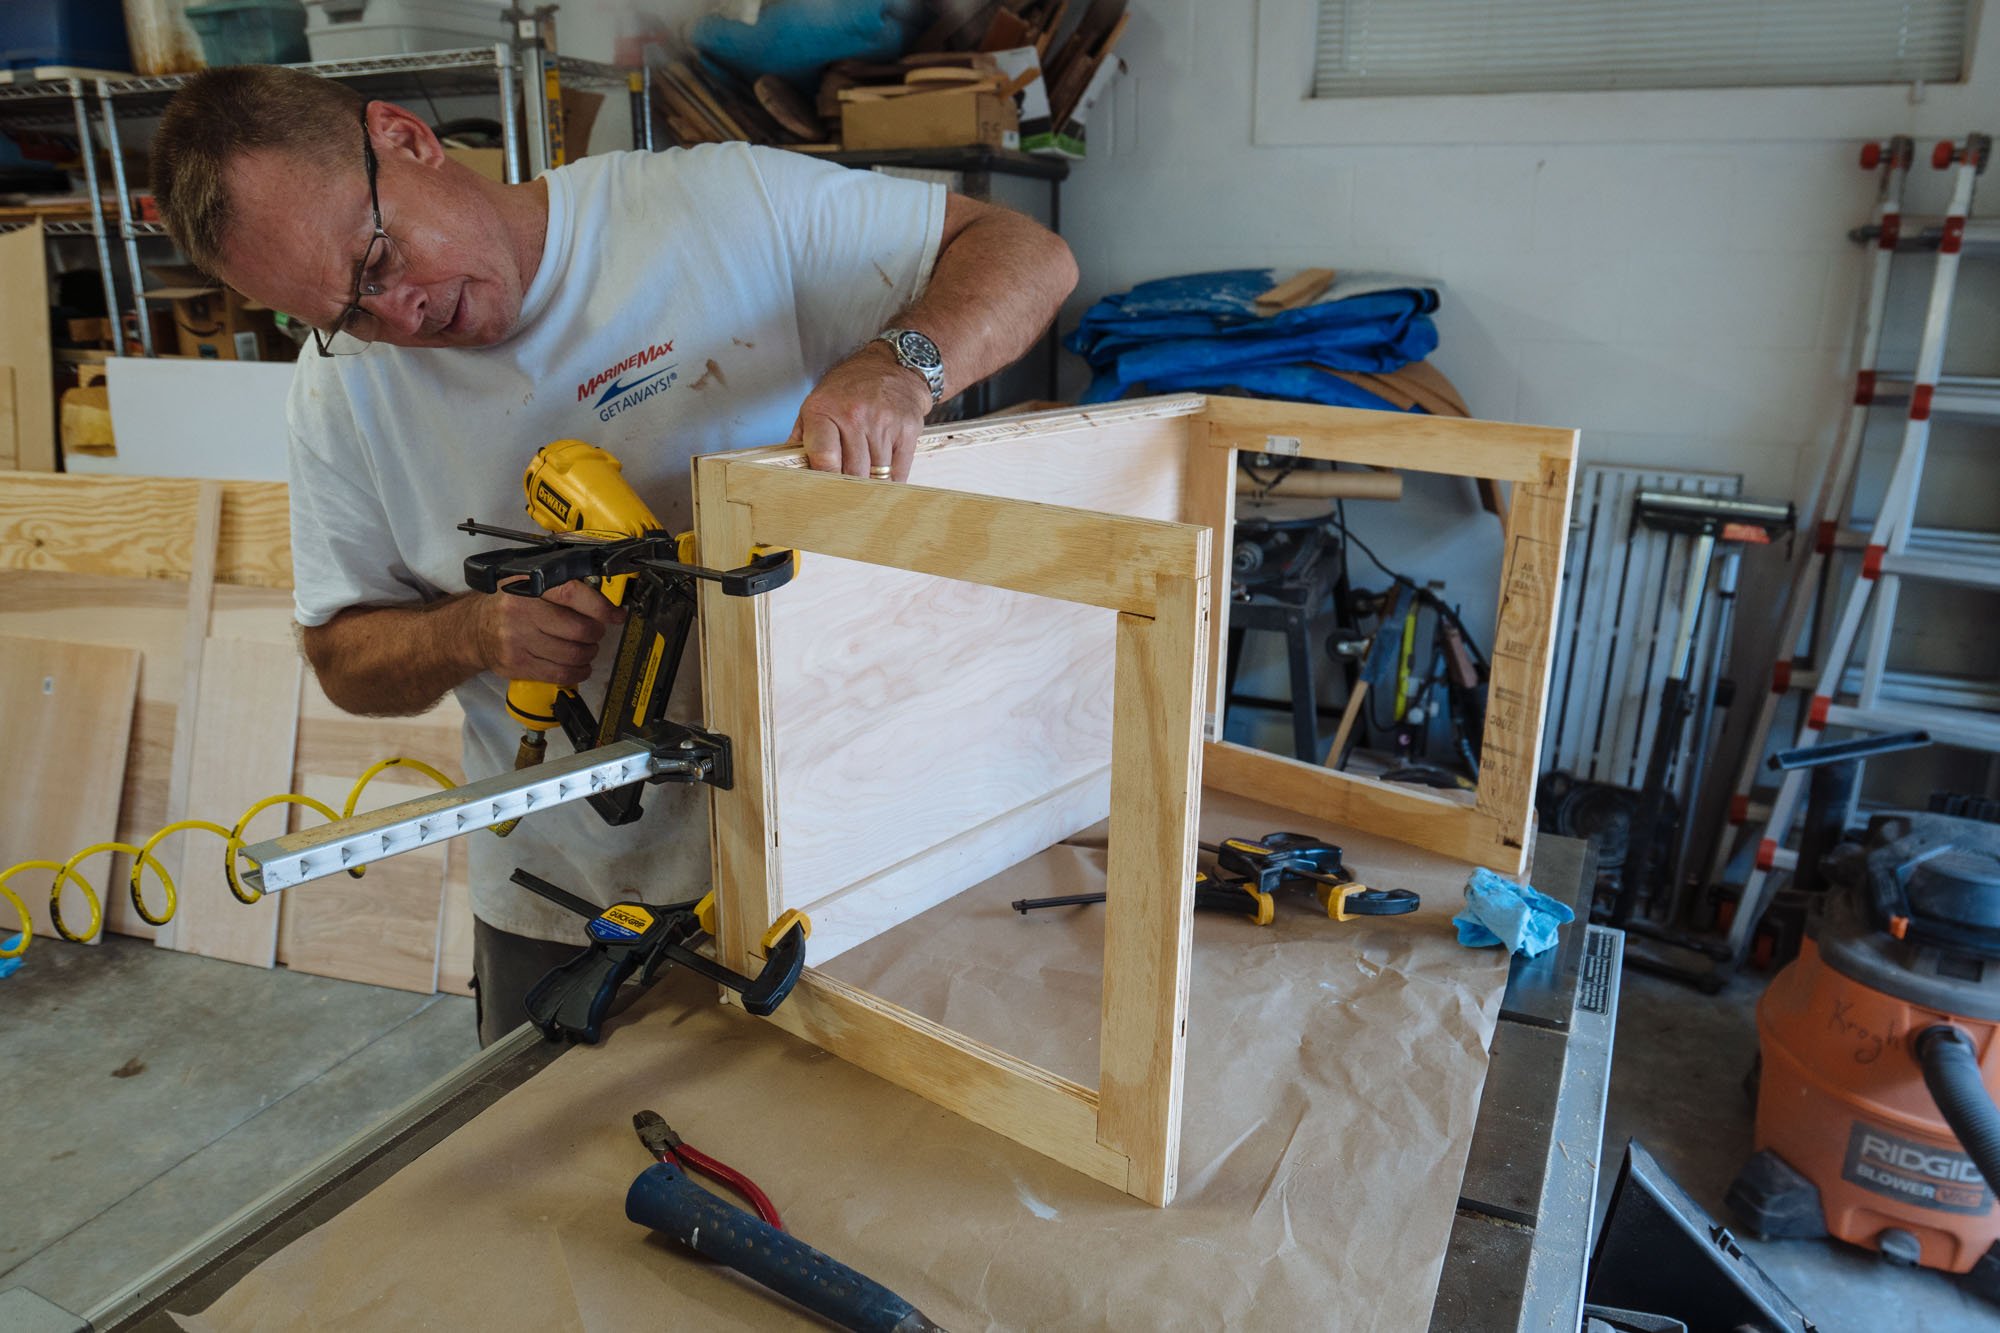
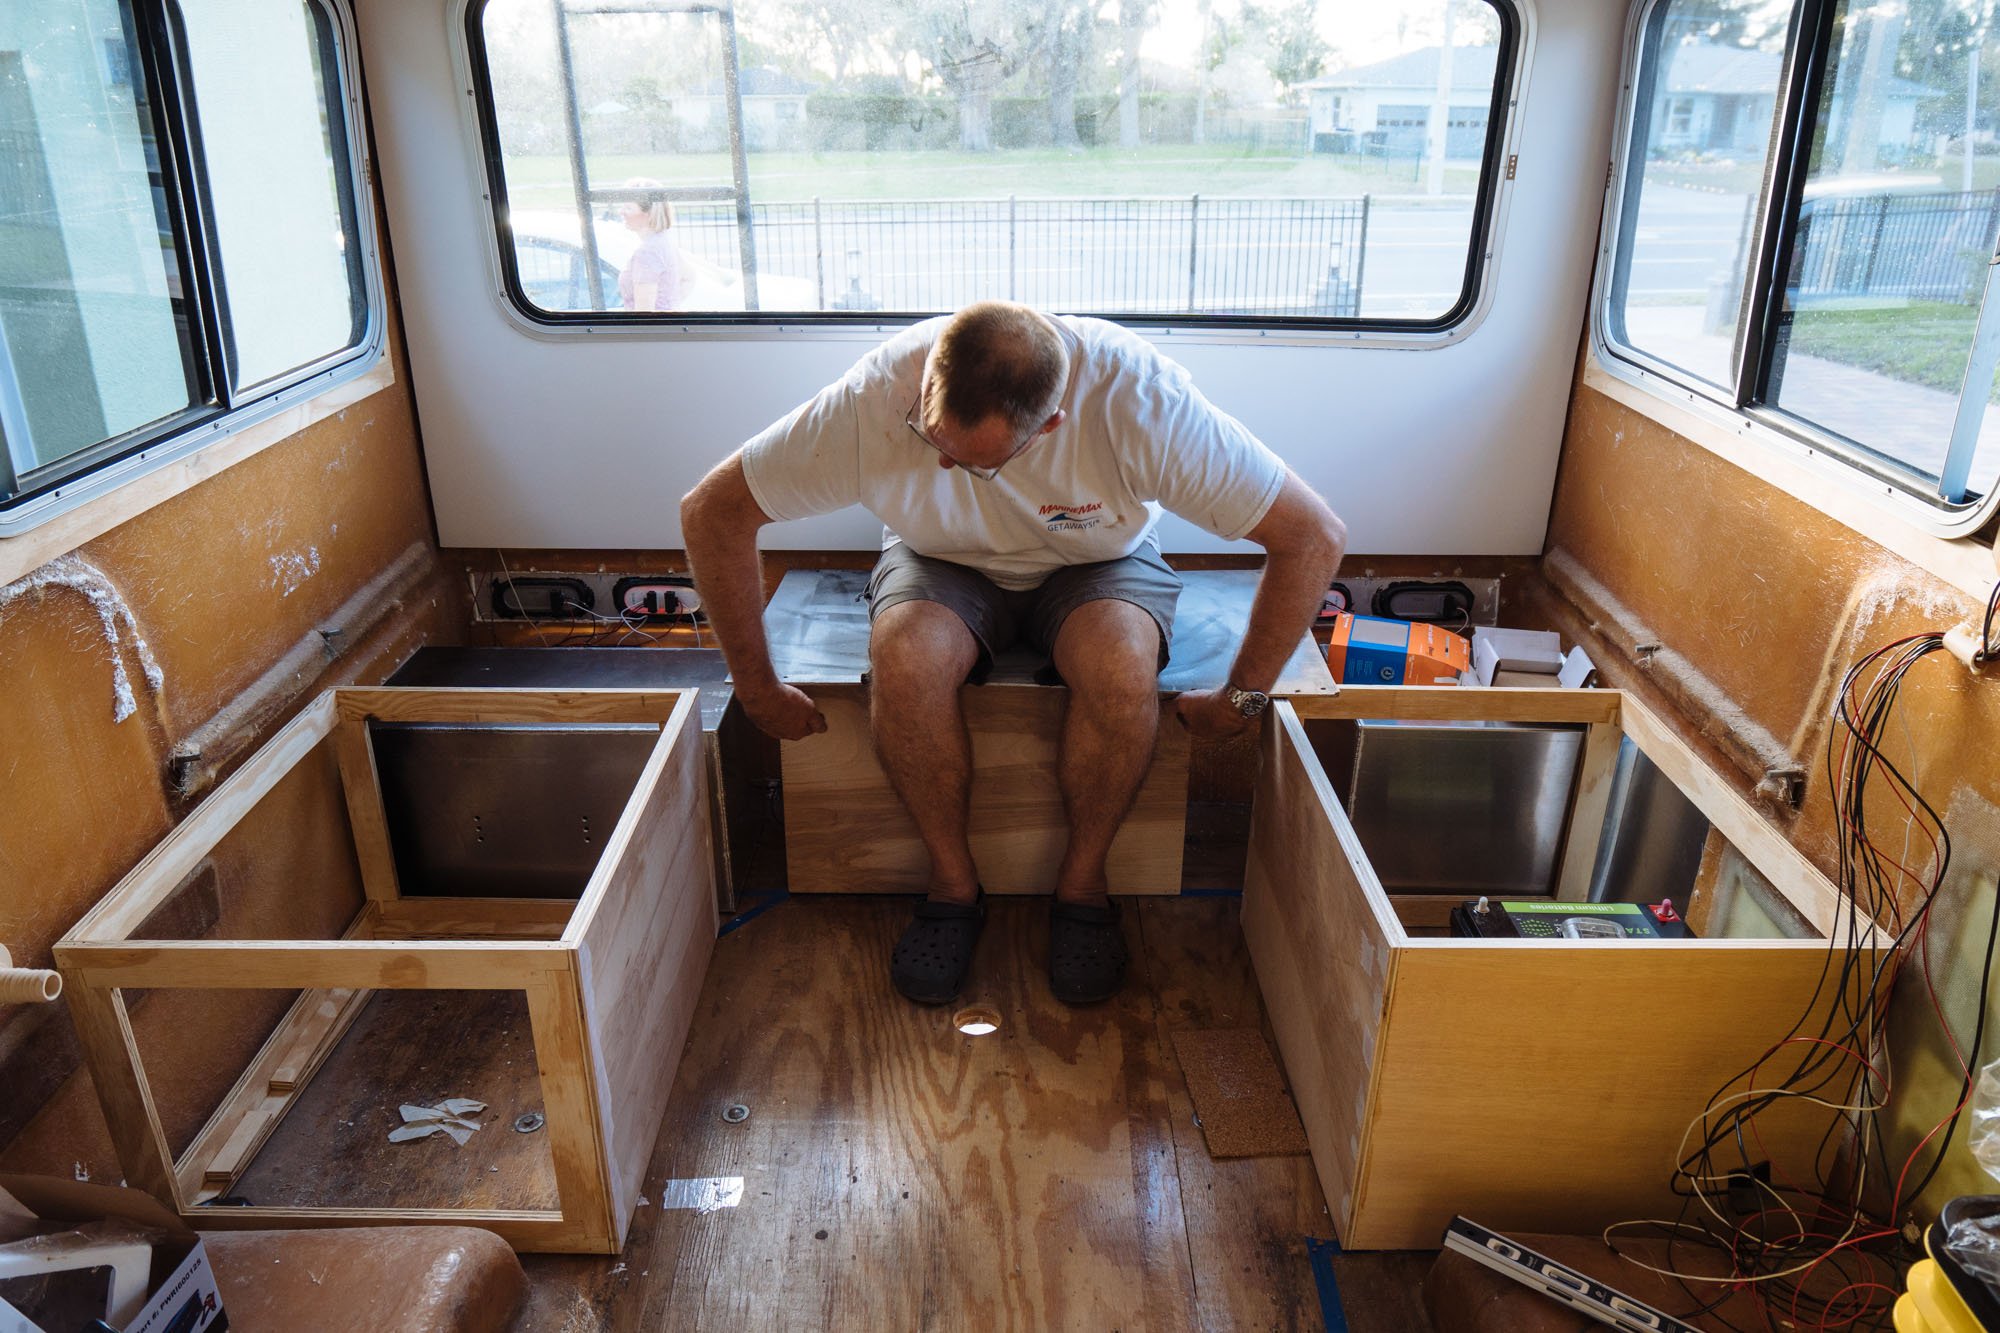
I love the picture of my Dad testing out the back bench seat! In all, it only took a single day of work to make all three of these bench boxes. We wanted to keep construction simple with as little materials used as possible for our weight. The gaps that you can see between the boxes when they are sitting in place will be capped by a 45 degree facade wall.
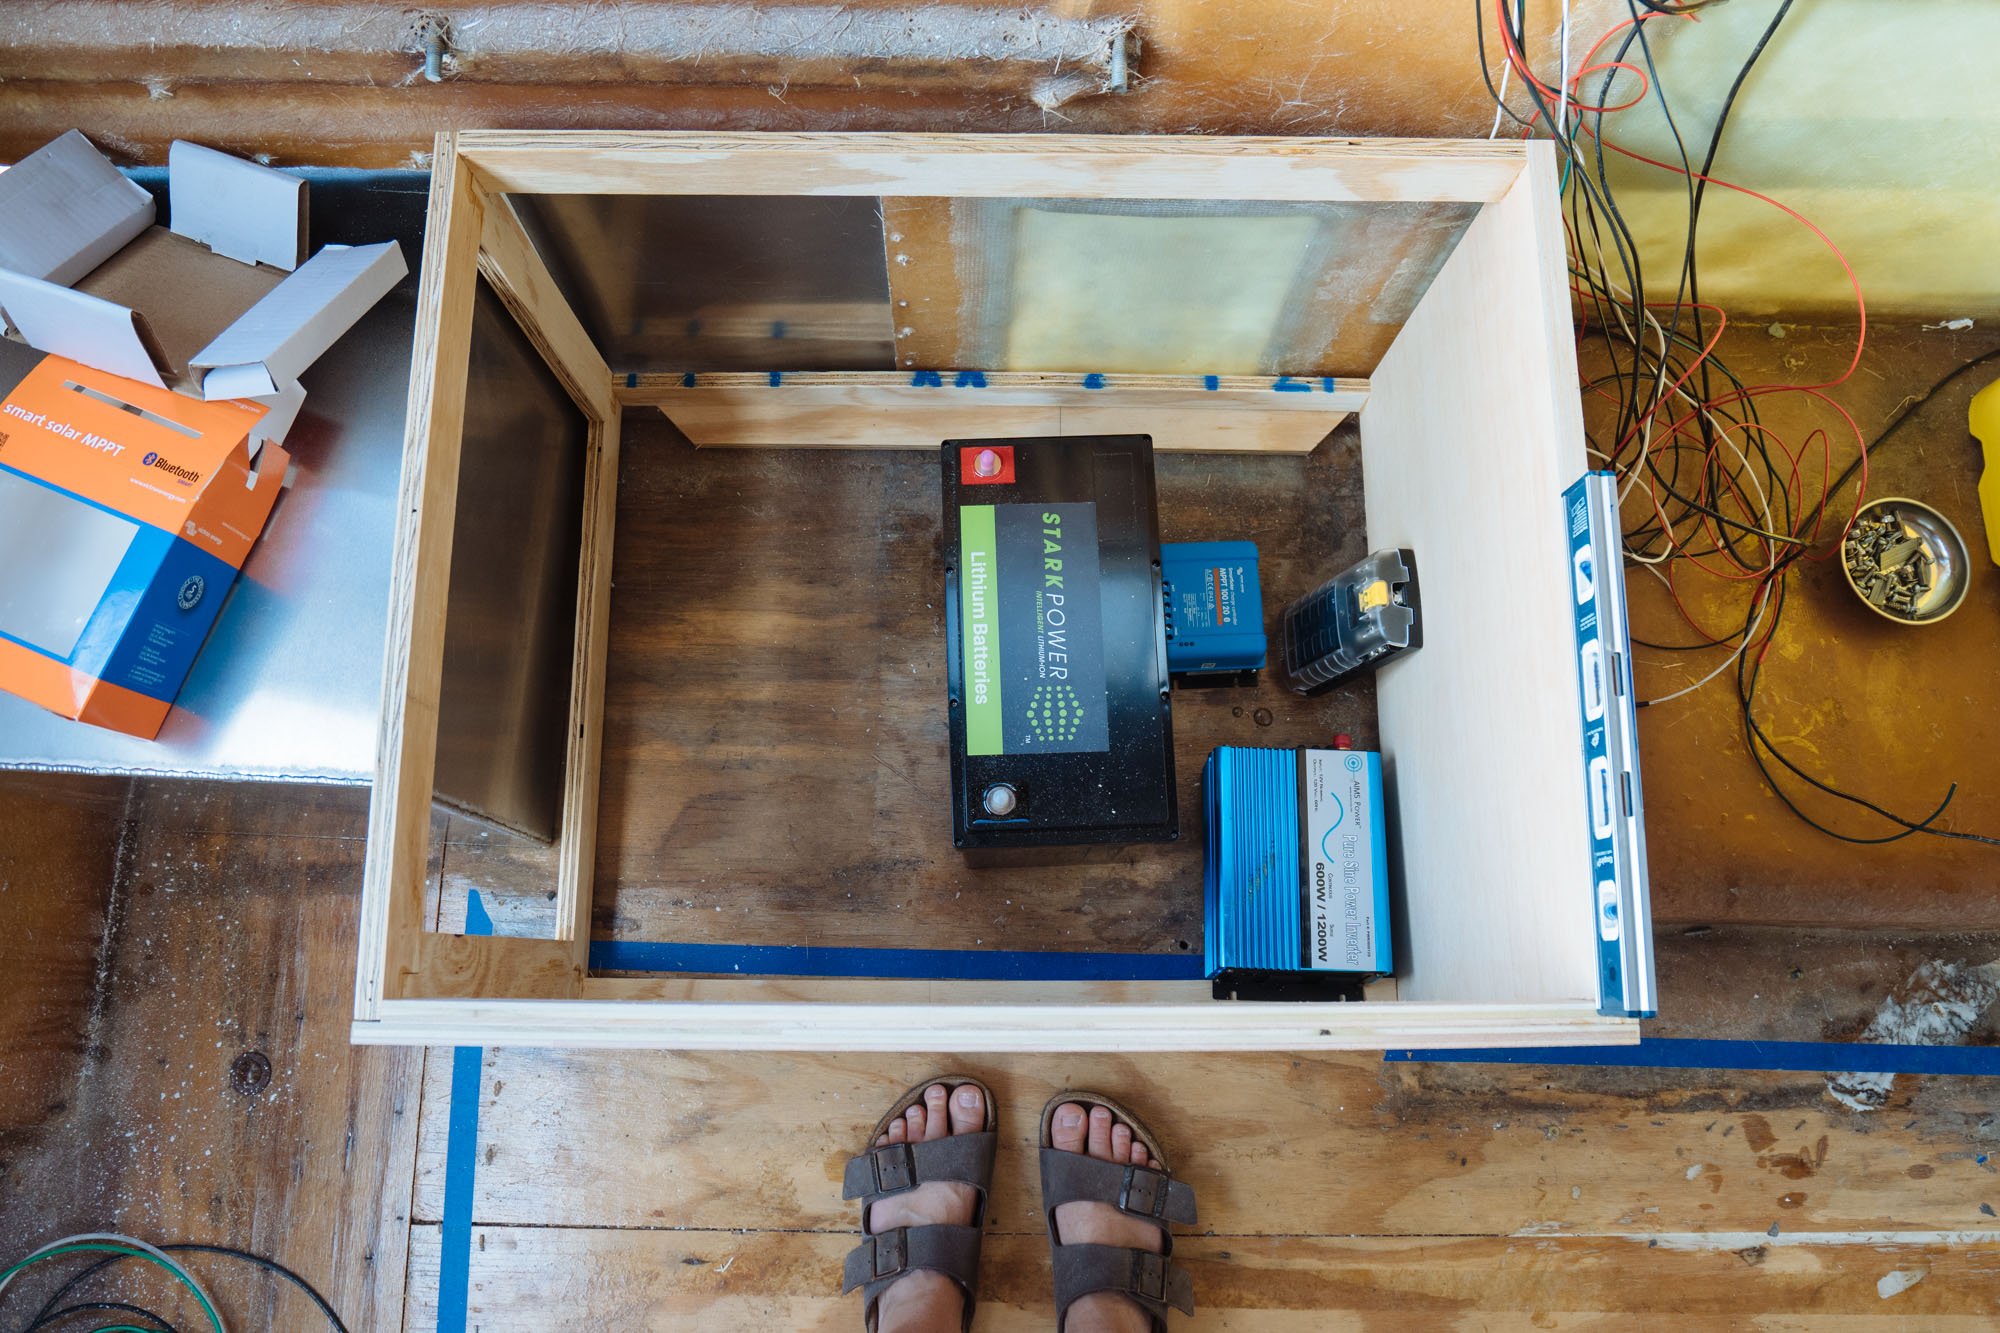
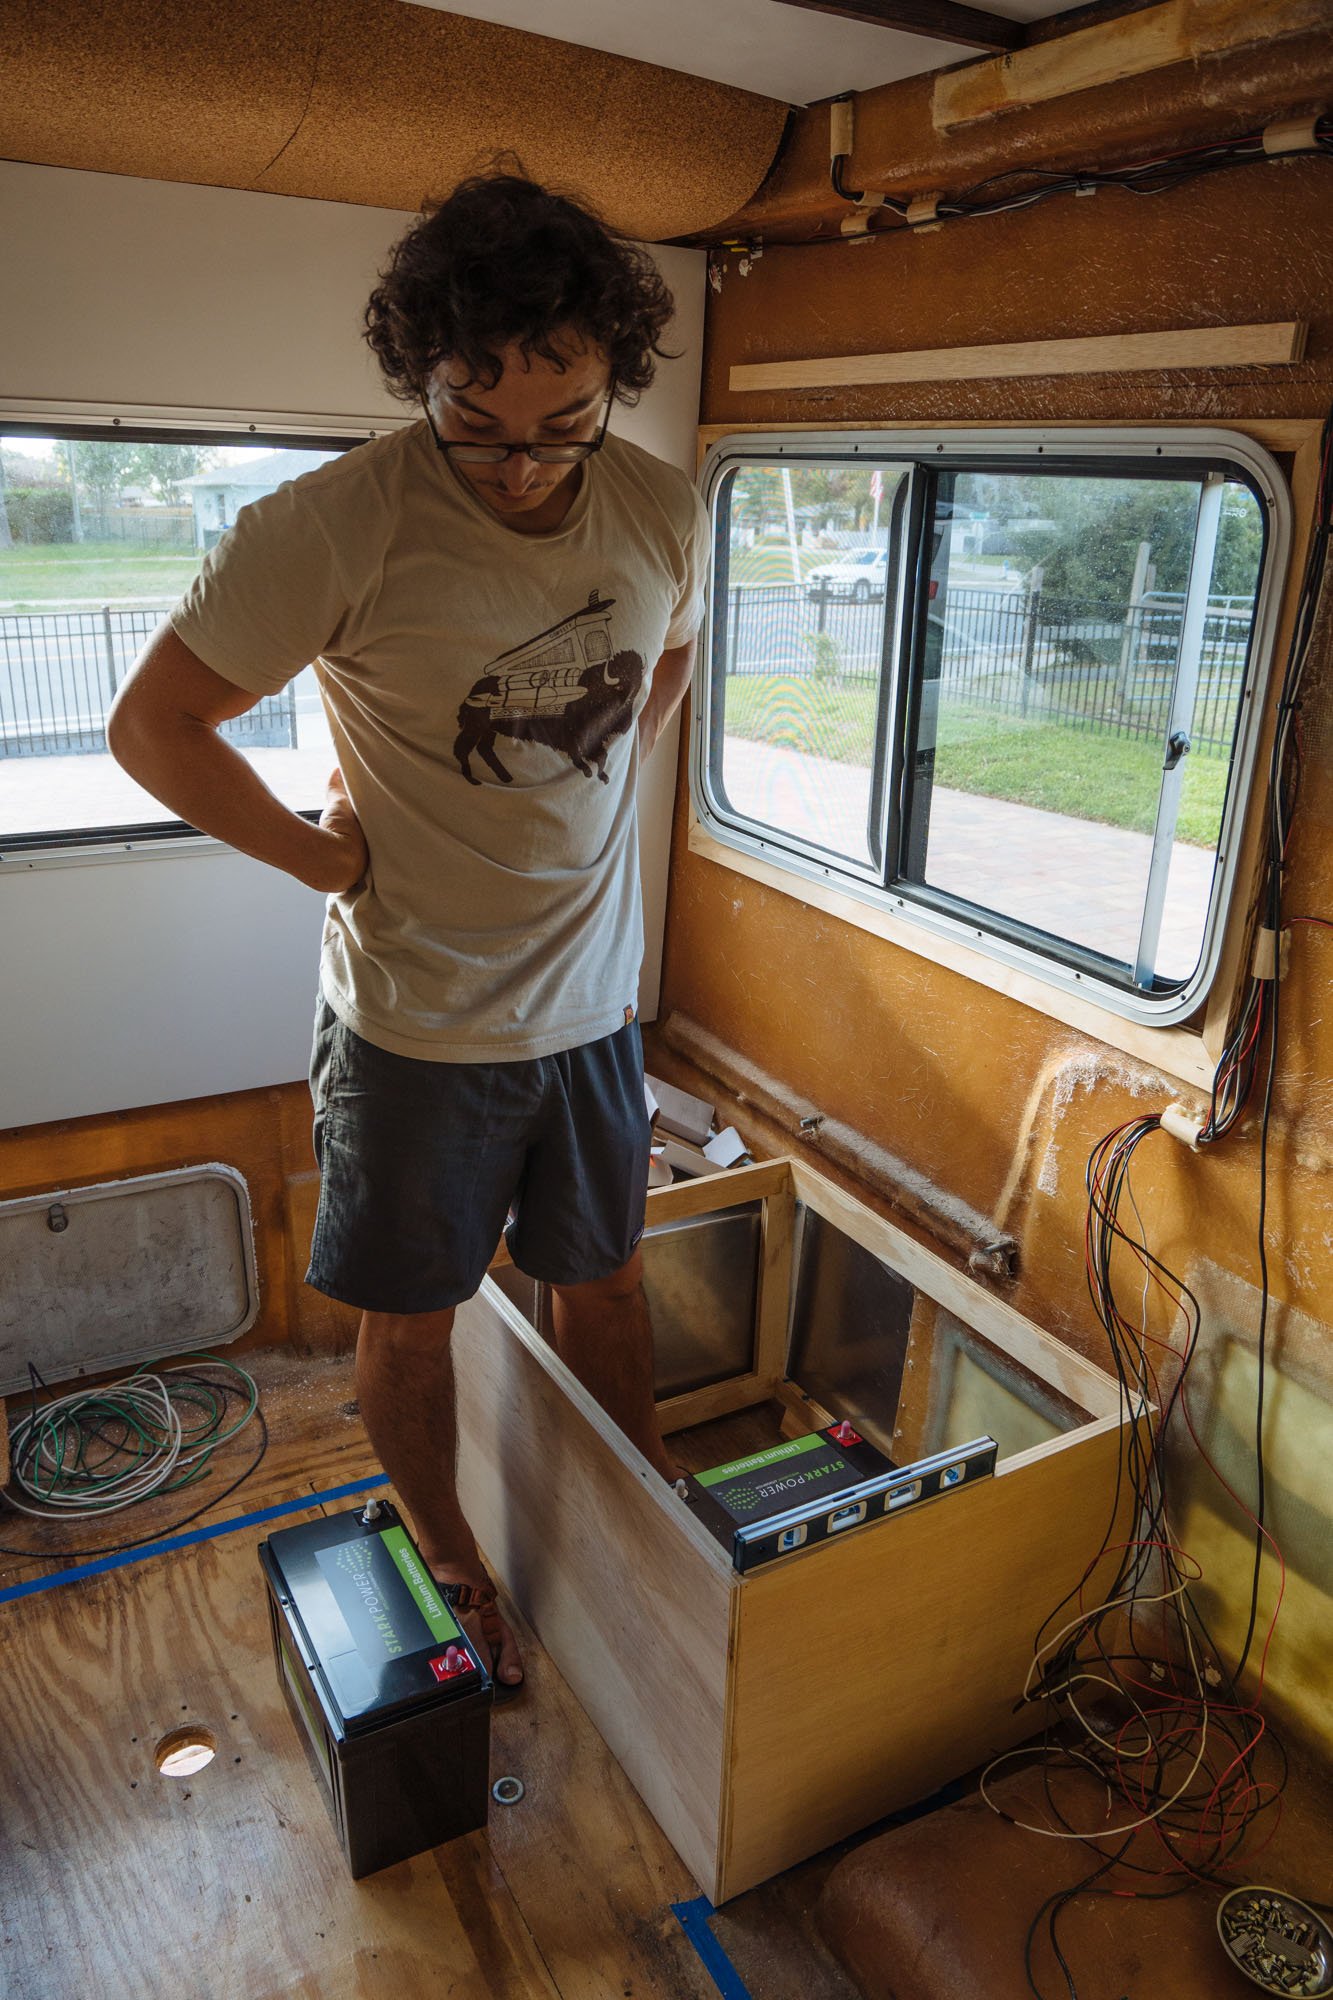
As soon as our bench seat boxes were constructed, Owen went straight to work at planning the layout of our electrical compartment. He thinks he's come up with the final layout, but we'll wait until it gets installed next week to be sure that it's final before we go into depth about it.

Thank you guys, as always, for following along on our build and for all of the endless kind words and encouragement! This build has gone far longer than we thought it will, but since we already have Amelia apart, why not just do it right! There are times when things feel a little bleak around here, but having you all keeps us moving forward every week. We look forward to what we have to share next week!
TTFN,
MAK
SUPPLY LIST
For Inquiring Minds
Cabinet Doors
Dometic Refrigerator - Soon to have a cabinet made for it
Painters Tape - for painting the inside portions of the cabinet doors, and may other things for that matter
Polycrylic - my clear coat of choice
Insulated Wall Coverings
Quilted Cotton - for the wall coverings inside of the cabinets (3 yards) in Osnaburg - Linked Here
Thinsulate - Insulation of choice
Cabinet Lights & Electrical Organization
Waterproof LED Lights - We like these because of how strong the tape is on the back of the lights, we used warm white
Tiny little light switch - x2 for turning the cabinet lights on/off. Installed in the underside of the cabinets
Wire crimpers - for crimping and cutting wires in our entire build - any old pair will do
Loctite Epoxy - used to gluing up the common ground to the back wall under the tail lights
Bus terminal block - to serve as our Common ground the old one was terrible, these are really nice
Wire Zip Tie Mount - We used a lot of them!
Zip ties - We used a lot of these too
Walls
Duct Tape - ole faithful
West Marine 610 Epoxy - Used it to glue up my wall support pieces
Dewalt Jigsaw - for cutting the opening for the window
Bench Seats
1/4" Ply wood - for all of the front facade panel (Linked Here)
1/2" Ply wood - for the framed structure (Linked Here)