Build Out: Week 13
Ceilings & Electrical Organization

Welcome back my friends, hope you all have had a great week! We had a great week of exciting progress. We're really starting to see light at the end of this endless tunnel.
As soon as we could handle our boxes, post painting, we tossed them into place. Though we're still needing to do some work on the boxes themselves before they can get permanently installed, we just couldn't wait to see what they would look like when they're in! This is a view I could soak in all day!

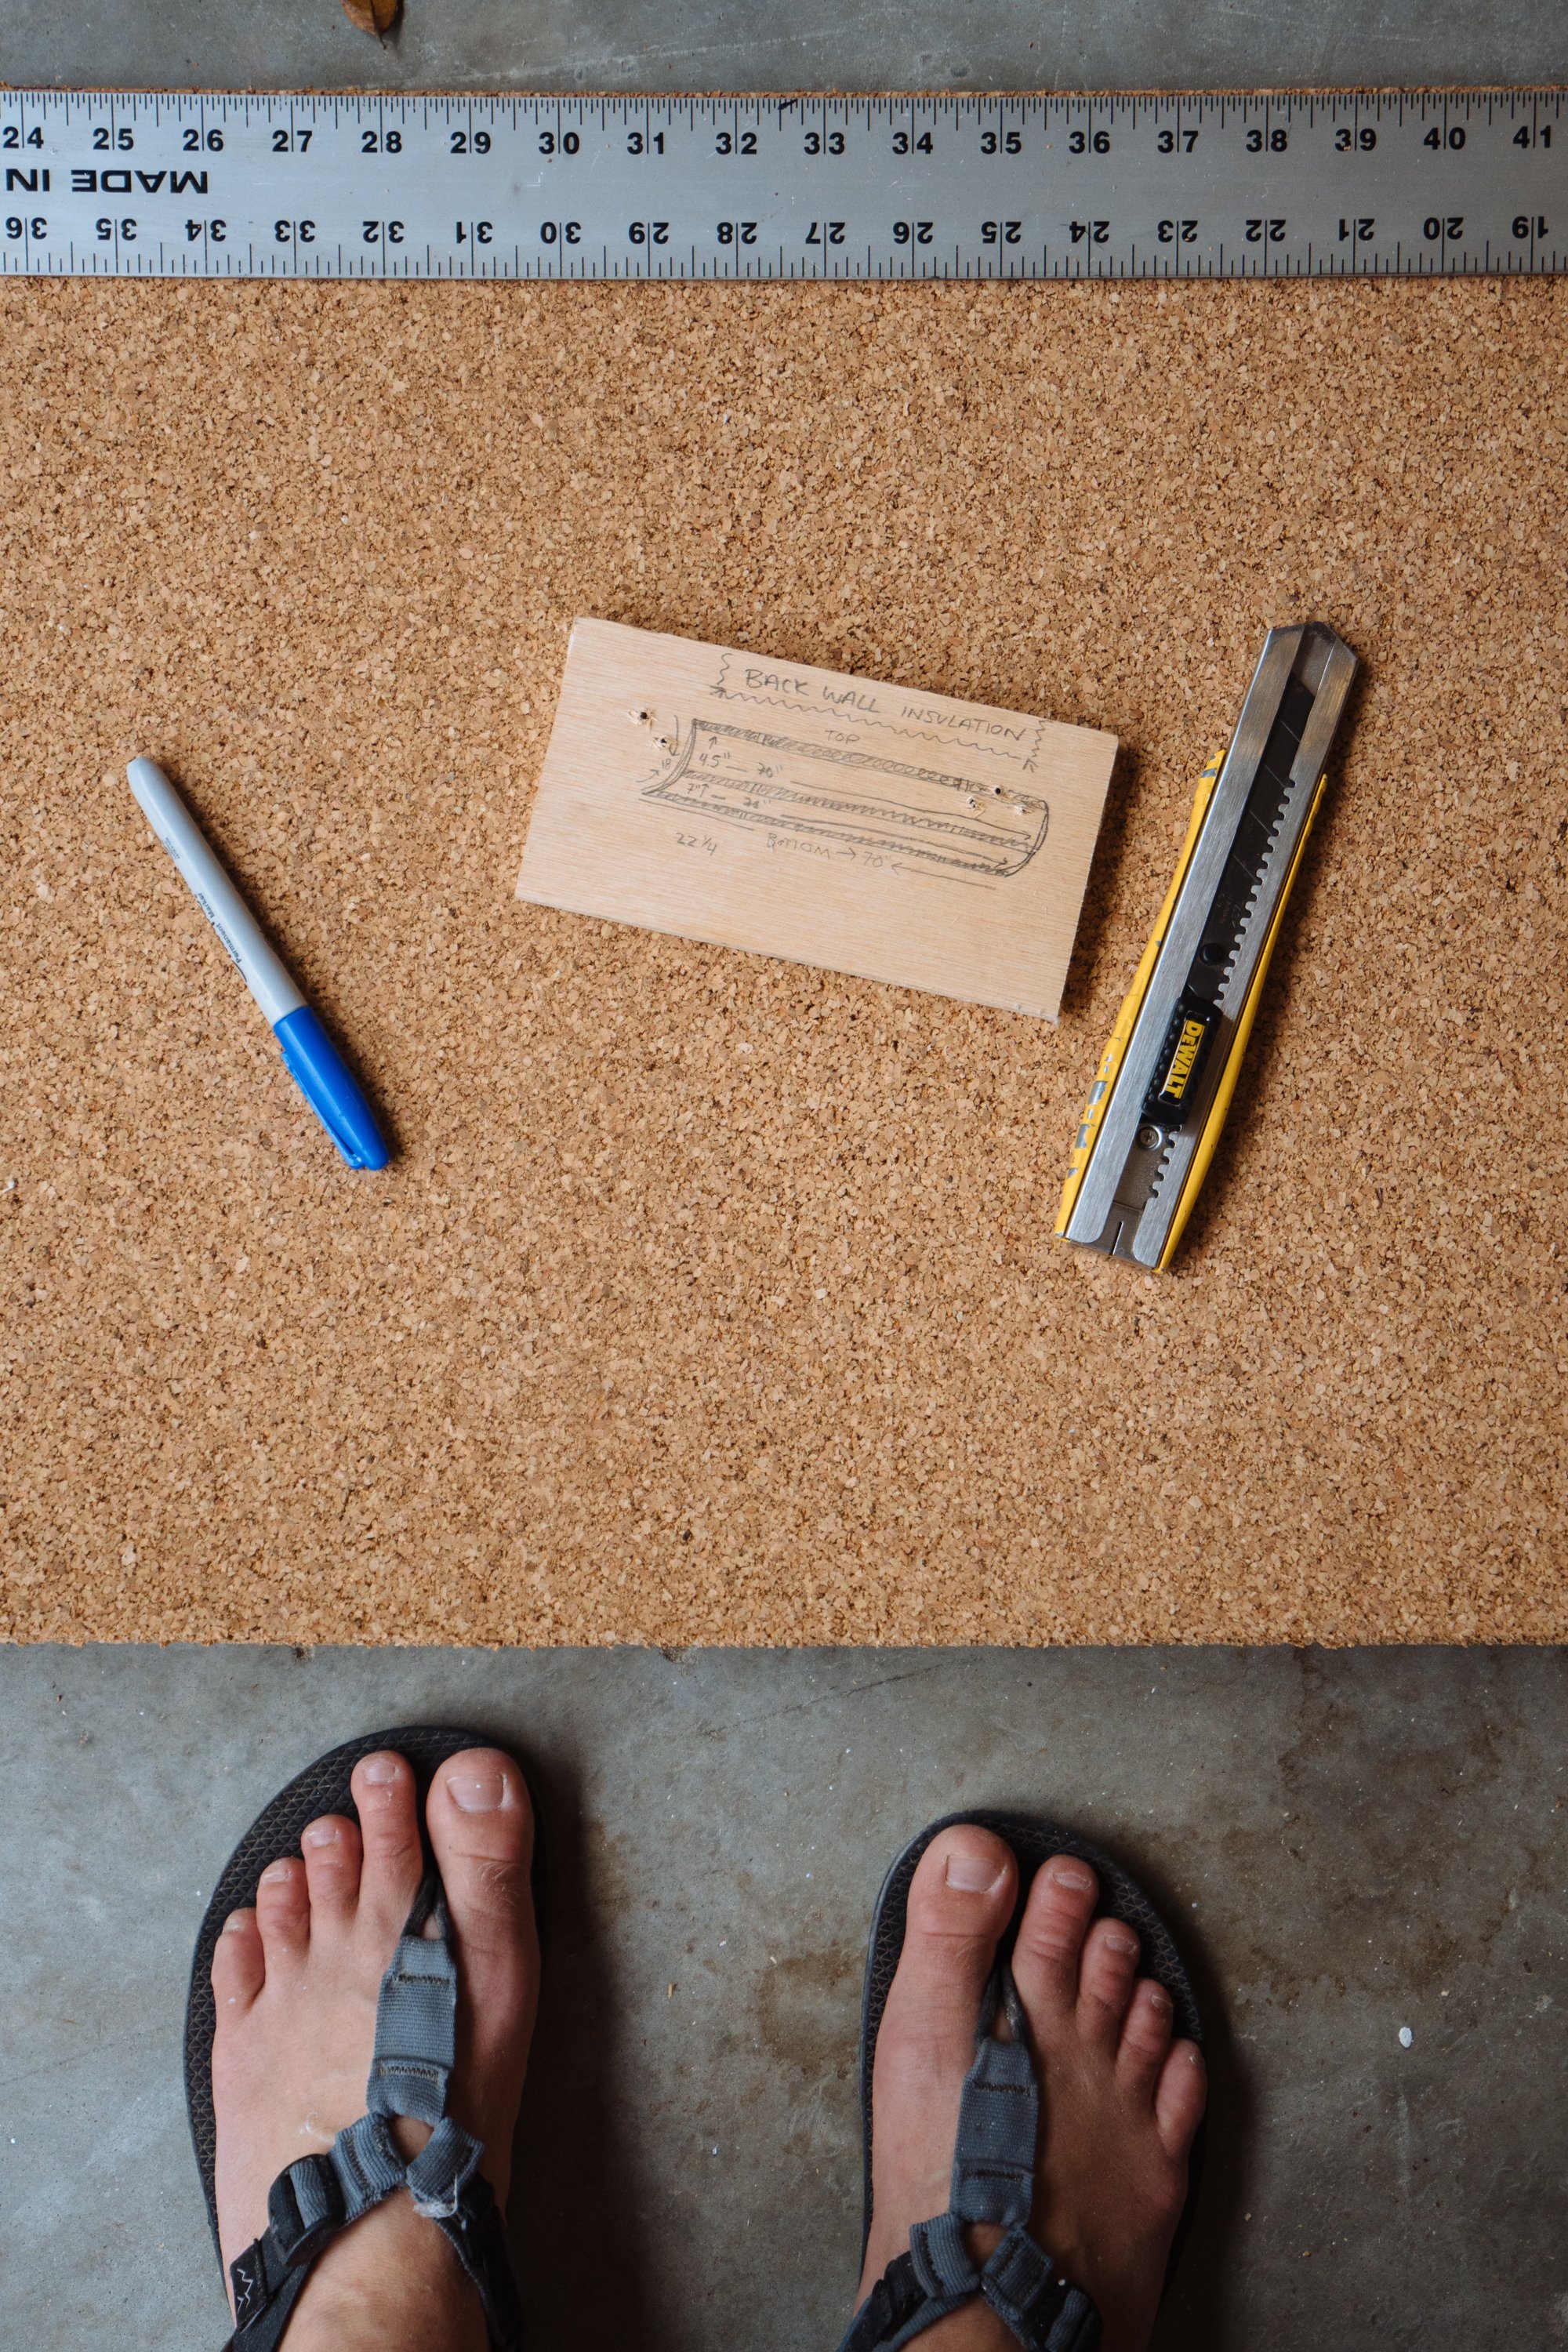
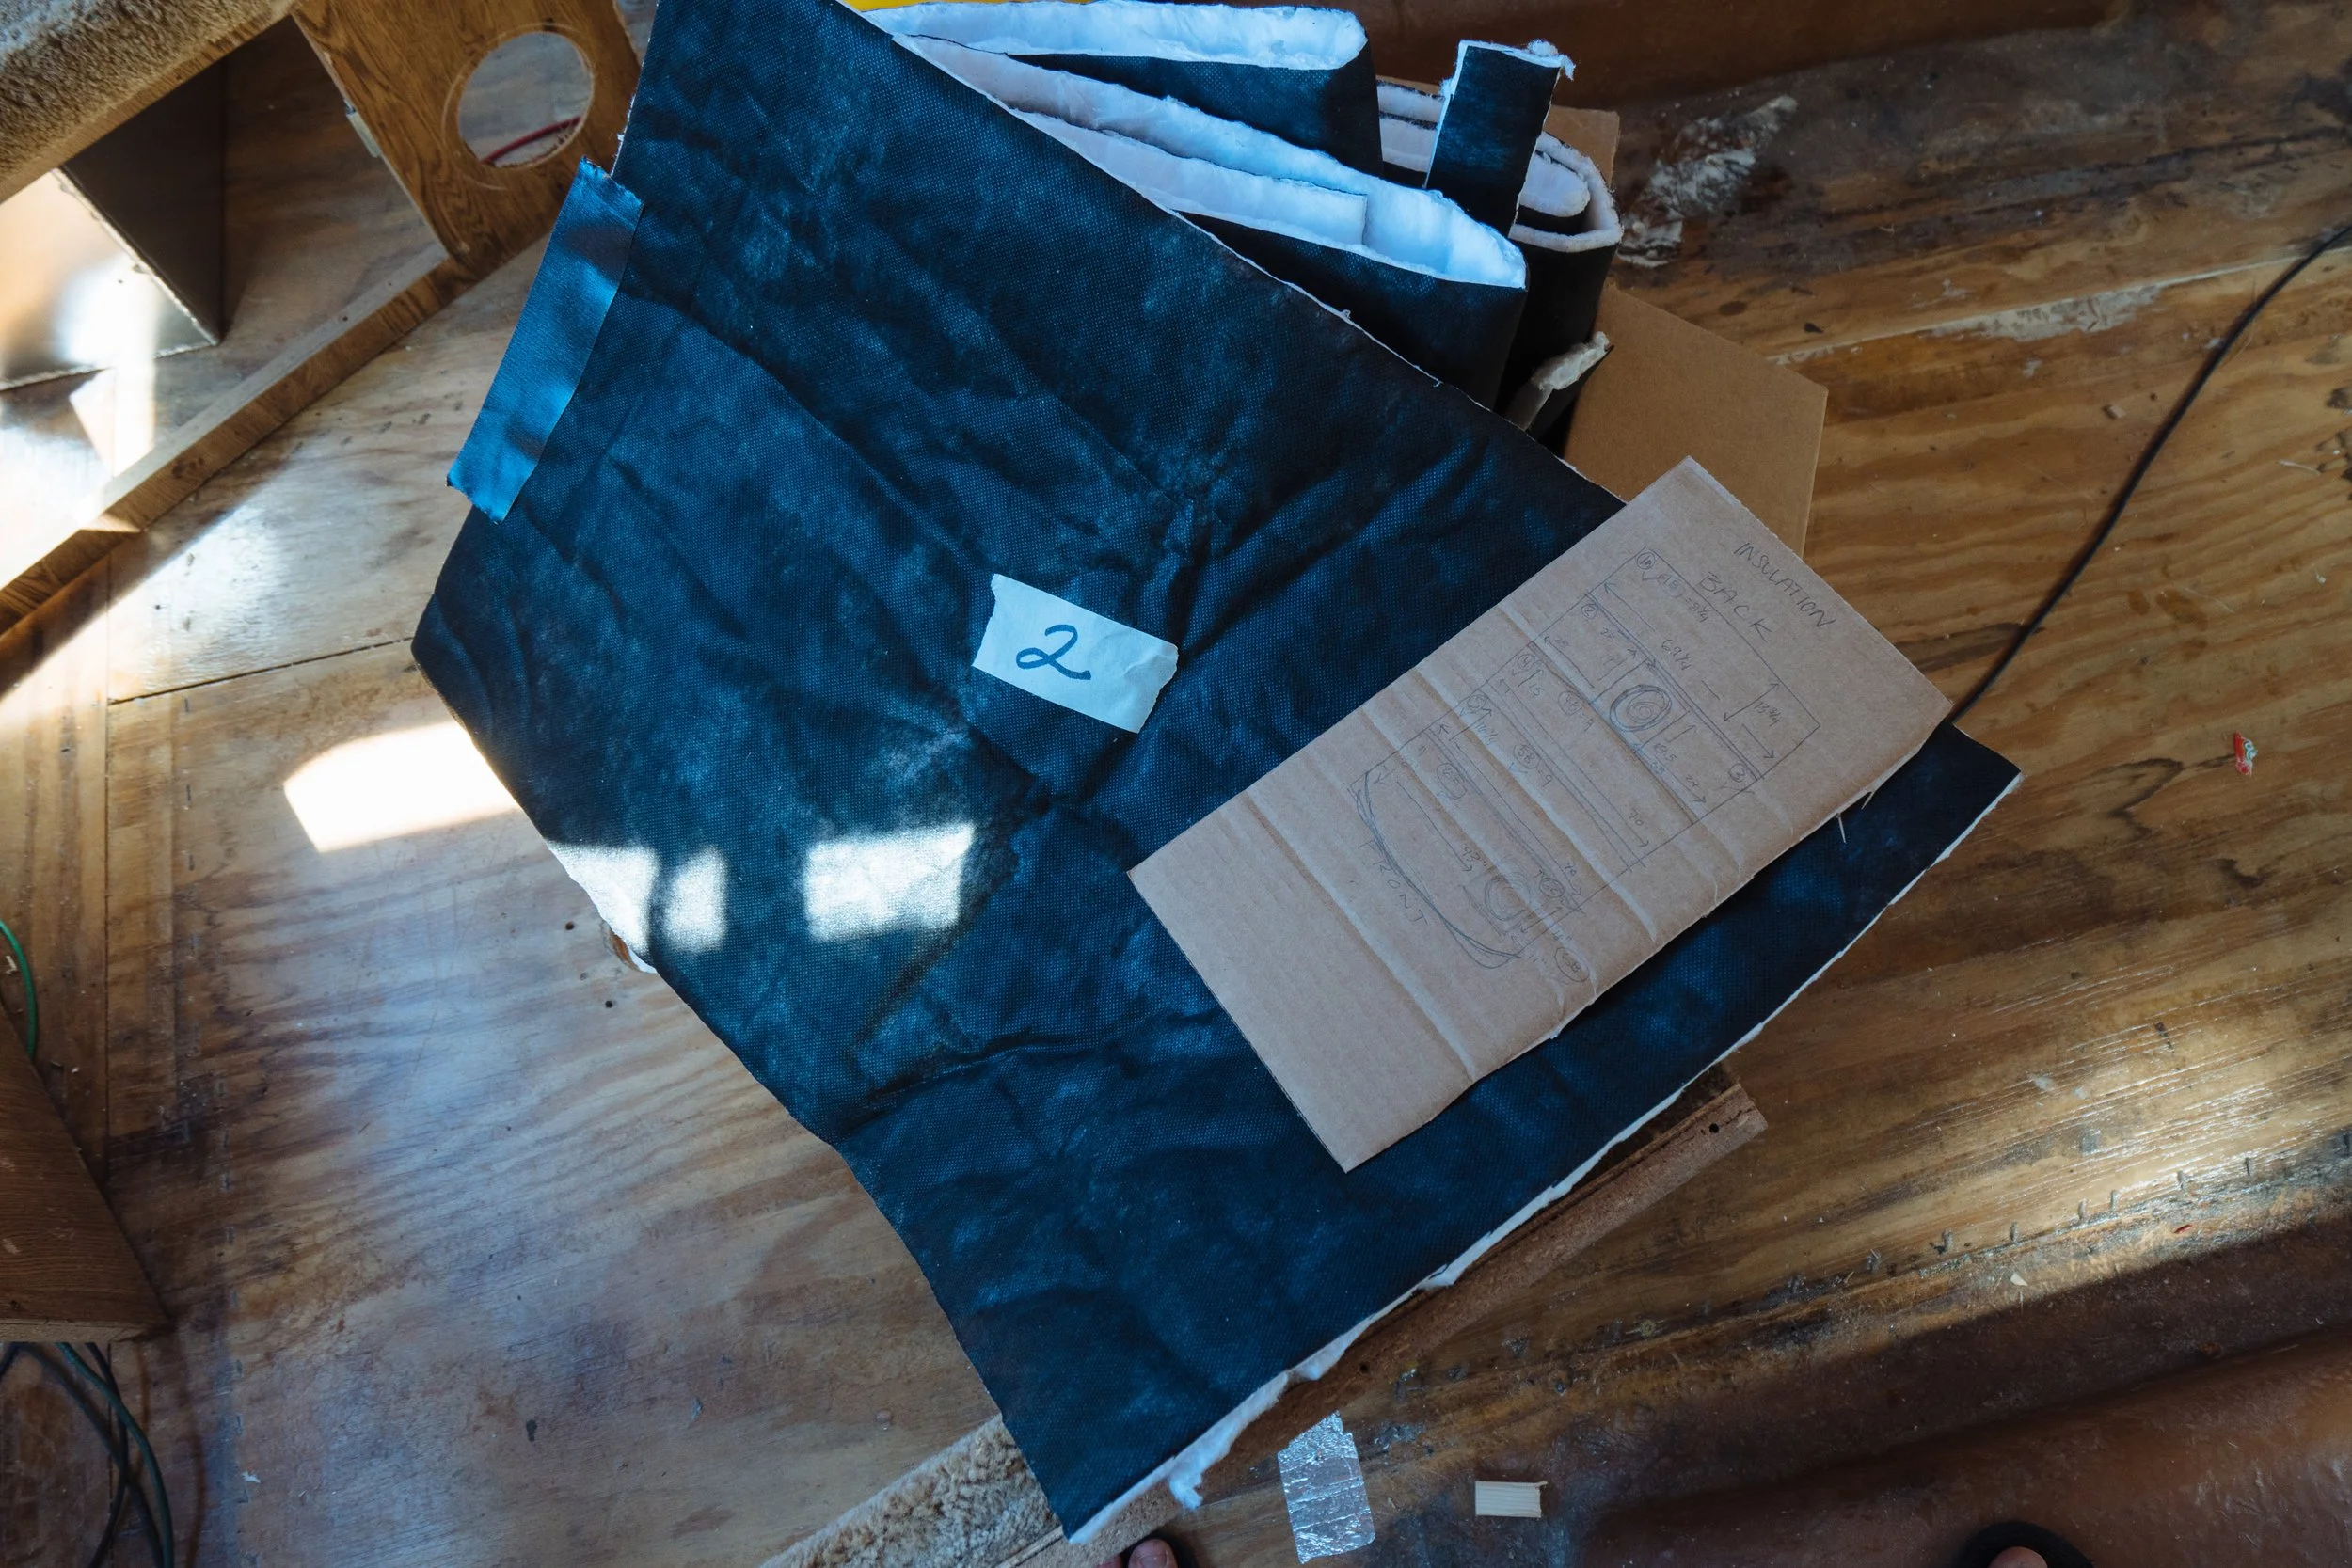
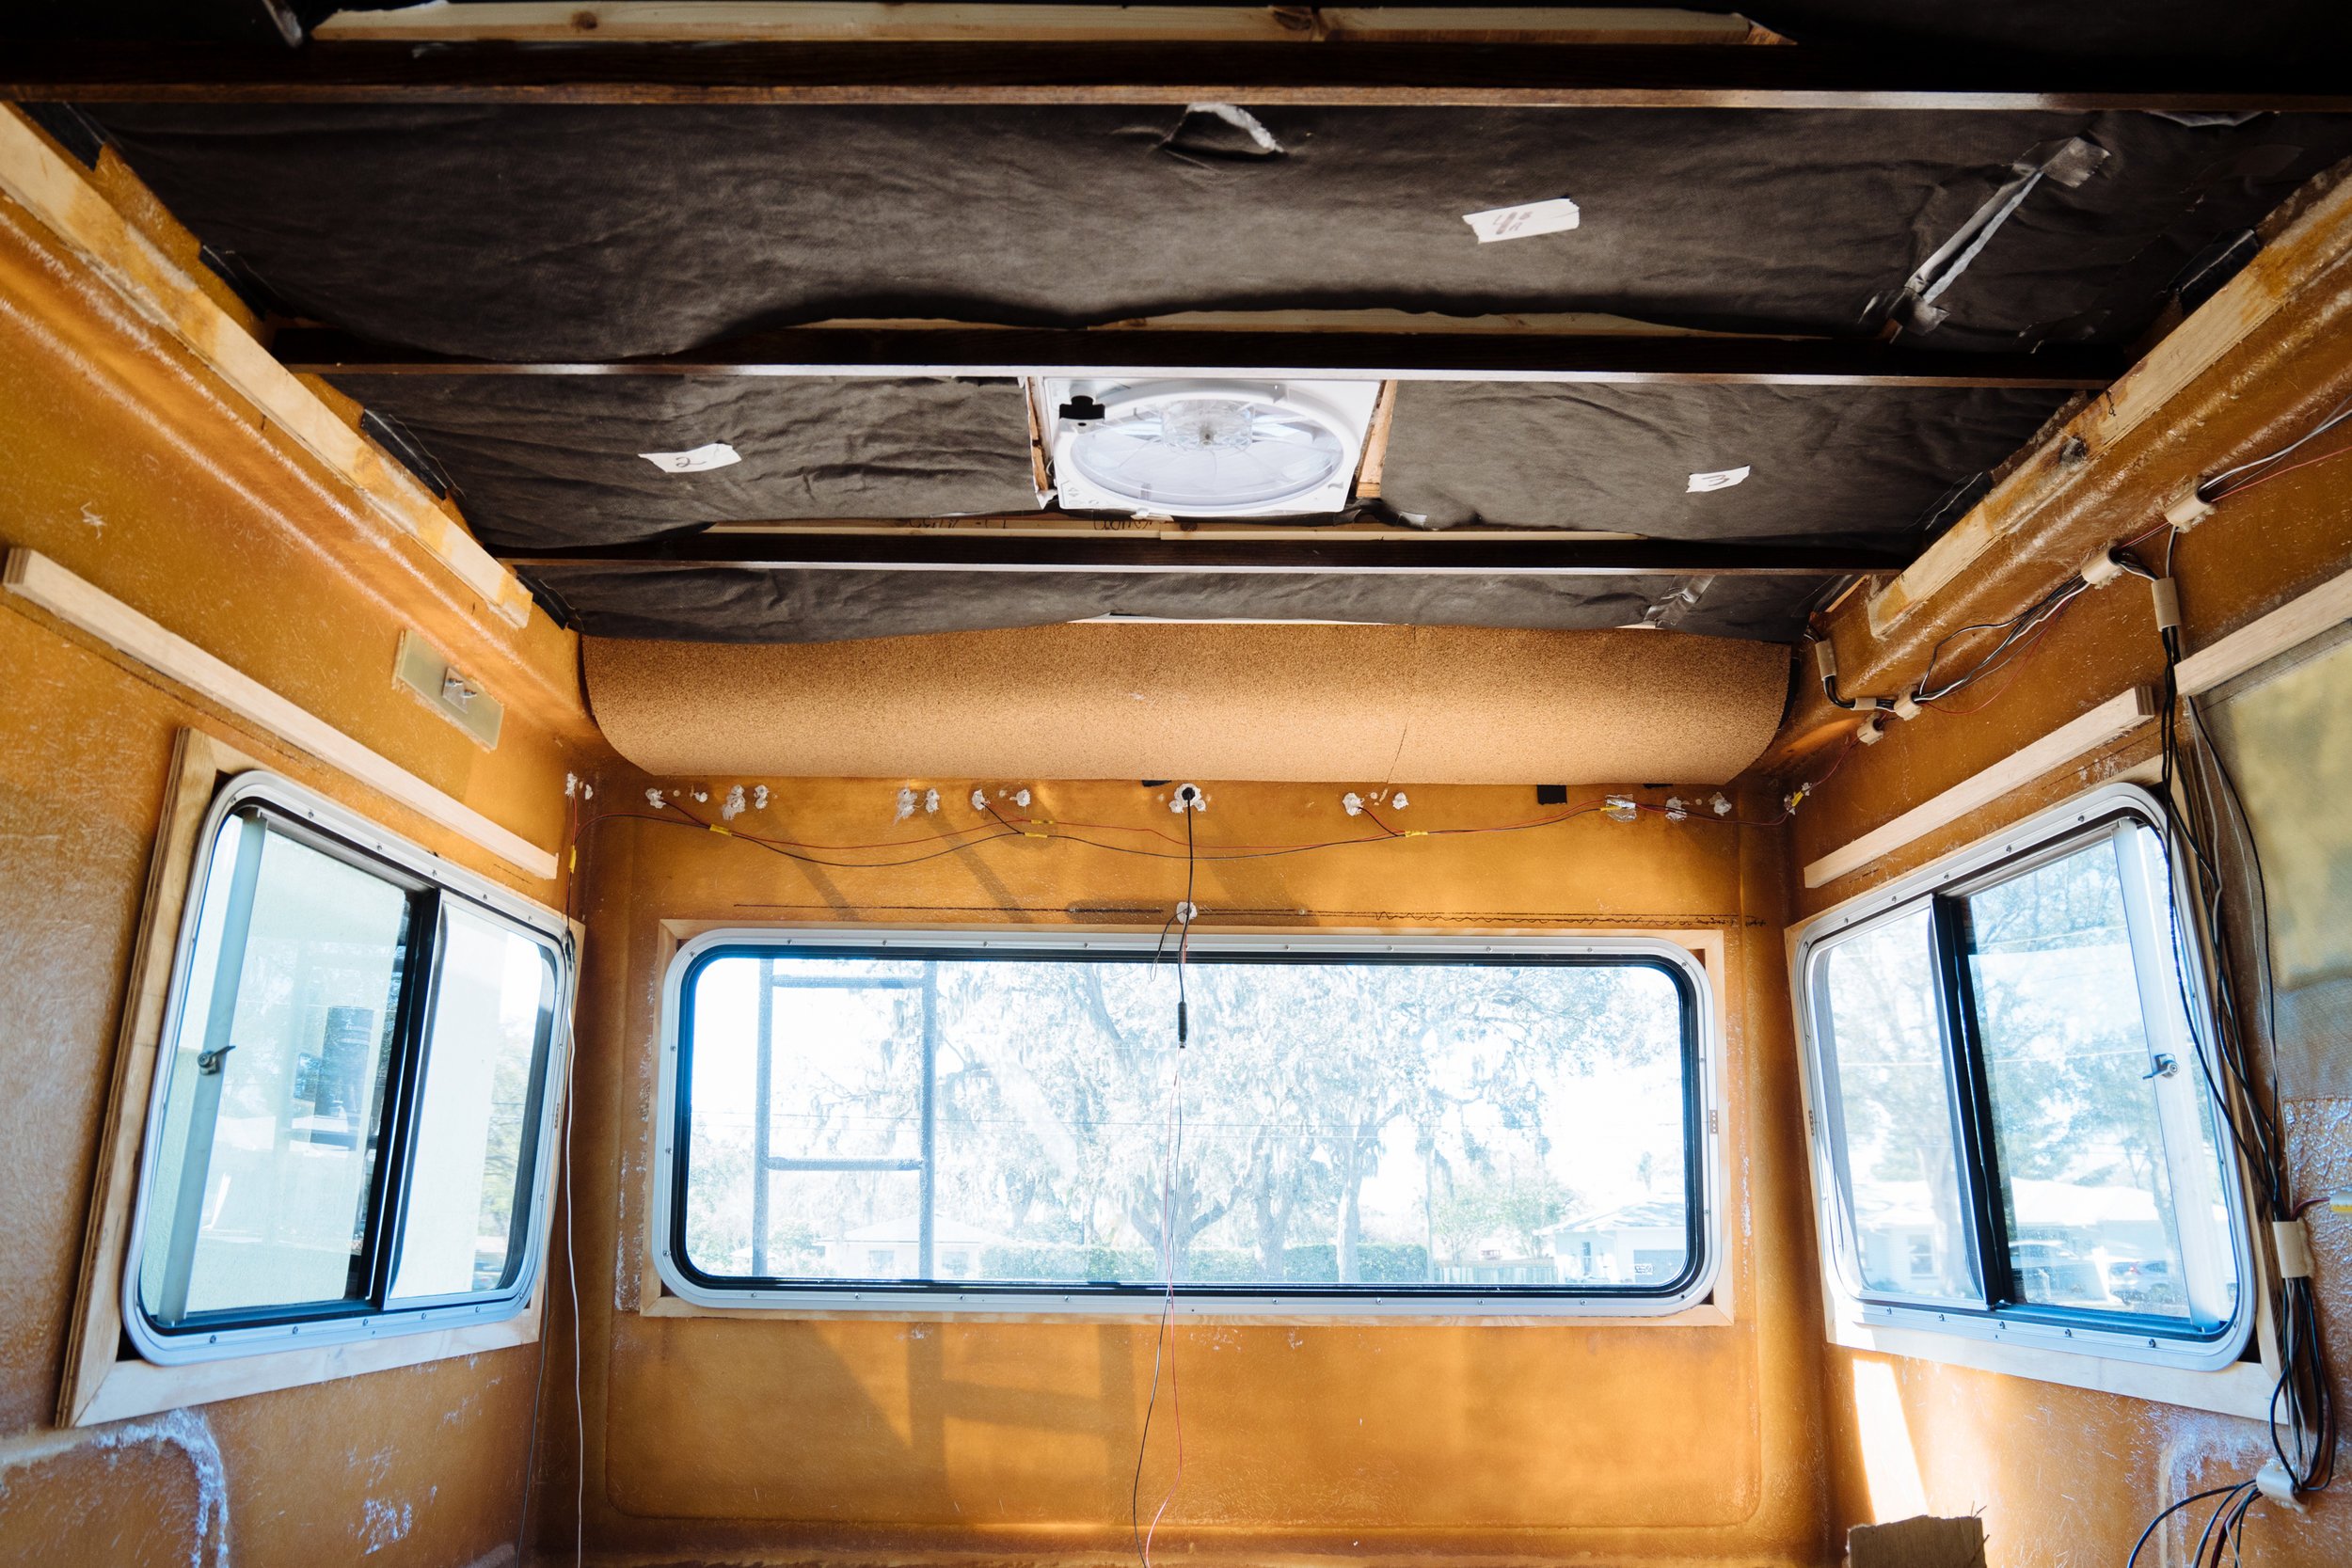
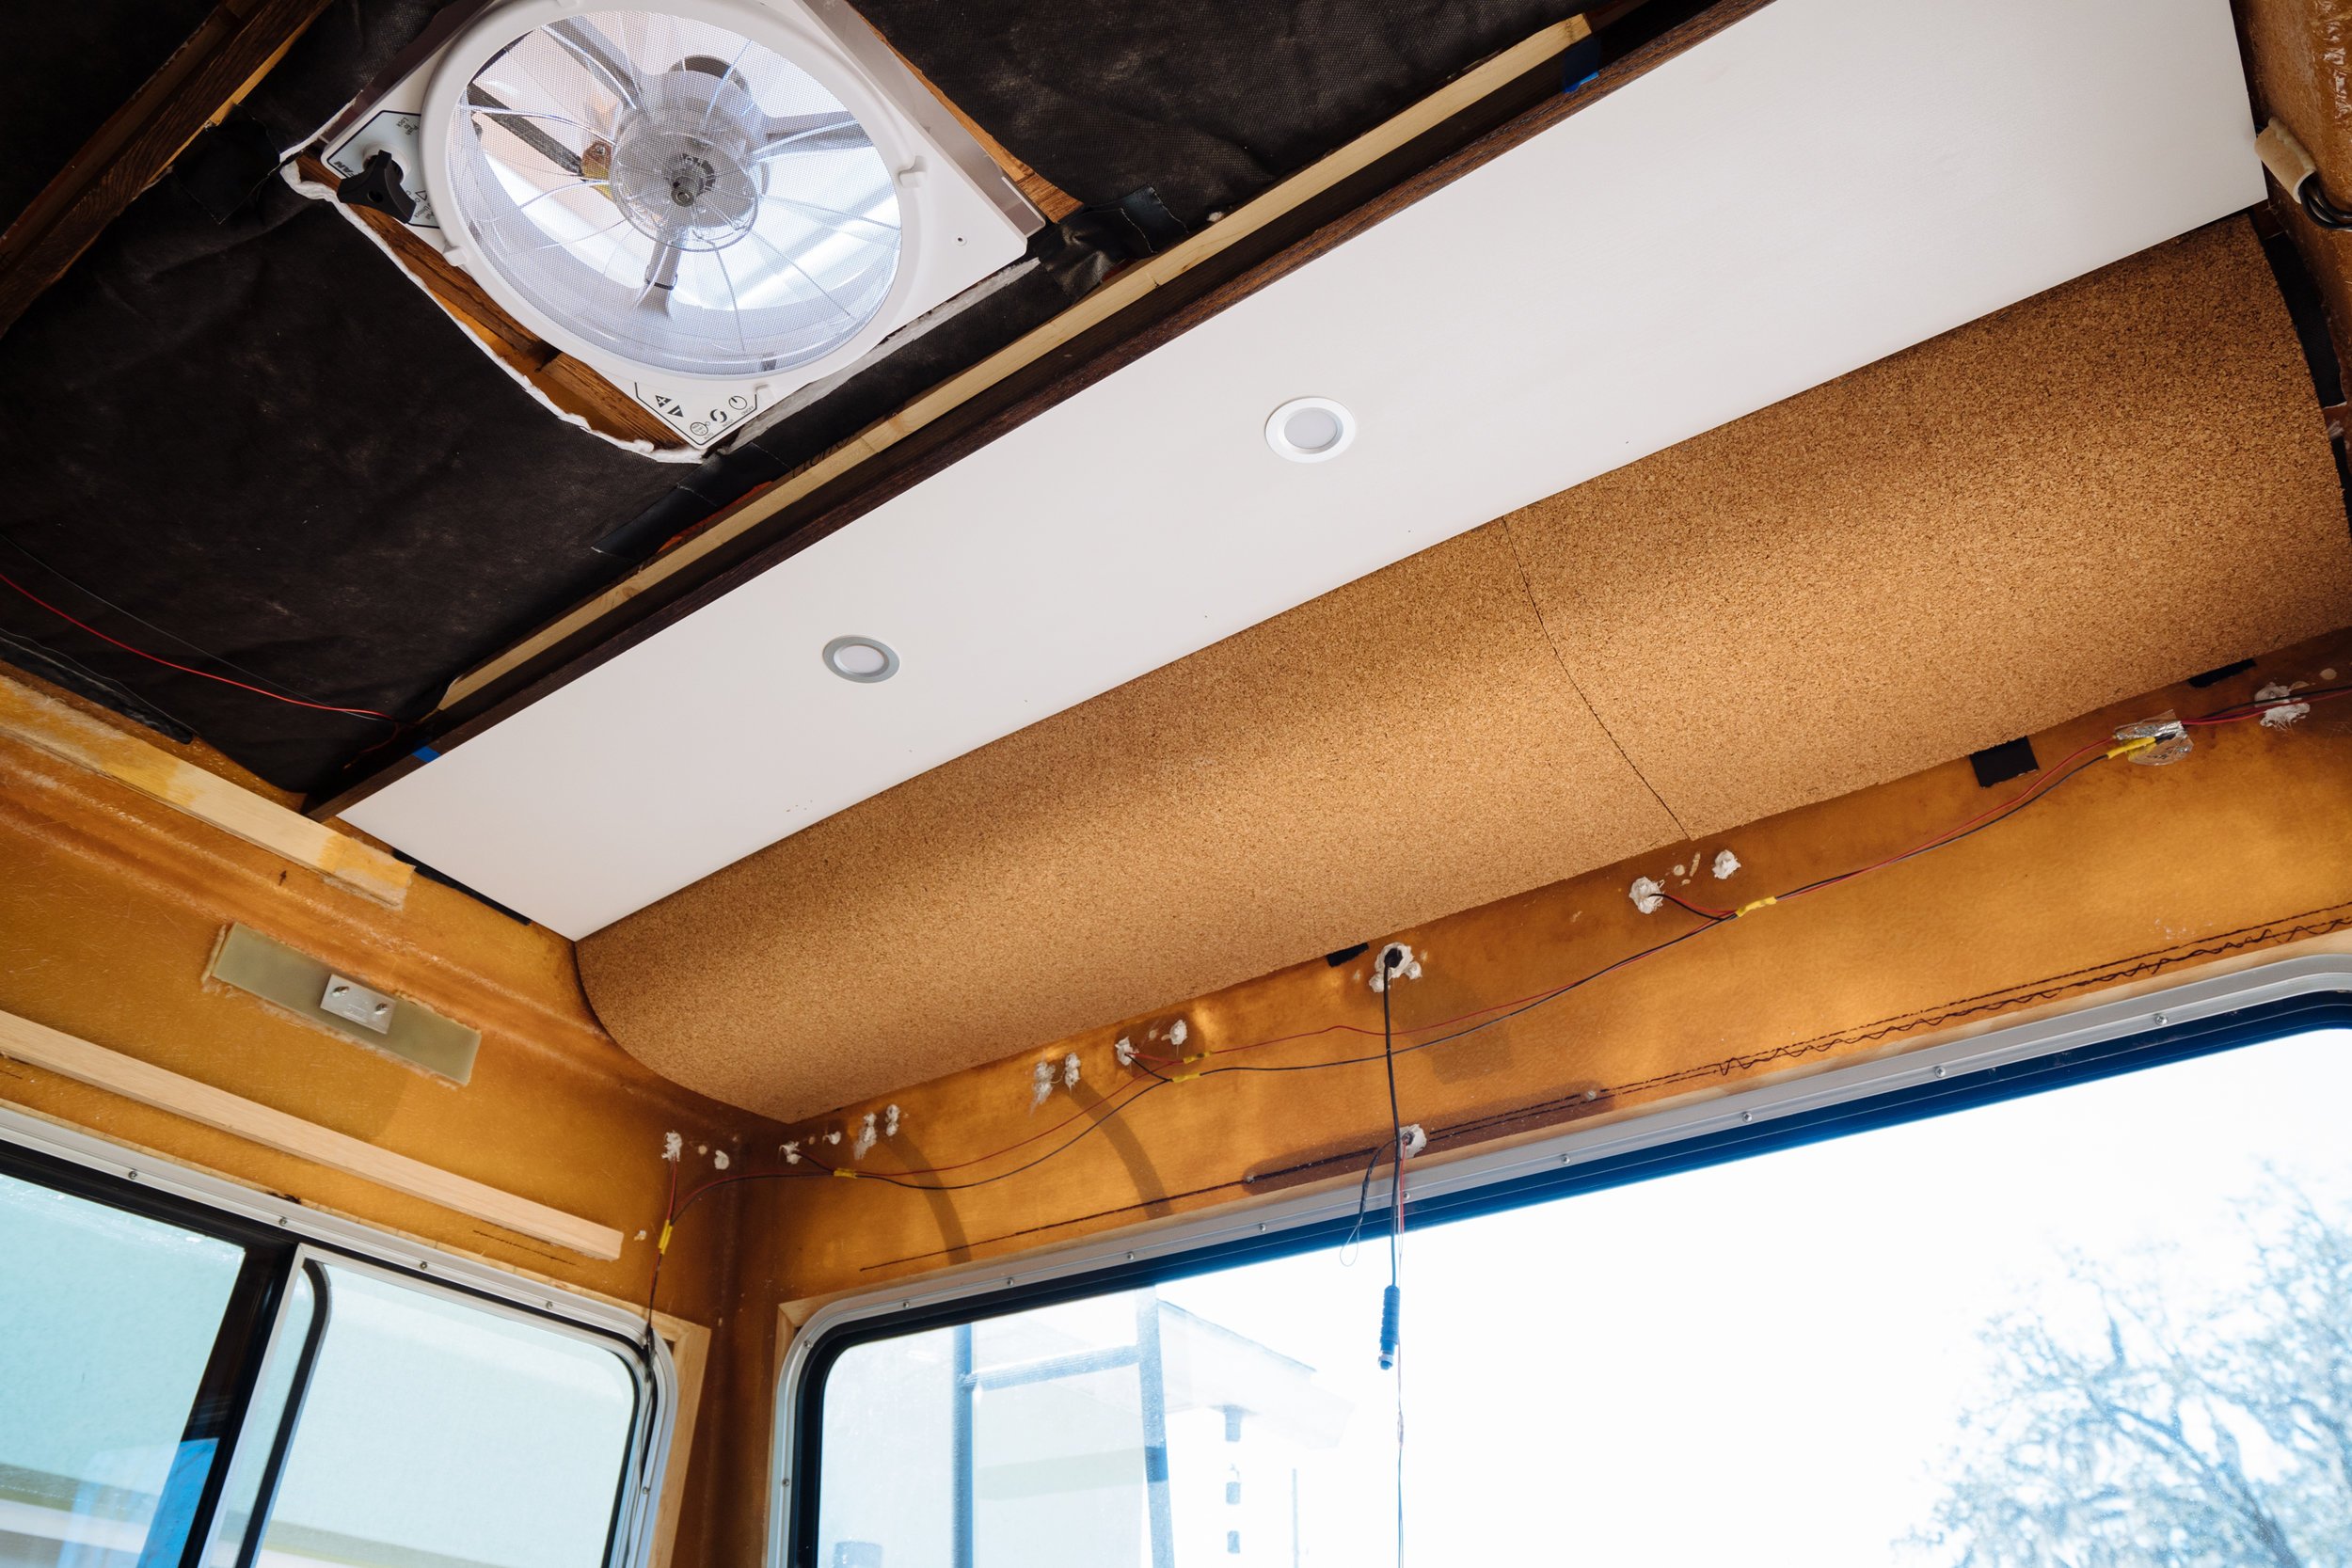
There are a few spots in Amelia's interior that we've known would be a challenge to cover. This rounded portion on the back wall is one of them. In the original interior this rounded area was covered in carpet which was haphazardly glued to the ceiling. In fact, by the time we arrived in Florida for our build it was coming off in multiple places. As you all well know, we're anti carpet, especially when it comes to being on walls. We've pondered how we were going to address this surface for some time now, and we came up with the idea of covering it with cork. Specifically, 1/4" cork underlayment because it is flexible, sound deadening, and insulating. After the decision was made and supplies were purchased, I went to glueing up a support structure for our cork to be stapled into.
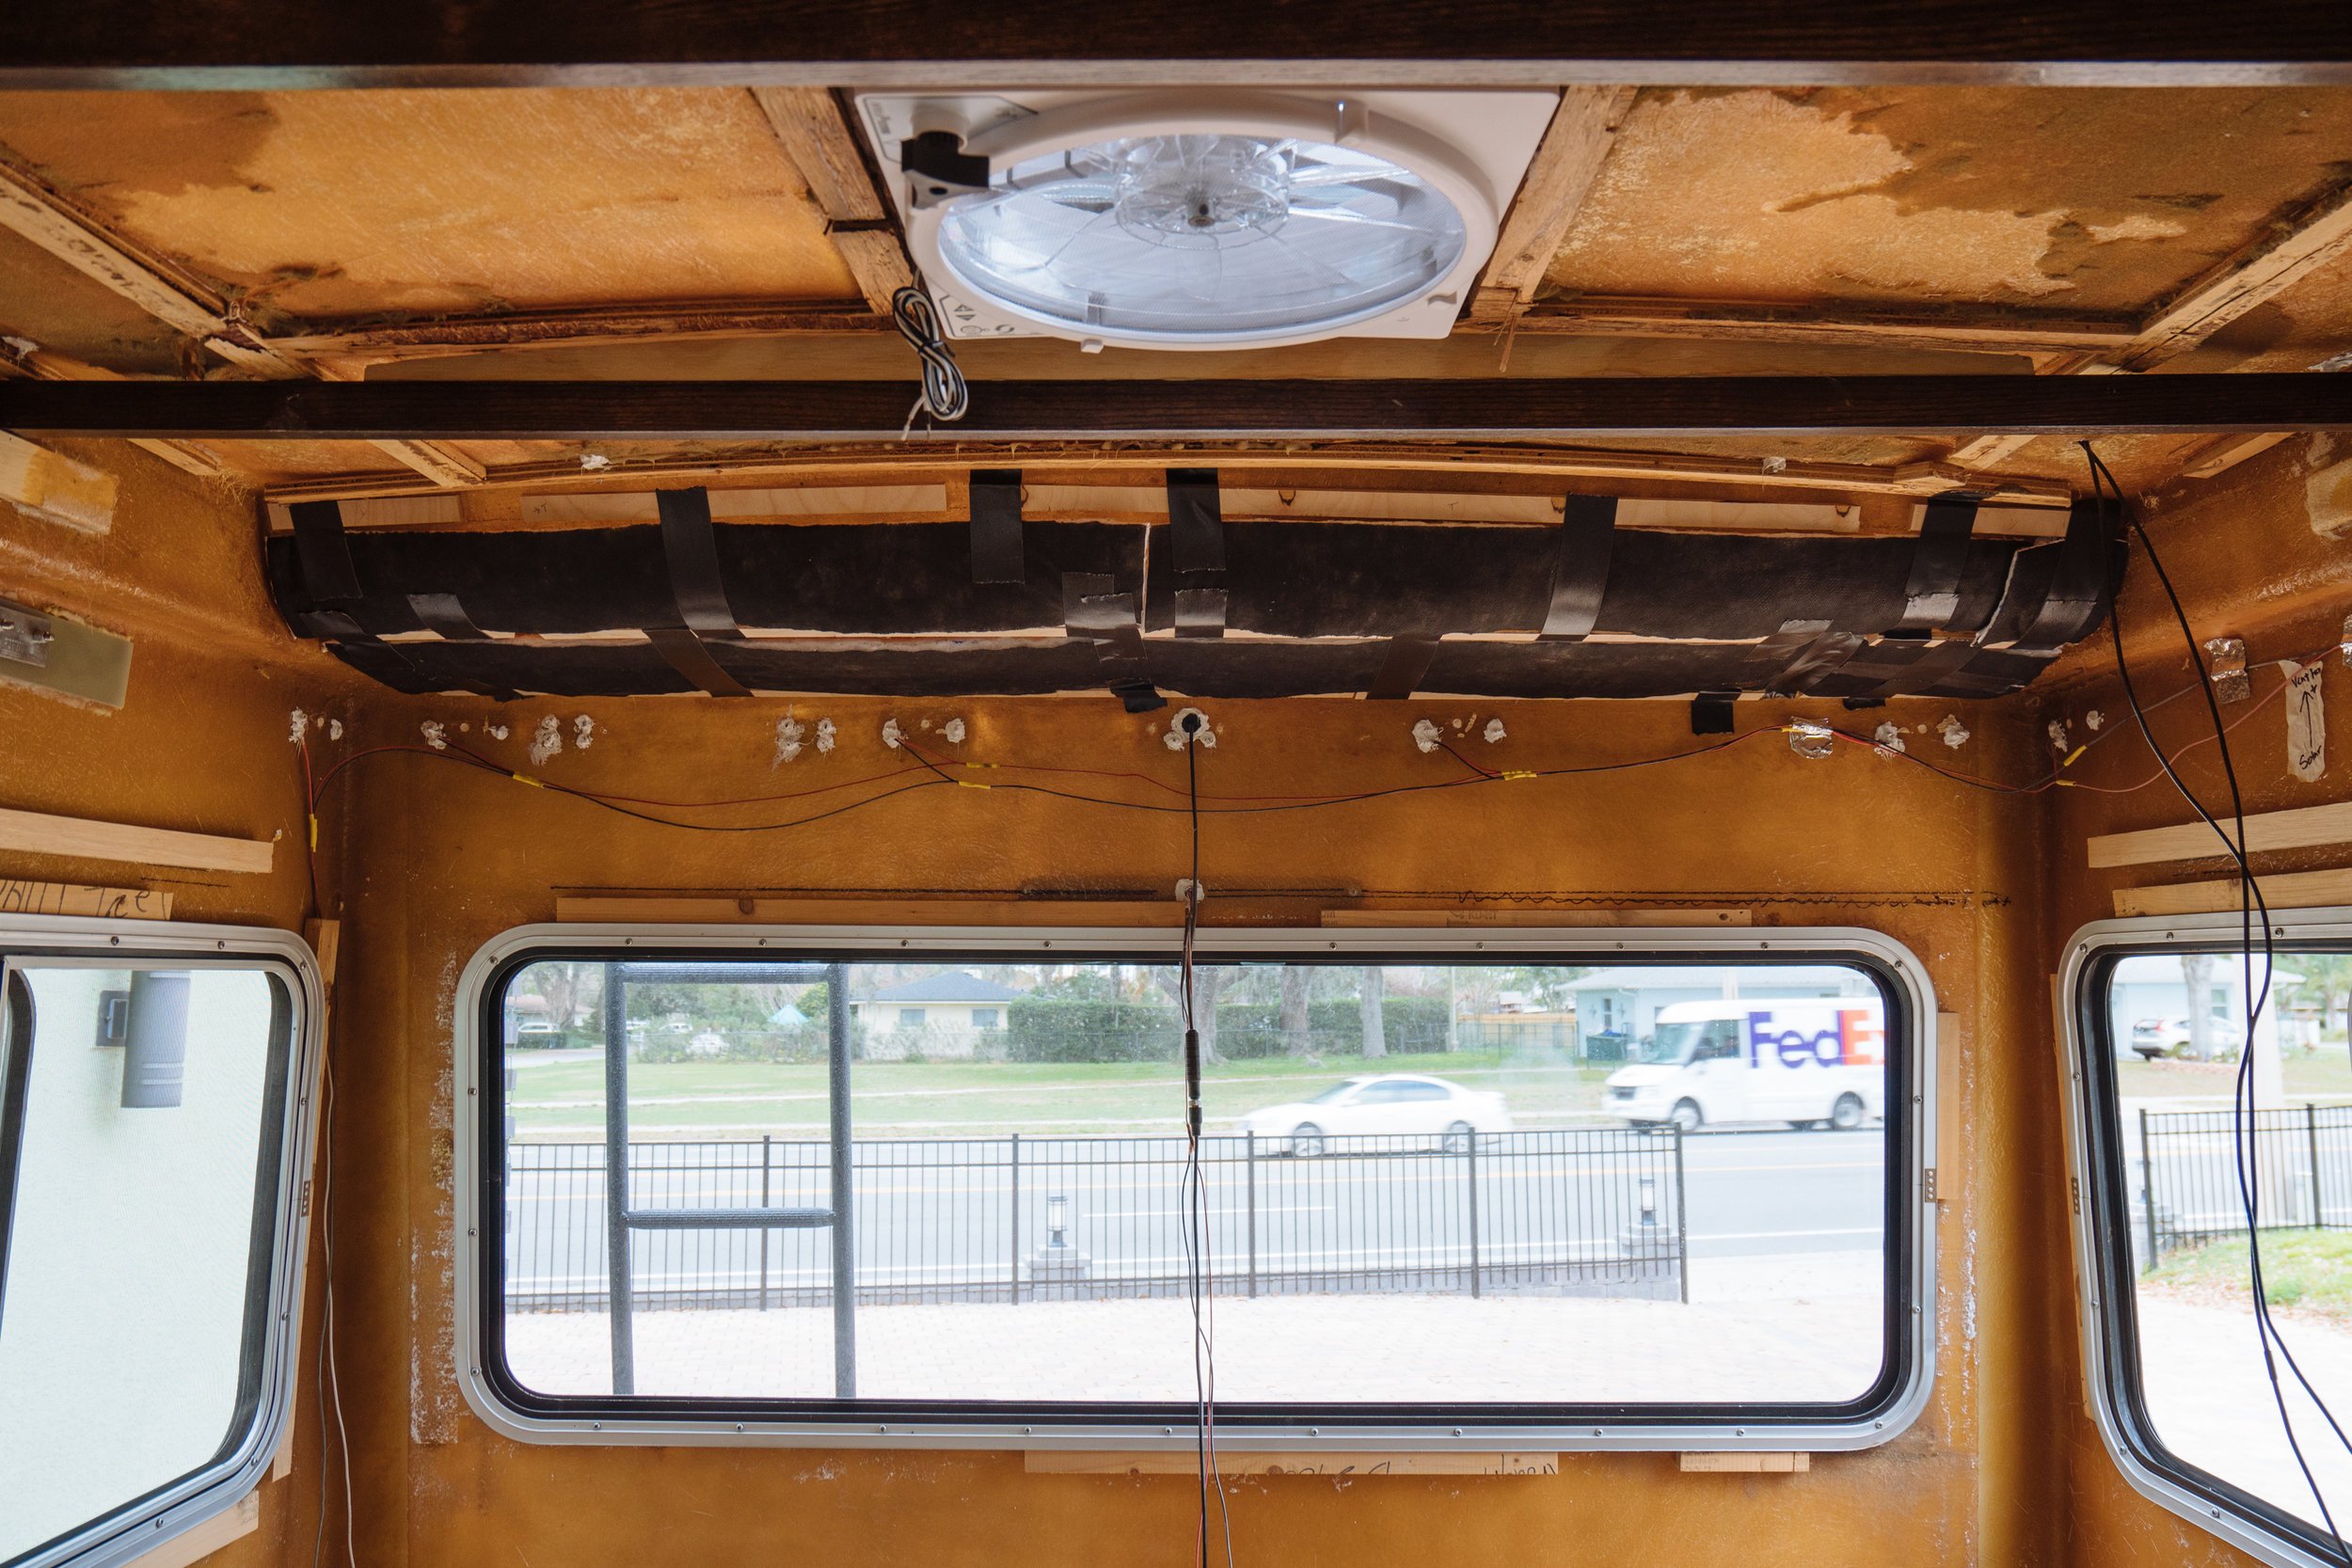
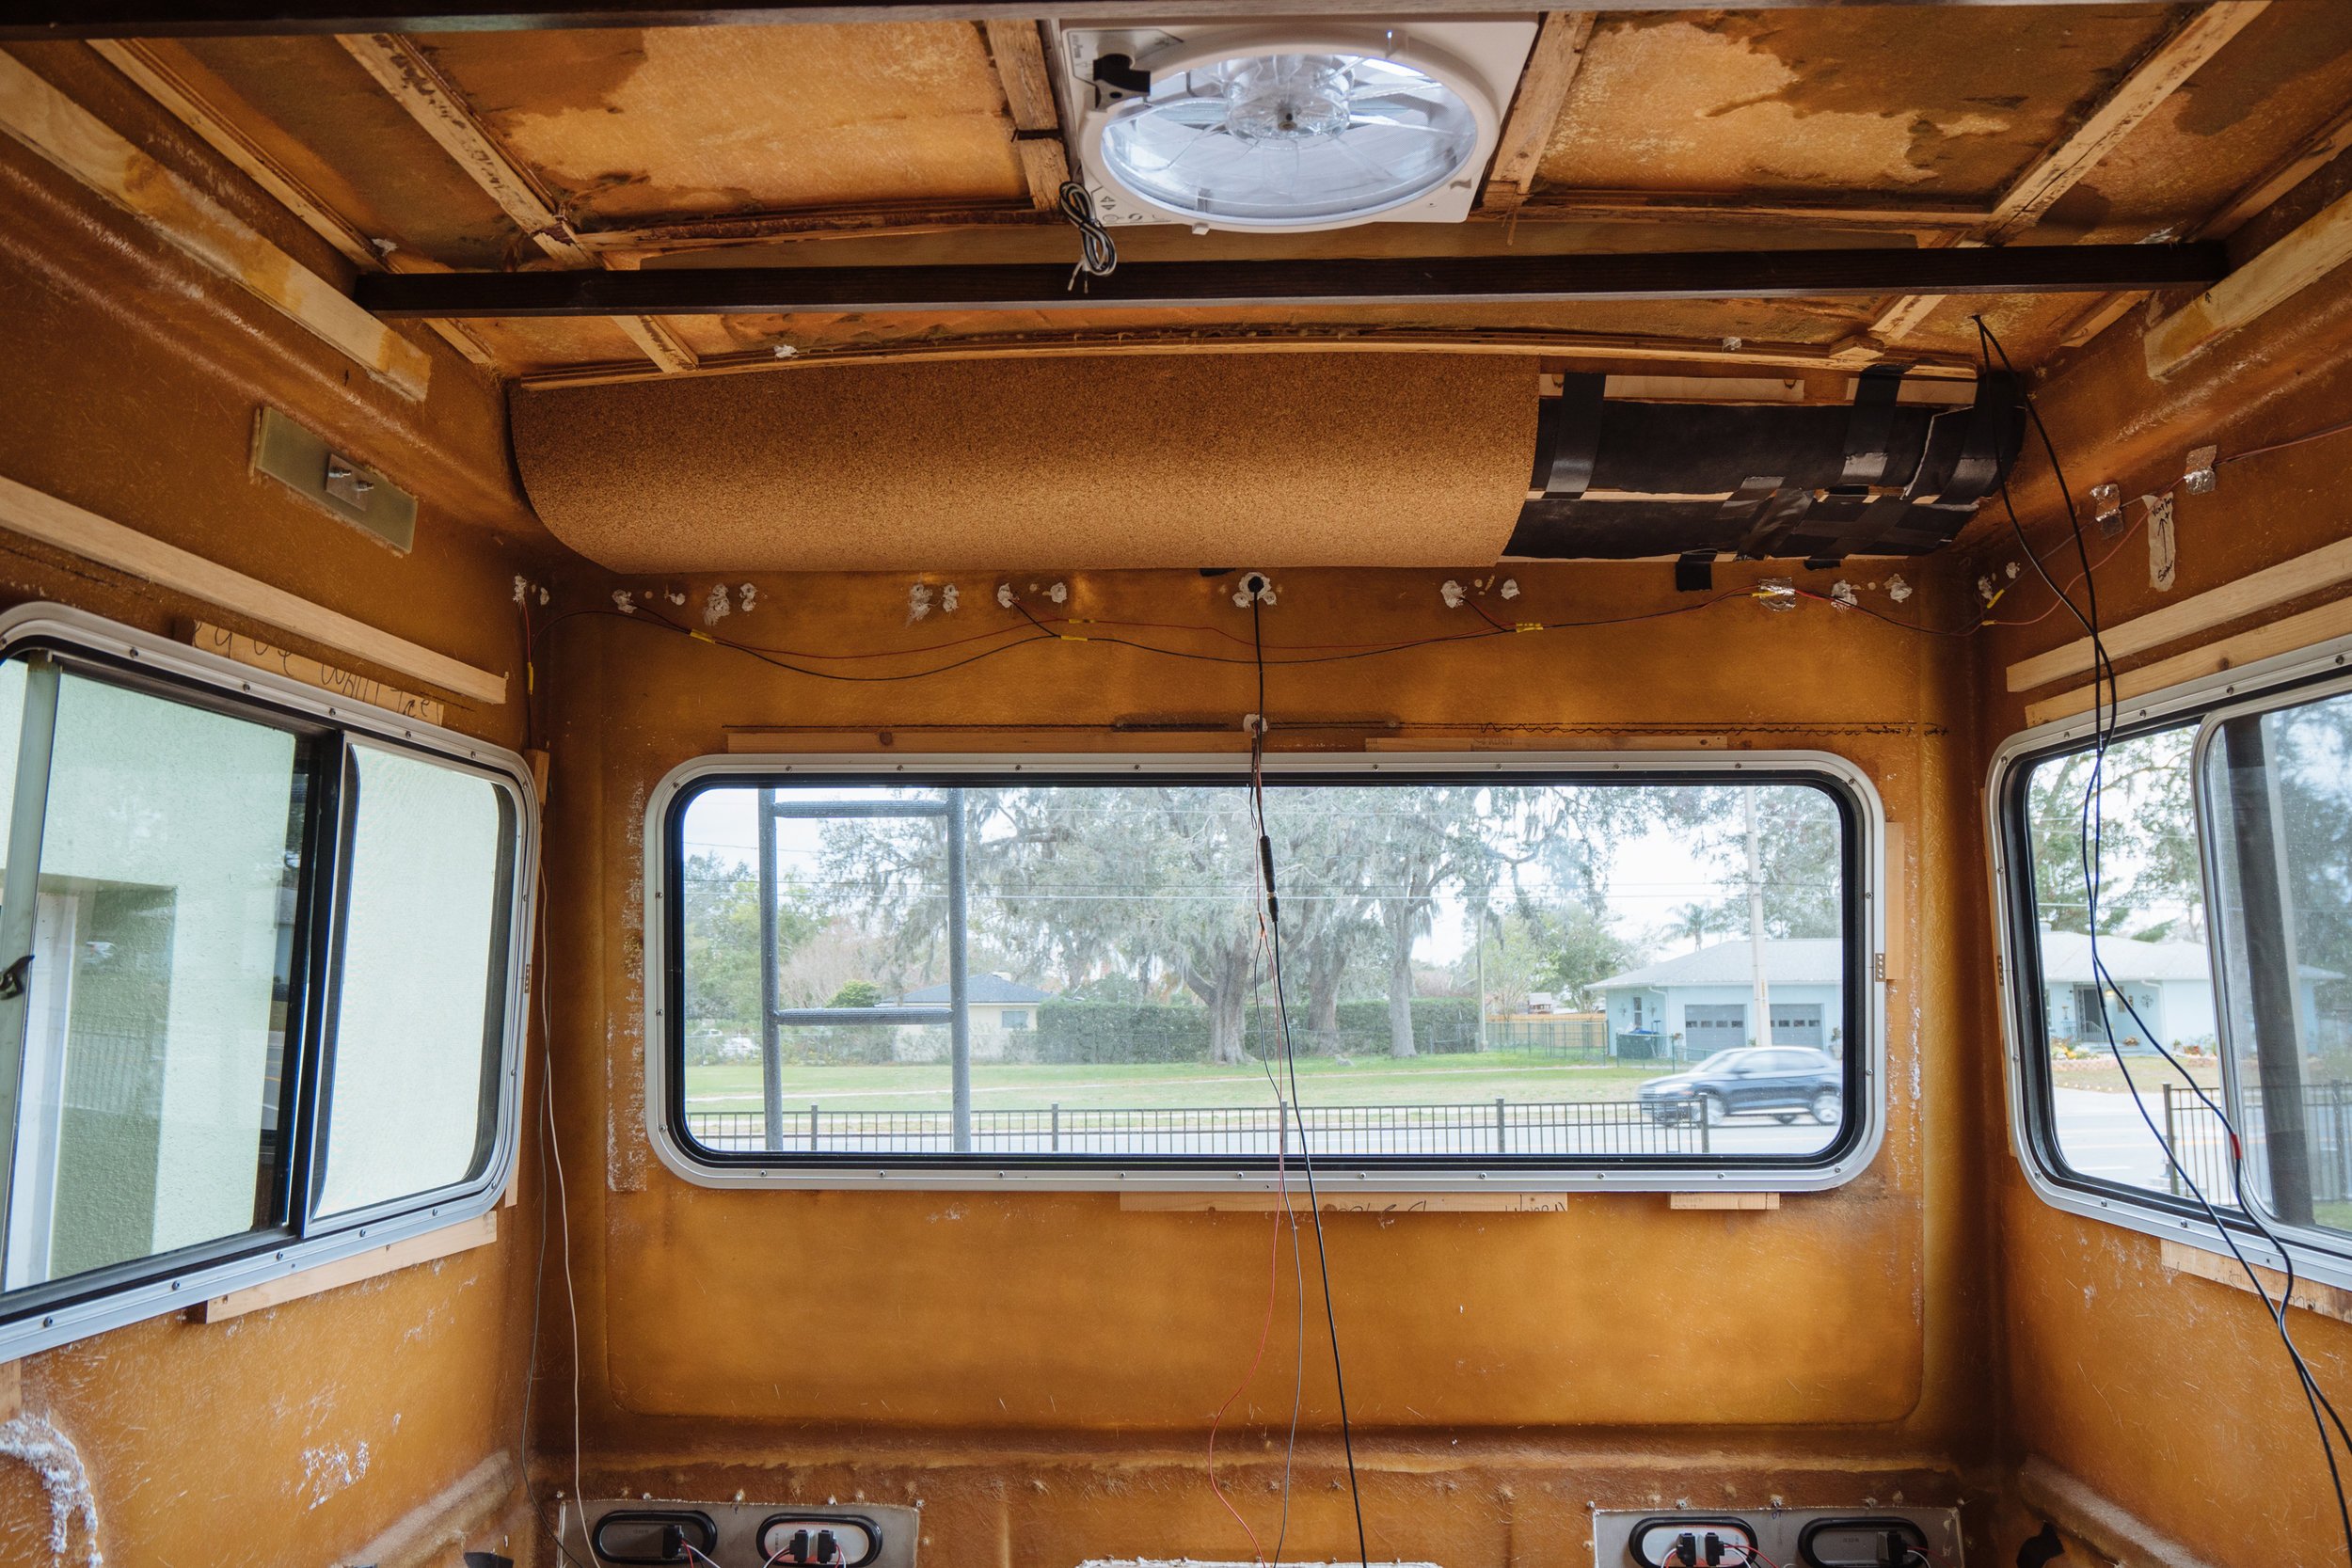
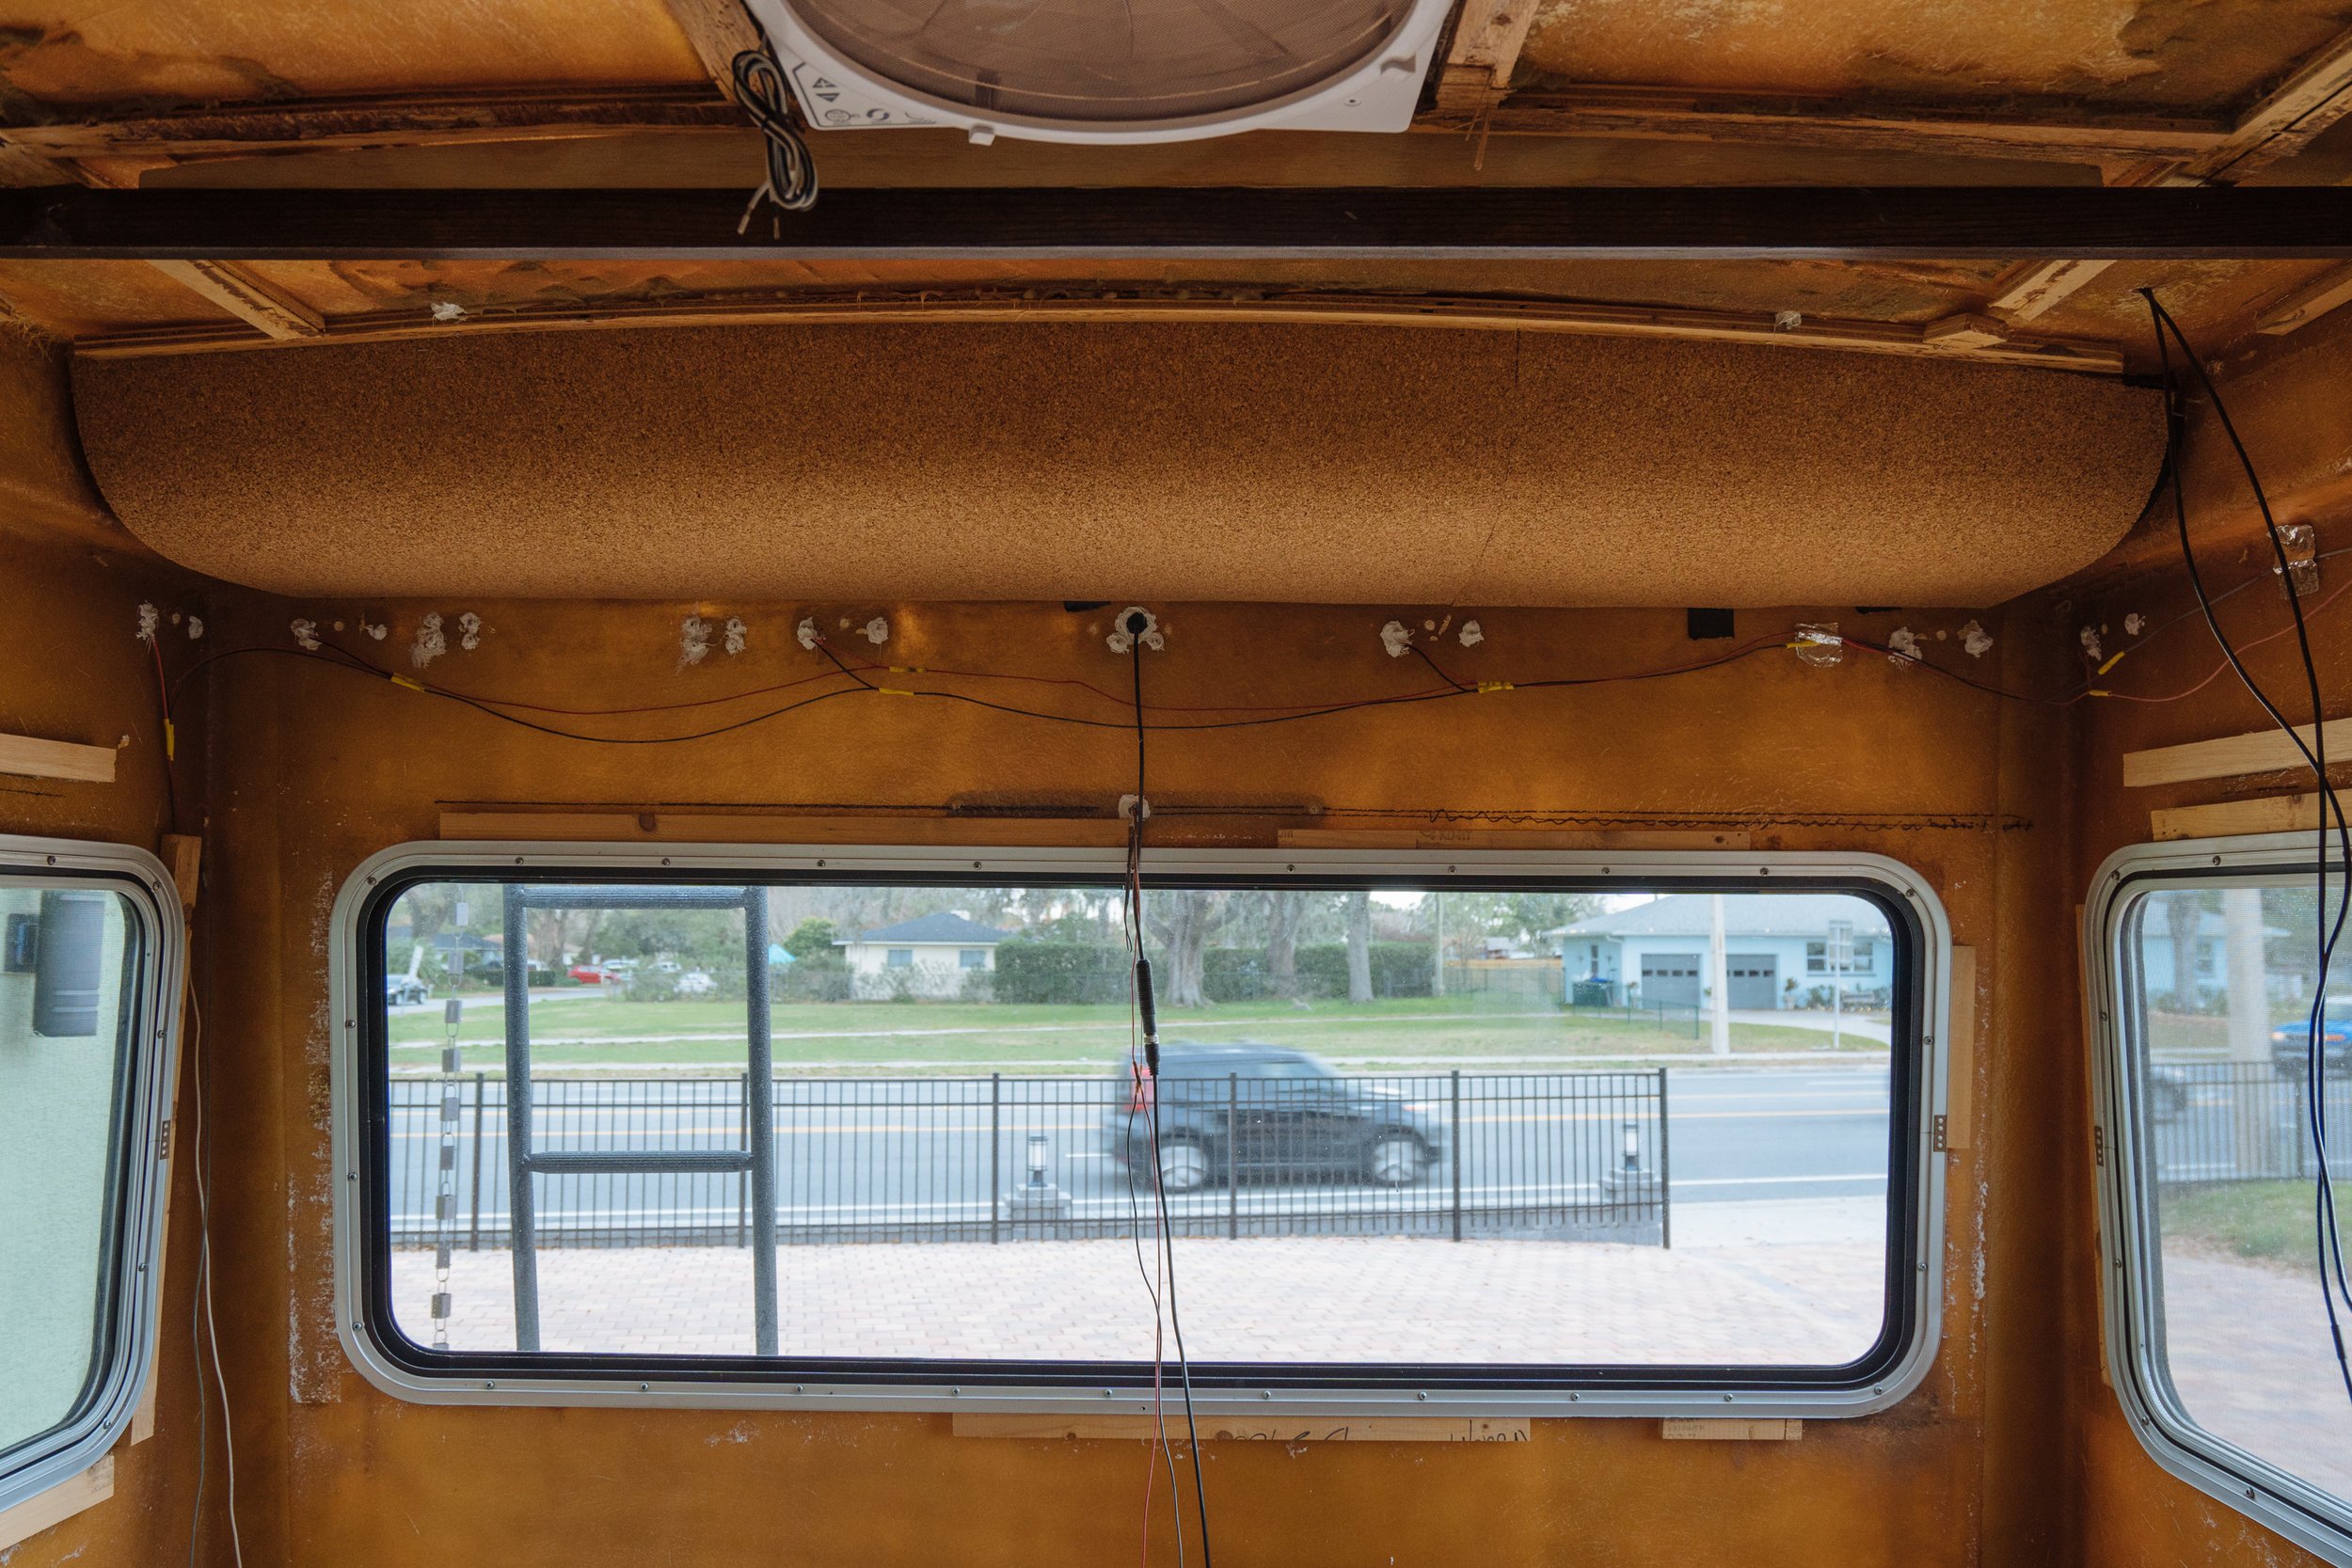
Once the supports were glued into place, I tossed all of the insulation I cut into place, filling the gaps between the supports. With cork cut, it was really easy to place and staple it into place. We're really happy with how it turned out! BONUS with this wall being cork, we can pin pictures and other fun things up to give it a little character once we get to the decorating phase!

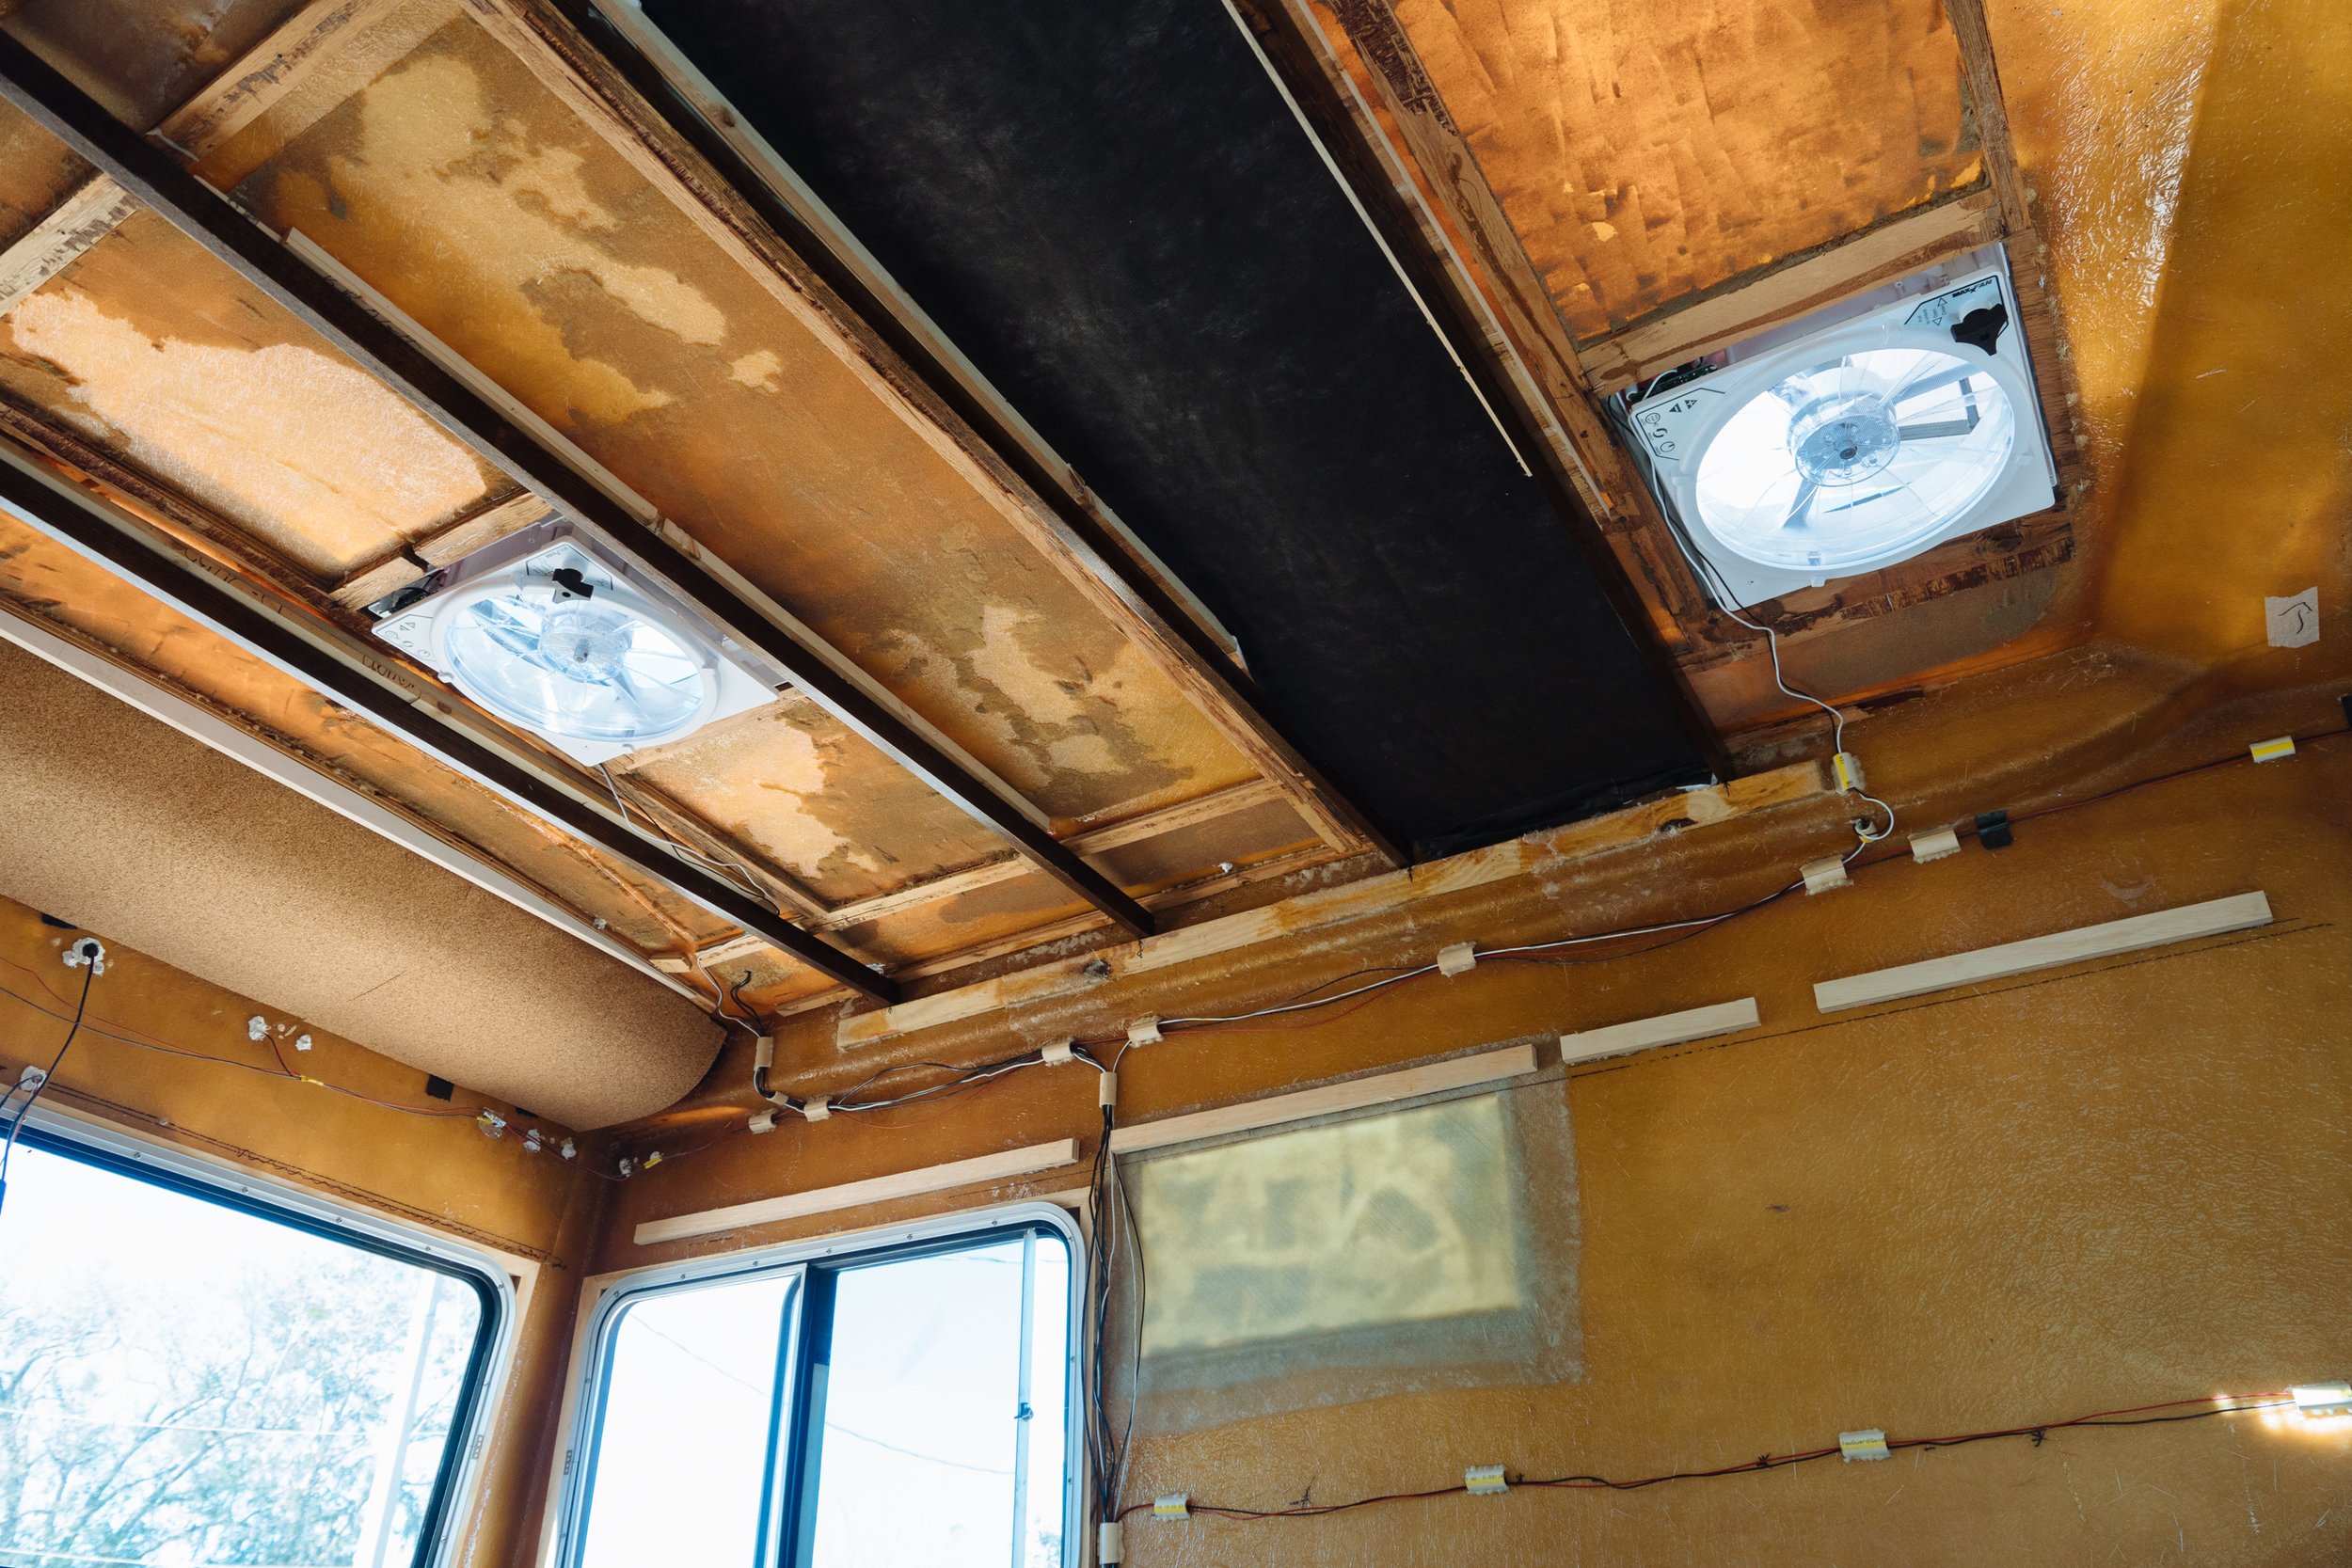
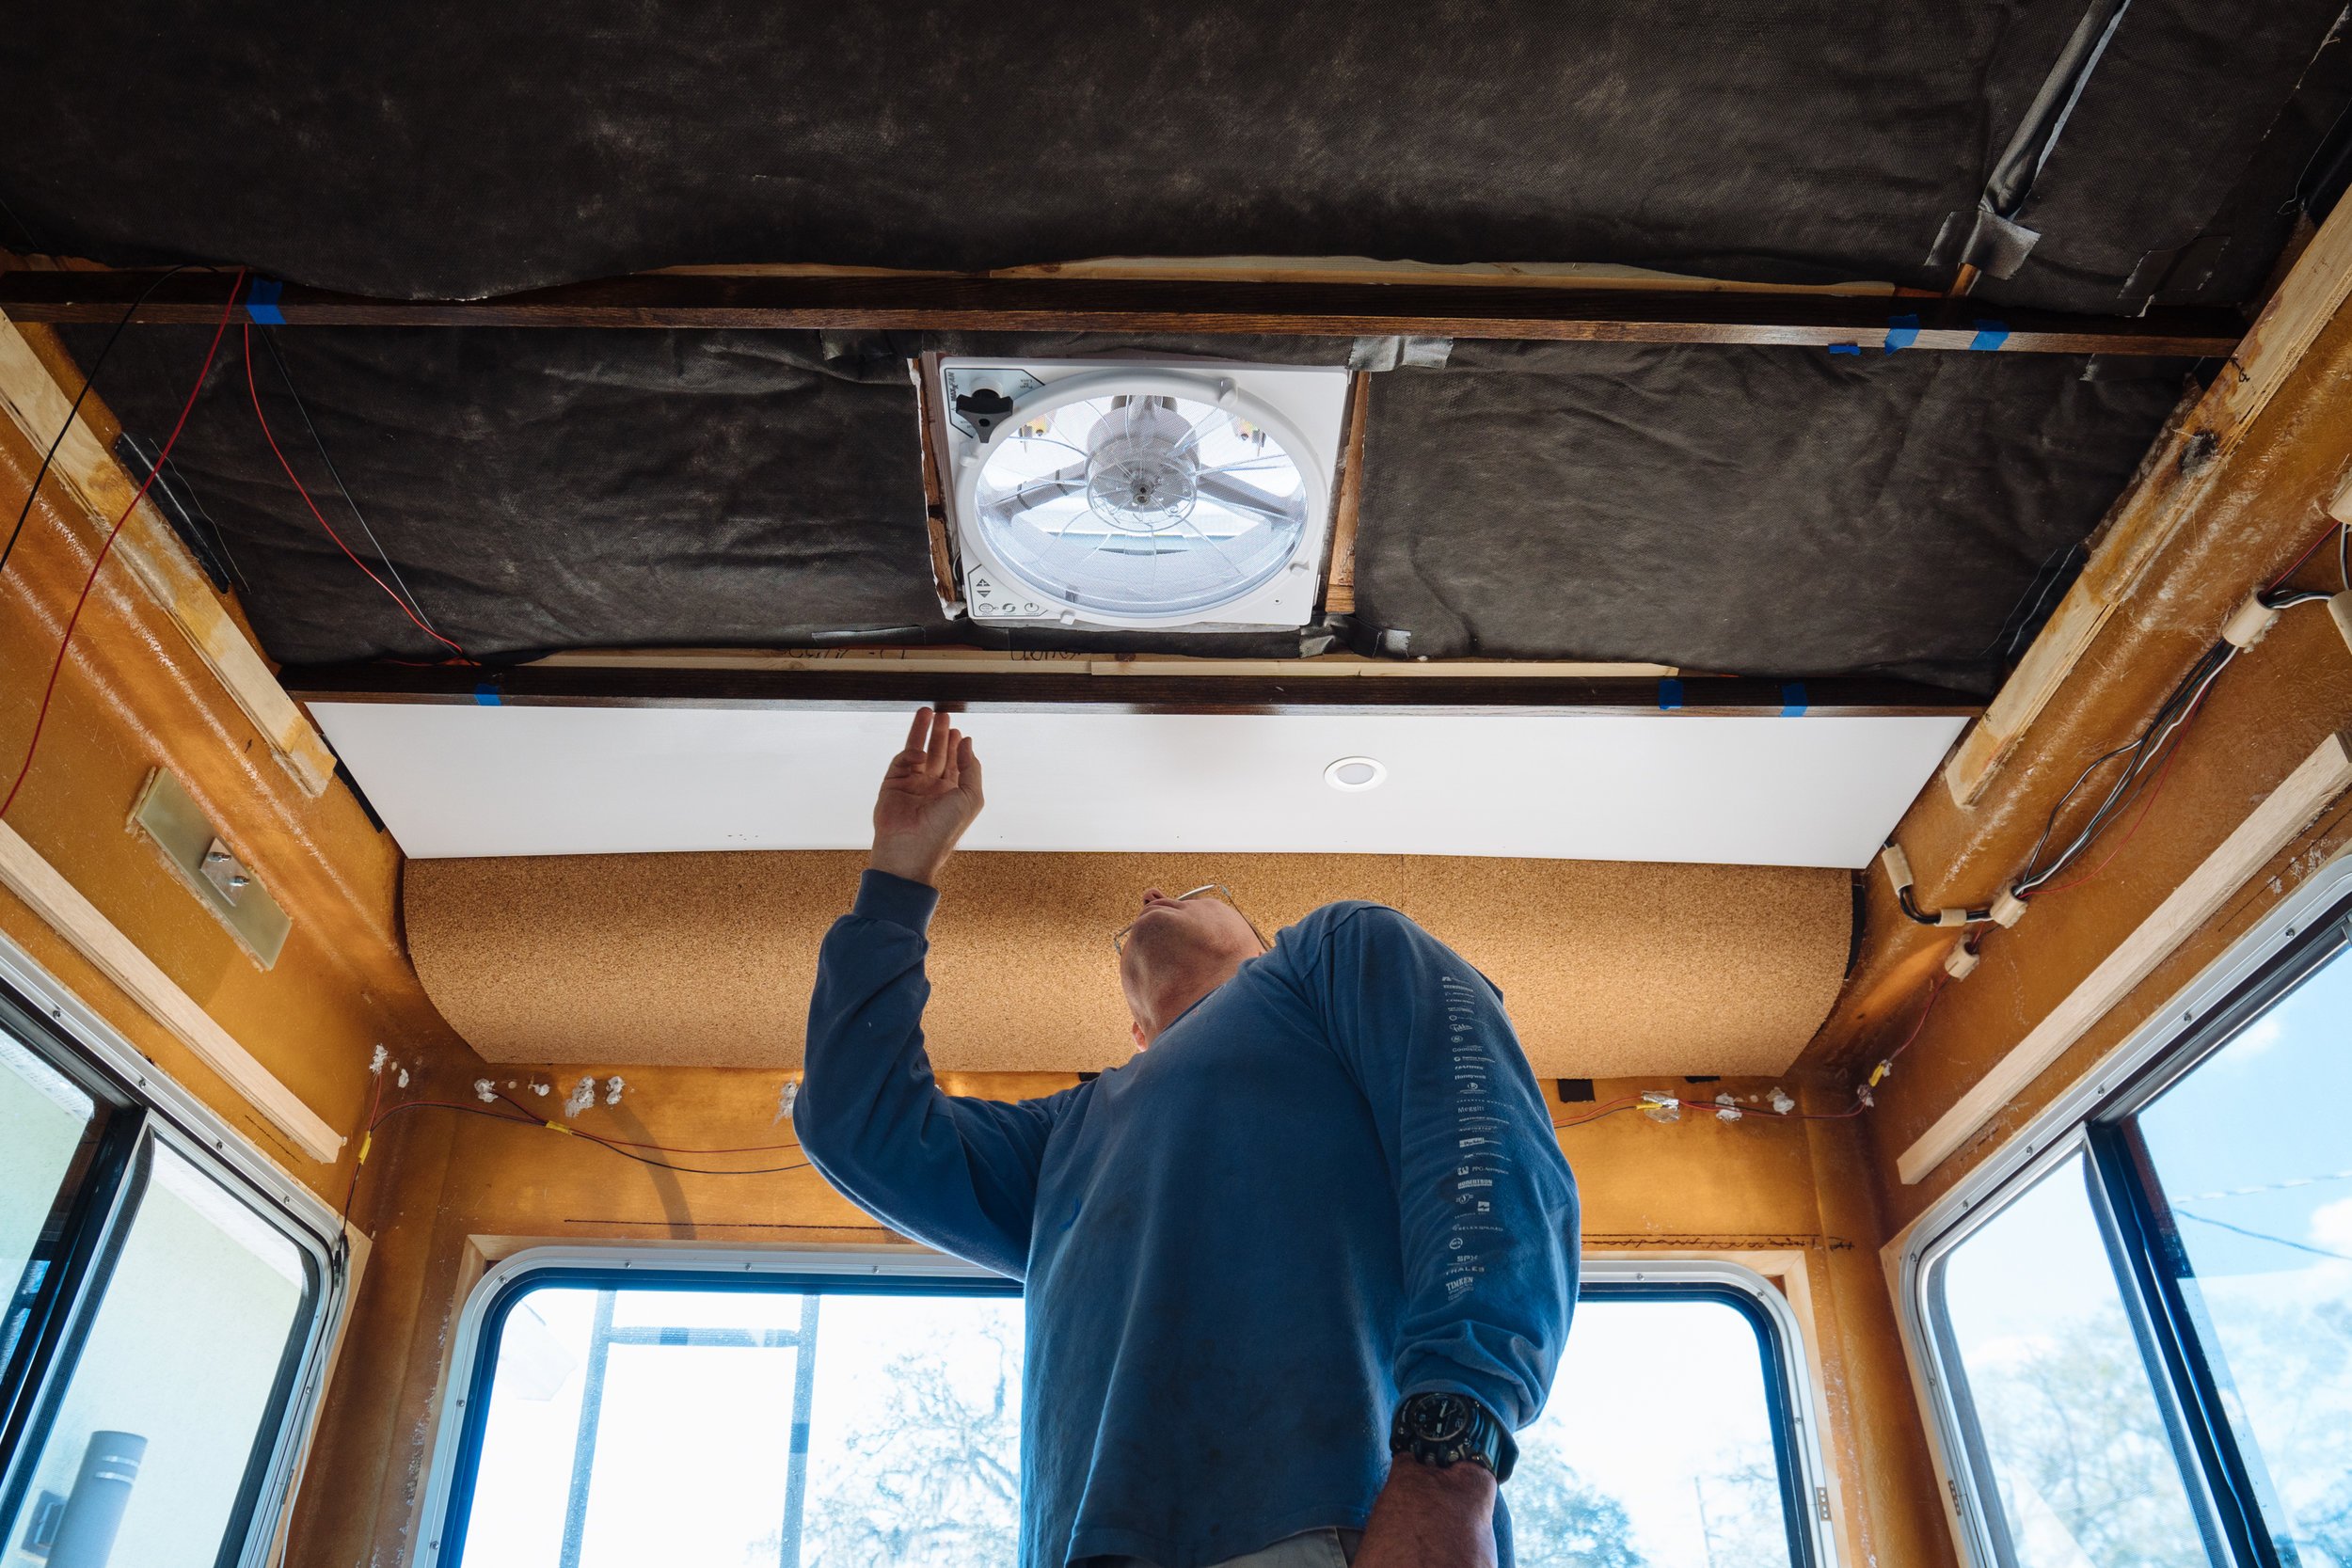
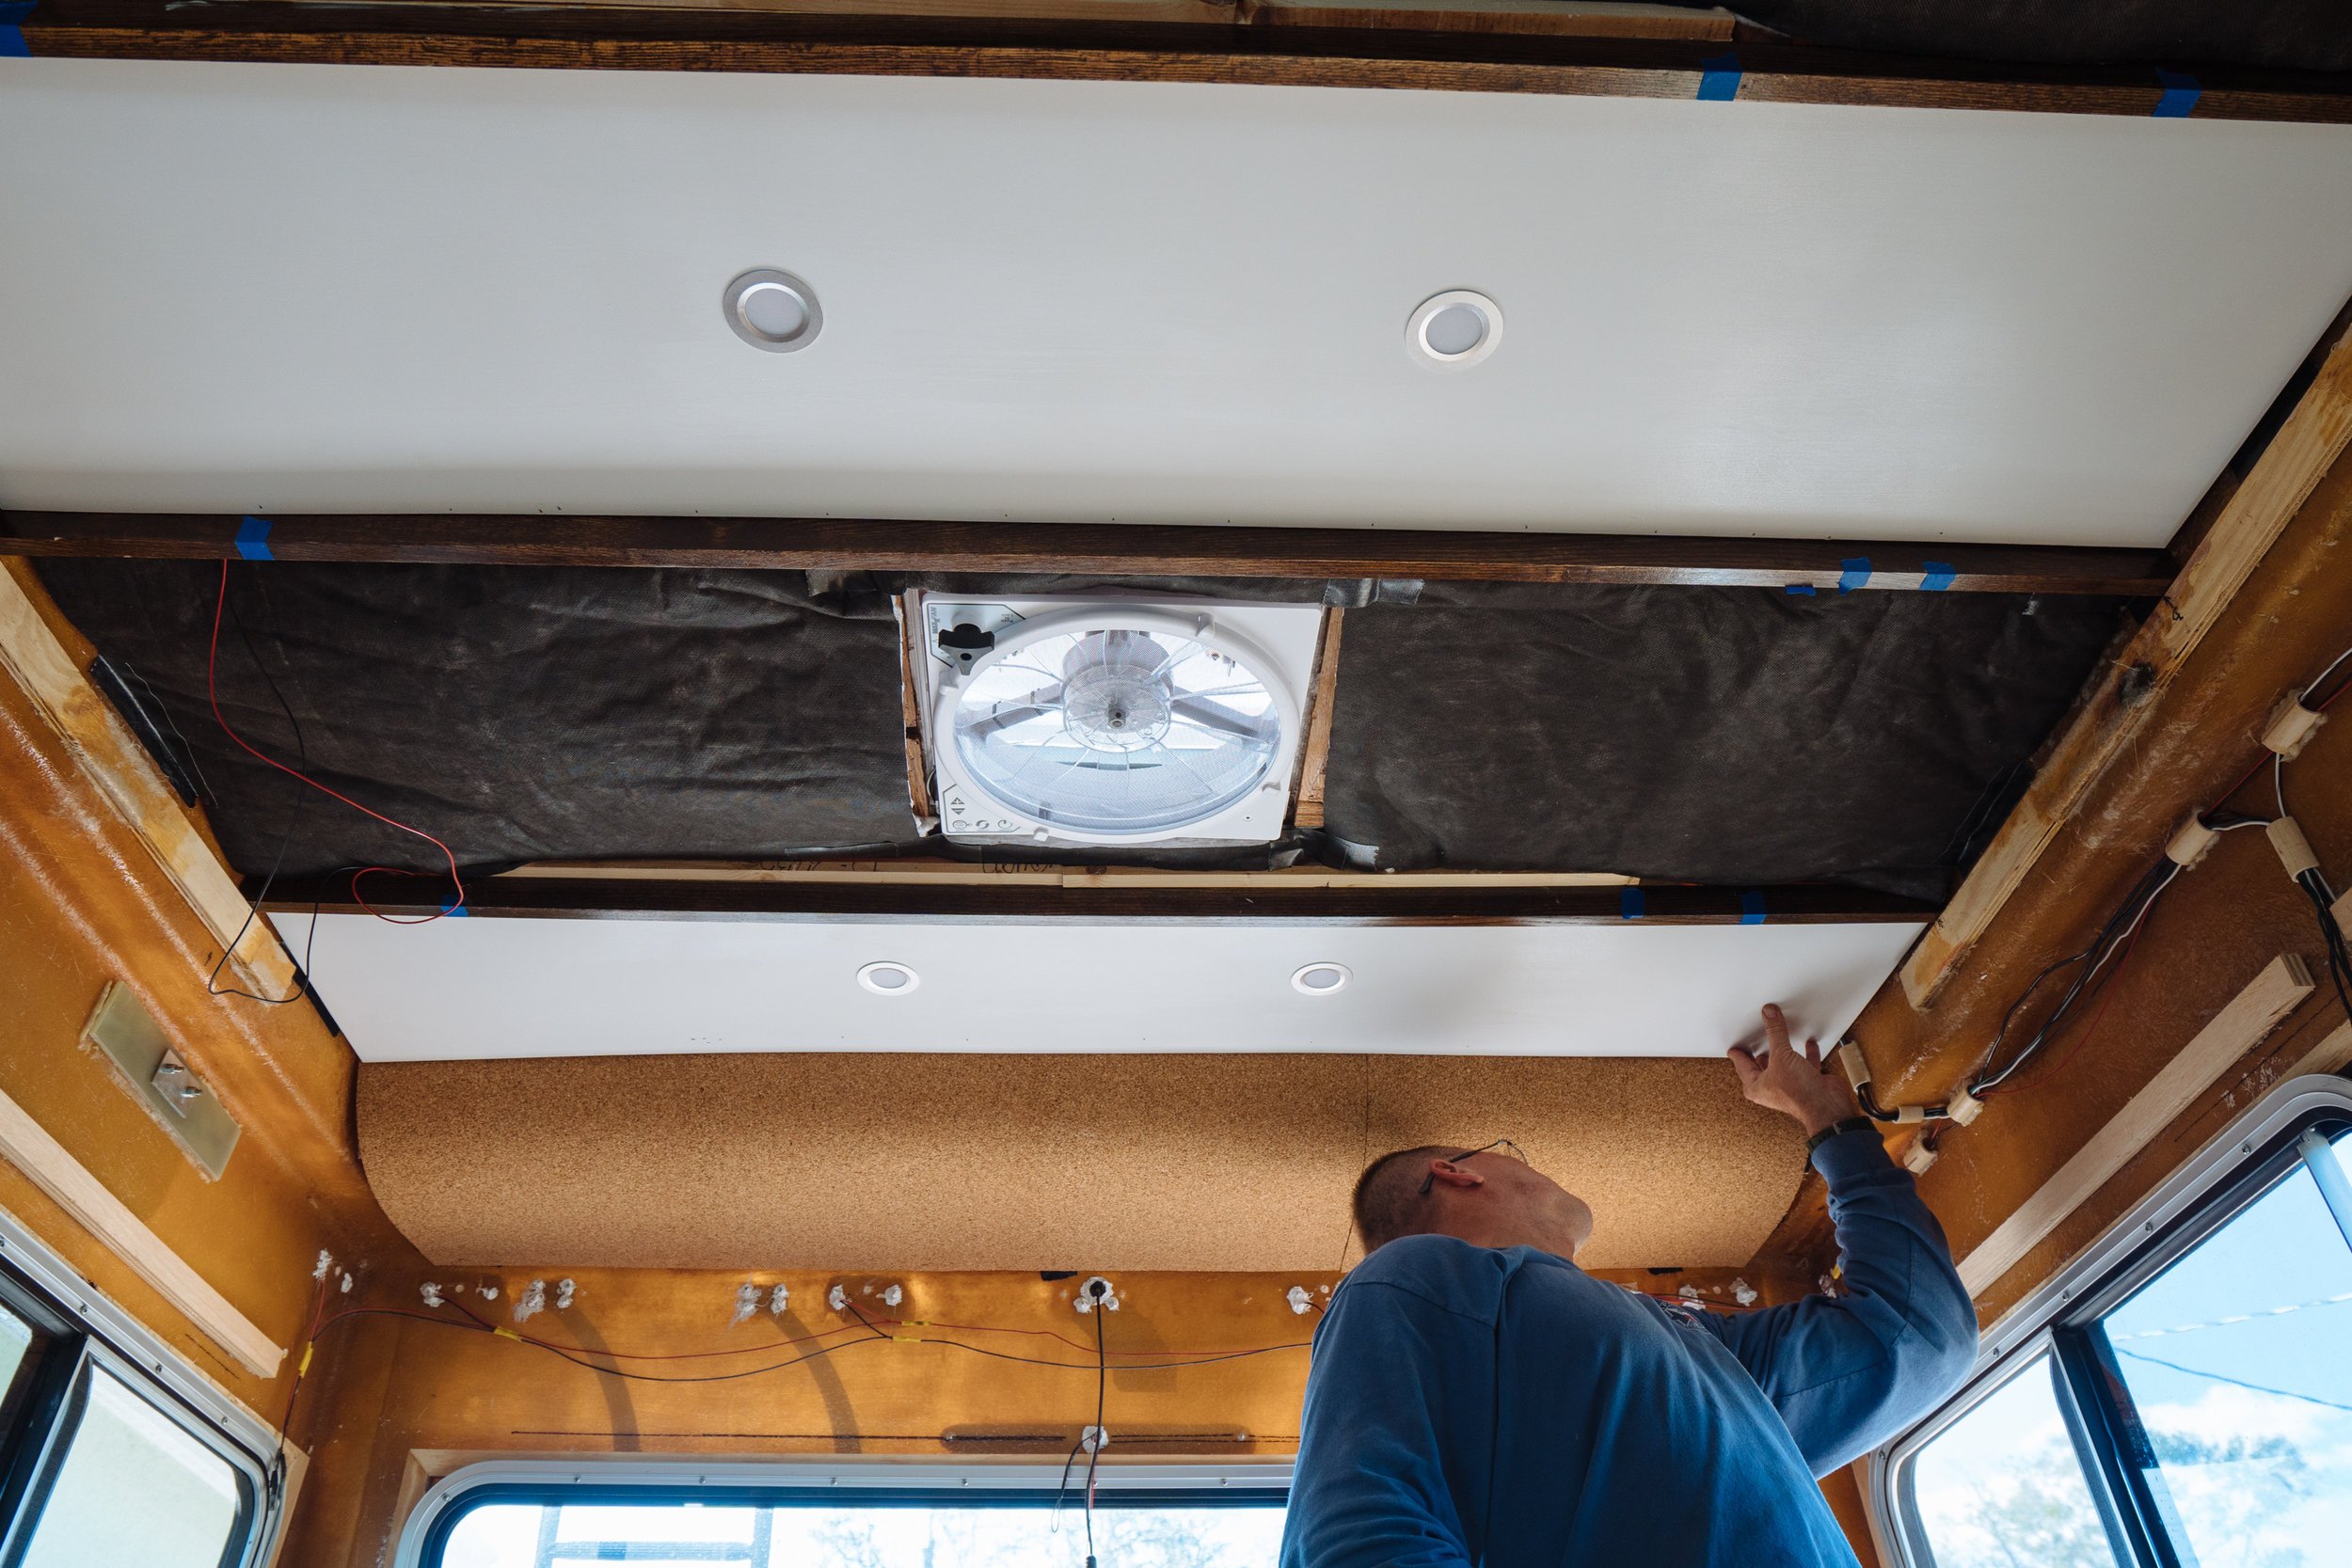
This past week I had the pleasure of spending a lot of time with our new ceiling panels. Because we're working around our exposed rafters, our ceiling in the living area is segmented into 5 pieces. Before cutting all of the separate pieces, Owen and I came up with a plan for the locations of our overhead lighting and our skylights. All that was left, was to make it happen.
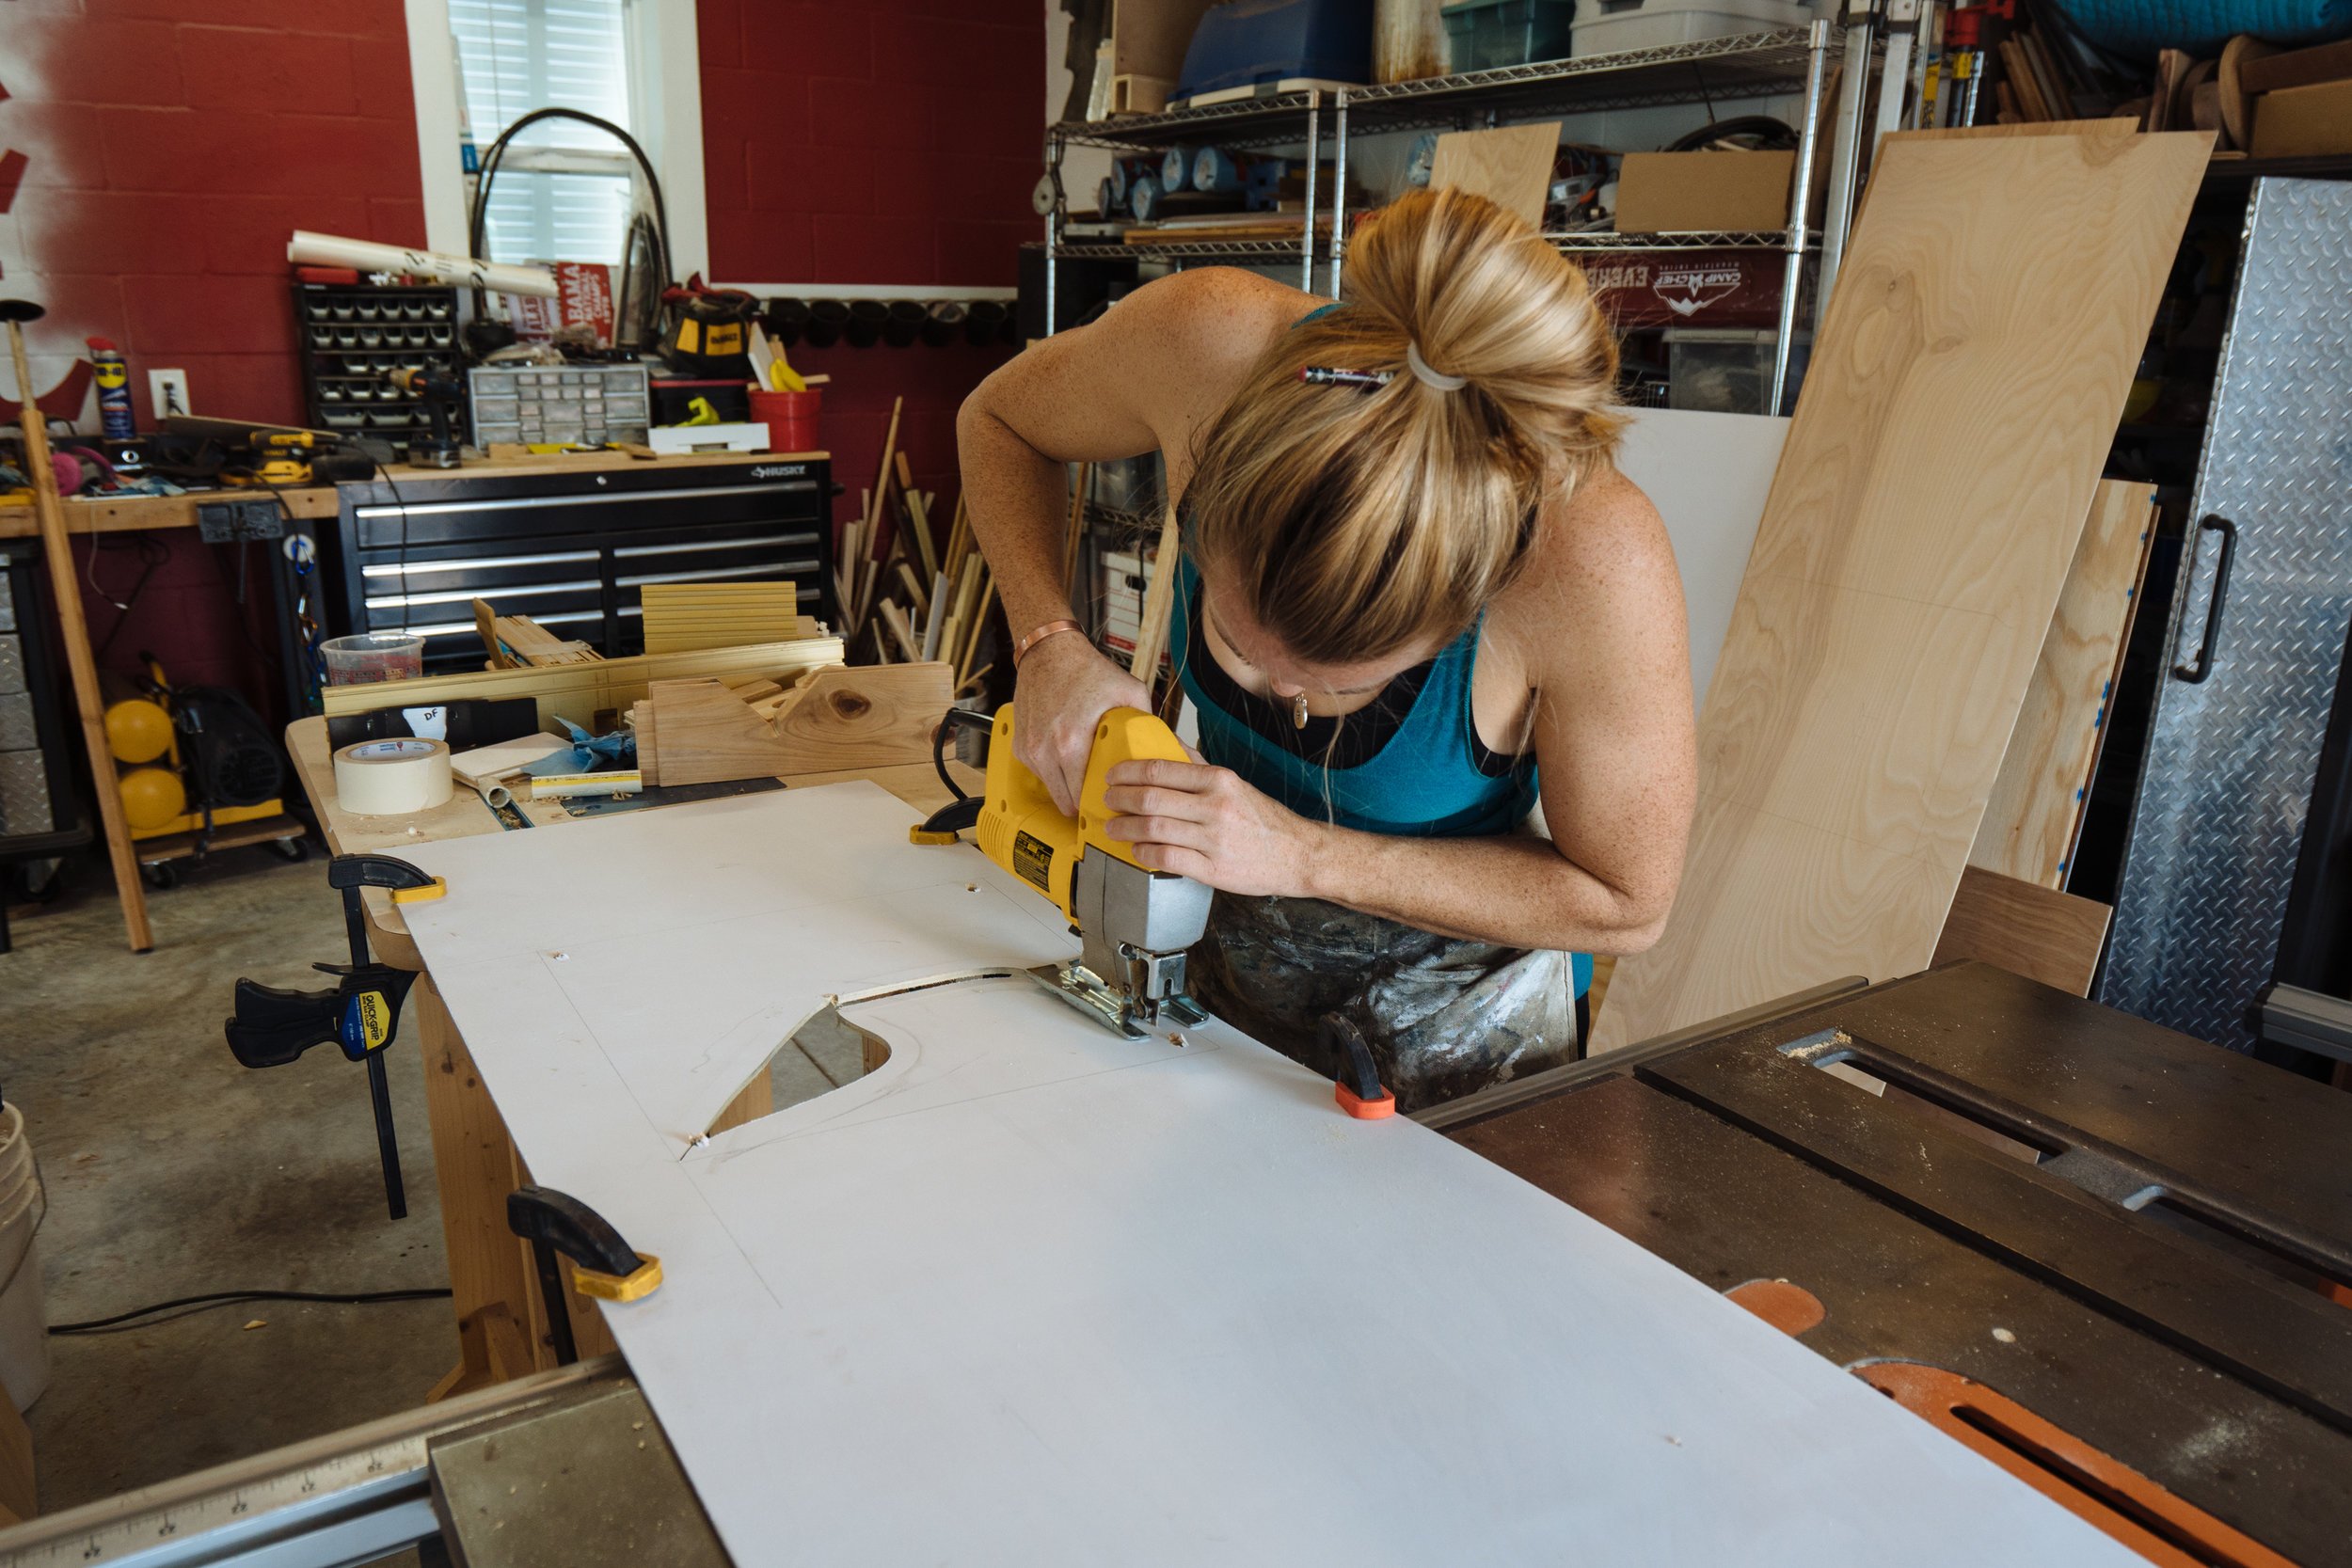
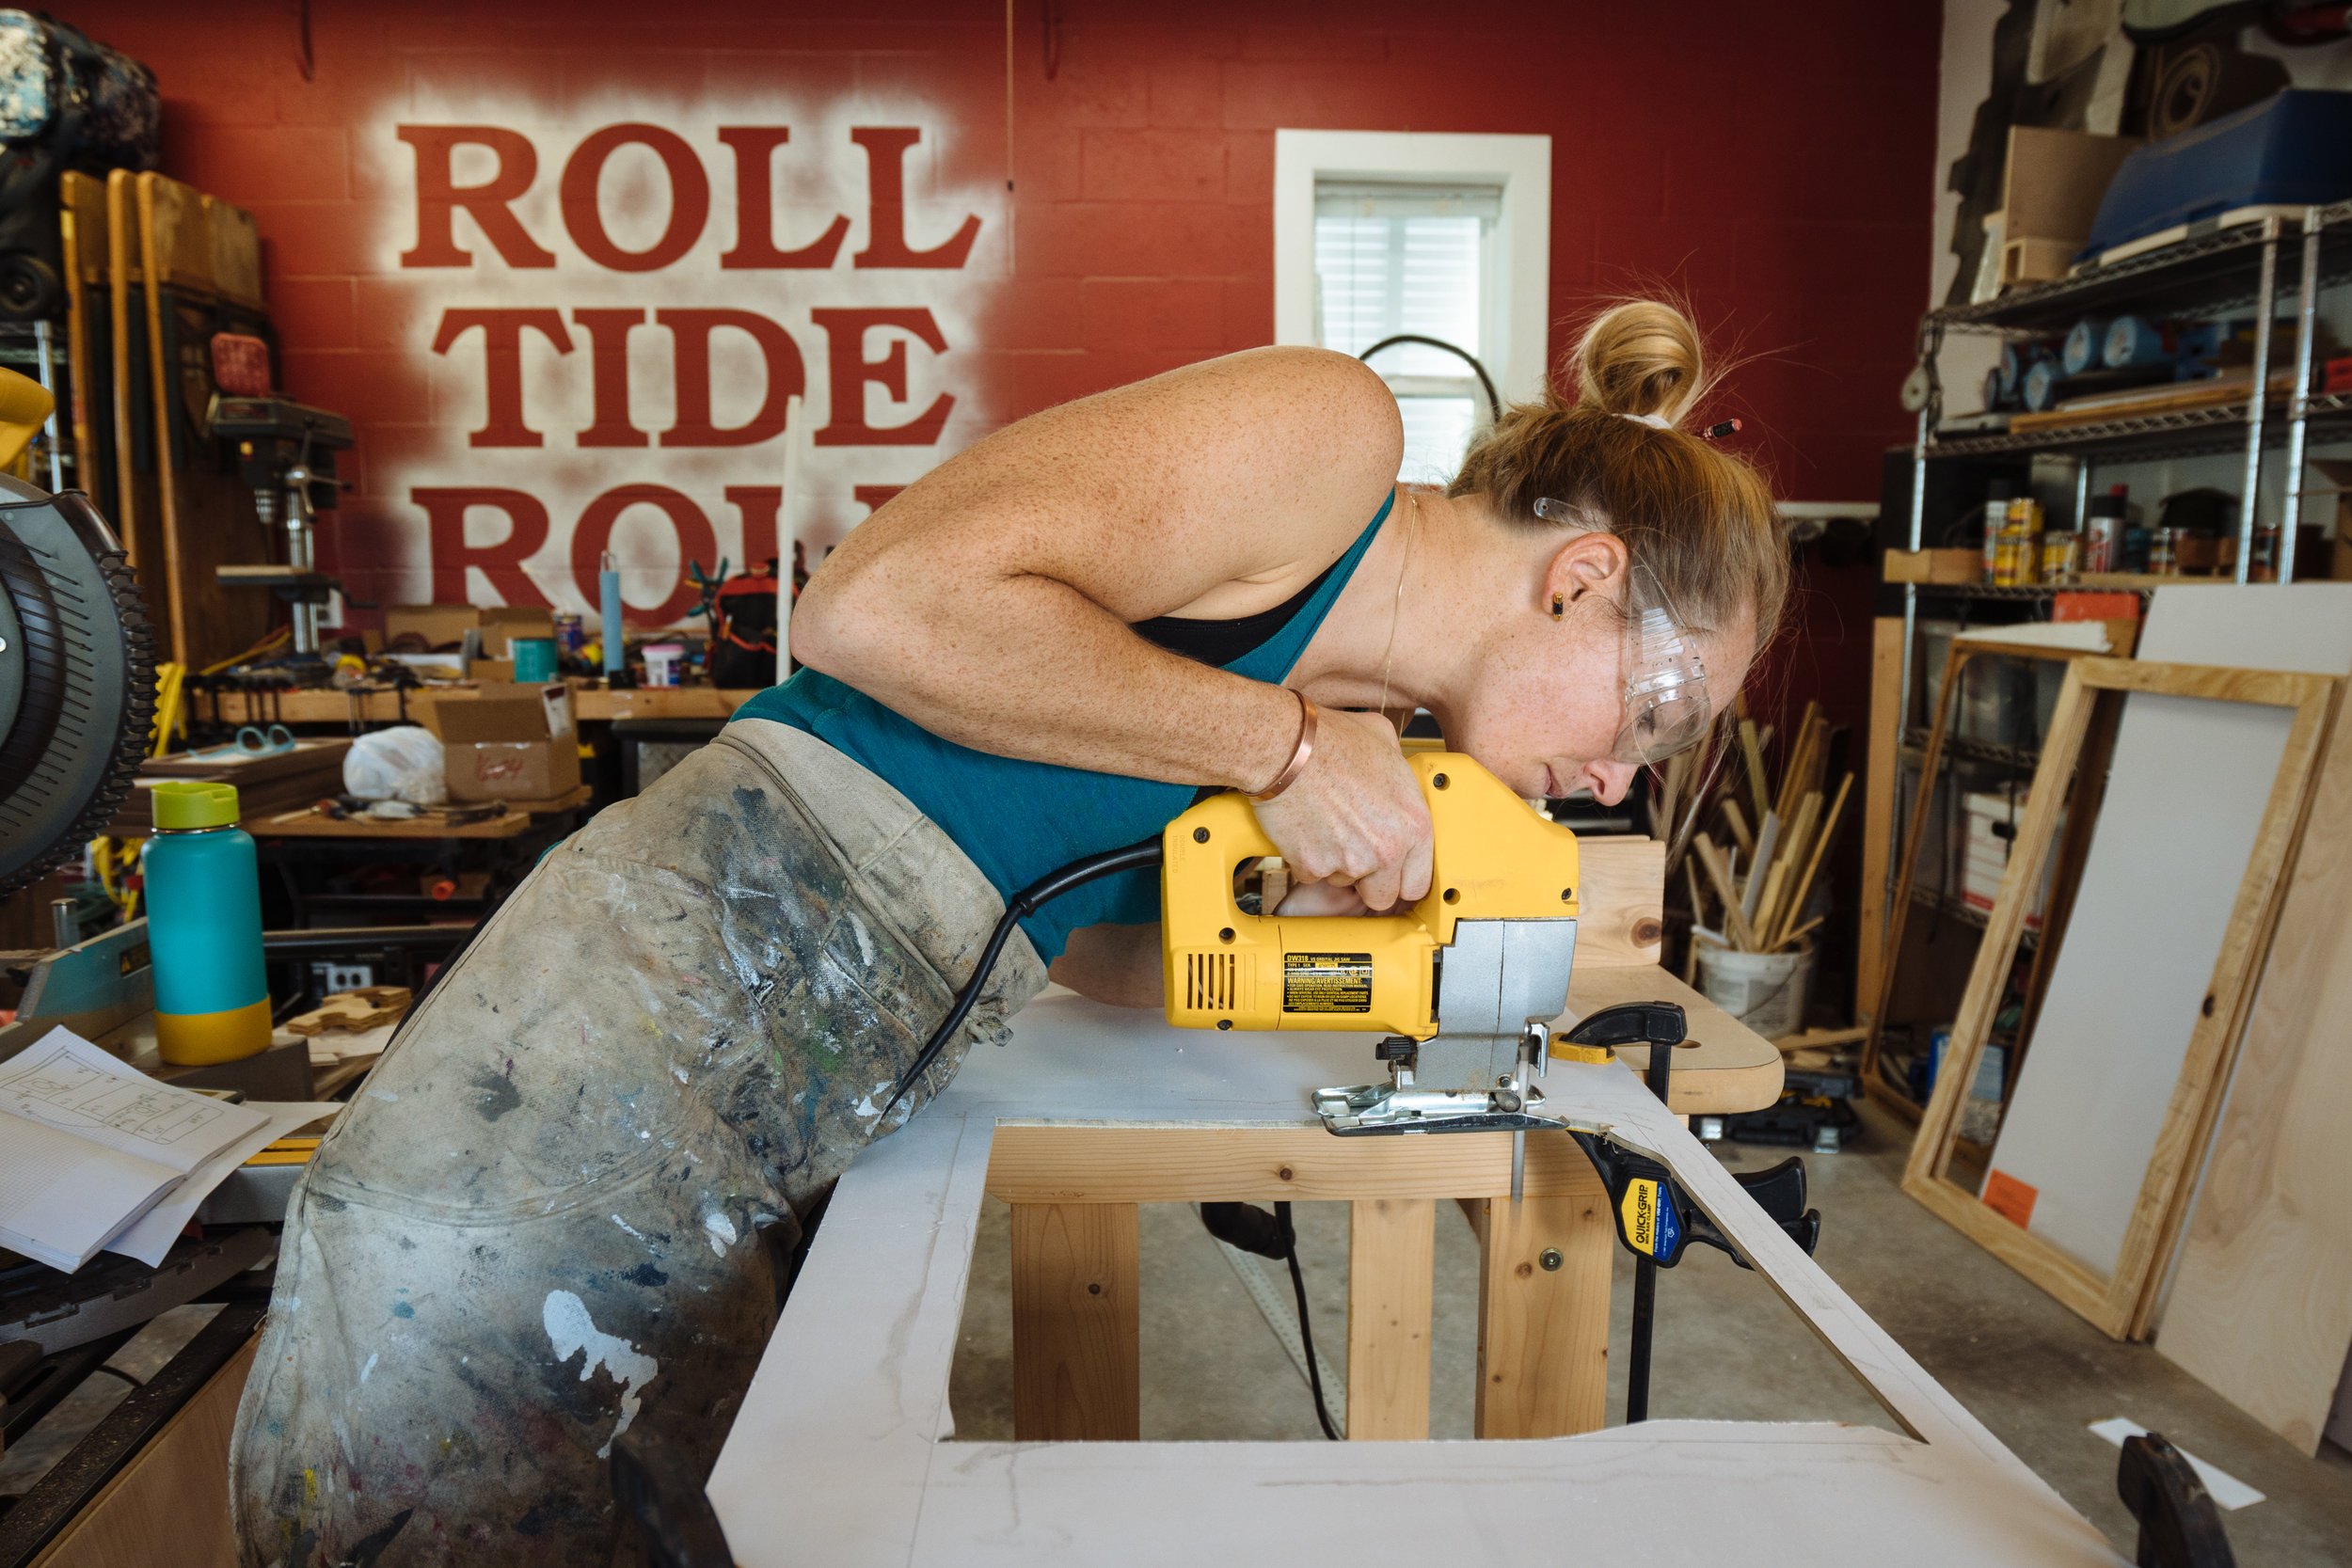
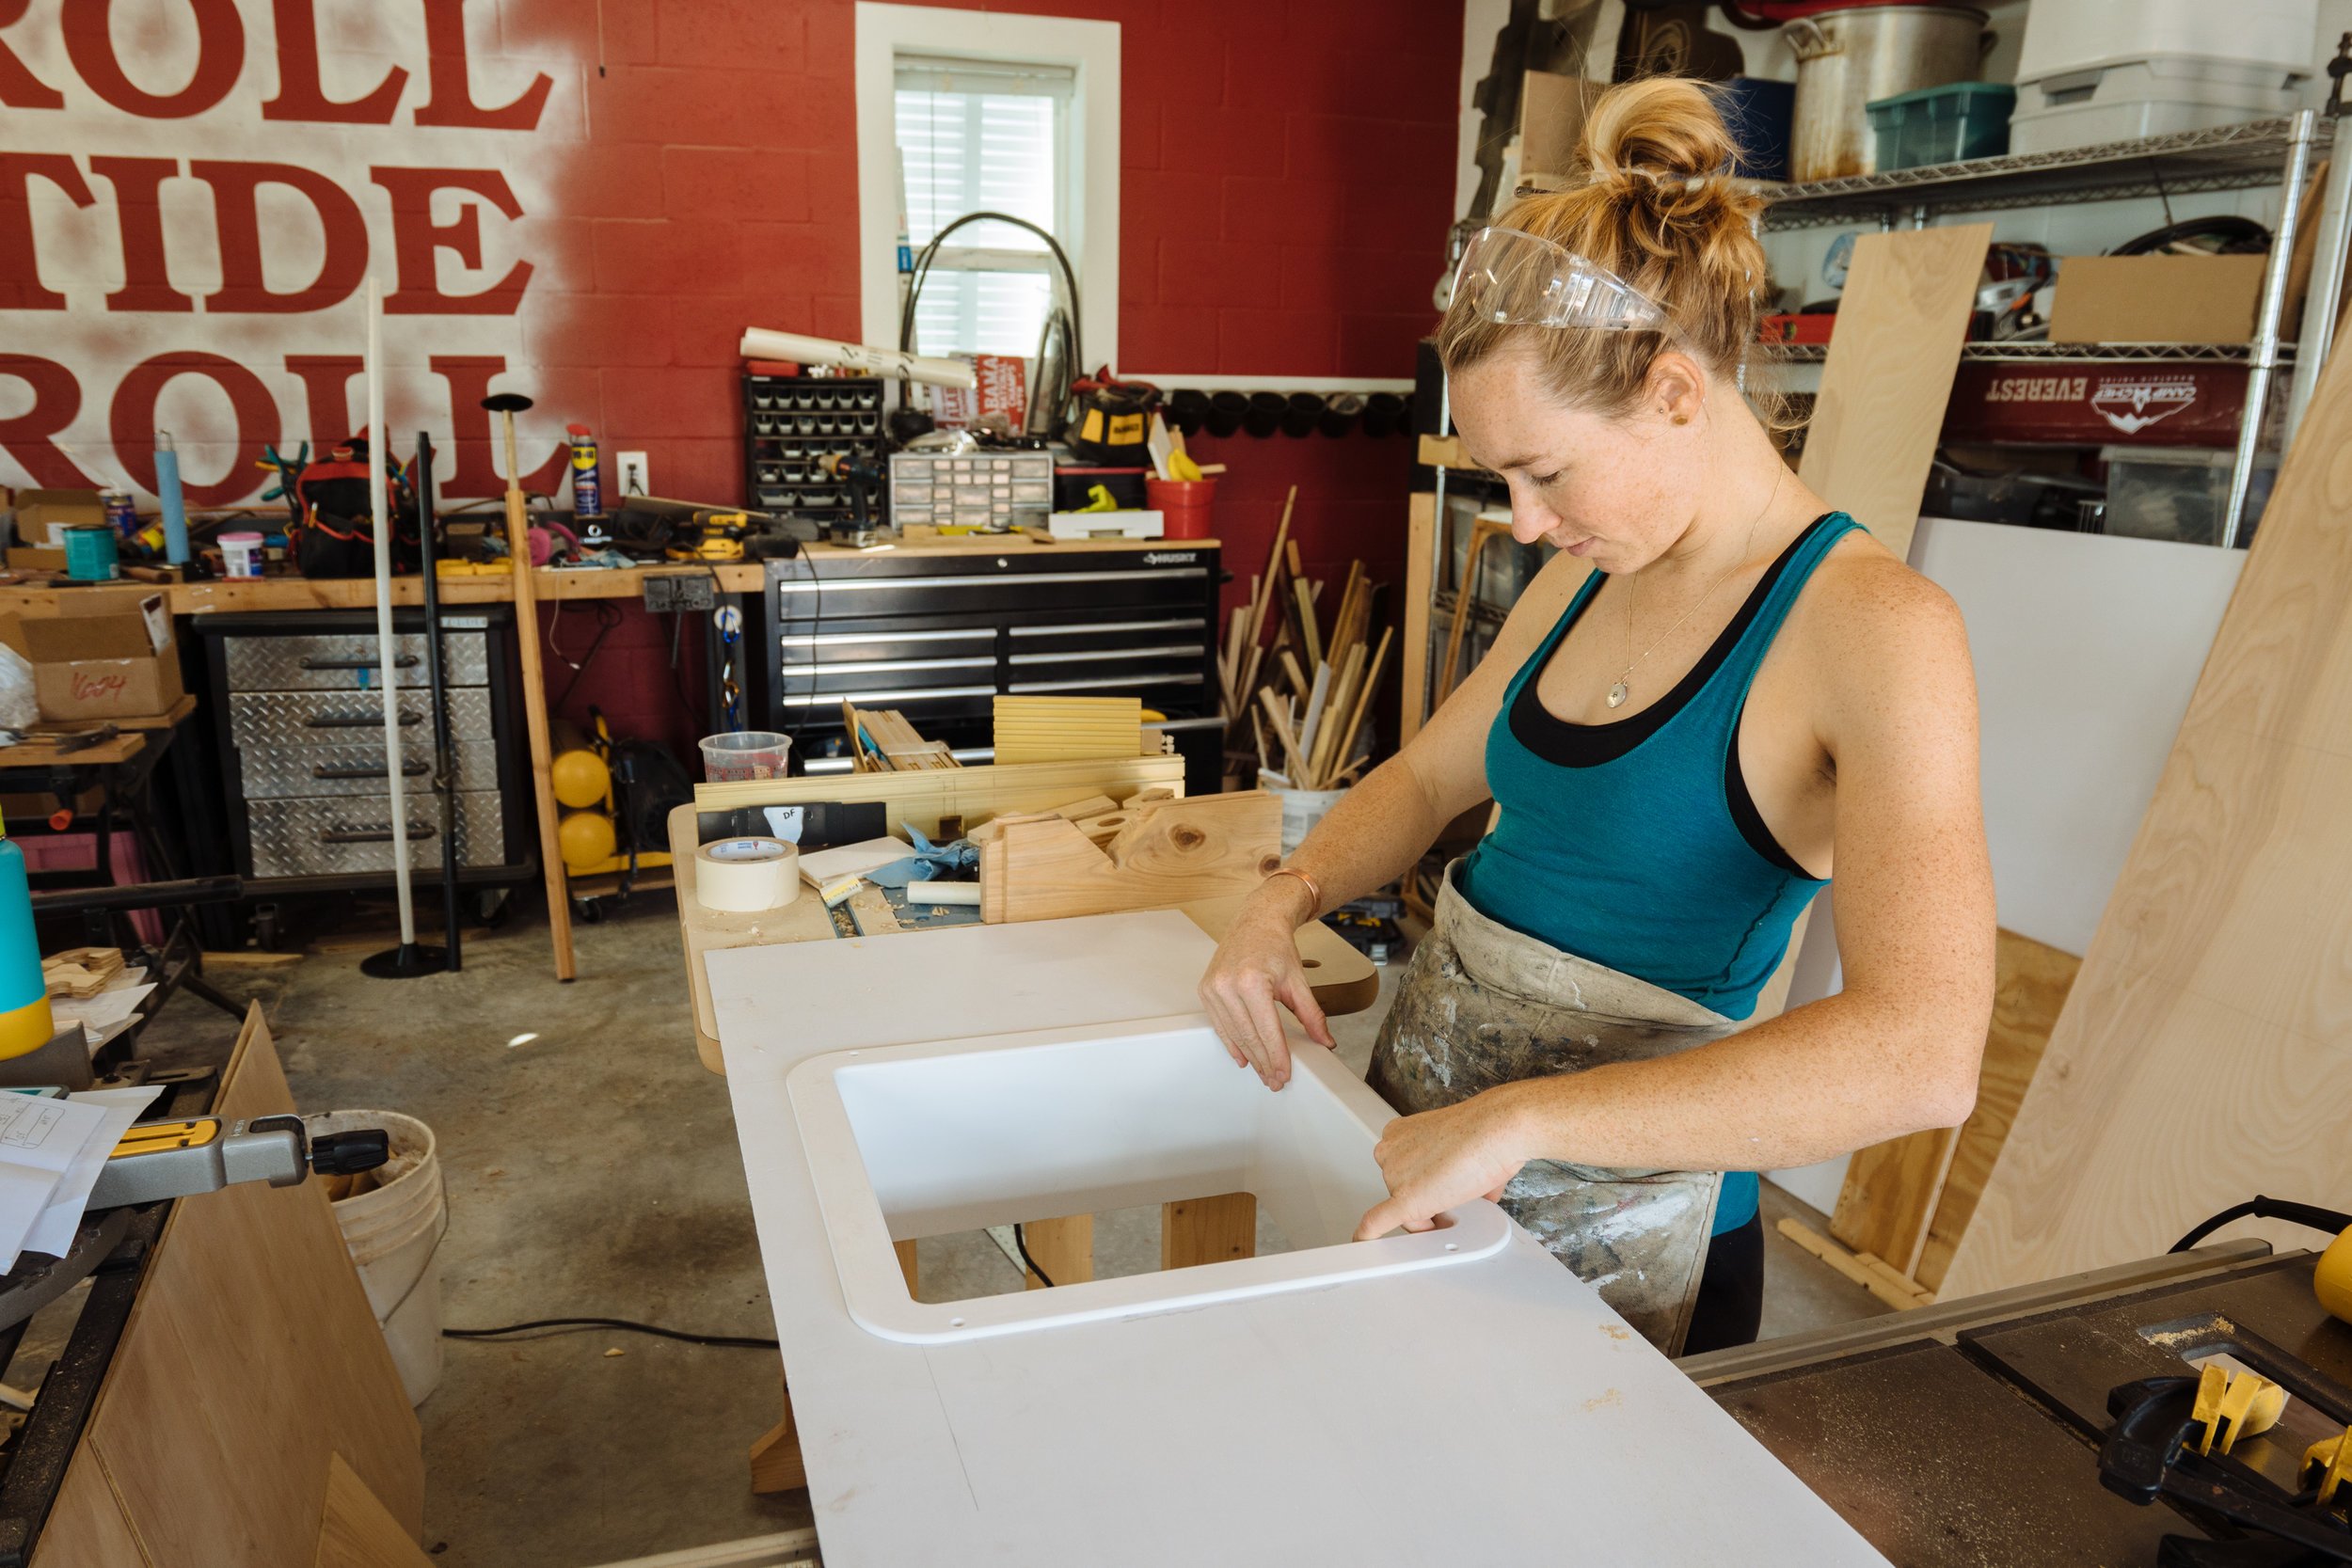
After cutting each of our holes I was sure to check that everything was fitting into place.

There is very little documentation of the painting process for these ceiling tiles, but you get the picture. I spent more time painting this past week than I did just about anything else! In all, they each got 3-4 coats of paint on the exposed side and 2 coats of polycrylic. I also decided to toss a coat of the poly on the backsides of each panel to be sure that they will never be affected by humidity or moisture of any kind.

TA-DAH! Man they look nice! Here they are leaning up in the order that they will go in back to front!

Electrical Work
Who knew it was so messy.
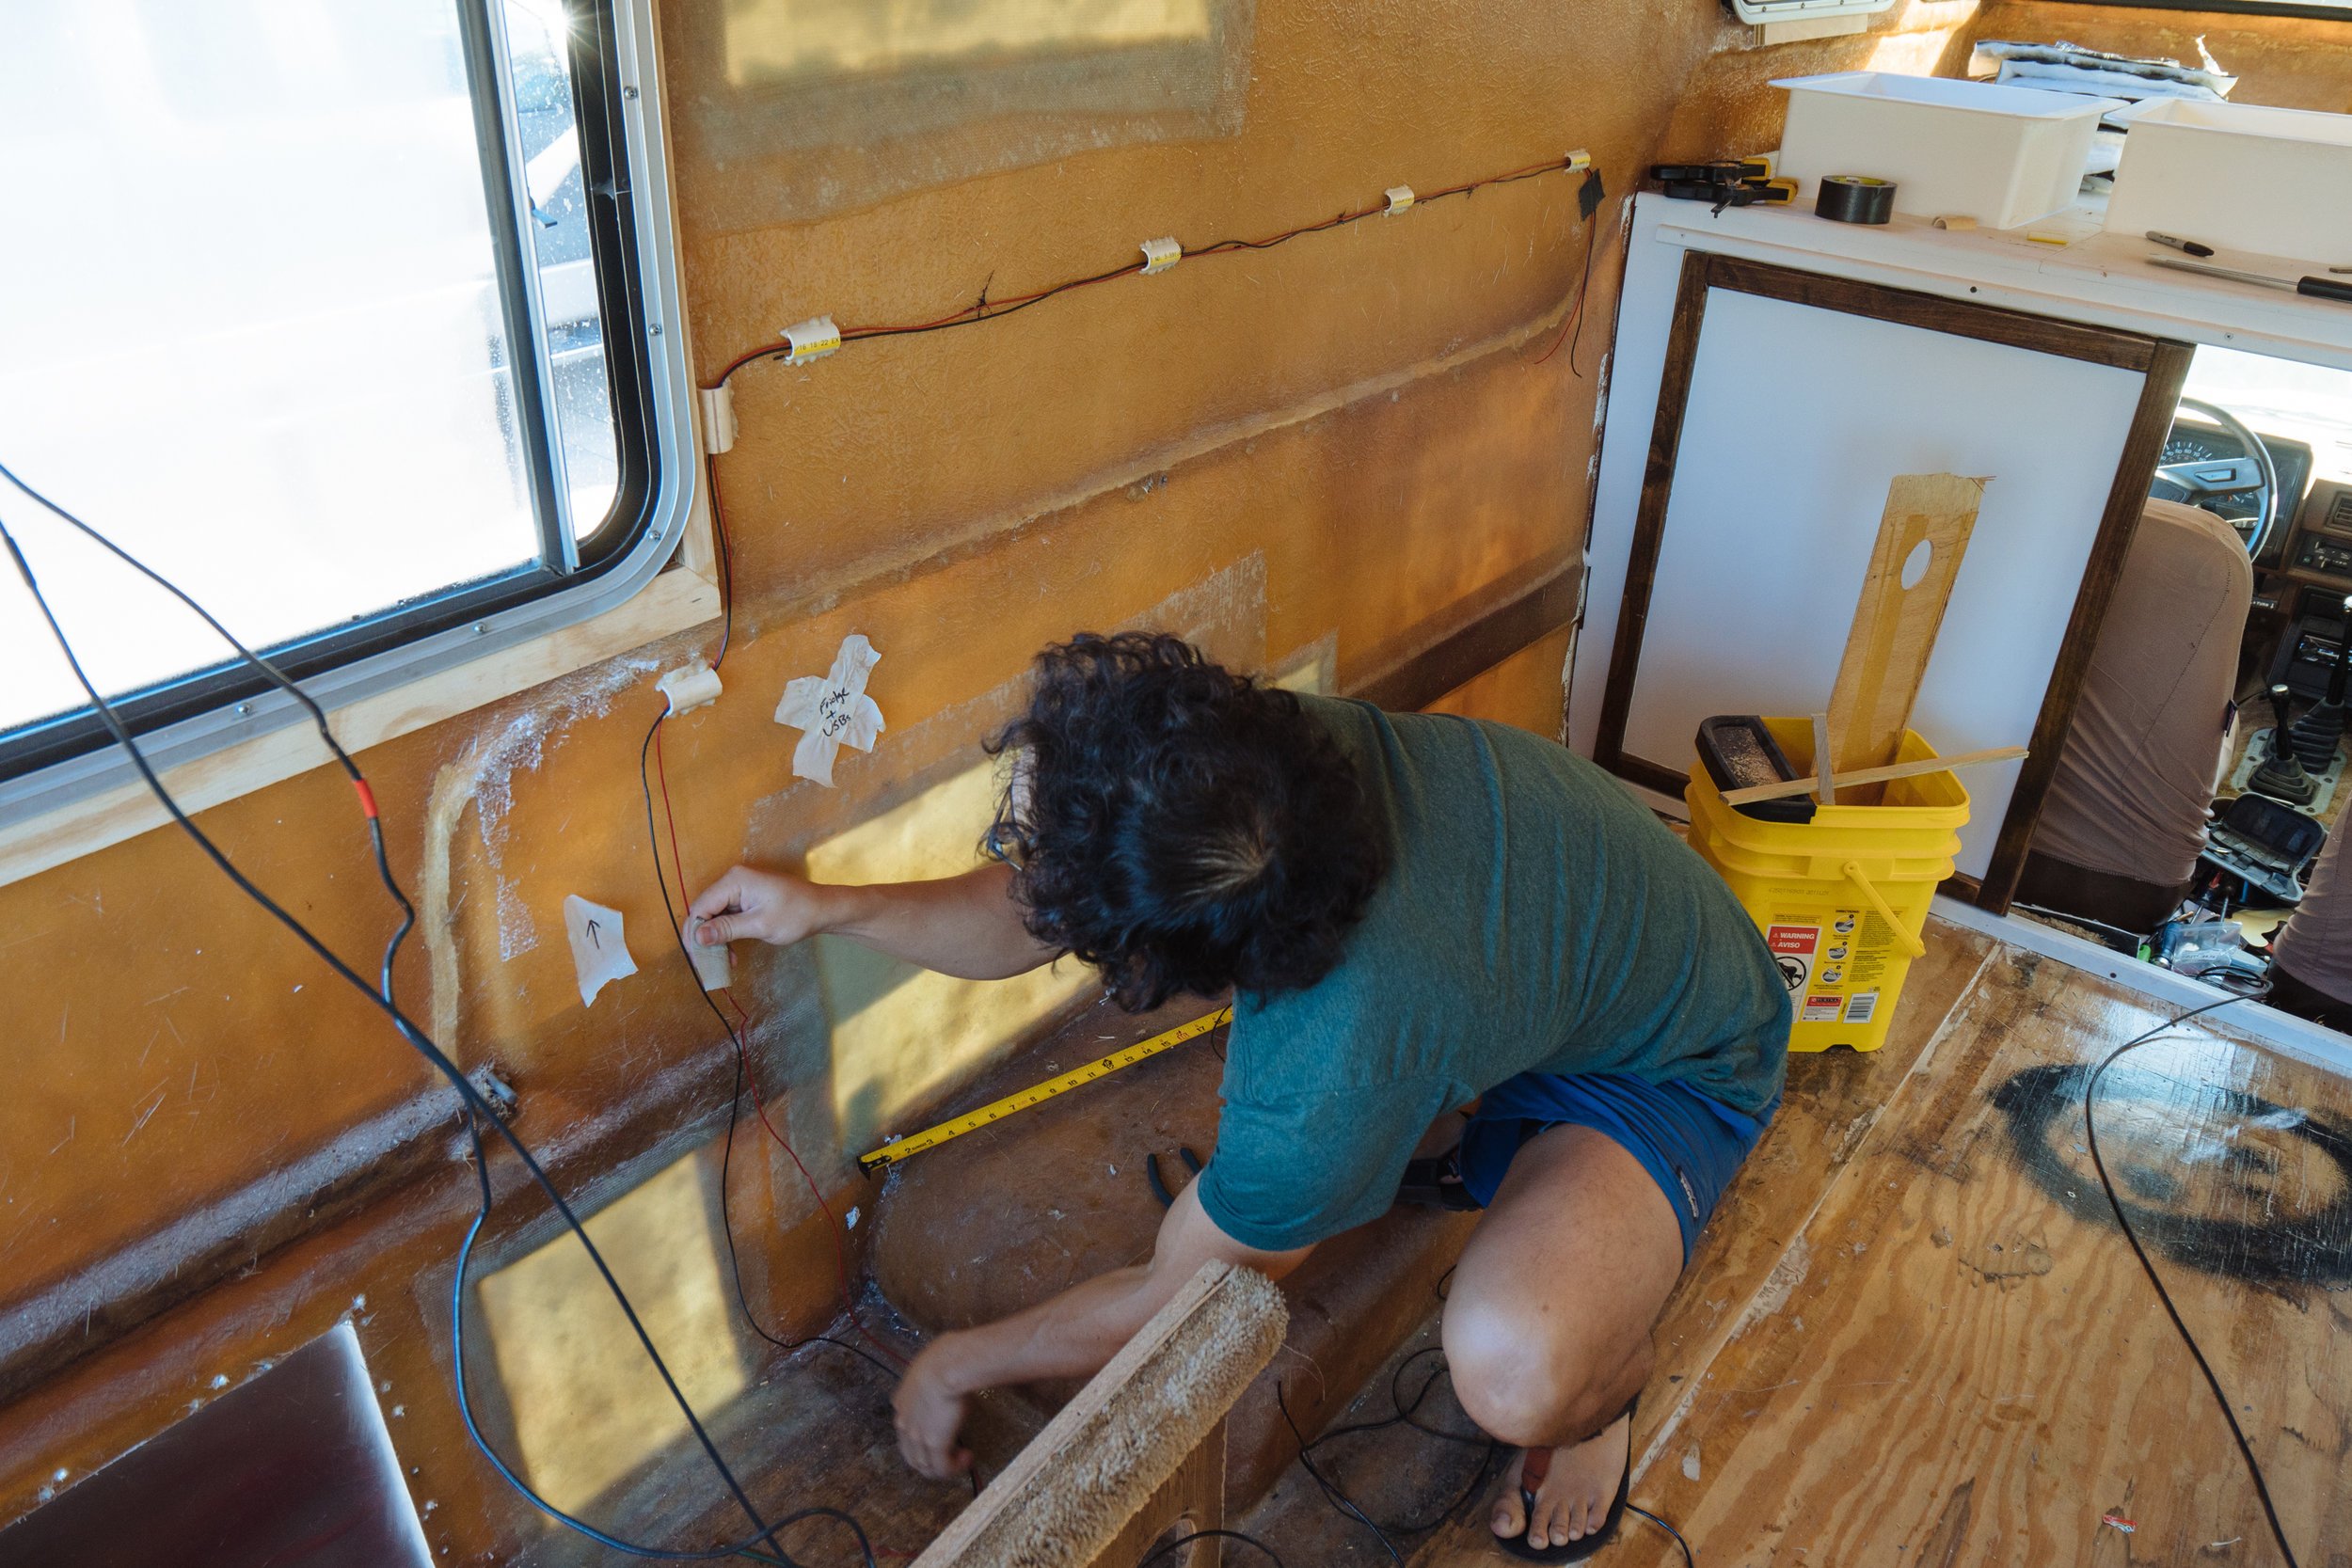
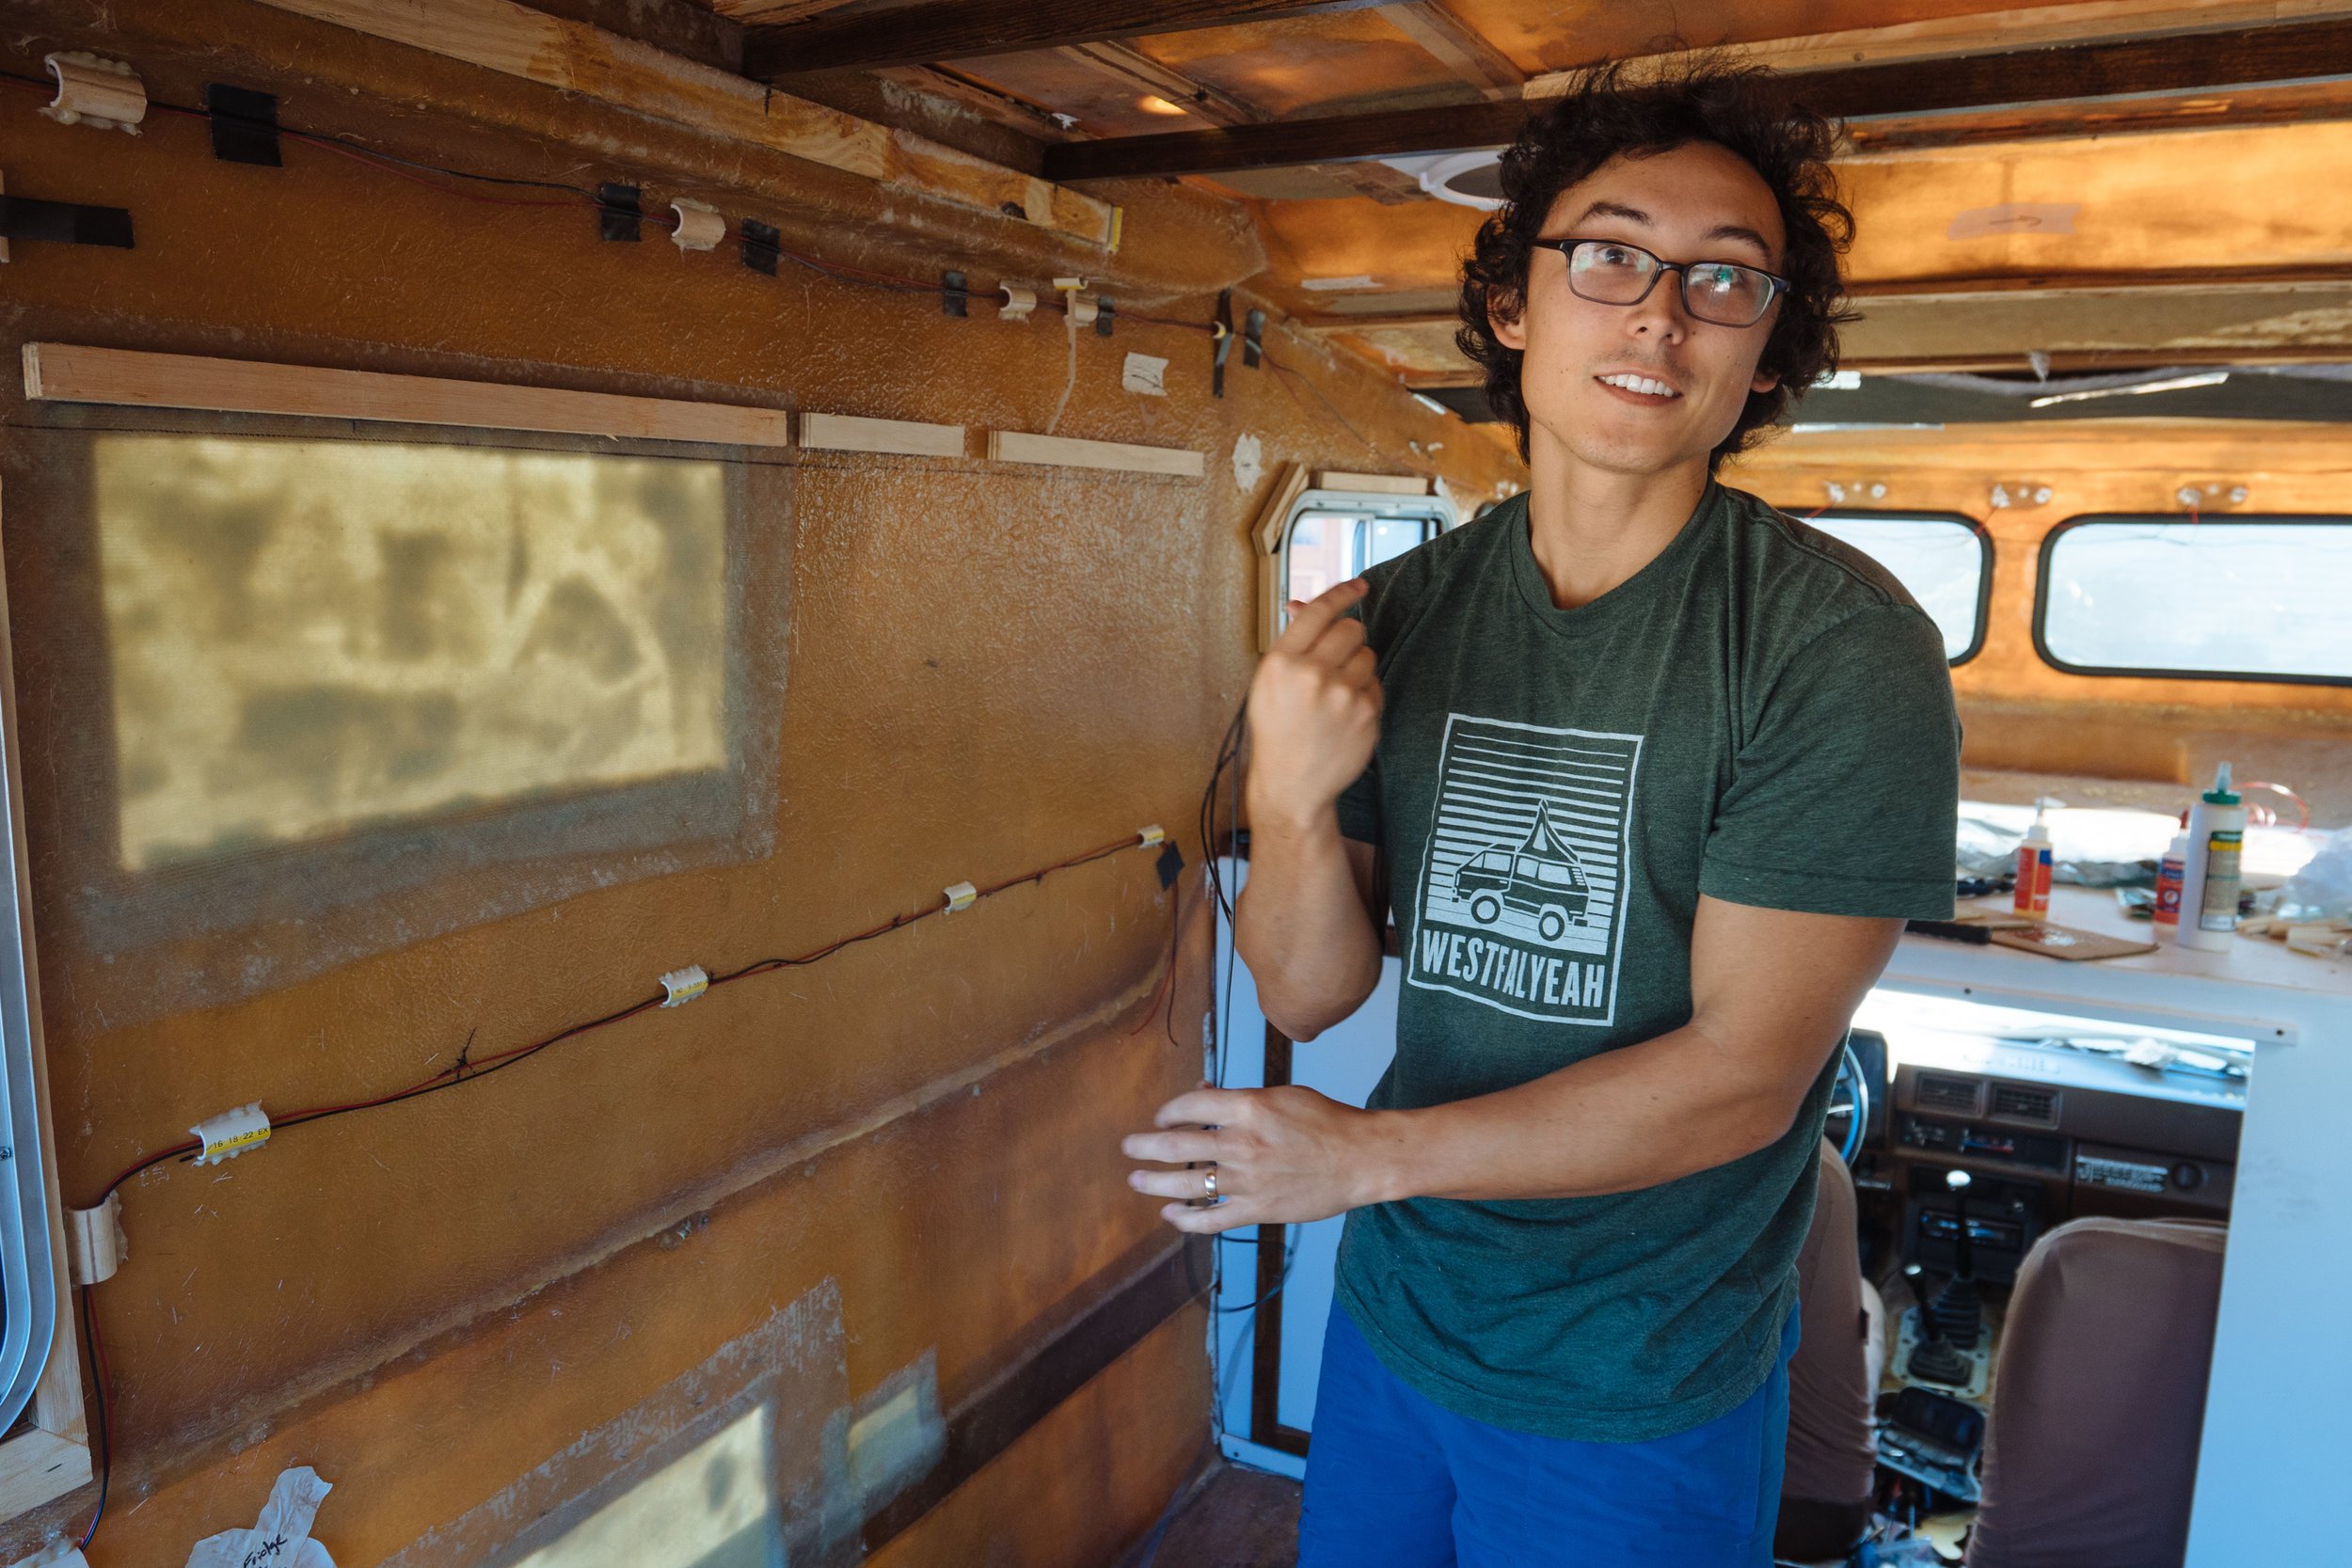
And so it begins. Electrical is a huge undertaking. It's something that takes a lot of planning and amazon purchases to start. Owen, as I've mentioned before, is our electrician extraordinaire and he has been slammed the last few weeks with "work work" which has prevented him from having time to work on Amelia. I guess what I'm trying to say is, I'm not comfortable taking on electrical without my dearest Owen. This past weekend Owen's schedule opened up and we jumped at the opportunity to start rigging up our electrical system!
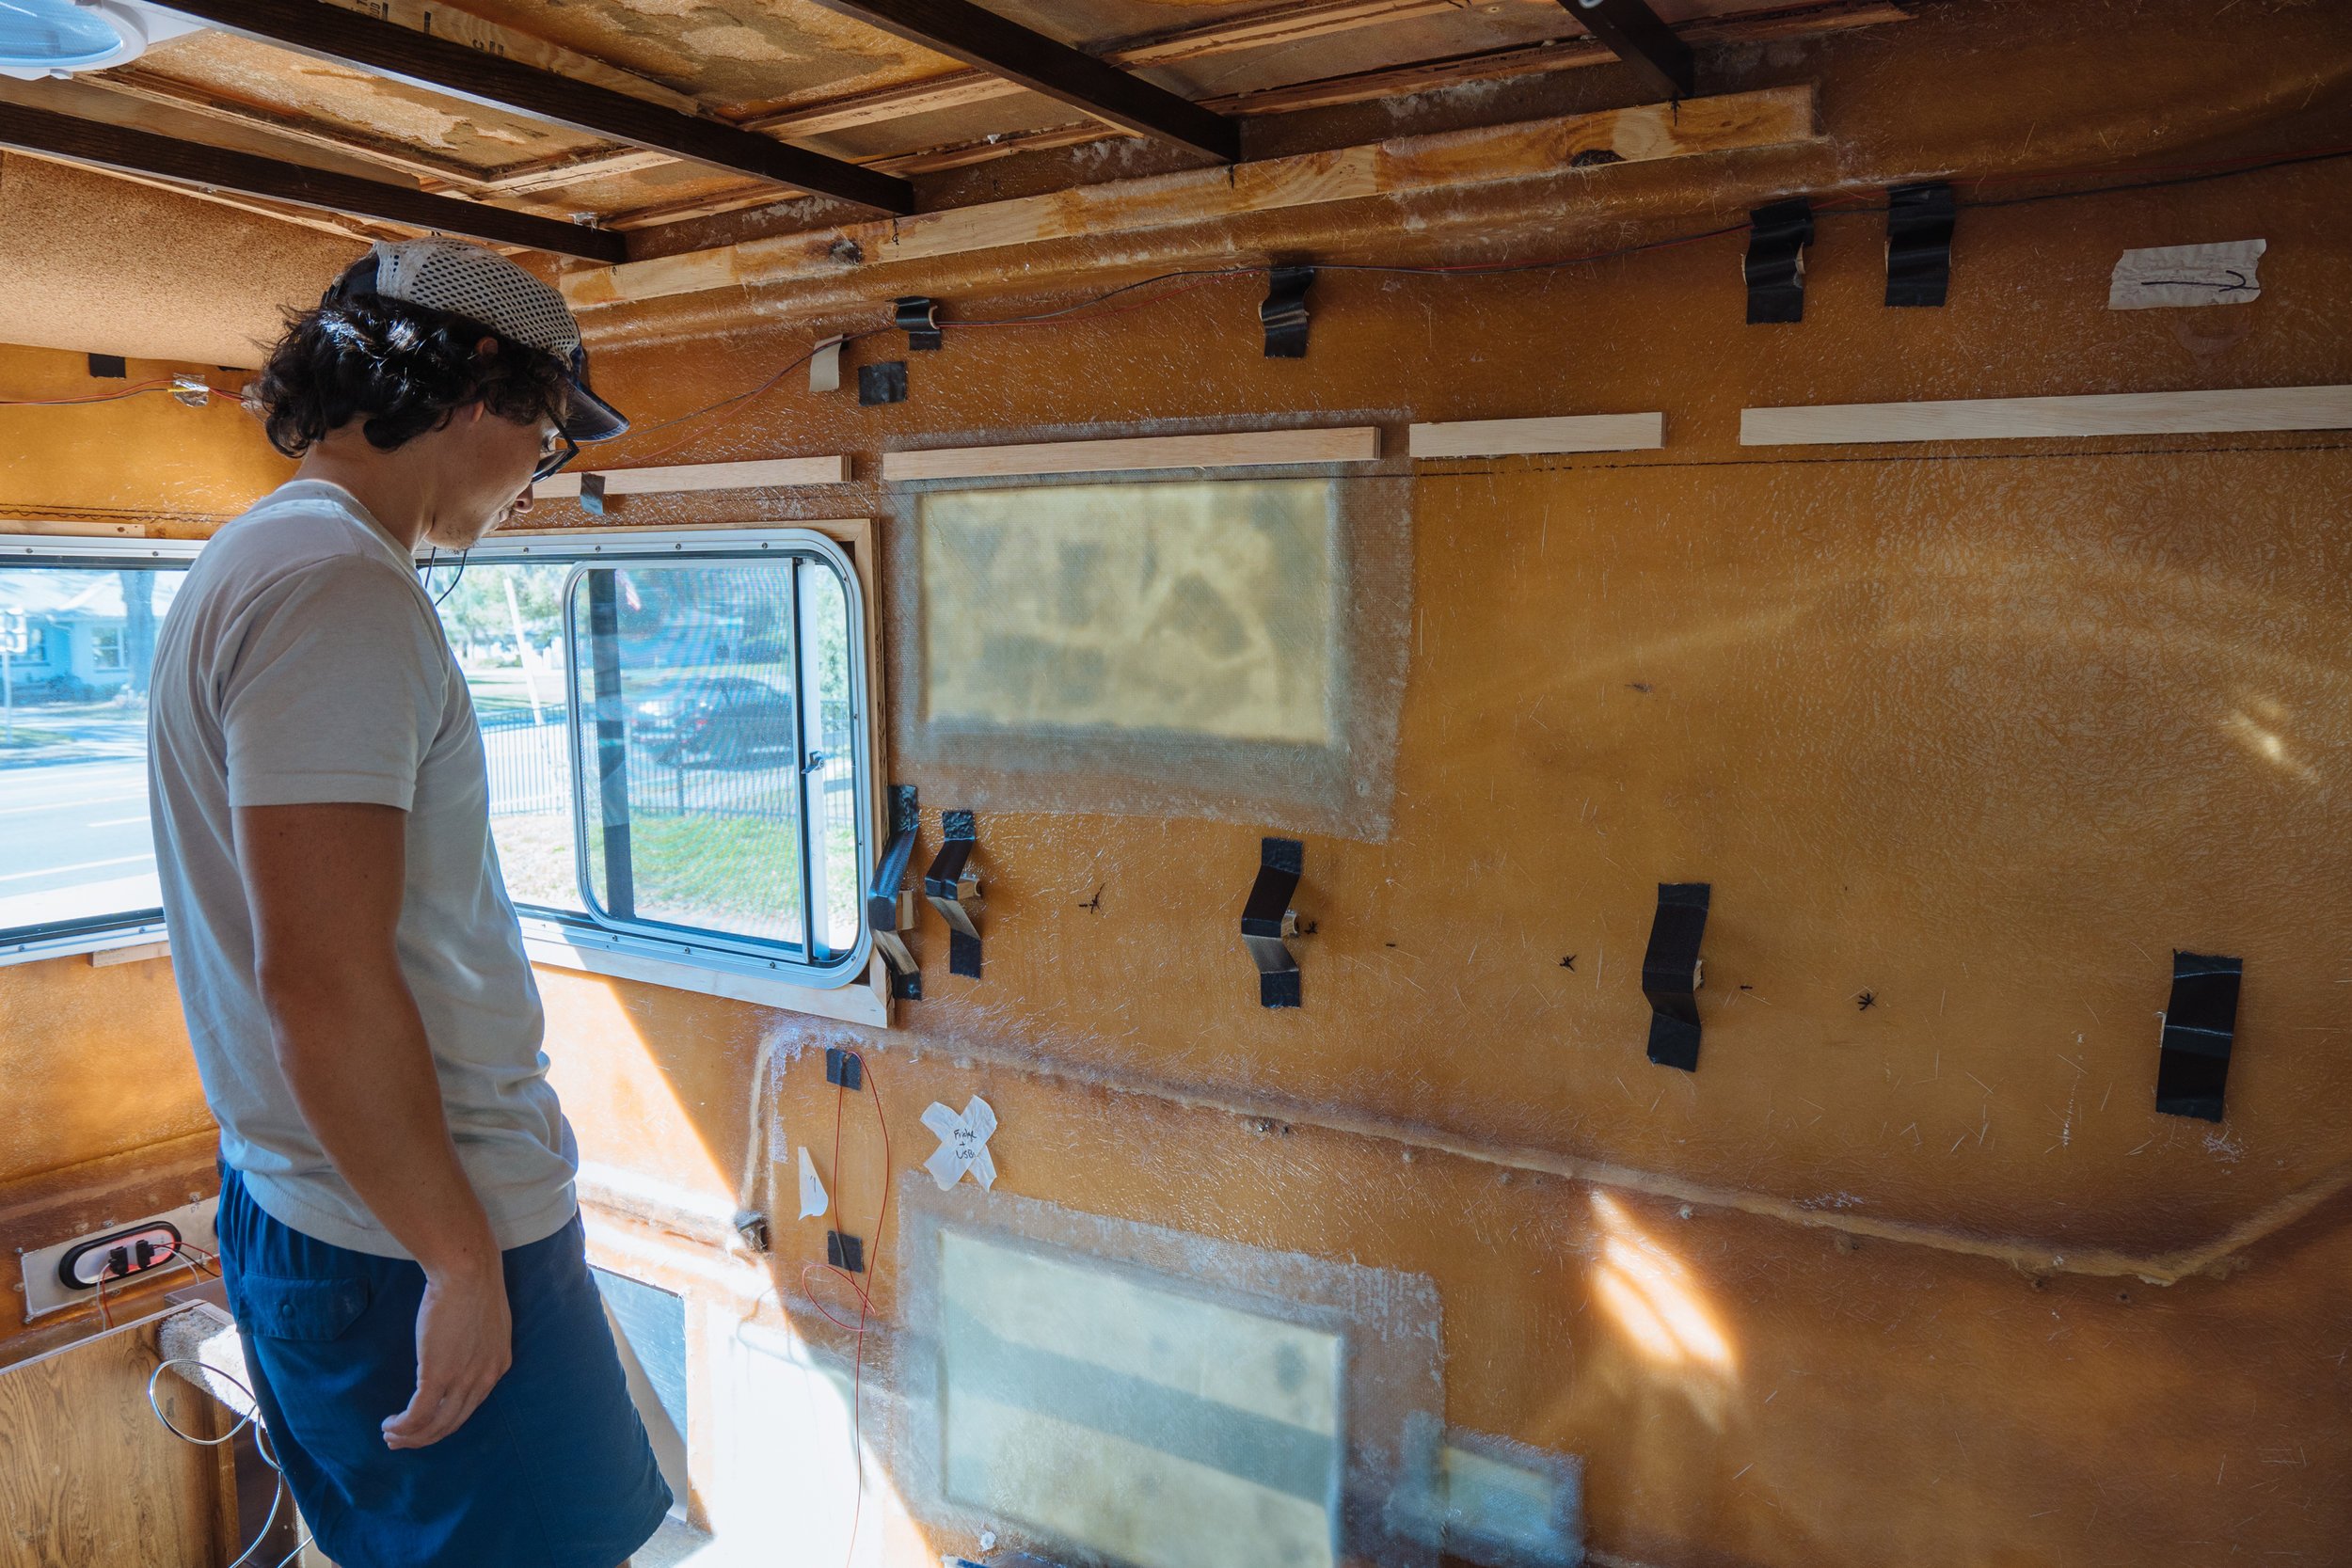
One of the most valuable lessons that we have learned from our last van, Stanley, is that organization is KEY! The first thing we set out to do was create an organized system to keep our electrical system neat and protected once is goes behind our walls. In the image above I'm covered in PCV pipe shavings because we decided to make a little PVC highway for all of our wiring. Check it out!
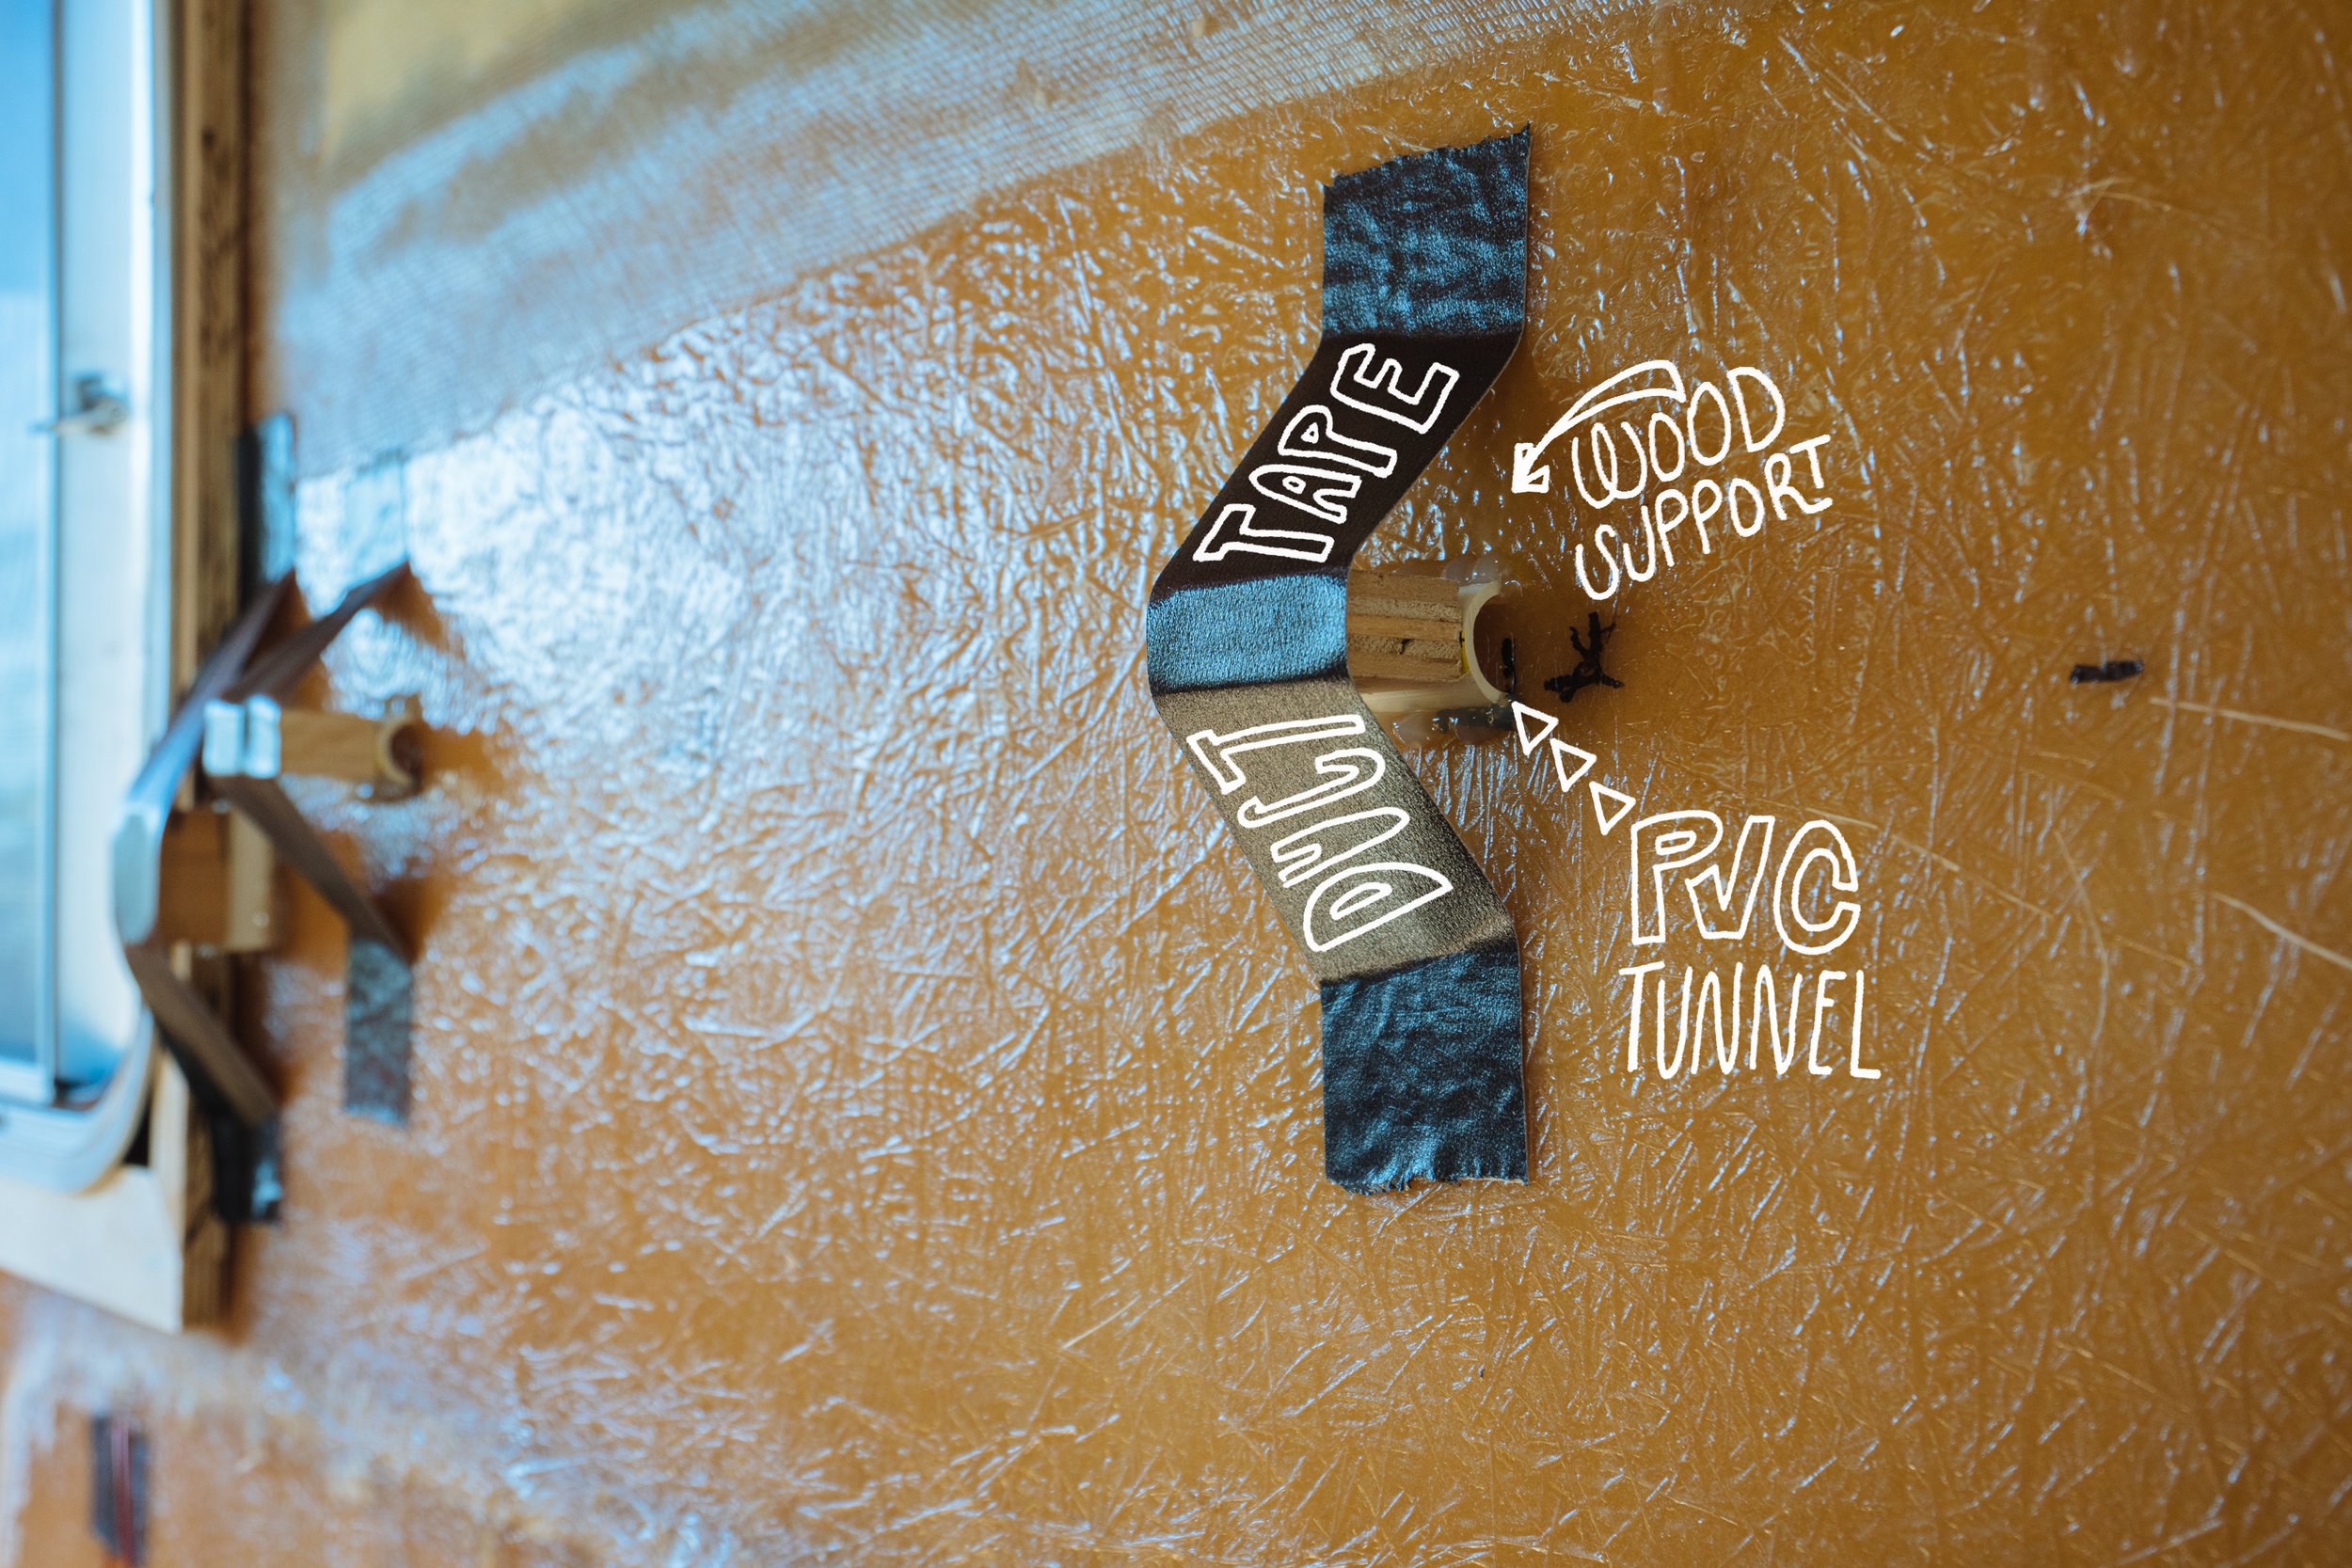
Once our PVC pipe was cut in half we glued them to the wall in the path that Owen has chosen for all of our wiring to take. The wood and tape jerry rig was just there to hold them in place as they drying. Oh the things duct tape can do!
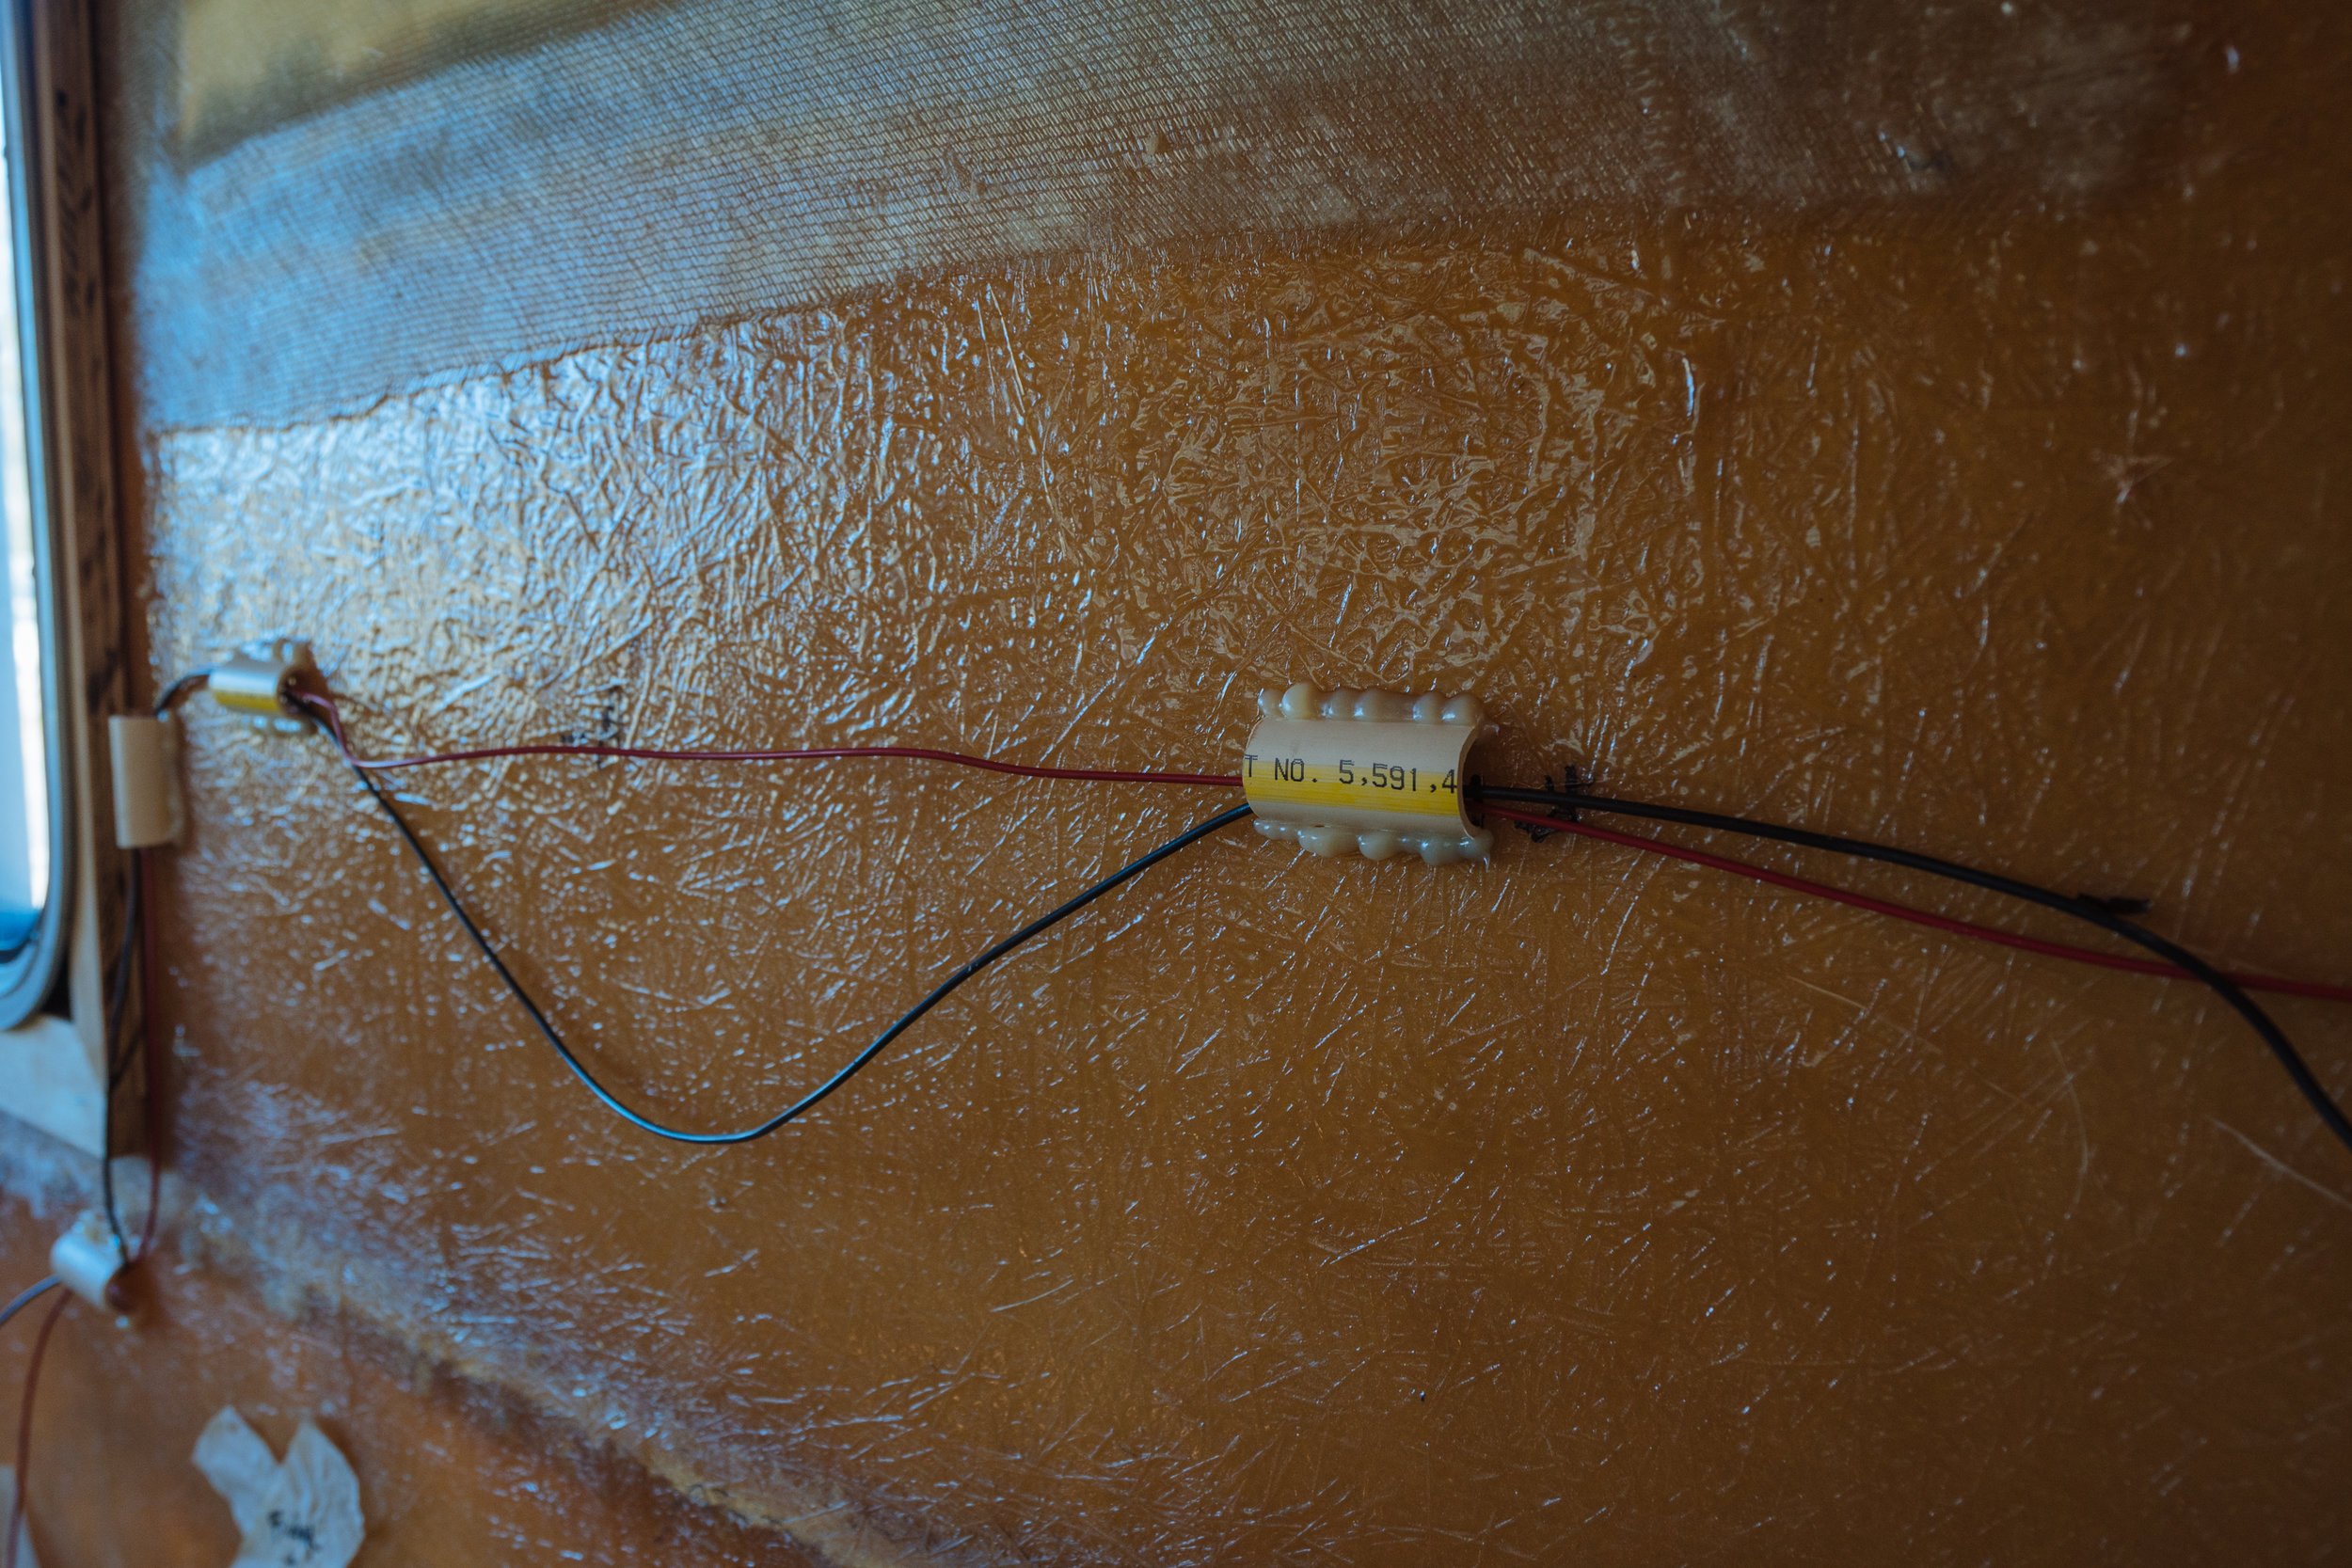
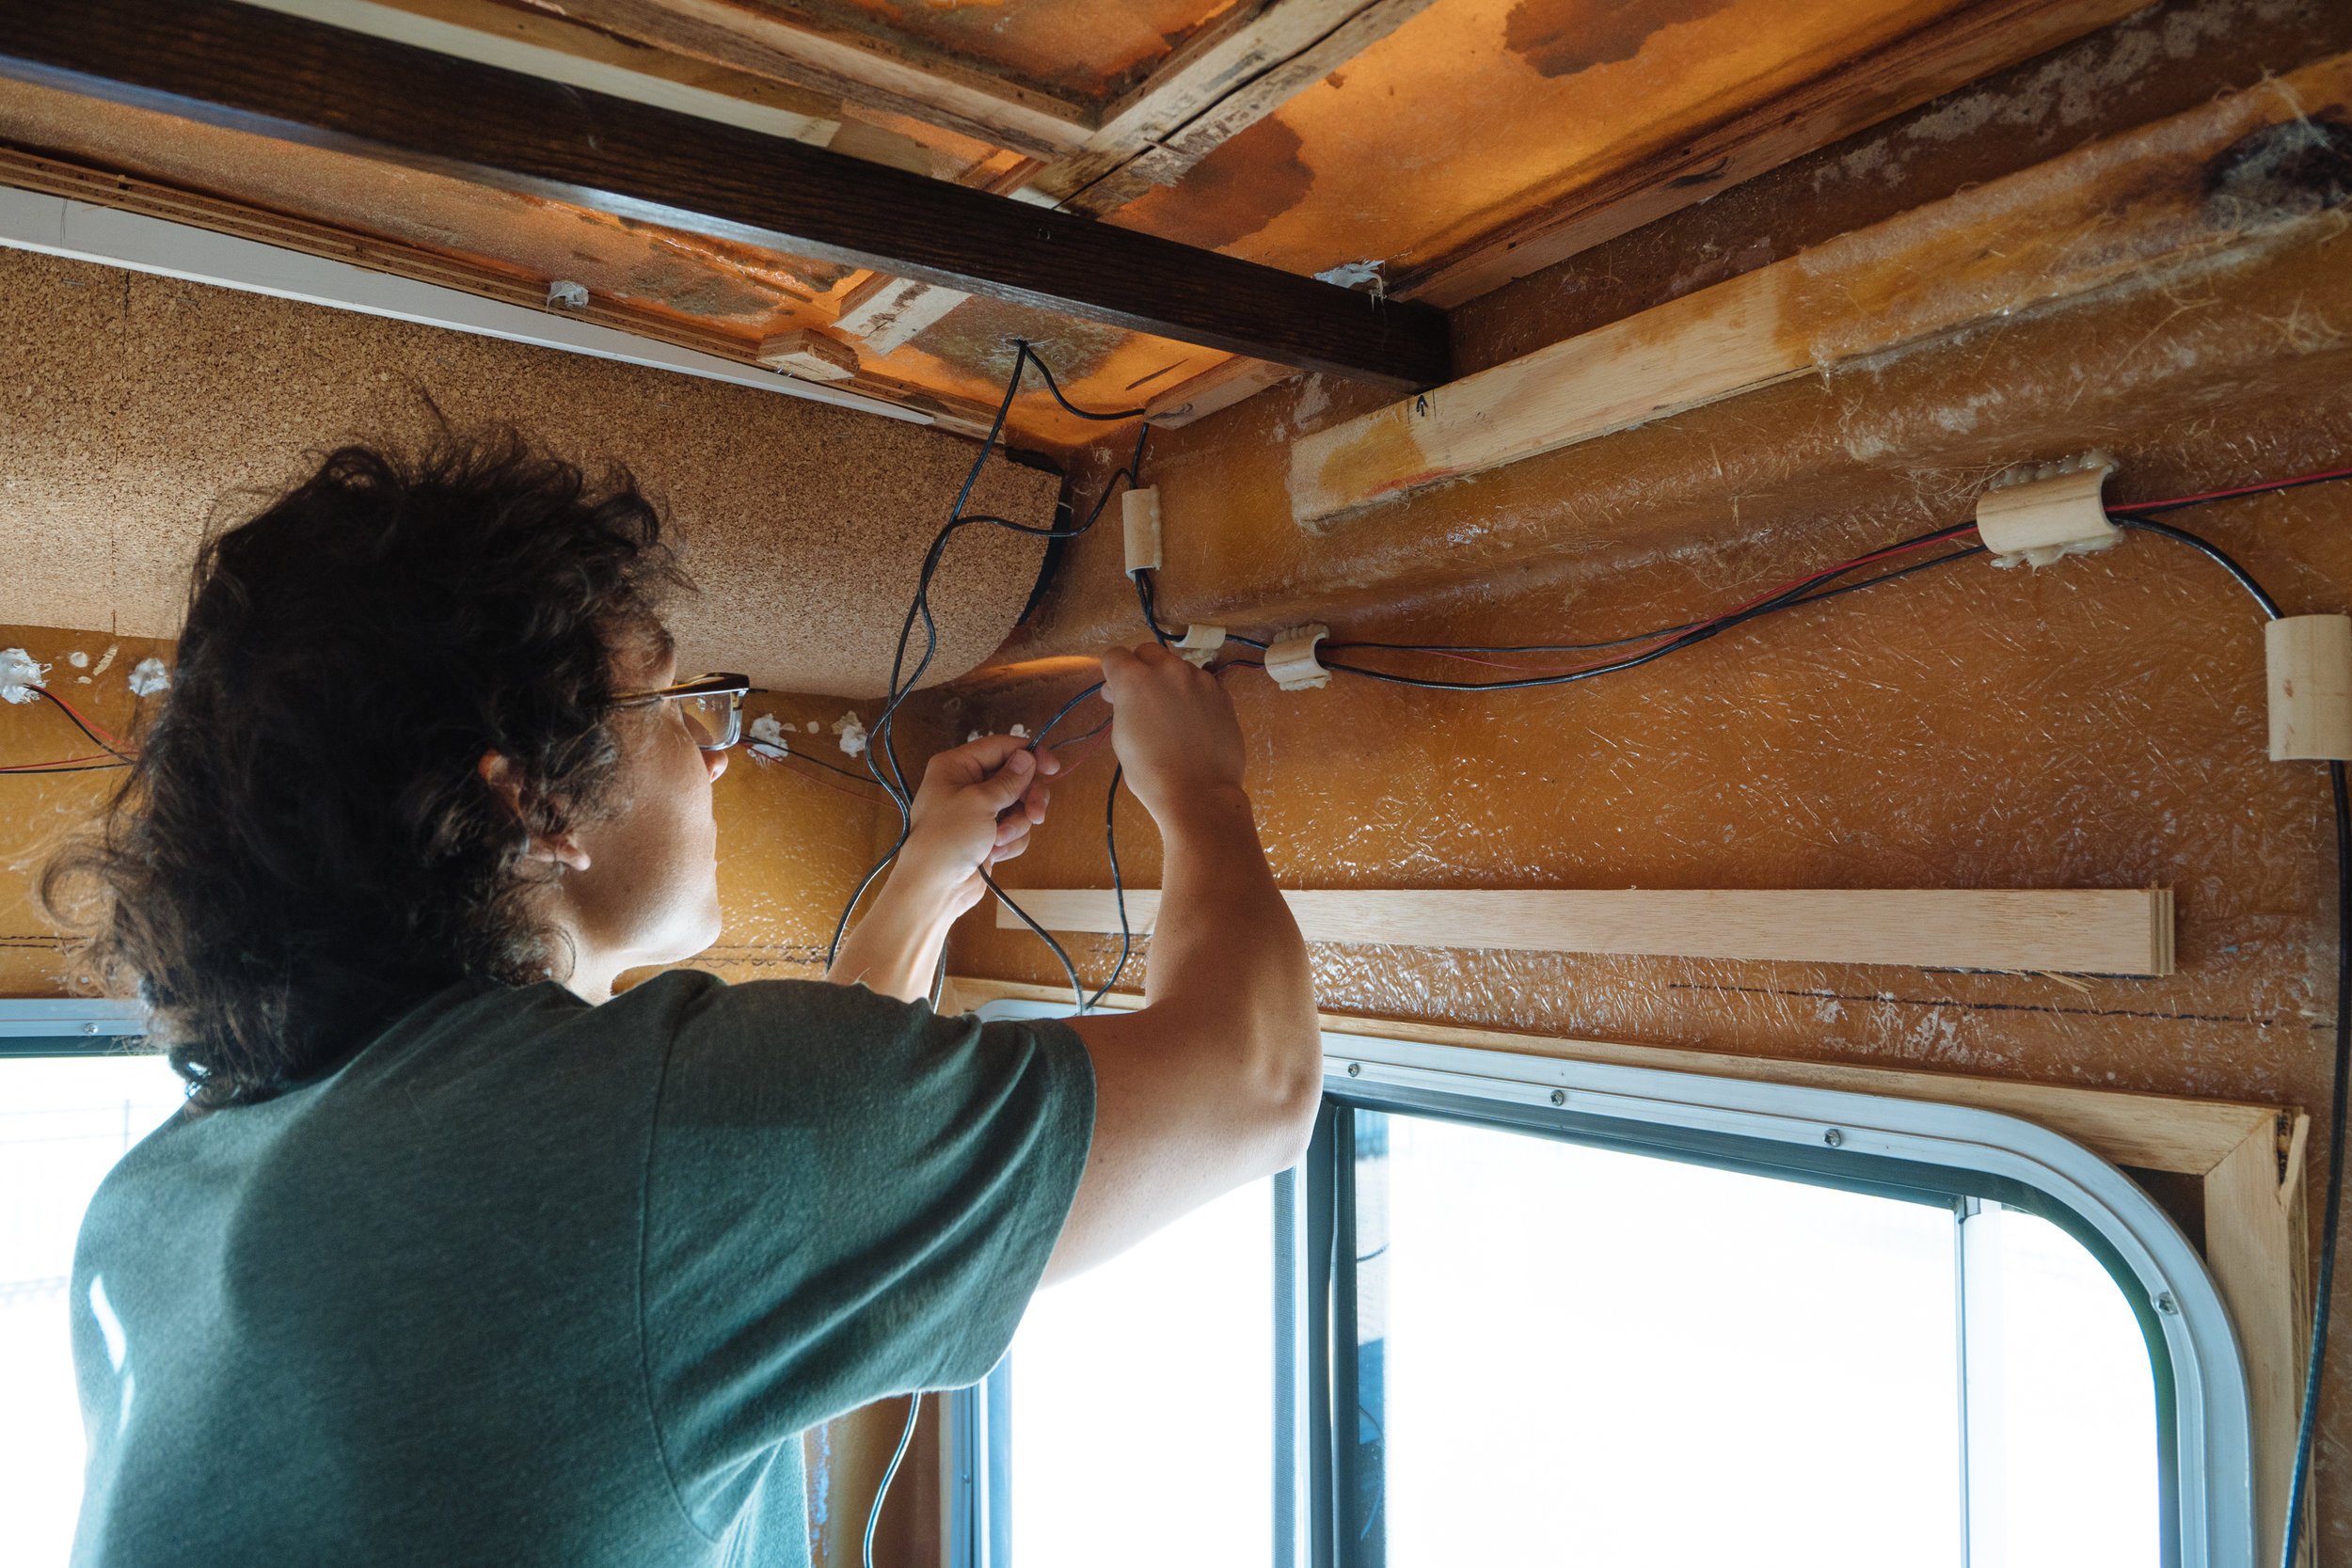
Now that the infrastructure is in place, it's really easy for us to add in additional wiring over the next few days before the walls go in!

Even though this looks like complete chaos, it was actually a successful test of all of the different lights and switches. Owen wanted to be sure that the system would work like he planned before we installed anything so he hooked everything up in sequence like they will be in our final layout. He got it right the first time, I'm so proud of him! Once our electrical system is complete Owen will be writing up a separate in-depth explanation of our electrical system so we can pass on a more detailed description of what the final layout is!
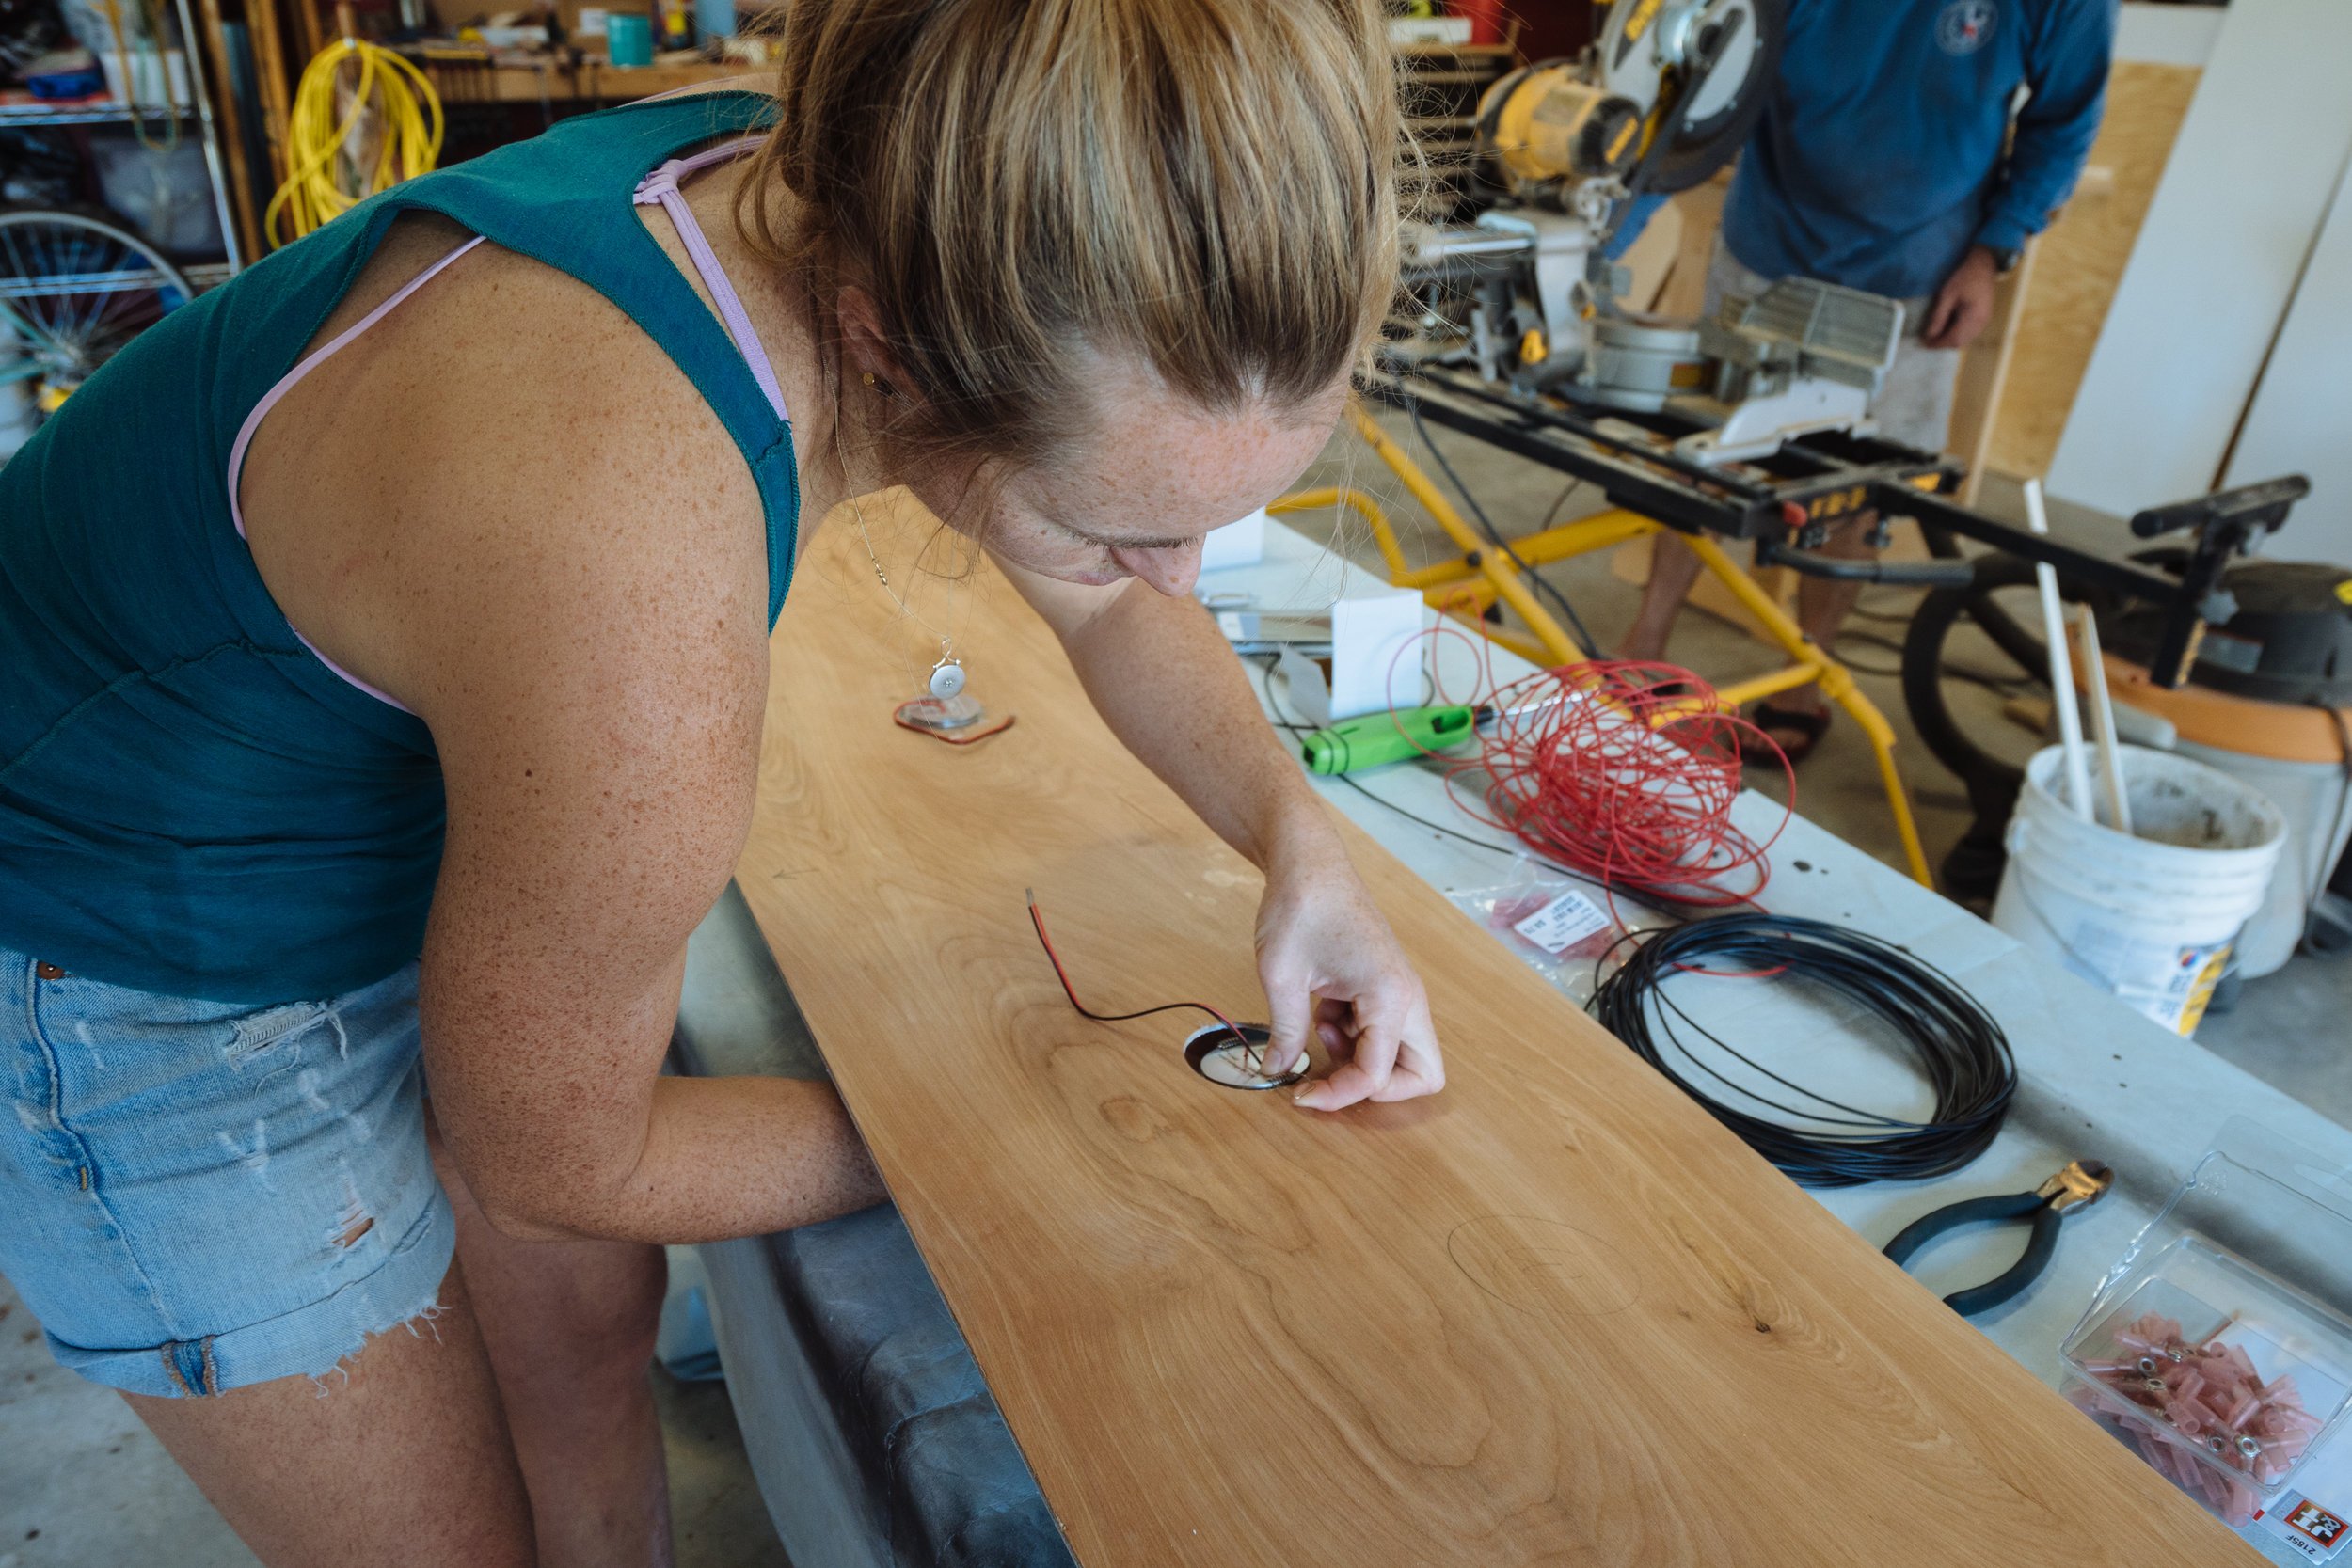
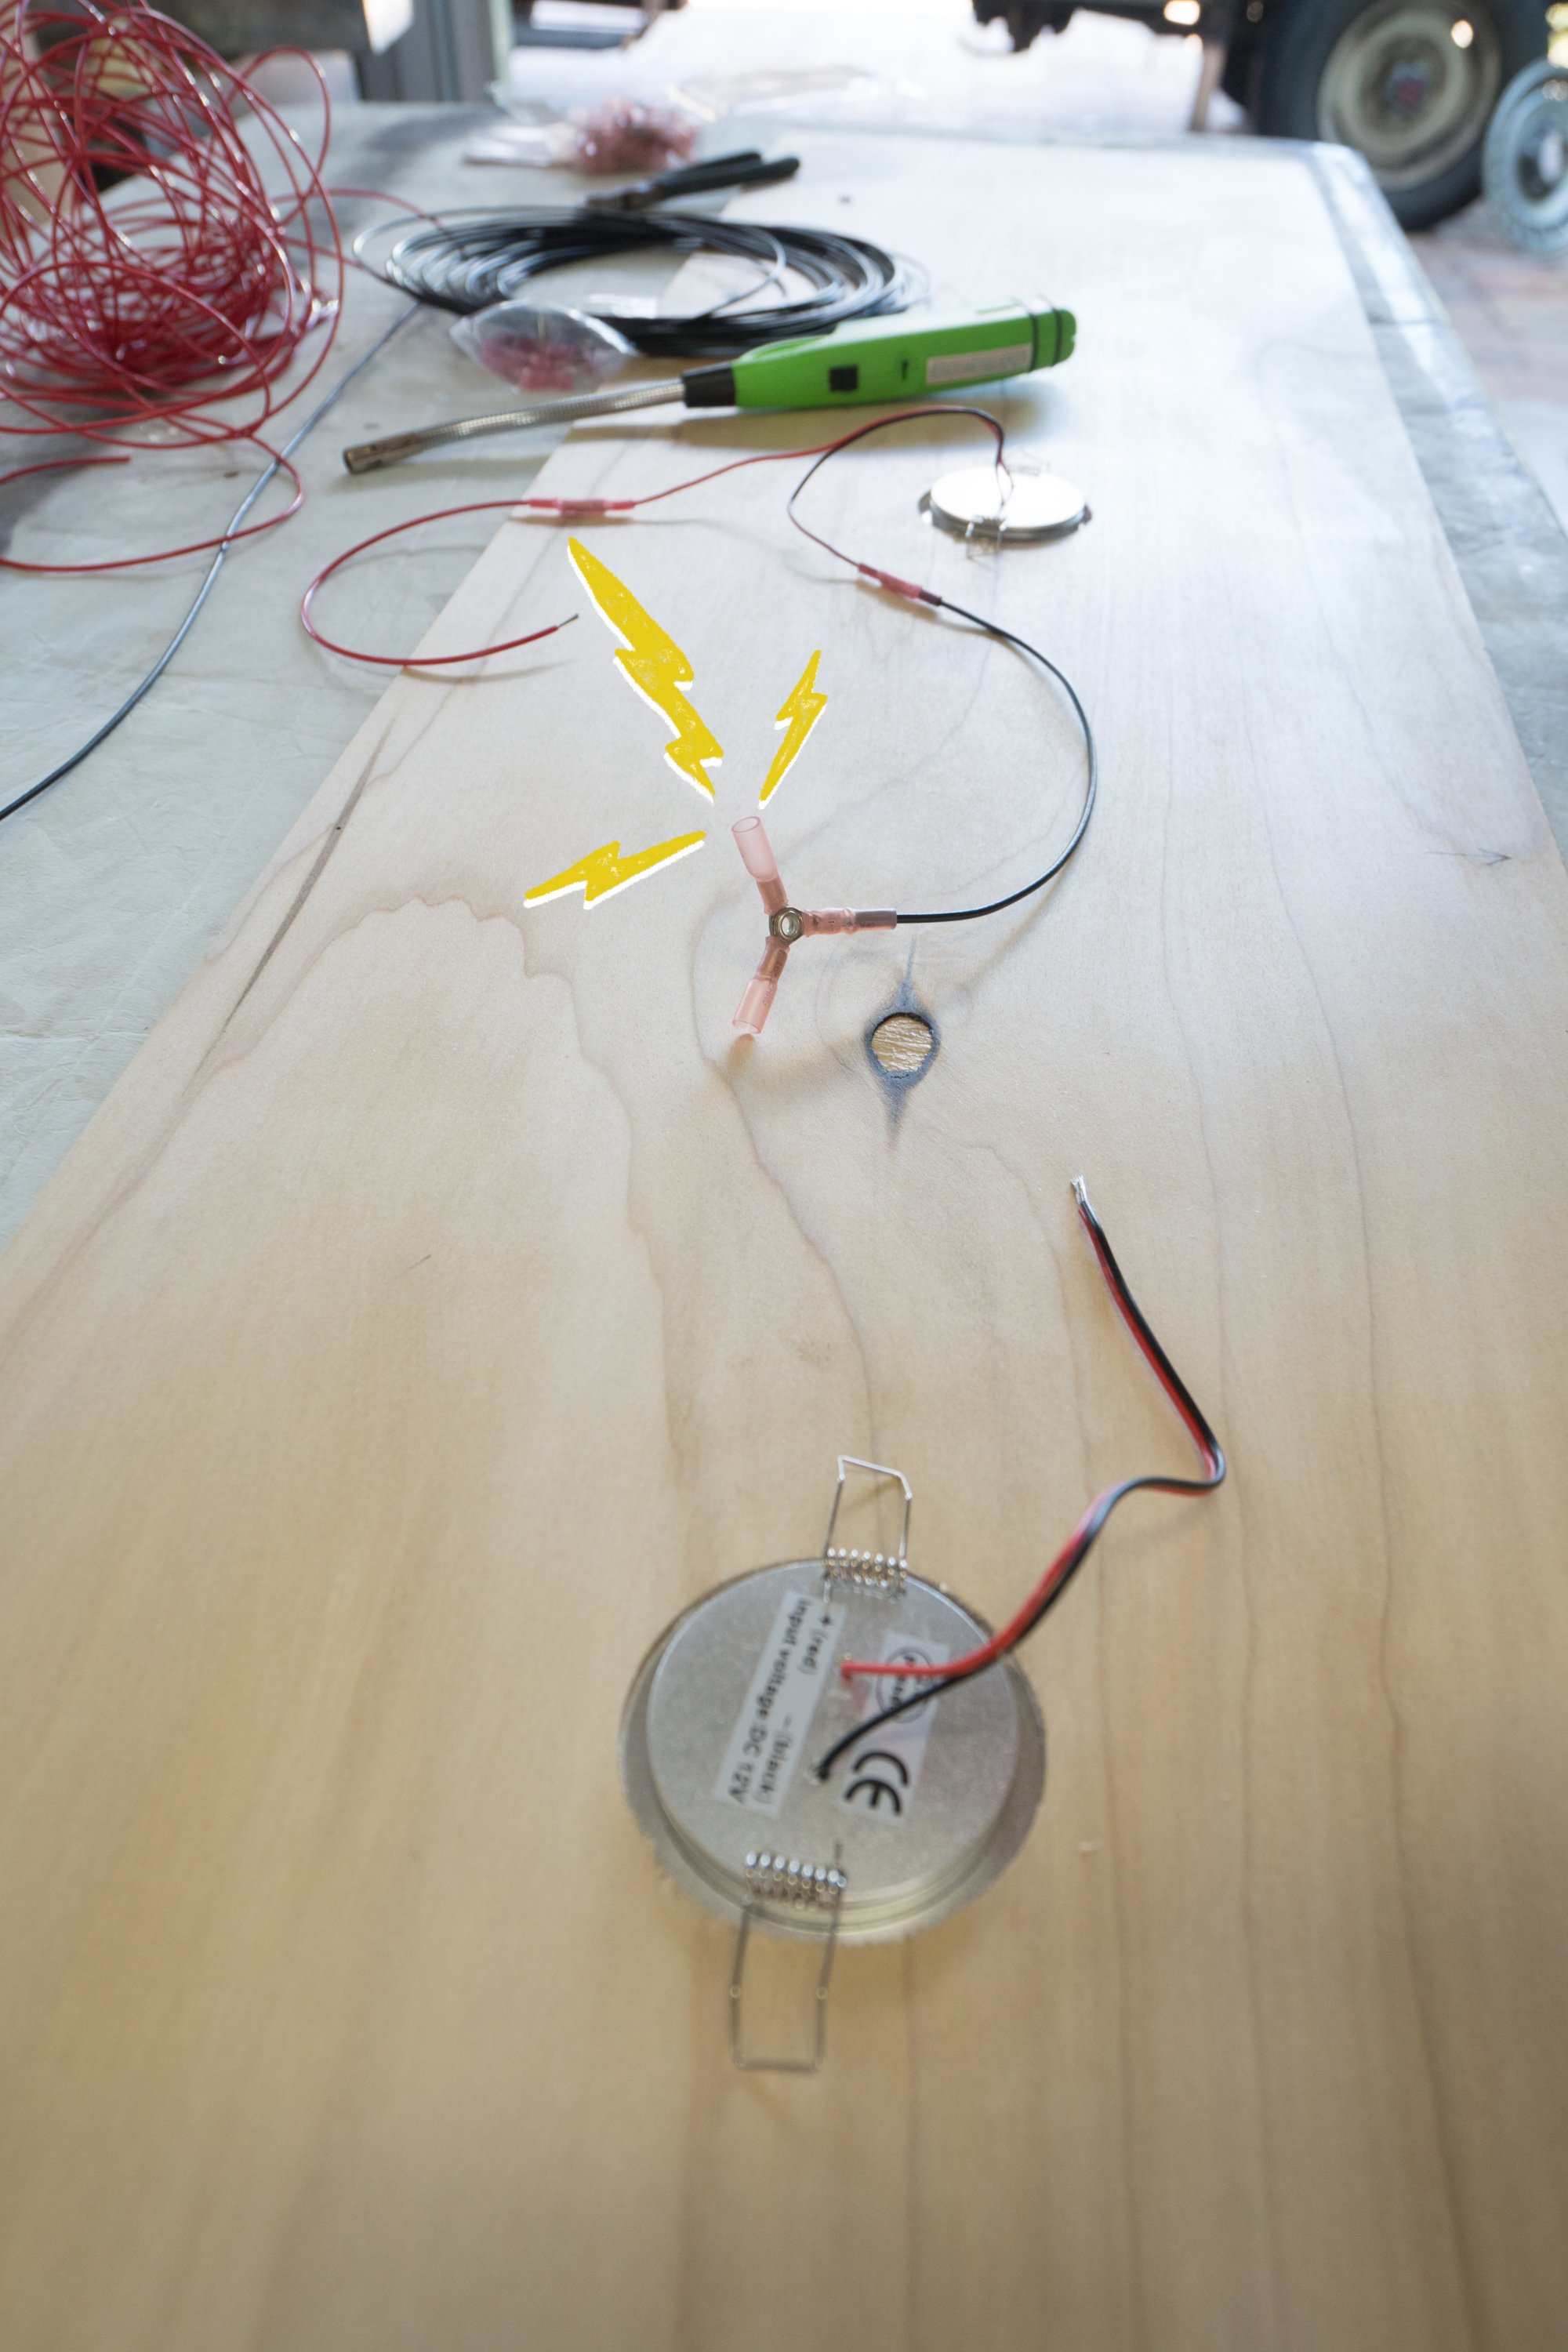
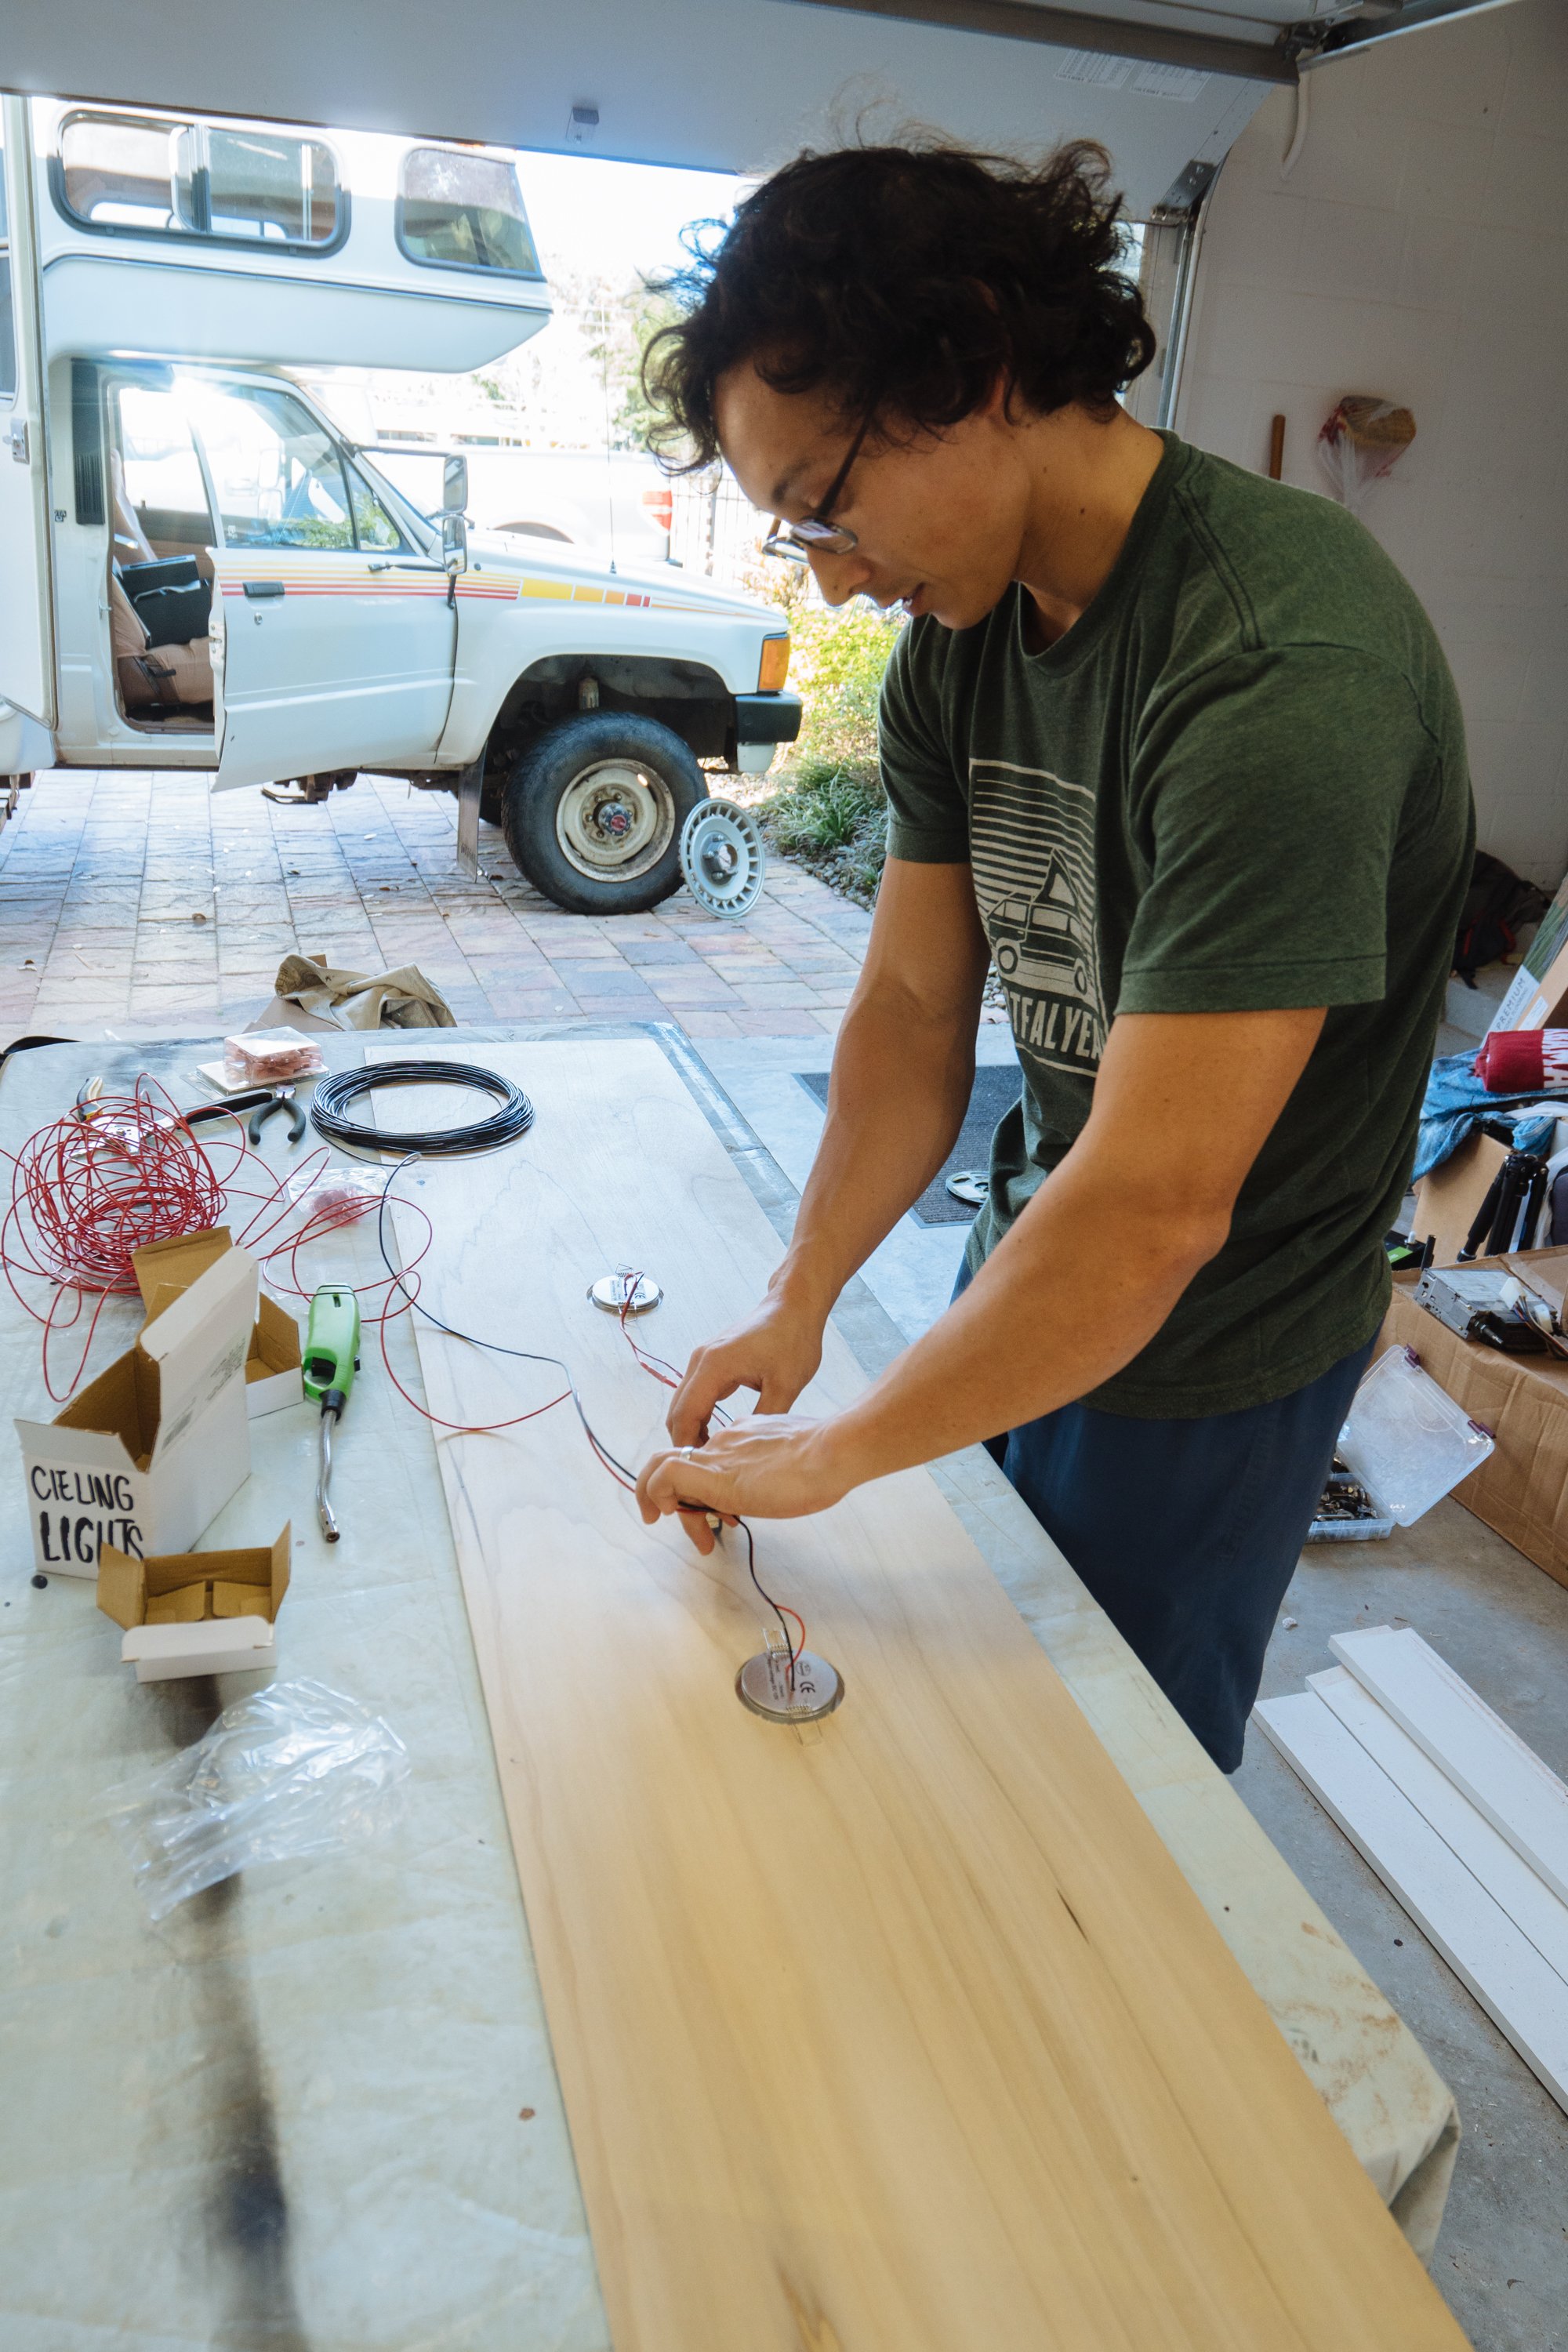
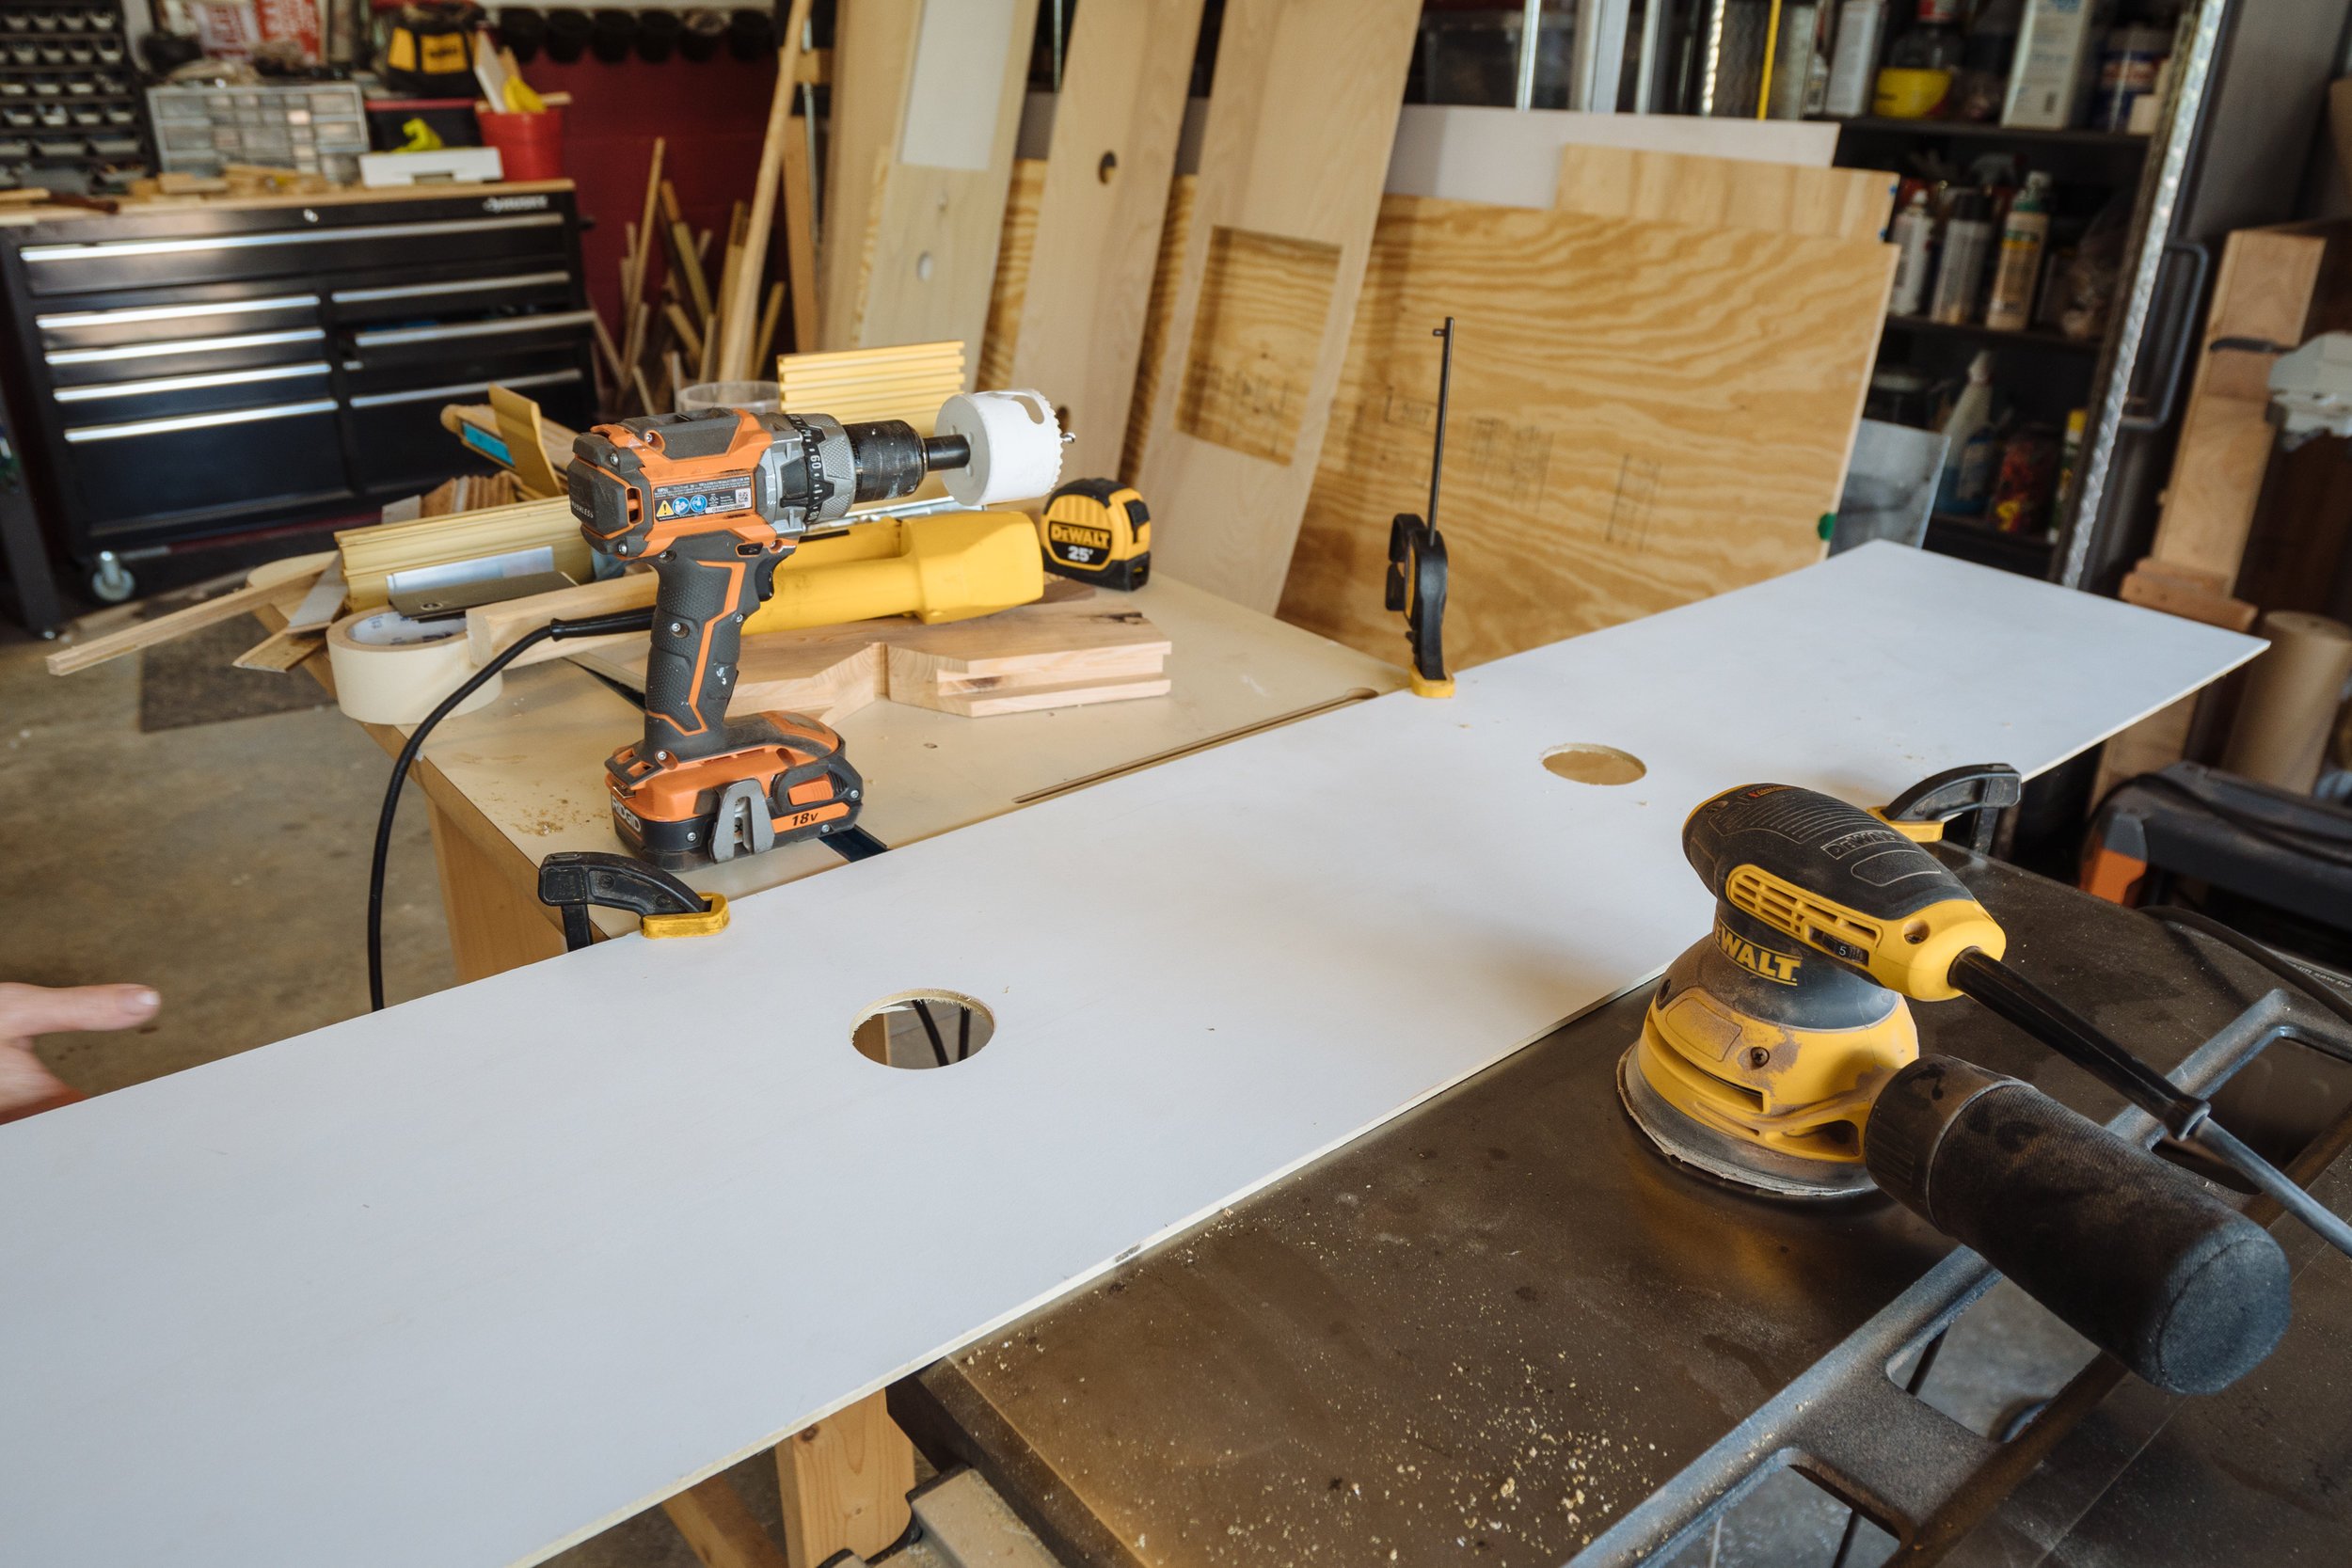
Before we could get our ceiling panels in, we needed to install and prewire all of our lights. This way when the panels were getting installed, they just needed to be wired to each other and then down to our dimmer switch. With all of these in place there was just a little more prep work before we could install our ceiling for good!
Insulating the Ceiling
Using Thinsulate and my hand drawn chart of our ceiling.
As you may remember a few weeks ago I spent sometime cutting down insulation for the ceiling sections because I knew that this day was coming soon. The chart I made when planning my cuts came in handy as a guide to be sure that I was installing everything in the correct location.
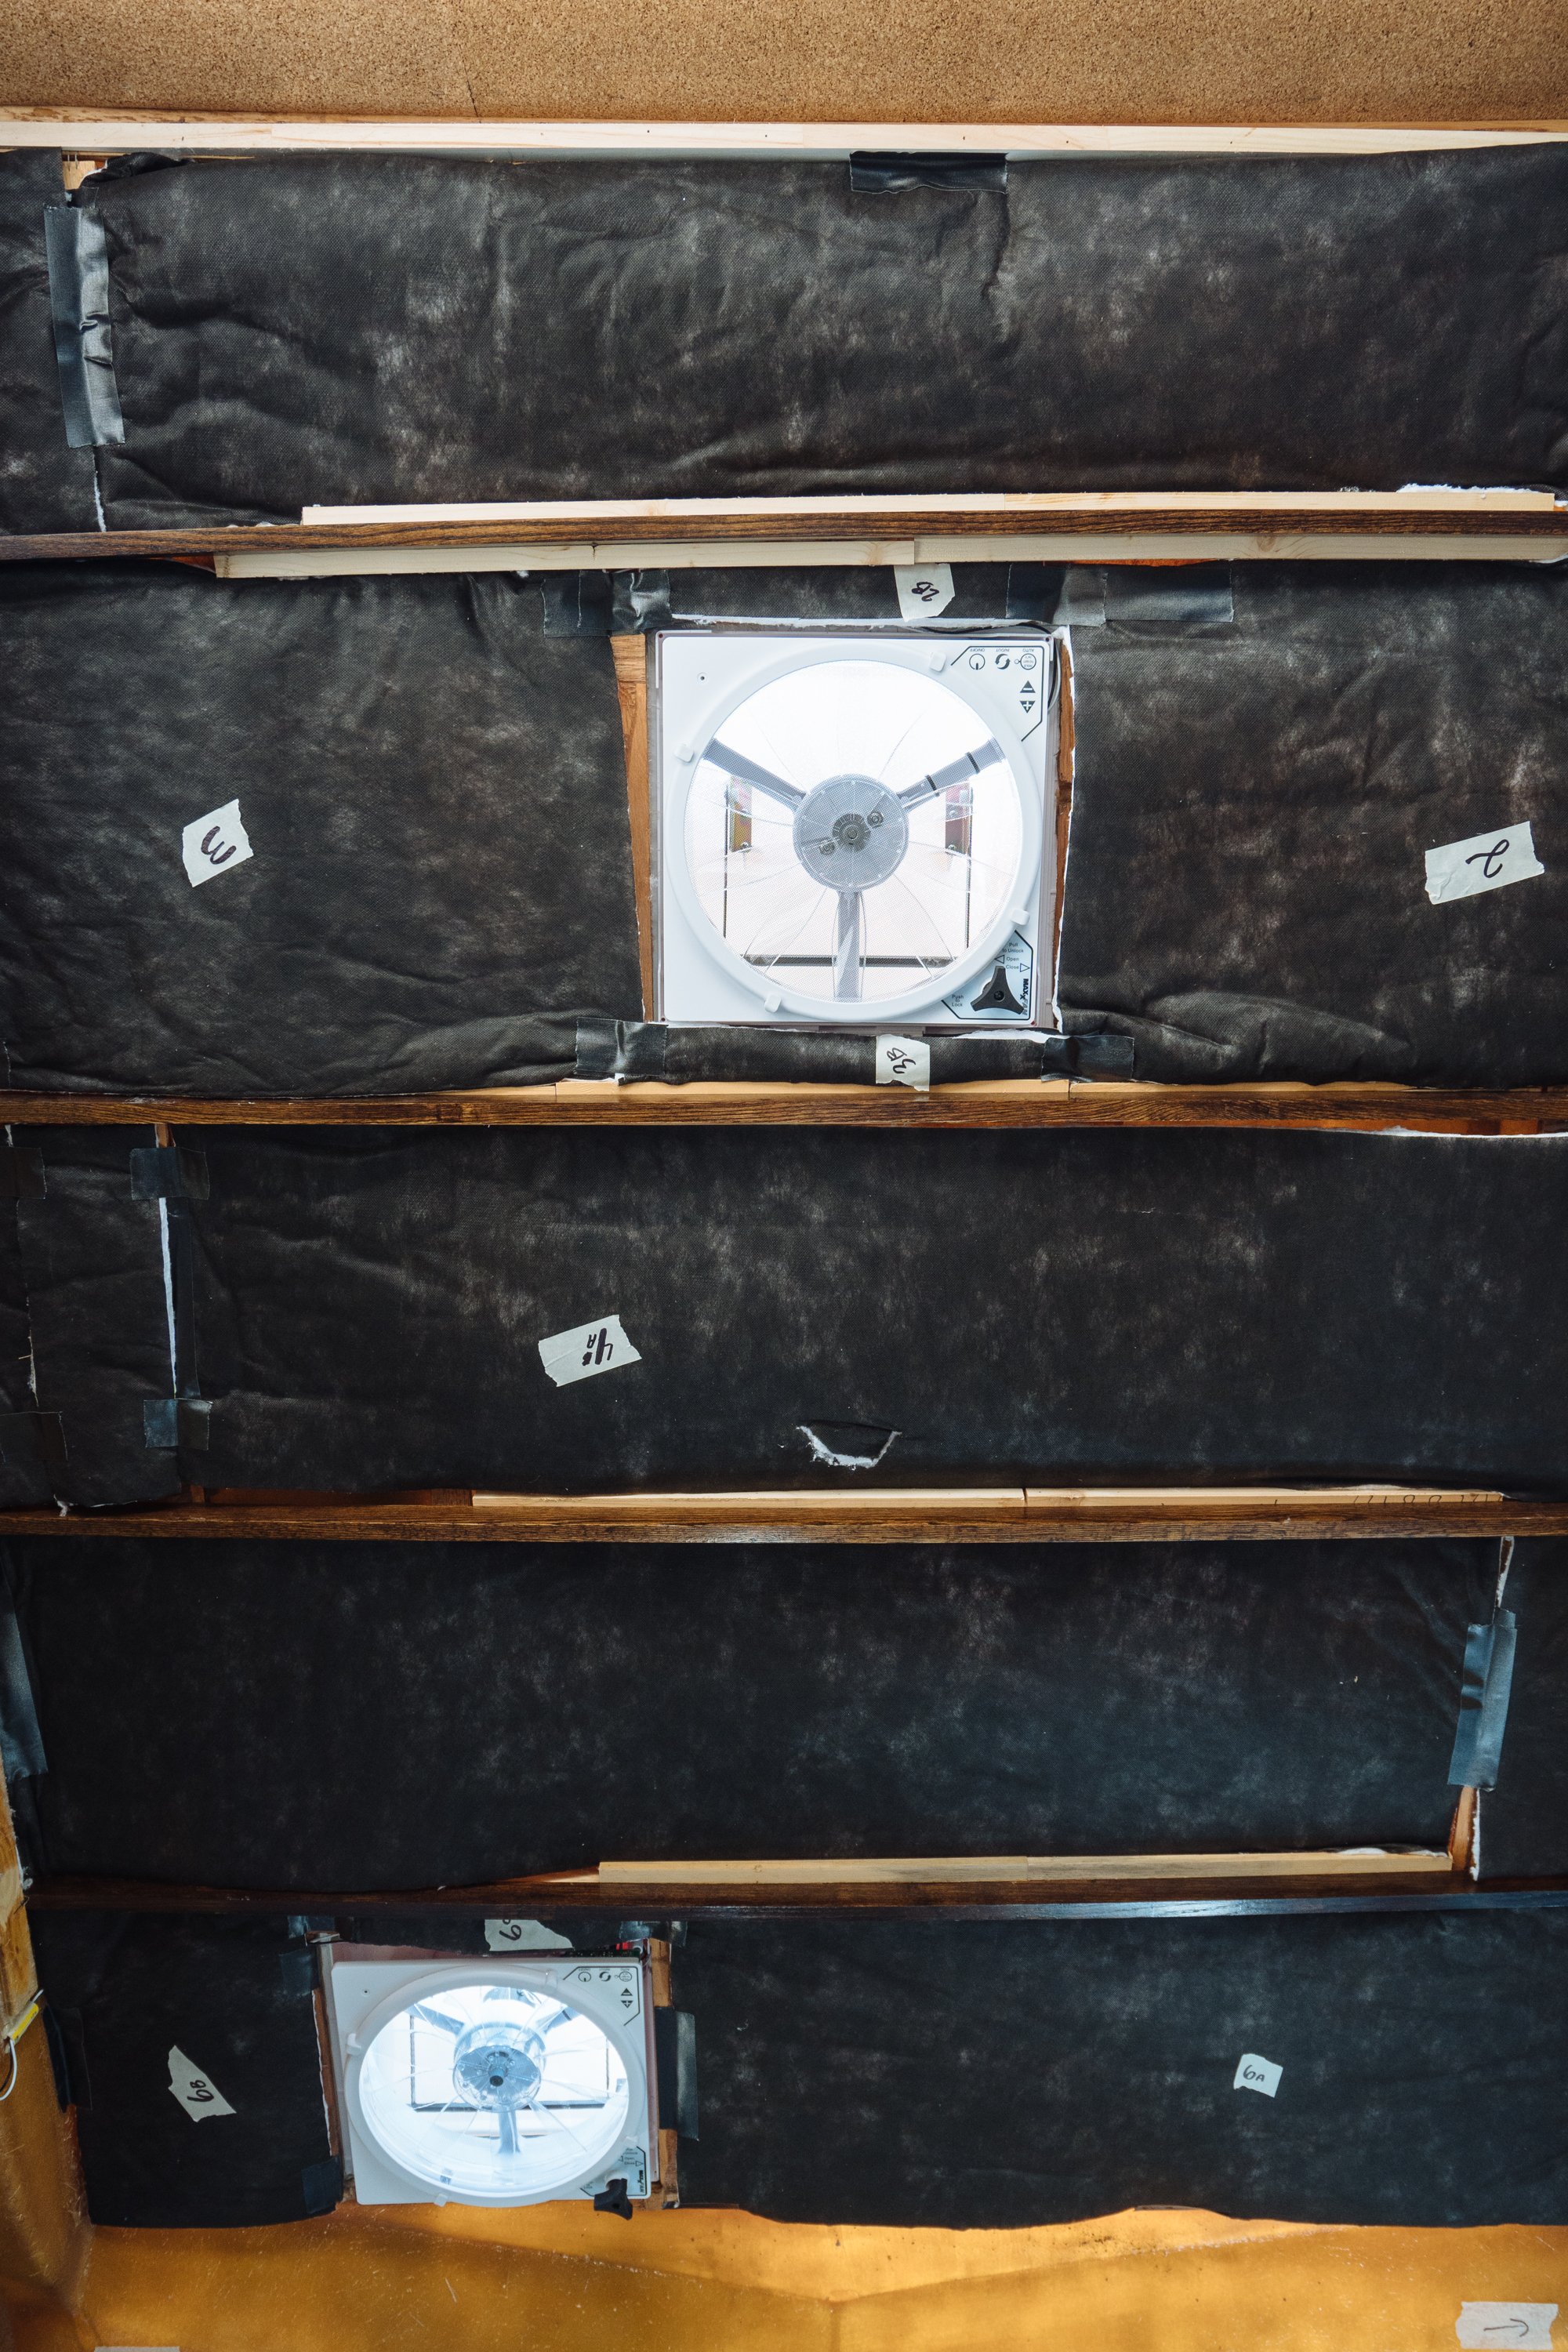
In the end our insulation was held up by a small amount of Duct tape, my favorite, on the ends and by tucking the edges up over the rafters. We were sure to avoid the rails that we were going to brad nail into for supporting our ceiling panels.


Sadly, we don't have better quality process pictures of us installing the panels. As you can see it was all hands on deck to get the ceiling panels installed. We ran the GoPro for a timelapse that will be featured in an upcoming YouTube video. I can honestly say that we did so much prep work before this point that everything went really smoothly getting these all installed. It just took a bit of time because Owen was doing some wiring and wire management as we went.
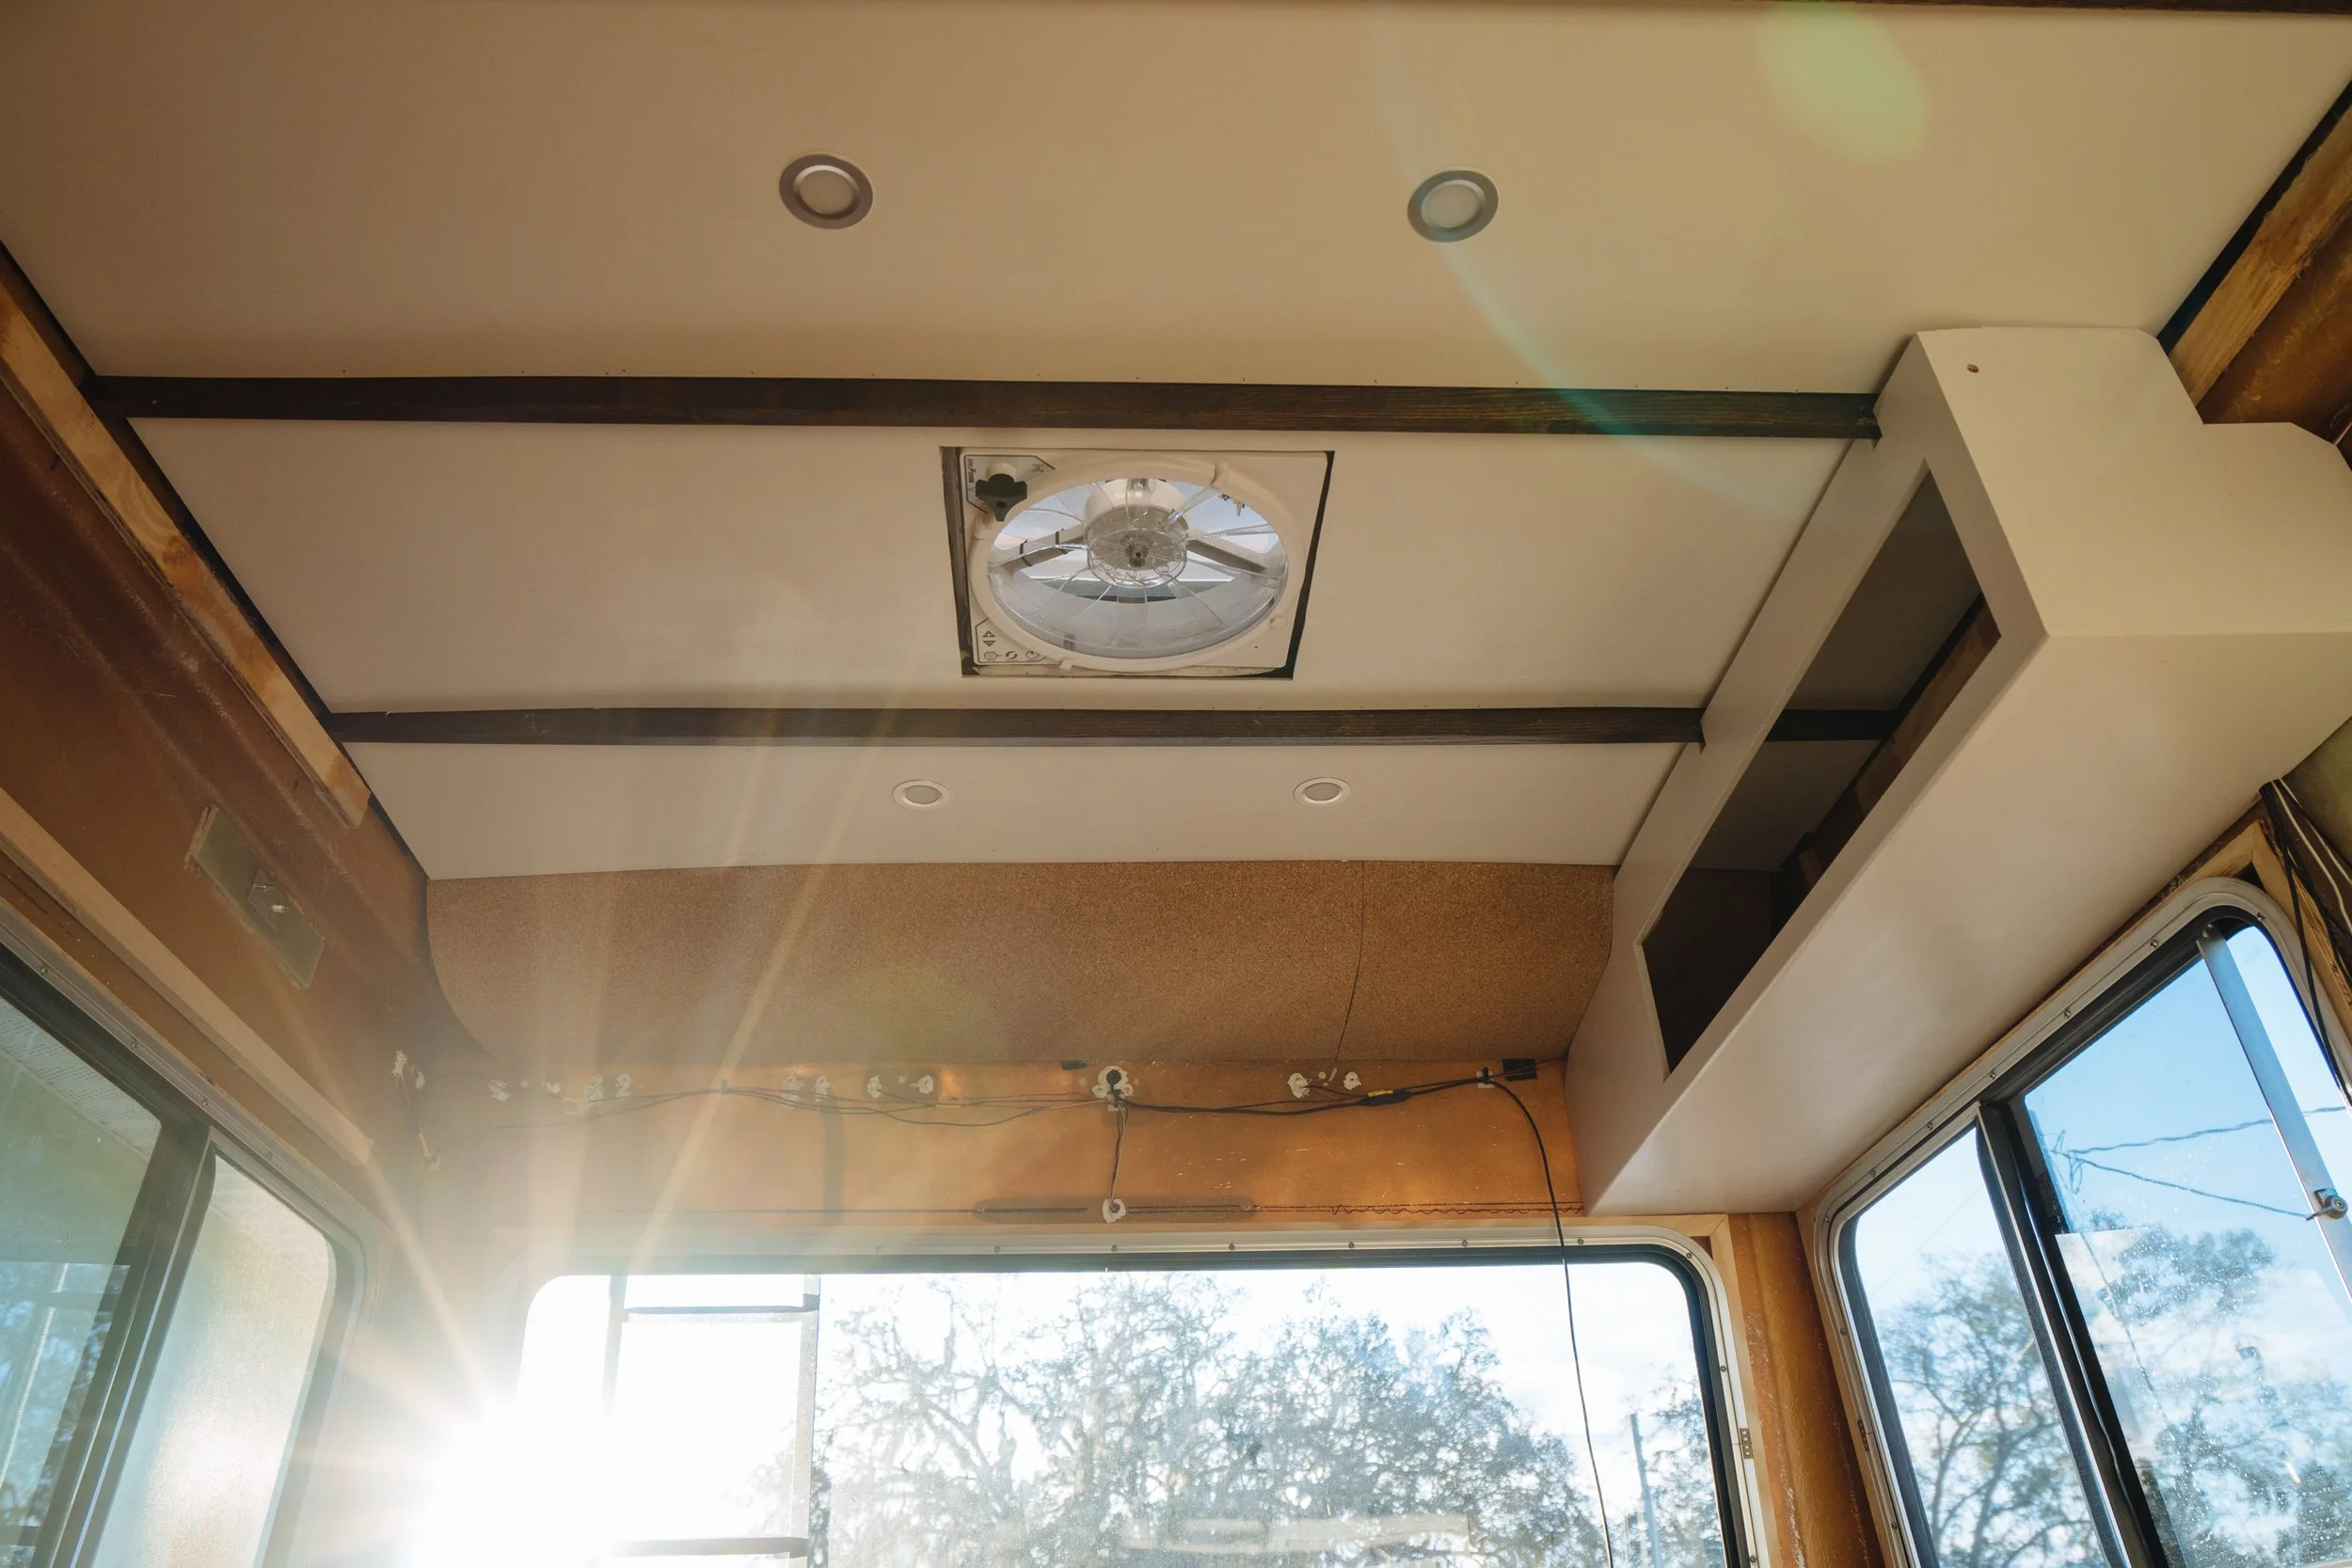
I think the results speak for themselves. We're madly in love with how the ceiling turned out. There have been a few evening since this weekend where we've ended up out in Amelia just staring at the ceiling. The icing on the cake though is that we can now work well after dark and have overhead lighting!
See you next week!
<3 MAK

Made with love by MAK
SUPPLY LIST
For Inquiring Minds
Cork Ceiling Install
West Marine 610 Epoxy - For glueing up wall supports
1/4" Cork Underlayment - For our wall covering. We bought a lot but we have plans to use it elsewhere as well!
Extreme Hold Duct Tape - This stuff is my favorite, best price is at Home Depot ($8) sticks so well to uneven fiberglass walls
Electrical Work
1" PVC - for cutting in half and making tunnels for wiring - you can get it at any hardware store
West Marine 610 Epoxy - for glueing to the wall (see above)
More Duct Tape - Obviously (see above)
Ceiling Panels, Insulation, and Installation
Standard White Exterior Paint - used your favorite brand
Polycrylic Satin - Used as our topcoat on all cabinets and wall panels
Jig Saw - For cutting openings for our sylights
3" Hole Saw - For cutting holes for lights
Ceiling Lights - We used 5 in total for the ceiling. Two more will be on the walls in the bed area
Maxxair Fan - We have two total in our rig
Brad Nail Gun - for nailing up our ceiling panels
1/2 Brad nails - We used this size to be sure that they went in far enough to our supports without going through the ceiling.
Thinsulate - for all of our insulation