Build Out: Week 12
SOLAR PANEL & CABINETS

Hey Friends!
Hope you all had a great week. We, as usual, kept ourselves very busy over this past week! We had some exciting things happen that I'm so excited to tell you about!
We've gotten a lot of questions recently about our ETA to get back on the road. We've blown our original timeline out of the water, so our current goal is Mid-March. We'd love to be in Baja by April, but we're trying to stay flexible and open to whatever needs to happen to finish our build, and finish it right. My parents have been more than accommodating. We'd love to give them their spare bedroom back, that currently contains all of our belongings. Their garage back, that is cluttered with our half built interior, and their time back which I know we're taking a lot of. For the public record, we're endlessly thankful for them and everything they're doing for us. This build wouldn't be possible without them!


WE PICKED UP OUR BOXES!!! This is such a long time coming! Look at how beautifully they turned out! We couldn't be happier with them. After 2.5 months of nothing from our last fabricator, we felt so victorious driving away with these beauties after just two weeks of being in production! We had the pleasure of working with Vickers Metal Works here in Orlando to make these boxes. We couldn't sing higher praises for them! We'll also be working with them in another week for a safe for our electronics!
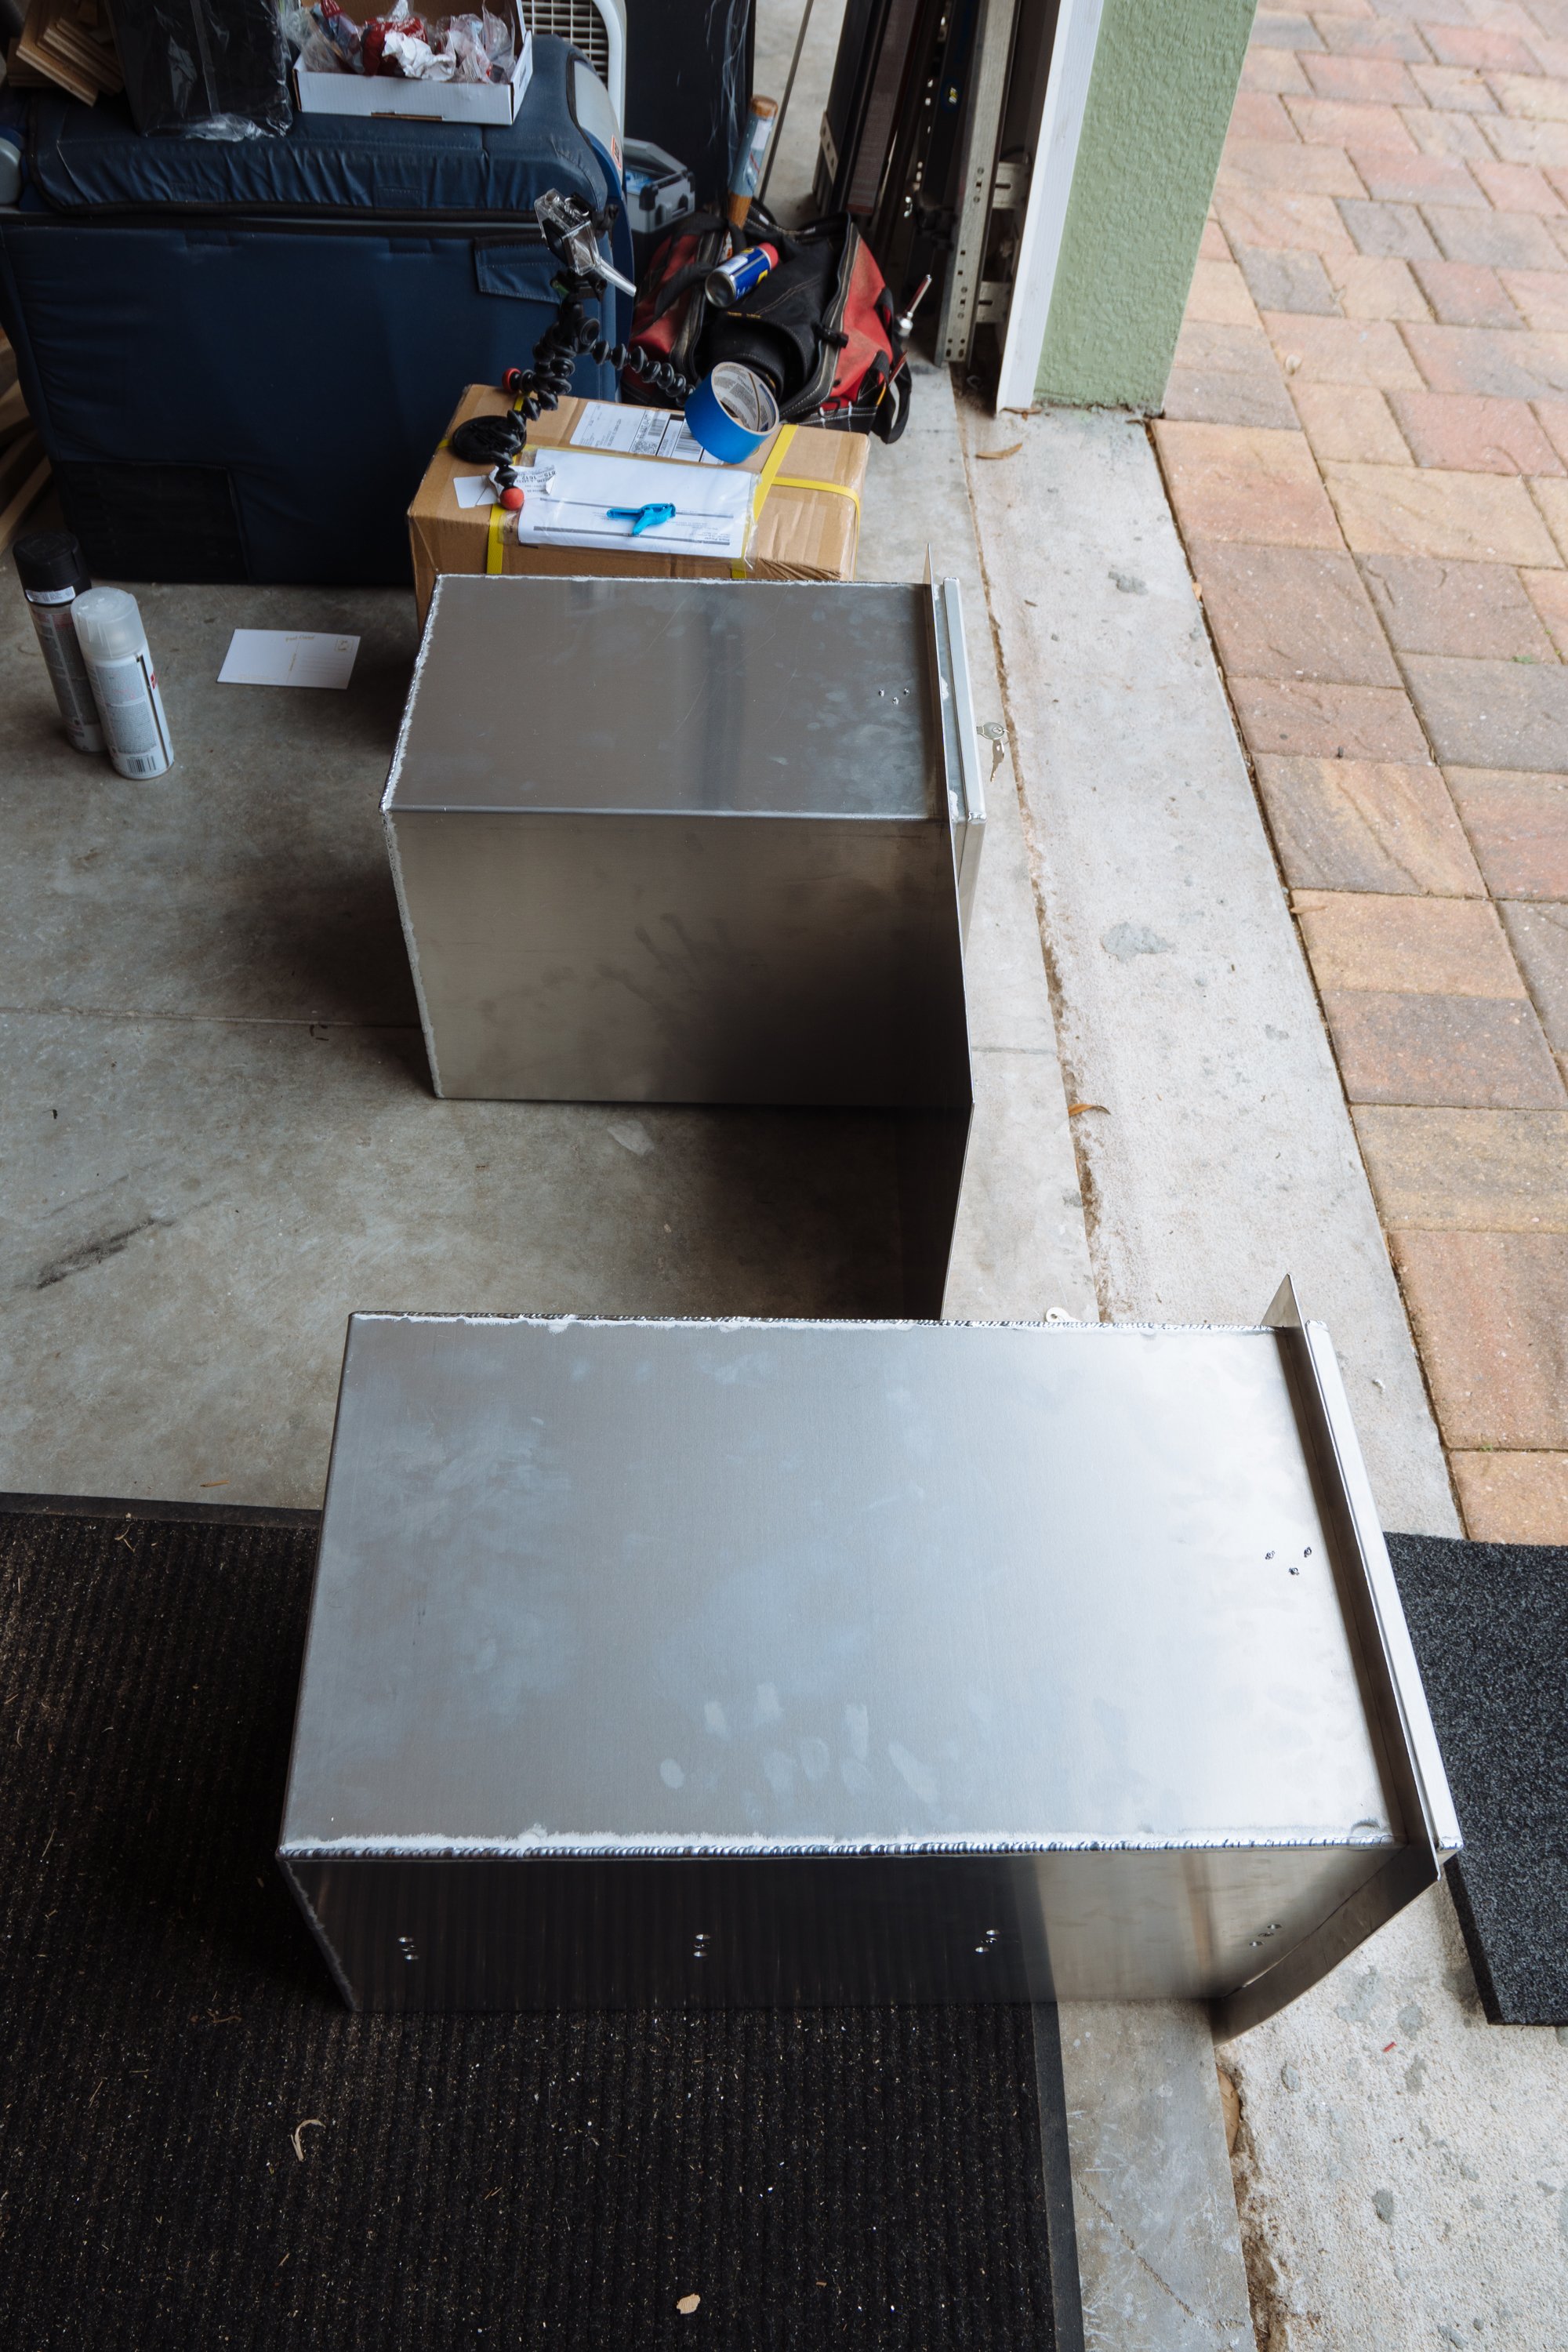
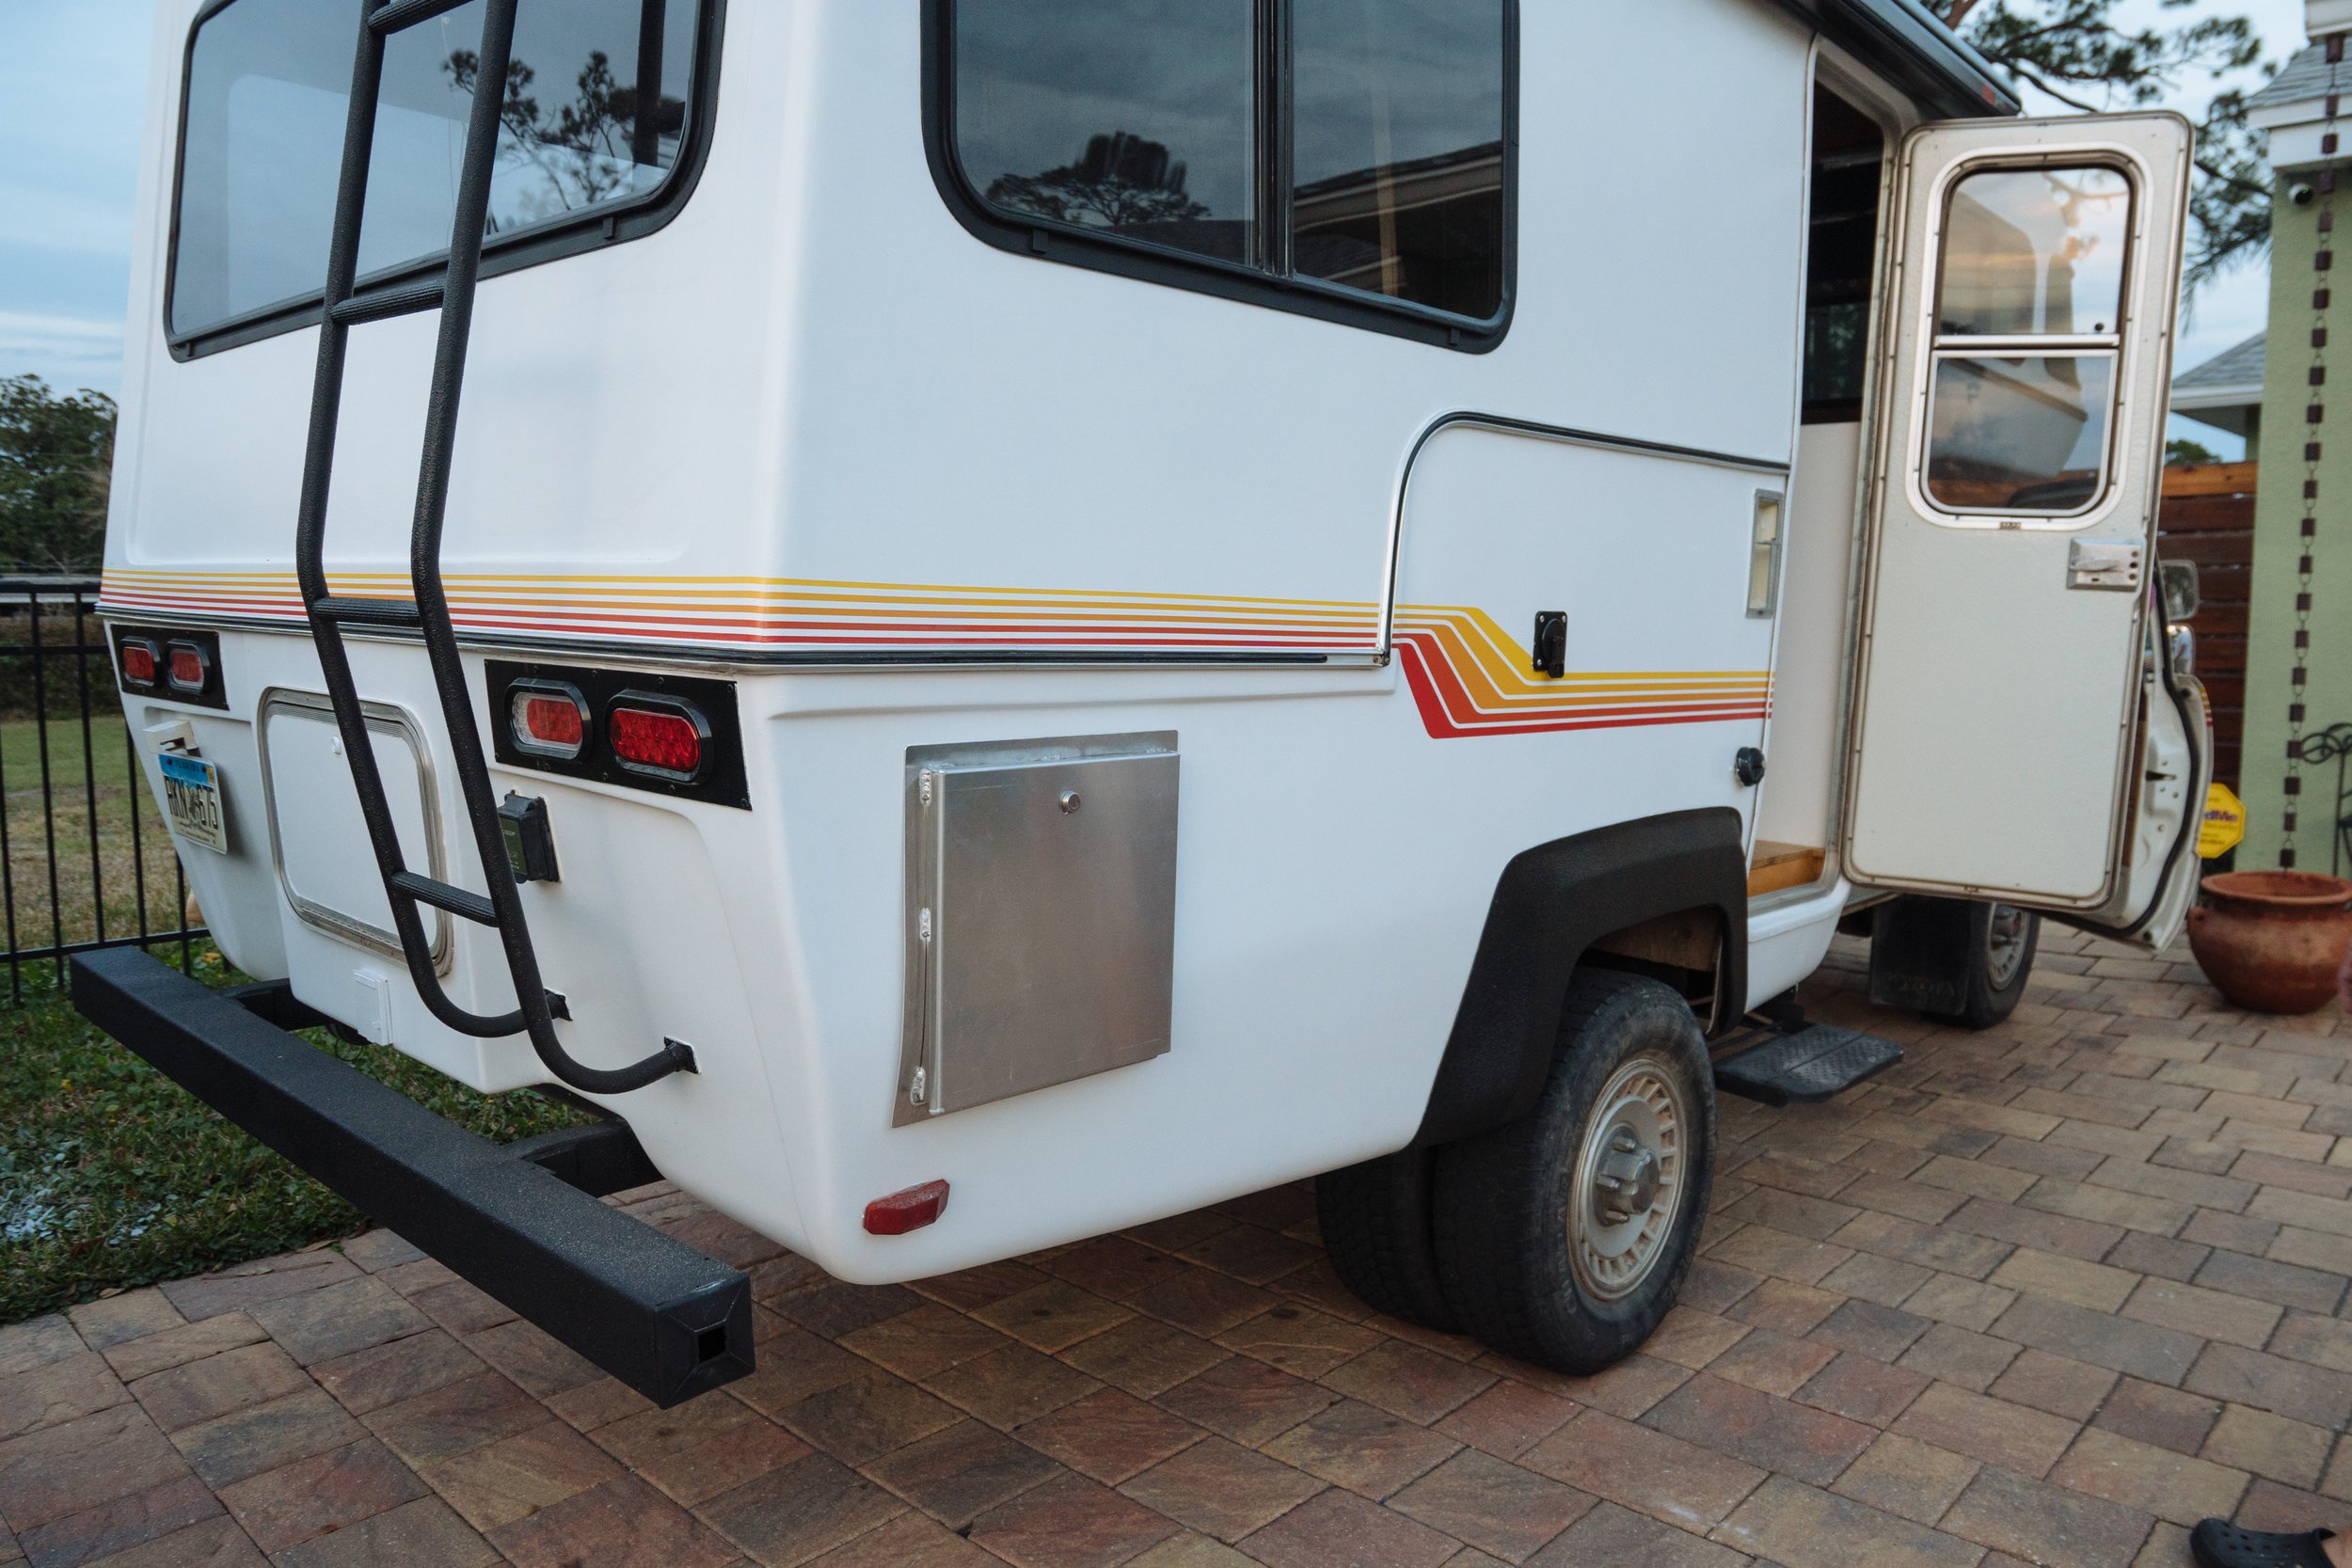
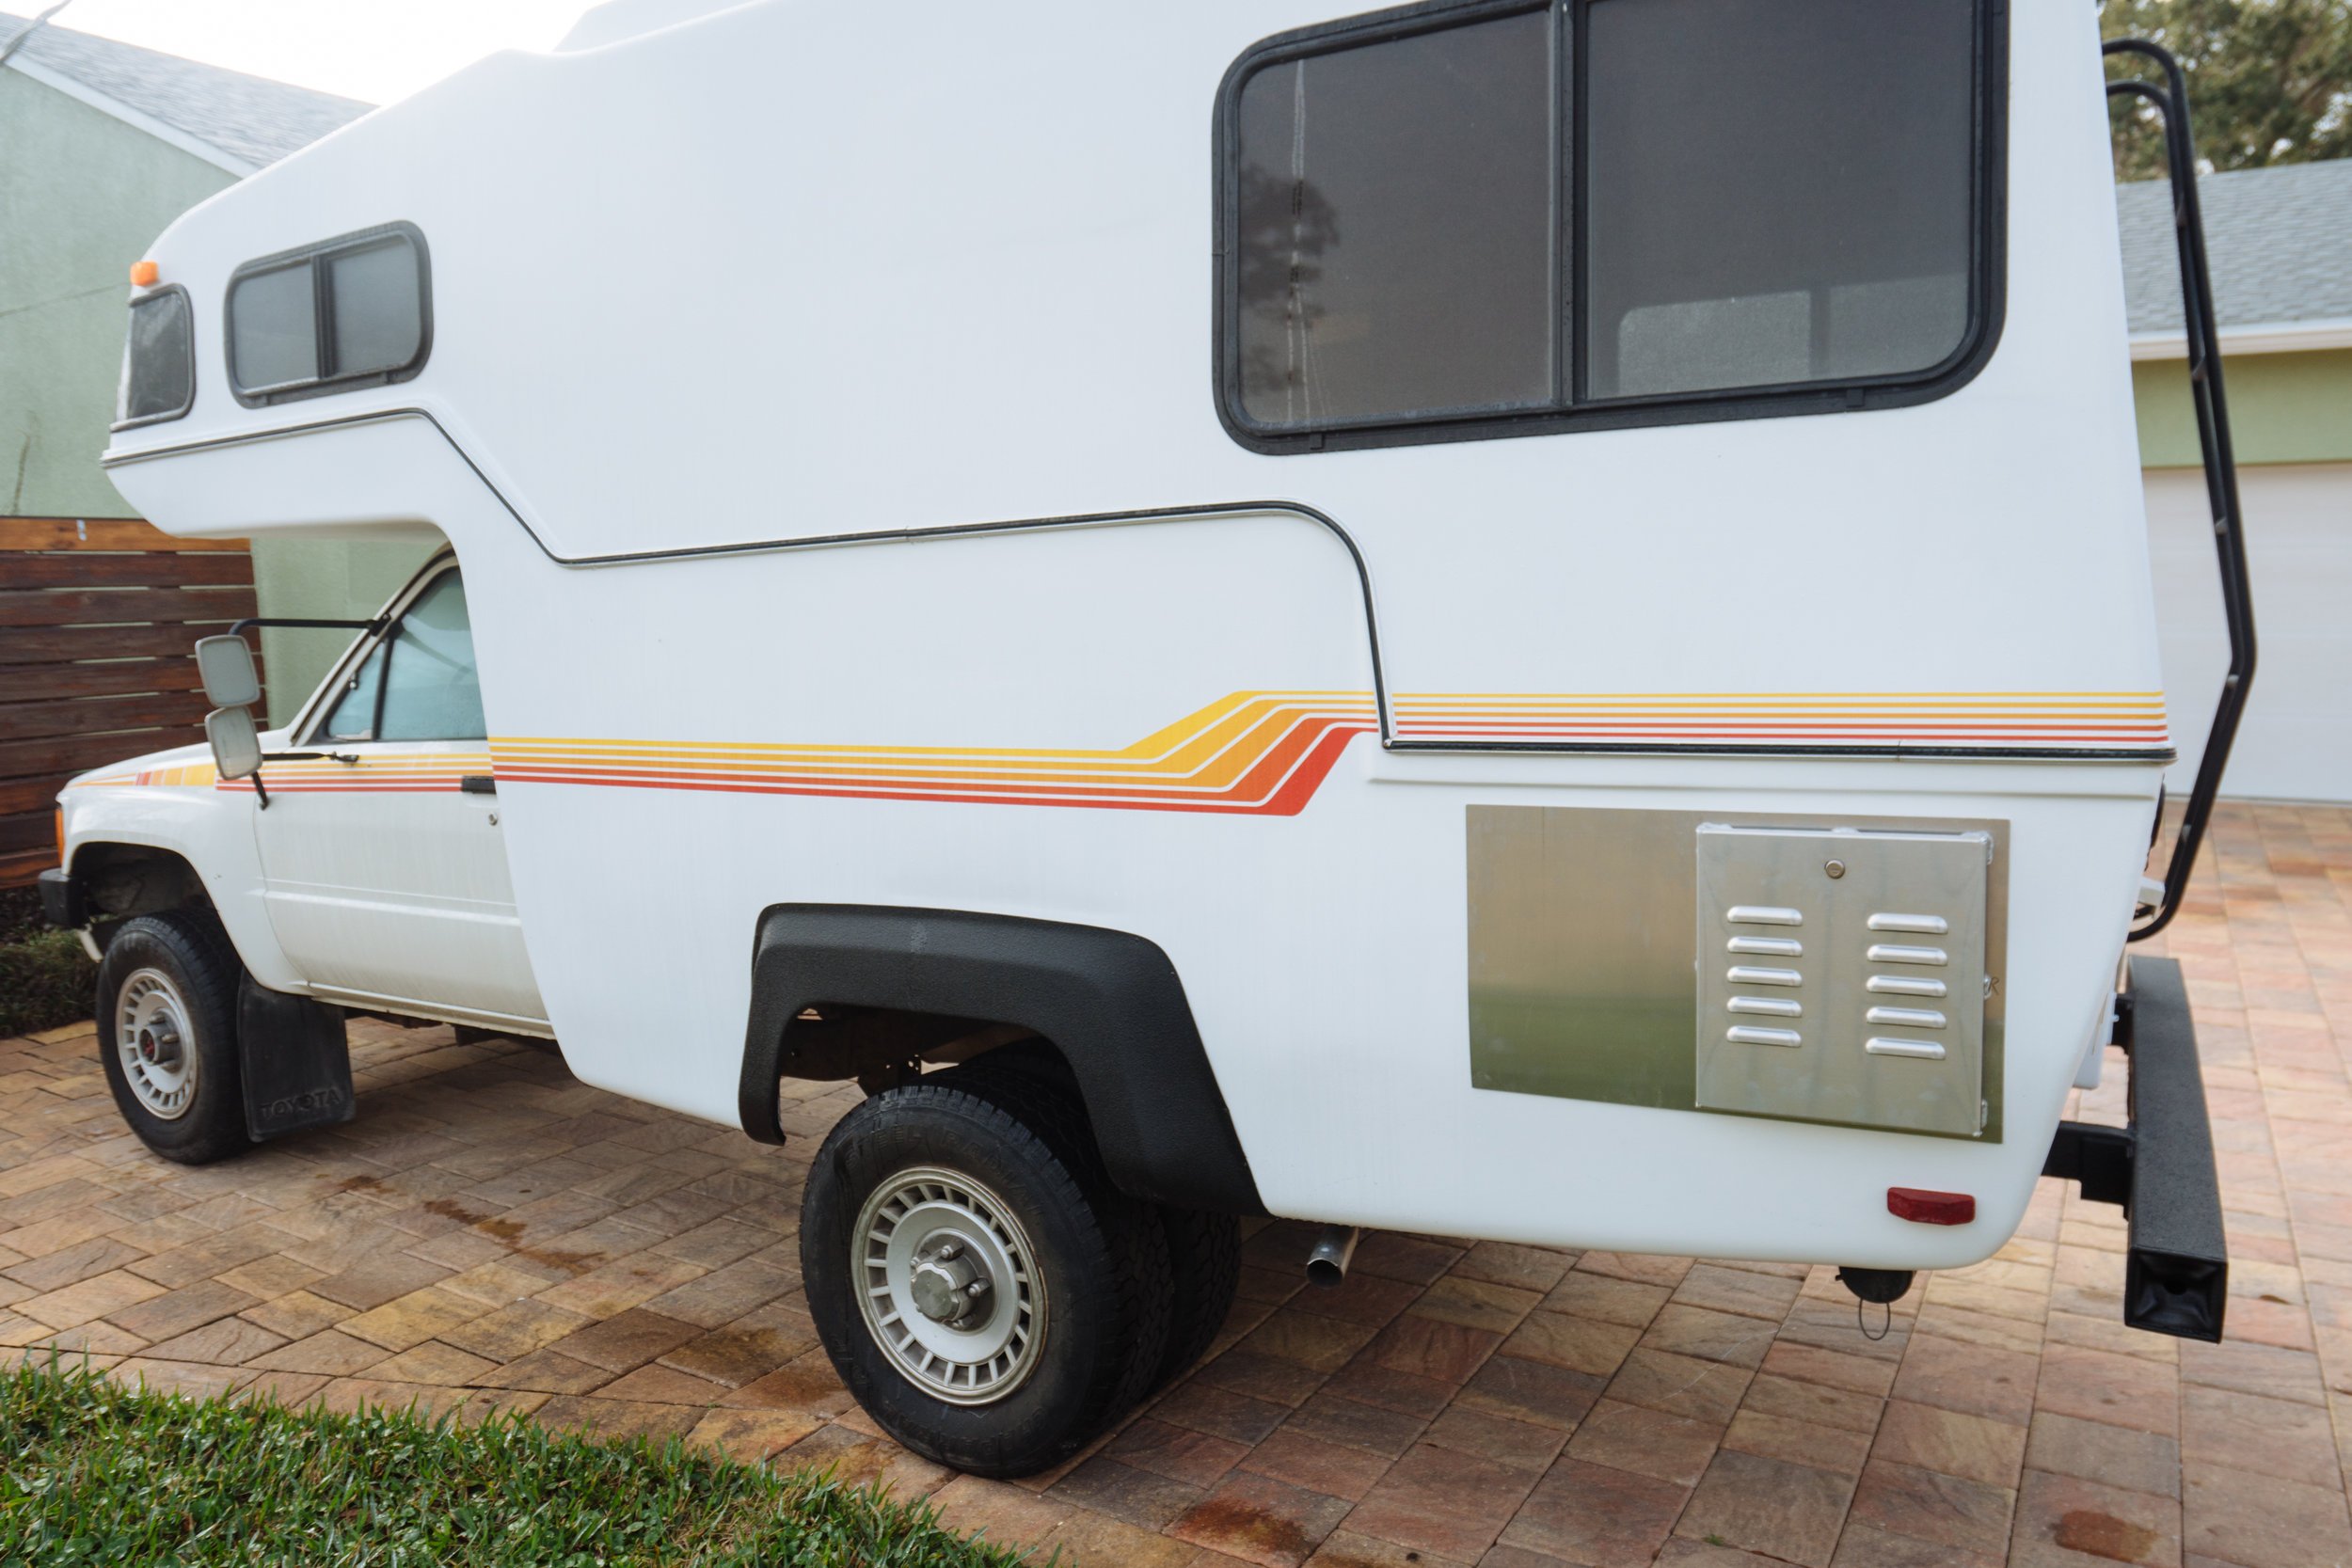
After talking with the fabricator about our job we decided against powder coating for the sake of time and cost. So, naturally, we decided to take on the painting ourselves. First, we needed to be sure that our boxes fit into our preexisting holes in the exterior. The propane tank box, on the driver side, fit like a glove. We pretty much copied the original box but just reduced it from two tanks to one. For the passenger side box we needed to make the box a little bigger the original hole to accommodate the cooktop that we have for the slide out kitchen. In order for the new box to fit we had to sand down the opening to make it about a half inch wider.

For those who are interested, these are my designs/sketches that we took to the fabricator for our boxes. They made some changes based on the best way to make them and to work with the curved exterior wall...of which we didn't even notice until they pointed it out. NOTE: I'm not an engineer and these sketches are my low brow attempt, so don't laugh too hard at my 'lil sketch.


Before we get these guys installed they need to be primed, painted, and fitted with some accessories. For the propane tank box we want to be sure that our propane fittings are all in place before installing. Our outdoor kitchen needs to have a set of sliders (which are currently en route) installed so we can slide our cook top out before it can be permanently affixed to Amelia.
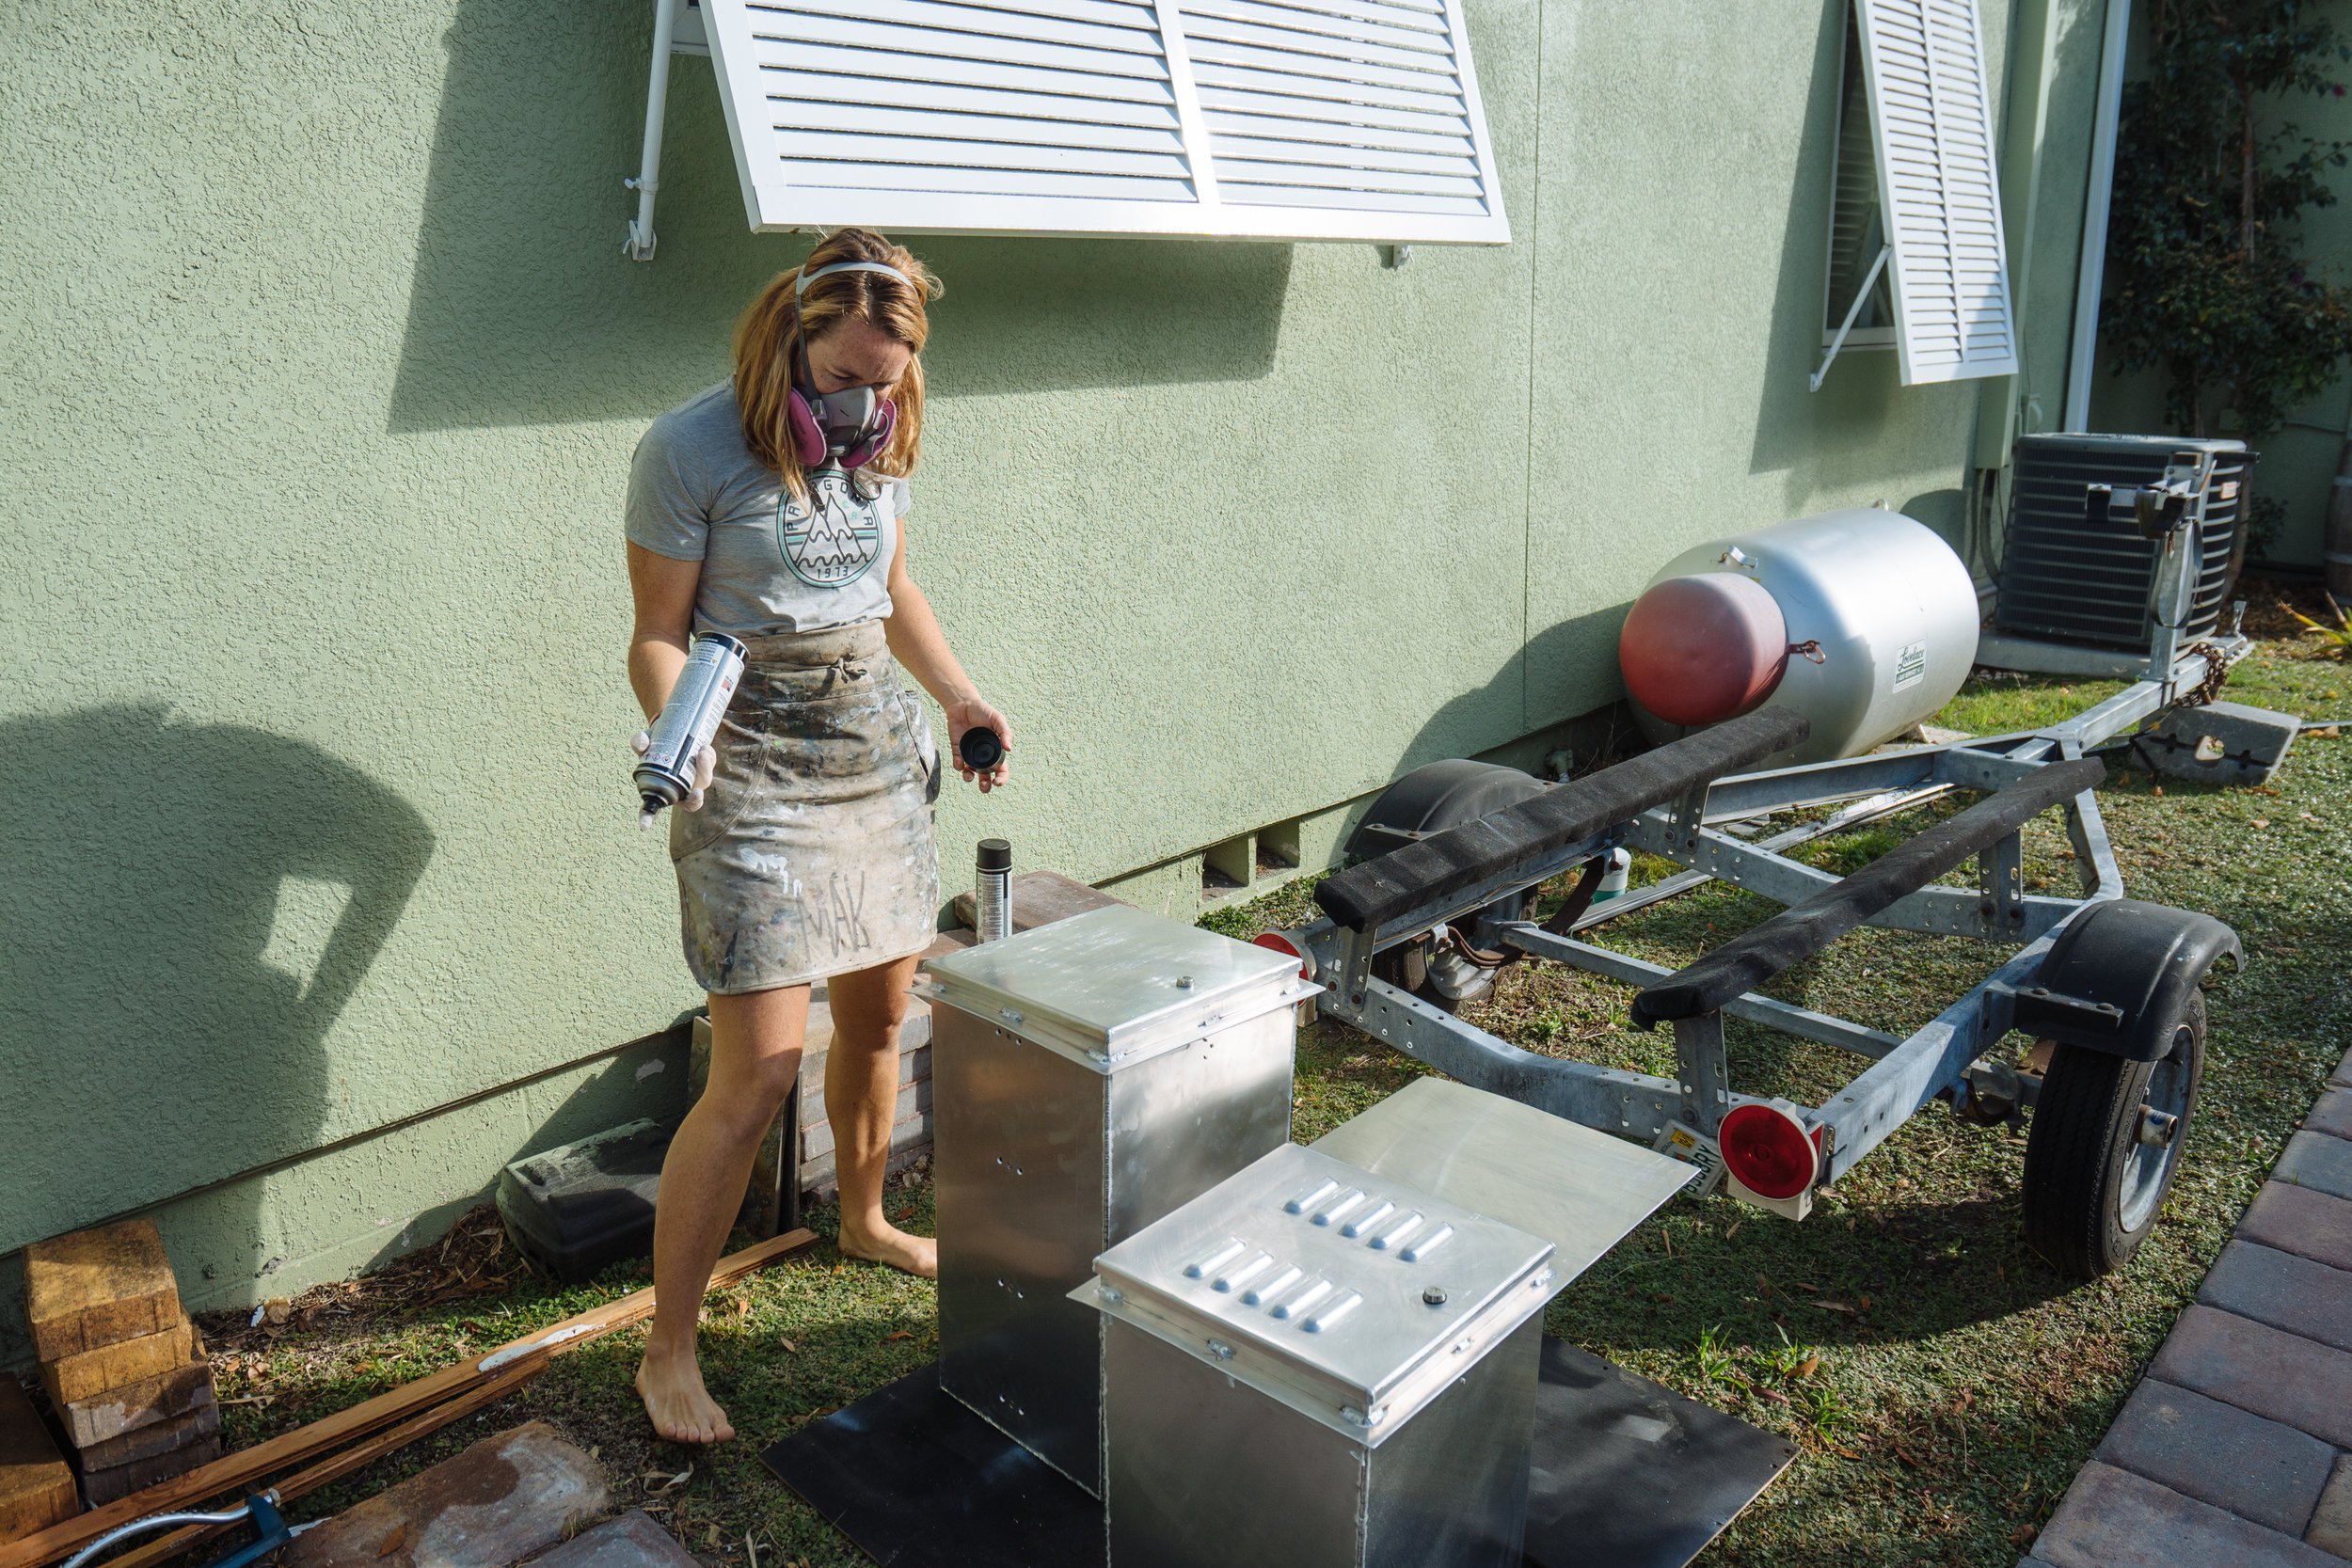
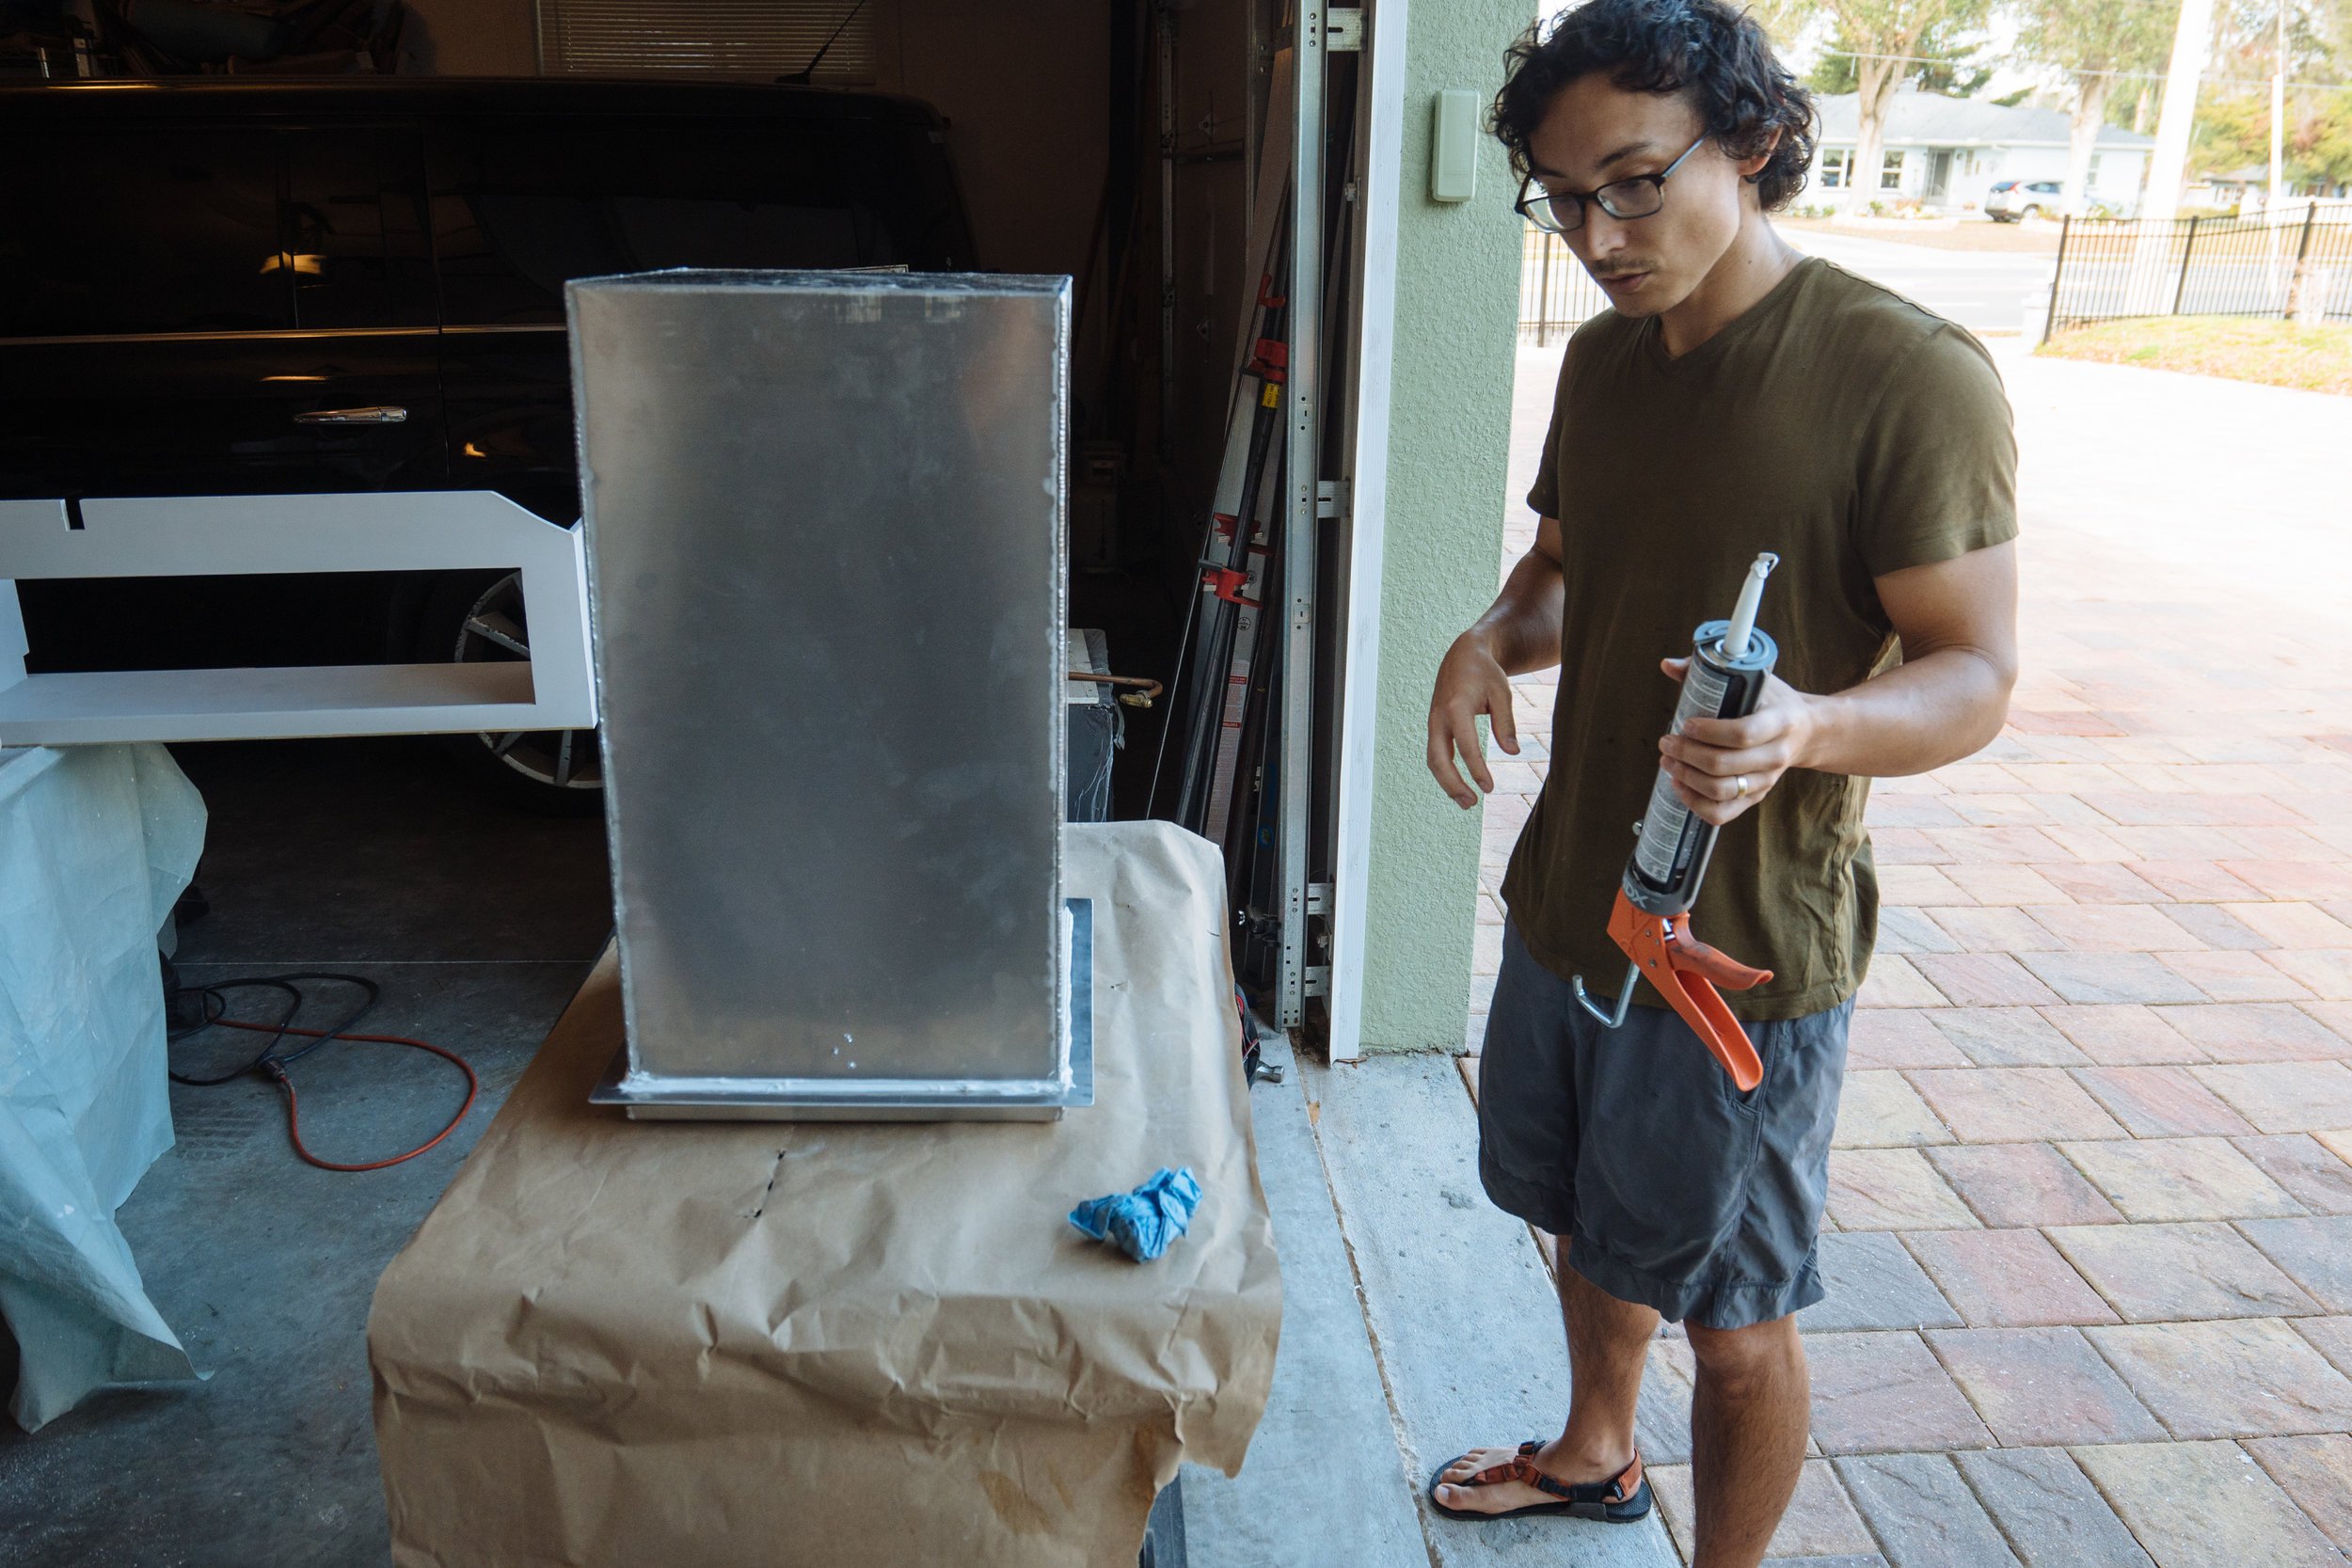
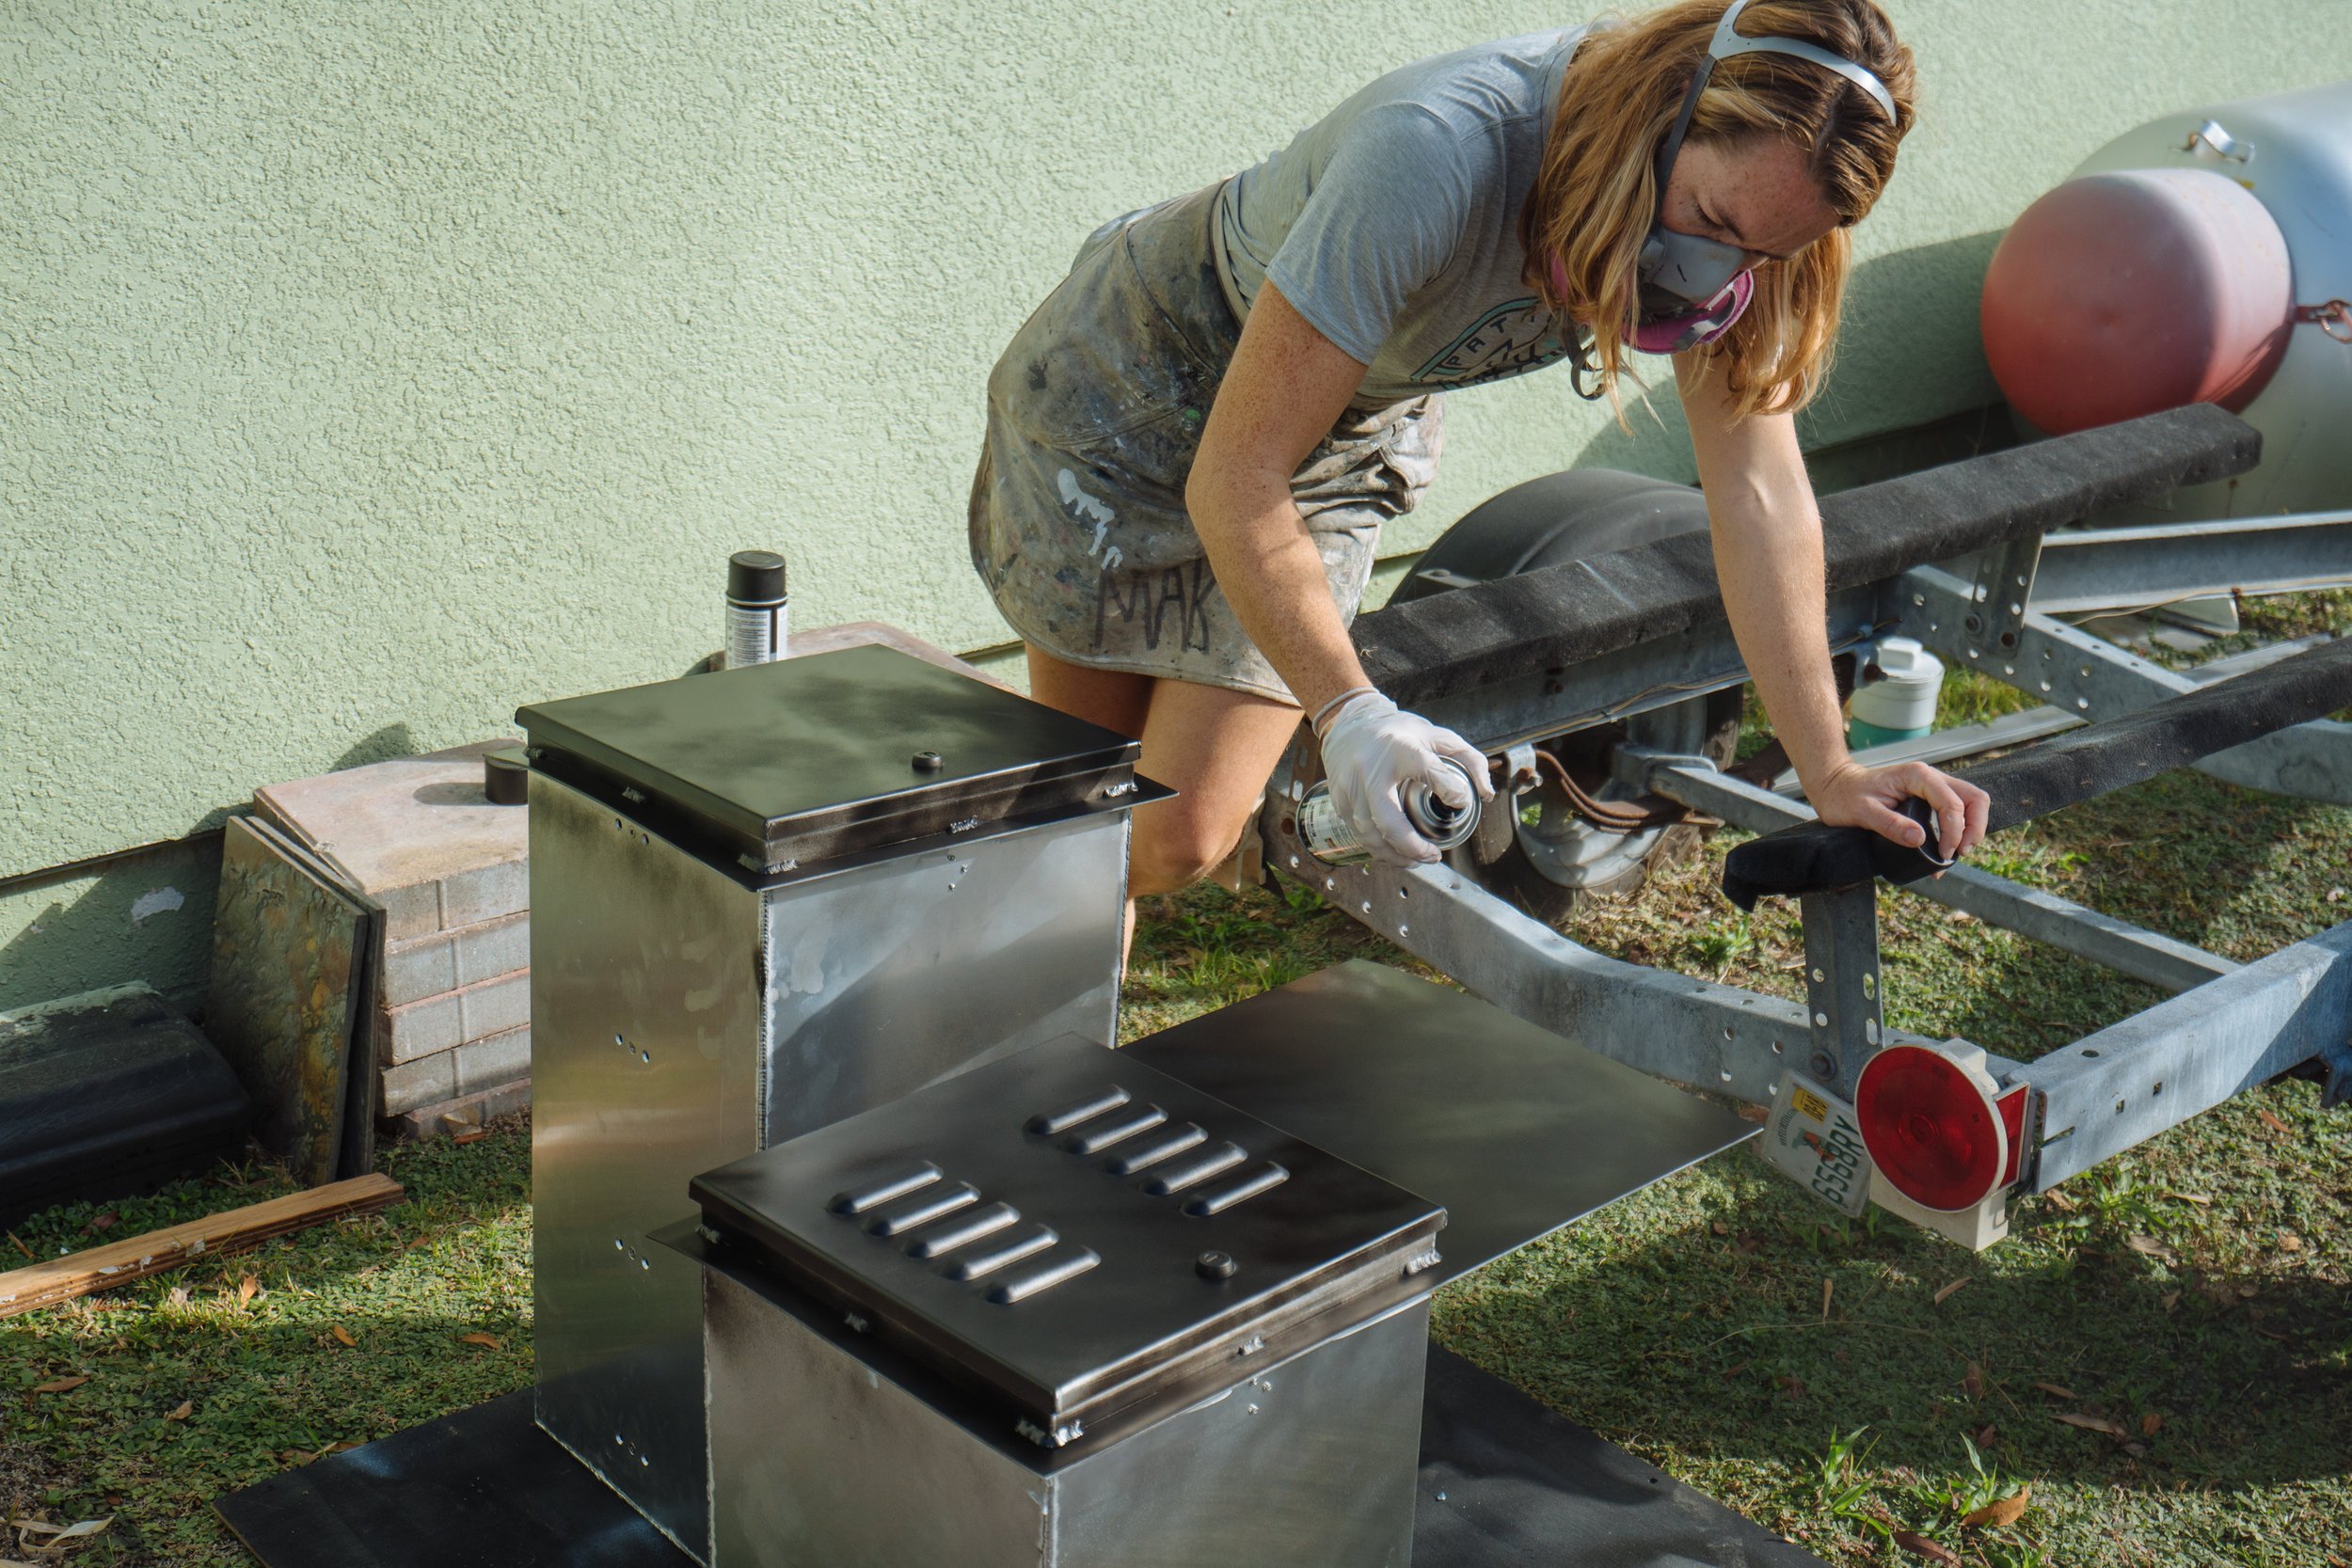
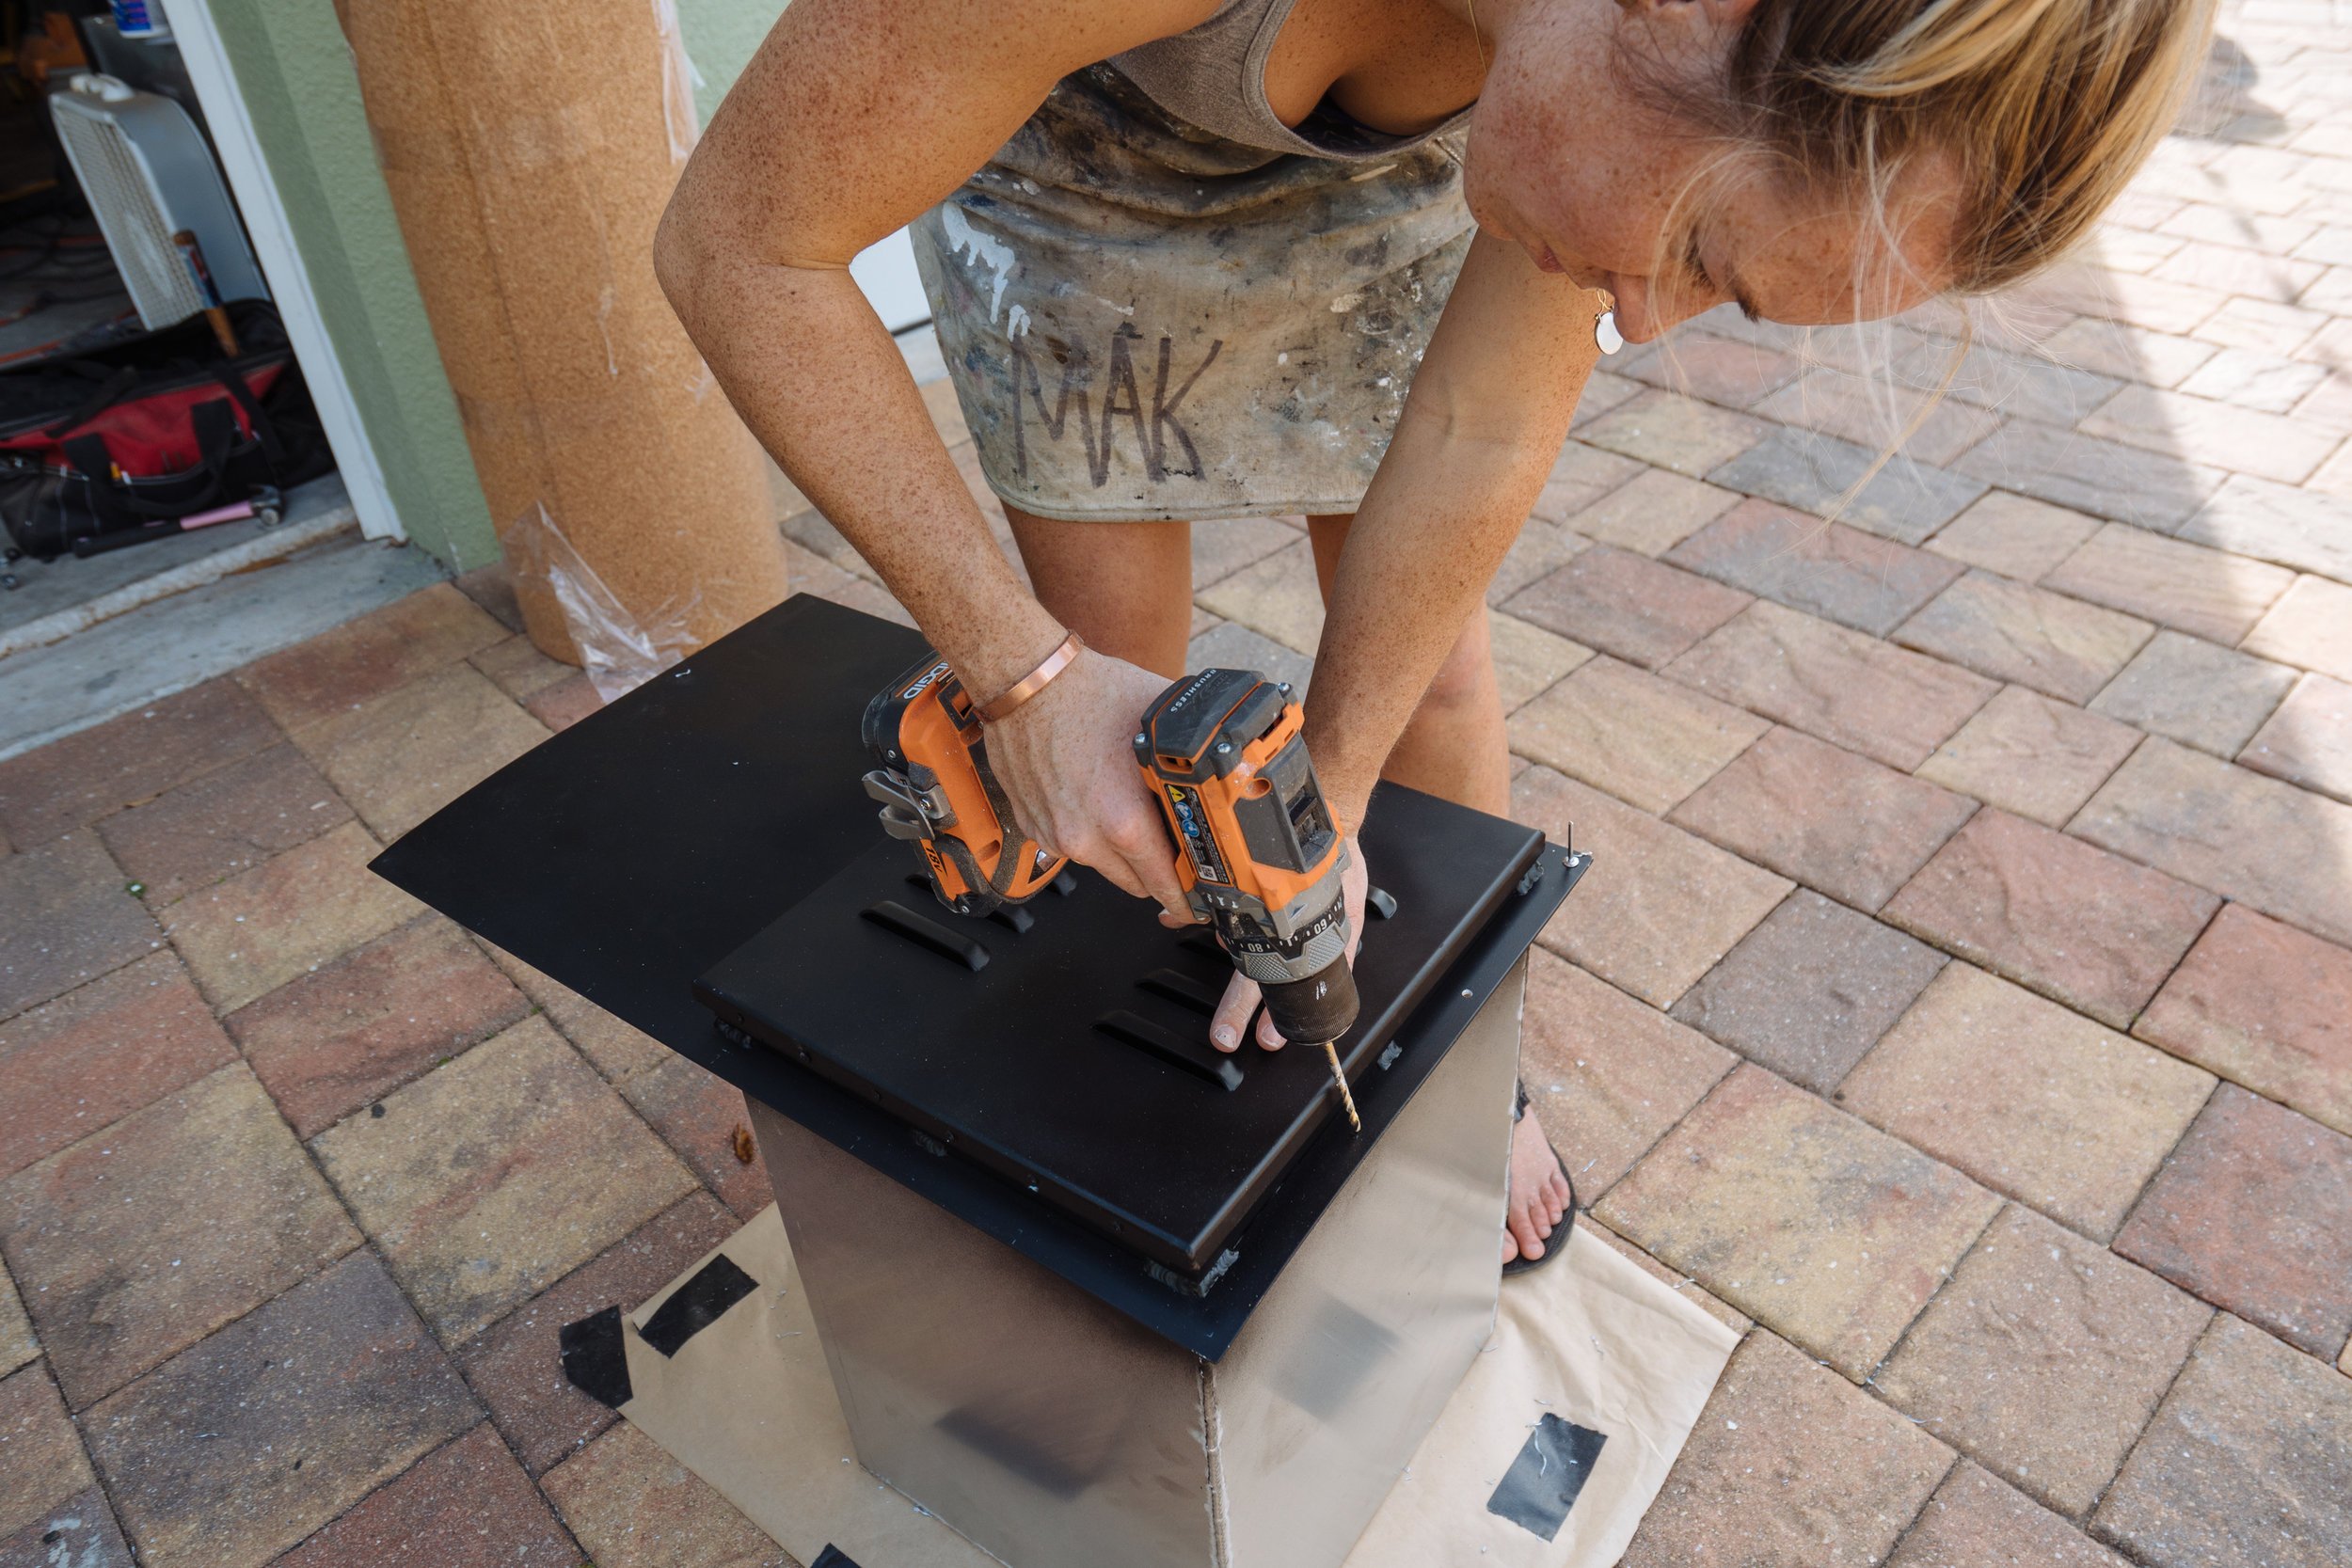
First thing we did to the boxes was laid up a Sikaflex bead on the inside seam of the box and outside wall to prevent any water from coming into Amelia after they are installed. After a solid amount of dry time we went straight into getting 3 coats of self etching primer onto the lids (inside and out), outside walls, edges, and the shelf for the kitchen box. After primer we drilled all the holes for our rivets onto the boxes and then into Amelia.
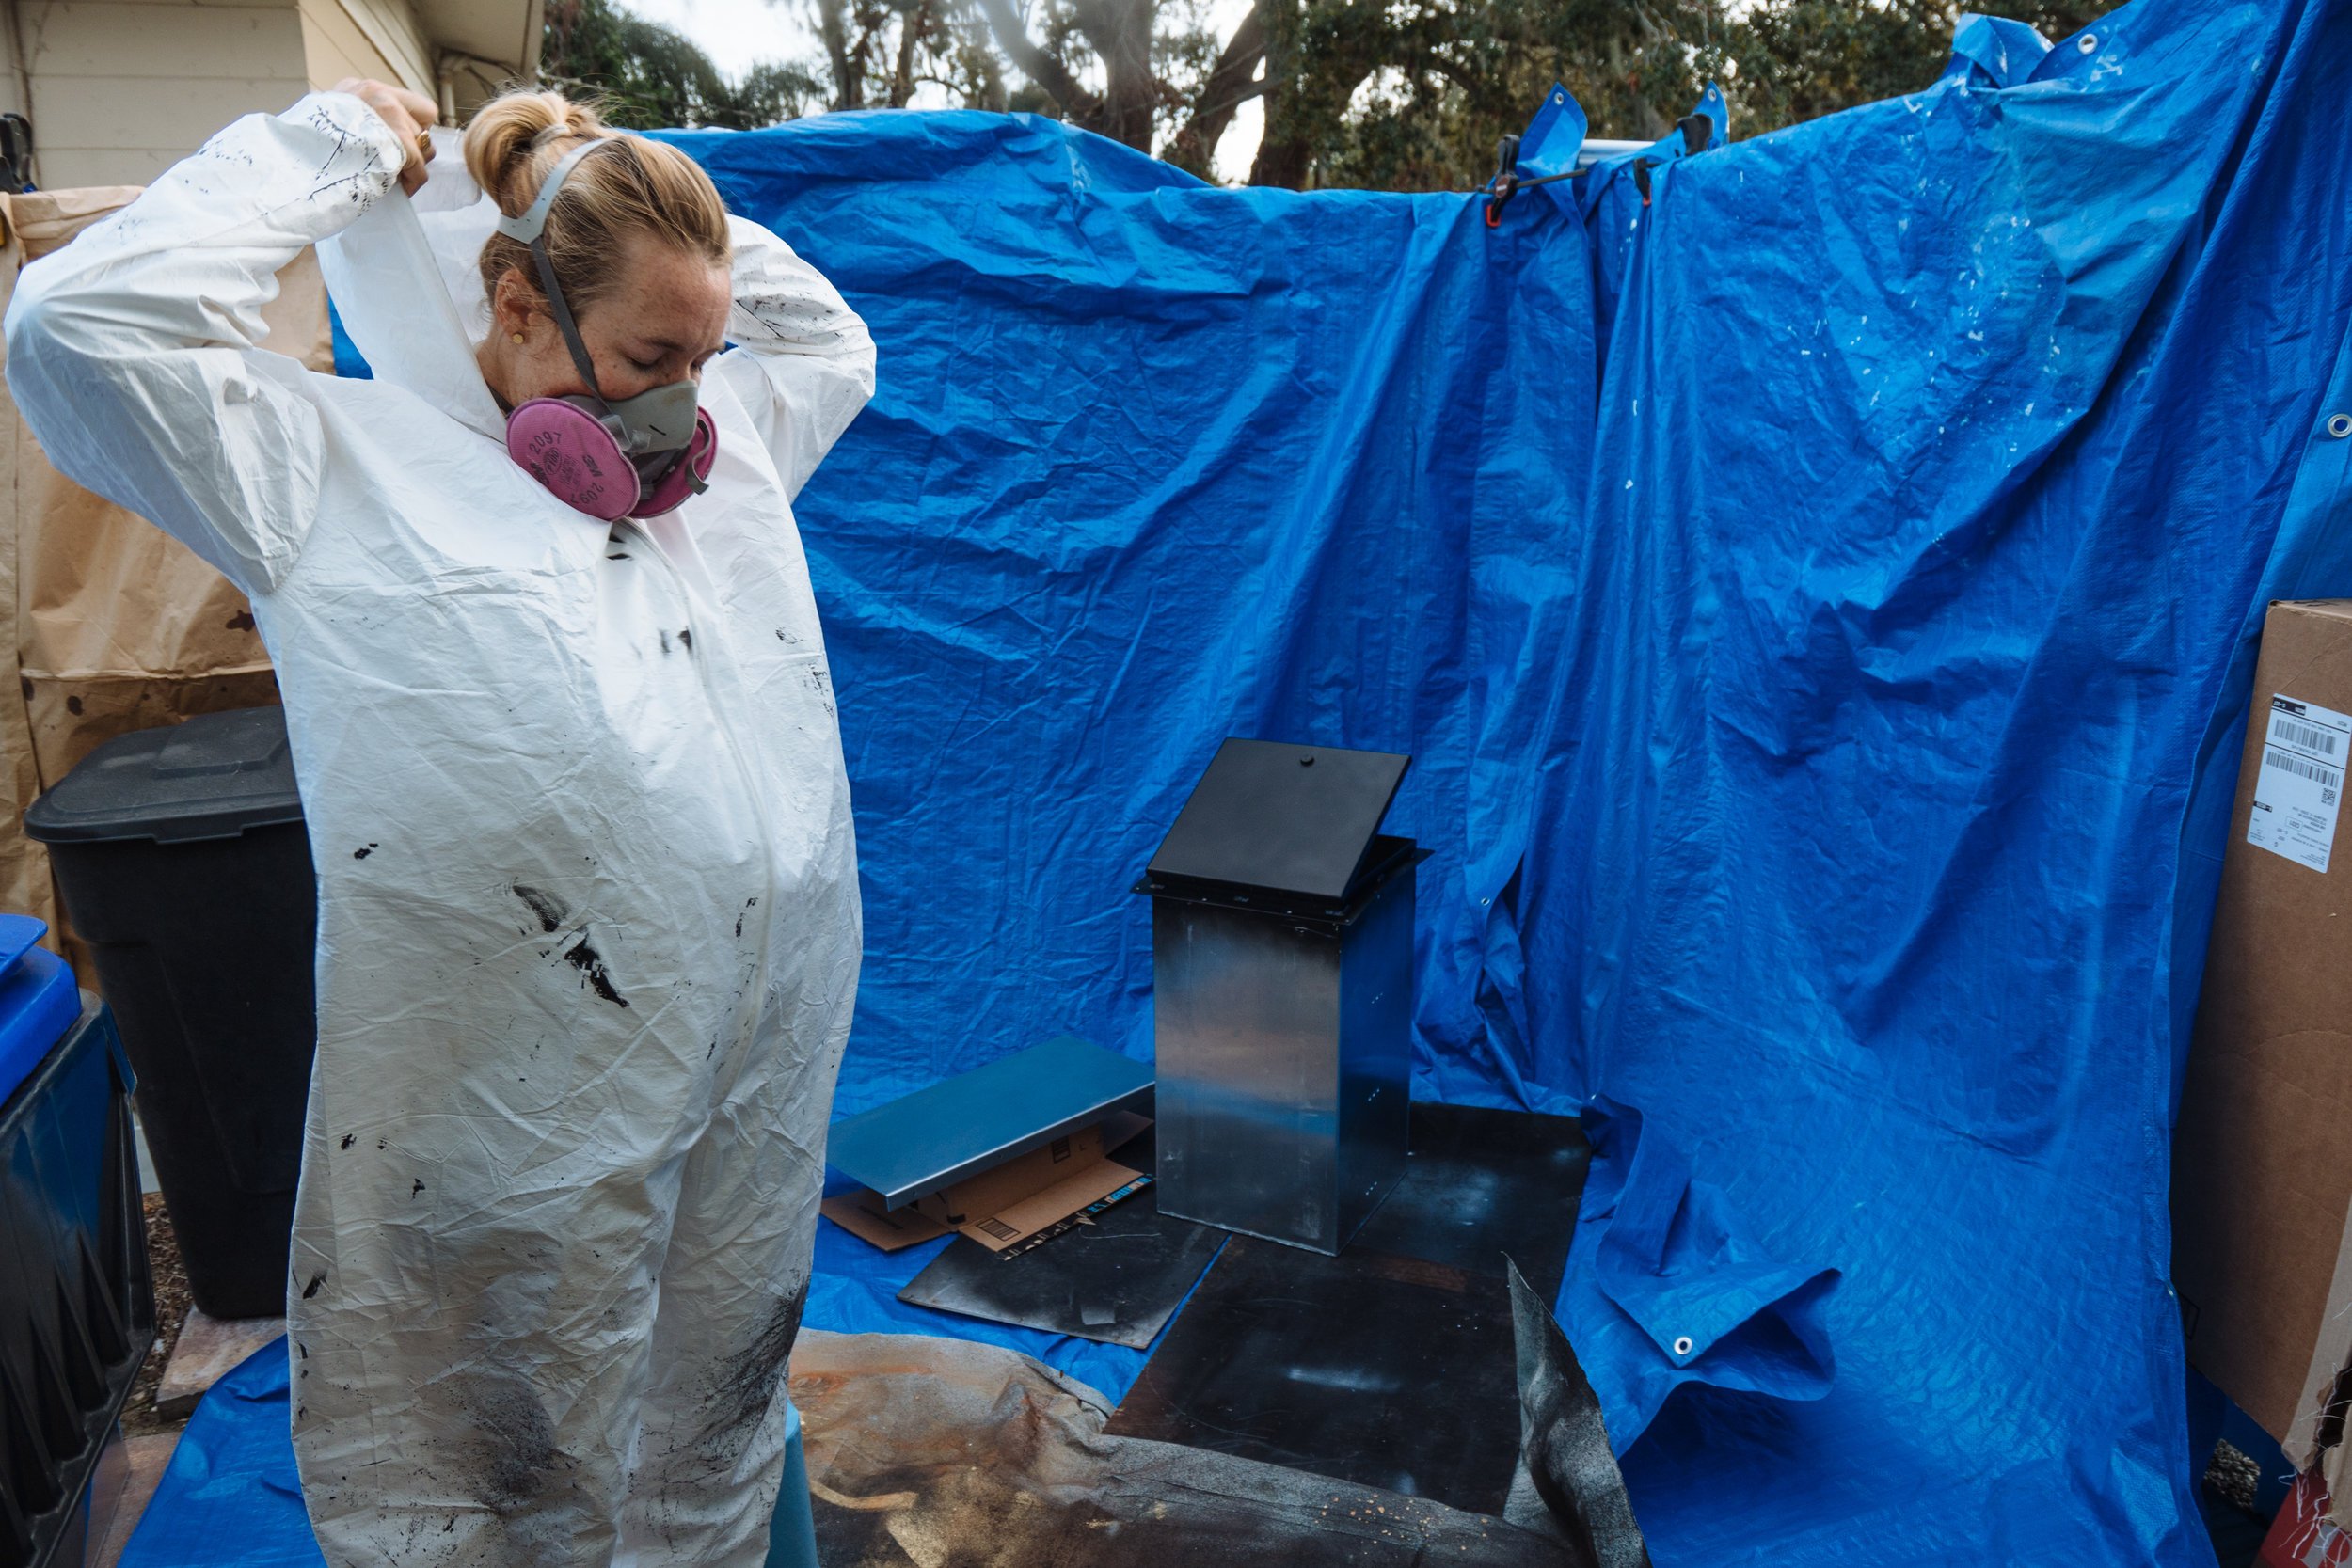
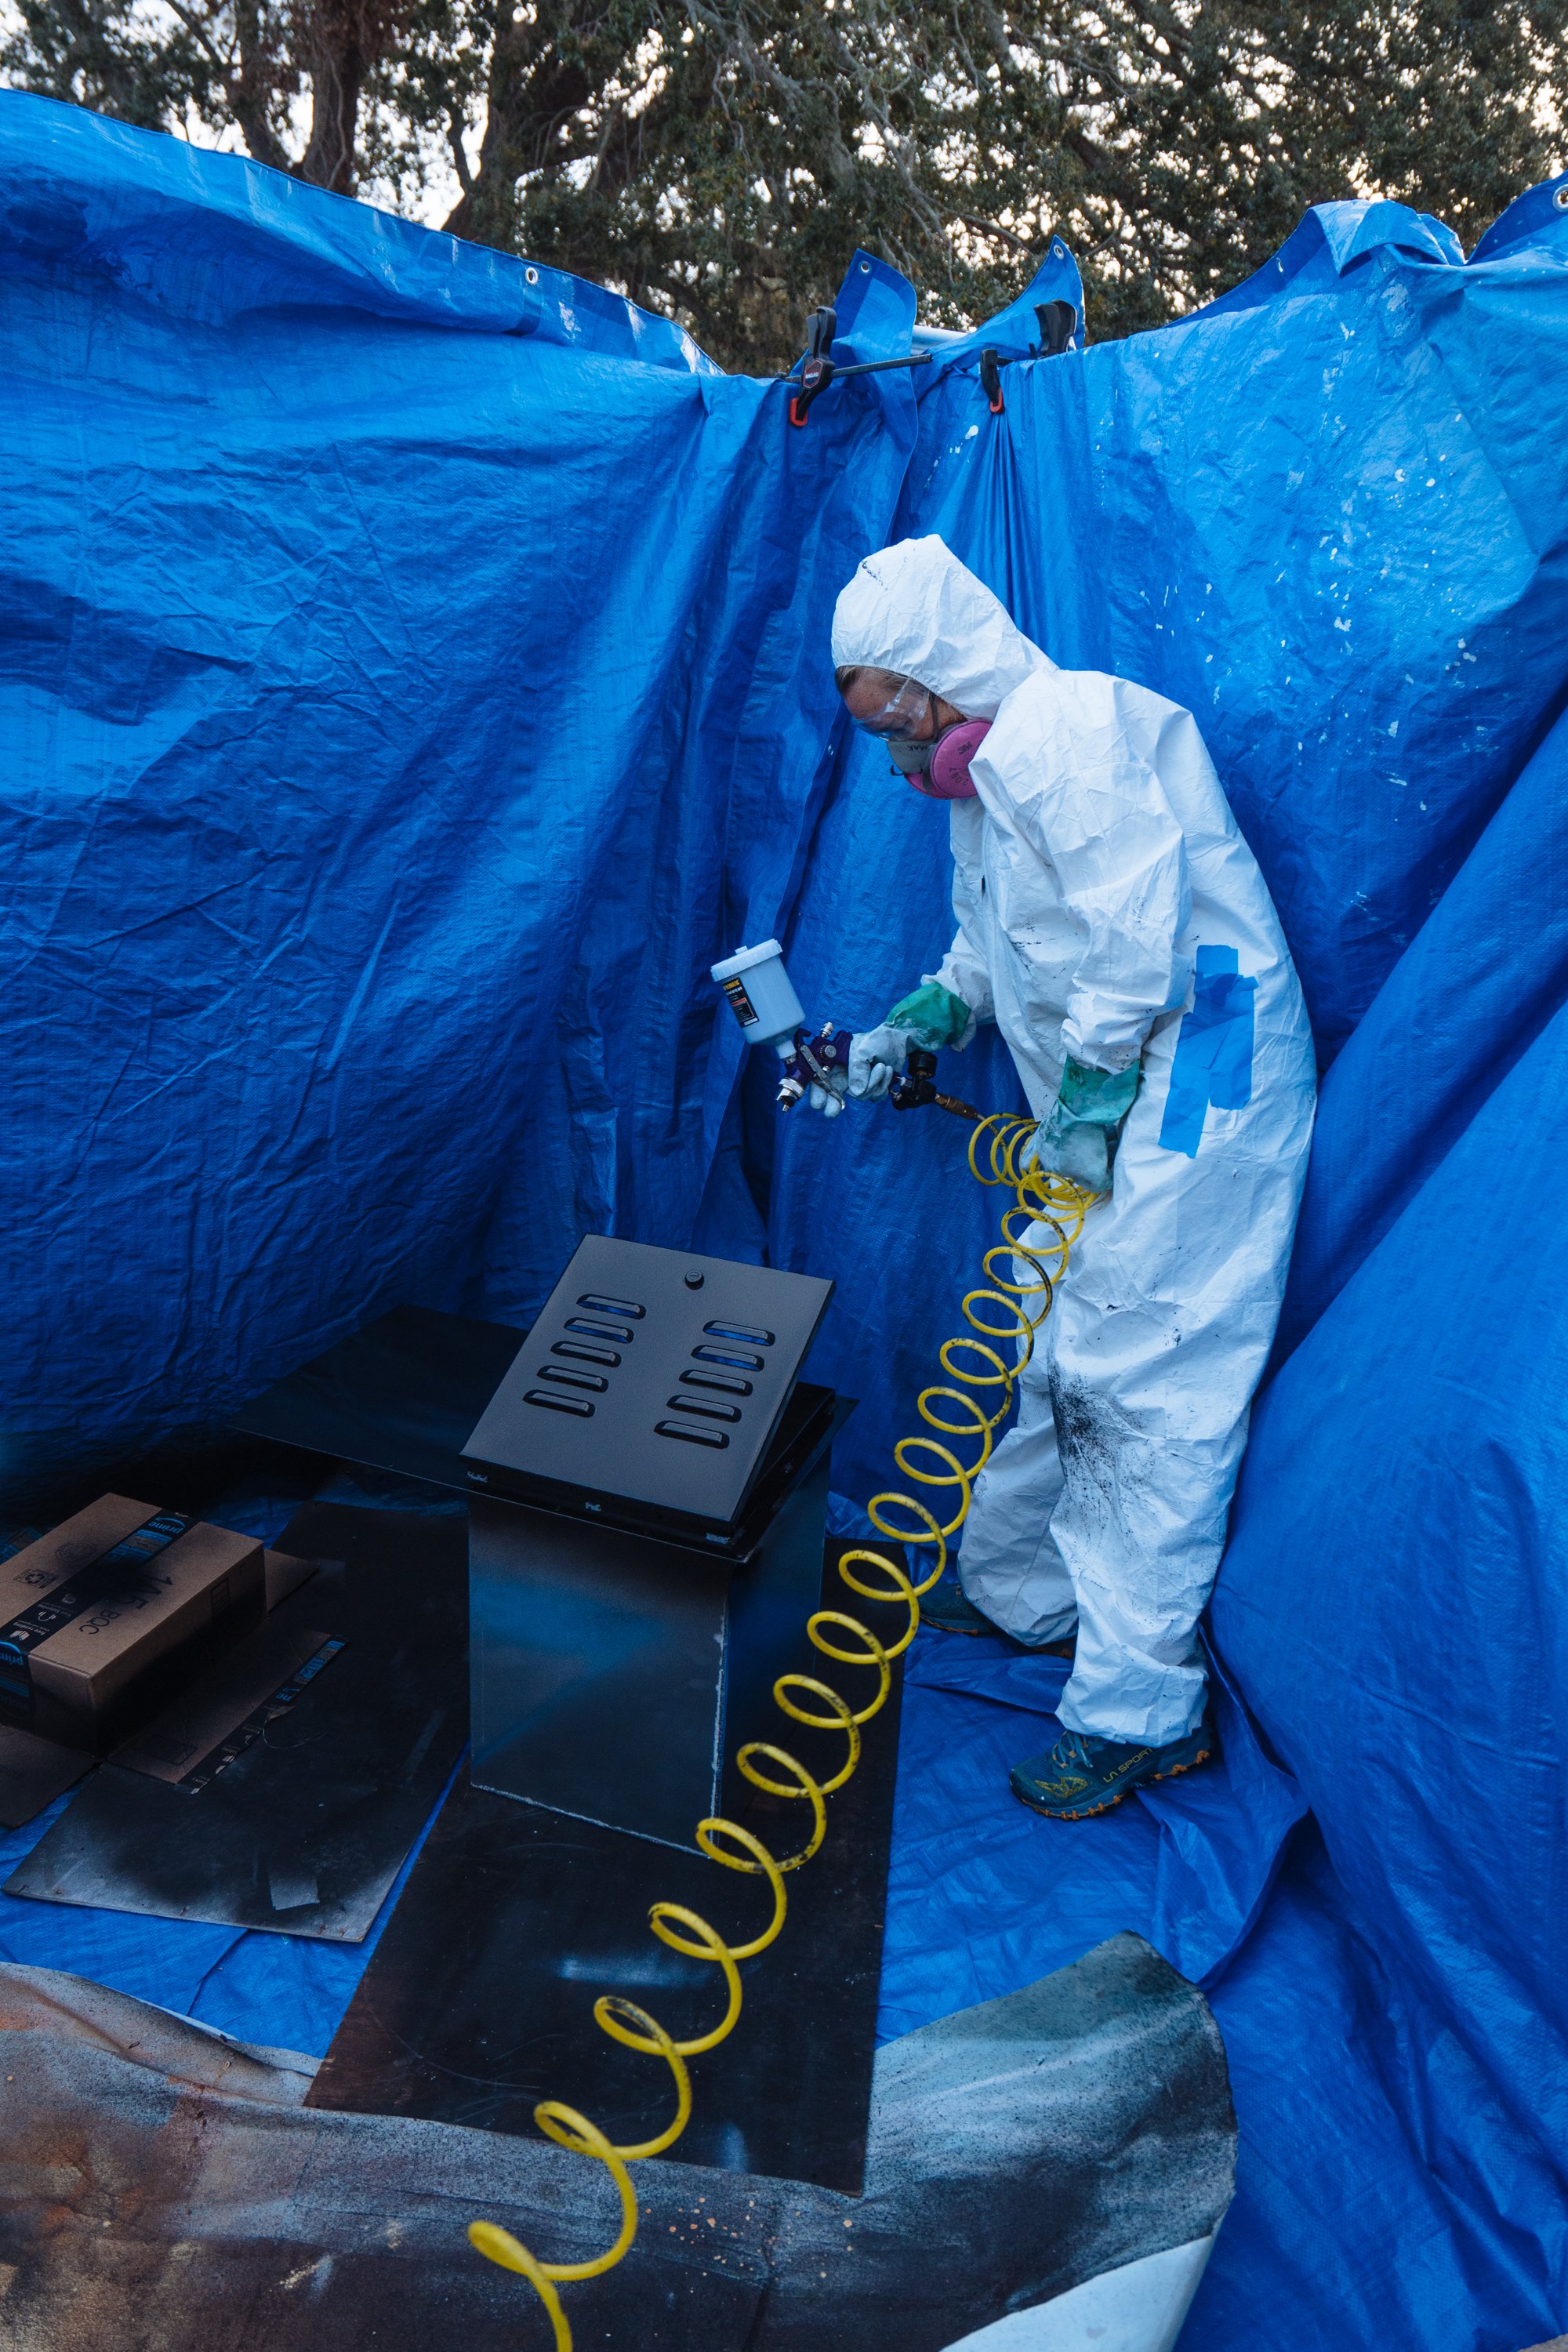
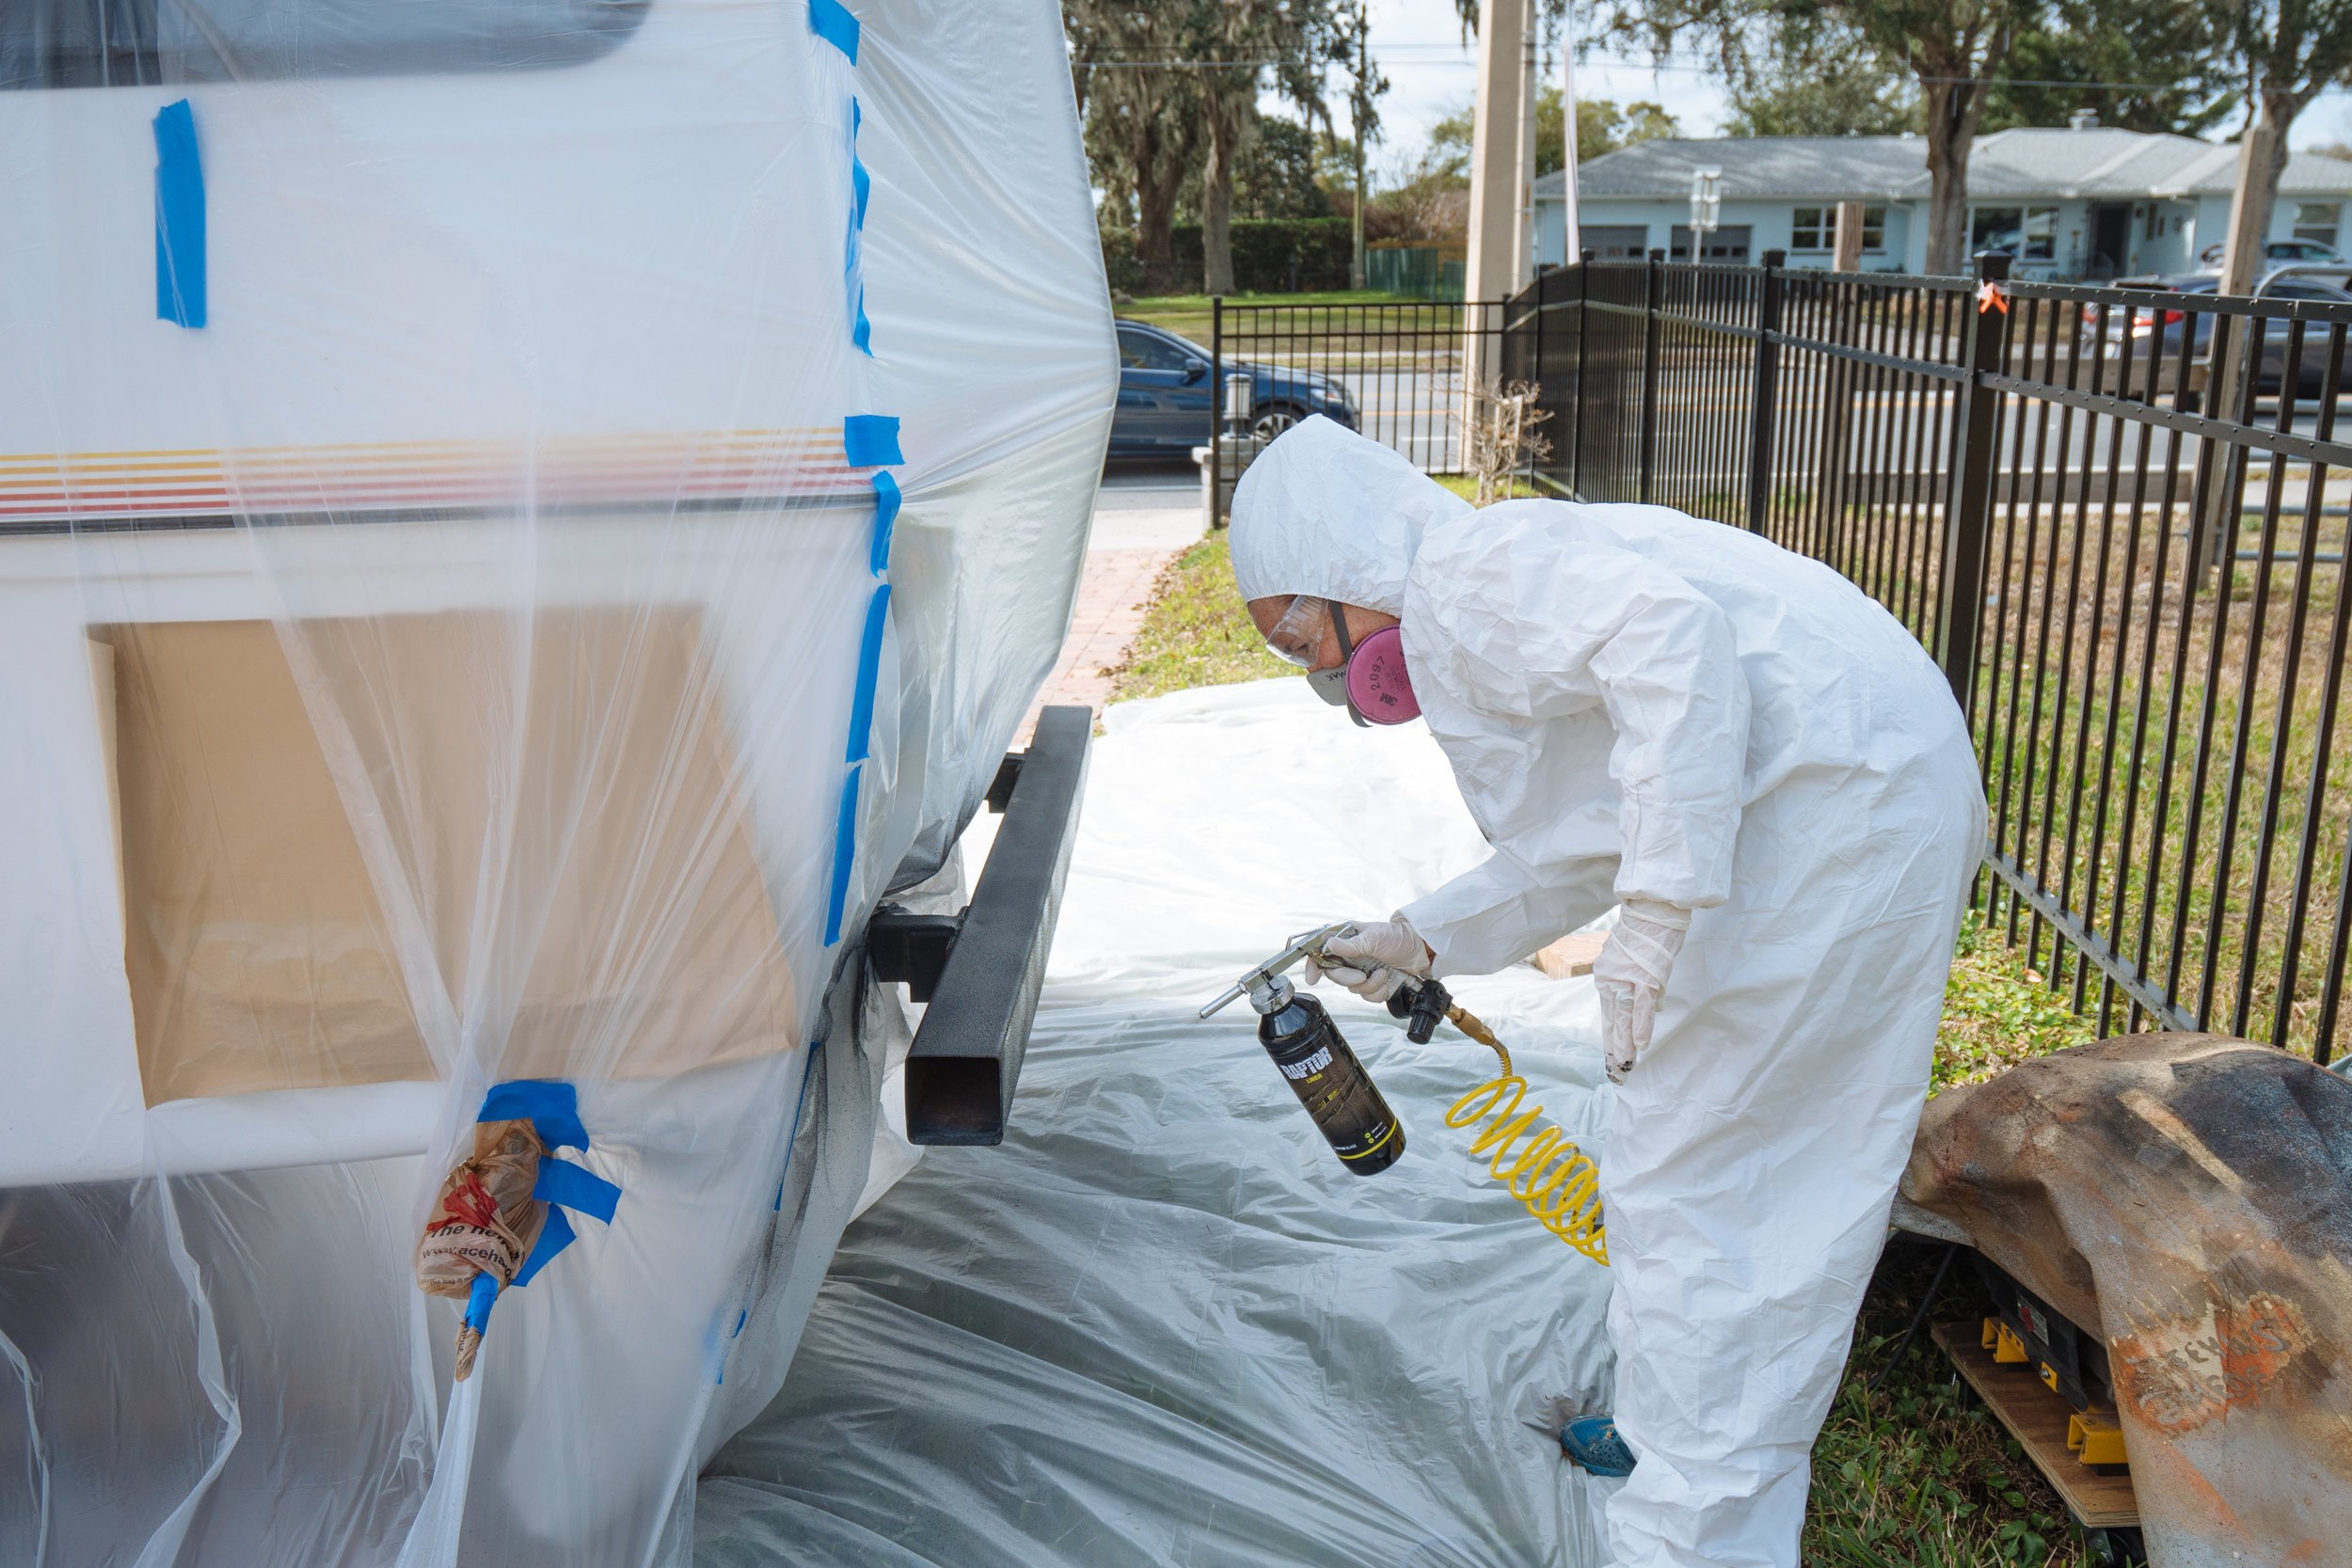
Now for the paint. At this rate I've gotten really comfortable wielding a paint gun. We decided to go the automotive paint route for the exterior boxes. We figured it was worth spending the time and money on to get a really nice finish on them. We ended up with Kemperle's single stage Hot Rod paint in Flat Black. Sadly, the gun that we had at home wouldn't work with this paint. We ended up picking up the gun in the images above for the LOW LOW price of $20 from Harbor Freight. It was HVLP compliant and had a 1.4 nozzle just like it called for. Not going to lie, I don't even know what most of that means. But hey, it worked like a dream!

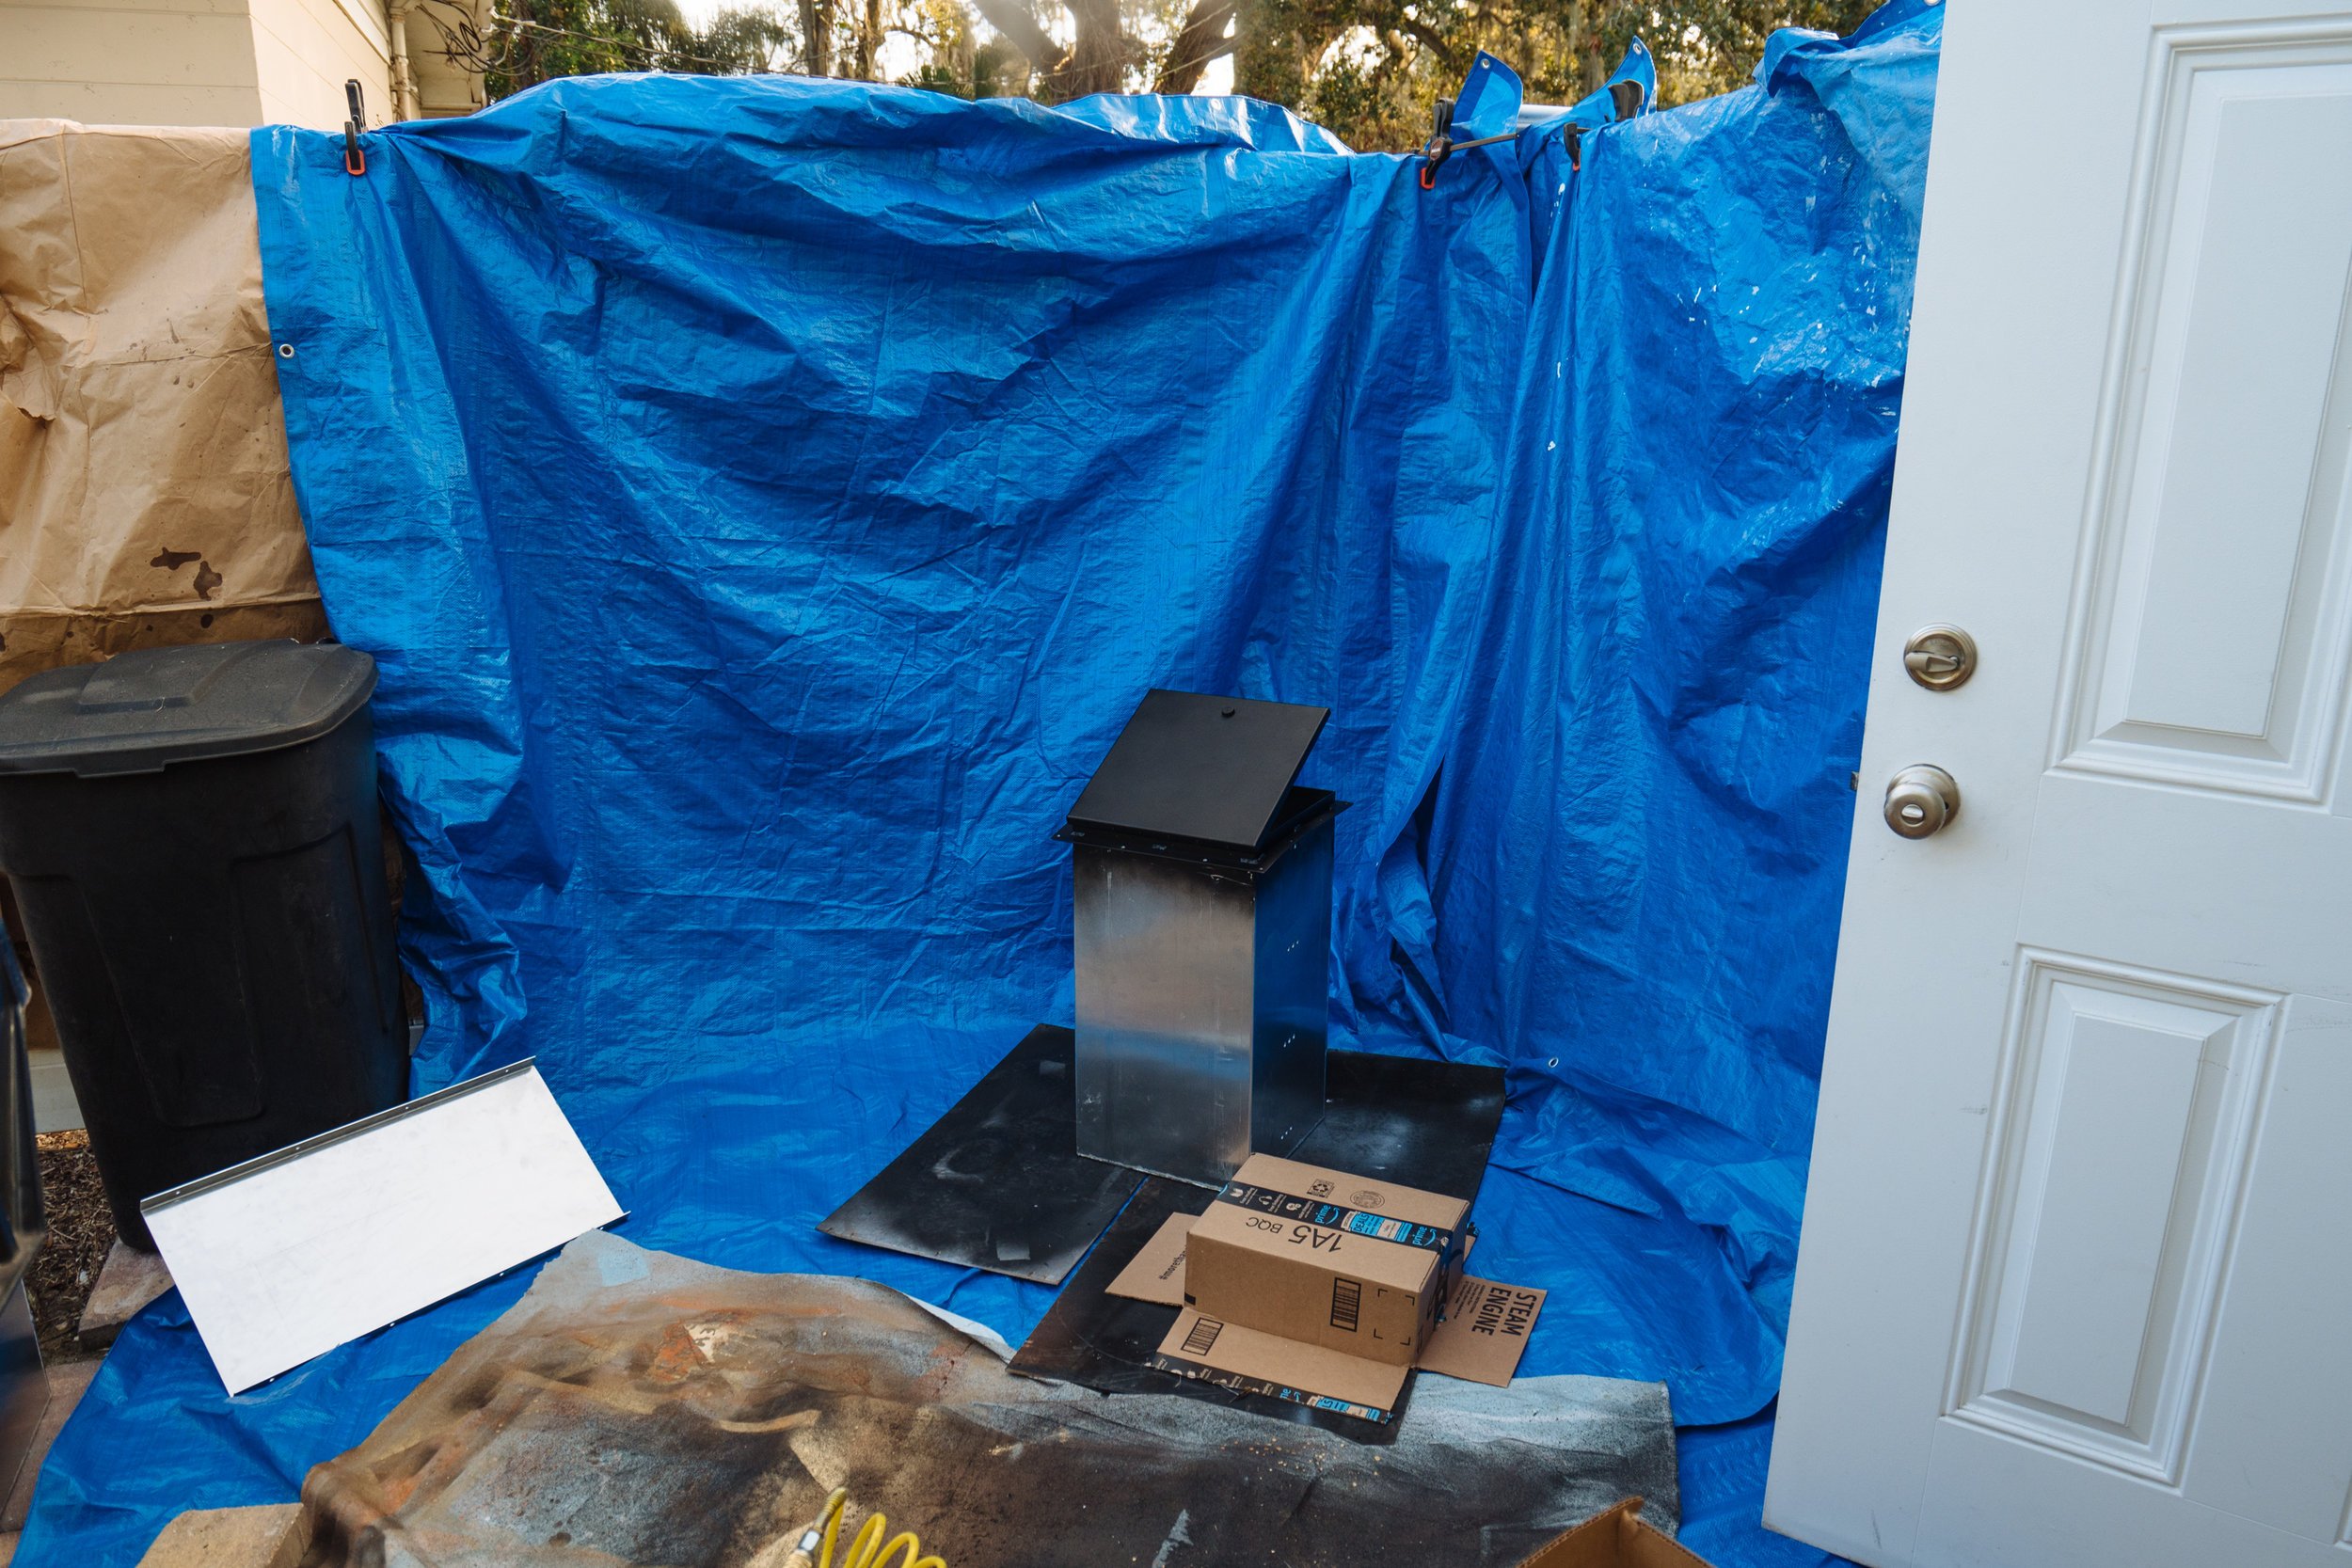
In all we did two coats of the Kemperle paint to get our finished product that you see above. Chills guys! Chills. This day never felt like it would come.
PS: If all else fails in life, I maybe have a future as a automotive painter. I really dig it, a lot.

A quick side bar: The back of my parents house faces Cape Canaveral which has has seen a lot of action lately. This past week when the Space X Falcon Heavy load went up, Owen and I took a break from work to watch the historic launch. It was absolutely awe inspiring to witness. If anyone from Space X reads this, just know you have some big fans in us. Space is cool, and you're doing us proud <3
This was actually our 3rd launch to see from my parents dock since being here in Orlando for our build. Keep 'em comin!

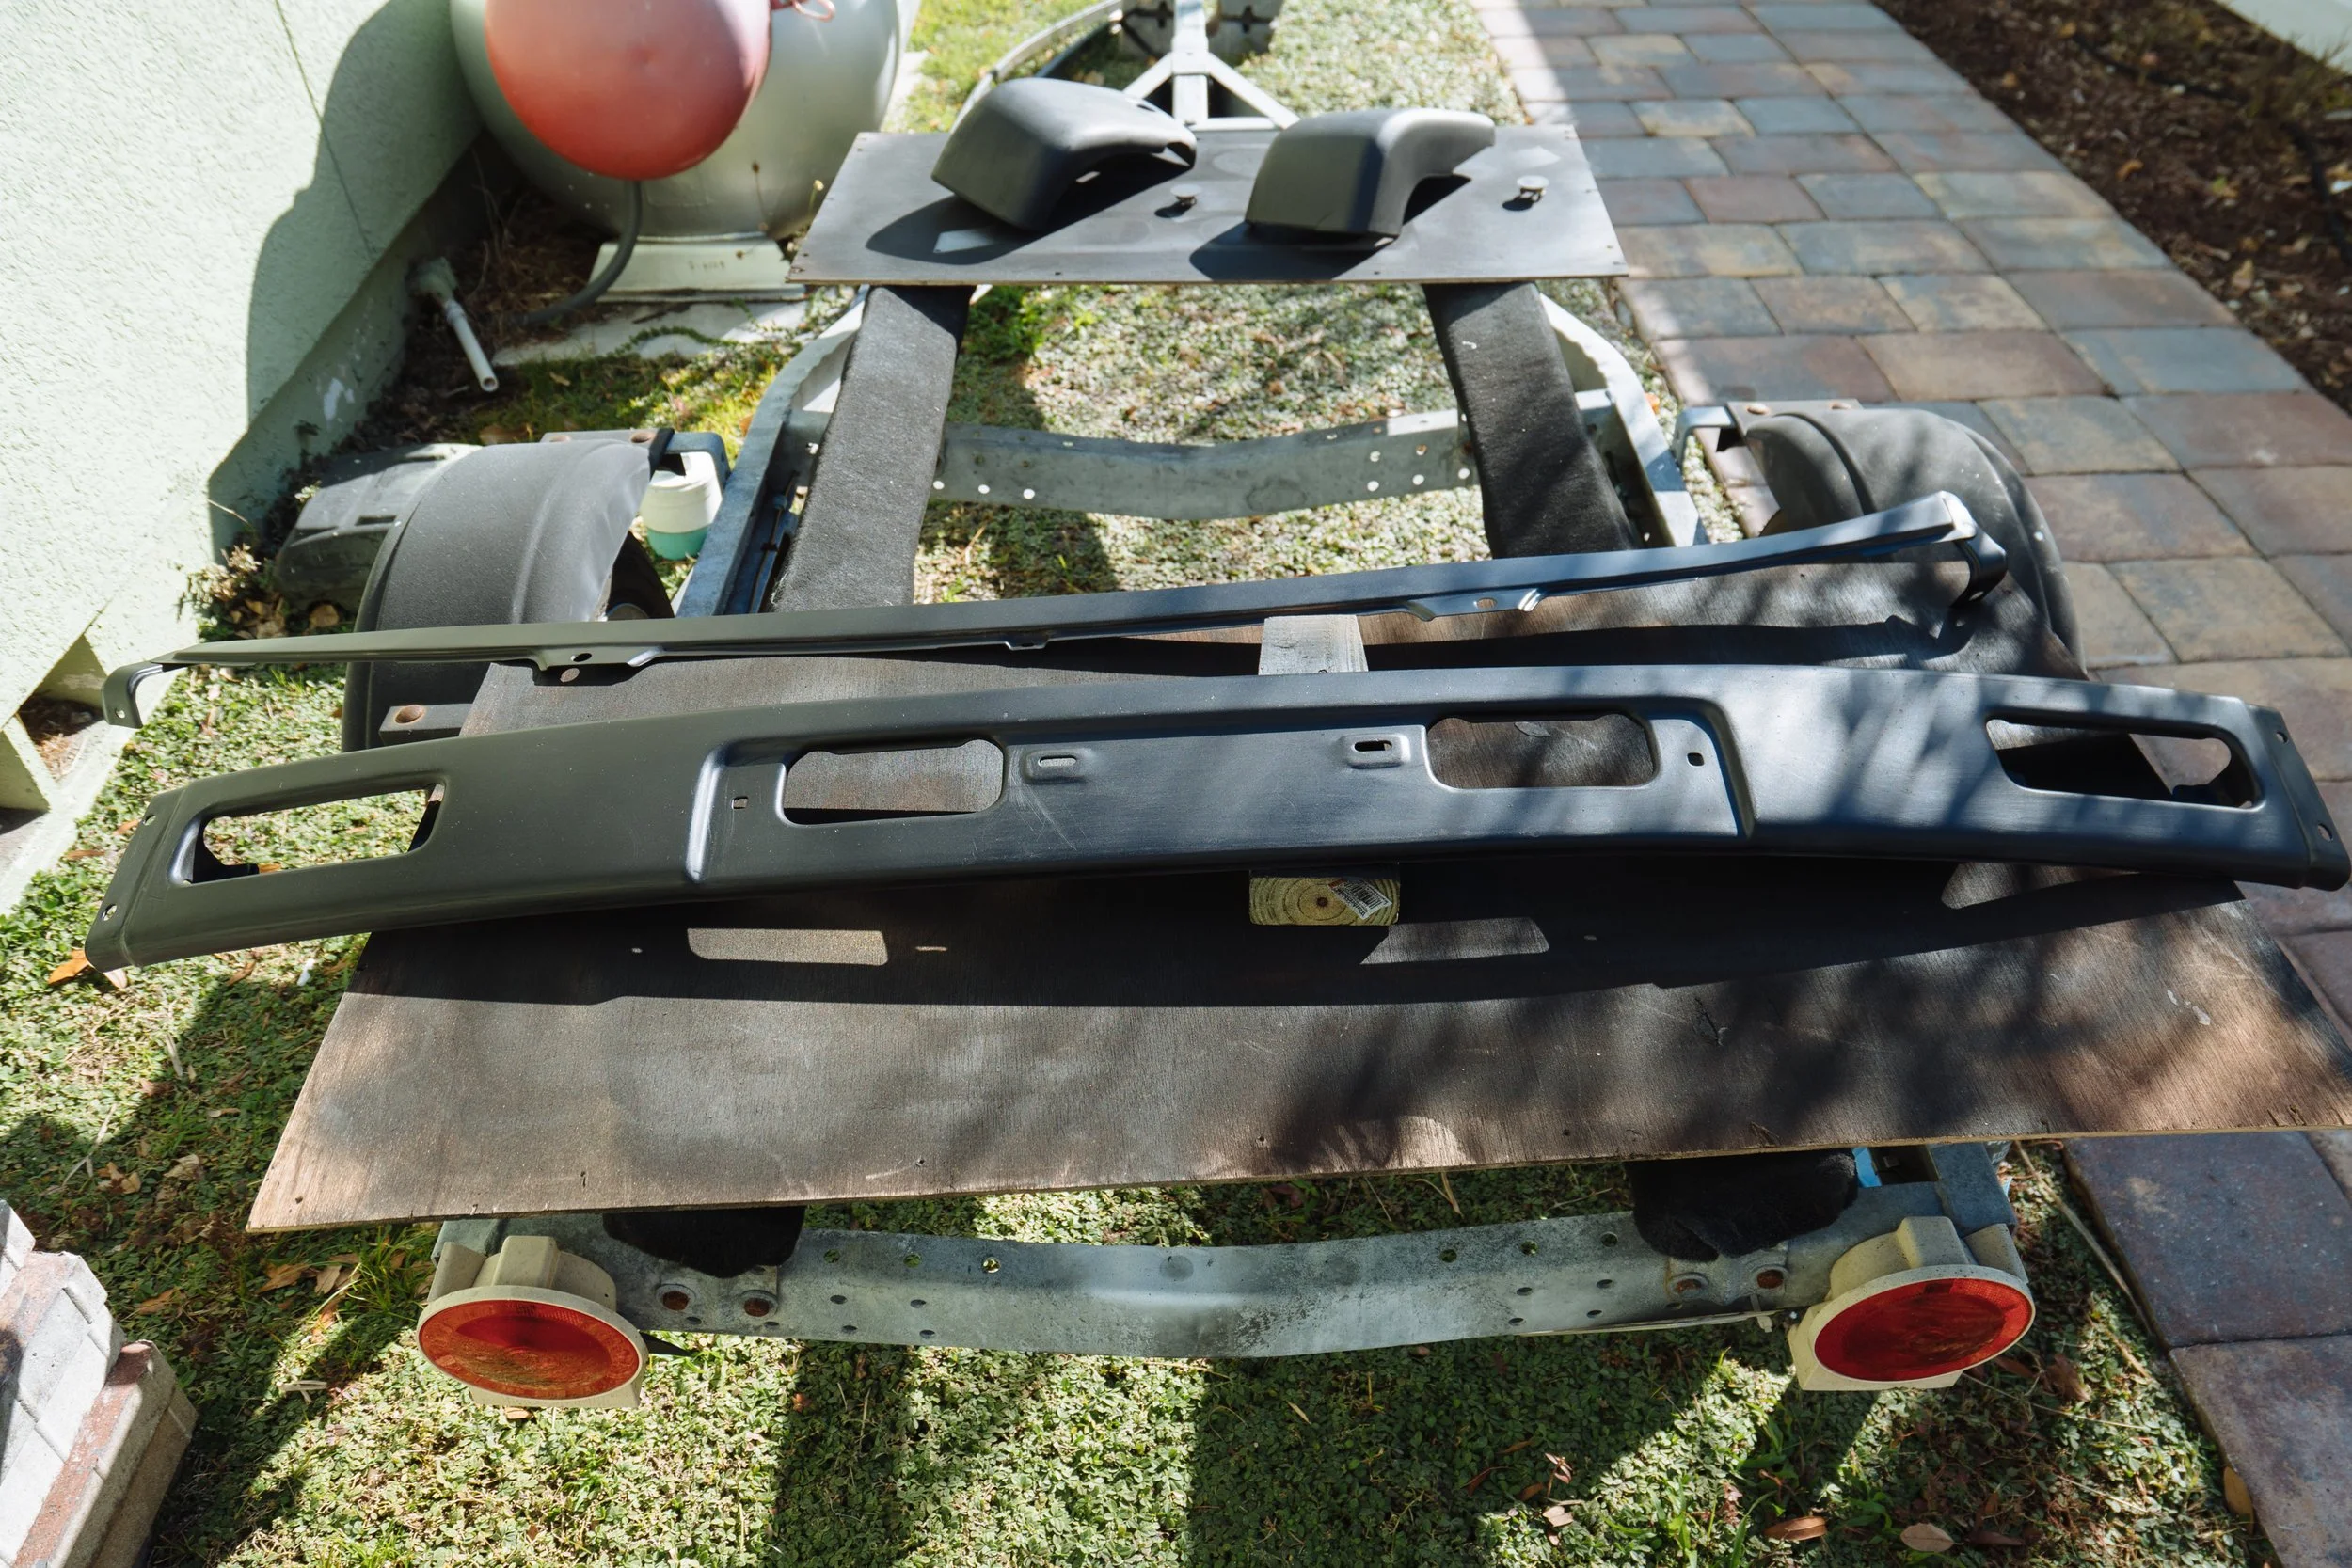
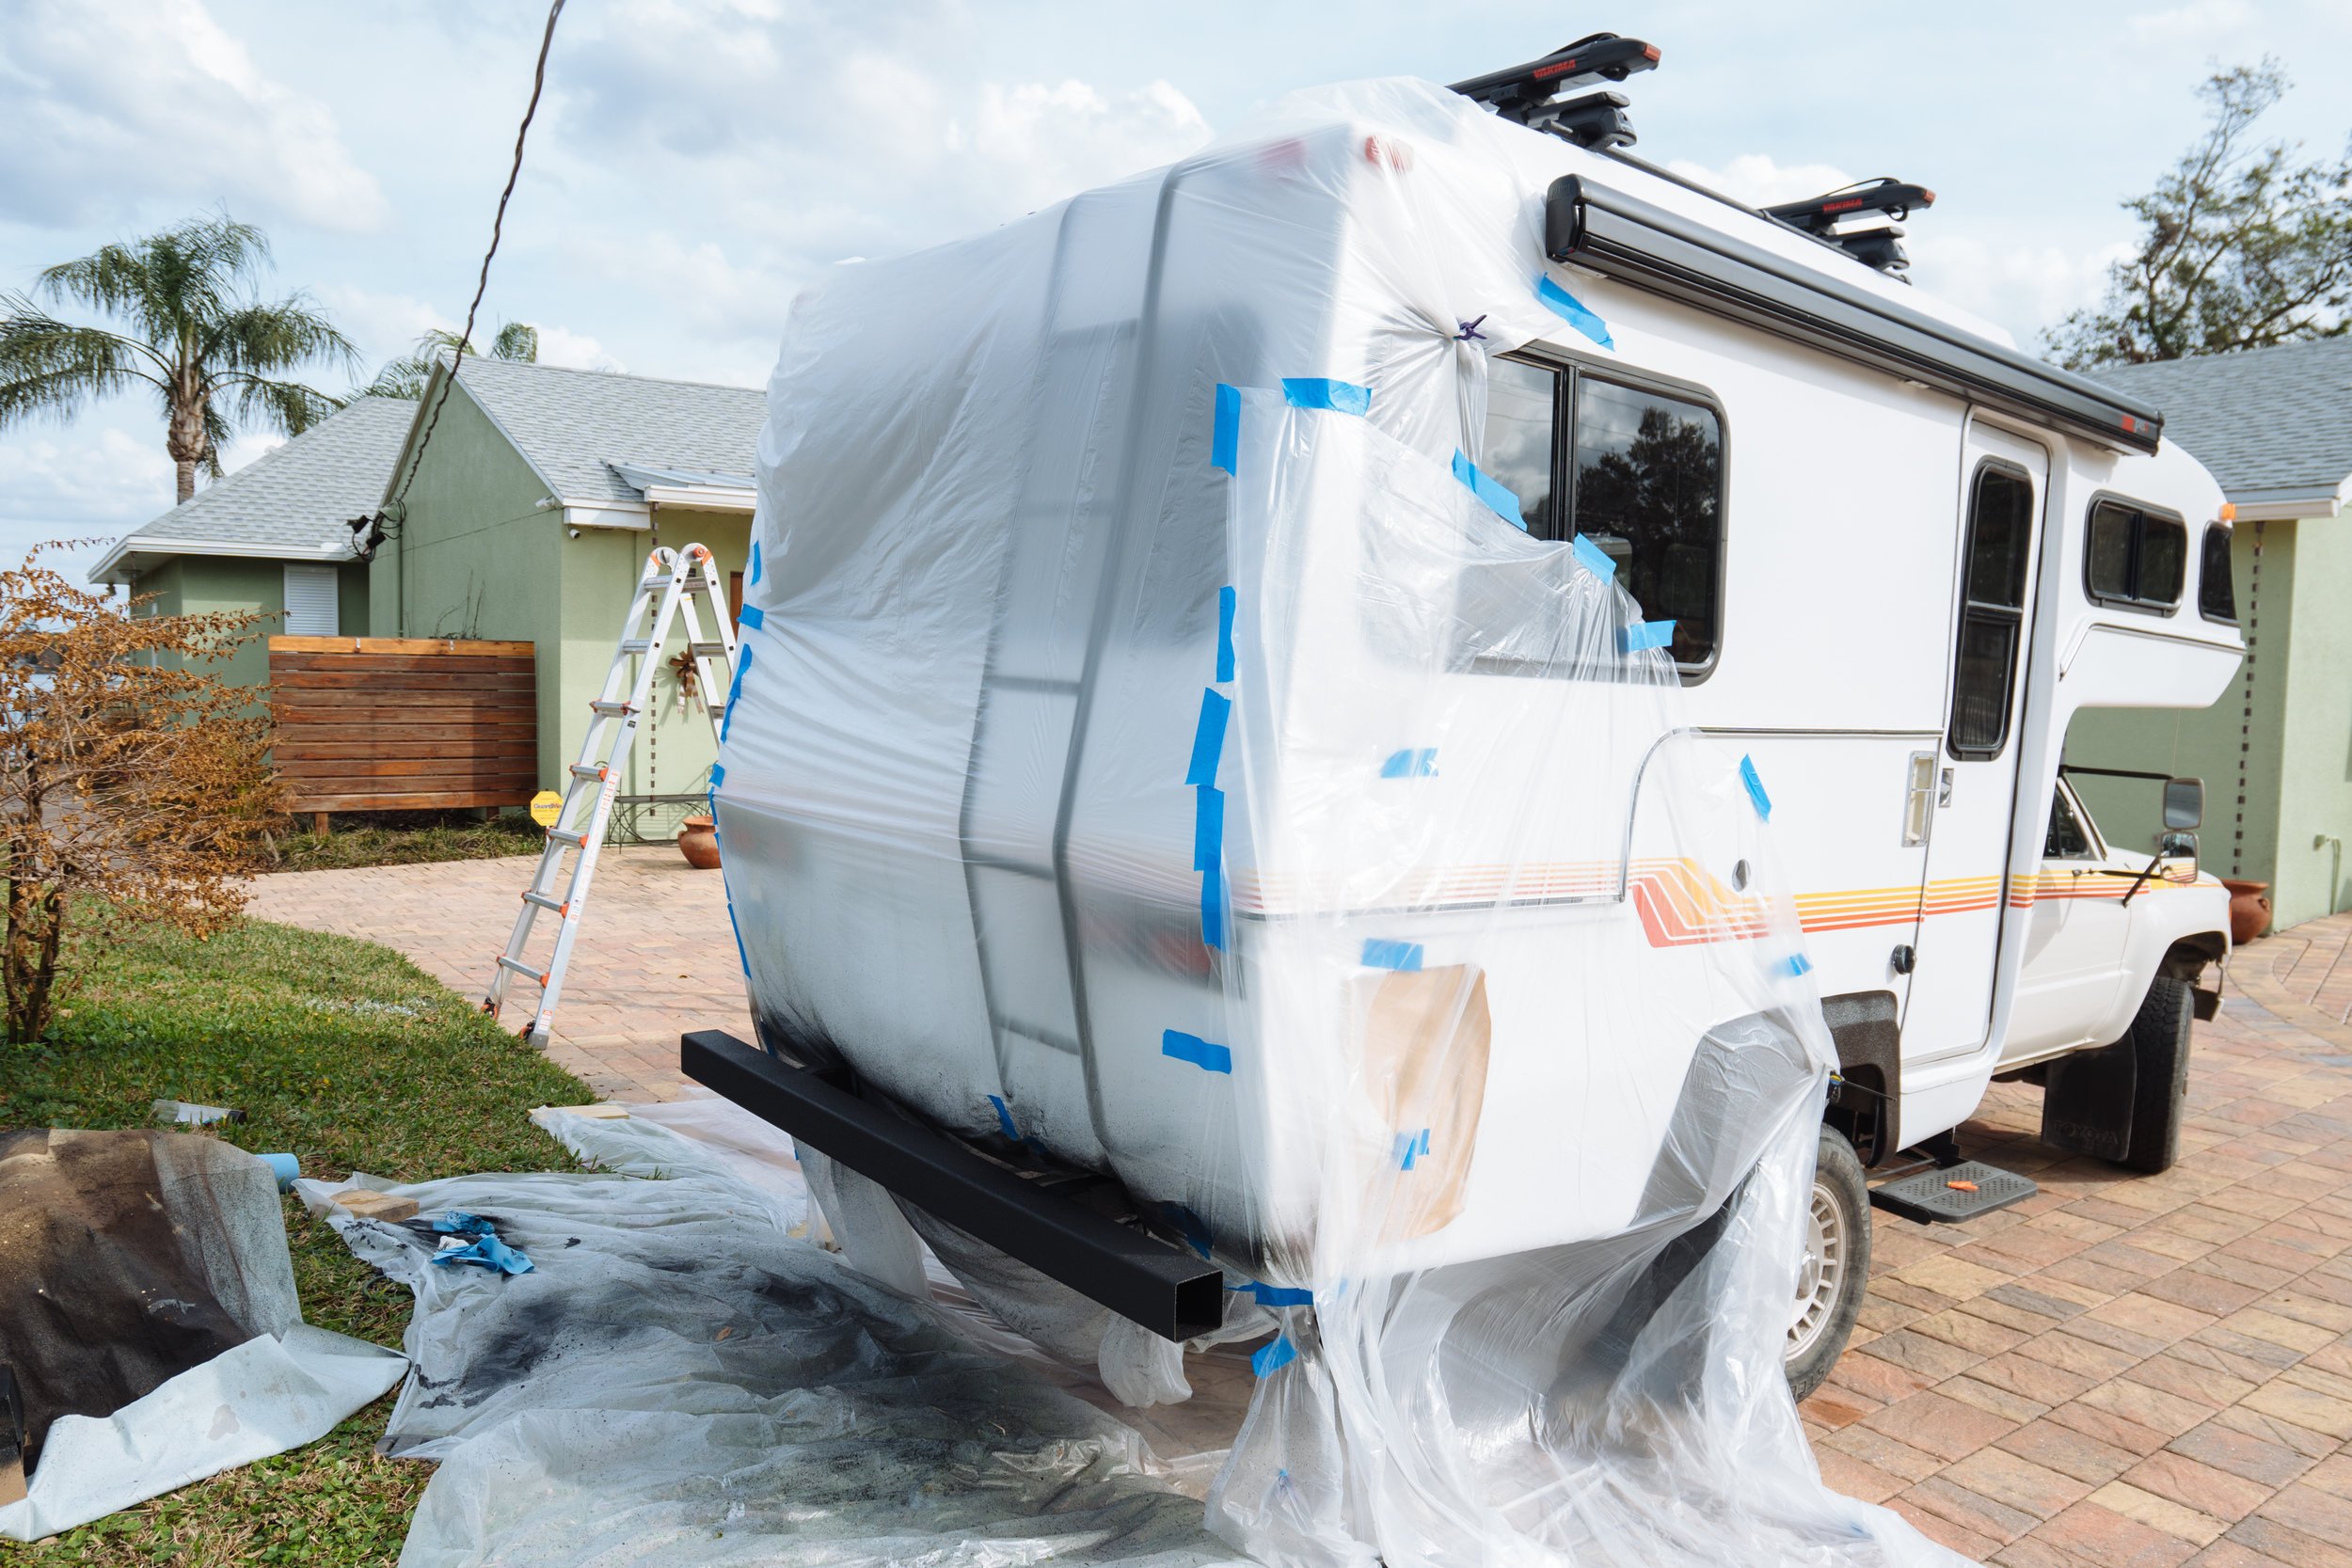
This past week we also repainted our front bumpers. We'd love to have a more robust bumper system for the front someday, but currently we need to let our bank account recover from this build. In the mean time we thought a little face lift for our rusty and chipped bumper would be nice.

Before
After

Before

After
Lookin' fresh is about to be Amelia's middle name, but we also needed to bring the back bumper up to speed. If you remember, a while back (like in November) Owen sanded down the back bumper in preperation for paint. It was finally time to make that happen.

Because the back bumper is more utilitarian and we'll need to step up on it to get onto the ladder, we decided to Raptor Liner the back bumper with the remaining paint from when we painted the fenders, ladder, and cross bars.
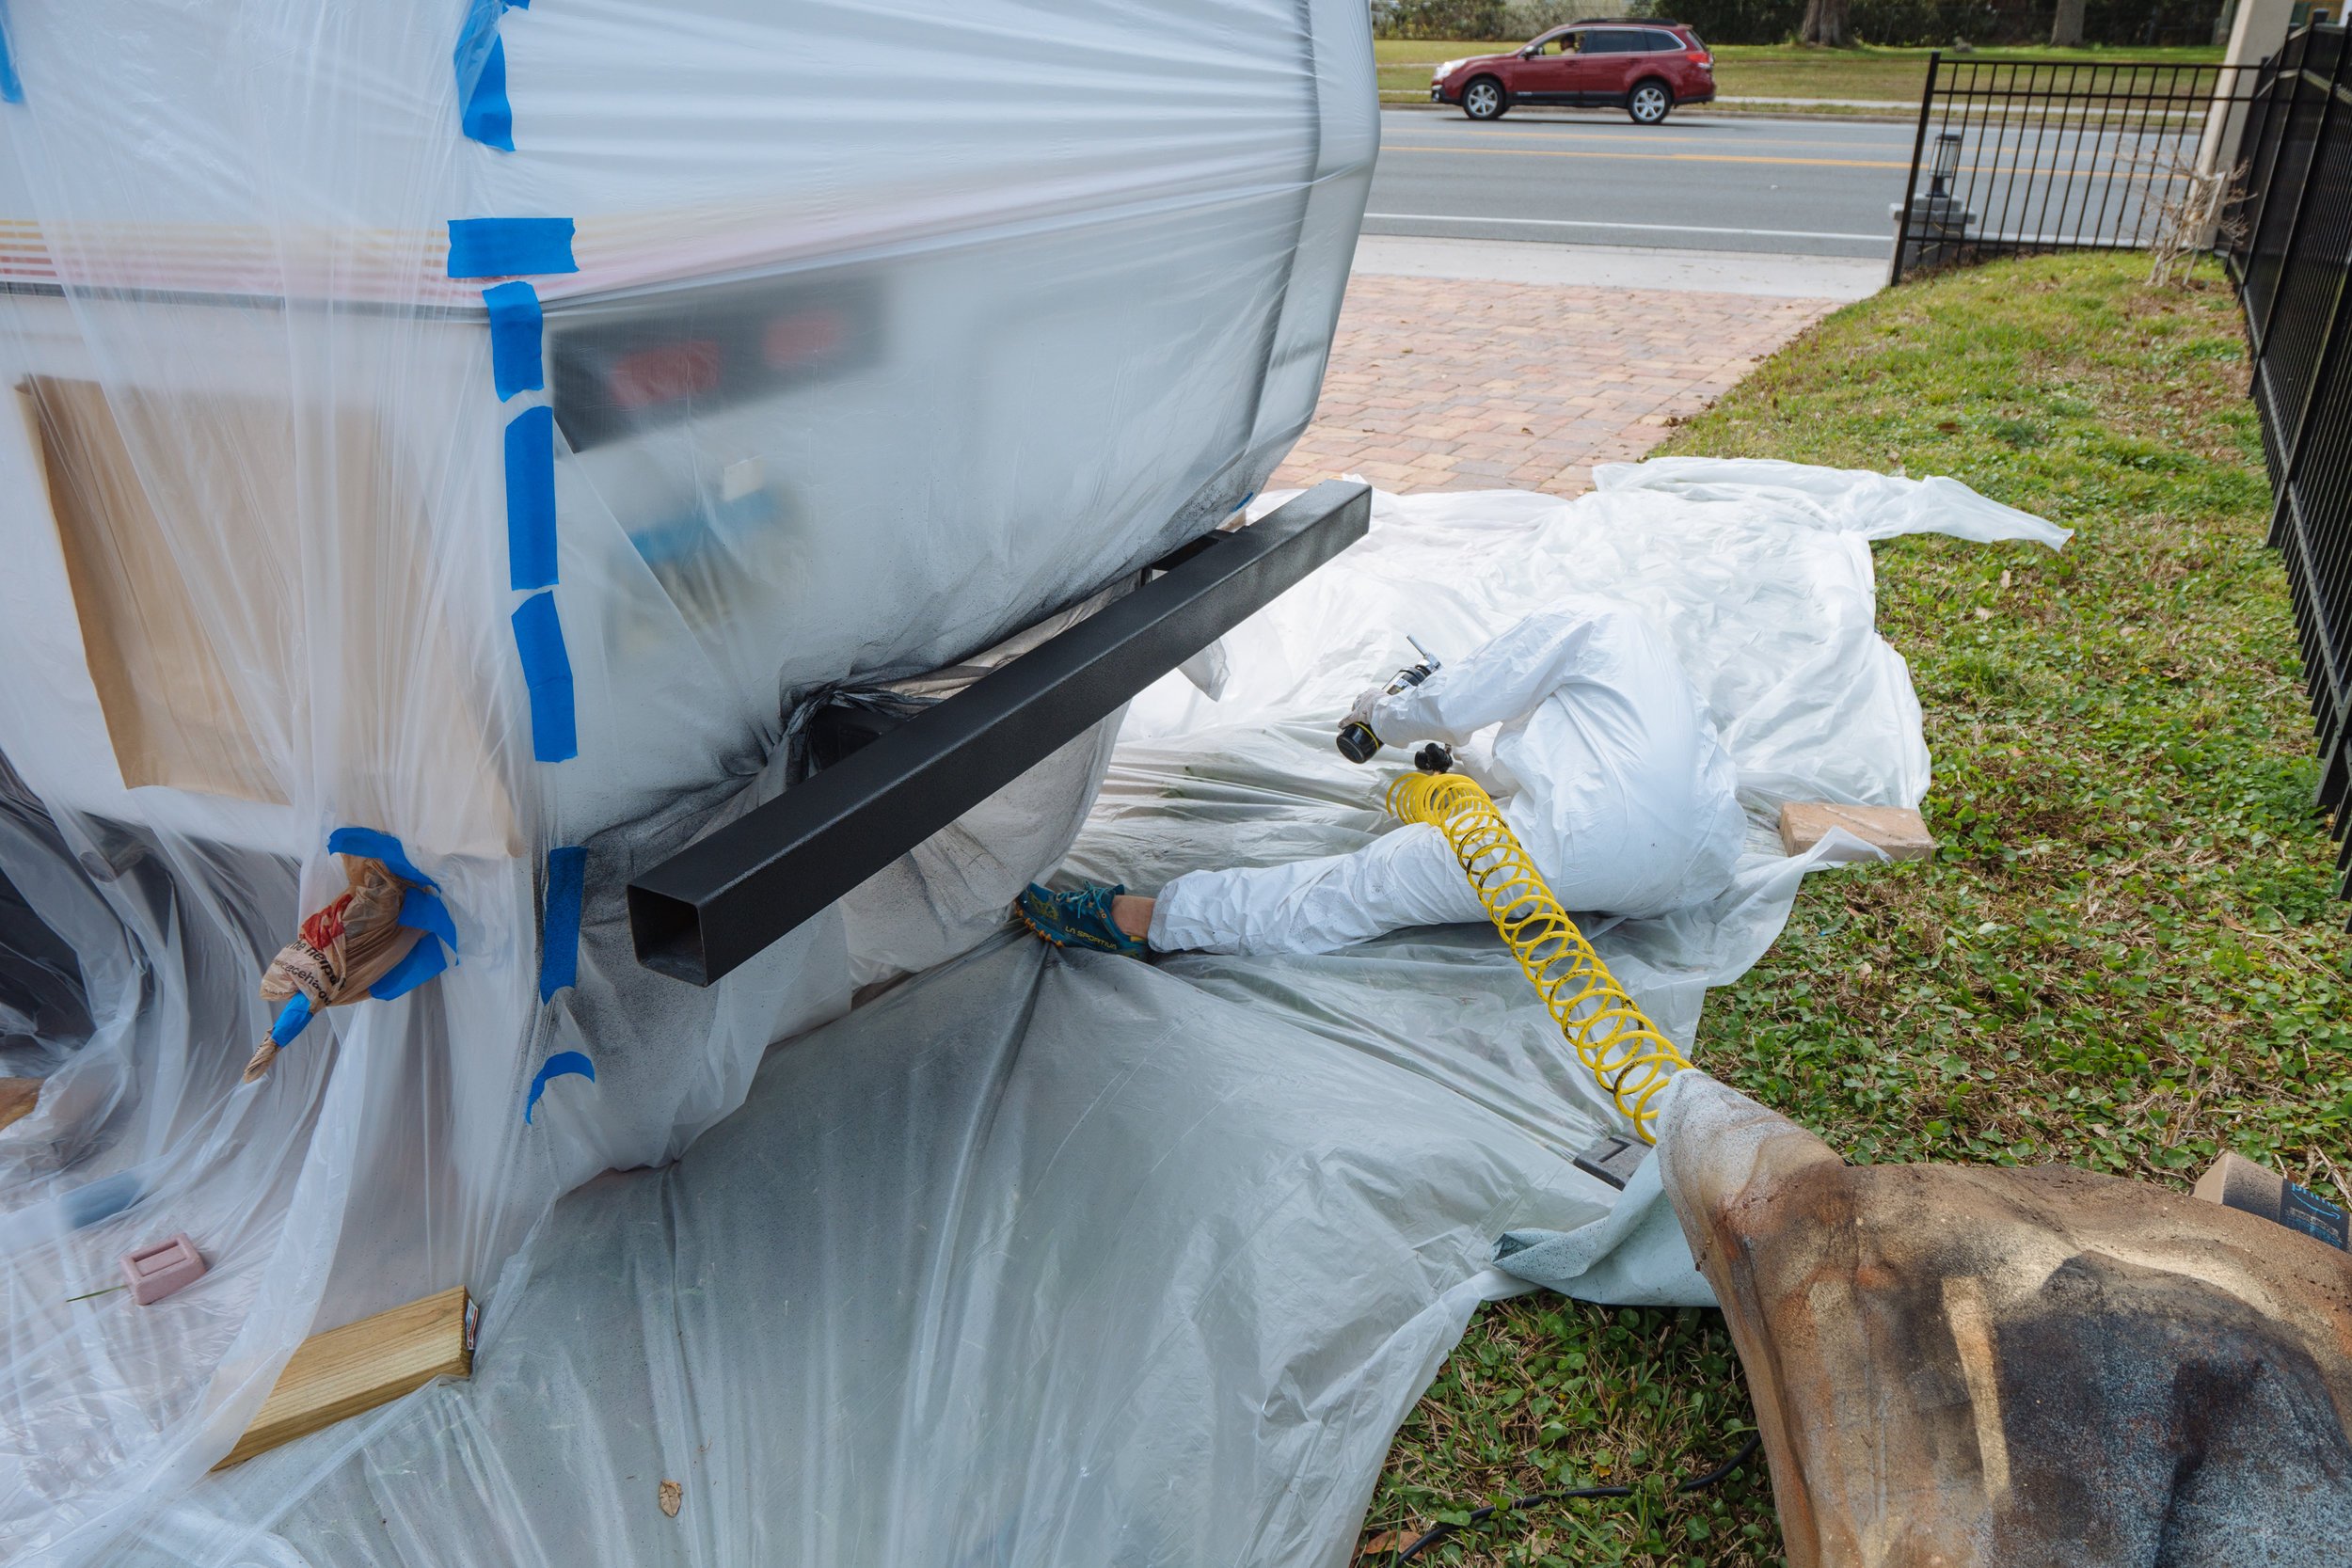
That right there my friends, is some next level painting technique. The low squat with the leg kicked out in front of you is my signature move...in all seriousness I don't even remember doing that but it did get the job done! Again, we did two coats of the Raptor liner to be sure that we got a good, durable surface on our bumper.

The finished product!

Lately we've been starting a lot of mornings like this. We sit there and just stare at Amelia trying to wrap our minds around how much we've done, and what needs to happen to get us a few steps closer to a finished product by the end of the day. I won't lie, this has been a very difficult process. Being displaced from your home while you tear it to pieces and then try to put it back together again is an emotional roller coaster. I think that we'll look back on this journey with fond memories though.
Ok, now back to work.
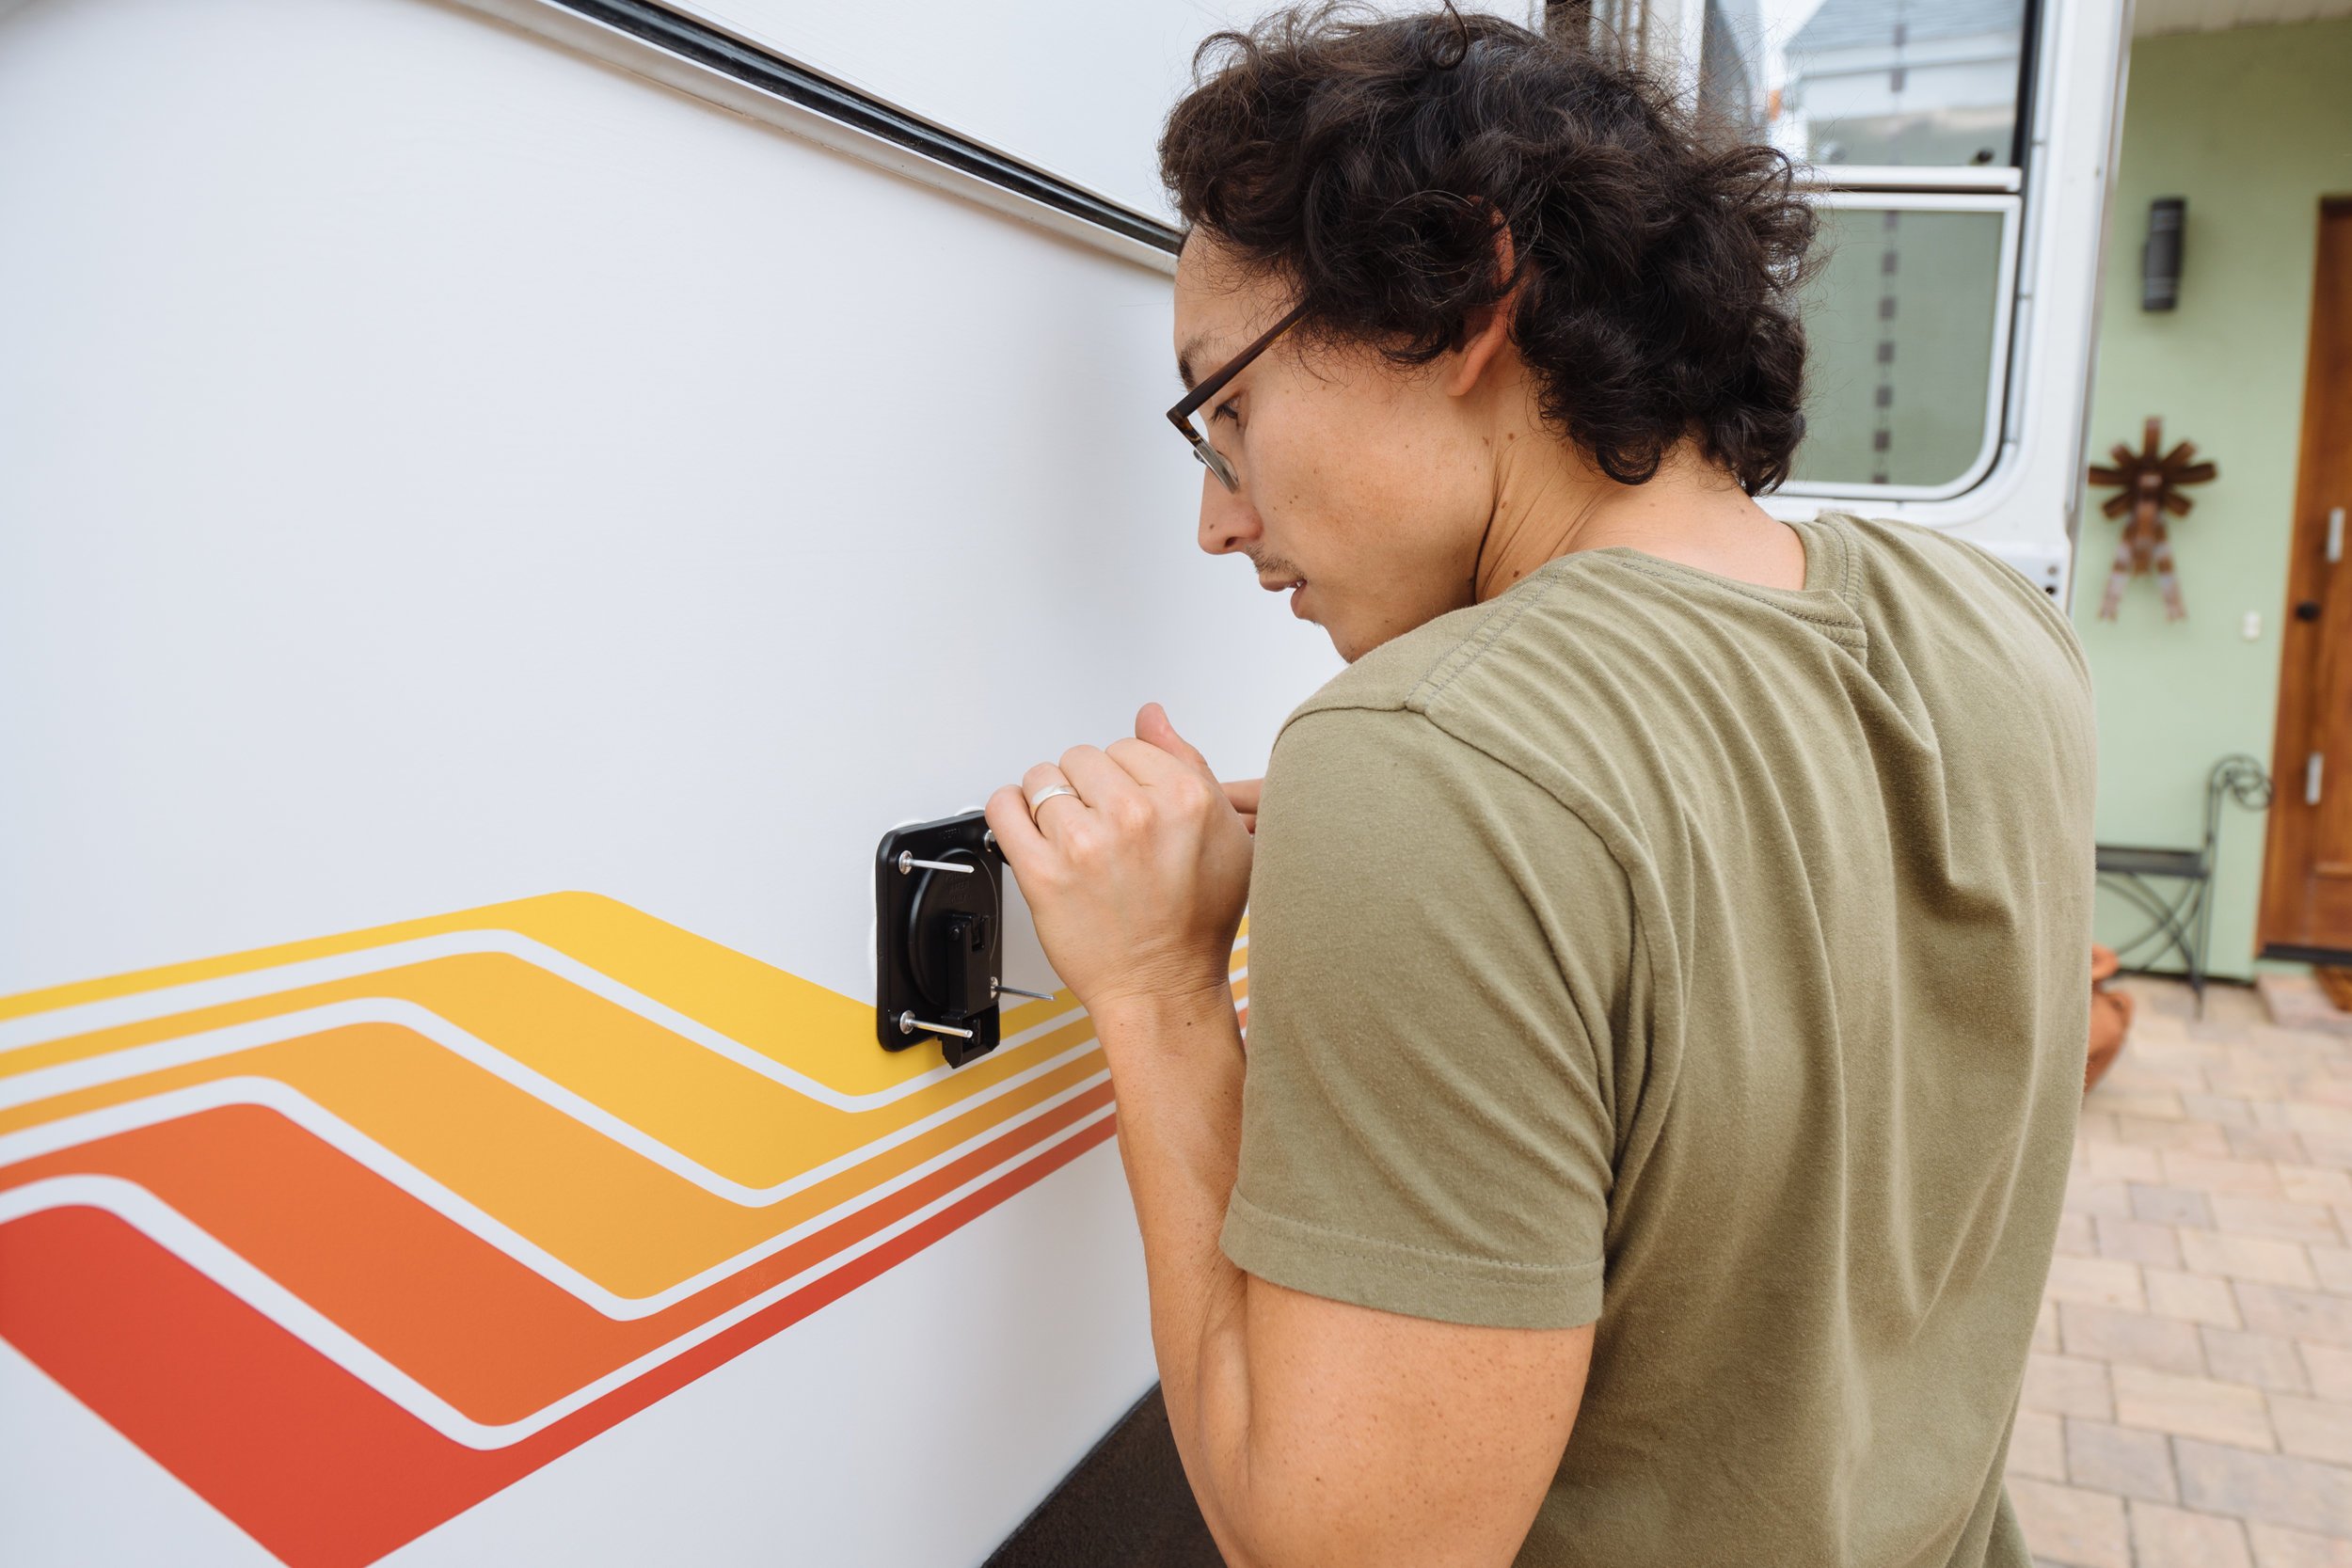
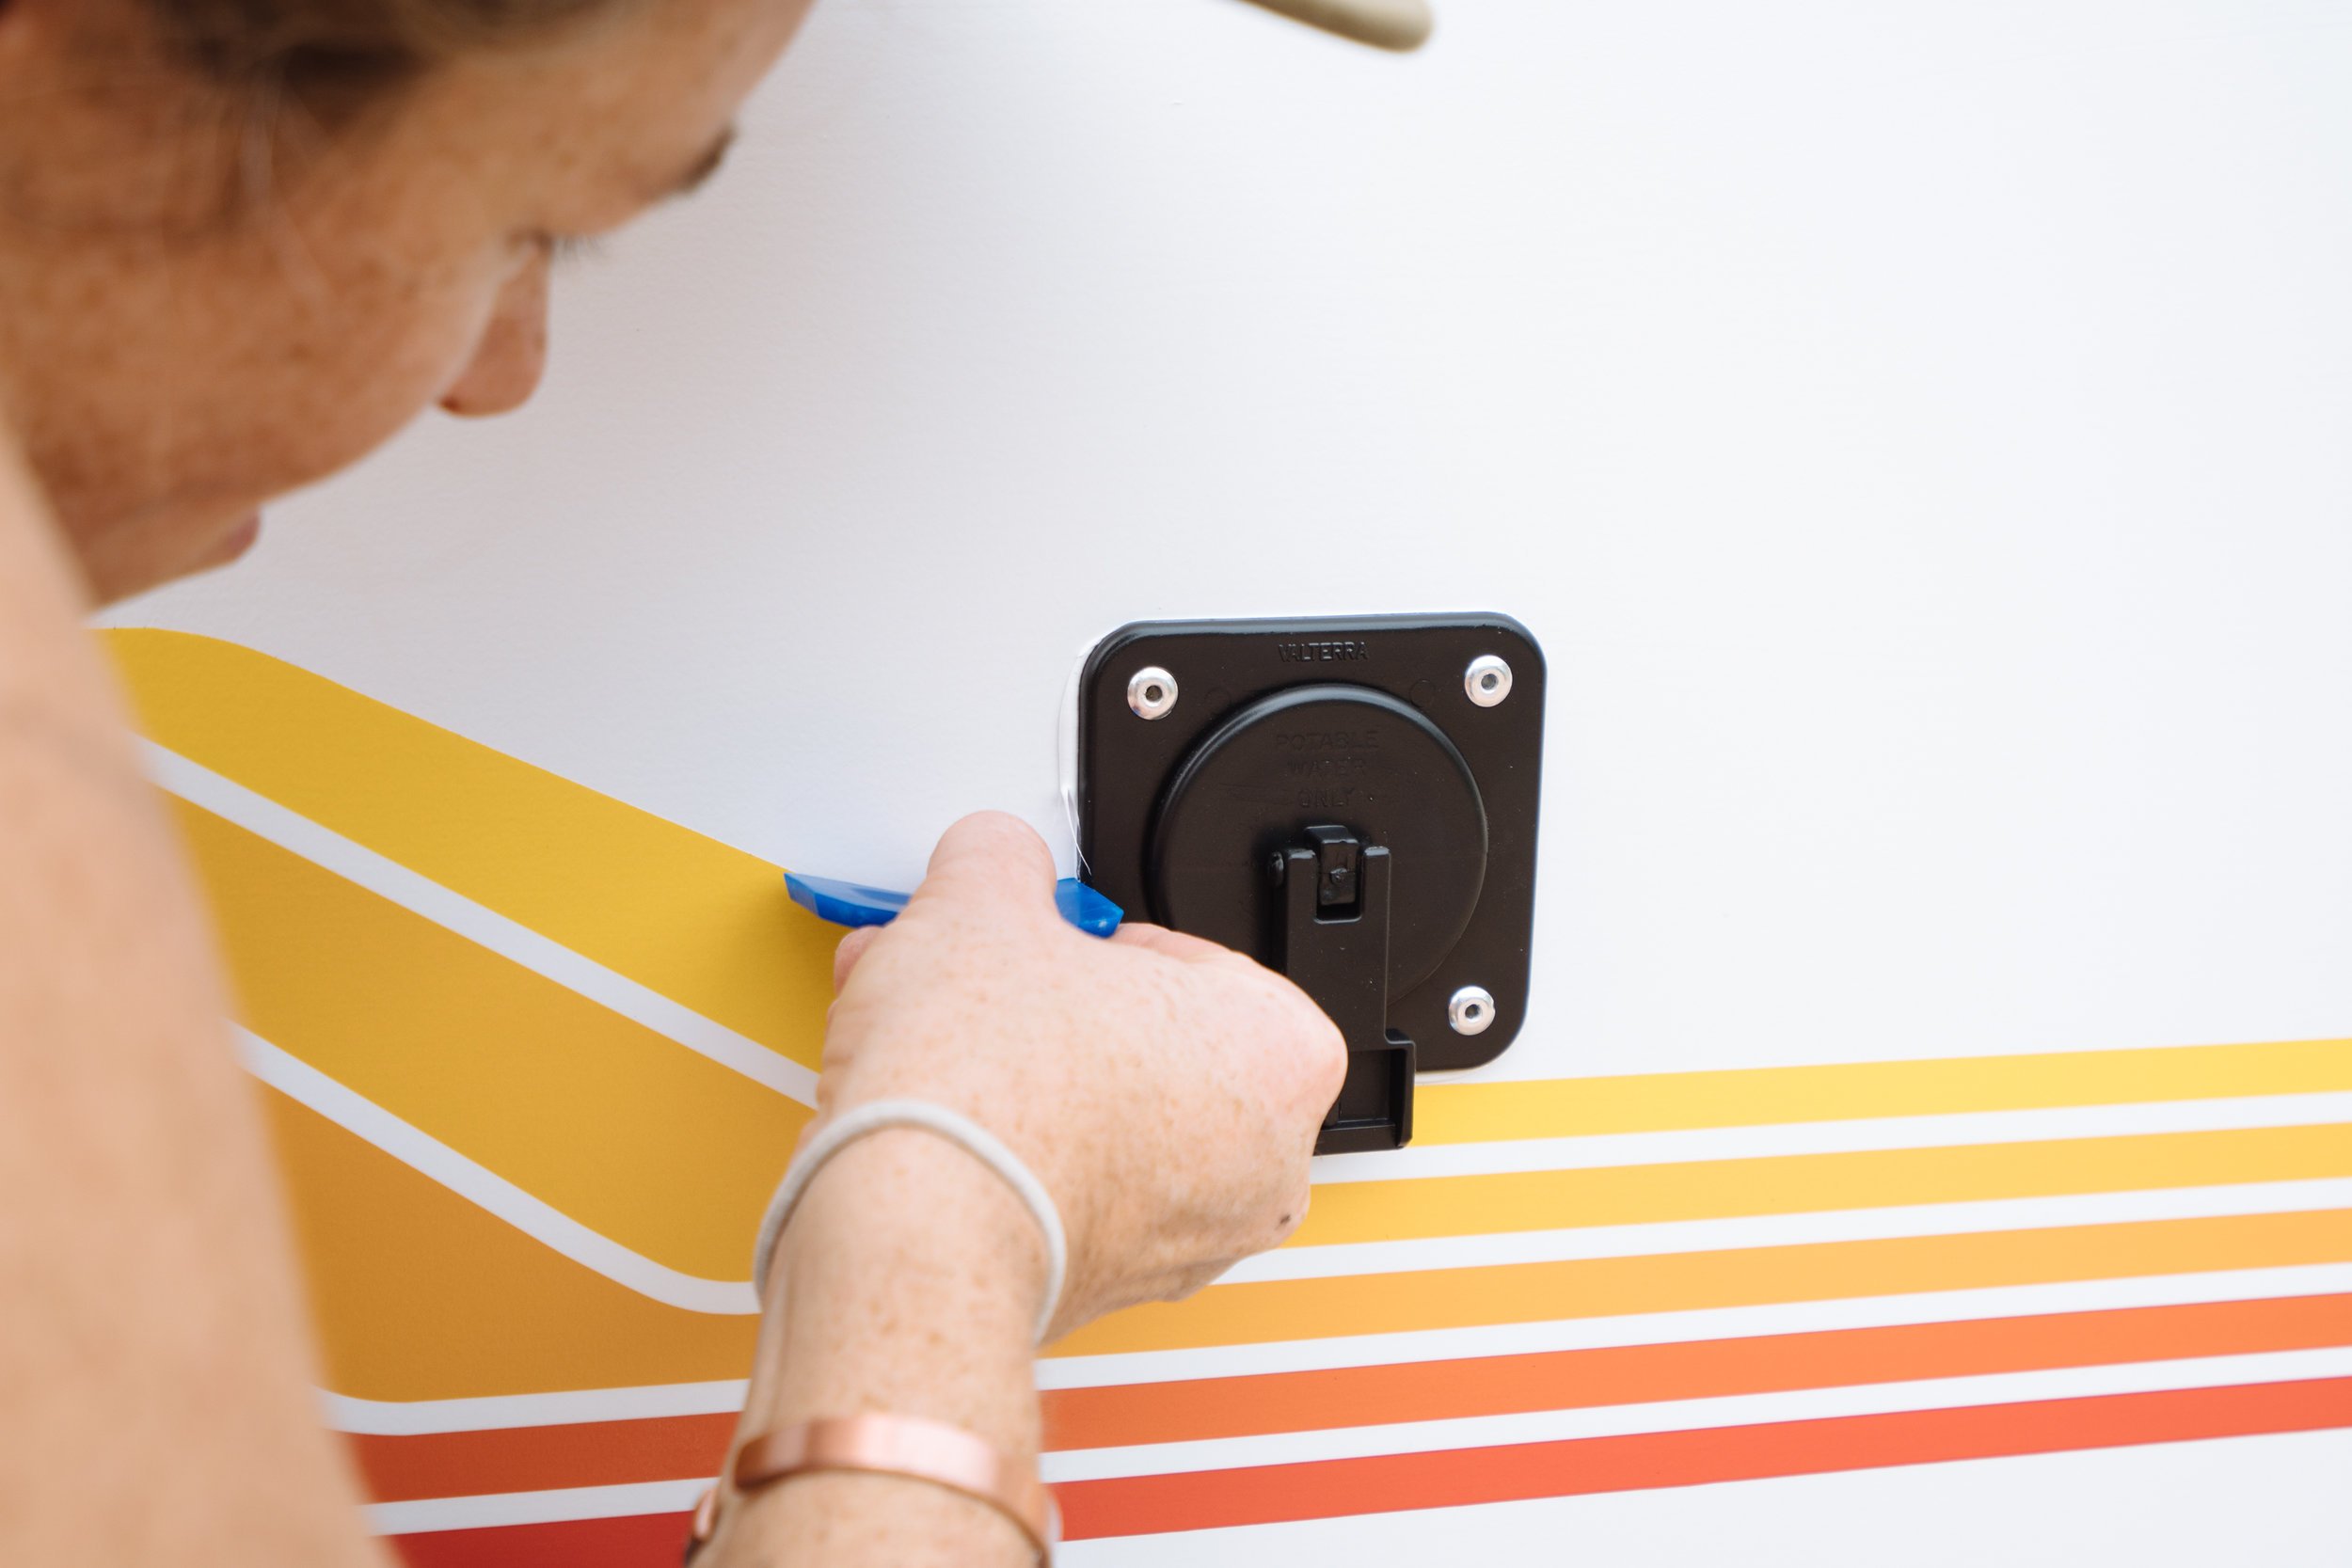
After painting our fresh water port, it went in. Slowly but surely, we're filling the last holes in our exterior.

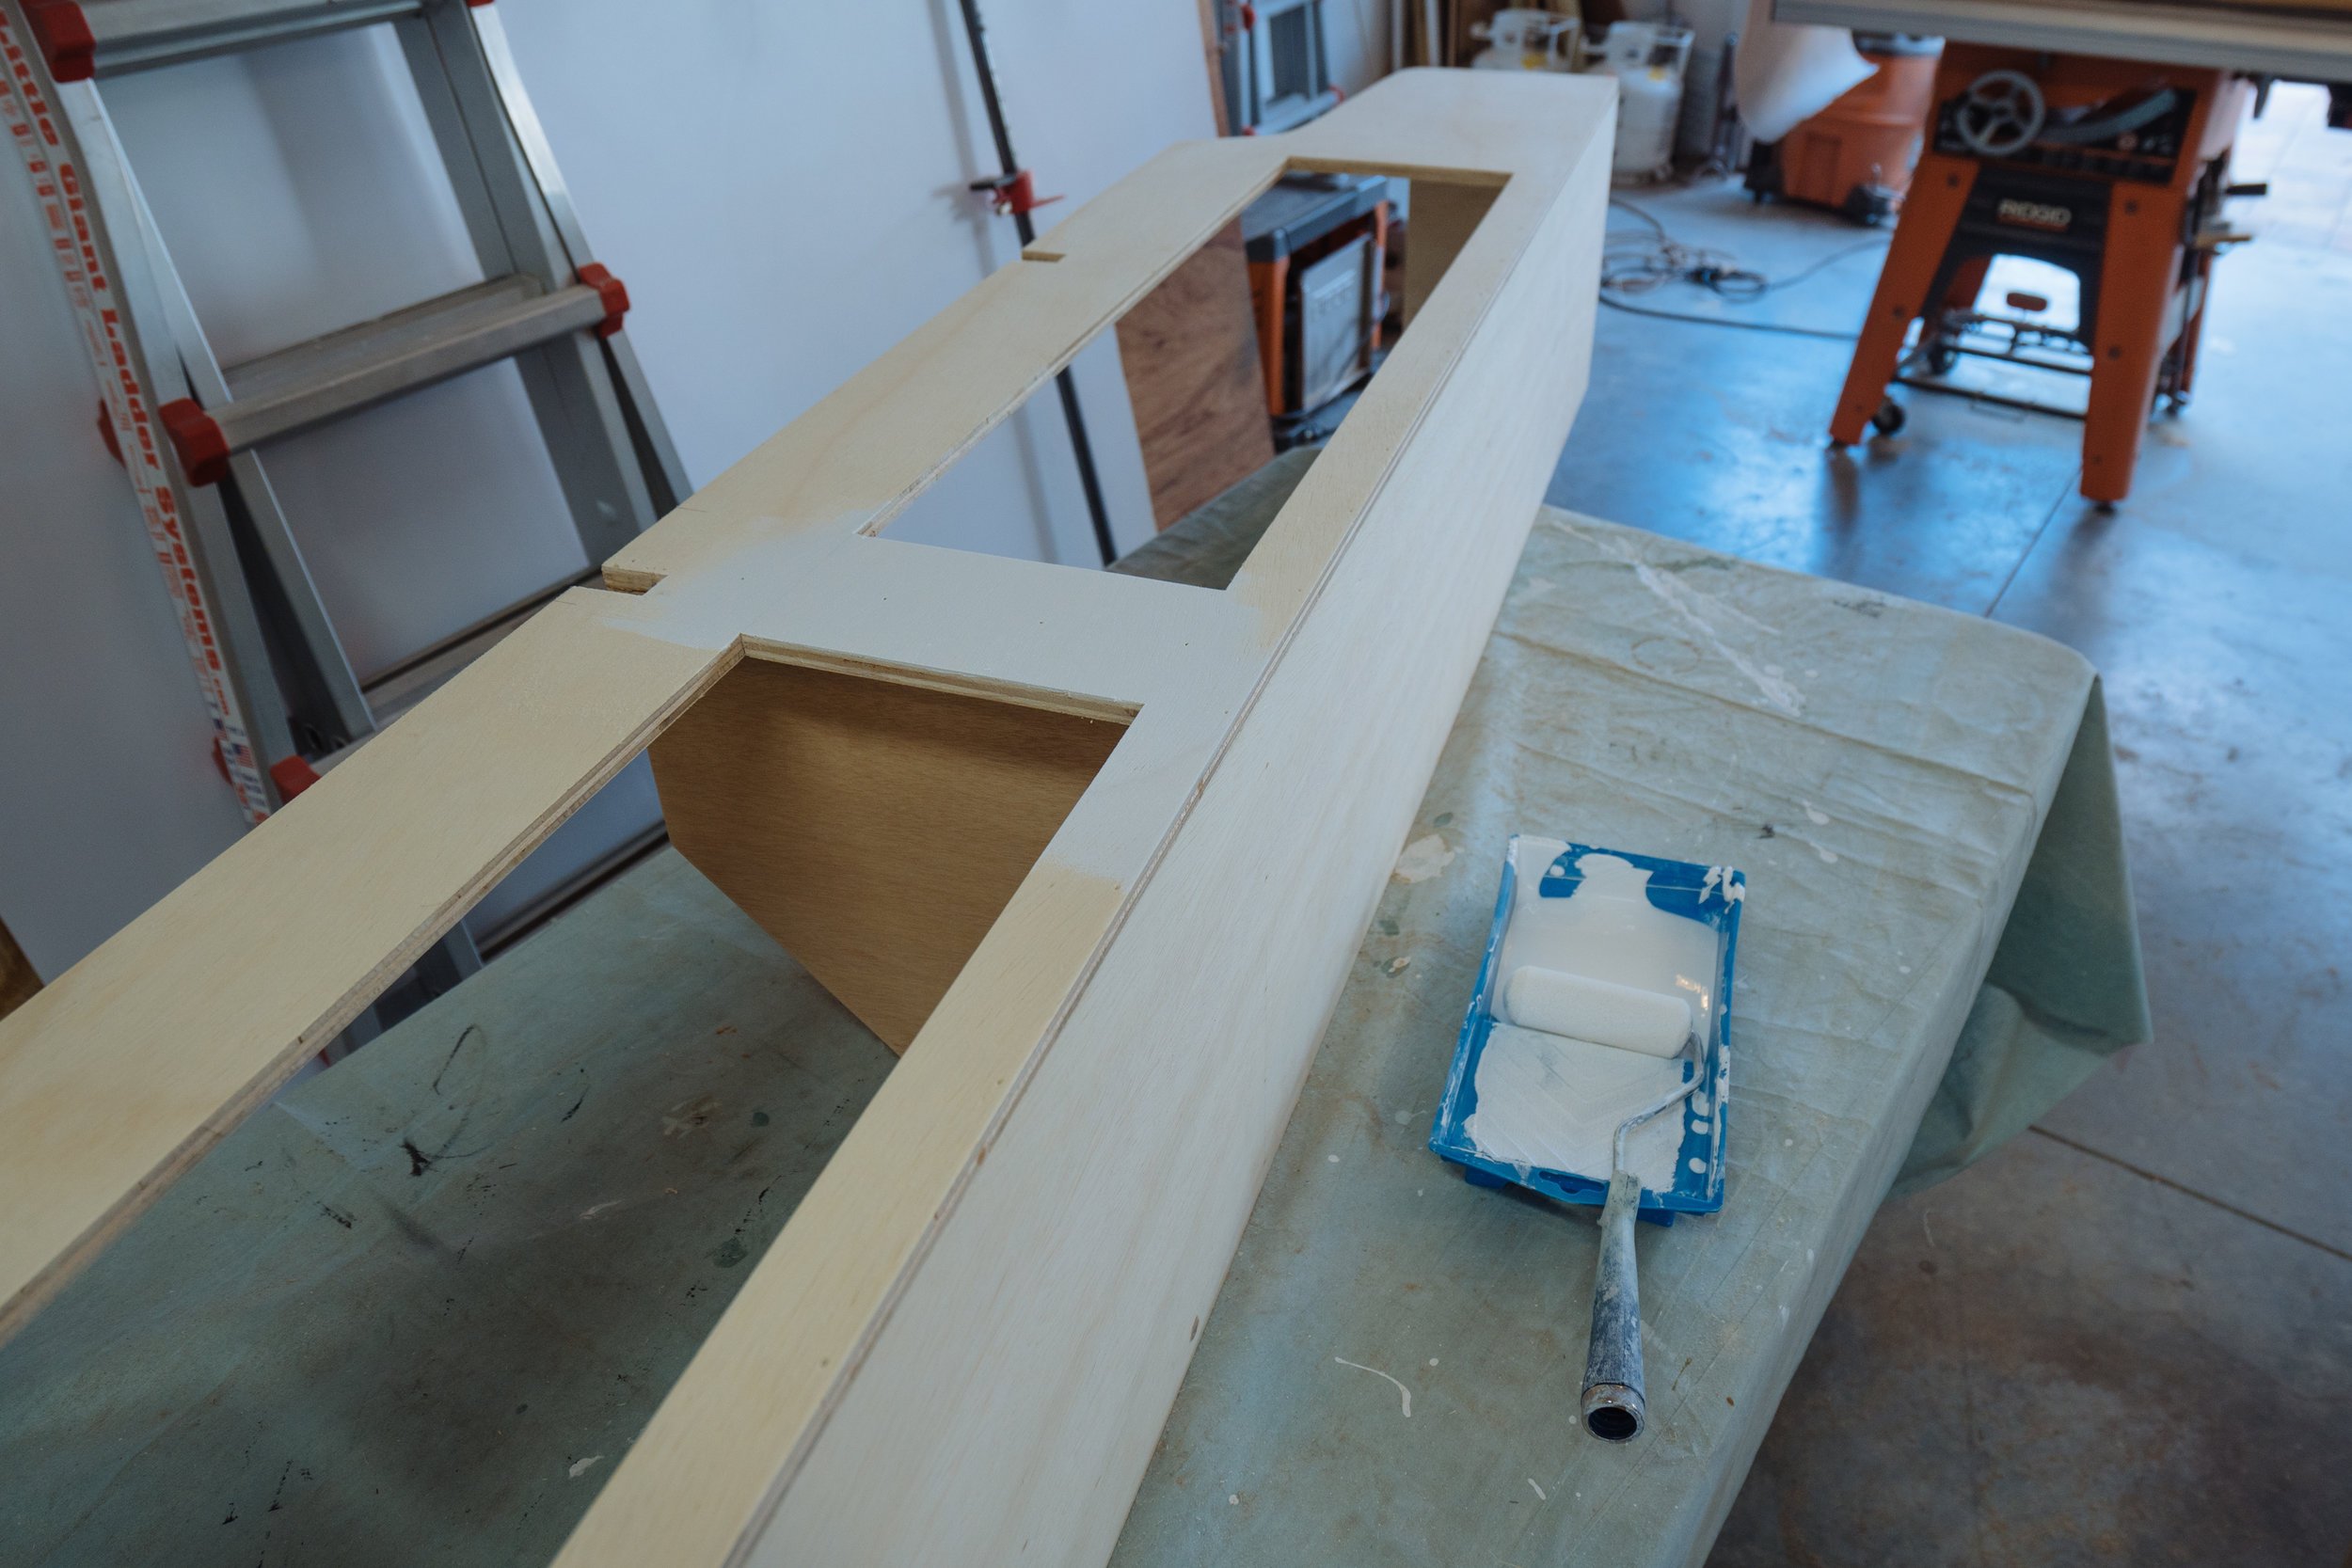
We made frames for our windows that'll support the wall panels when they go in!

This week I was excited to start painting our cabinets. We're going with white cabinets for both the top and bottom of our interior. Amelia's doesn't have the same amount of windows that Stanley did and we really love having a lot of light in our work space. We felt the best way to brighten up our space was to pull in a lot of white to amplify the light that comes into our windows.
We've received a good number of questions about the different thicknesses of wood that we're using on our cabinets. We're trying to be very mindful of the weight going back into Amelia, so in any instance that we can go with a thinner piece of wood, we absolutely are! Here is the basic breakdown:
Dividers and Cabinet Door centers: 1/4"
Face of the cabinets: 1/2"
Cabinet sides: 3/8"
Wall supports where the cabinets will attach to the wall: 3/4"
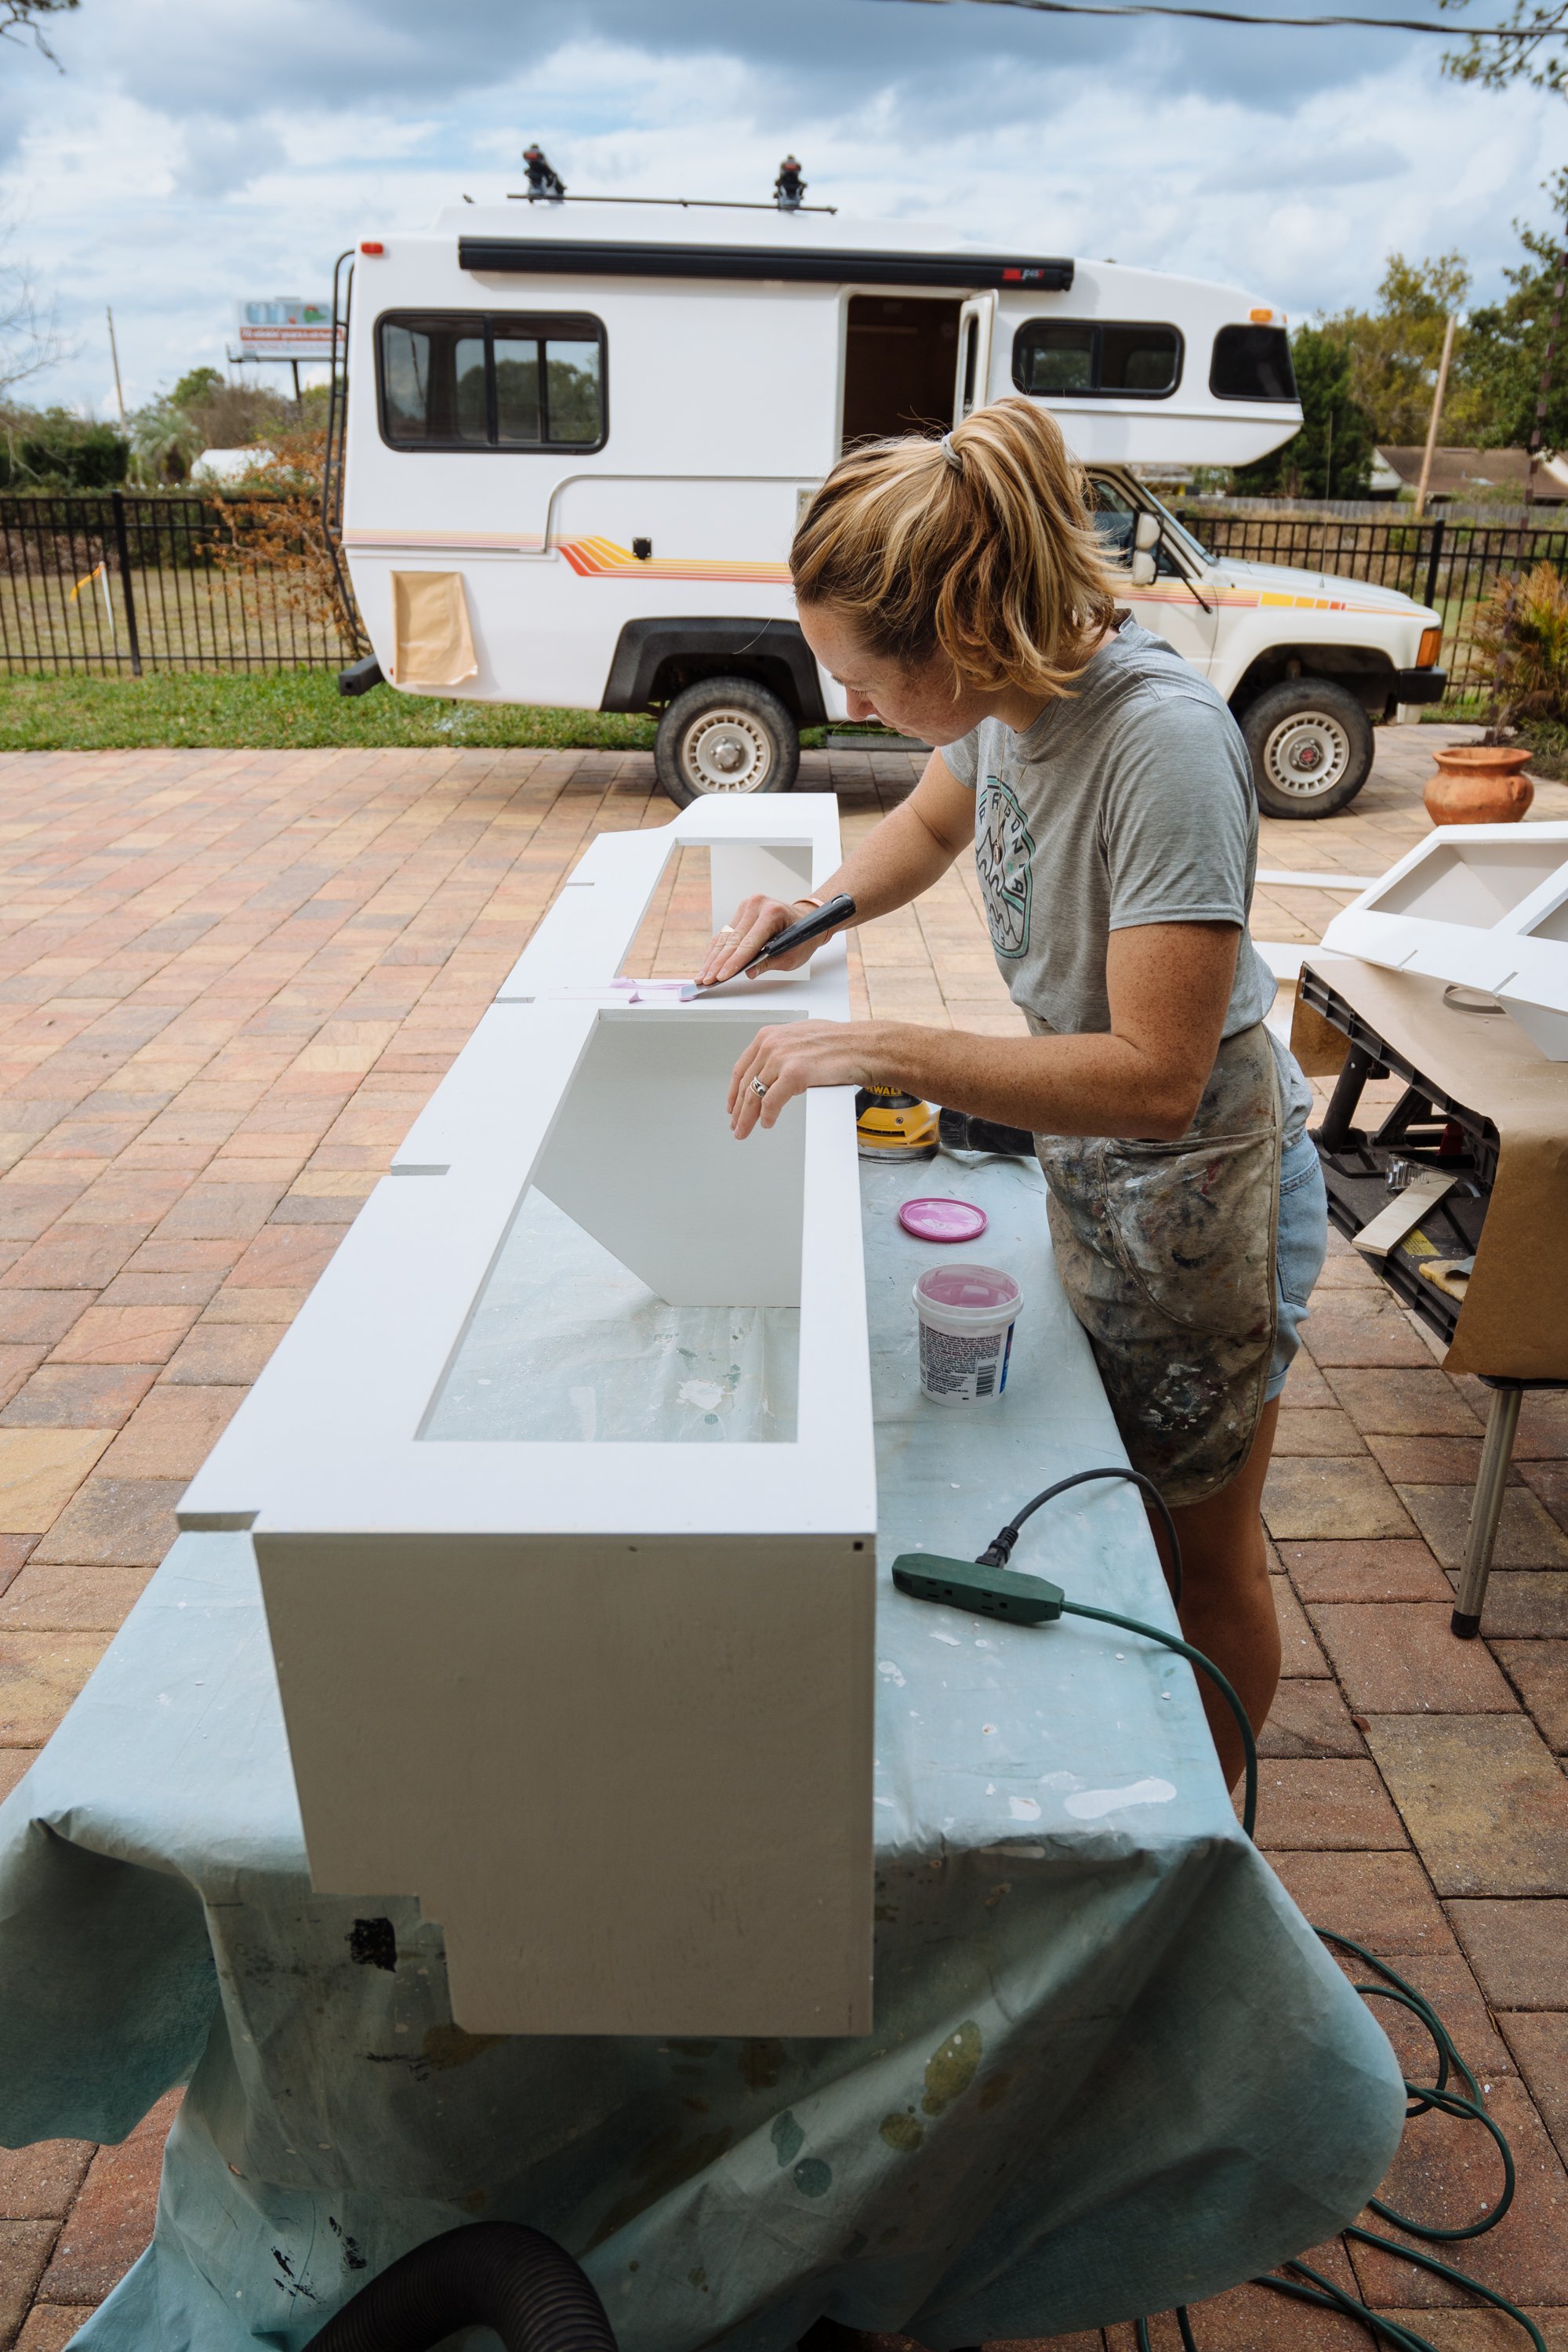
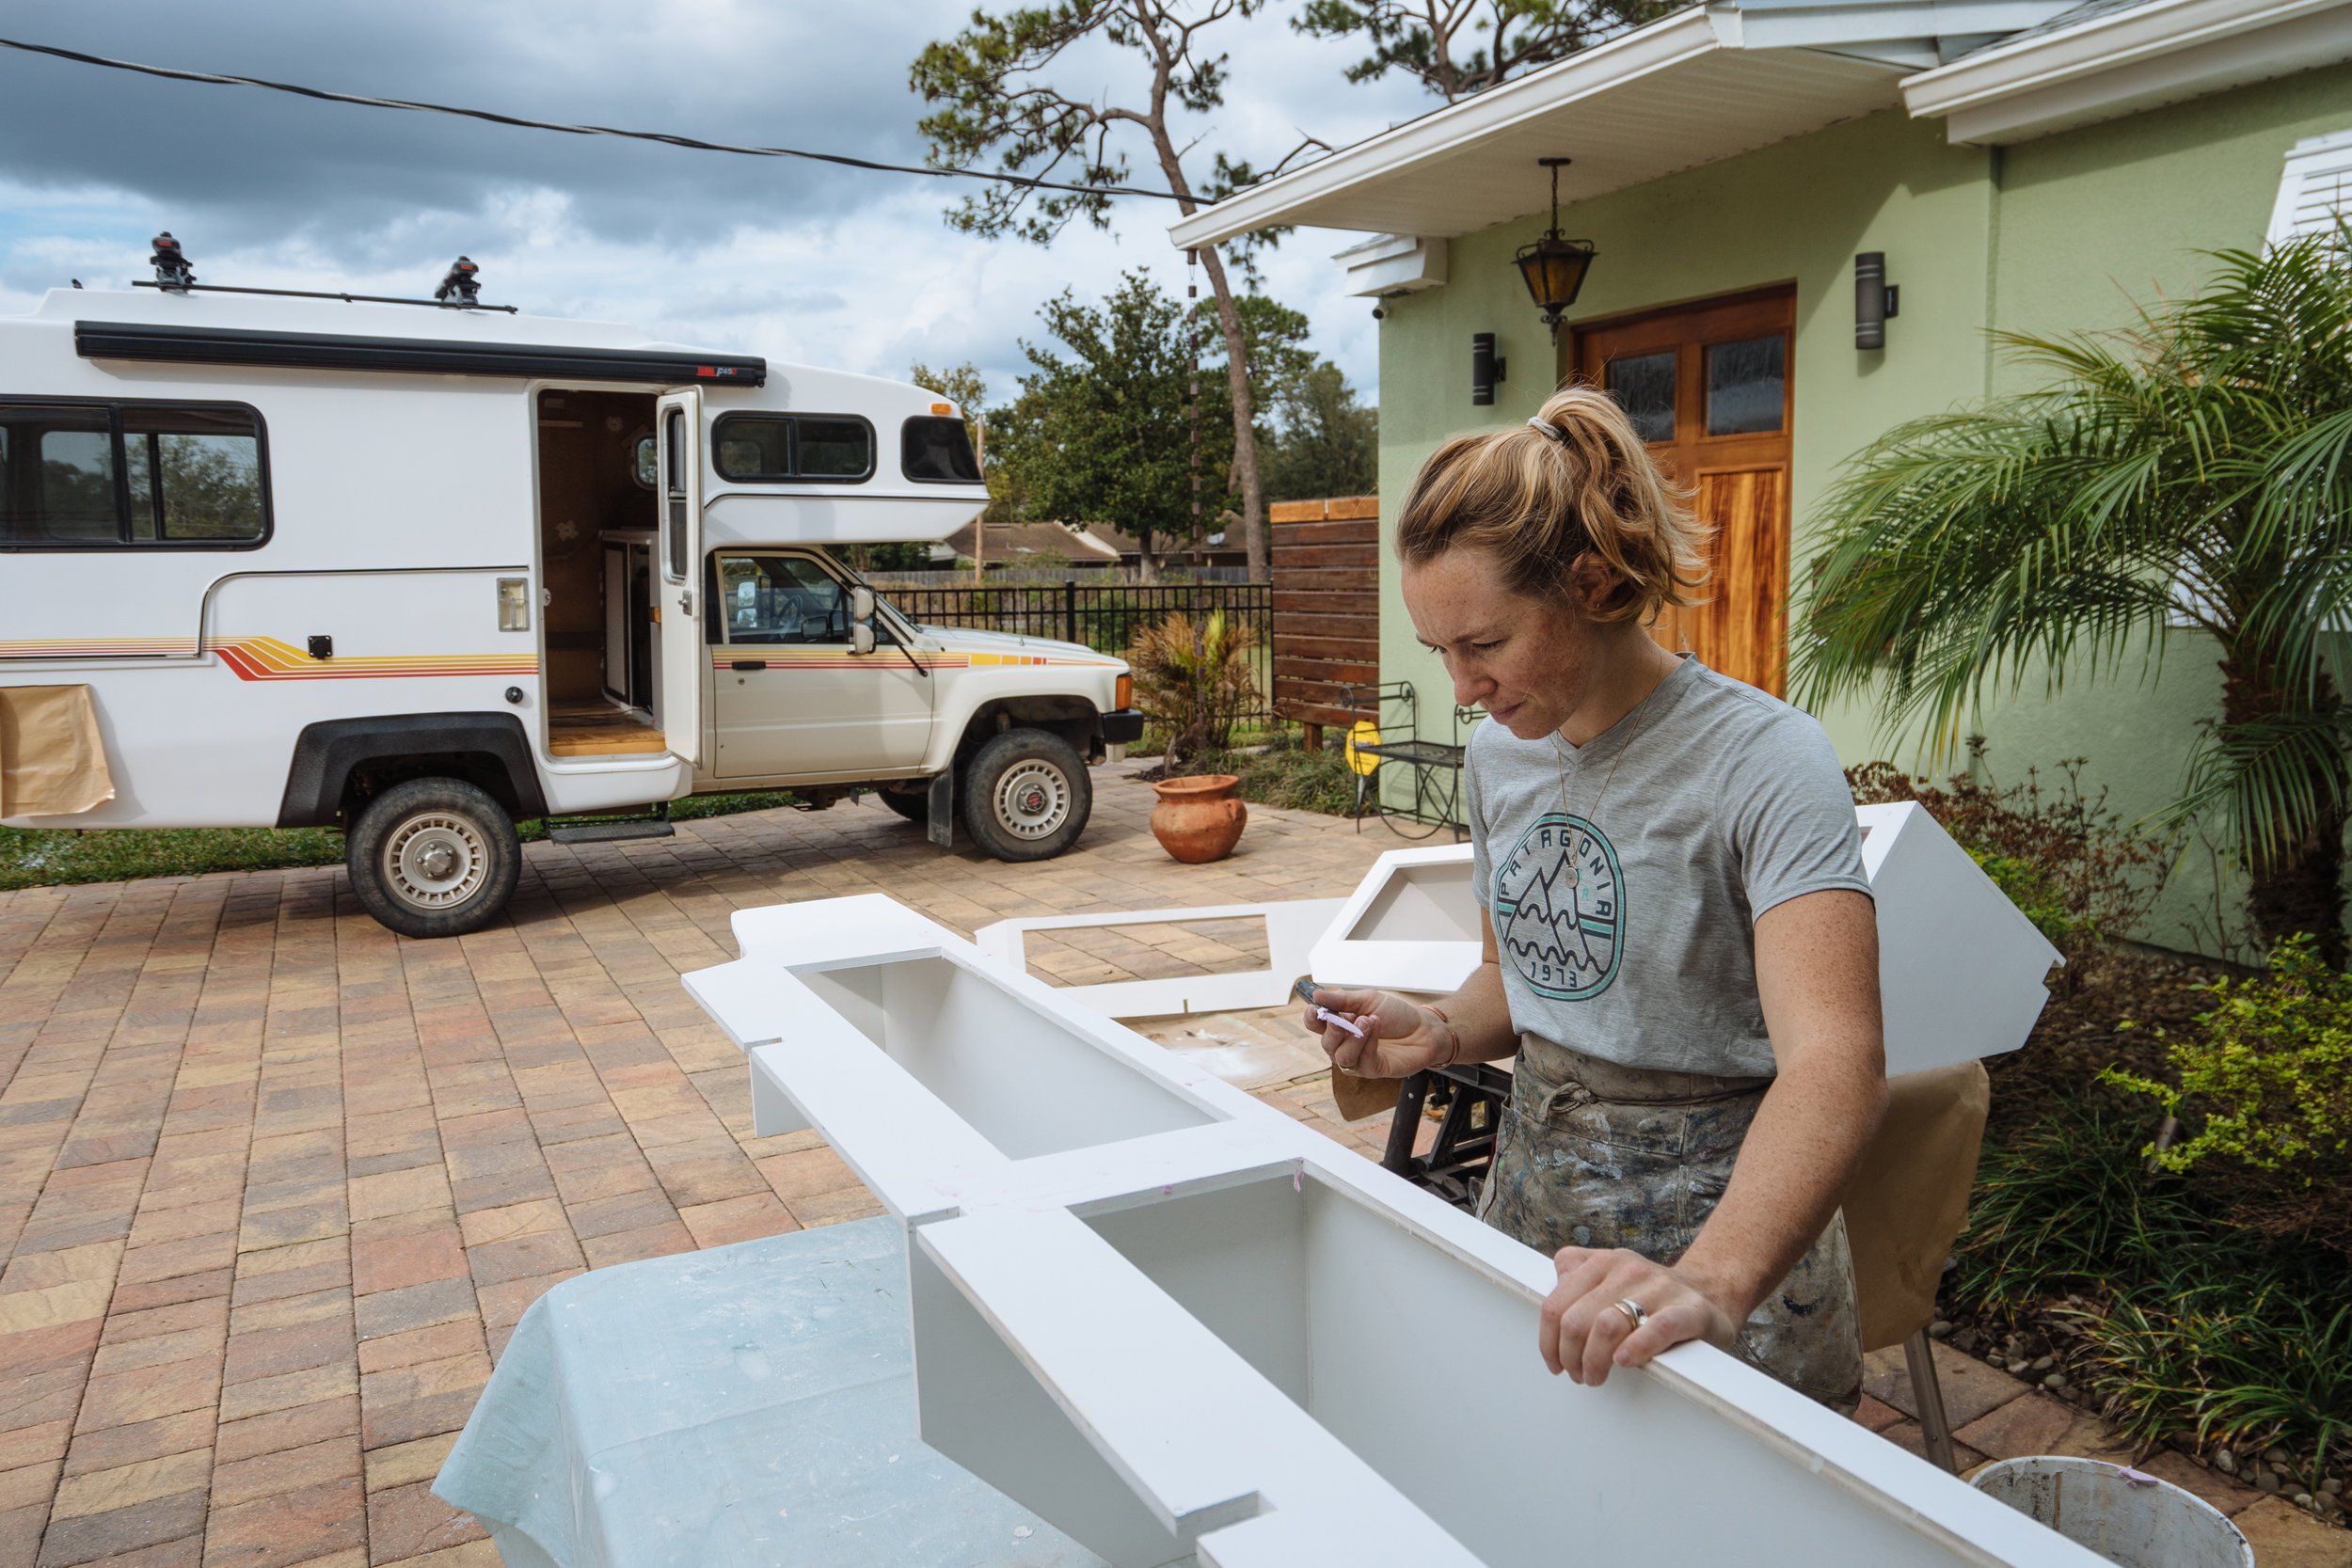
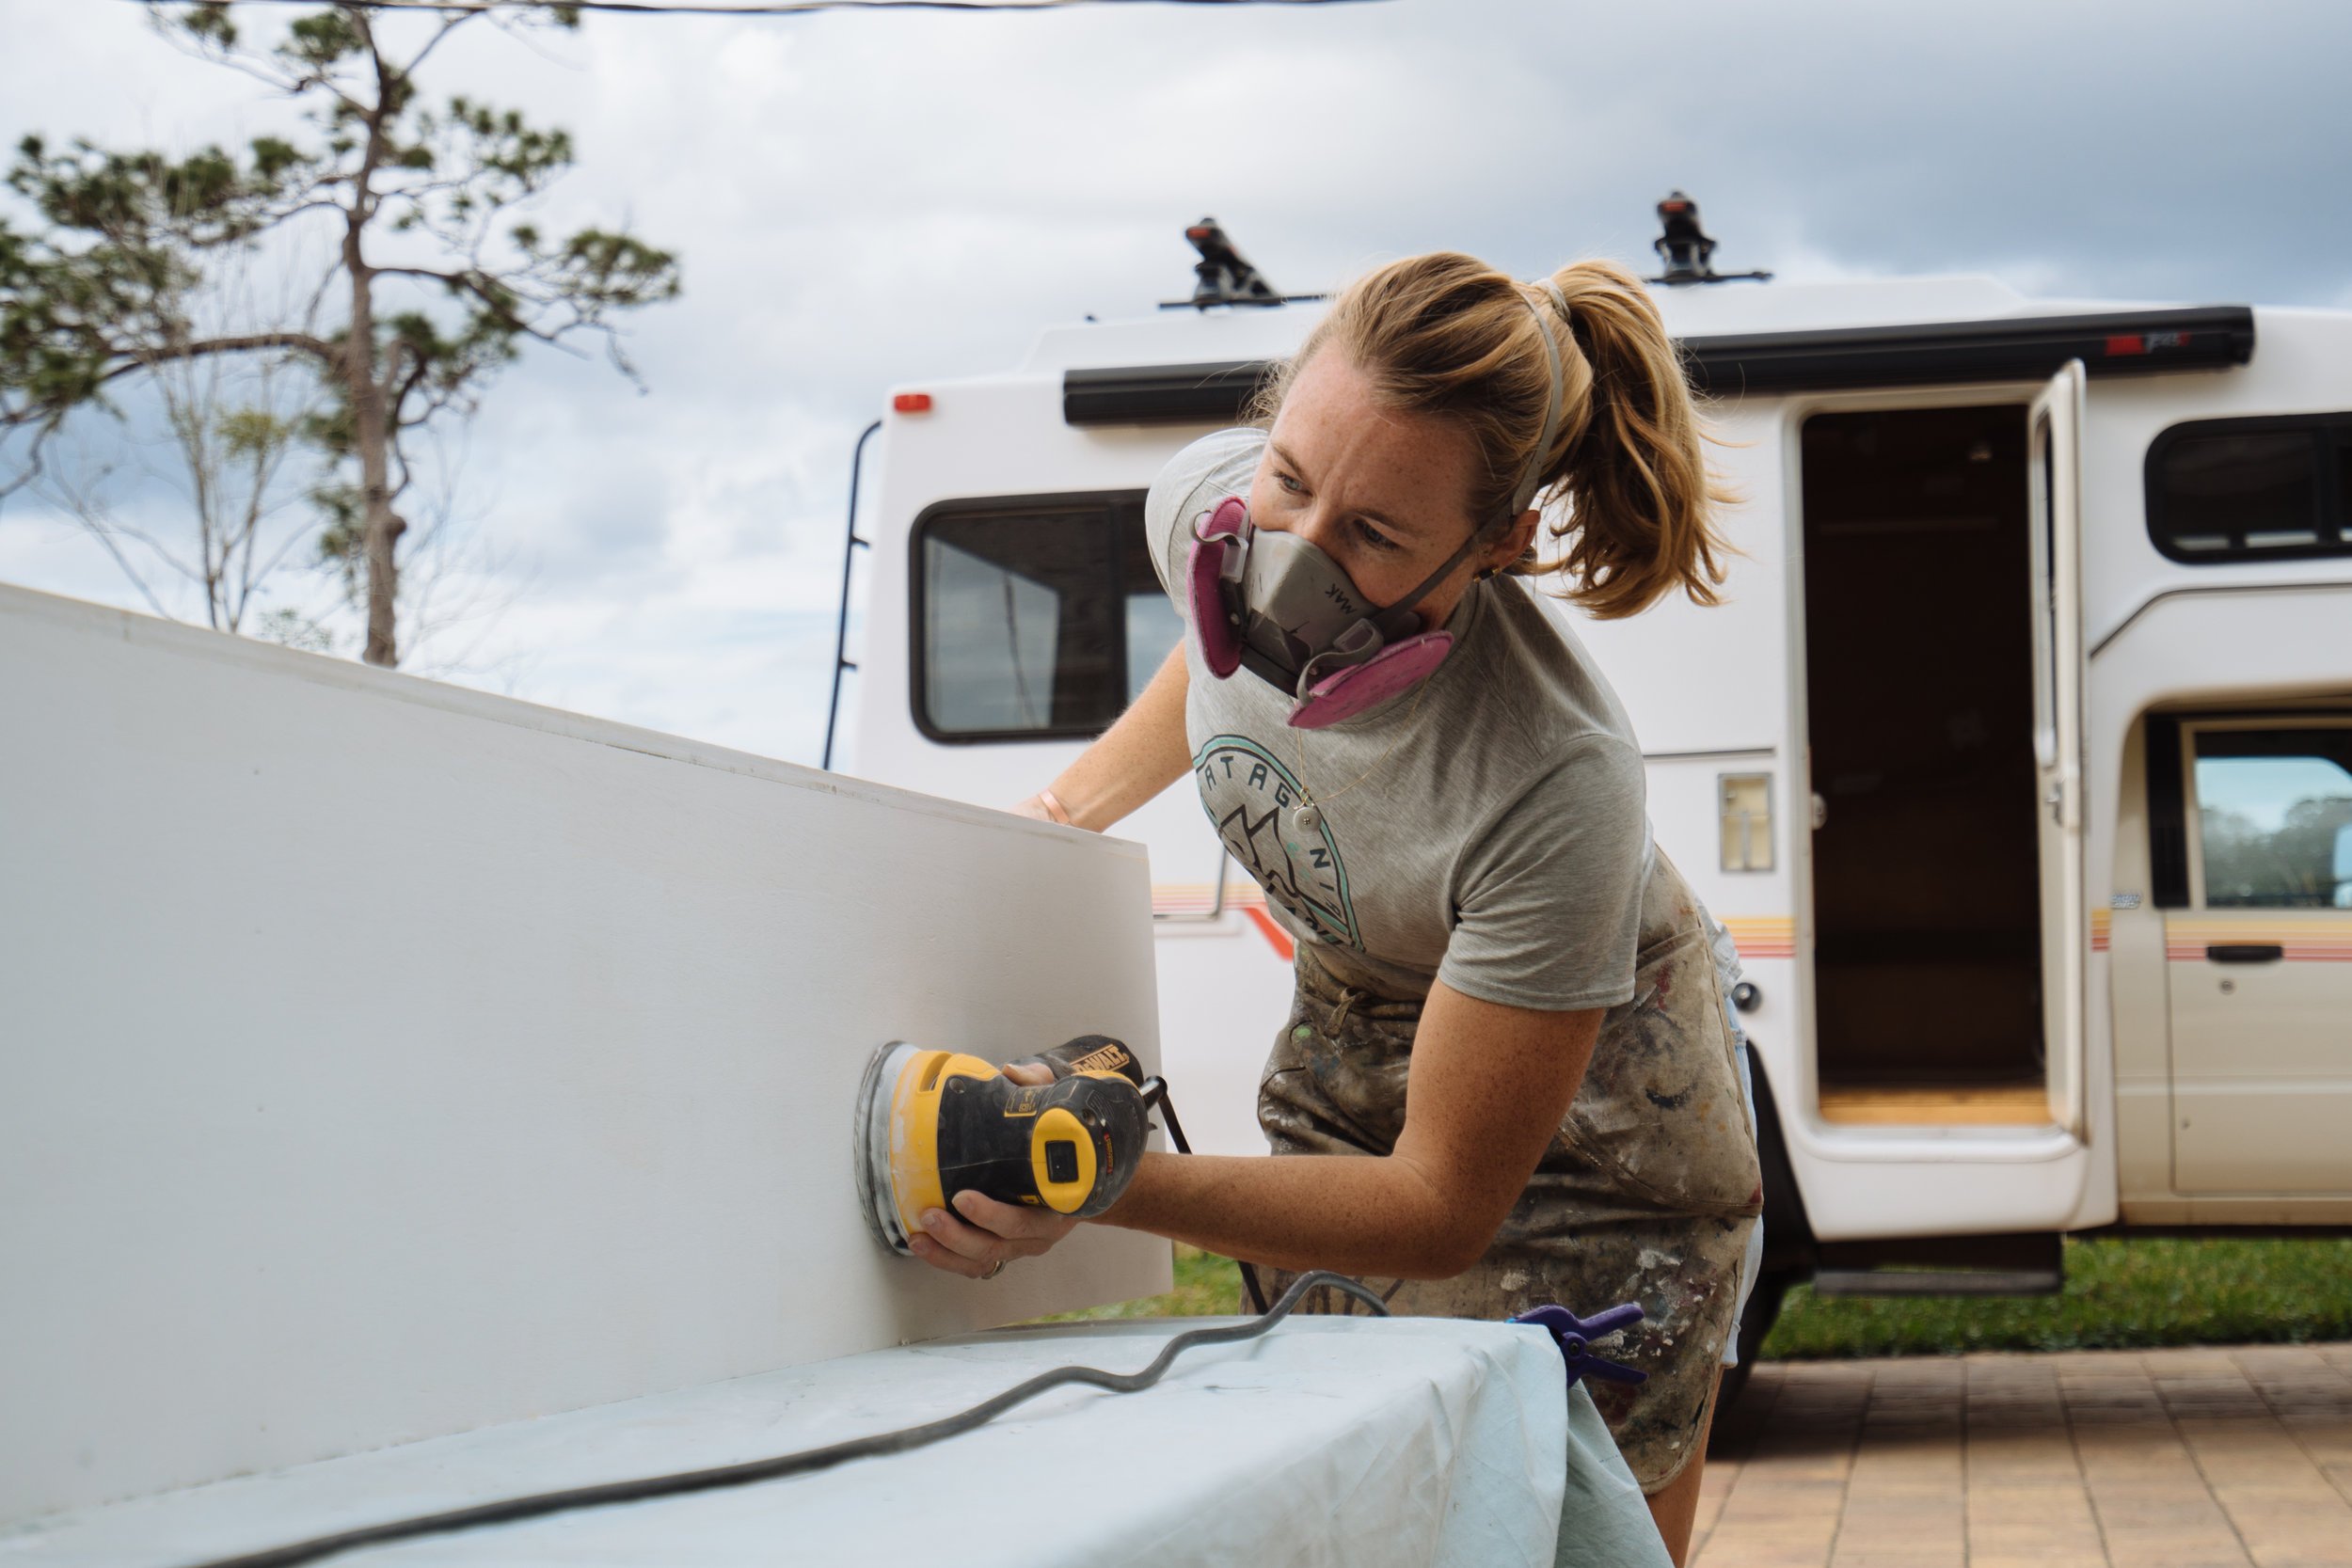

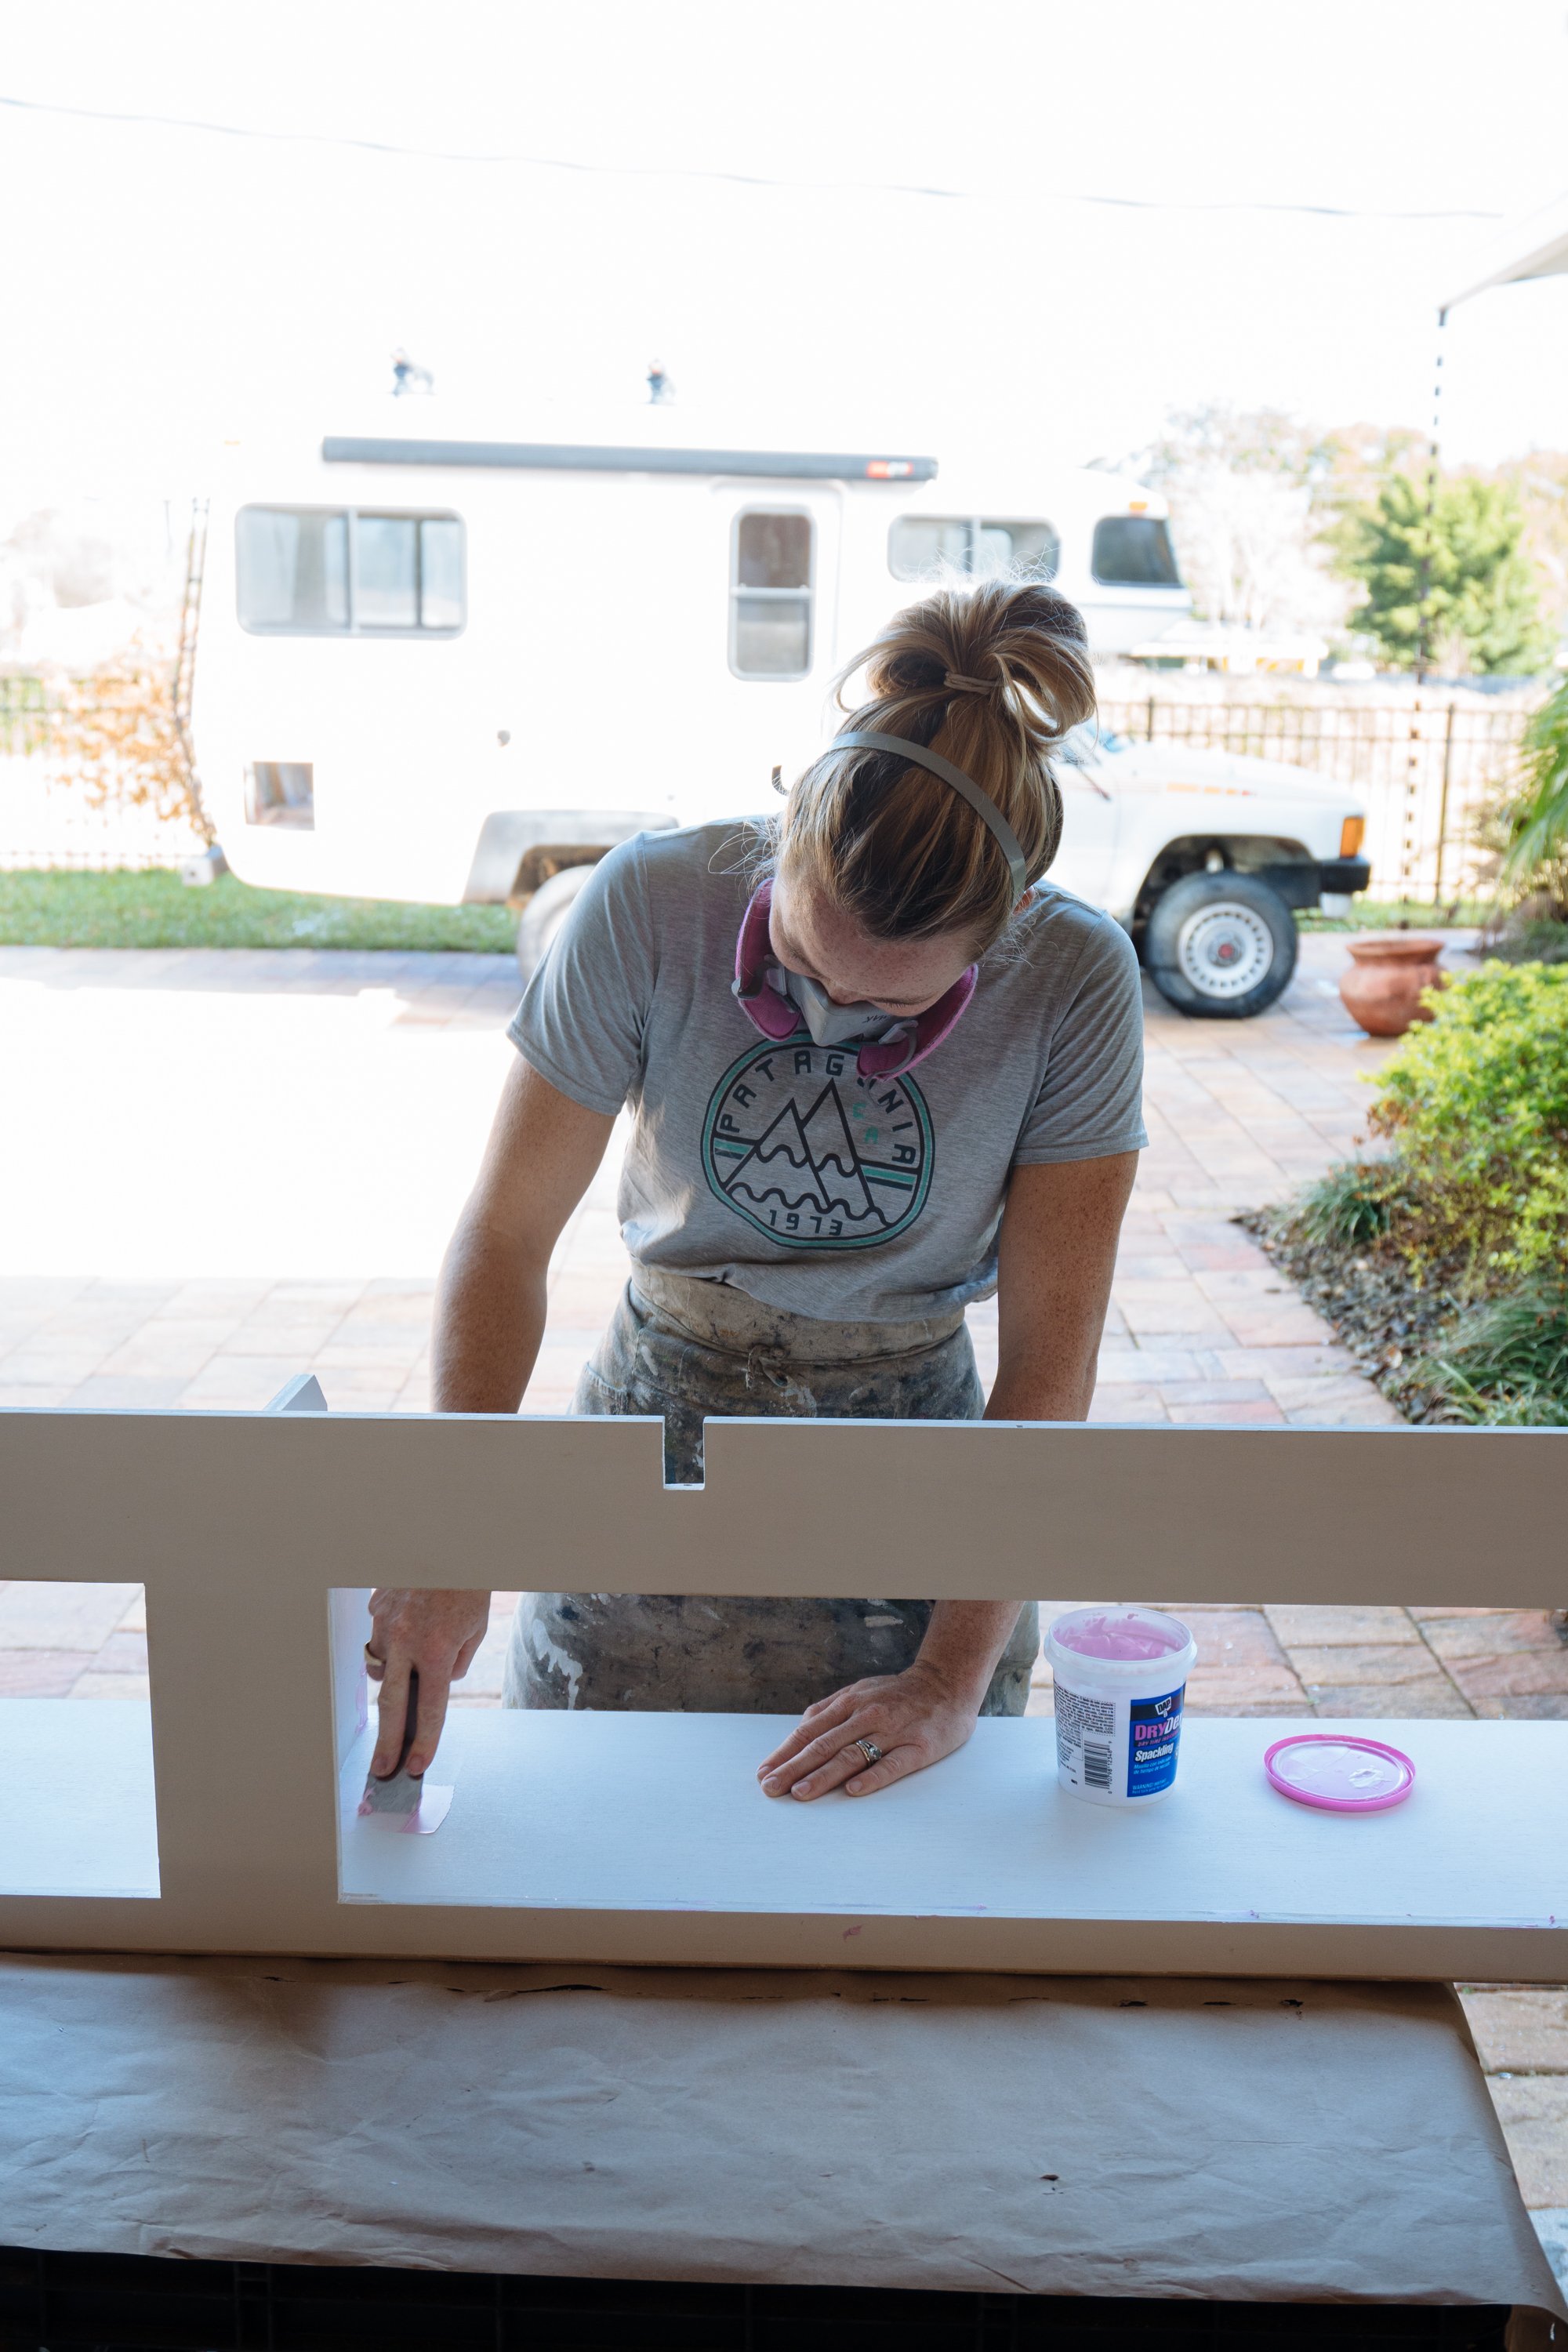
Because I'm crazy I decided that I didn't want any wood grain to be visible on our cabinets. After I got the first coat of paint on, I went back and sanded everything down to a smooth finish. Then spackled the woodgrain on every inch of the cabinets. It took a really long time, but now that I'm done with it, the results are undeniably satisfying. After the spackle was applied, dried, and sanded I did three coats of exterior white paint.
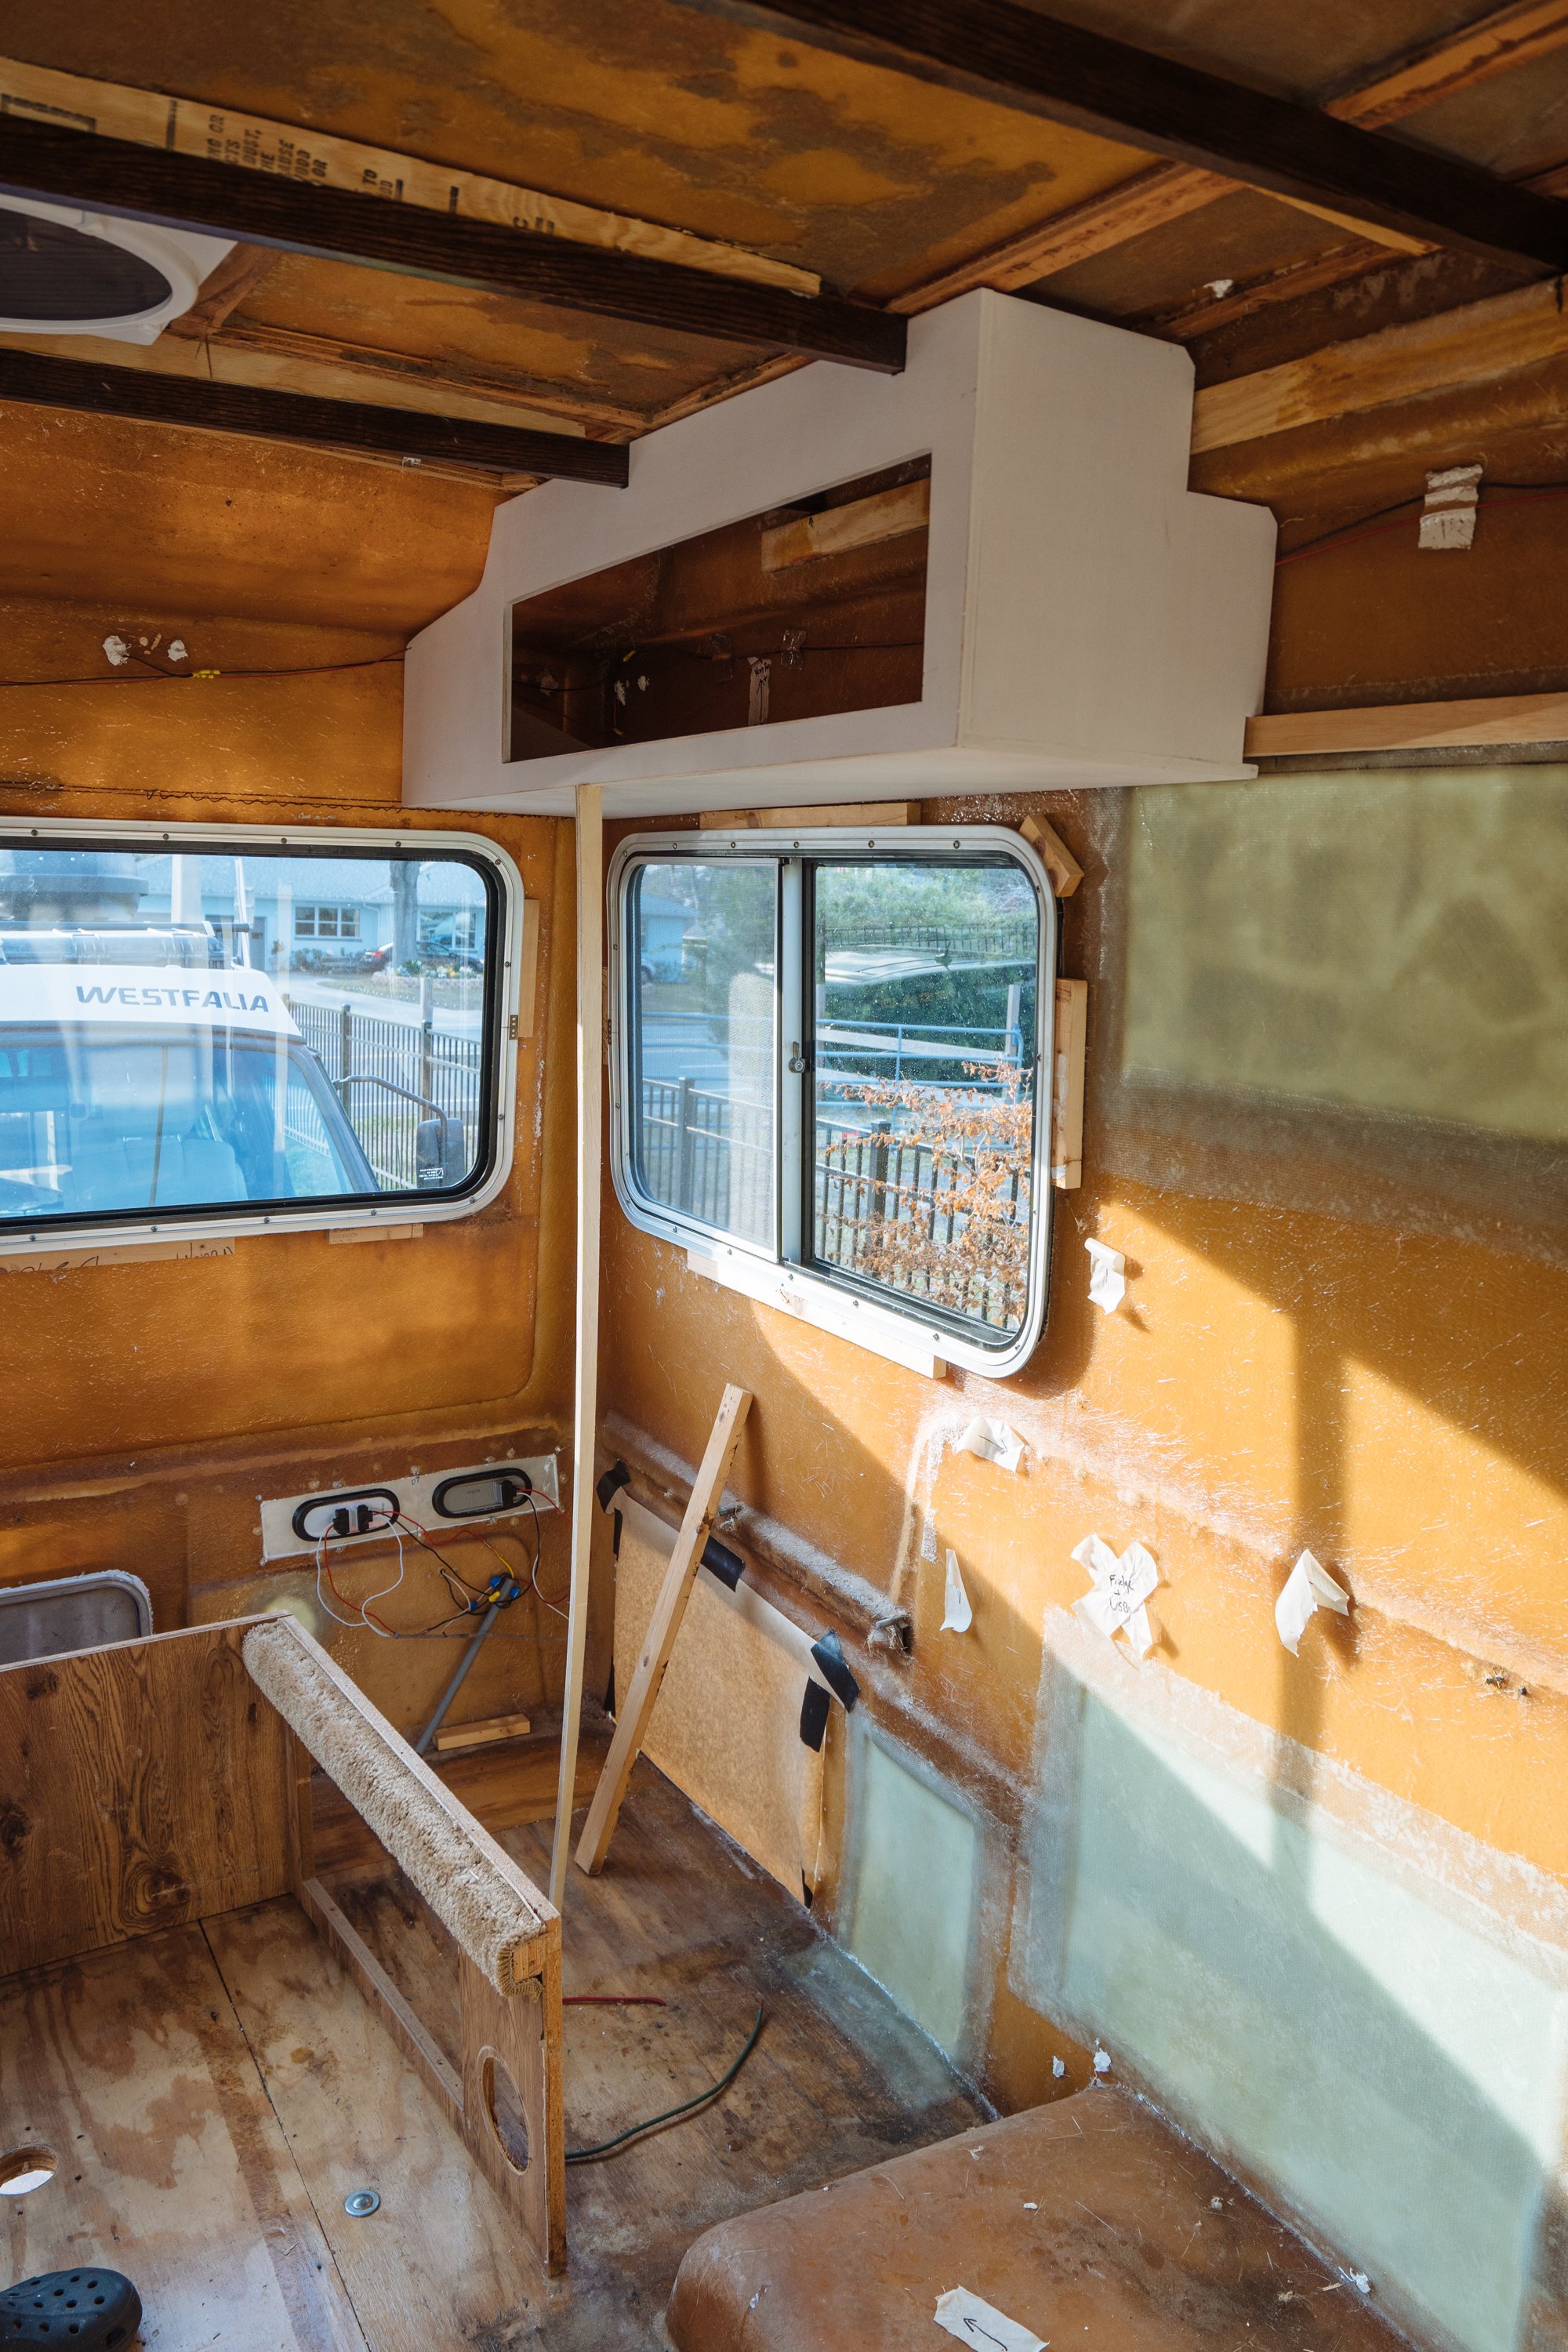
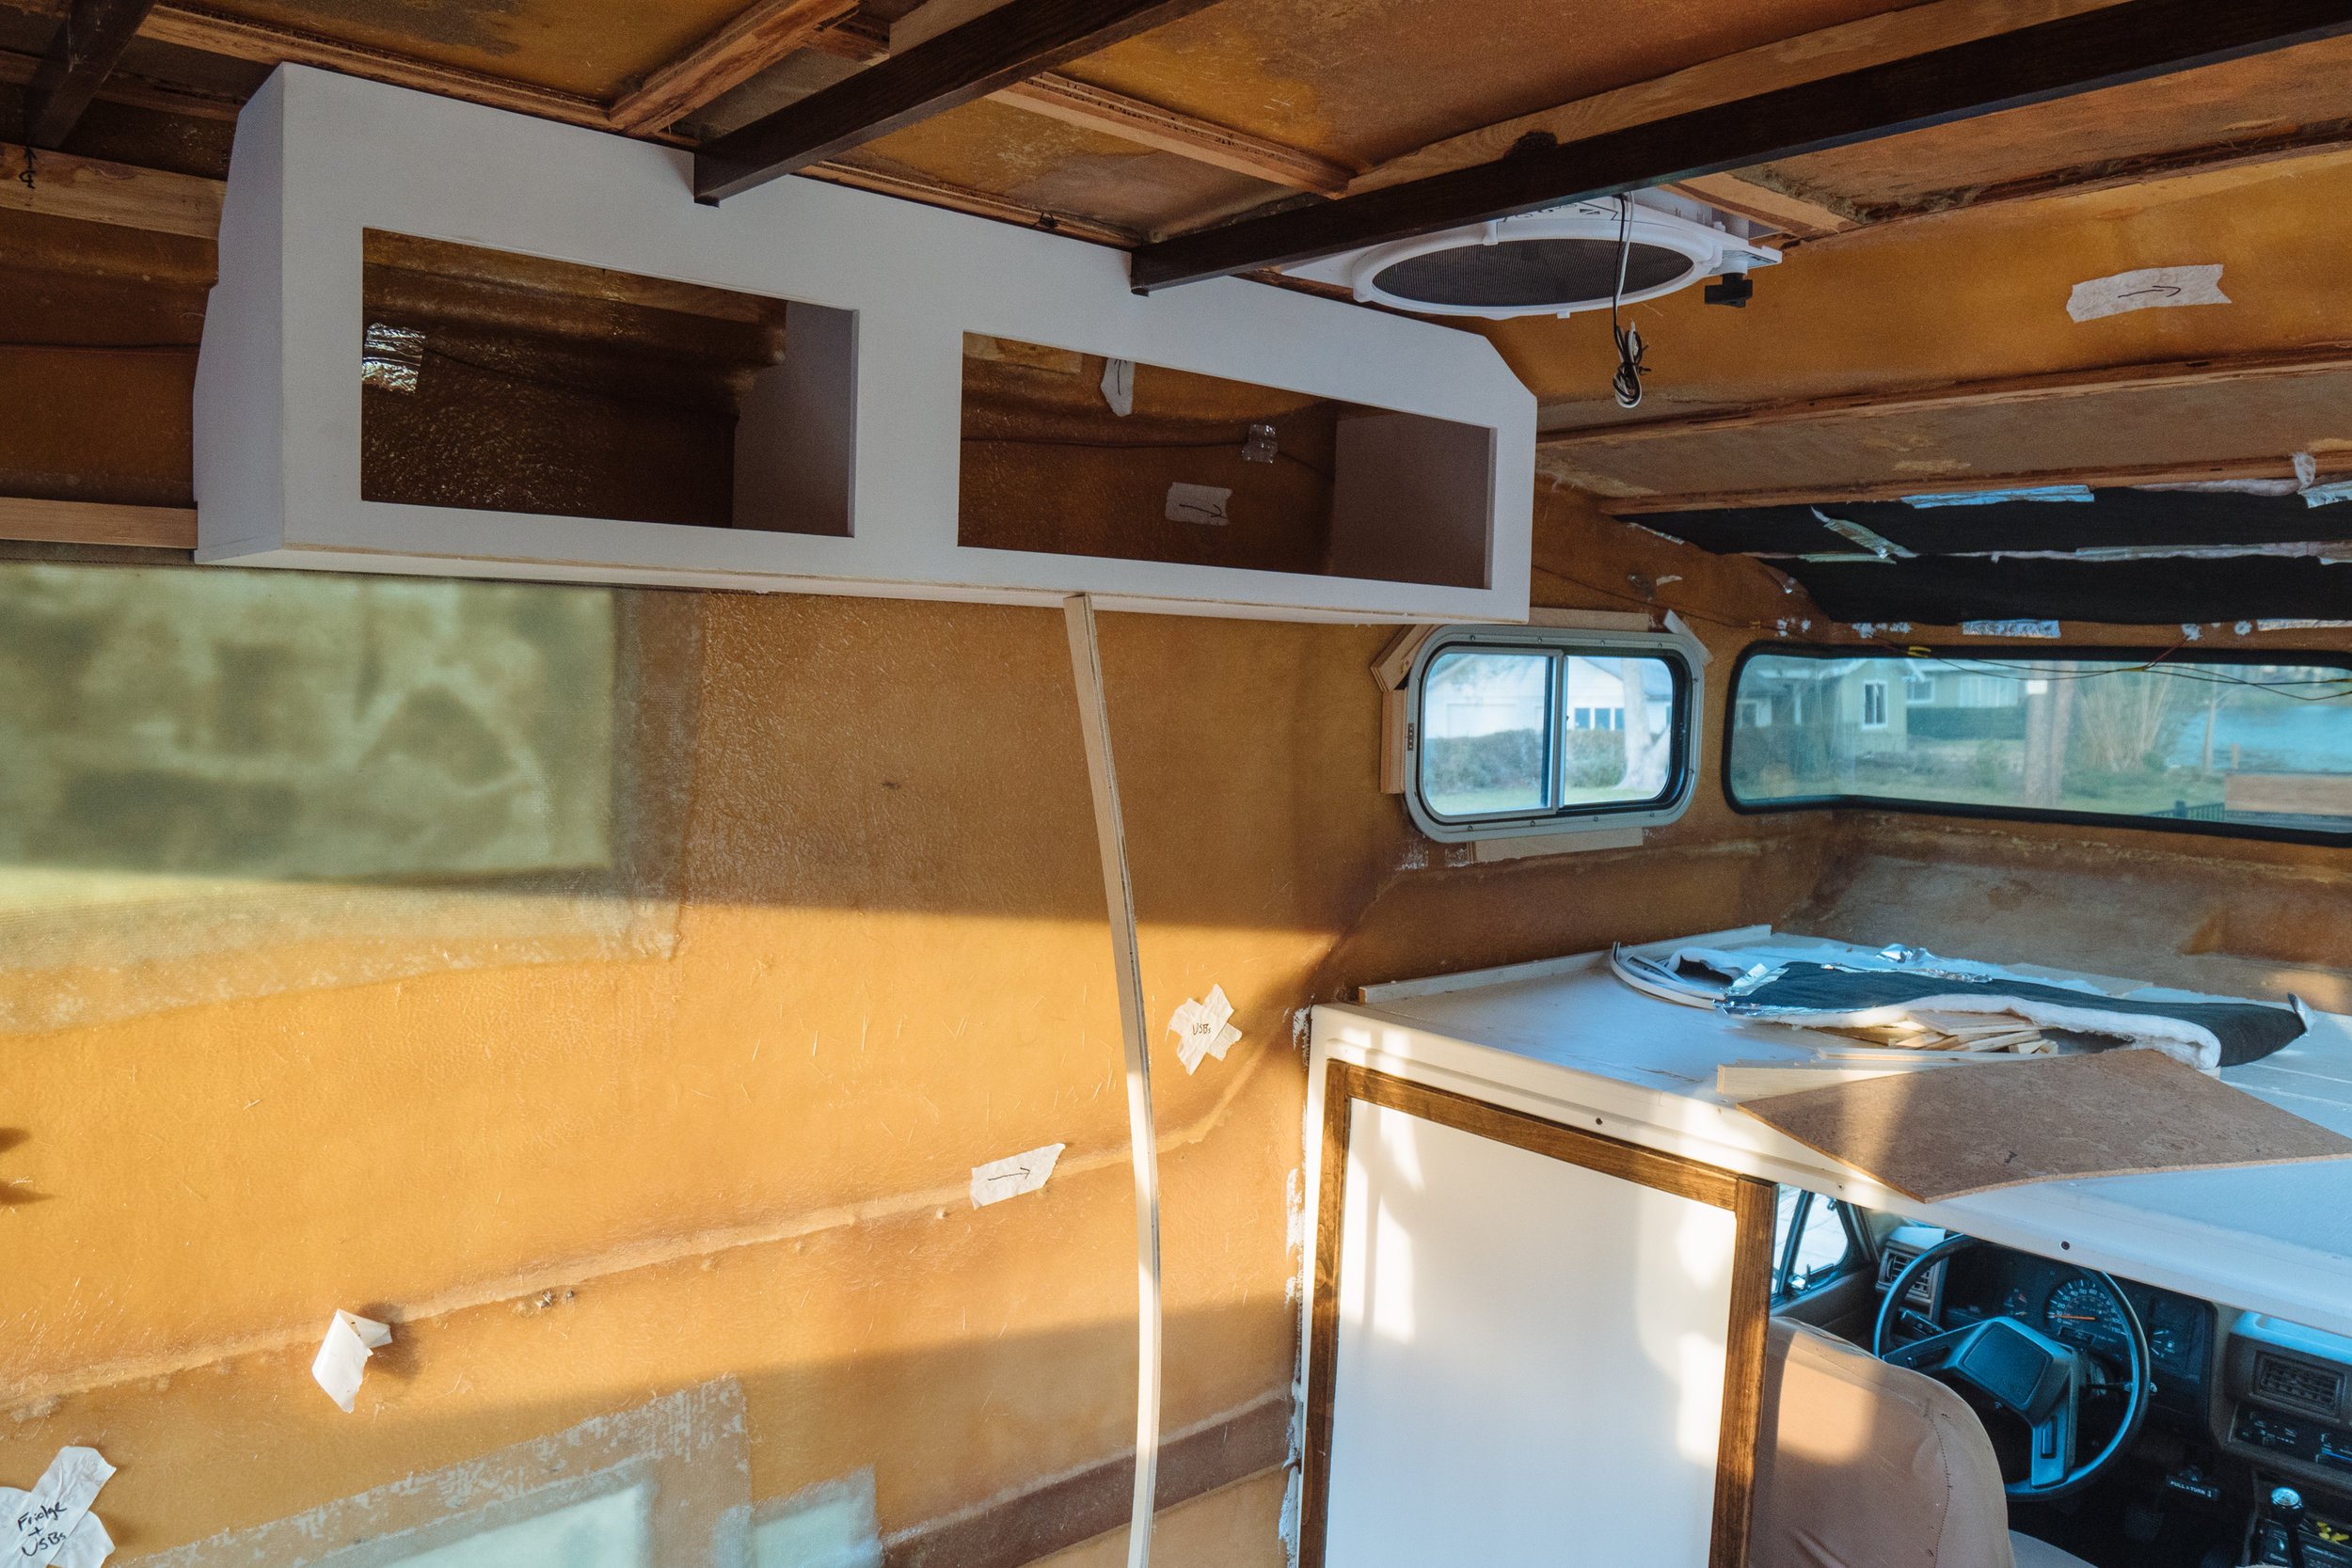
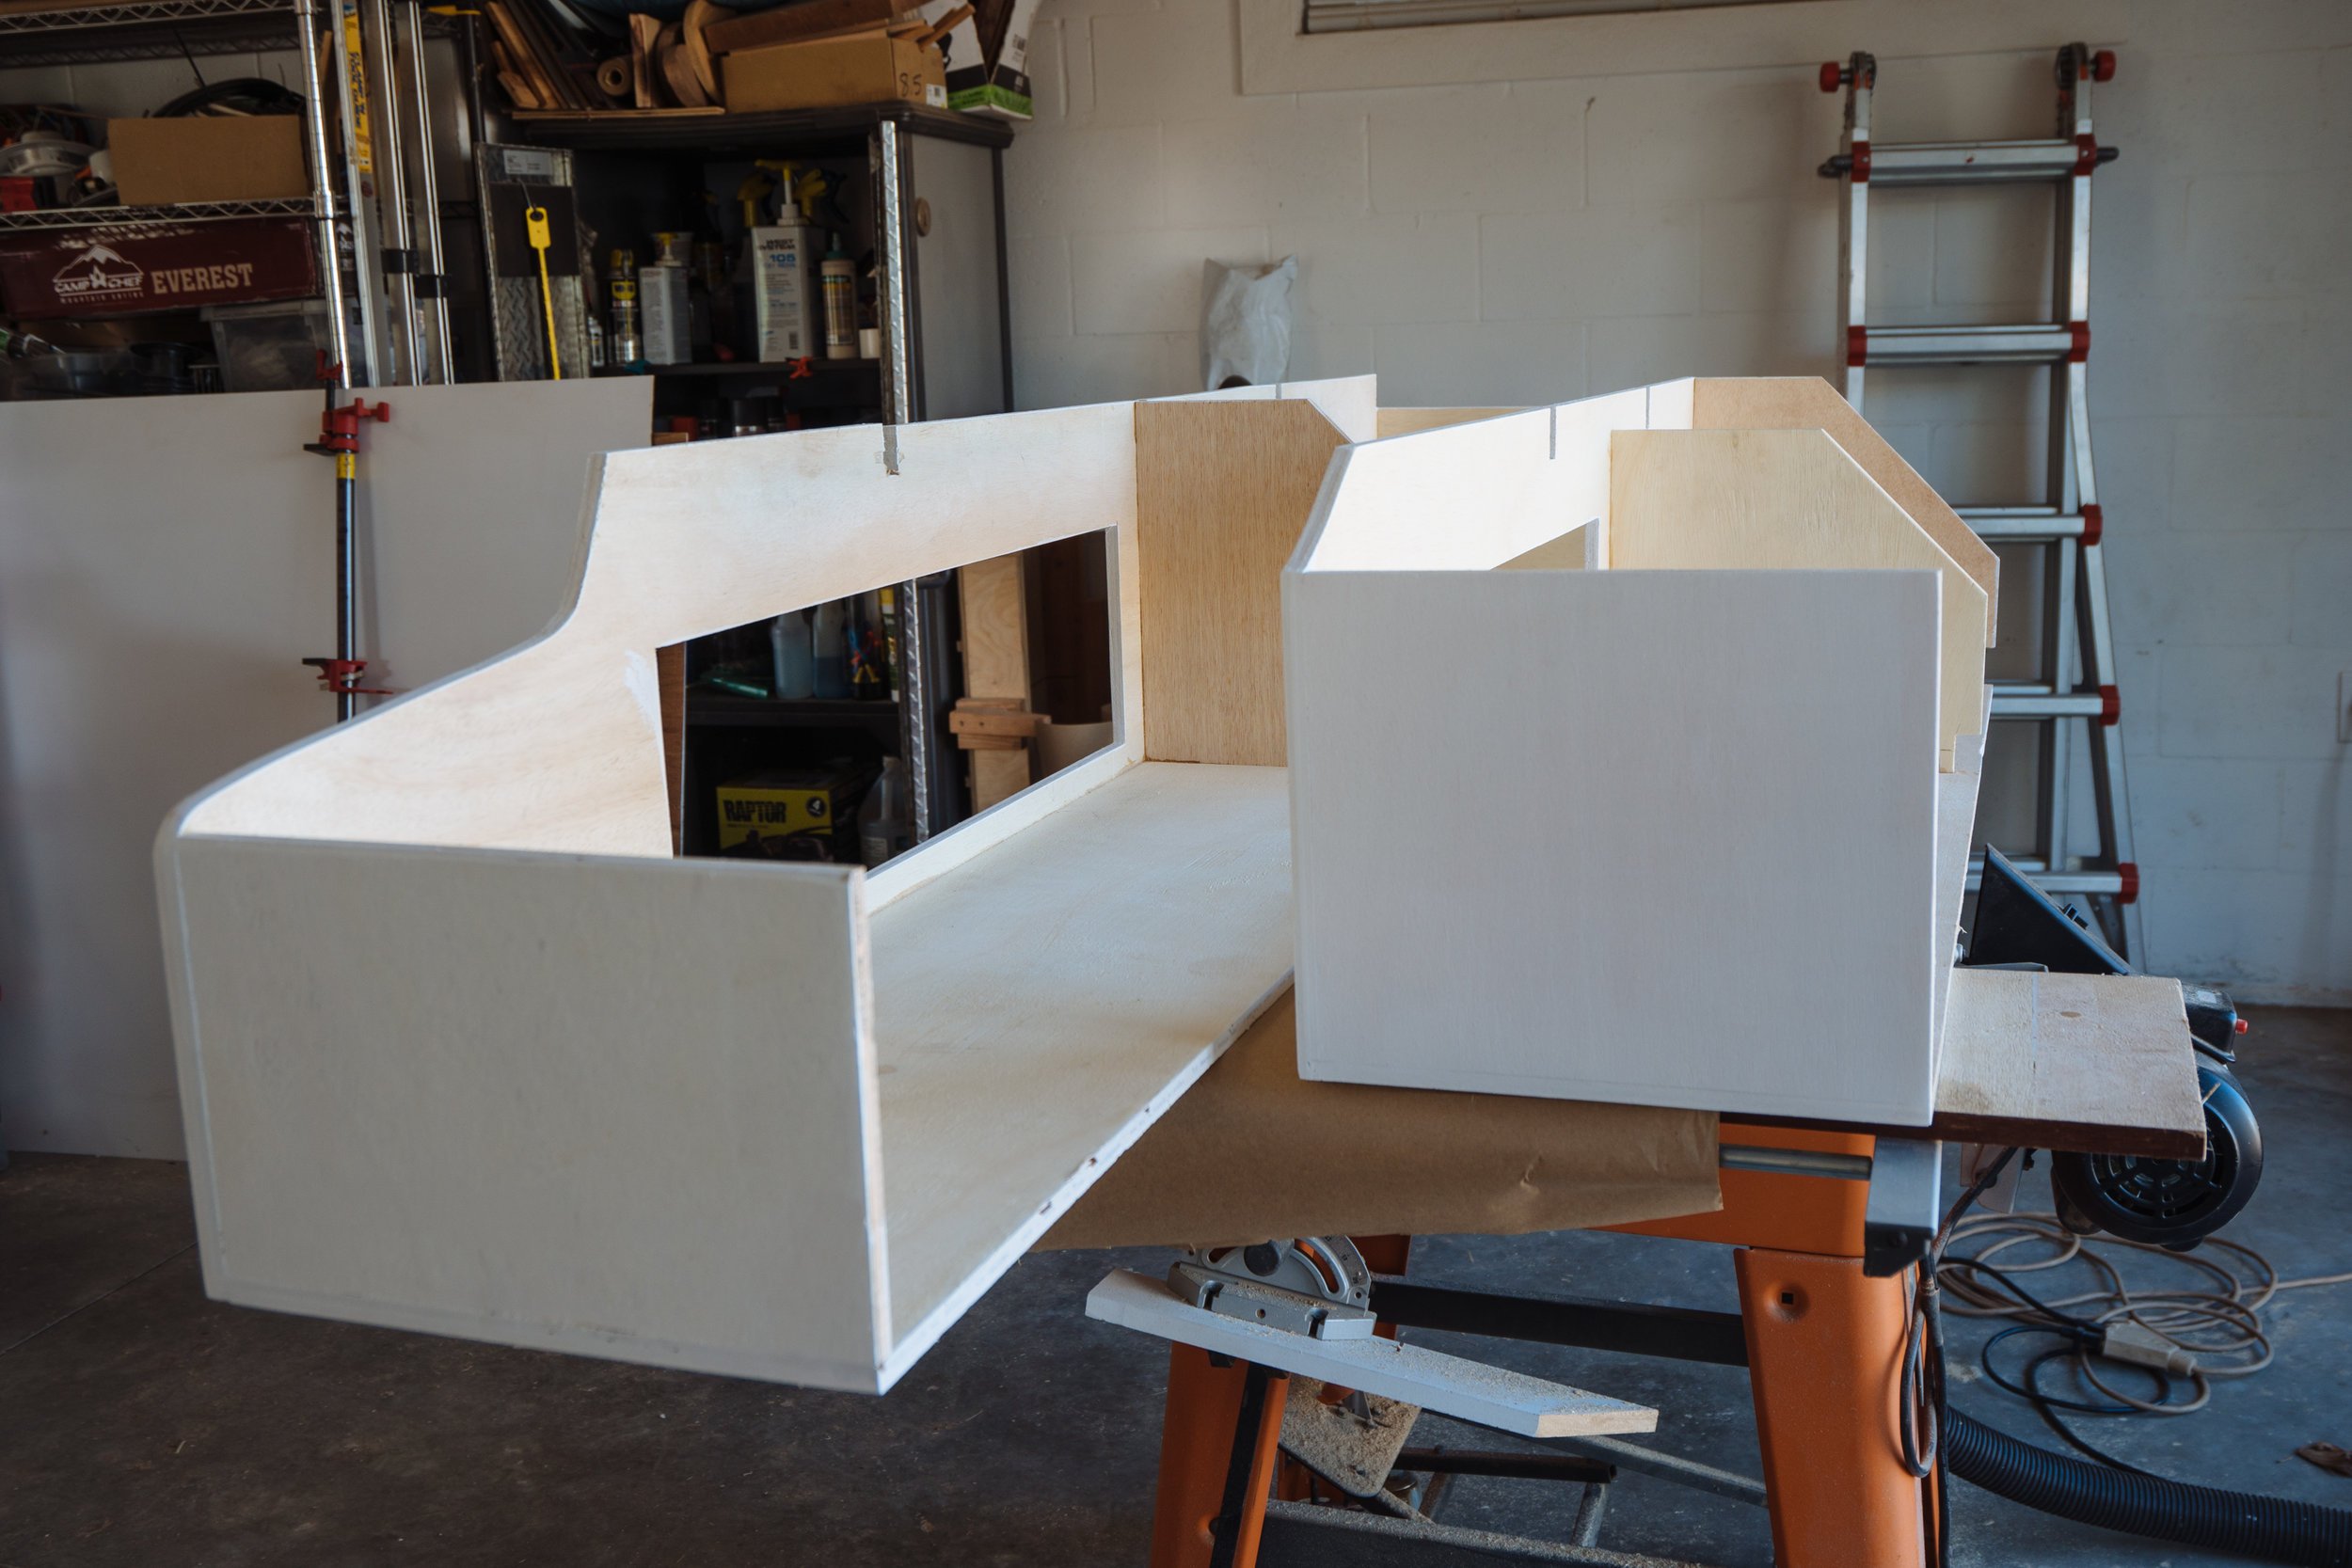
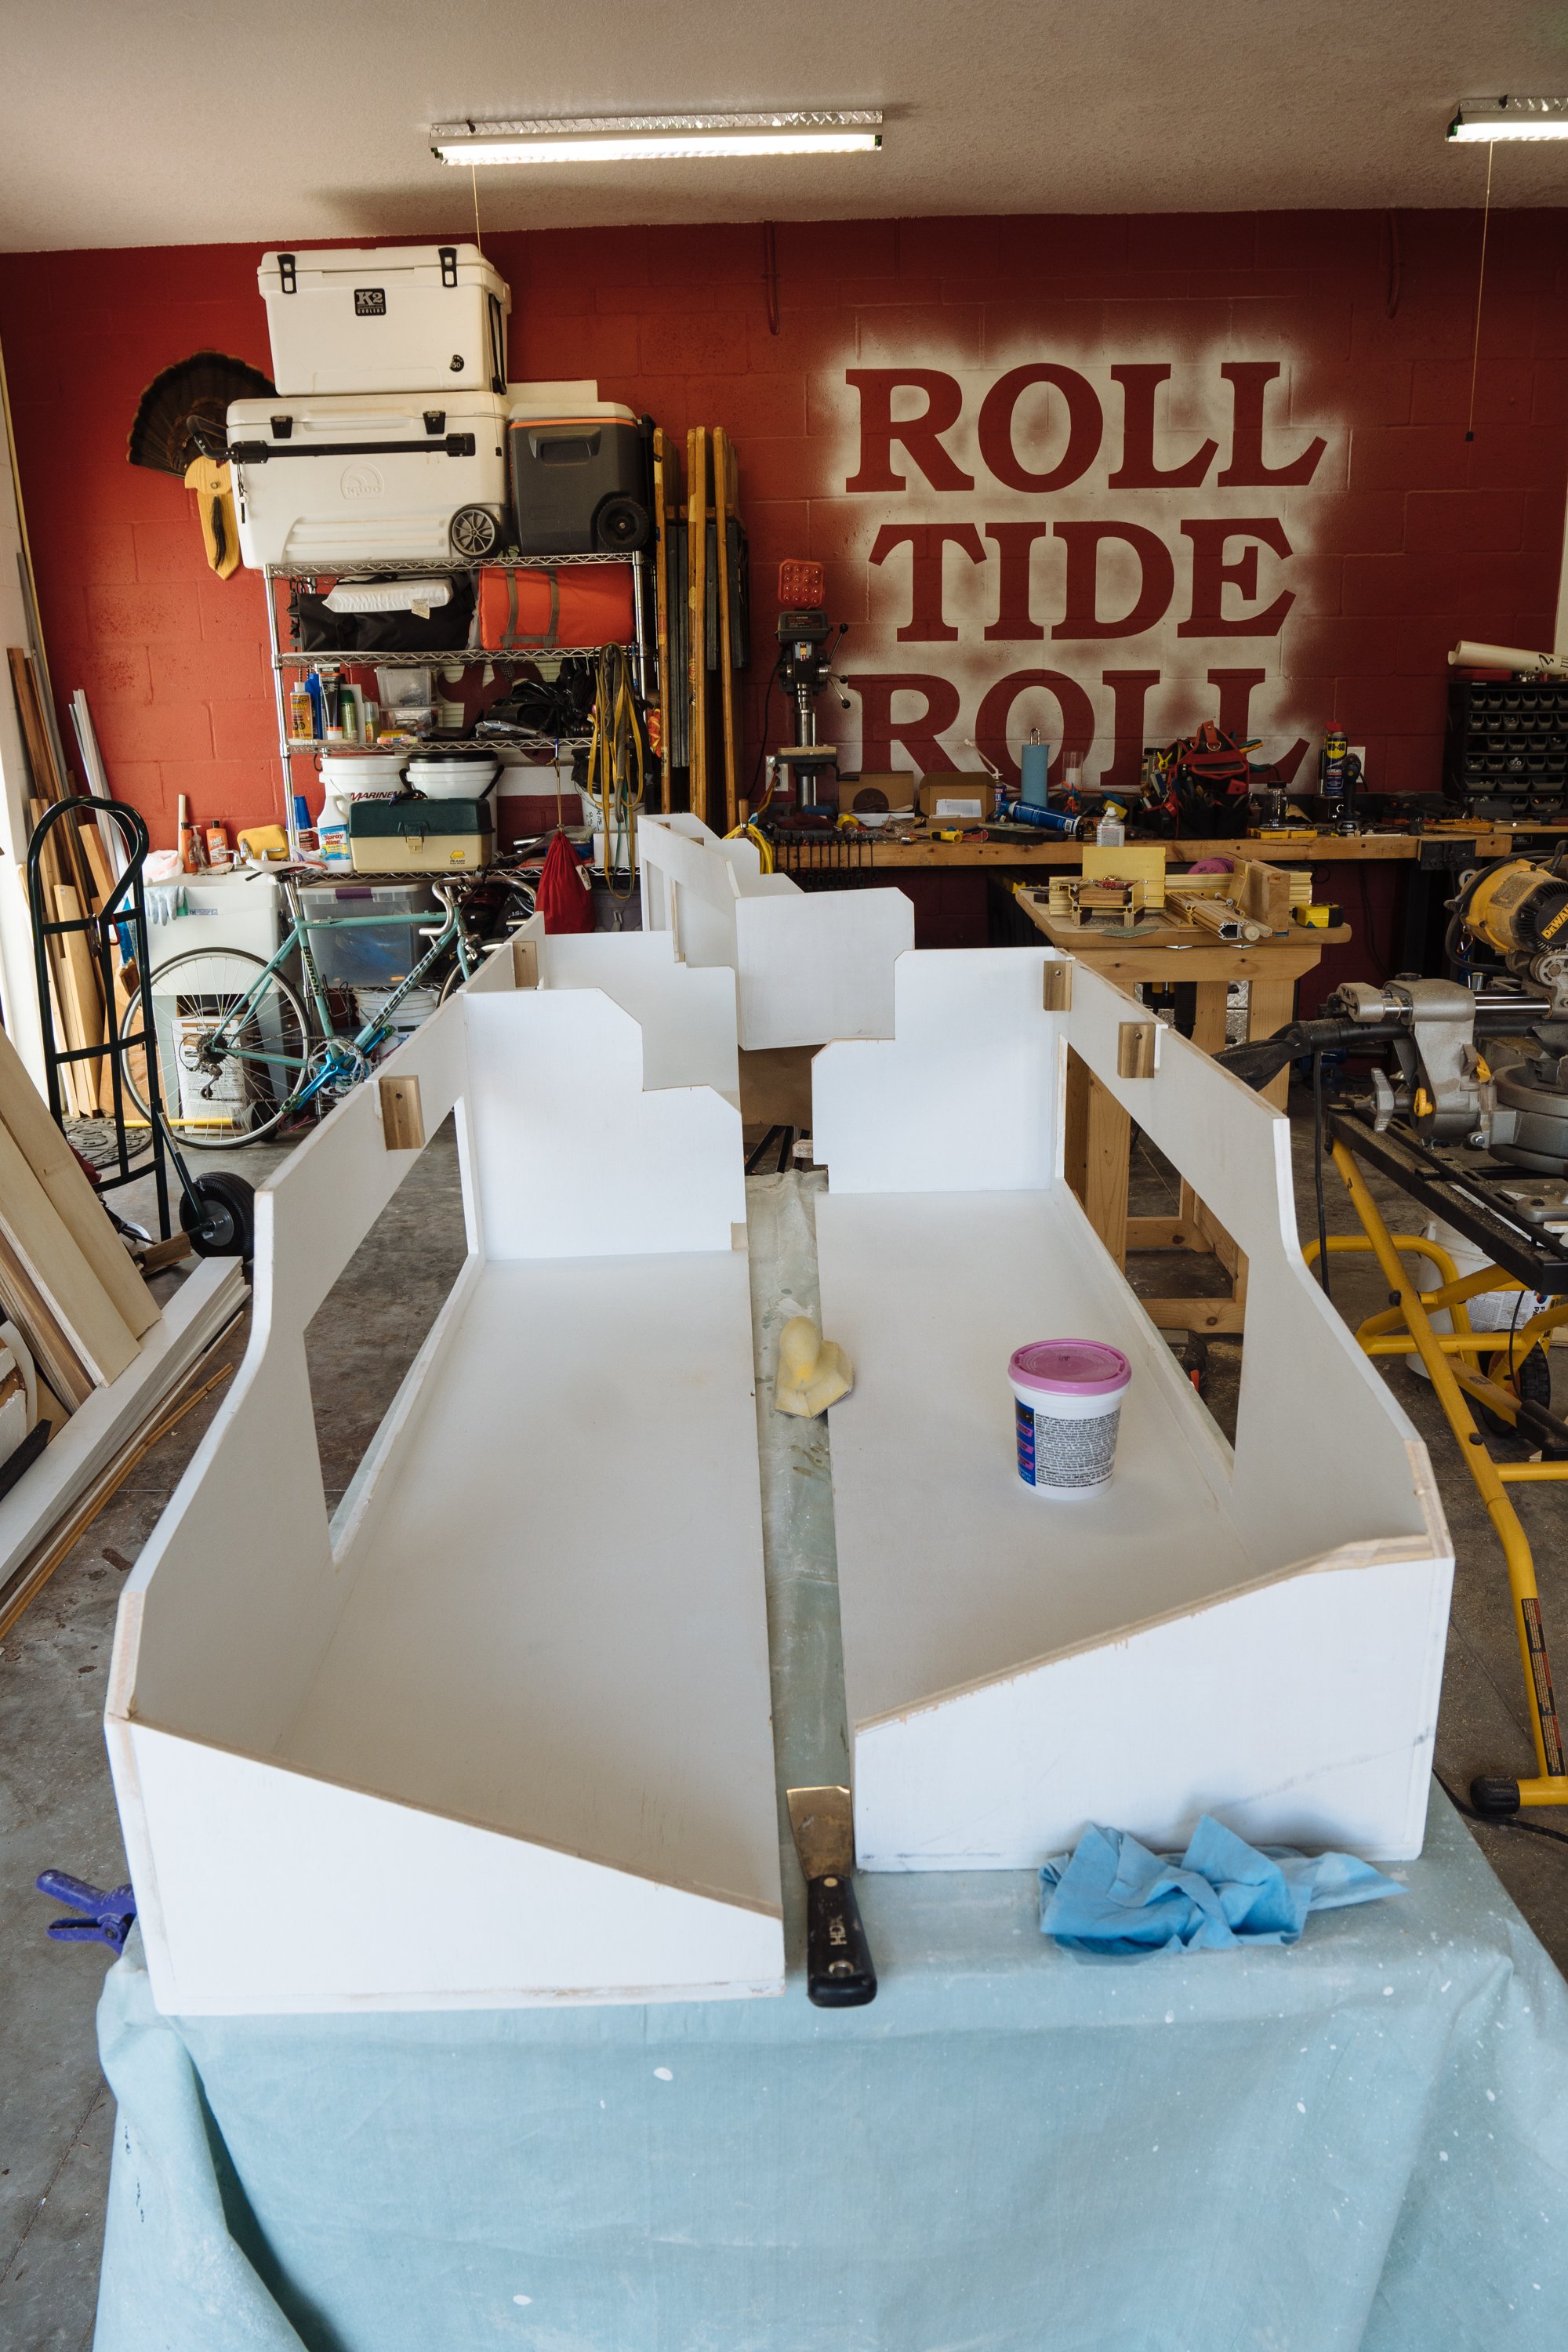
At some point we took the cabinets inside of Amelia to mock them up in their positions on the wall just to be sure that we were on the right track. This is definitely our first real glimpse into what they'll look like when they're done! Man, I'm stoked!

See those little wooden blocks that are fixed to the inside of the cabinets? Those are going to be little support pieces that'll be screwed into our cross beams. The idea is that these cabinets will actually be apart of our wall support system to aid in stabalizing our walls.
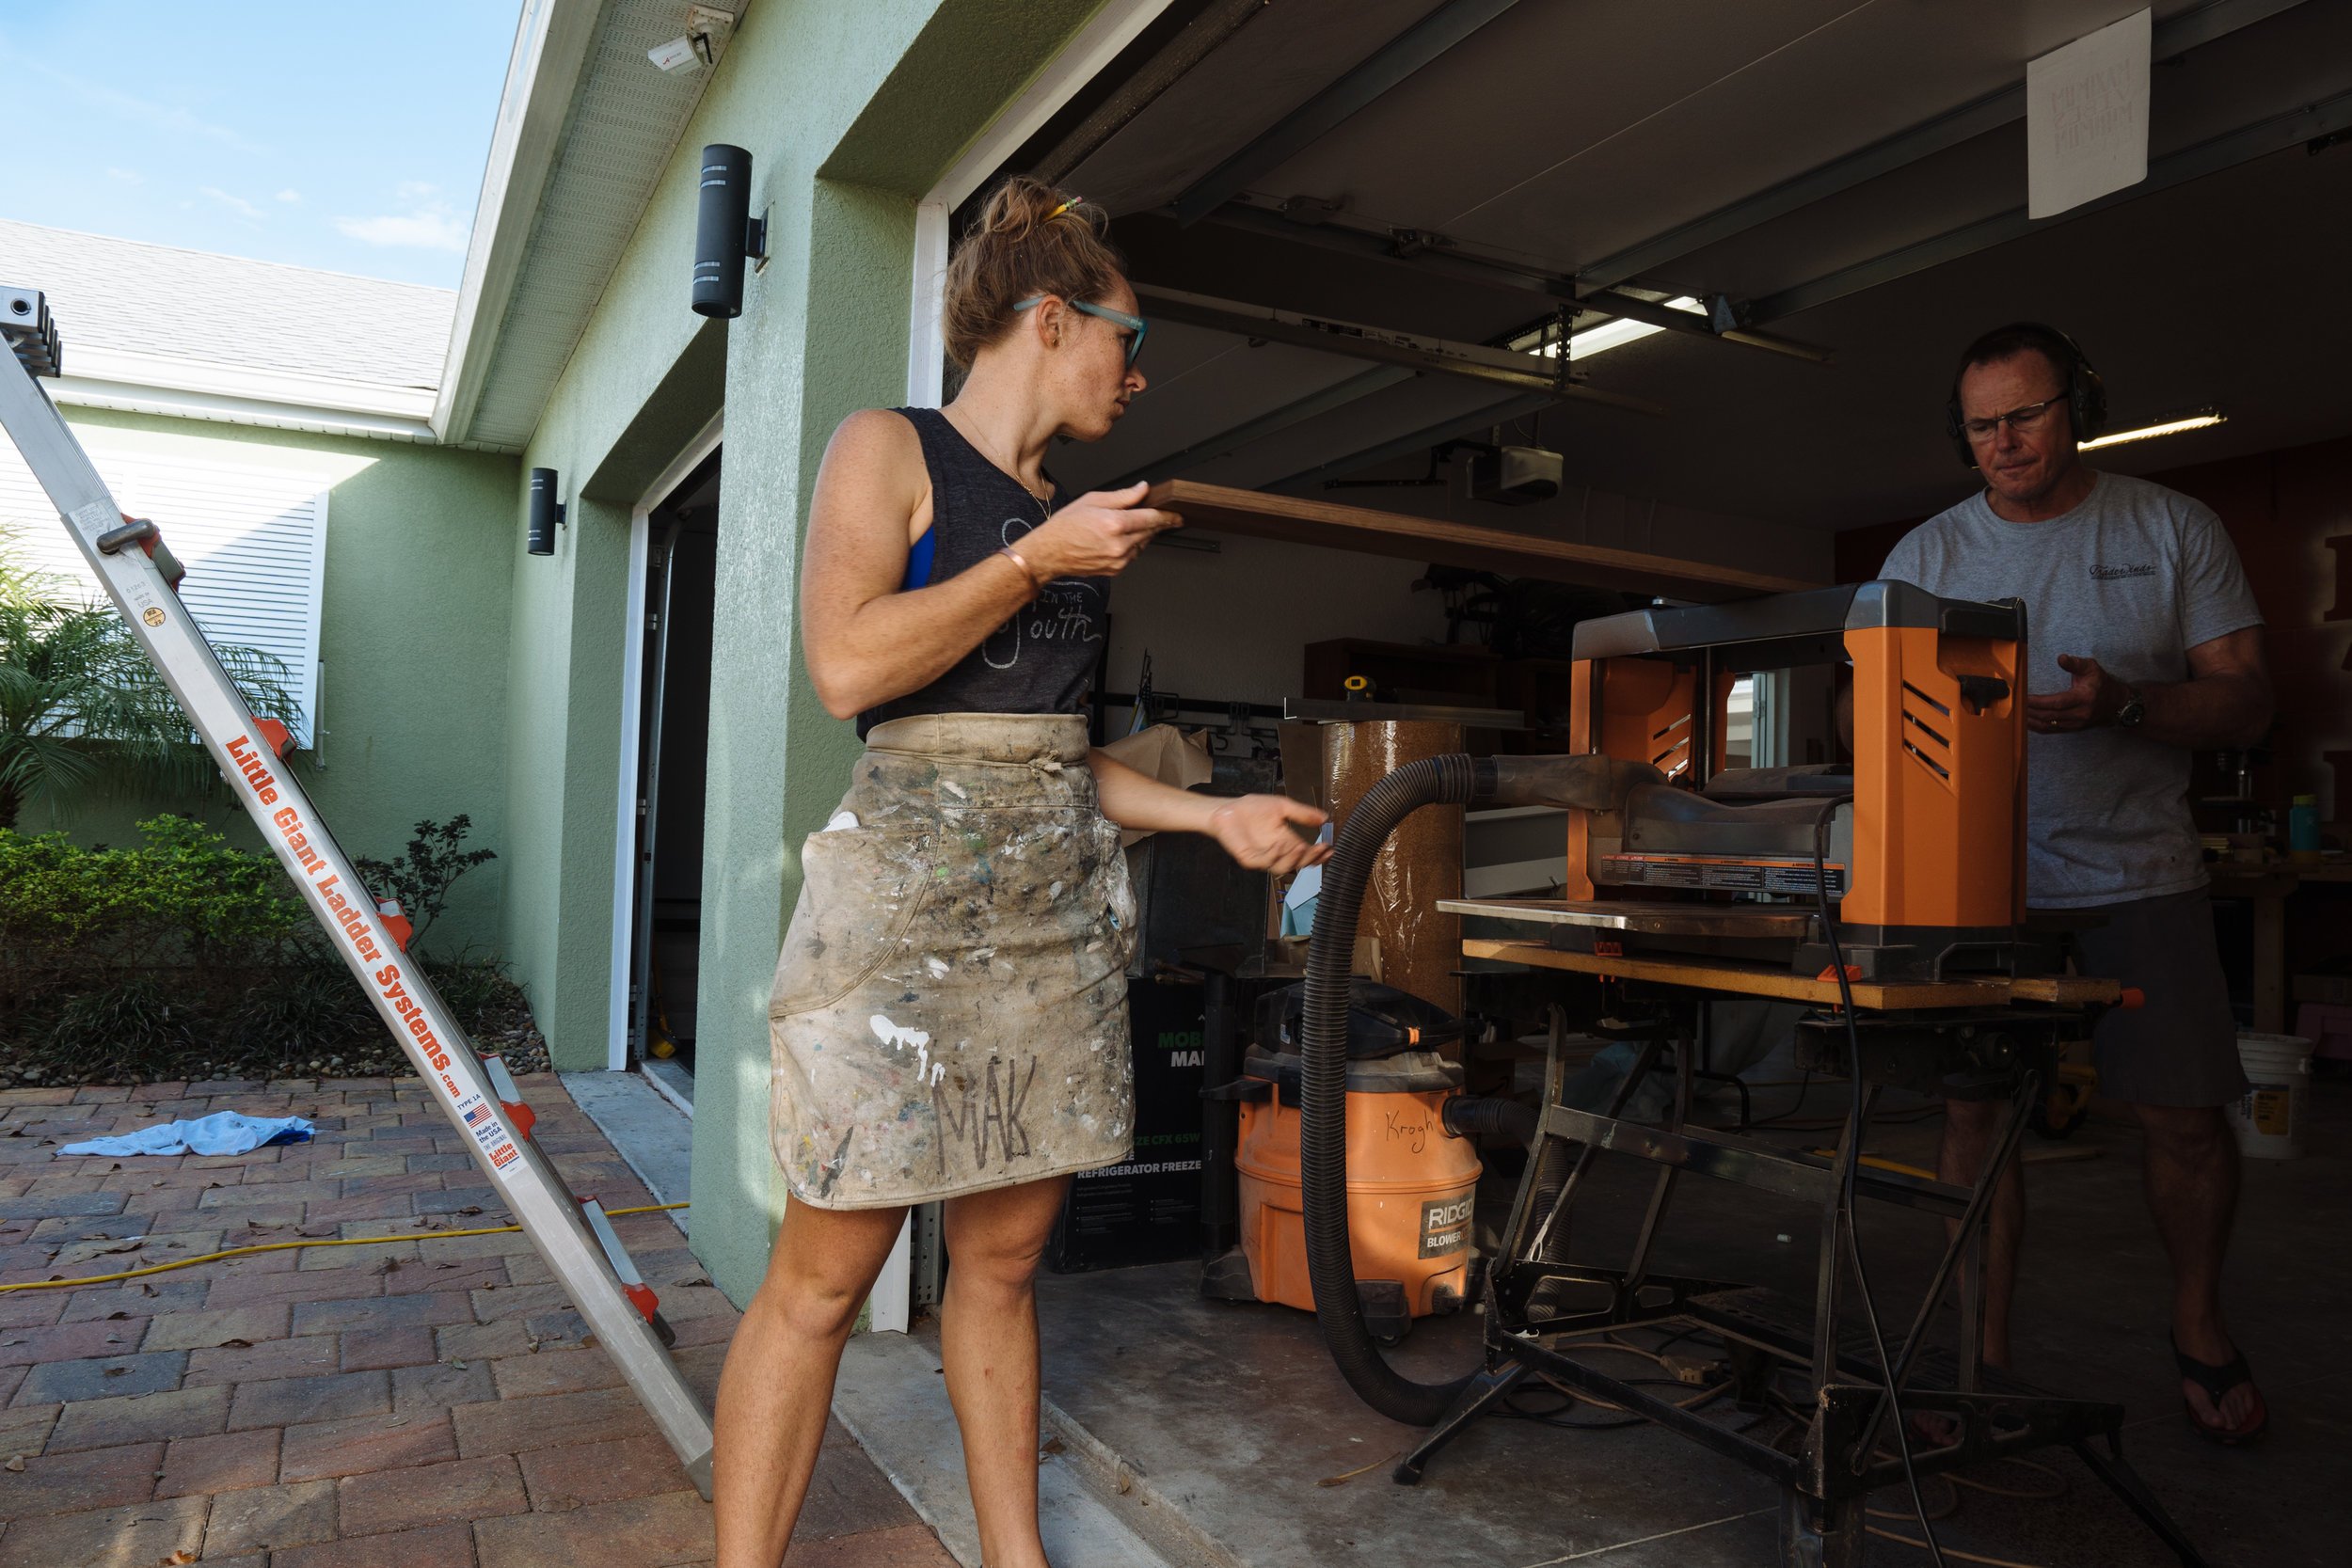
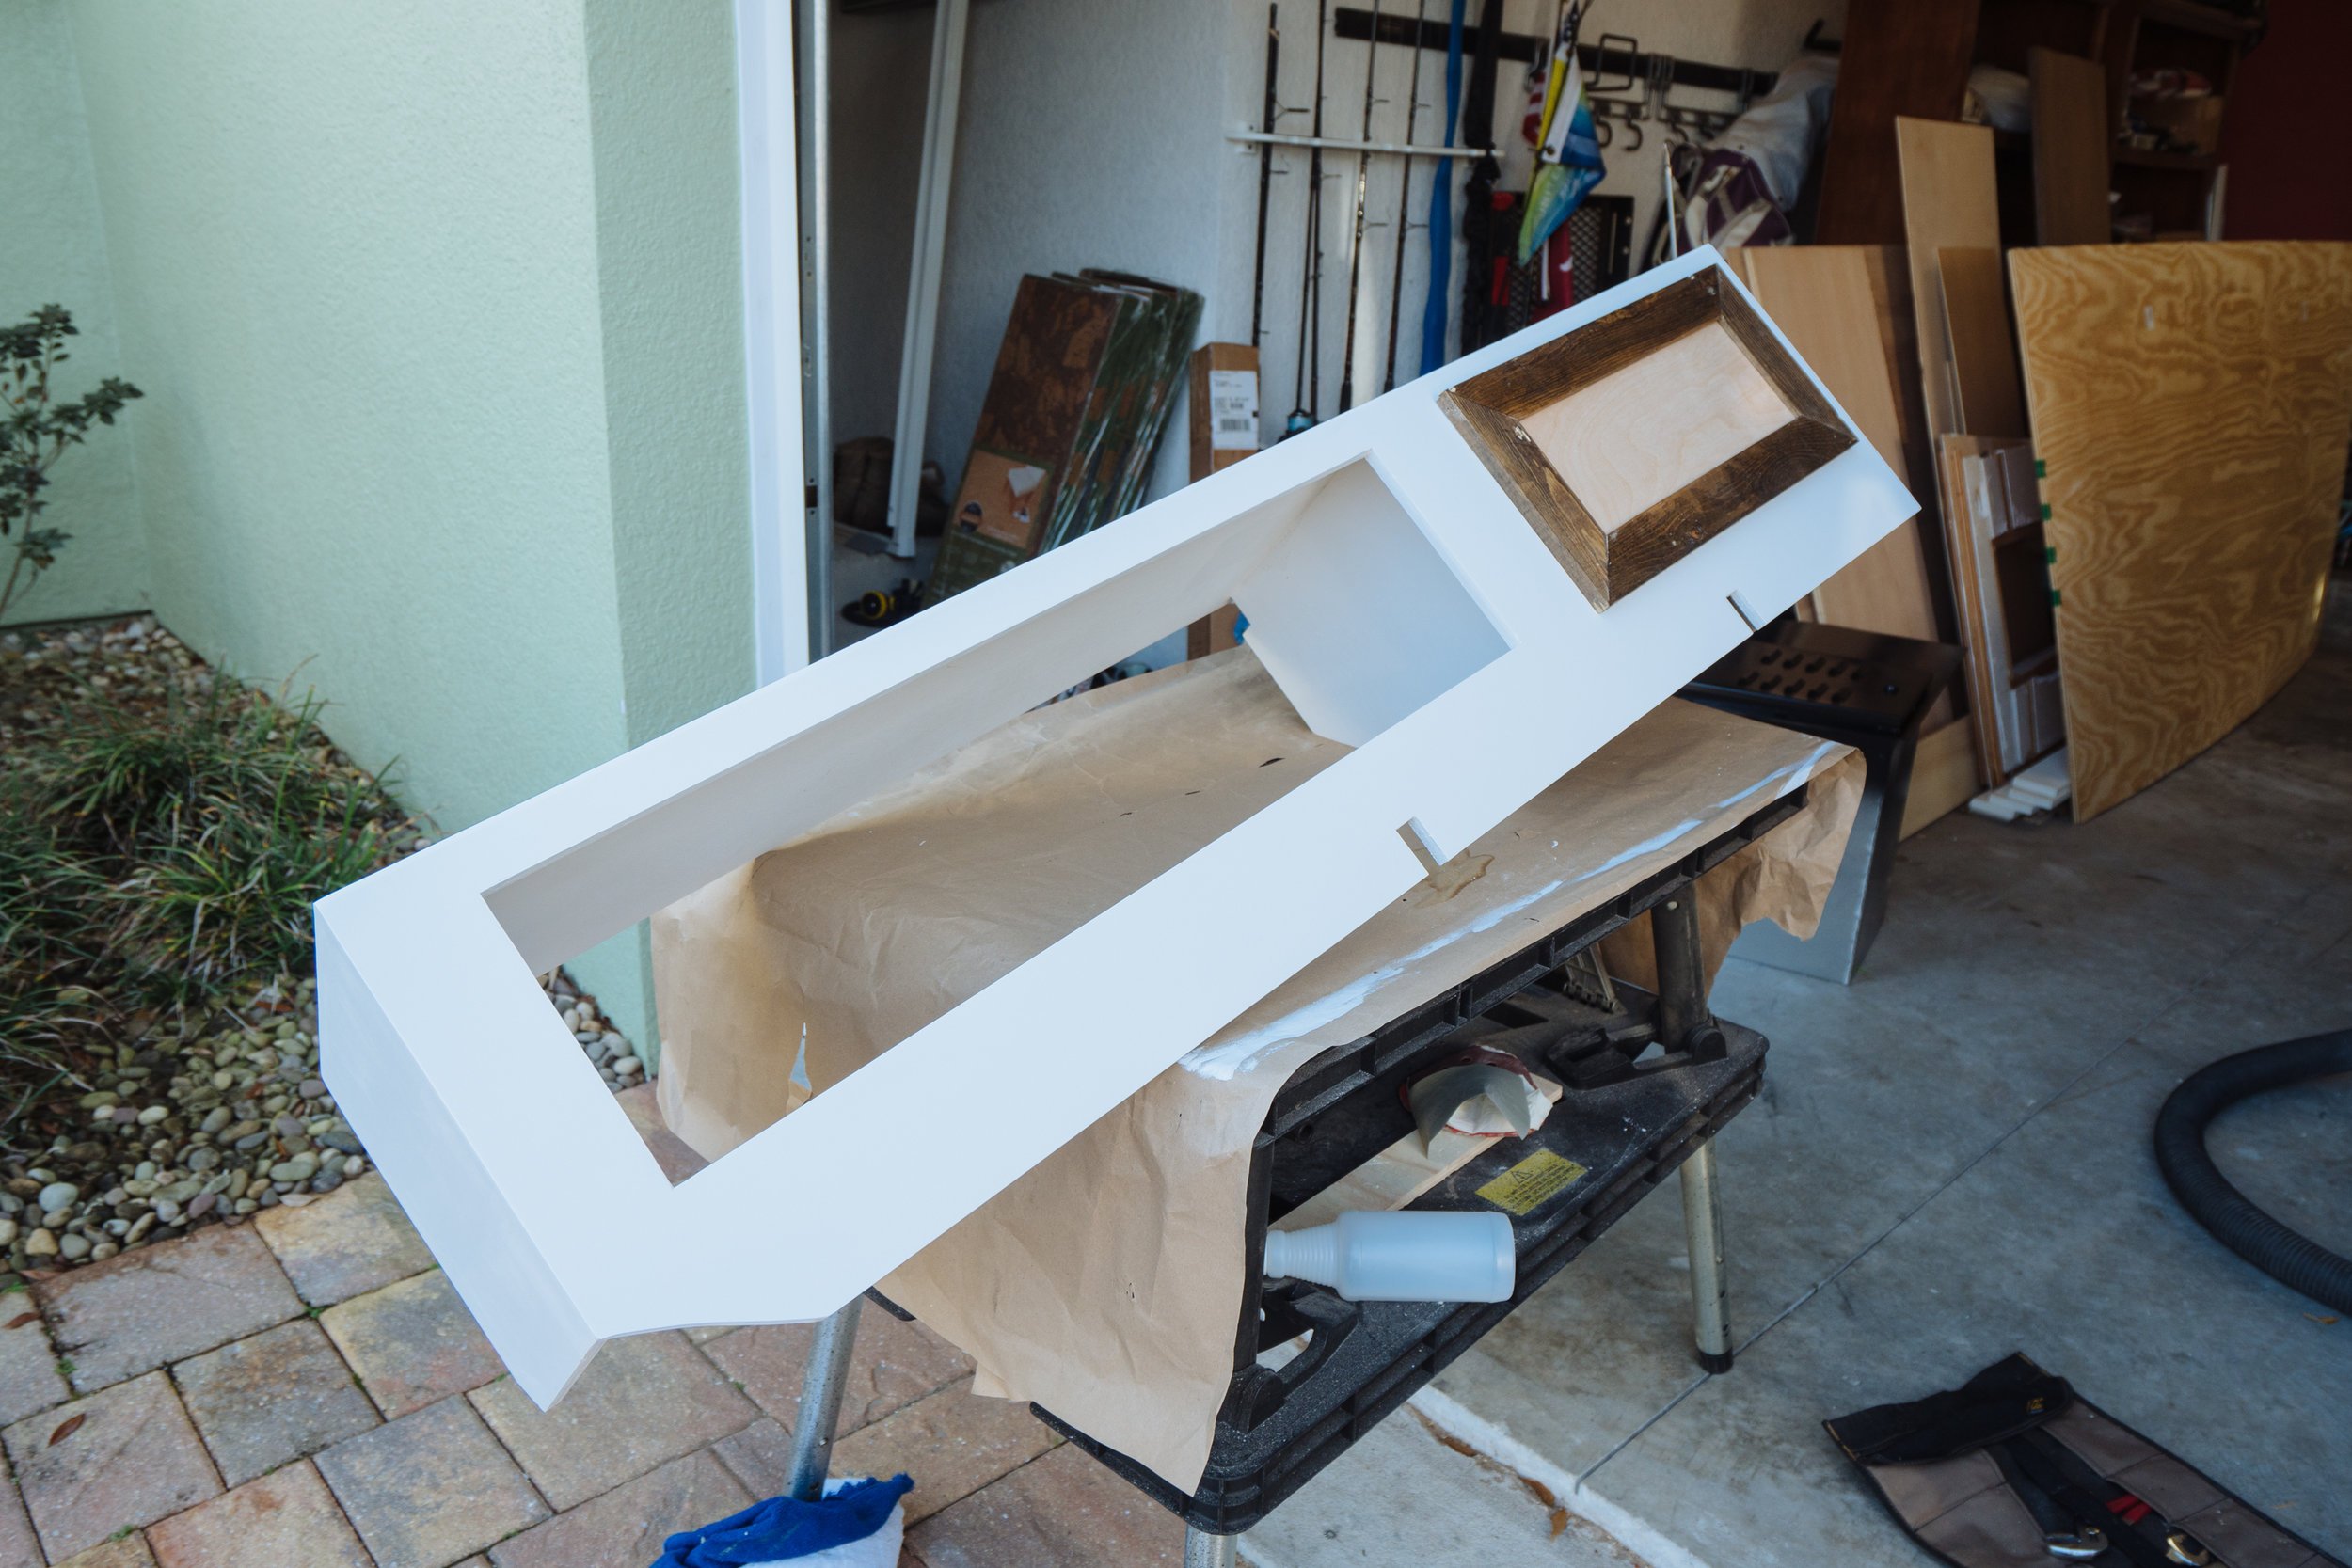
This past week we started cutting down and plaining wood for our cabinet doors. My Dad quickly mocked up a door front that you can see in the image above so we could figure out how we wanted to go about making them. We'll be going with shaker style cabinet doors, using our Peruvian Walnut on the outside trim and white on the inside. Now we just need to make them.

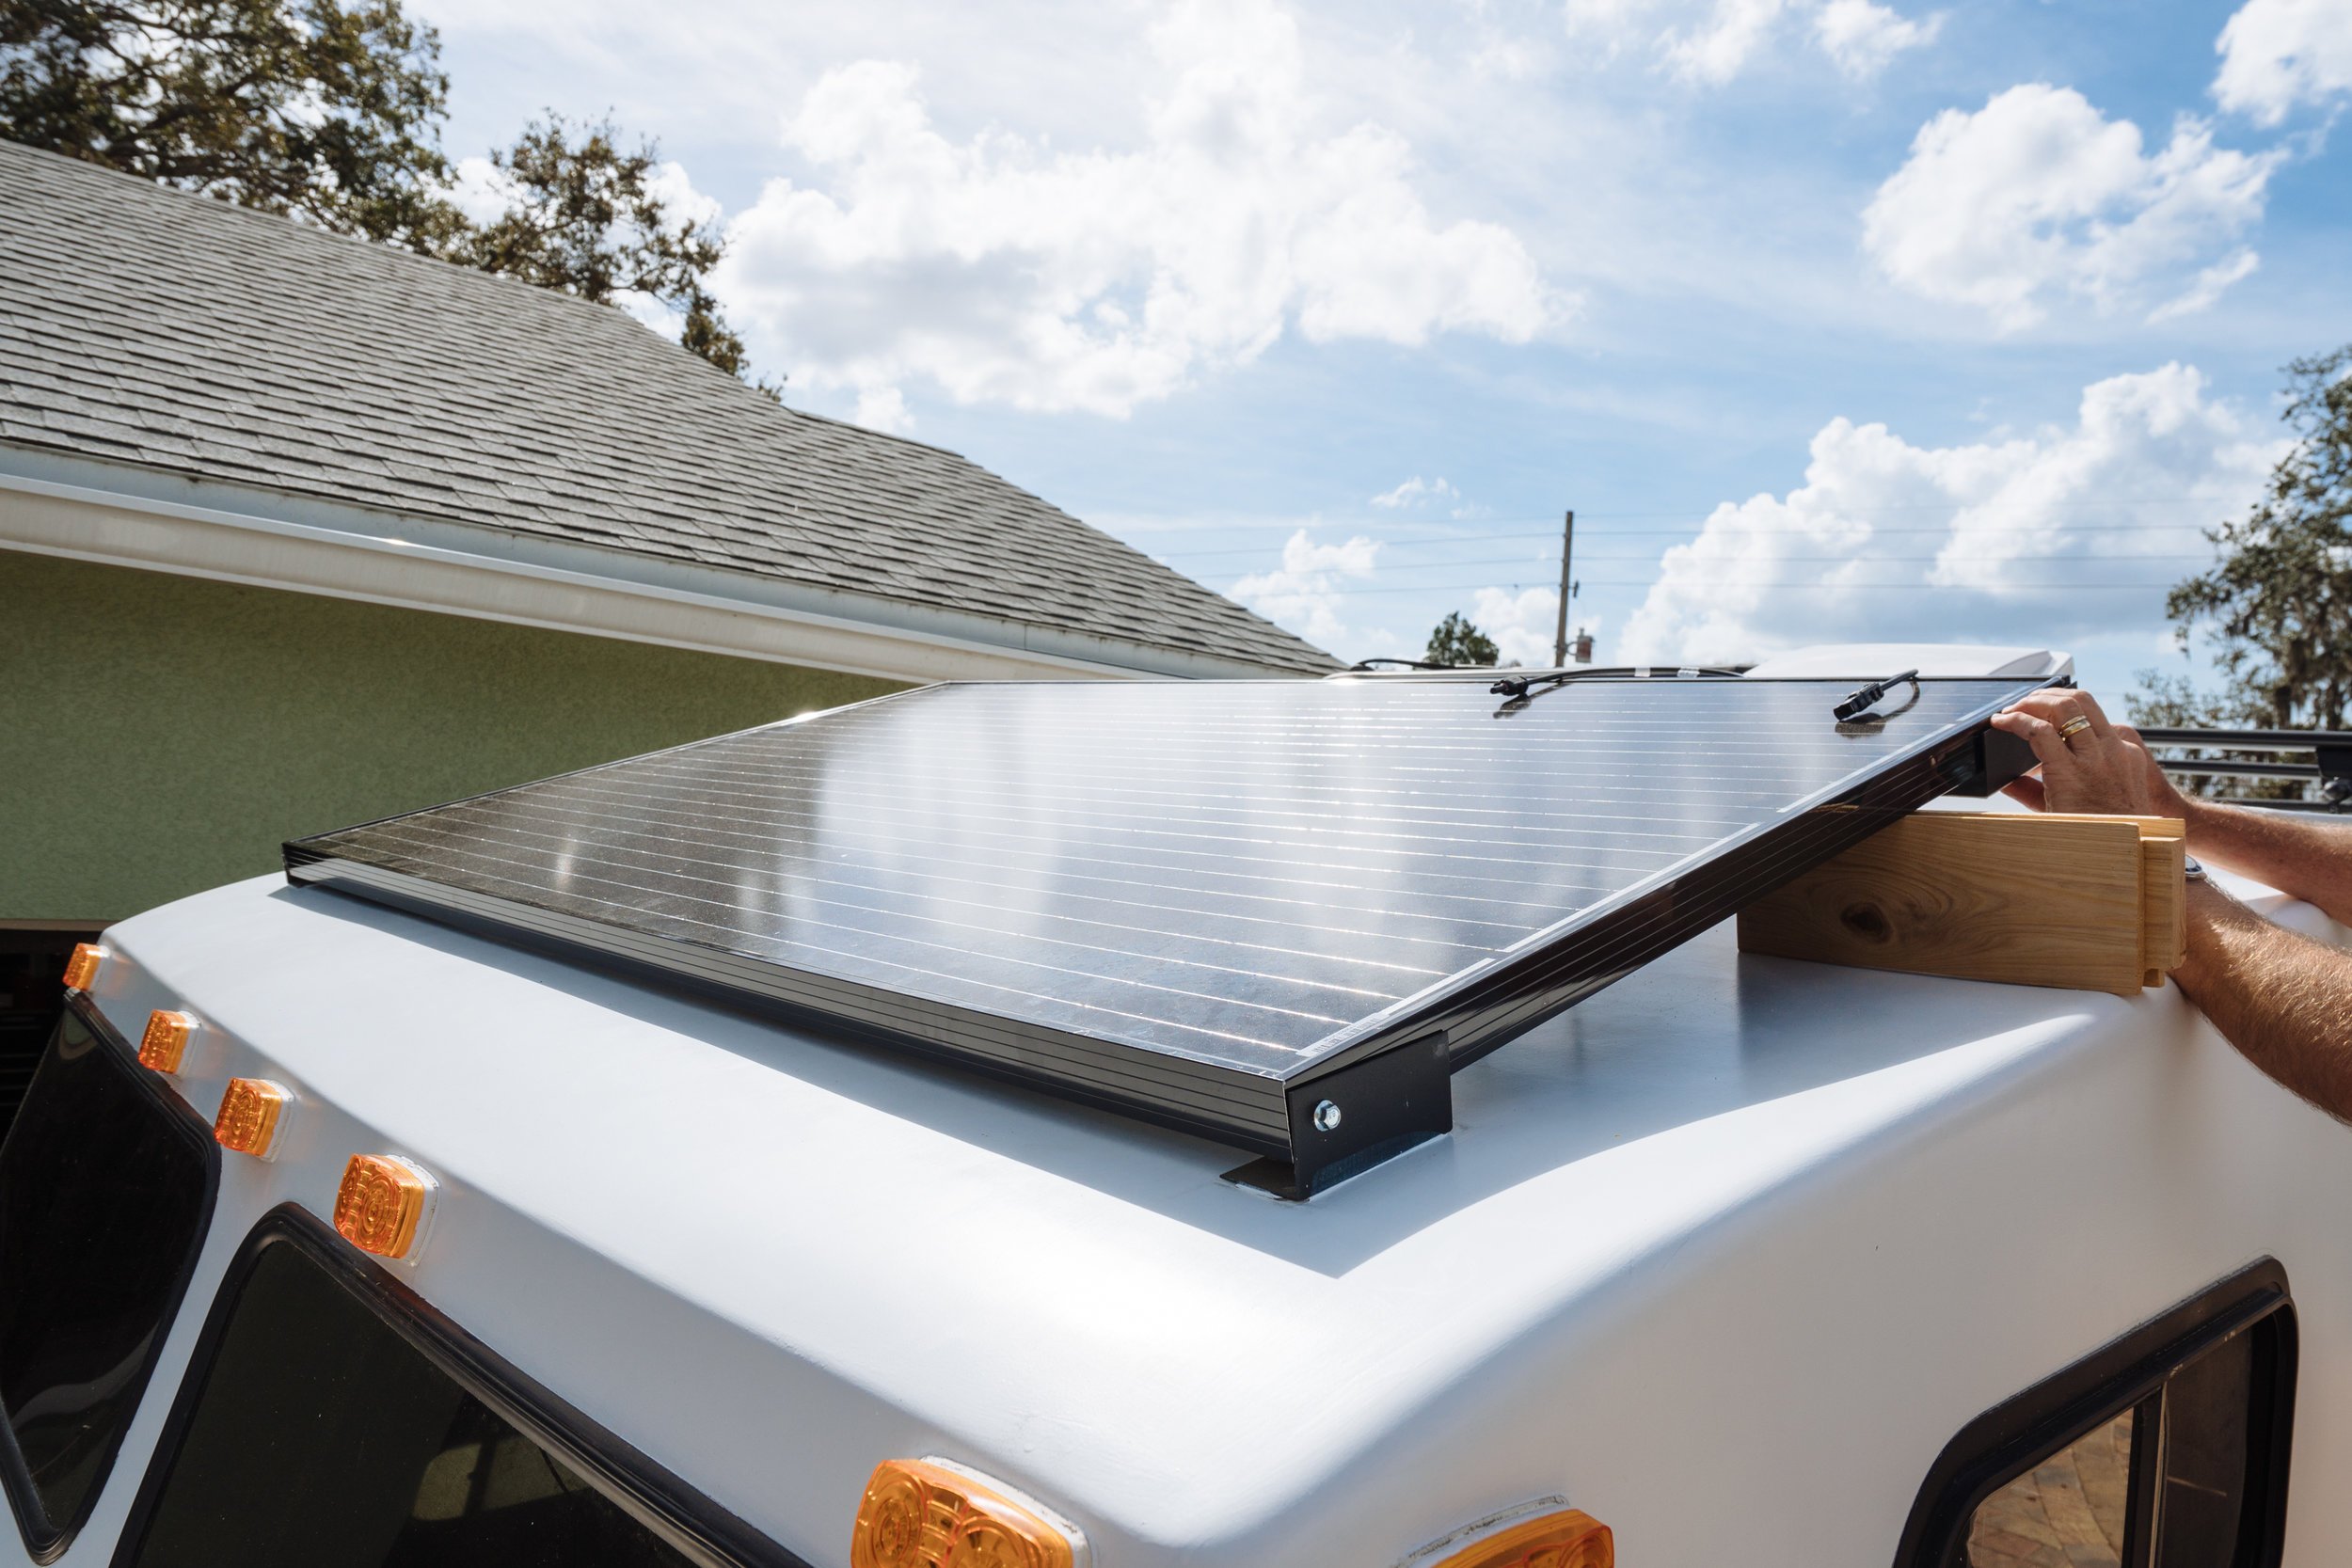
The time has finally come to mount our GIGANTIC solar panel using the brackets that we mentioned last week!
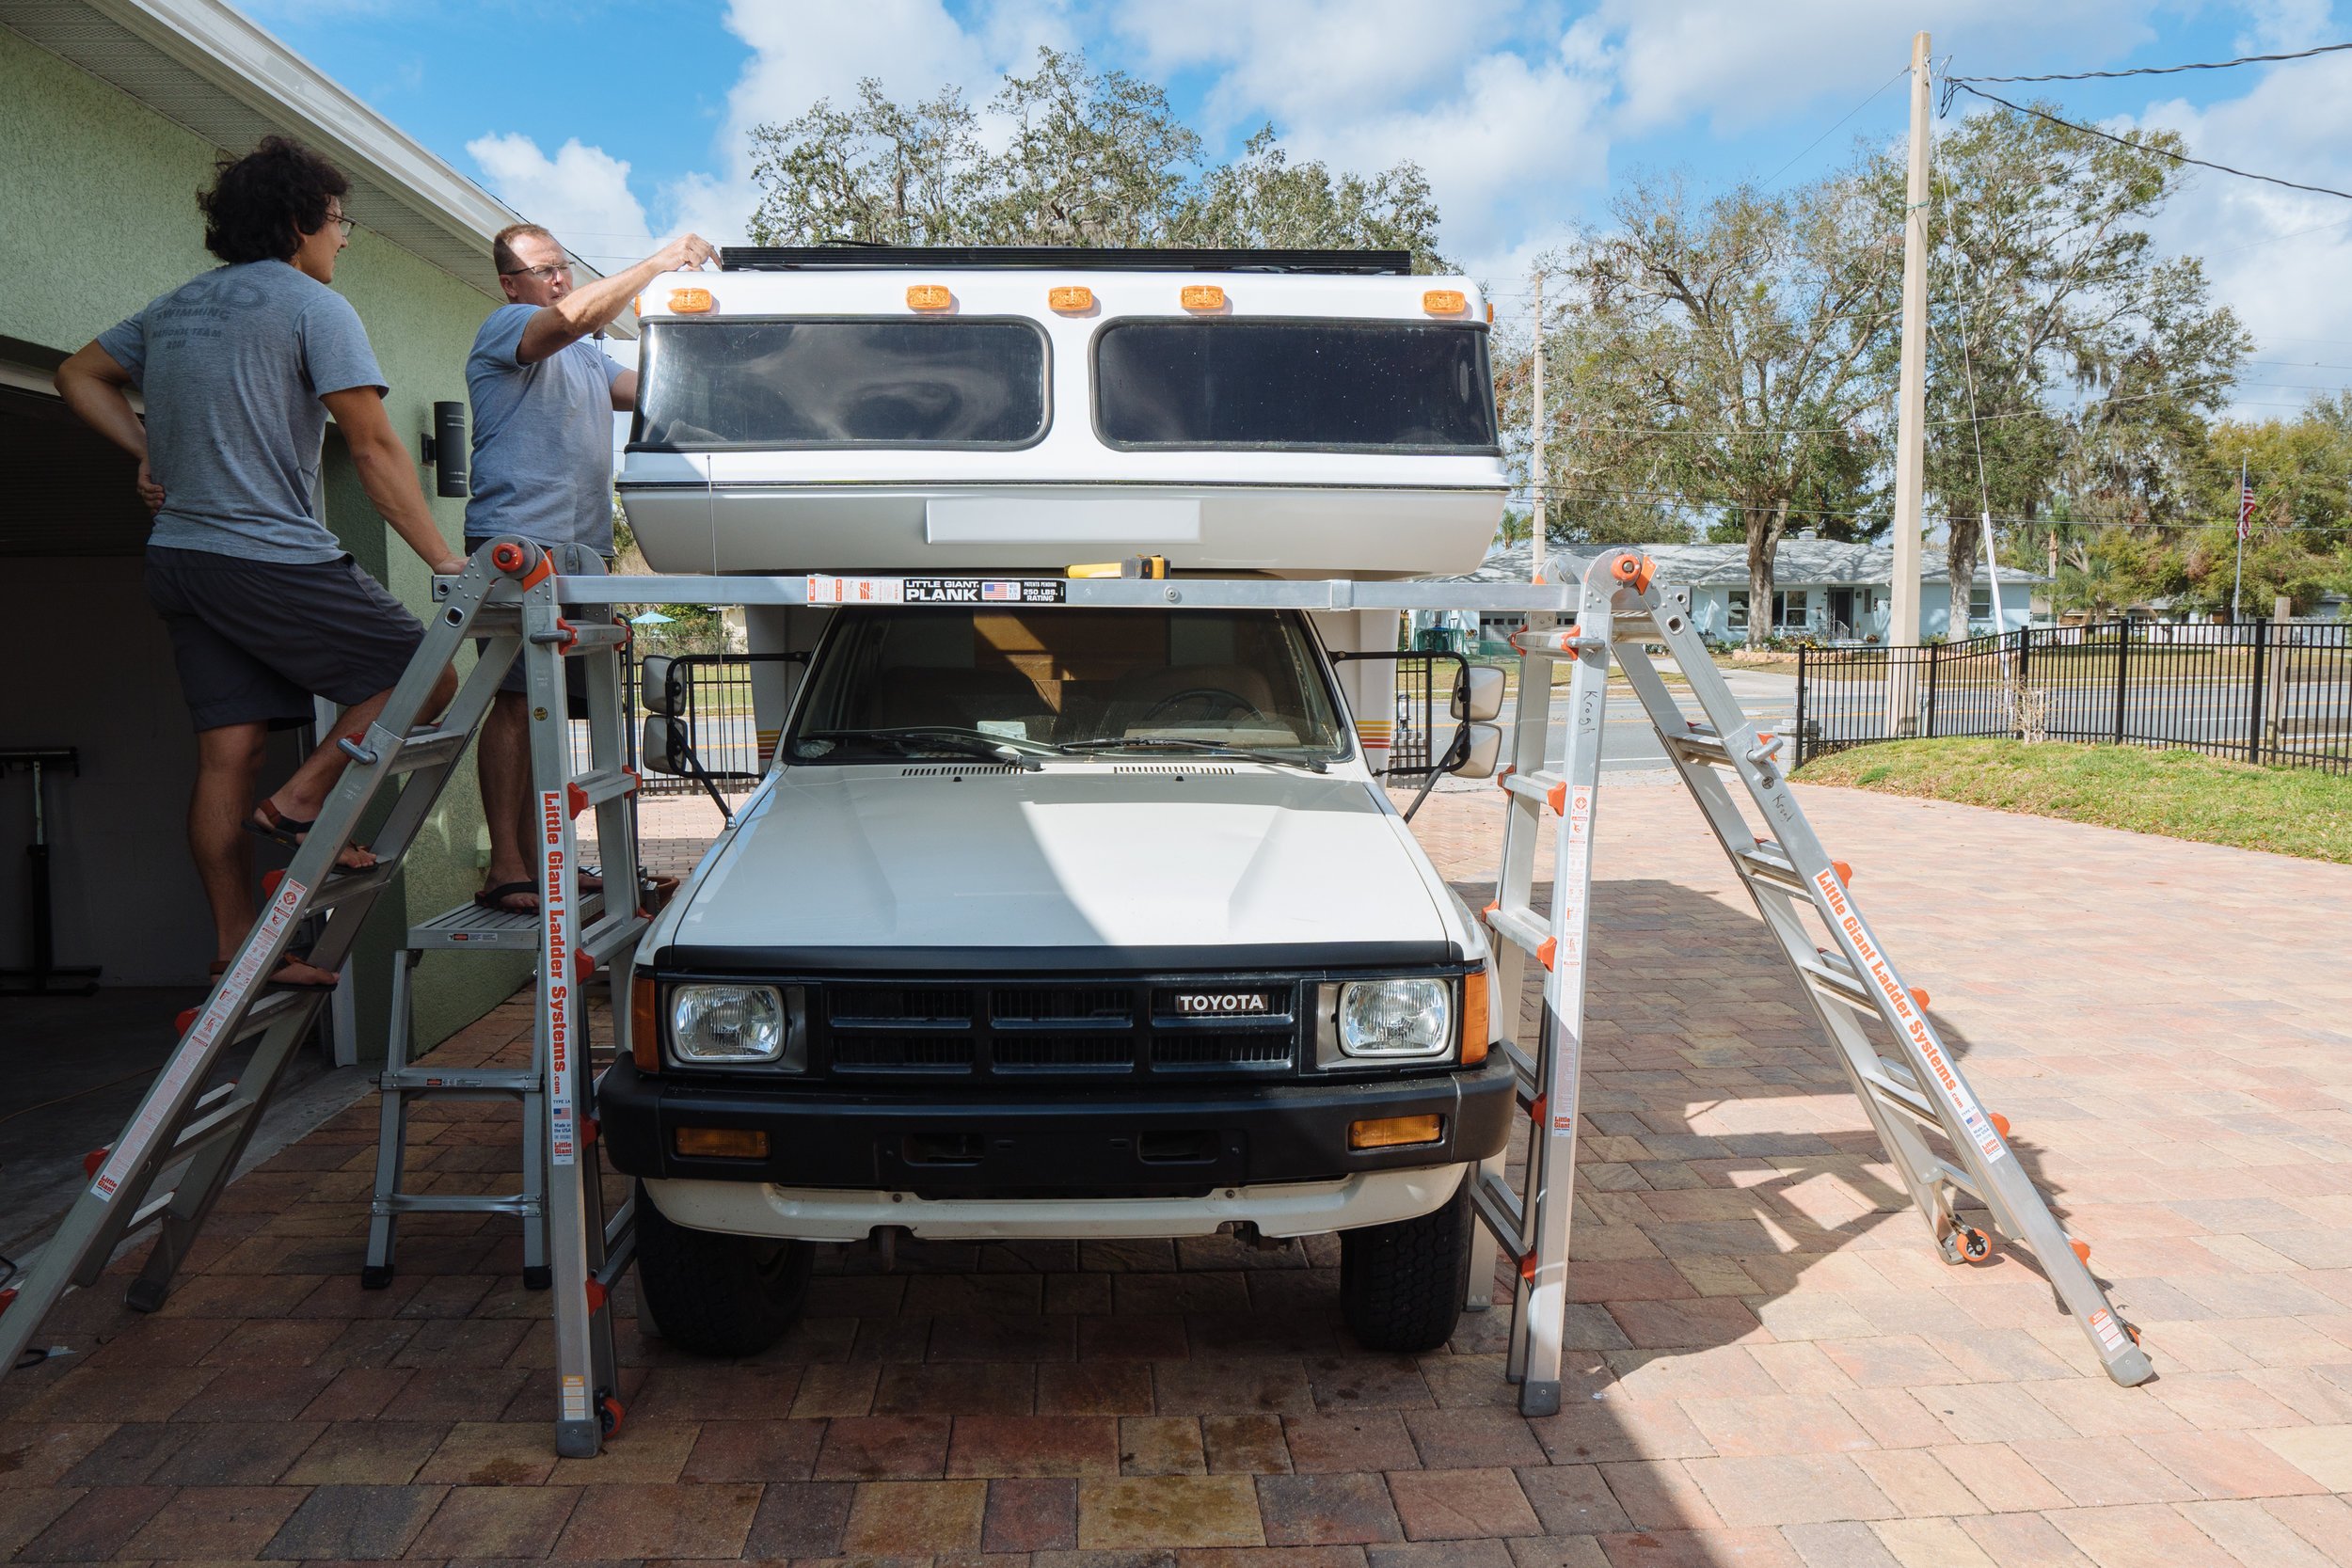
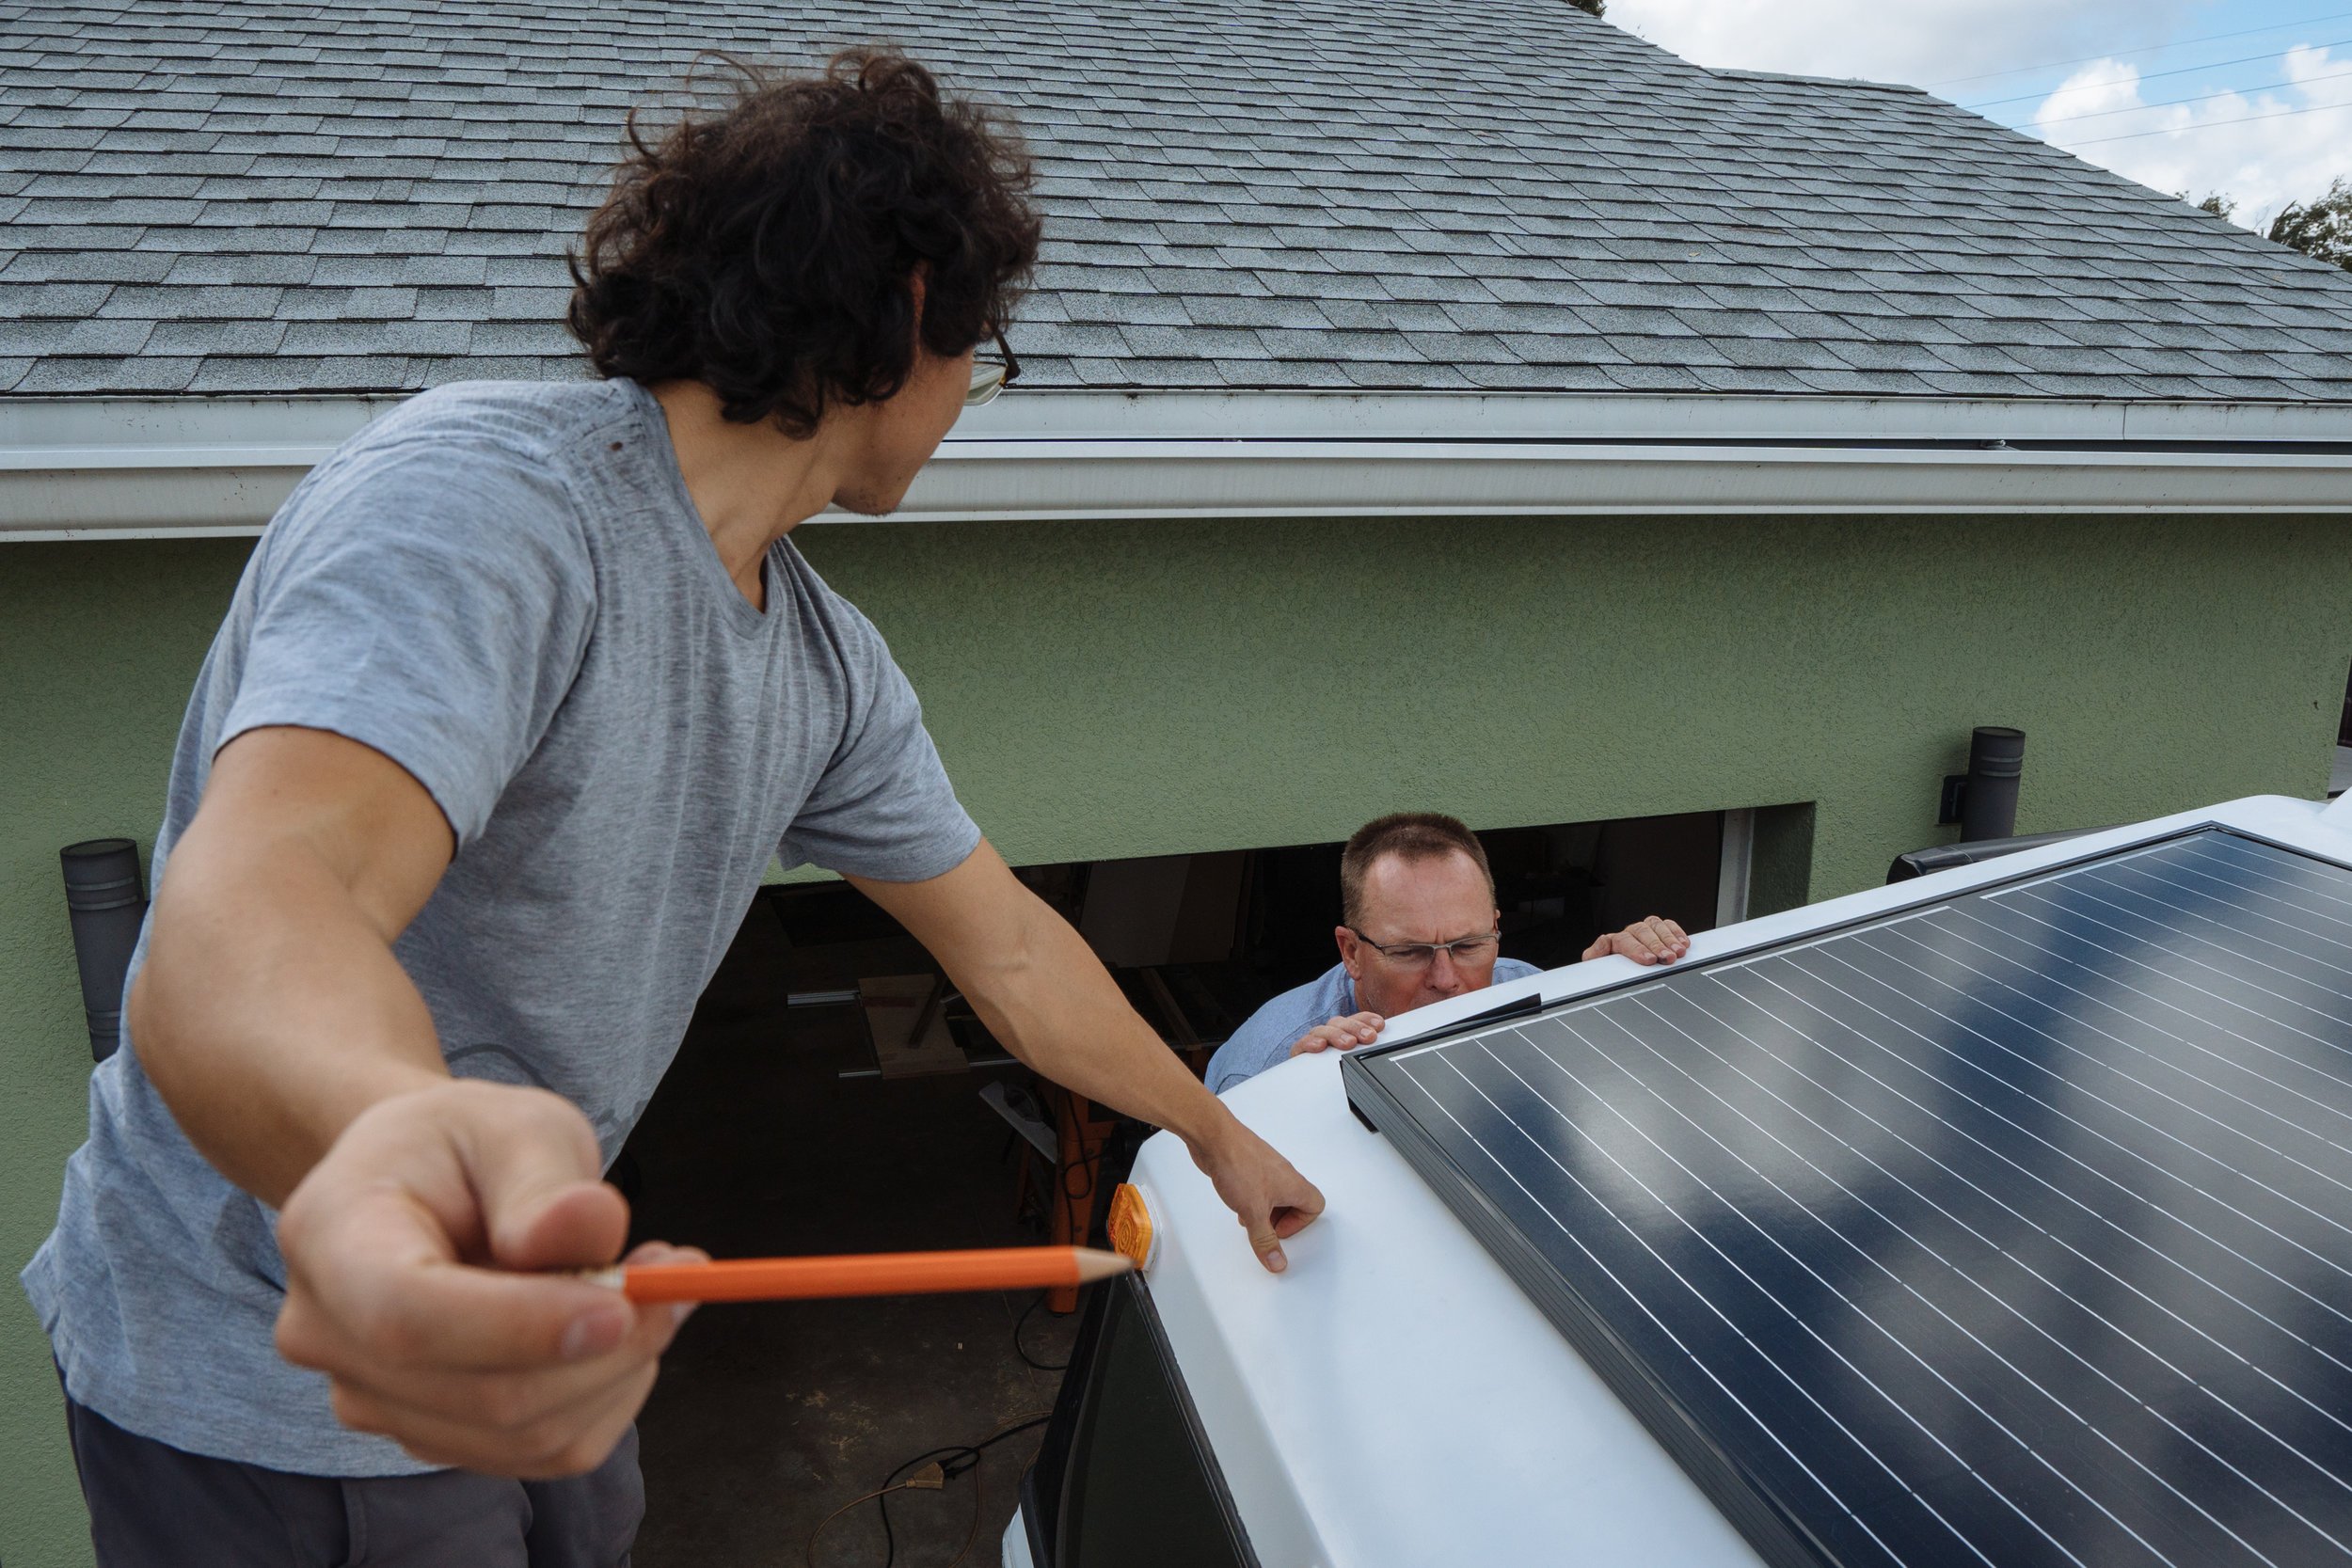
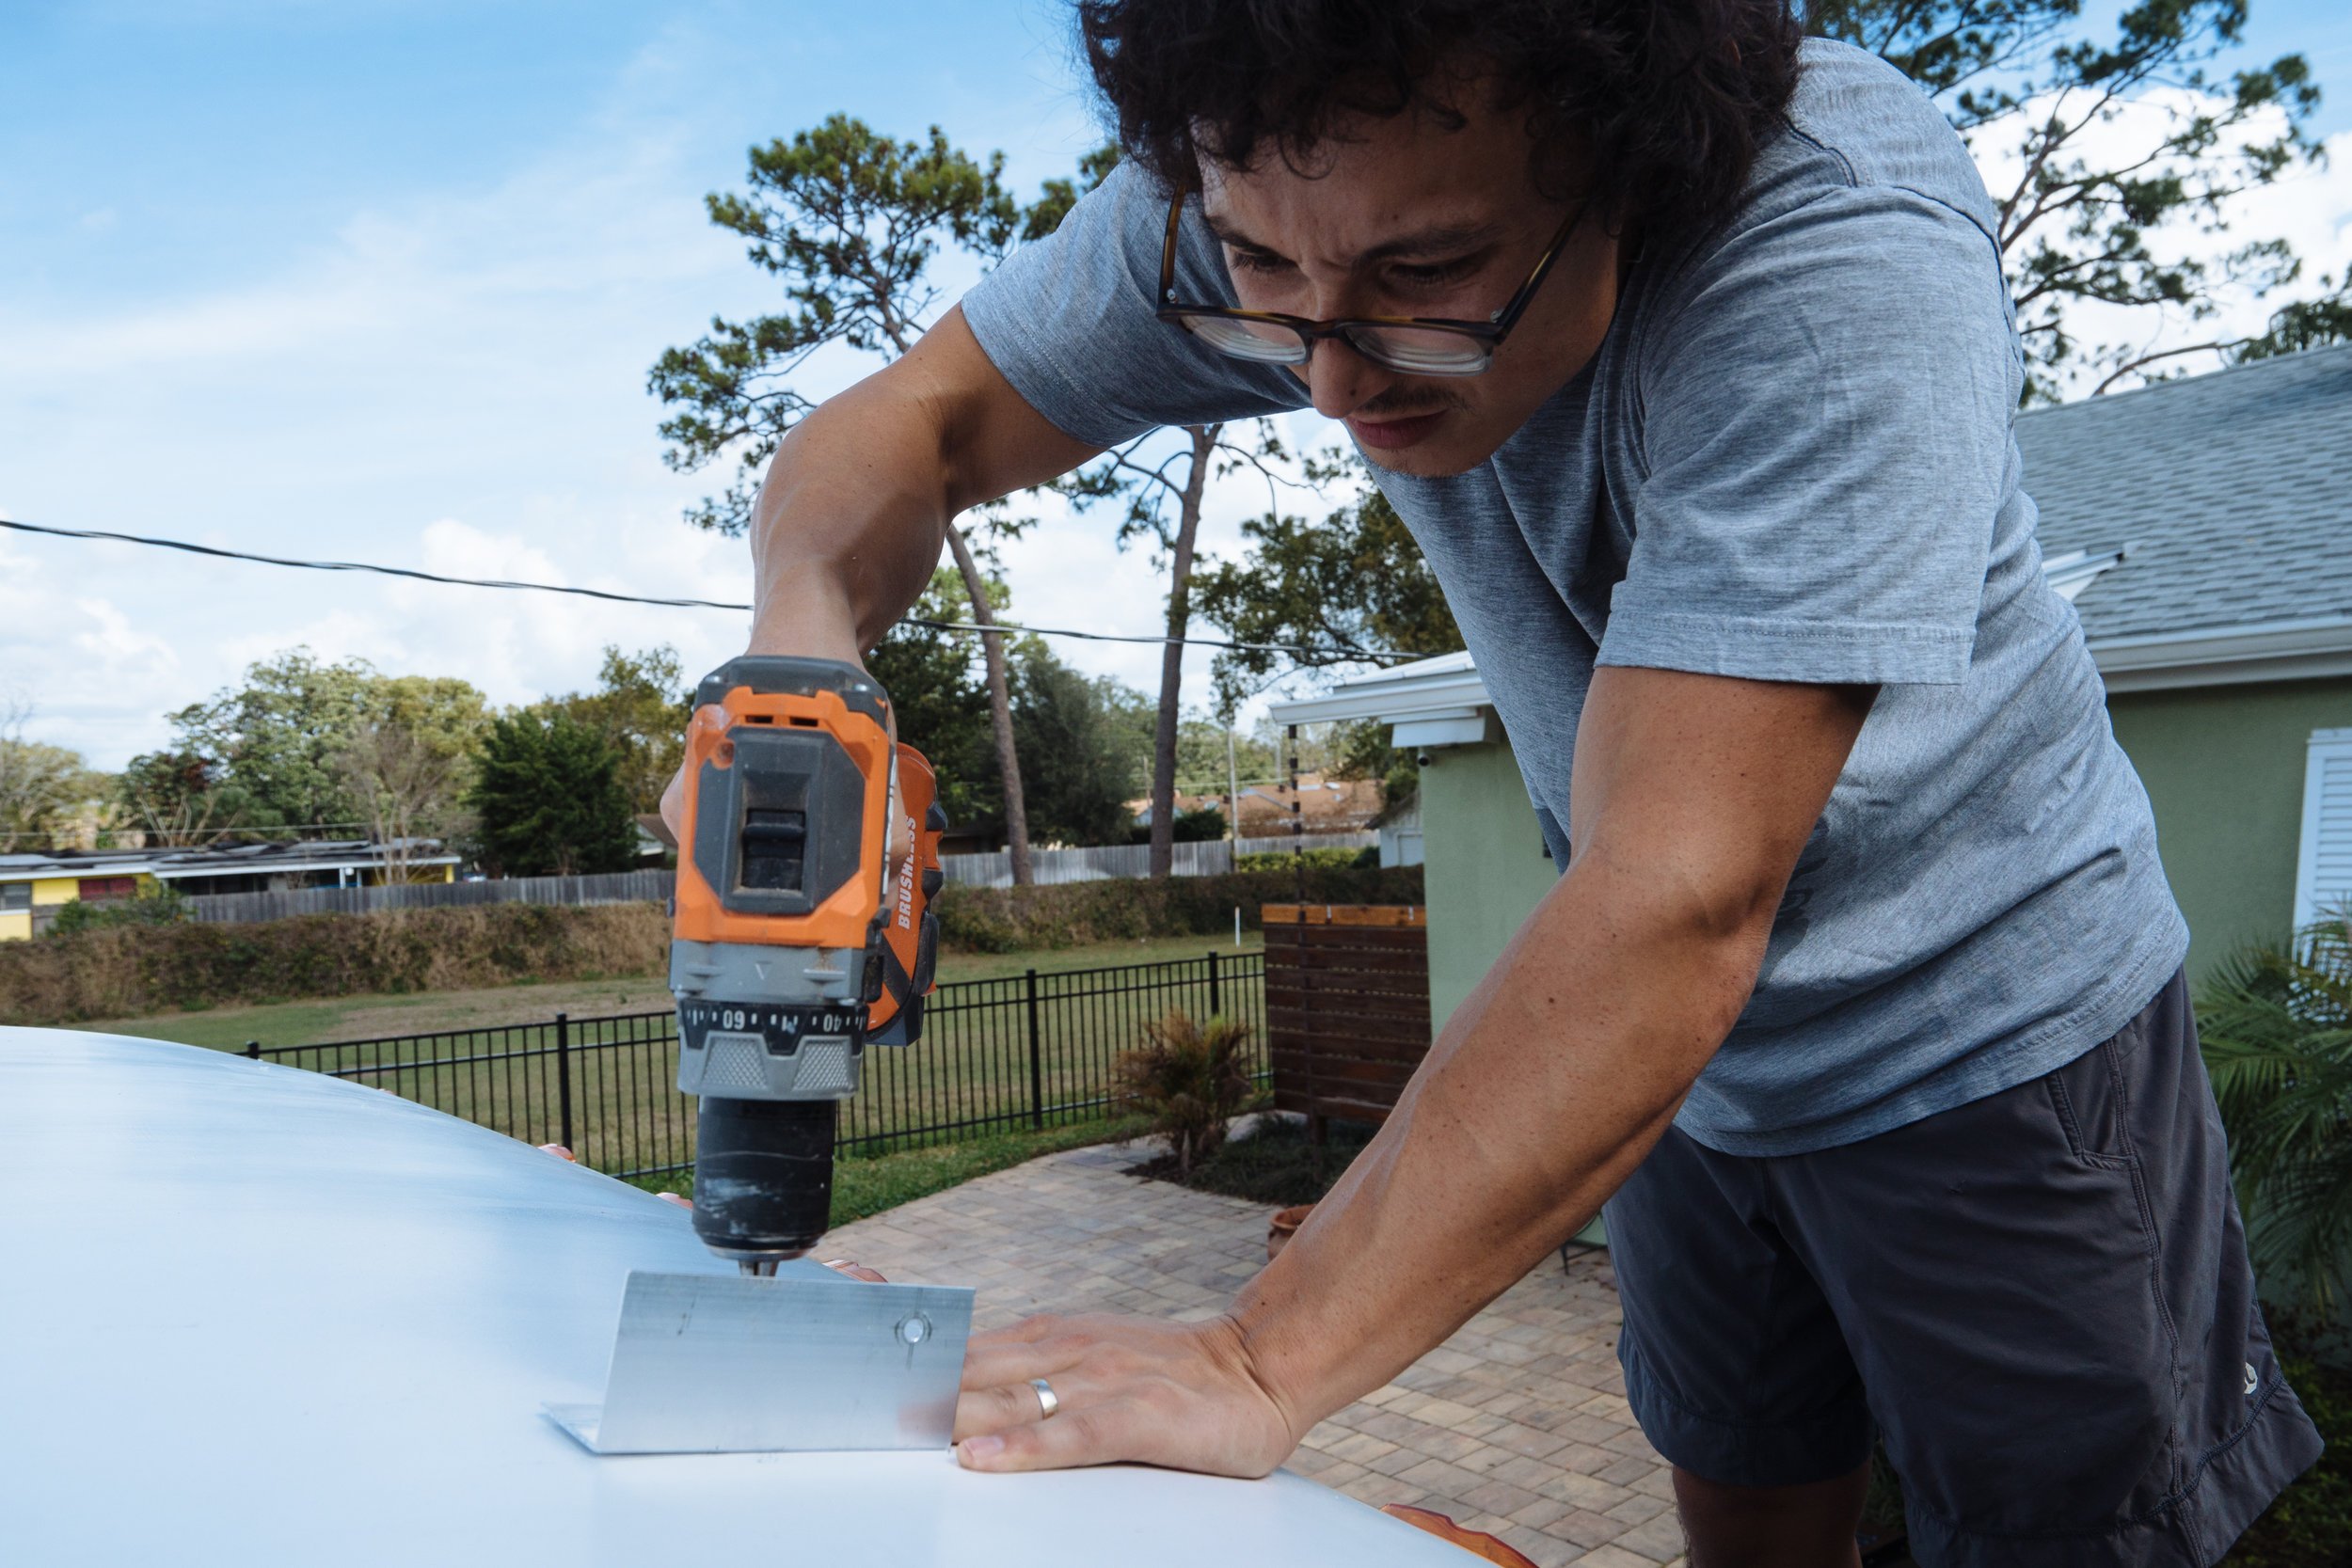
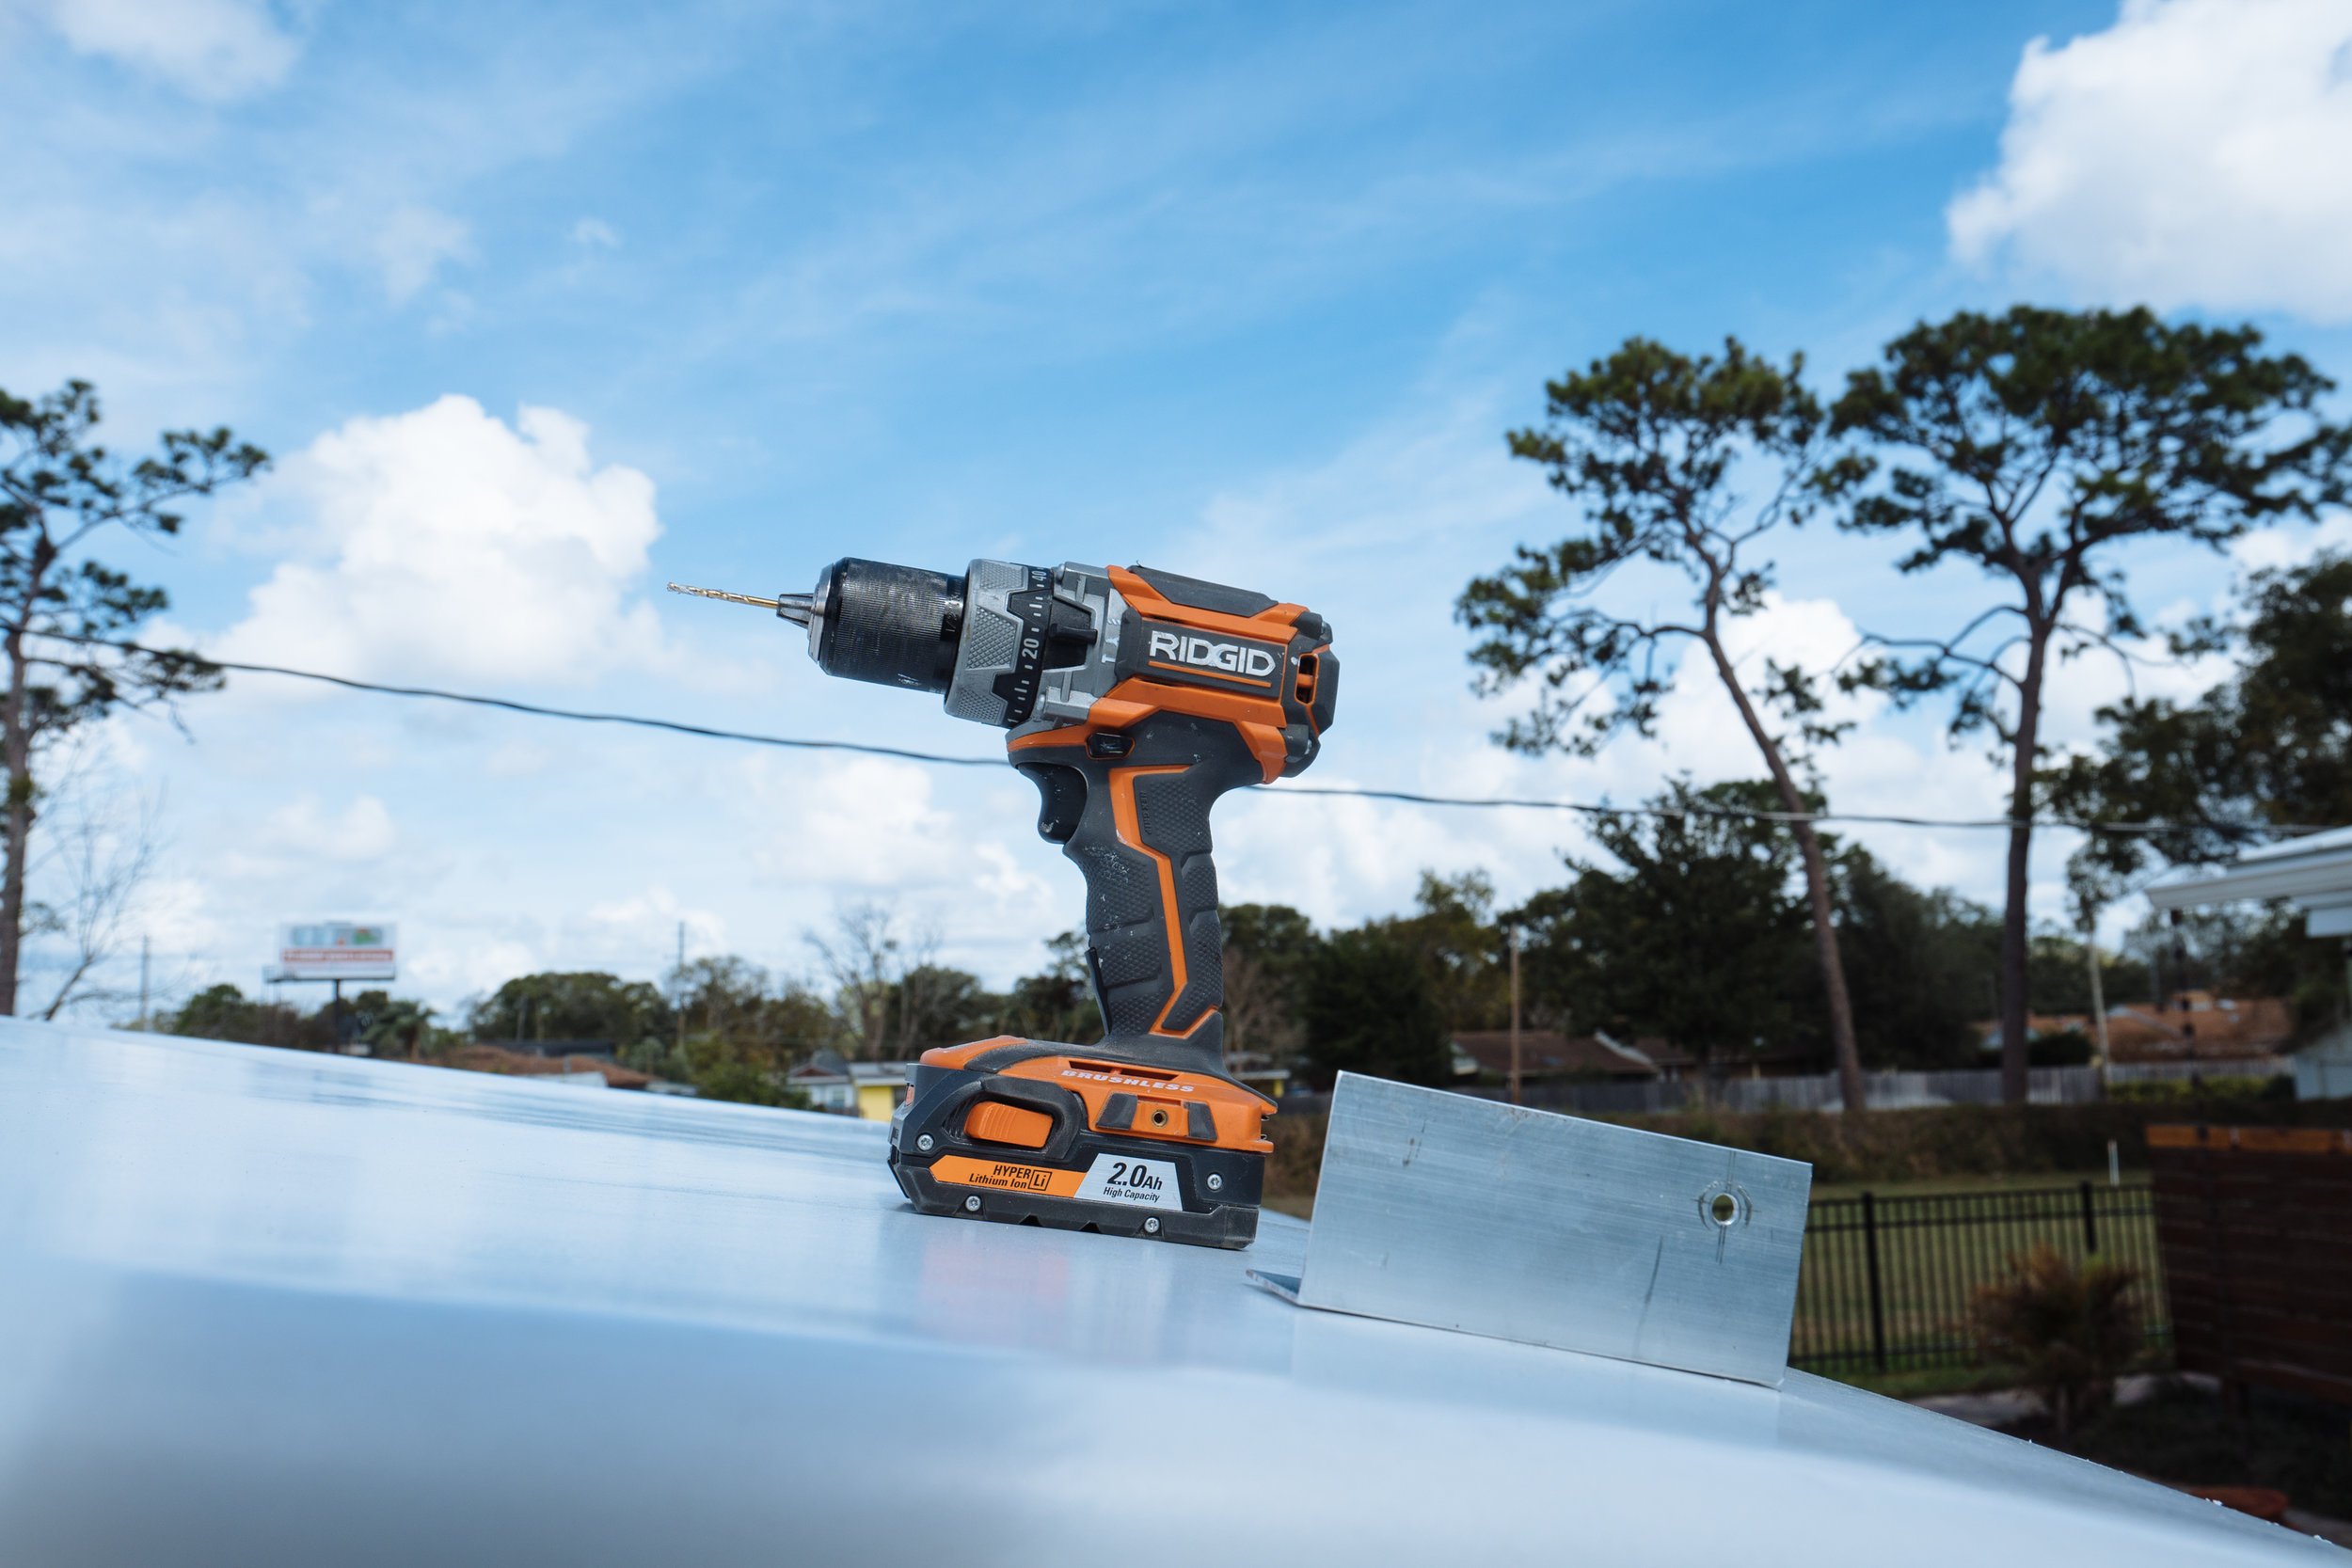
There was a lot of taking the panel on and off the roof to be sure that we had everything lined up correctly and marked for installation. After we took the panel off for the last time before mounting it for good, we removed the brackets from the panel and drilled the holes through the bracket and the roof. We decided to bolt the two front feet to the roof because we couldn't get an even surface (you can kinda see it above) to attach to due to the slope in the roof.
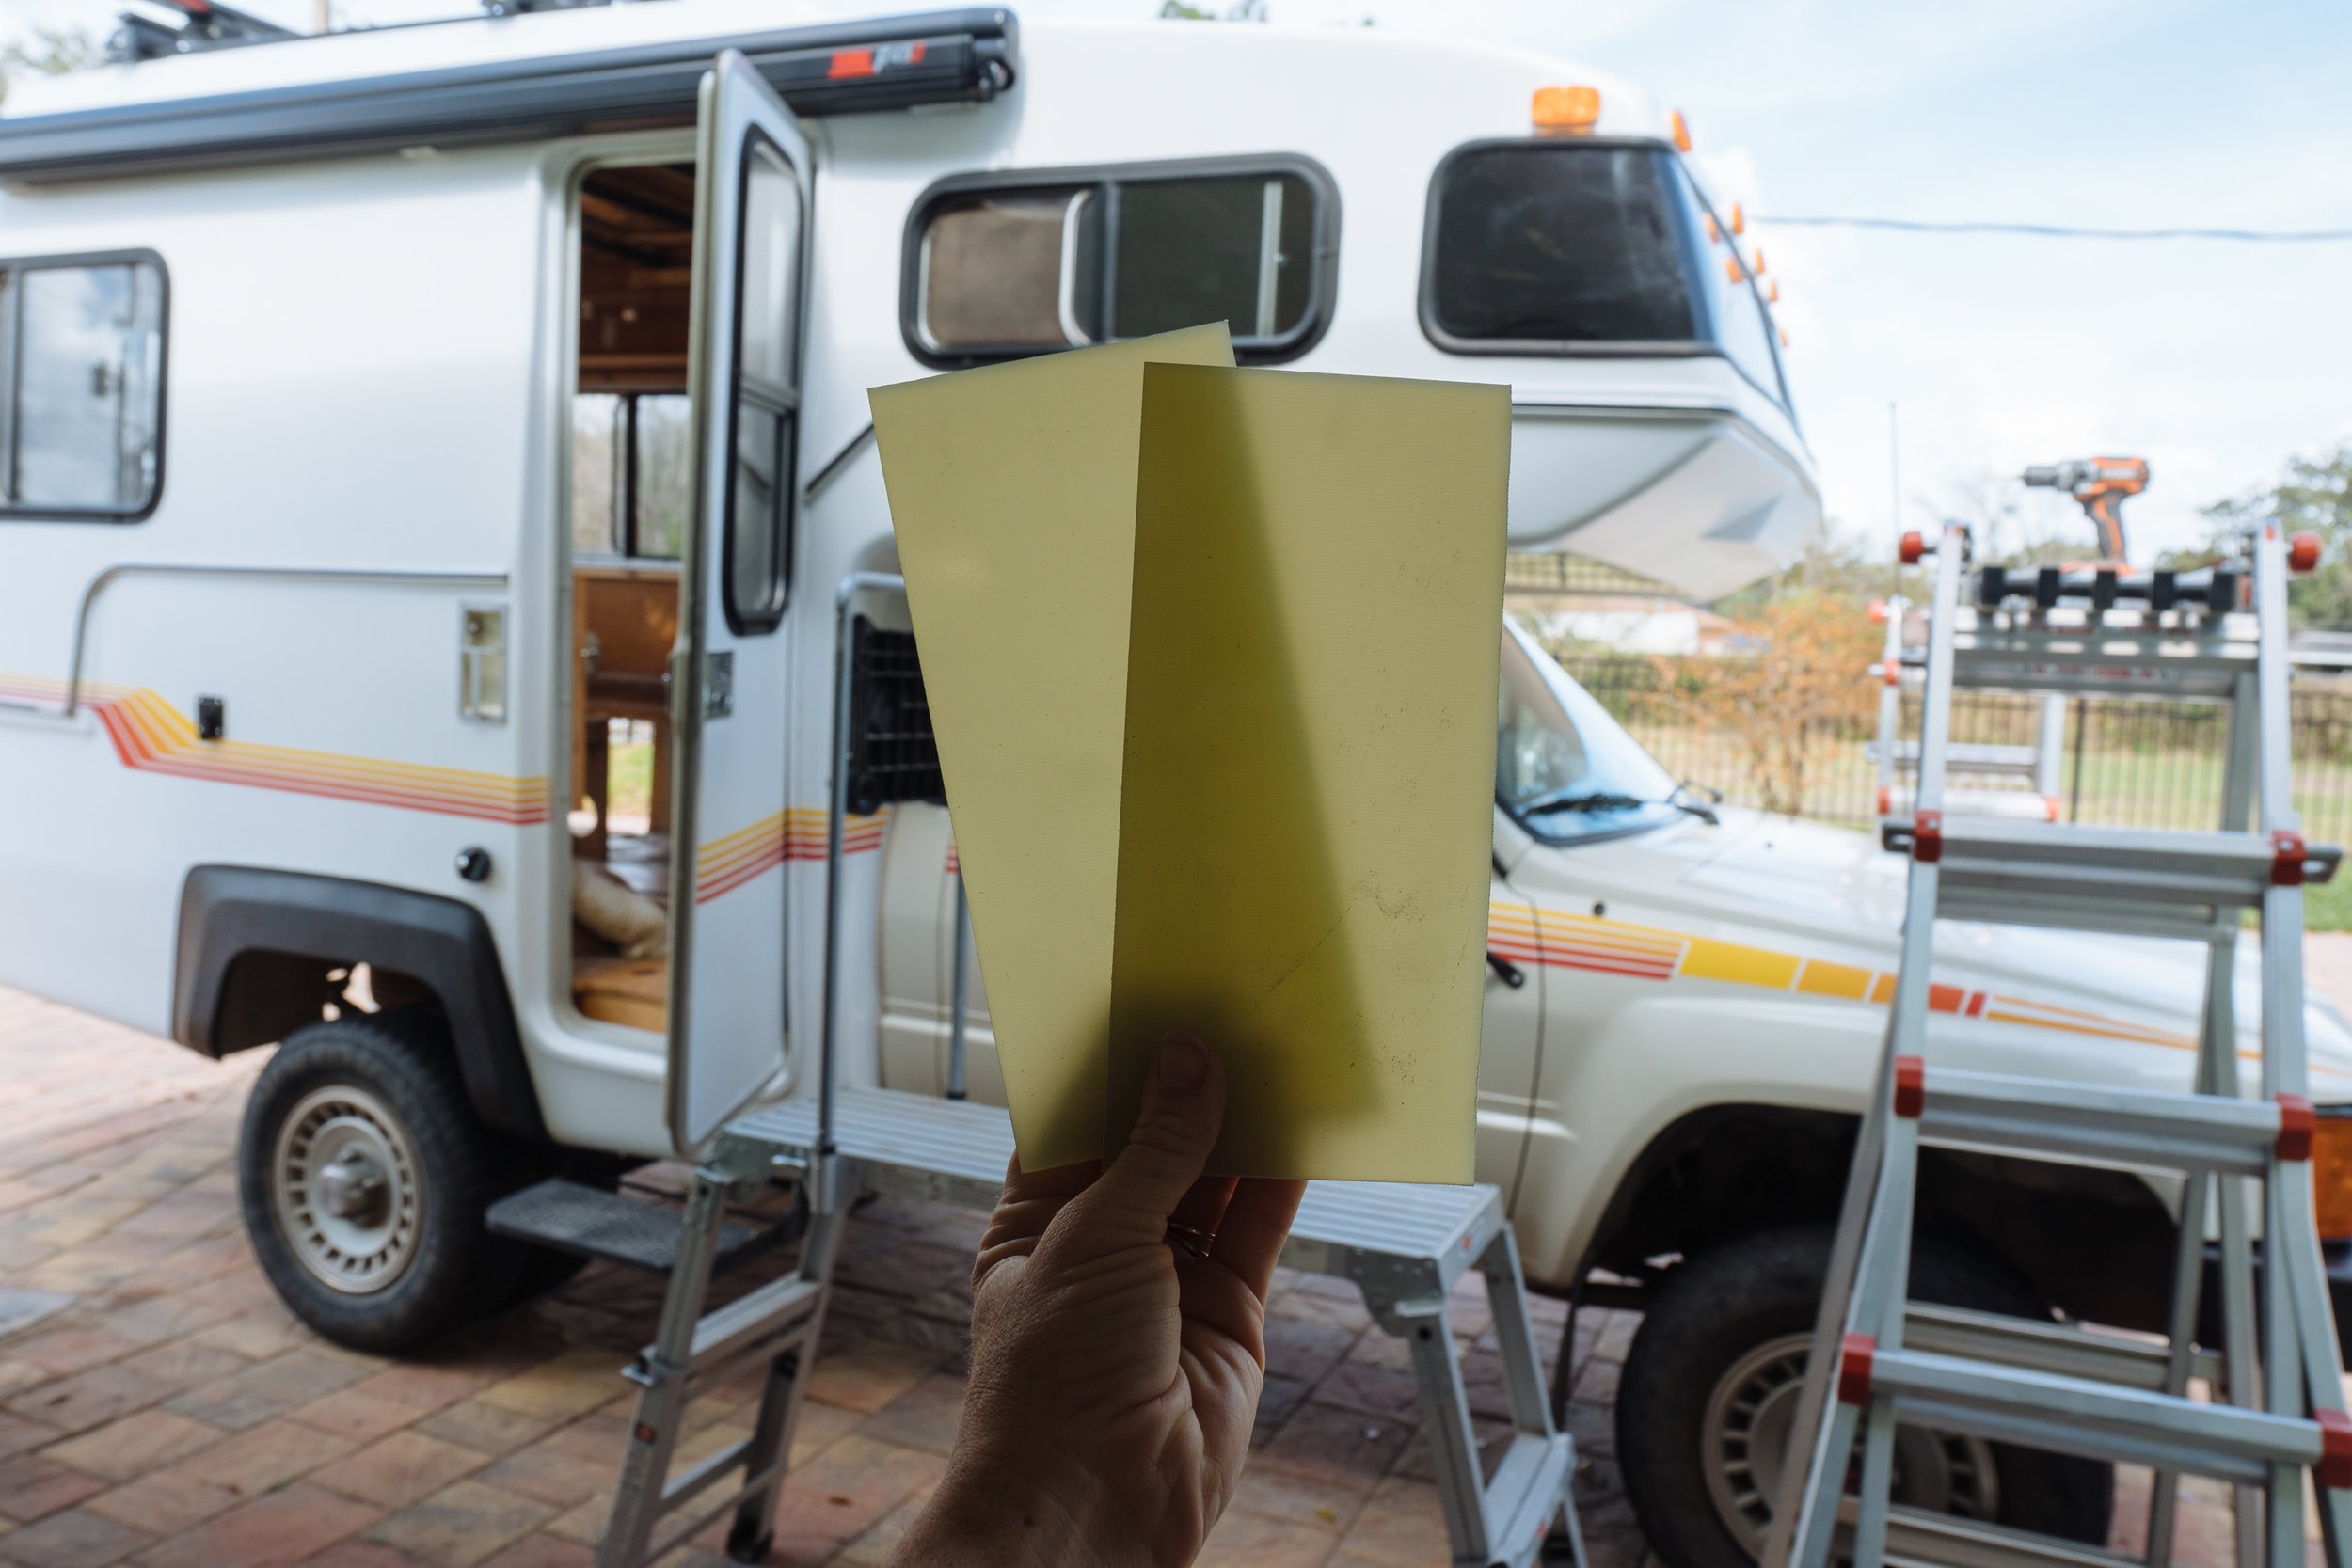
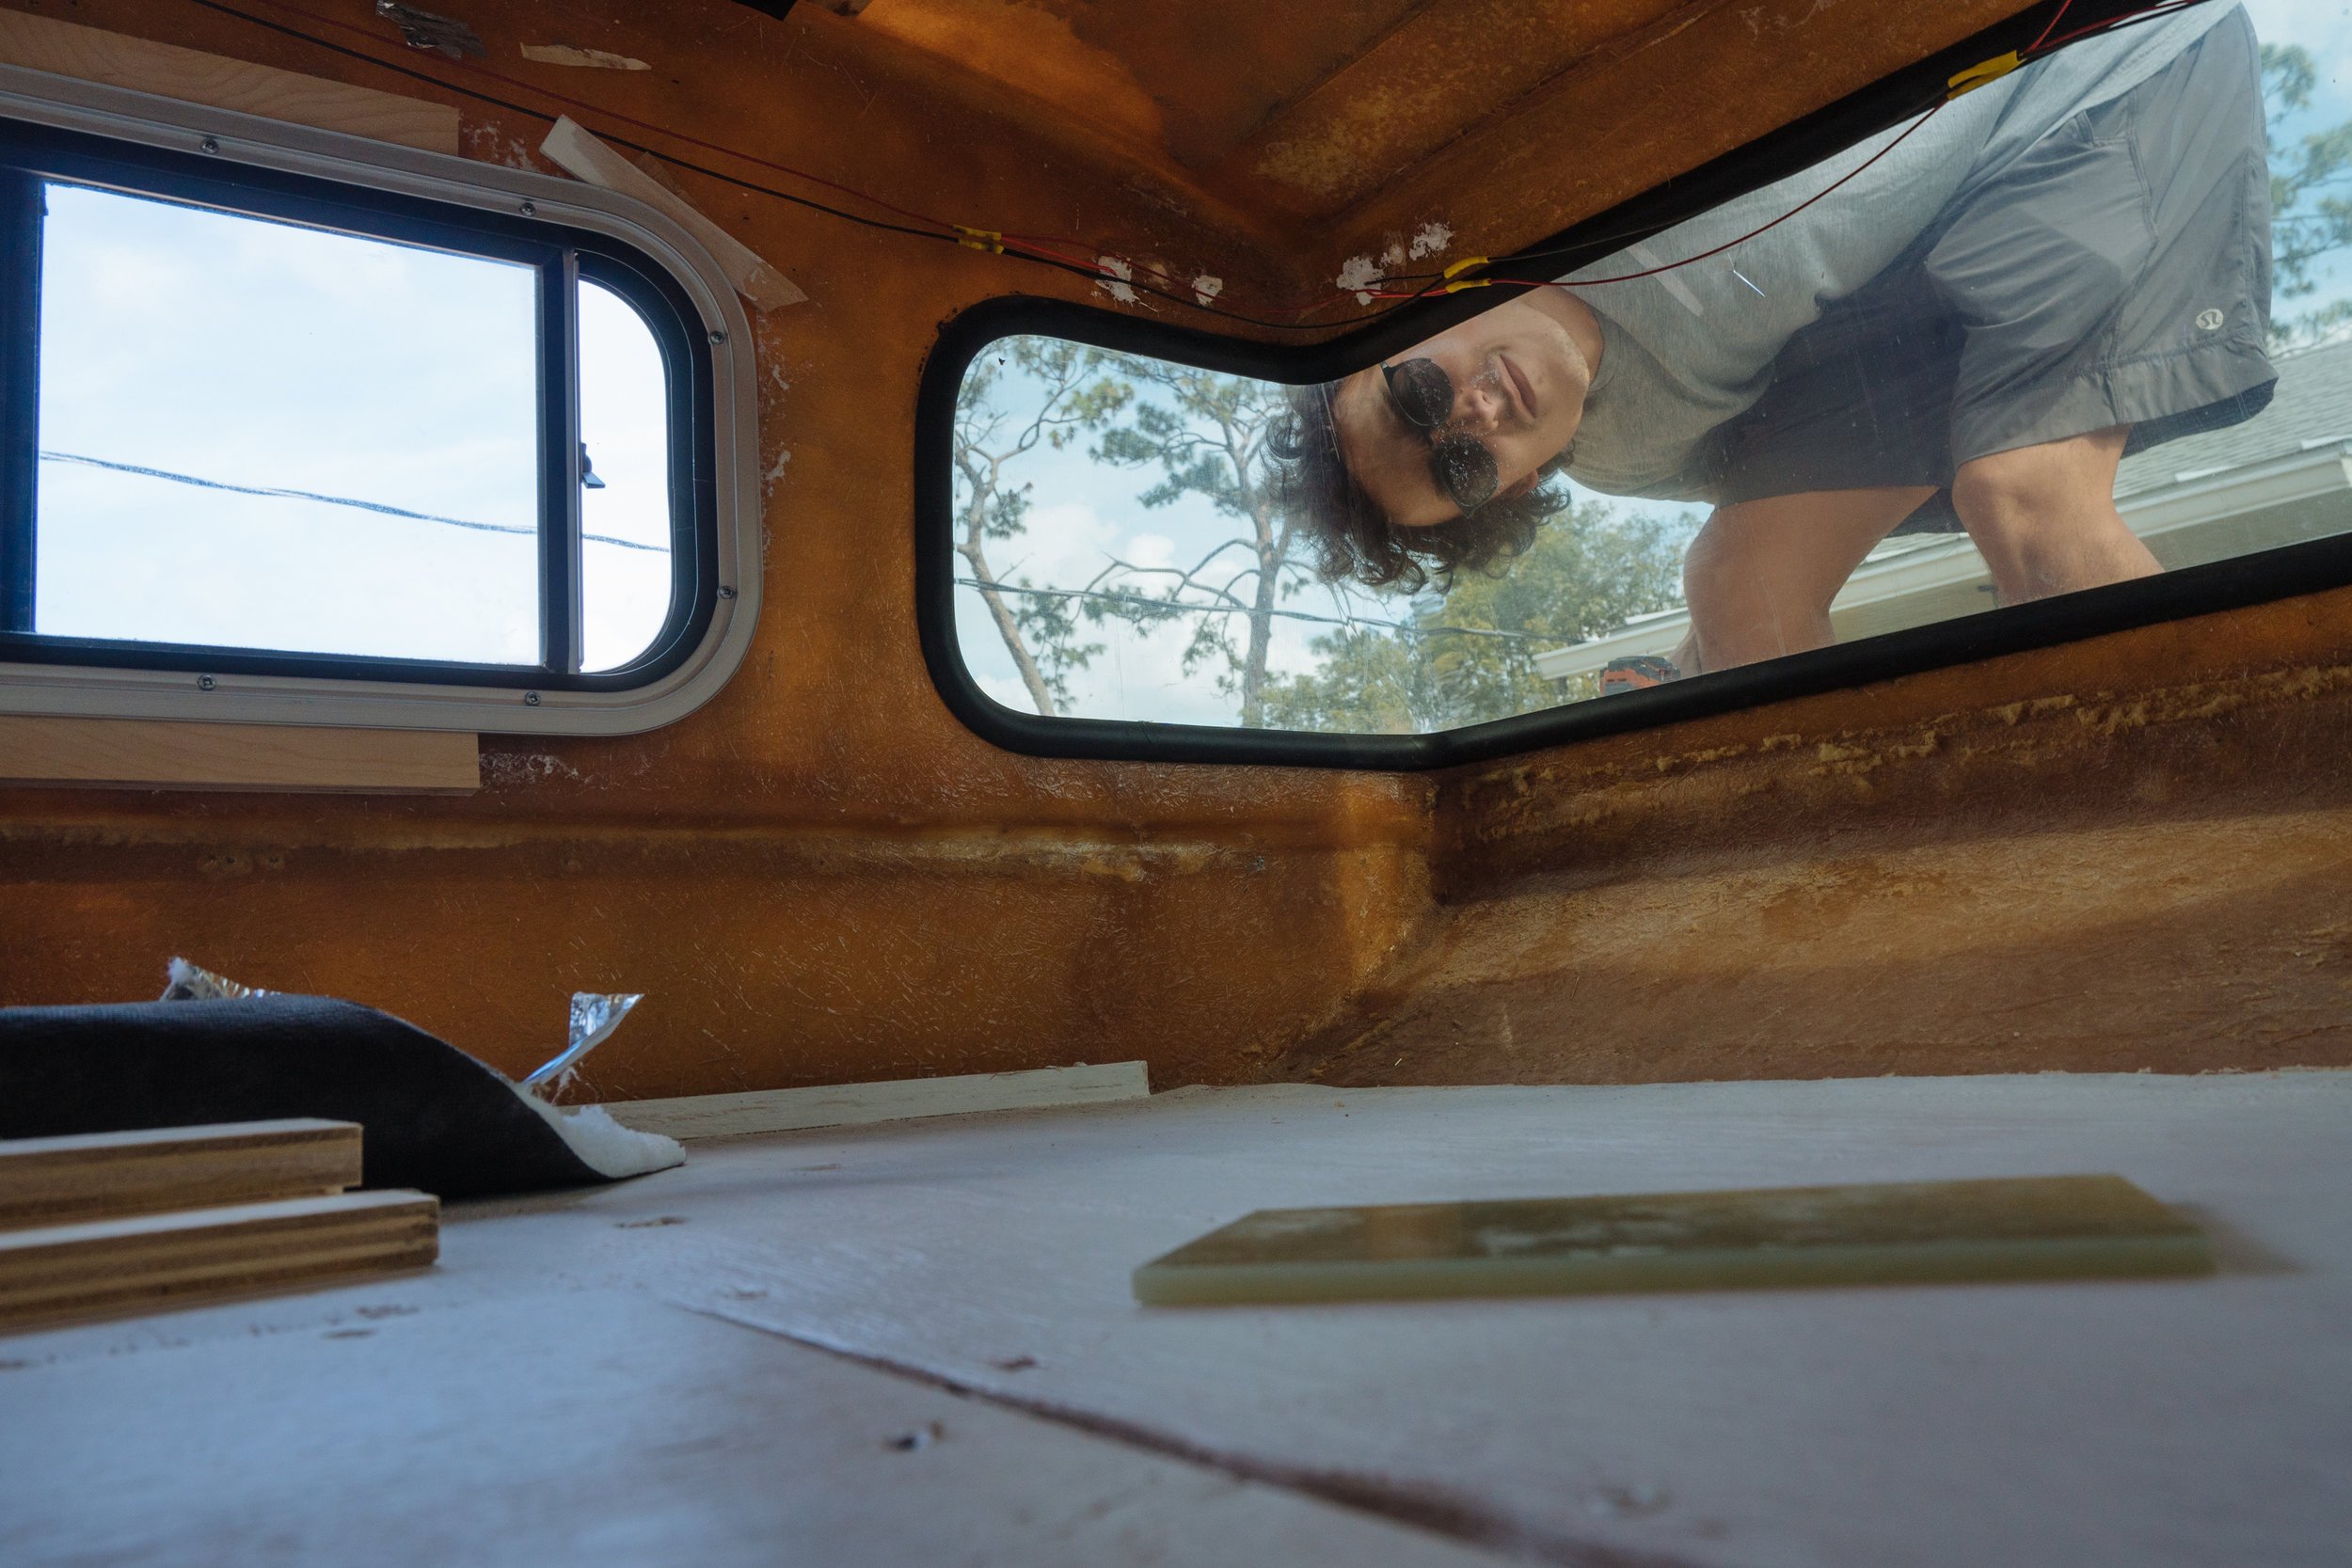
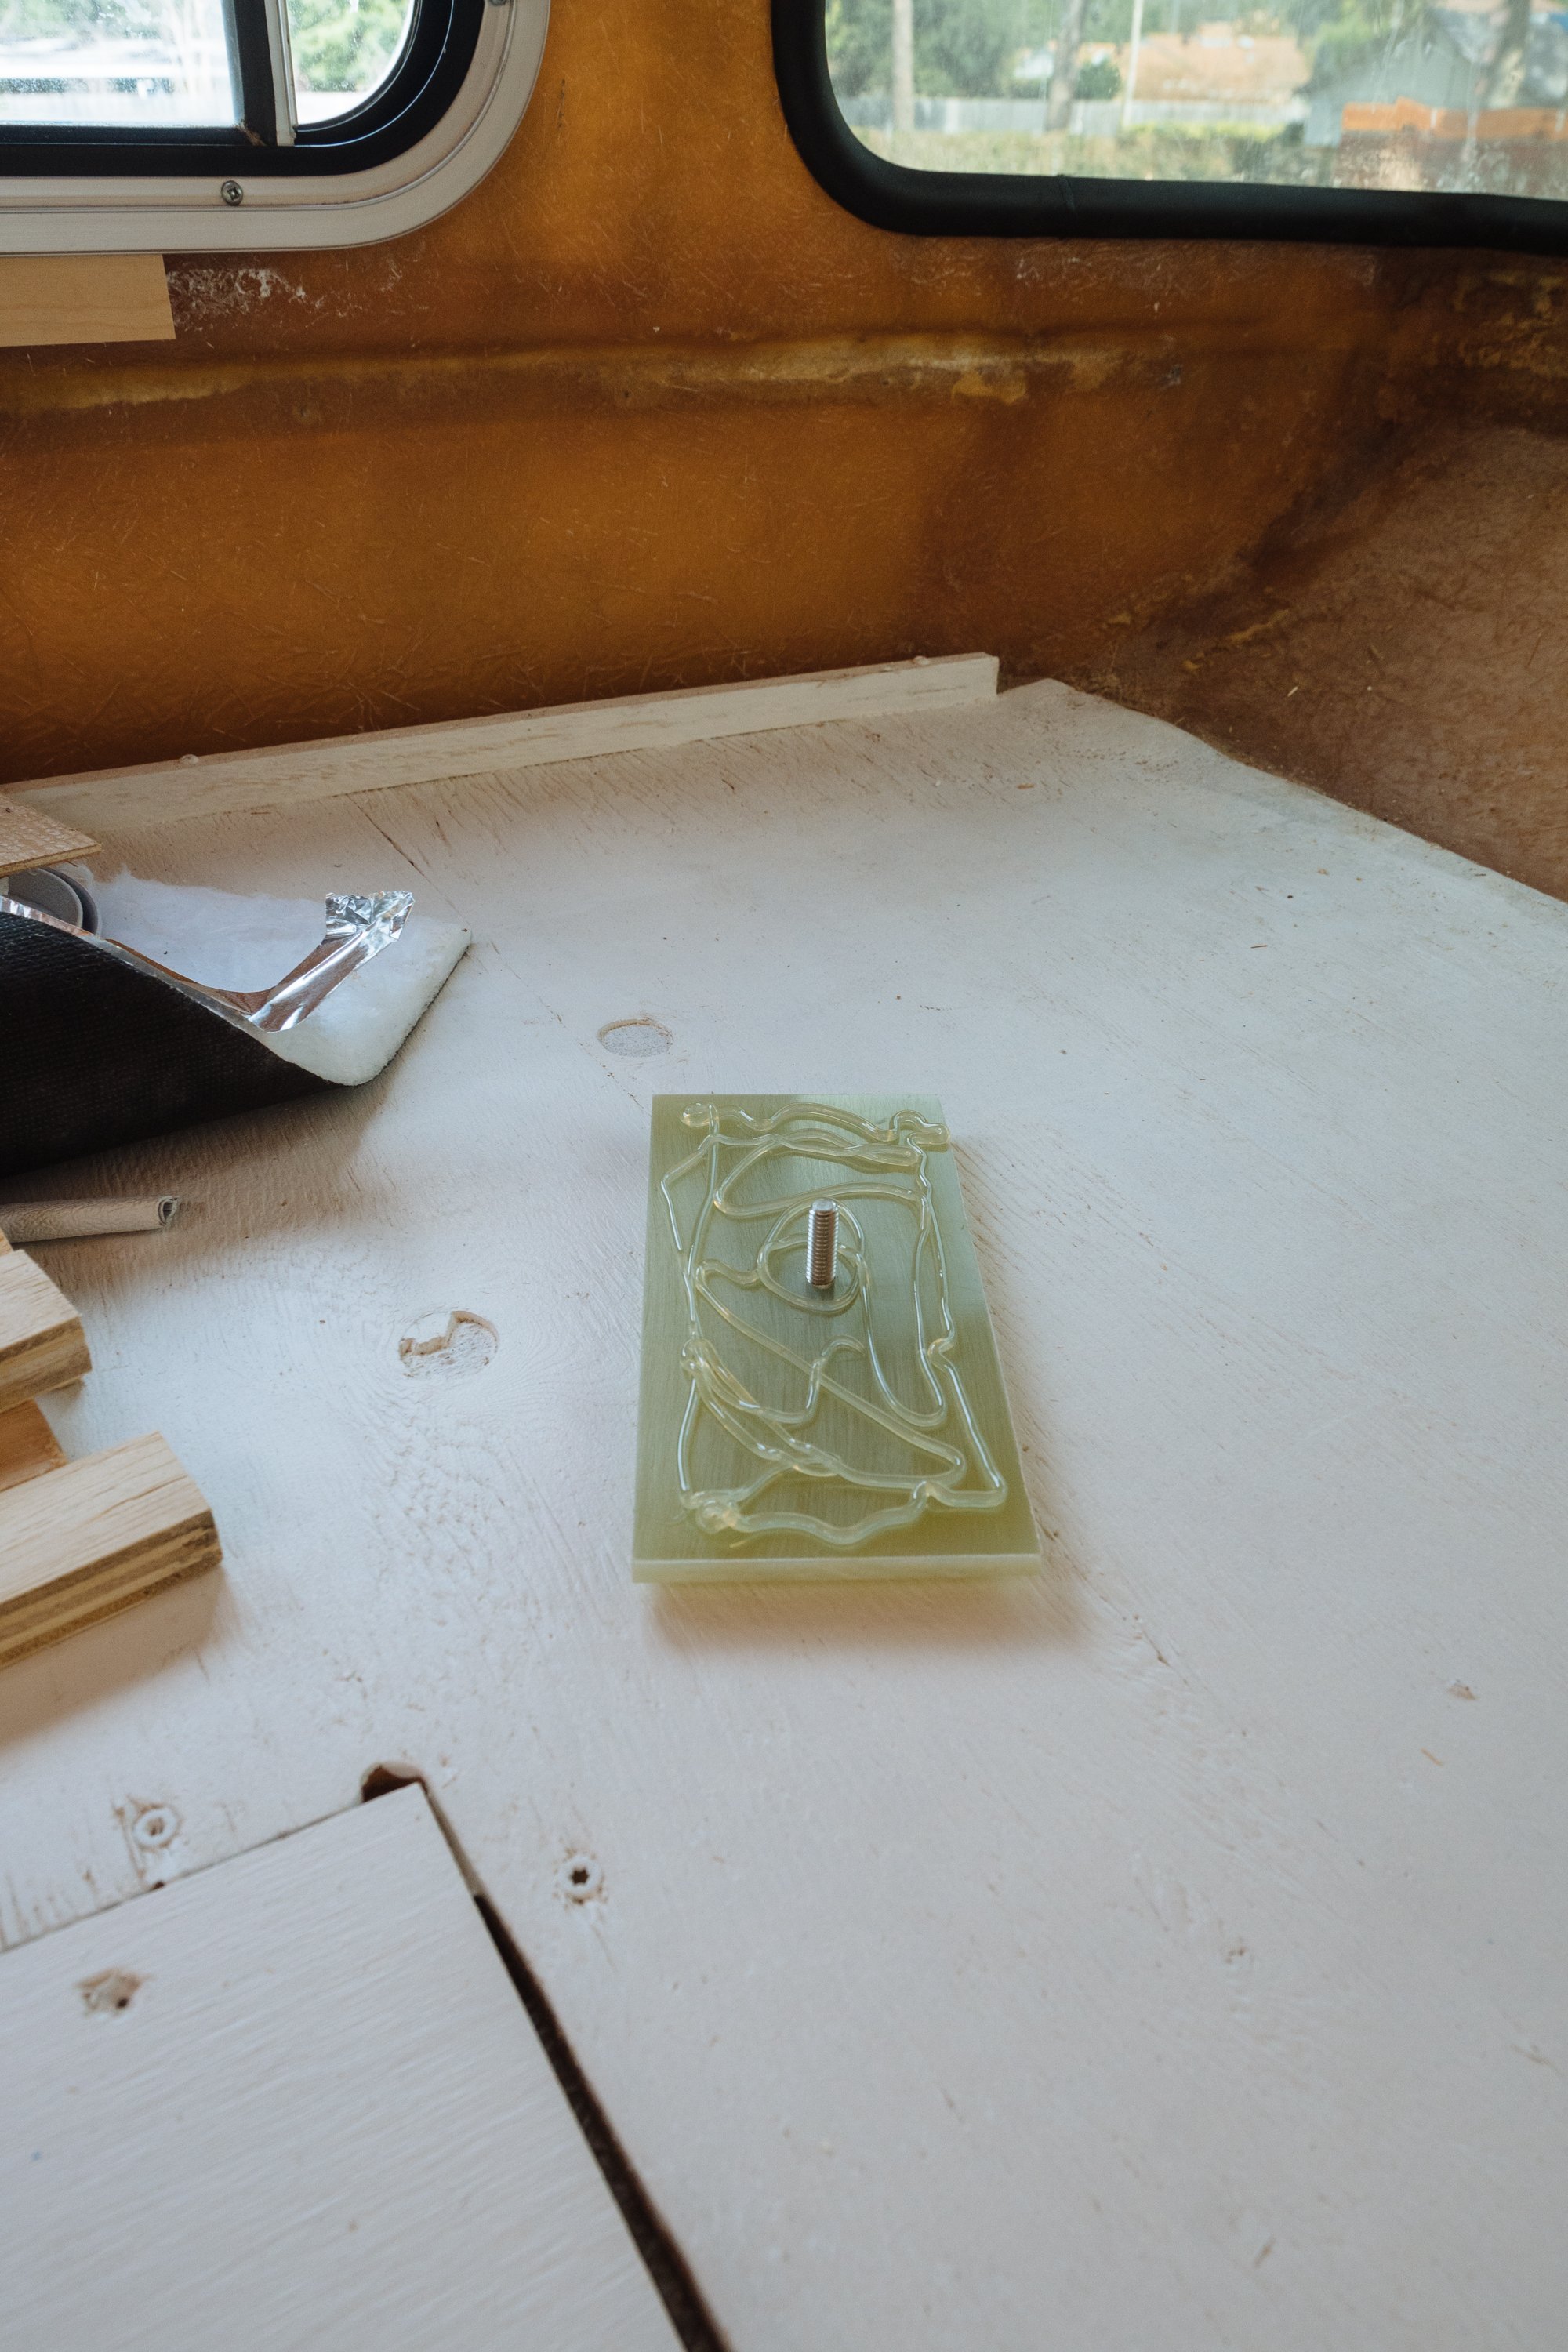
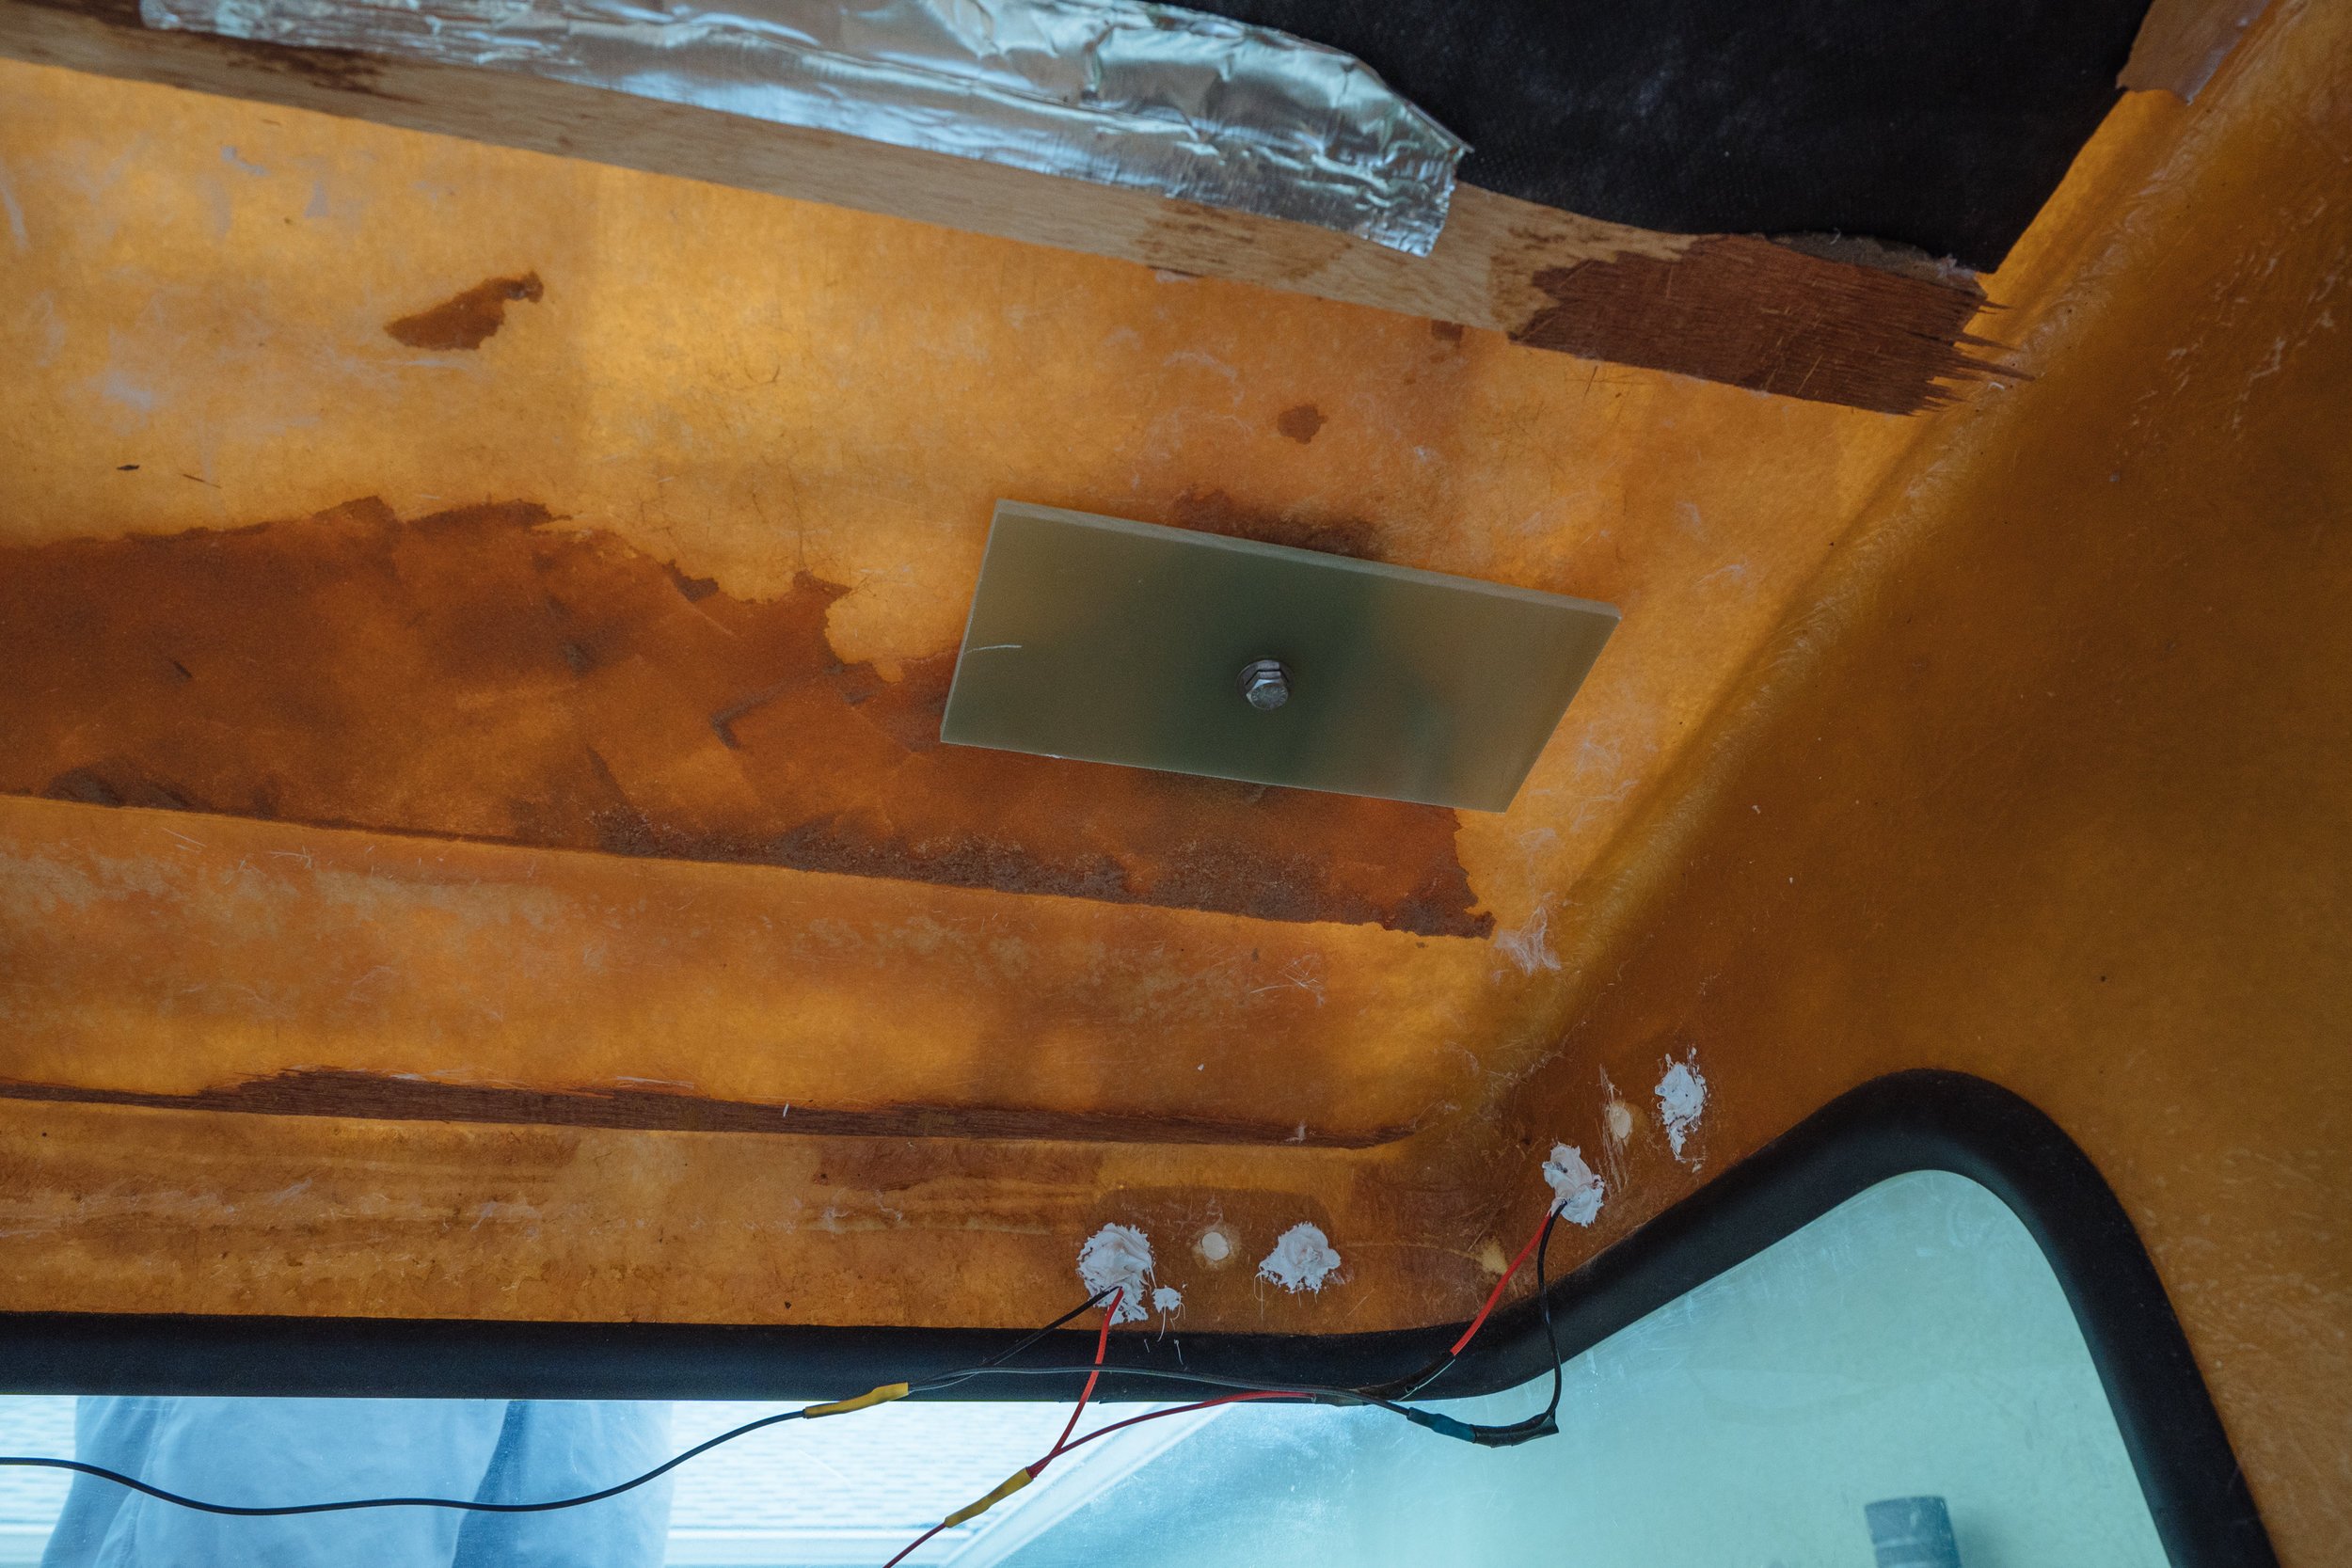
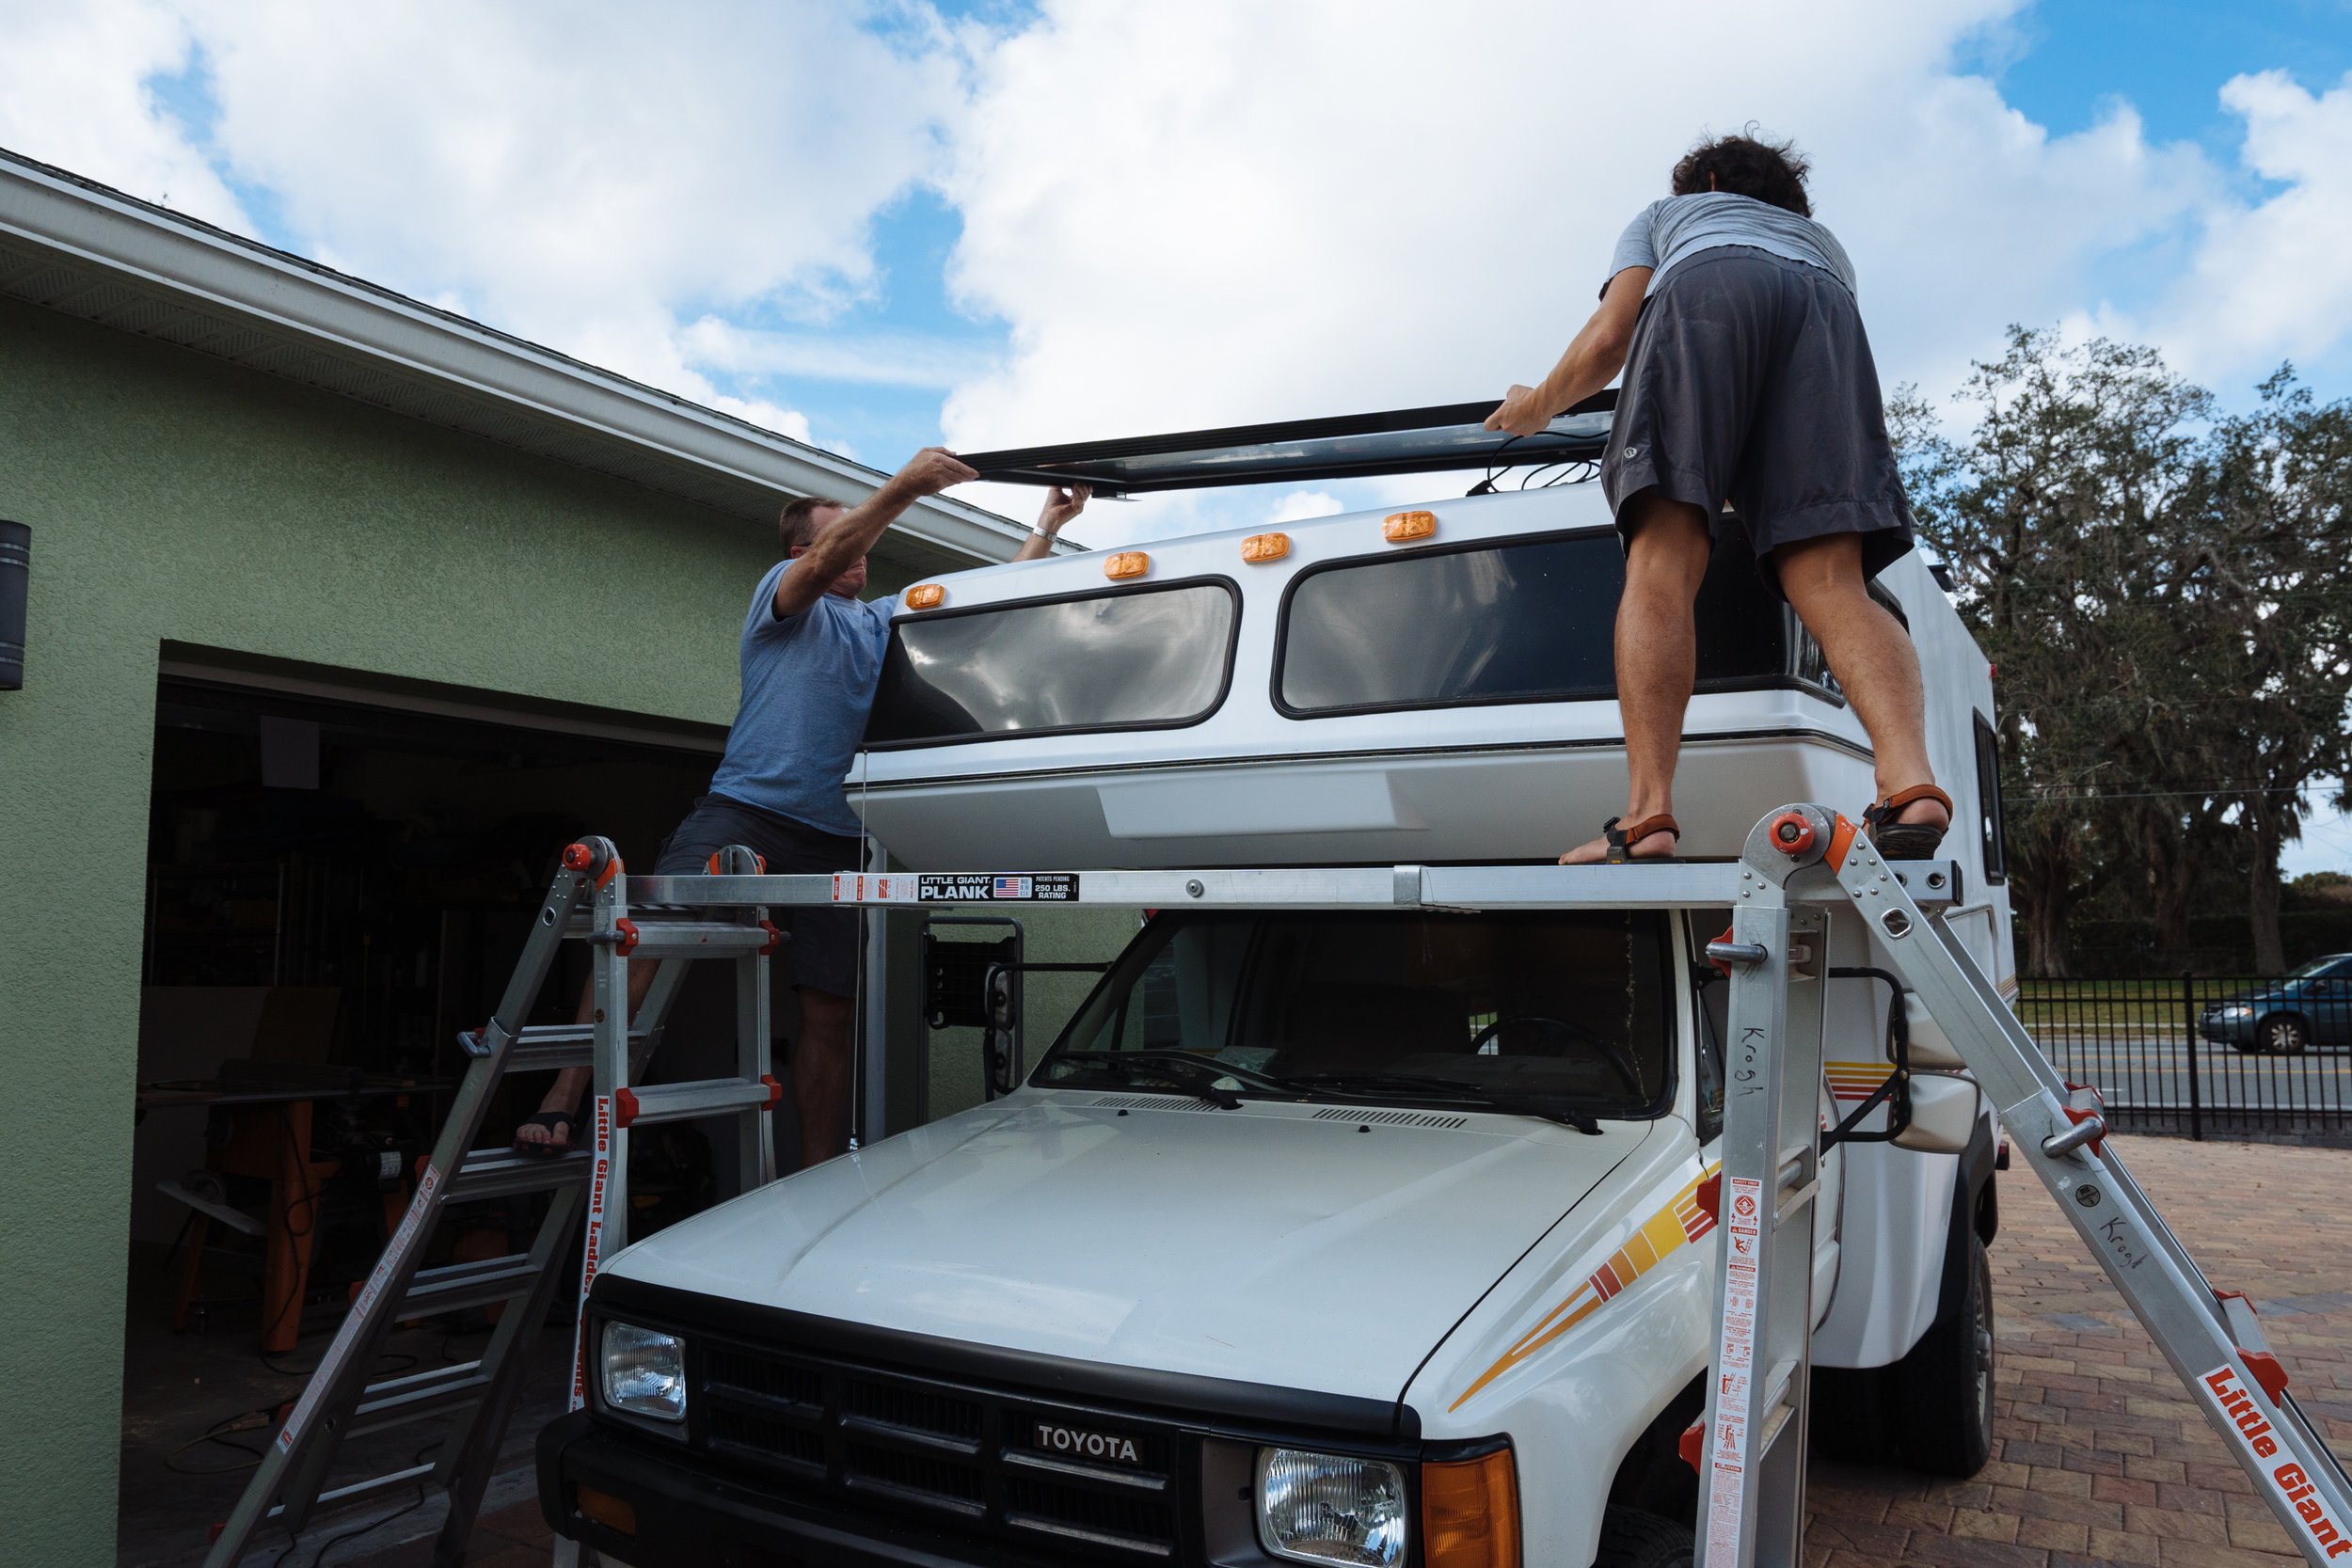
On the inside, where our bolt holes were drilled, we used G10 blocks again to help distribute the weight of the panel. We used epoxy to glue the G10 into place and then ran the bolt though to the outside where it was tightened down over the bracket. After both of the front brackets were in place it was finally time to install the panel and the back brackets!
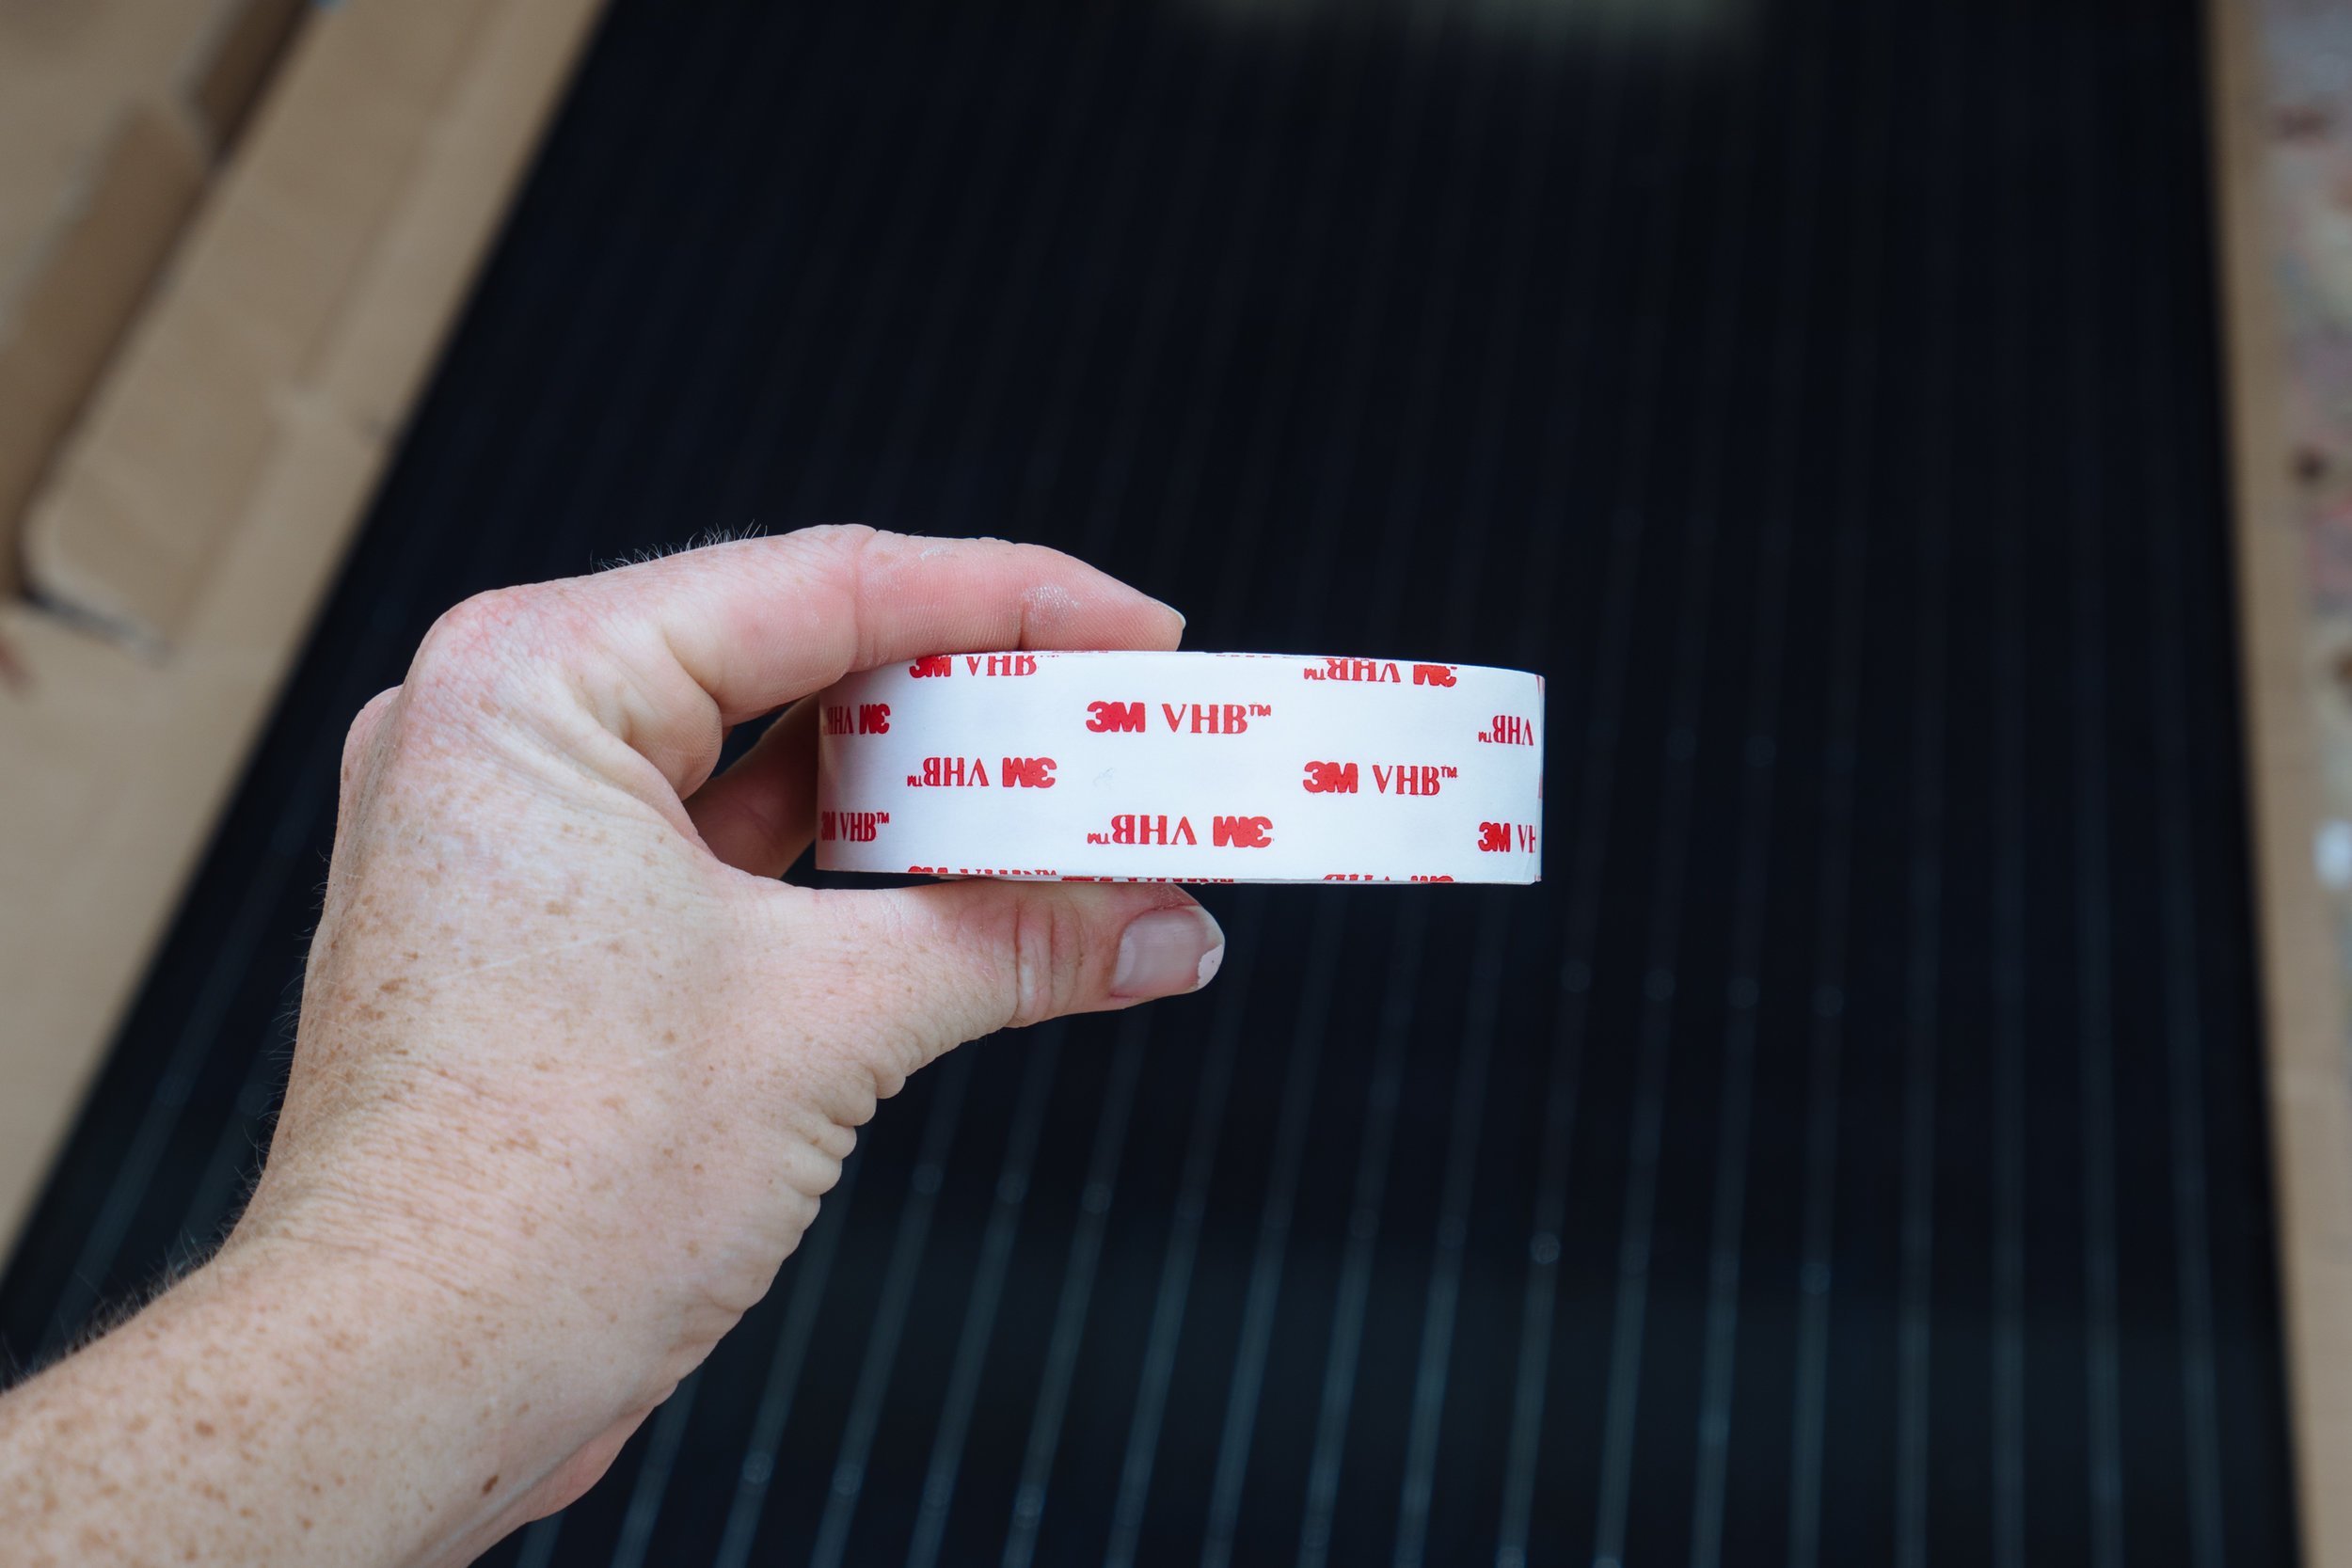
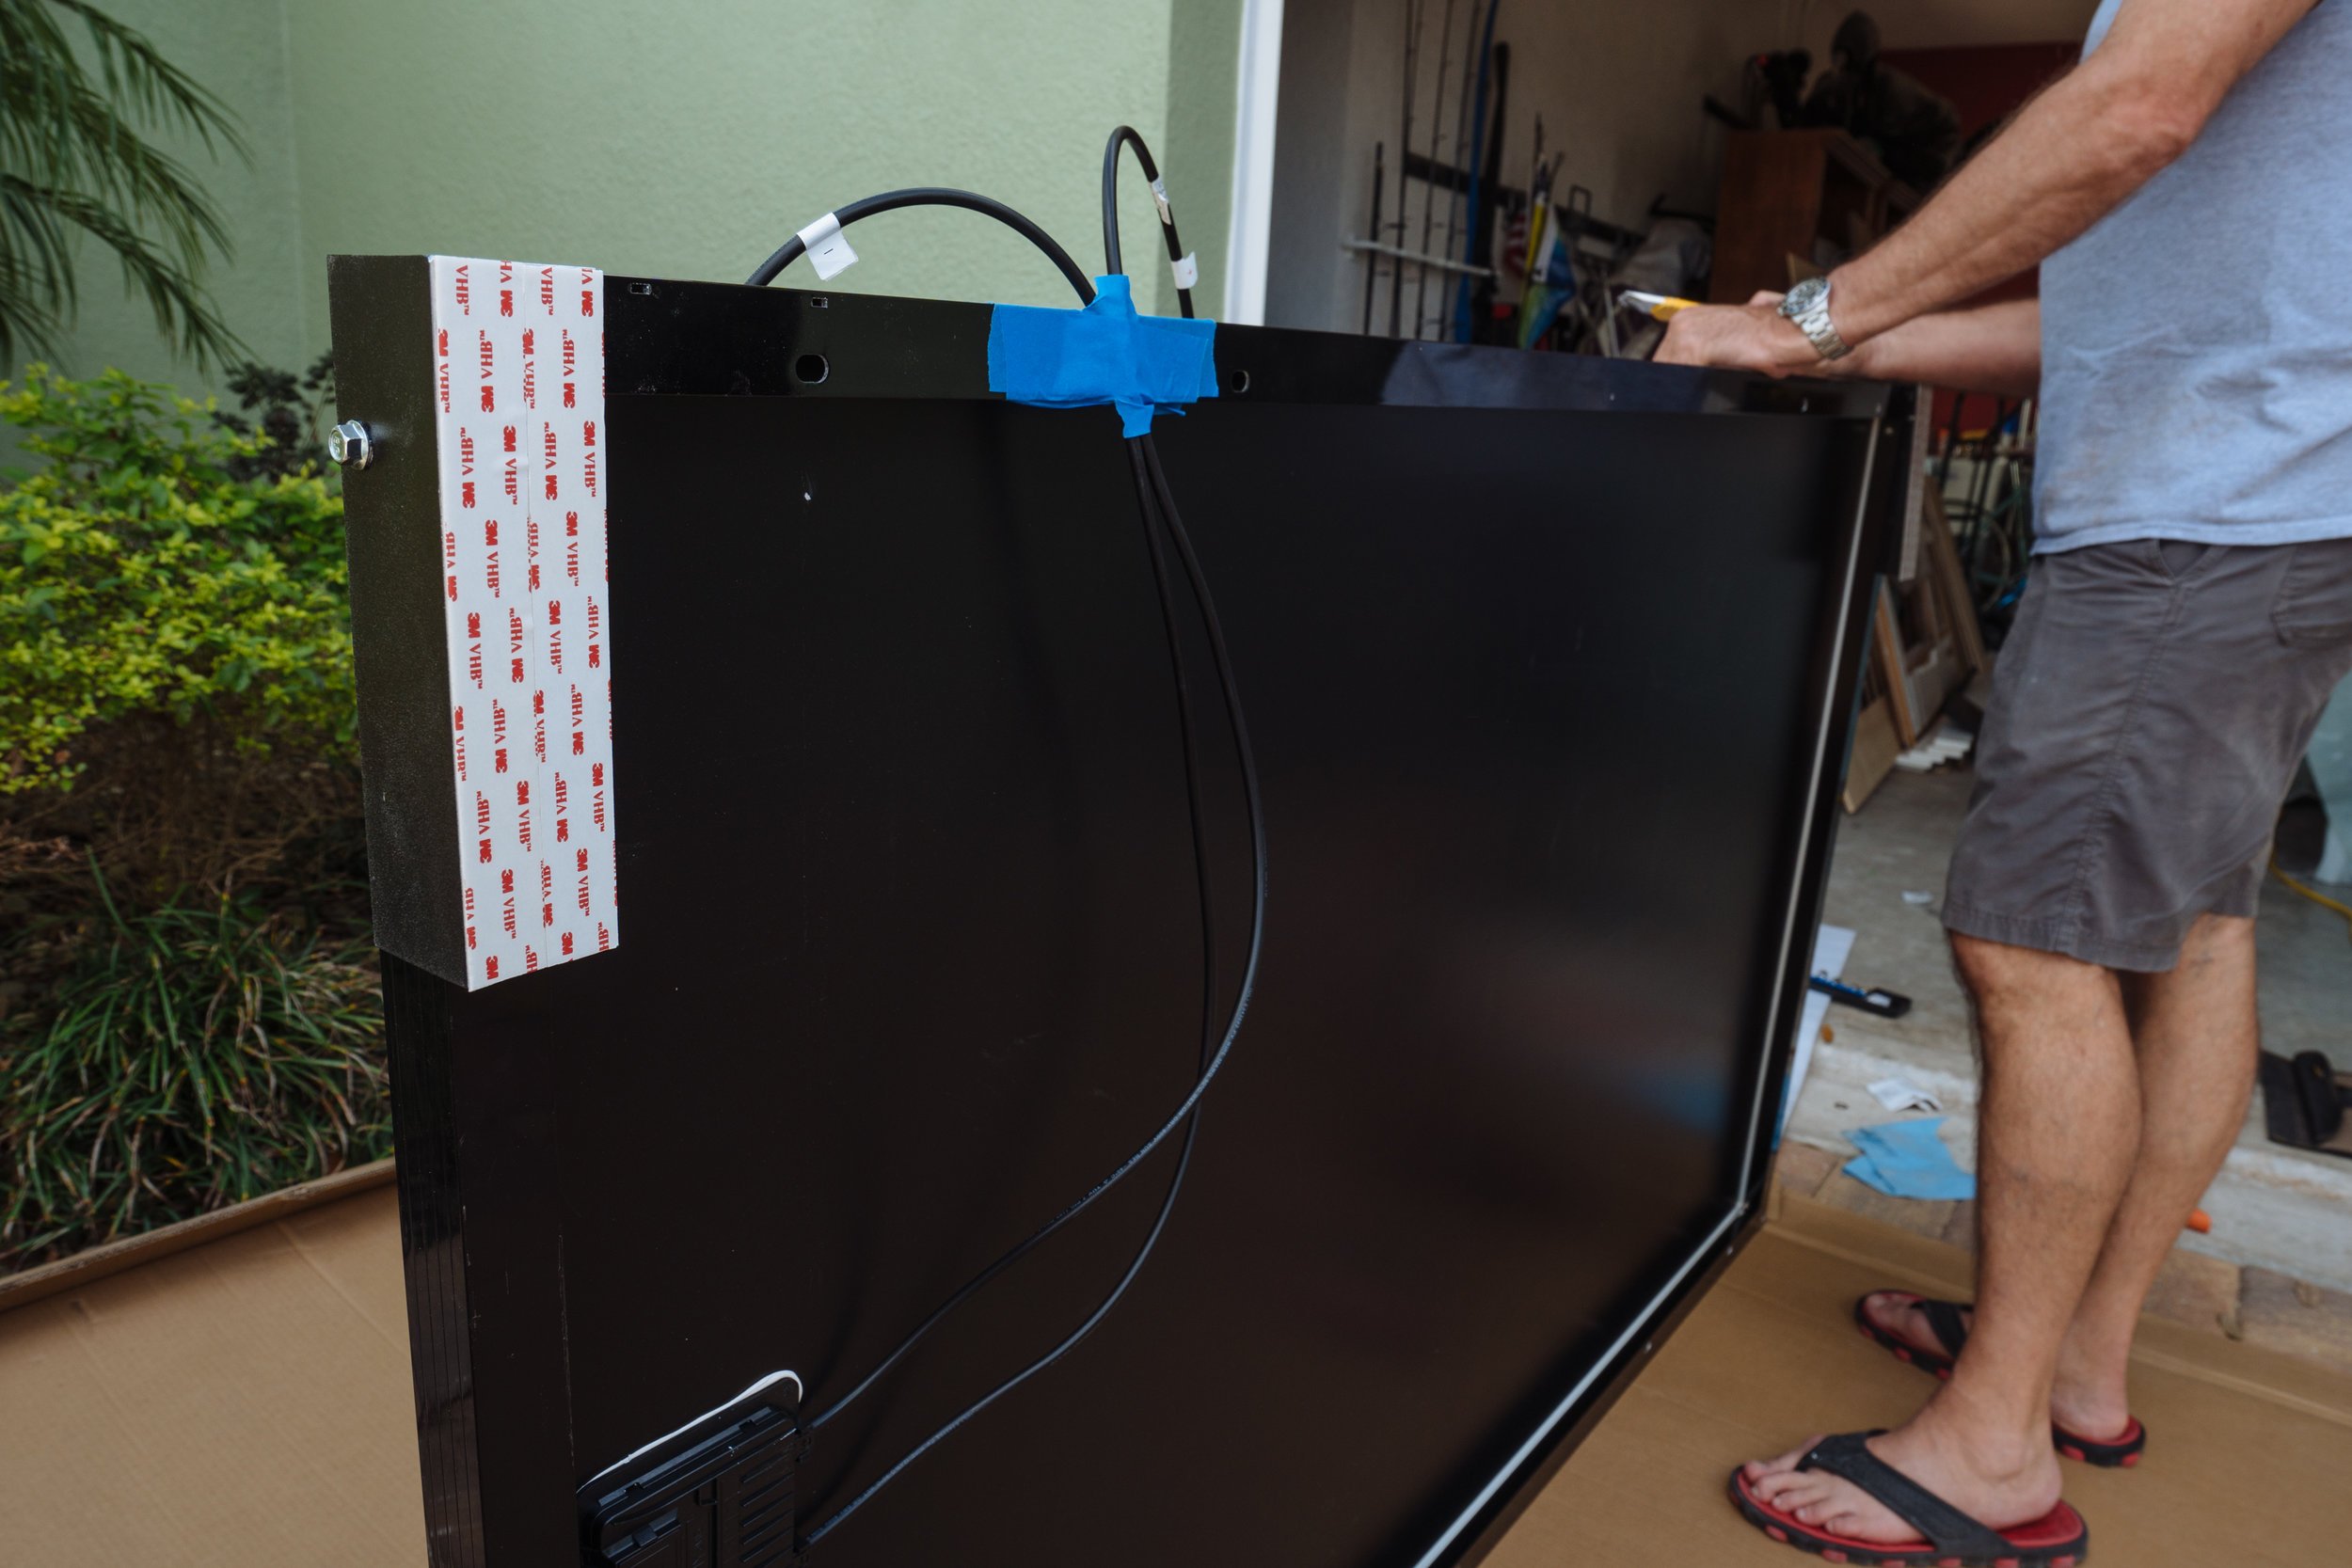
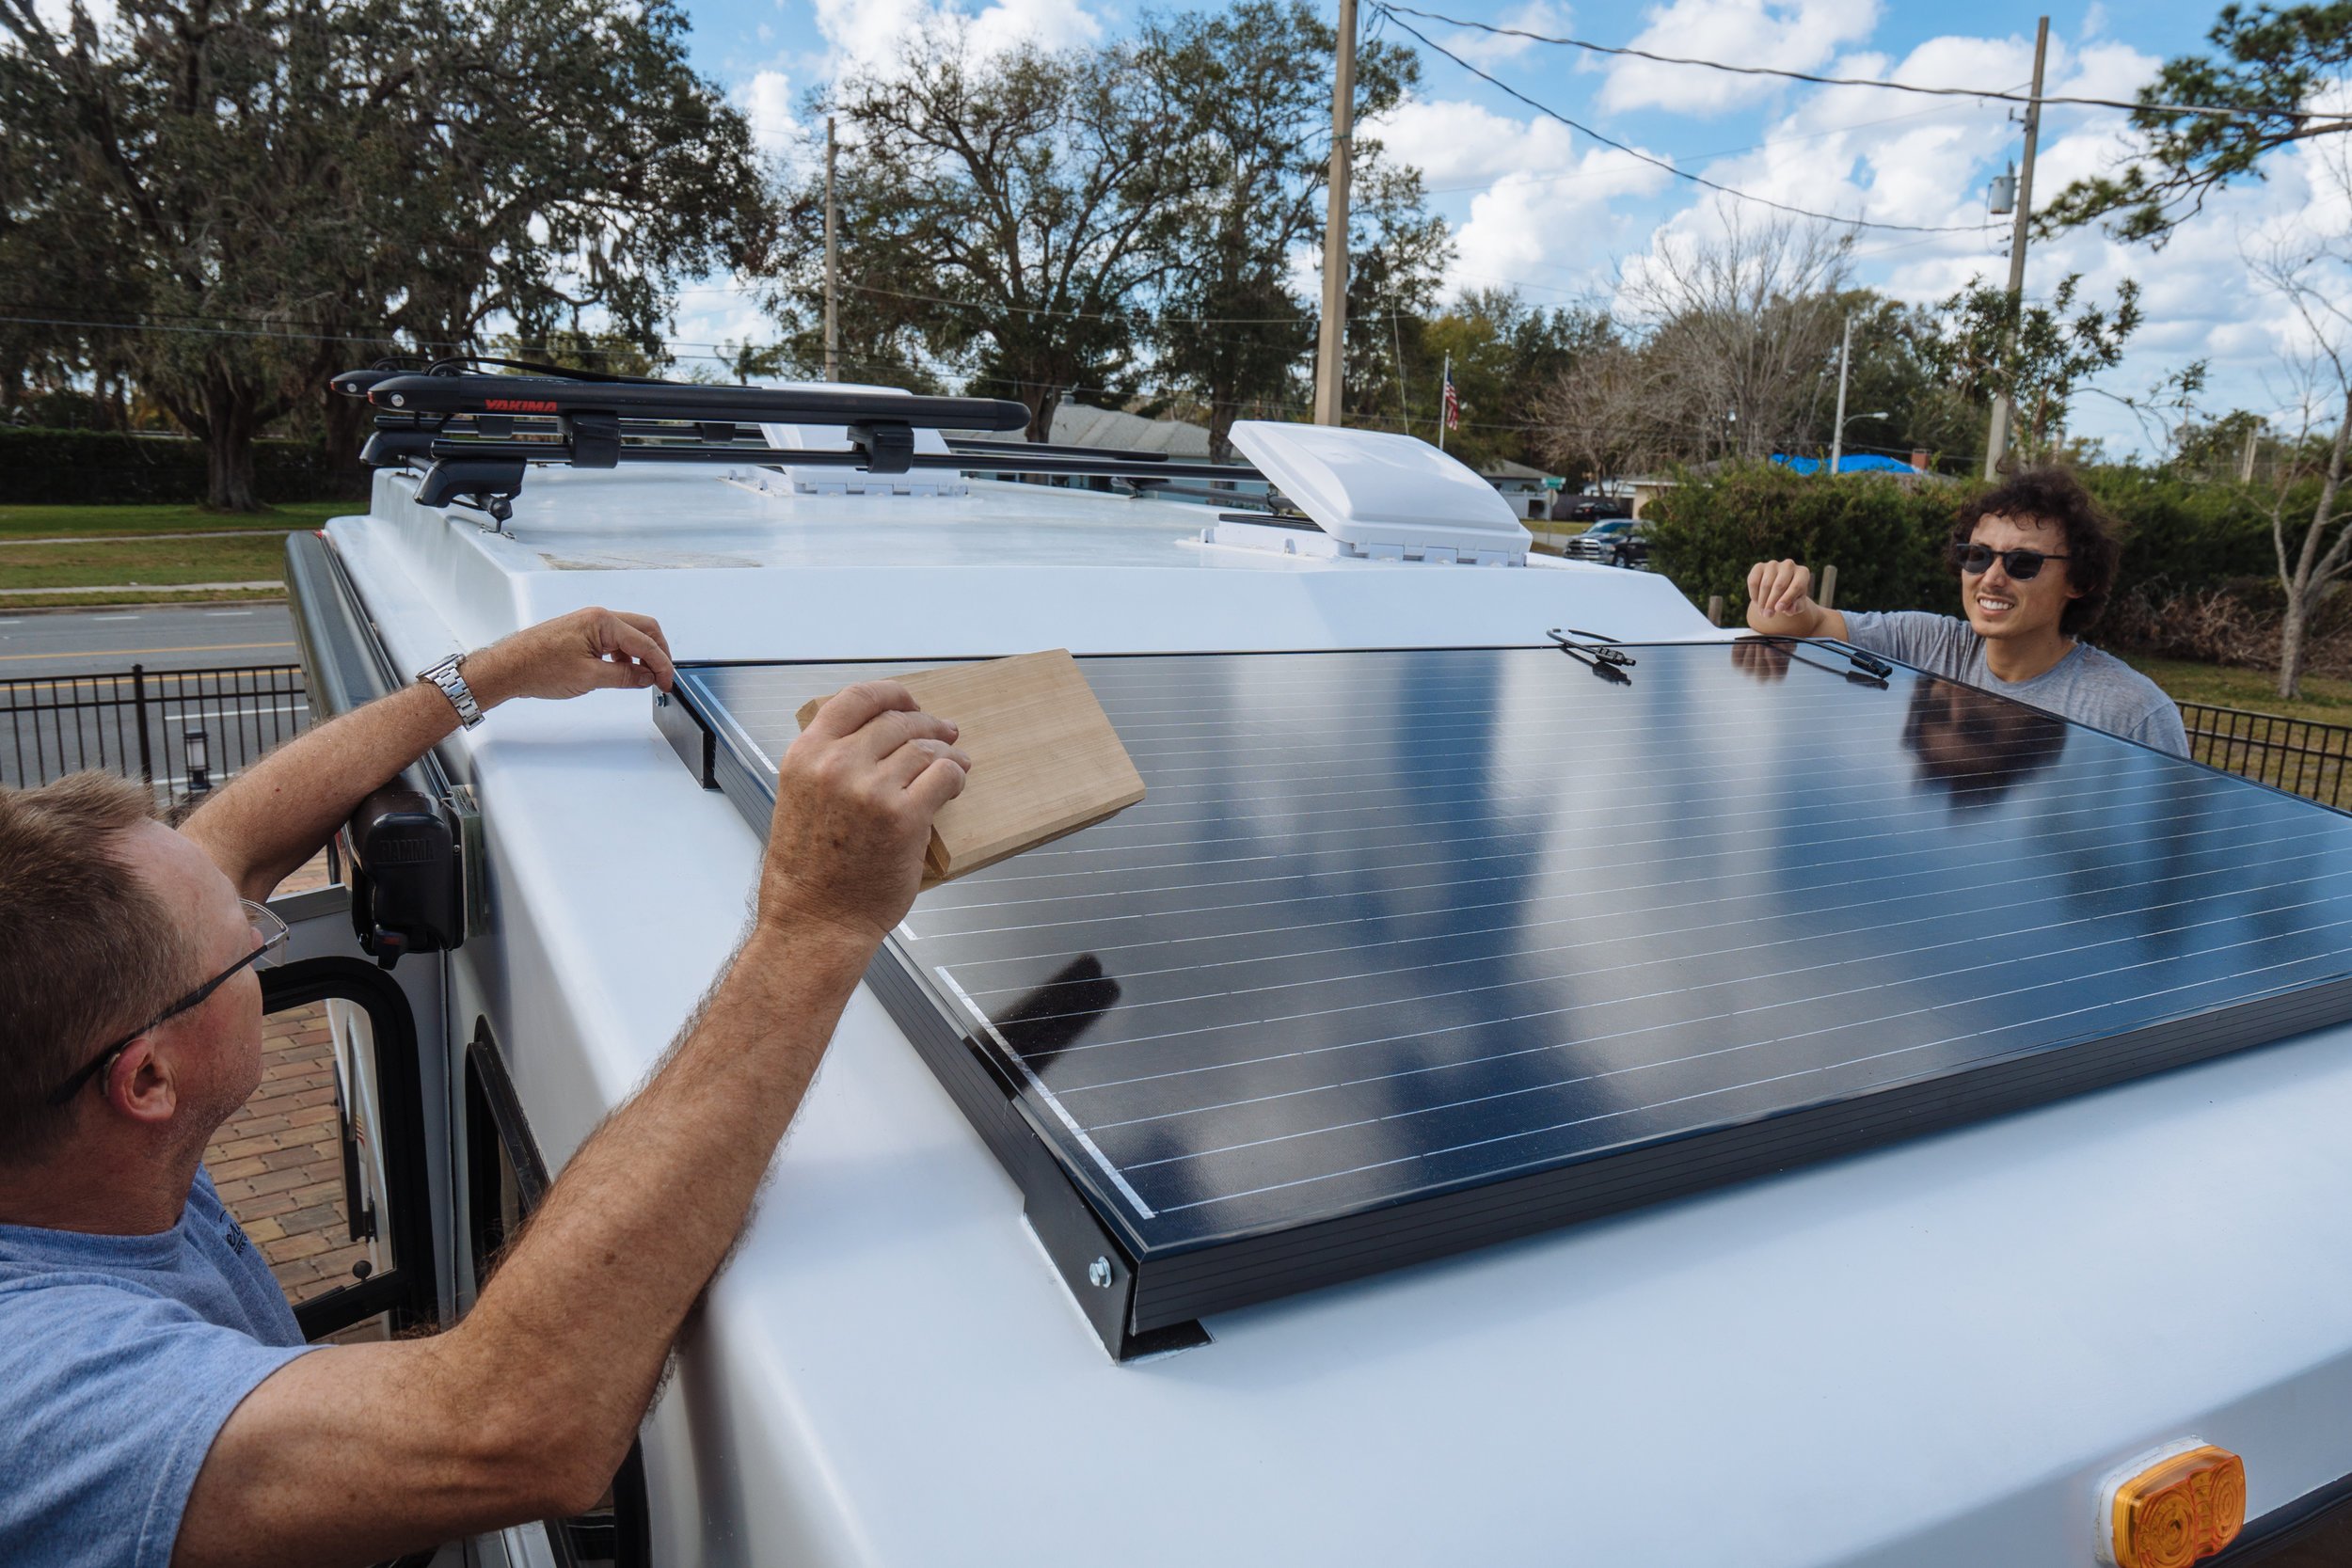
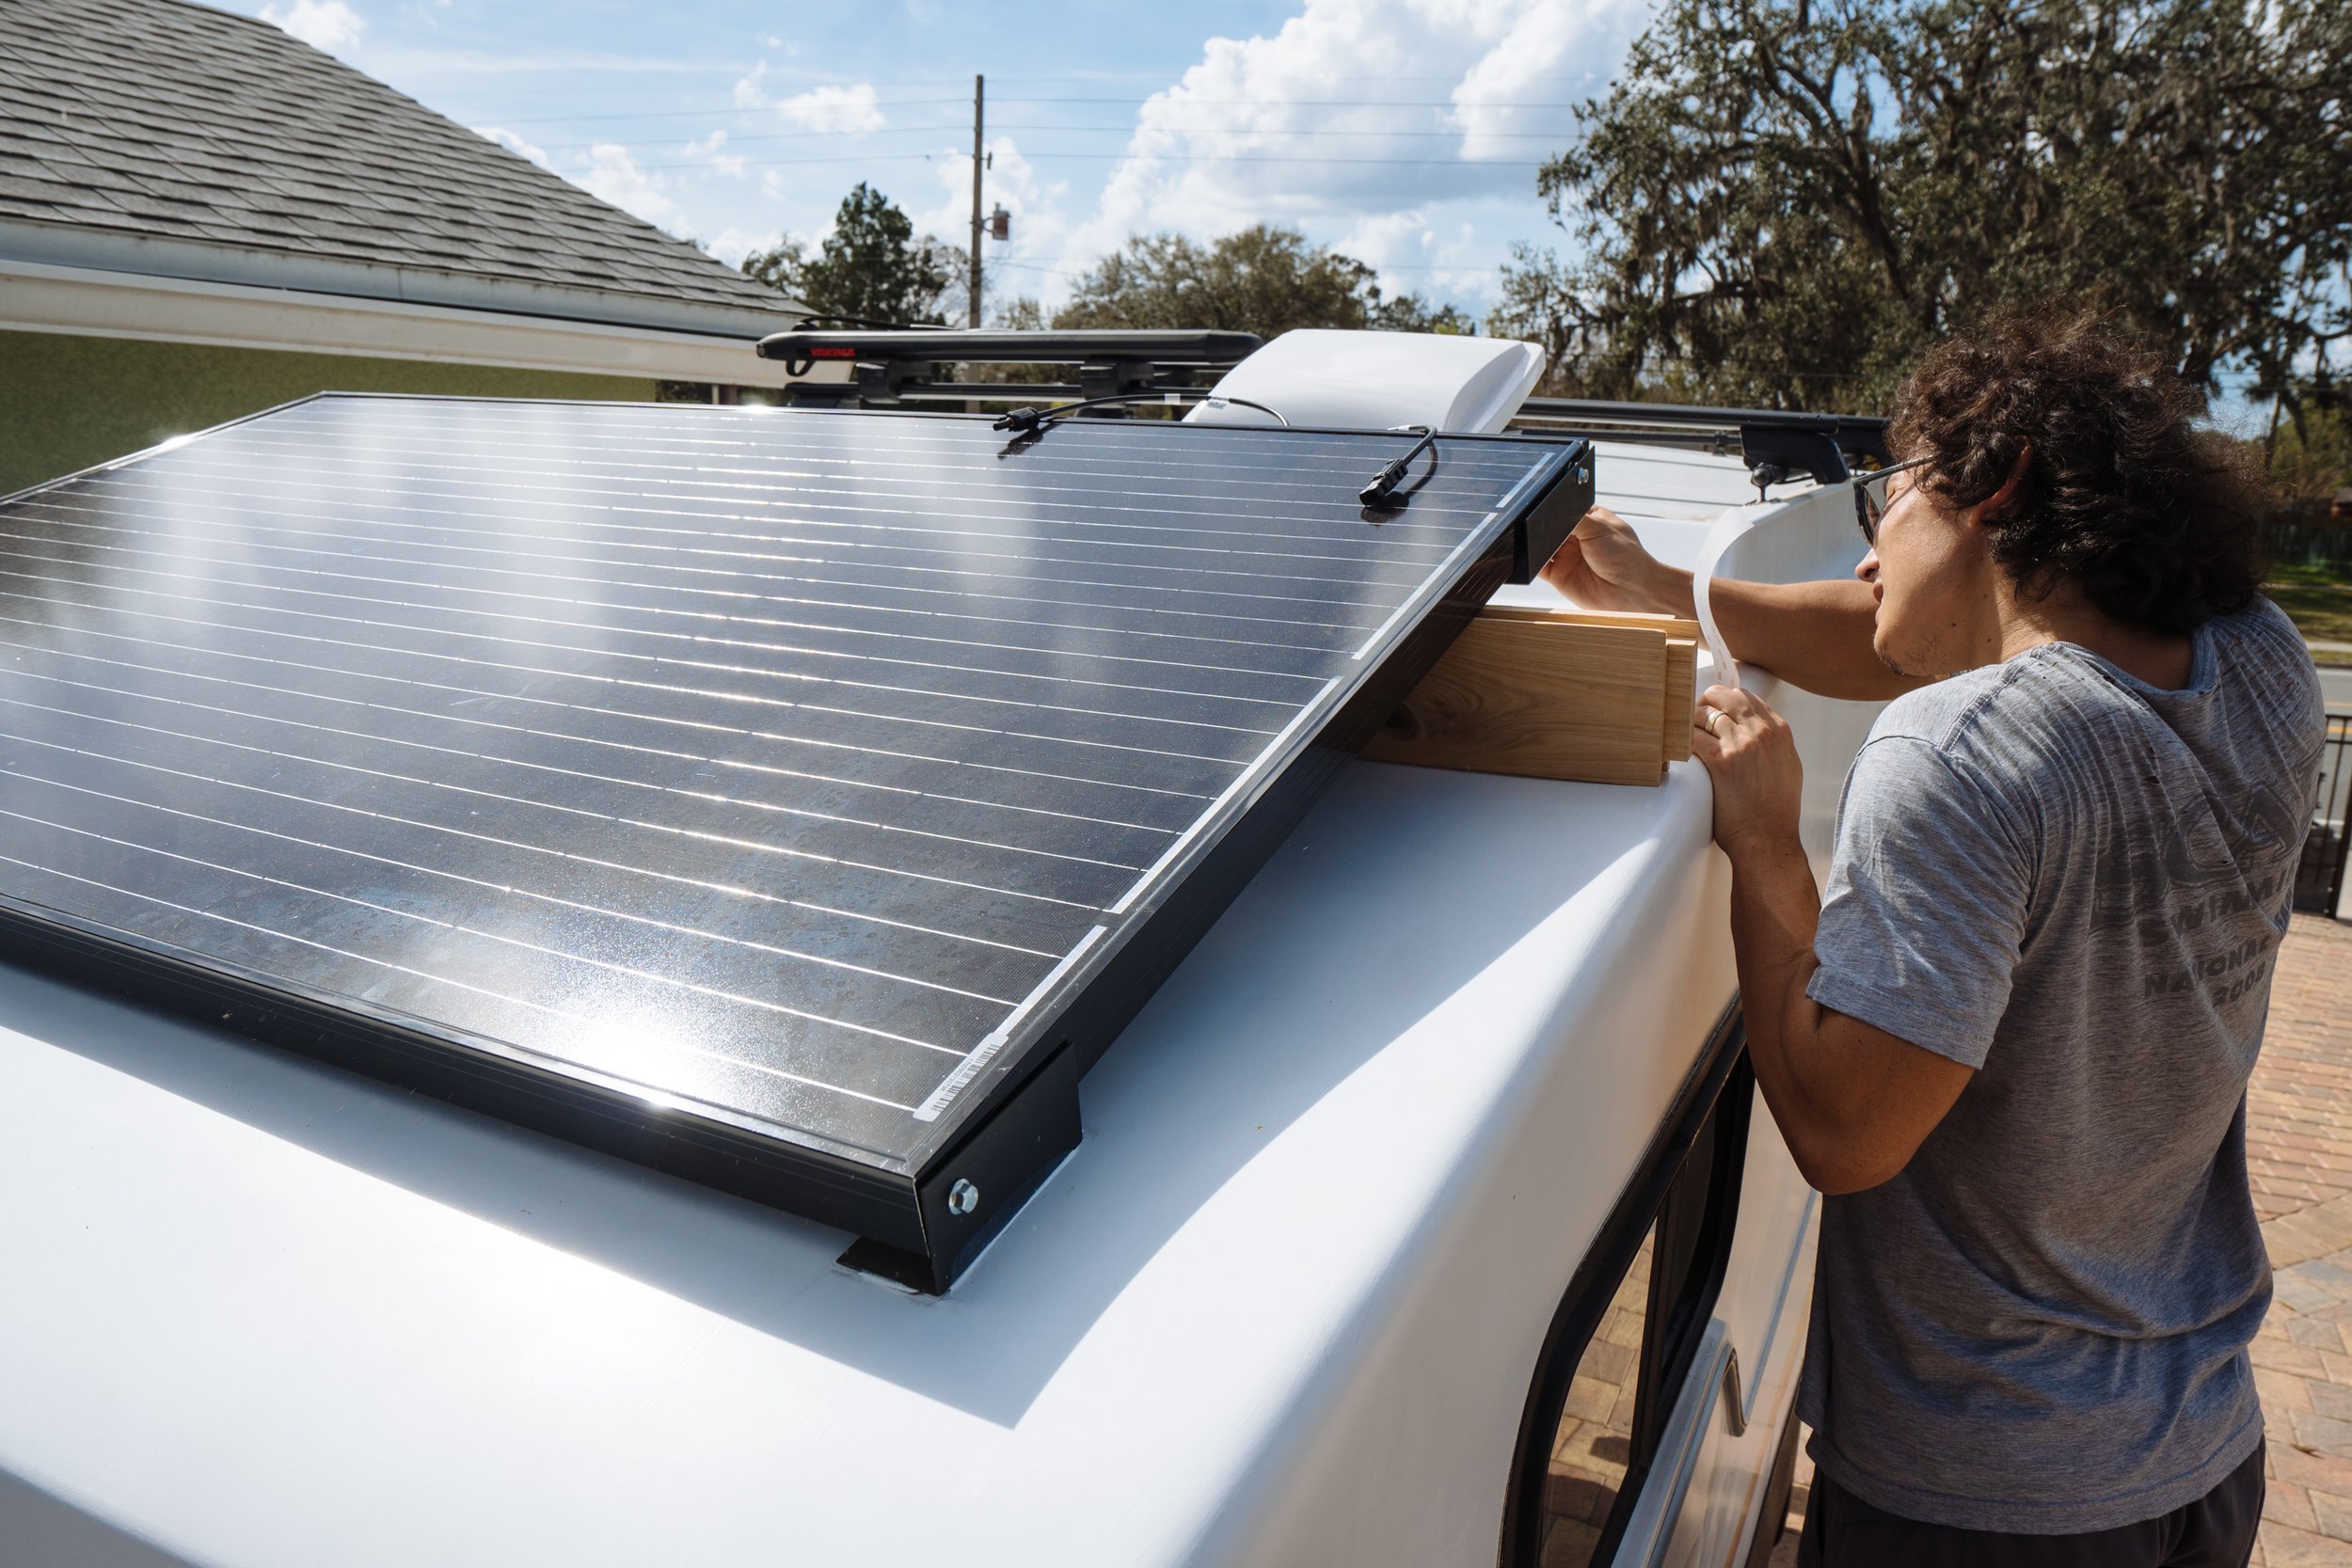
We fixed the back feet to the roof with VHB tape. I'll be the first to admit that I was incredibly skeptical of VHB tape. Anything with the word "tape" in it just seems like it would not be strong enough to hold a solar panel of this size to our roof. Owen kept saying that he was envisioning us needing to slam on the brakes causing the panel to go sailing down the road (which is another reason why we decided to bolt the front two brackets to the roof). After a glowing review from a very trusted source that mounts solar panels for a living (OTG Camper) and a lot of research we decided that it was more than strong enough for us. We applied the tape two stripes wide on our back brackets before getting the panel up onto the roof. We left the backing paper on until the panel was bolted into the front brackets and checked that everything was in place. As soon as the tape came in contact with the roof, that thing didn't even budge!

Well folks, that's a wrap for this week! *wipes sweat off brow* Can't wait to show you our progress next week! As always our supply list is to follow!
SUPPLY LIST
For Inquiring Minds
Box Painting
SEM Self Etching Primer
Kemperle's single stage Hot Rod paint in Flat Black - we purchased it in store
Tyvek Suit used for all painting
Back Bumper Painting & Water Fill Up
Raptor Liner in Black
Raptor Liner Gun
Water Fill Exterior Port
Cabinet Surfacing and Painting
Any ole White Exterior Paint
Pink to White Spackle for filling in the wood grain texture
Puddy knife
Dewalt Random Orbital Sander
Solar Panel Install
Aluminum "L" - for the brackets
Sikaflex - for sealing around the brackets
West System 610 Epoxy - for glueing up the G10
G10 blocks - for the wall support
Renogy 280 Watt Solar Panel
VHB Tape - for taping down the back brackets