Build Out: Week 7
This past week has been pretty different from everything to date. Up until now we've been rolling smoothly through the build. The order in which we've been tackling projects has been very clear, and there was a lot needing to be worked on all at once. Until this week.
For some reason this week things have gotten complicated. It feels like there's so much to do, but it's really unclear what needs to be done first. We have gotten to the point where all of our projects are dependent on something else being 100% done. What needs to come first? The chicken or the egg?

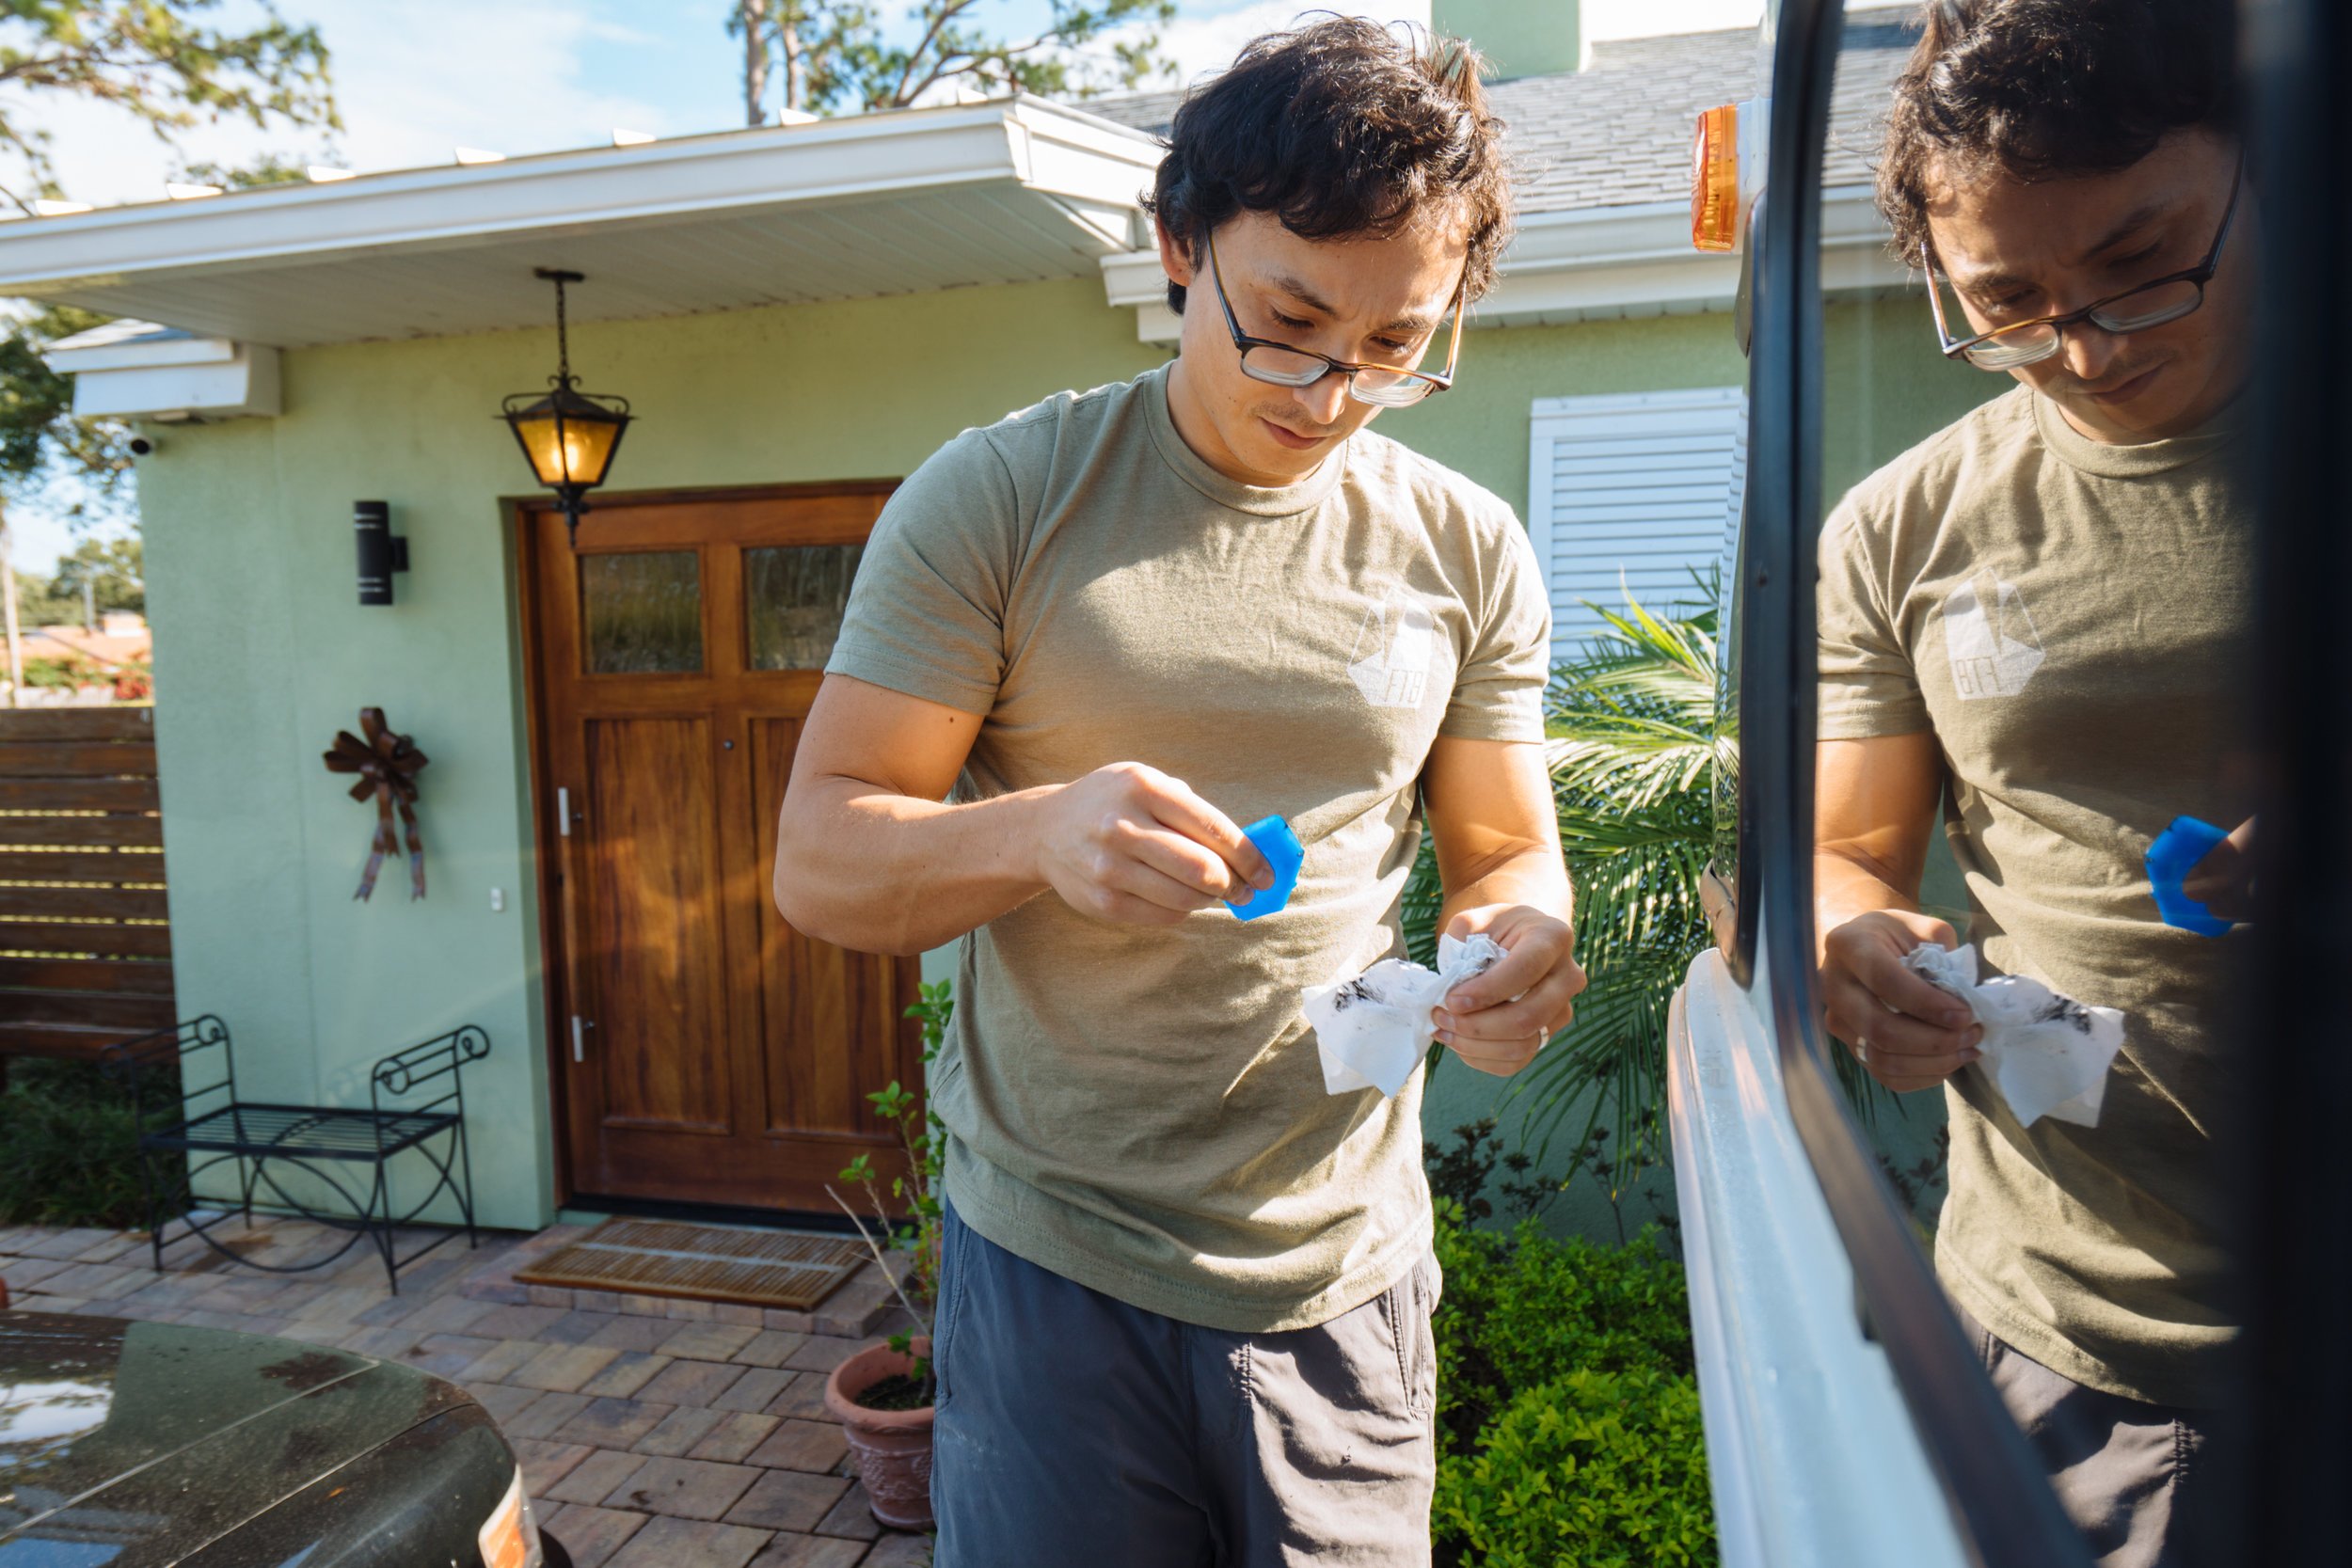
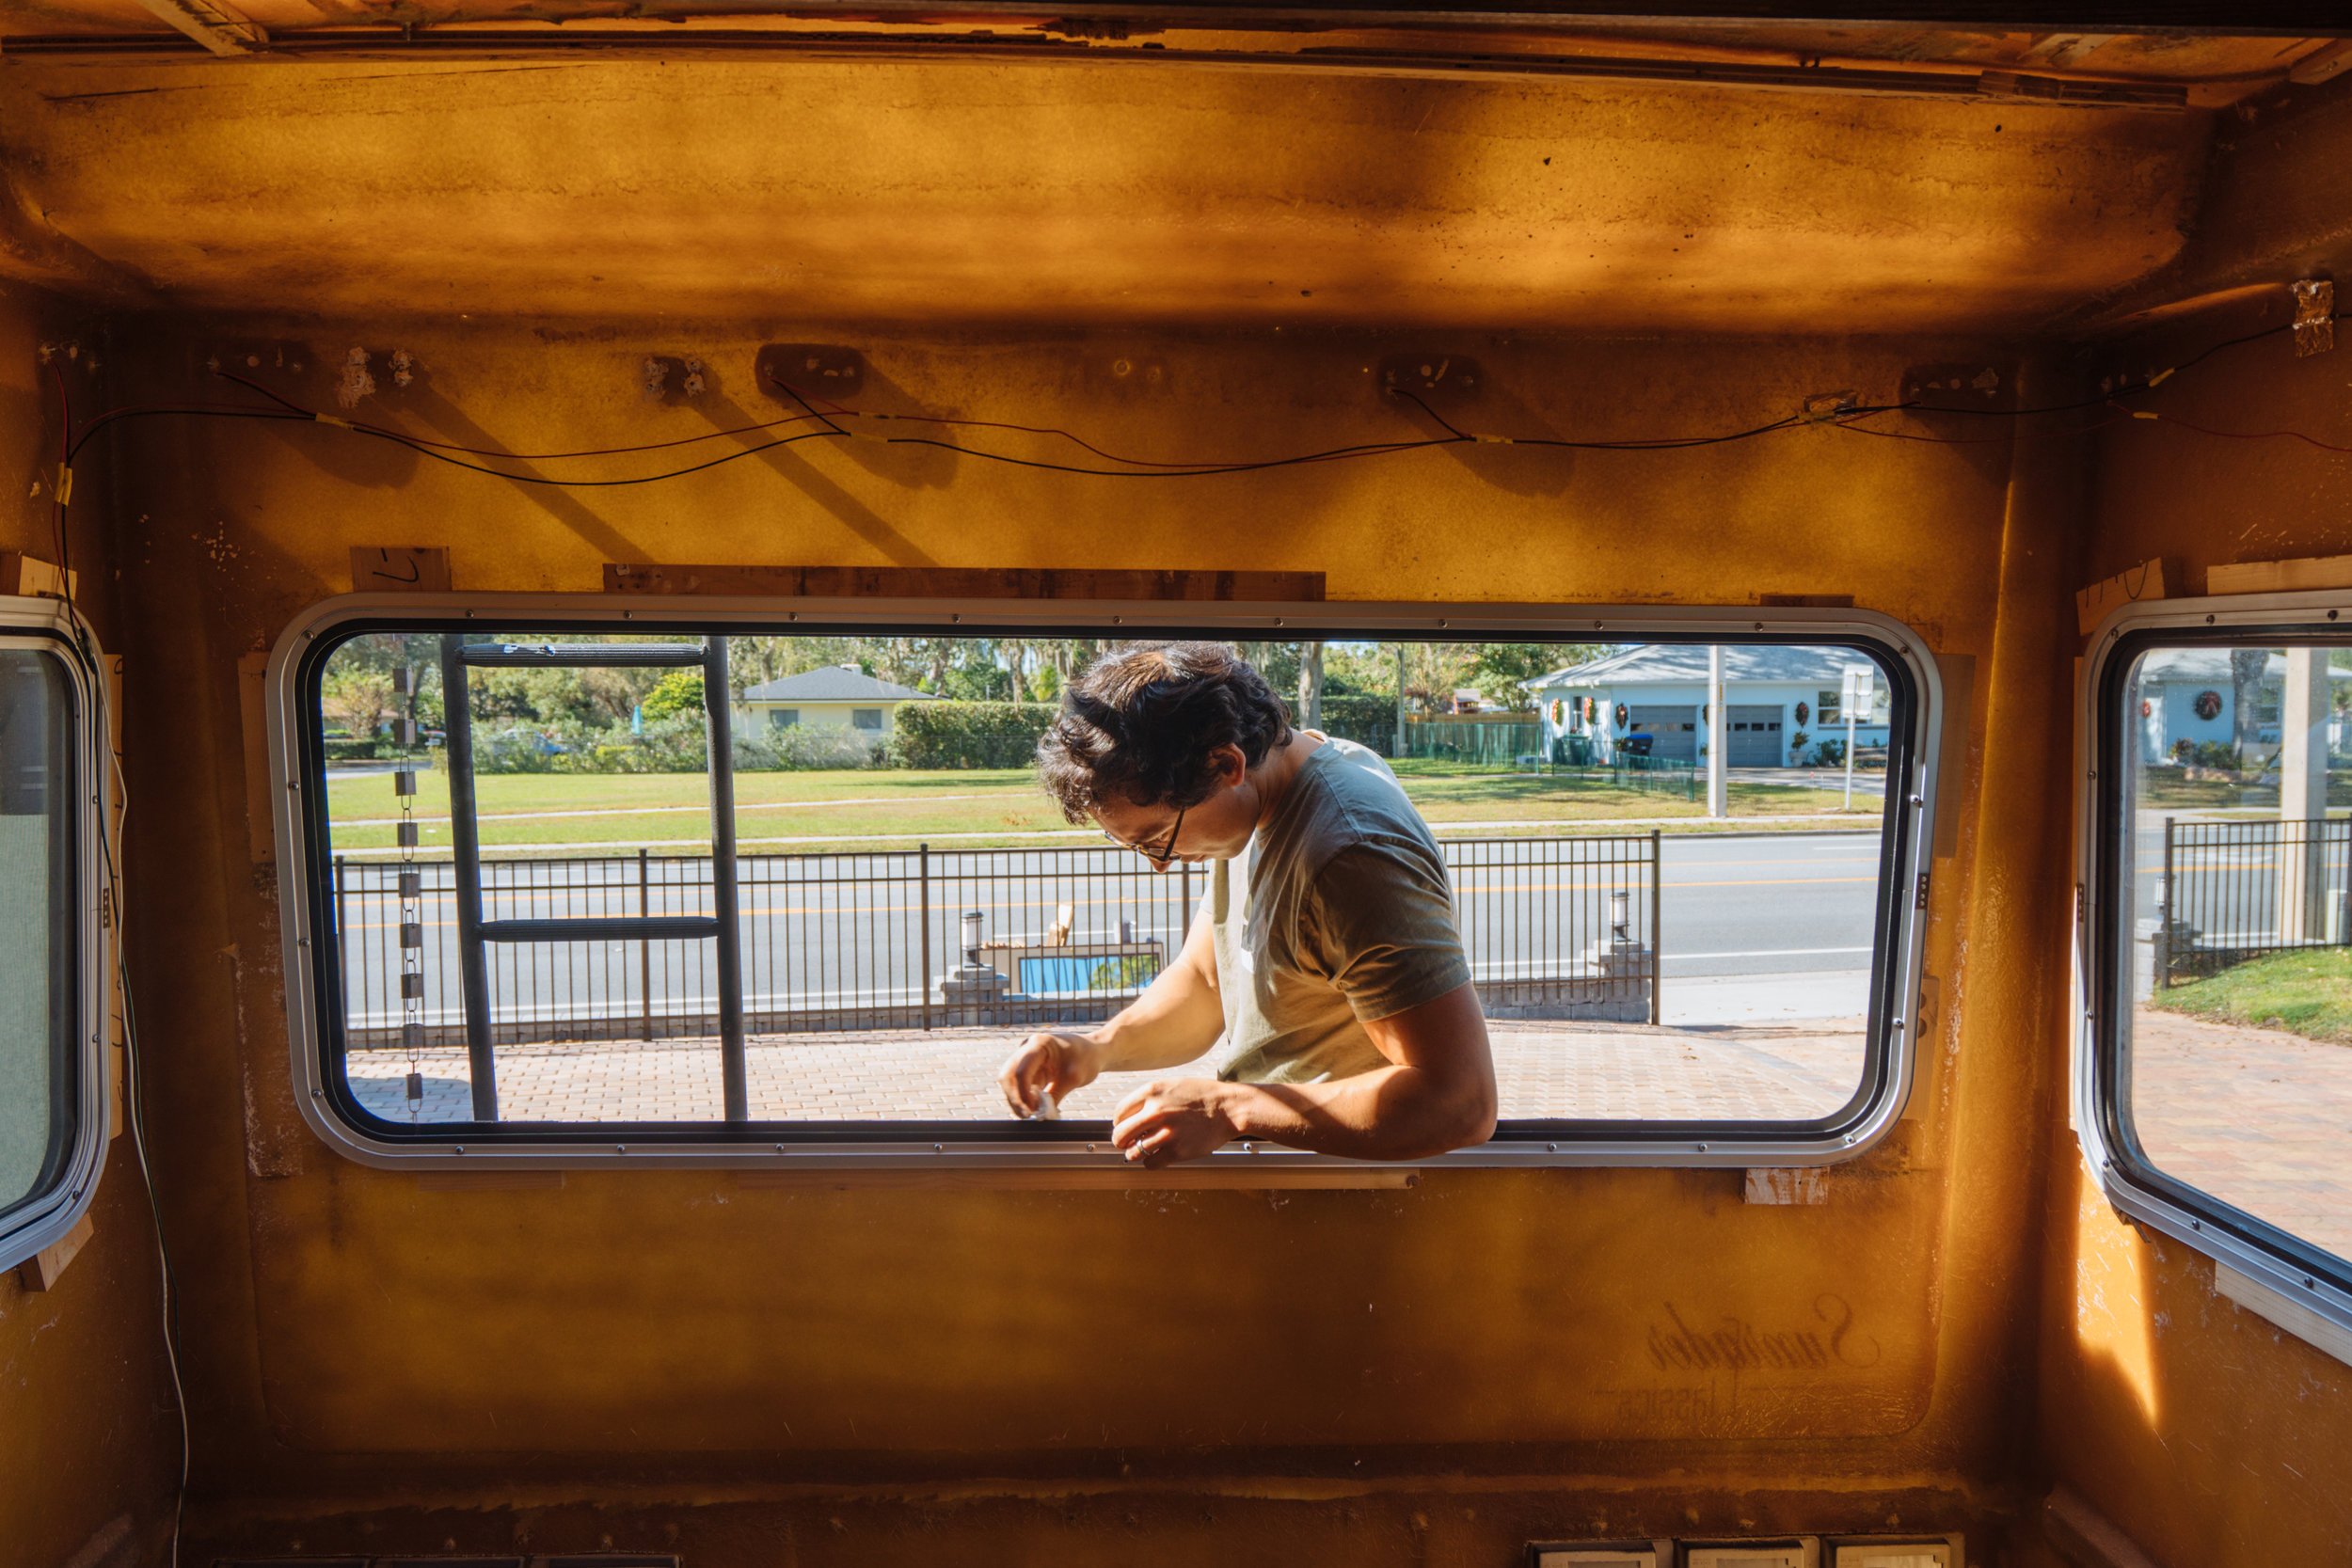
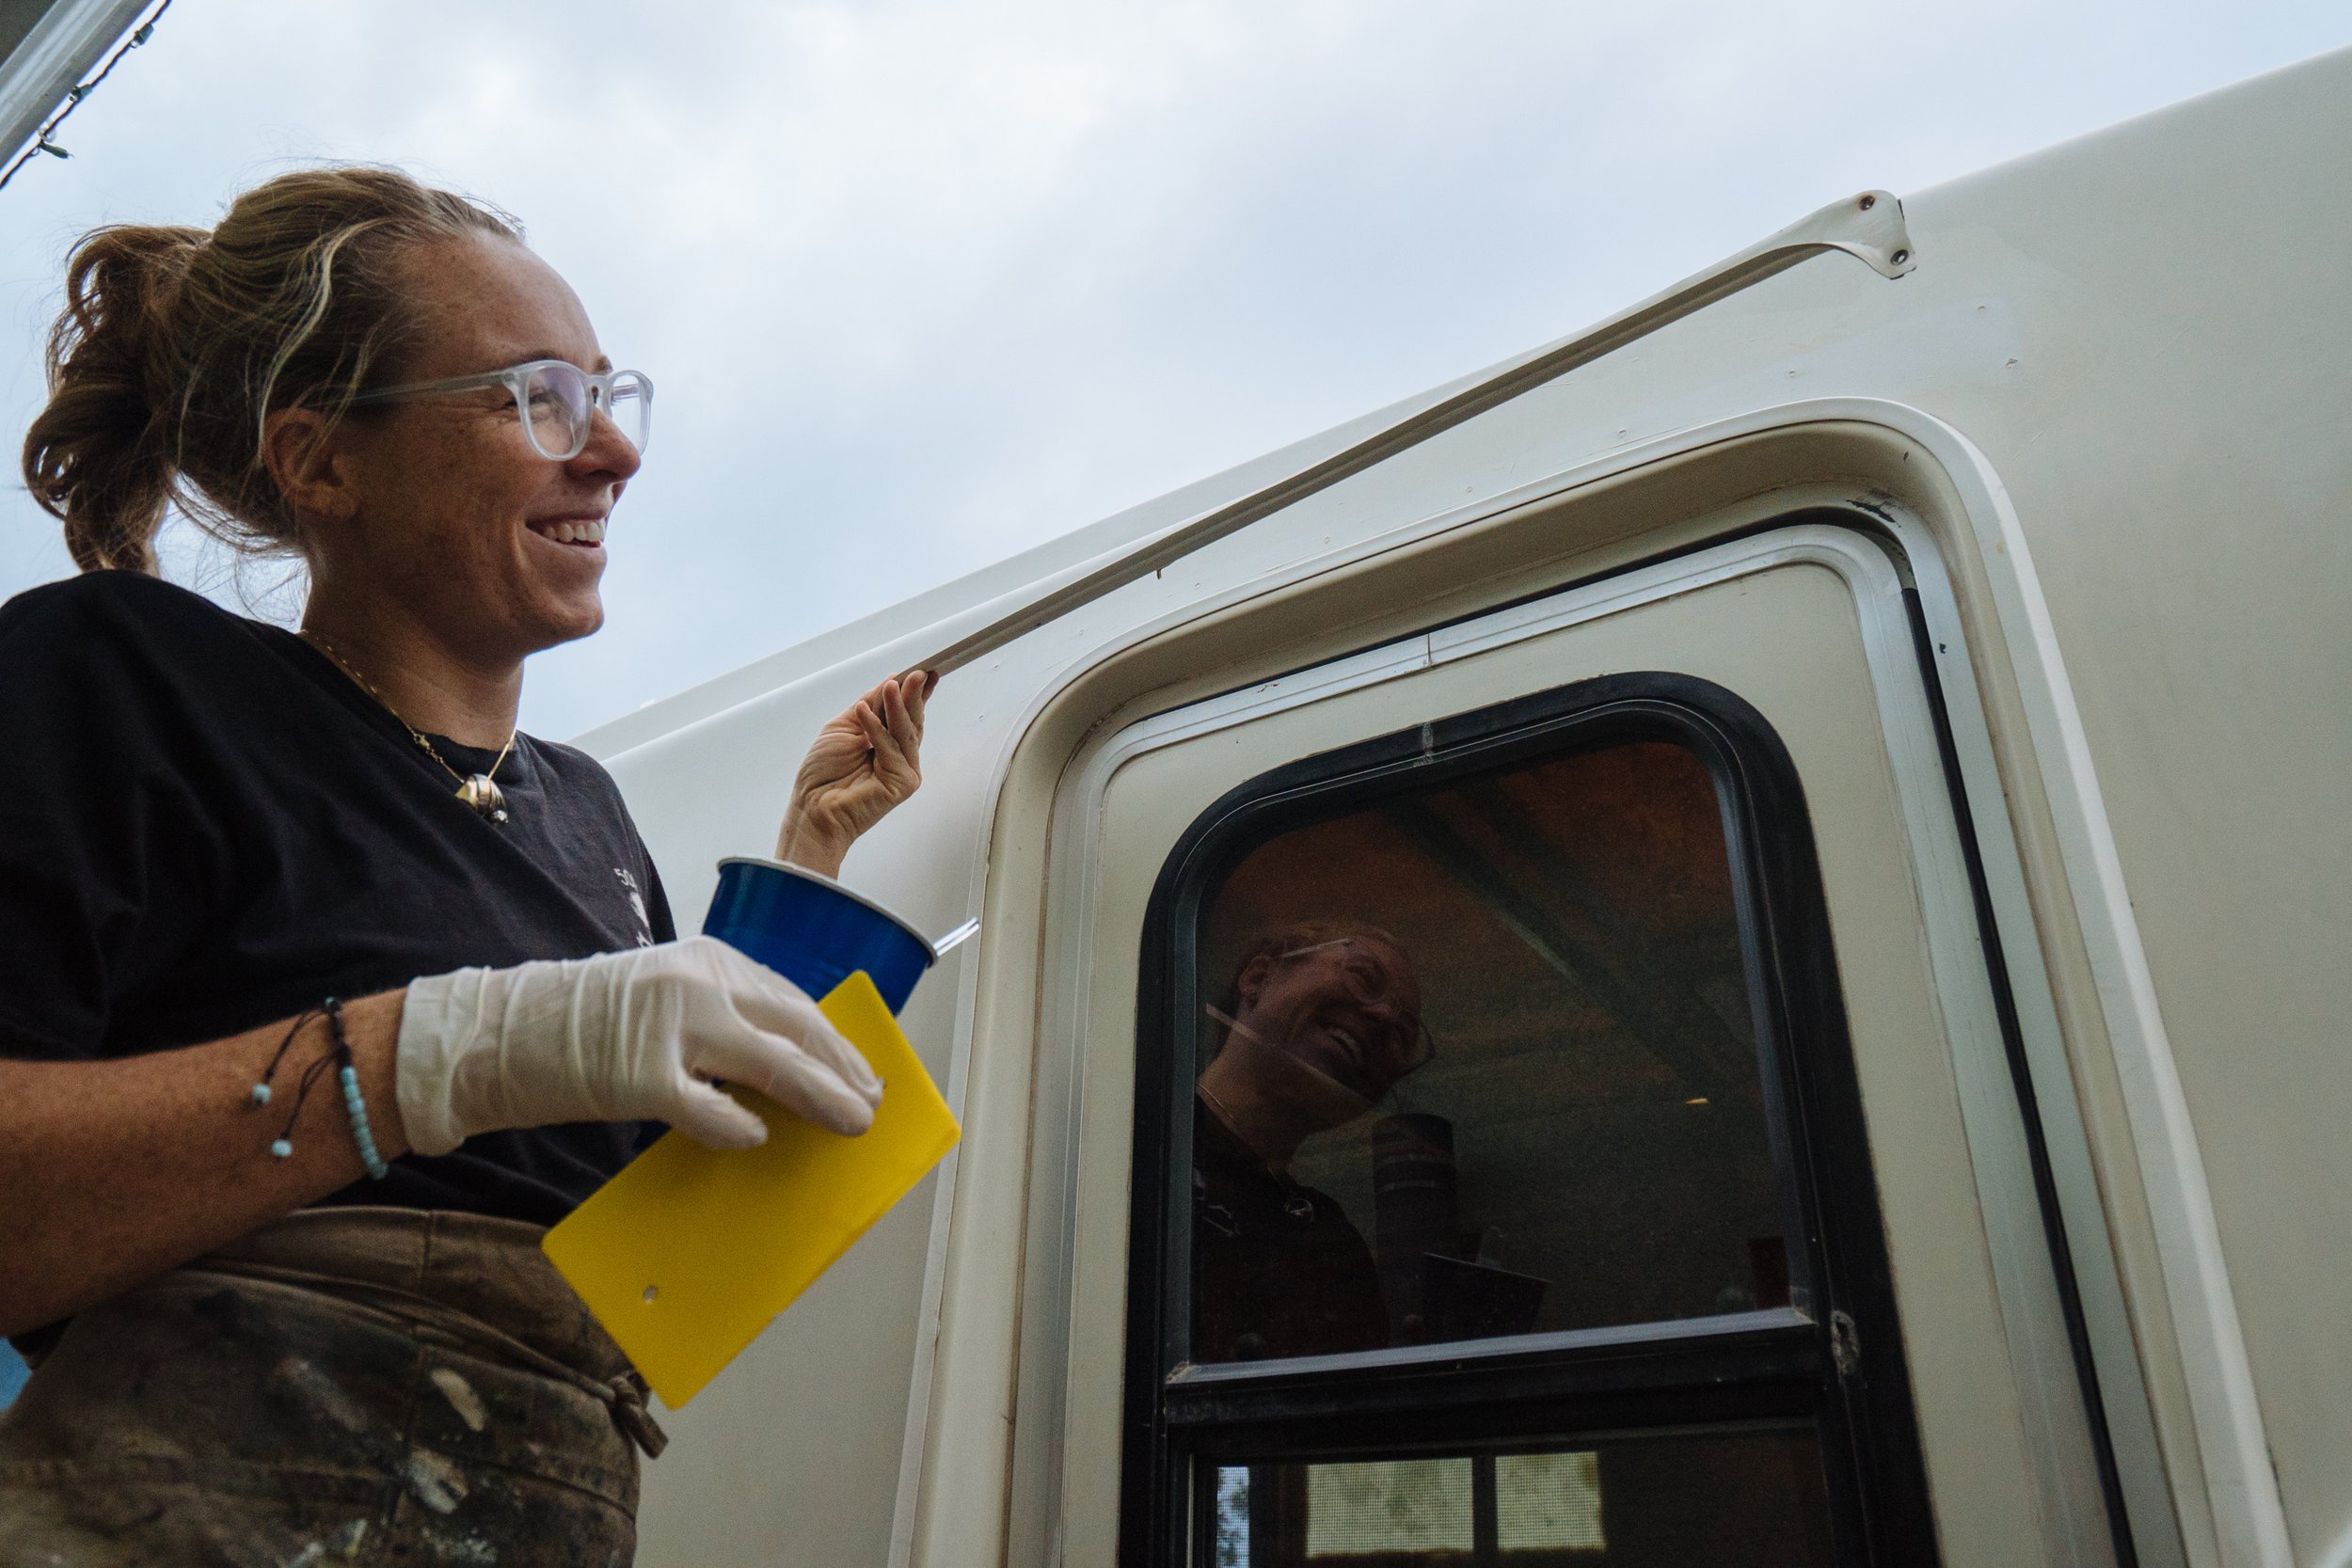
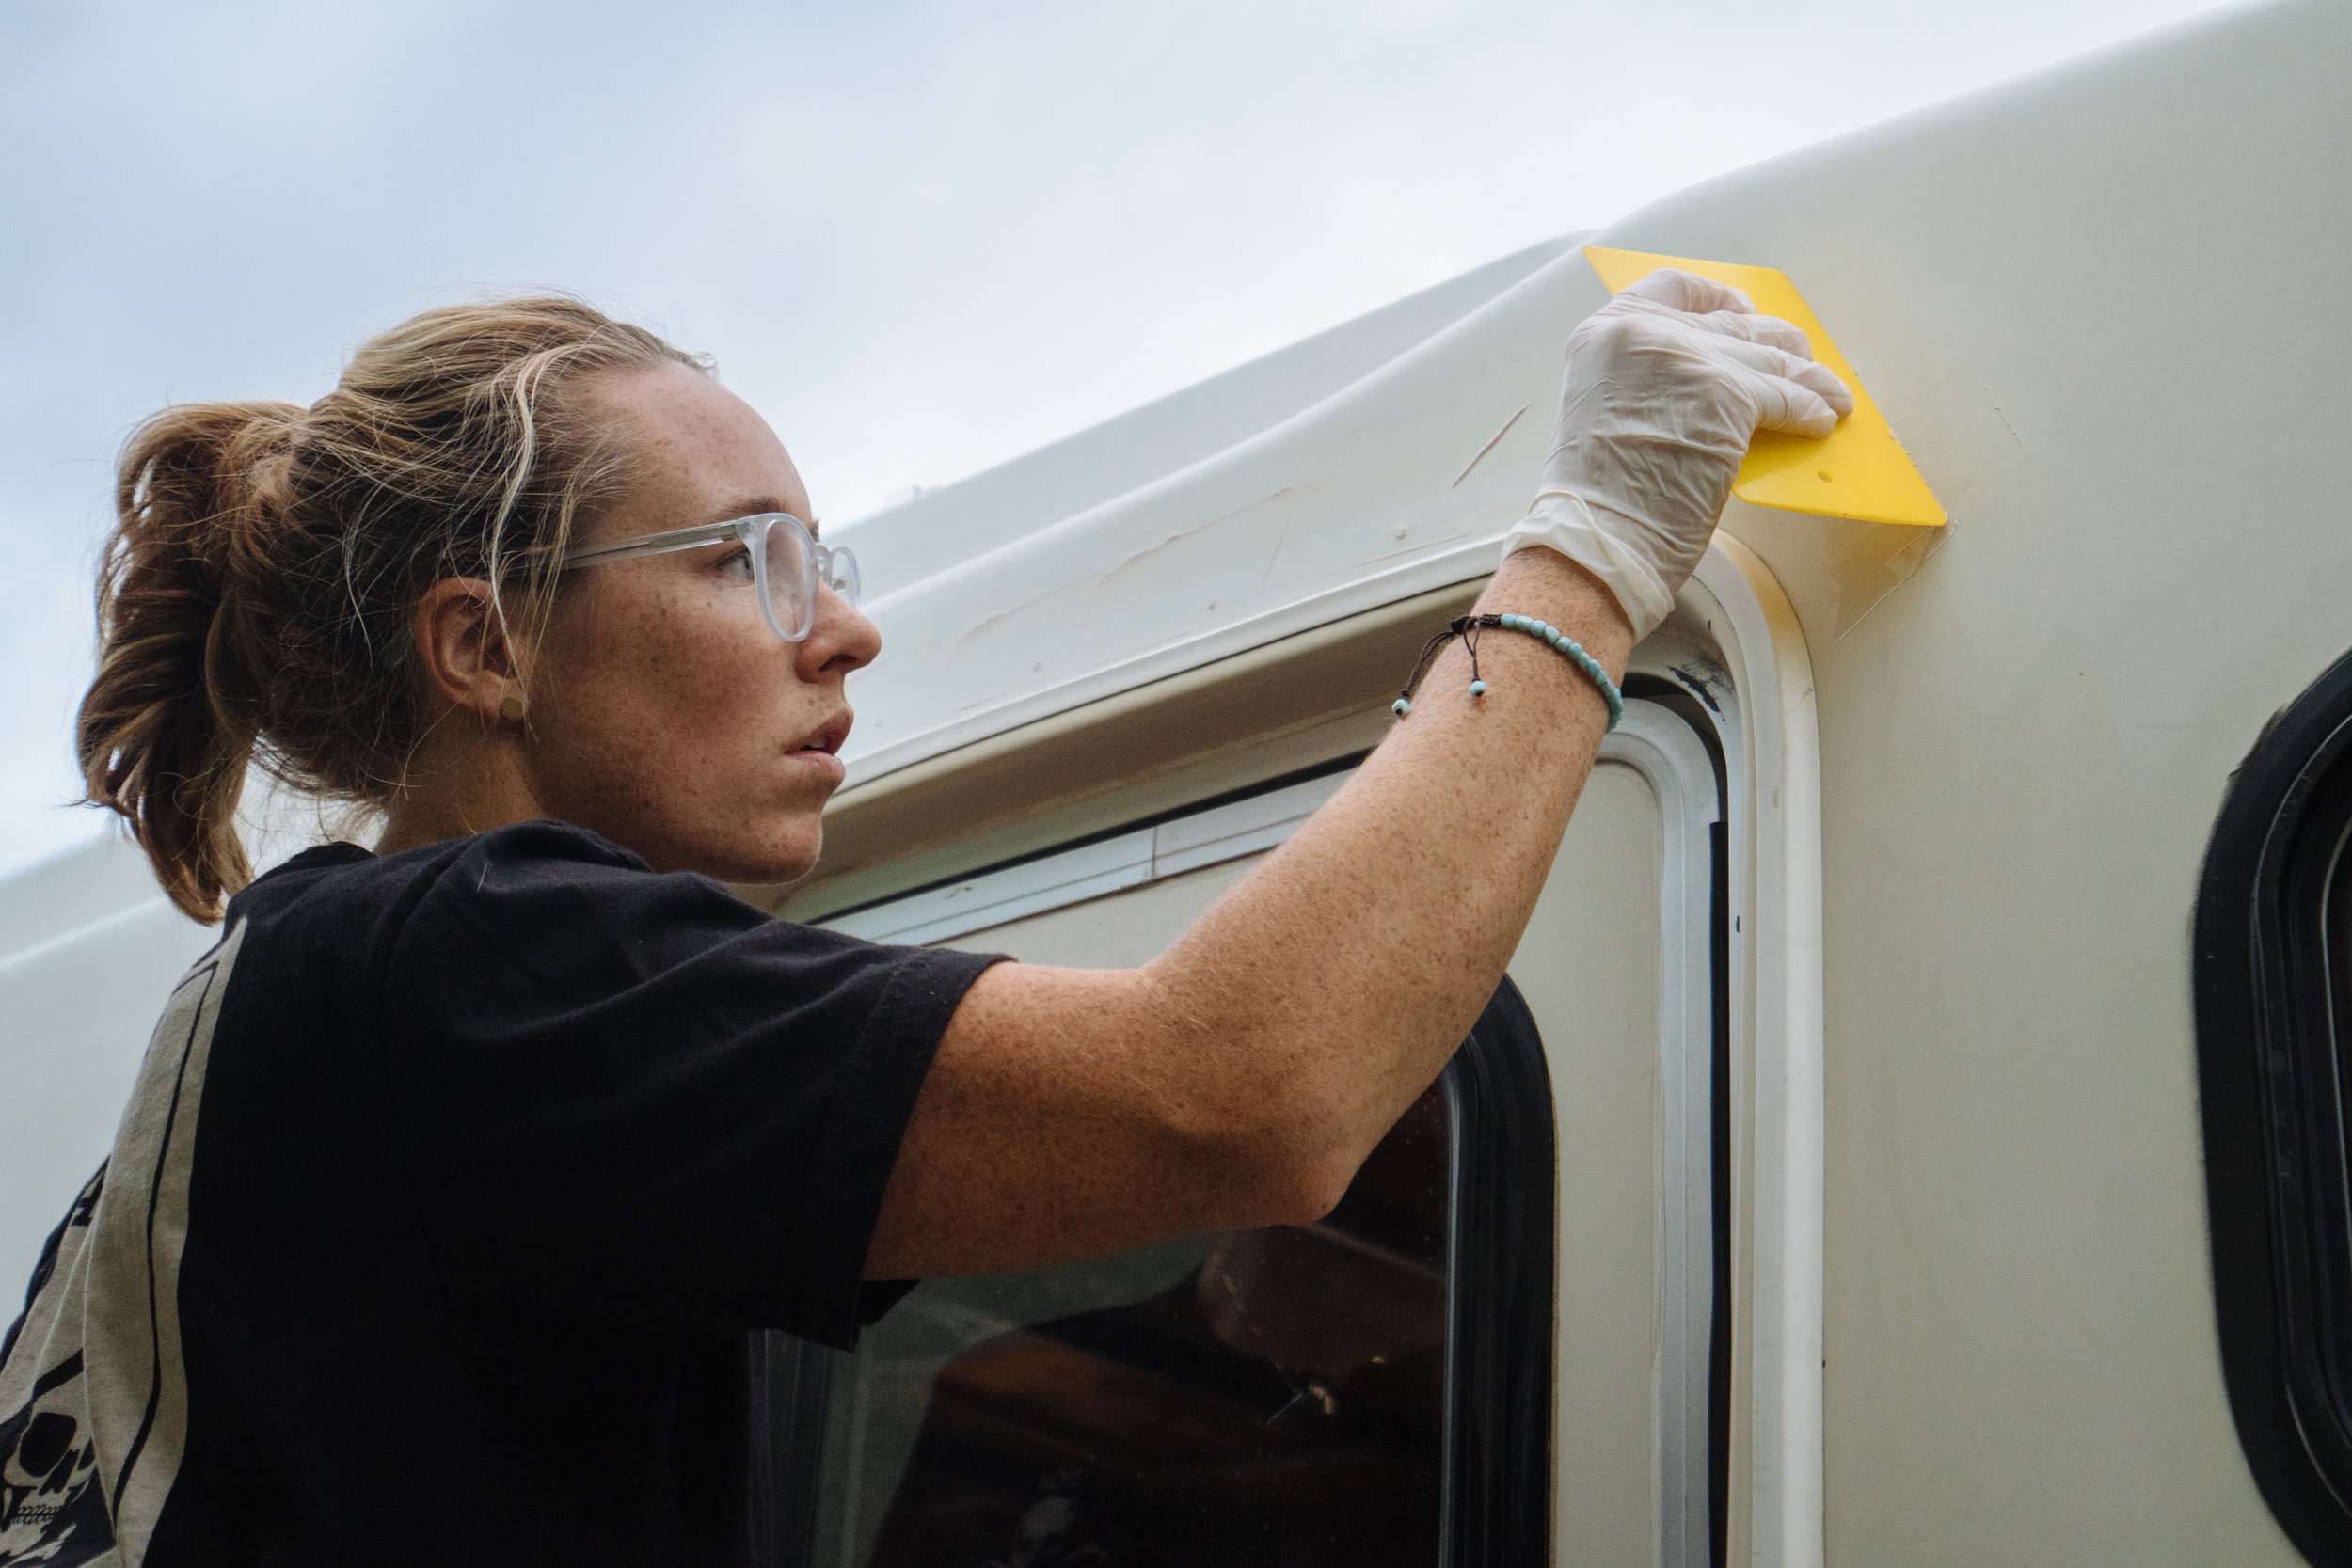
The first thing we did this week was a water test. We felt that we were finally ready to start working on the interior but we needed to know that all of our work thus far is water tight. We took a hose to the outside of Amelia and sprayed her front to back, with a focus on anything that leaked in the past. Sadly, we found 5 or 6 leaks and they were all places we hadn't noticed leak before. For what ever reason that discovery hit me really hard. We've been working so hard day after day on Amelia, and we're finding new leaks for the first time. Those leaks put us even further from being able to put anything back into Amelia. Owen, of course, was totally fine but I on the other hand, had a total melt down.
I'm a person that needs a plan or a to-do list to get me through moments (or days in this case) when I'm feeling stressed and ineffective. Owen and I took some time to figure out what we could get on the check list so we could move forward. We discovered that we absolutely have to be 100% done with our exterior before this build can take any major steps forward, more specifically the paint. The reason why the paint needs to be sorted is because we can't make any final leak repairs or sealing if those things will just need to come out again when the exterior gets painted. As we see it we have one of the following options:
Do nothing and leave raw fiberglass spots (there's no way in hell I'd ever allow for that)
Have someone come out and color match our gel coat on just the areas that were fixed
Have the entire body re-gel coated
Have the body painted
Have the body wrapped professionally
*Note that I never said that we would try to paint it ourselves.*

After going through all of the above options...I've decided that I'll be repainting Amelia's fiberglass body myself. We got numerous quotes, researched all of the different options, and watched hours of tutorials. With a tight budget, we came to the realization that doing it ourselves was our best option. I'll be painting Amelia using a gel coat painting technique called roll and tip. It's typically a technique used in painting boats, but I think that it'll give us a finish that we'll be happy with and can manage on our own.
We have sourced all of the materials that I'll need to remove Amelia's old decals, prep, and prime for painting. In the mean time we moved on to some other things while we are waiting for the materials to come in.
In other news, we have another video up on YouTube! It covers all of the fiberglassing that we've done on Amelia! If I seem sad or down trodden in this video, just know it's pure fear. ;) Thankfully I'm not afraid of it anymore, and feel a lot better about the process as a whole!
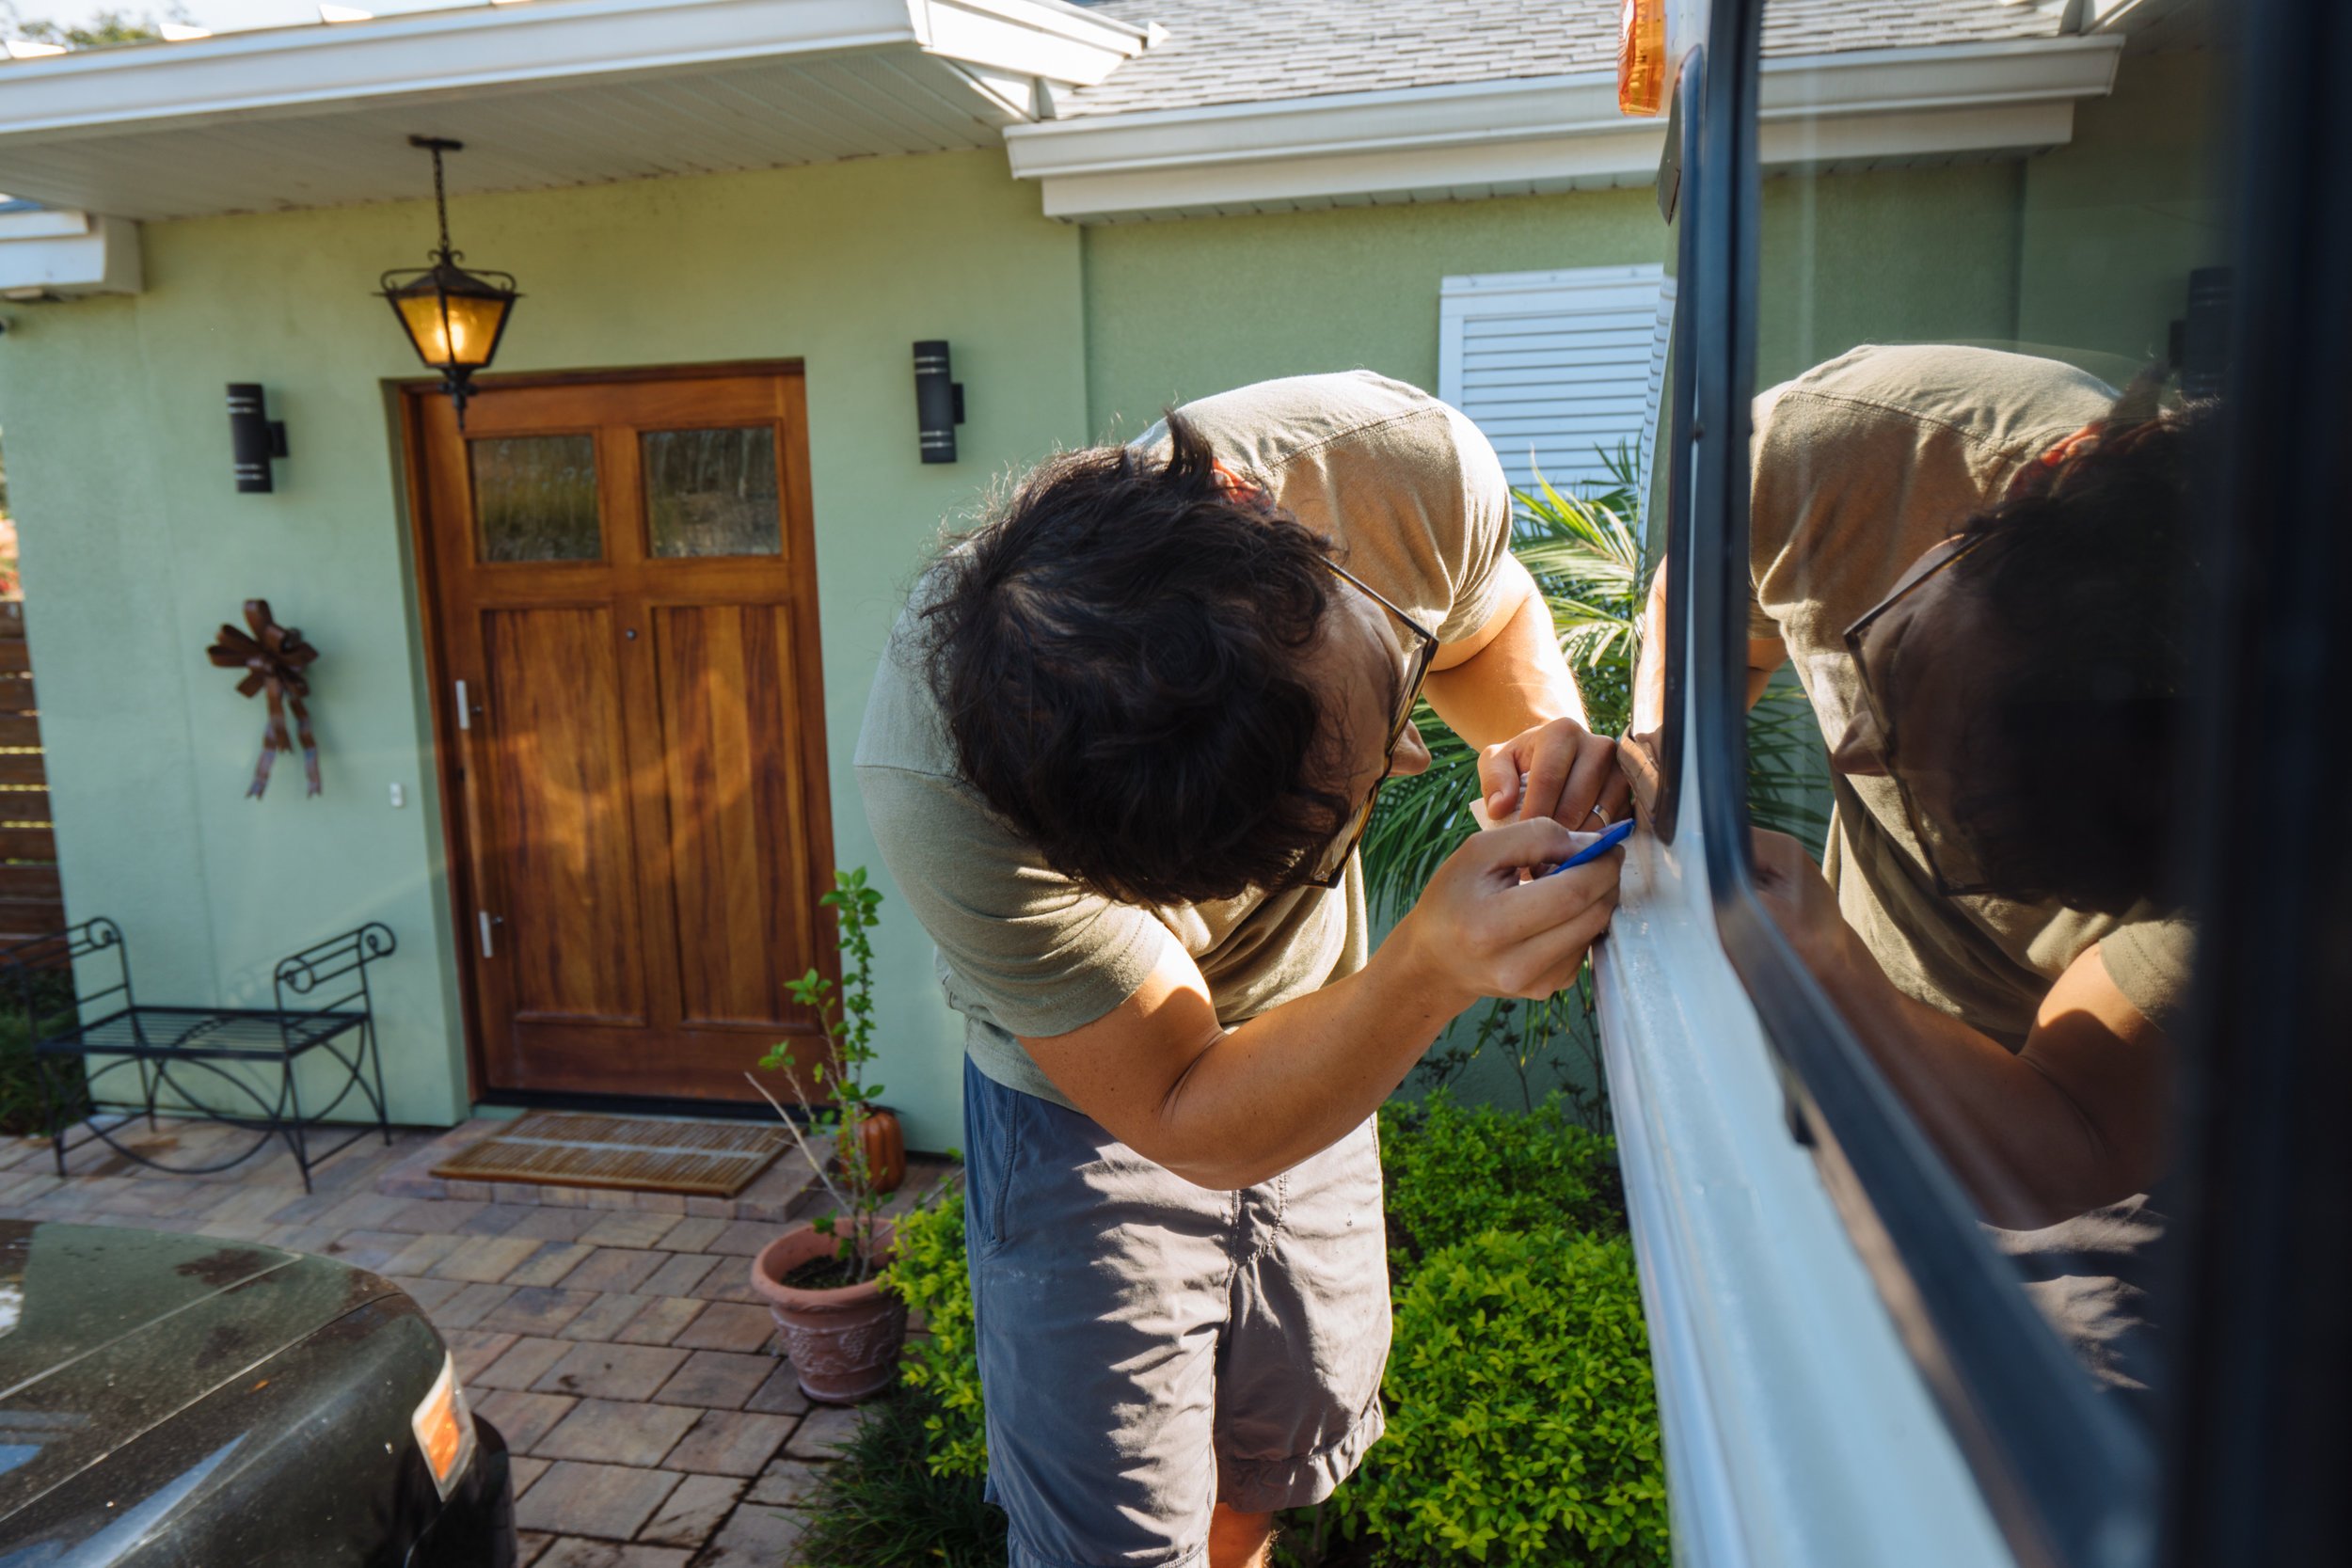
Our water test revealed that our front windows were successfully installed but we wanted to go over the seams where the seals came together with a little sealant (which we will link at the bottom of the post) to be sure that they are 100% water tight over time. This sealant means business with its 7 day cure time!
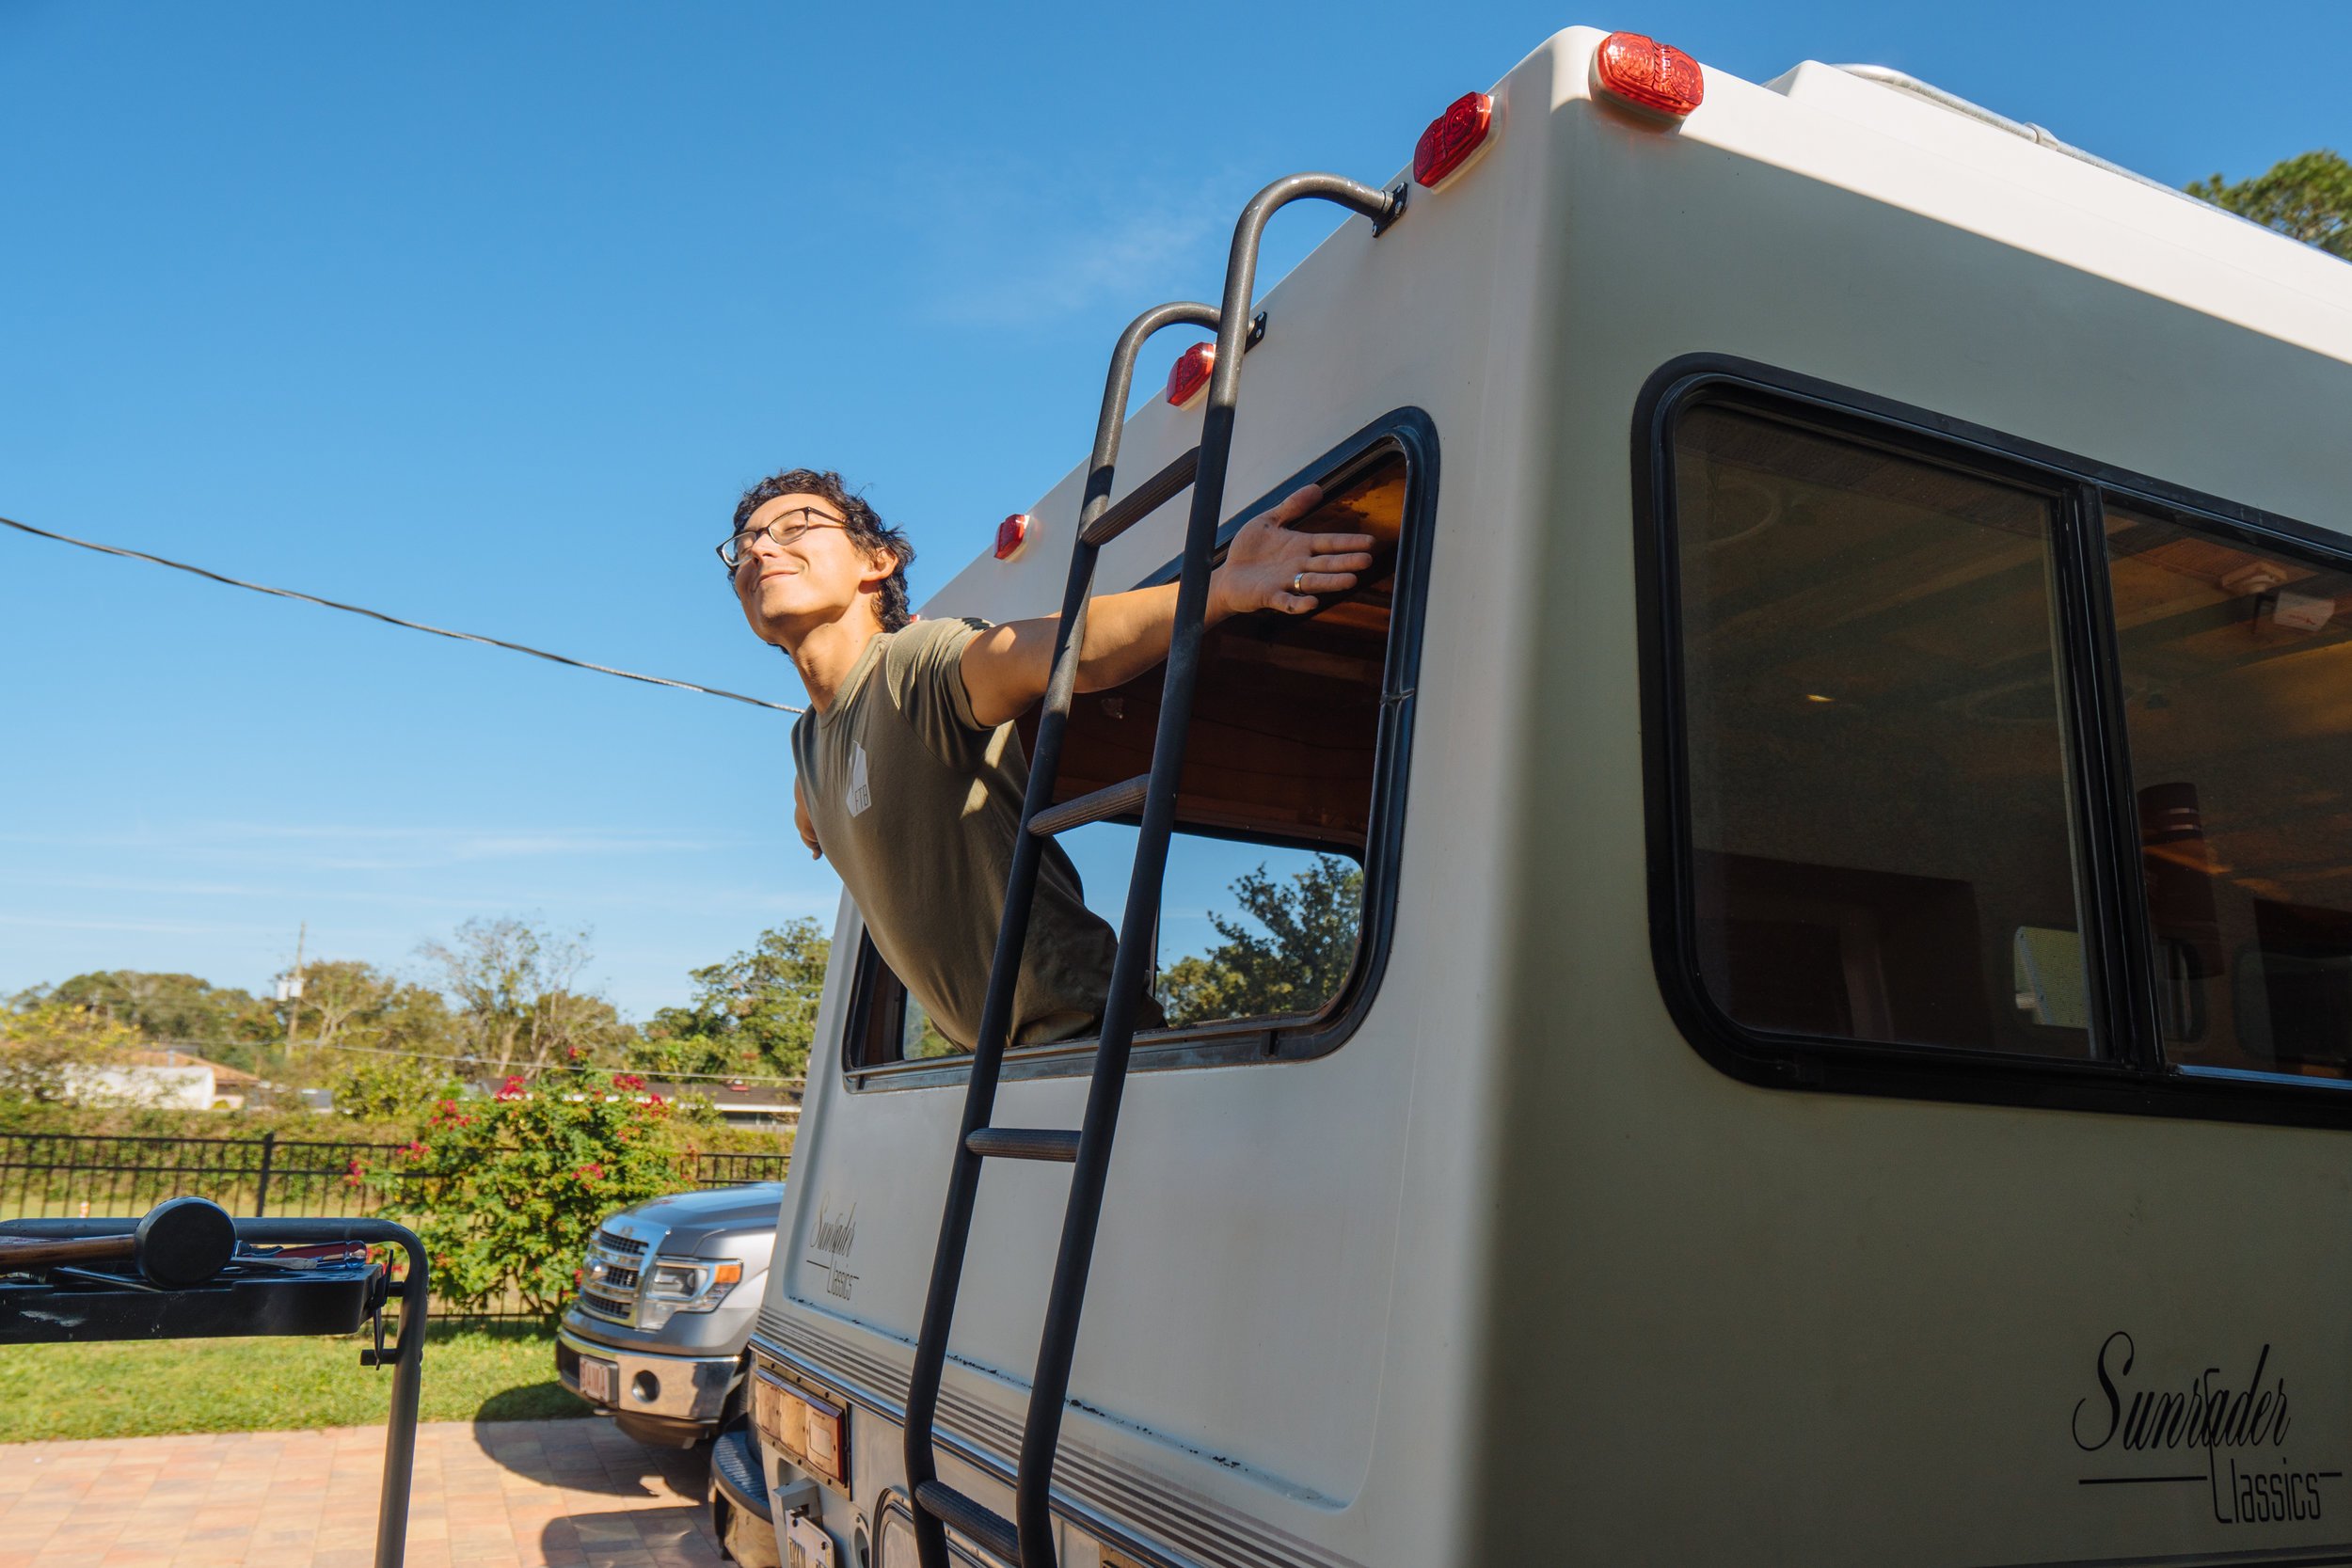
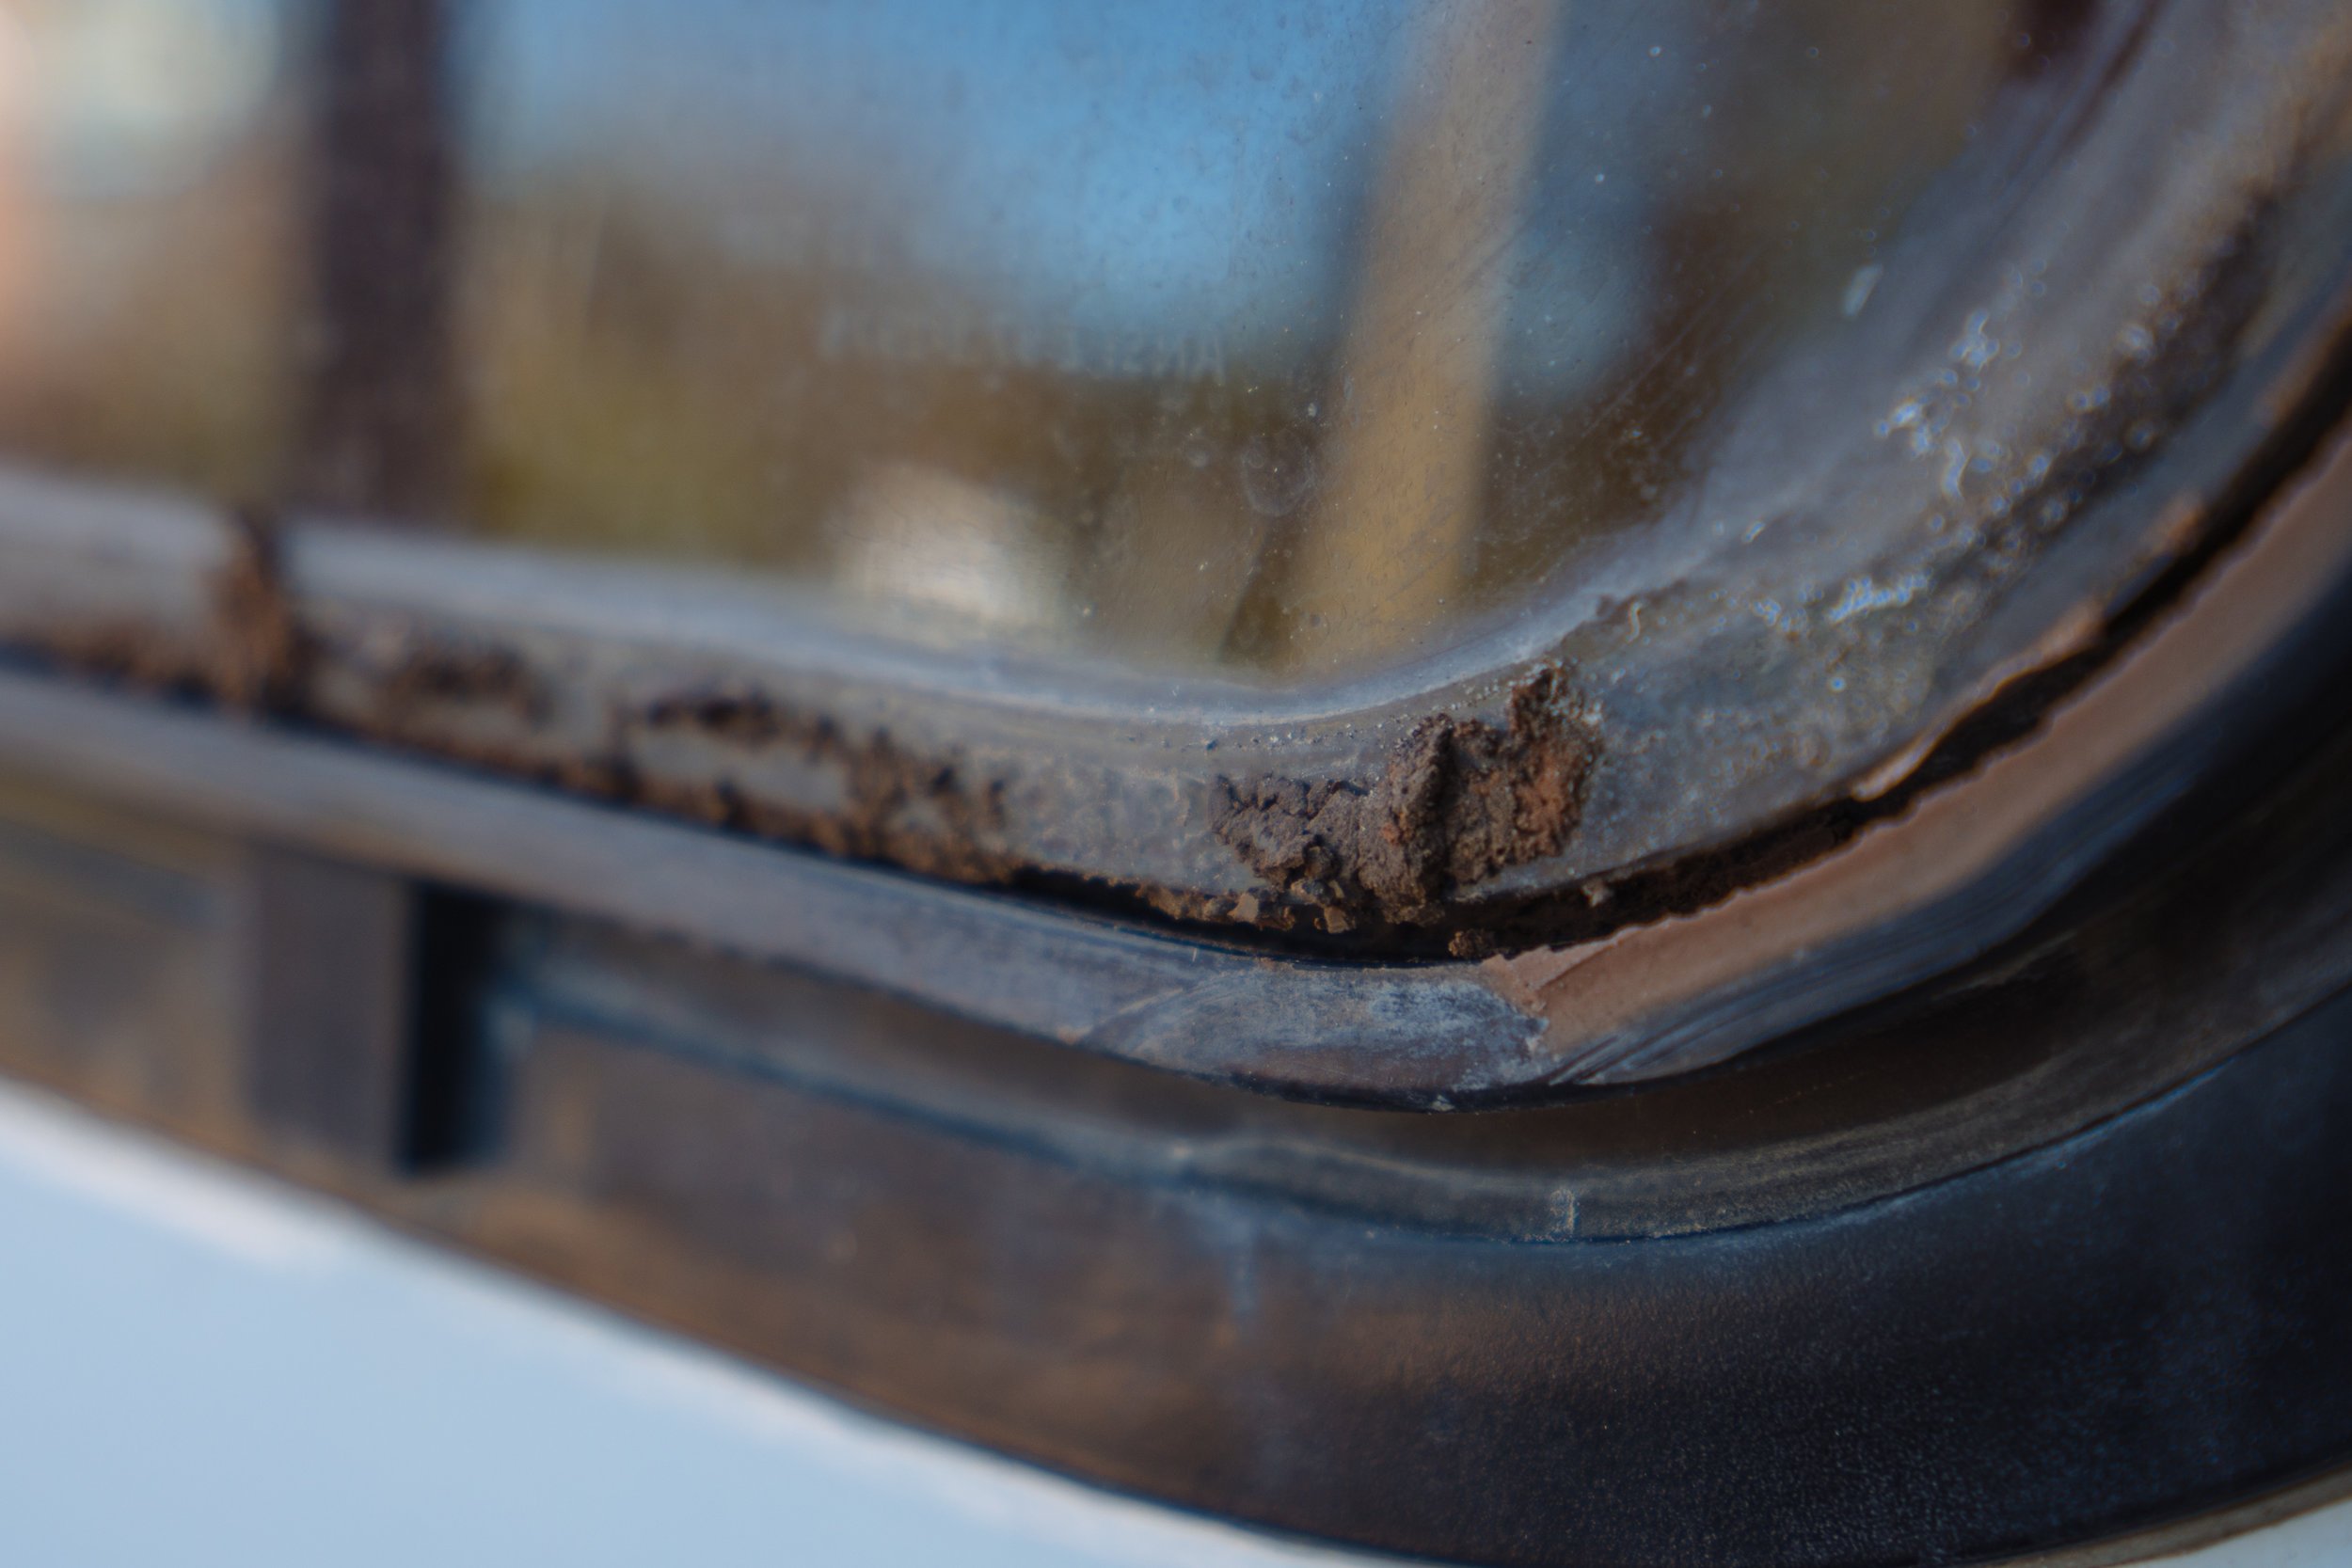
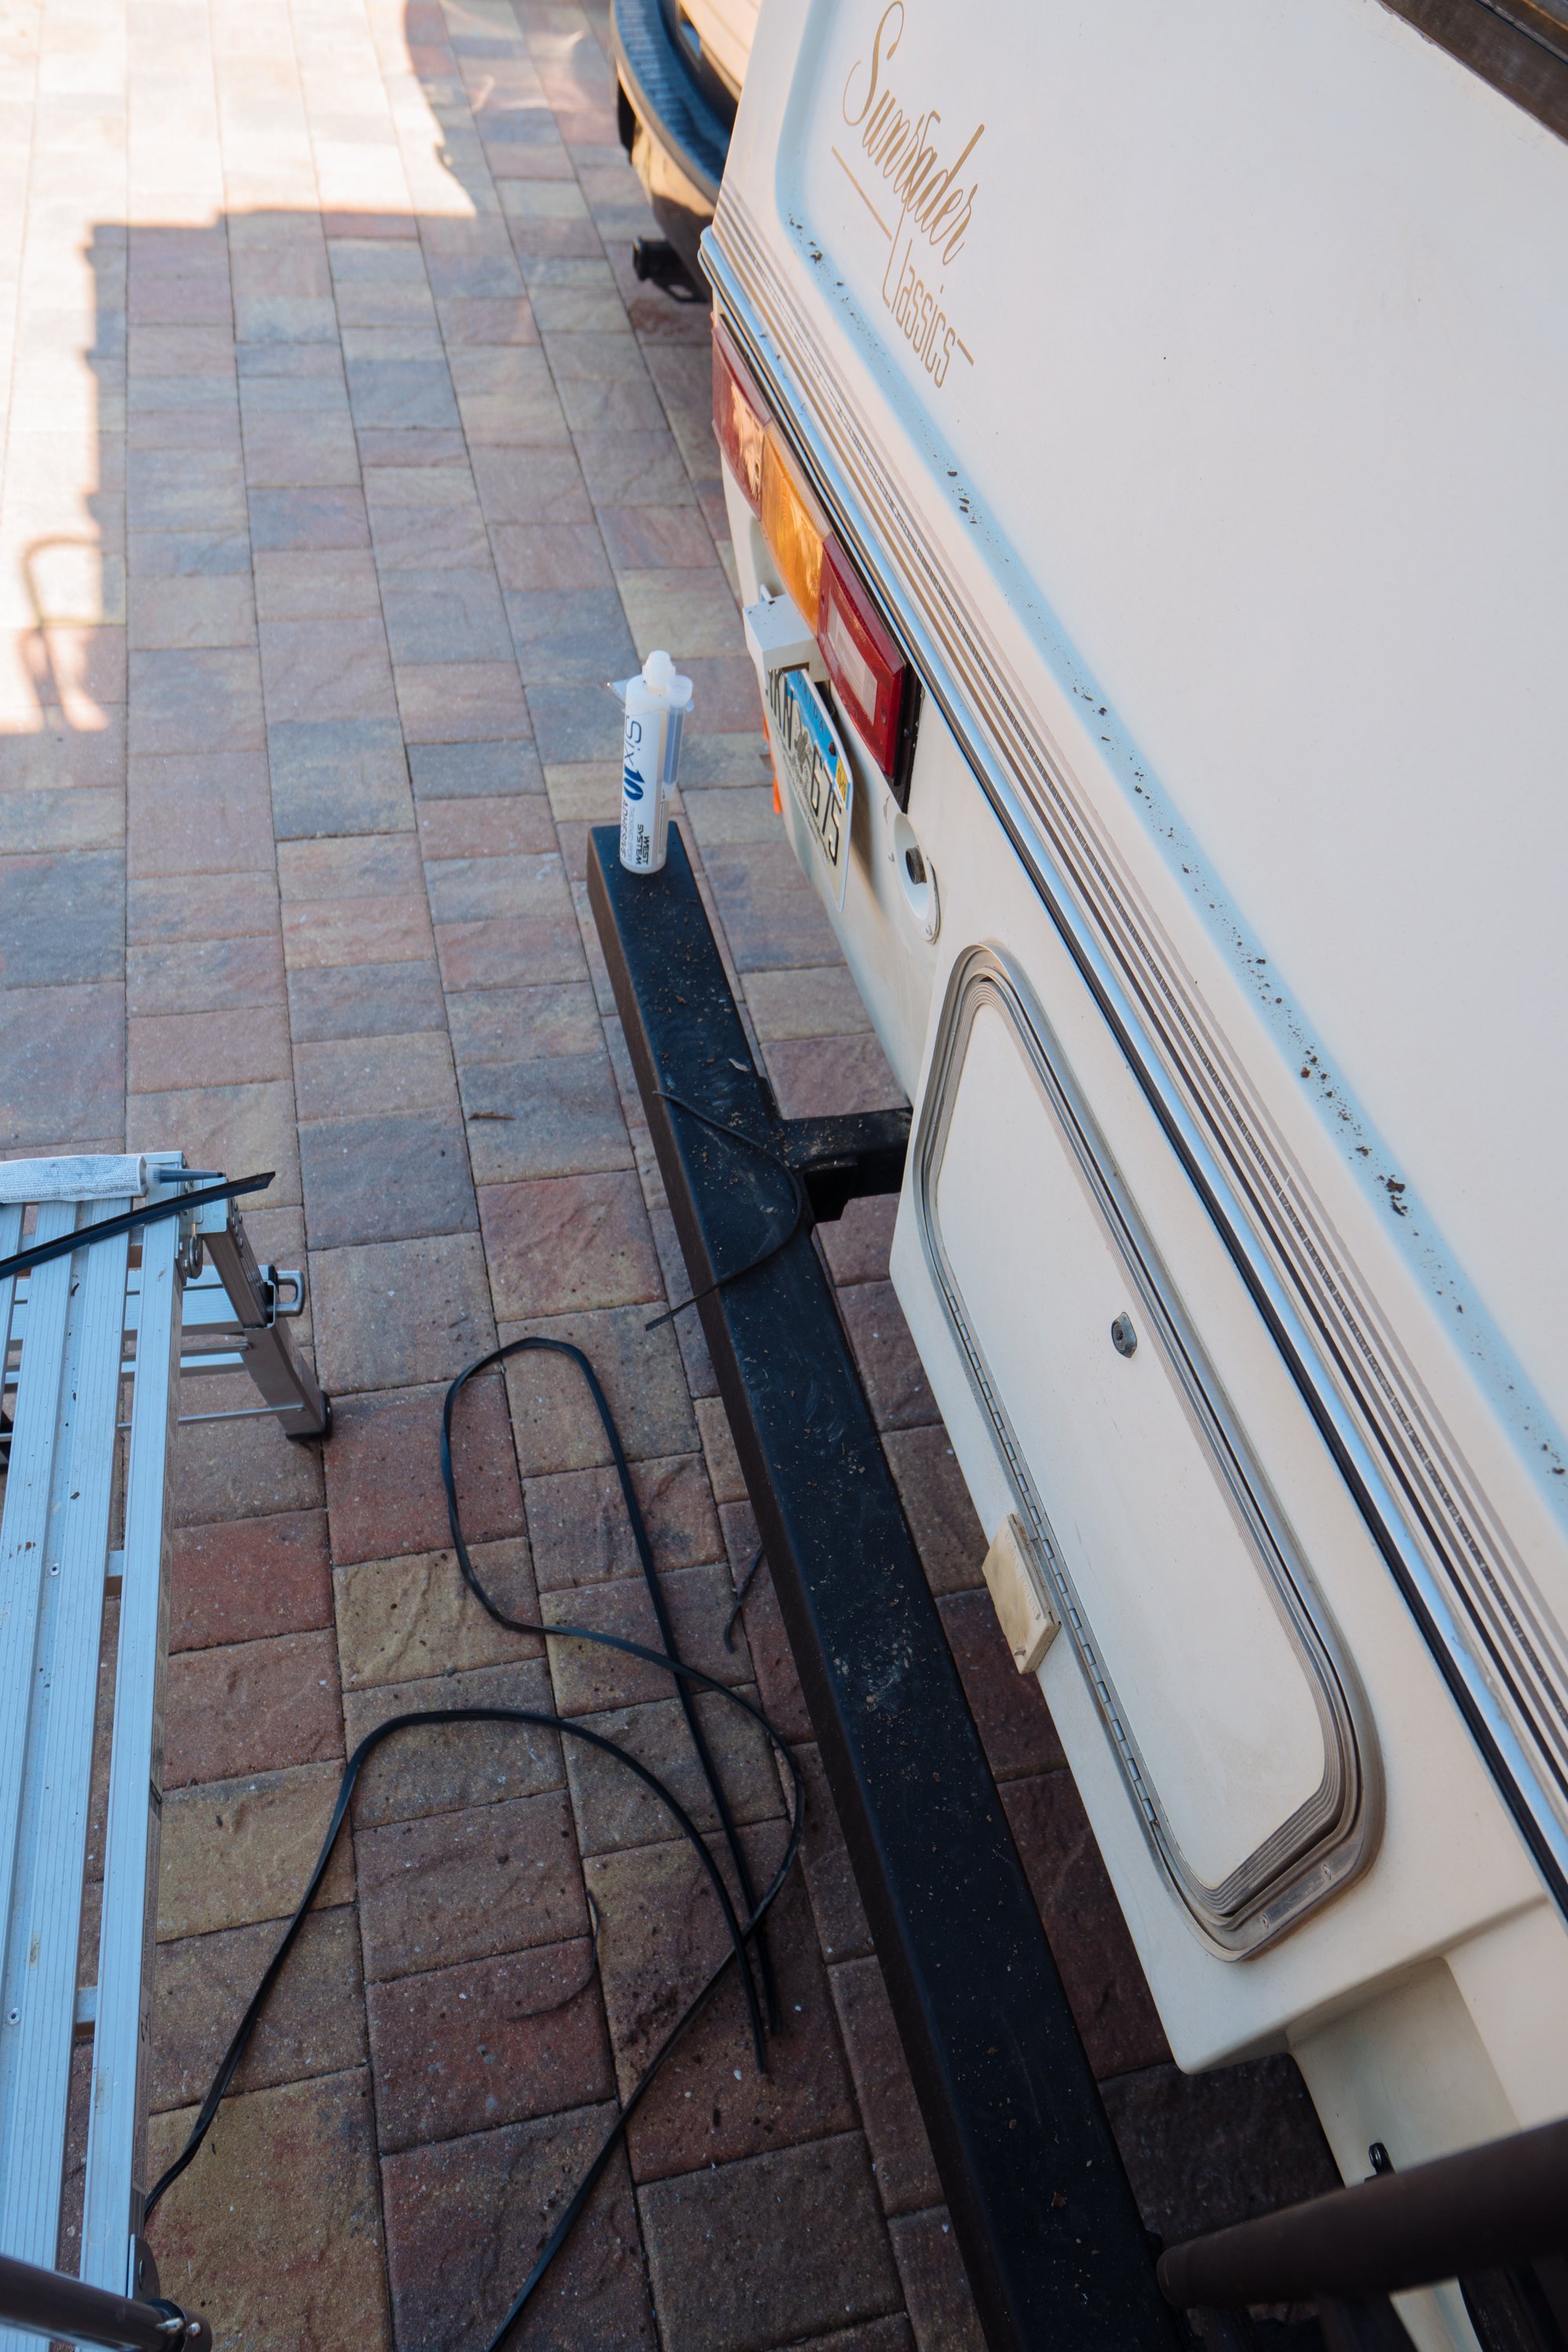
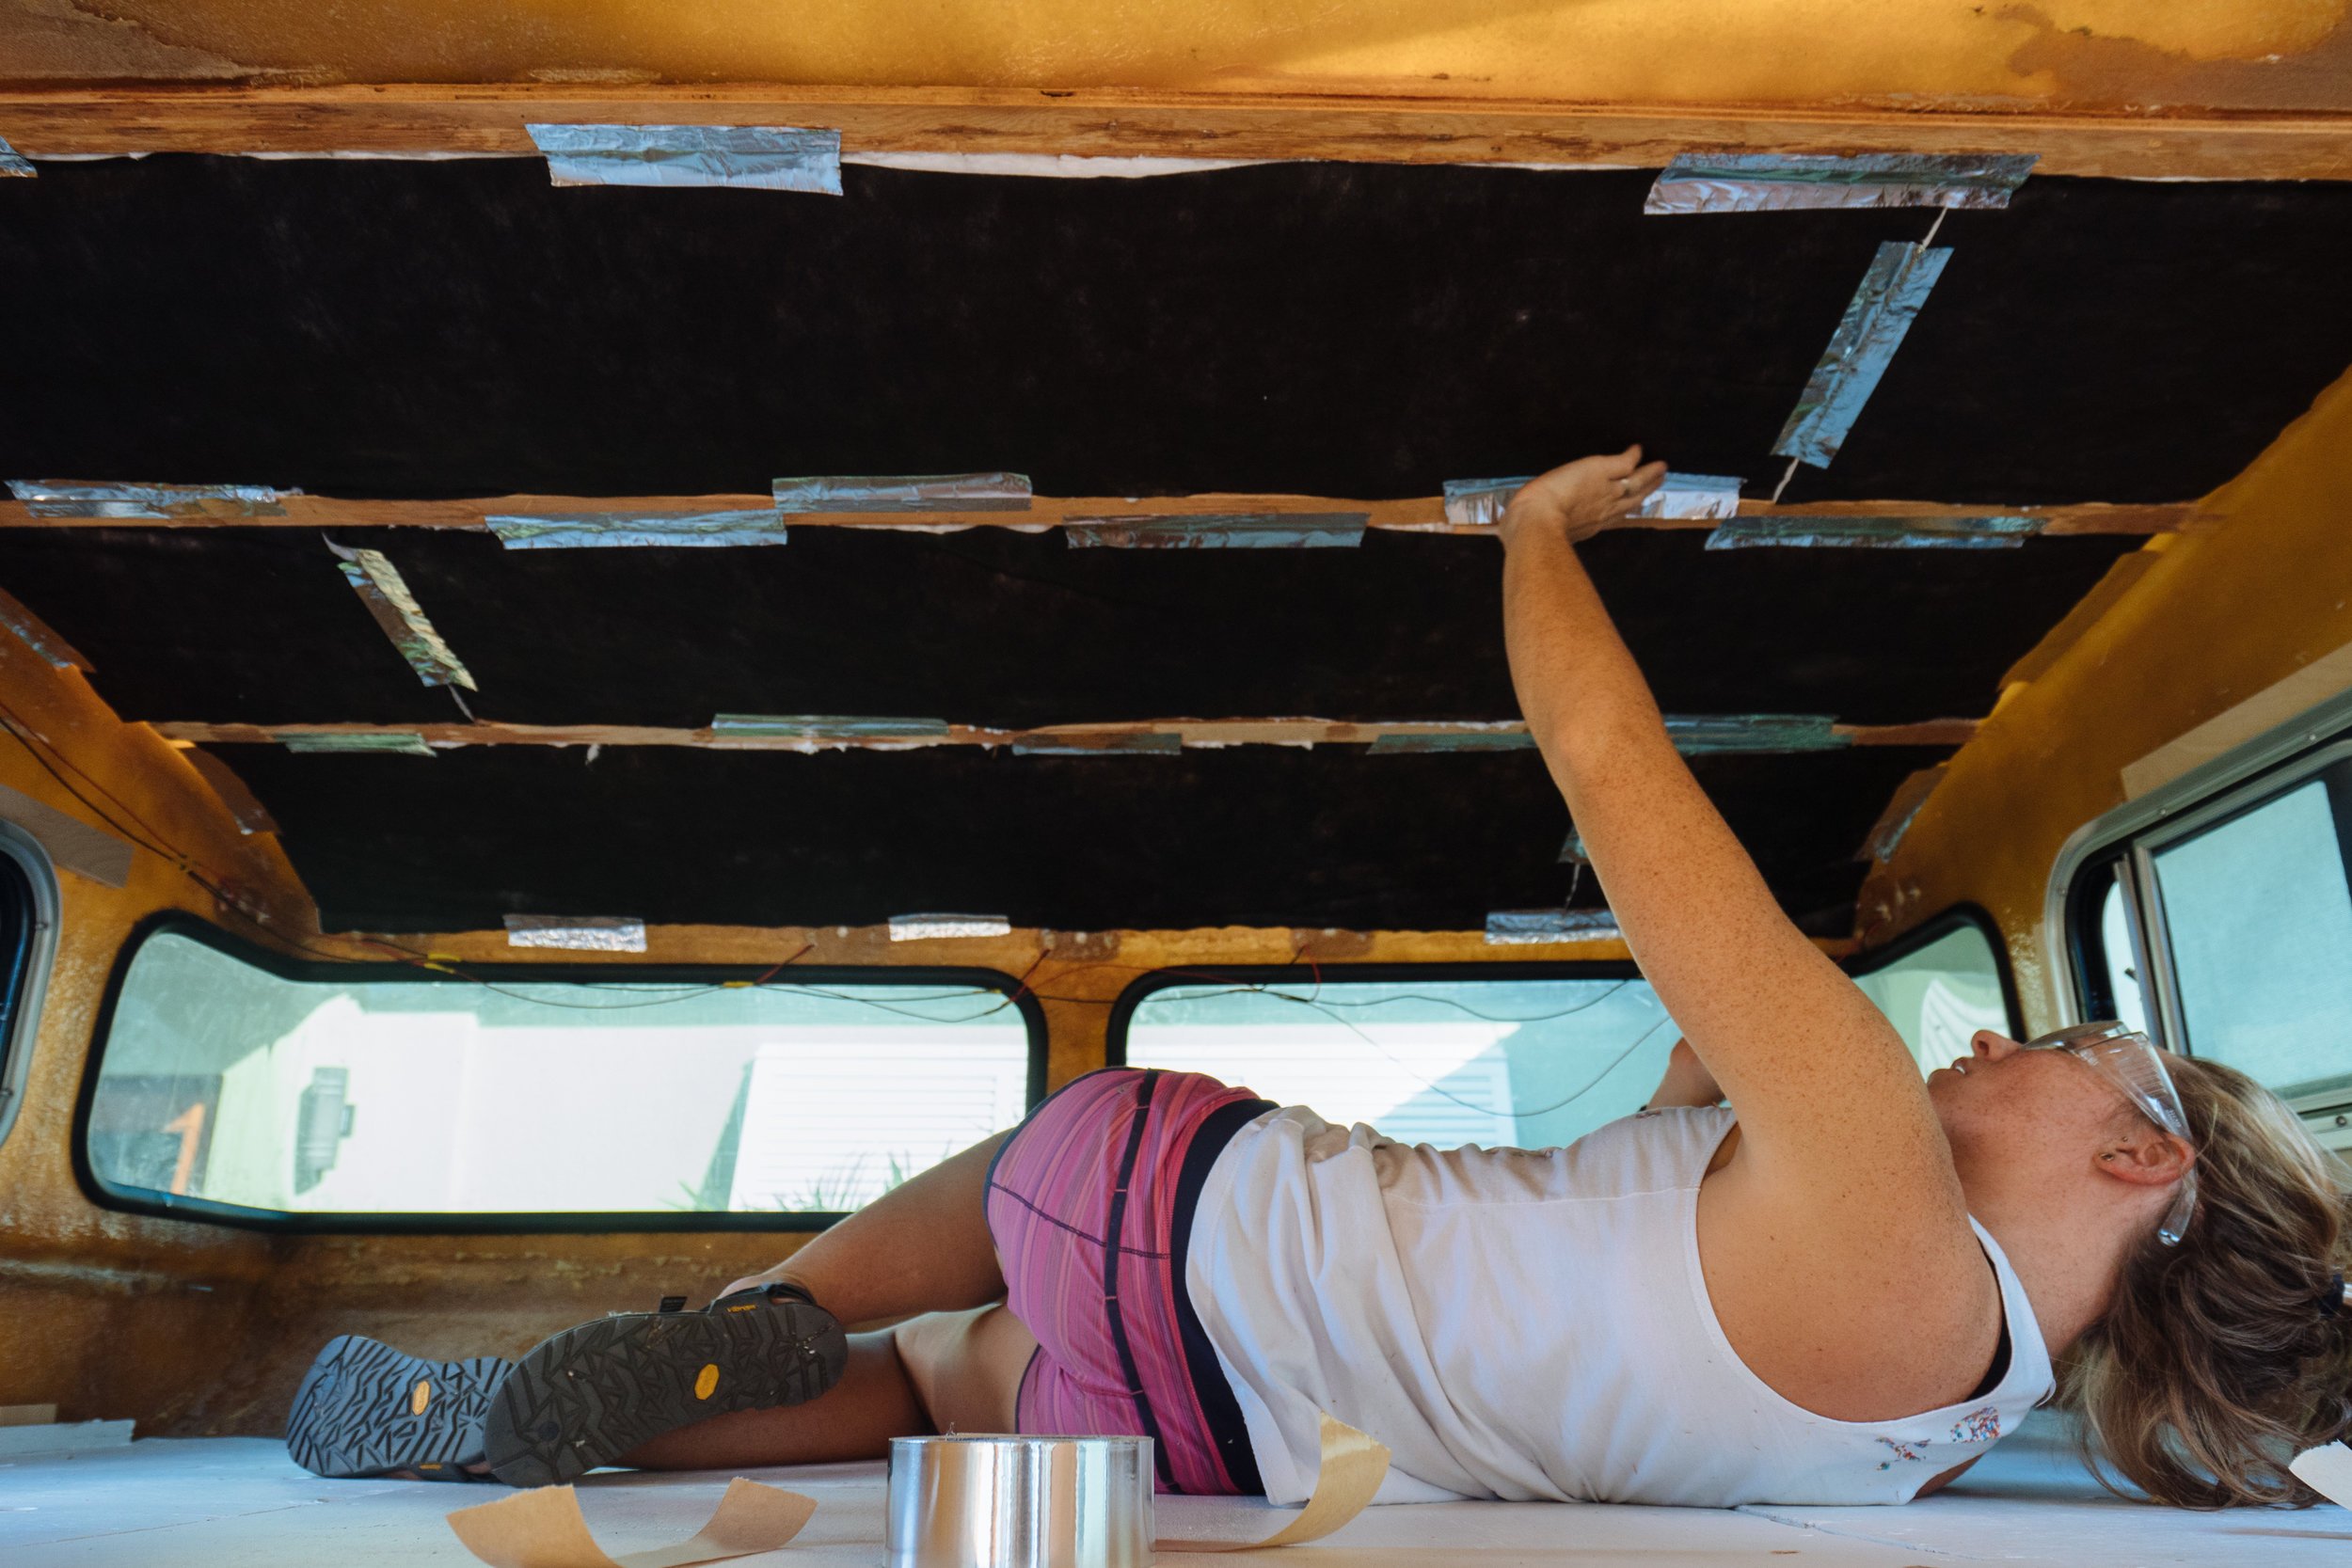
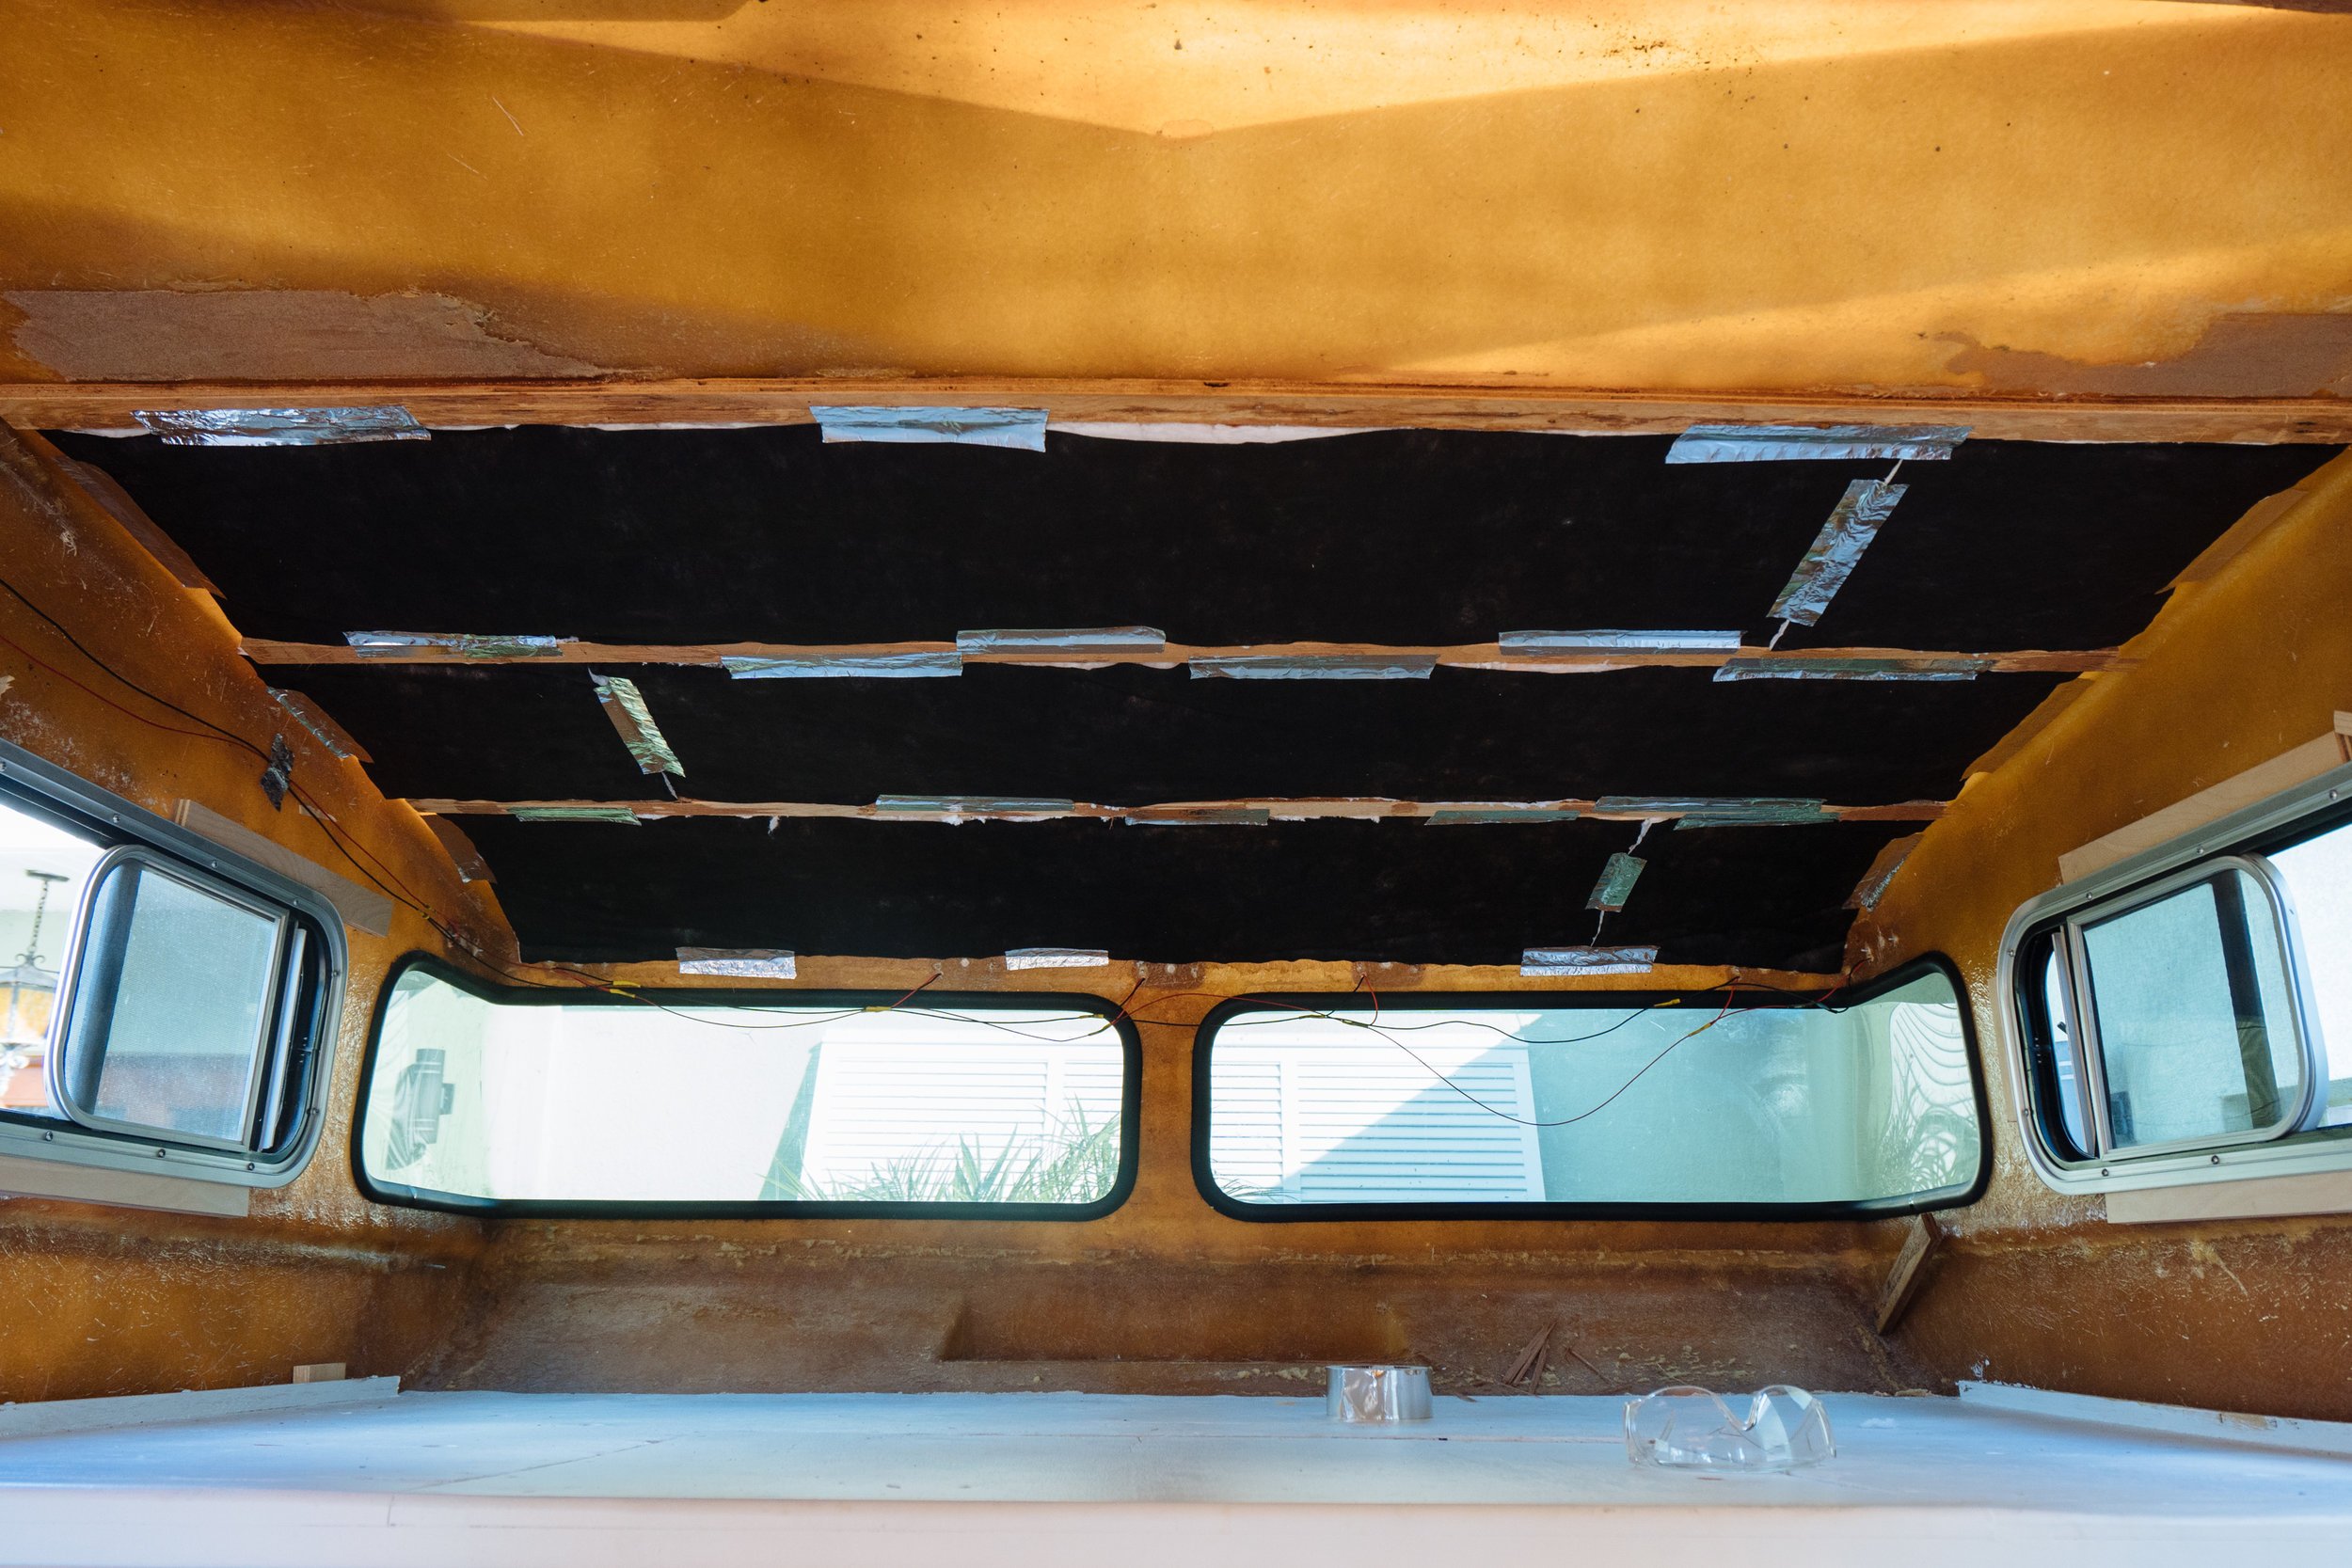
Another thing that the water test revealed was that the "glazing bead" on our back three windows had significantly shrunk and was causing the side two windows to leak. Though the back window was not leaking, it looked like it was moments away from opening the flood gates. There's no time like the present, so we went ahead and pulled it out to clean up the frame. We are really glad we did! How else would Owen have had his Titanic moment?! We found massive amounts of dirt piled up in the seal, when we pulled the window out the dirt went all over the ground under the window (as seen in the above images). We have all the seals ordered and hope to replace them as soon as they arrive. For now Amelia is spending her nights draped in tarps.

Allow me to introduce you to our abundance of insulation. We have lovingly been referring to it as our insulation burrito! This is one of the most expensive purchases we've made for the build so far. In all of our research we have found Thinsulate to be the best option for sound and thermal insulation. We always felt like we weren't properly insulated in Stanley, so this time we wanted to do it right! It was hard to kiss such a large portion of our budget goodbye, but in the end I think that it will be well worth the insulation...I mean investment.
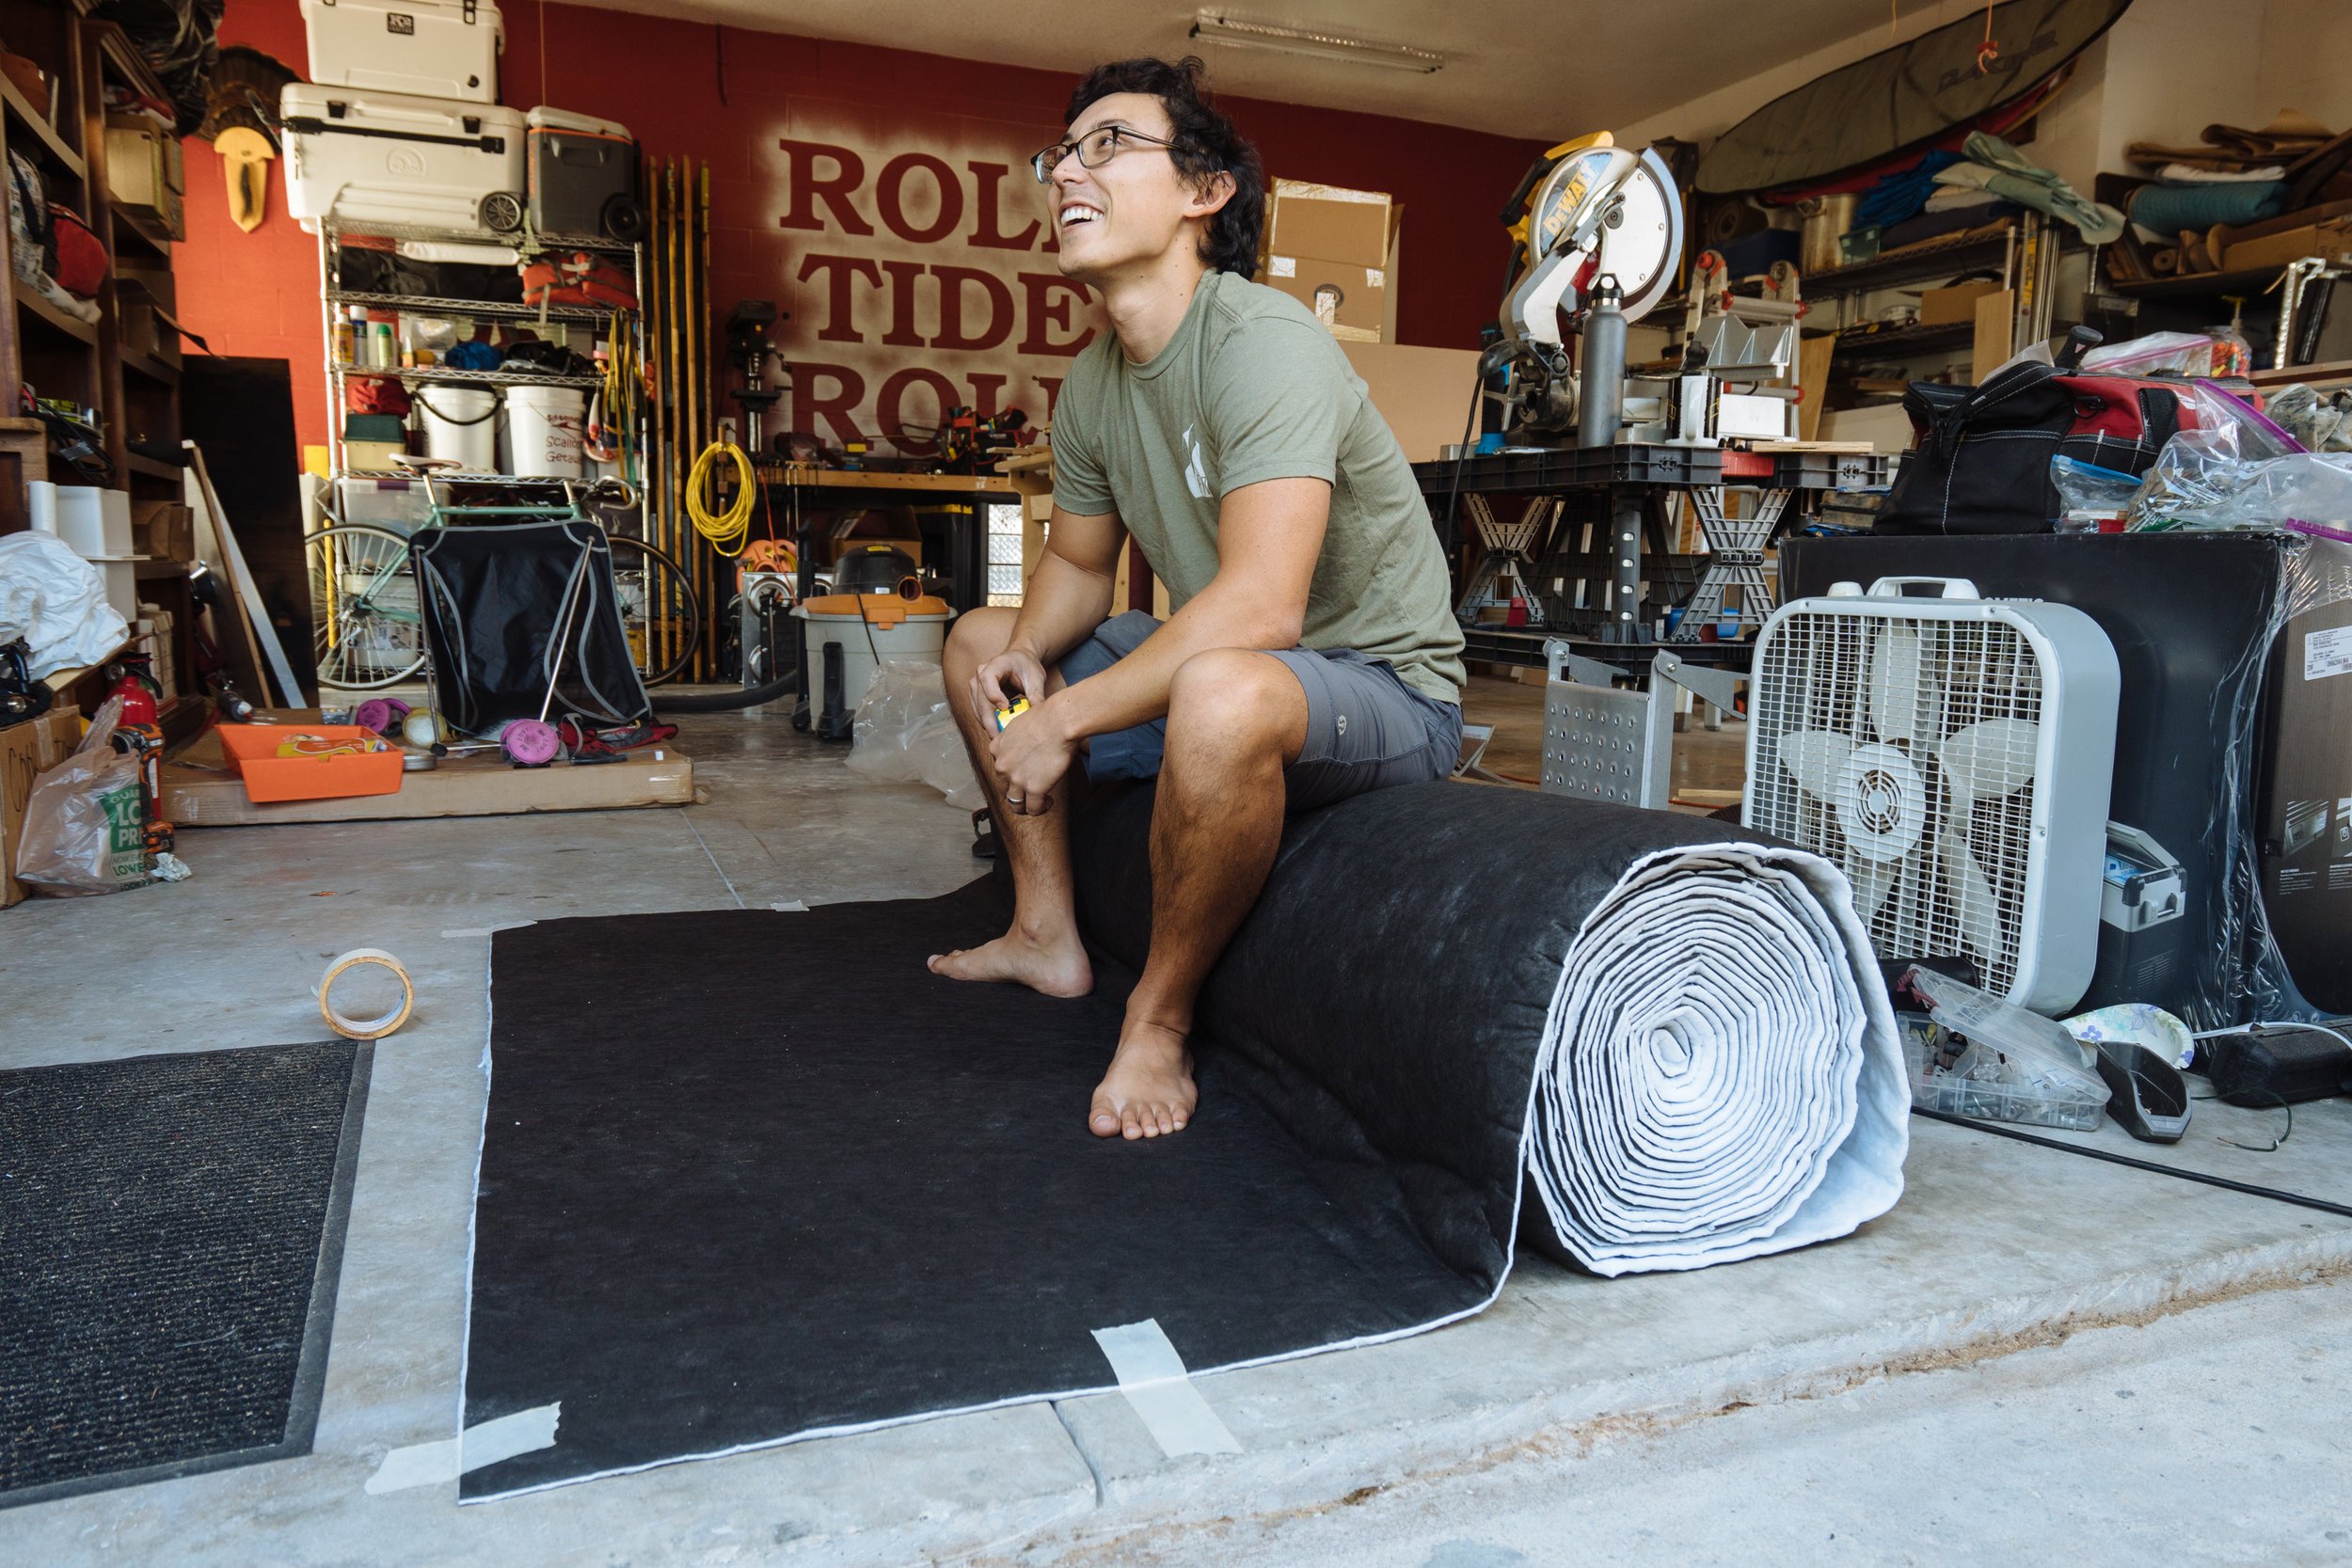


We have had our burrito of Thinsulate for a while now, so it was really fun to get our hands on it and start cutting our first pieces of insulation for Amelia.
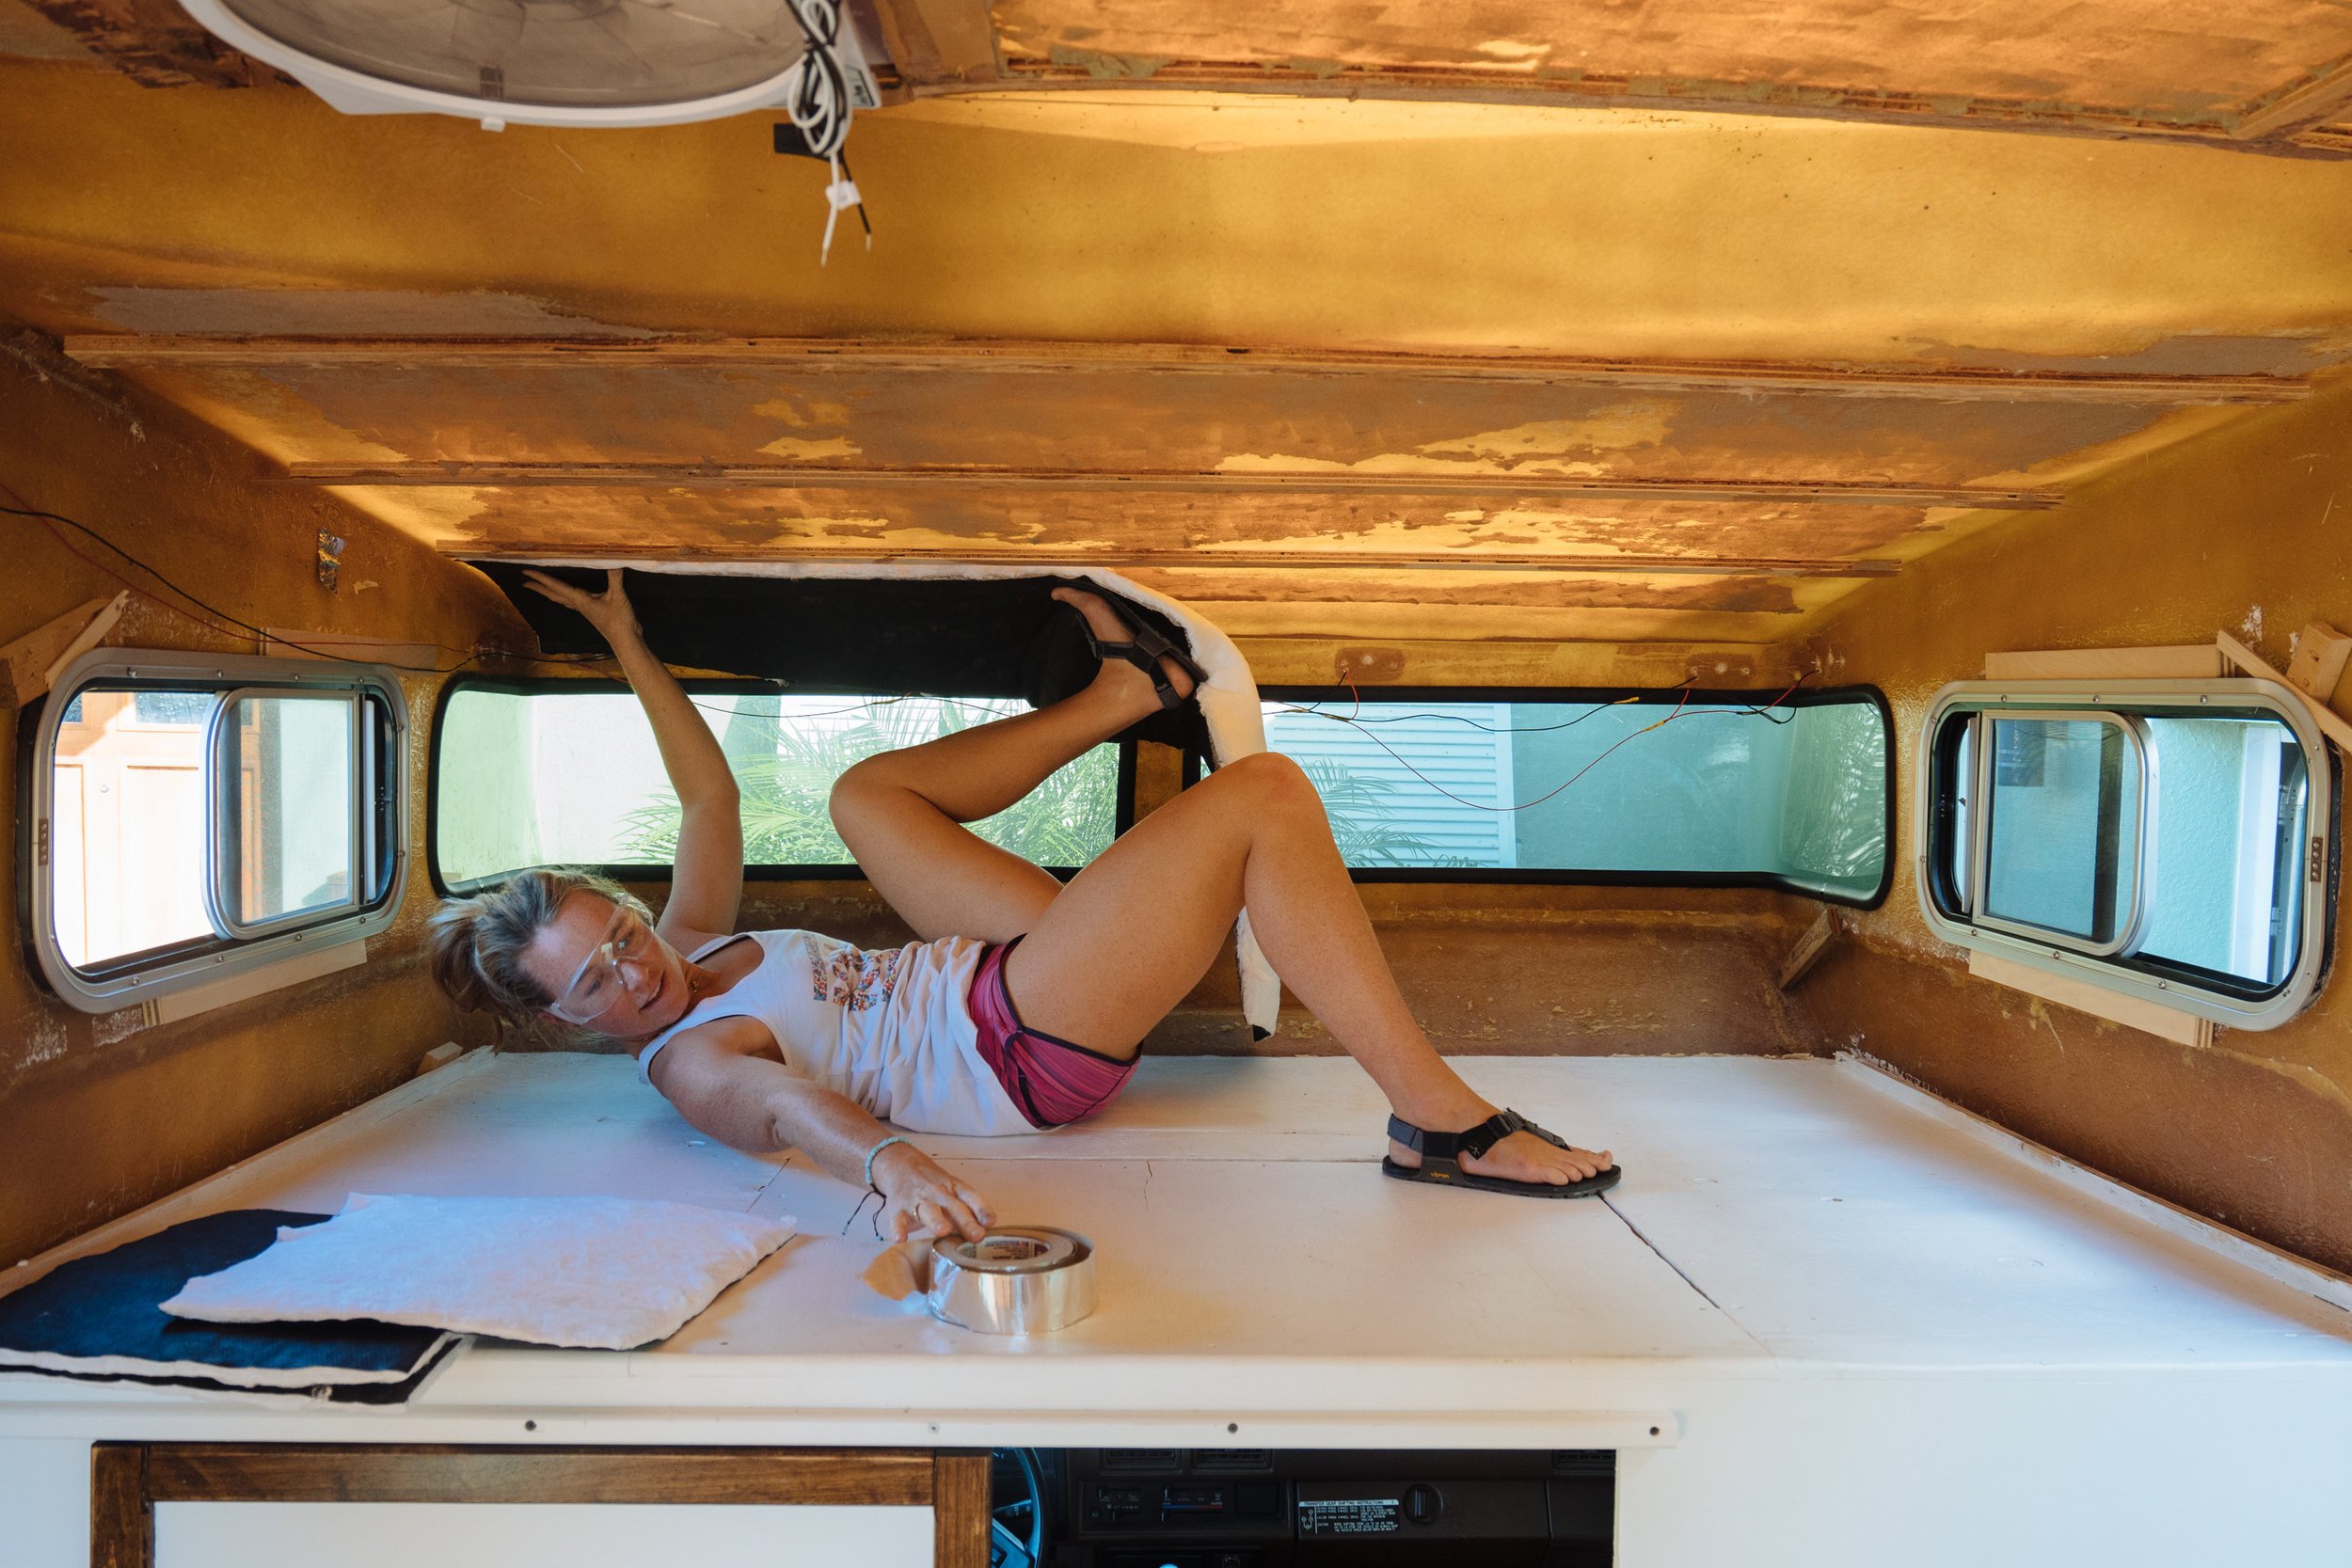
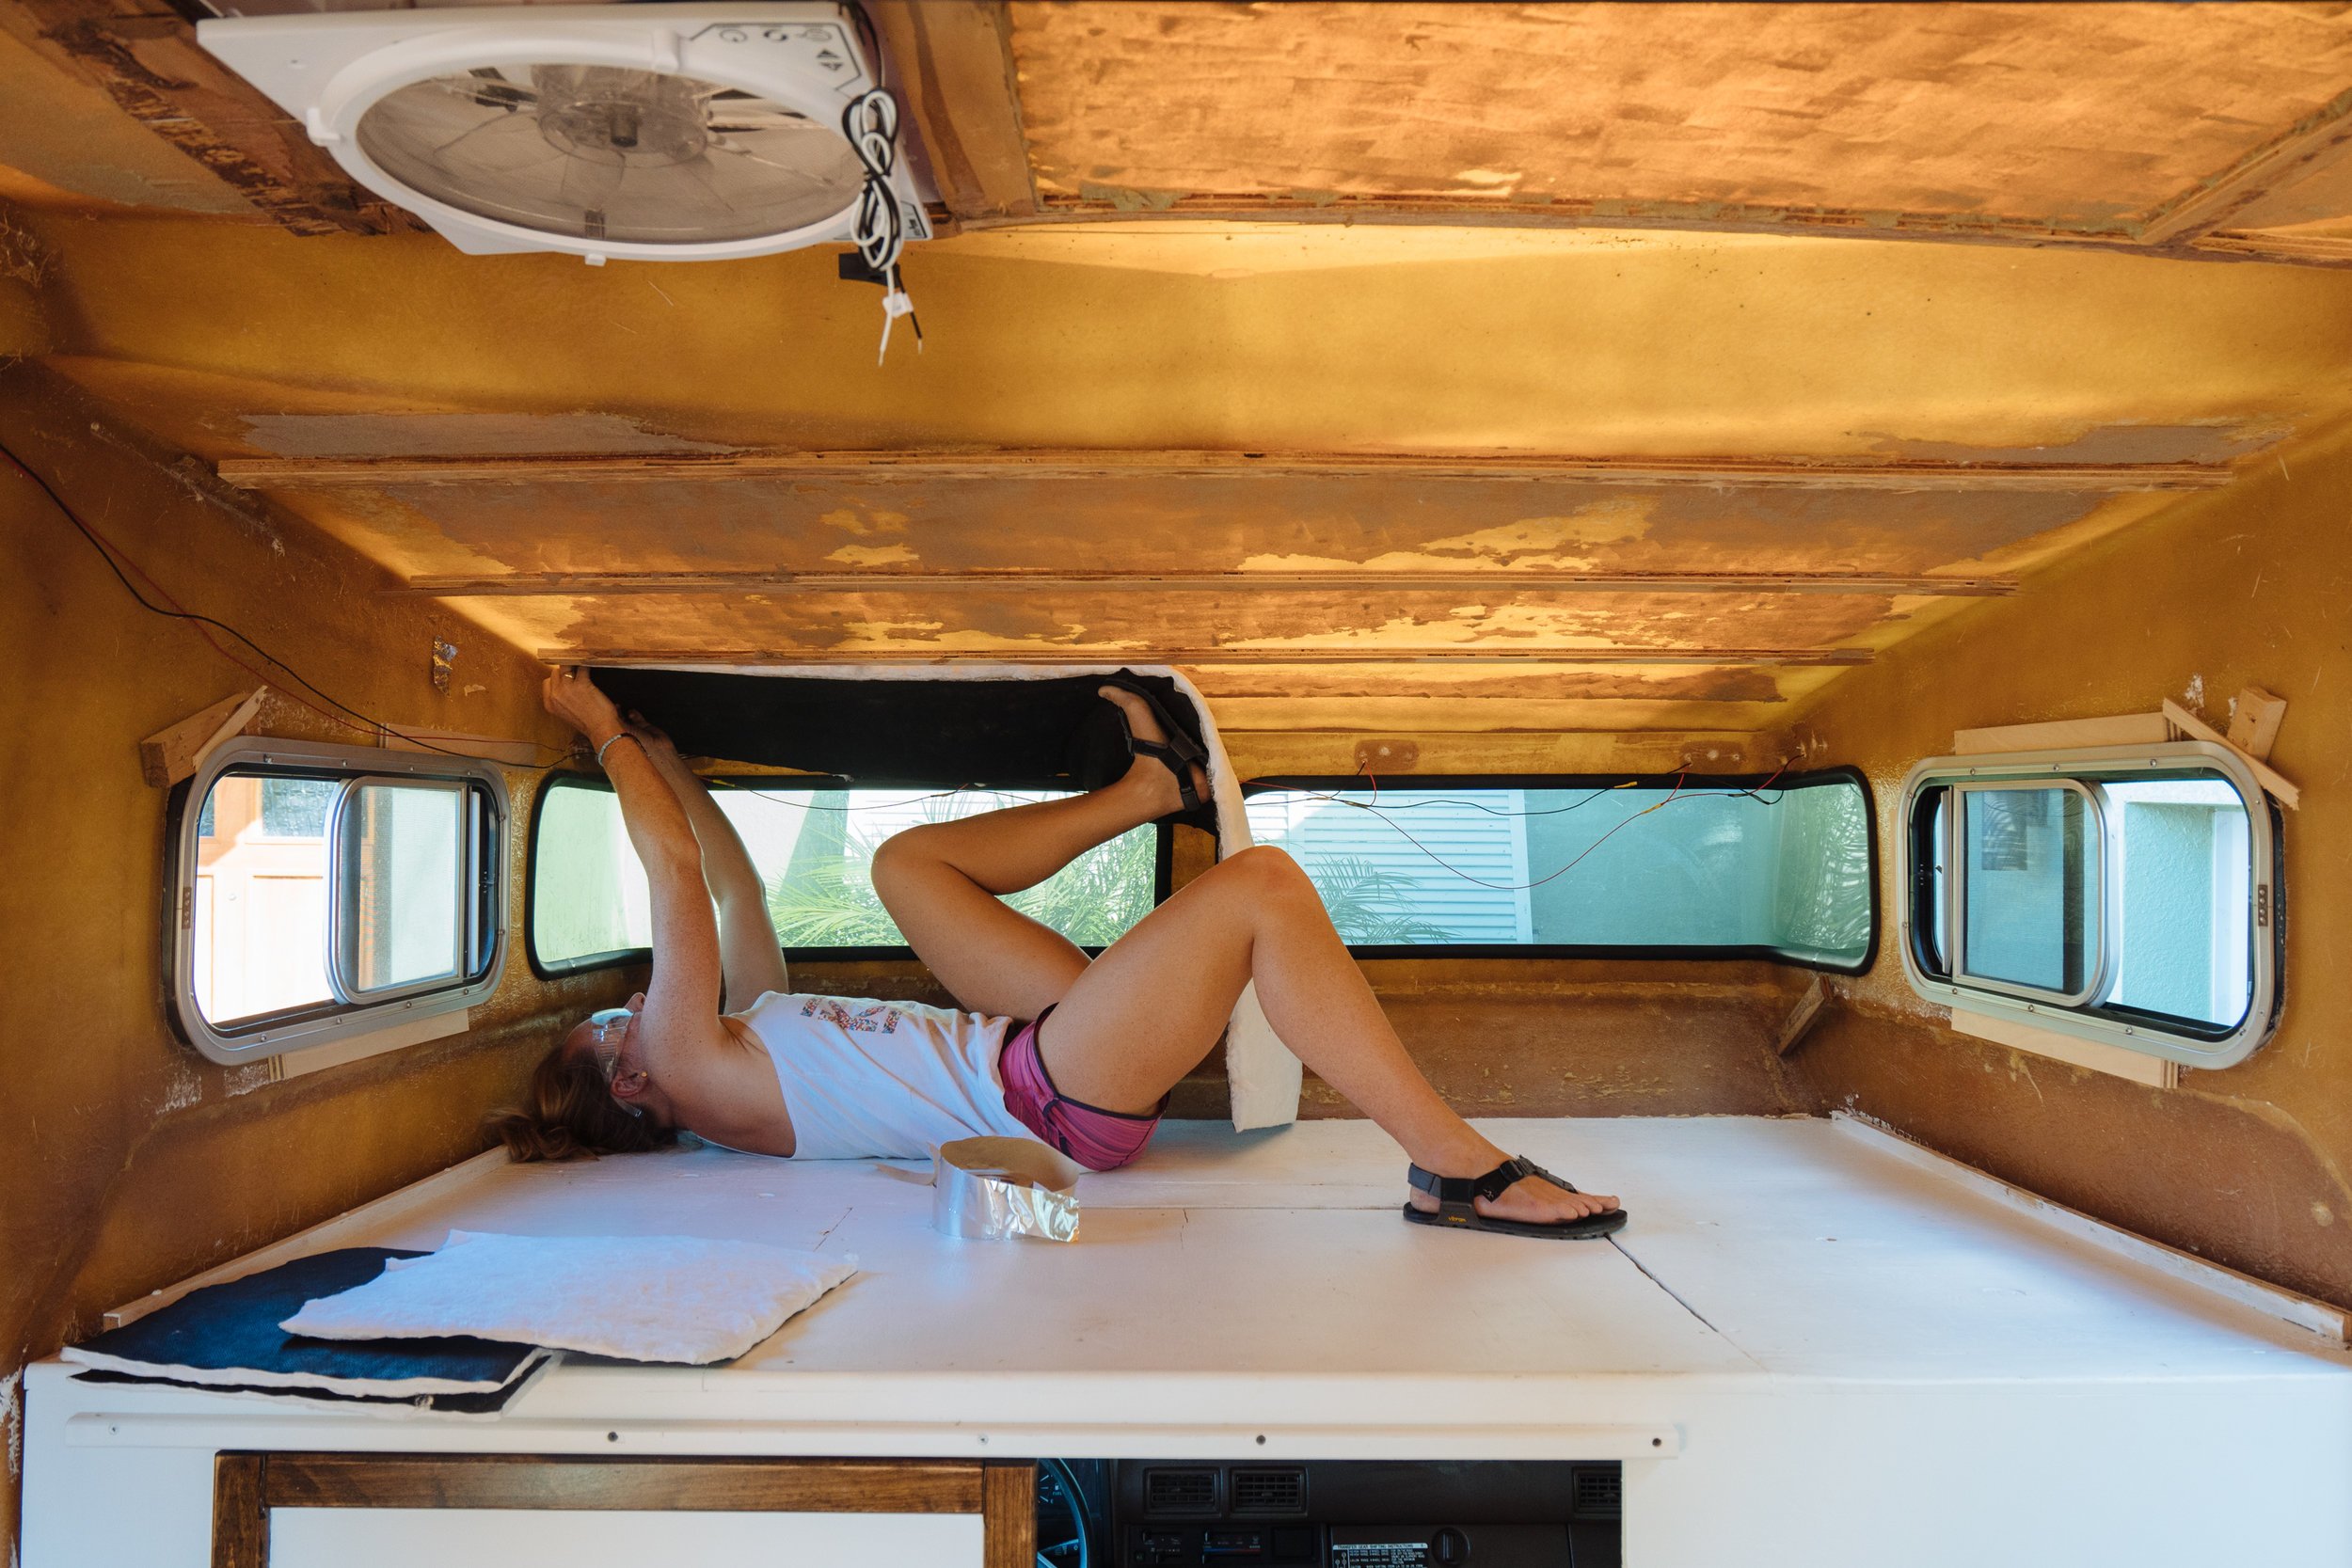
Incase you were wondering, this is the official technique for installing your insulation to the ceiling. All limbs must be used at once to know that you're doing it right! We only did the the bed area because it's the only portion of our space that we feel we can trust not to leak at the moment. It felt like the little victory that we needed to get us back on track! We hope to move forward with the rest of the insulation a little bit later after the rear is a little more water tight.
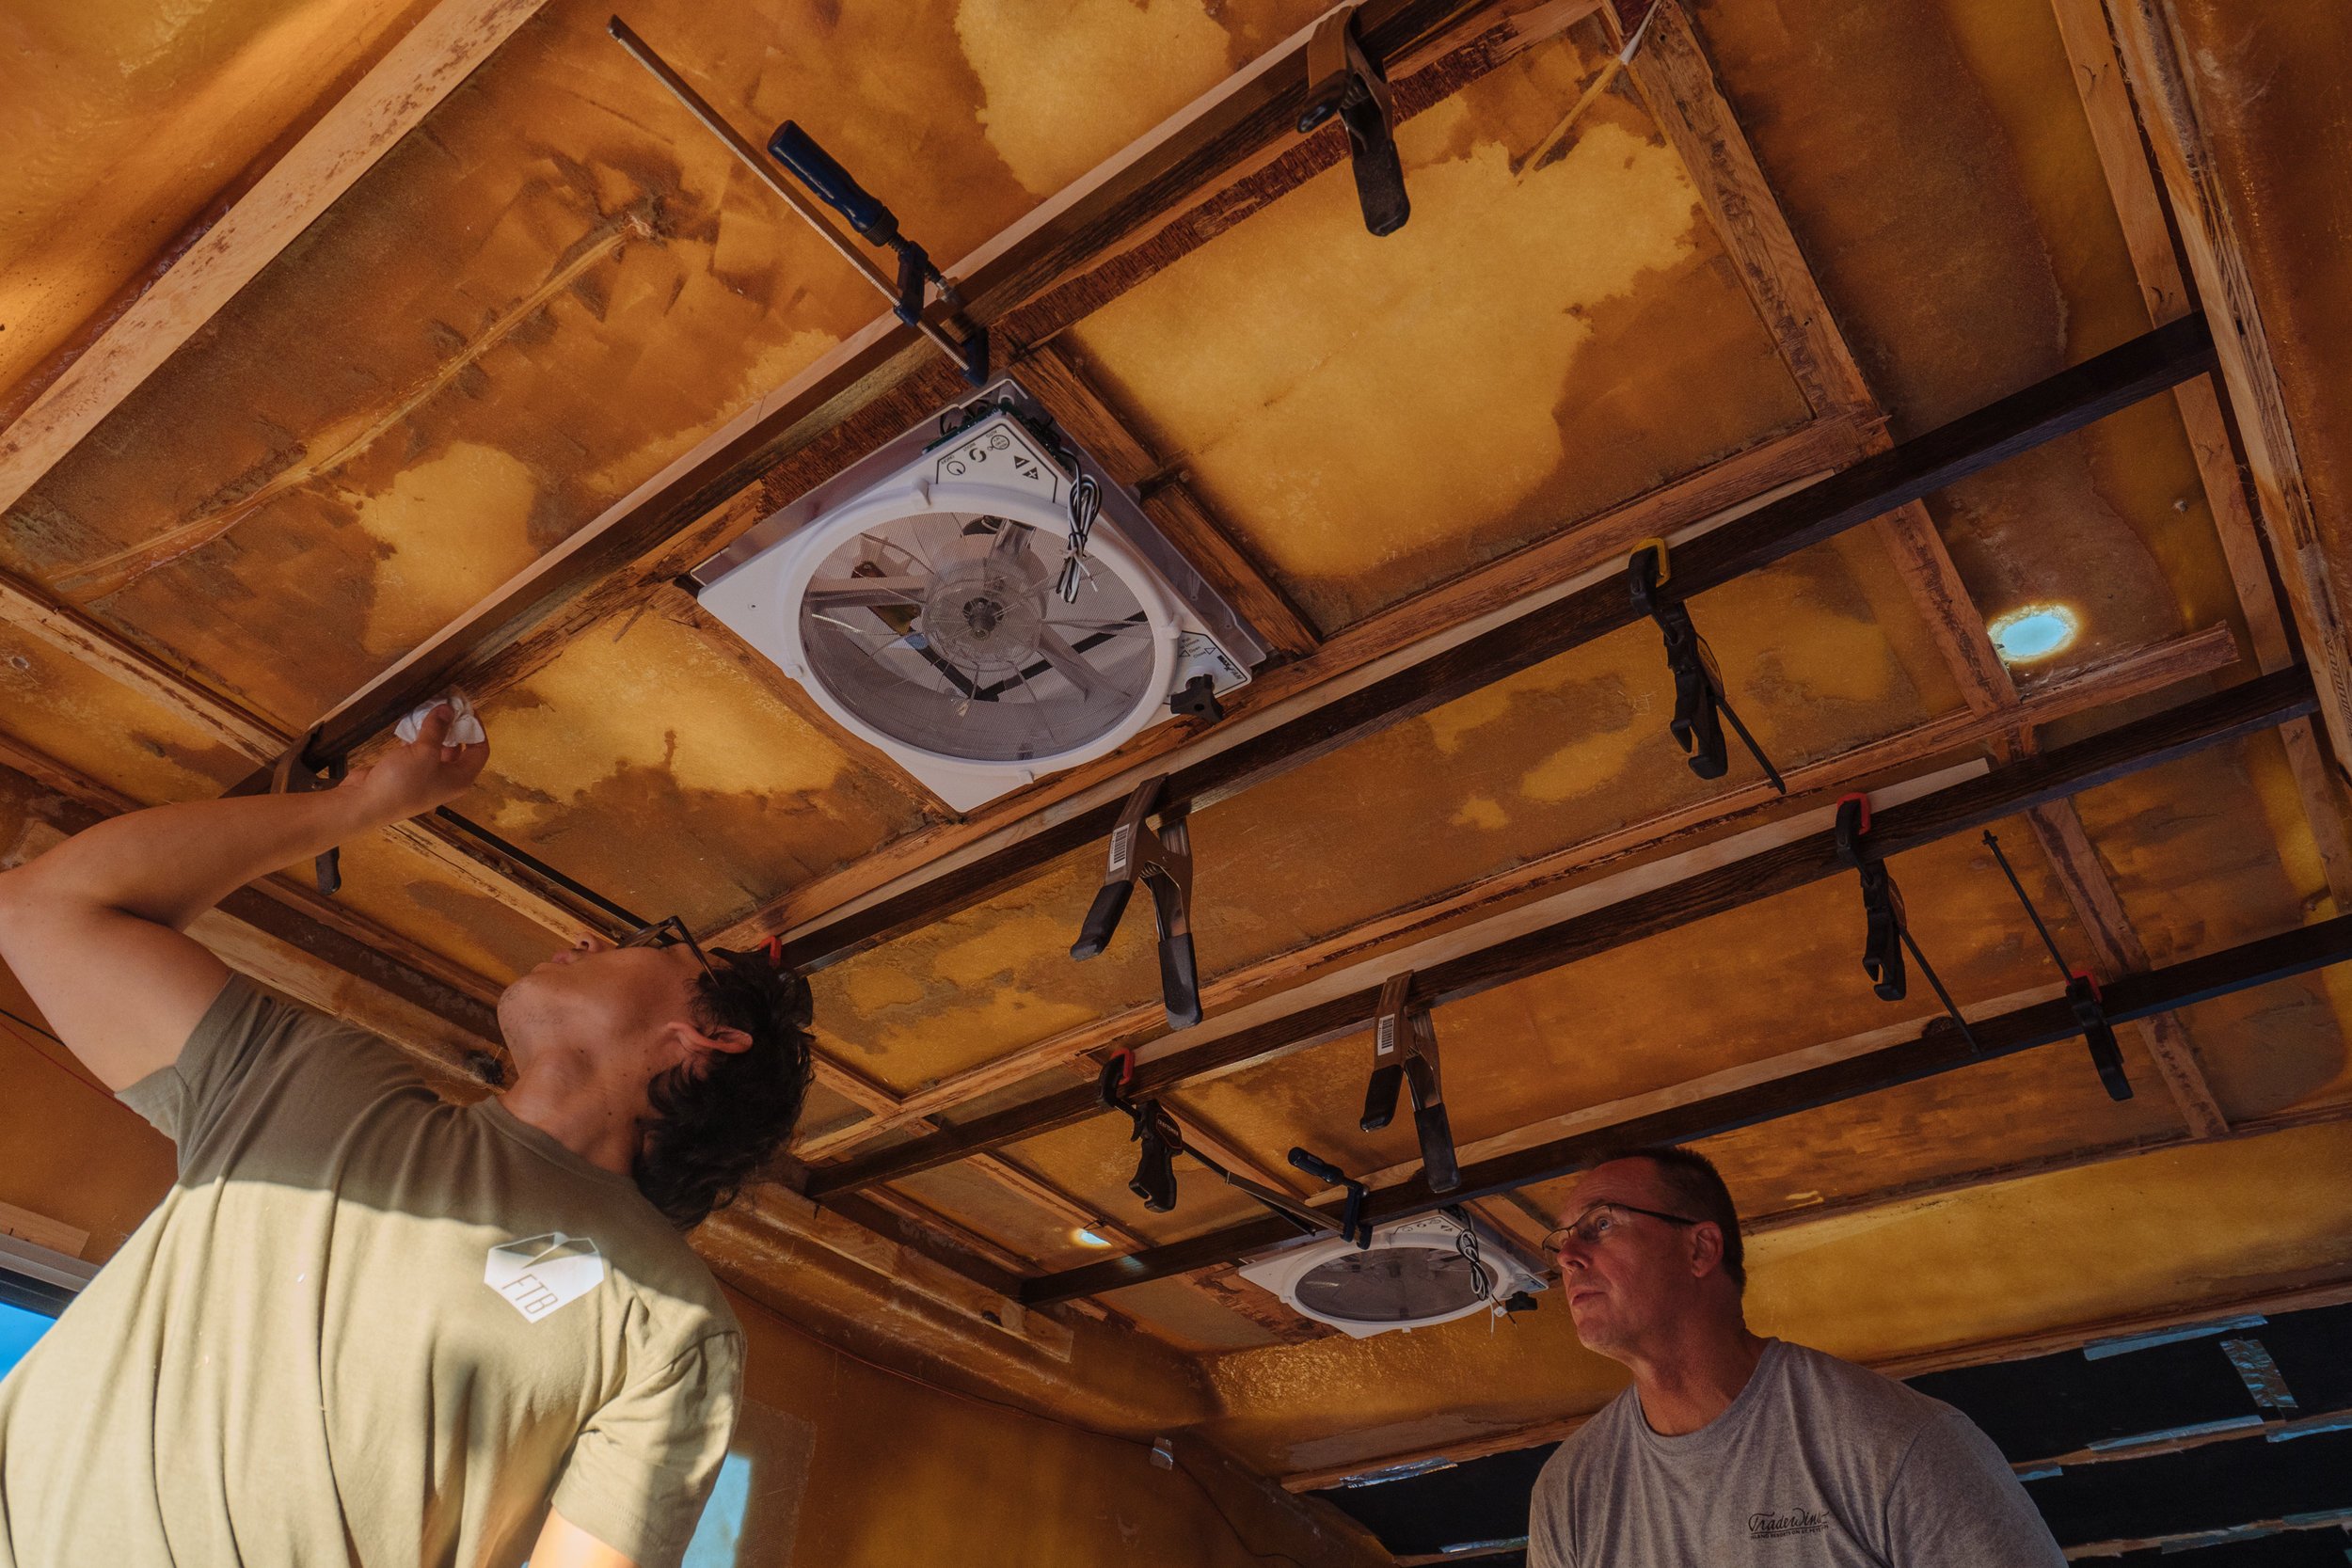
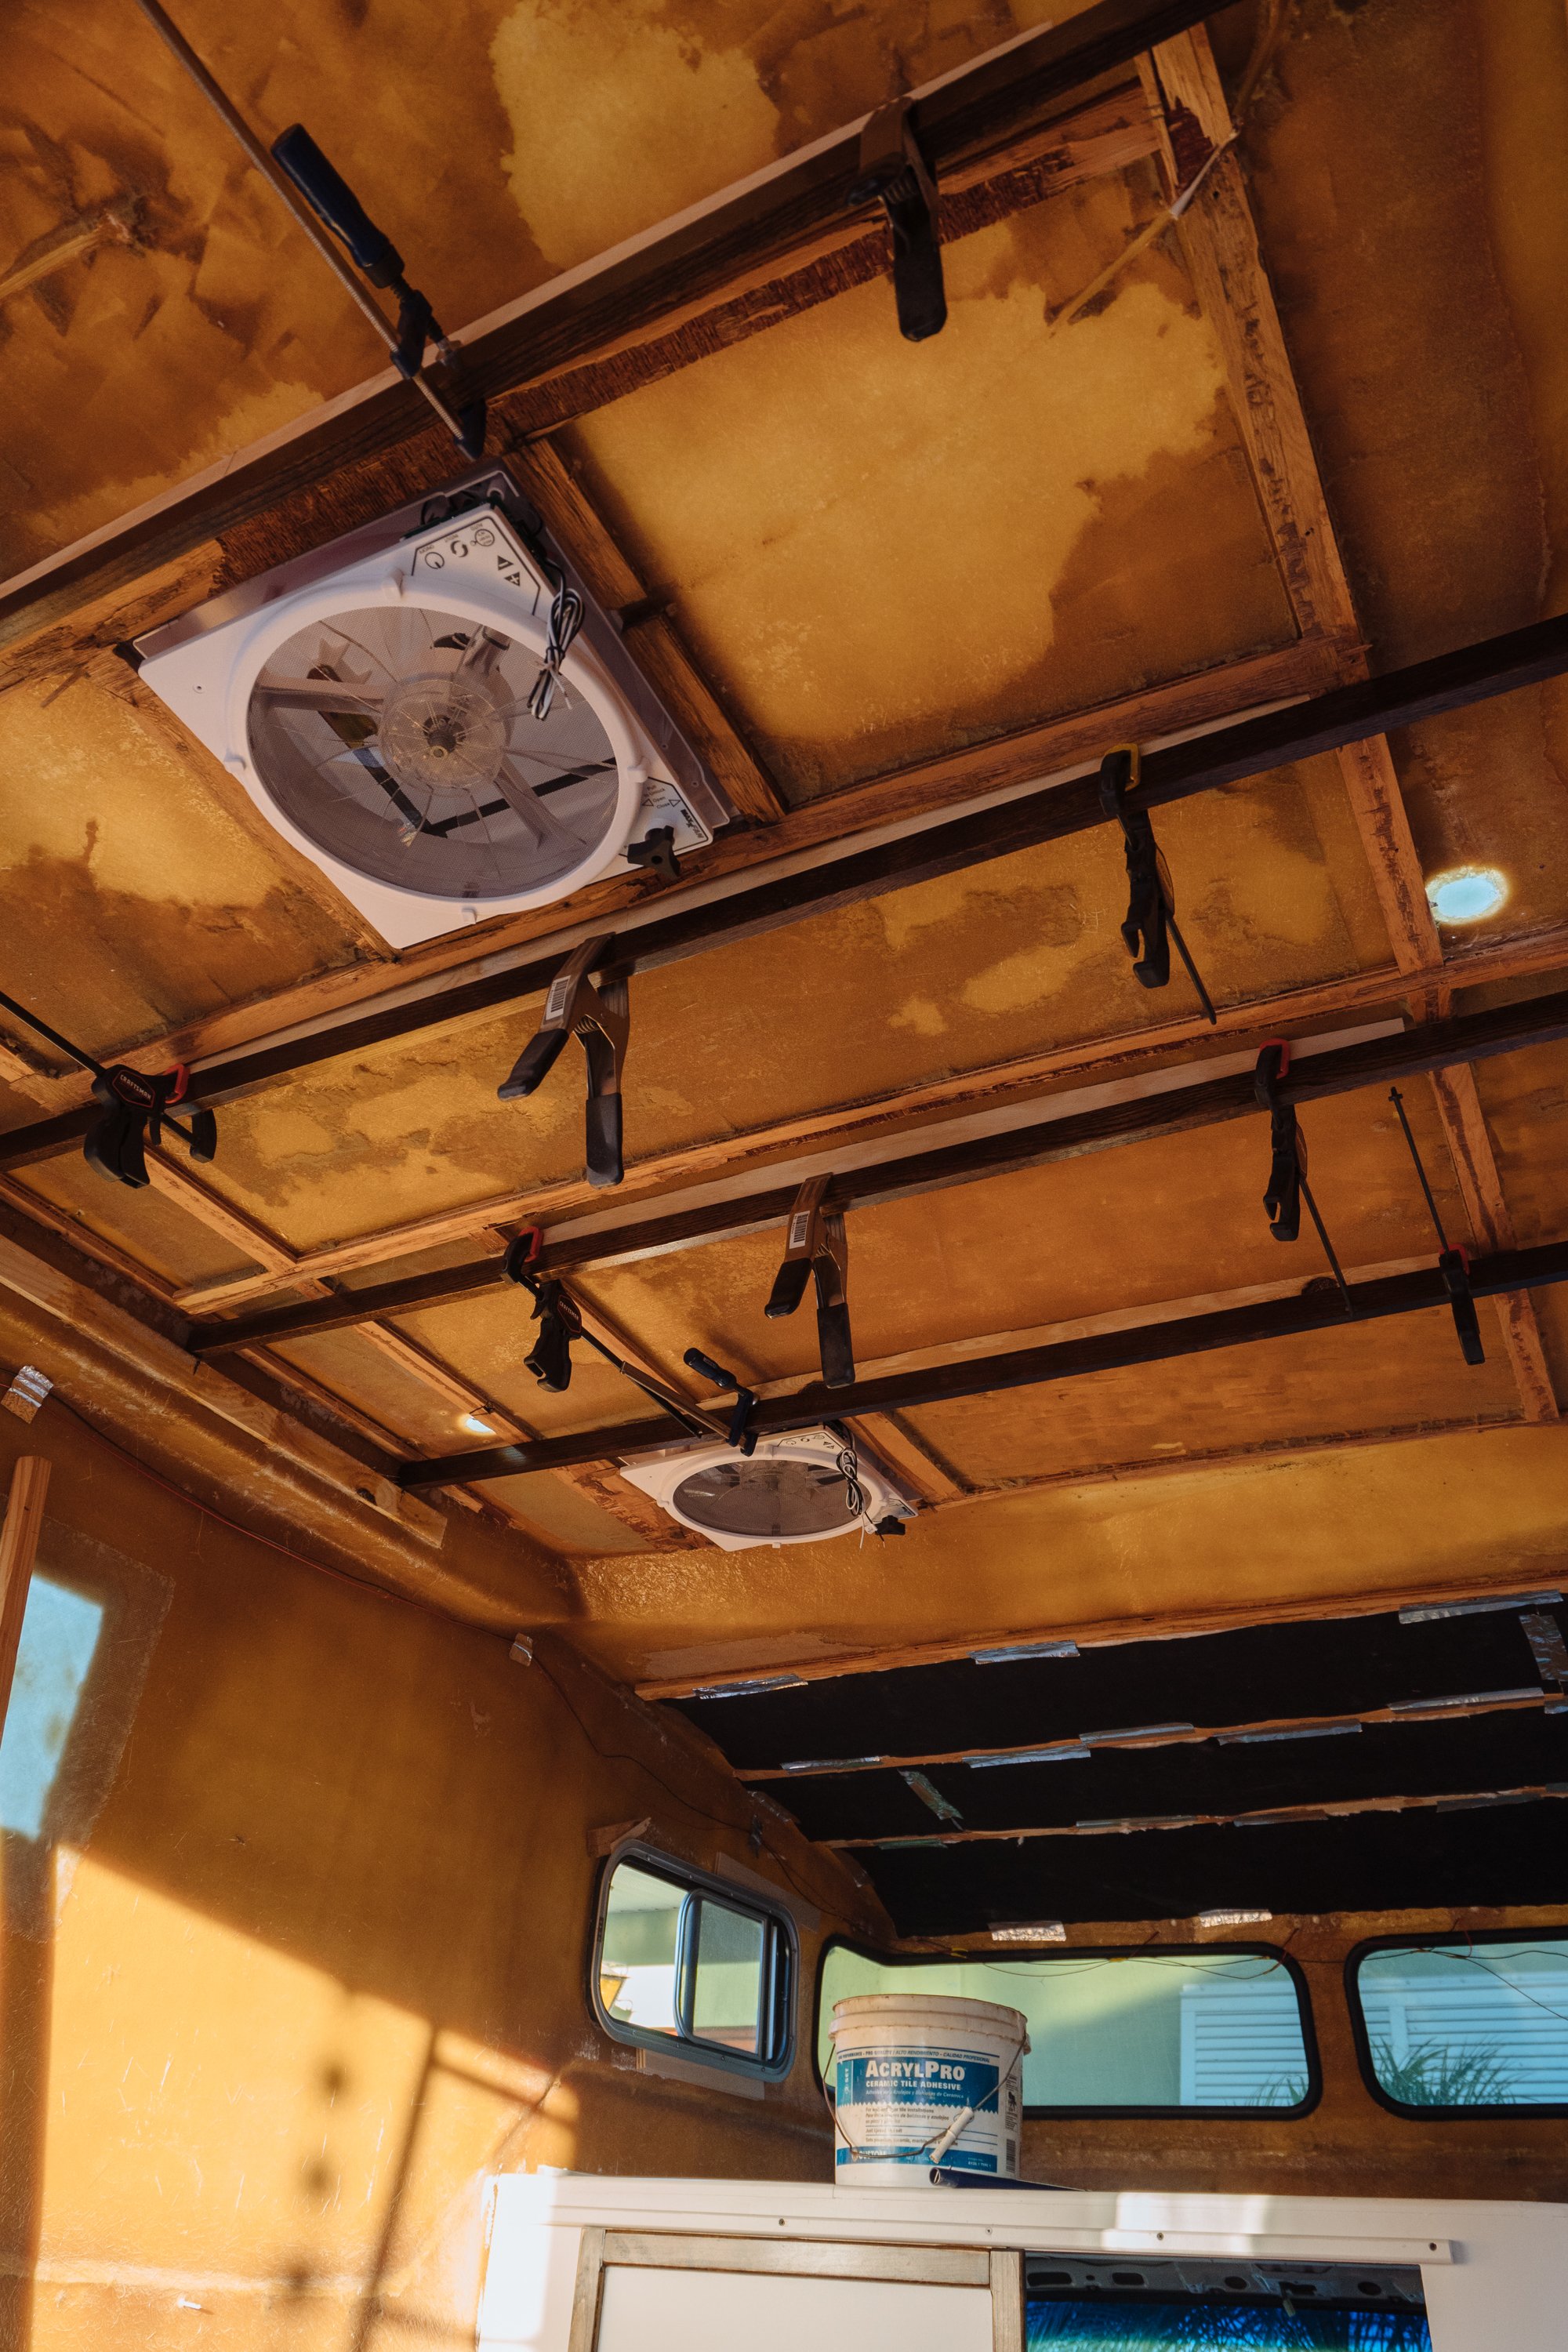
We're really excited to get the arch supports glued into place over the cross beams. We used this amazing self-mixing epoxy that Owen found! It's dispensed through a nozzle that mixes it as it comes out, sadly they are only one time use since it will harden up. I'd recommend having a bunch of gluing all lined up to do at once so you can get the most out of your nozzle. Good thing is, you can always get more of those tips so you can use the rest of your tube of epoxy!
I am so thankful that I took the time to learn to fiberglass, seems like not a single day has gone by that we haven't found another spot that needs some type of fiberglassing work. After we picked up our new awning this week we realized that this half ass rain deflector needed to go. We need the space clear so the awning can be mounted over the door. After removing the deflector I filled in the small screw holes in preparation for the new paint job that is coming down the pipes. We also decided to eliminate the city water hook up because we never seem to be anywhere we can do that. Here are the process pictures step by step:

Step #1: I removed the old city water hook up (inside view)

Step #2: Removed all of the old sealant and wiped the opening down acetone (outside view)

Step #3: Covered the opening with formica coated in mold release

Step #4: I screwed the formica into the body using multiple screws to be sure it holds tight and evenly to the body

Step #5: I cut off the protruding ends of the screws with my Dremel and steel cutting wheel

Step #6: I applied 2 layers of chop strand mat and 3 layers of biaxial fiberglass matting increasing in size to get the finished product
I want to give it plenty of time to cure so I will have an exterior picture for you guys next week of how it turned out! For more on the fiberglassing process, I would recommend heading over to our Week 4 post!
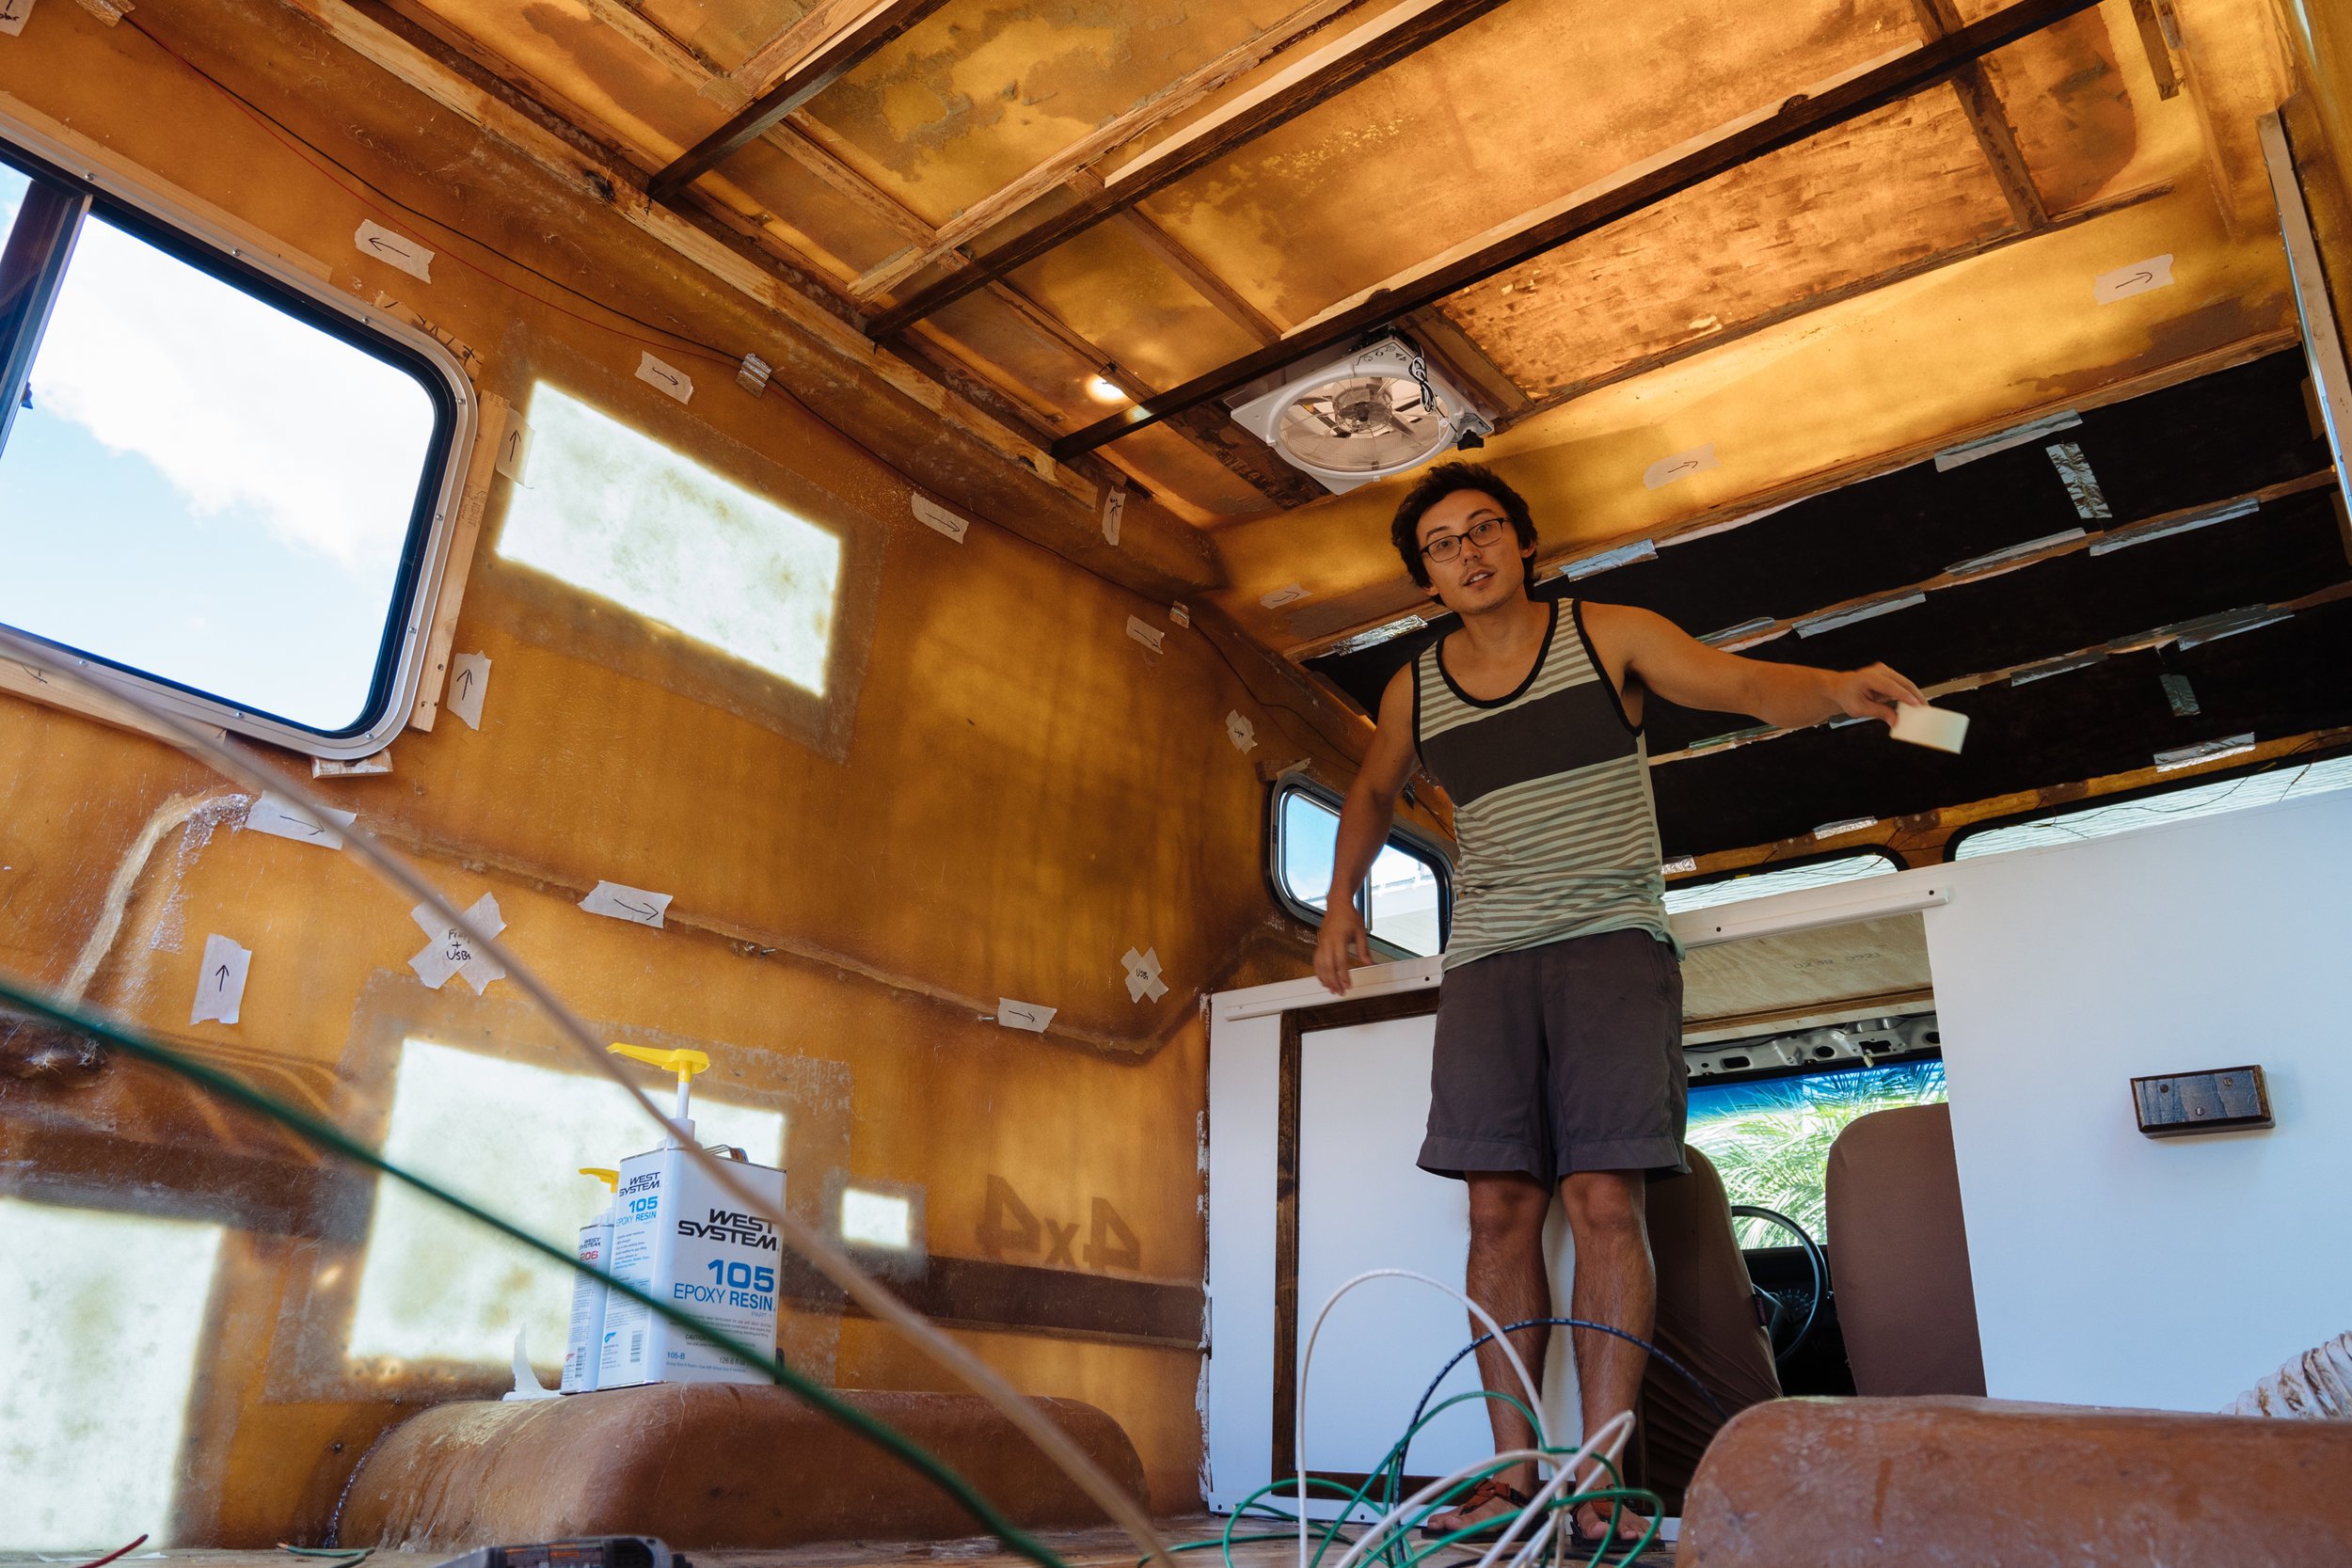
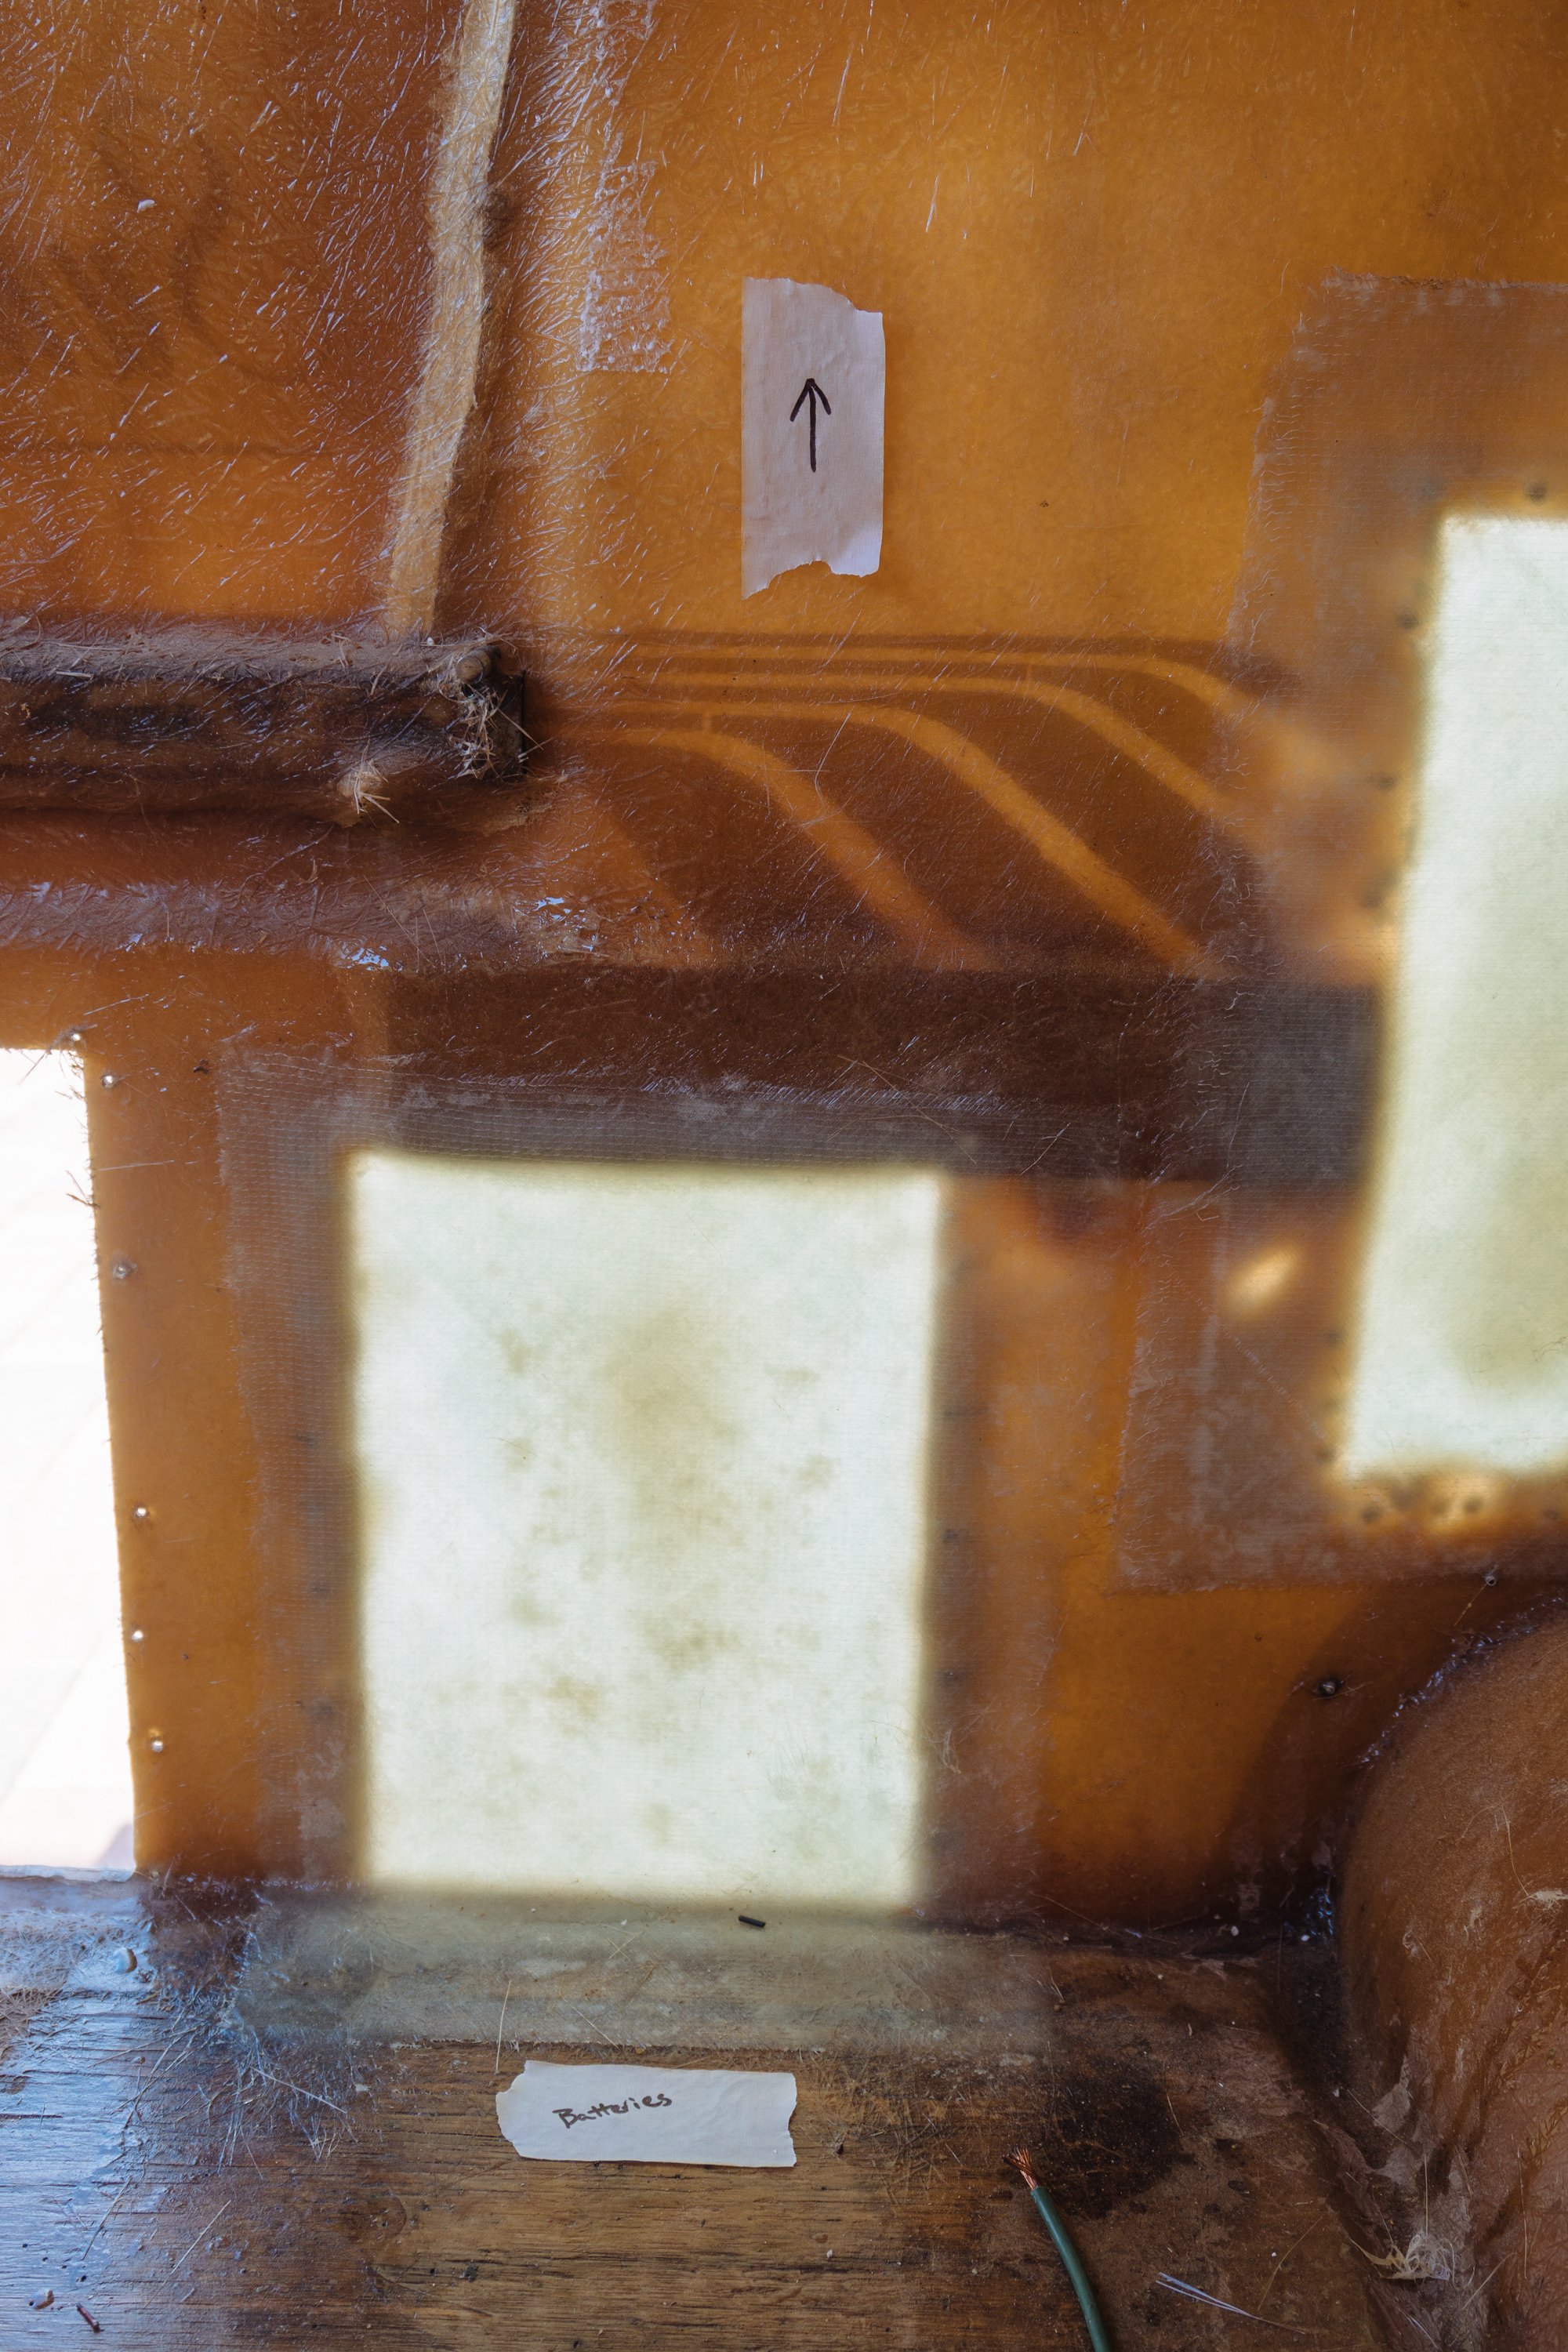
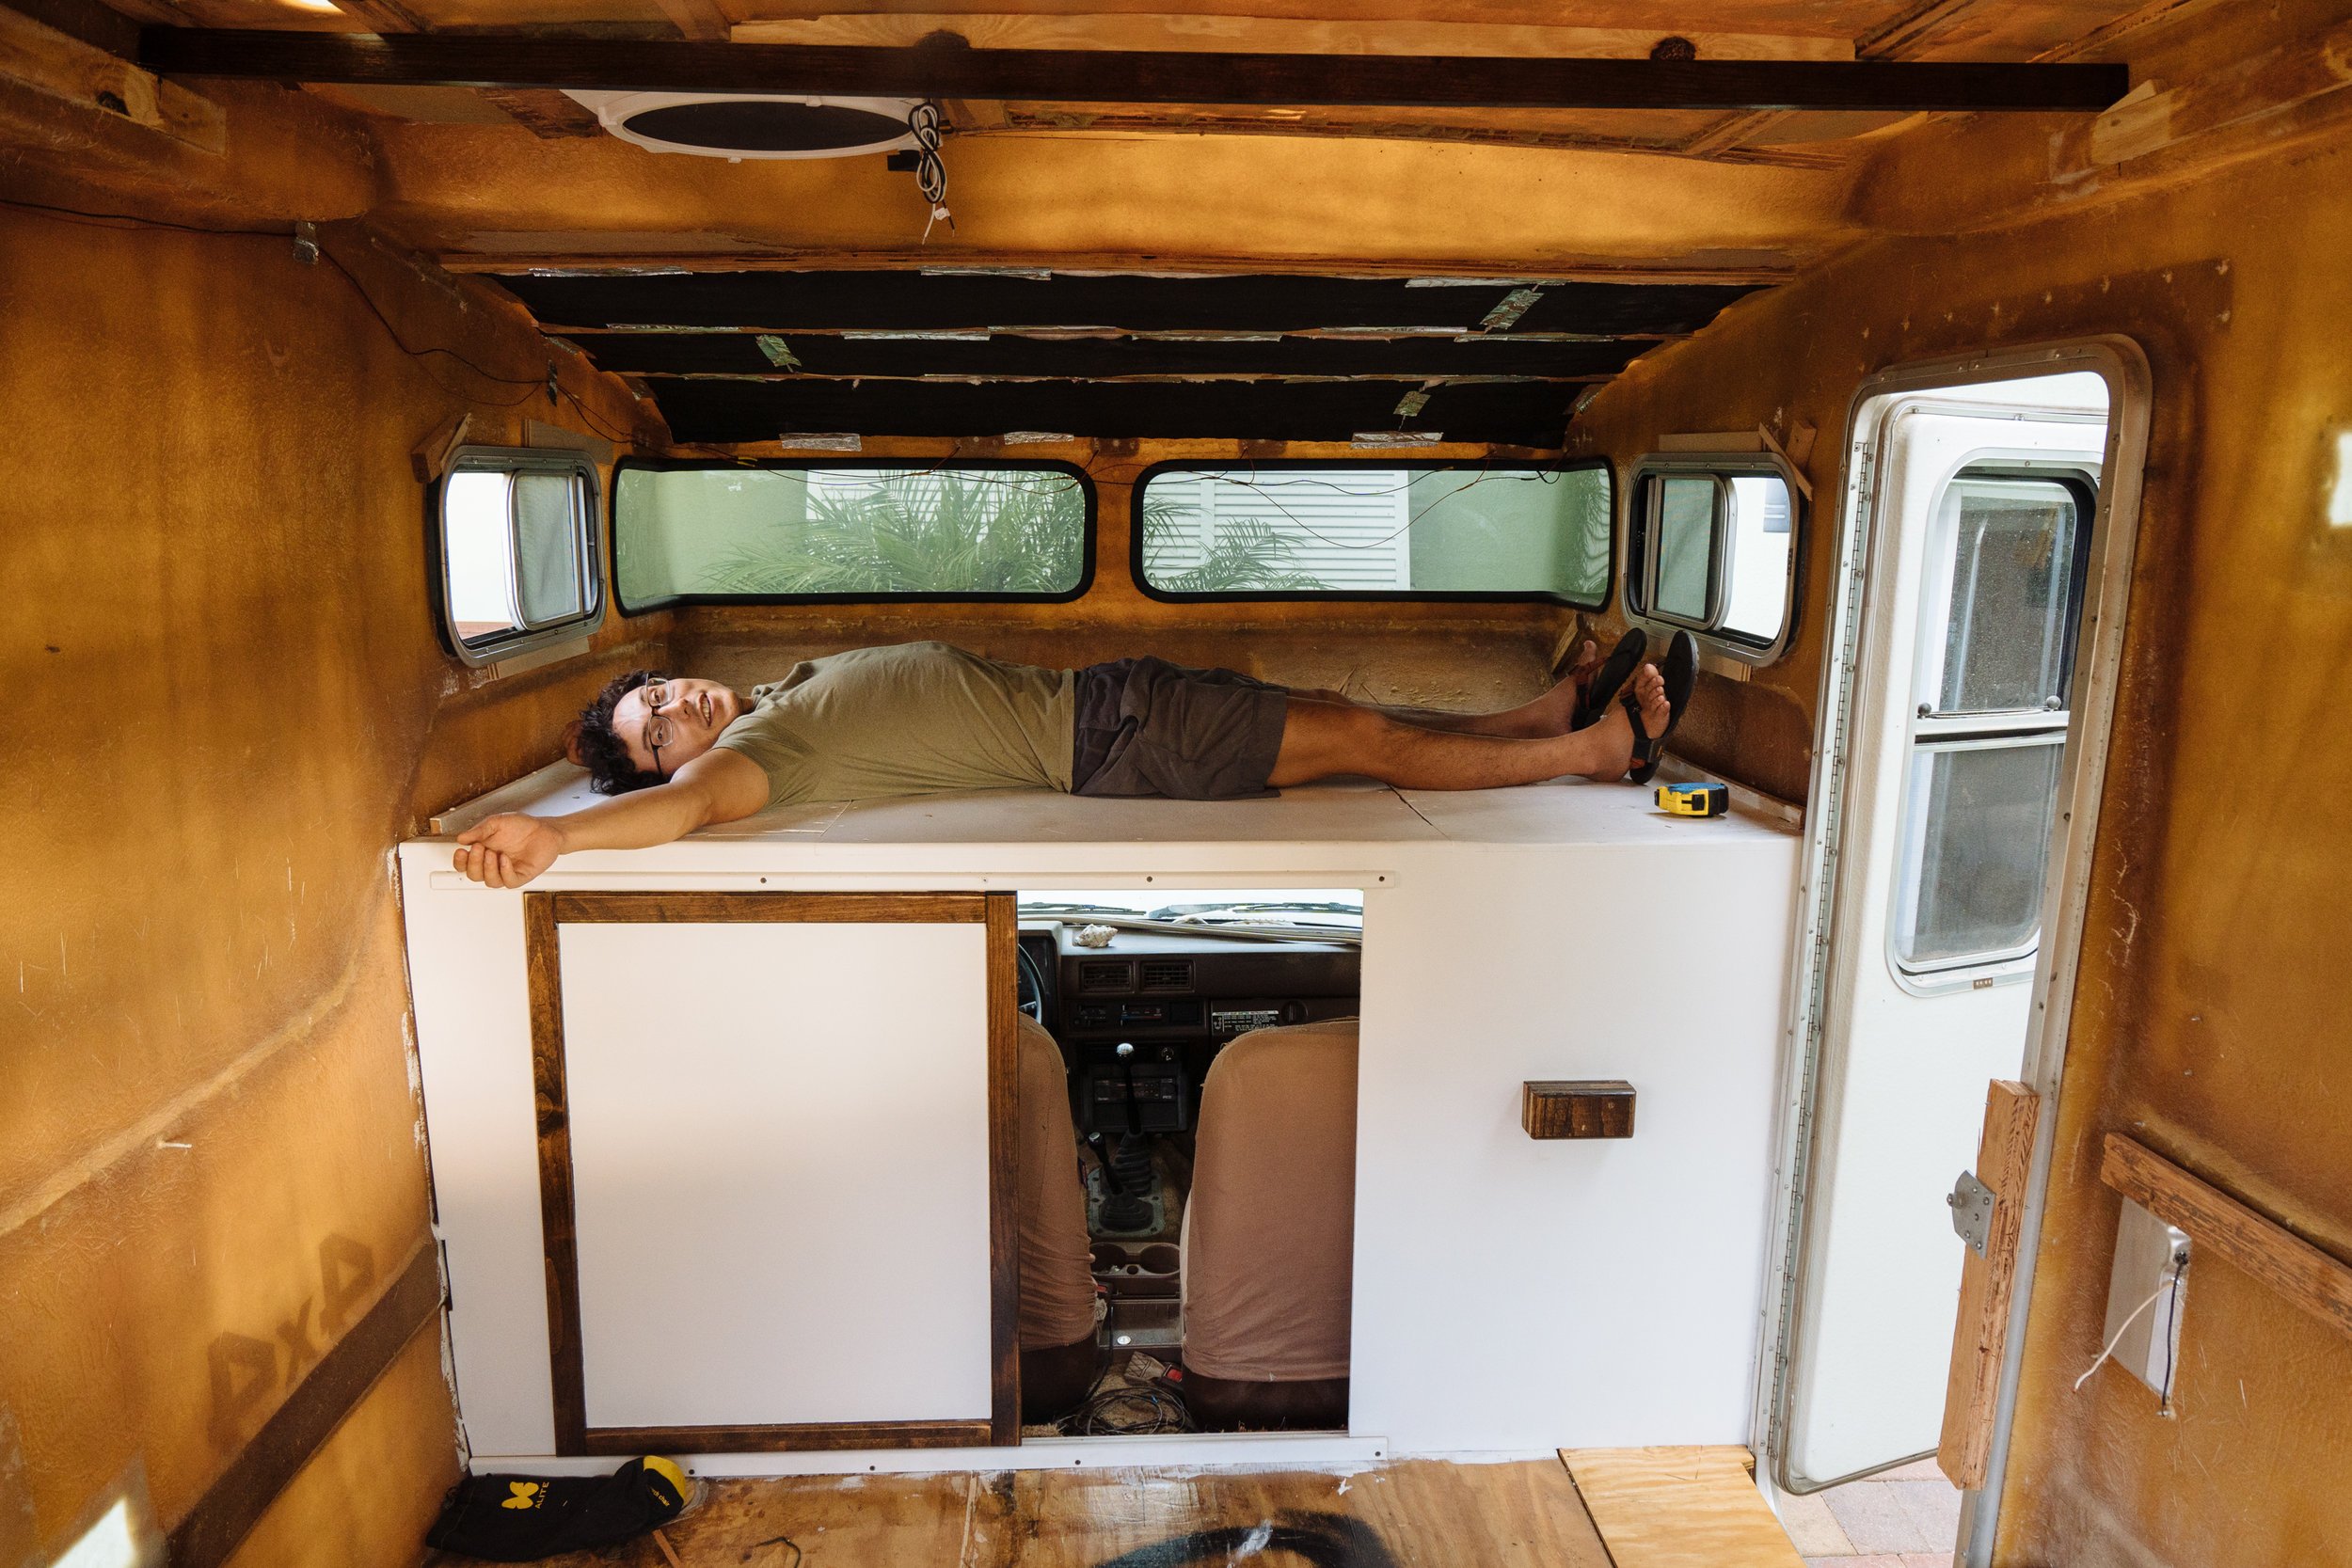
While I was working the fiberglass, Owen went to work on roughly planning out our electrical system by taping it out on the walls and floors. We now have a pretty good idea of everything that will require wiring of any kind. By taping our system we can better plan how it will be broken down by kind of wiring and circuits to build the system. We'll also be able to better tell how much wiring we need to buy. When we really dive into the electrical system Owen will jump in to talk over what we're doing...this is definitely his area of specialty!

For fun we tossed our wall and ceiling panels in for just a few mins to we could get a glimpse of where we're headed. Man, I really can't wait until those go in for good!
As always thank you guys so much for being there for us as we go through this process. We're so appreciative of how supportive the online community has been during the build. We've gotten the best recommendations and help along the way! You all are the wind in our sails. Have a great week, and as always there is more to come!
MAK
Supply List
For inquiring minds
Black Marine adhesive sealant for the window seal connections, Thinsulate for the insulation, Metal duct tape we have found to work really well for applying the insulation, Epoxy adhesive tube, and extra mixing/application nozzles.