Build Out: Week 8 & 9
Prep & Painting

Hey guys!
Sorry about not getting anything posted last week. We had to make a quick run up to South Carolina to tend to a family matter. On the way there we got a chance to experience the Snowpocalypse in our old hometown of Atlanta, Georgia!

It was a beautiful sight...because snow doesn't happen very often around these parts! Actually, Florida also saw snow that day for the first time since 1977!
Now where did we leave off with the build?! Ah yes, after a moment (3 days) of panic I decided that I was going to paint Amelia myself...but before we get into the painting here are some other small things that we did these past two weeks!


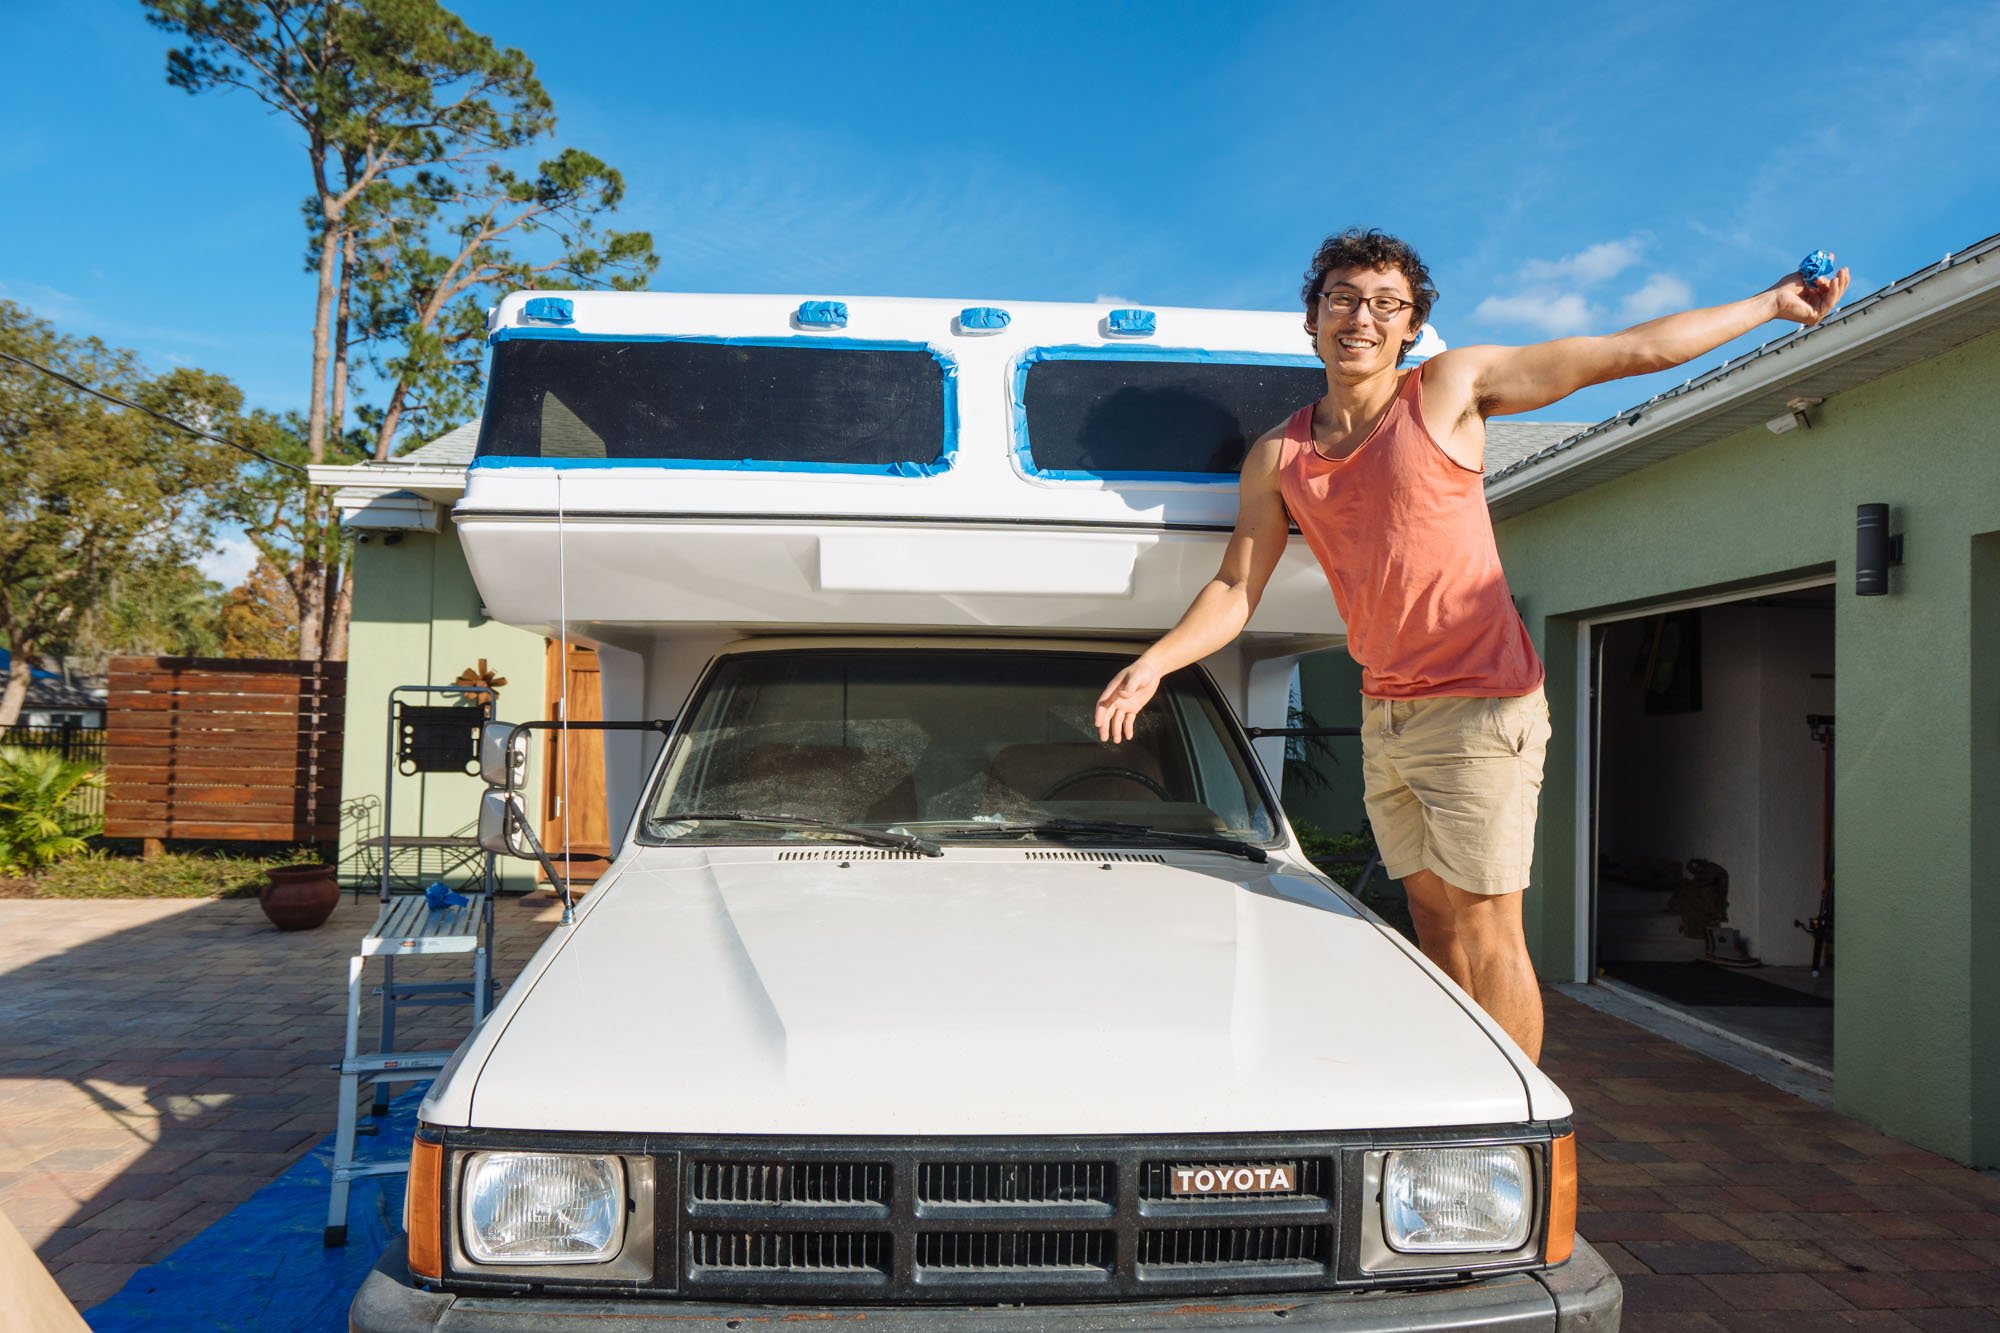
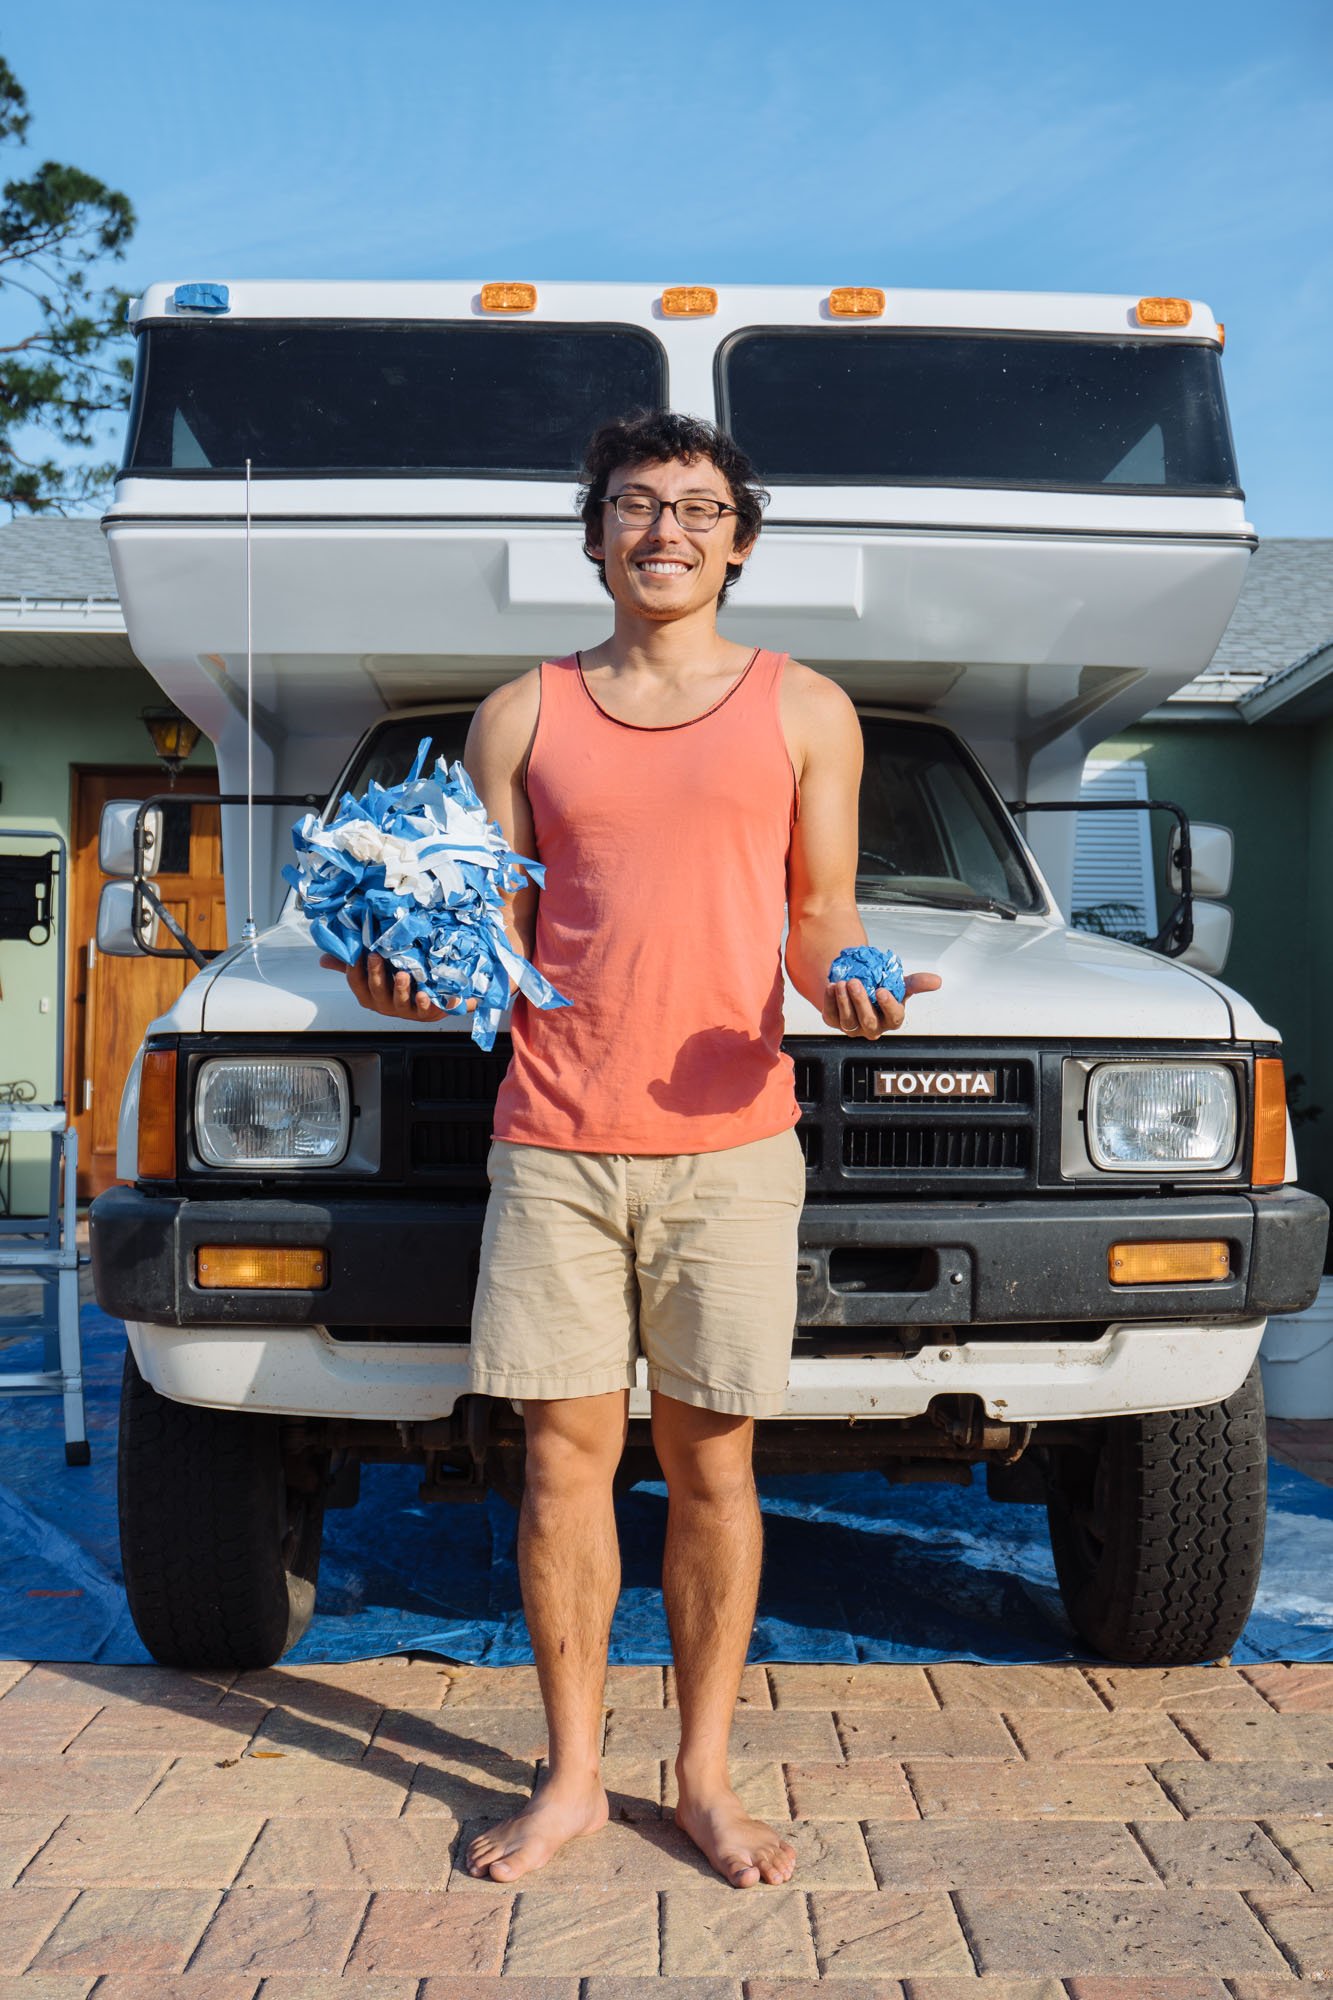
An obvious highlight was Owen's amazing outfit choices! He's really good at living his best life and he doesn't care who knows it! That's my husband y'all!


In week 7 I filled in the small hole in the back, after pulling off the mold, I went back in and added the fairing to even out the surface. This is what that process looks like. After about two days of drying I was able to go back and sand over the area to make it completely flush and remove any excess fairing.
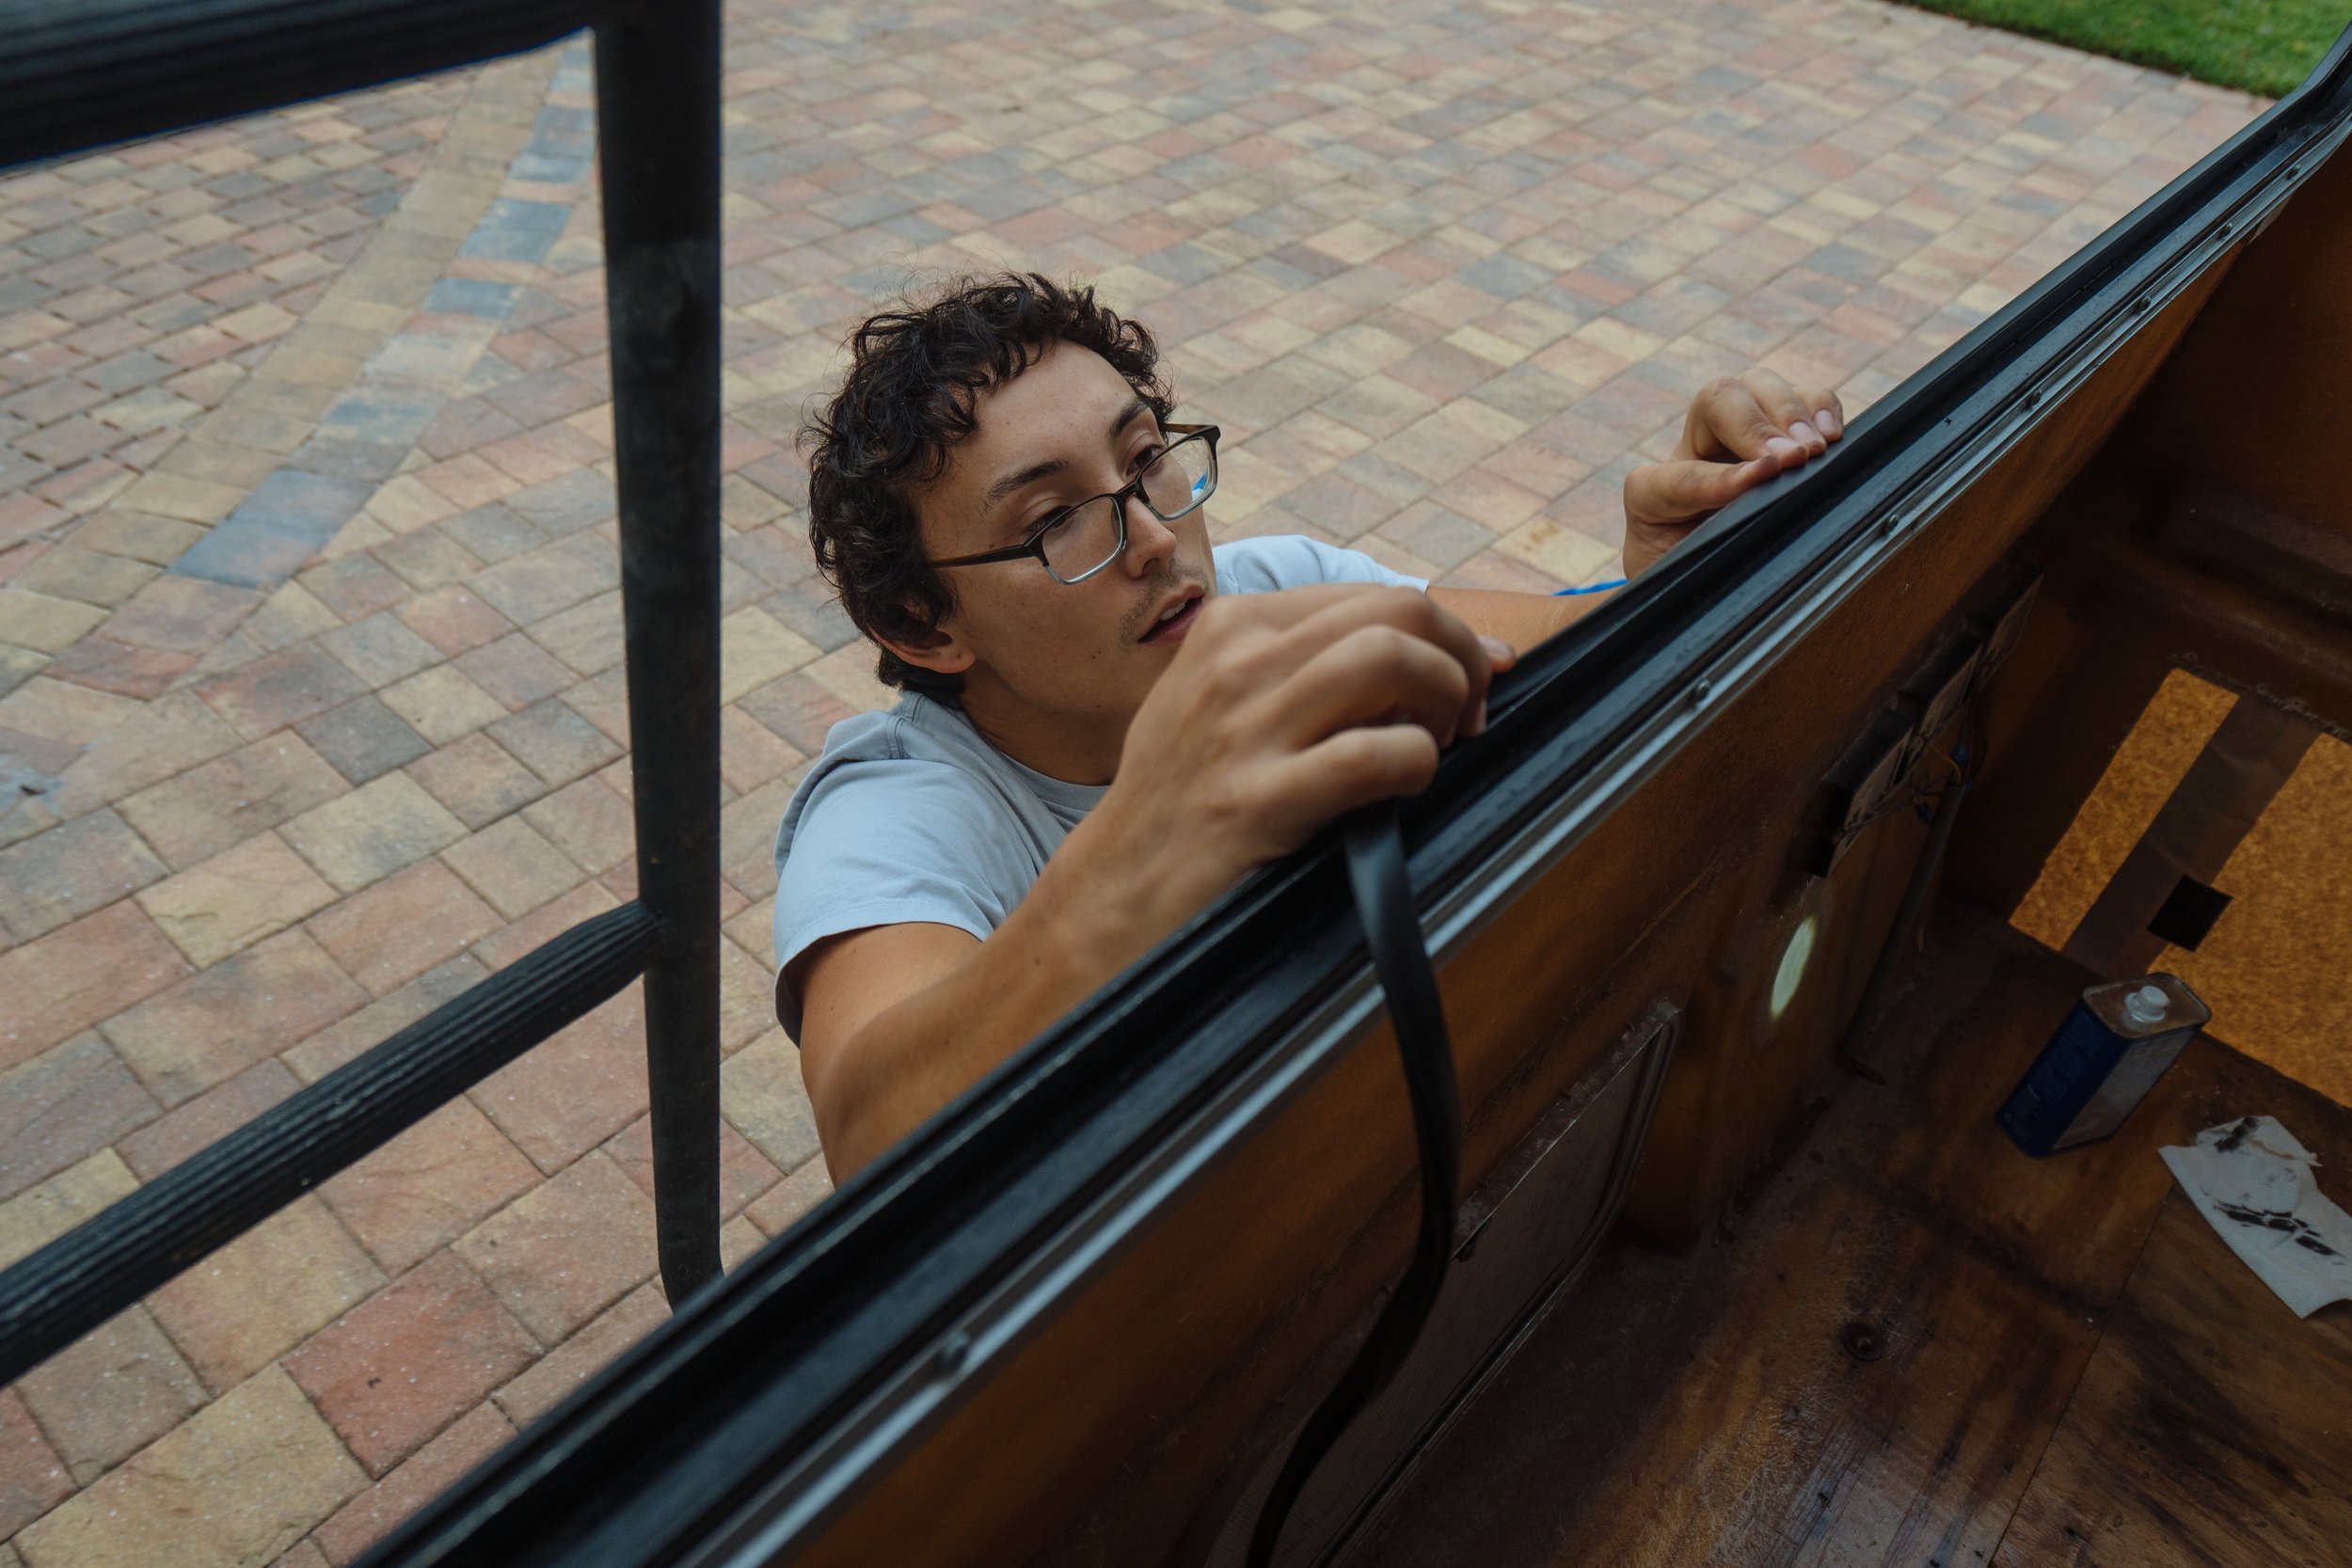
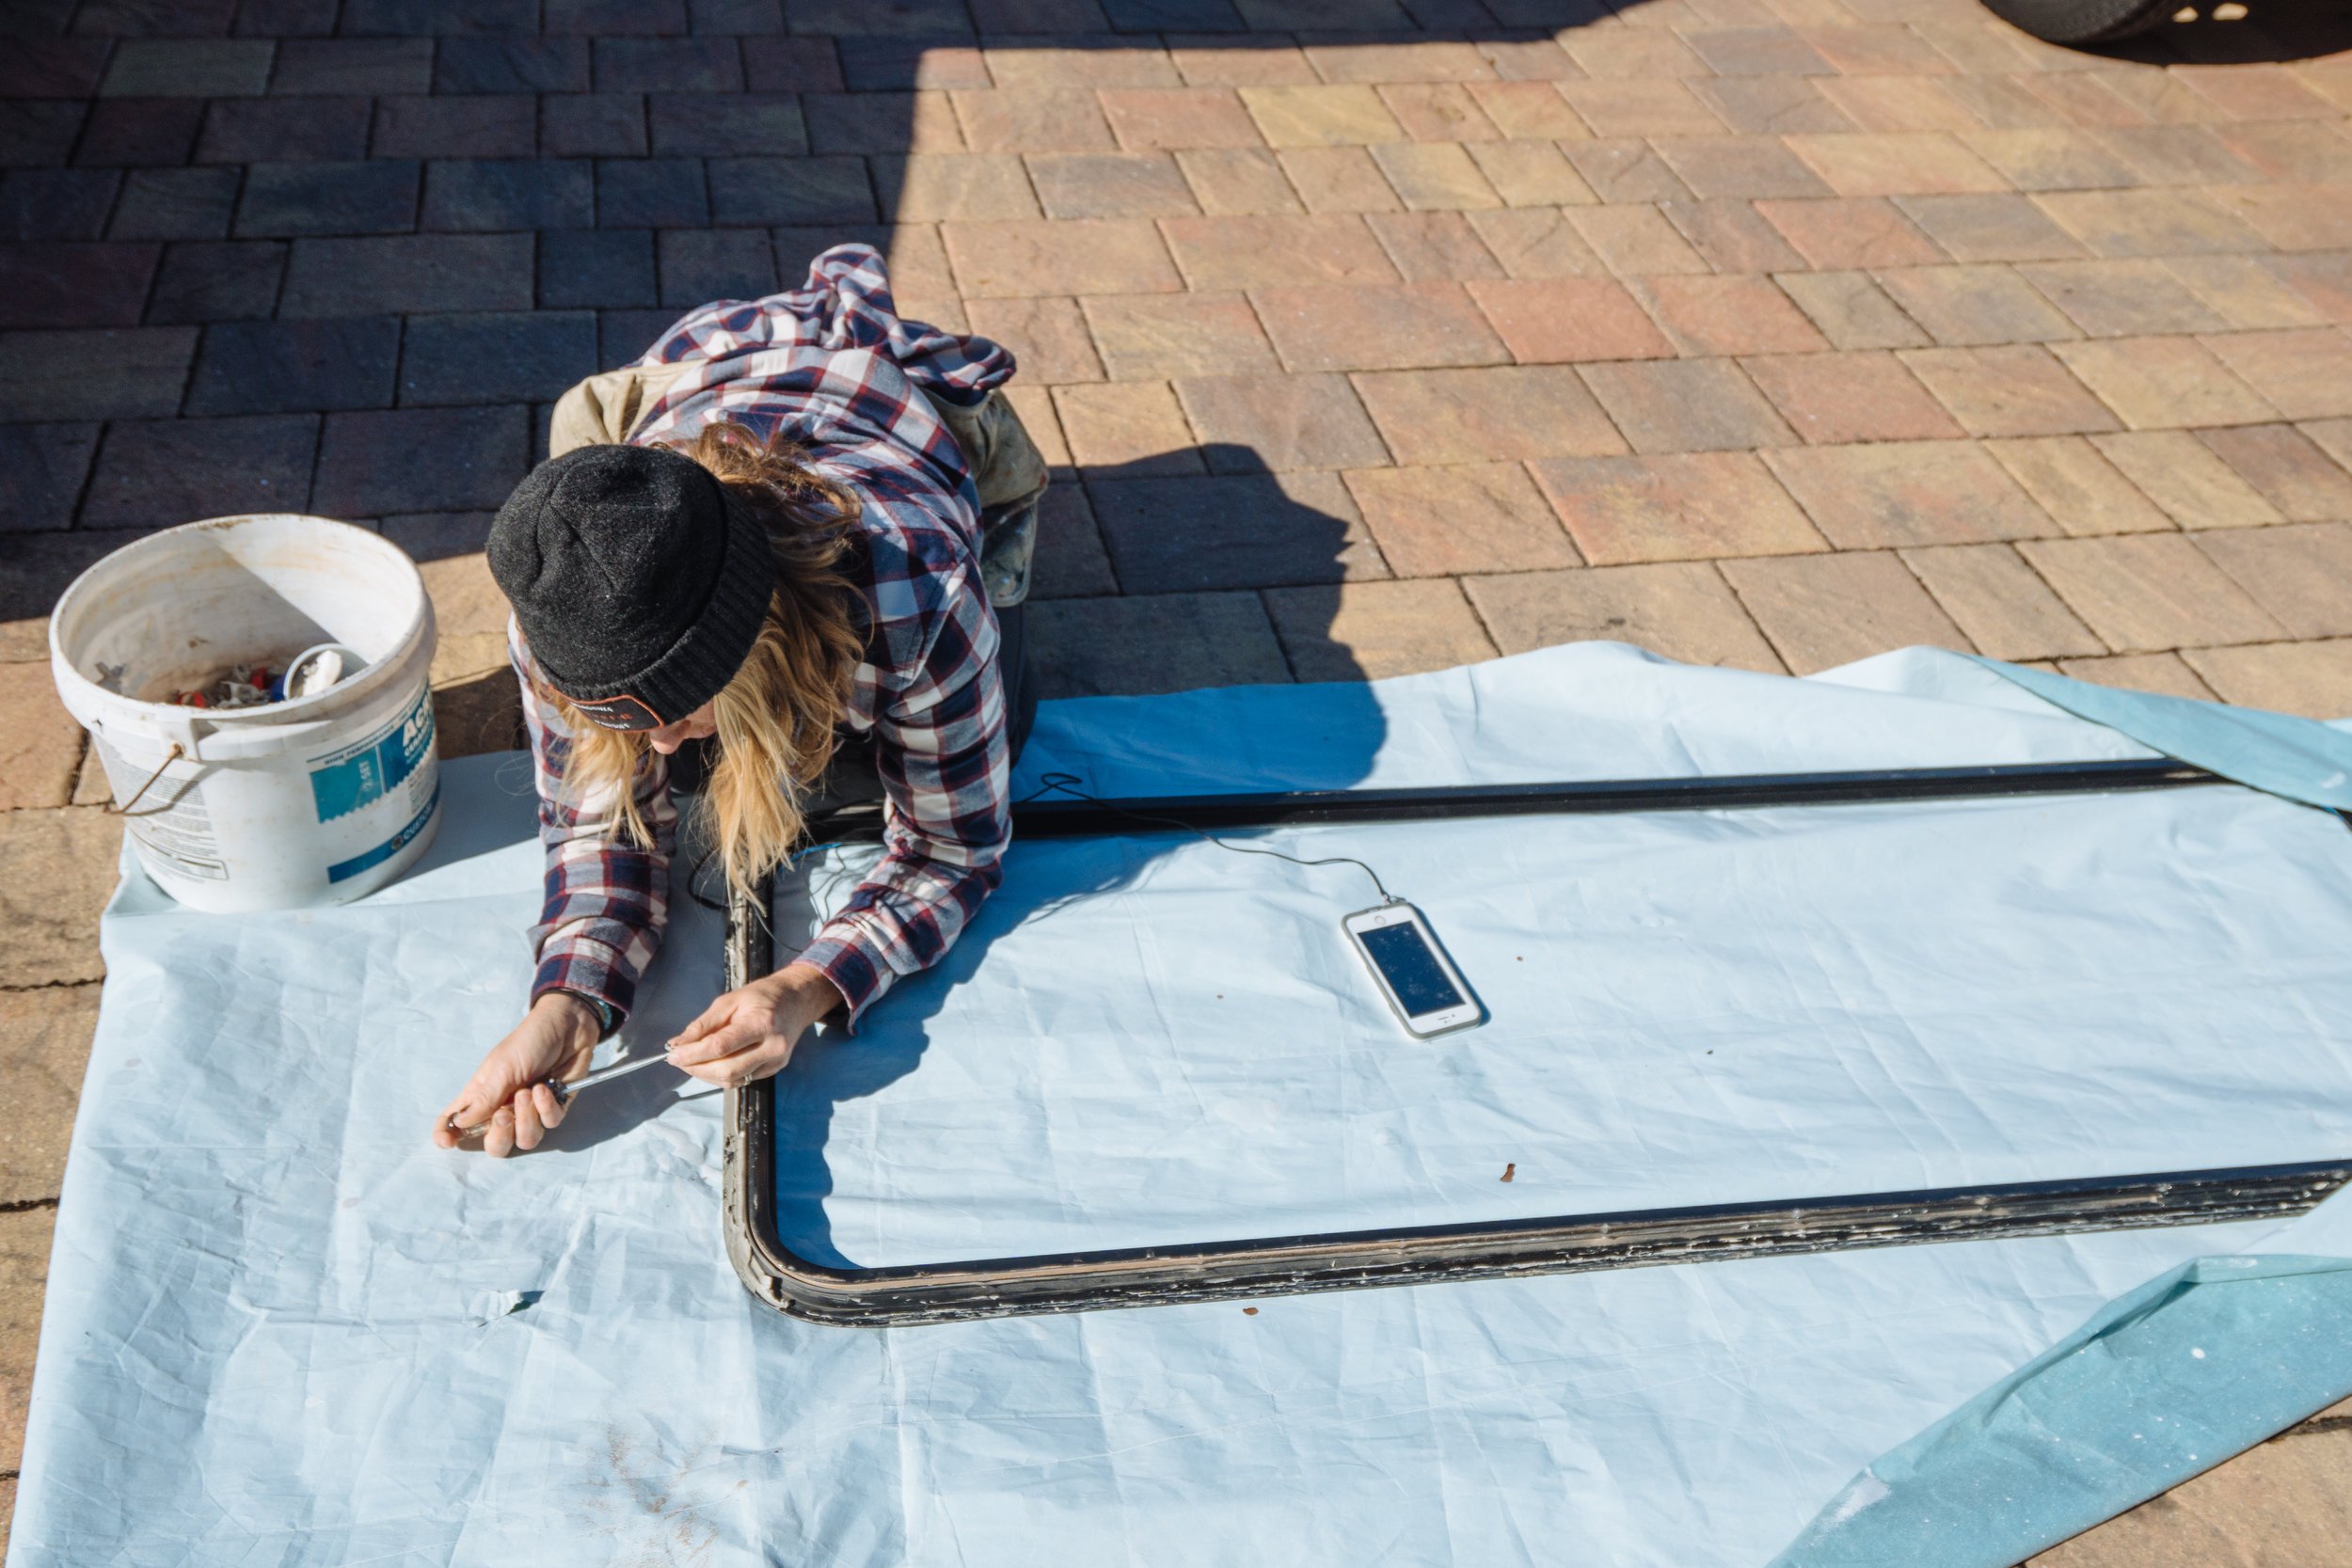
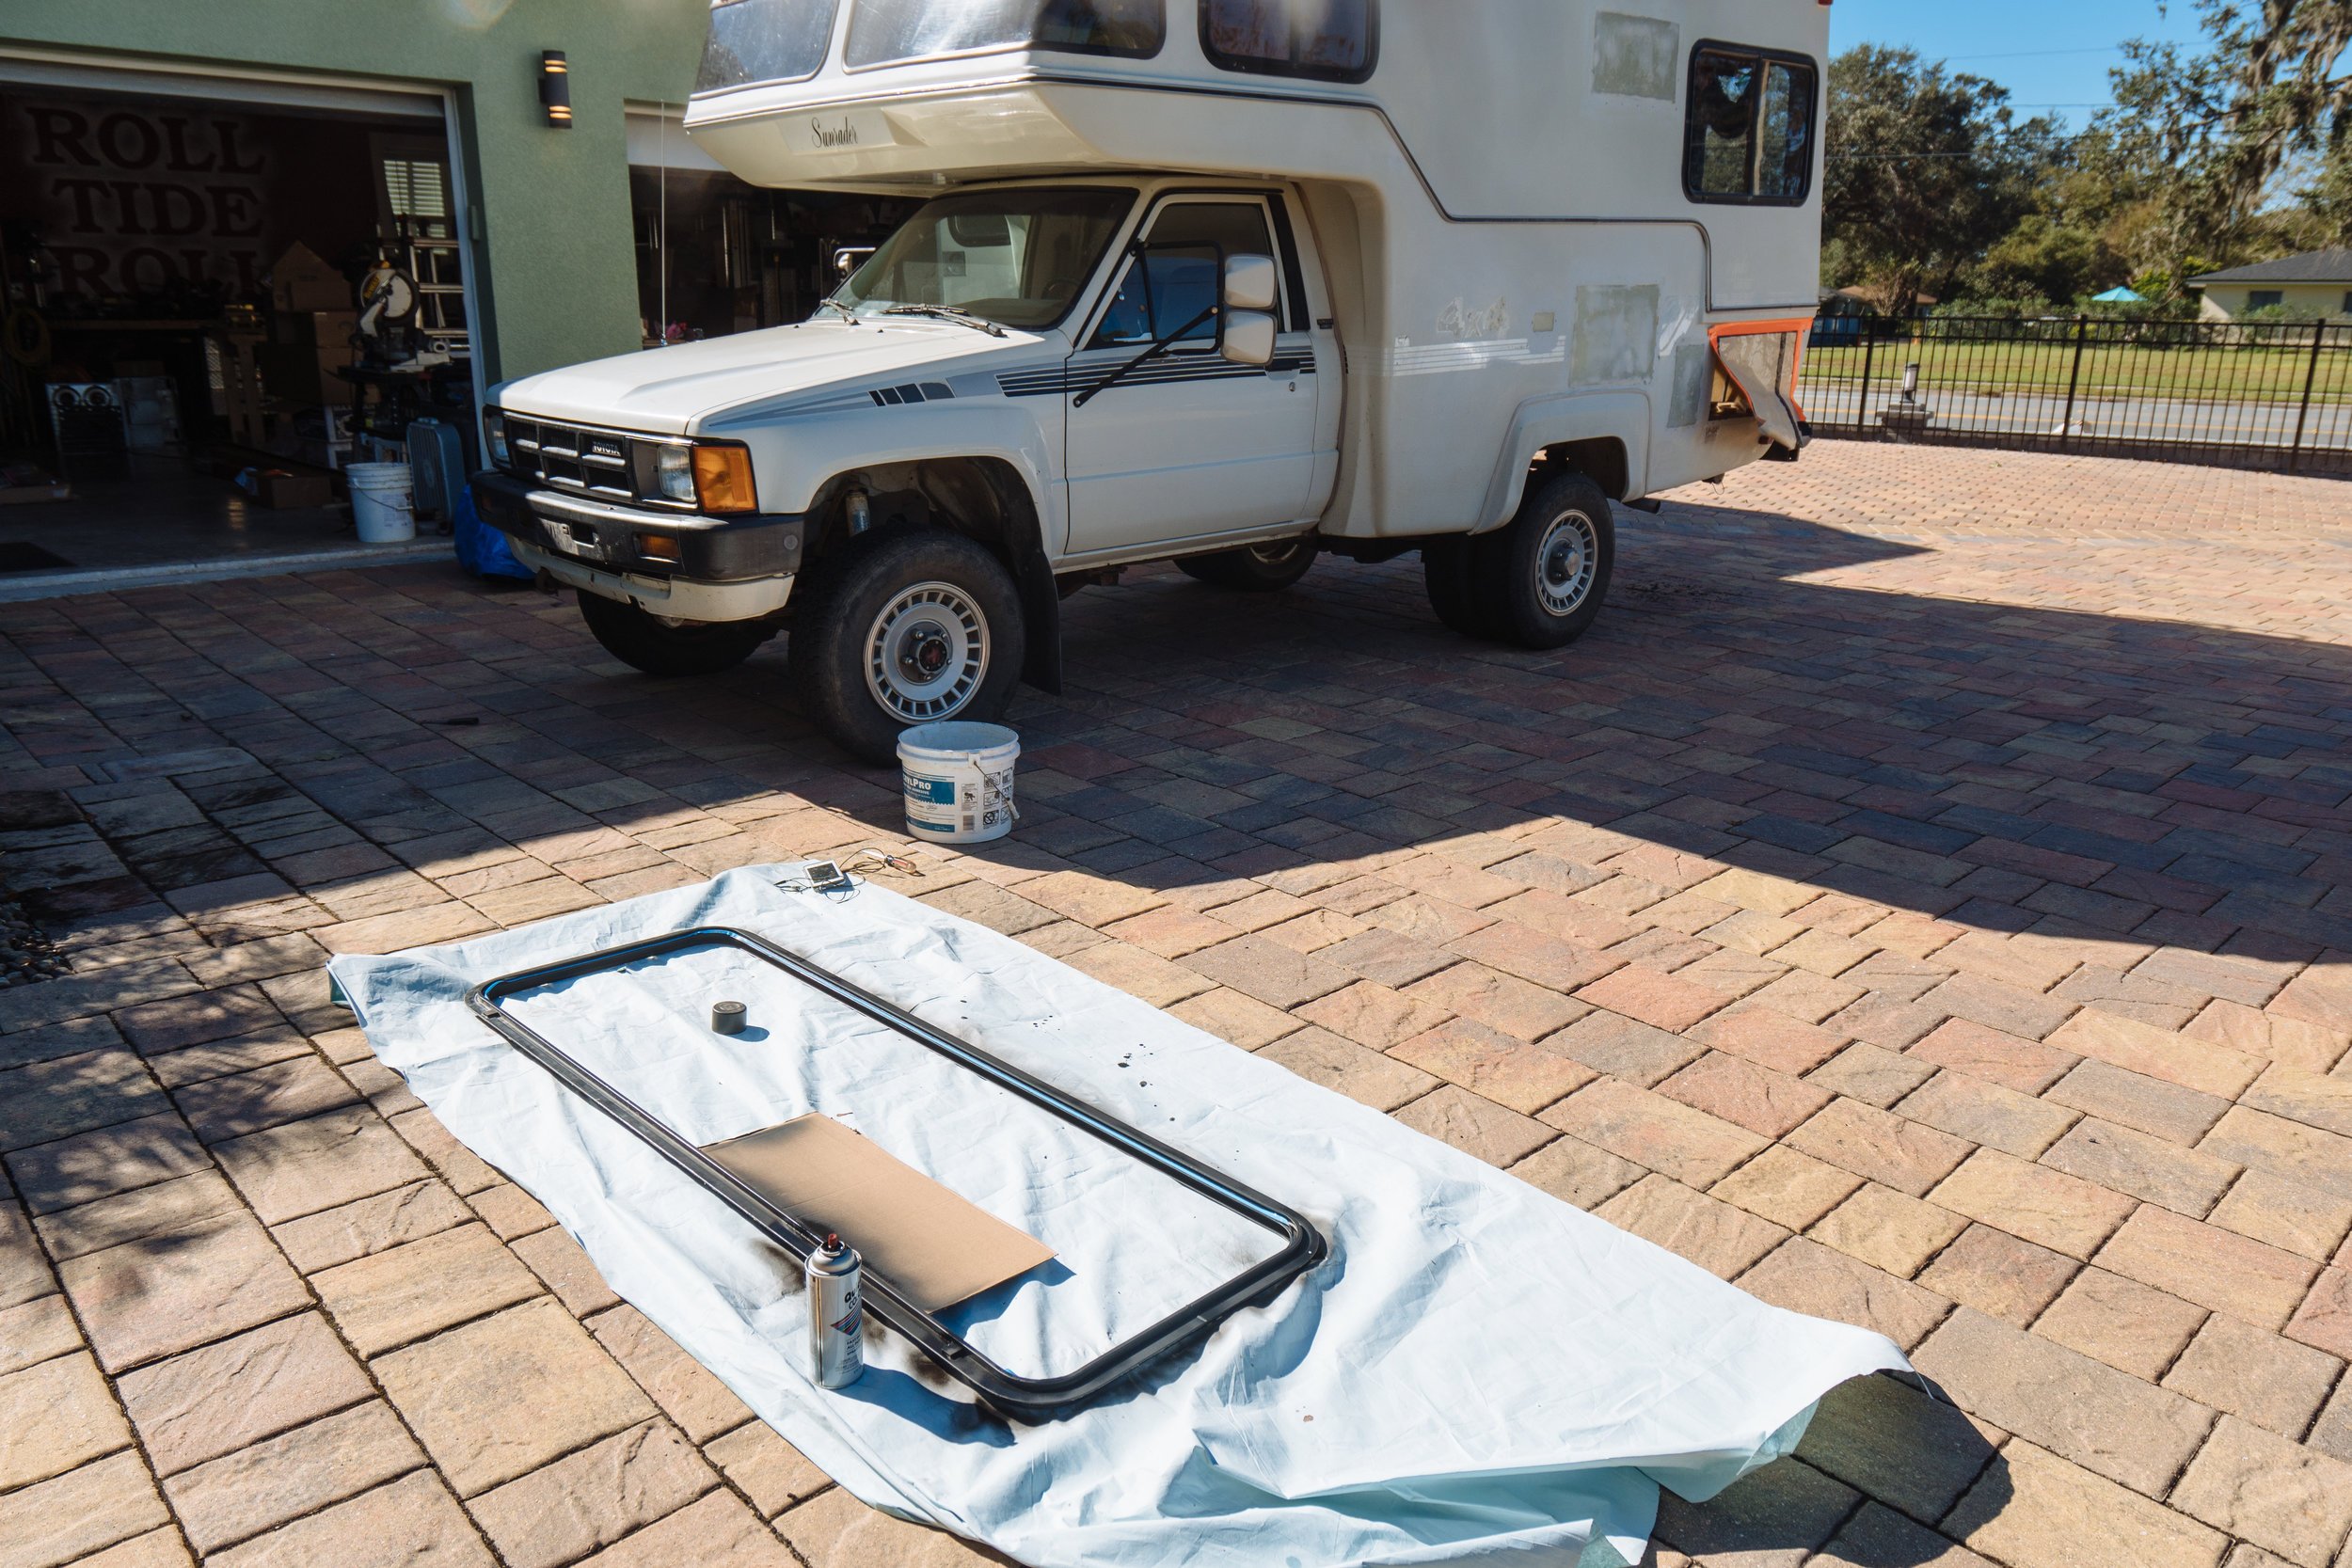
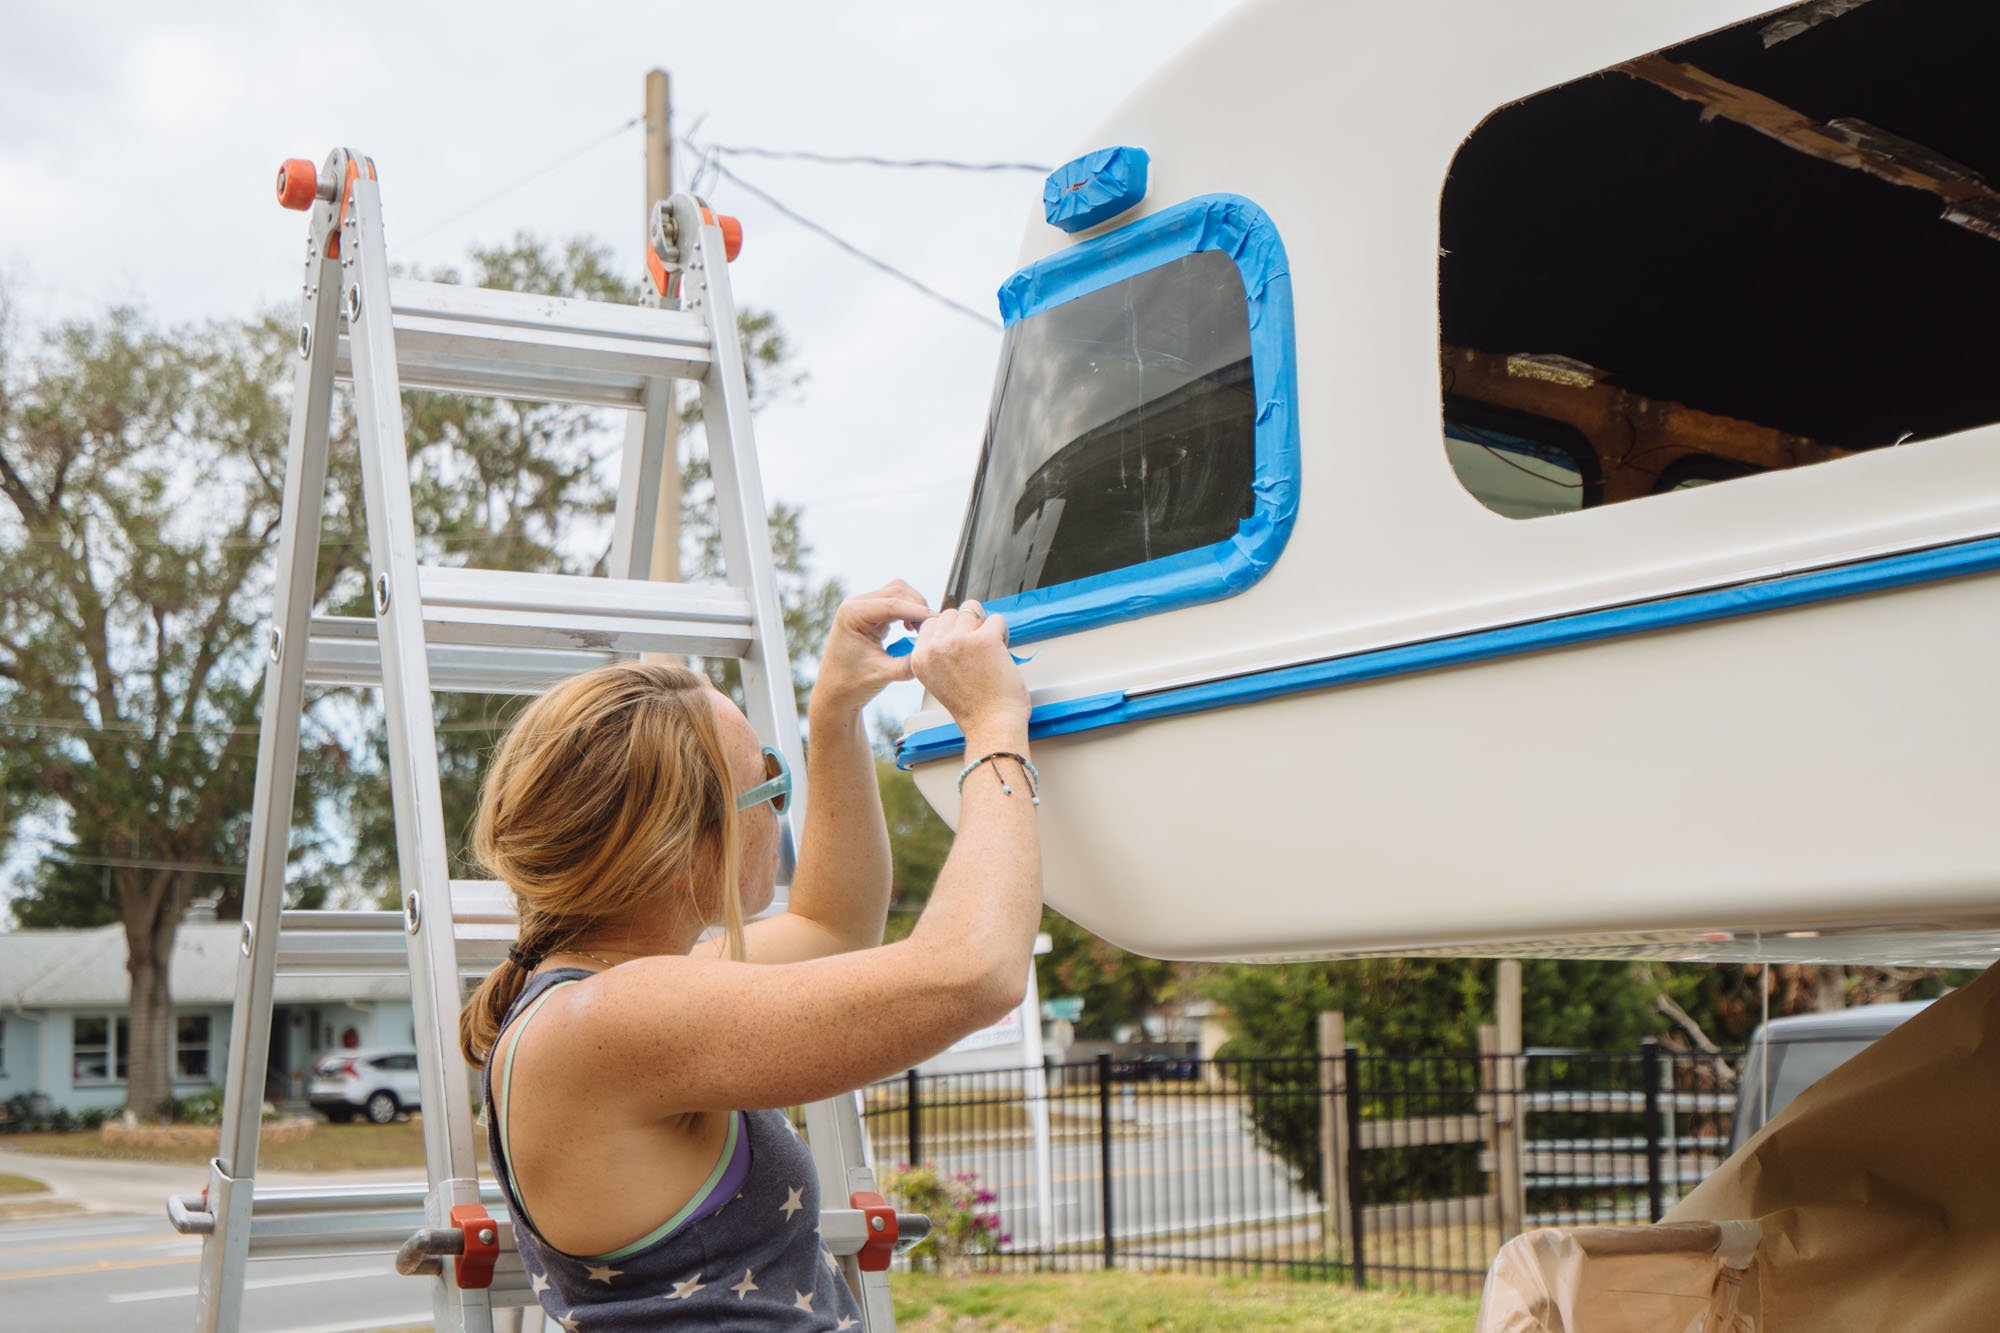
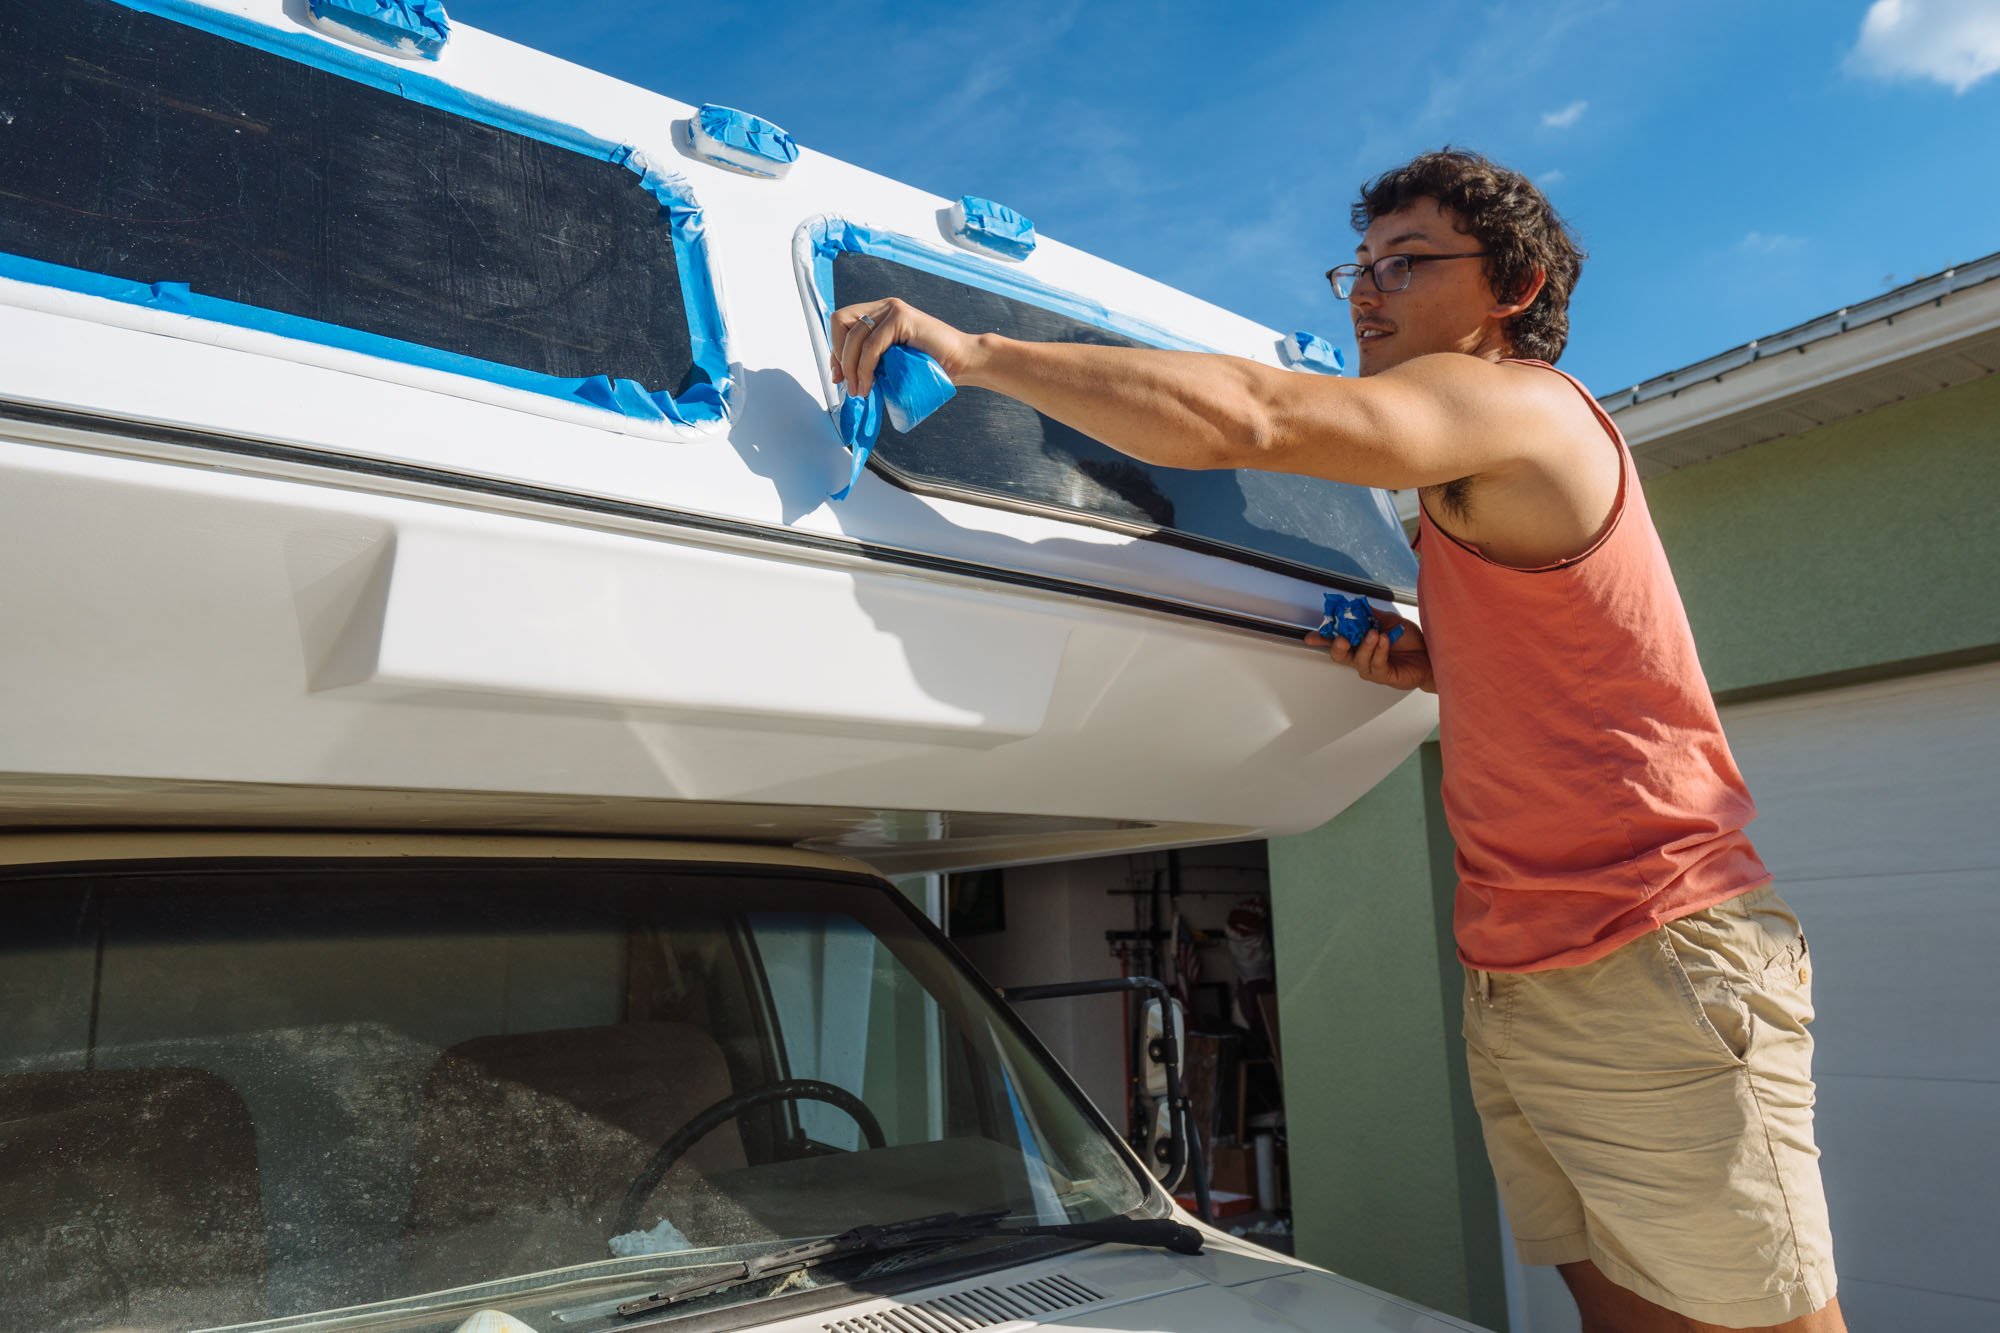
Also in week 7 we removed the back window to replace the glazing bead. After further inspection we realized that the best way to get it back in was to take the whole frame out and do it on the ground. While we had the window out we decided the frame could use a little cleaning up, we added a fresh coat of enamel paint to the frame. We ended up keeping the window out for the duration of the painting process and hope to get it reinstalled in the next few days!
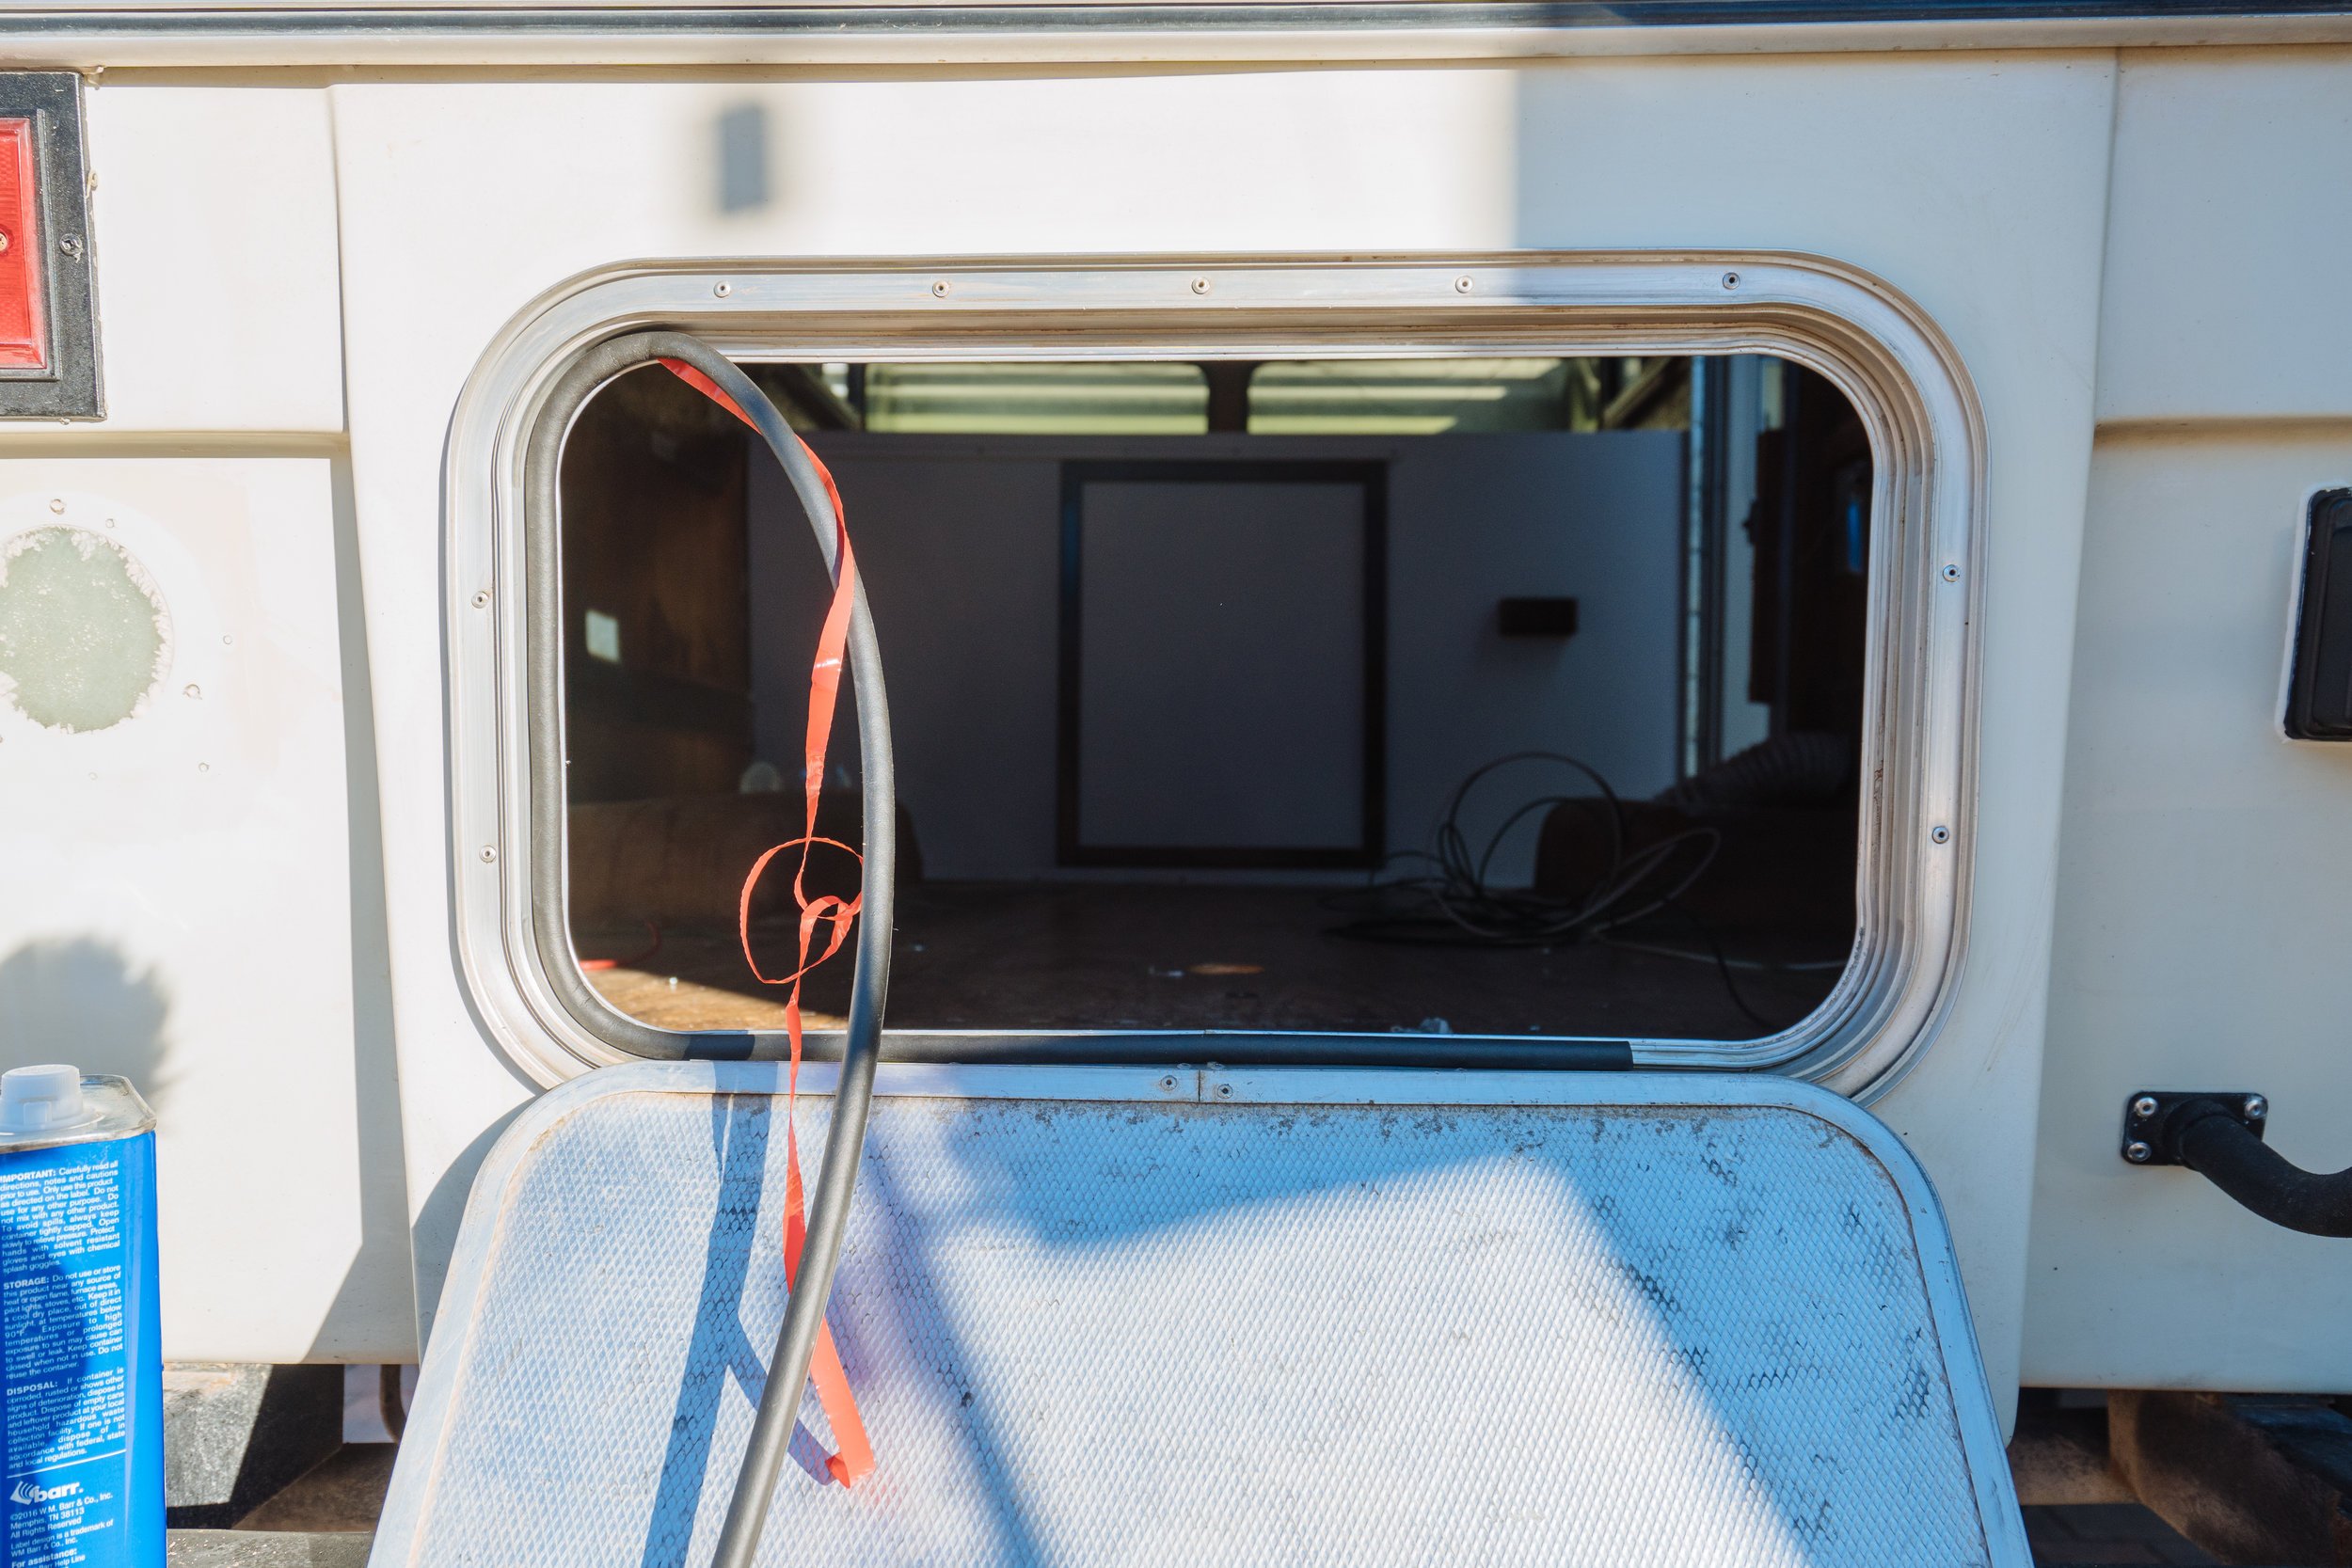
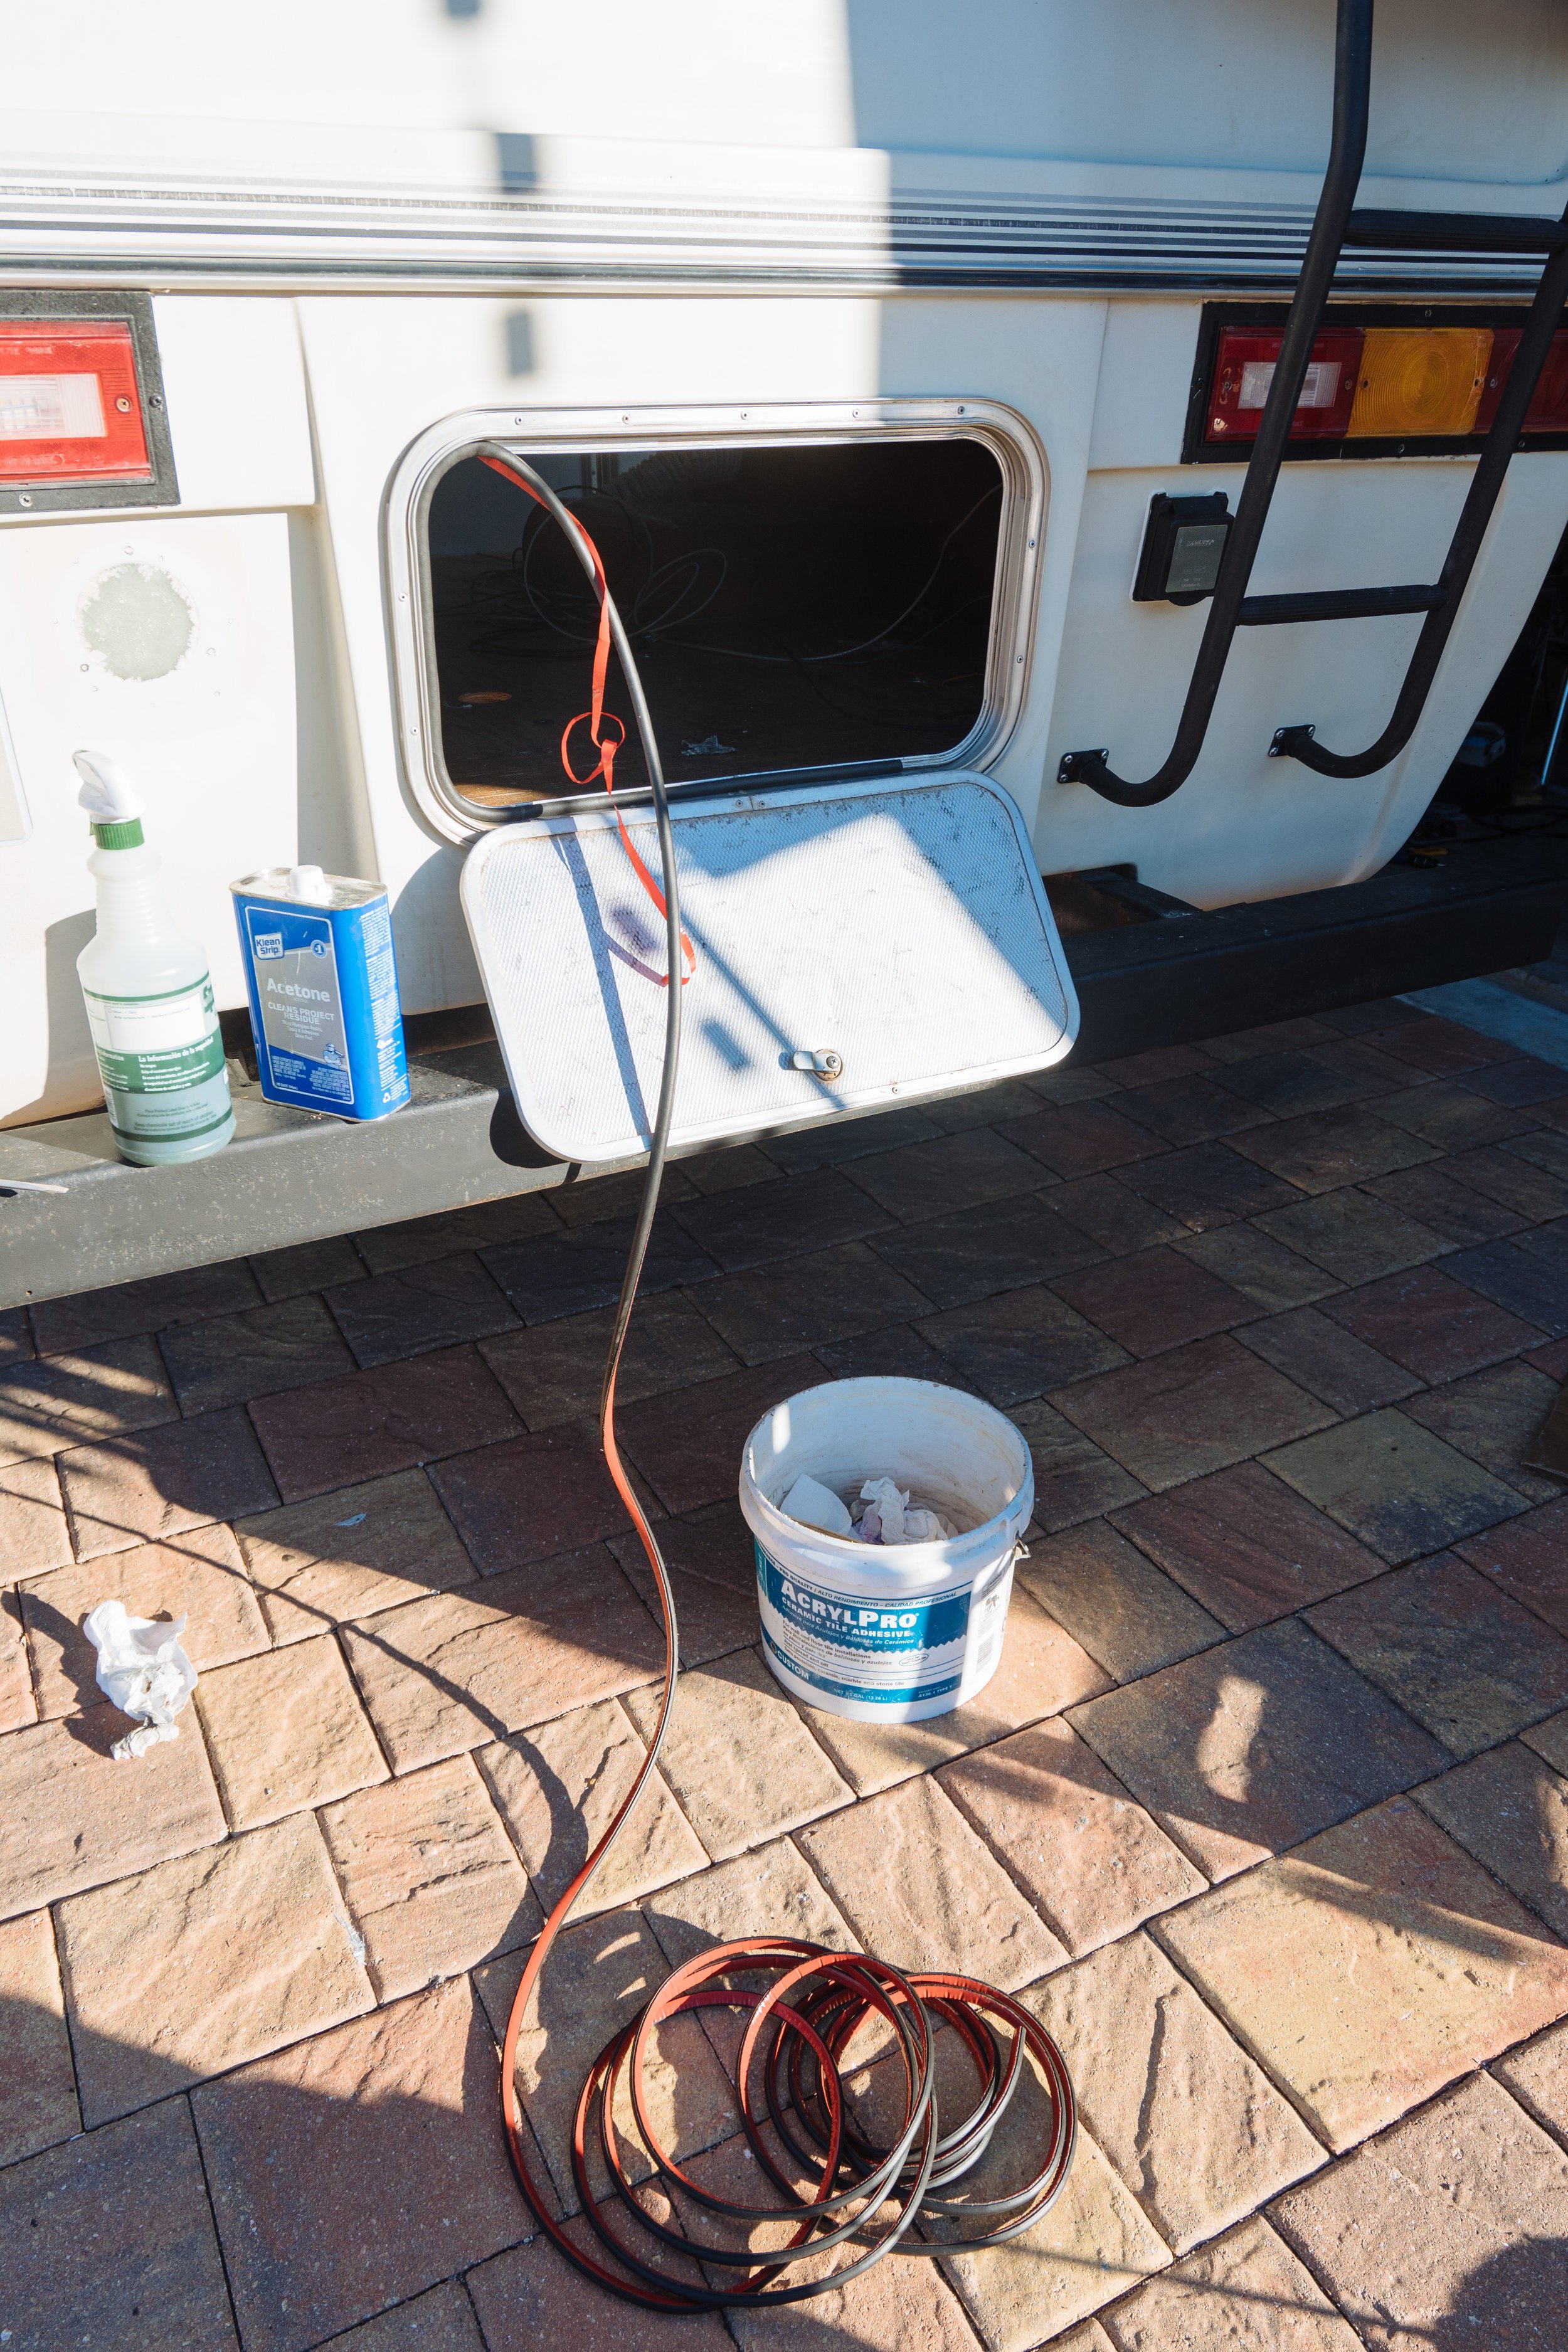
Our back hatch had a really bad leak, so it was high time that we replaced the seal. We actually didn't replace the seal with the same type it used to have. I searched high and low for what I learned was called a "bulb seal" but they just don't seem to make it in a size that would work for us. Instead I went with an industrial 3m "D seal". We're really happy with the results, it creates a far better seal than it did before!
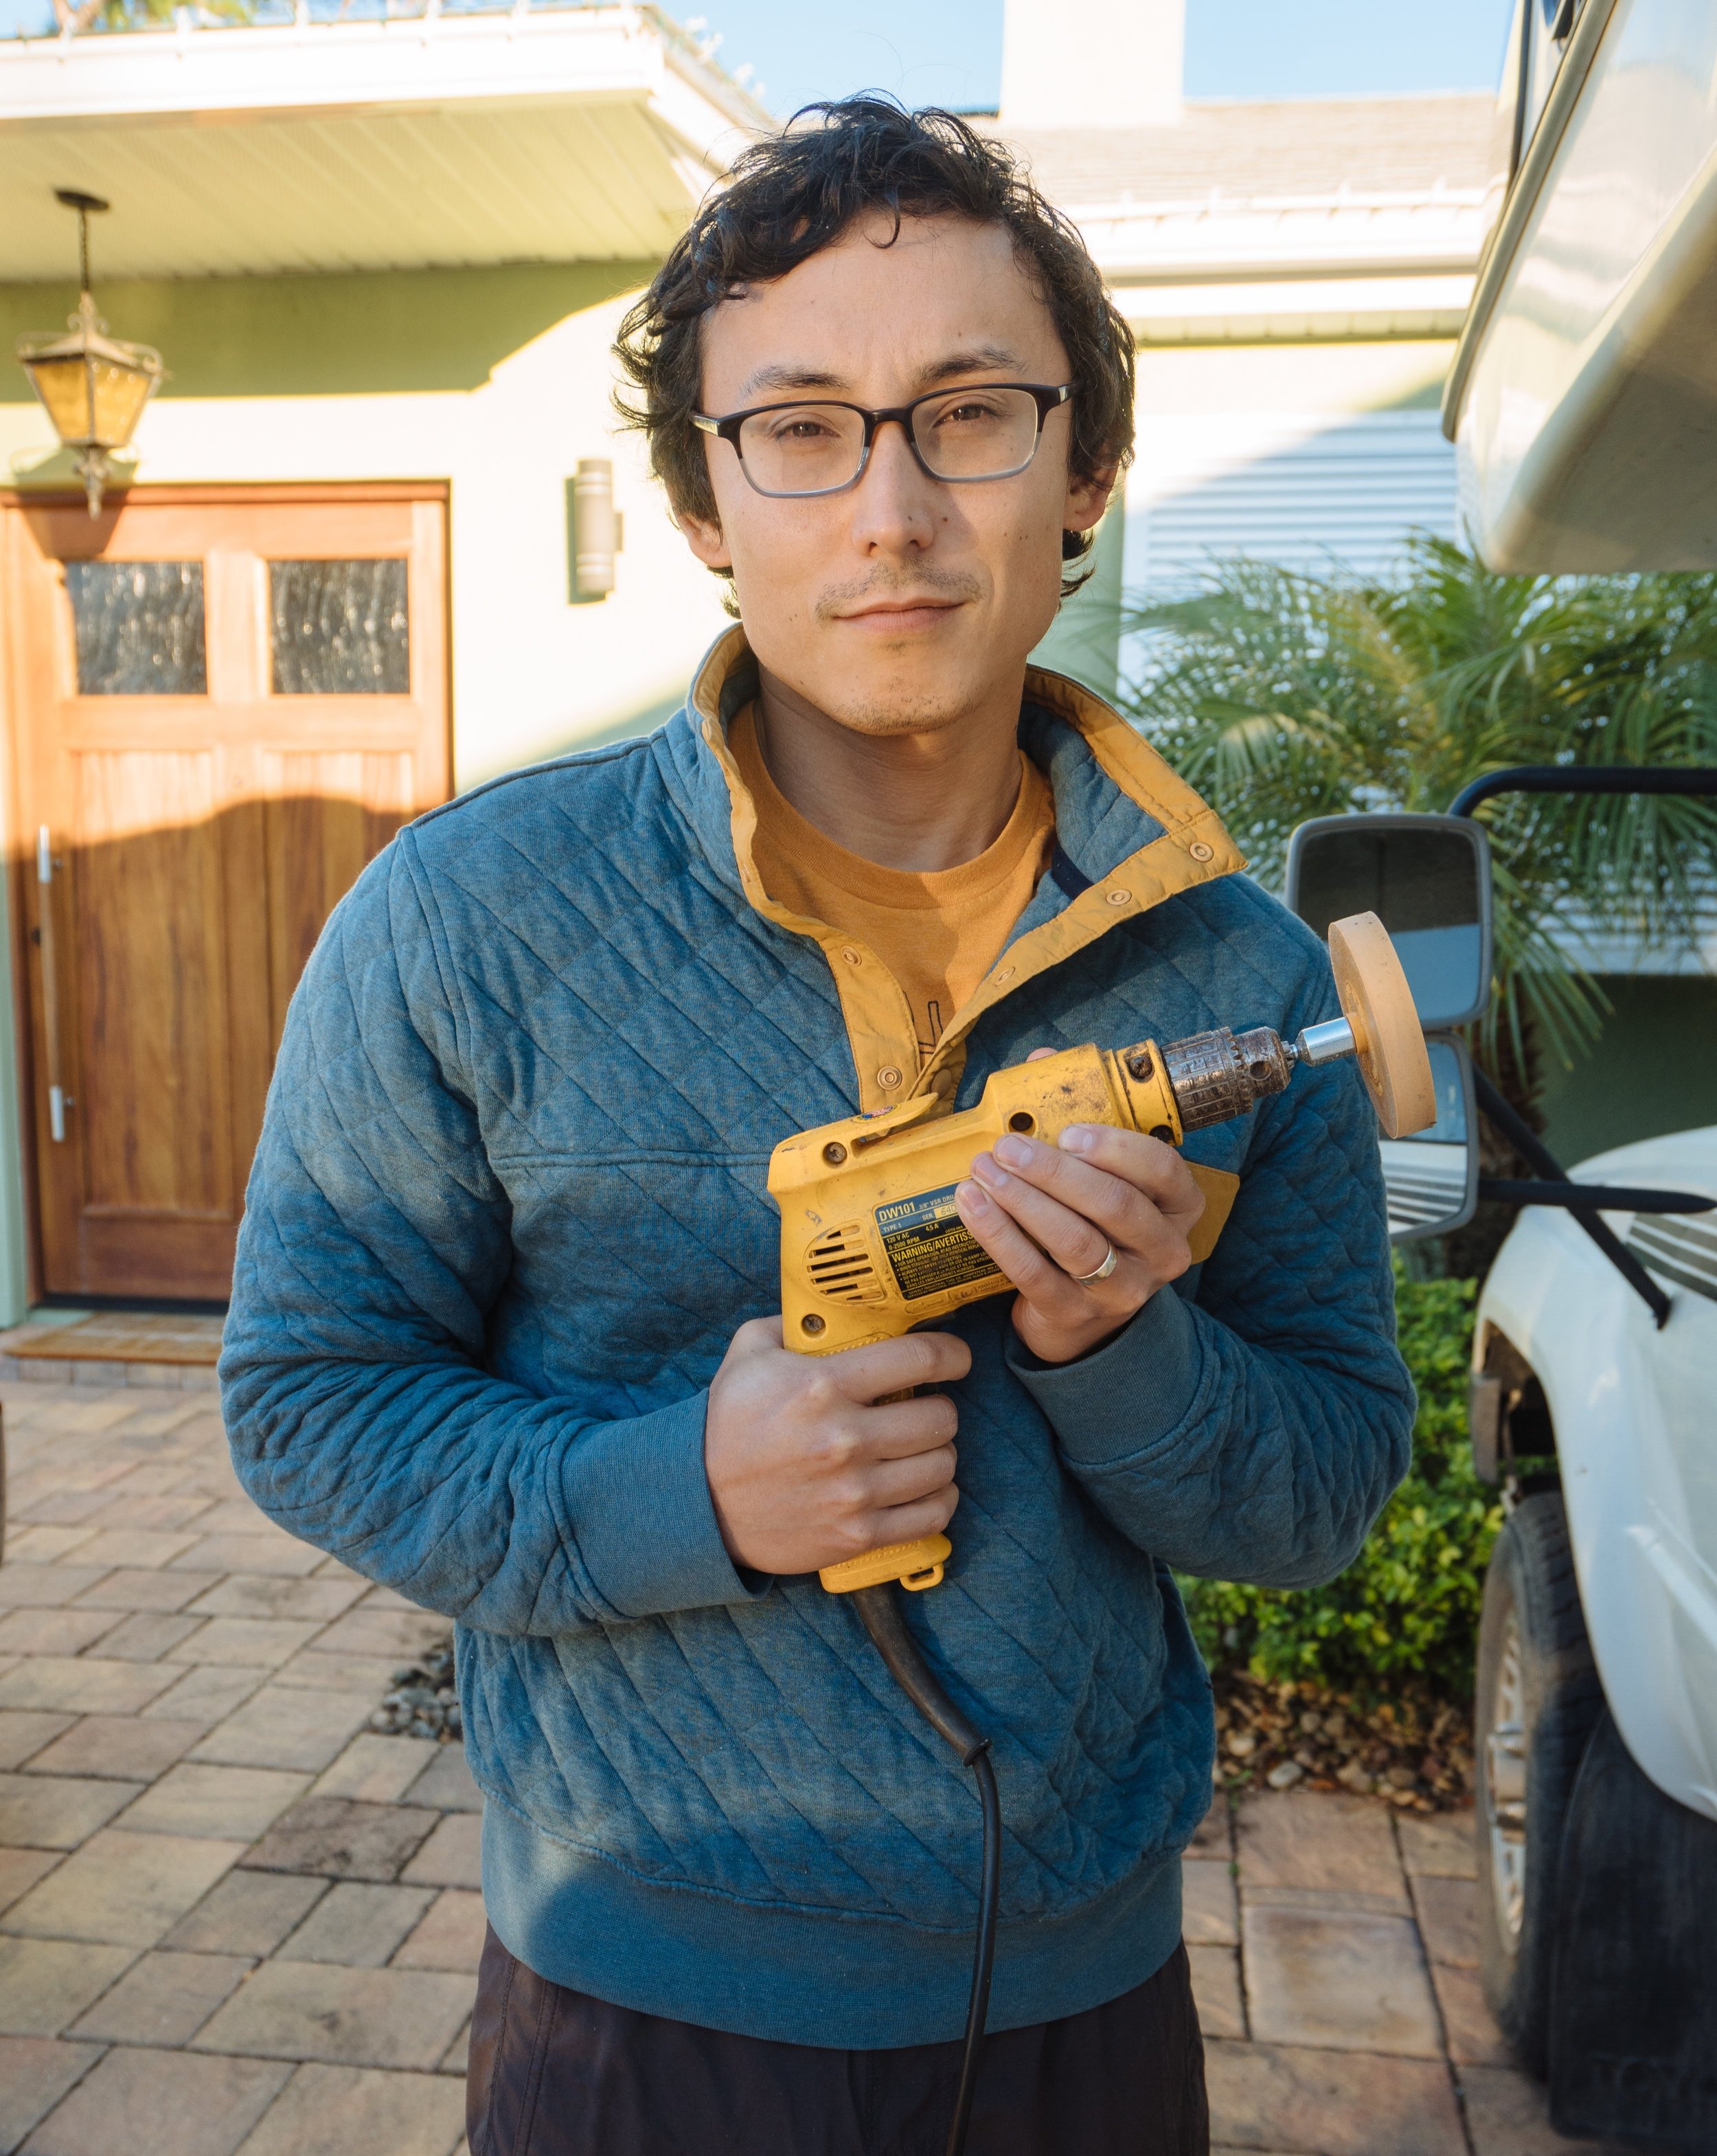
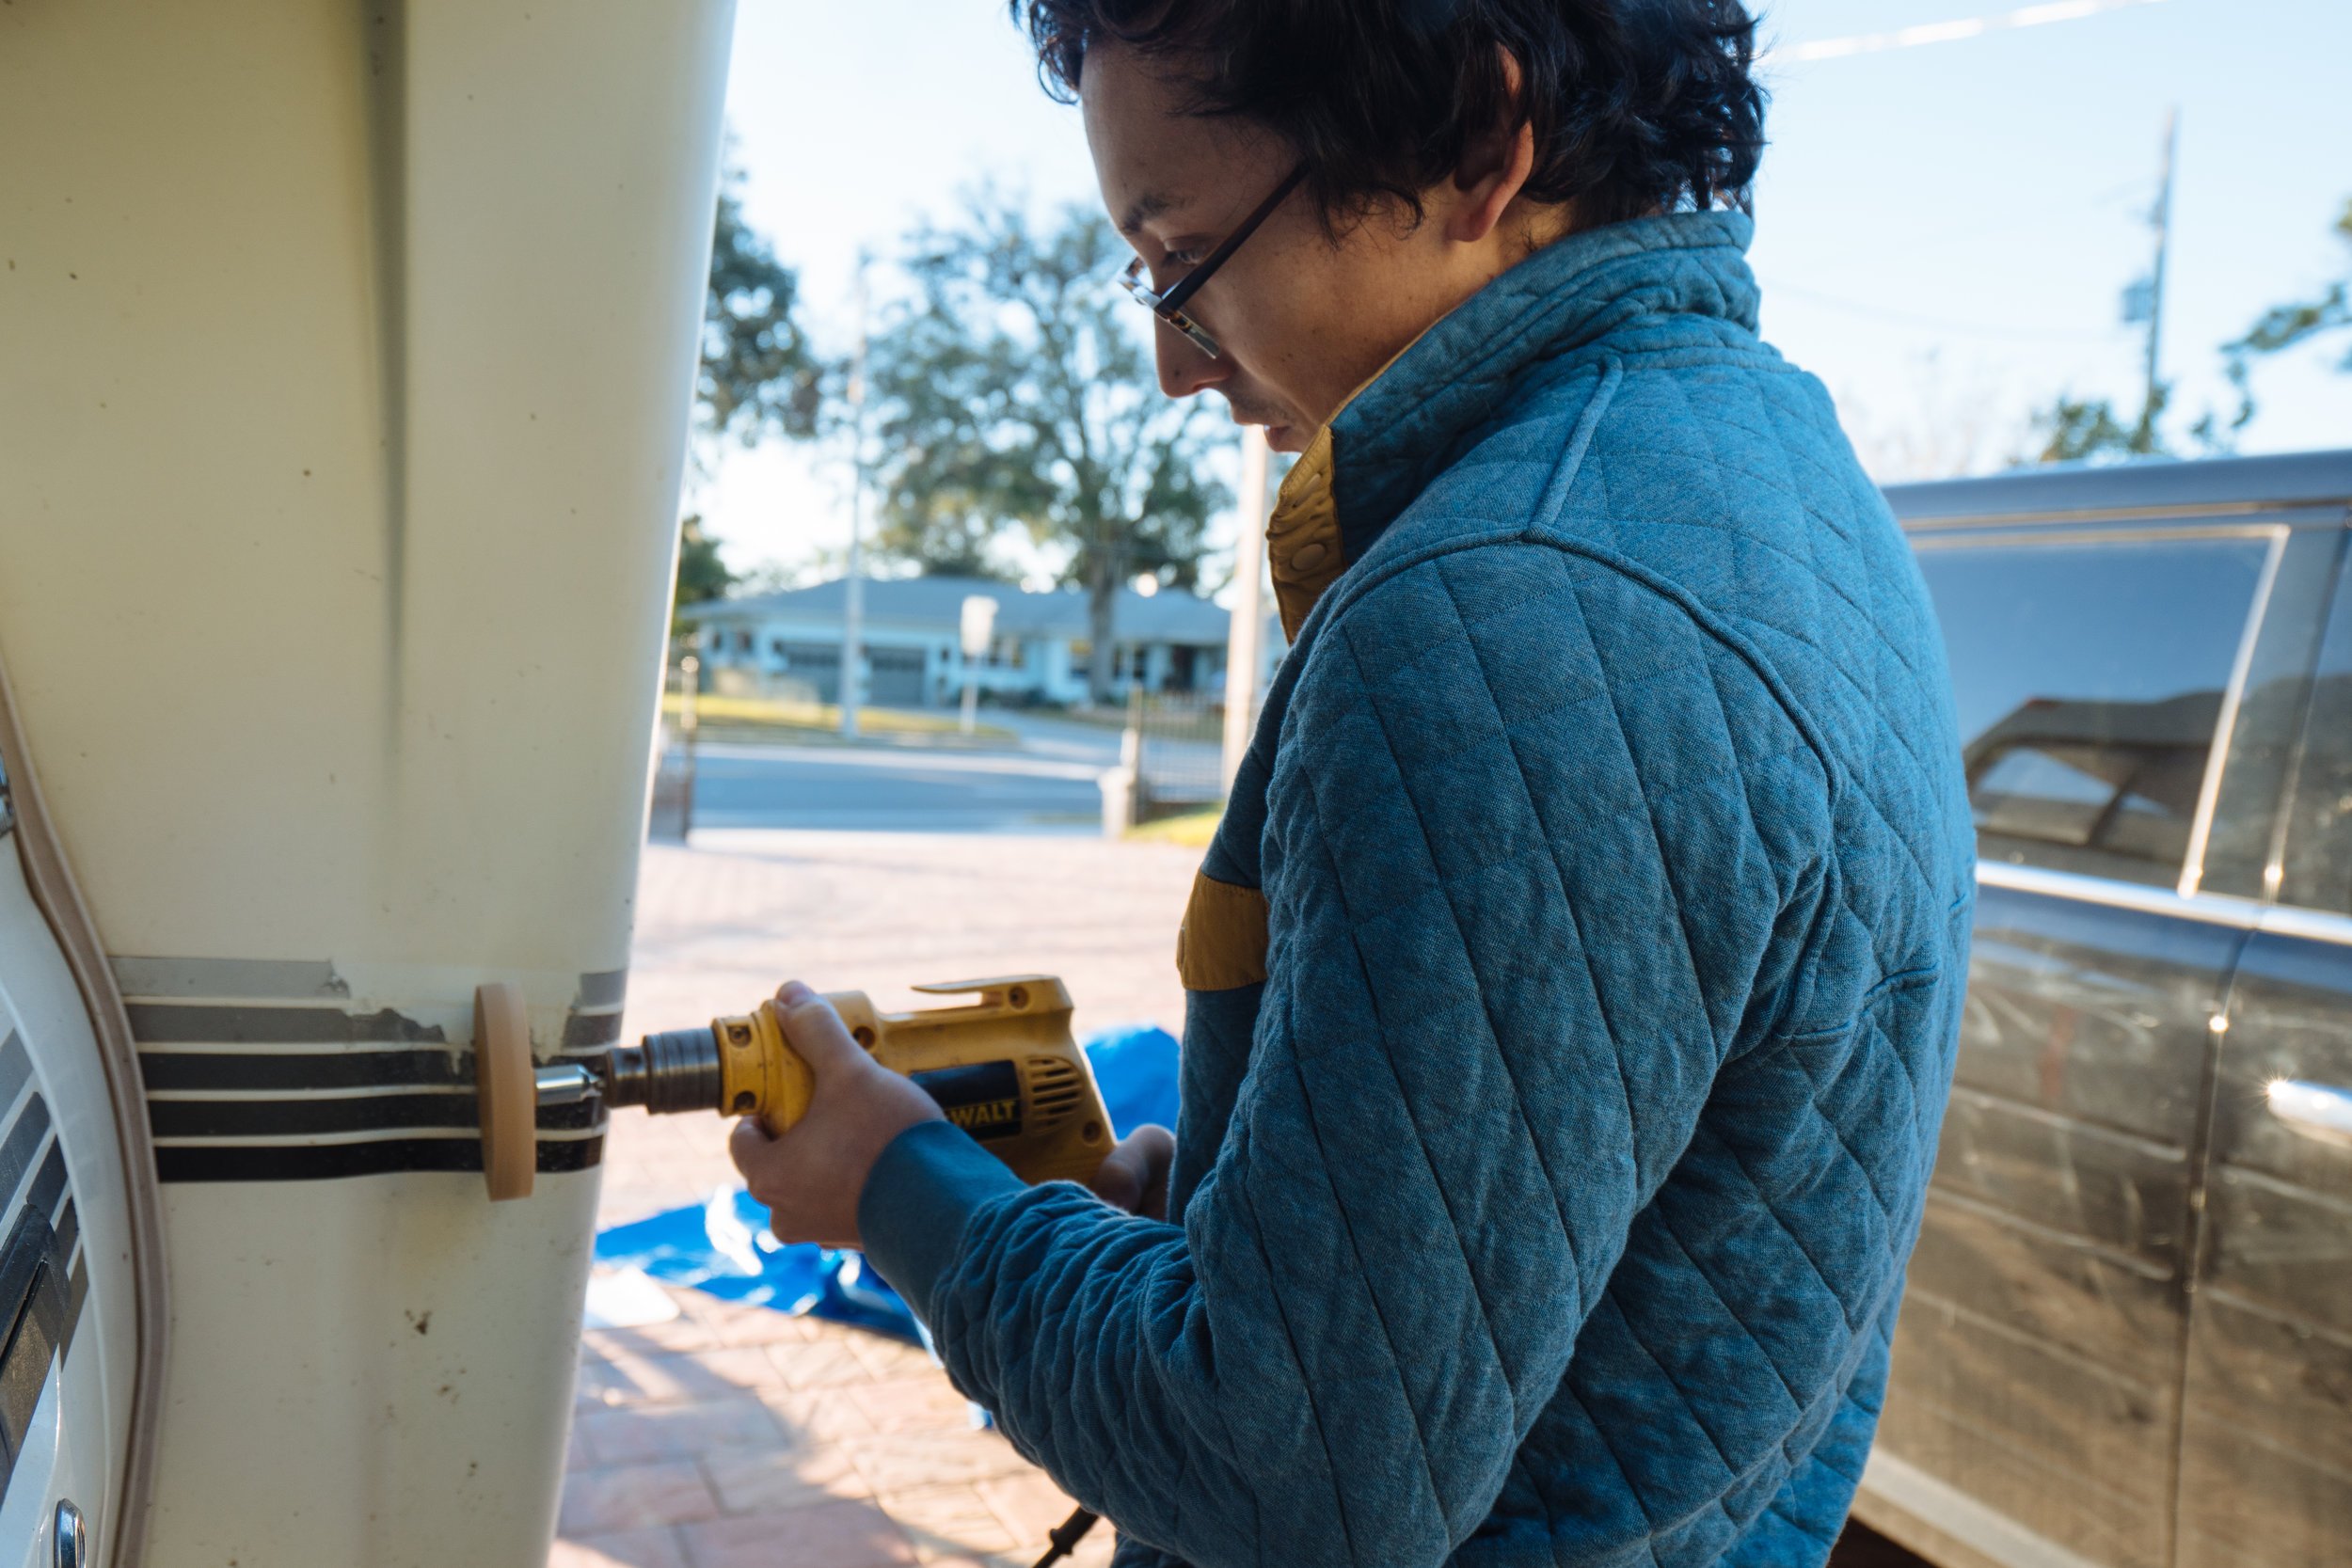
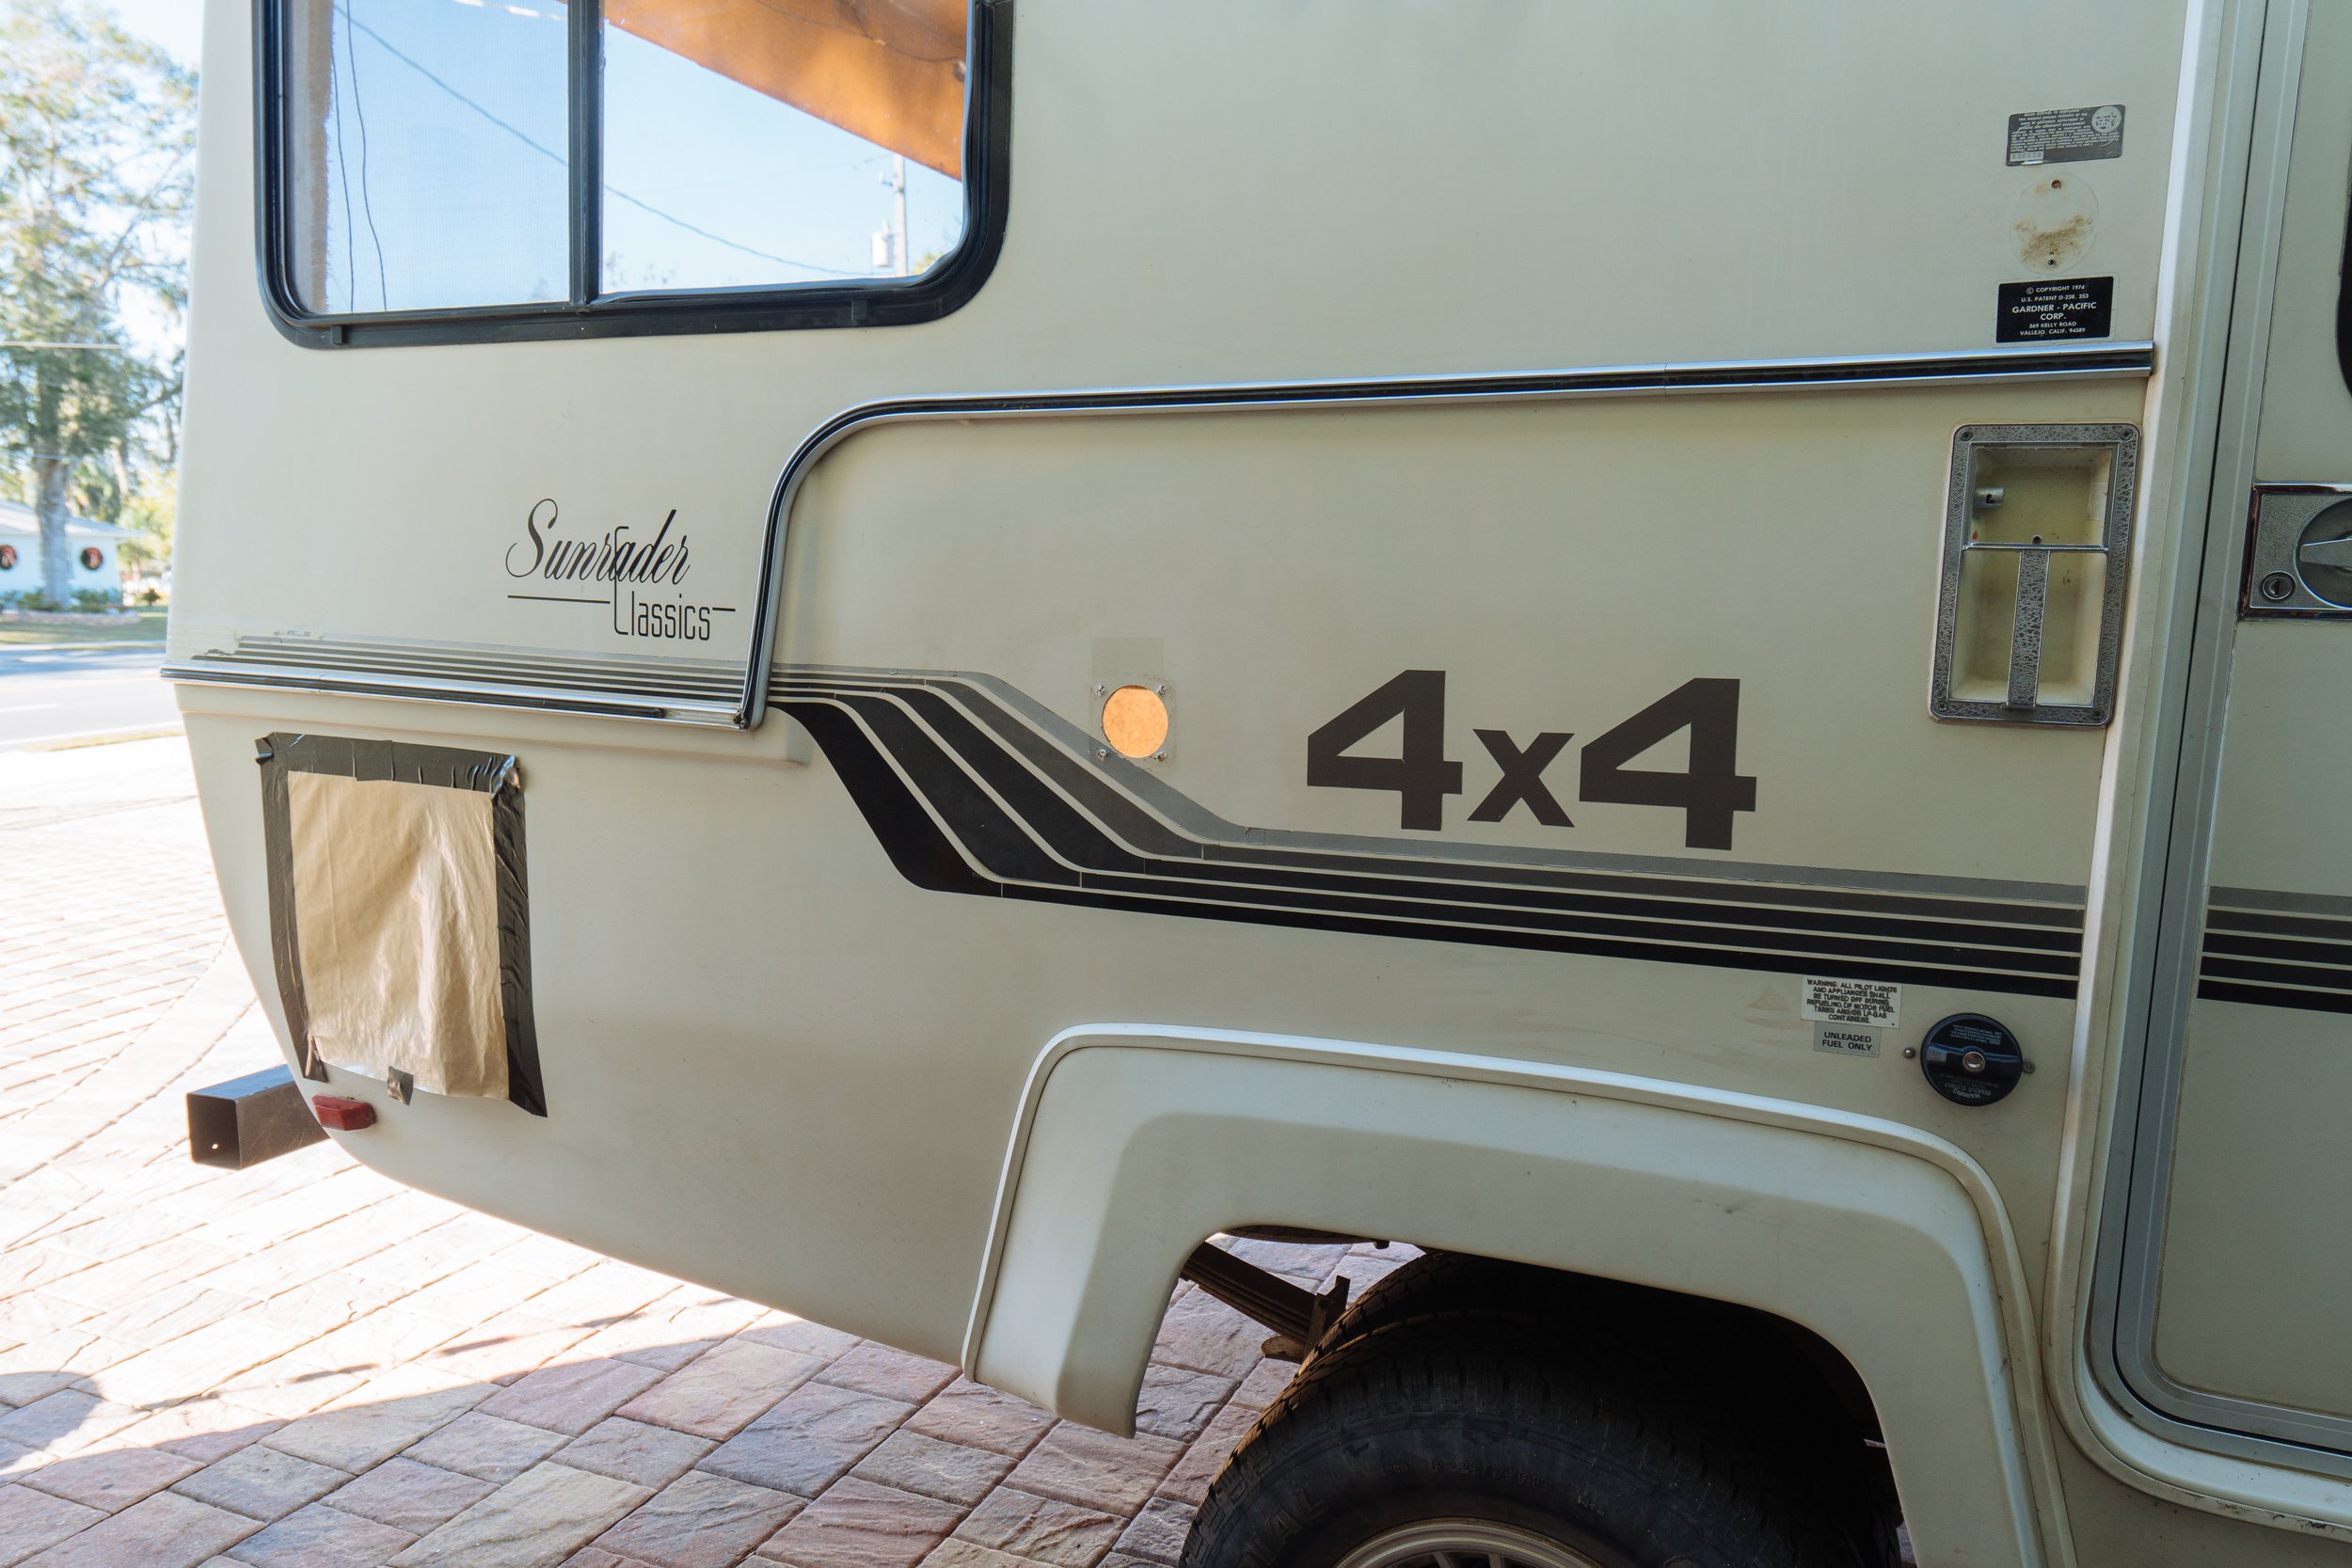
Here marks the start of the long road to painting! The first thing we needed to do to prep for painting was remove the decal stickers from Amelia's body. For every job, there is a tool. So allow us to introduce the eraser wheel, a literal eraser that attaches to your favorite drill! We were really dreading removing the decals because we've heard some serious horror stories about what people have had to do to remove them. Luckily, our friend Matt (@yotahome4x4) showed us one of these! They're made for removing decals from the bodies of cars, and they're very good at their job! I'll link them below so you too can experience the joys of fast decal removal...if need be!


In all, removing the decals took about 2.5 hours. We're excited to say that we have an appointment with a car wraps place here in Orlando called Carbon Wraps to get our stripes put back on in early January! We'll be switching it up a little bit this time, and we're stoked to see how it turns out! We'll take her old stripes off the cab right before we take her in!

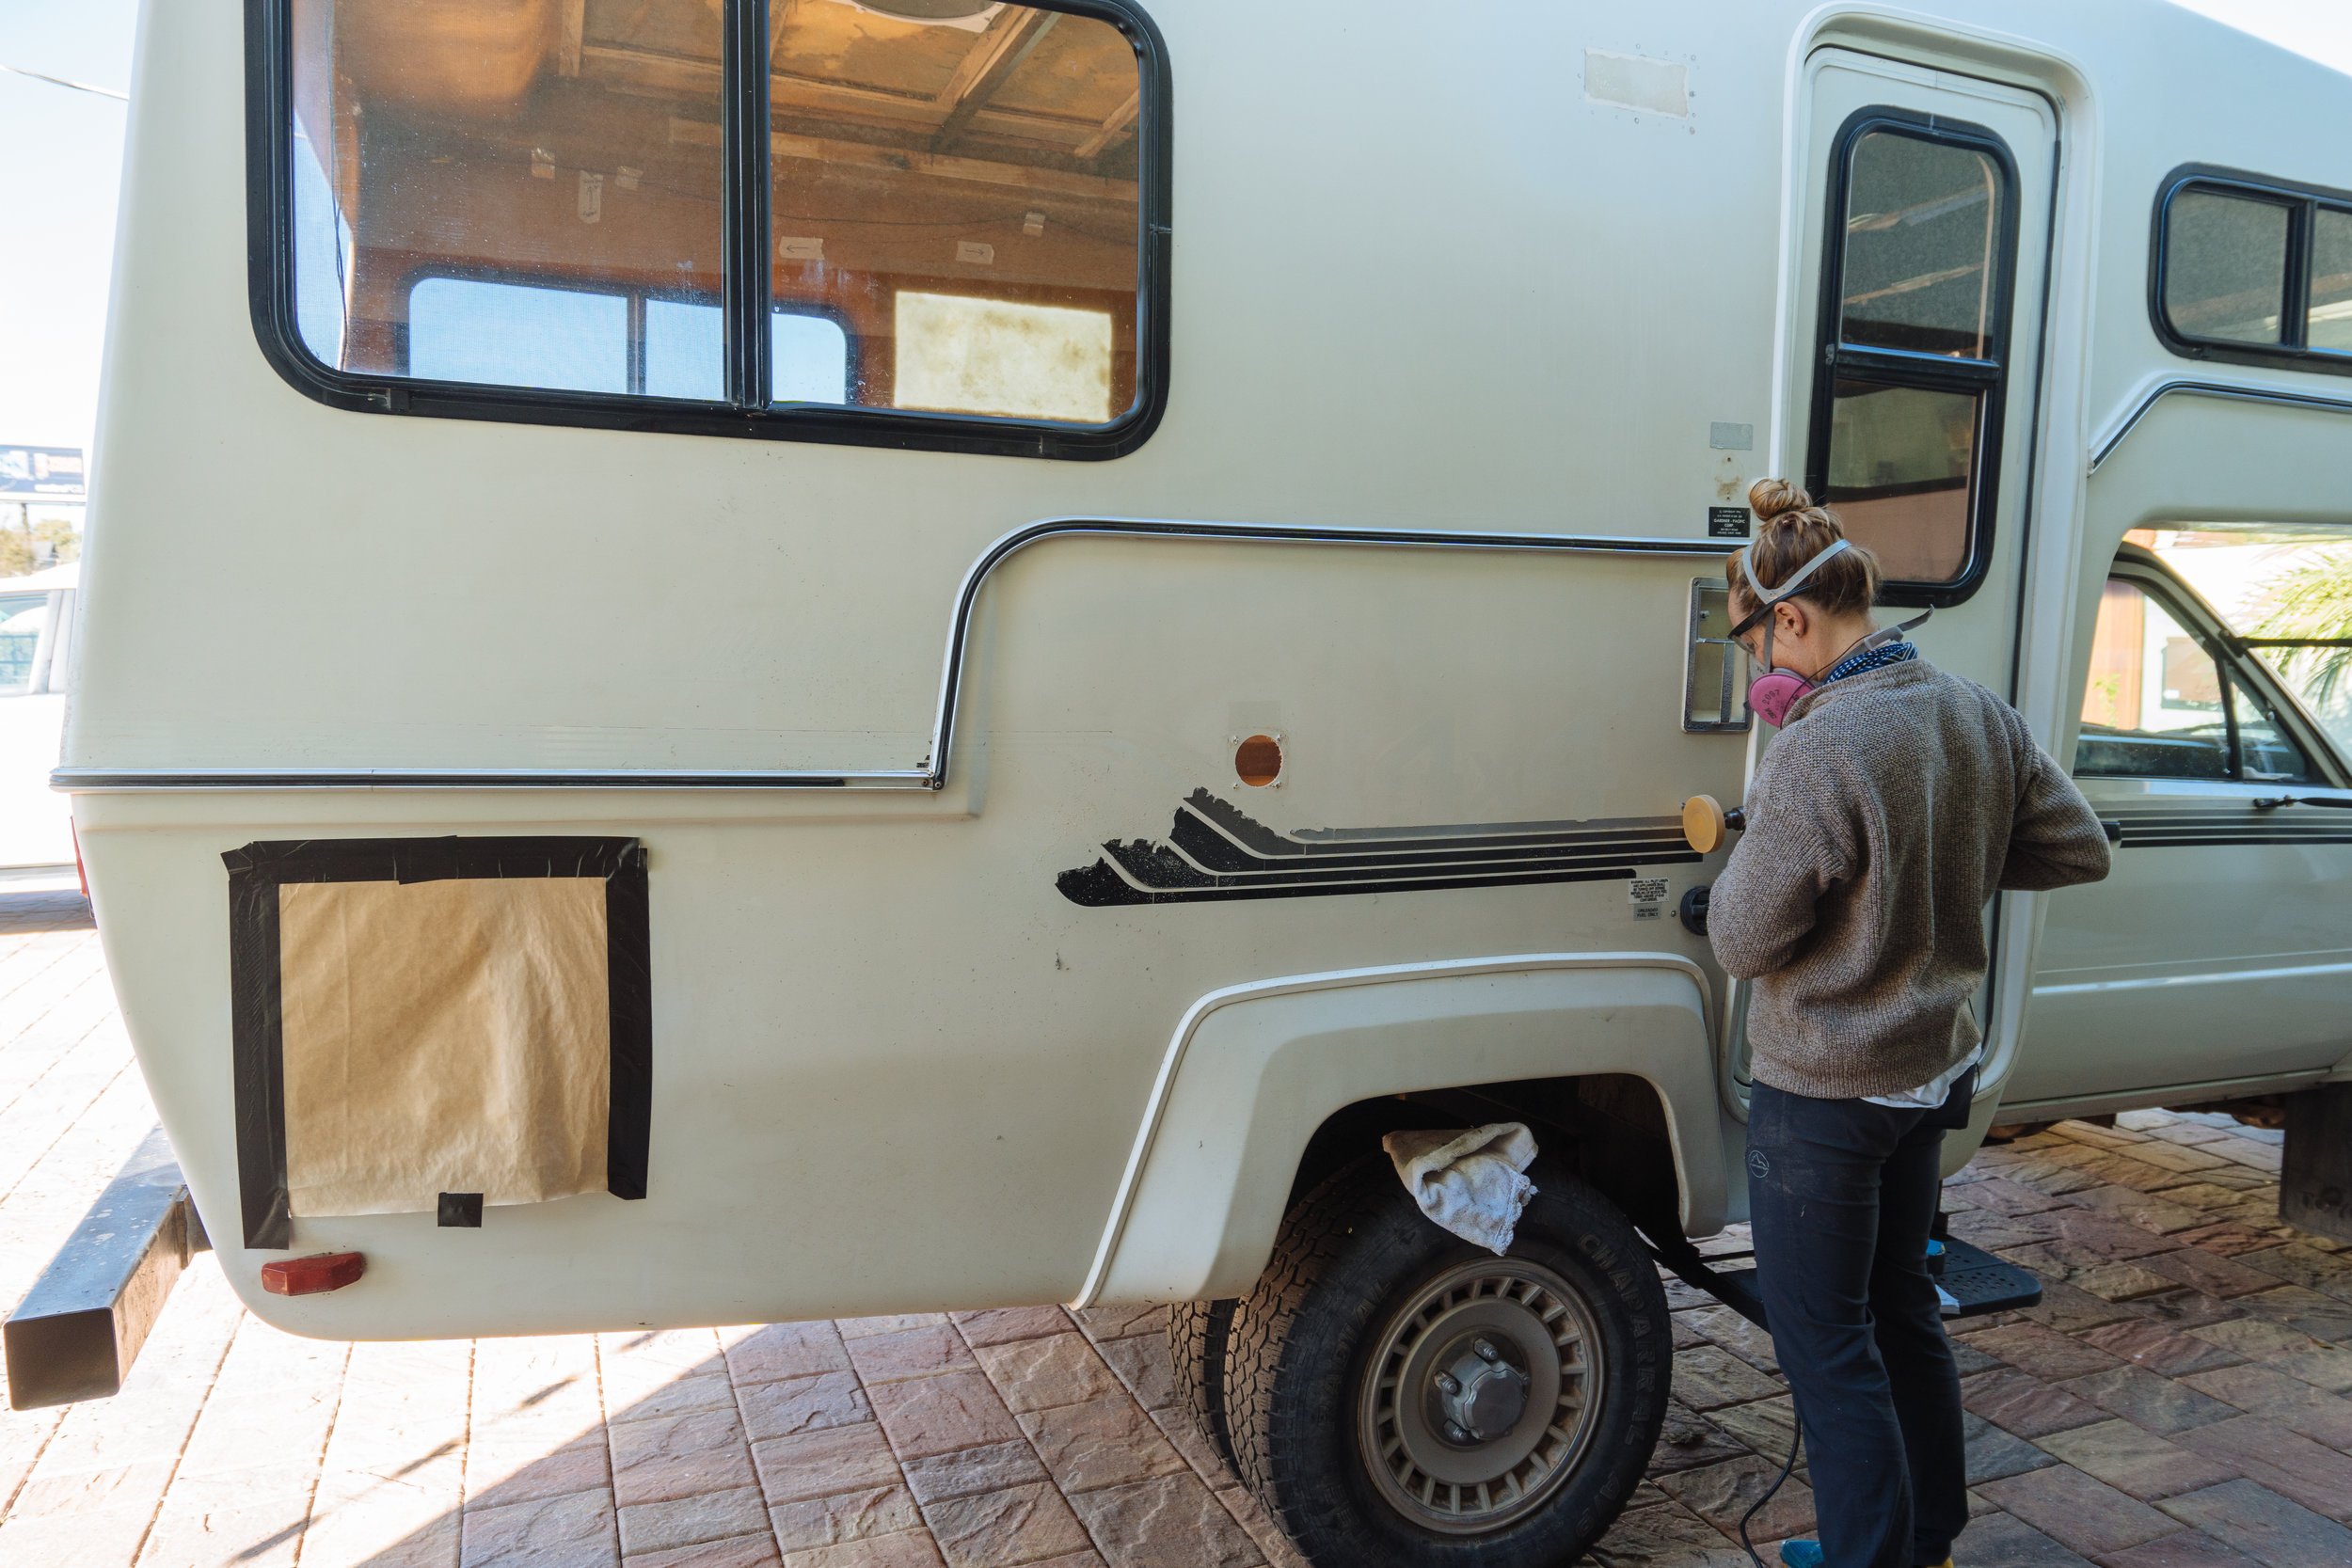
Feeling tough after removing the decals, it was time to take on ALL of the body prep work. These past few weeks Owen, thankfully, has been really swamped with "work work" so I had the task of preparing Amelia on my own. In order to be ready to paint the following had to be complete: all decals removed, sanding down where the decals used to live, sanding down the entire body to a frosty finish, removing excess windows and accessories from the exterior, body repairs, priming, and a final, deep clean of the fiberglass body!

After the decals were removed I realized the sheer volume of sanding that I was going to need to do, Amelia has a lot of surface area! For years I've had issues with carpal tunnel symptoms that crop up when I do a lot of really rigorous work with my hands, so I tried my best to spread the sanding out with odd jobs in the middle. I took this time to remove the fenders, door trim and all of the recently replaced windows...from just a few short weeks ago!
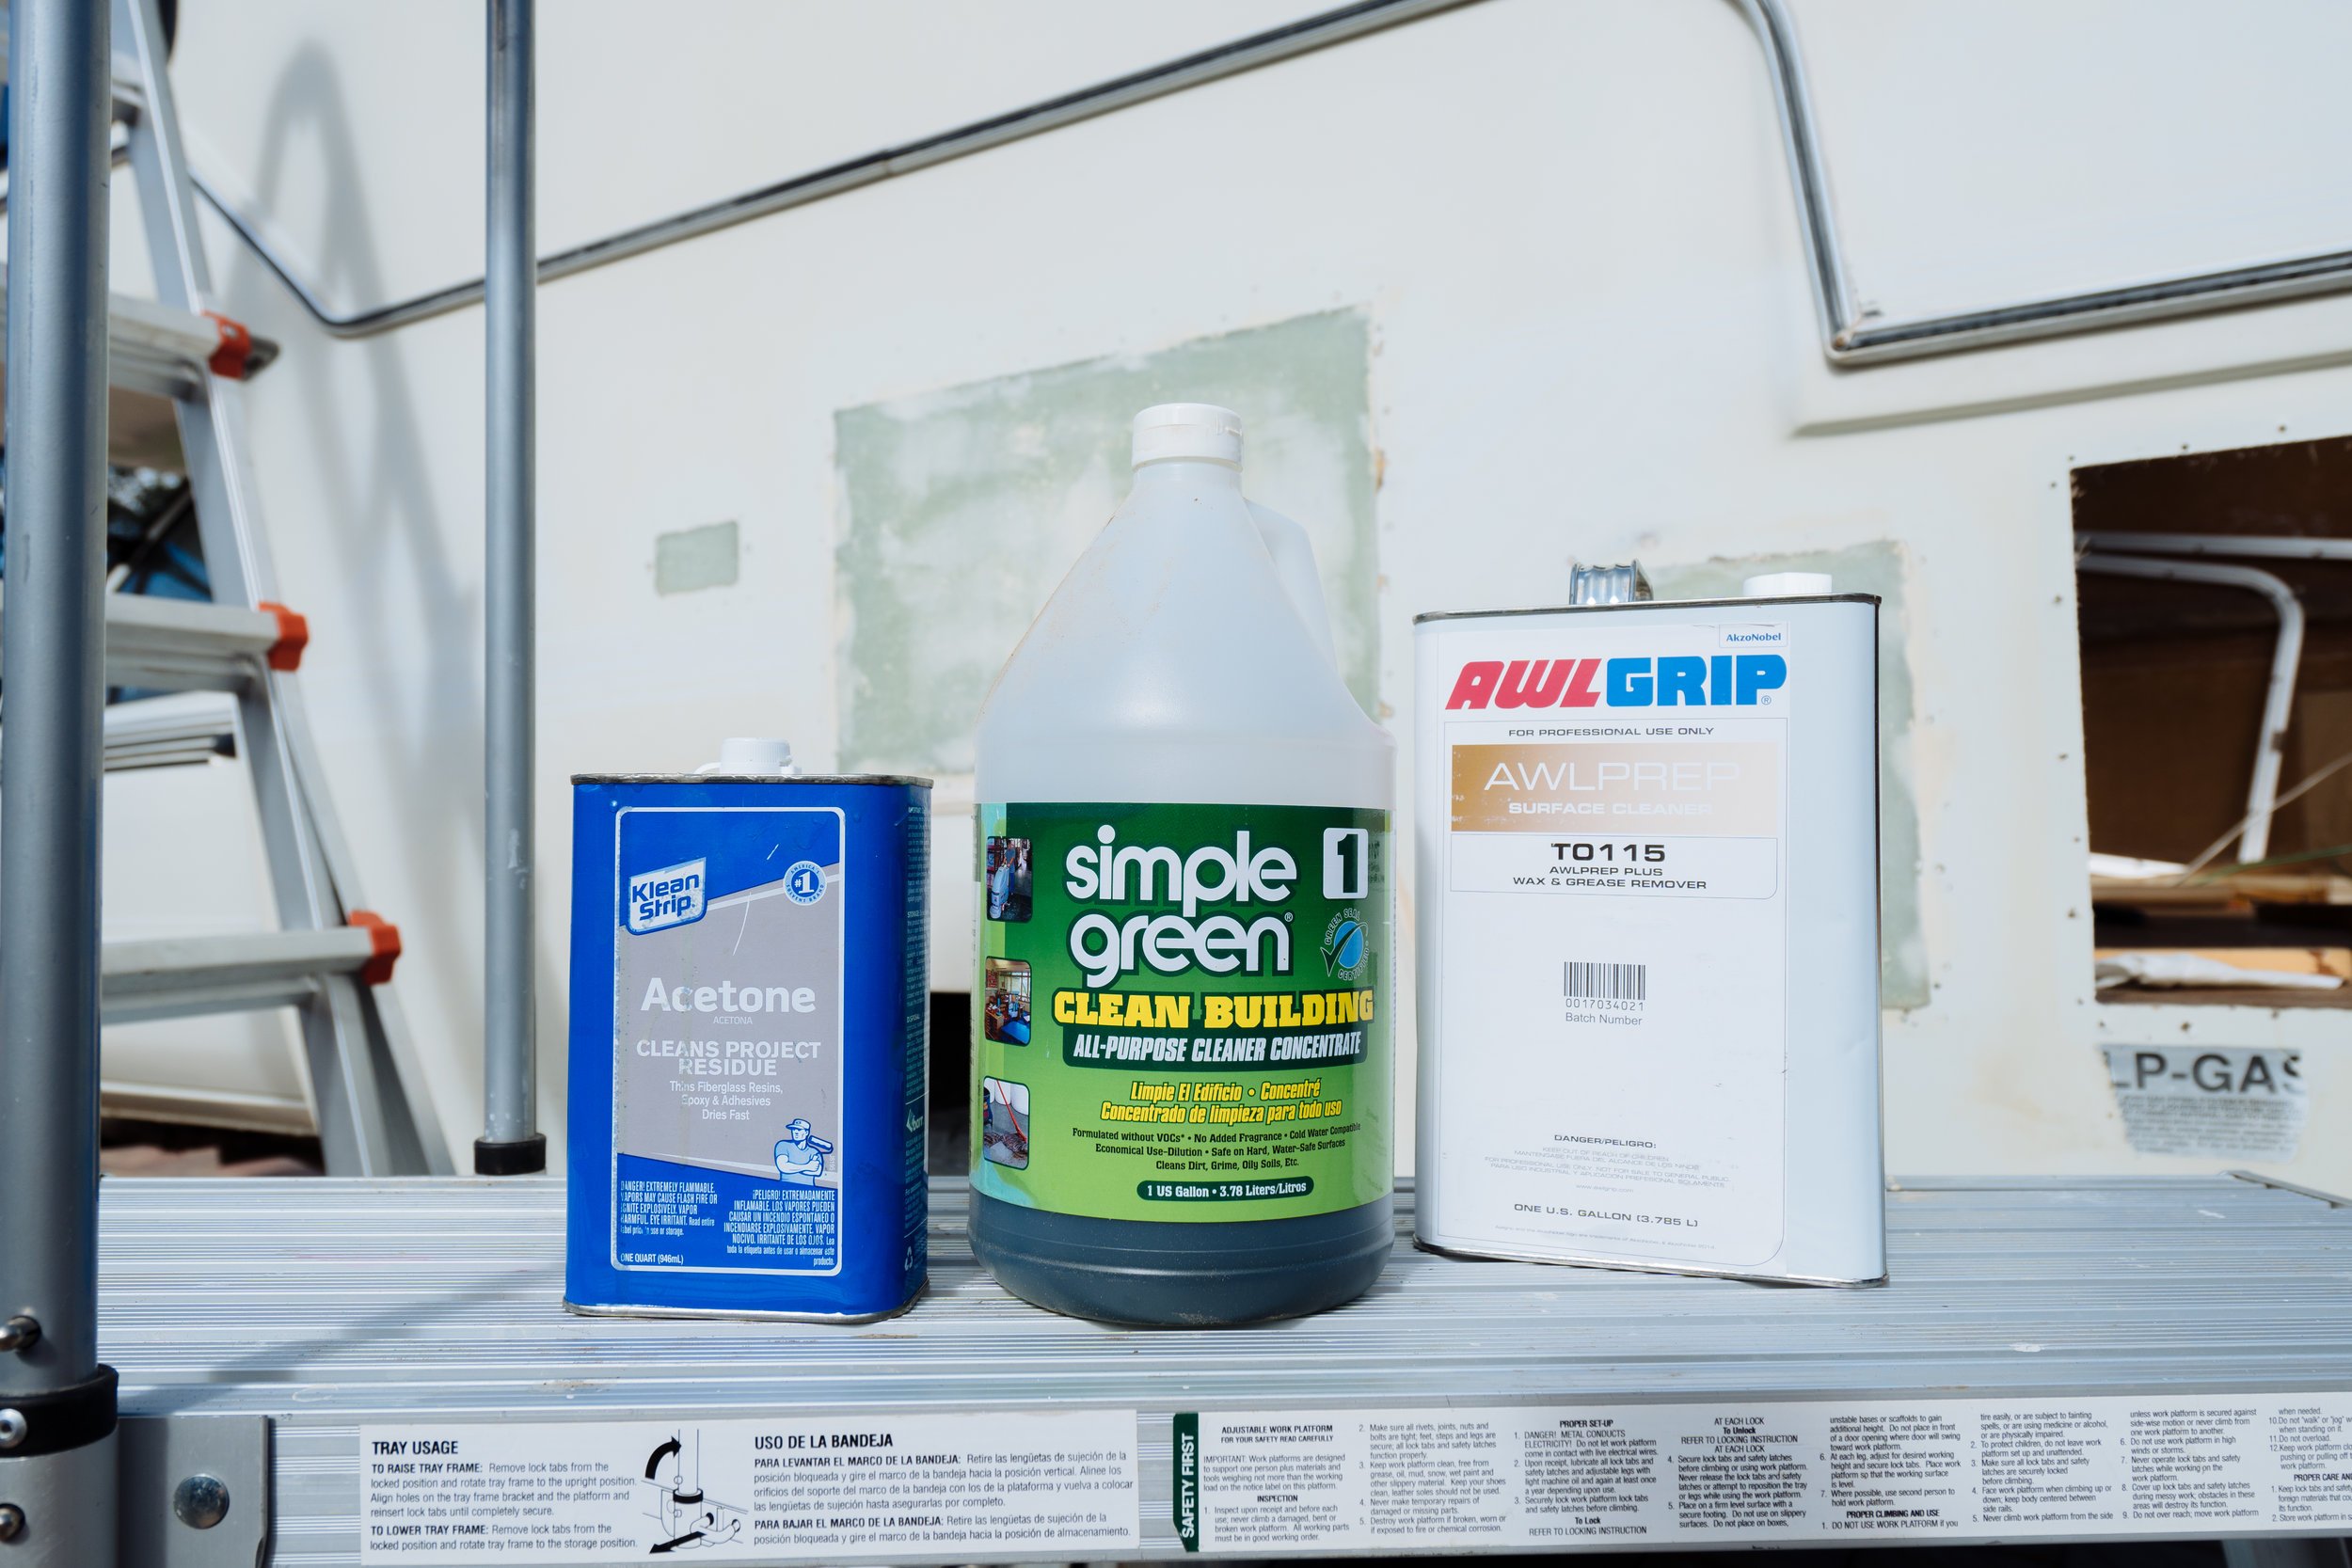


Now onto the priming: I wanted to prime my raw fiberglass areas early on in my body work because I knew that it would show me where ALL of my imperfections were in the fresh fiberglass. I wanted to be sure that I could identify them so I could have time to add a few passes of fairing. Sadly, I don't have a picture of what happened next. I spent the better part of the morning doing all of the cleaning using the three chemicals above in the order of Awlgrip surface prep, simple green, and then acetone to finish up. With a clean surface, and Owen on hand to film the first layer of primer going on I cracked open my can of white primer...only to open it up and find that they sent me GREY PRIMER! This wouldn't have been so bad if I had purchased this locally and not spent the last week waiting for this non-returnable primer! I know you might be thinking "well a lot of primer is grey, that should be ok right?". Sadly, that isn't the case. The grey primer is for when you would be applying dark gelcoat, we were wanting to use white gelcoat so these expensive and super toxic primers were totally useless to us. After this discovery I spent the rest of the day trying to figure out what our plan should be.

The more I research did, the more I felt our plan wasn't the right one. Our thoughts were that we wanted to reapply gelcoat, which is what Amelia and most fiberglass campers have from the factory. I thought the Awlgrip primer that I had ordered was the best option for laying under new gelcoat. In the rampage of research I started learning about how toxic the primer was. My immediate thought was, "should I really be using this stuff?!". While digging, I learned that it actually shouldn't be used under gelcoat at all. *Face in palm* I now had over $100 in primer on my hands that I couldn't/shouldn't use. To lift my spirits I shifted my focus to figuring out what gelcoat I should use, then I'd work backwards to find the appropriate primer.
Turns out, gelcoat requires a lot of sanding both before and after the application process. Based on how my hands were feeling I knew that there was no way in hell I could handle that. Deep down, in the blog of Boatworks Today I found someone asking about what gelcoat they should use in a scenario that felt very similar to mine. I learned that when you're needing to cover a large surface, you're not wanting to spray, and you have large areas of repair, gelcoat can be up to 5X the work. Not that I'm afraid to put in the work, but he strongly suggested some easy to use single stage topside paint (Single stage meaning one part premixed). The more I looked into the Pettit EzPoxy topside paint, the more I liked it! This paint is best applied using the rolling and tipping method, which is a foam roller and a paint brush, it drys quickly, and will not oxidize over time. The added bonus is that there's a single stage primer that works with it and only needs to be applied on areas that have raw fiberglass or repairs. I was sold! I identified that my new materials were sold locally, and I hopped in the car and drove to all of the West Marine locations, clearing them of their primer and Semi-gloss white topside paint!
As bummed as I was to learn that my original plan was full of holes and that I had waited a week, only to receive the wrong product, it totally saved me! I was forced to dive deeper into my paint/gelcoat research and find a better process and better products to work with for our particular job! All in all, pretty thankful for the whole ordeal!
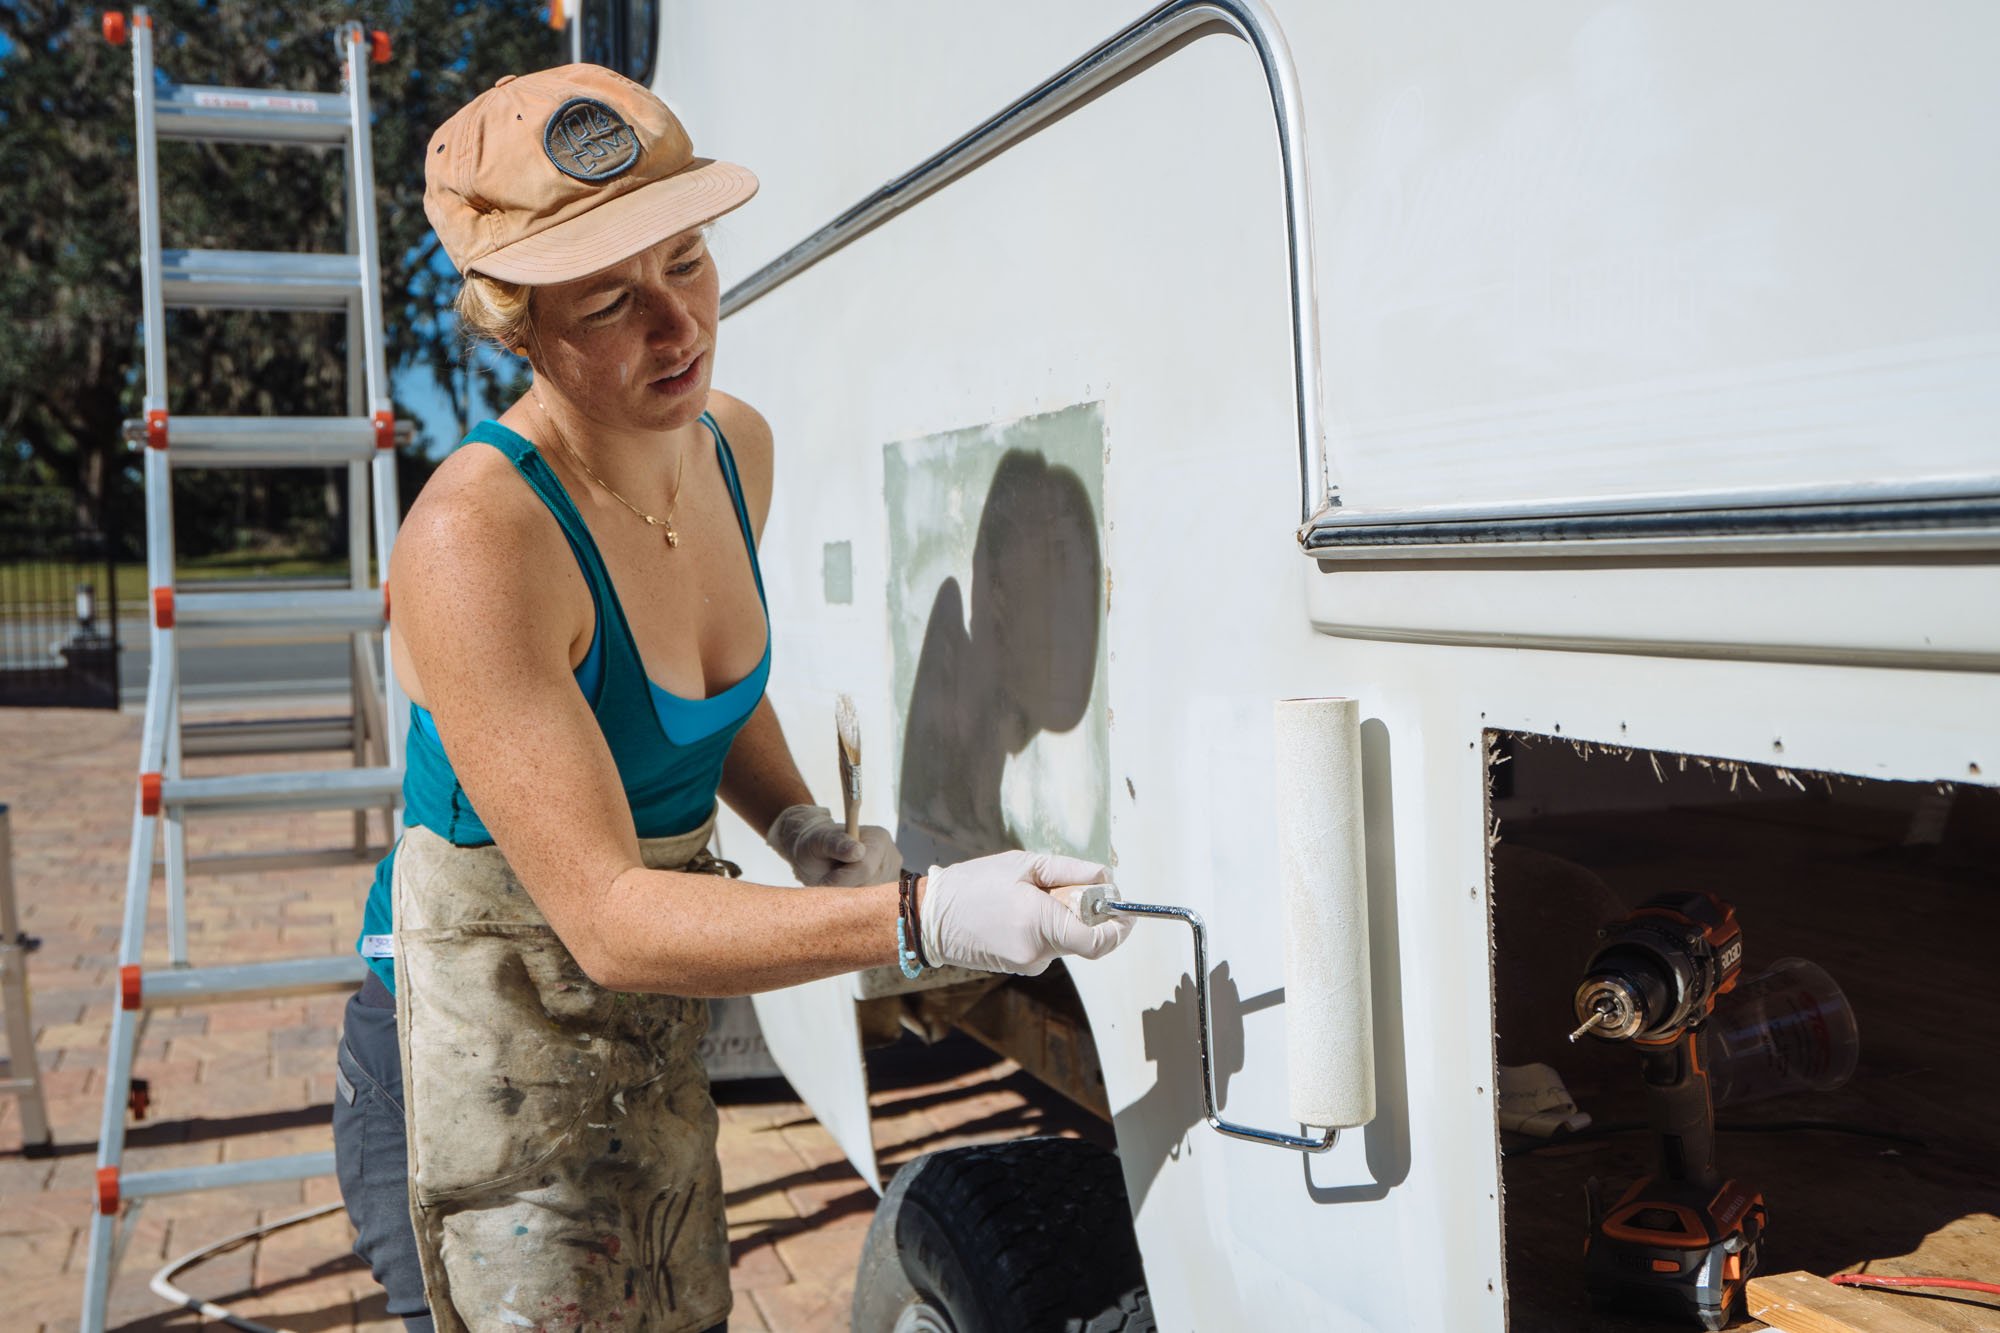
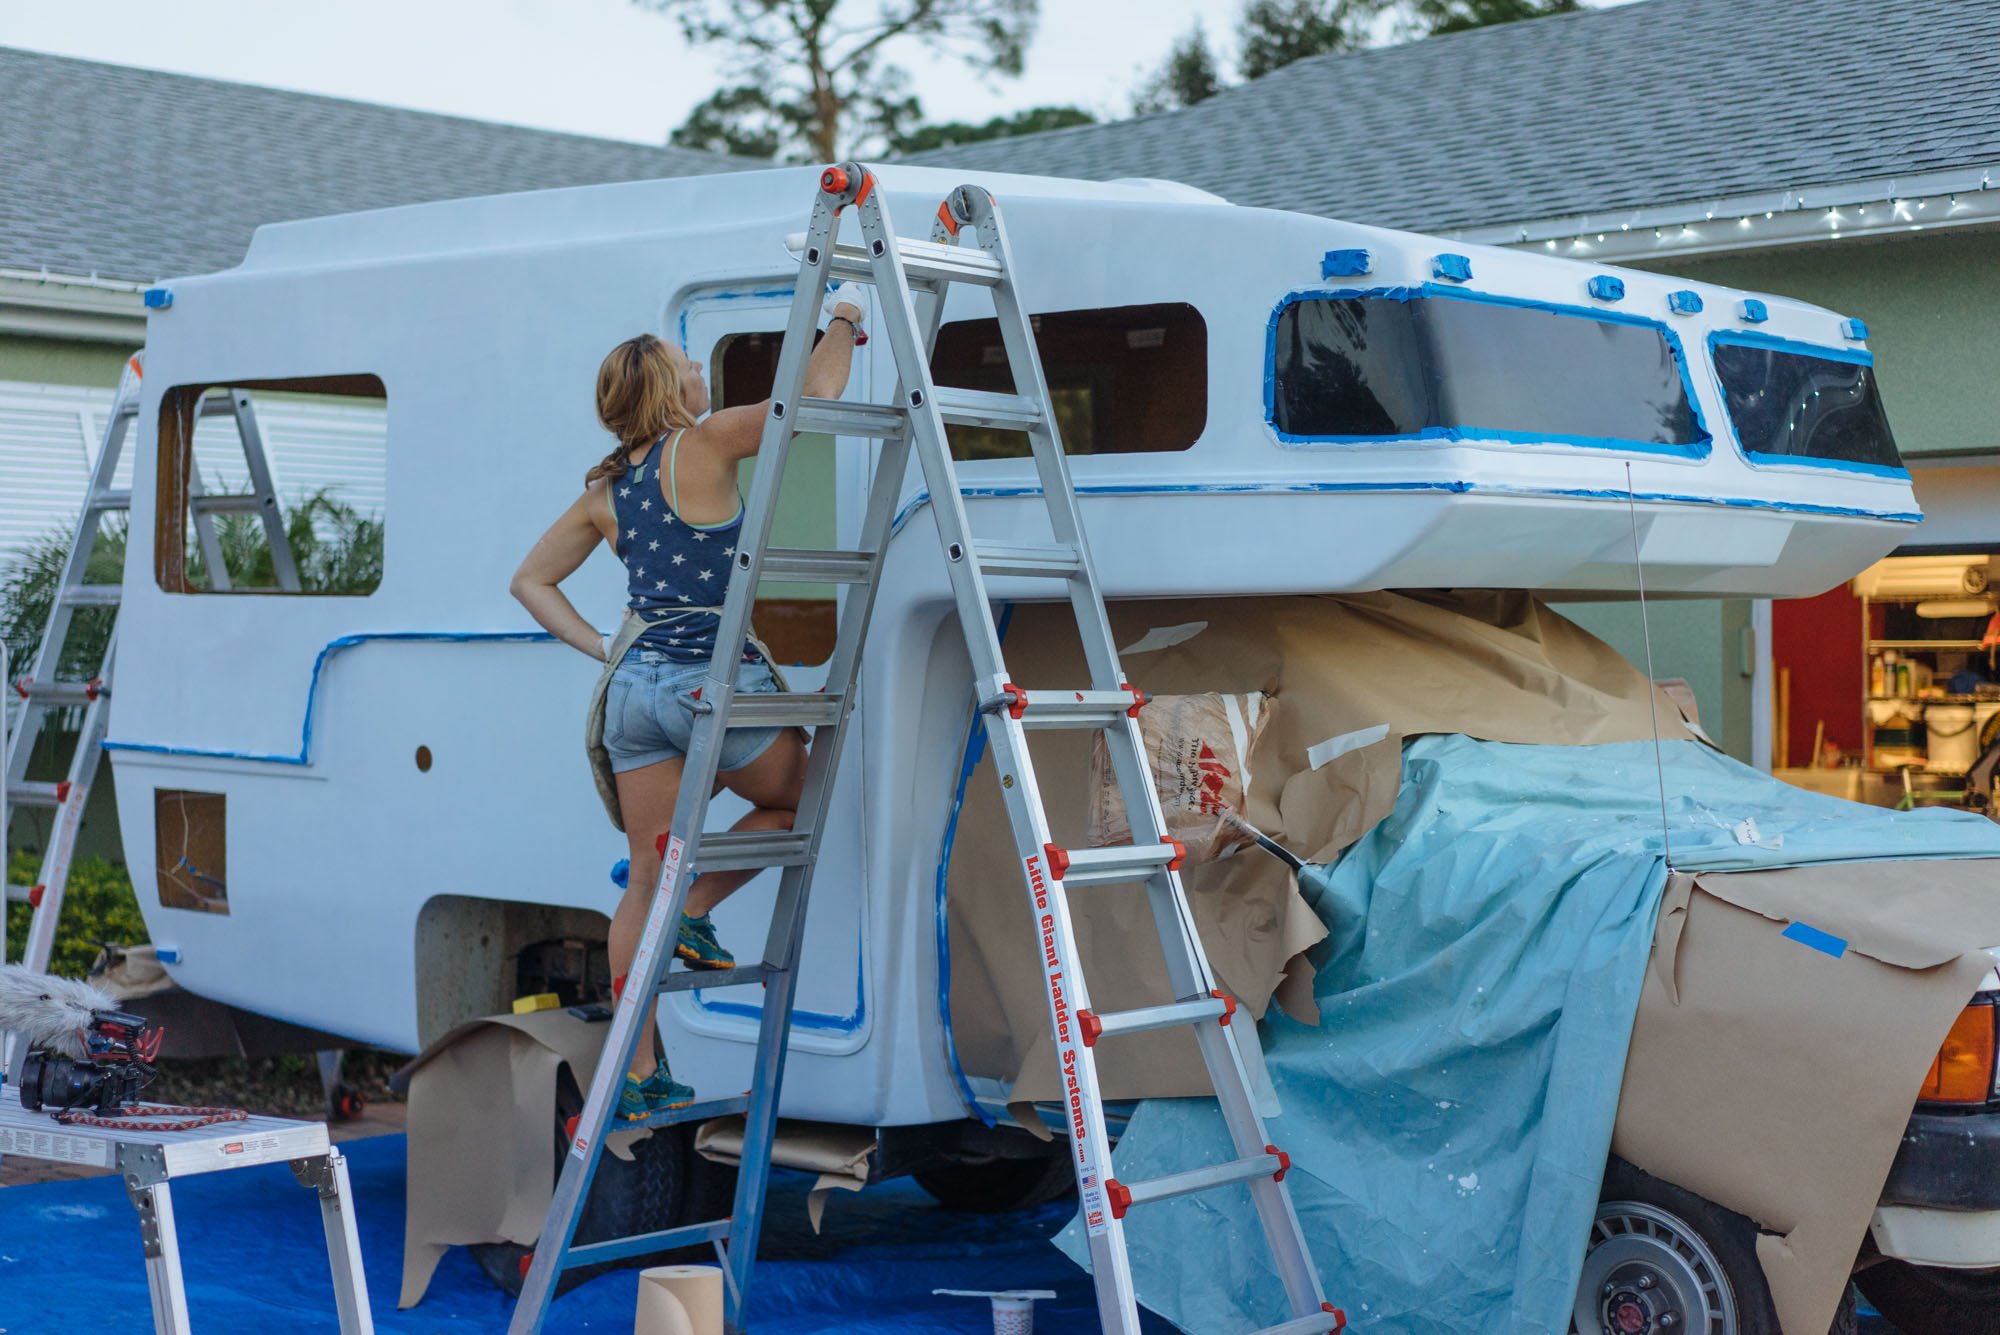
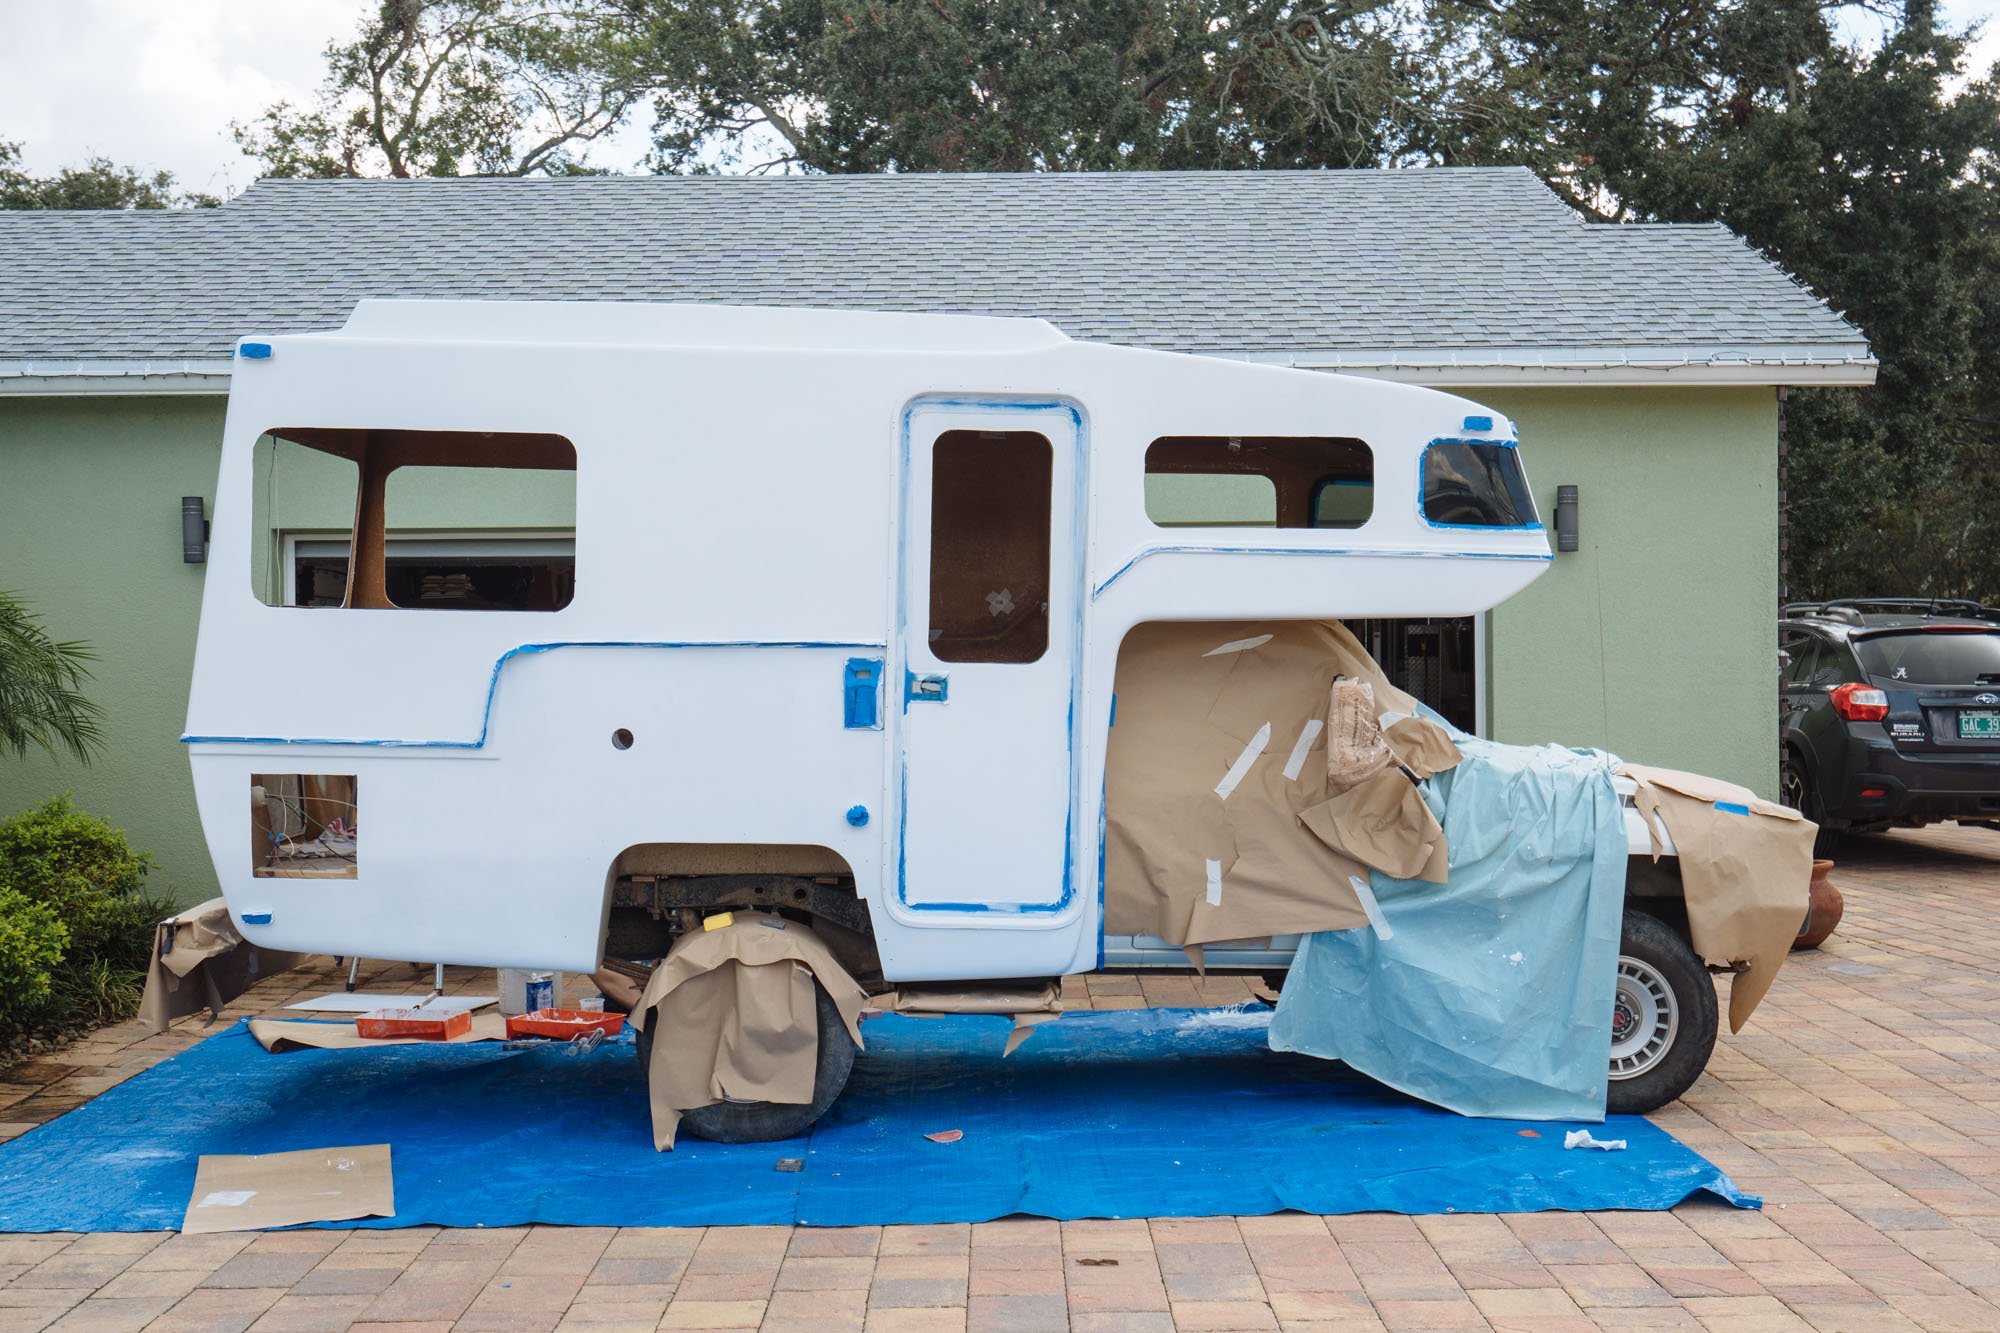
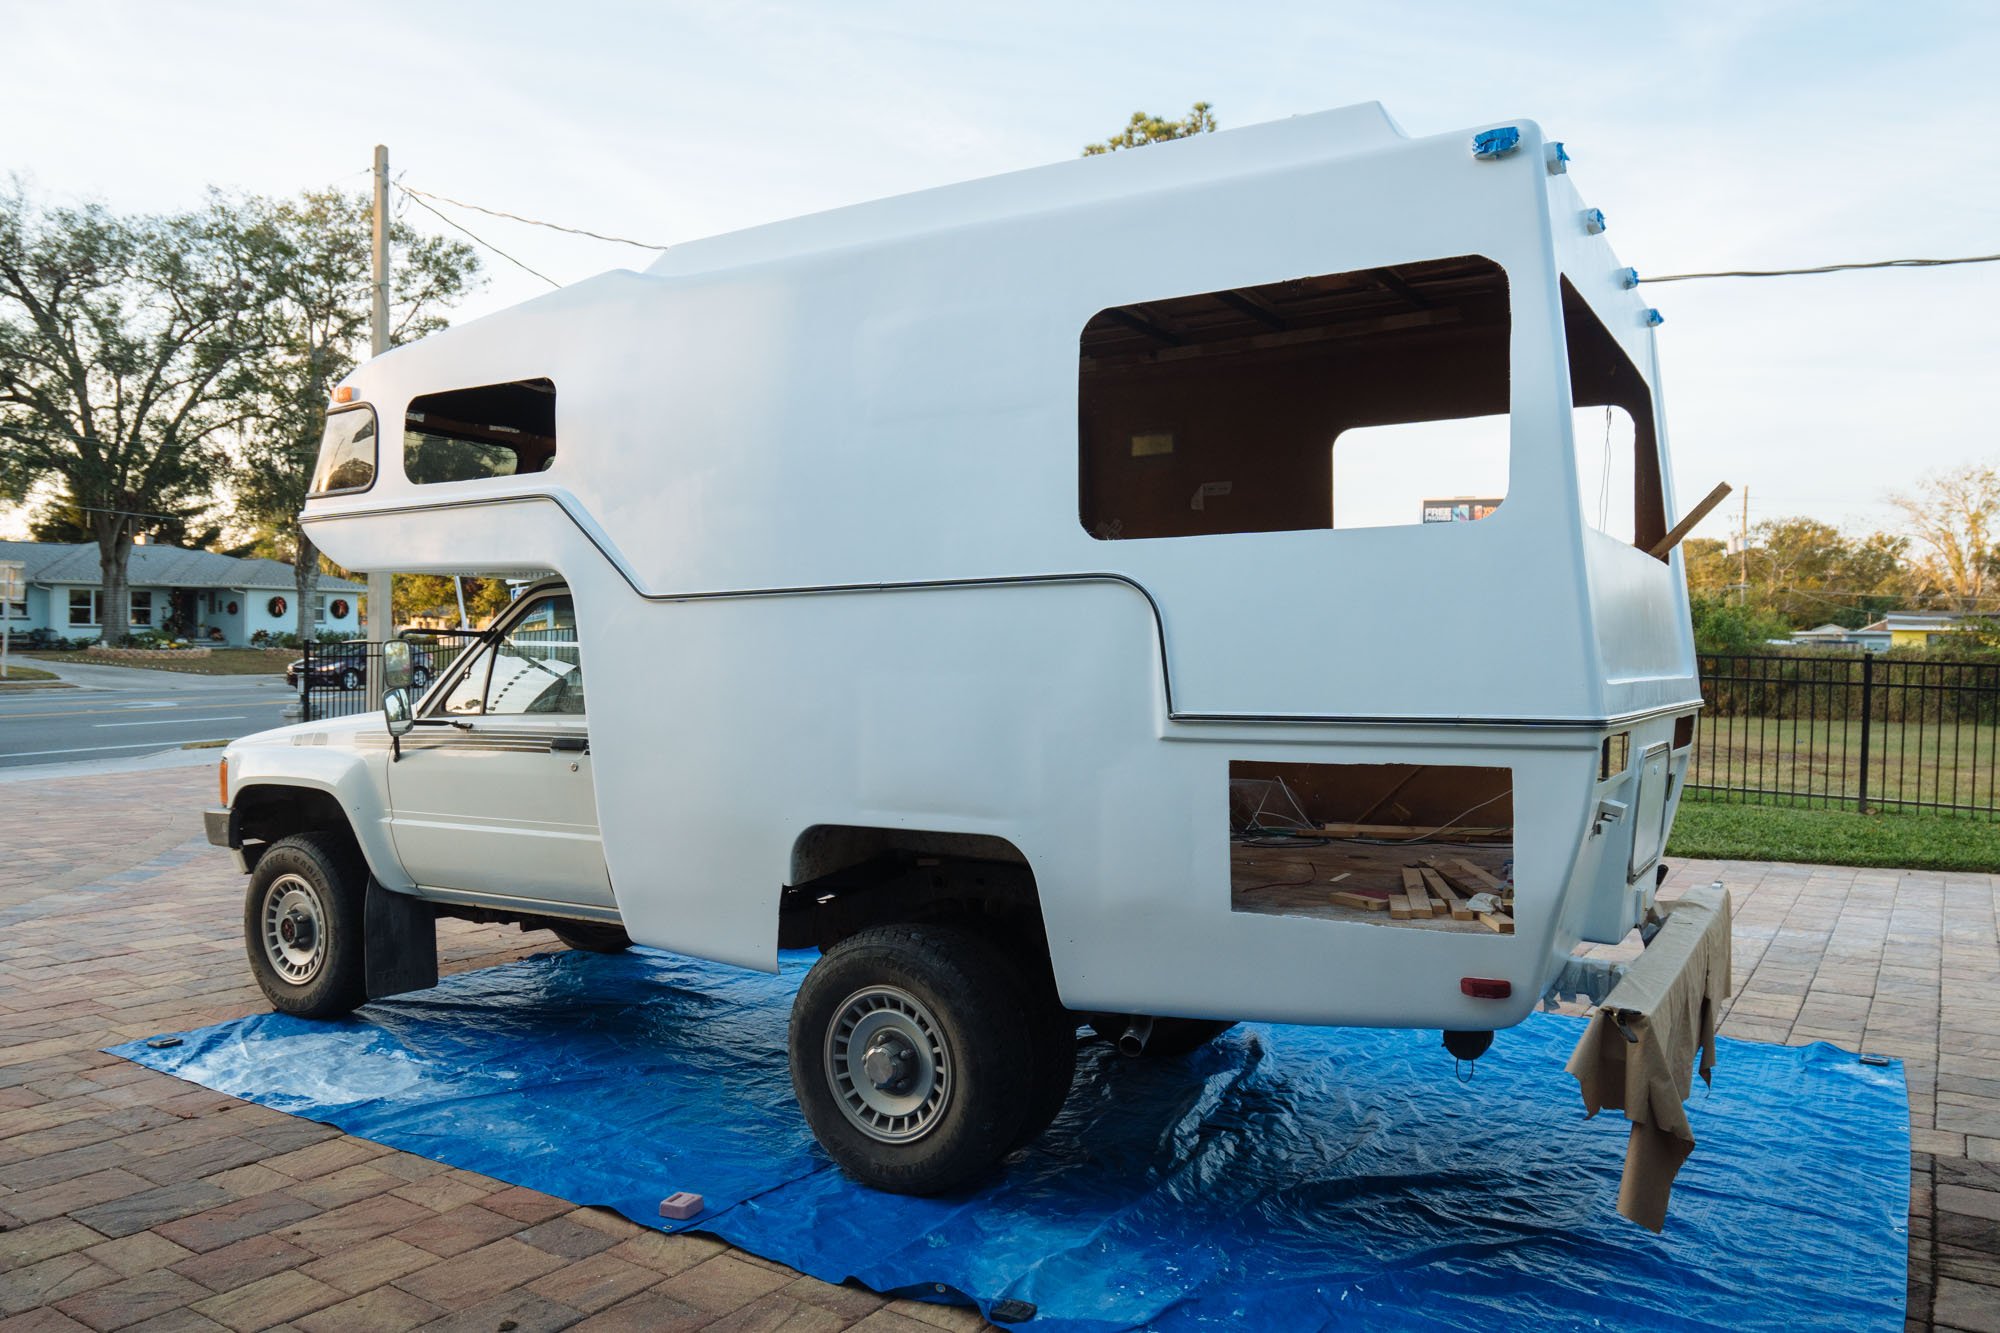
The very next day, the first coat of Pettit EzPoxy primer went on. It was so exciting to finally see my fiberglassing disappear behind some sort of paint! The primer, as suspected, showed me that I had a sh*t load of surface repairs to make before I could be ready to paint.
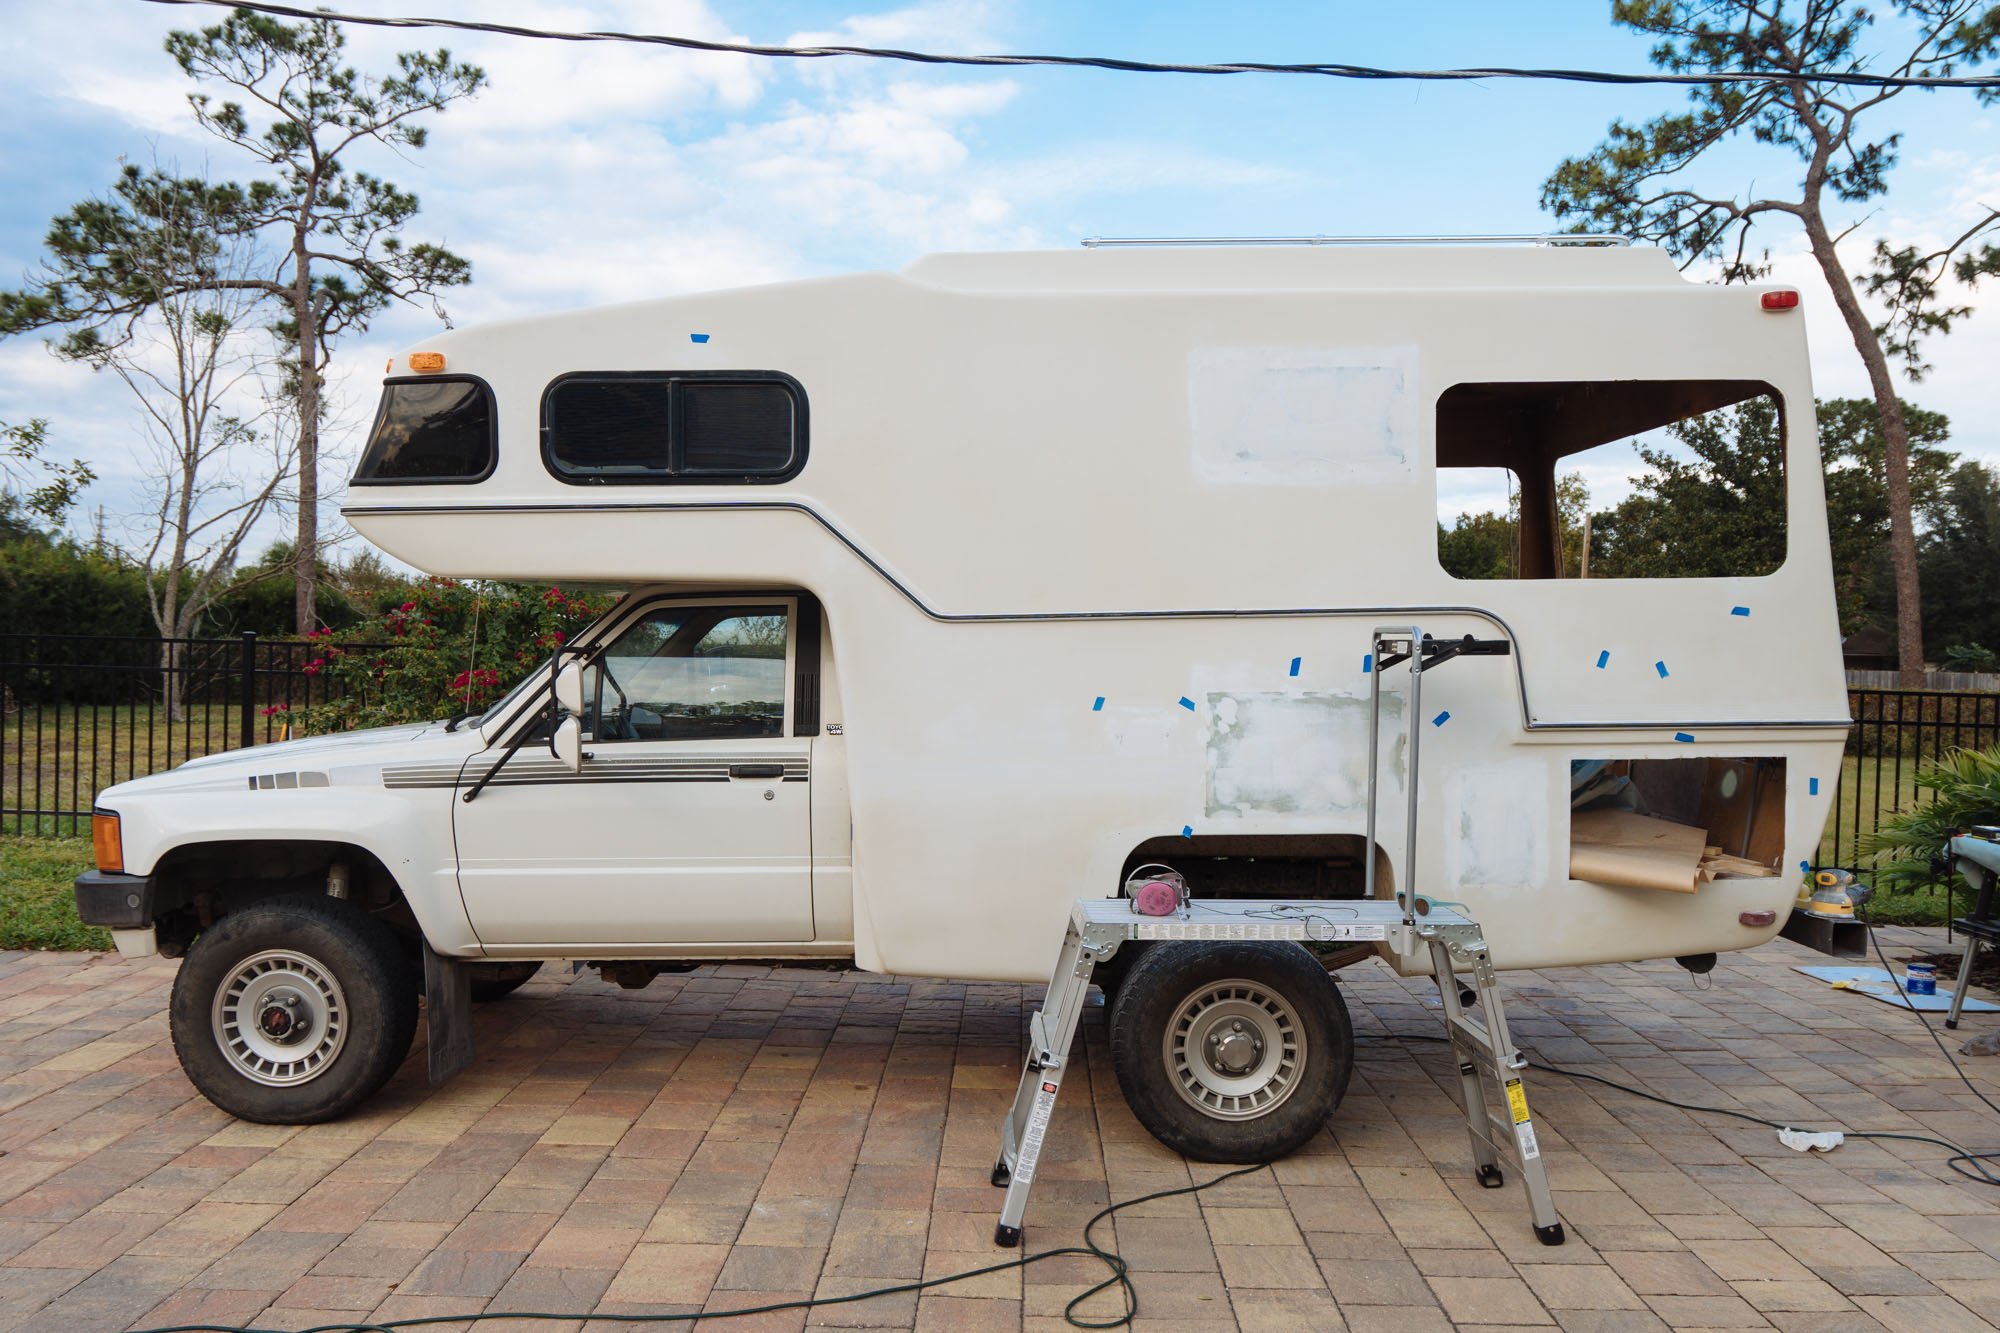
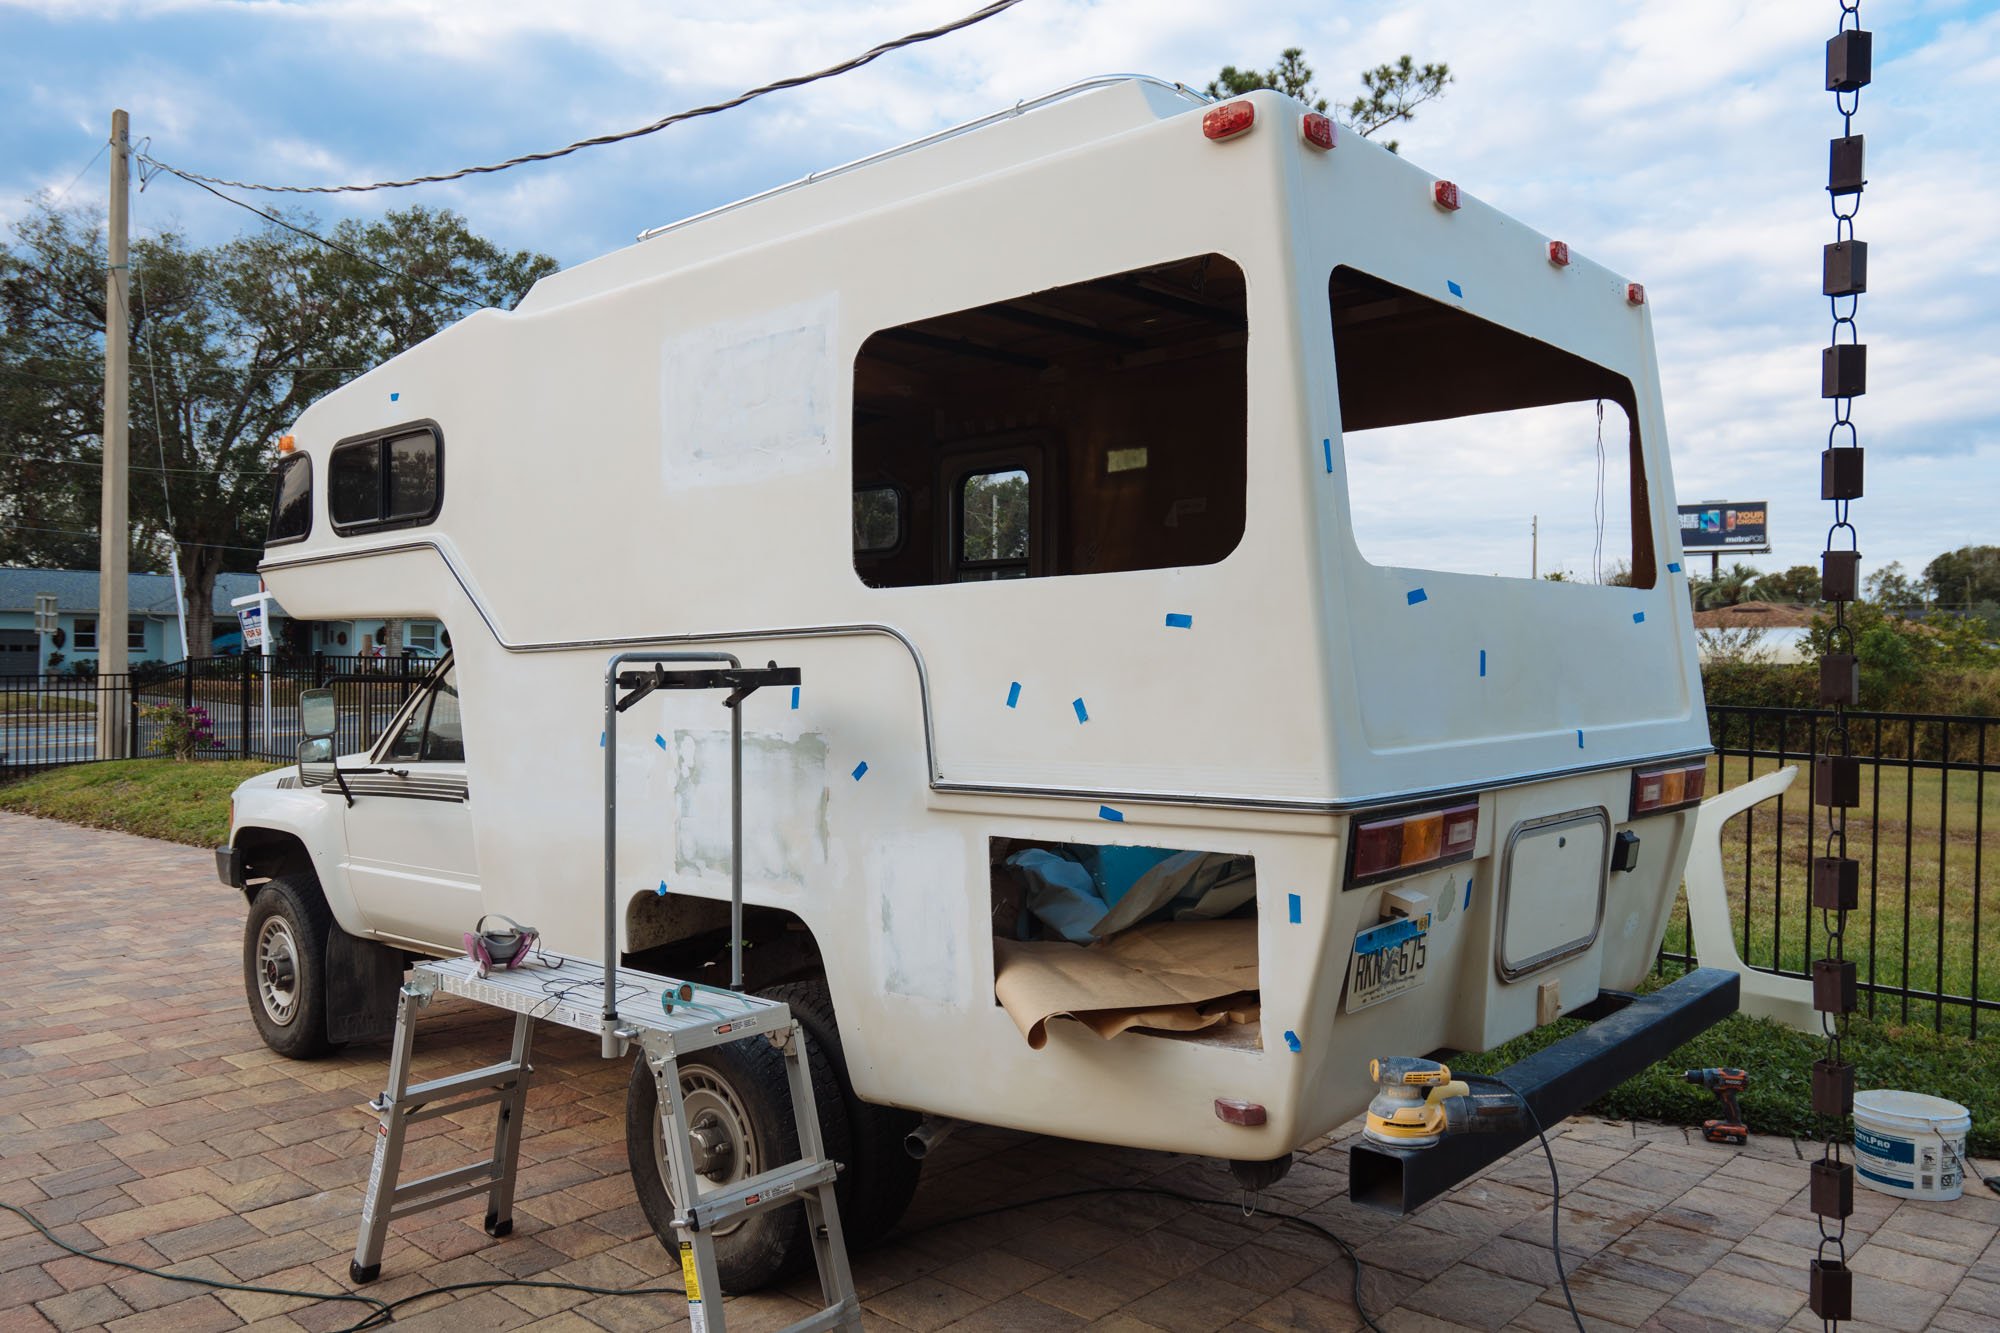
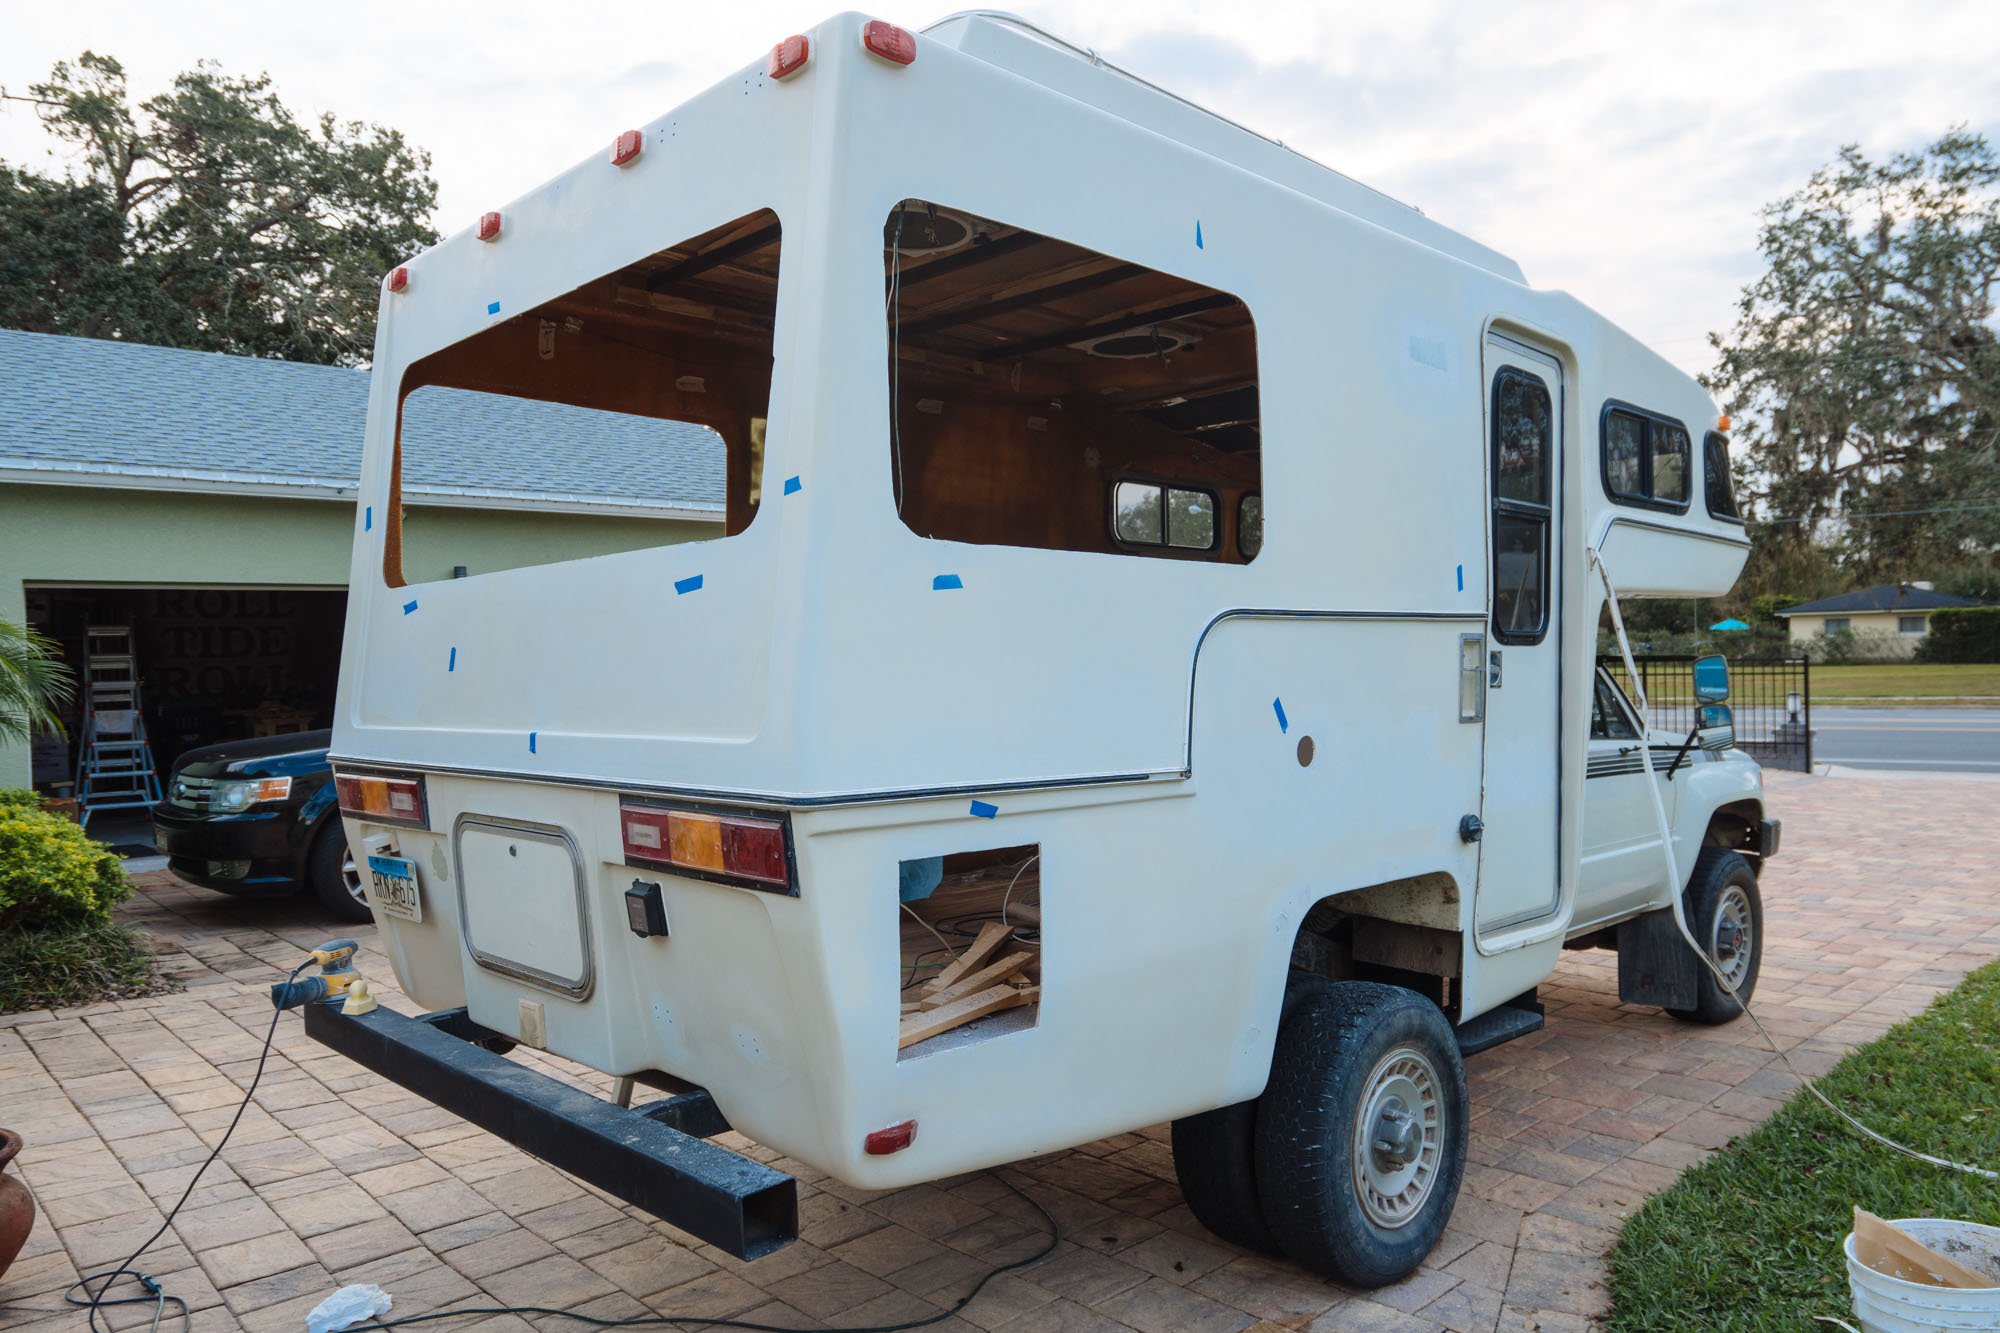
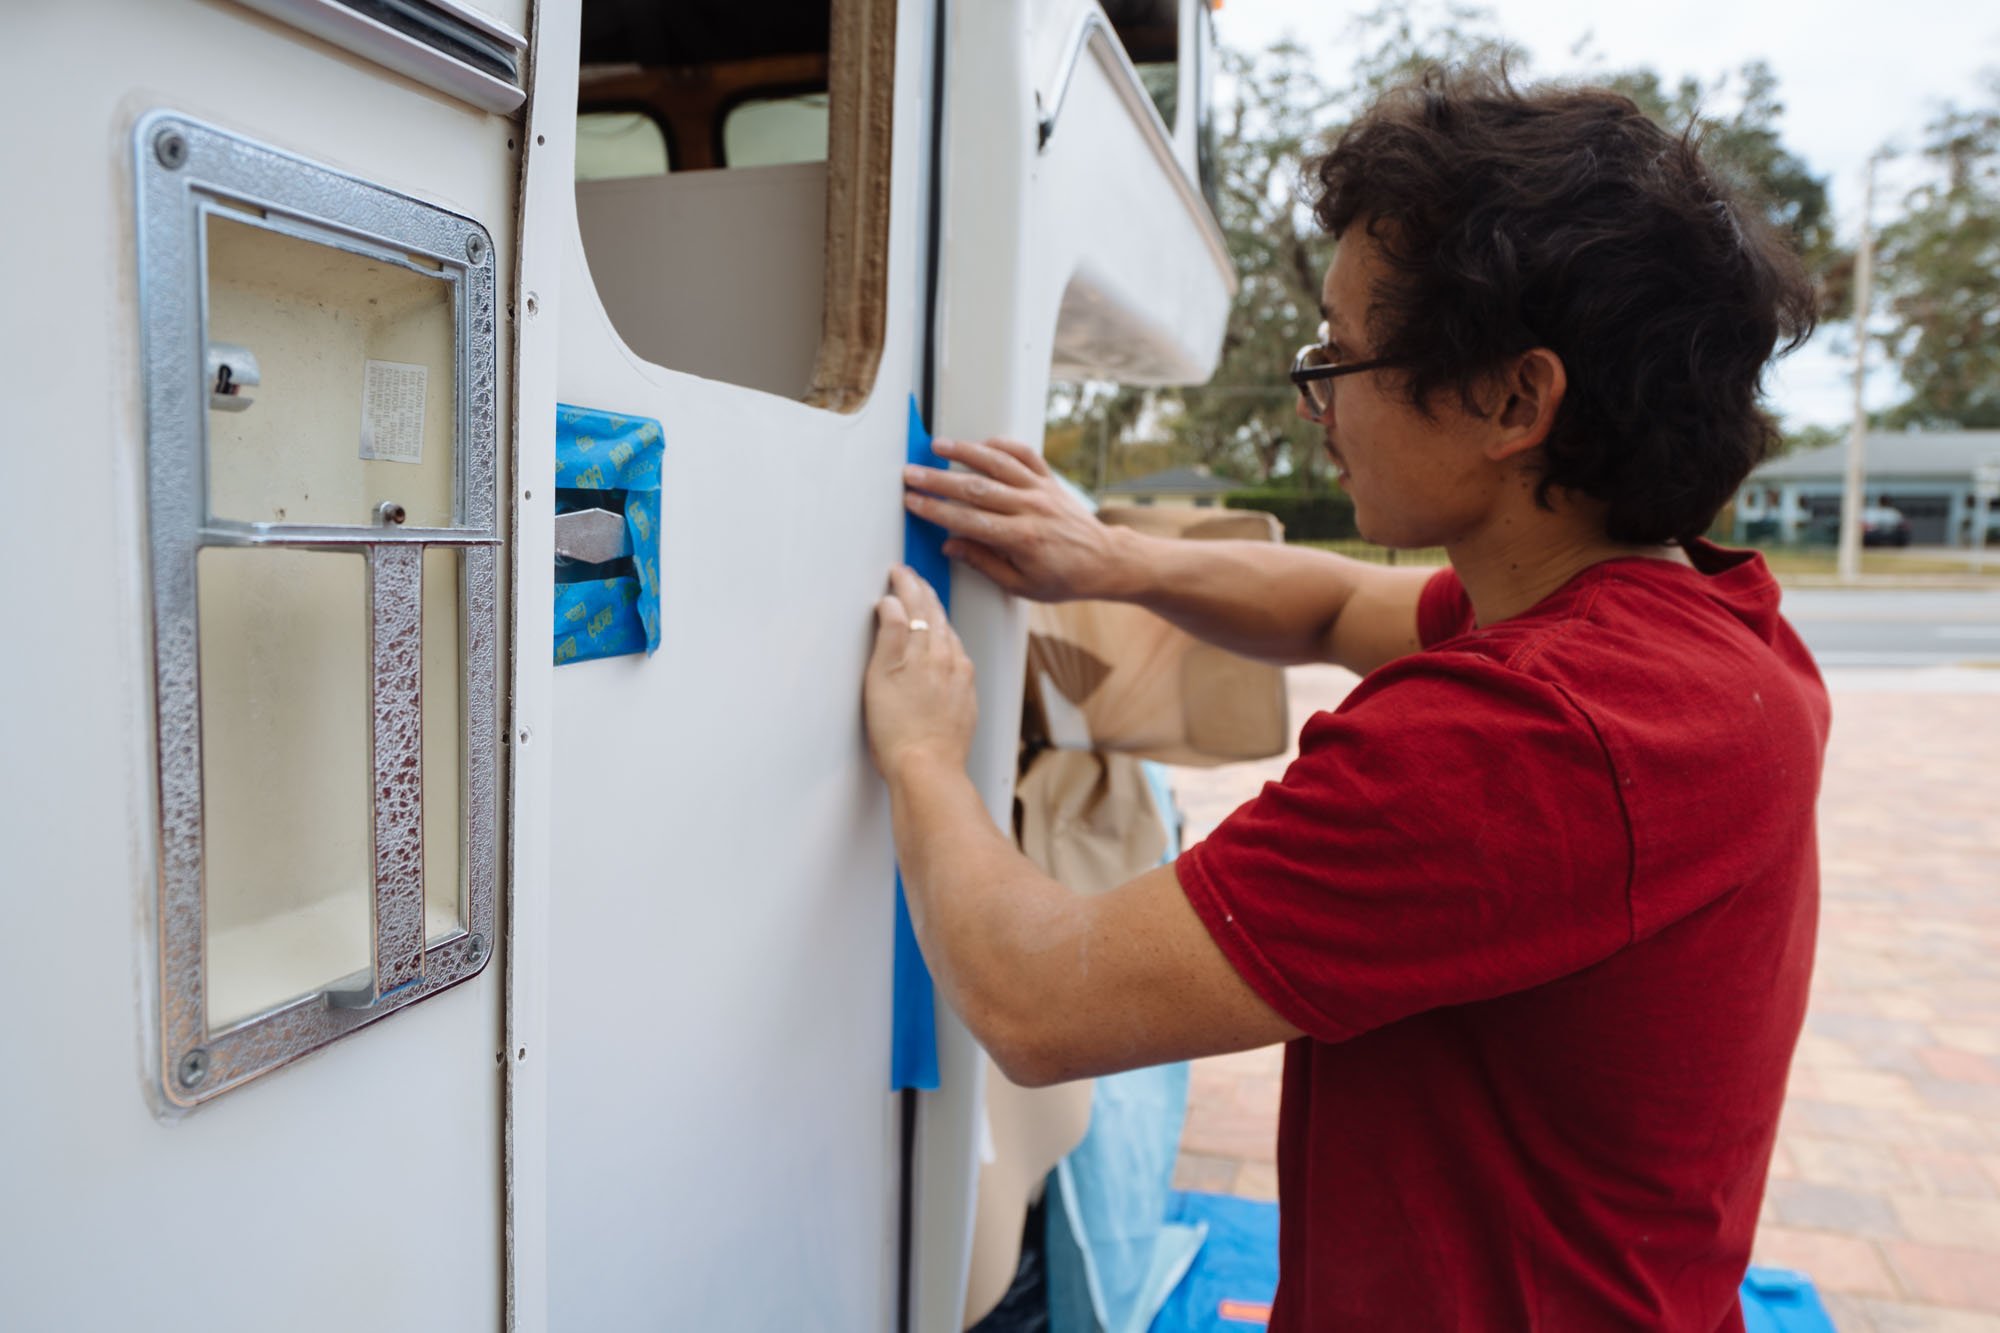
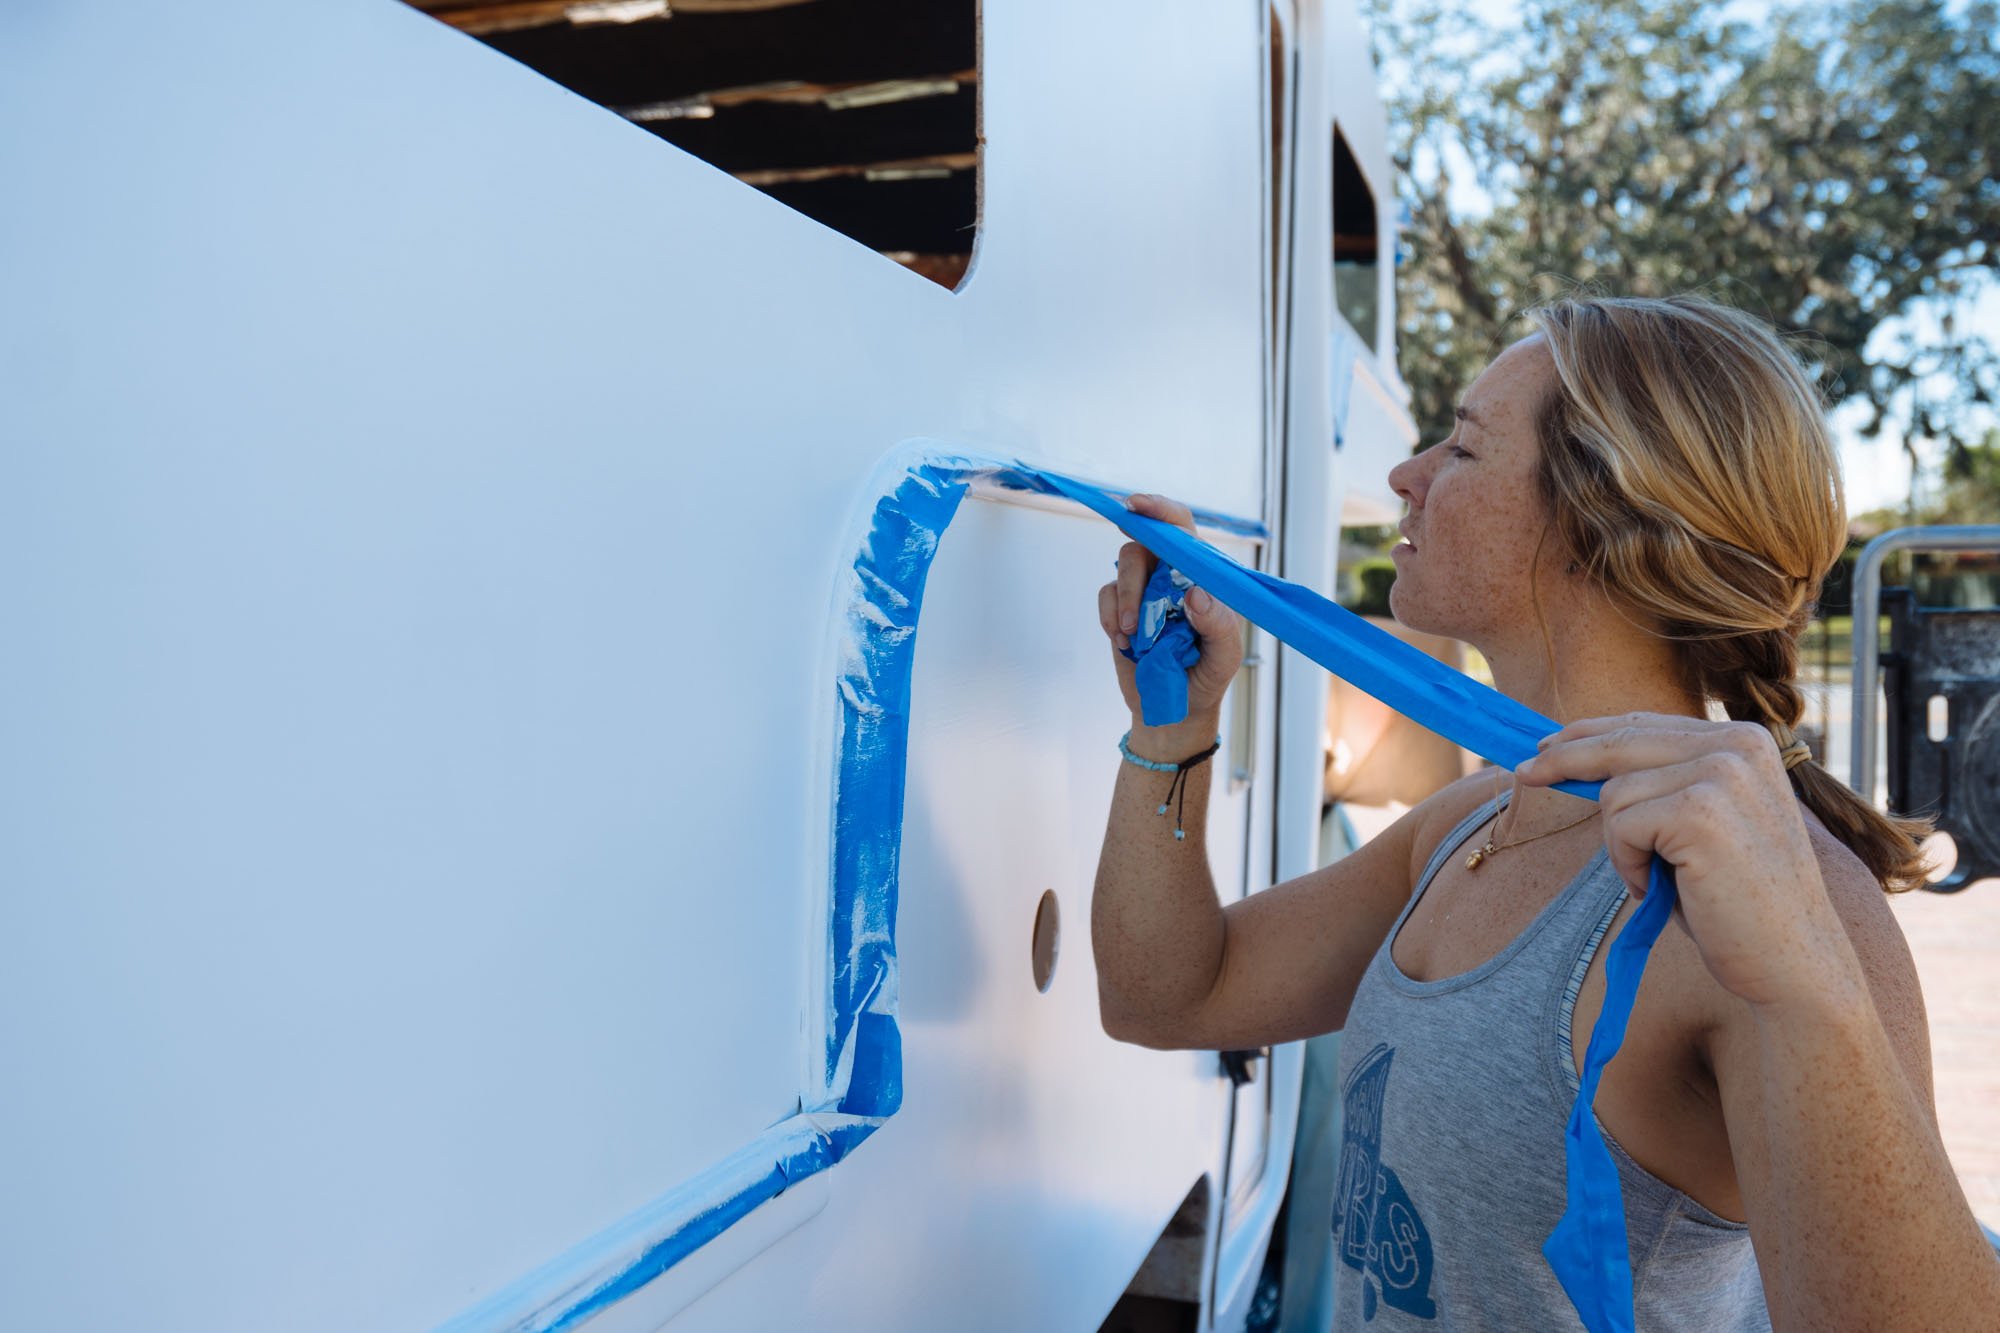
I went from end to end inspecting Amelia's body for any sort of scratch or chip in her gelcoat. Everywhere you see blue tape is where I found a spot in need of repair. Most/all of these spots are things no one would ever see, but I knew it was there and I couldn't let it go. I also decided to fill in screw holes around things that I thought could be straighter, or more organized. I ended up filling all of the holes around our outdoor kitchen opening, our propane cabinet, the water tank fill, and some excess holes I found drilled in the body around the fenders.

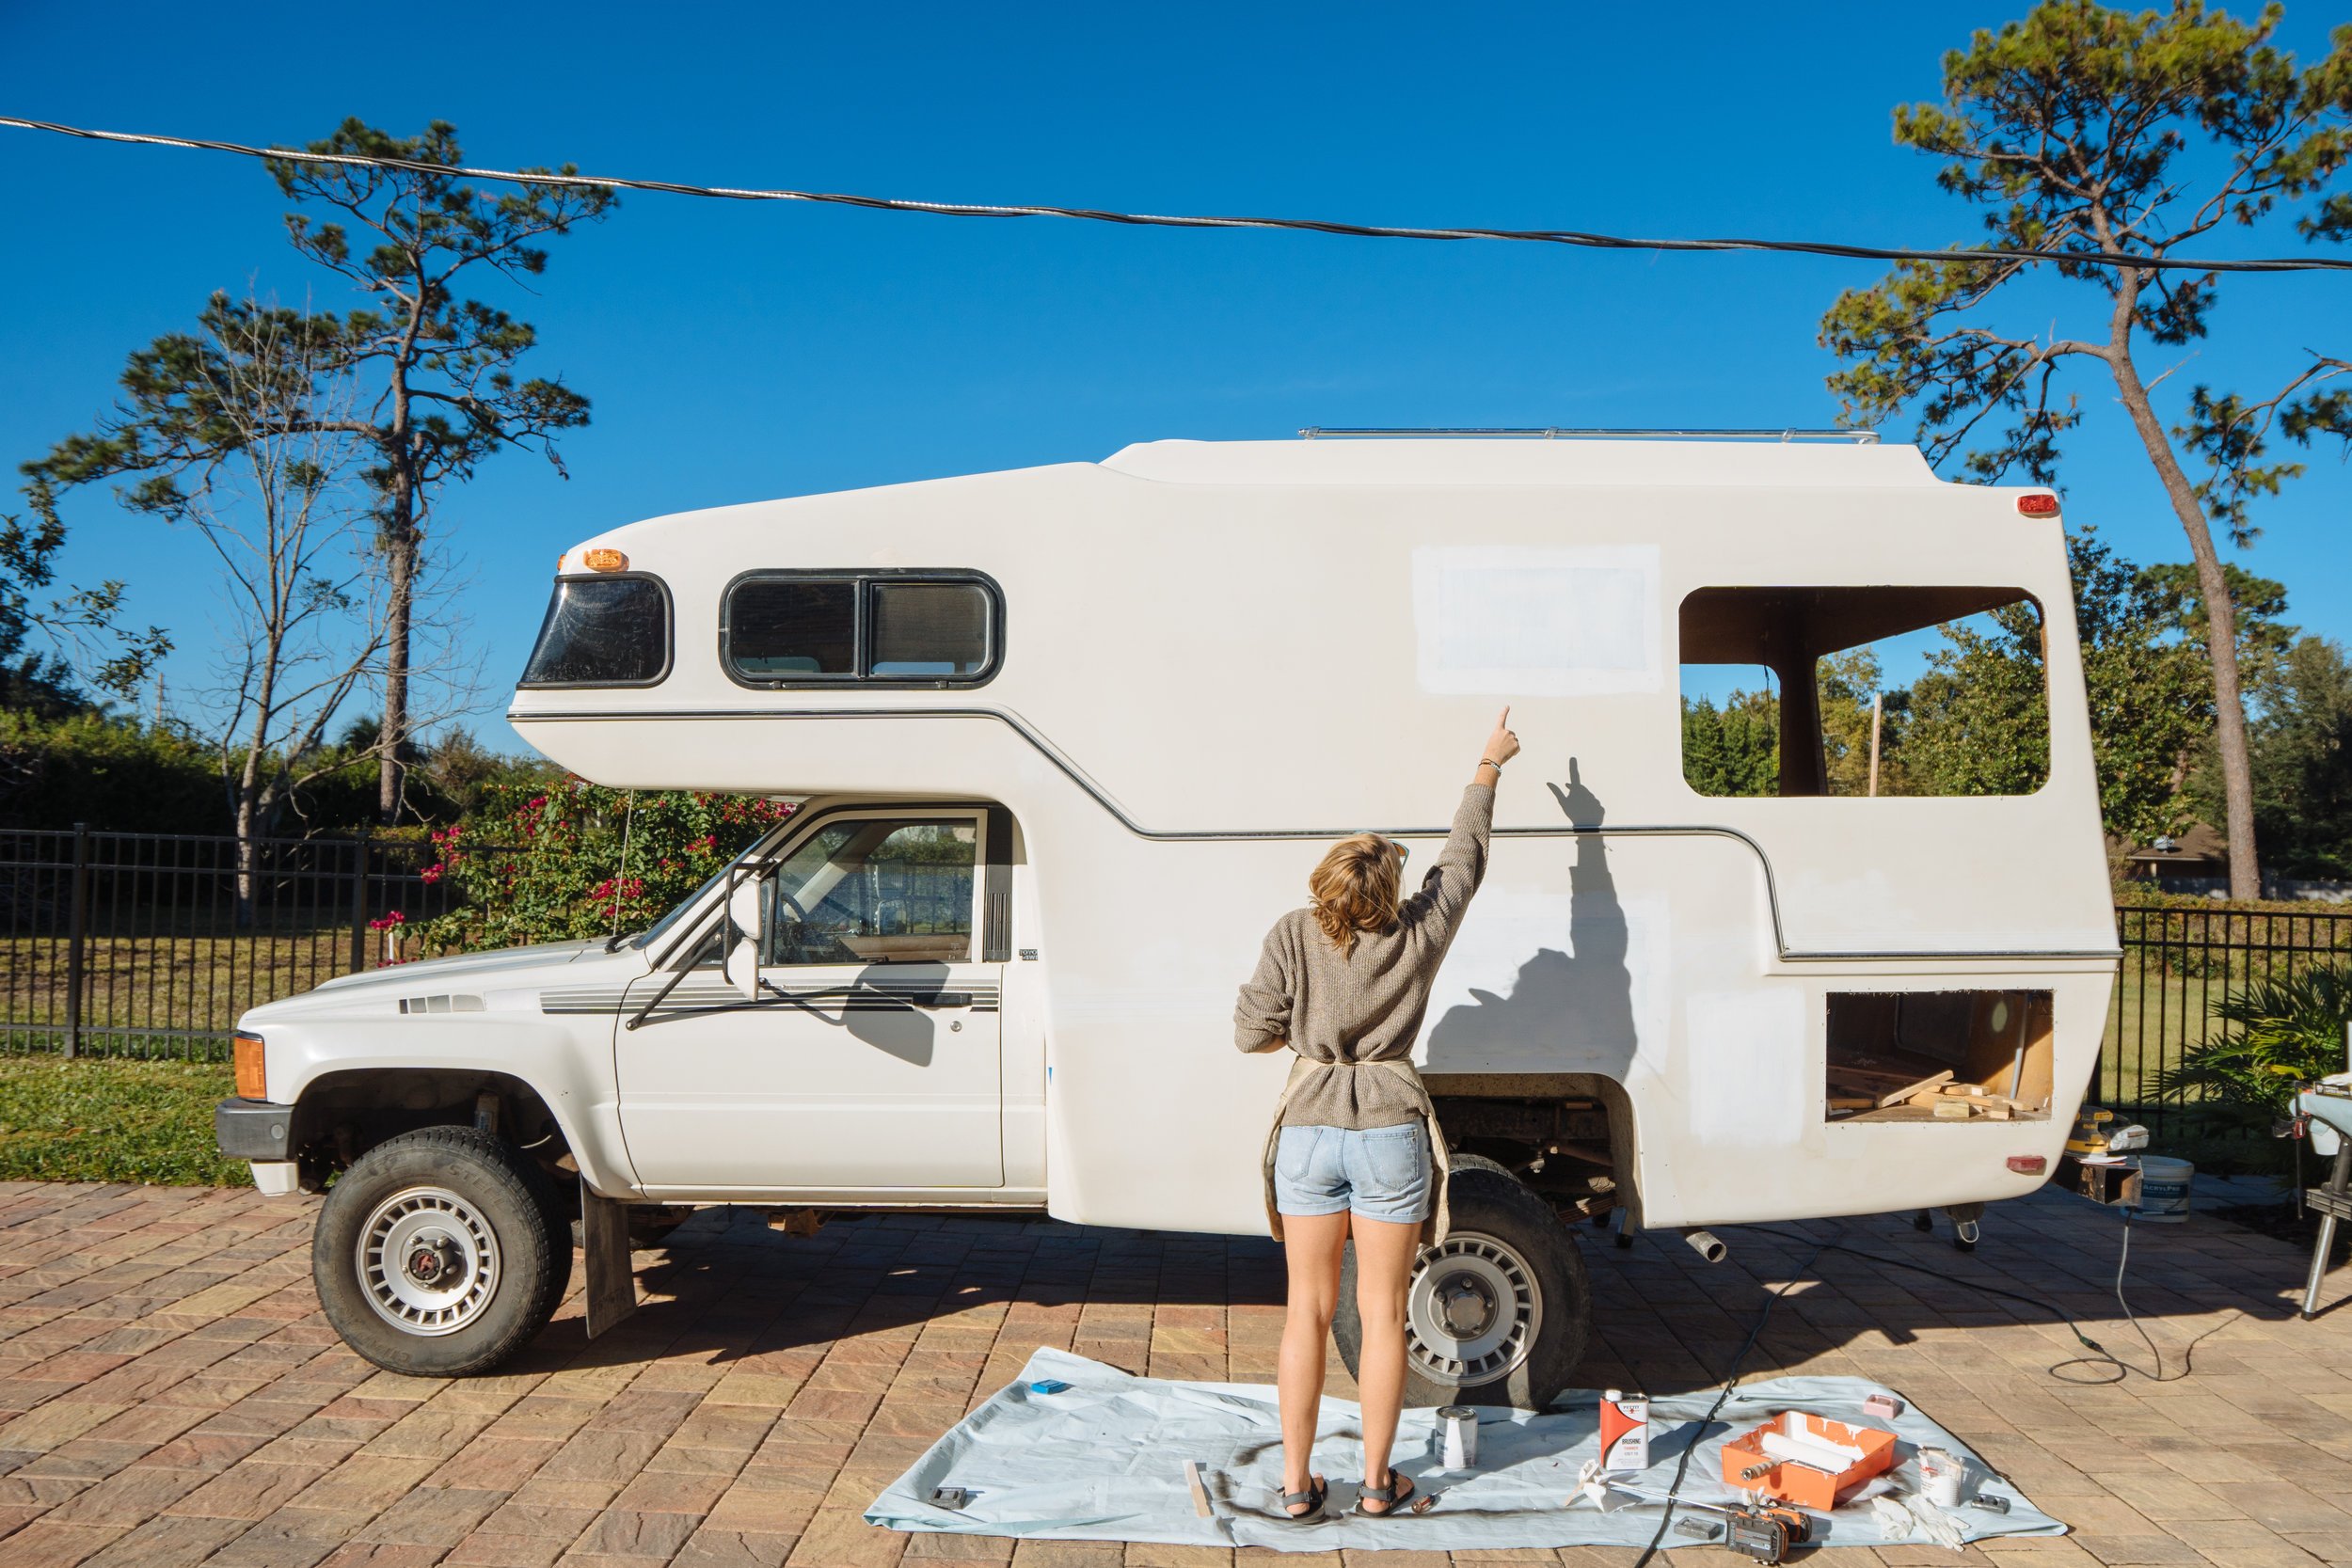
Here I am explaining the importance of proper surface prep to Owen

Working my hands to the bone...to the fingers.
Everytime I looked at Amelia I seemed to find more areas that were in need of some sort or repair. In an effort to not be doing surface prep for the rest of my life, I switched to a fast drying surfacing puddy. This stuff means business. It has only 5 mins of work time, and fully cures in about 20 mins. This, more than anything else really sped up the prep process and I really couldn't recommend this stuff more. It too, will be listed at the end of this post.


After all of the surface repairs were finally made and sanded down to be flush, I went back in and added another coat of primer over all of my repairs. Not pictured anywhere in this post is the hours of endless sanding. I really should've enlisted some help to take care of it. Now, about a week after I finished sanding, I'm still having a problem with feeling in my right hand. Total bummer. Looks like my hands will be what keeps me from being in the van renovation business ;)

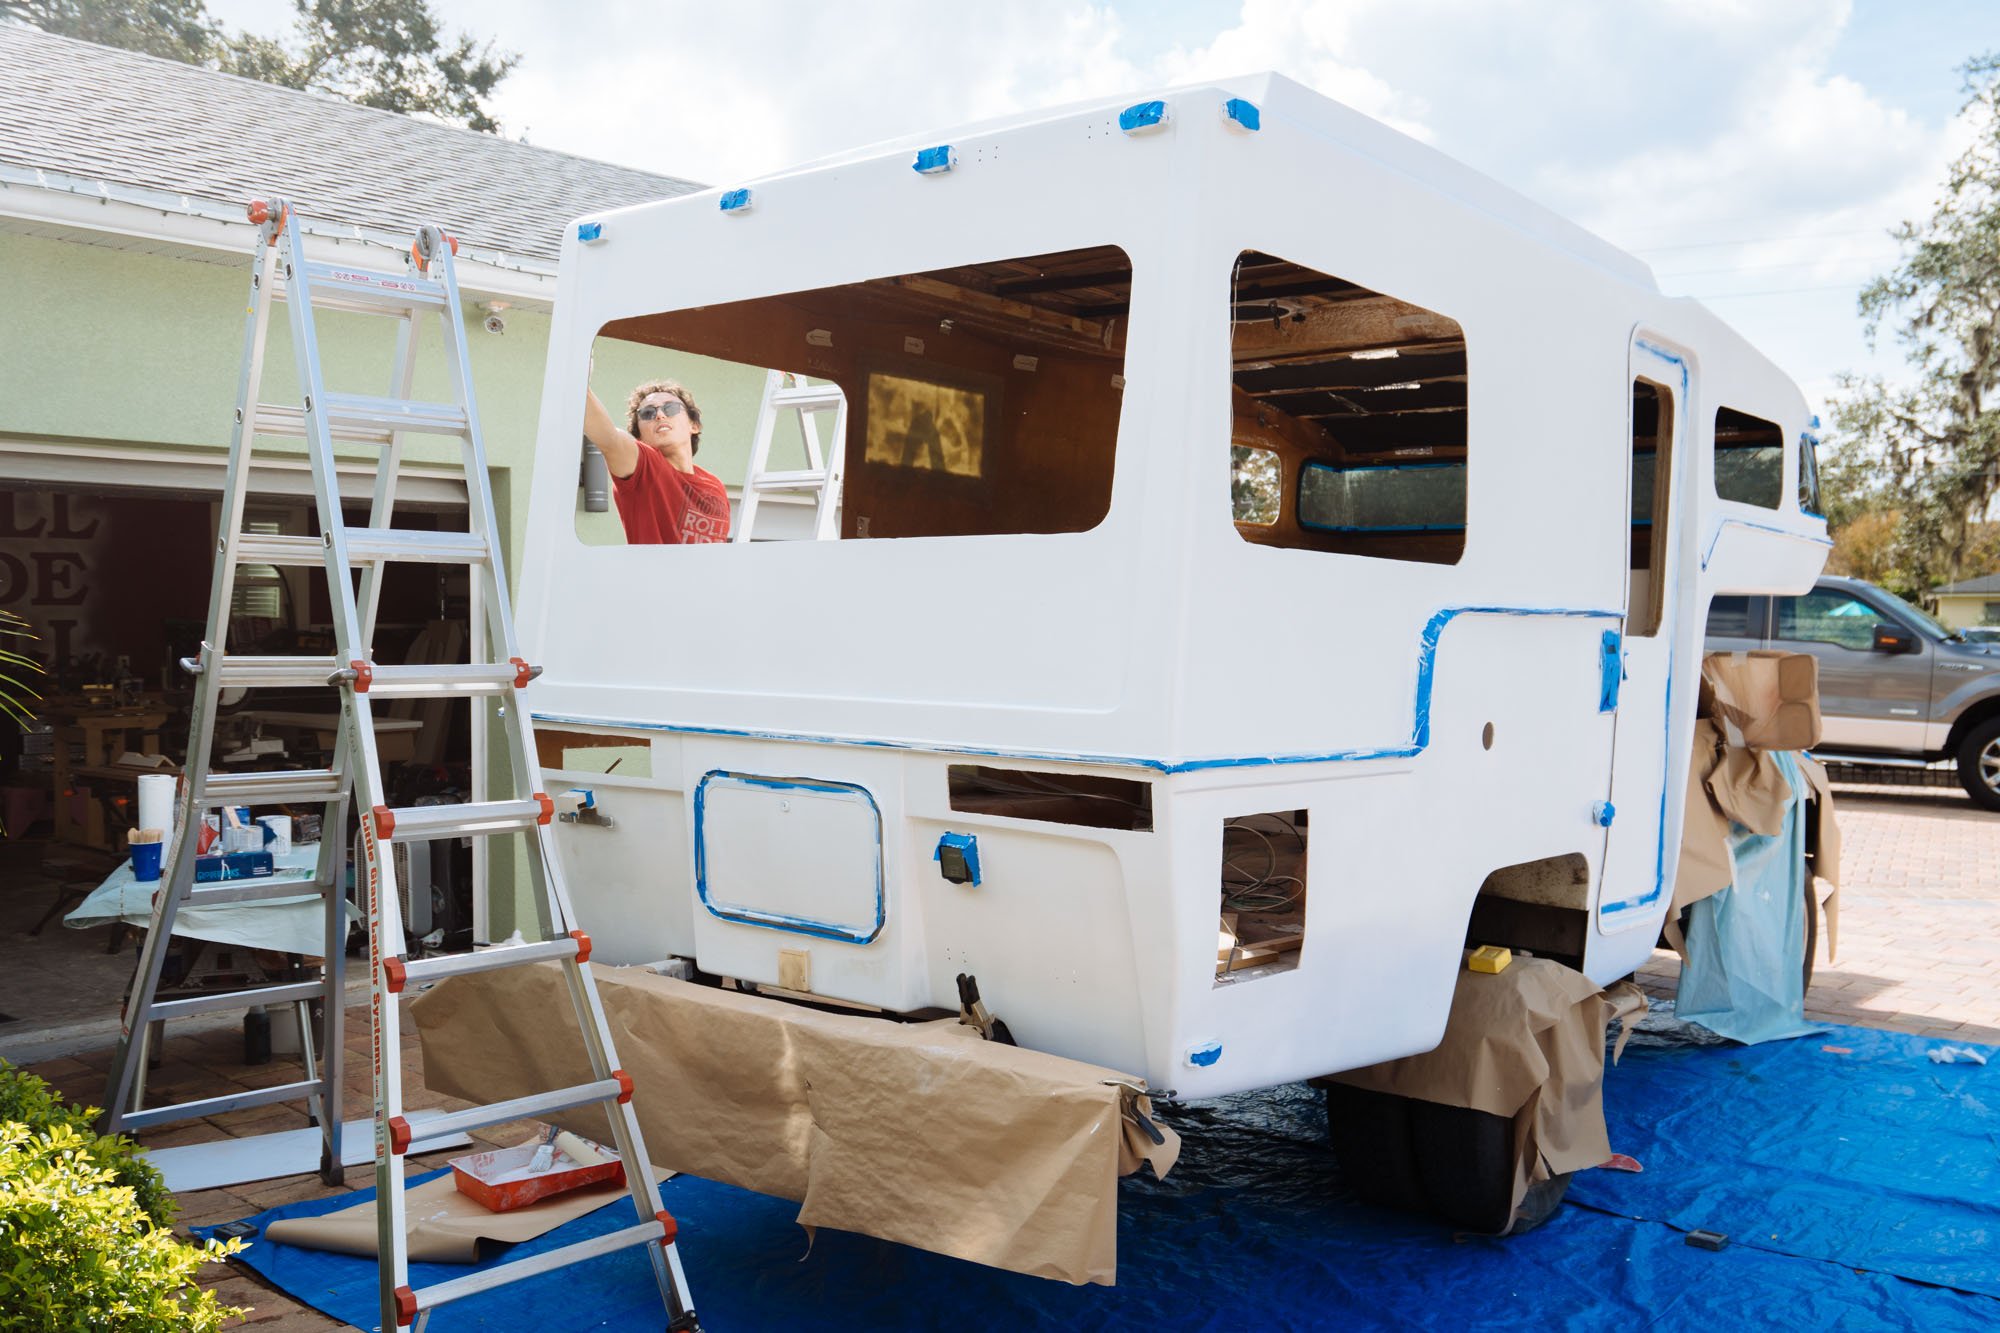
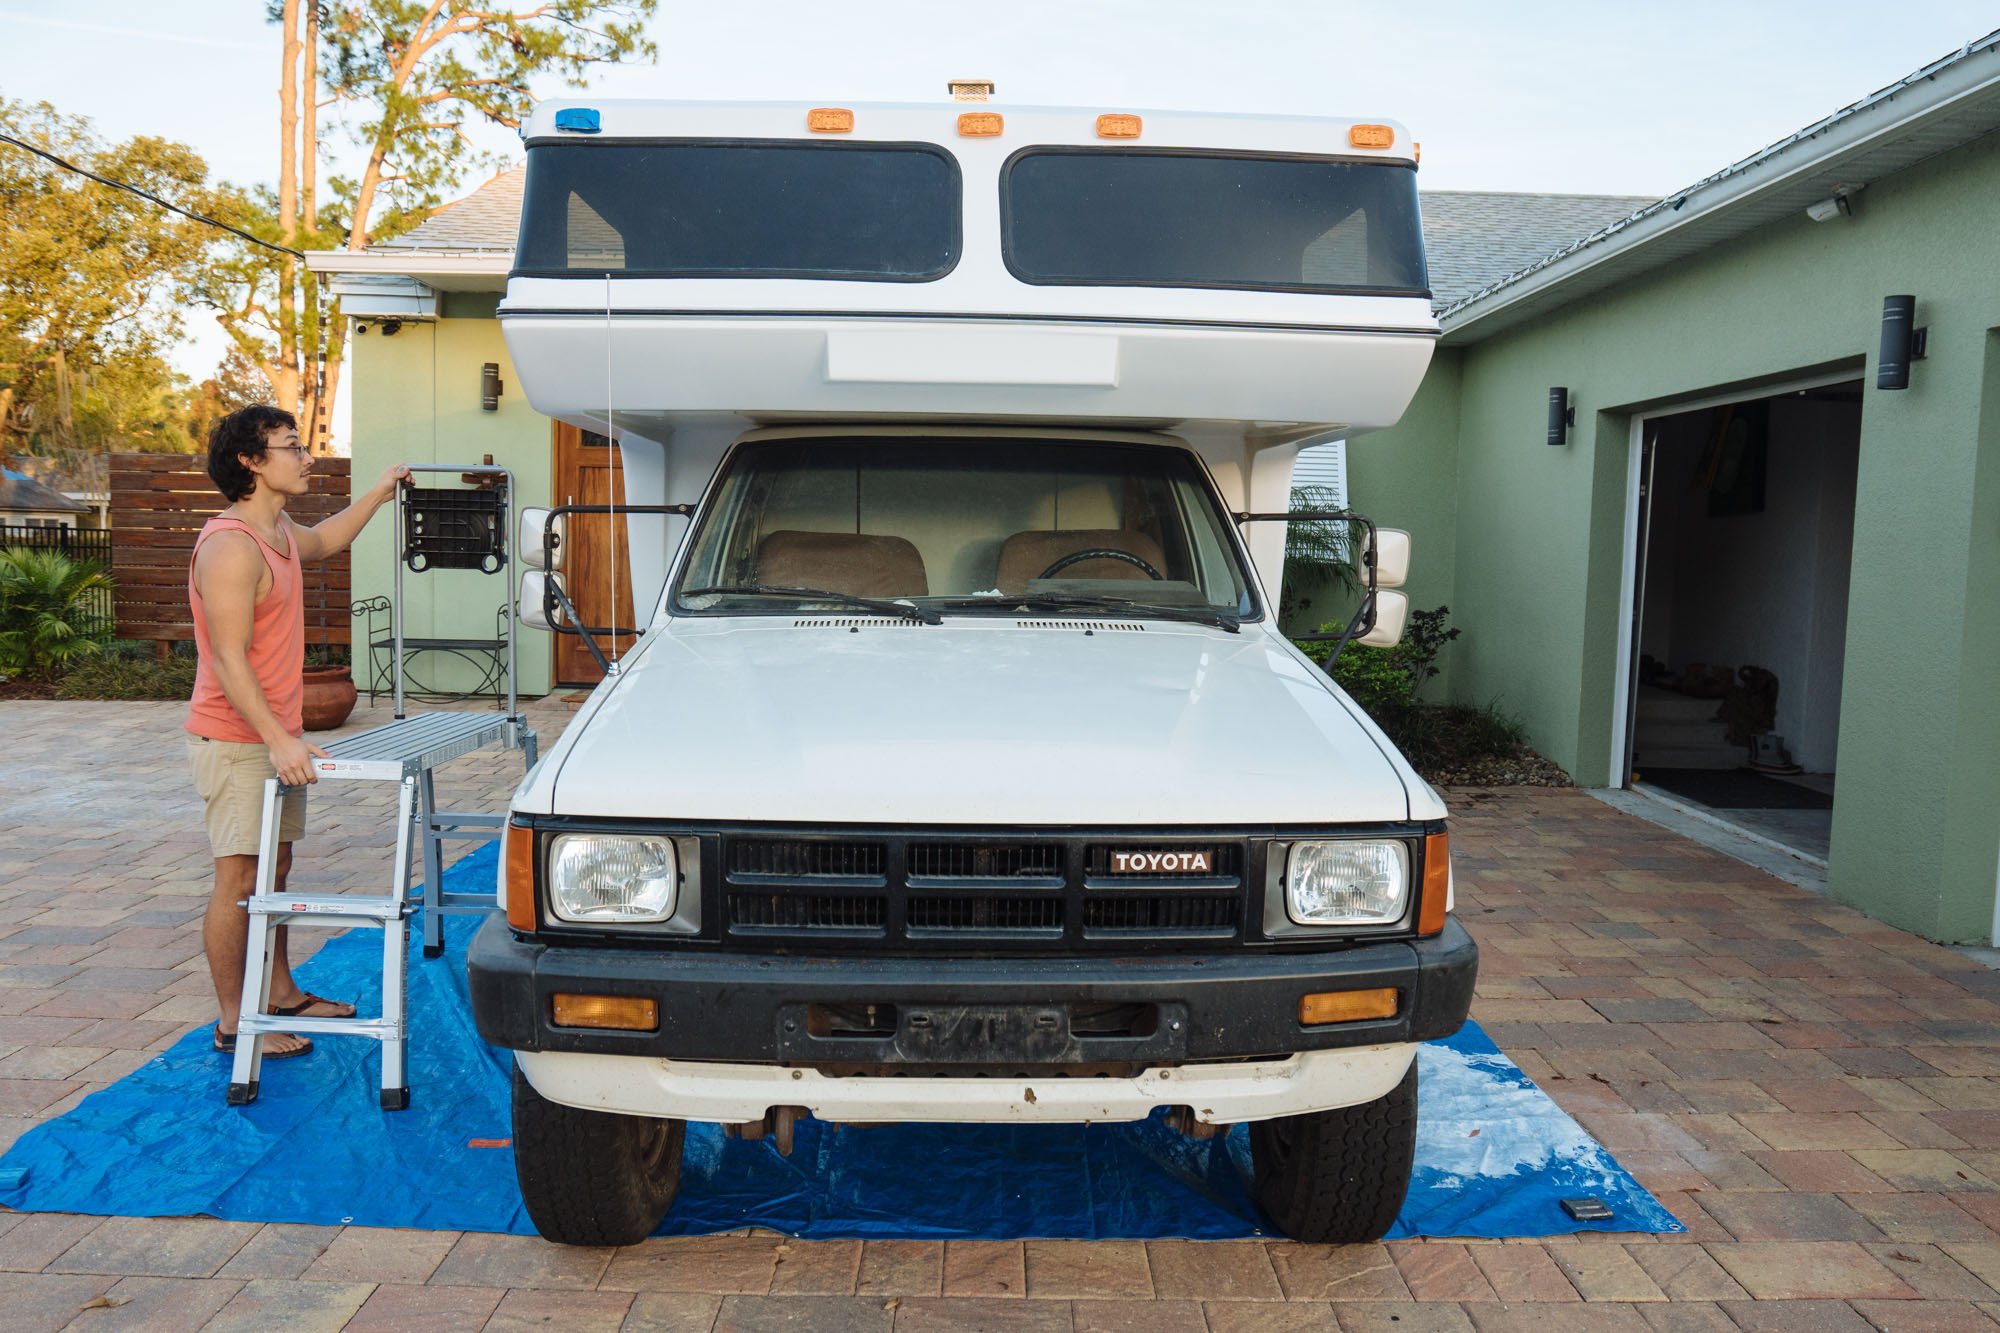
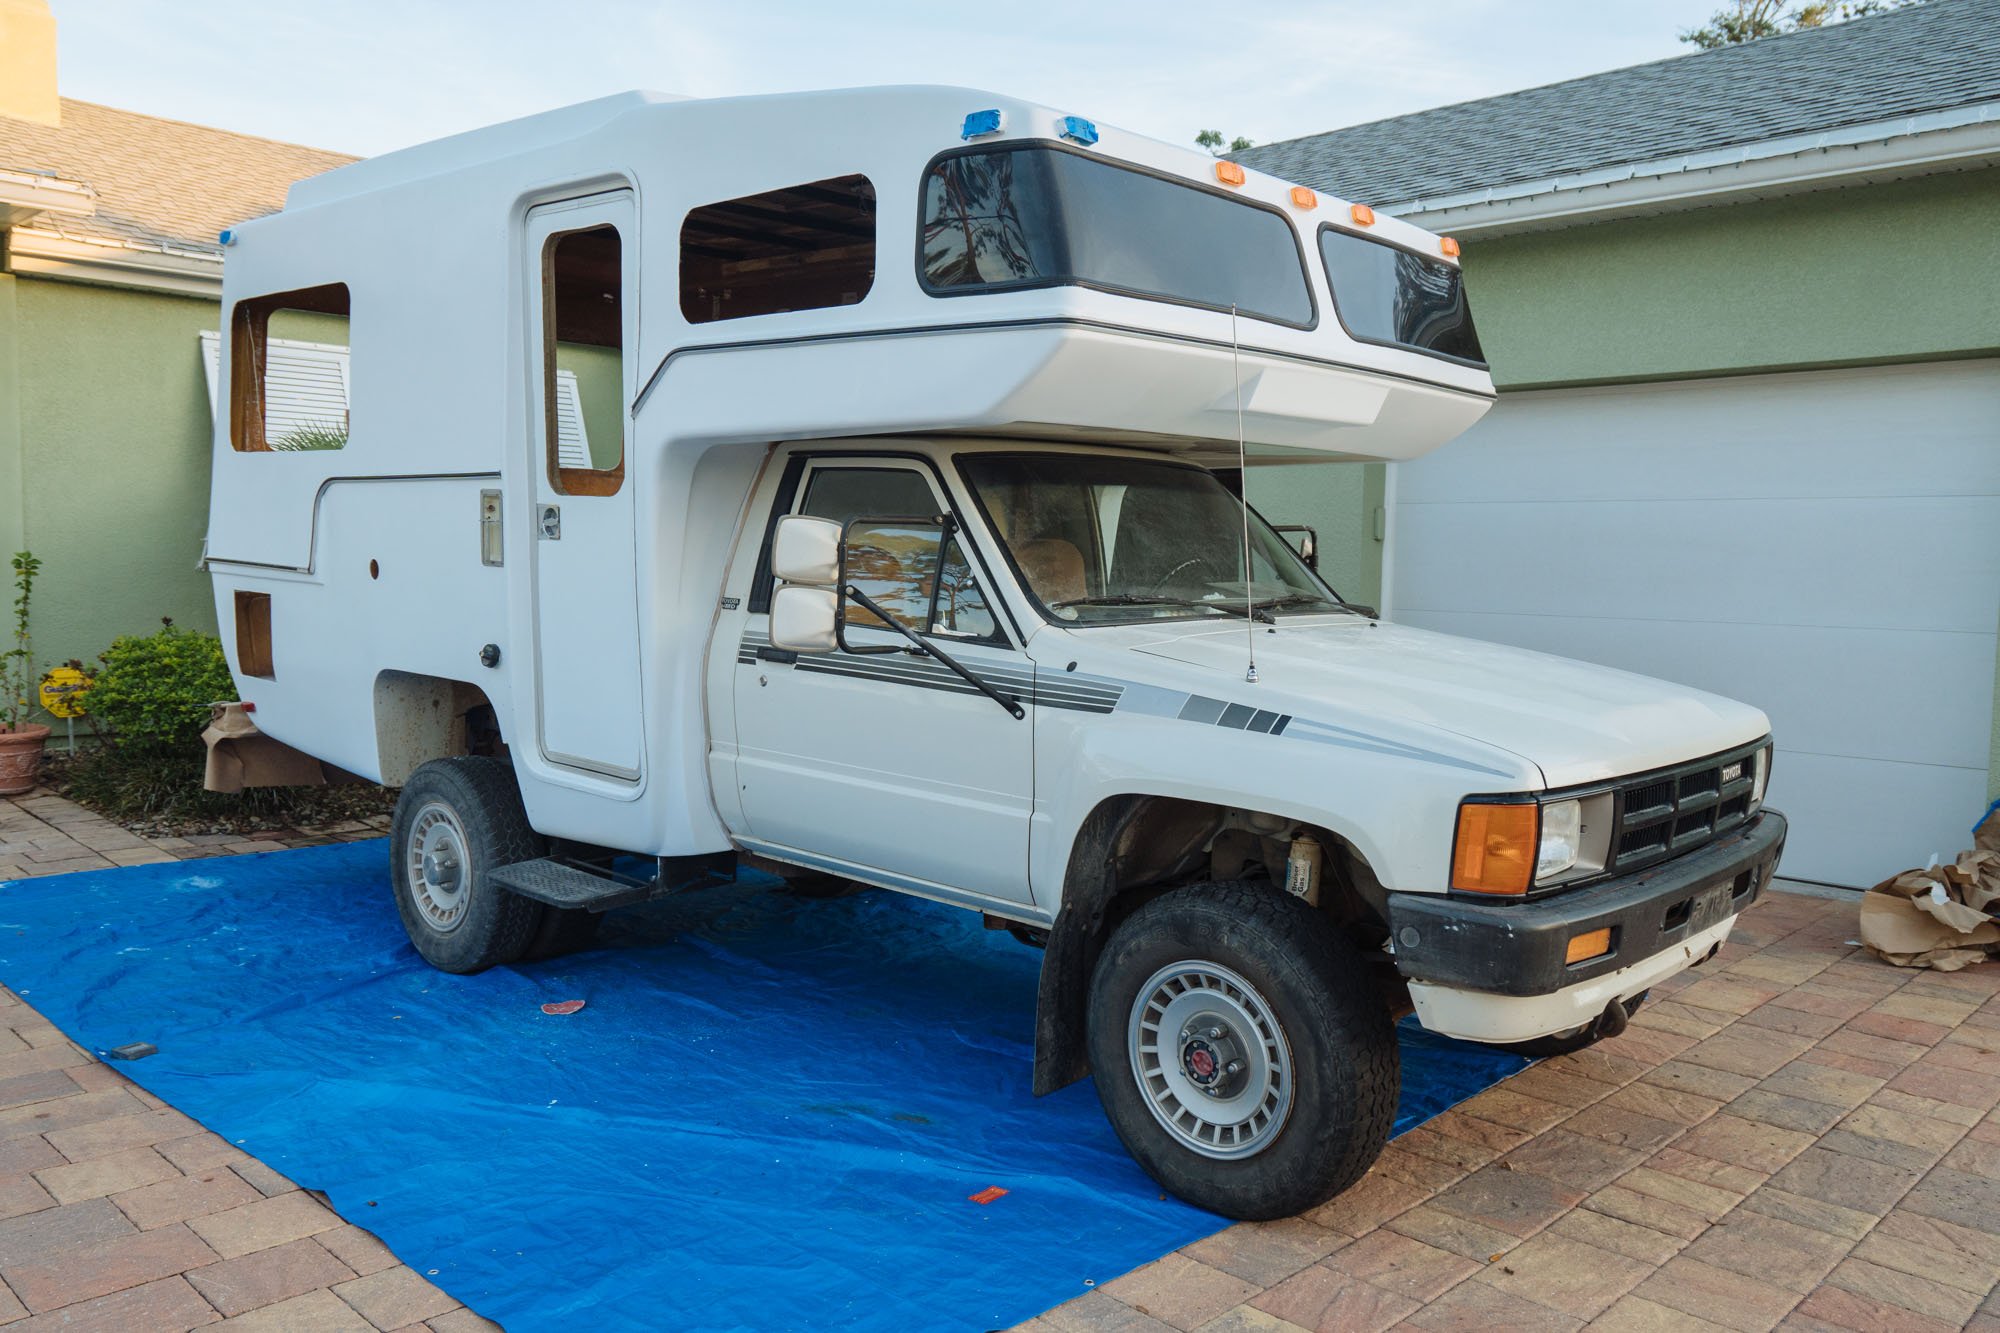
After the primer was dry, it was finally time to start painting! We thought this day would never come!

It was finally a weekend and Owen was able to join me for a fun filled weekend of painting! We started with vacuuming off as much of the dust from sanding as we could, and followed it up with the three step cleaning that I used to prep for the primer. It took us about 4 hours to do all of the cleaning, but the cleaner the surface, the cleaner our finished product would be!

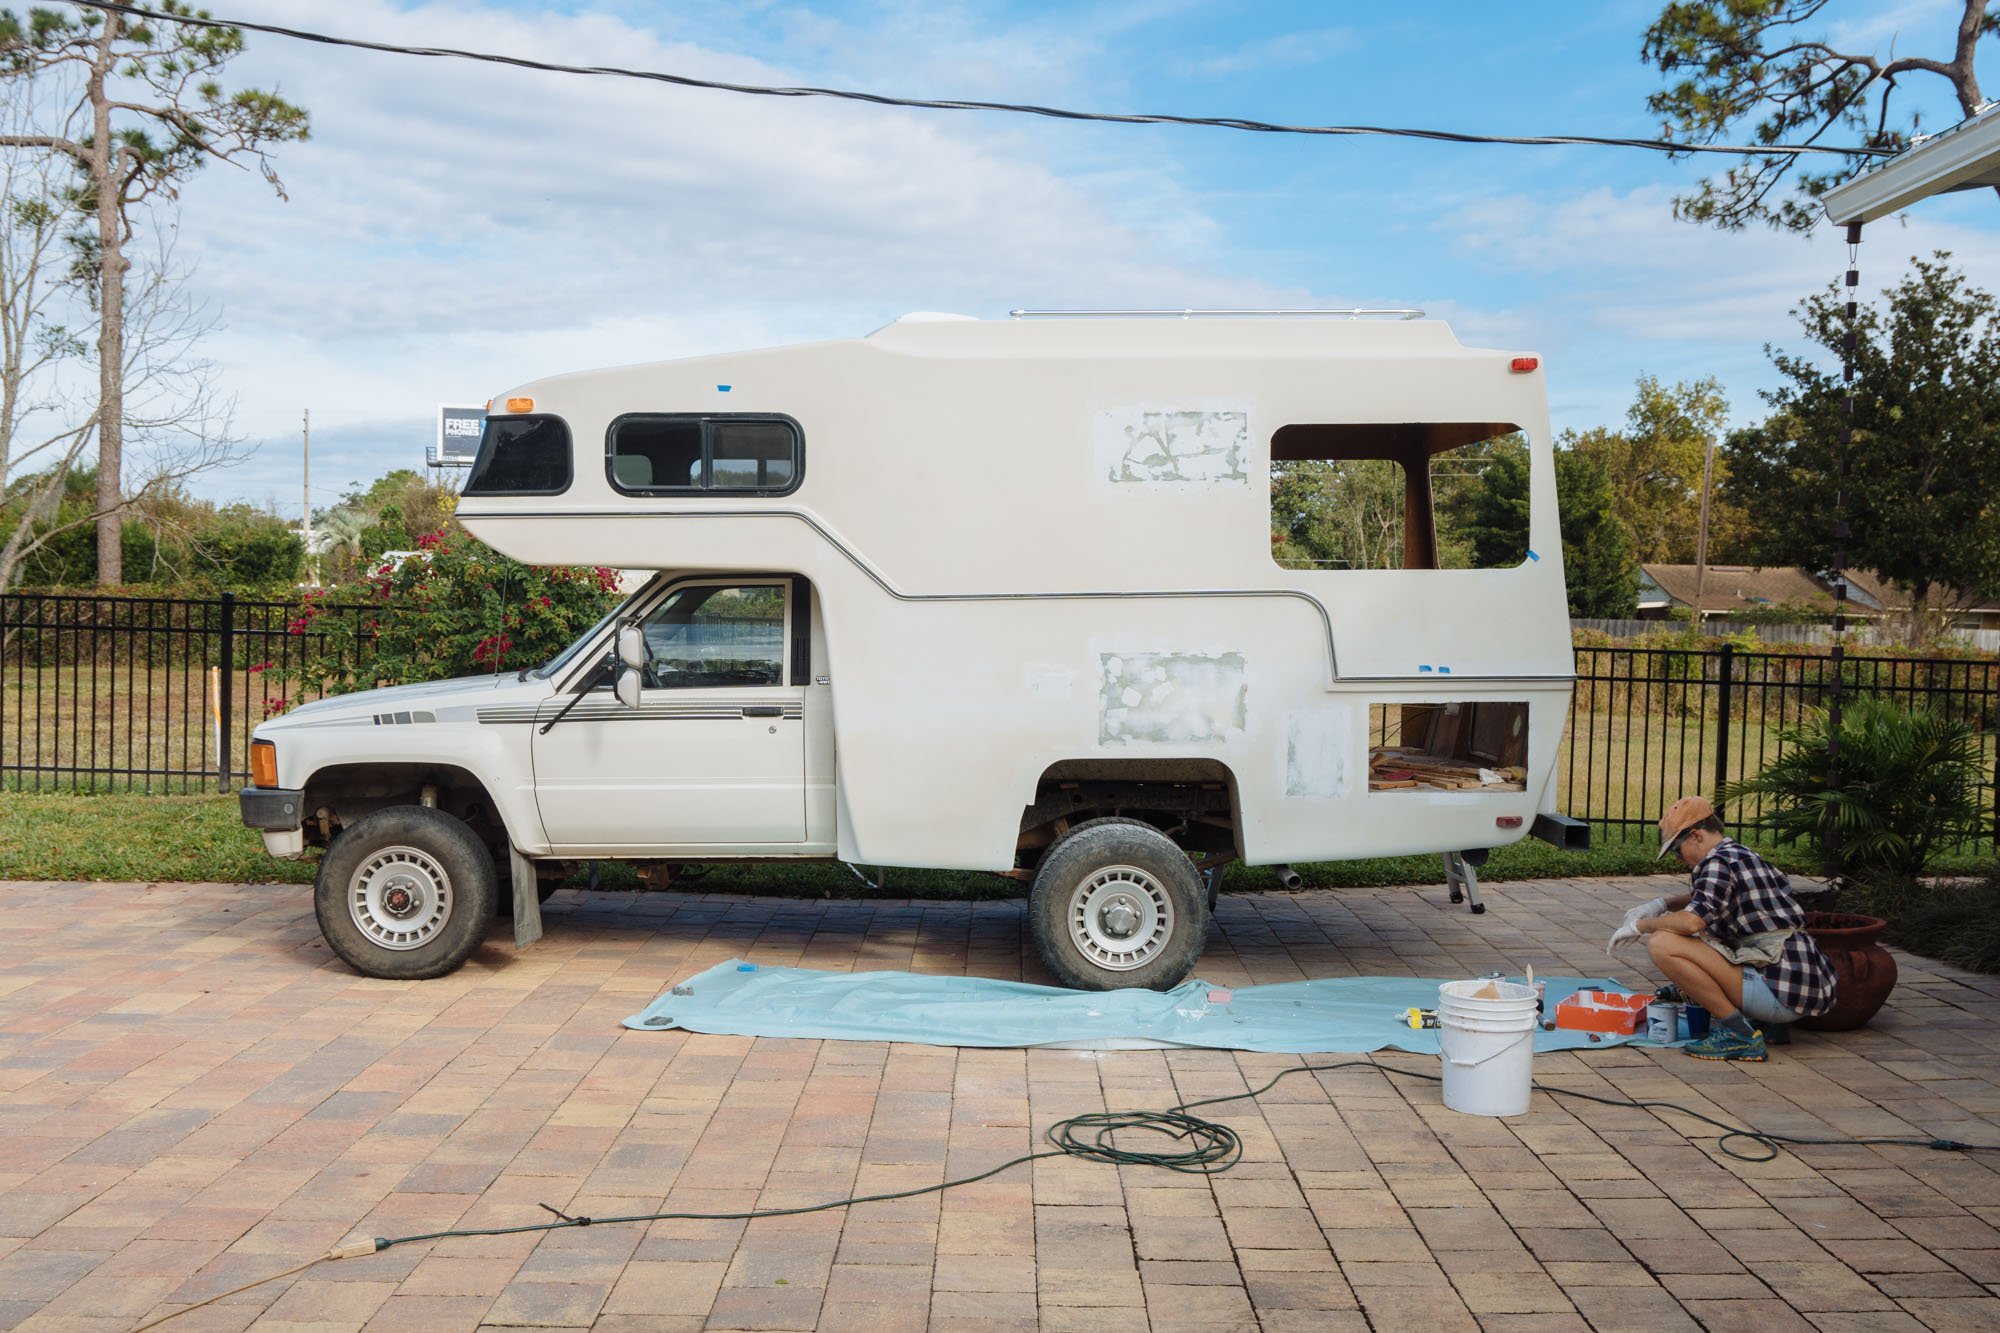
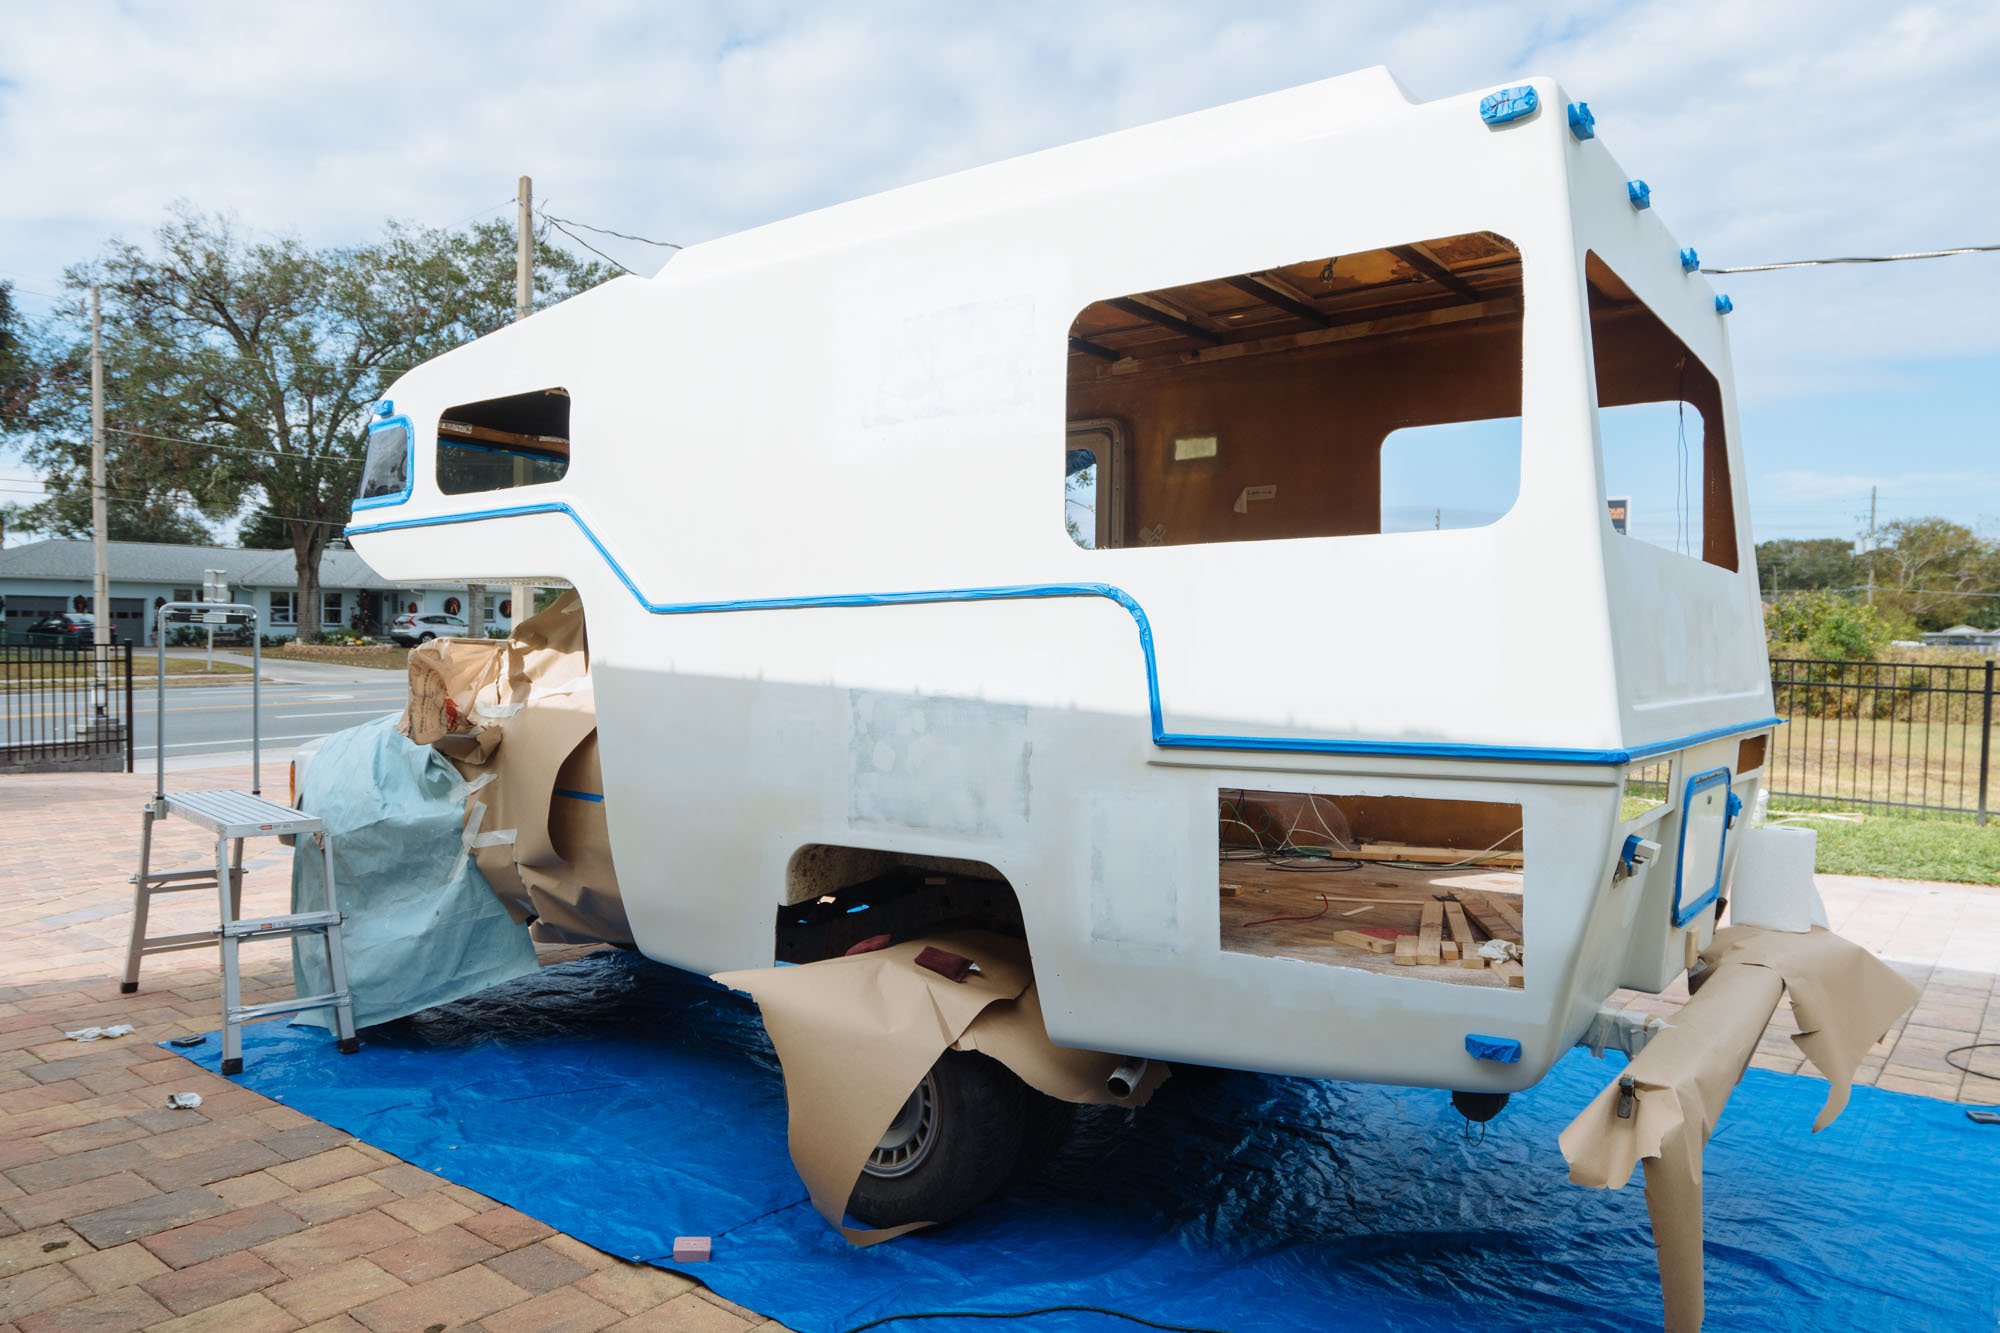
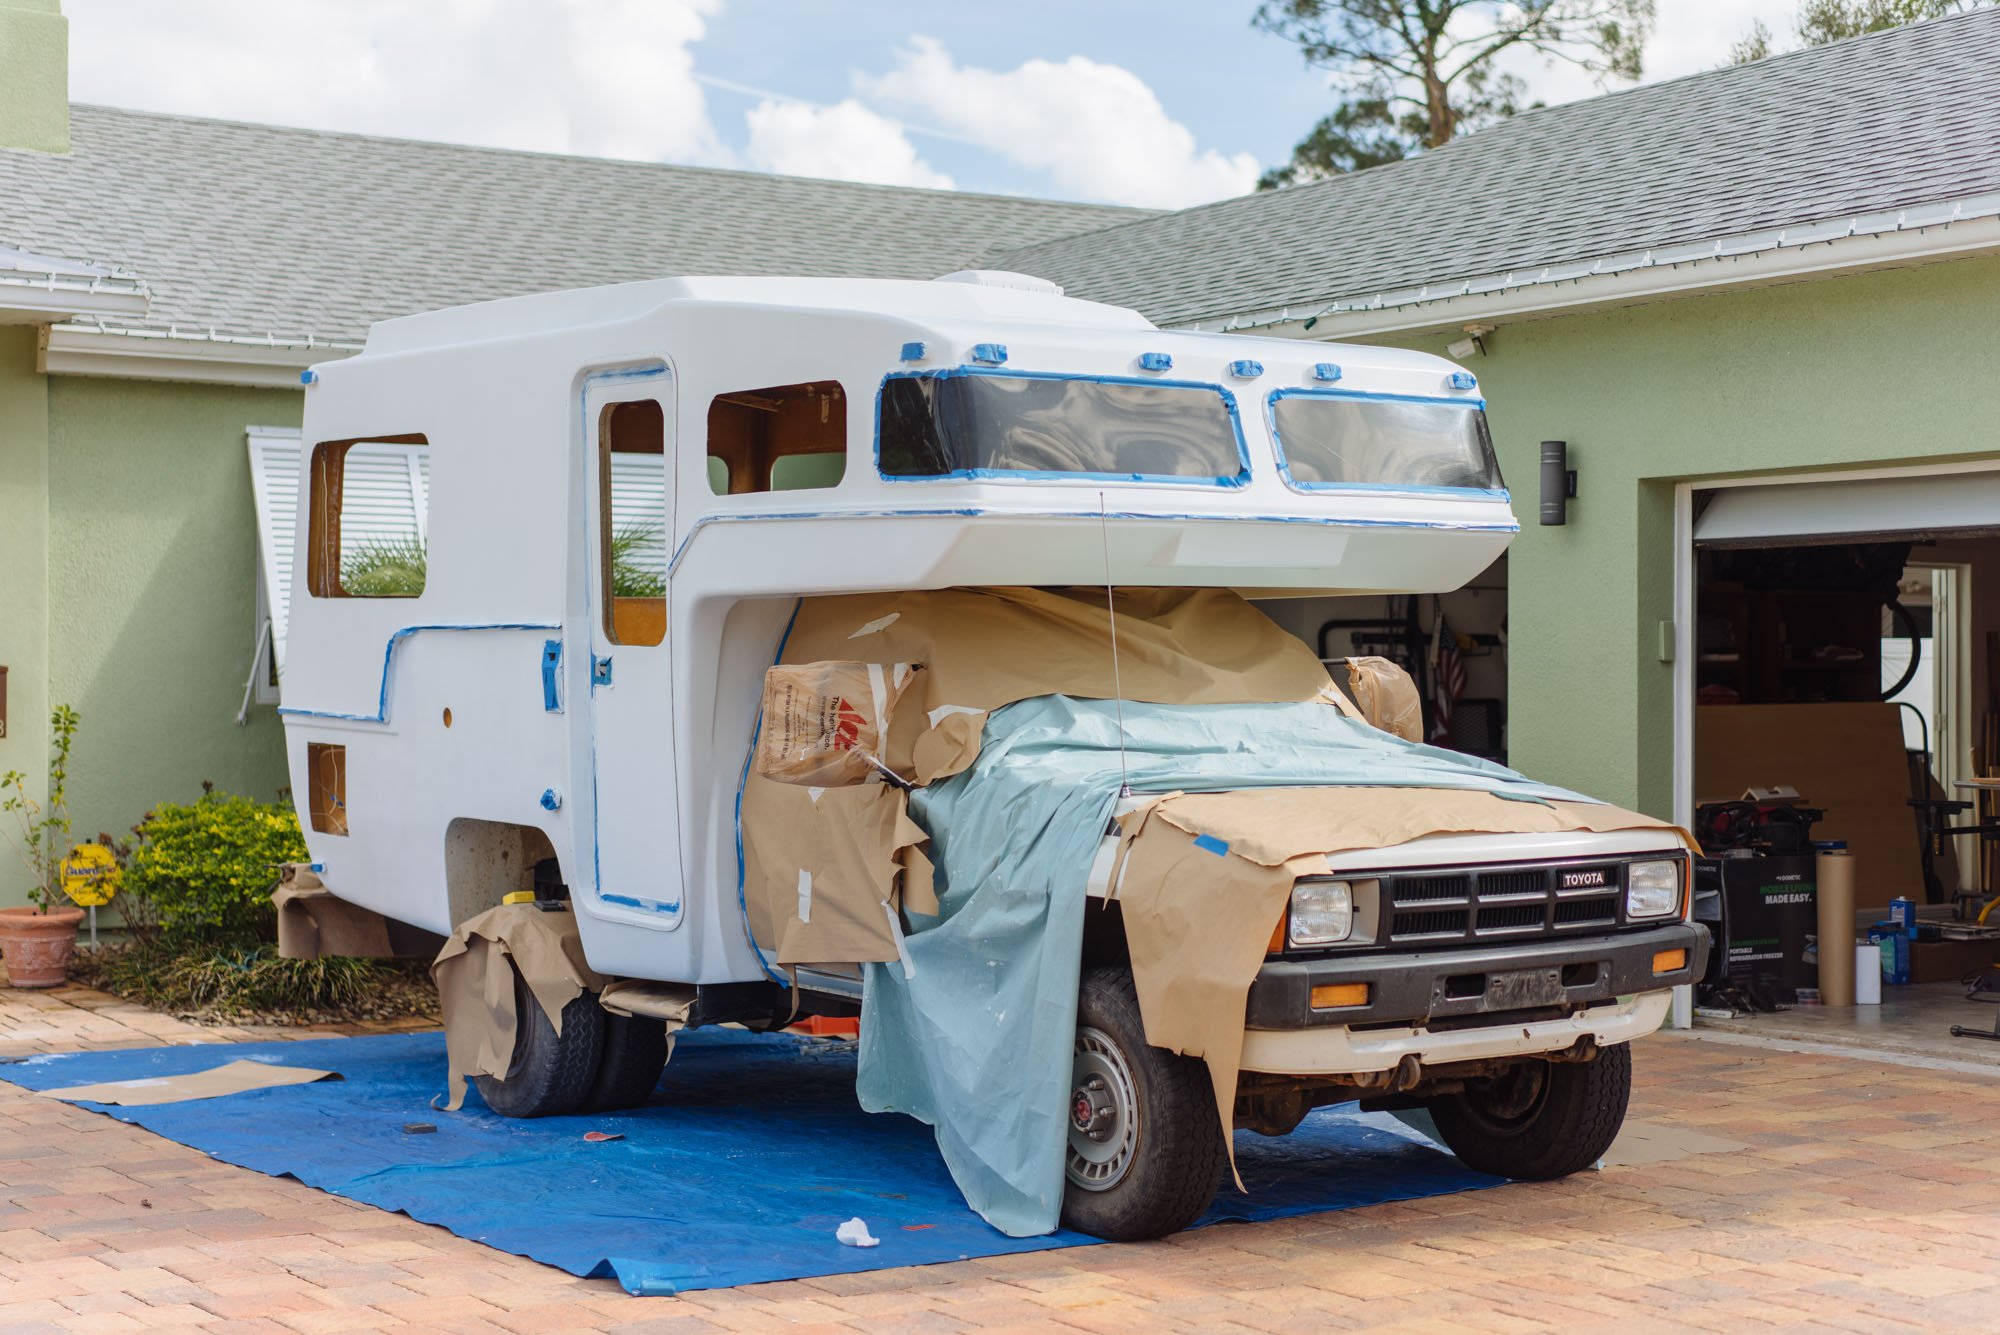
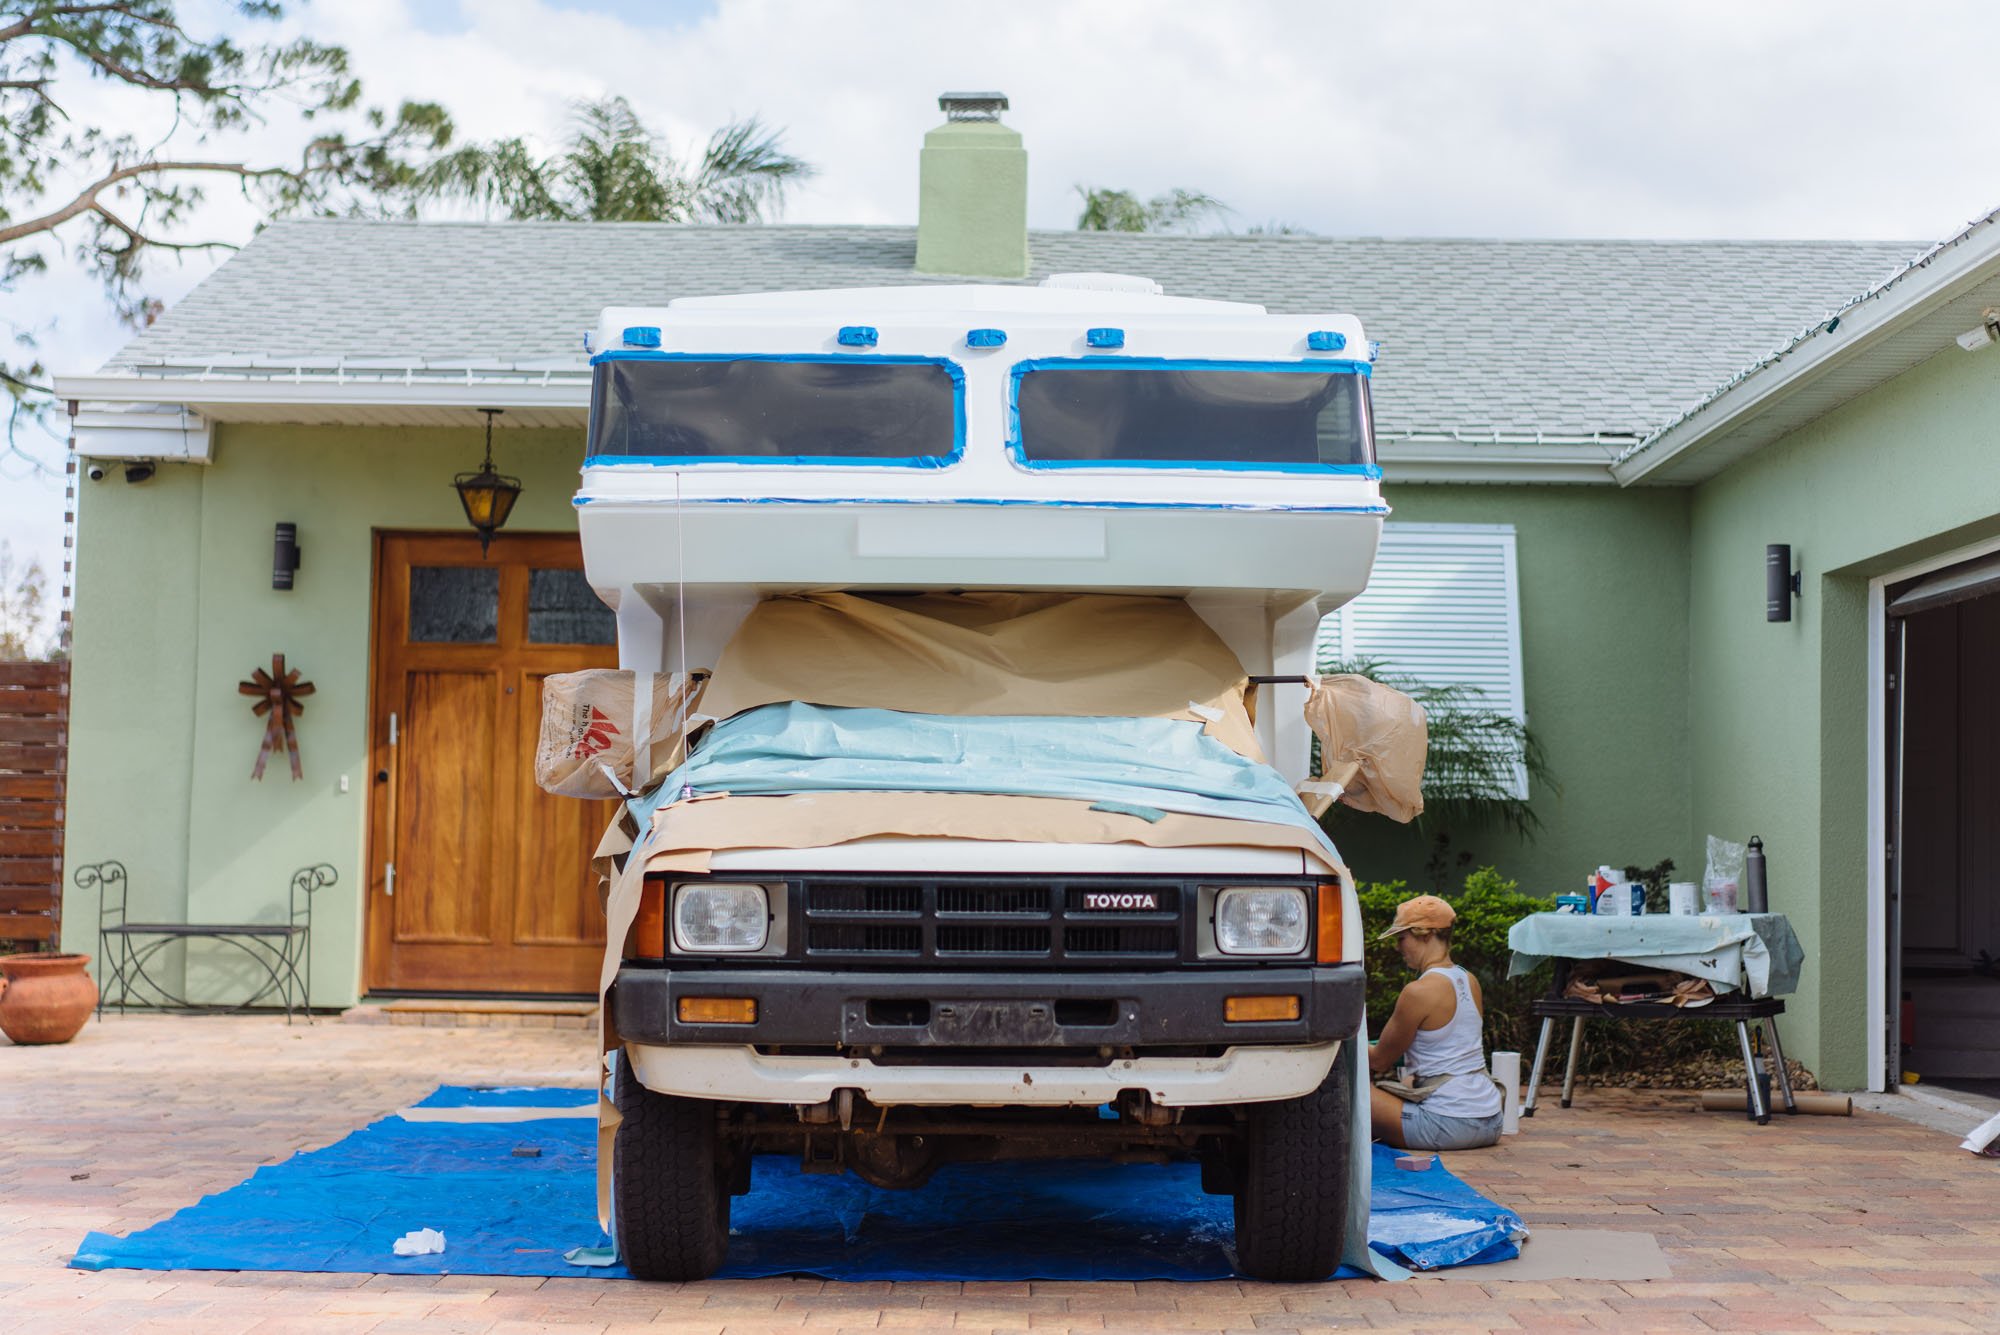
The many surface repairs that I did are really visible in the image on the left. It's crazy to see the color comparison from the old faded gelcoat to the primer. It's this picture that makes me the happiest that we decided not to go with gelcoat again. Based on the amount of exposure Amelia will see, and how fast gelcoat oxidizes, we would've been right back to being that color in no time at all! With Amelia all wrapped up the last thing we needed to do was mask off the few things that we didn't remove for painting.


Let the painting begin!
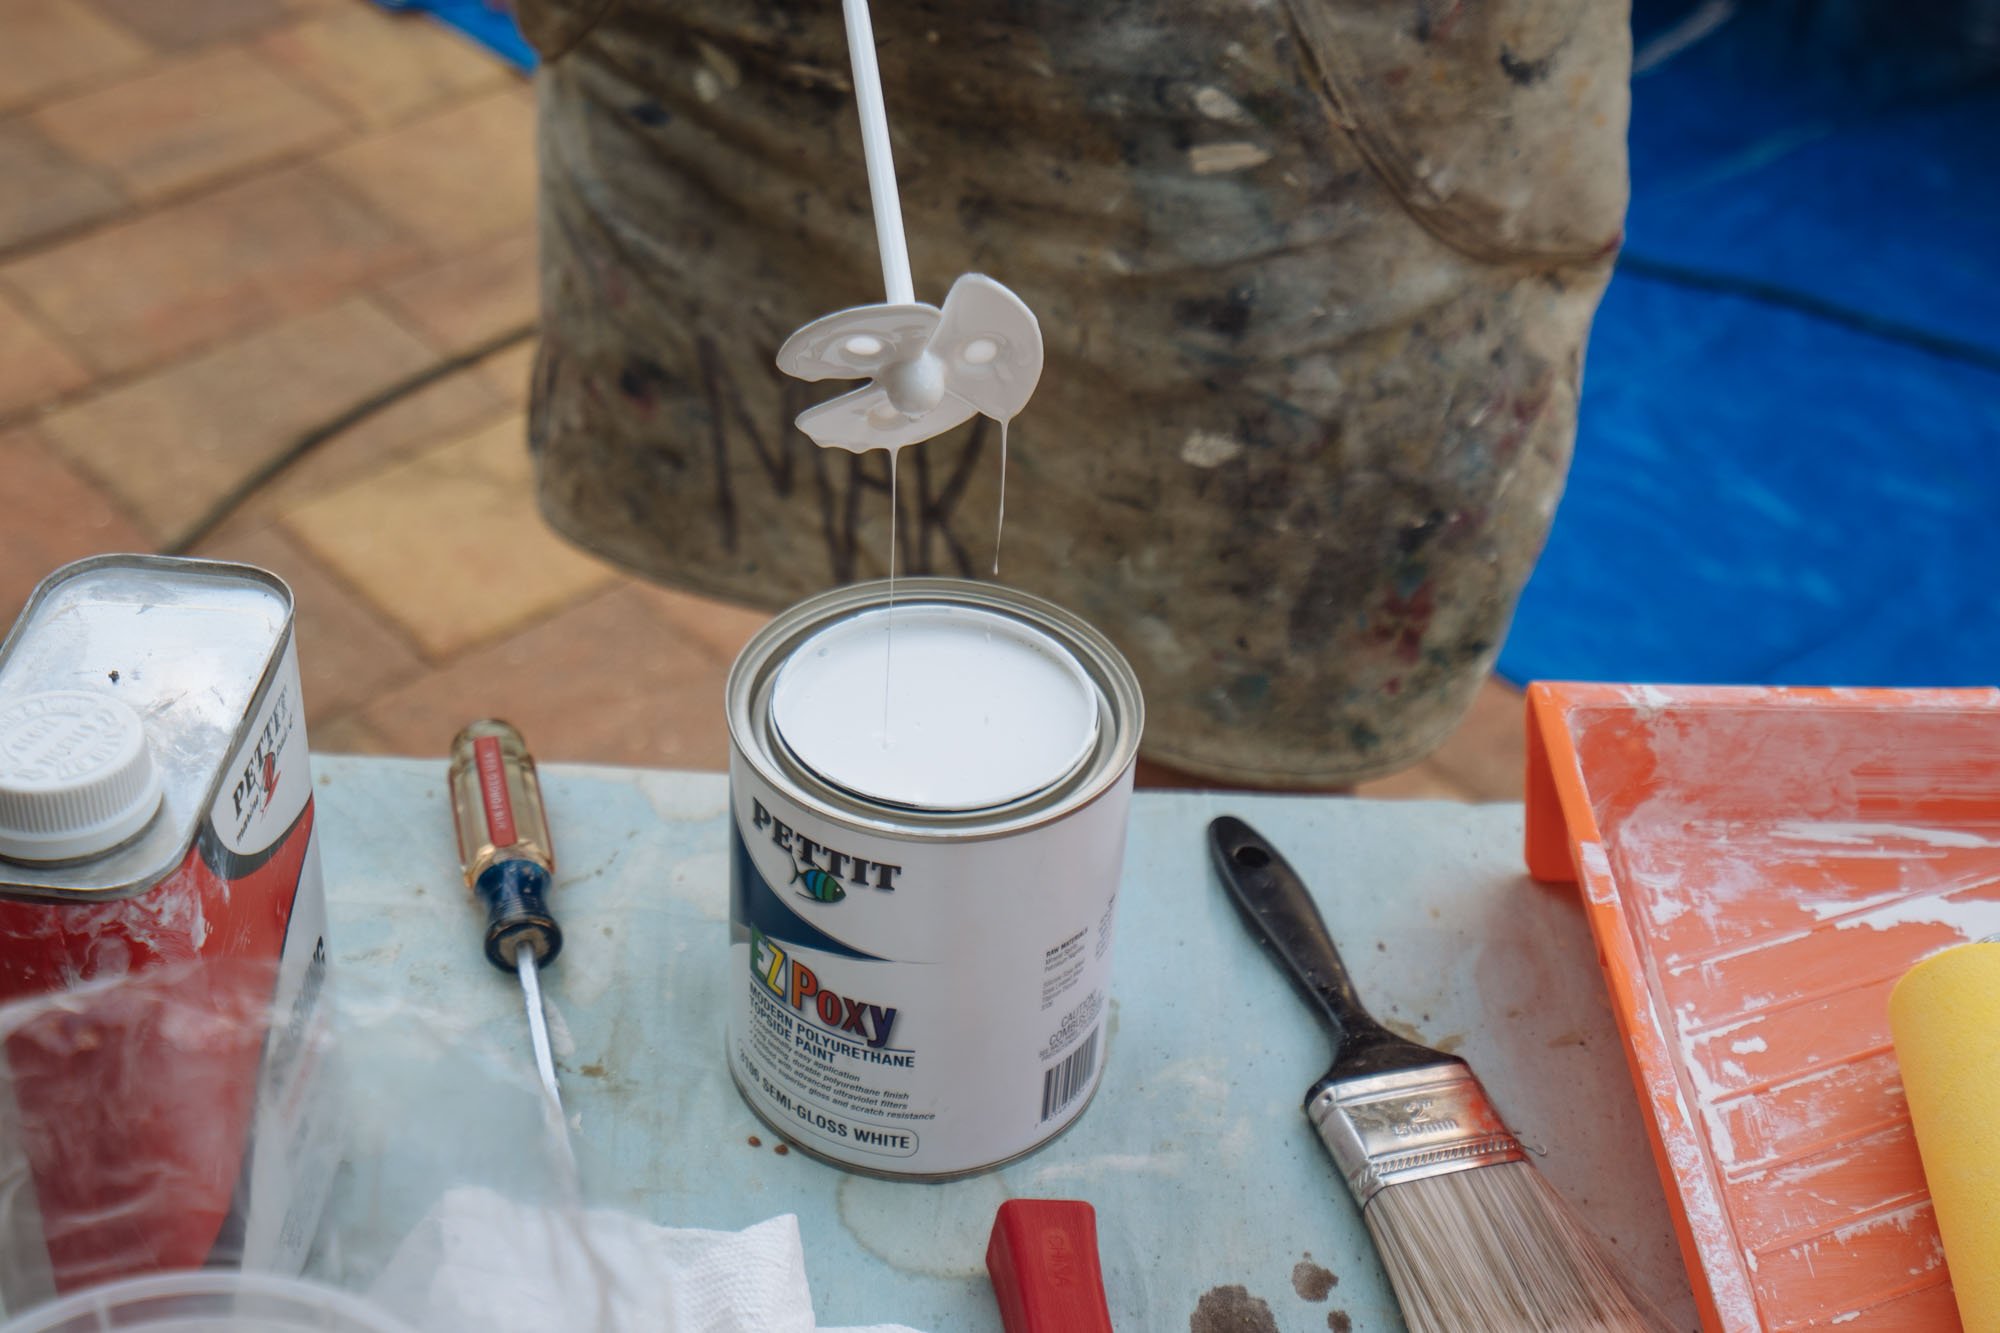
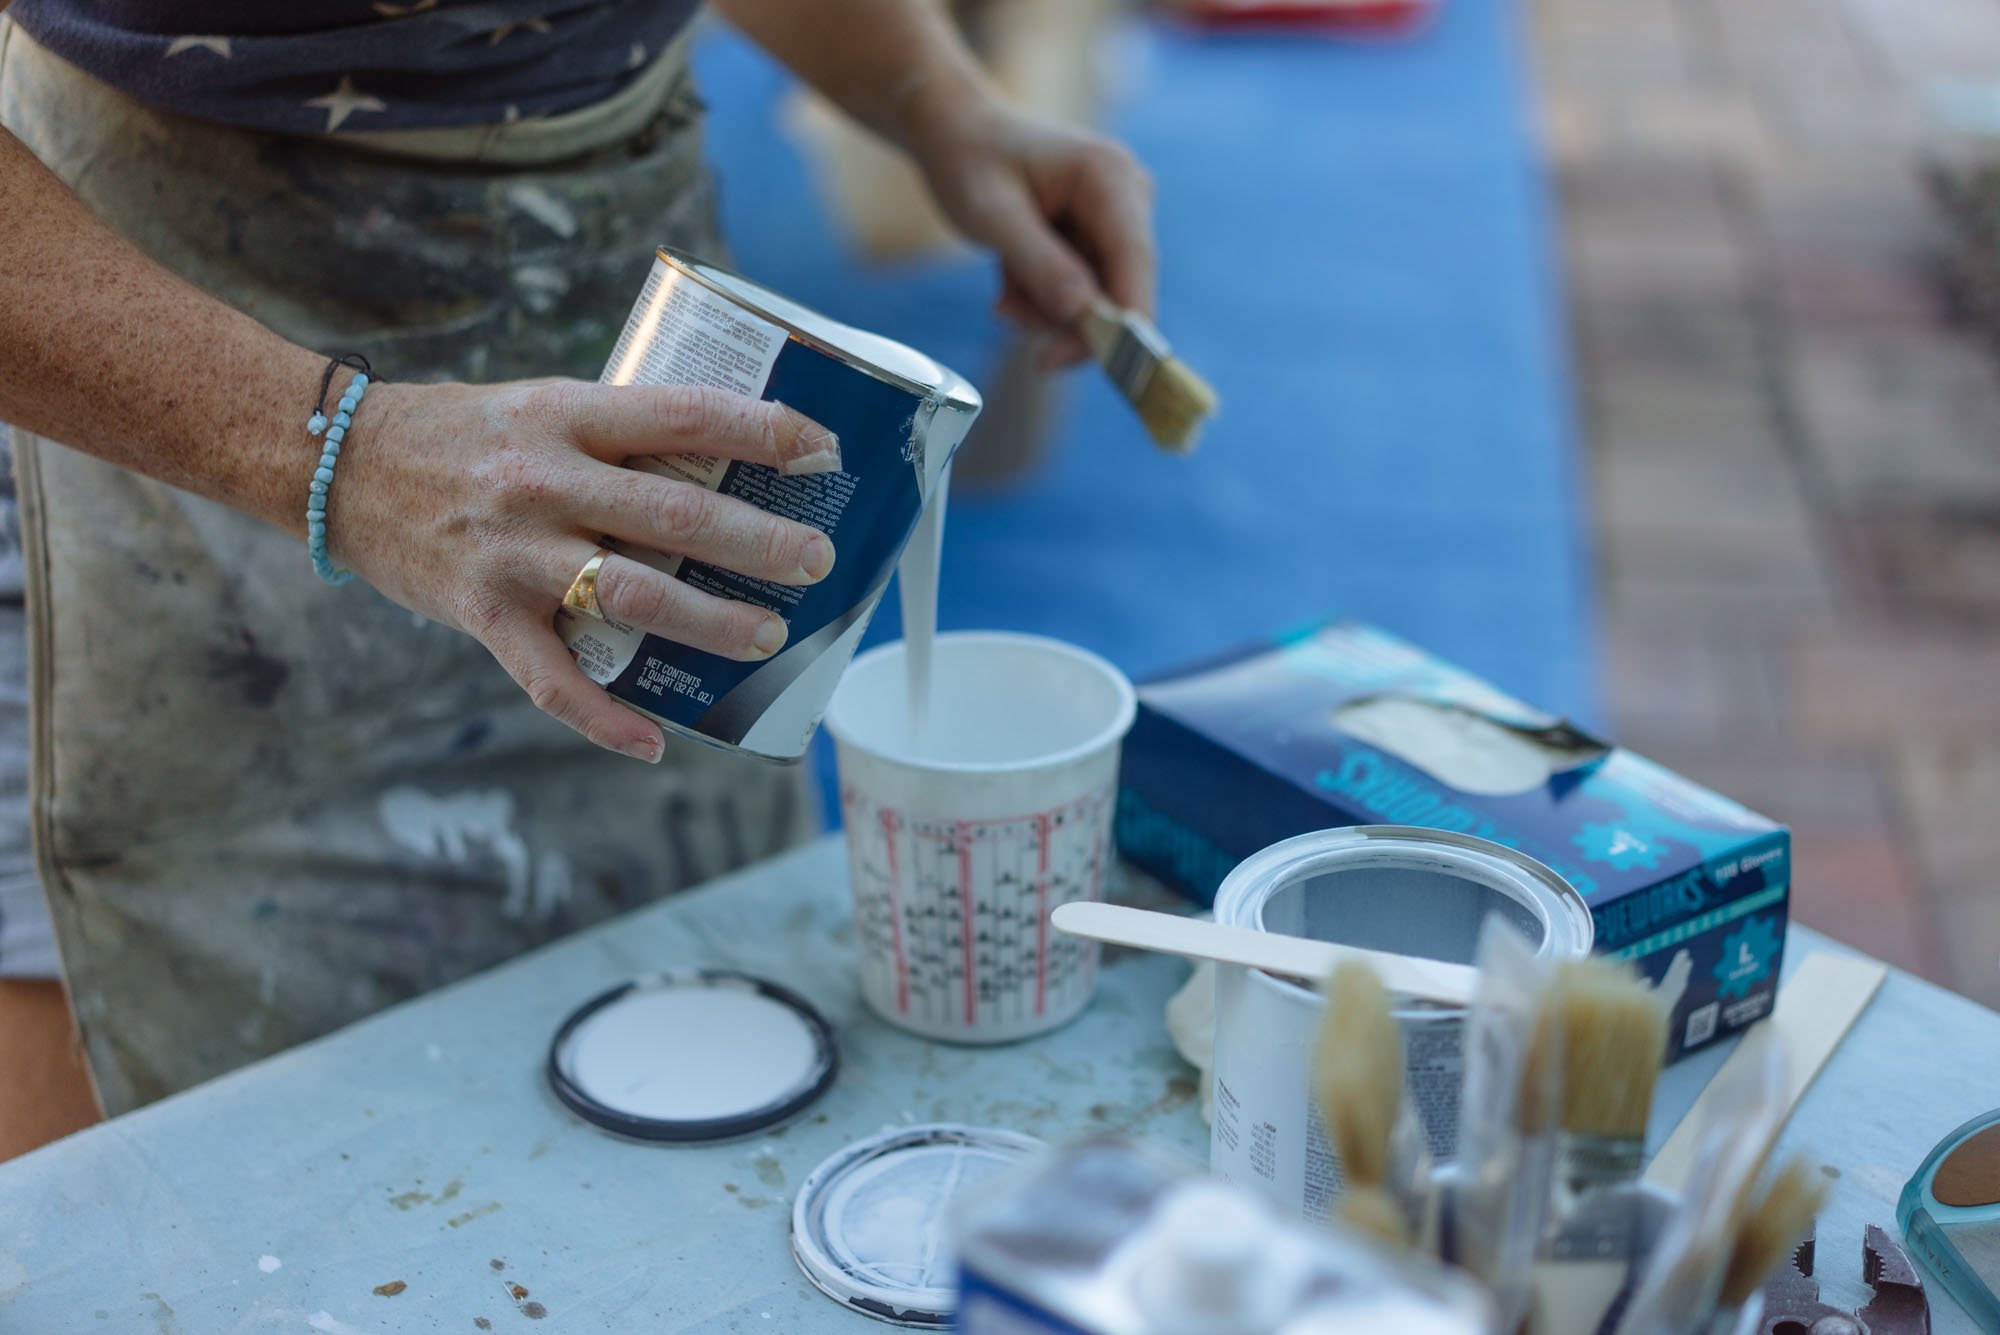
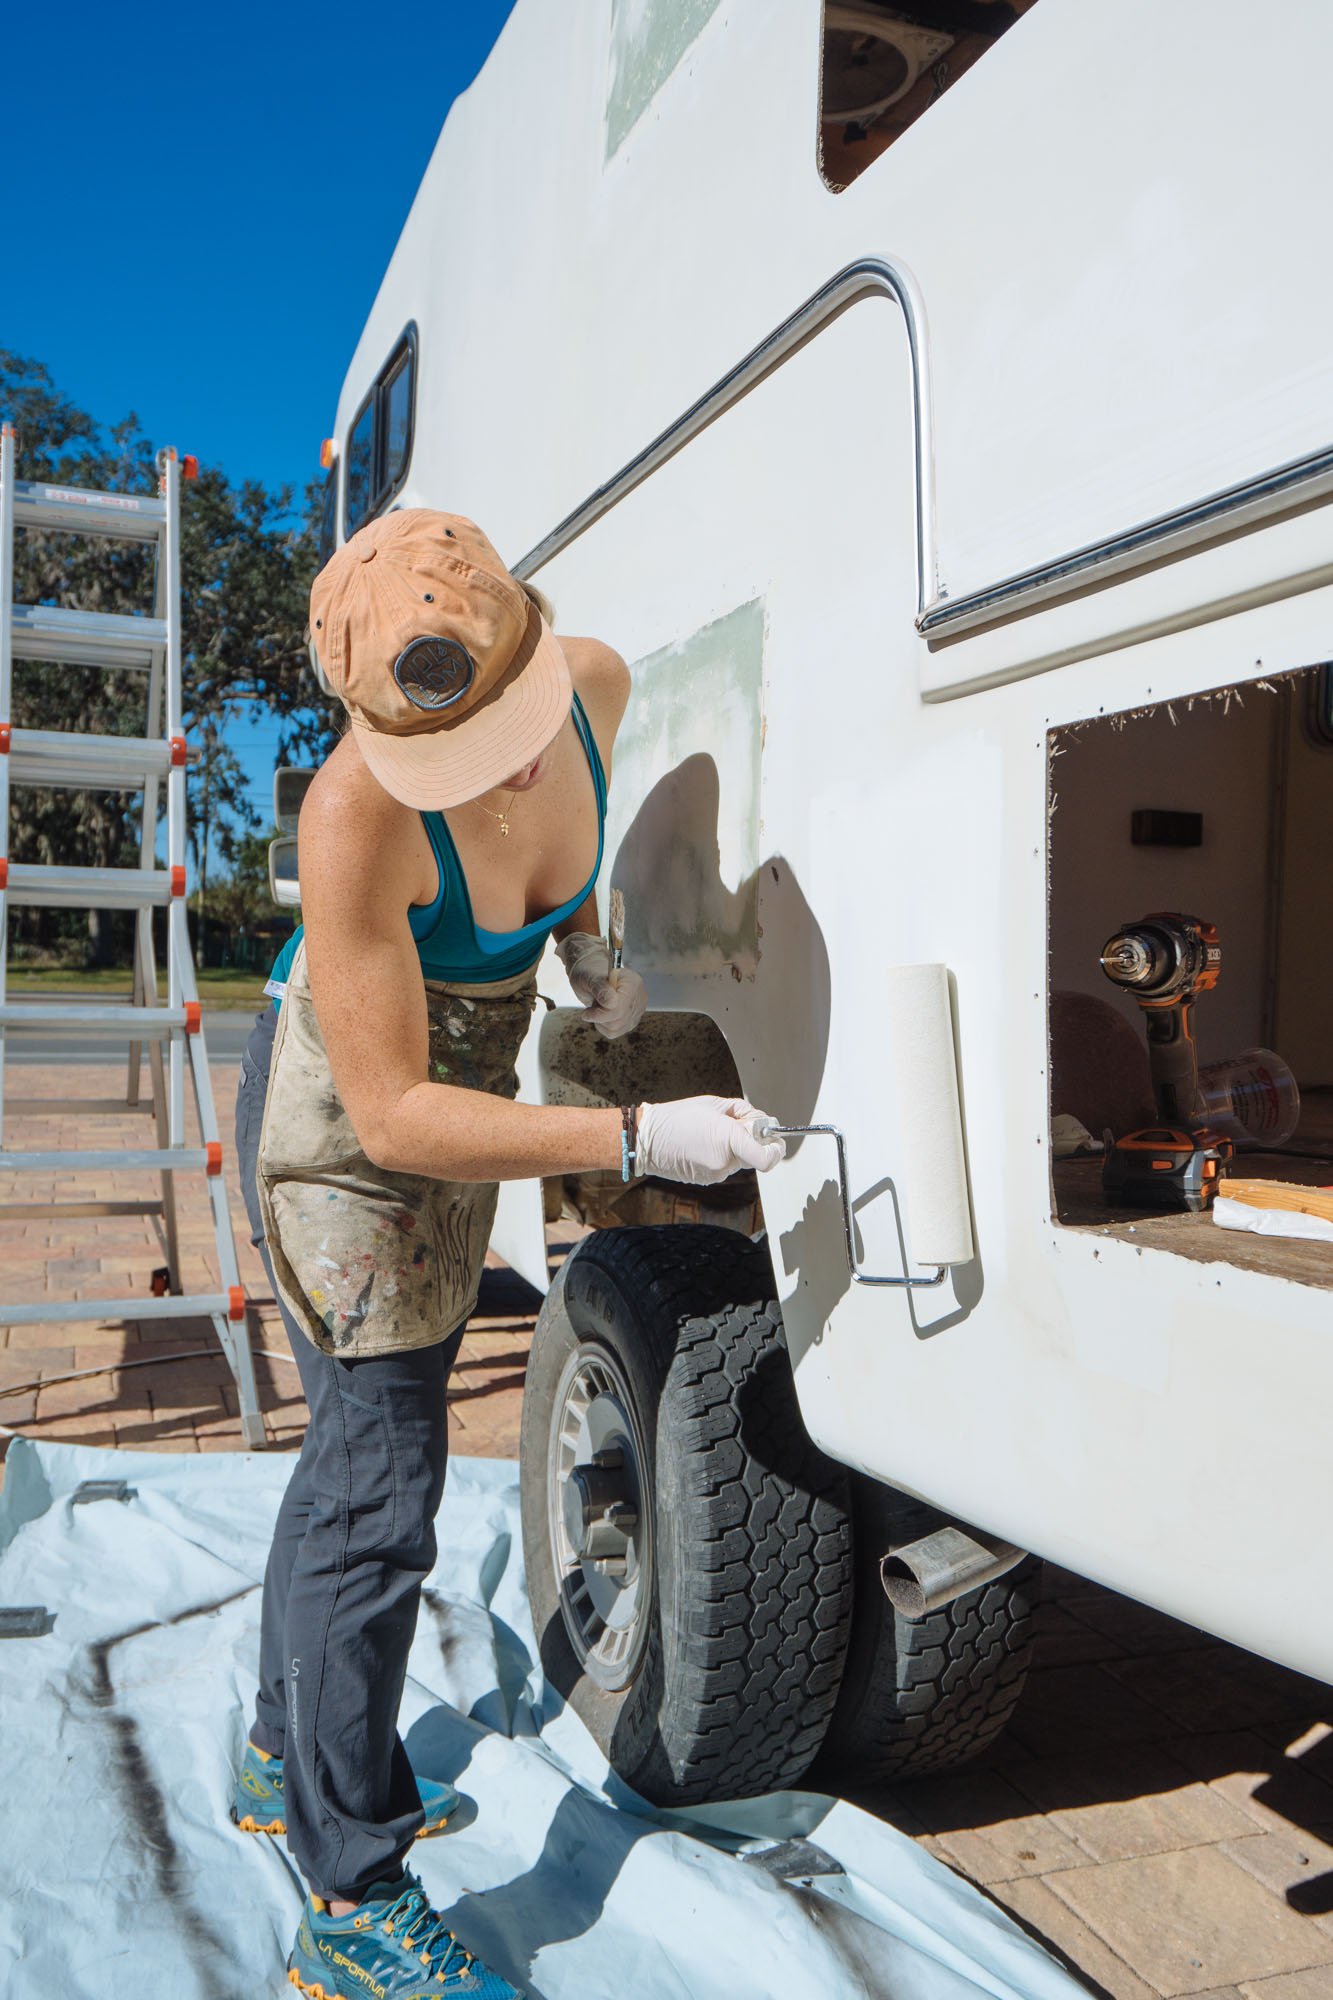
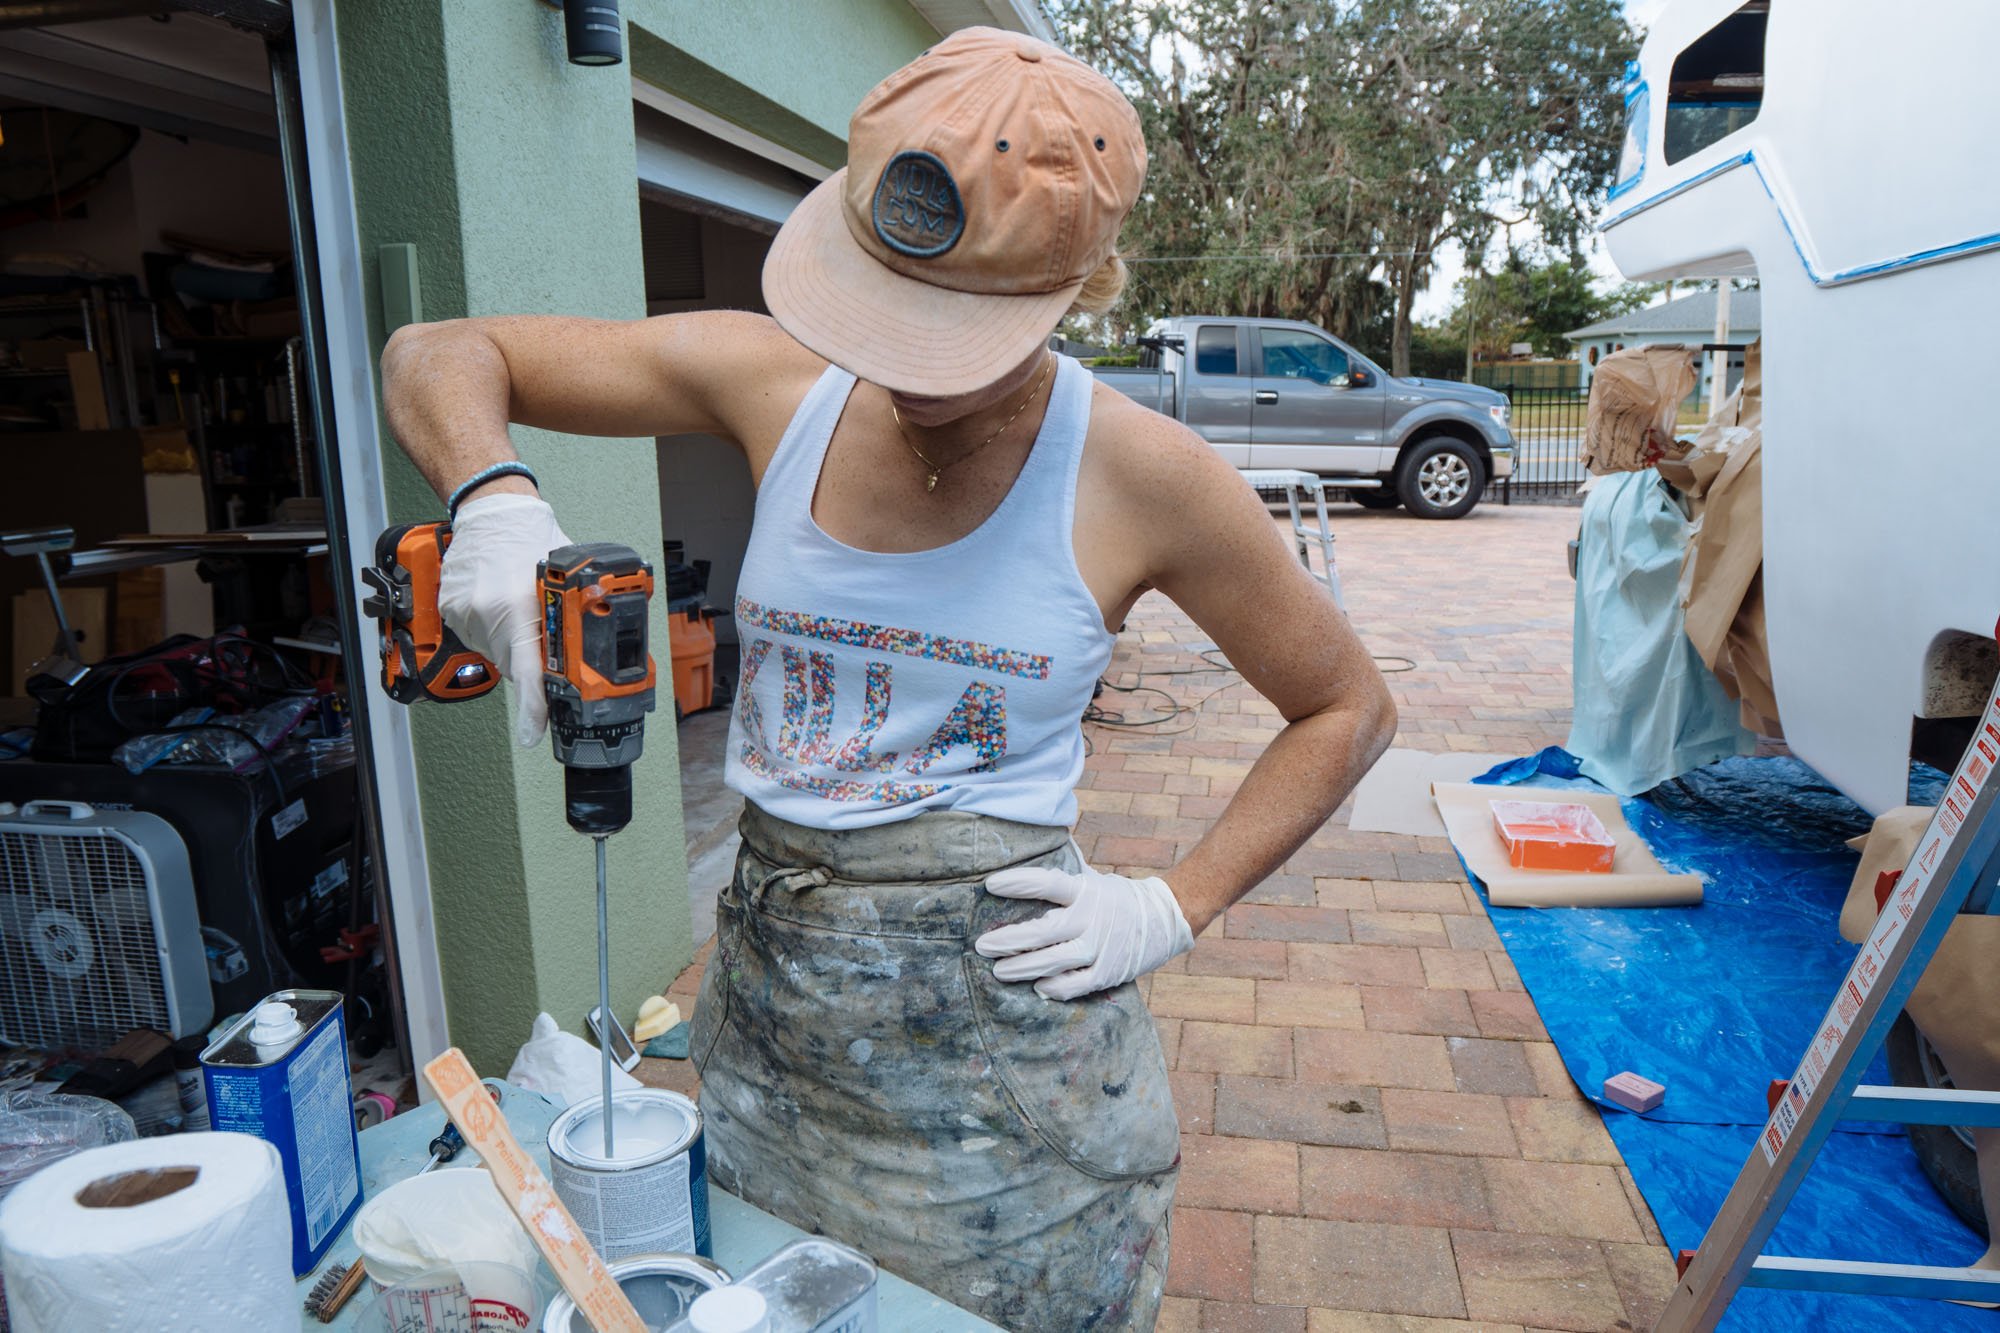
The paint has a "high solid" content so there was a lot of mixing that needed to be done before we could use it. A paint mixing drill bit is the coolest thing, it's fast and very thorough!


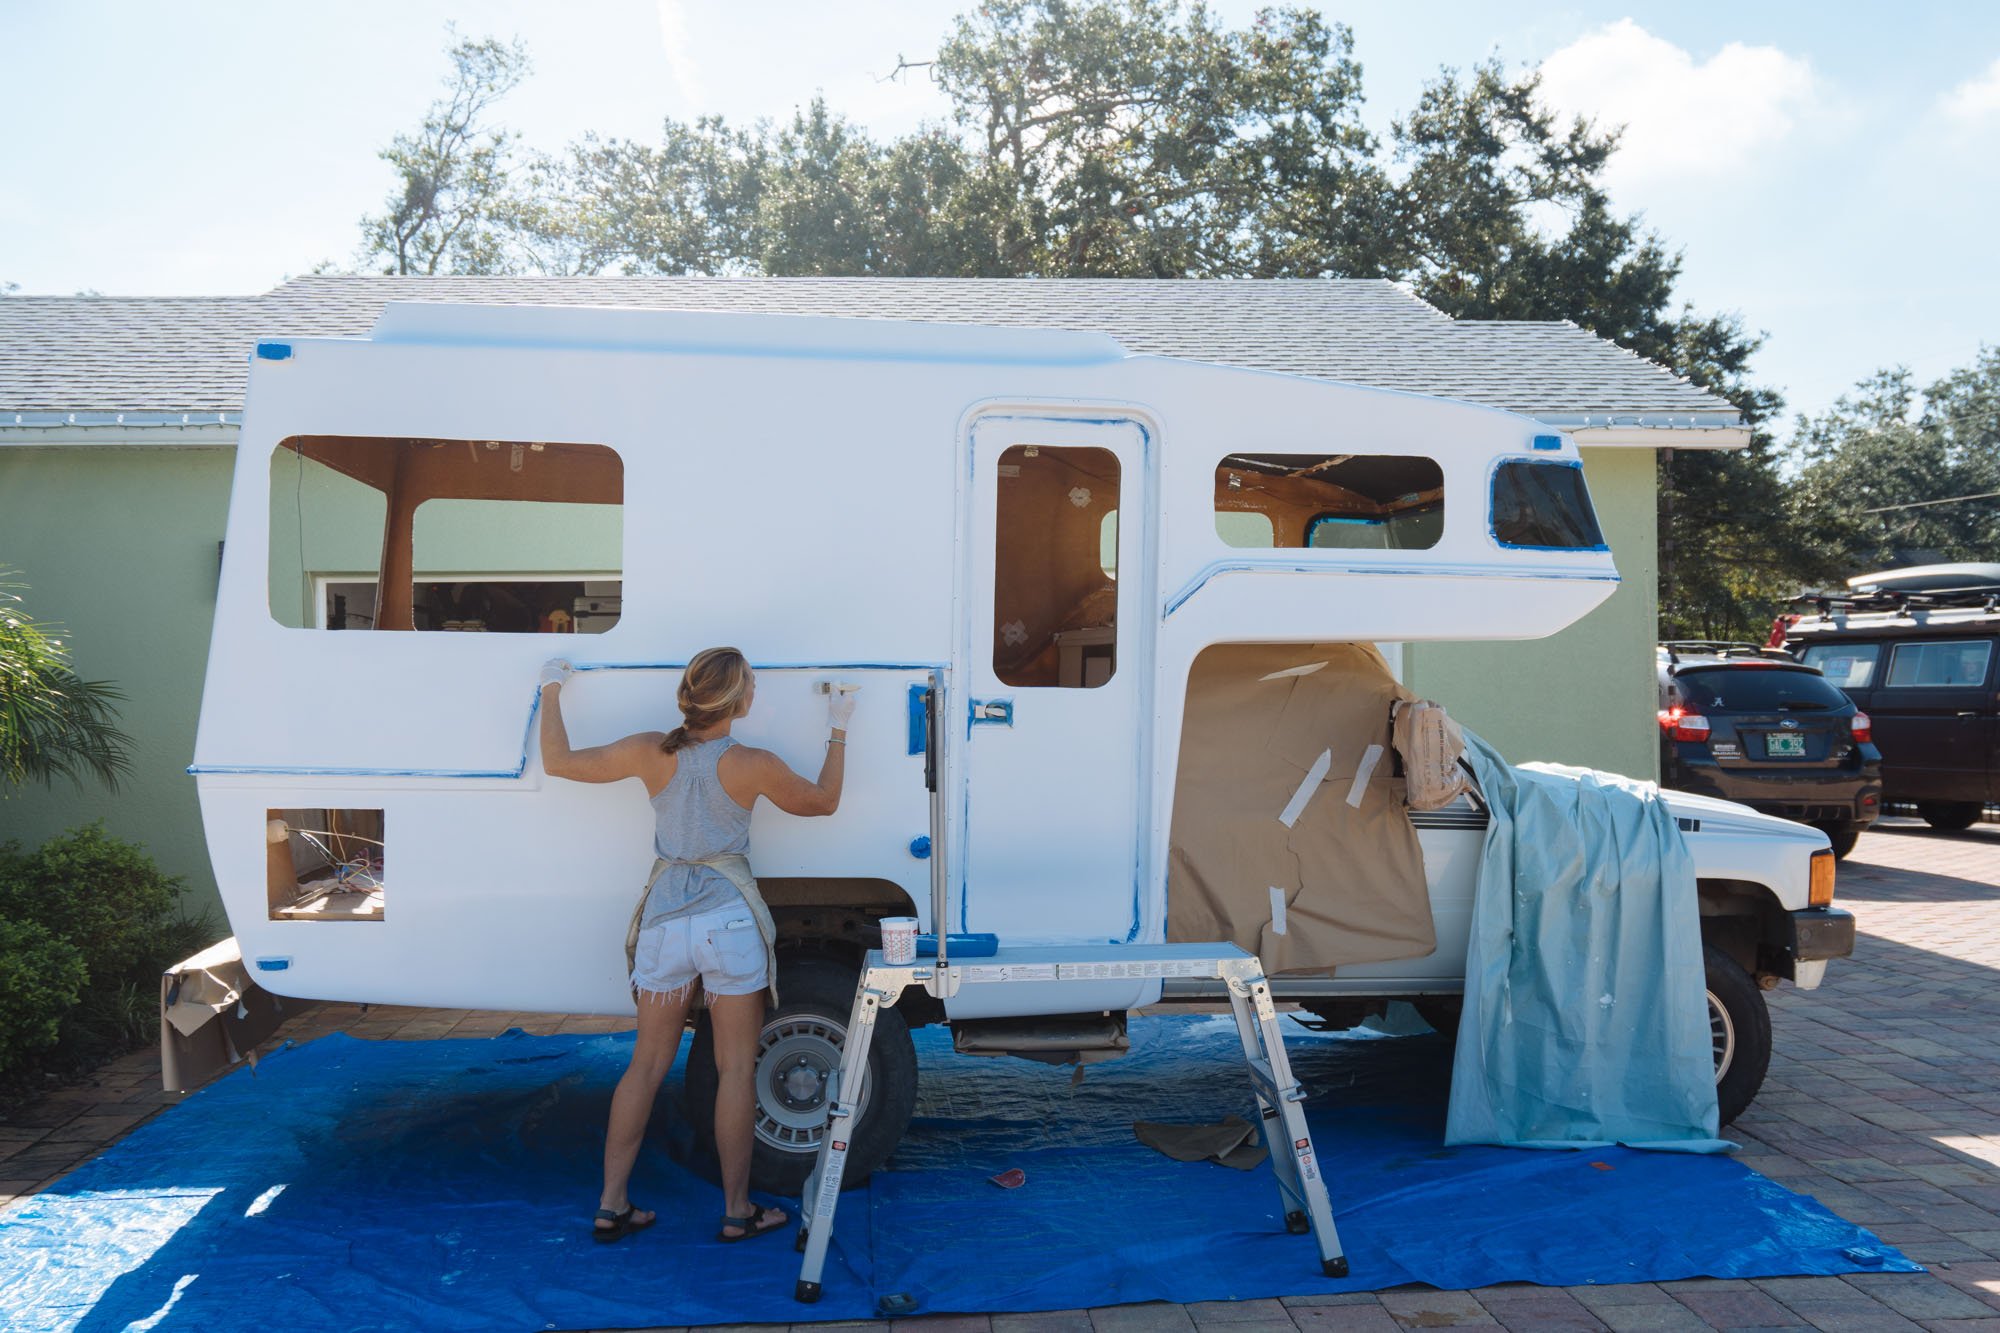
We decided to thin our paint down for the entire painting process because of how warm it is here. In the sun, this stuff was setting up in less than 5 minutes which made it hard to come back over and smooth with a paint brush. The paint thinner gave us more workable time and ended up giving us a smoother finished product. This paint does a good bit of self leveling, but coming back over the rolled spots with a paint brush broke up the foam roller texture allowing it to even out smoothly.
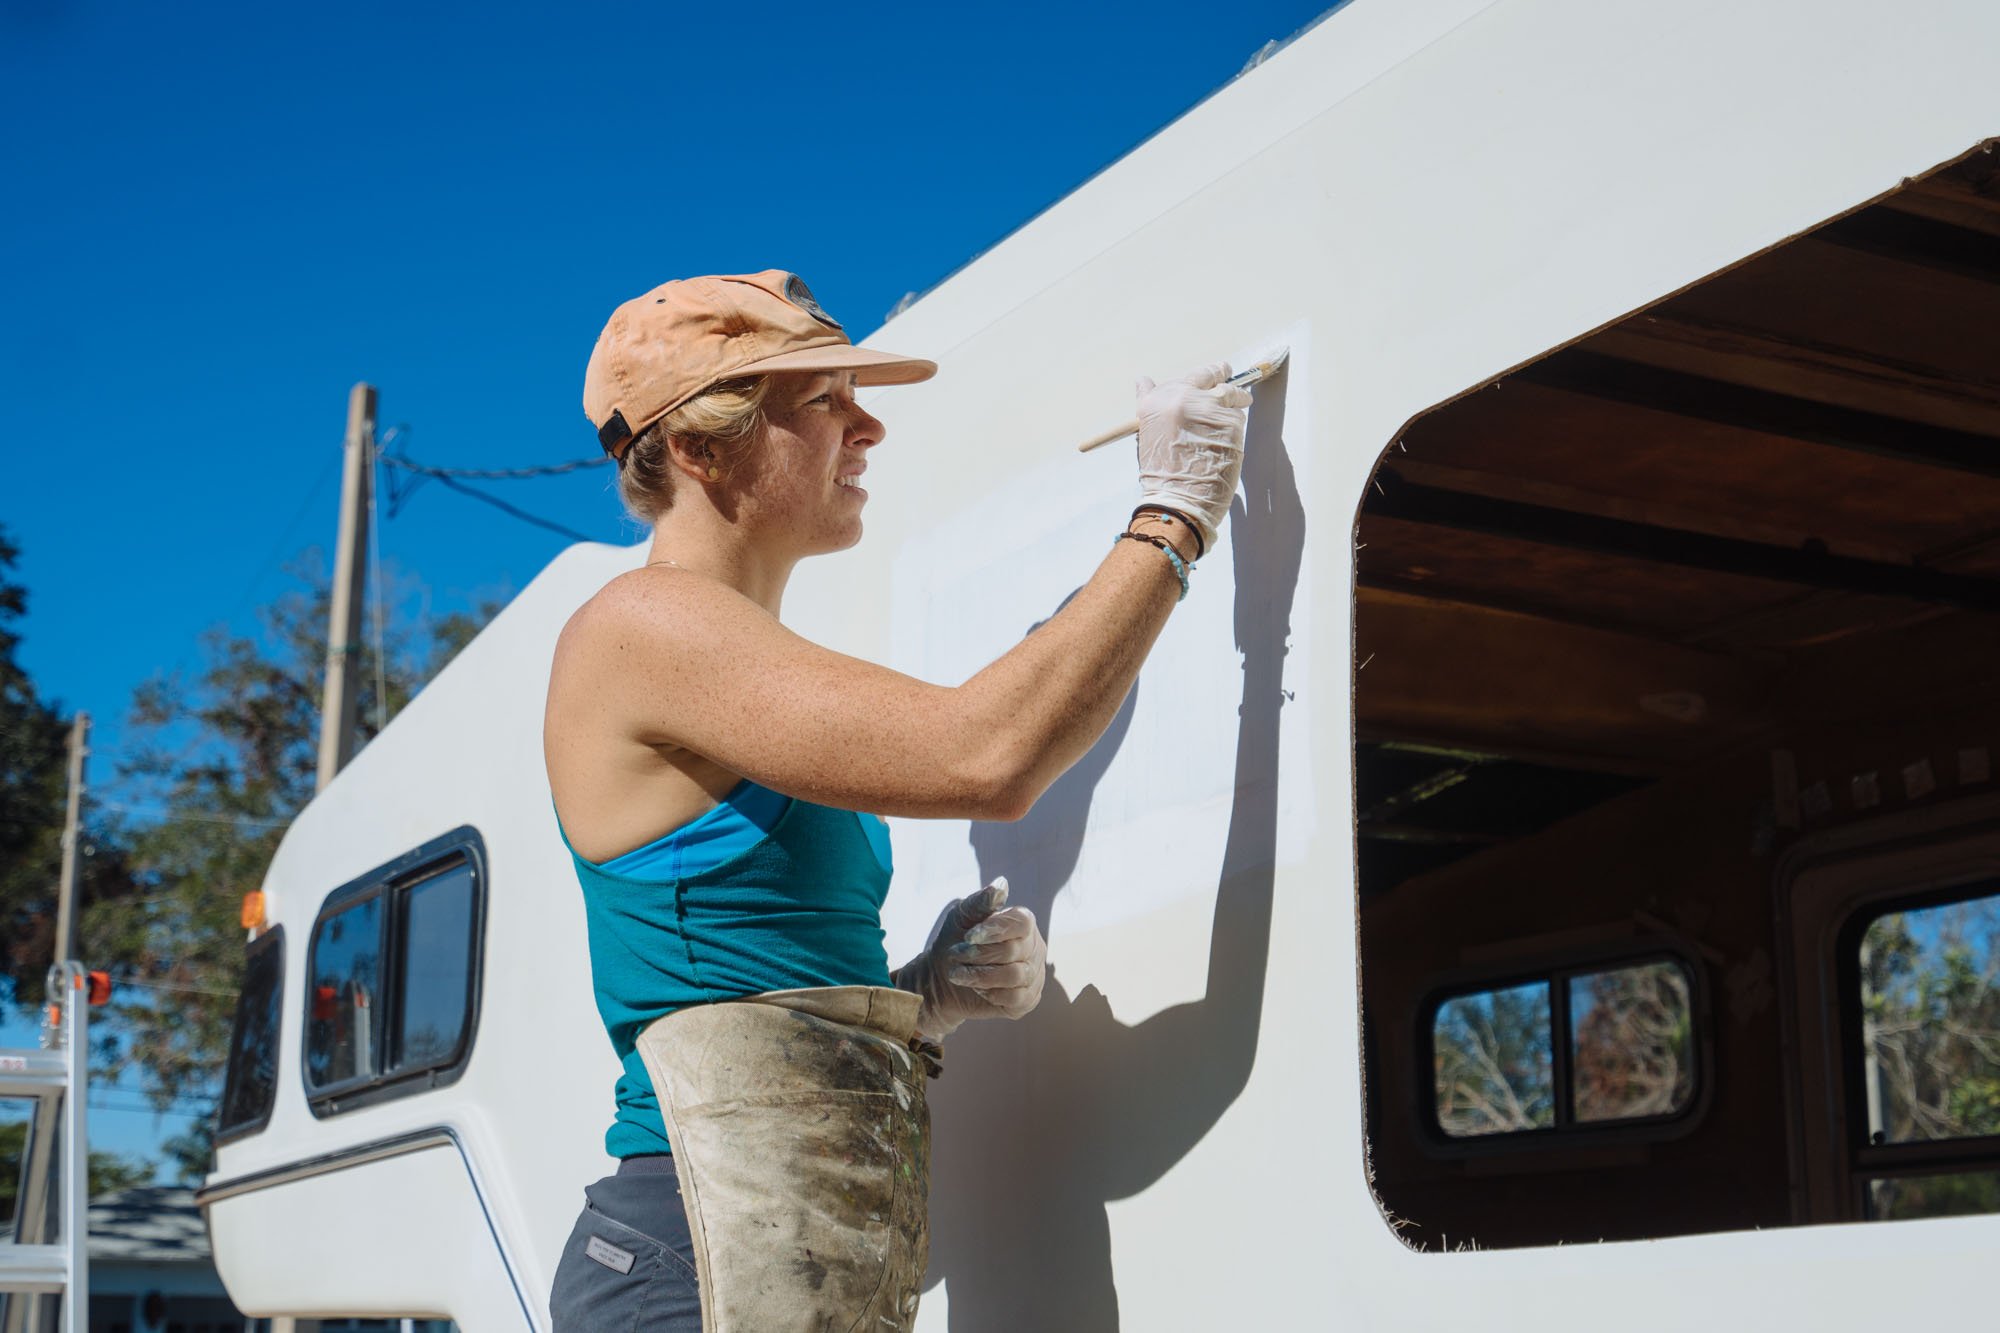
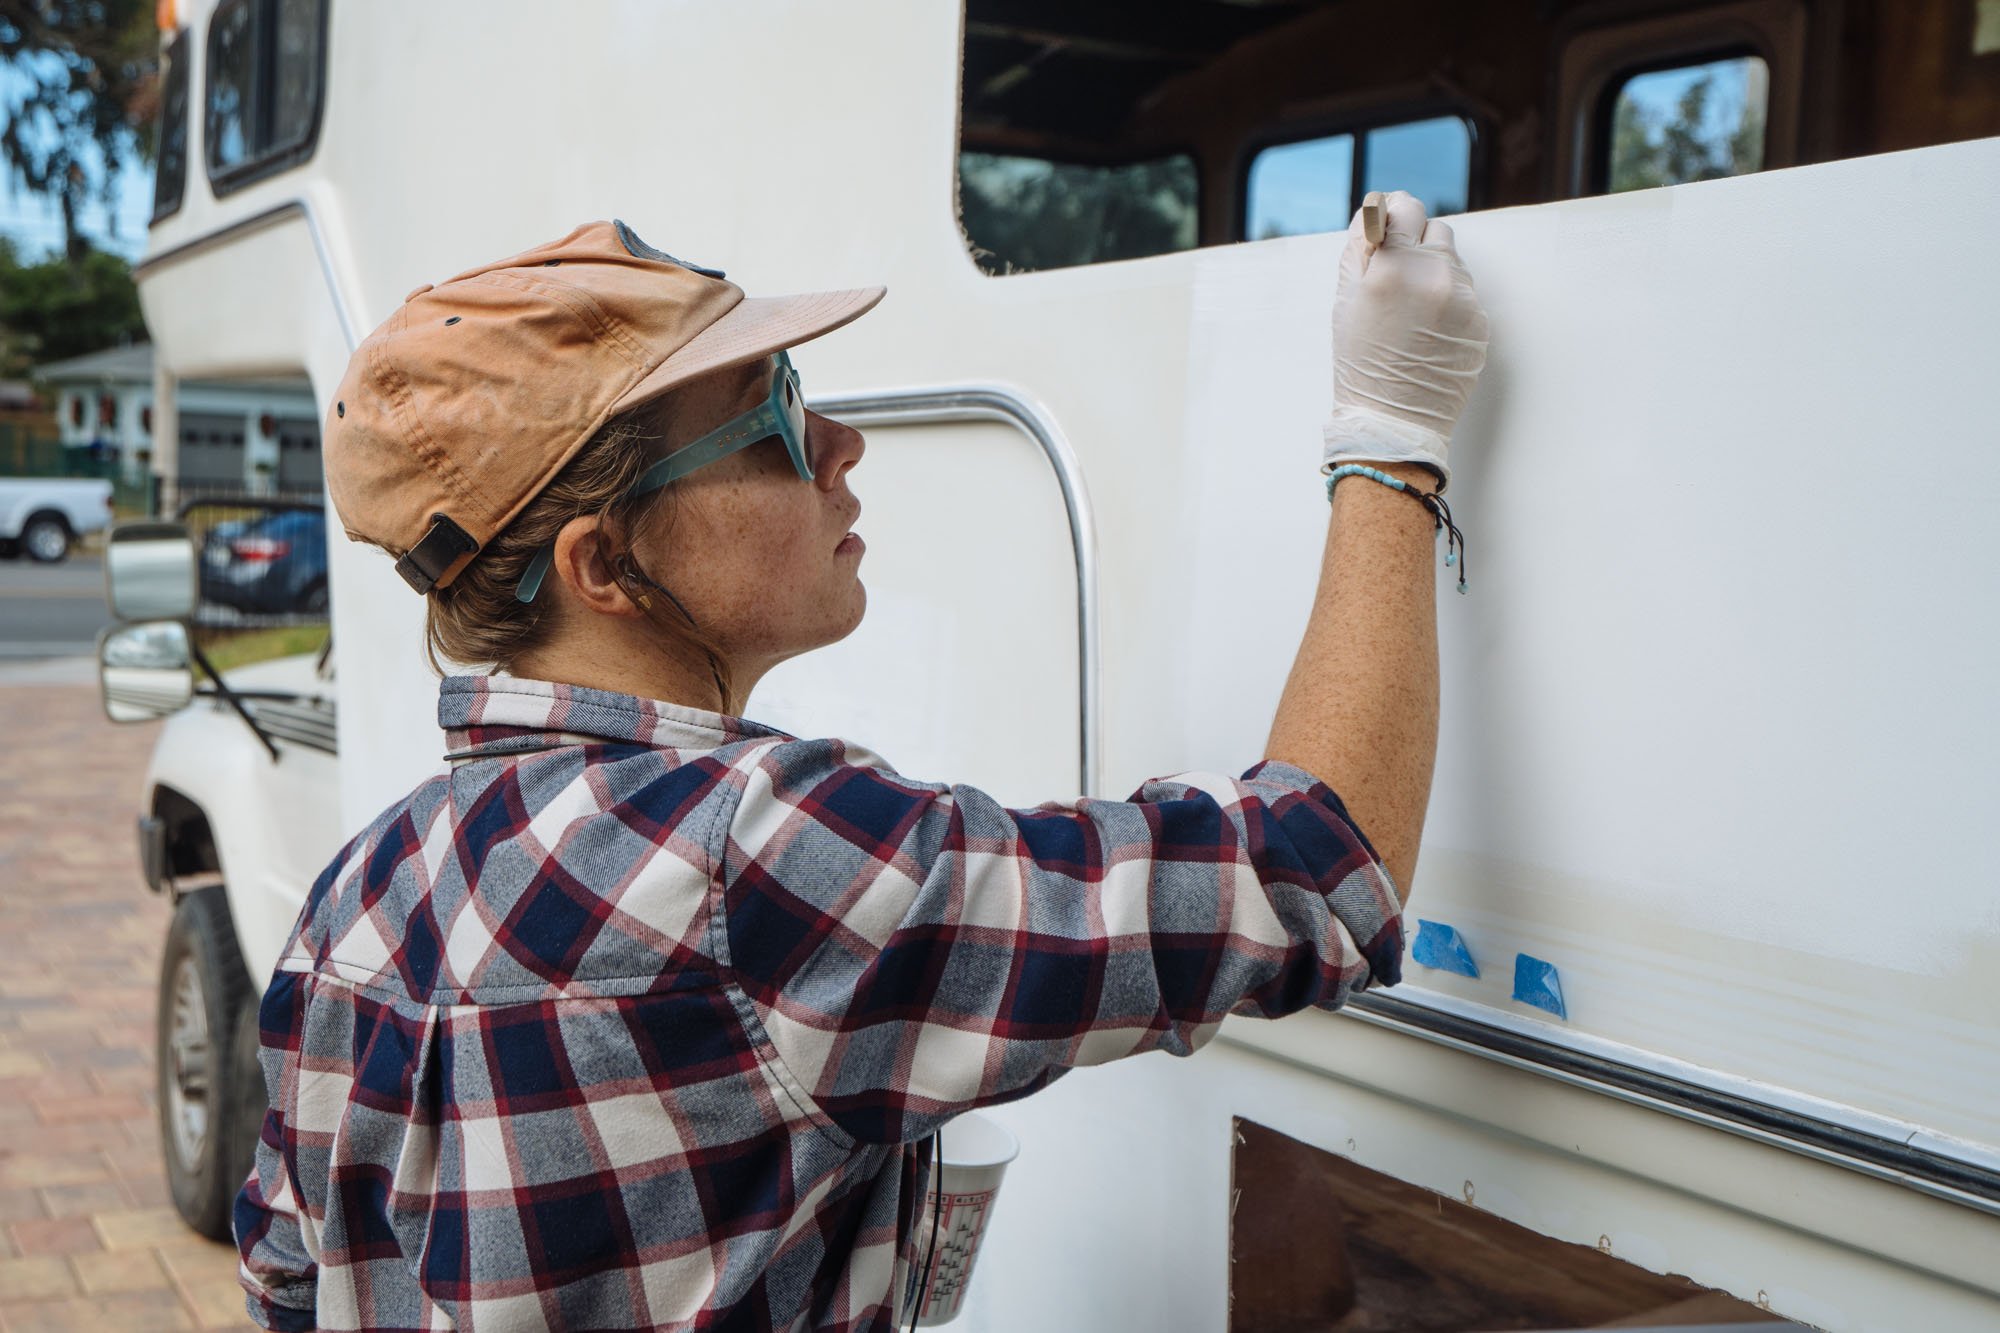
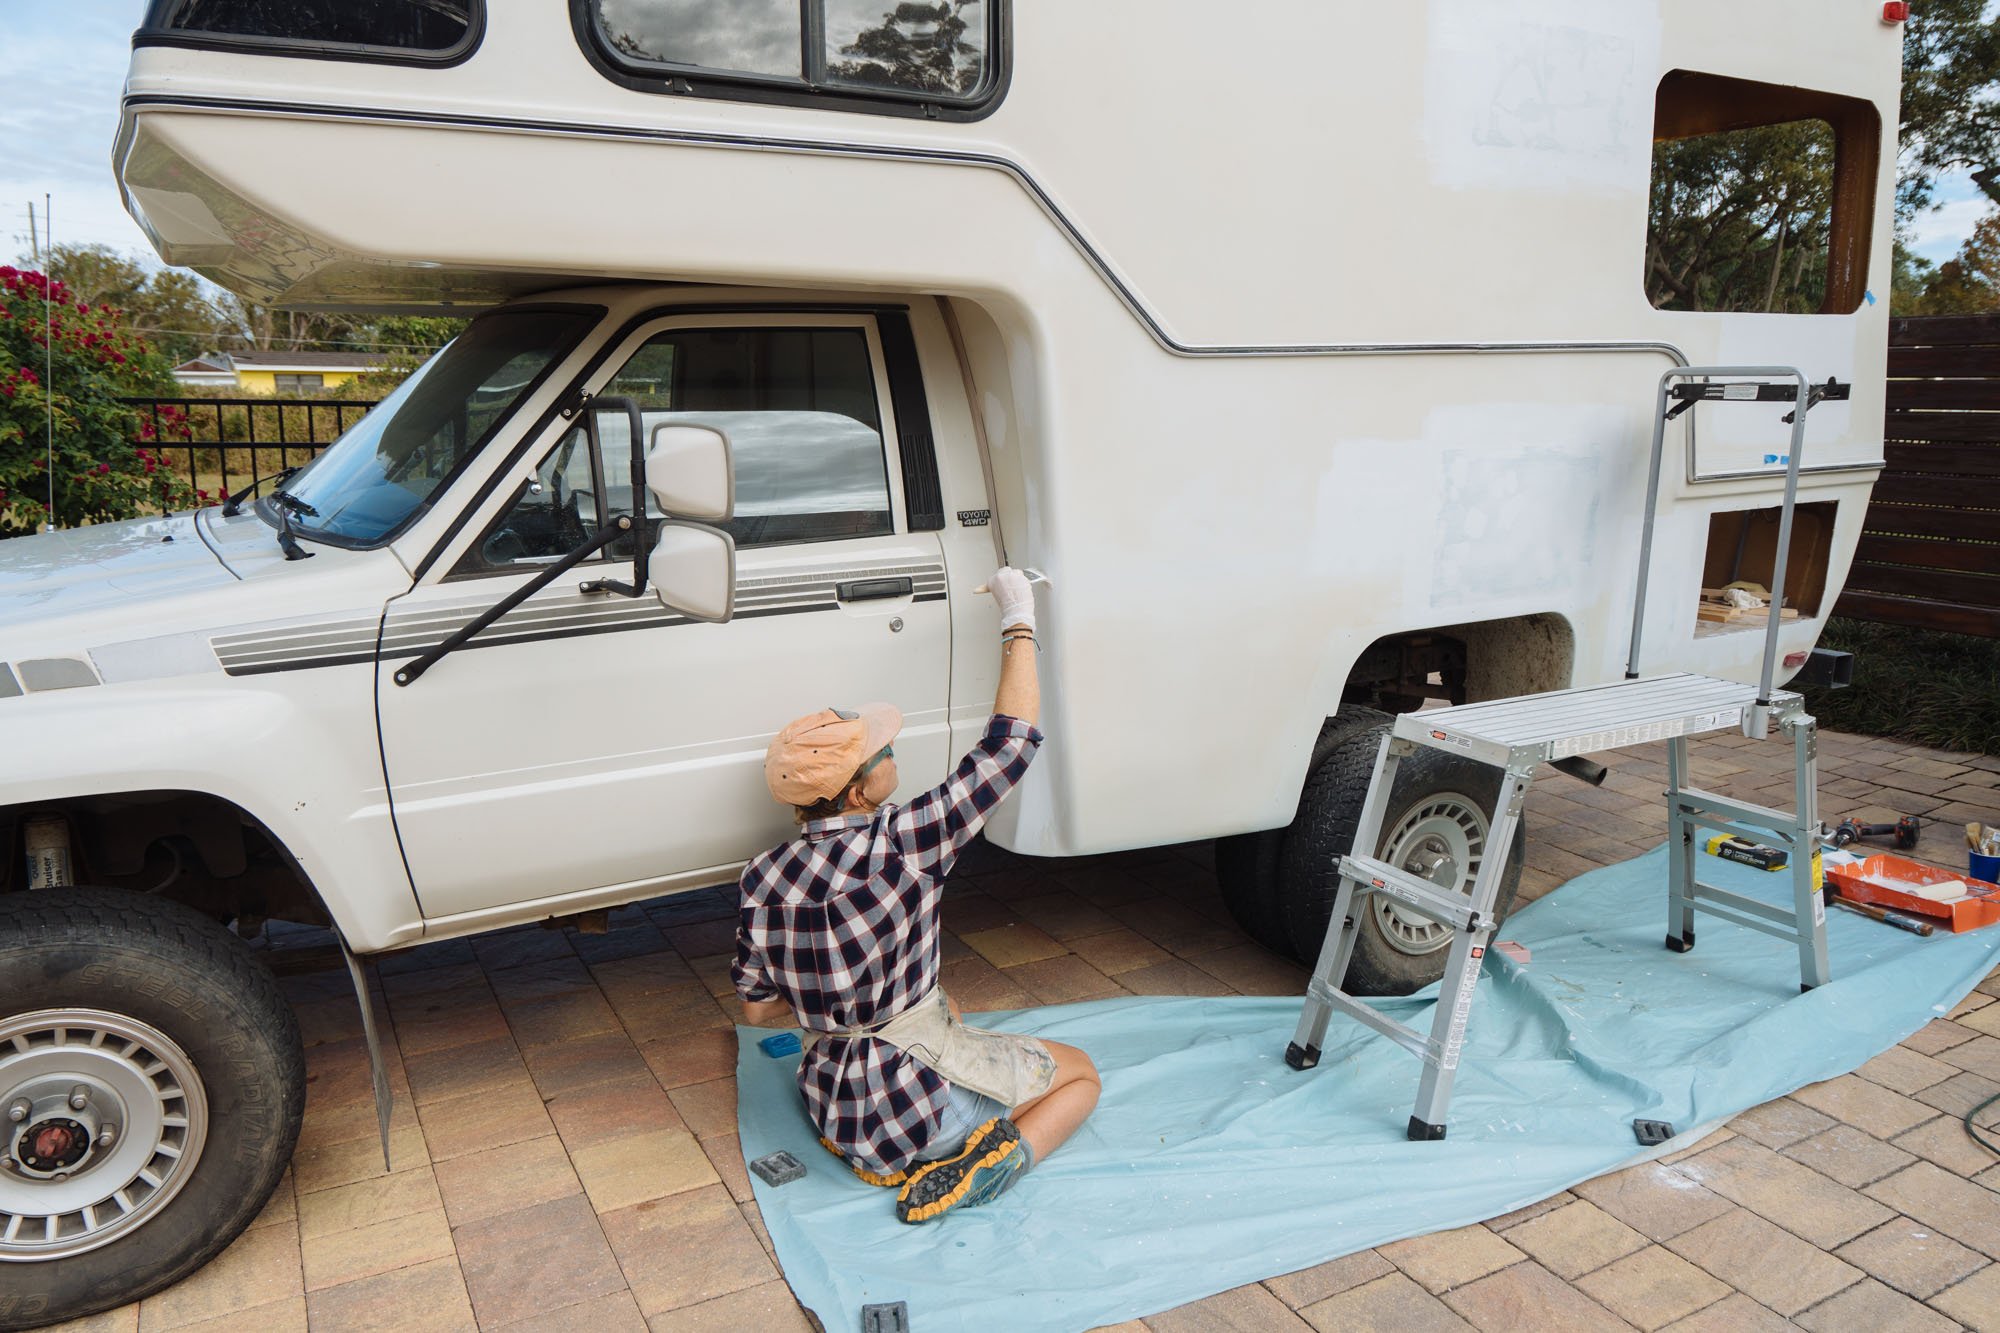
This is me taking deep breaths before applying the first strokes of paint to Amelia. I was freaking out a little.

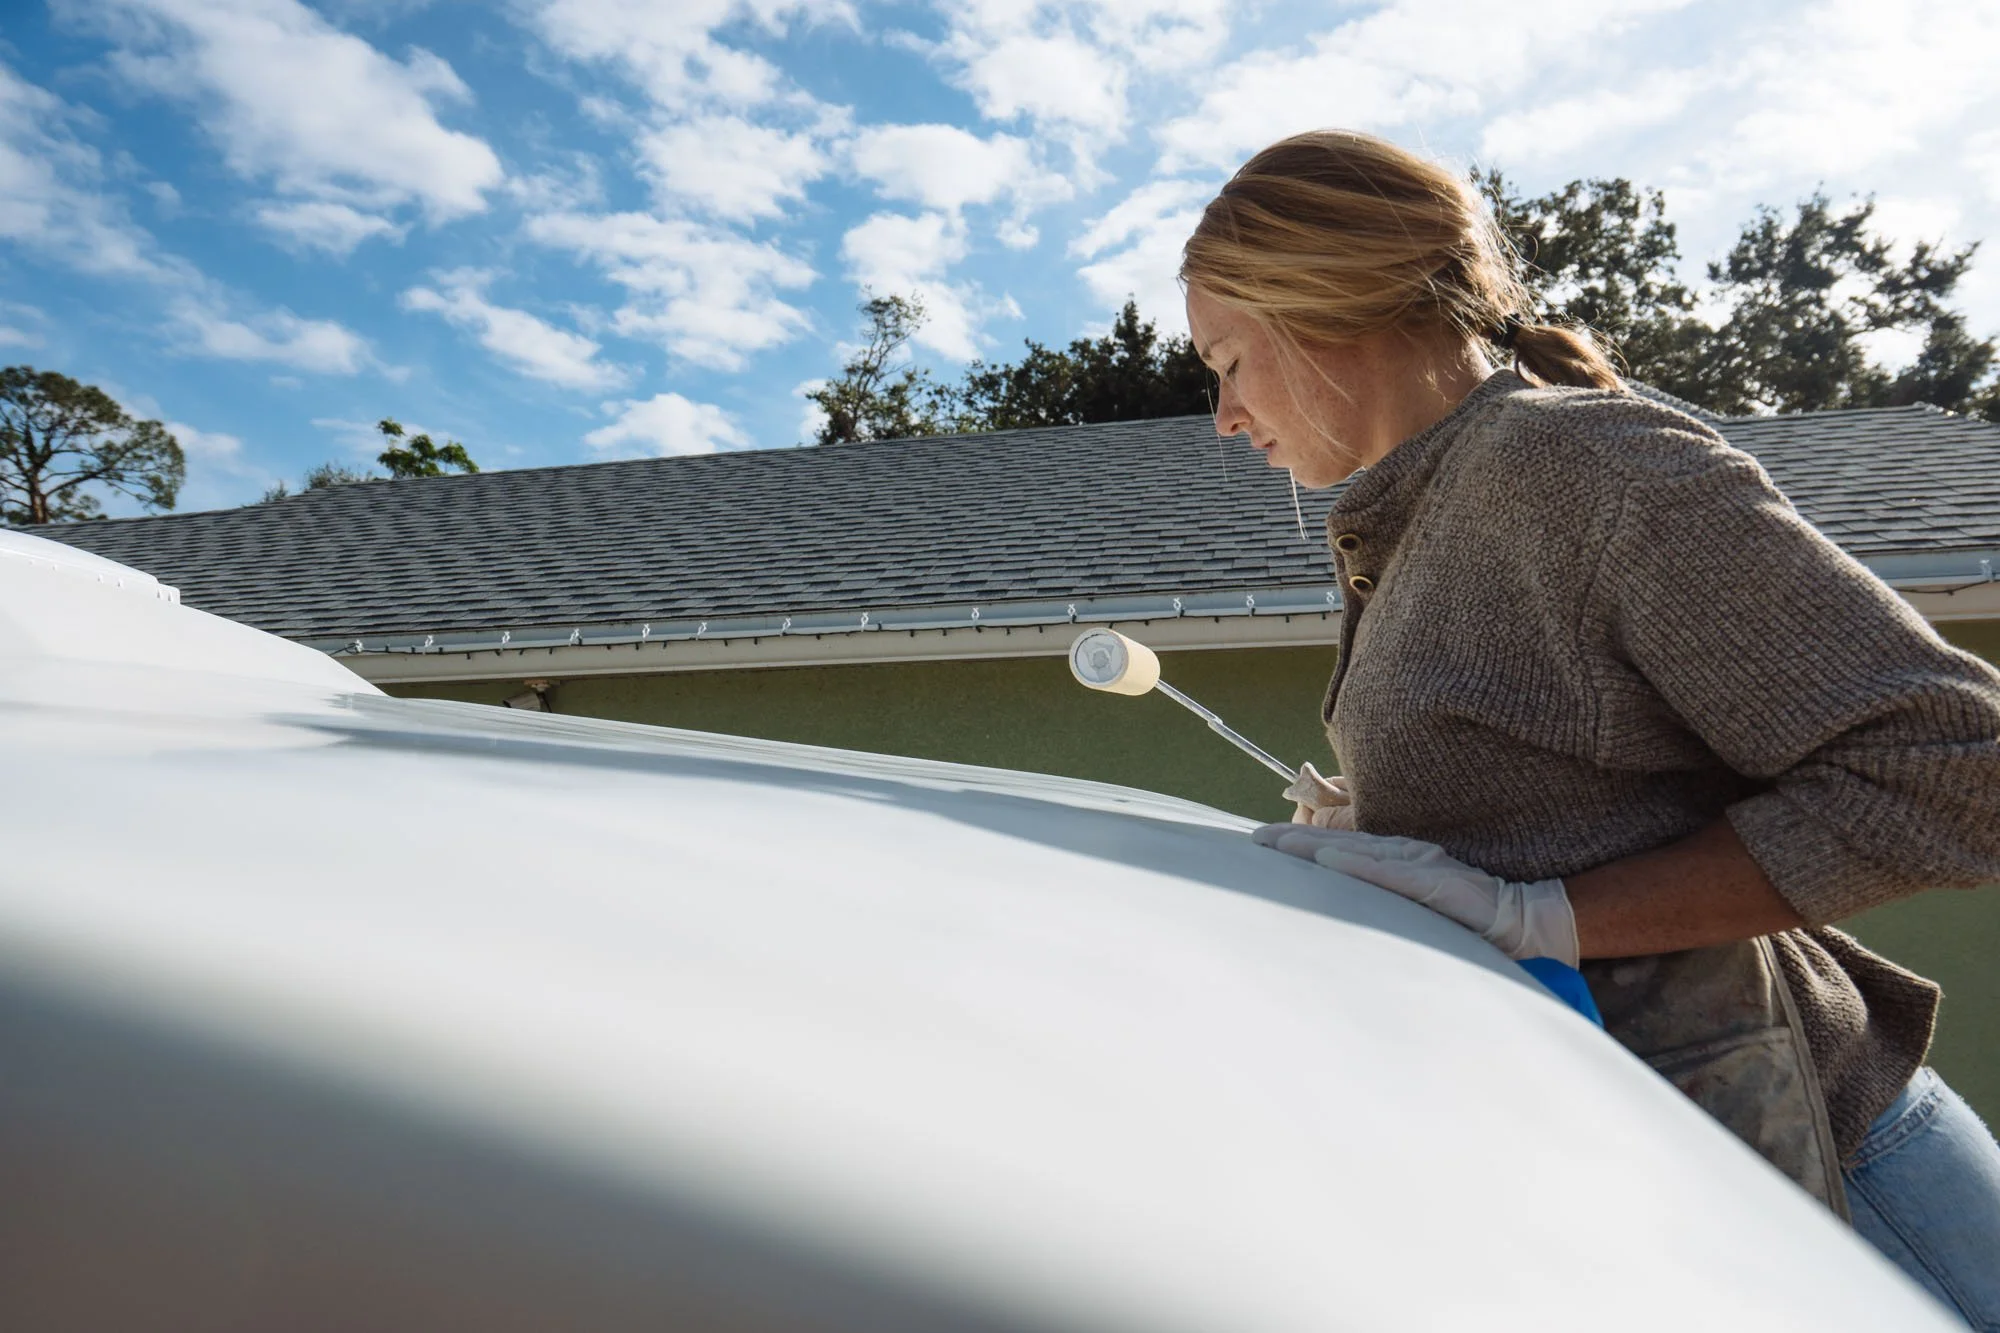
After applying paint with the roller we came back through immediately with the paint brush to tip the paint!
We didn't take a ton of pictures of the actual painting. It was a race against time and the heat. With all hands on deck we didn't slow down until we got to the end of the first coat of paint.
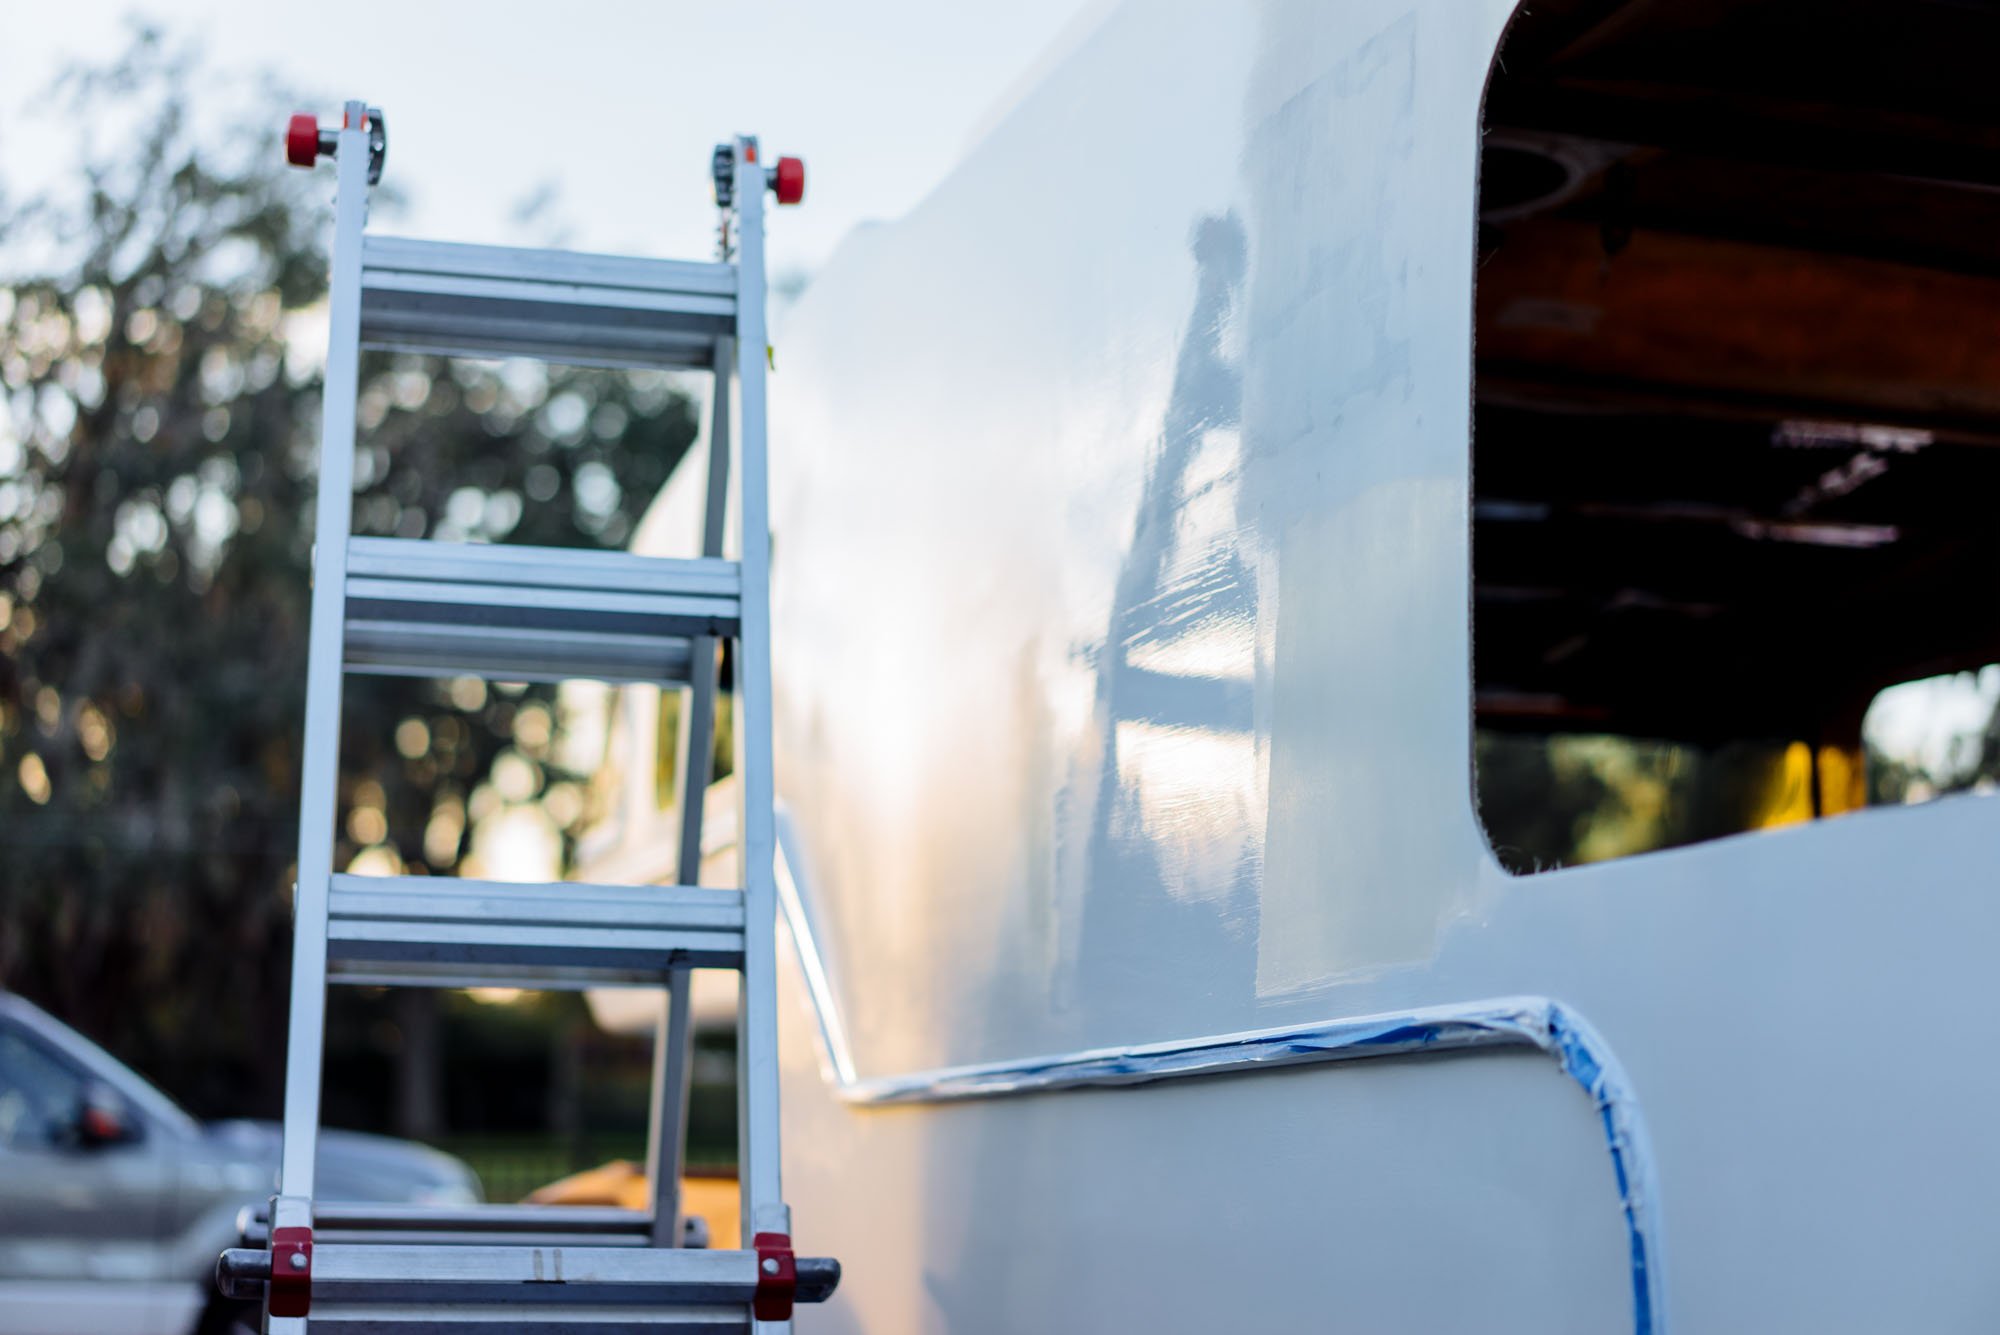
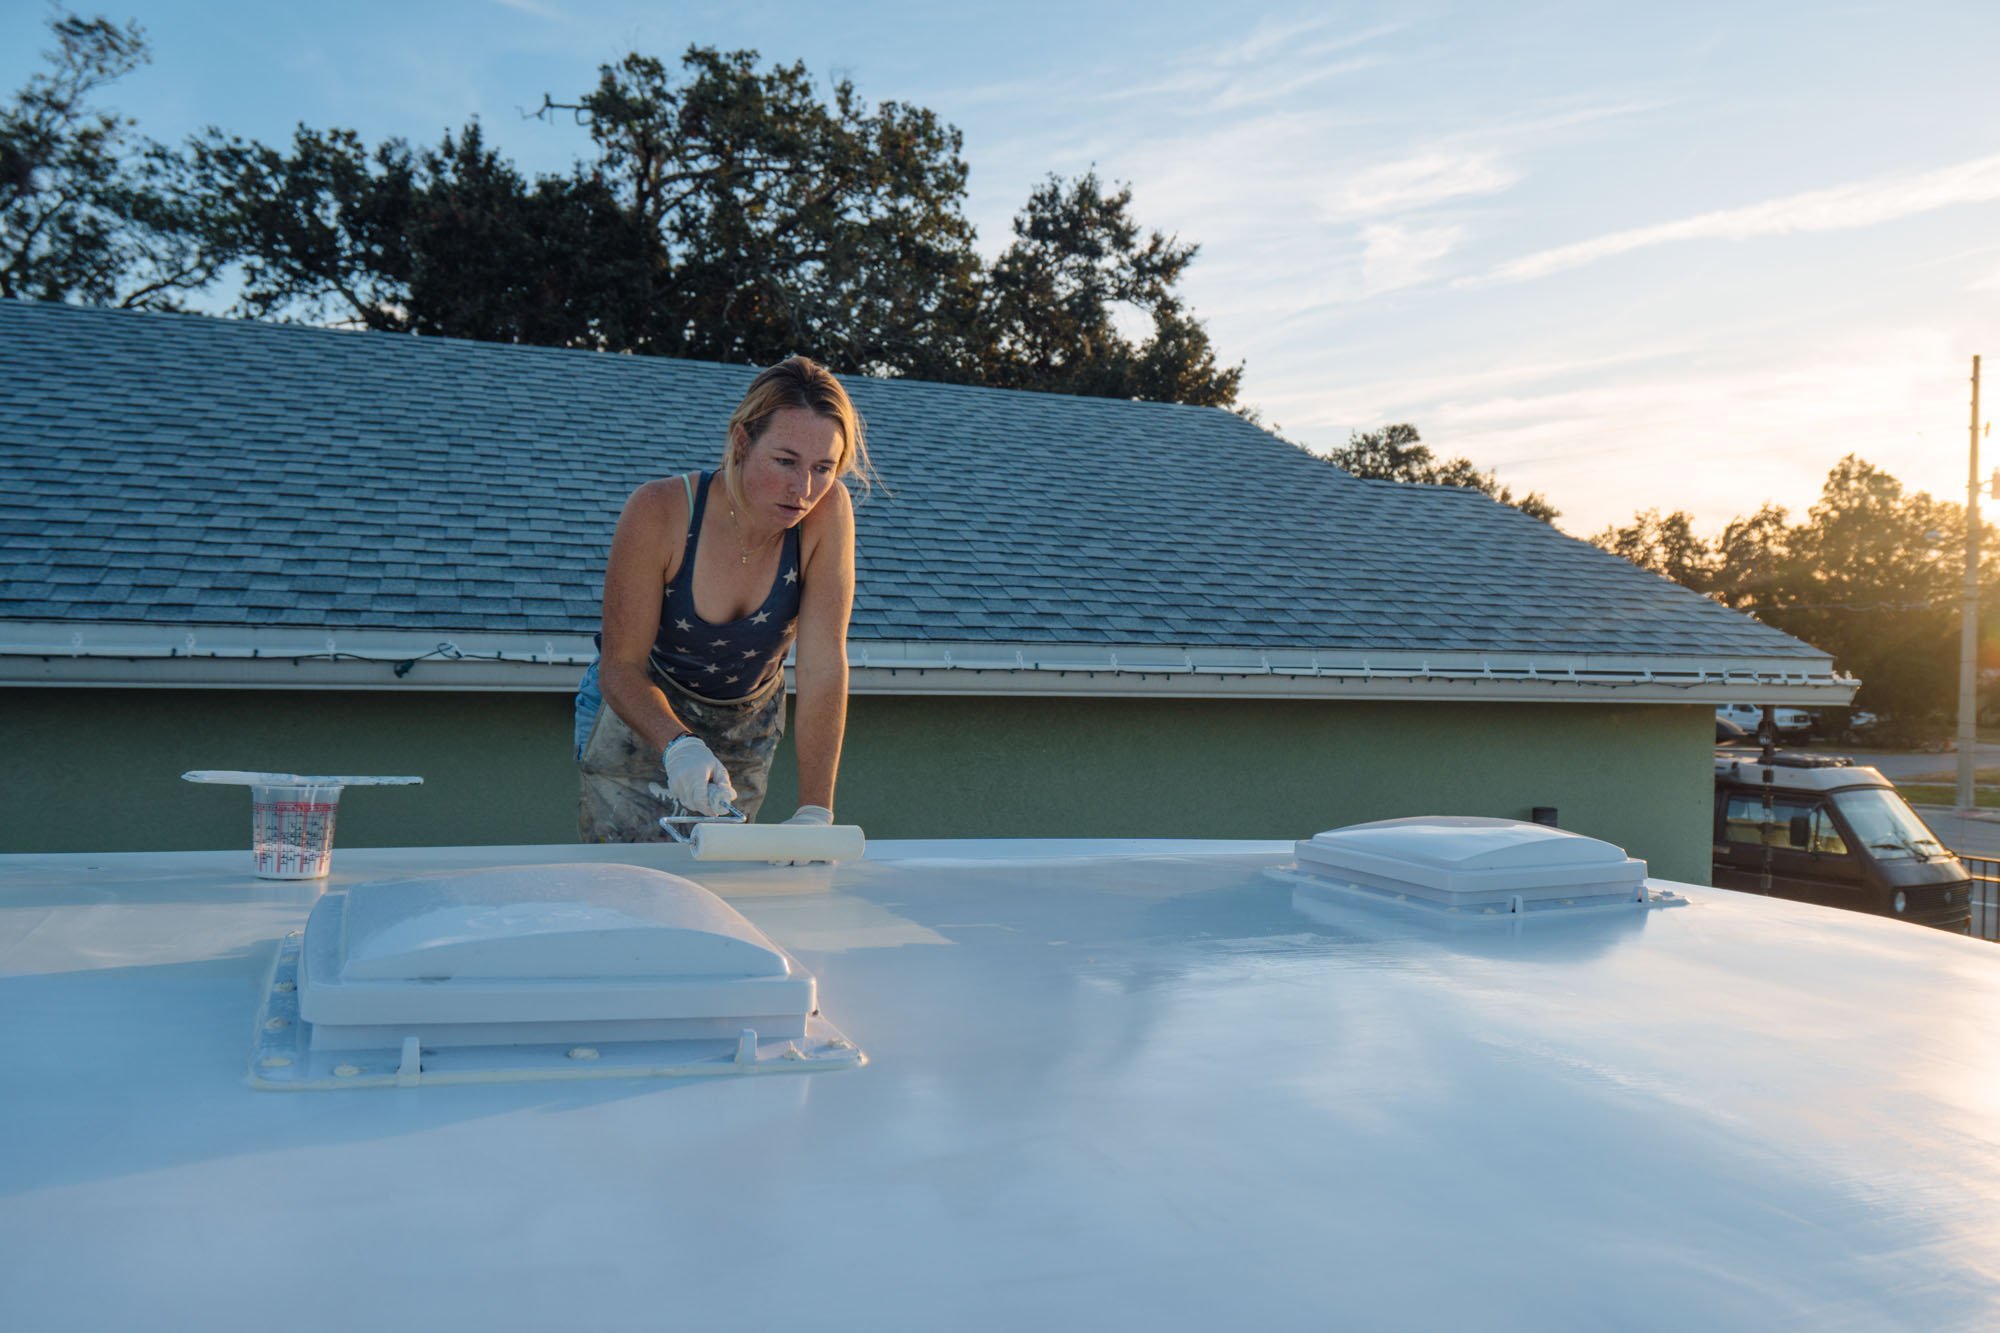
We finished our first full coat of paint as the sun was setting. As we cleaned up for the night we were worried the paint wouldn't set enough before the dew came in overnight. The instructions on the can are very explicit that you should stop painting at 4pm to avoid such hazard...but with the sun setting so early it was nearly dark at 4pm! After a close call, the first coat came out pretty streaky and we weren't feeling great about our work when we went to bed that night.
Sunday morning we came out and saw that things had cured nicely overnight, and there was very little dew! With a sense of purpose and feeling more optimistic we dove right into doing a light sanding and cleaning so we could go right into our second coat of paint!
All in all, it took three coats of paint and some light touch-ups to really be done with the paint! I'm sure I'll continue to find more little spots here and there that will need to be to be touched up as we go.
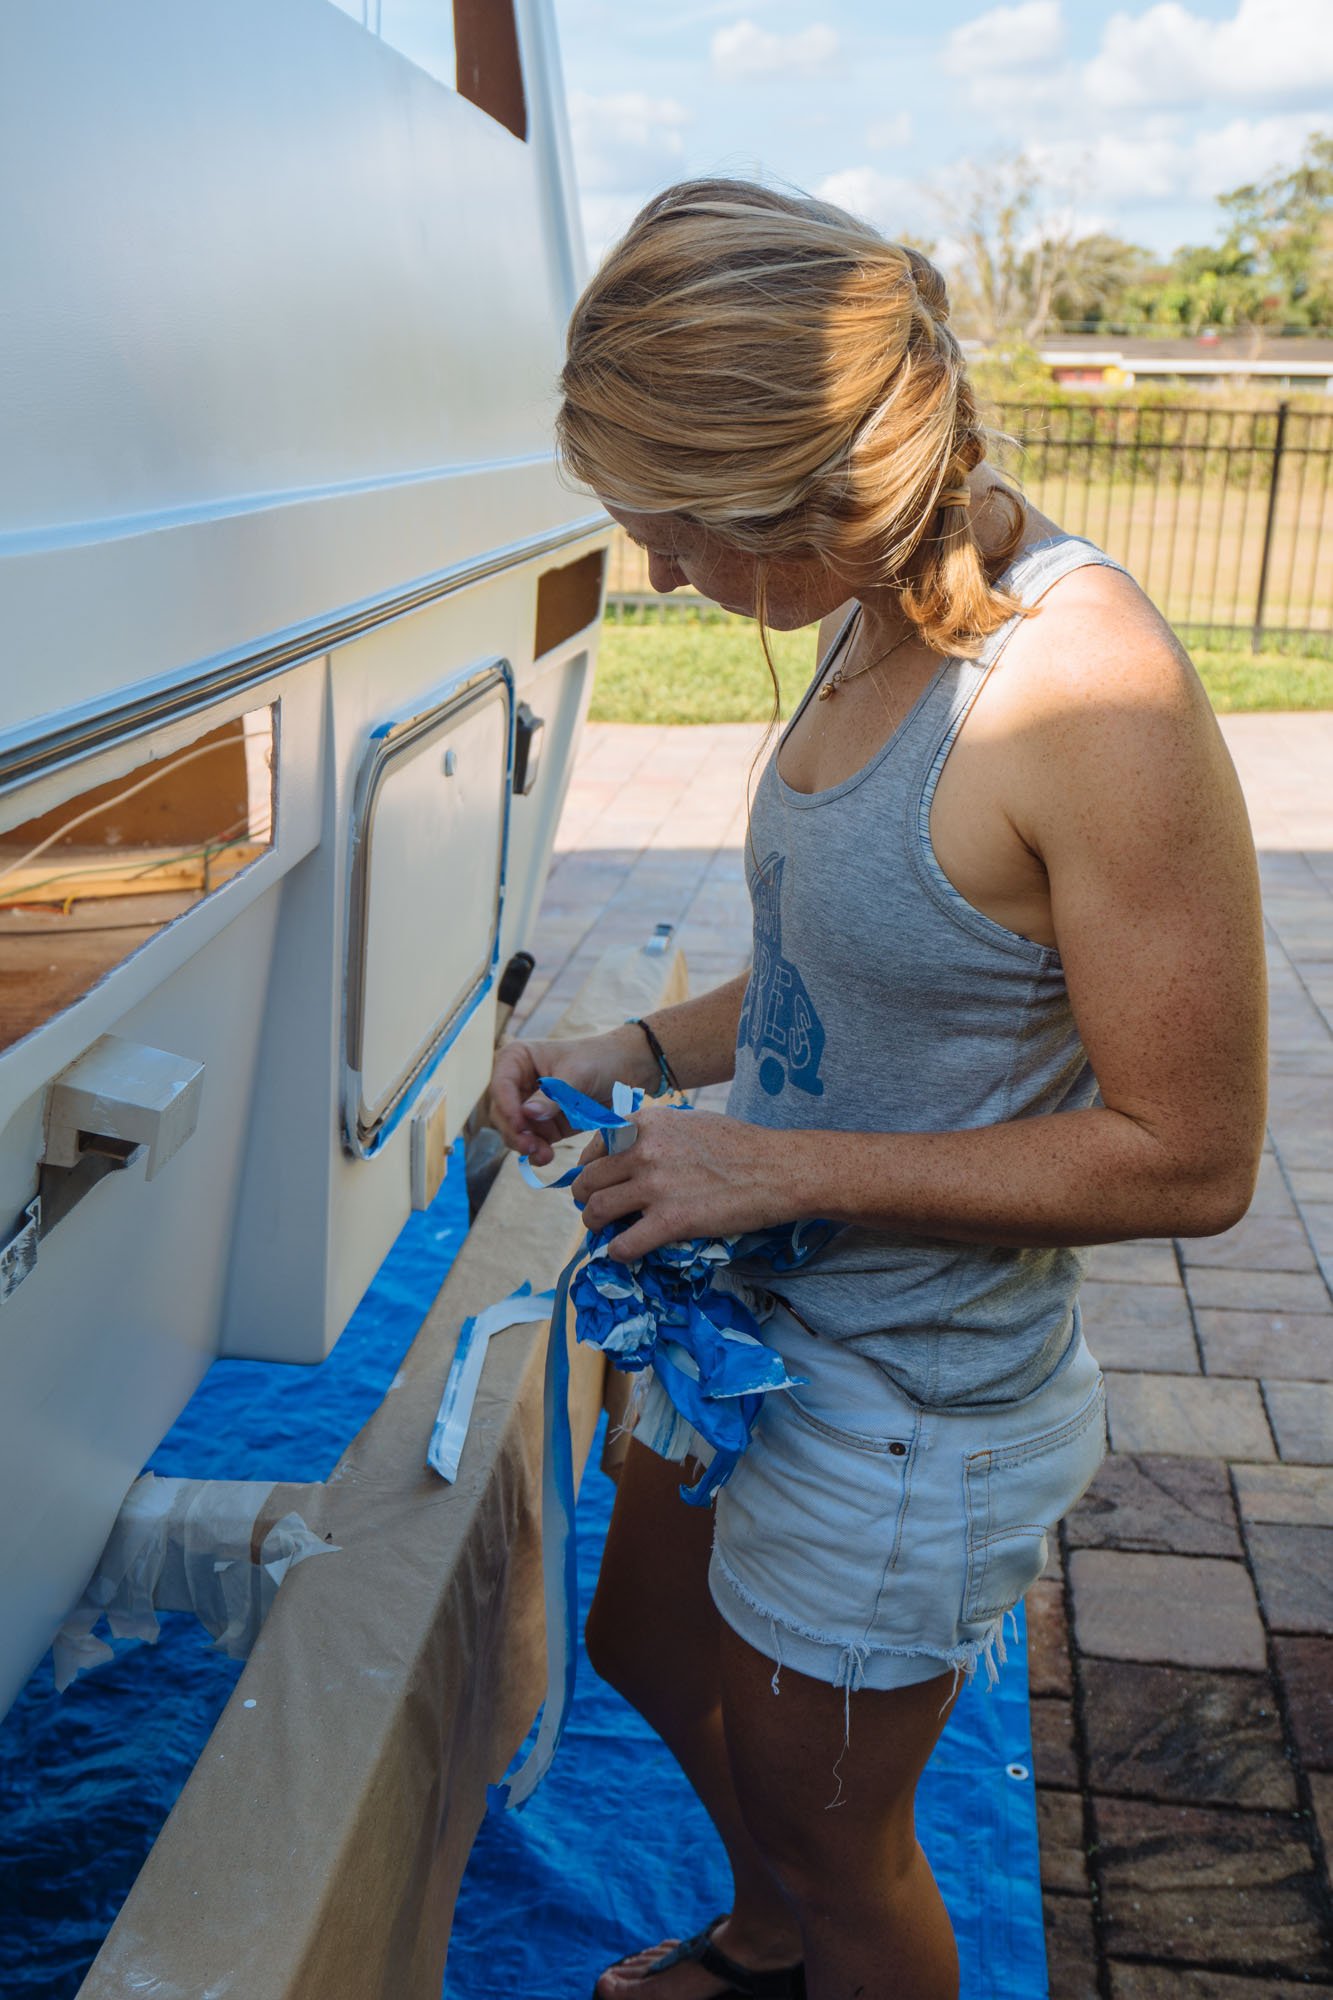
It was a very celebratory occasion to remove all of our tape and drop cloths yesterday!
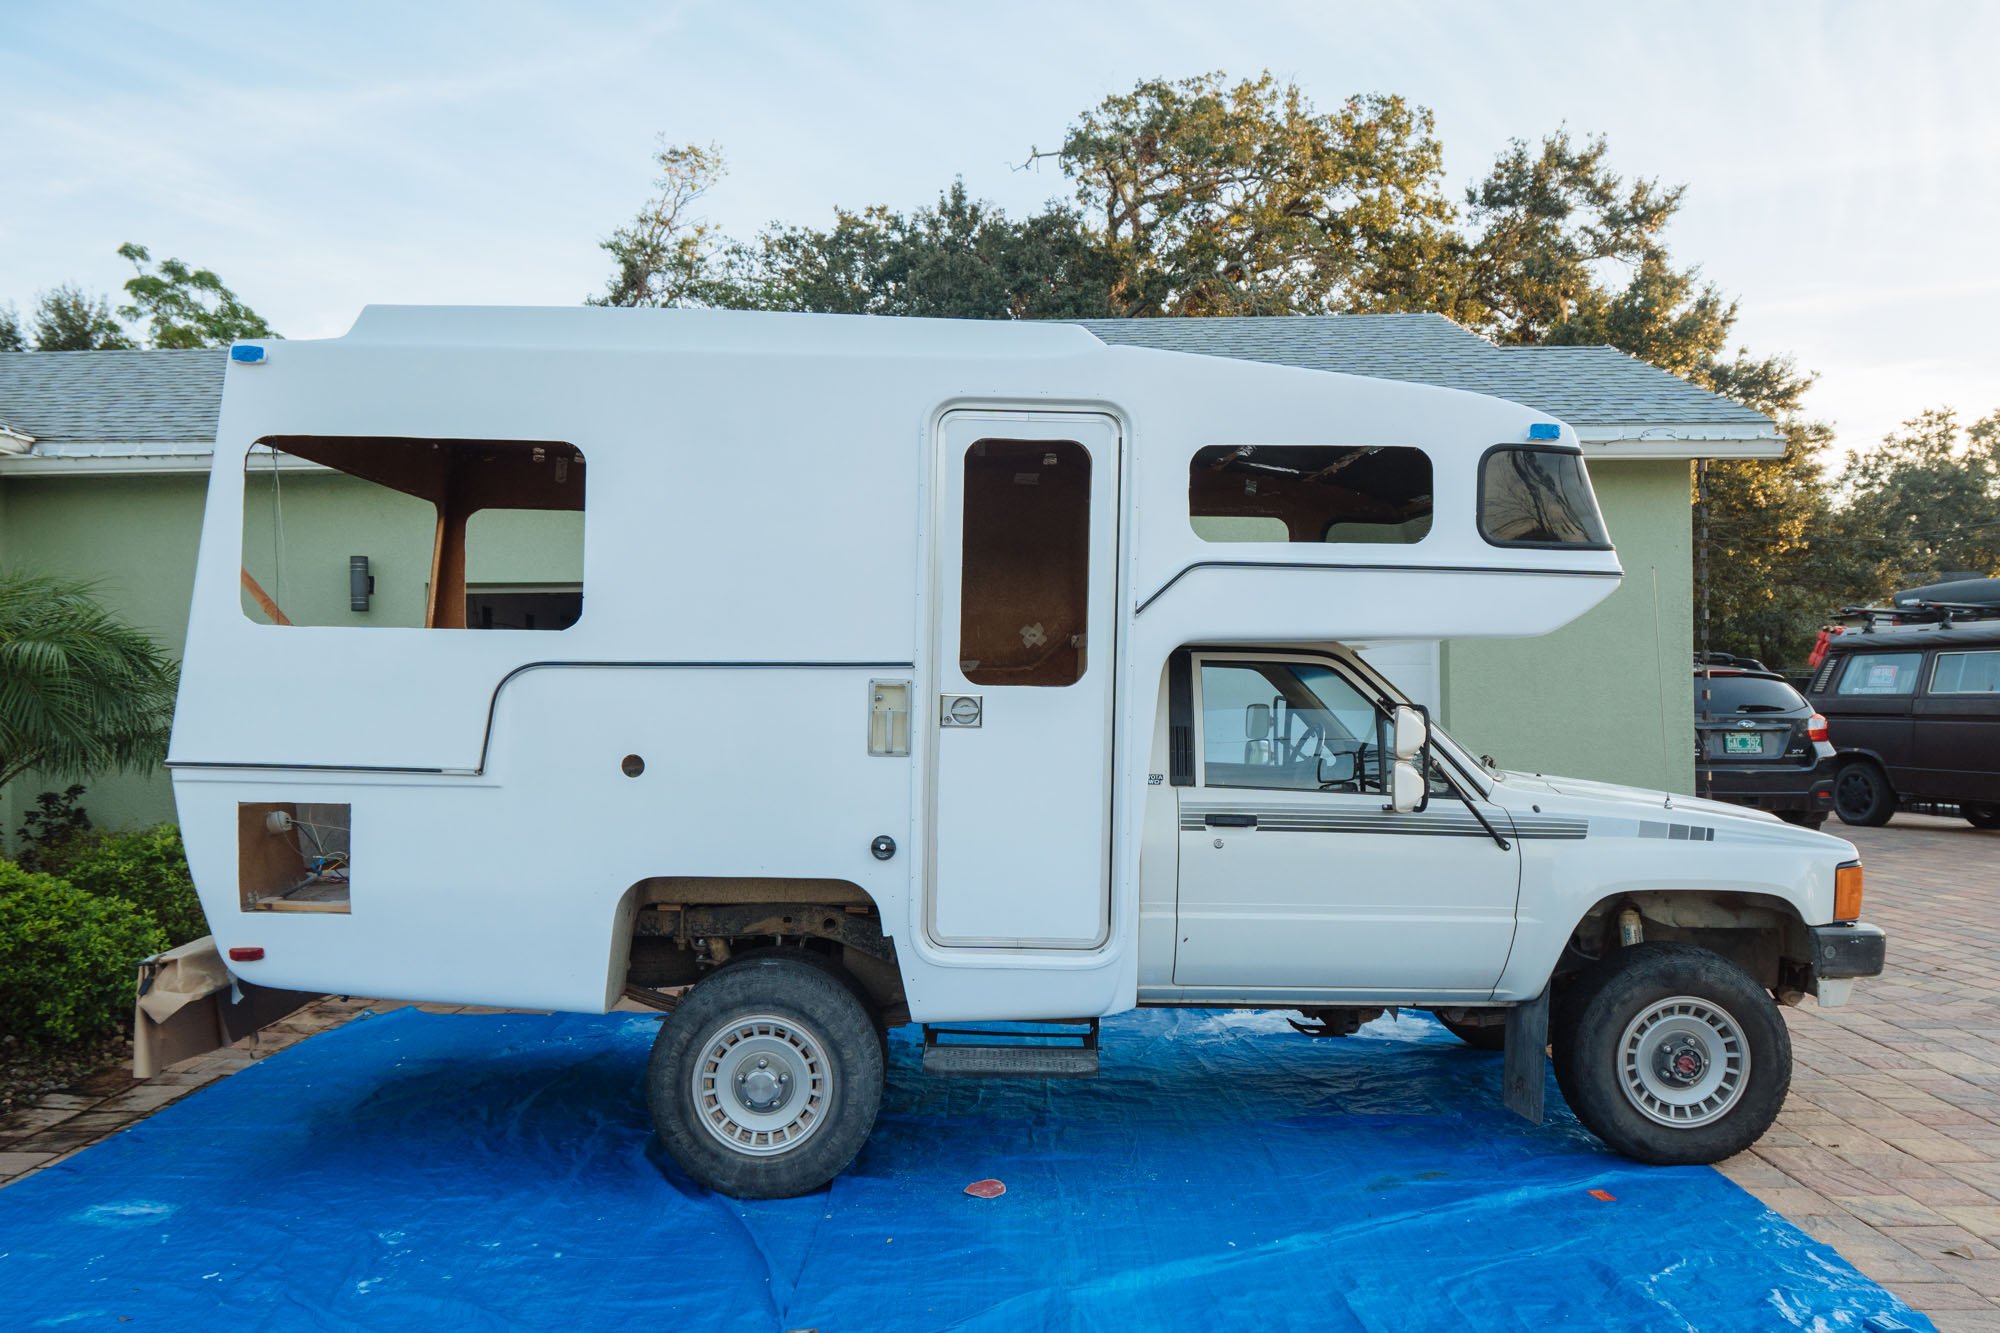
We couldn't be more proud of what we accomplished with our impromptu paint job. Not only do we feel like it turned out well, but we also feel that Amelia is now prepared for the conditions that she will be subject to in her life on the road! It was really rewarding to bid my fiberglass repairs adieu, I was tired of looking at them! Finally, we can start to put Amelia back together, and bust a move on her interior! SO STOKED!
SUPPLY LIST
For Inquiring Minds
Seals!
D seal with 3M adhesive backing - what we used for our back hatch, Glazing bead trim for the outer seals of the windows - linked here, Bone folder - we used this to press the glazing bead into place - it needs some focused force but from something that is not sharp, so this worked really well. Foam adhesive trim - when we took the glazing bead out of the back window we discovered that this was also rotted, it holds the glass in the frame.
Prep Work for Paint
Simple Green, which is my favorite all purpose cleaner/degreaser and is not terrible for the planet. Acetone (not listed here) you can get it at your local hardware store. AwlPrep Surface Degreaser - this stuff is mean but it removes EVERYTHING you can't see from your surface, wear dishwashing gloves when you use it. Same orbital sander as before for all surface sanding, 80 grit sand paper for removing excess fairing, and 180-240 grit for large body areas. Gator sanding block - this thing has angles on it so you can run along trim and other odd shaped areas to get a good sand in the hard to reach places. Surface repair puddy - Super fast cure time.
Tack cloths - for a last wipe down of the surface before applying the paint, these things pick up everything! Decal eraser tool. Pettit EzPoxy Primer - linked here since I purchased it at West Marine.
For Painting
Mixing cups for mixing your paint and thinner, paint mixing drill bit, Pettit Semi-Gloss White EzPoxy Paint - Linked here also from West Marine, 4" foam rollers - foam is best for applying topside paint. 4" paint handles - We used 2. 7" foam roller with 3/16 nap we used 2.
Chip brushes...a lot of chip brushes. Pettit Paint thinner for mixing into the paint itself. Painters Tape - Get the good stuff, 3M all the way!