Build Out: Week 10
Getting Caught Up

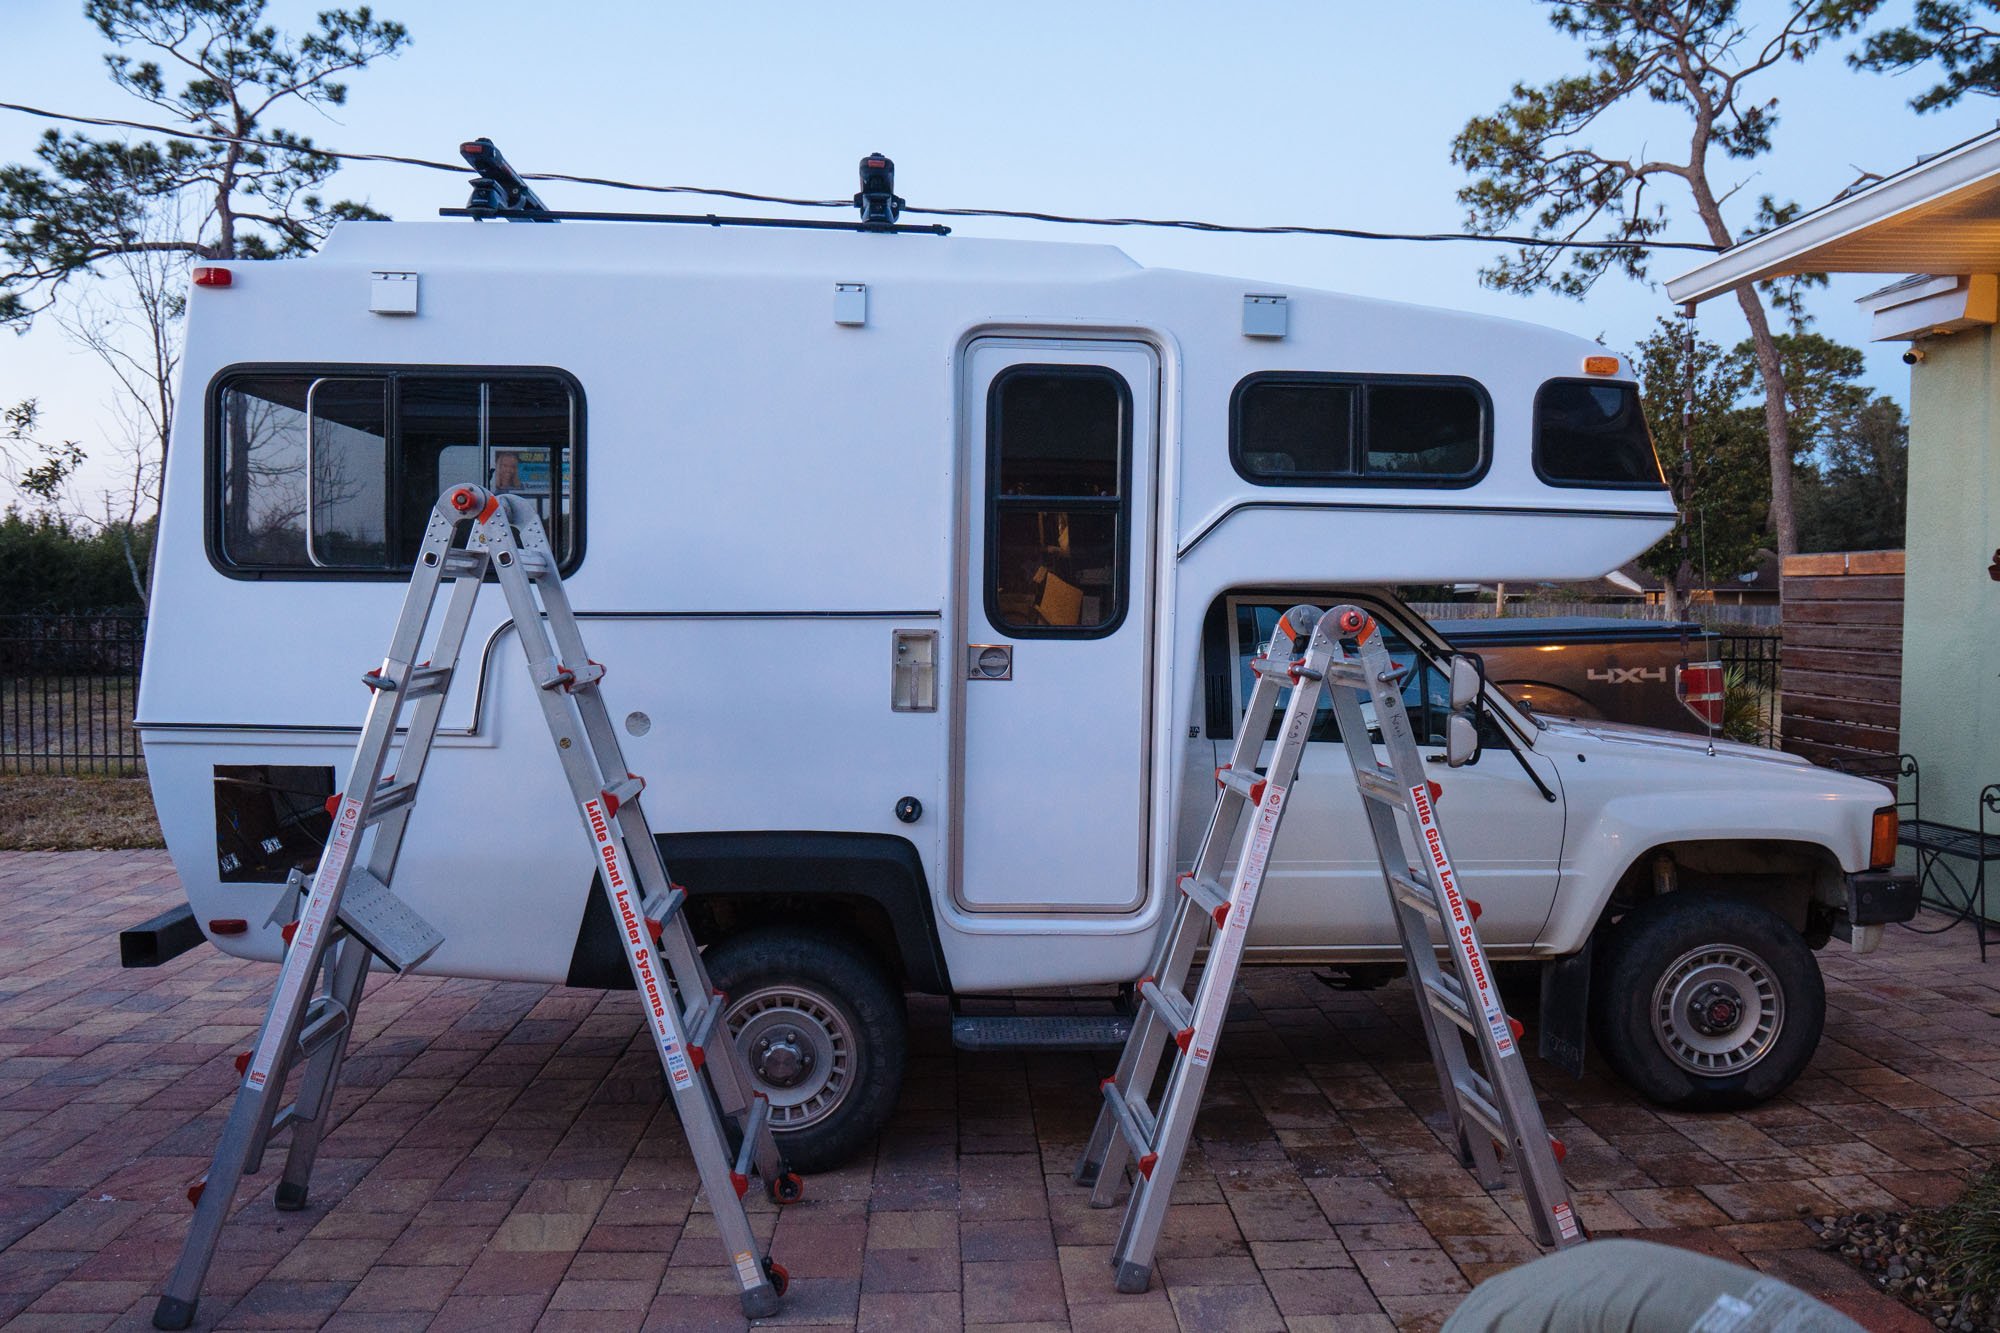
Still life: building a home.
Hey friends, longtime no talk! Might I say, you look great today?! The last time we talked in depth about our build was the end of December and we had just wrapped up Amelia's fresh paint job! Since then, we've taken a few breaks from work to enjoy the holidays, our families, and the wedding of my best friend in Michigan! Before we get into the details of the build, I want to show you what we've been up to!


The weekend before the new year we decided to take a quick fishing/camping trip to St. Petersburg, Florida! My parents had been wanting to show us some of their fishing spots and we wanted to take them camping in Stanley. I wish we took pictures of our camp set up because it was... a bit different from what we're used to. The only place we could find to camp was an RV resort where we managed to cram Stanley, the truck, the trailer and the boat!

It was cold and misty by Florida standards, but man was it fun! The fish were biting and we spent three solid days on the water, so we left happy!


After returning from the fishing trip we were excited to roll right into working on Amelia, but sadly the cold and wet weather kept us from getting back to work for a few days.

Here's a cute picture of Owen and I enjoying a strangely rare sunset. It was short lived because then we were off to Charlevoix, Michigan in the middle of the "cyclone" for my best friend's wedding. Again, I wish we took more pictures.

Frosty Charlevoix lighthouse. Temperature at the time of this image was 4 degrees.


Here are some awesome film pictures taken by our friend Mel, she and all of those people in the picture on the left were our teammates from our college swim team. We're still VERY close with all of these people...and obviously we're up to no good when we get together. ;) Michigan was beautiful, cold, magical, and a celebration of love from the moment we arrived until the moment we left.
Now back to Florida, back to Amelia, and back to work.

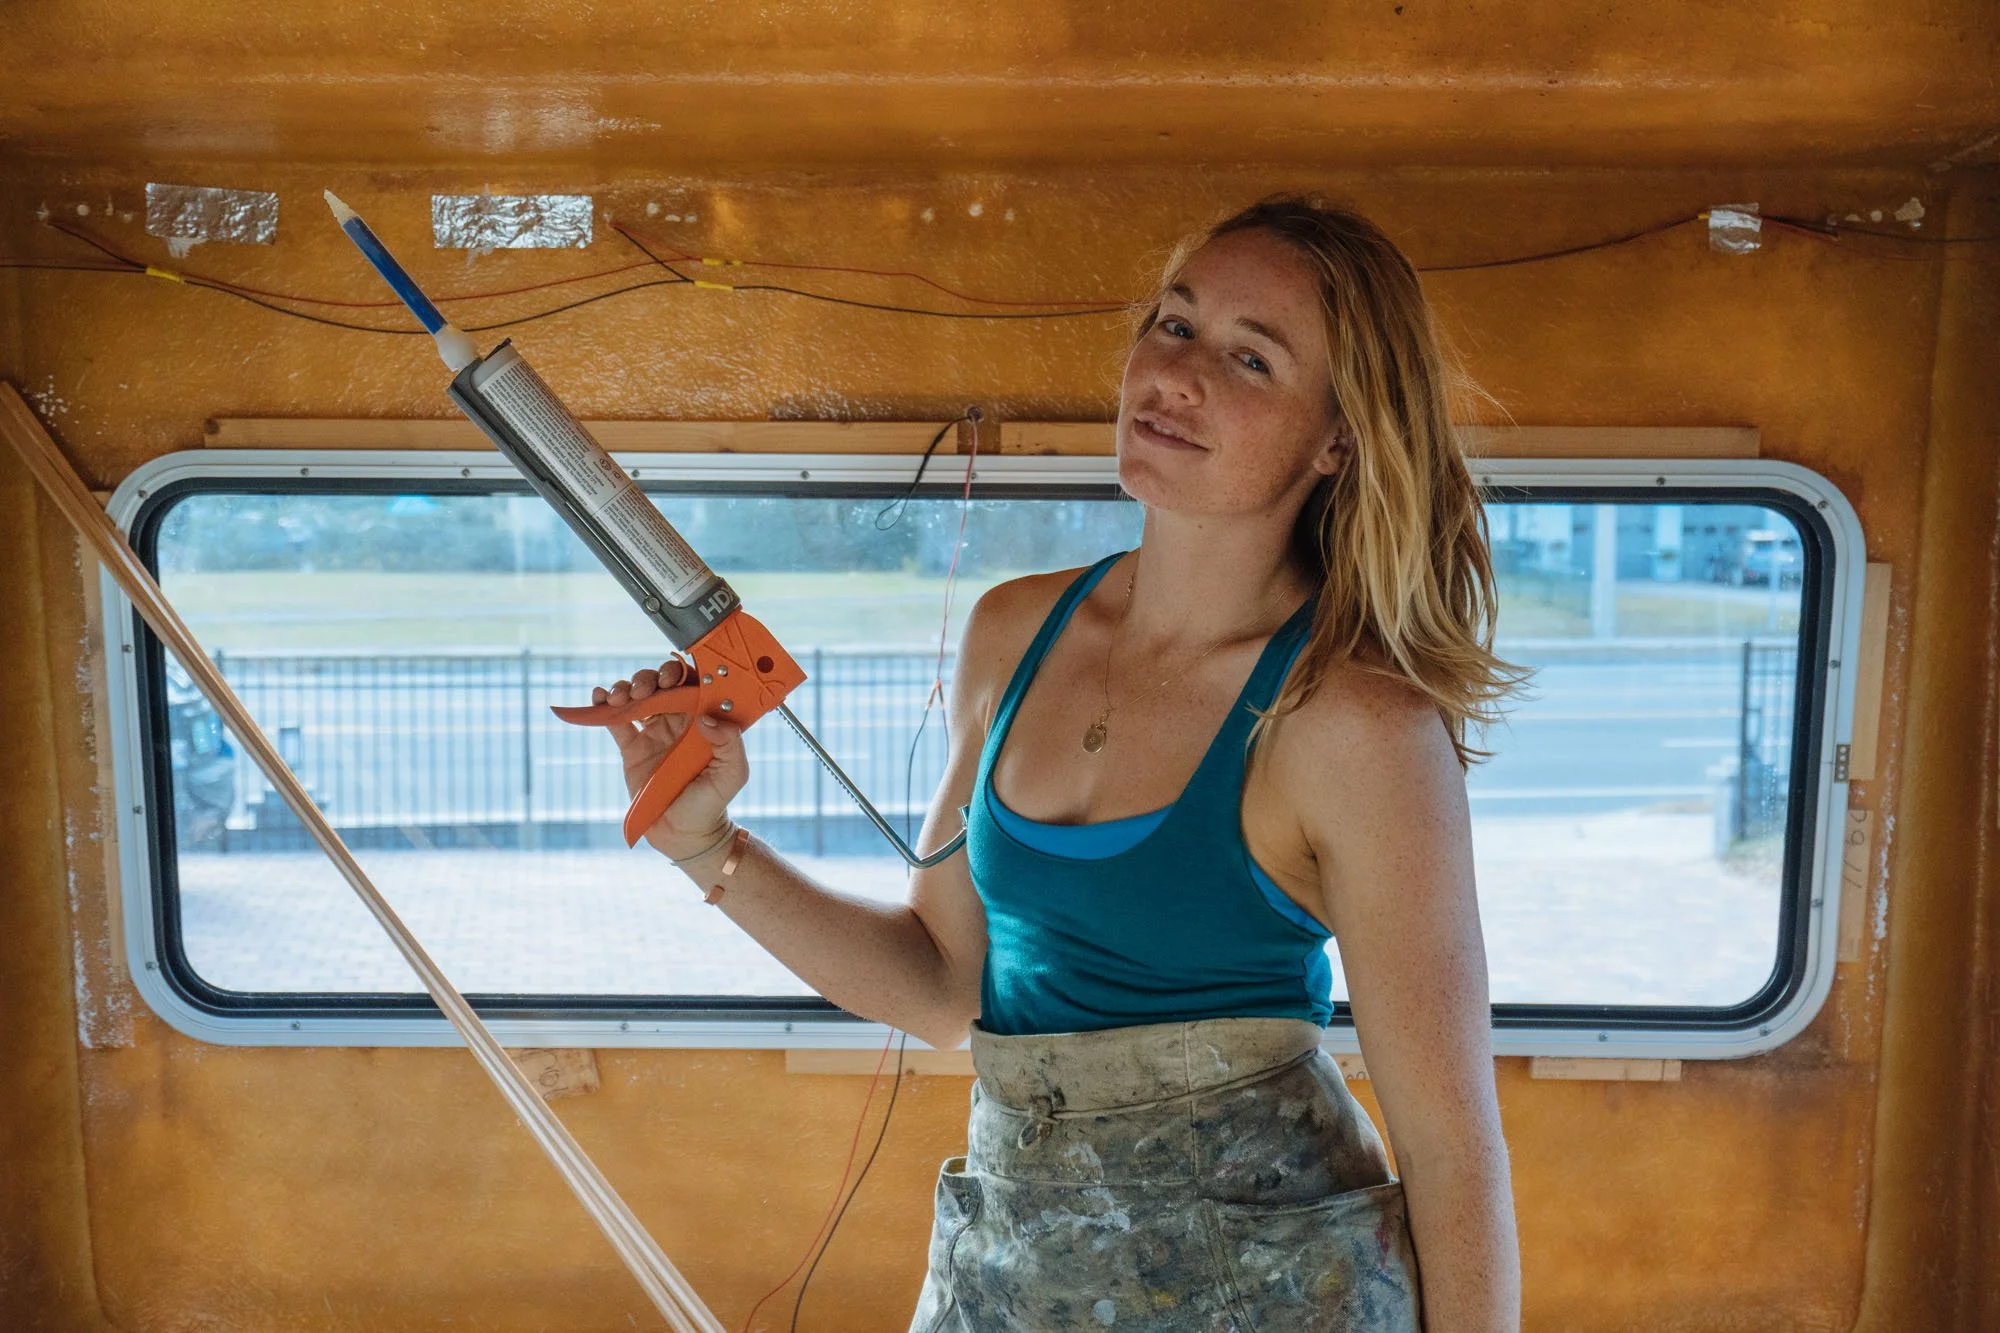
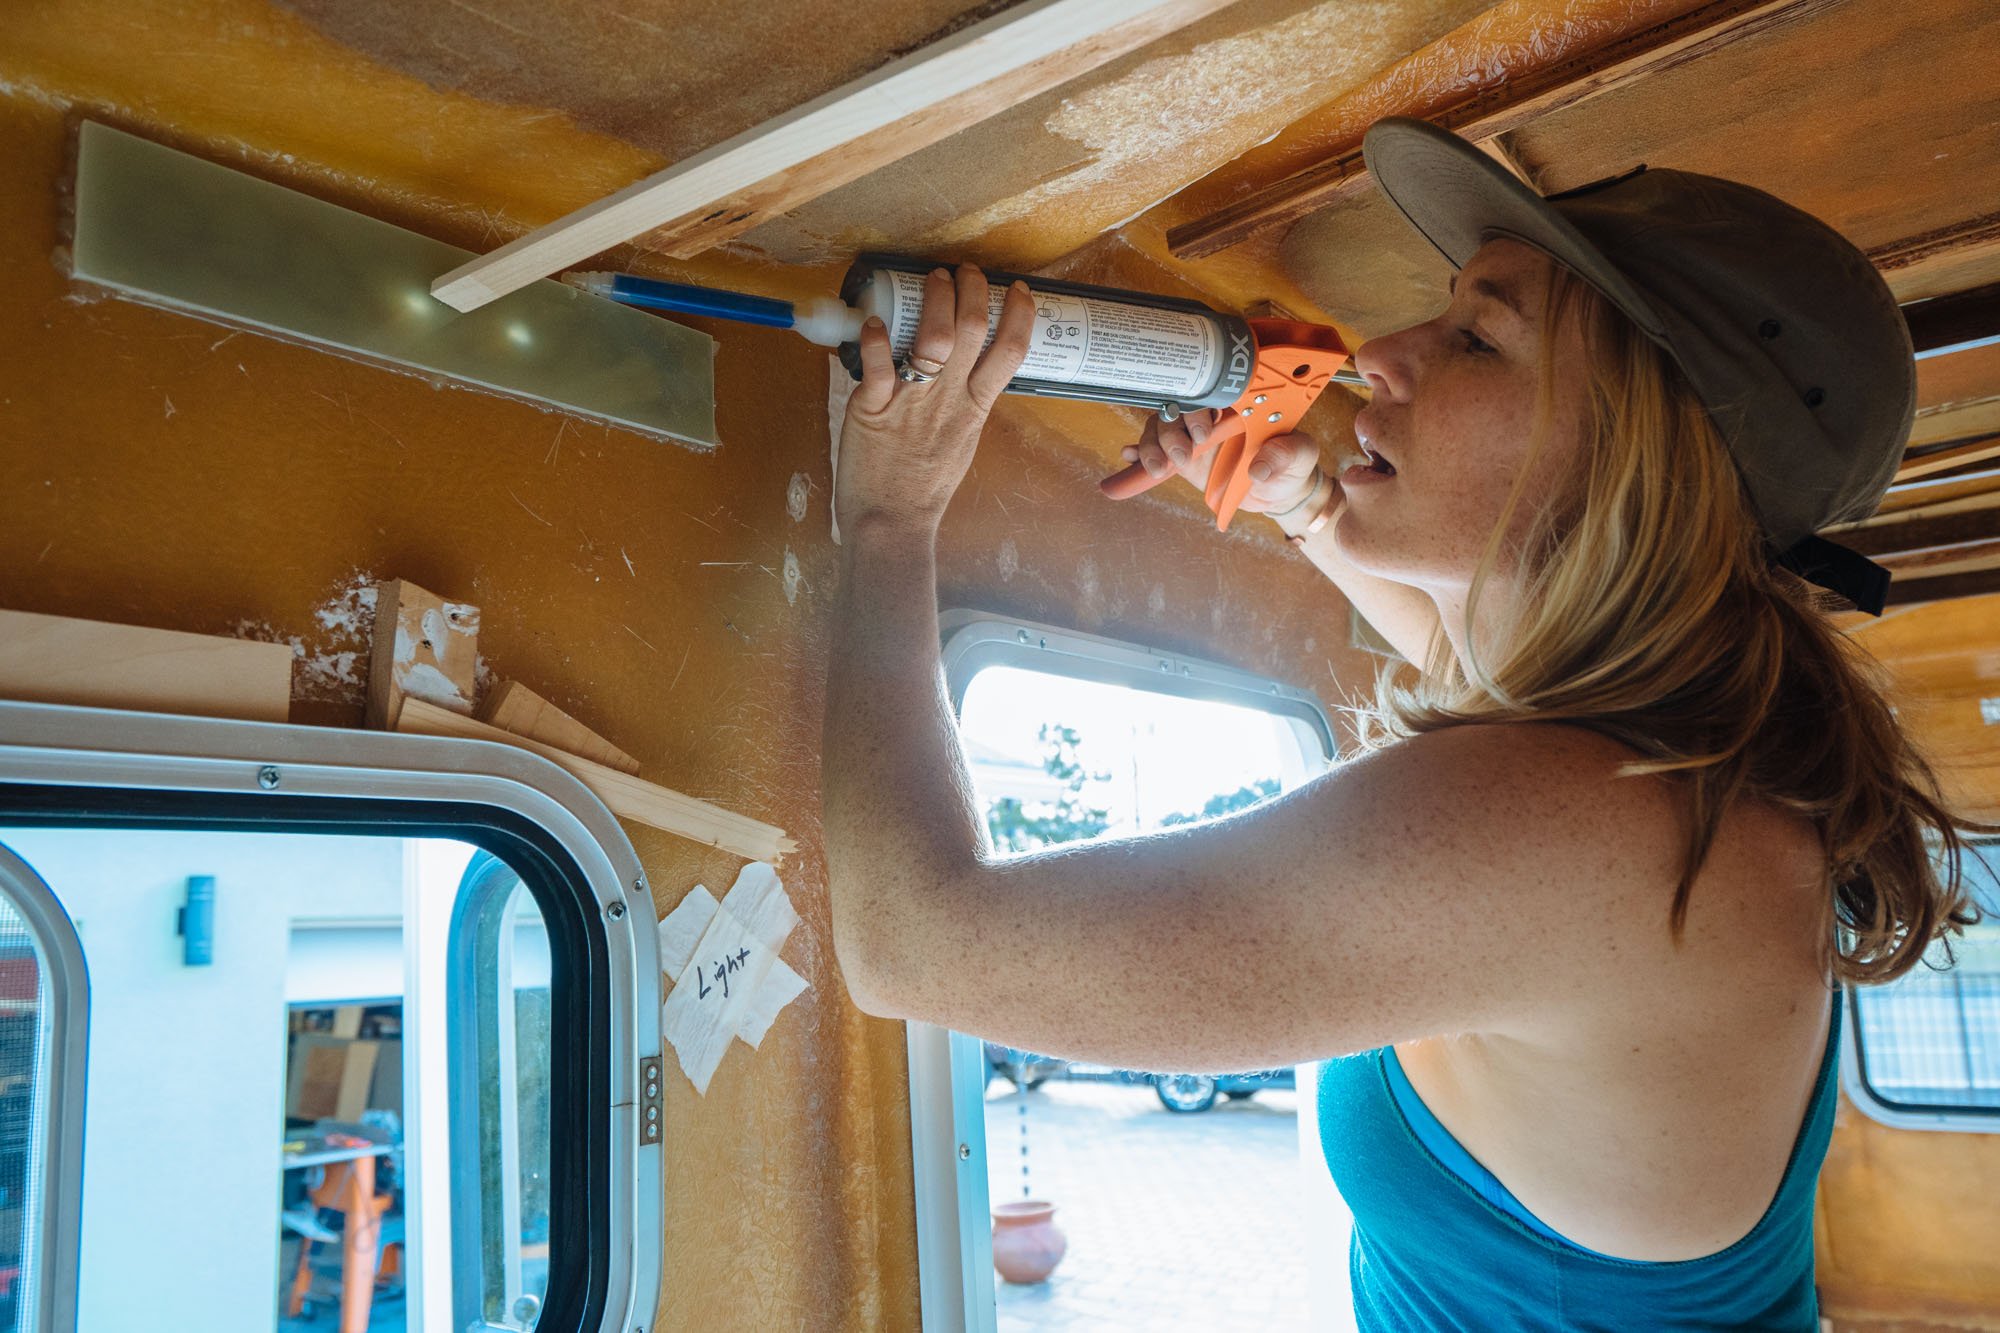
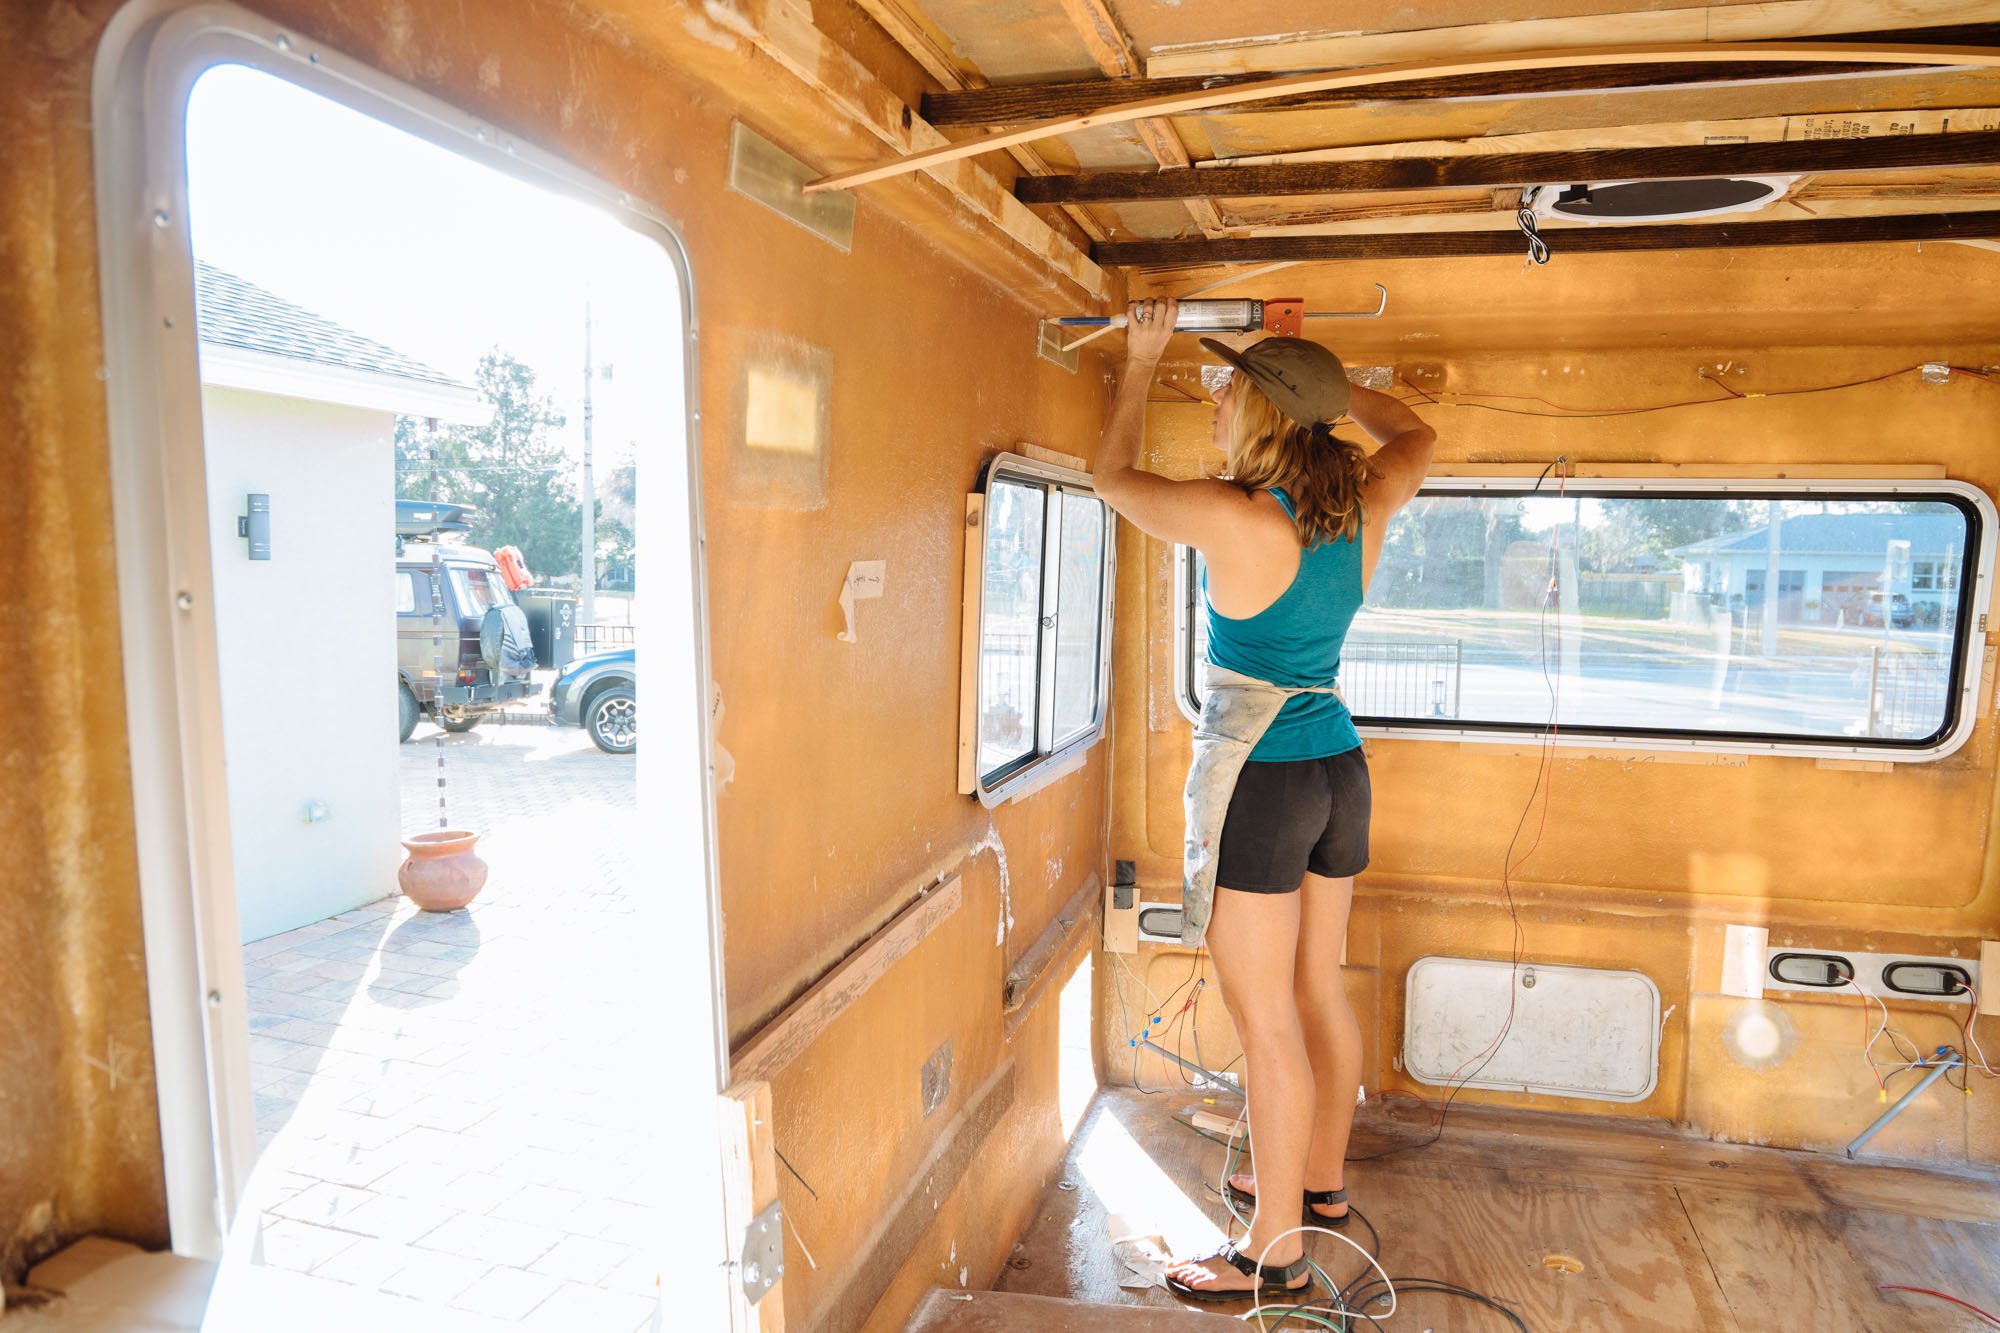
After the painting was done we immediately turned our focus to the windows. For those of you who are just joining us, these windows have been out before. We pulled them out to reapply fresh sealant due to MANY leaks we were experiencing. We reinstalled them only to learn that the windows' glazing beads were the problem. The minute we decided to paint Amelia we took the opportunity to pull the windows again to clear the way for paint, replace the glazing beads, and paint the window frames.

Look at how fresh that window looks! We don't have any images of the install because it was all hands on deck to make it happen. However we do have footage and are working on a video that hopefully will be out shortly! As always, you can find the supplies we used at the bottom of this post!
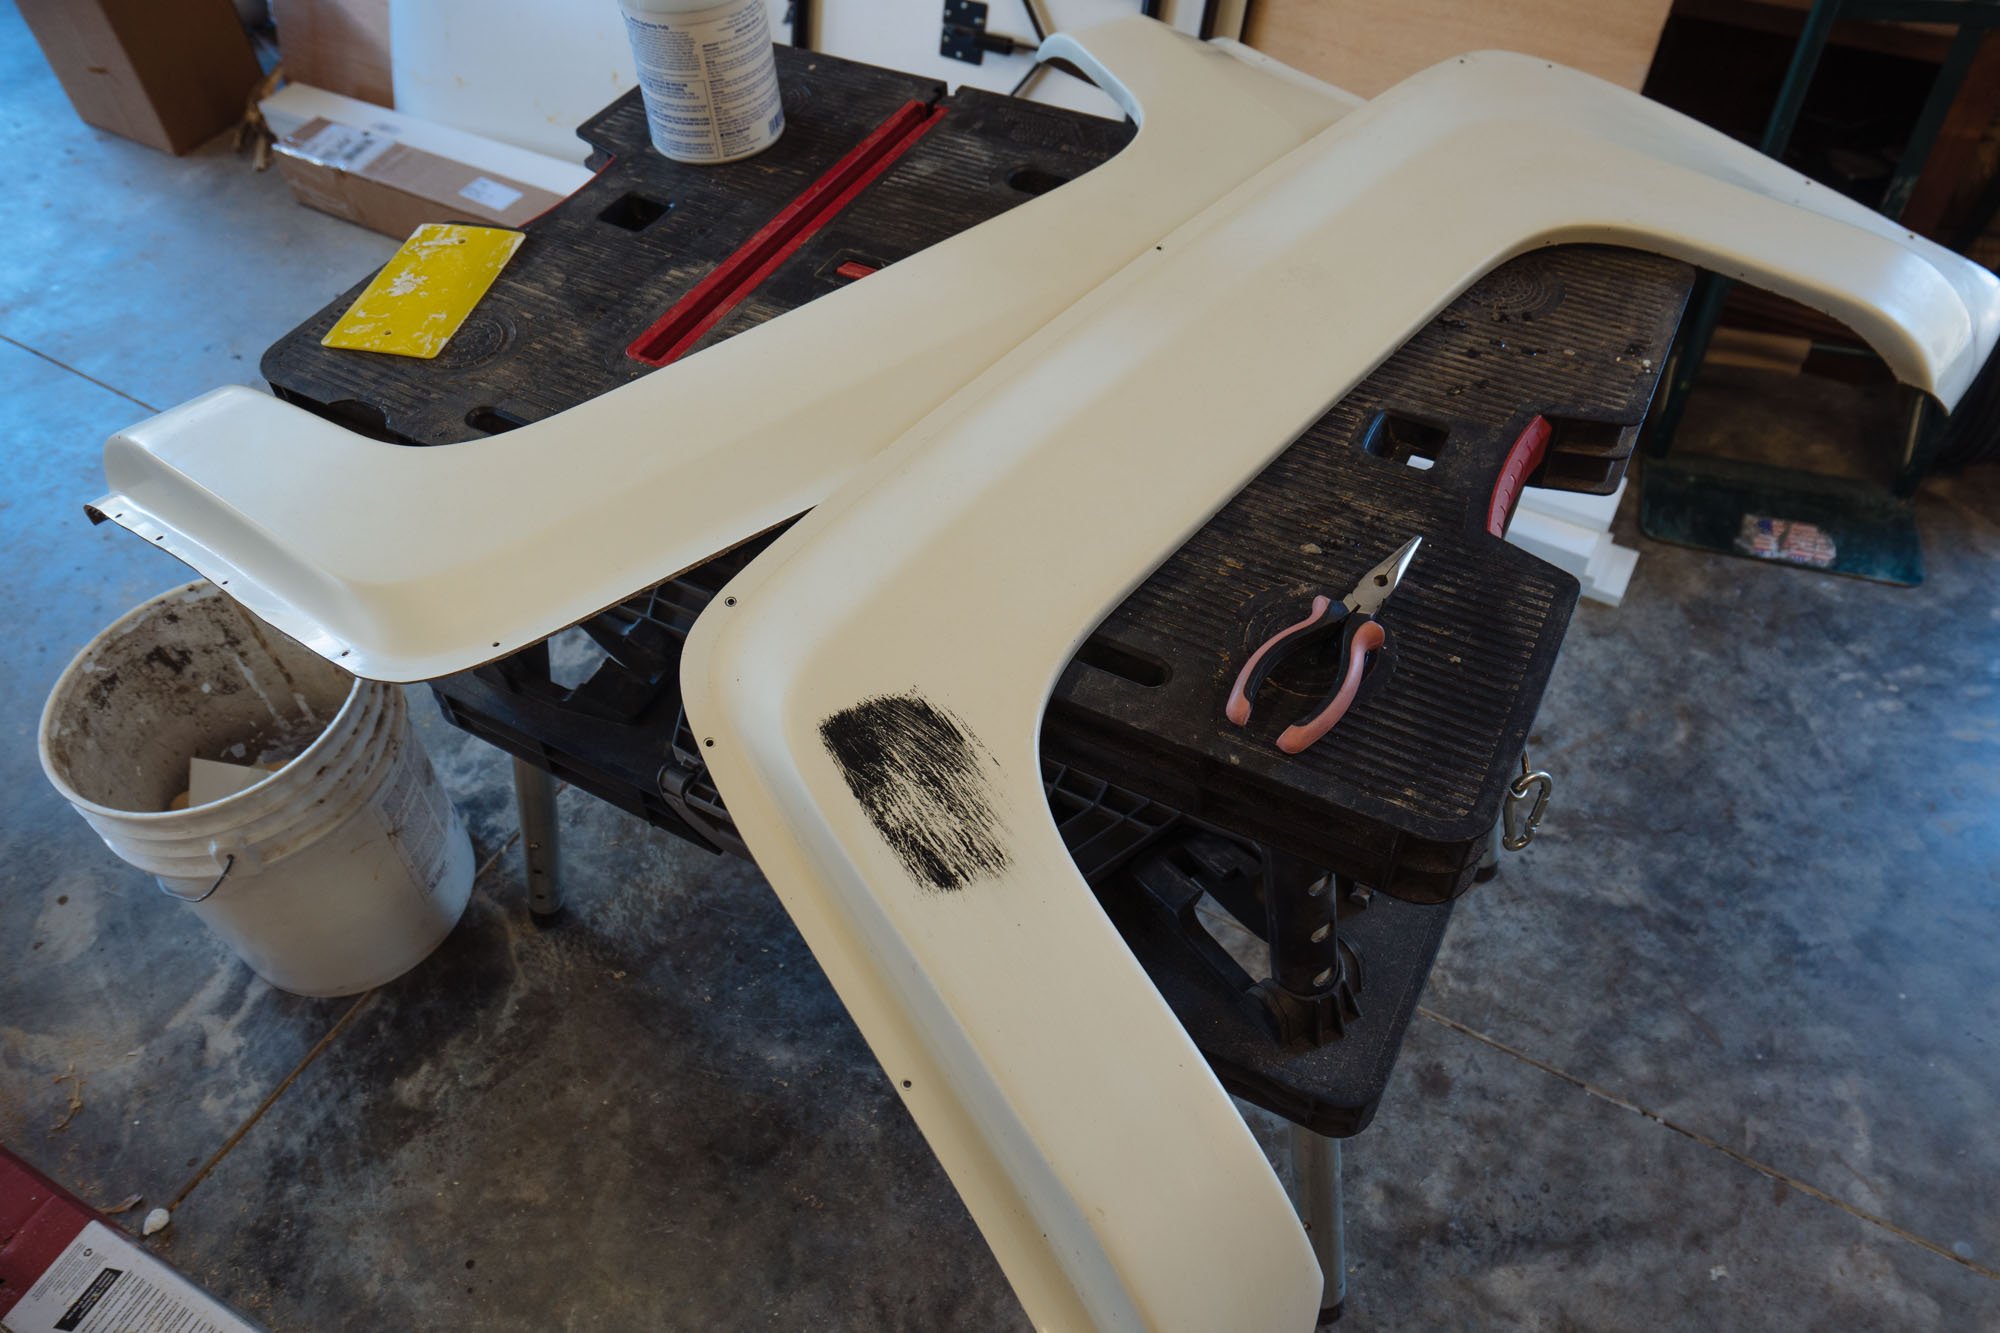

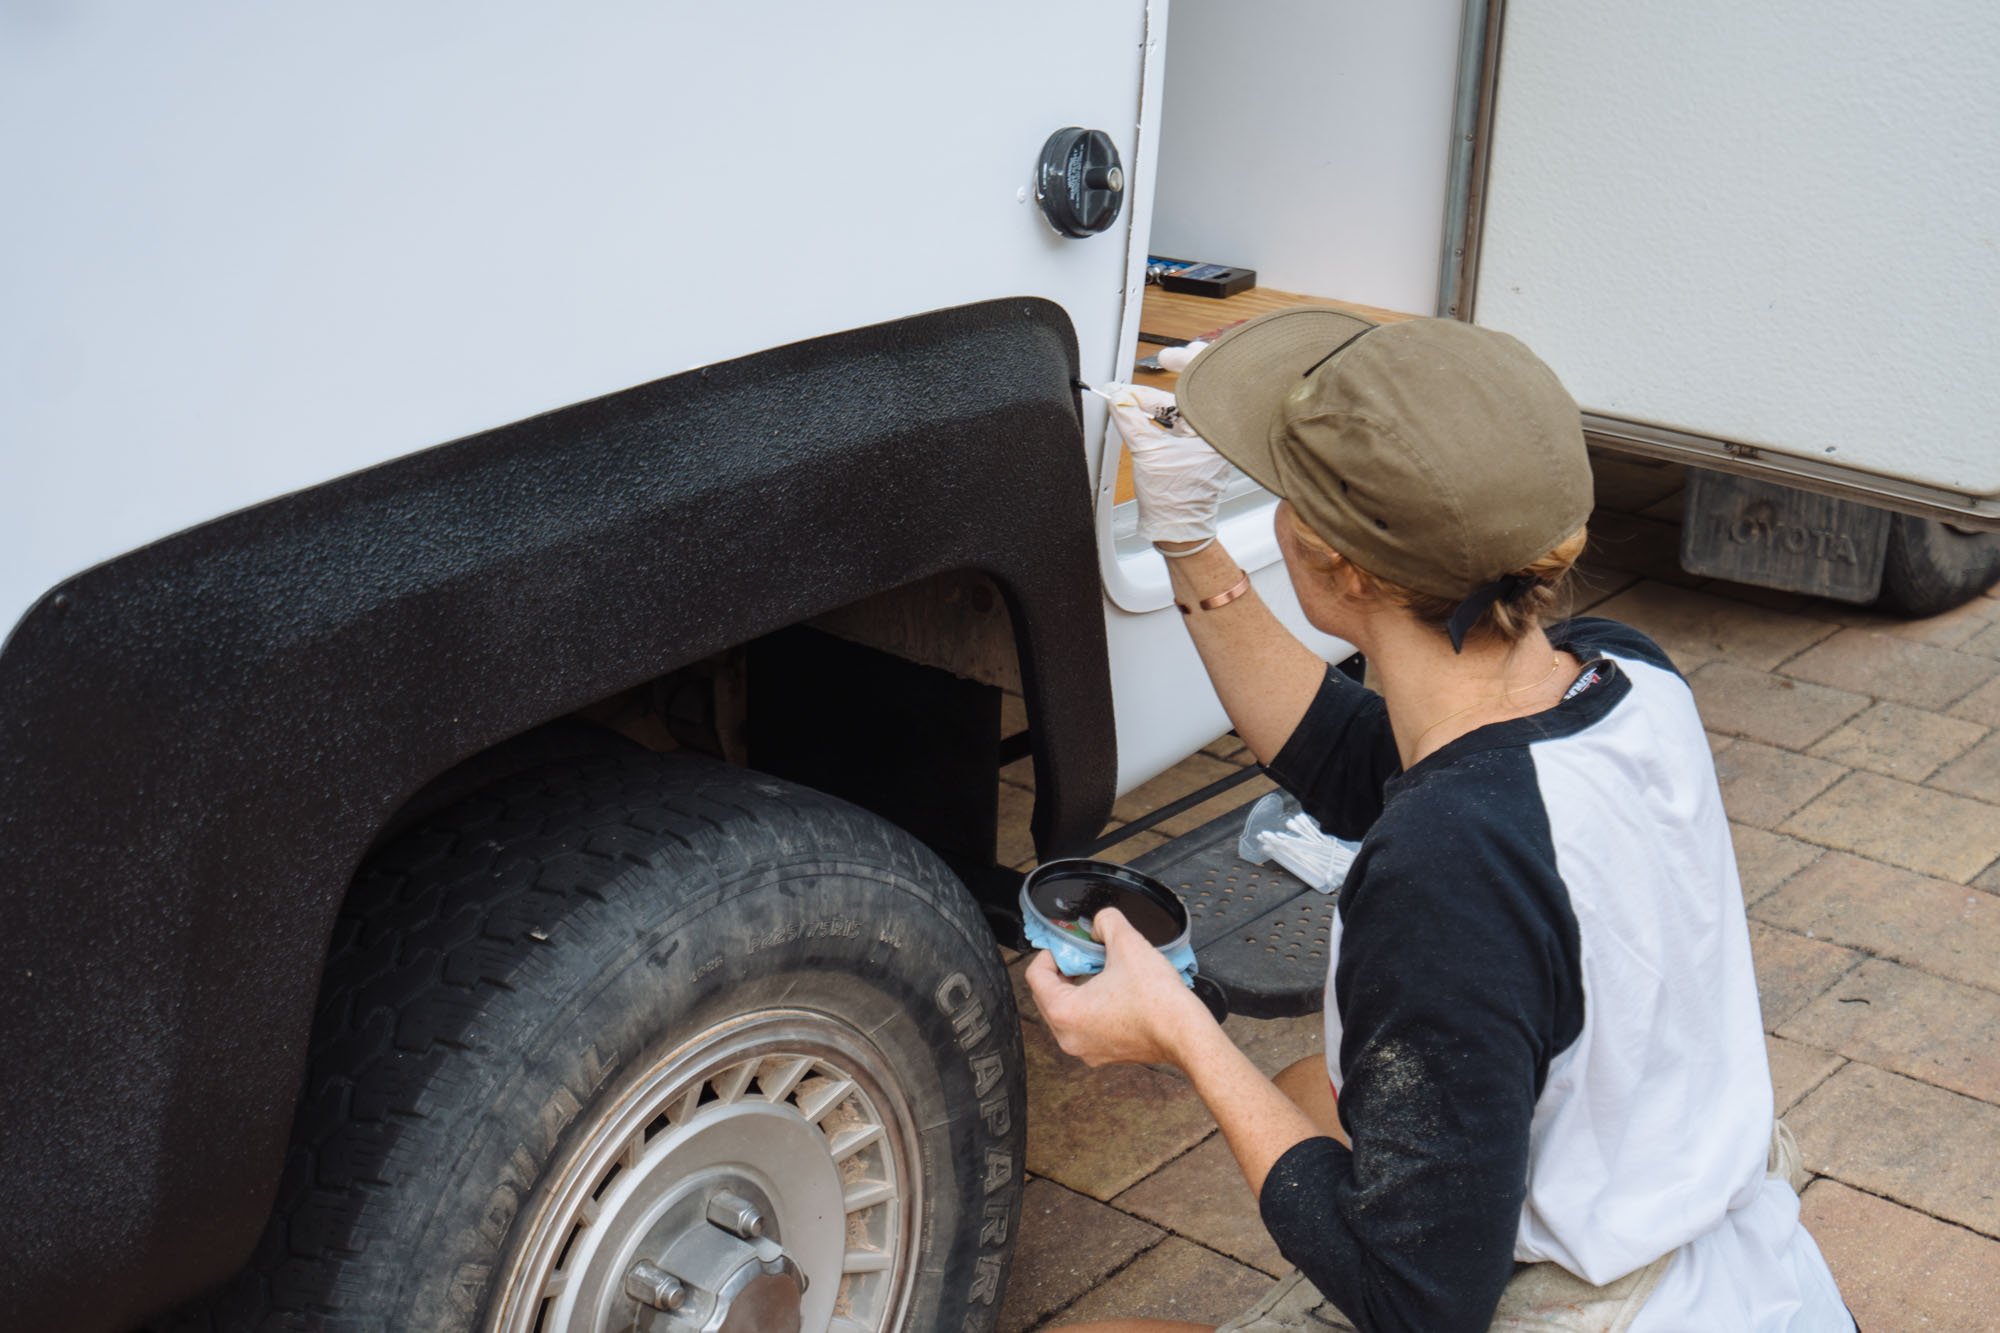
You may have noticed that we never mentioned painting our fenders during the painting post. Reason being, we had some special plans for them! We thought that it would be fun to have the fenders match all of our black accessories. After some research, Raptor Liner seemed to fit the bill for everything that we were looking for! In our excitement we decided to paint a host of other items, such as our poorly painted ladder and the old roof rack which we cut down into three separate pieces.

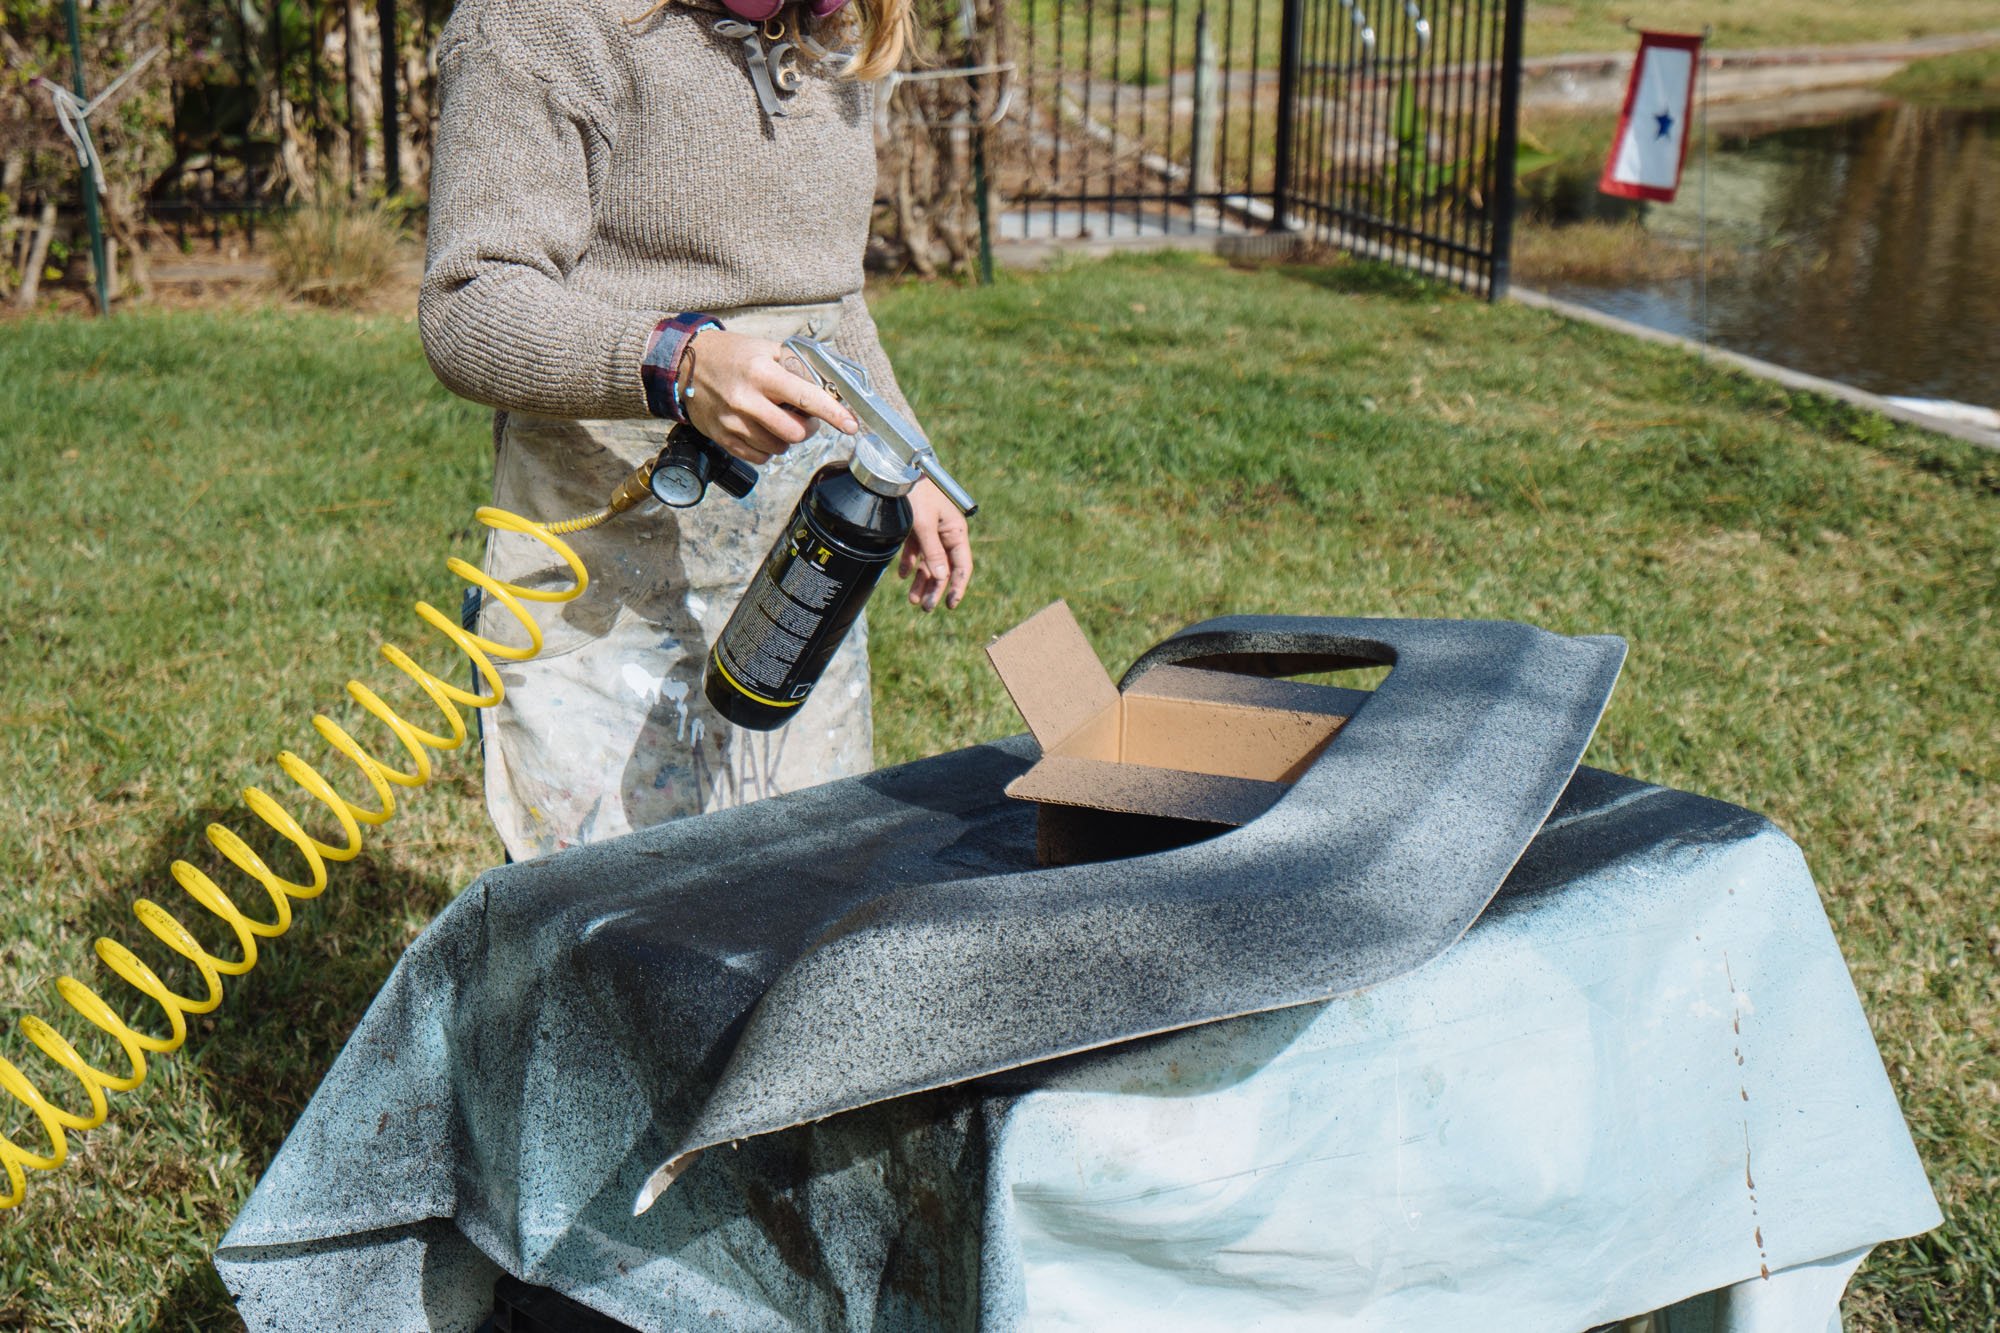
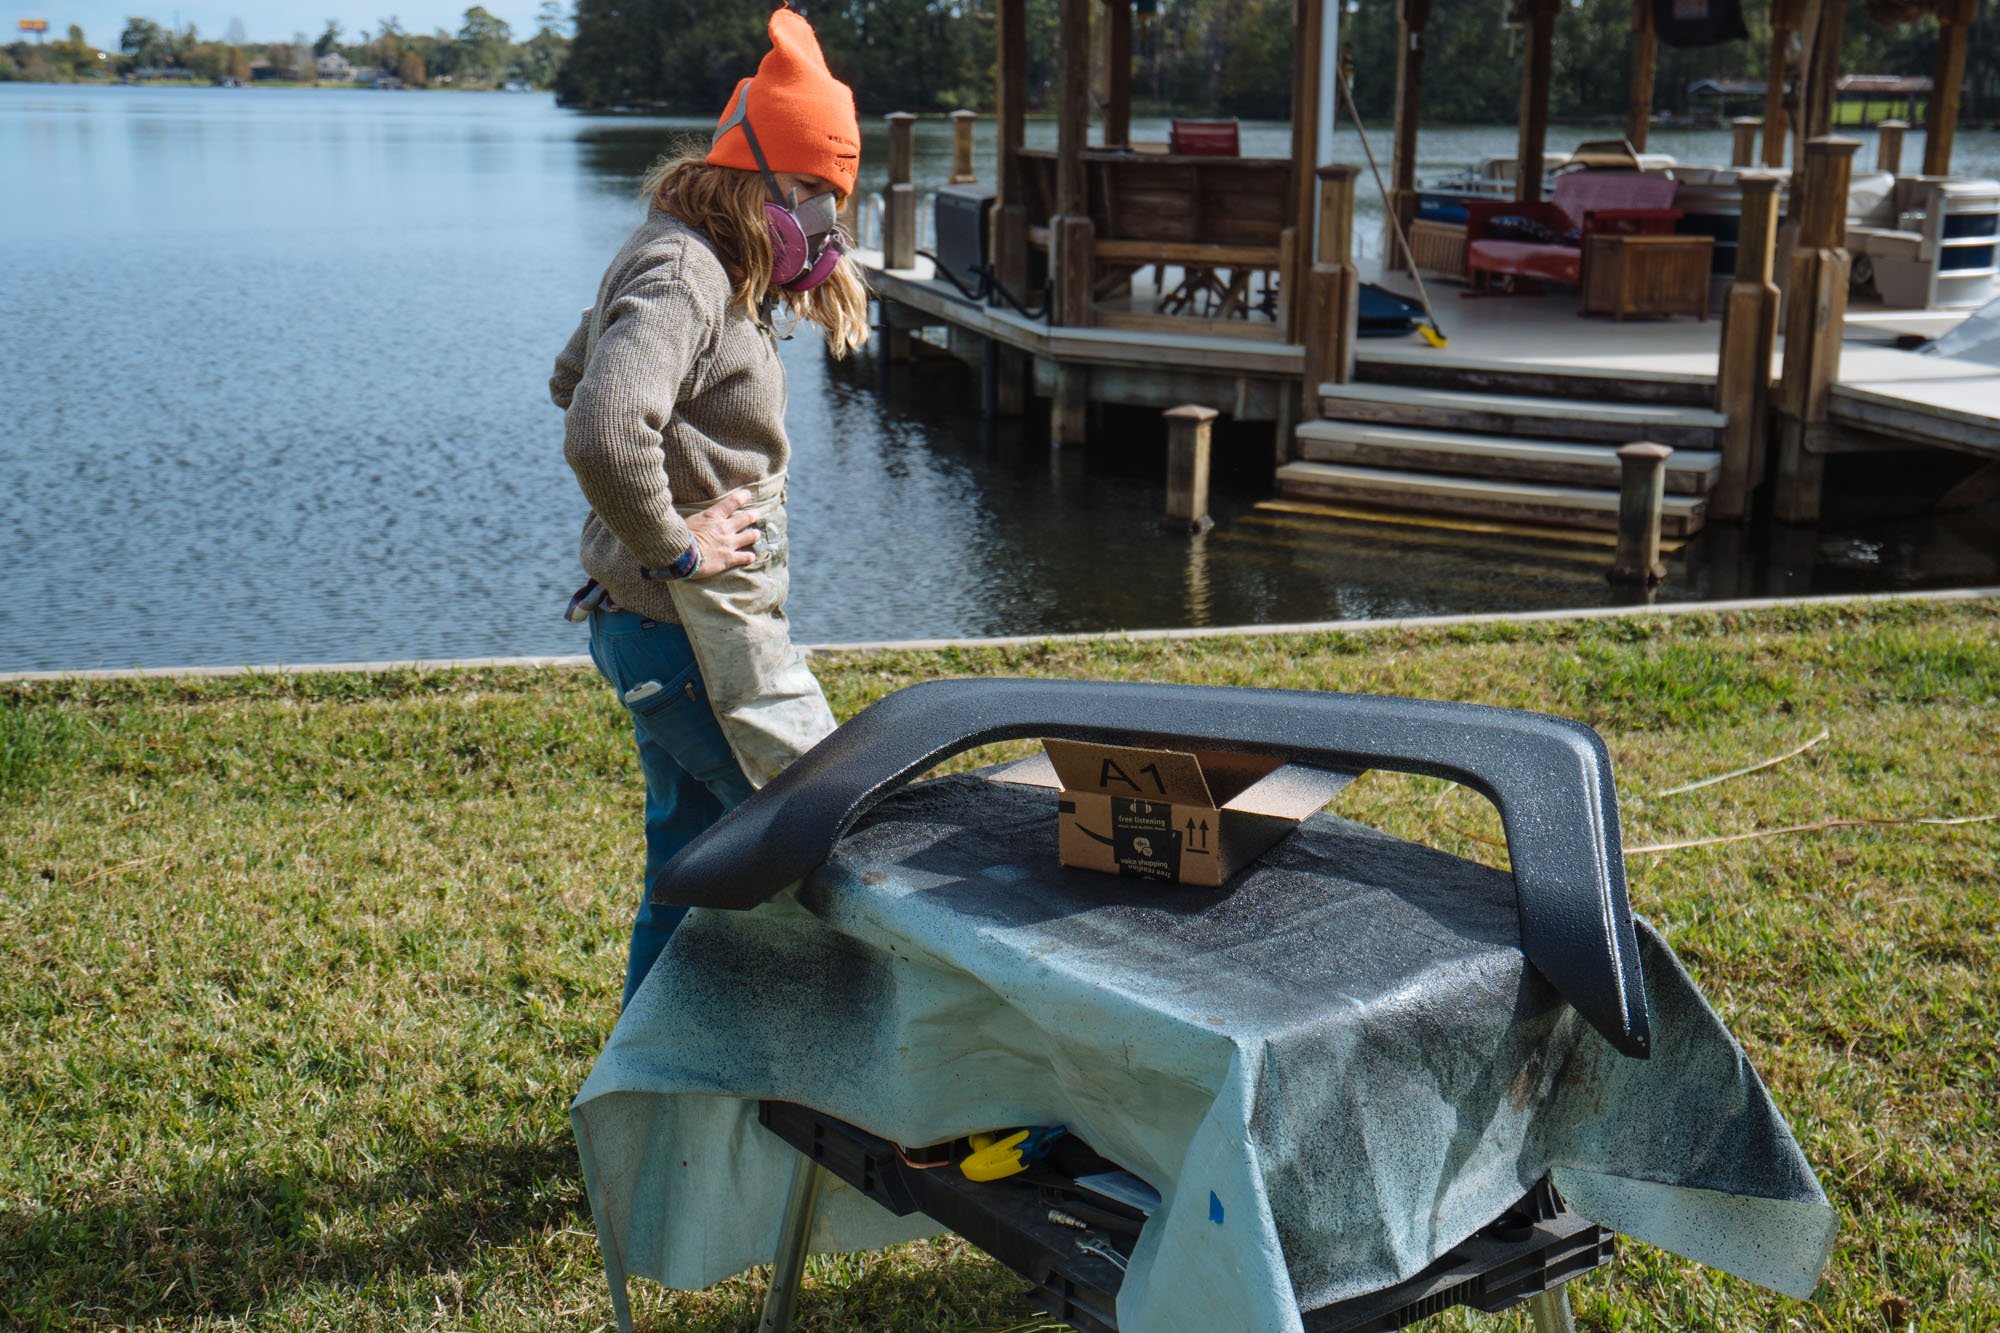
On a cold Florida morning I donned two pairs of pants and set out to make my painting station in the backyard so that any over spray would fall on soon to be trimmed grass.

I've never painted with a paint gun of any kind before, so it was fun learning to dial in the pressure and the spray distance to get the desired texture.


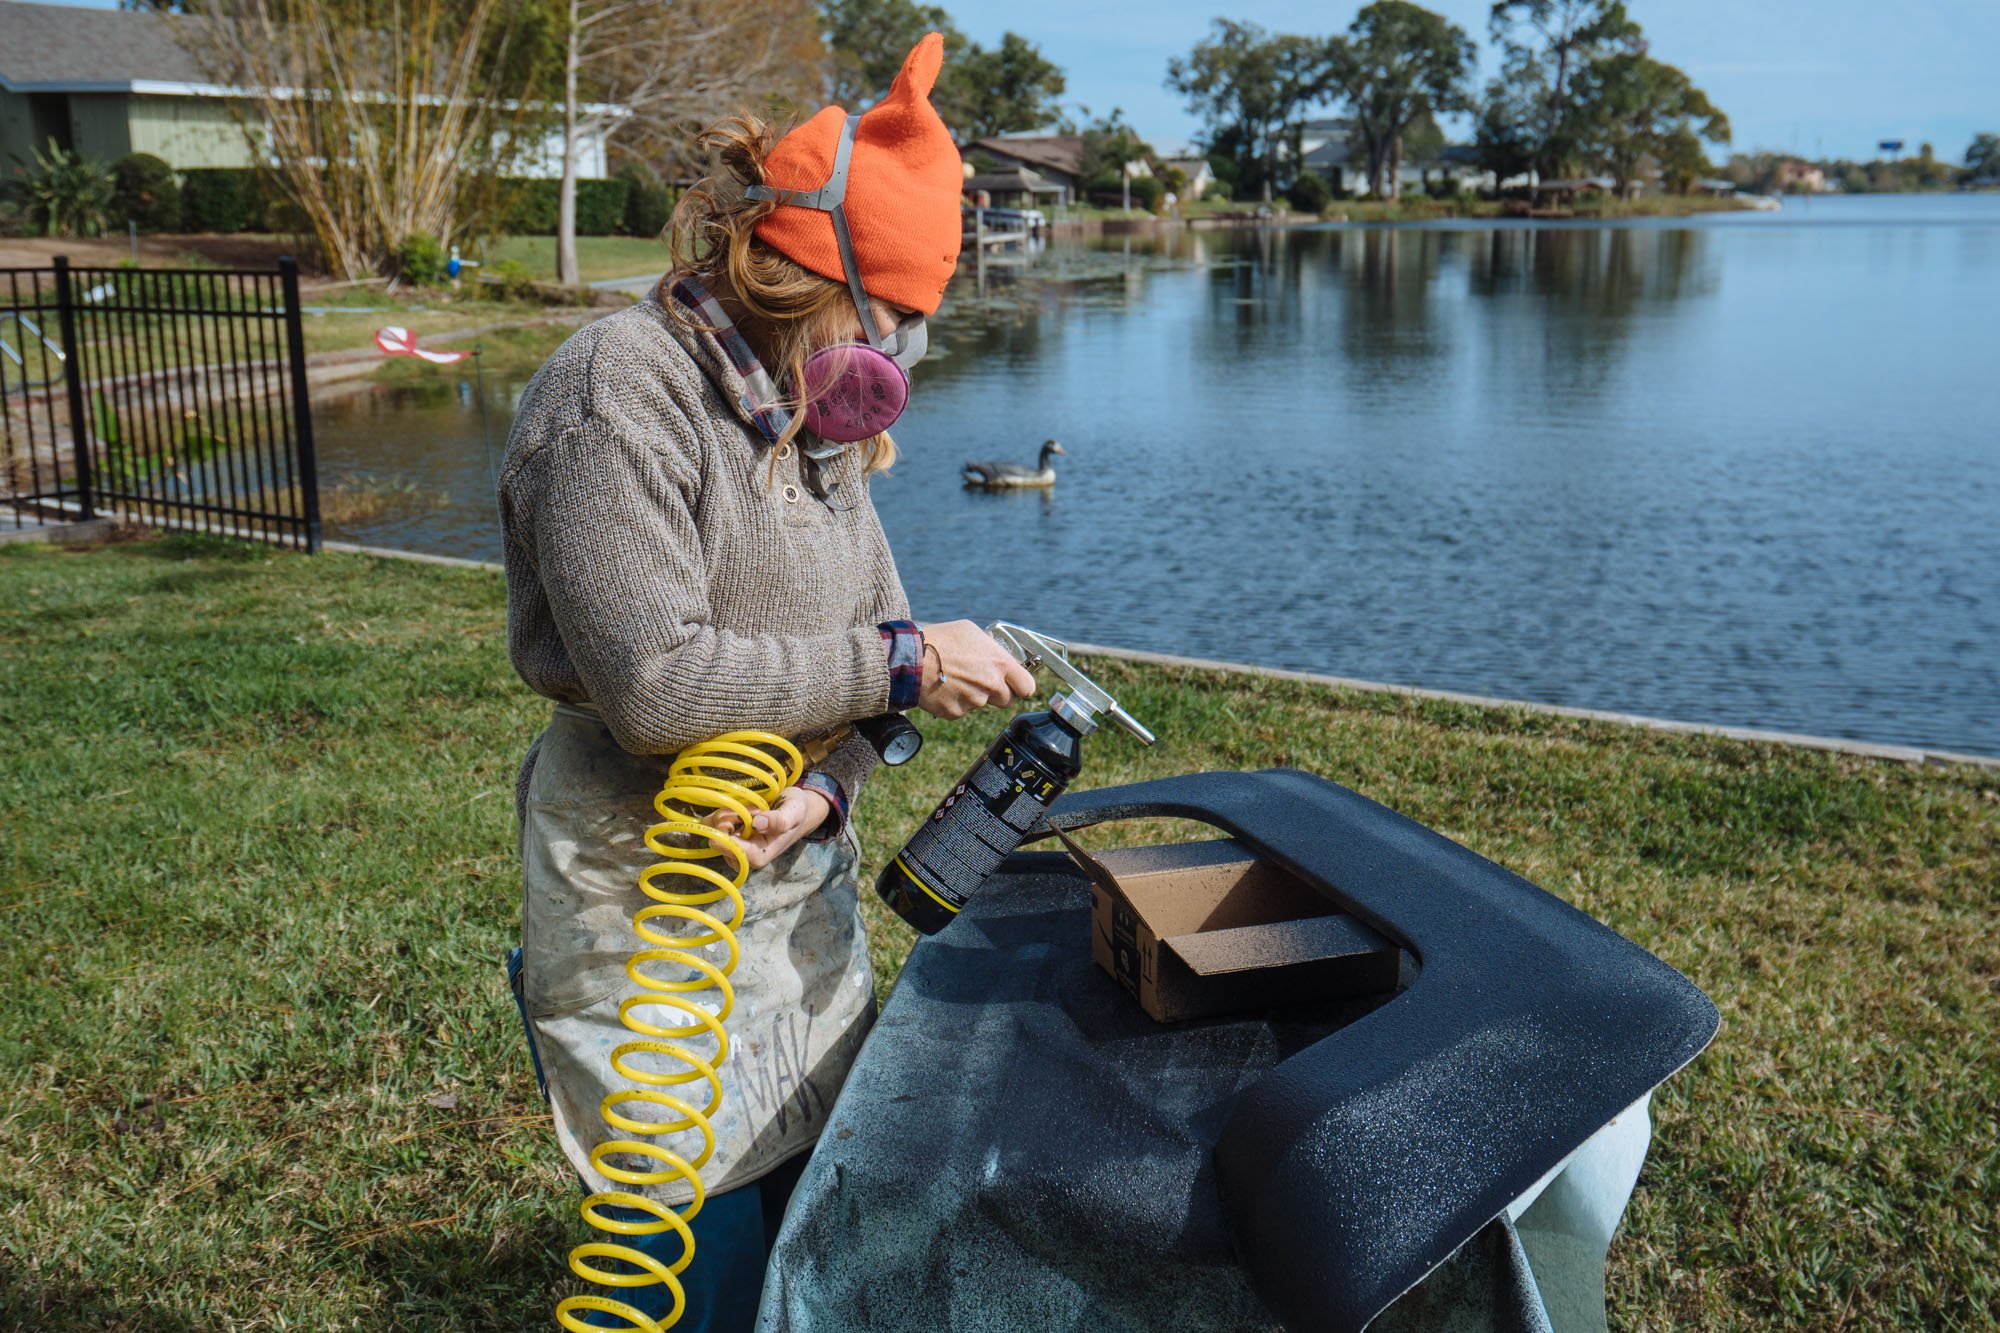
I decided to start with the roof rack so I could refine my skills and because it would be the furthest from where I could look at it everyday and nit pick at my handy work. Good thing is, Raptor liner is pretty fool proof and the results were pretty impressive even from my first go!

I'm just going to leave this here so you can really take in my whole outfit...


Ladder before and after! Hopfully this will officially be the last time we paint that ladder!
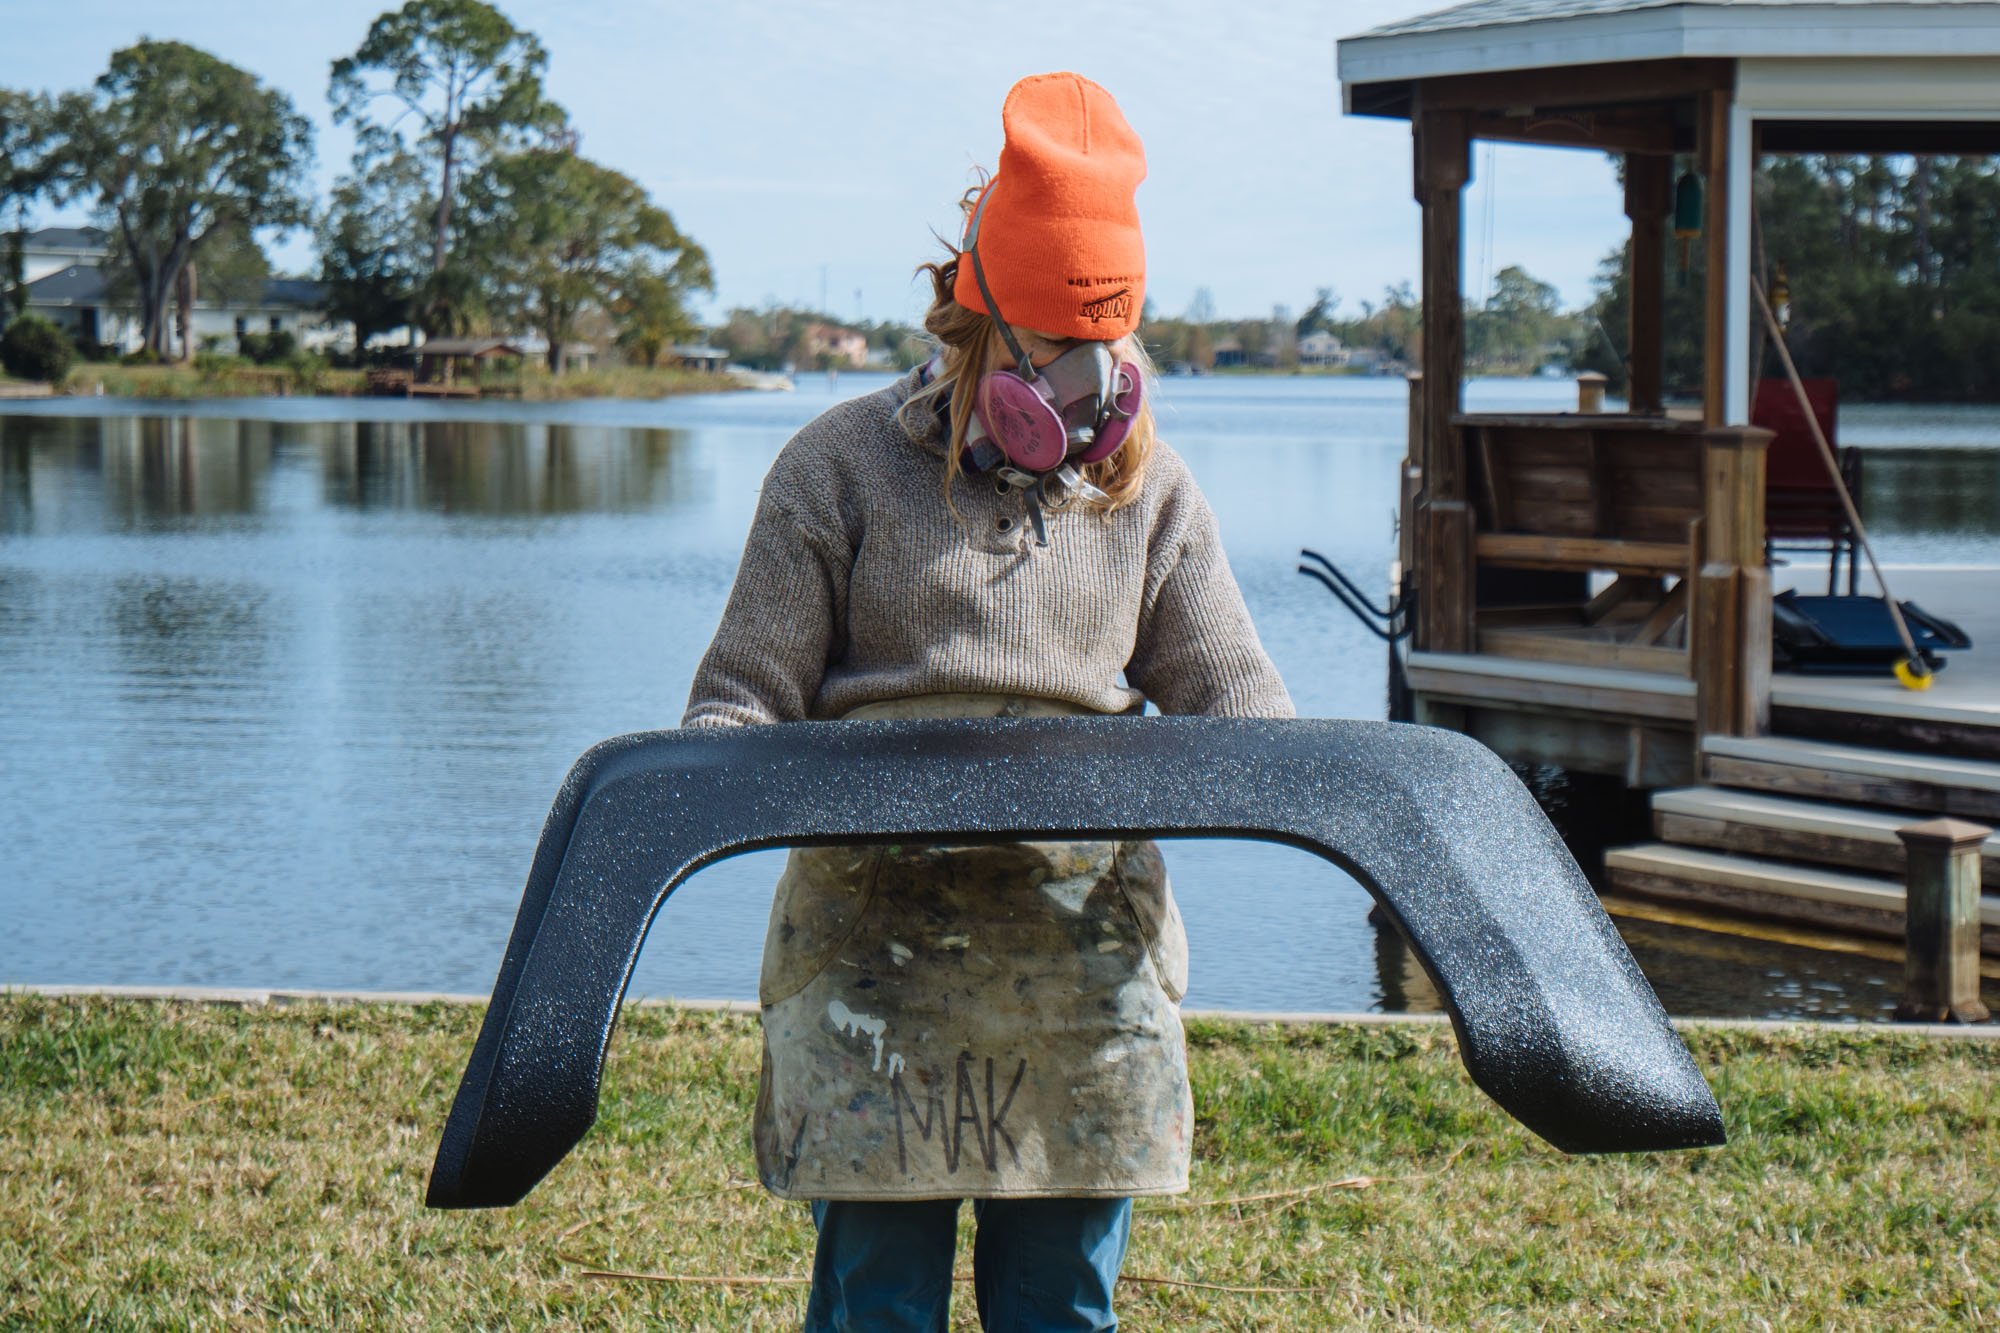
That right there is a proud lady and her handy work!

We really loved working with the Raptor liner. If you are looking to paint something and you need it to fit the following criteria, Raptor Liner is for you:
Cheap
Easy
Fast
Durable
Fool Proof
Few Materials Needed
In all it took us 2 bottles of Liner to cover all that you see above with two full coats. We still have two full bottles and we already have plans for them, but we'll circle back to that at a later date.

After everything had some time to dry we were excited to roll right into reinstalling our roof-rack. Being that the weather had been pretty poor, we were really wanting to move quickly to fill as many holes in Amelia as possible.
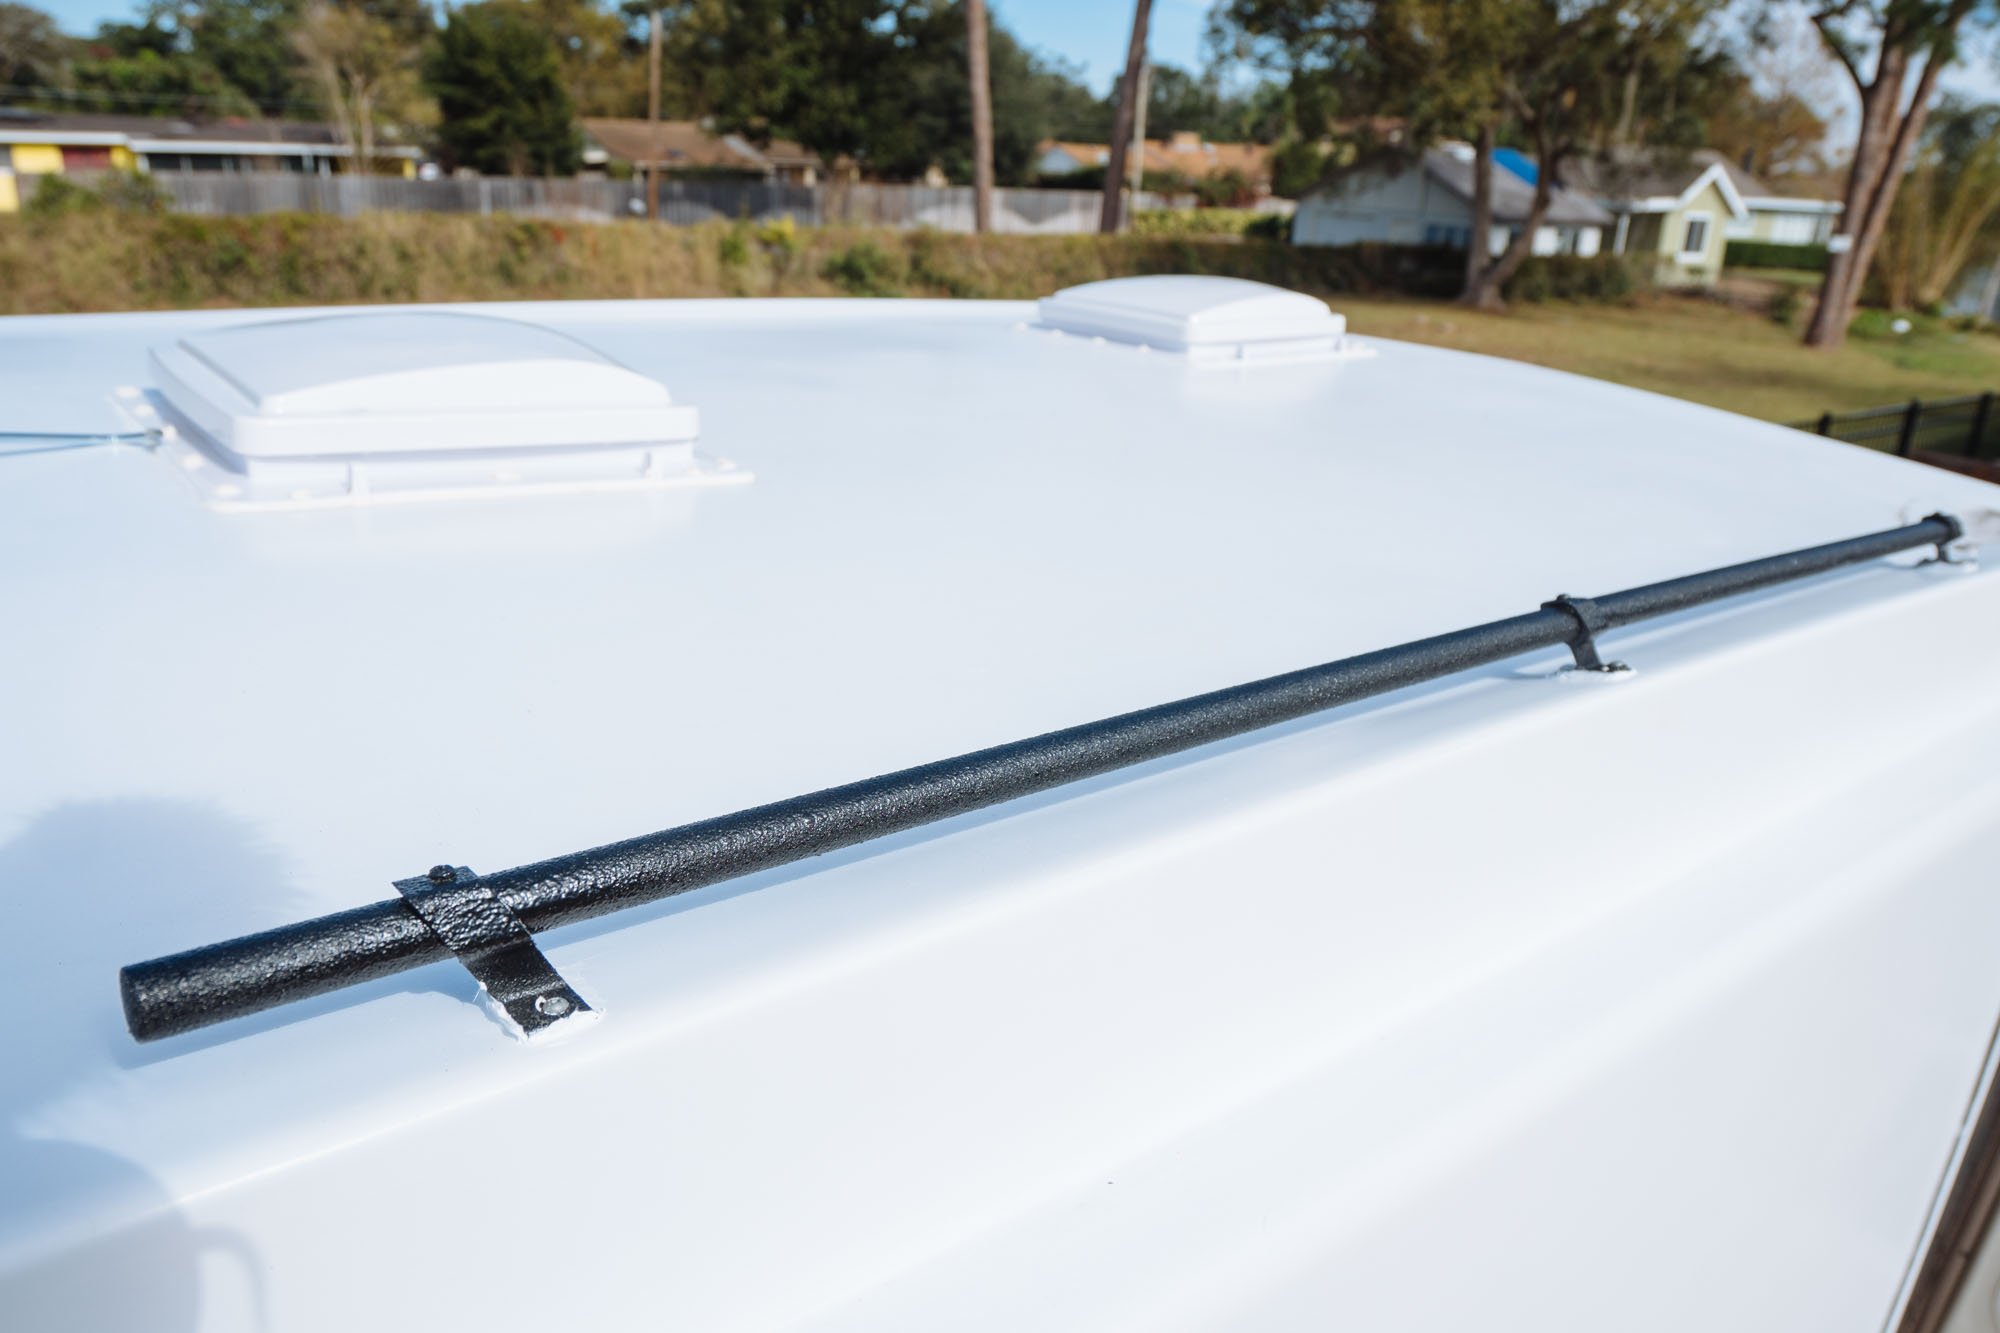

When we pulled the roof rack off before we painted it, we were bummed to see that the rack was just screwed into the roof with little to no sealant around the holes to prevent water leaks. This time around we were sure to correct that. Again, we used Sikaflex to seal the holes. And no, Sikaflex is not a muscle building supplement, despite how it may sound.
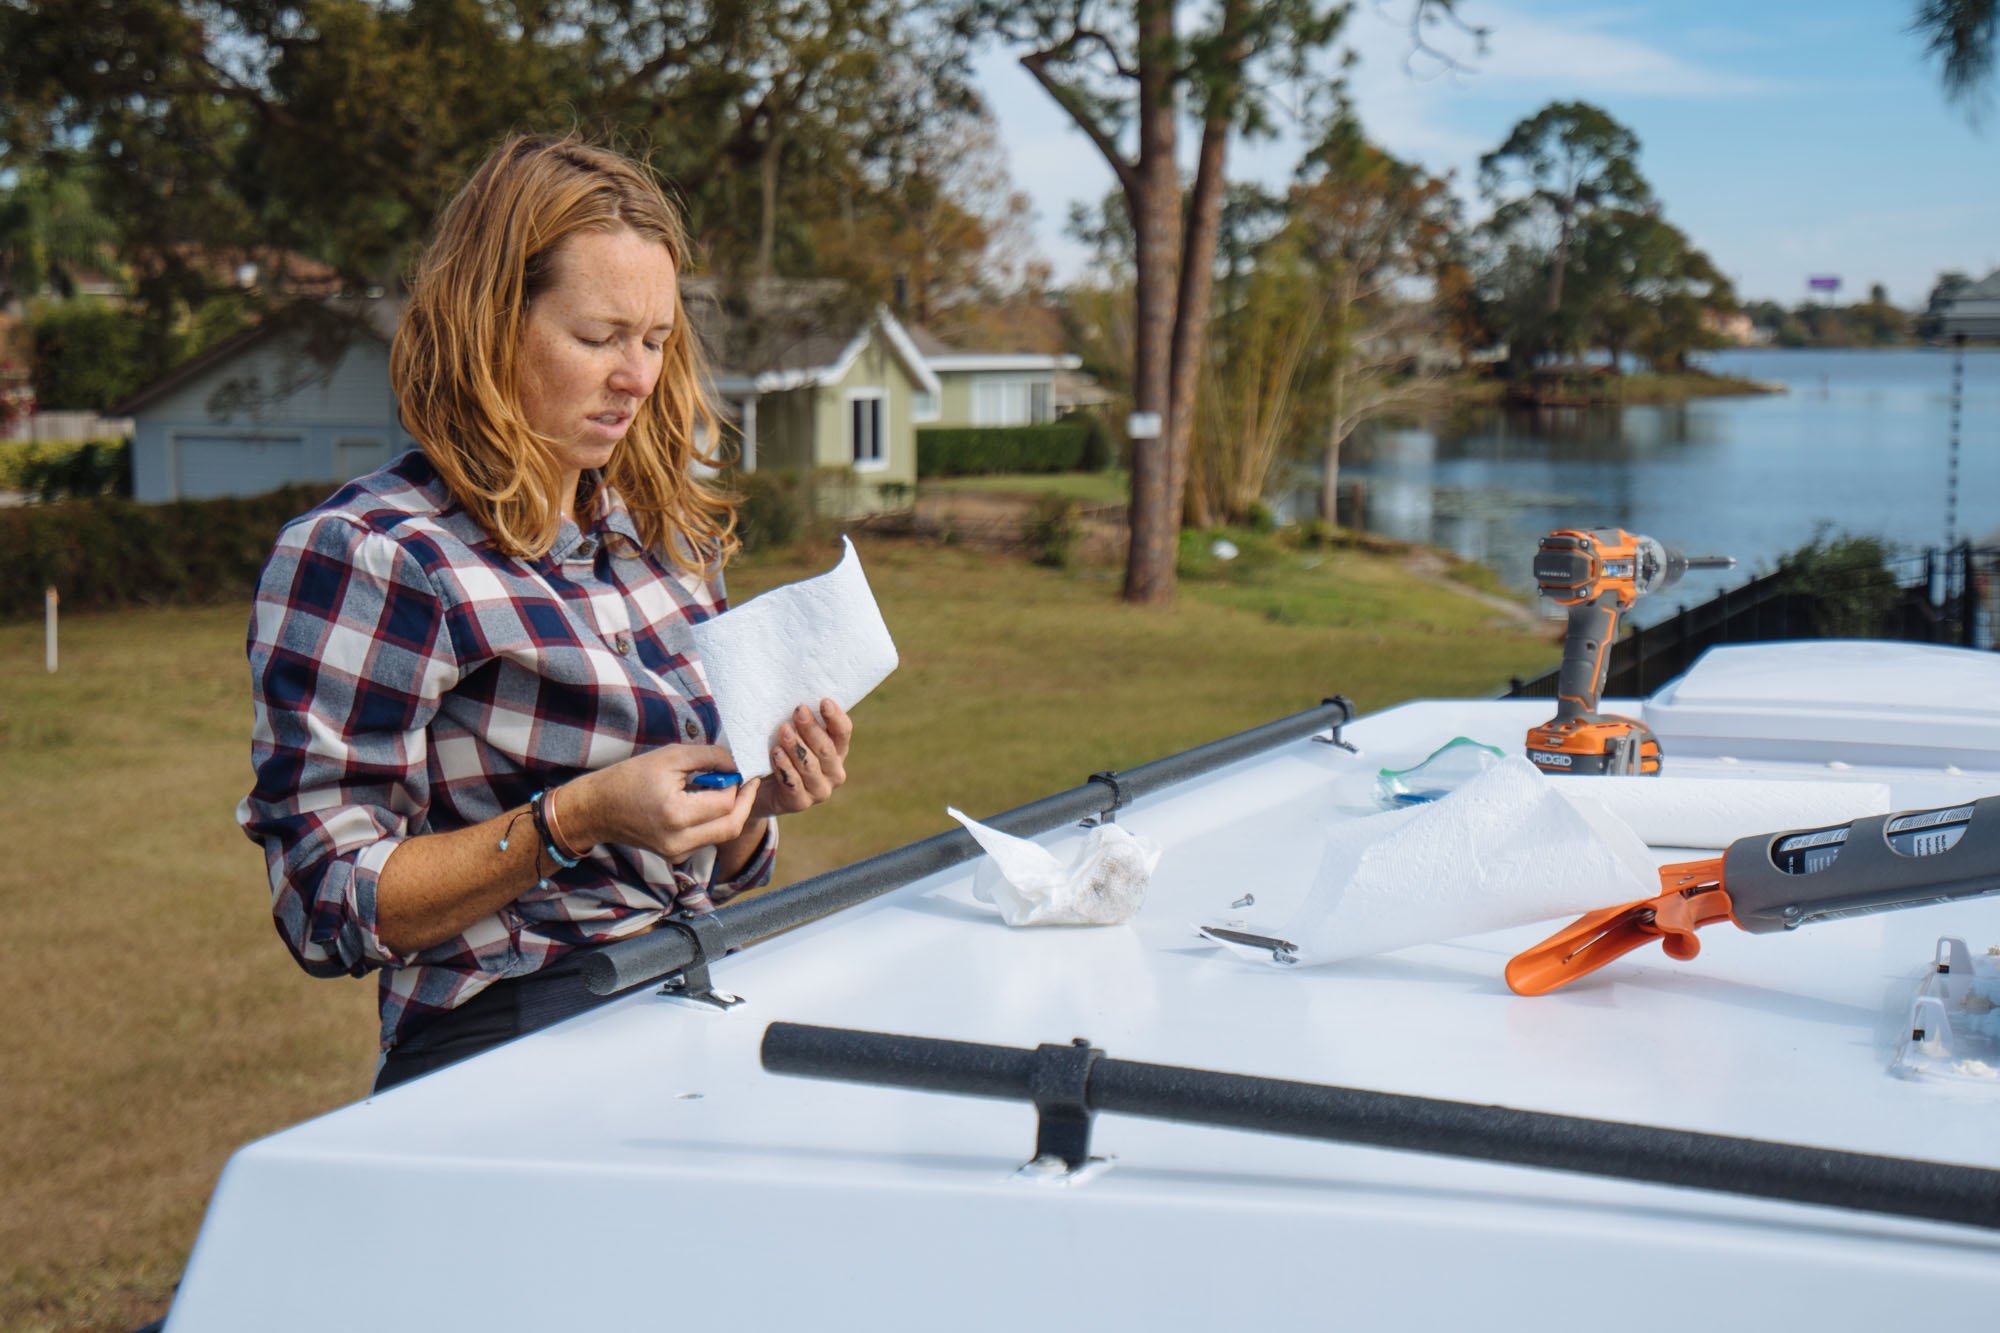
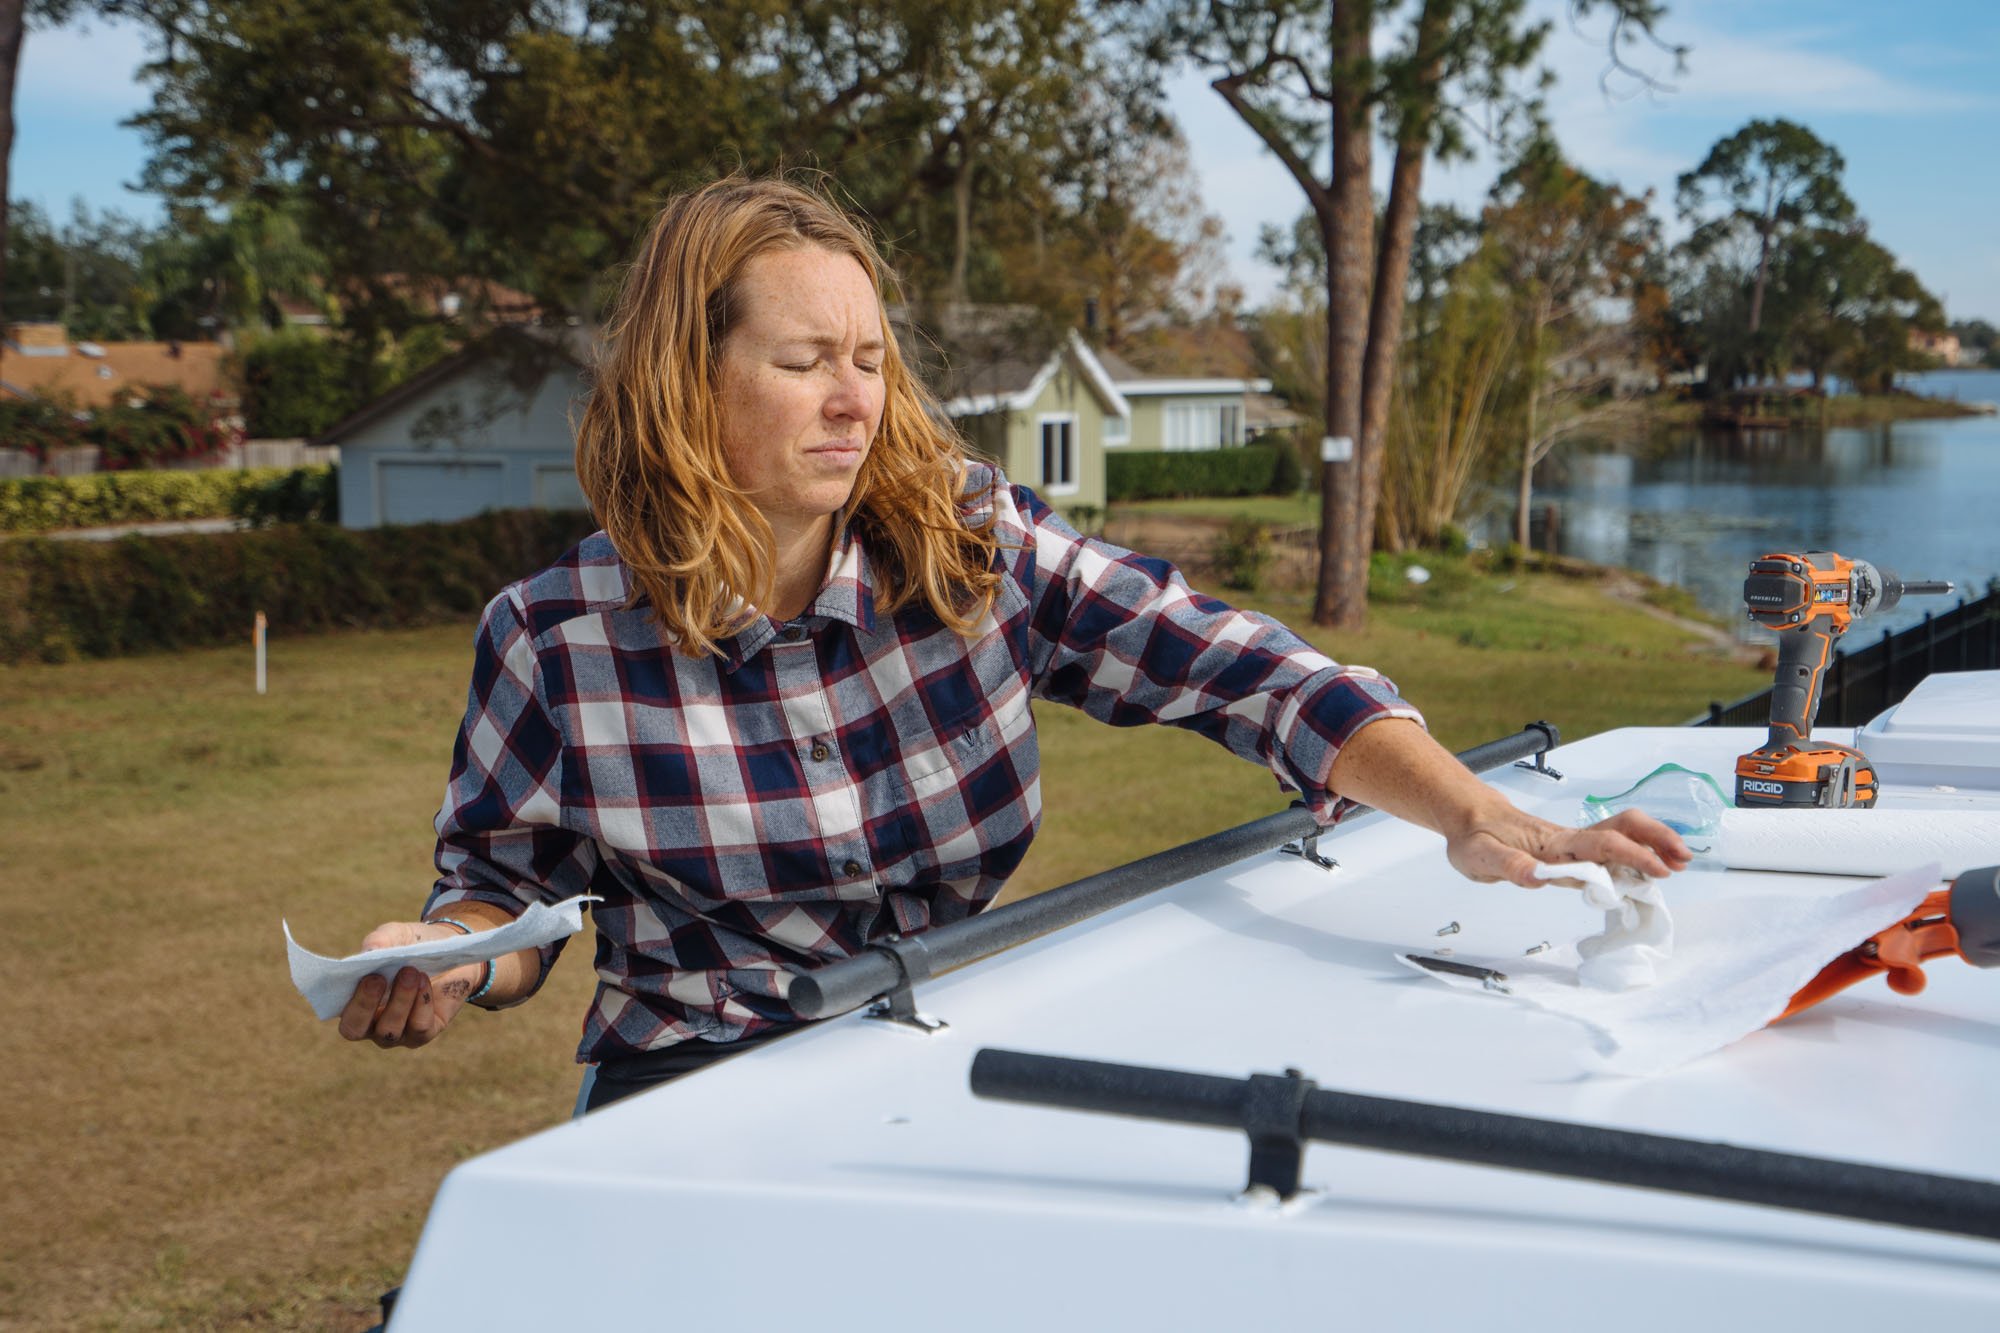

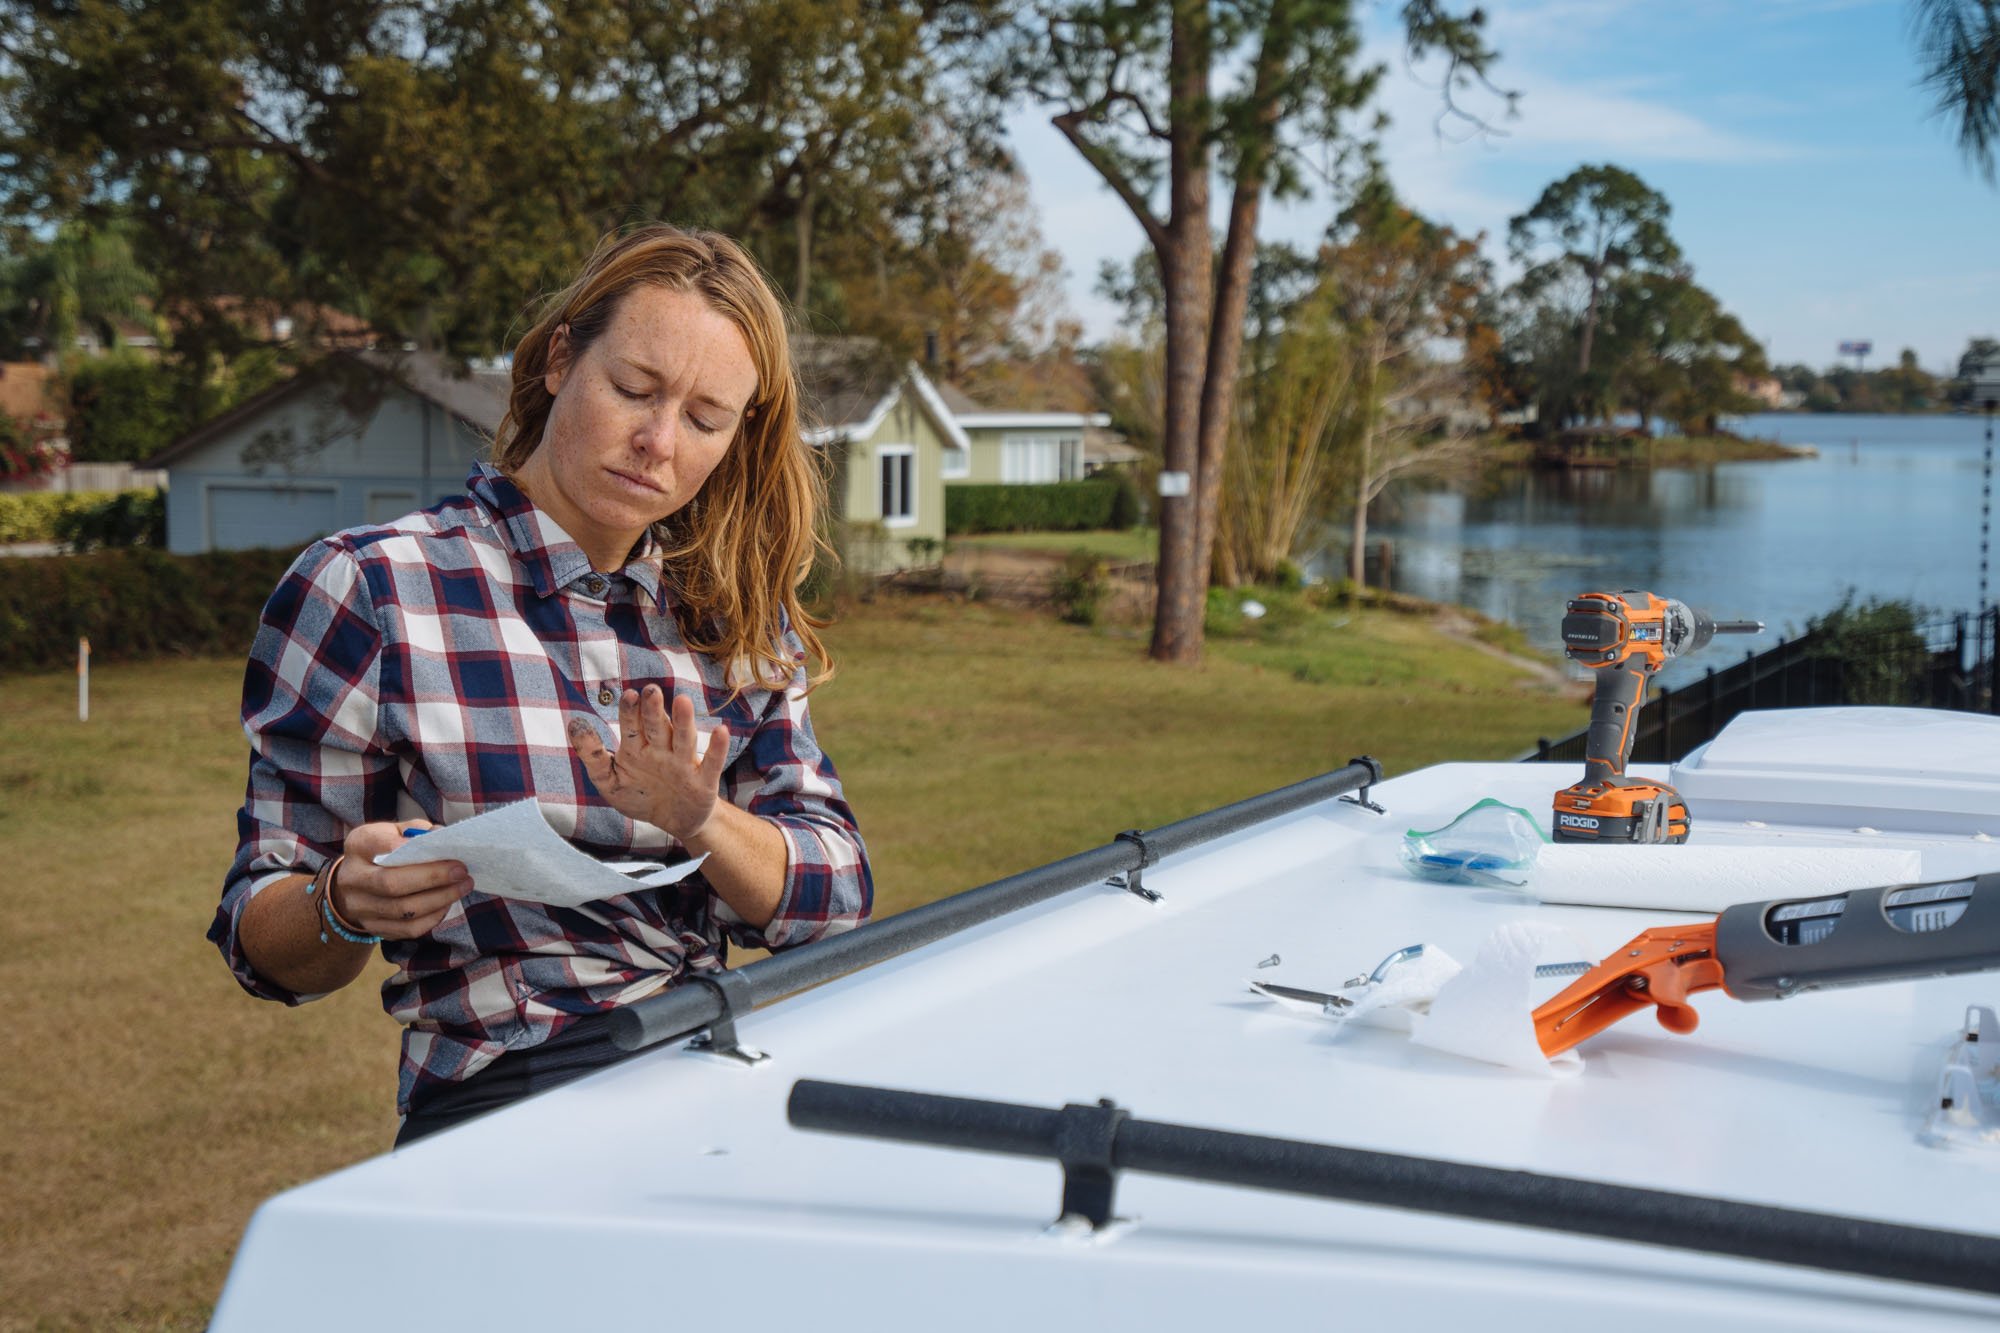
Owen has a way of catching my good side when I'm working. We're all friends here, and it gave us a good laugh so I figured I would share these lovely pictures with you guys. So here I am, living my best life, for all the world to see.

On another note, I've always wondered why I end up with so much sealant/fiberglass/resin/other unidentifiable permanent things in my hair. Here is my answer.

Moving right along, it's time to install our Yakima Racks! We've had these babies waiting for a while now. We ordered them because we knew what set up we wanted, we just had to get to the point in our build when we could install them. Alas, we have arrived! On our van Stanley, our roof held cross bars, a storage box, and the SUP dawg surfboard rack. This time around we aren't going to have a storage box because we're trying not to be a million feet tall! However, the only thing that we're keeping from Stanley is the Surfboard rack, of which will be the only thing for the time being that is attached to the crossbars.

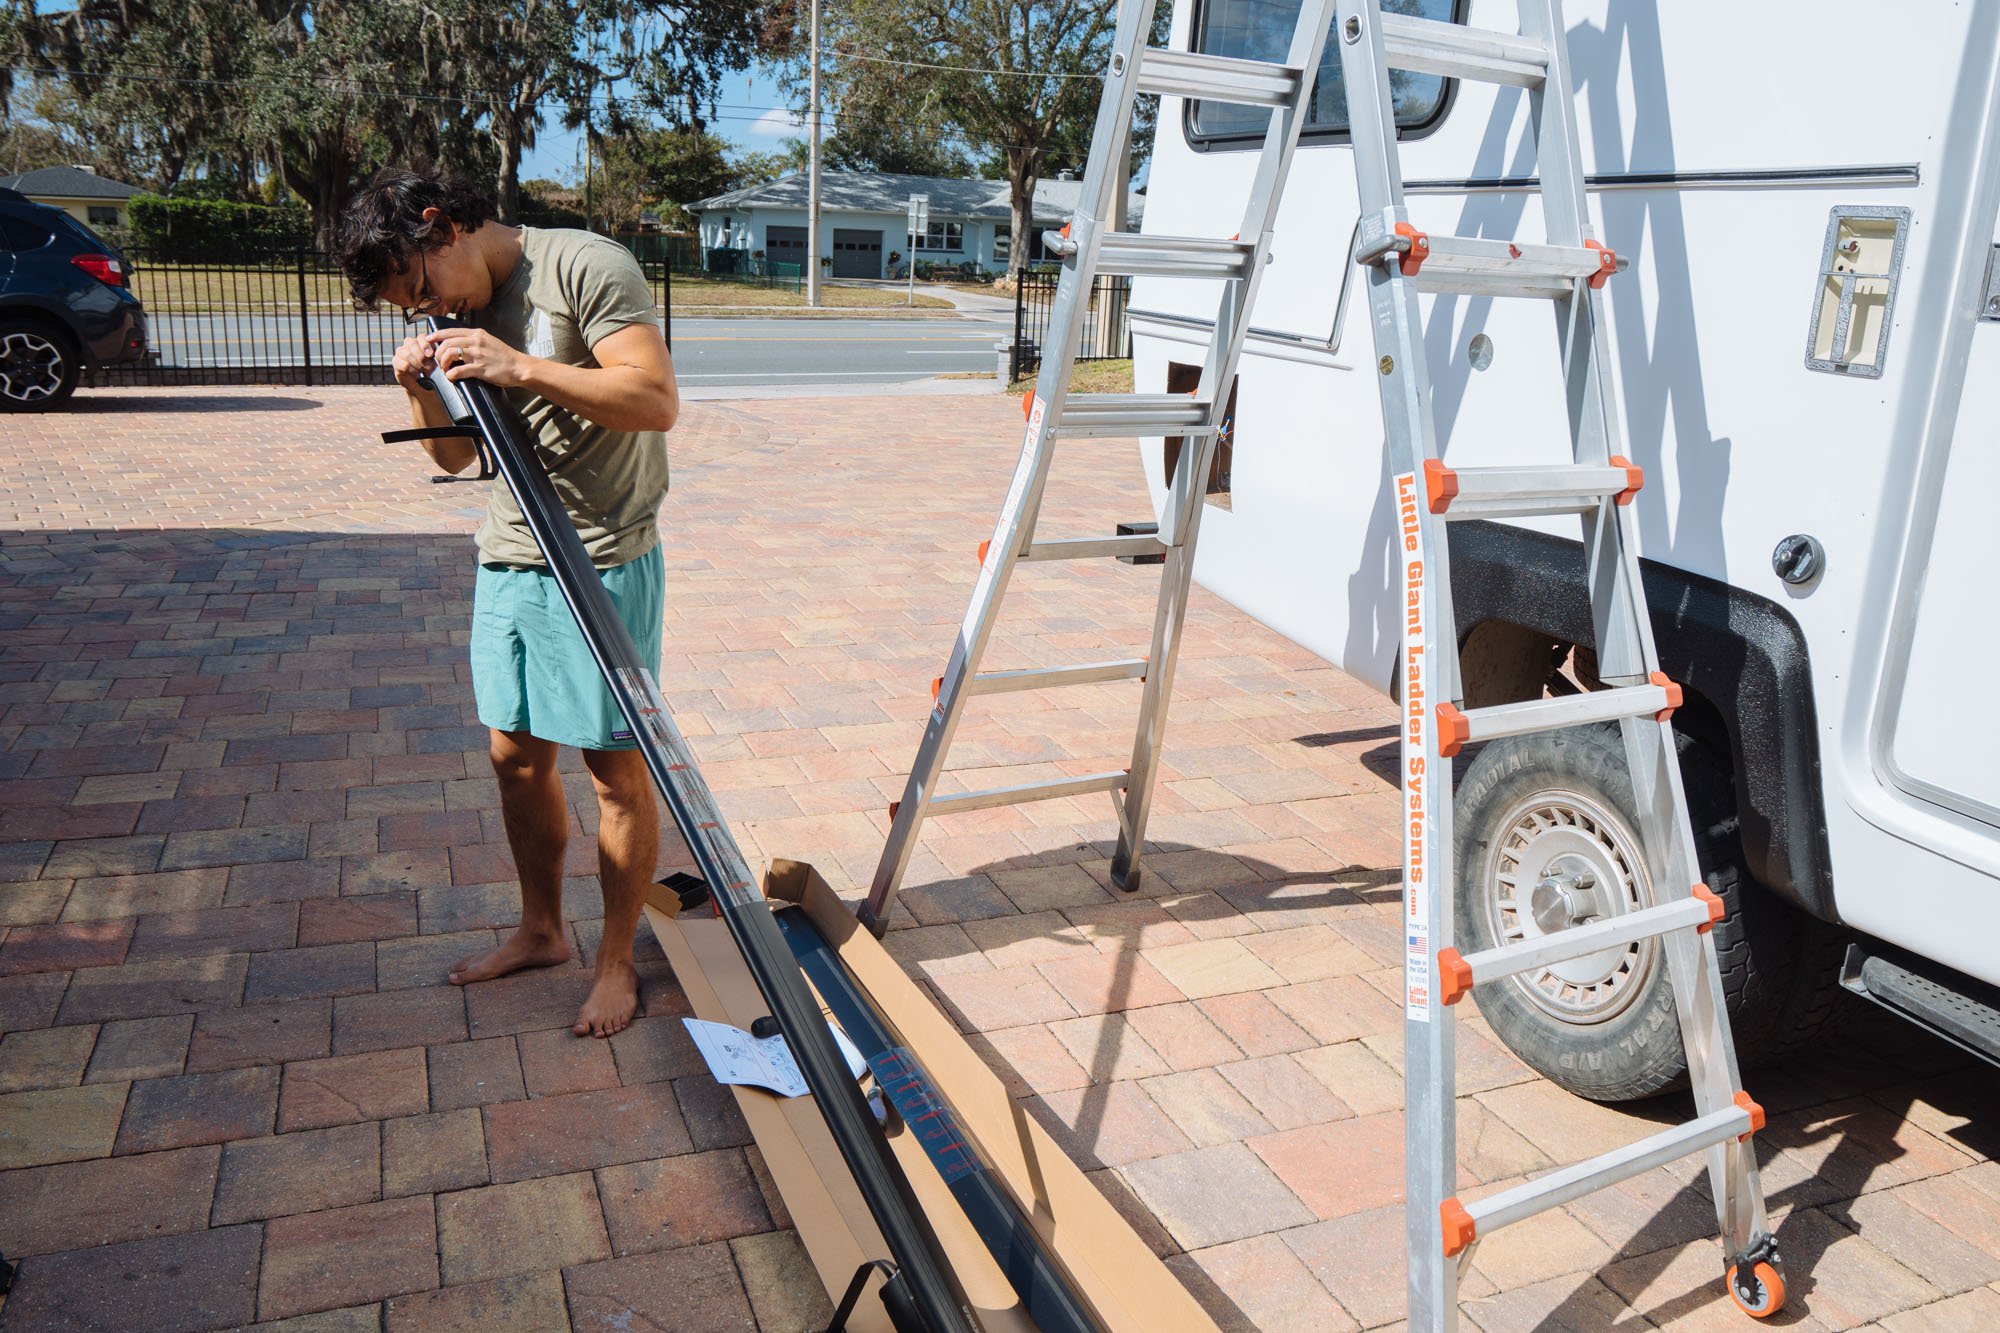
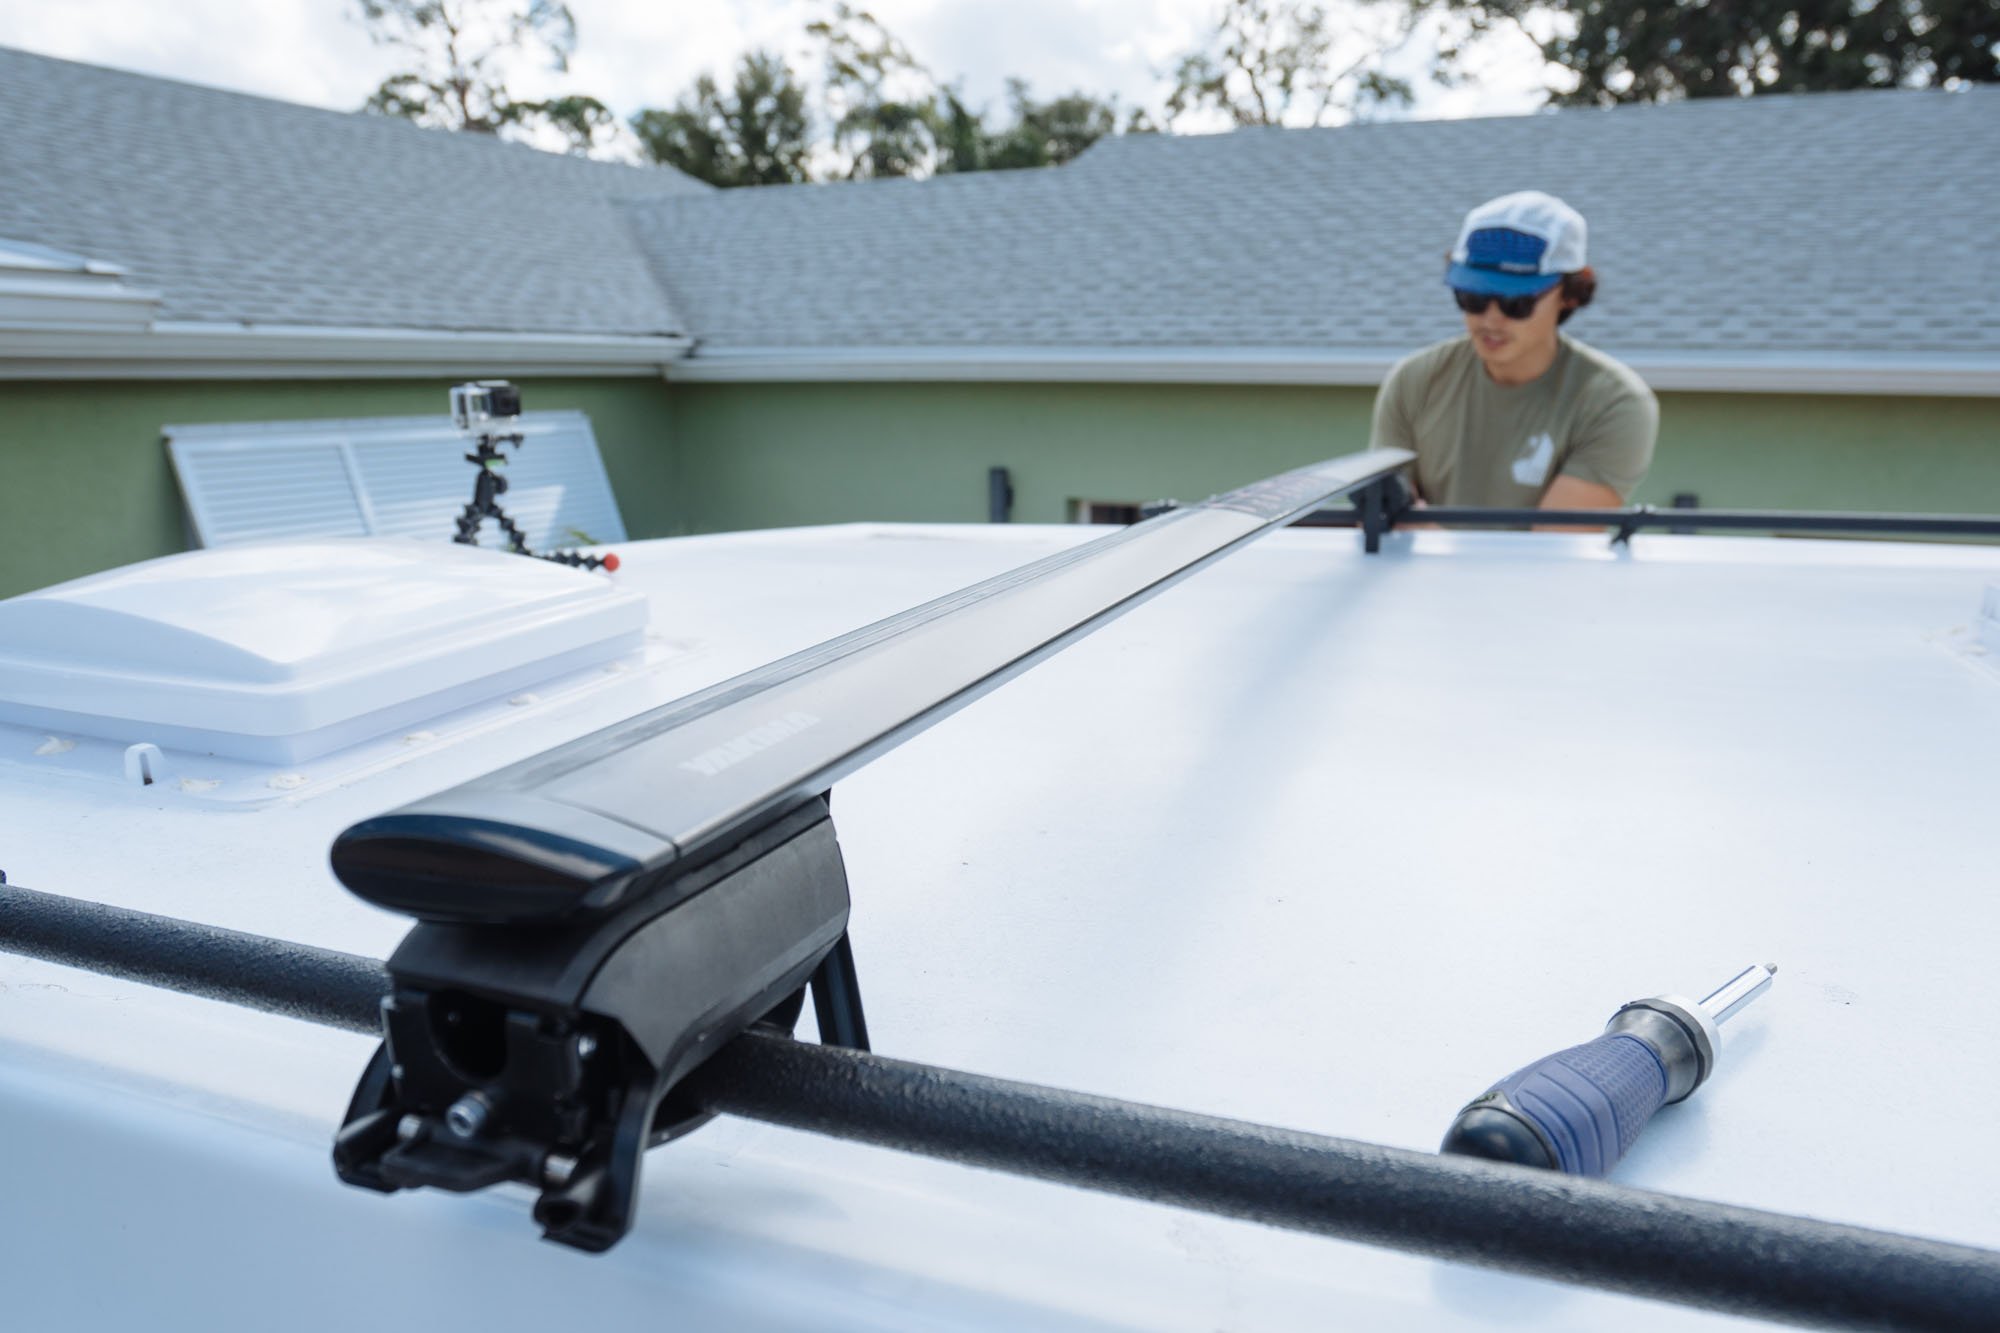
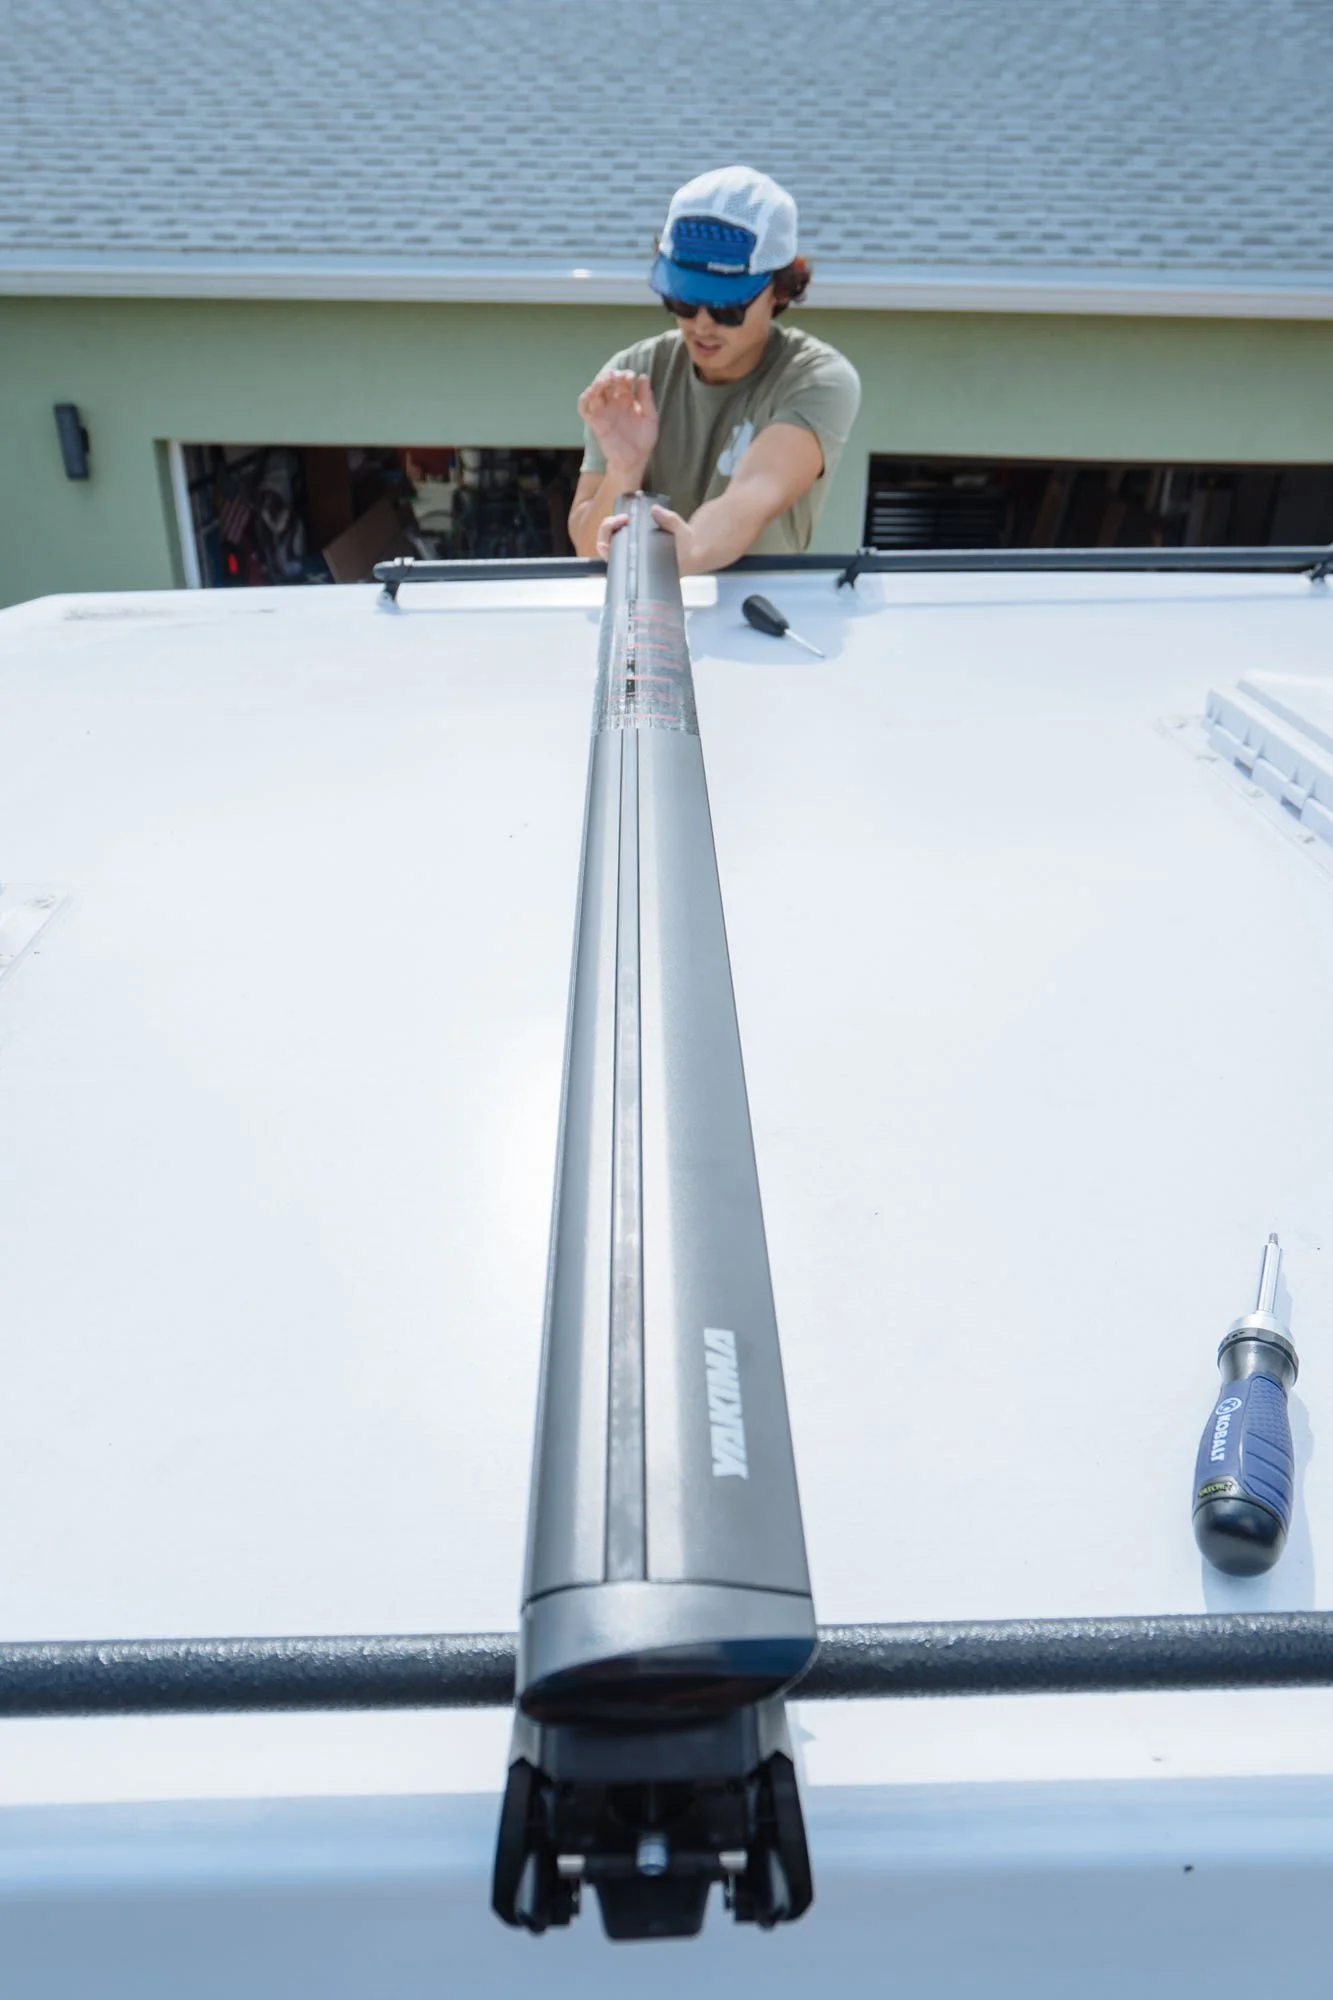
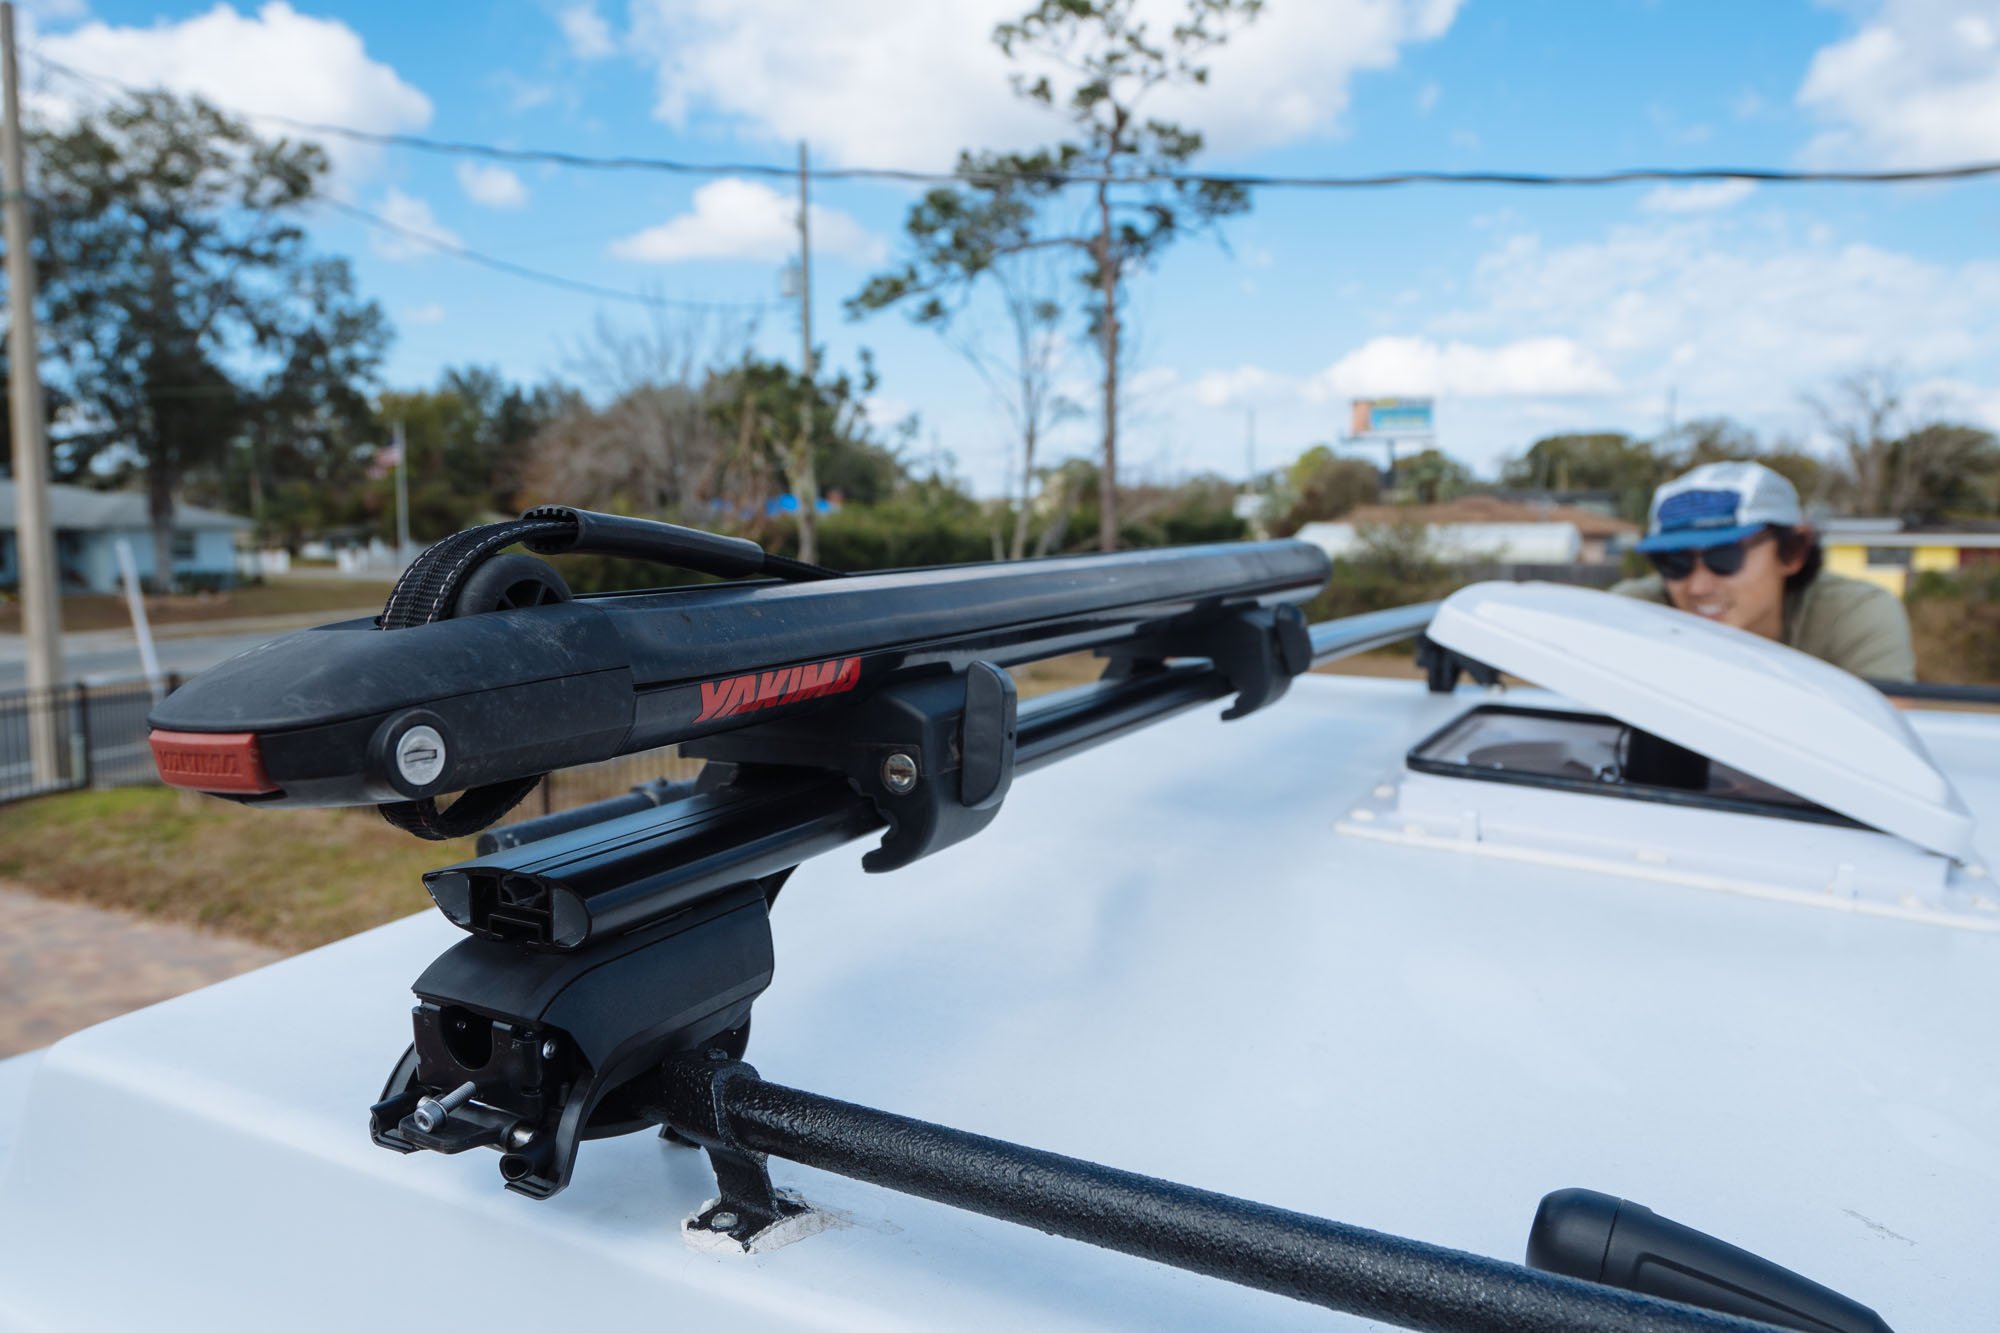
The rack was easy to install, it just took some fine tuning. We even pulled our surfboards onto the roof just to be sure that we had everything spaced according to the boards before we tightened it all down for good!

The final touch was removing the excess length off the new screws that help the roof bars in place. We just wanted to be sure they didn't stand a chance of interfiring with our cieling panels...whenever they decide to show up!

Before we dive into installing our fenders, which Owen looks excited about, I want to tell you about something that we don't have any pictures of.
For the last two and a half months, Owen and I have been working with a fabricator behind the scenes trying to have some custom storage boxes to fill two holes in the exterior of Amelia's body. One of which can be seen in the image above. We were happy to have connected with a fabricator quickly after arriving in Orlando who was excited about our rig and what we were wanting to have built. He insisted that he wanted to be the one to build our boxes. Needless to say, we were stoked. After a few weeks of back and forth he finally quoted us at $600 for the two boxes. We were expecting the quote to come in much higher, but our budget liked the sound of his quote and we proceeded with the work. As time passed we would not hear anything from him, and we constantly would reach out trying to figure out our timeline or to find out what had been completed. After a few conversations it was made clear that the best way to make them would be if he just had Amelia with him in the shop. With our trip to Michigan approaching, the shop owner said that they could do the work while we were gone and we could pick Amelia up after returning. We loved this idea because two days after we were scheduled to pick up Amelia with her completed boxes, she was due to return to another shop to get her decals reapplied.
We checked in everyday Amelia was in the shop because of how poor the line of communication had been leading up to that point. We also wanted to be sure that Amelia made it to her next appointment on time. Everytime we spoke over the phone we were assured that the work was underway, and she would be ready. Friday (pickup day) came and went with no word from the shop. Owen and I even drove past the shop to see if anyone was there. Nothing. It was nearly 10pm Friday night before we heard from the shop, low and behold, they never even started on Amelia's boxes.
I still have a hard time putting into words the way I feel about the whole situation. It just hurts to be lied to, strung along, and to have wasted so much time. All we want to do is finish this build and get back to doing what we love.
After a solid evening of tears (from me) and drinking wine (both of us) we arranged to meet the shop owner to meet us at 7am the next morning to pick up Amelia. She left the shop looking exactly as she arrived. Now that we have put a few days between then and now, we're hoping to find a new and trustworthy fabricator by the end of the week. So more to follow on that as things develop on our end.

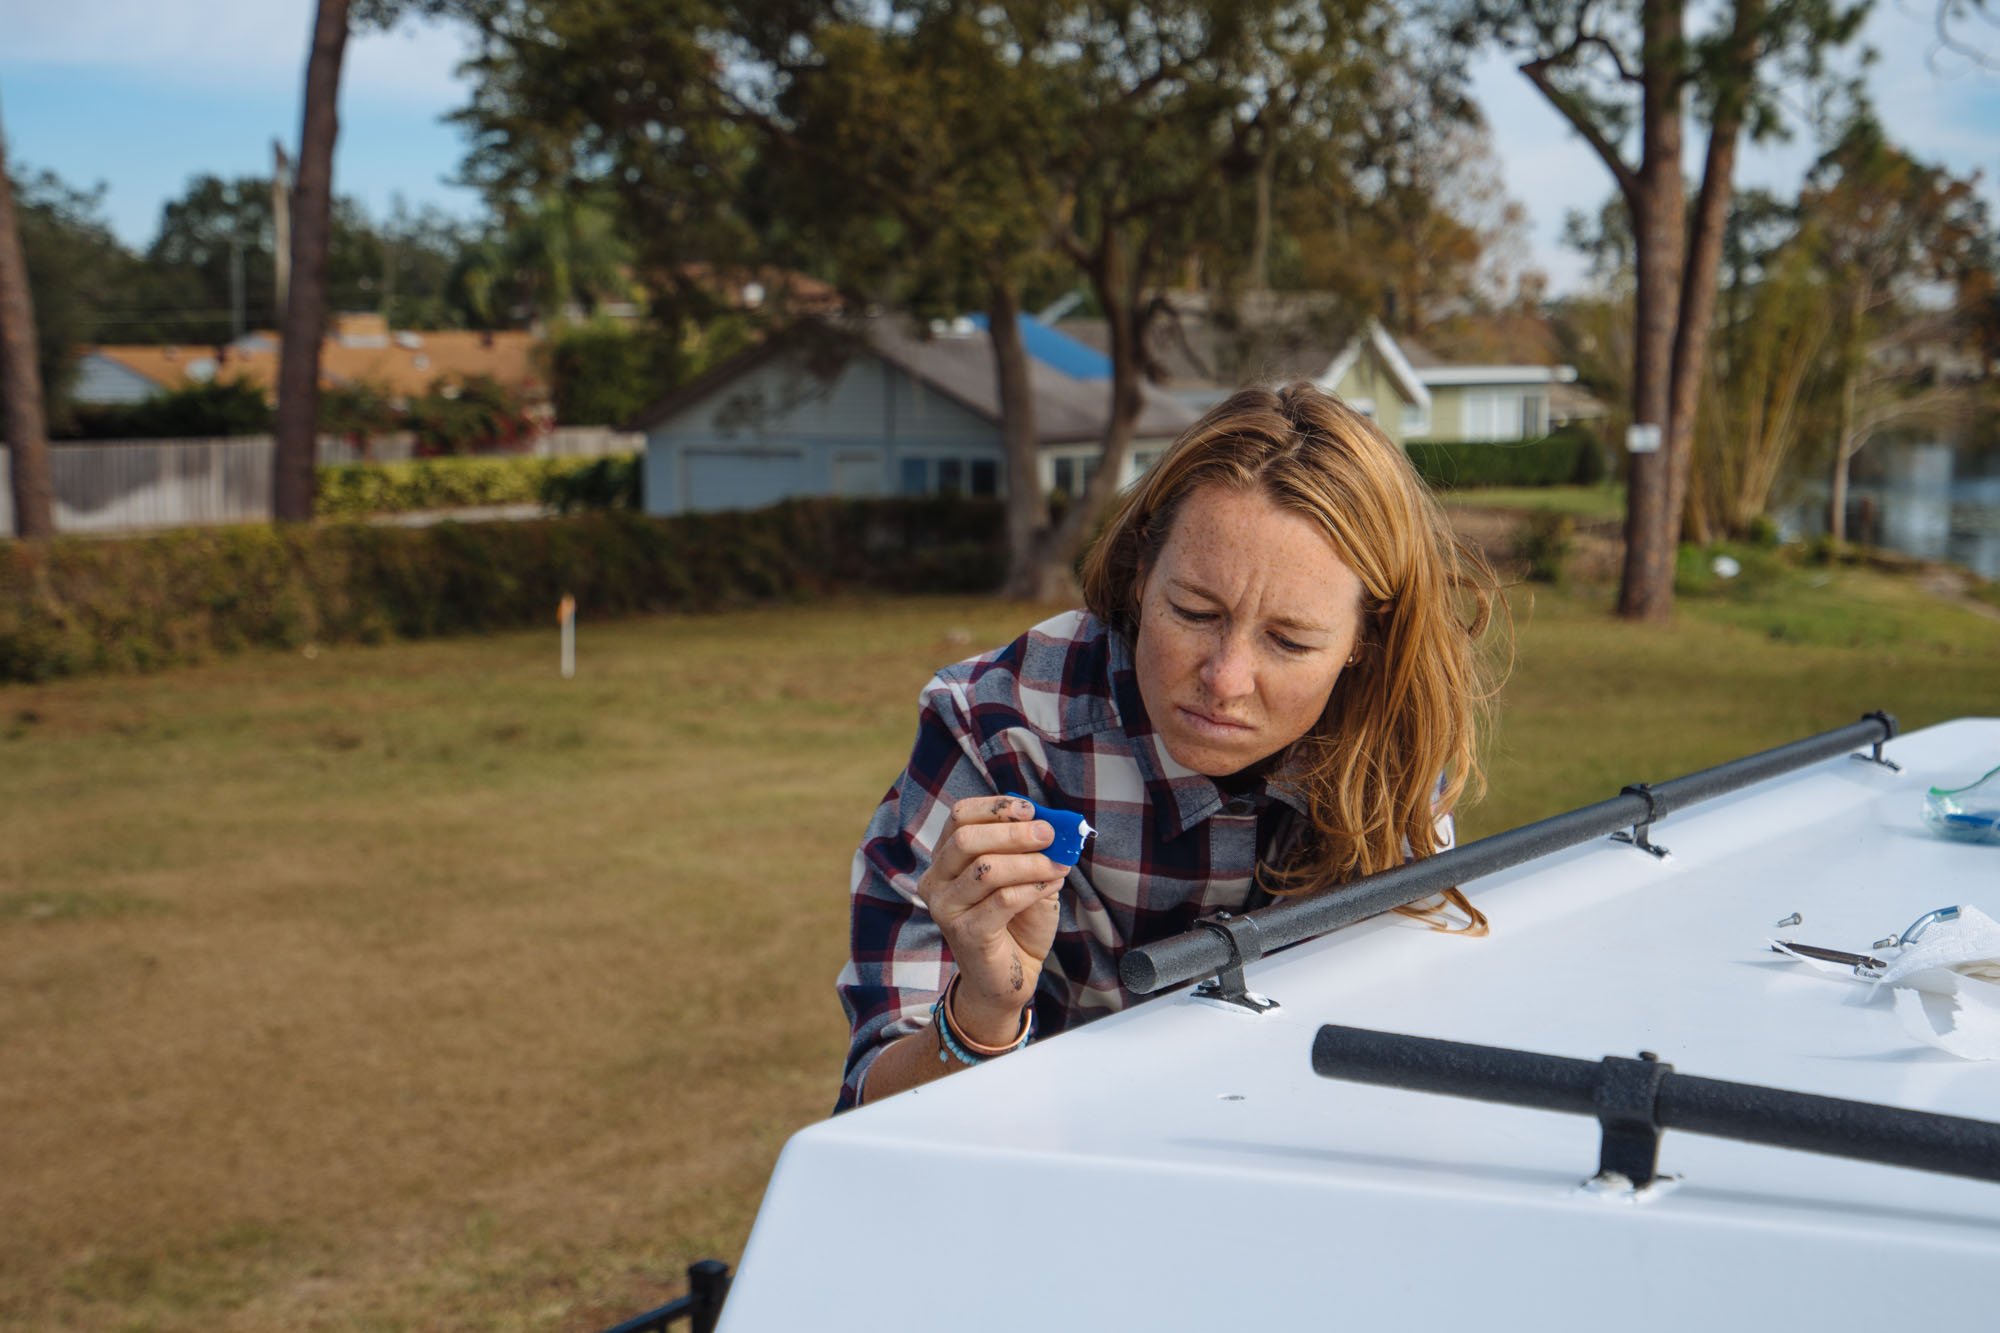
Now back to our fenders. The fenders used to have a trim around them to cover the rivets, we searched the internet high and low for the same trim but came up empty handed. Our solution? We riveted the fenders straight onto the body and then took spray paint in a cup and dabbed it onto the rivets. Insto-facto, the rivets are gone!
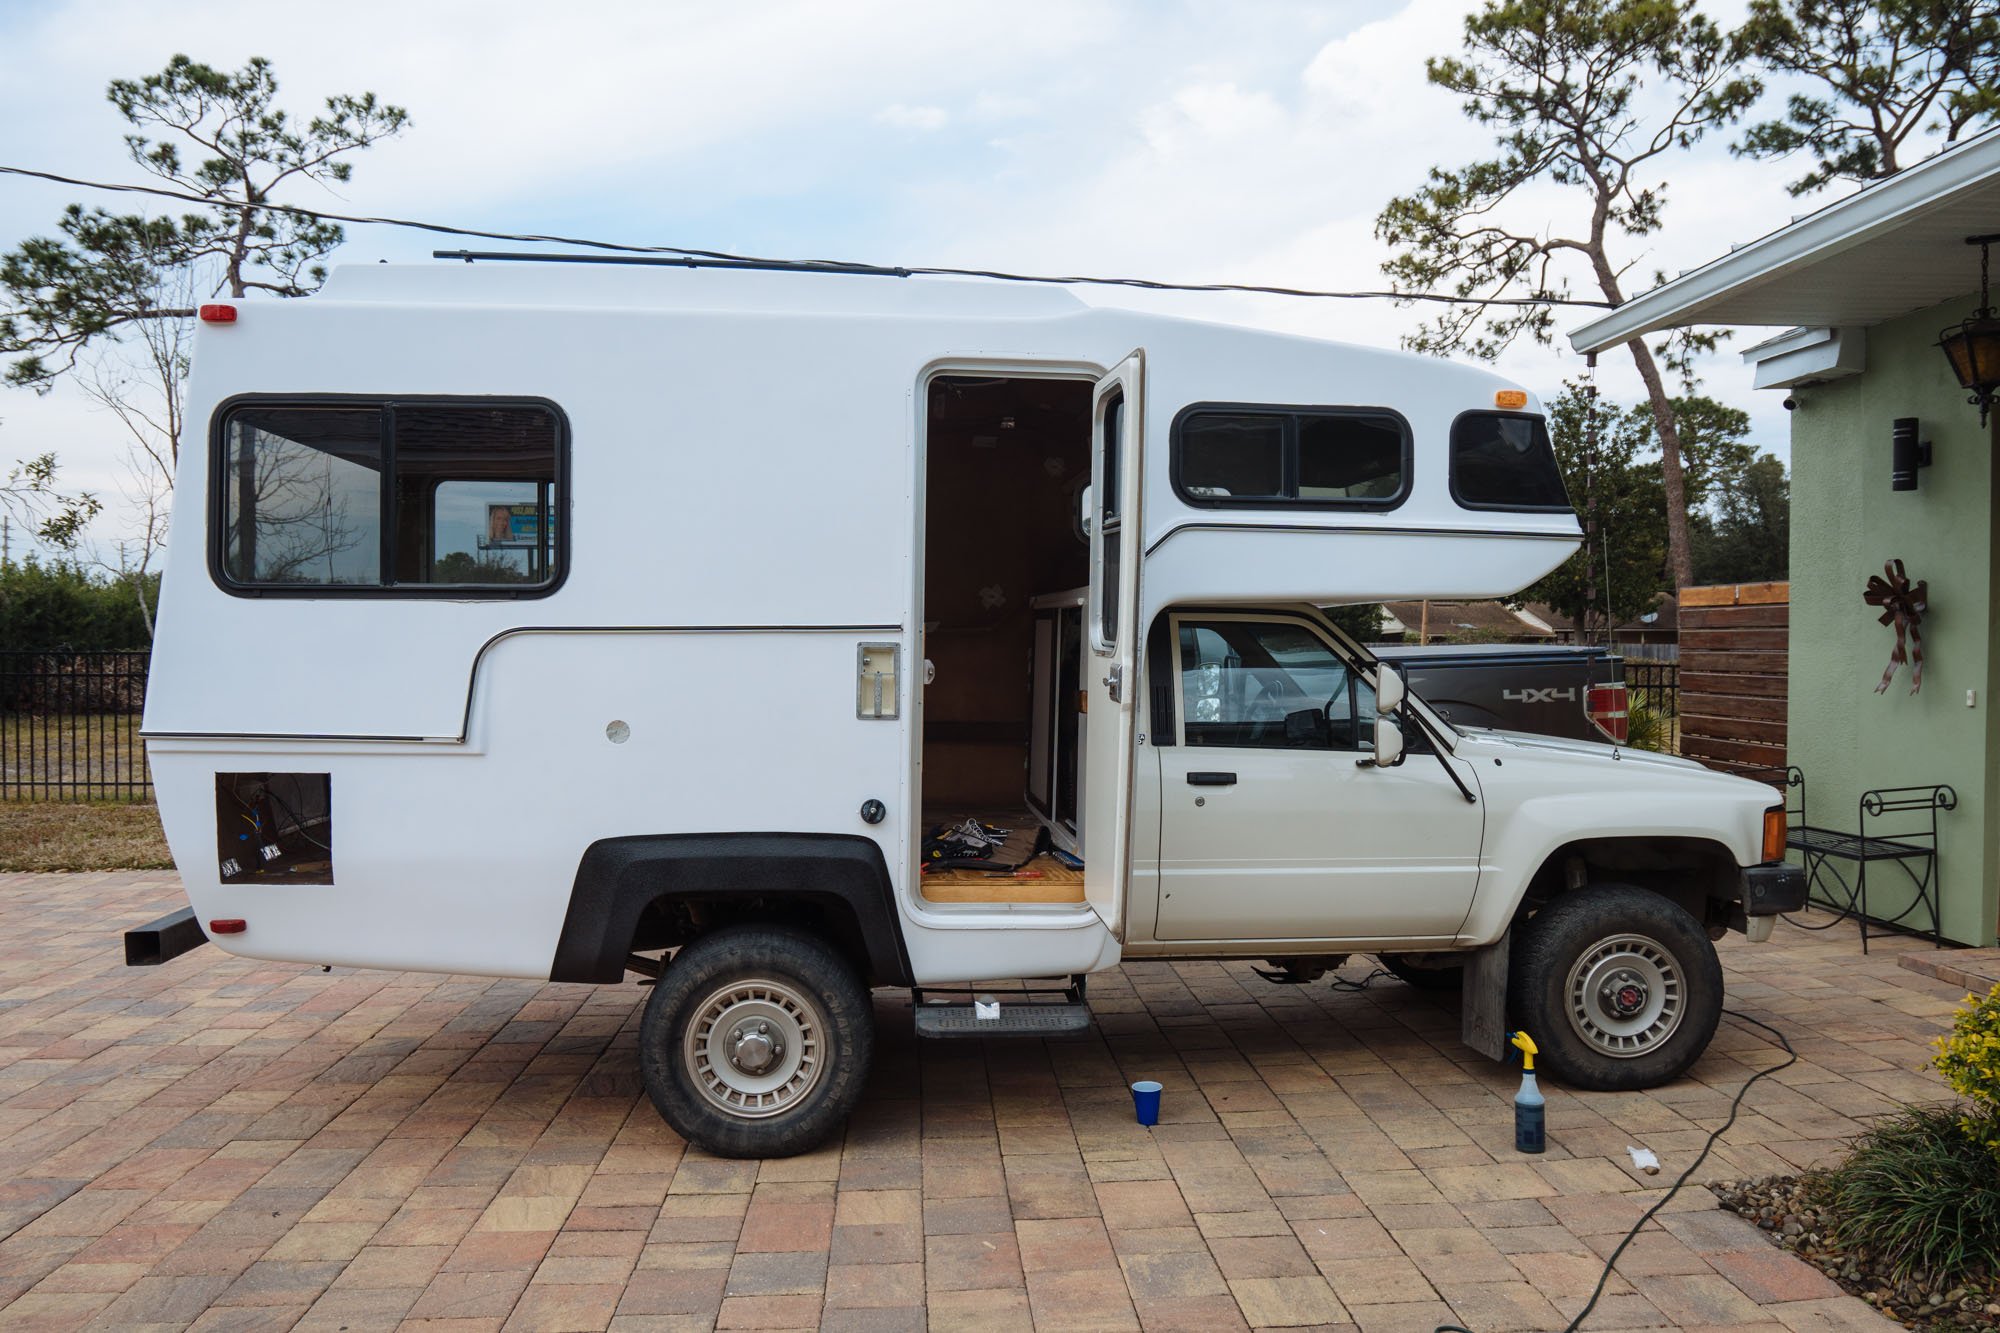
See?! Look at how awesome she looks!
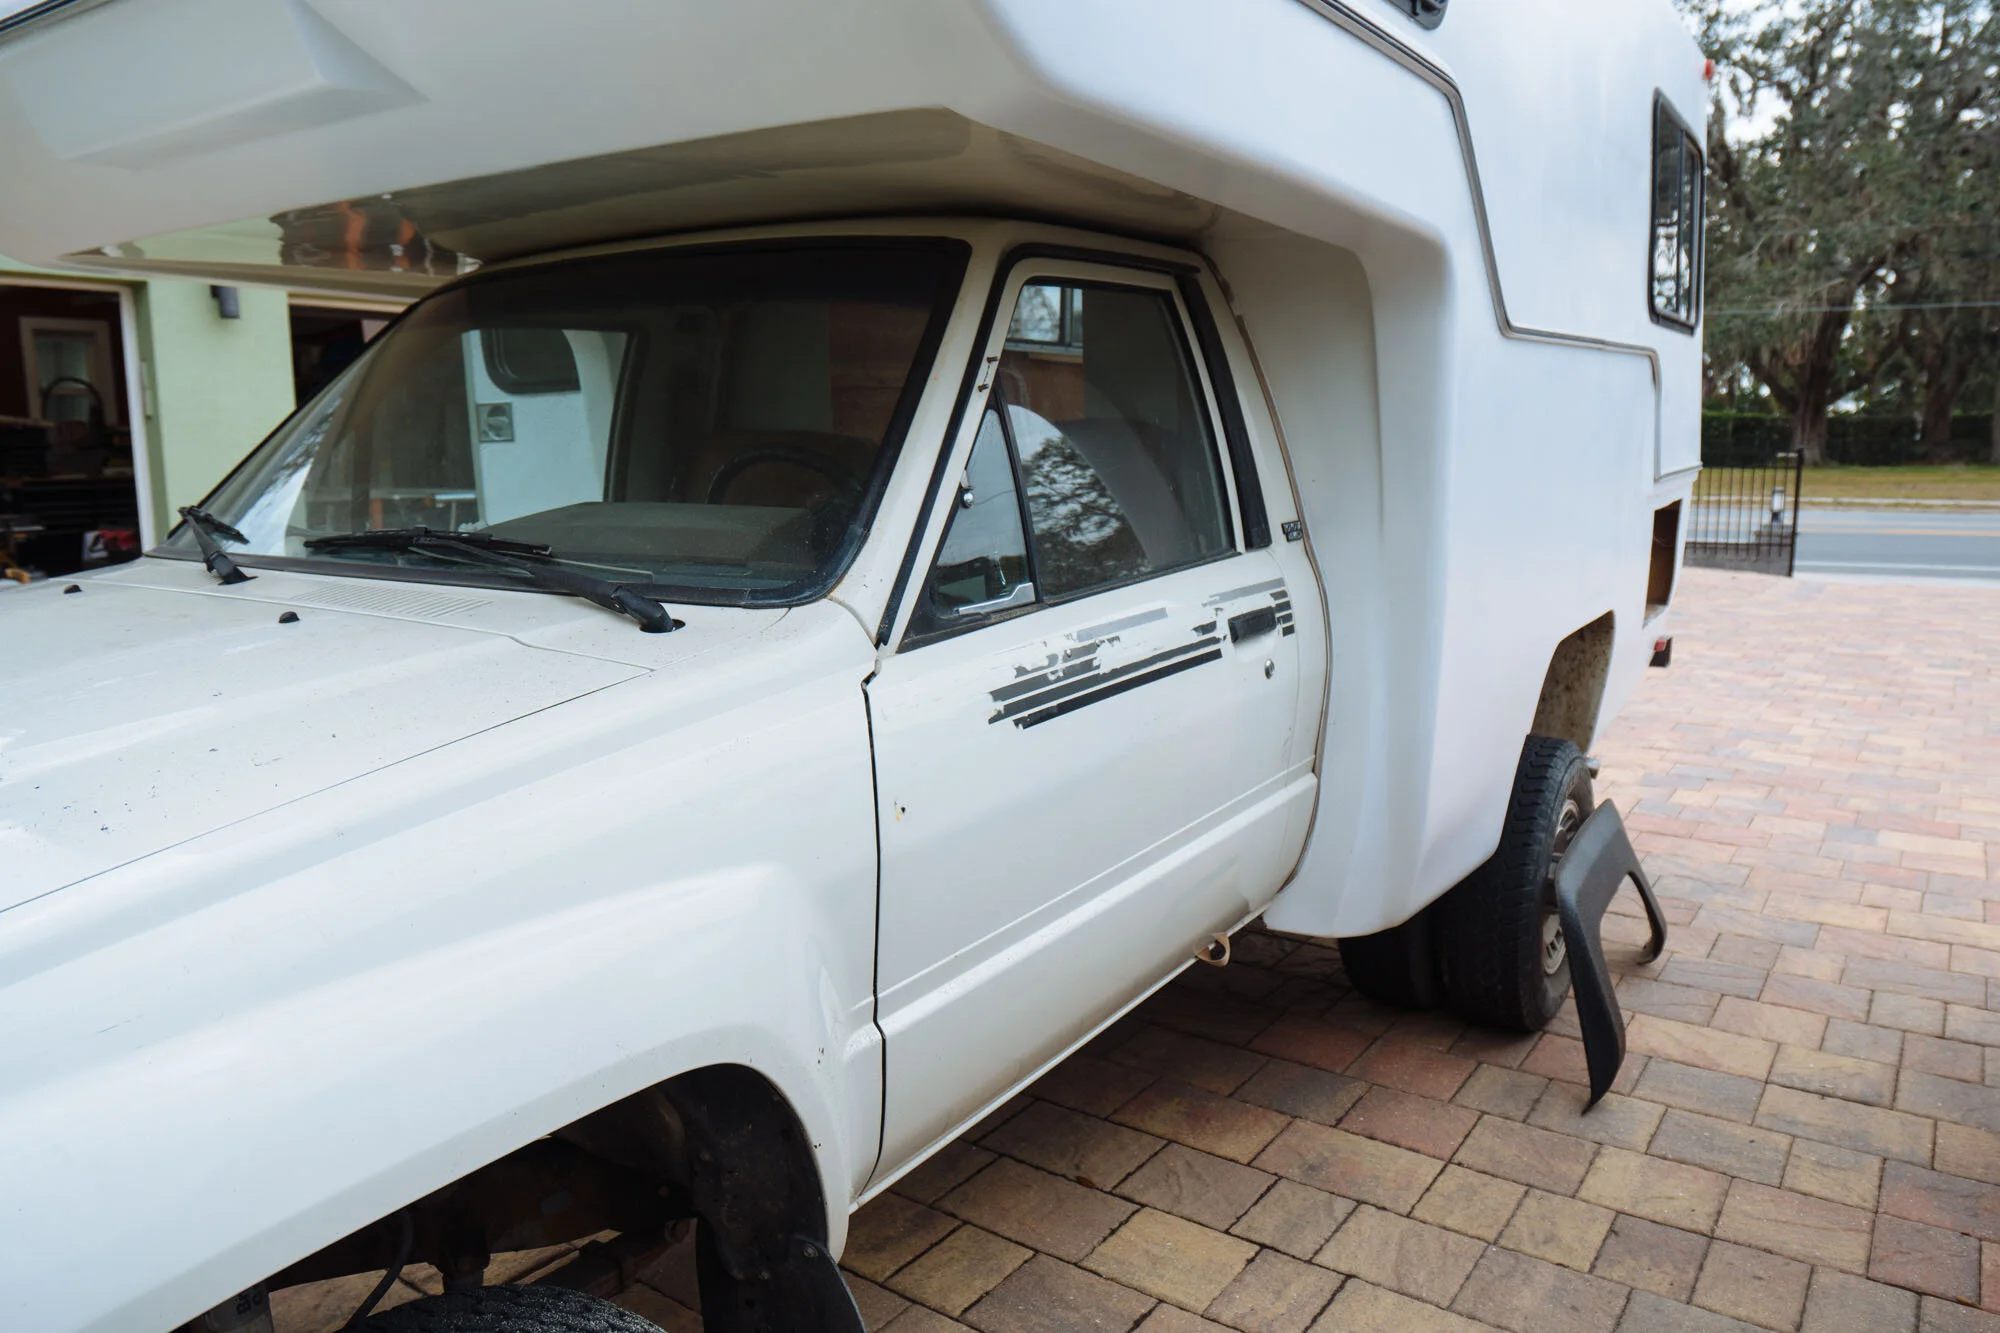
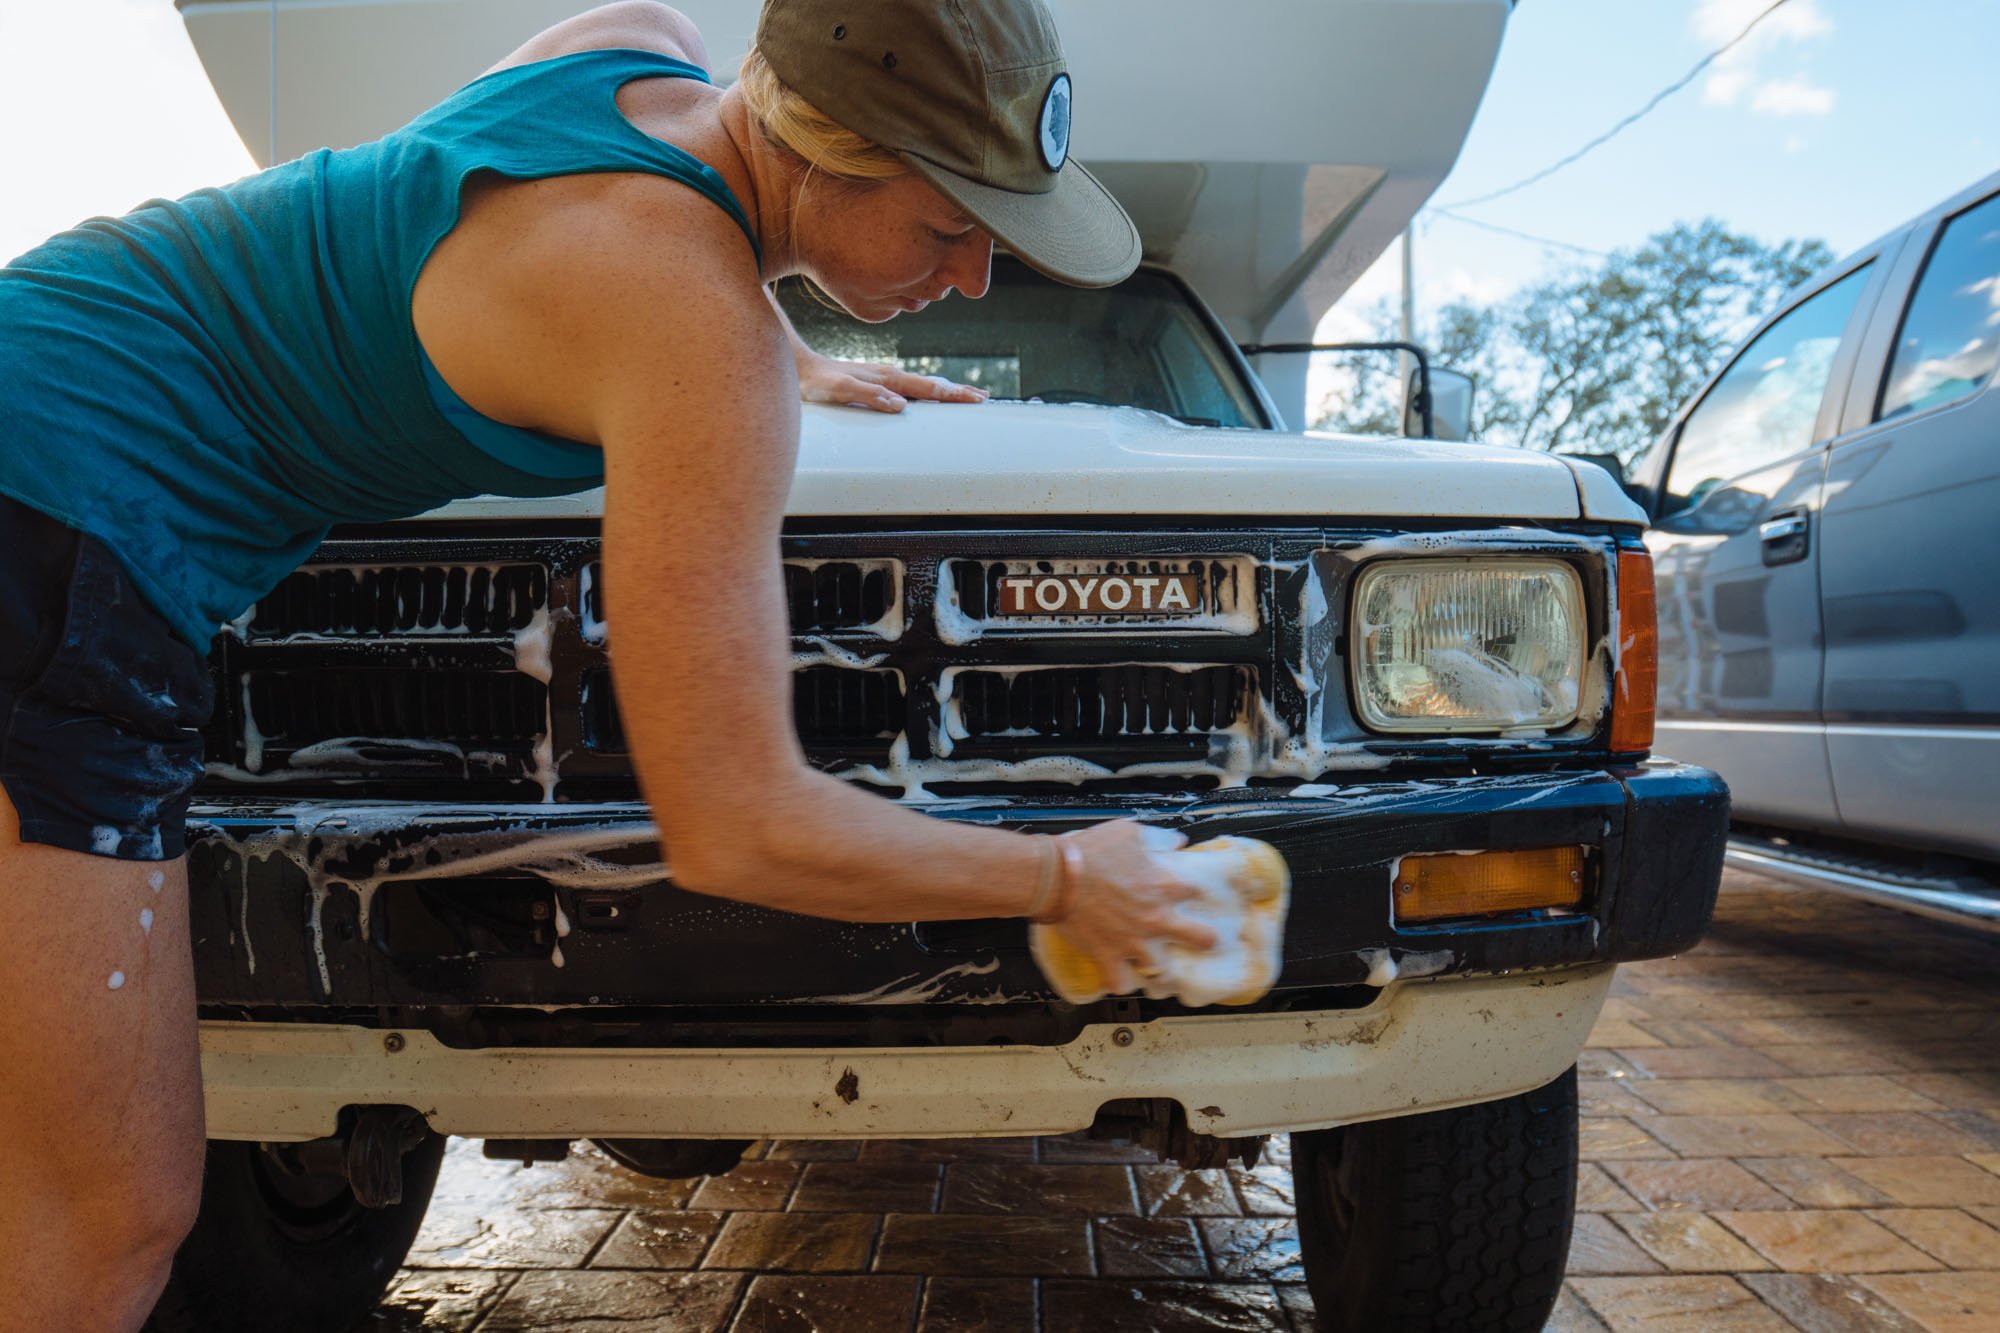
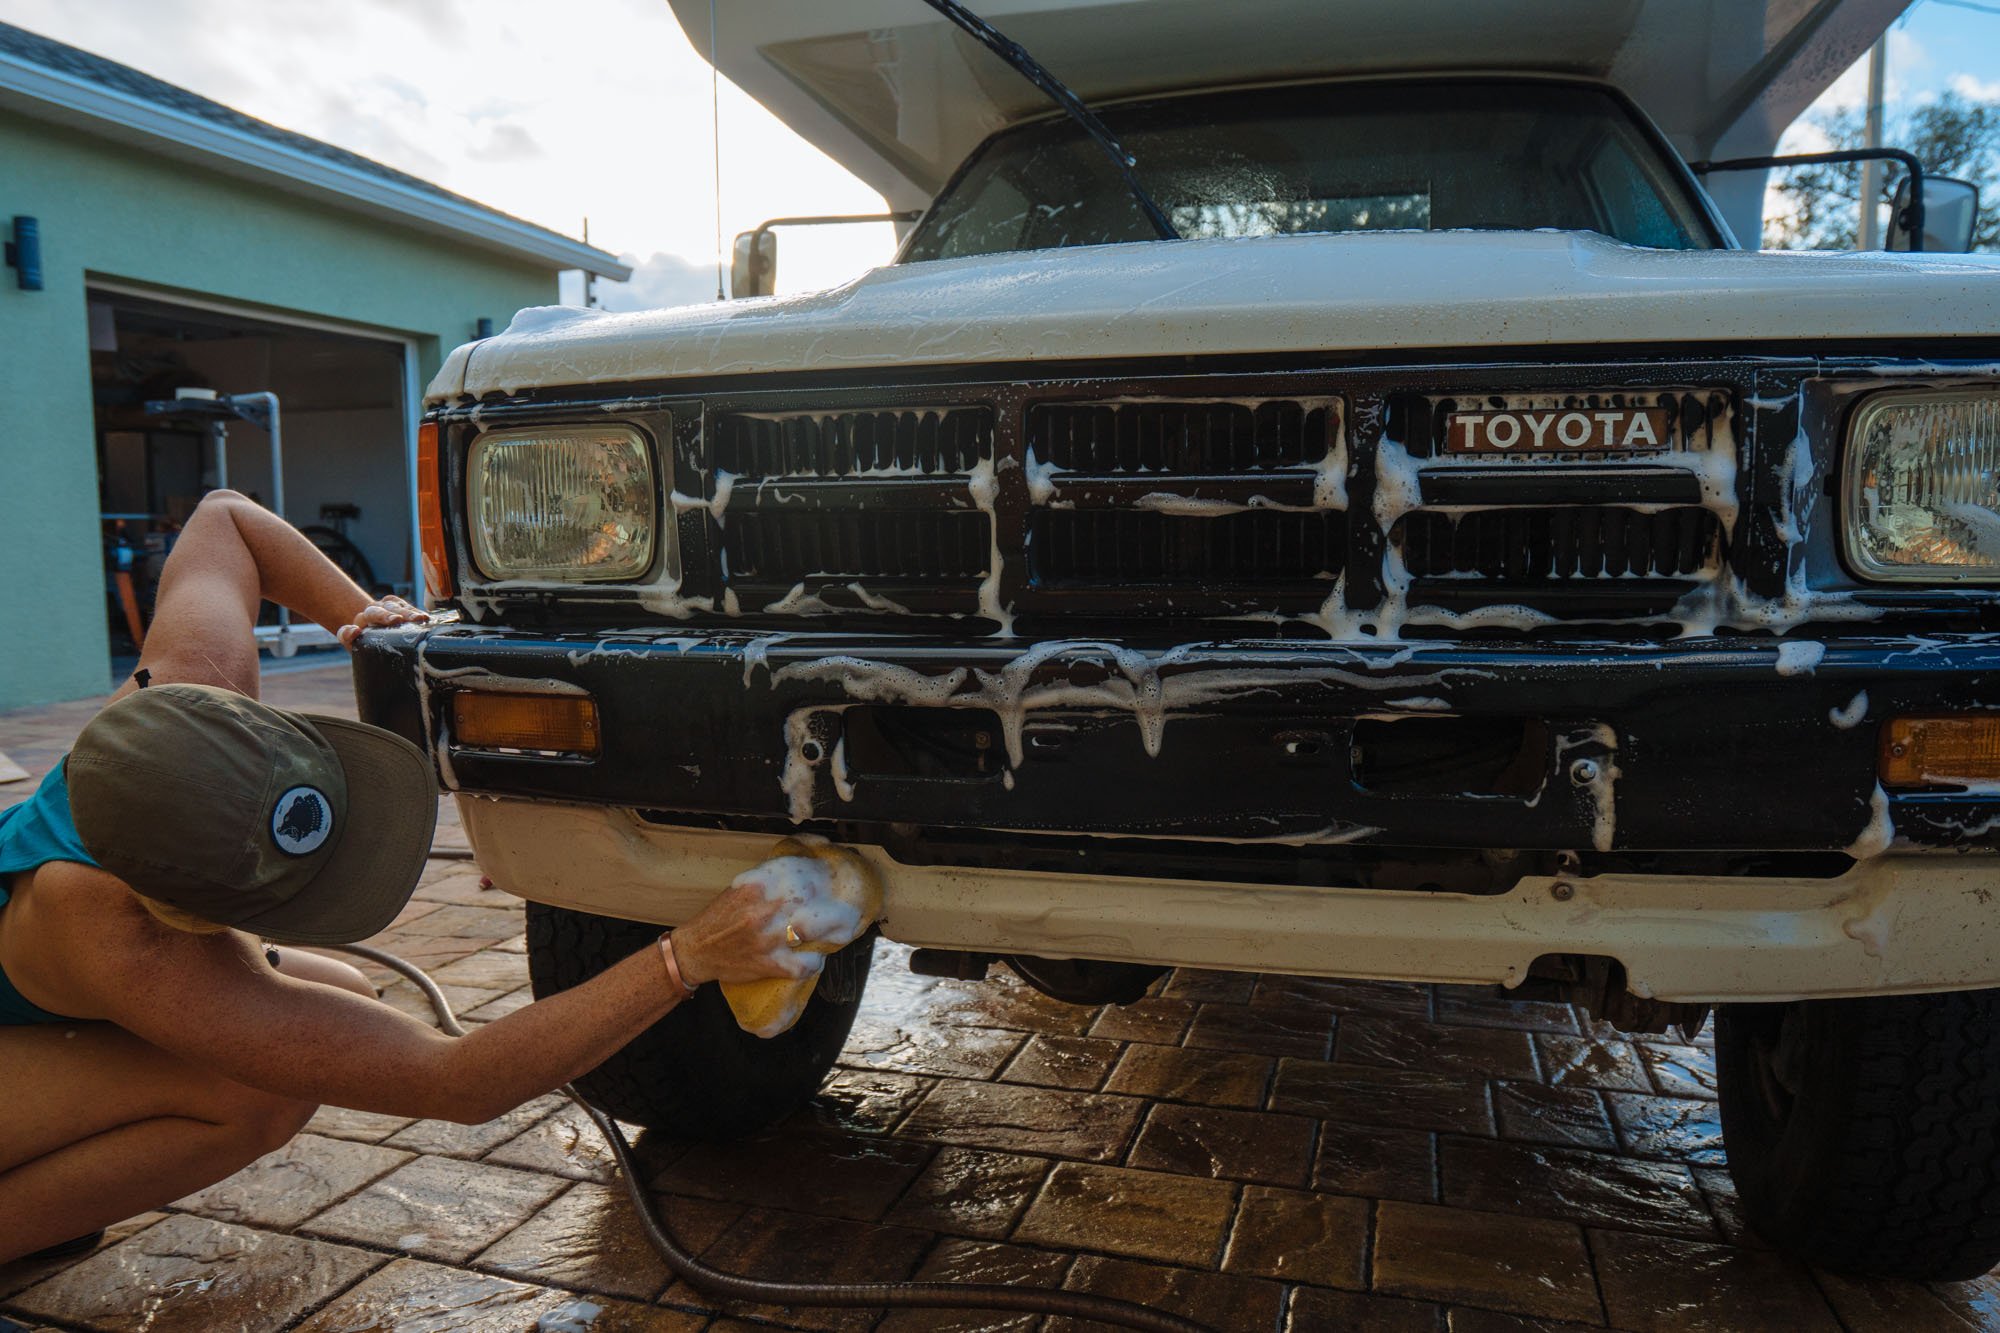
So after we got Amelia back early Saturday morning, there was one thing that we HAD to accomplish before Amelia could be back in the shop for her decals. When we painted Amelia we removed all of the stripes from her fiberglass body but not the cab. We needed to remove the decals from the cab and give her a little bath so the car wraps place (Carbon Wraps) could have a clean surface to work with.
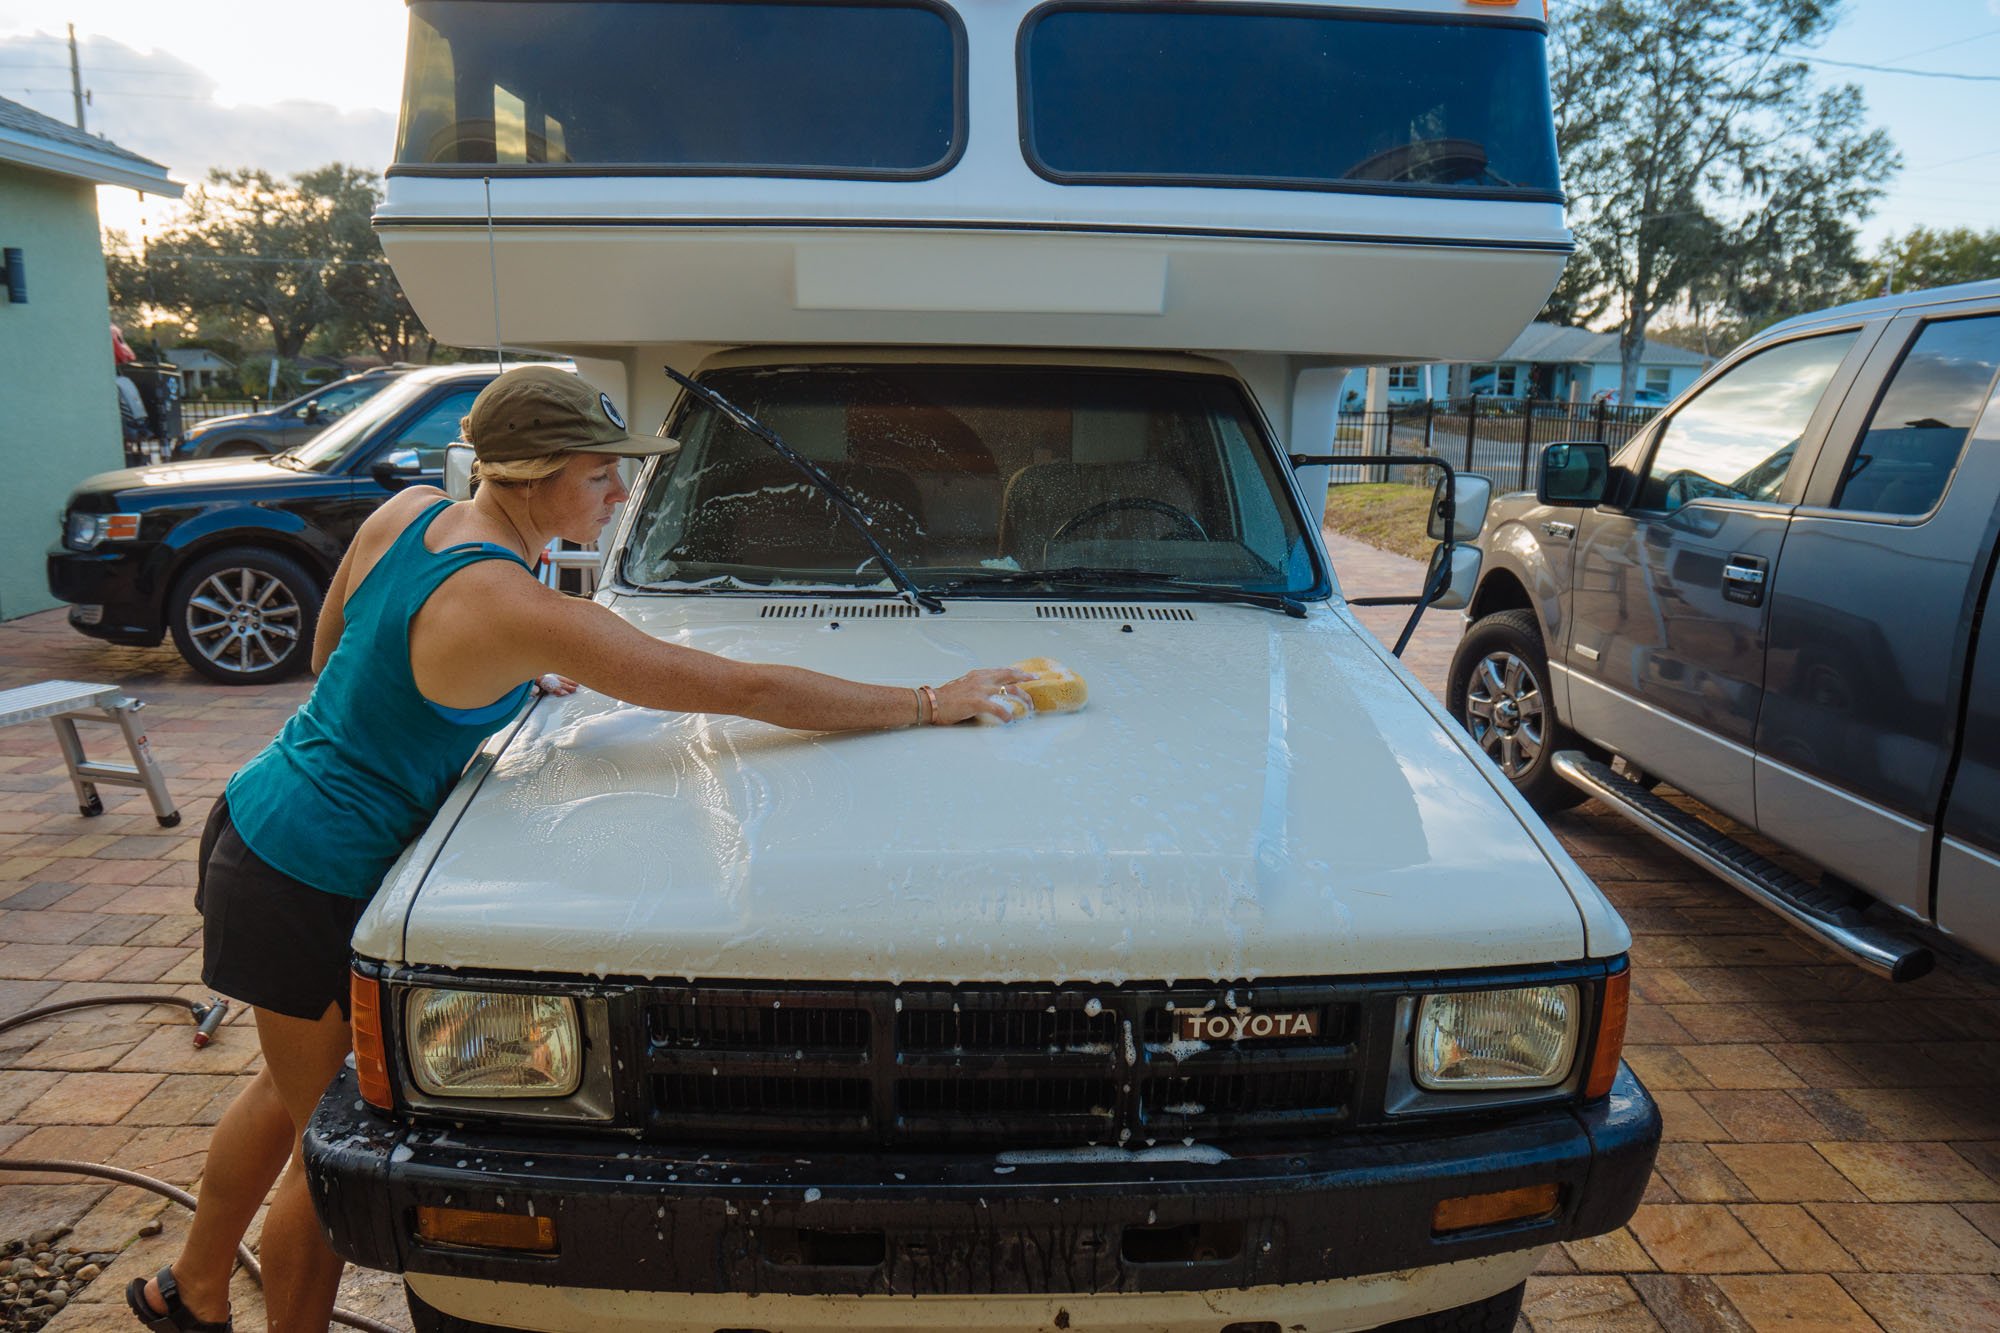
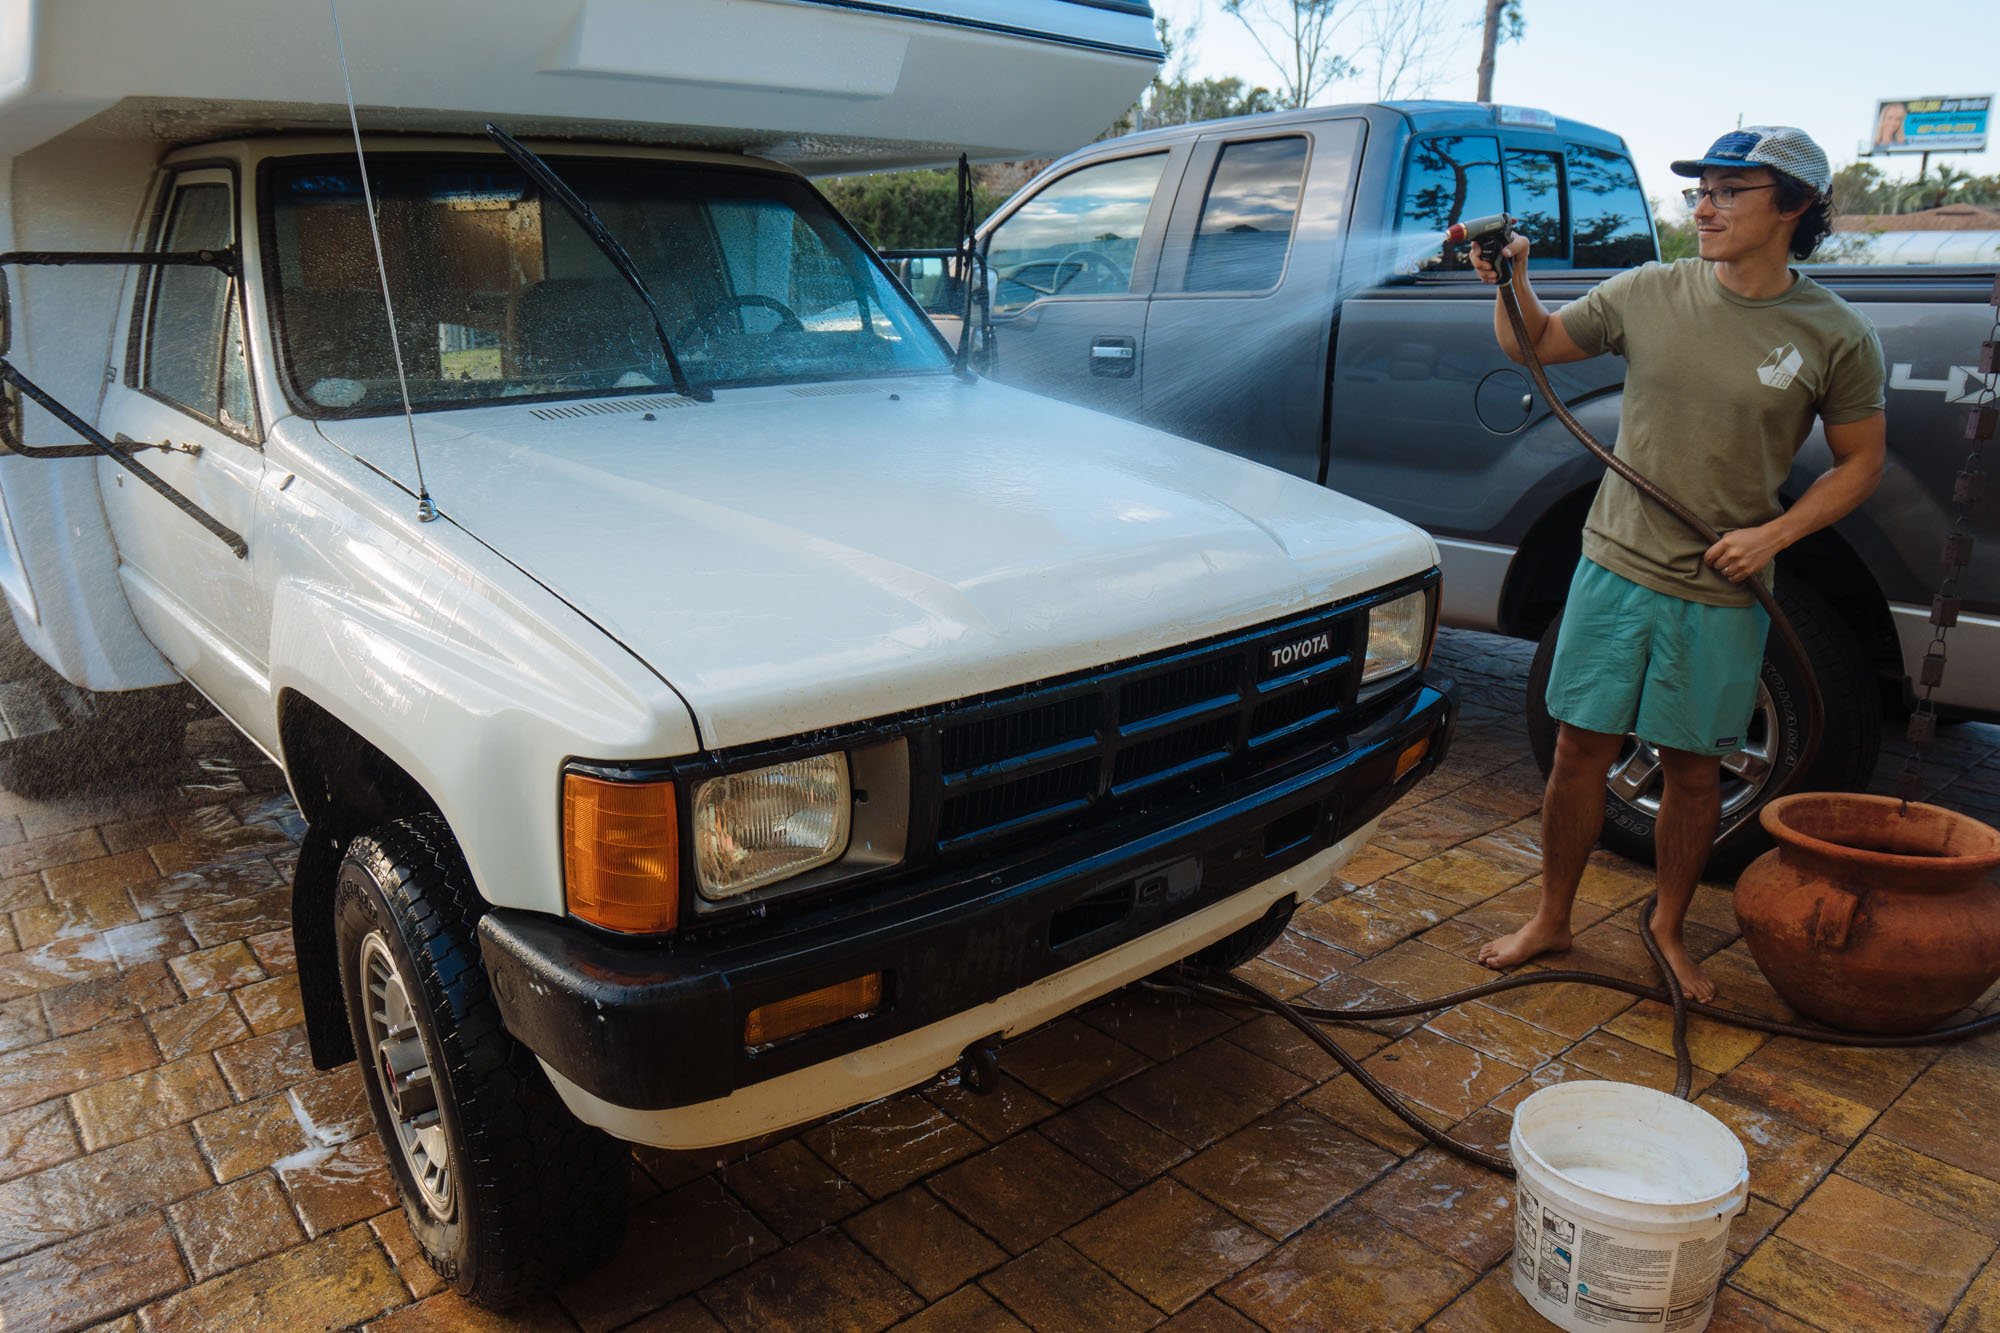
We're so excited for her new stripes, she just doesn't look the same without them! We'll have more details on the stripes next week. So stoked!

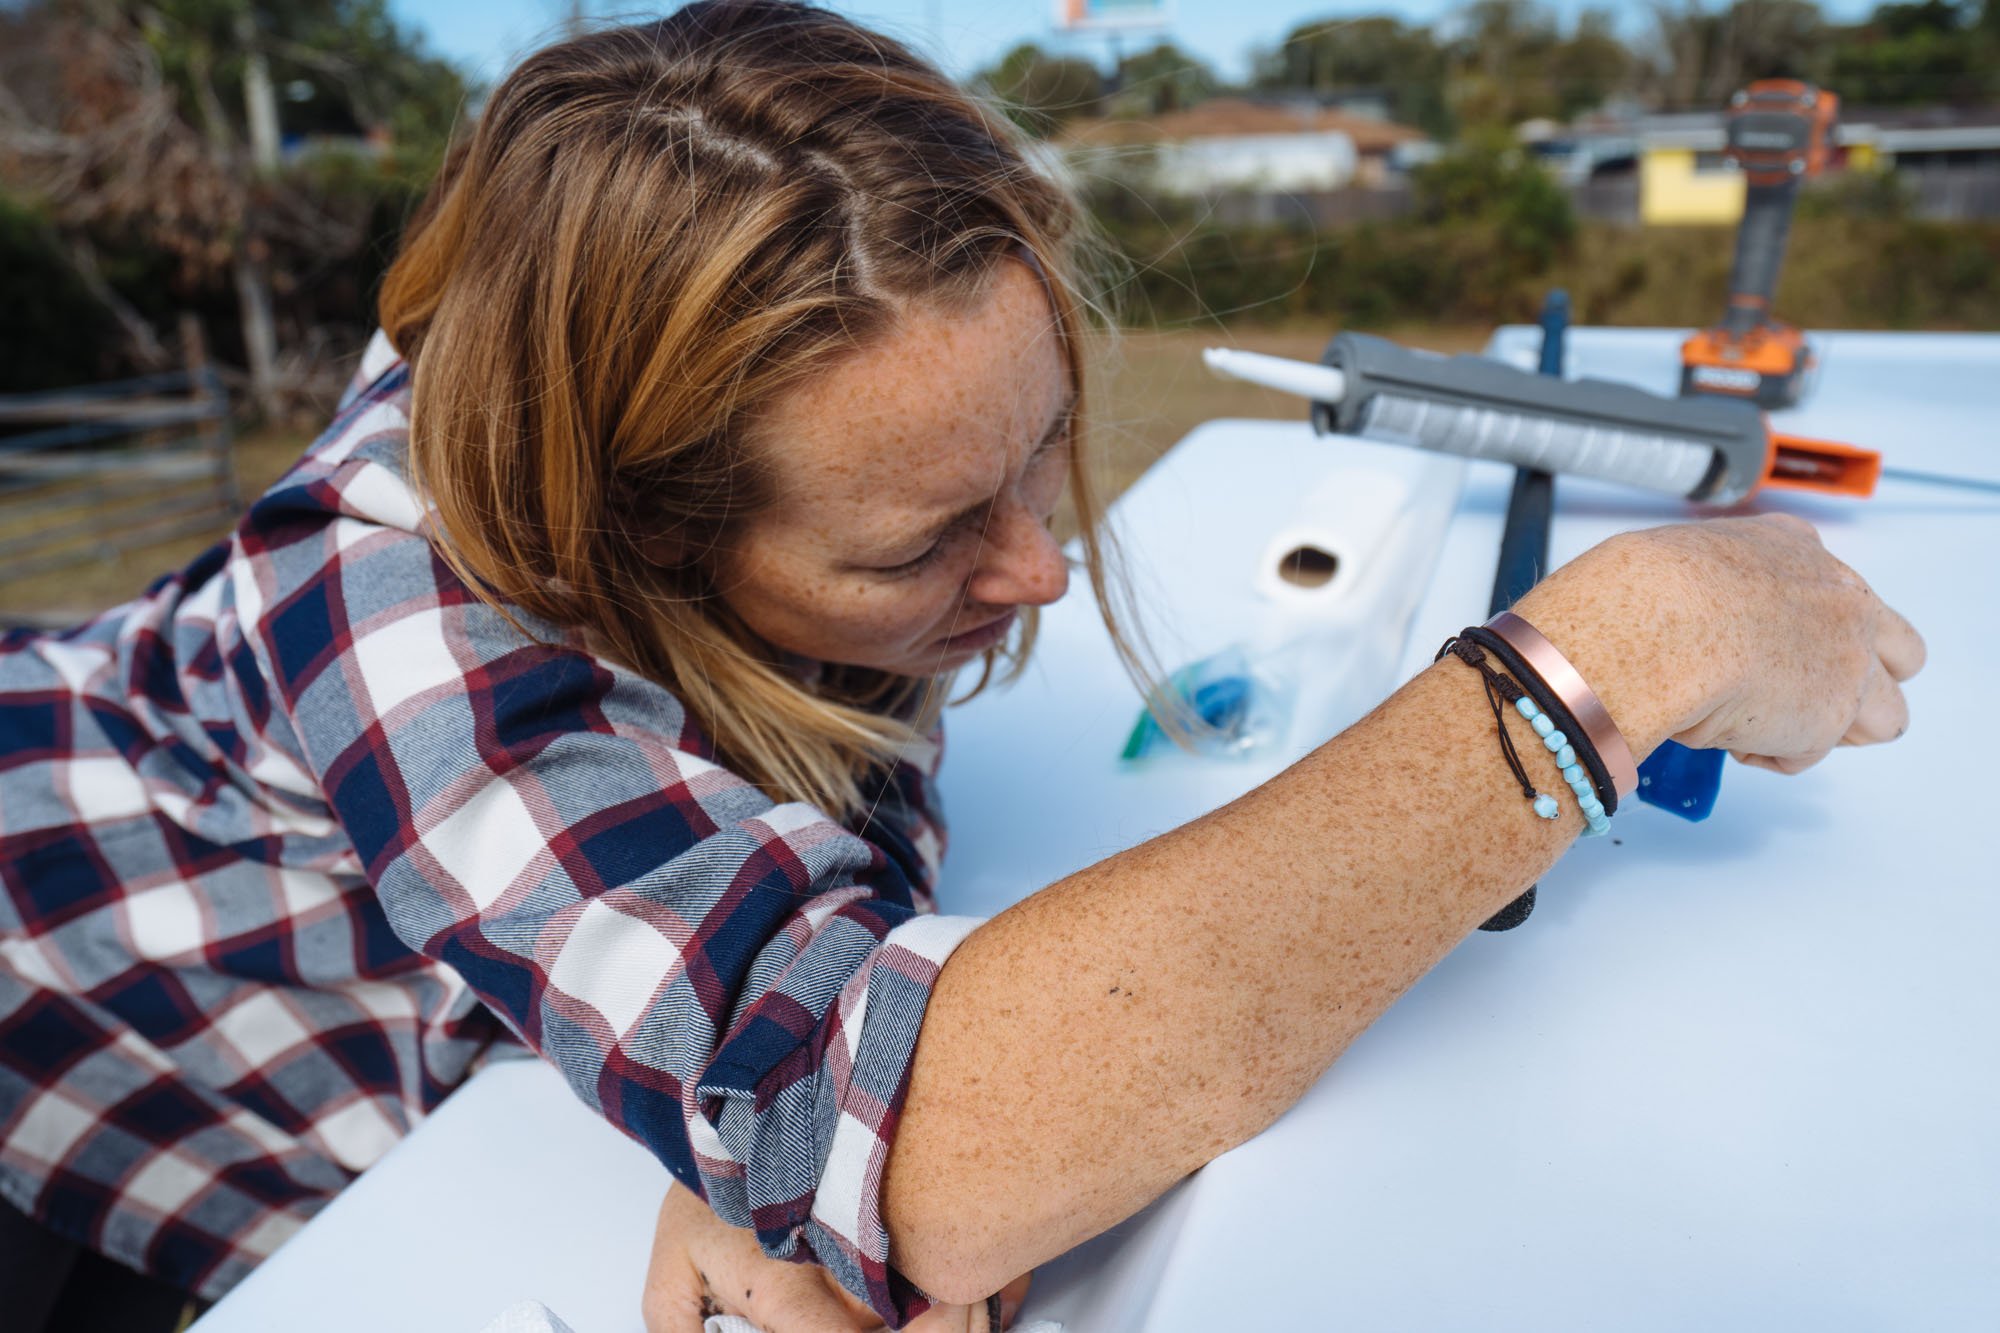
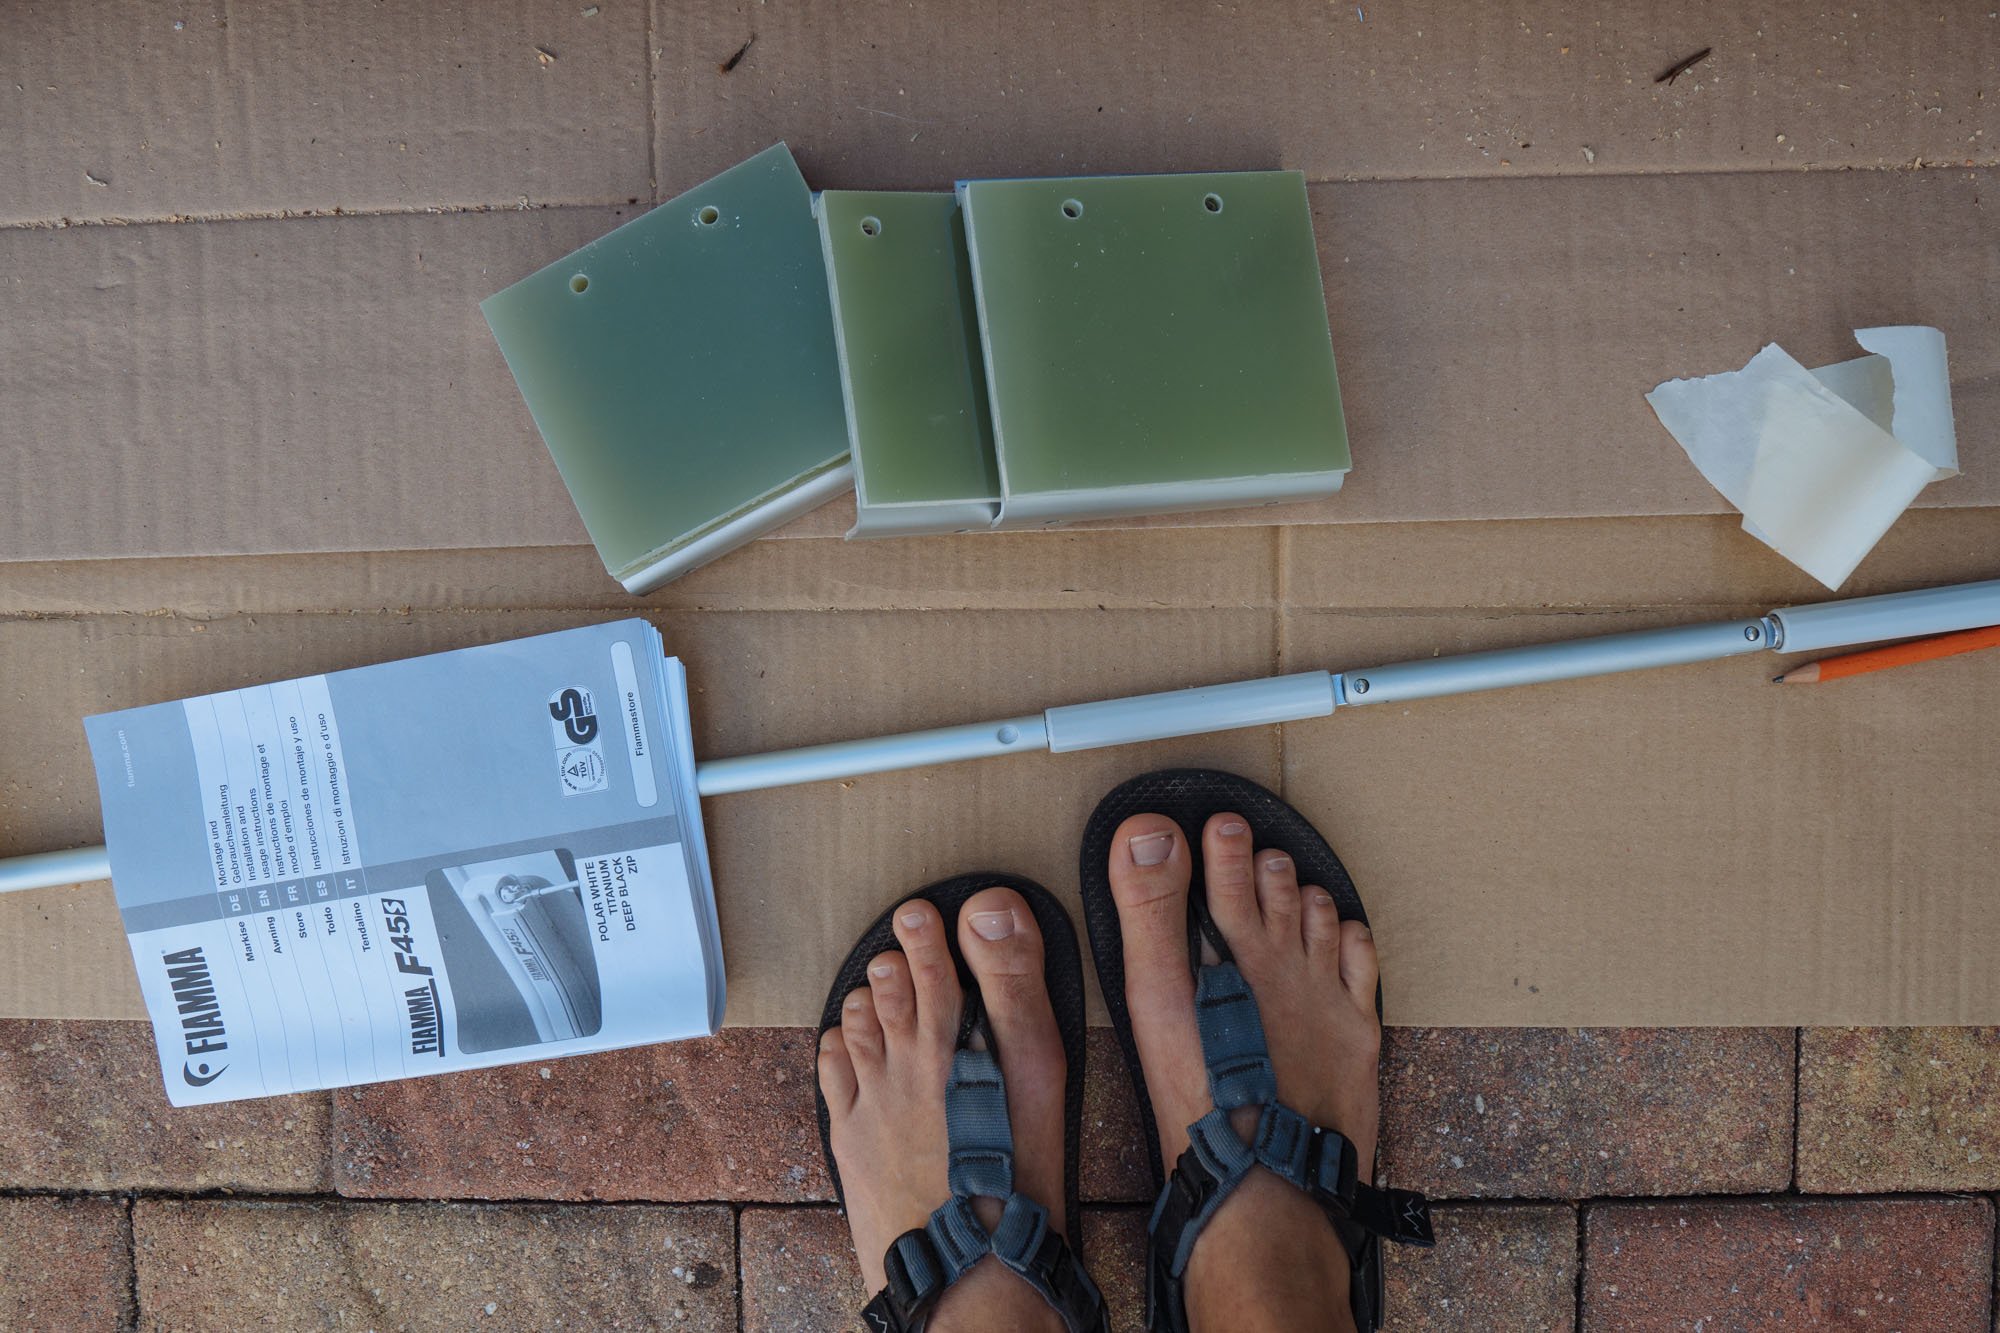
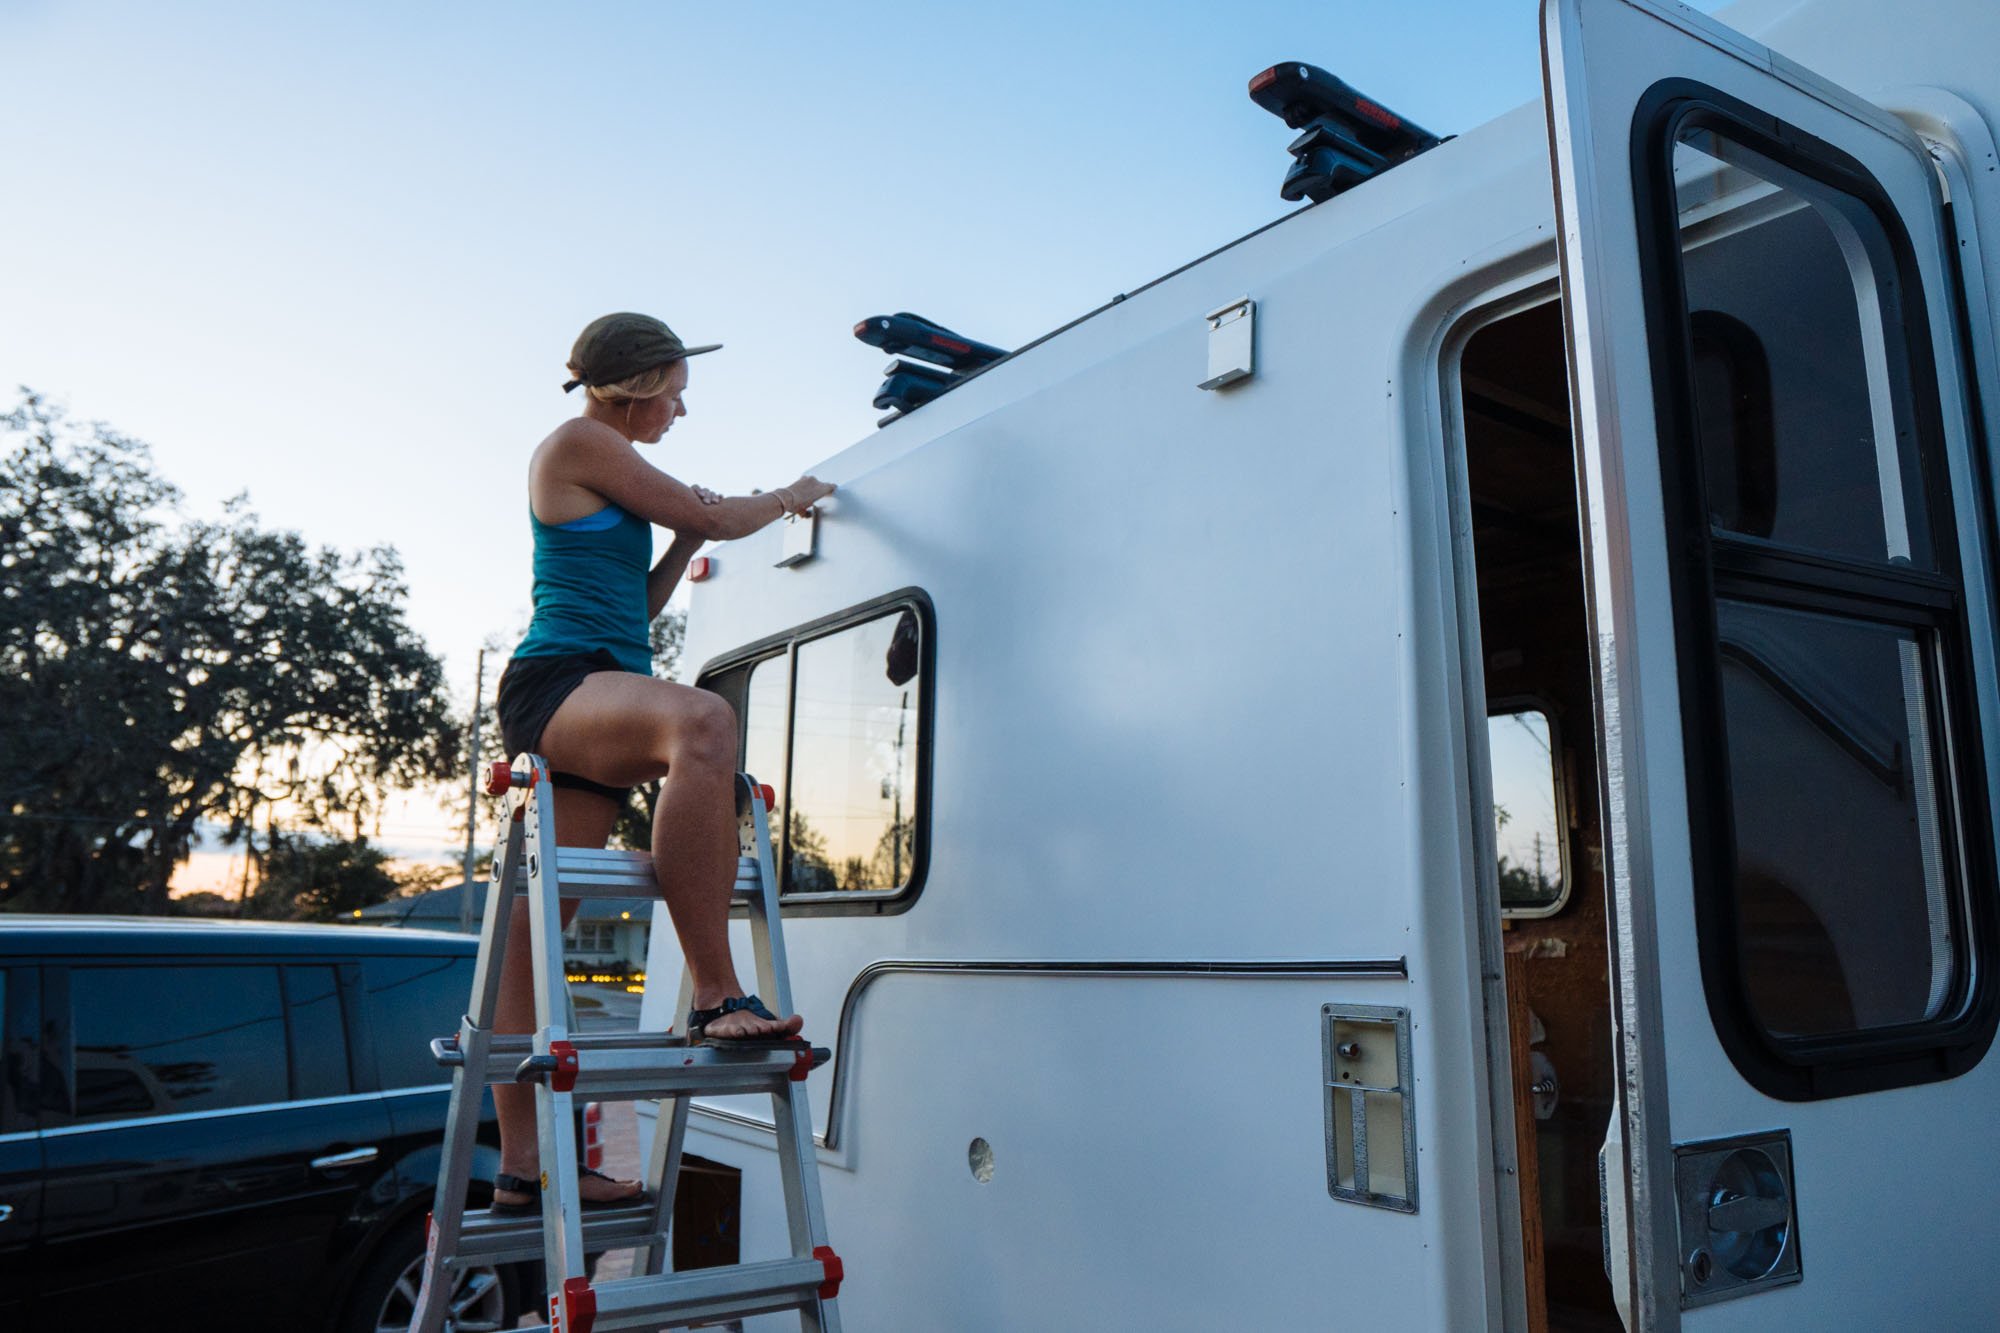
Turns out we were super efficient with our time this past weekend and we had time for one more project! This one Owen has seriously been dreading, installing our new awning! We've long admired Fiamma awnings, and are proud to say that we now own one of our very own! The reason why we went with this awning this go round, instead of the ARB awning we have on Stanley is that this one has a crank arm that makes set up easy when you can't reach the awning on the body.
The reason why Owen was dreading this "little" project is that the outside body of Amelia is not straight. Like, at all. He was concerned that we were going to have a hard time clearing the door and finding a level place on the body. He was right, we never did find a level place on the body, but we came up with a plan and approached it with a level head.
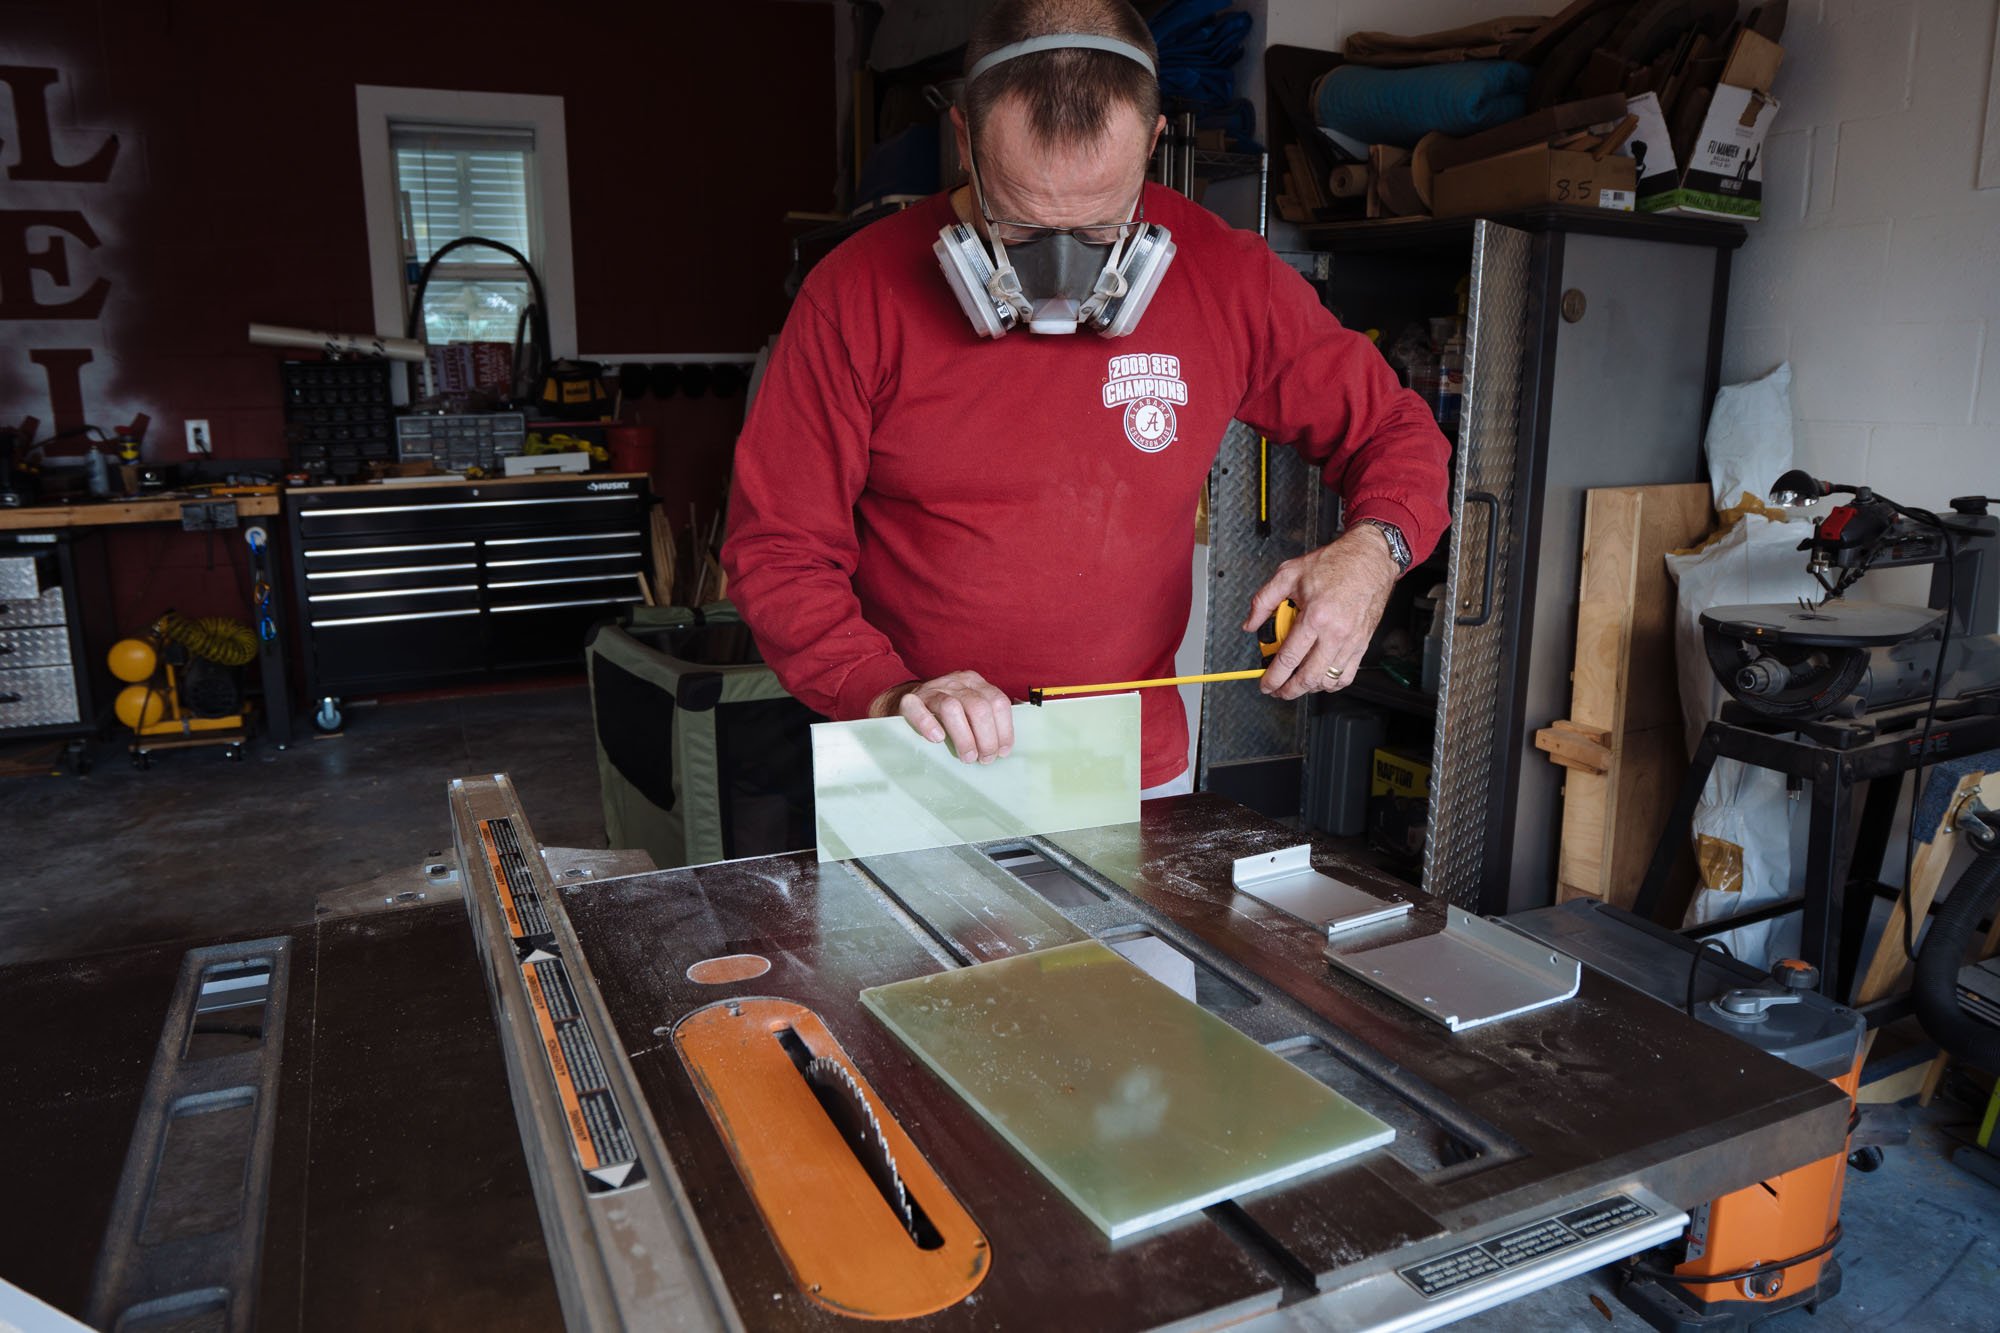
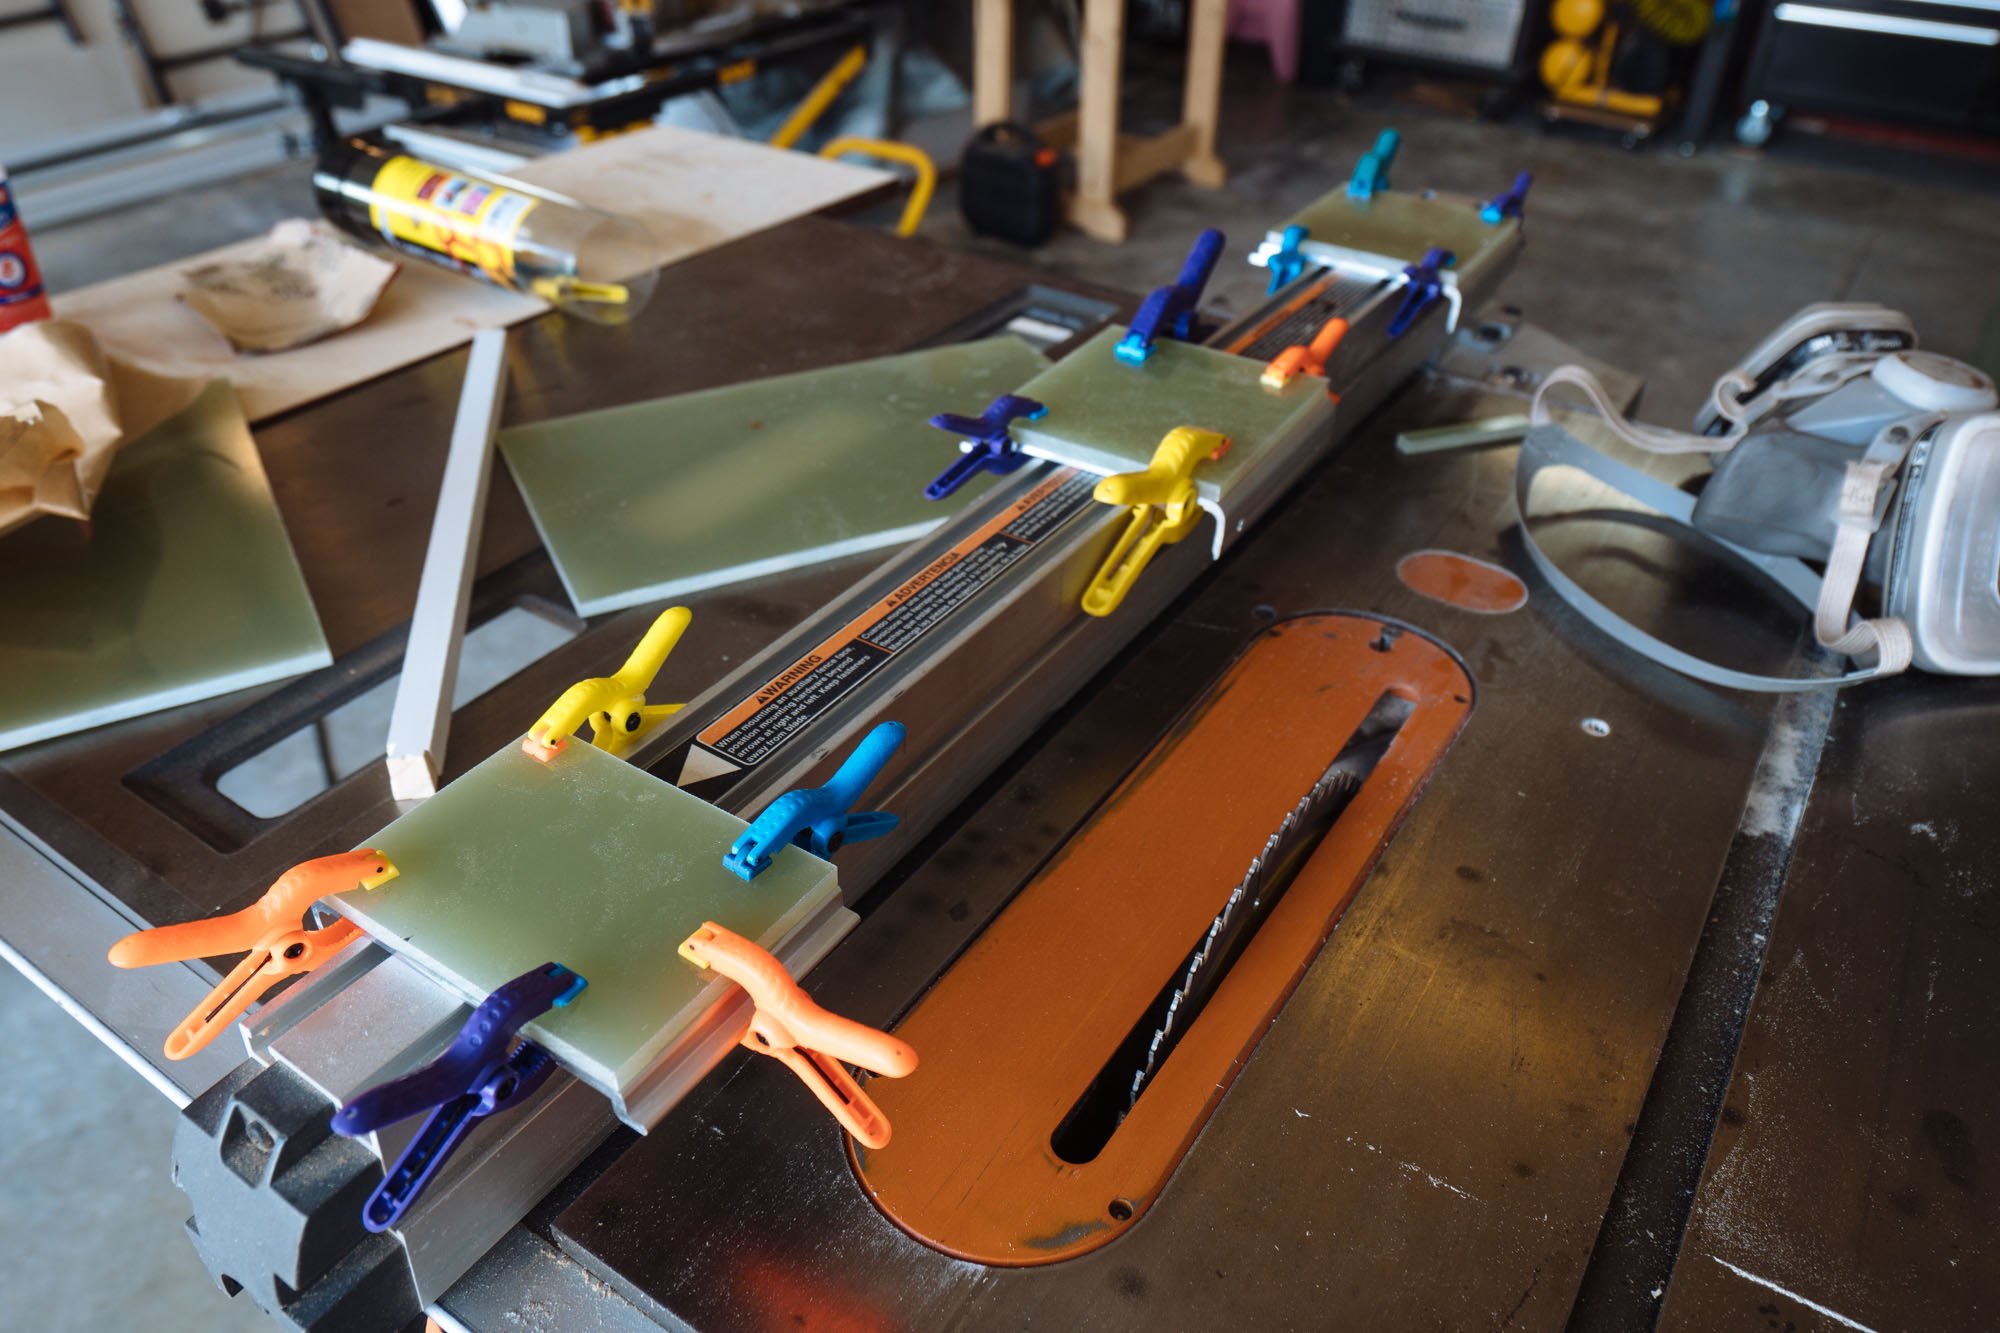
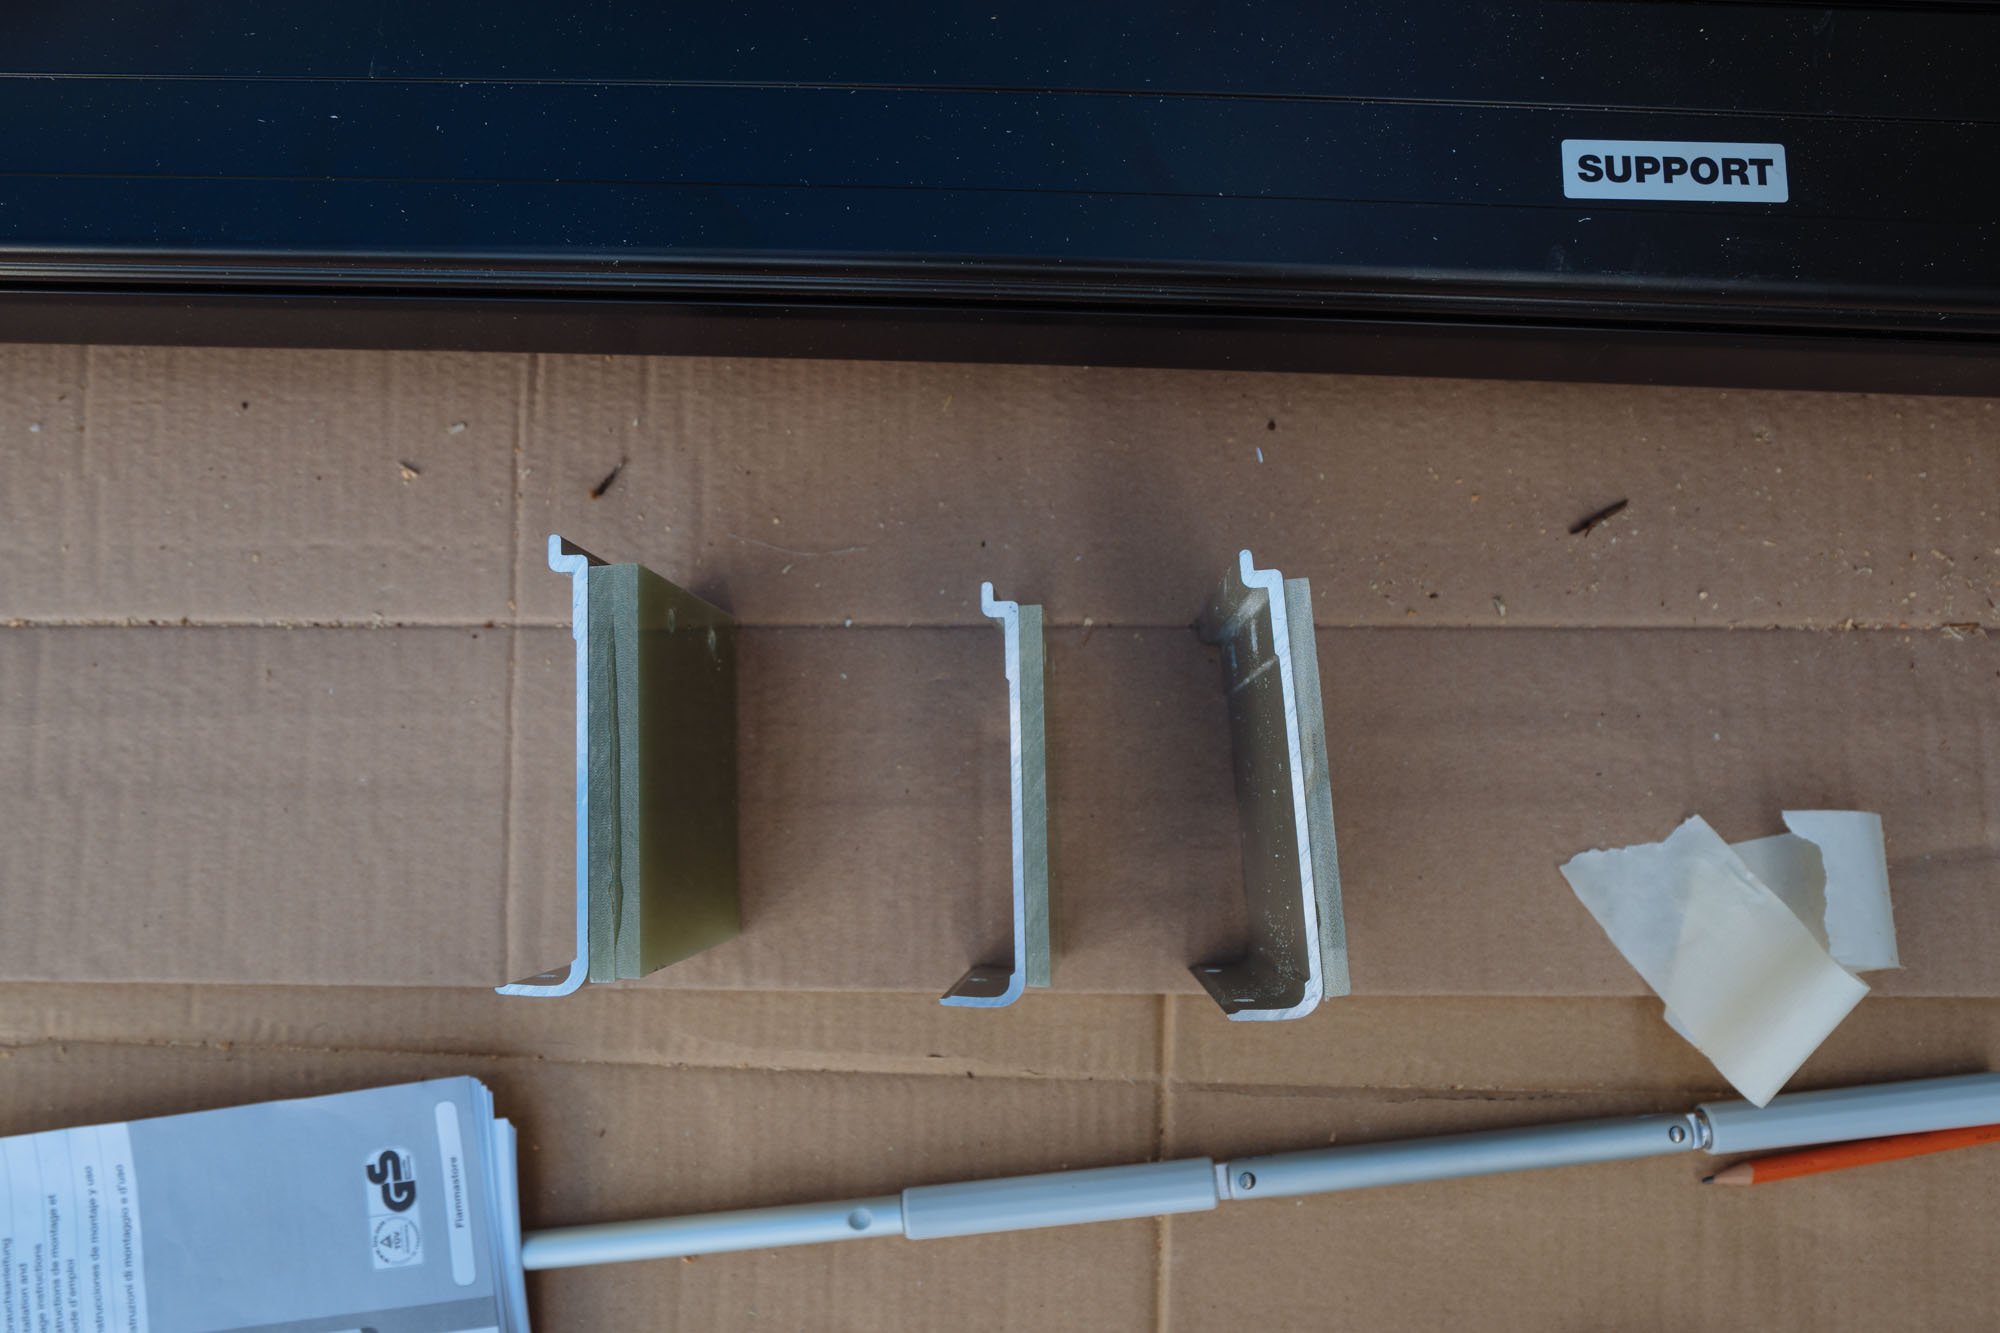
We decided that the best way to give ourselves a level surface to work with was to add some backing plates to our mounting brackets using G10, a high-pressure fiberglass laminate used for reinforcement and structural support. We cut down the G10 and epoxied them to the back of our plates. Two plates needed one piece of G10, and the last needed two pieces of G10.
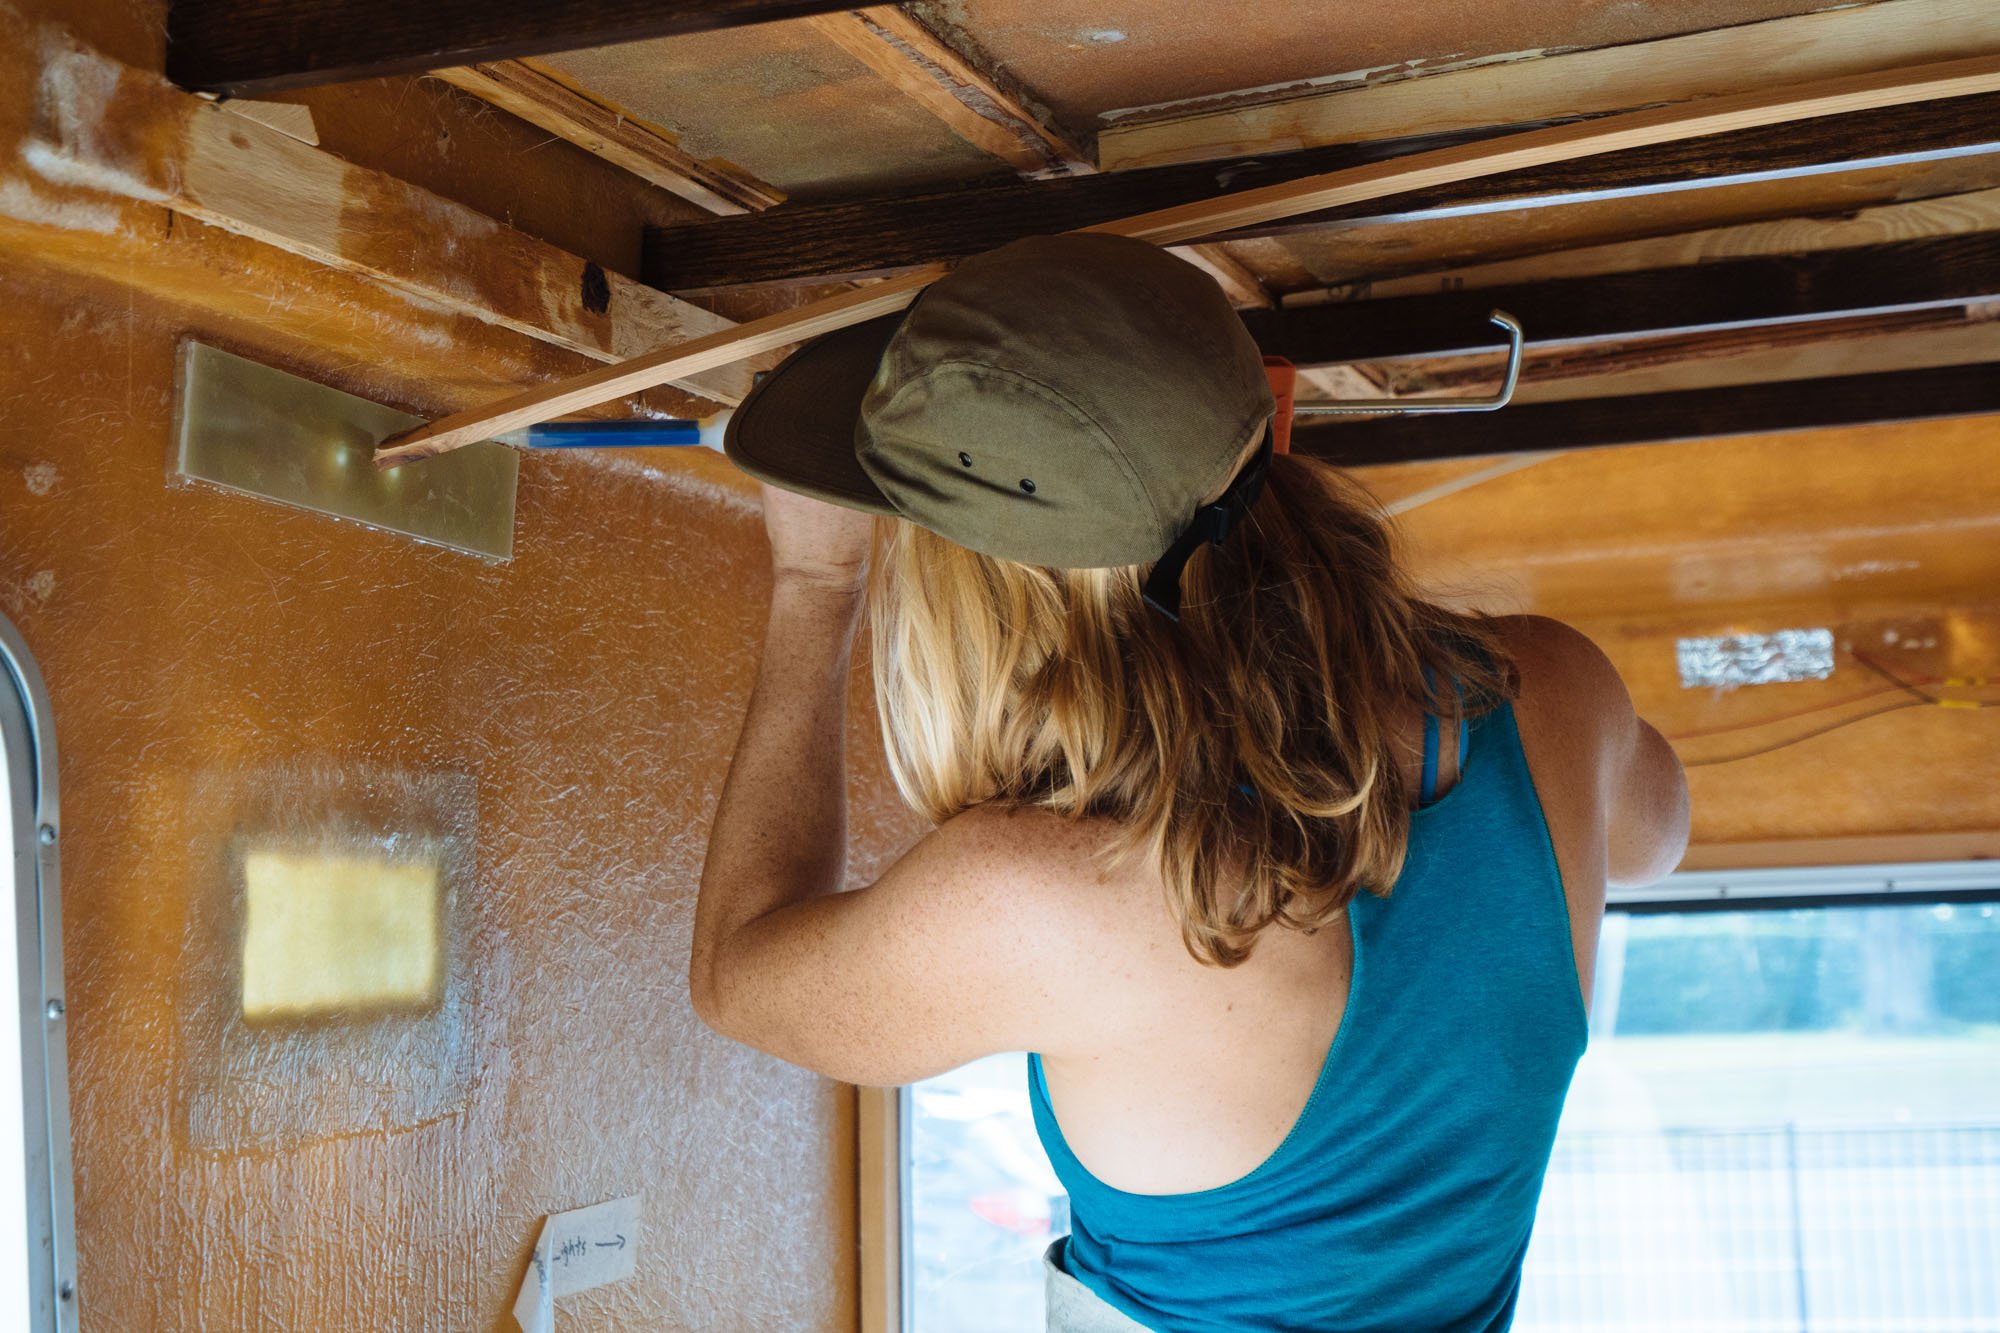
On the inside of Amelia, we also glued up some G10 so when the bolts pass through they have something super solid to hold onto. The G10 also is great for distributing the weight of the awning.
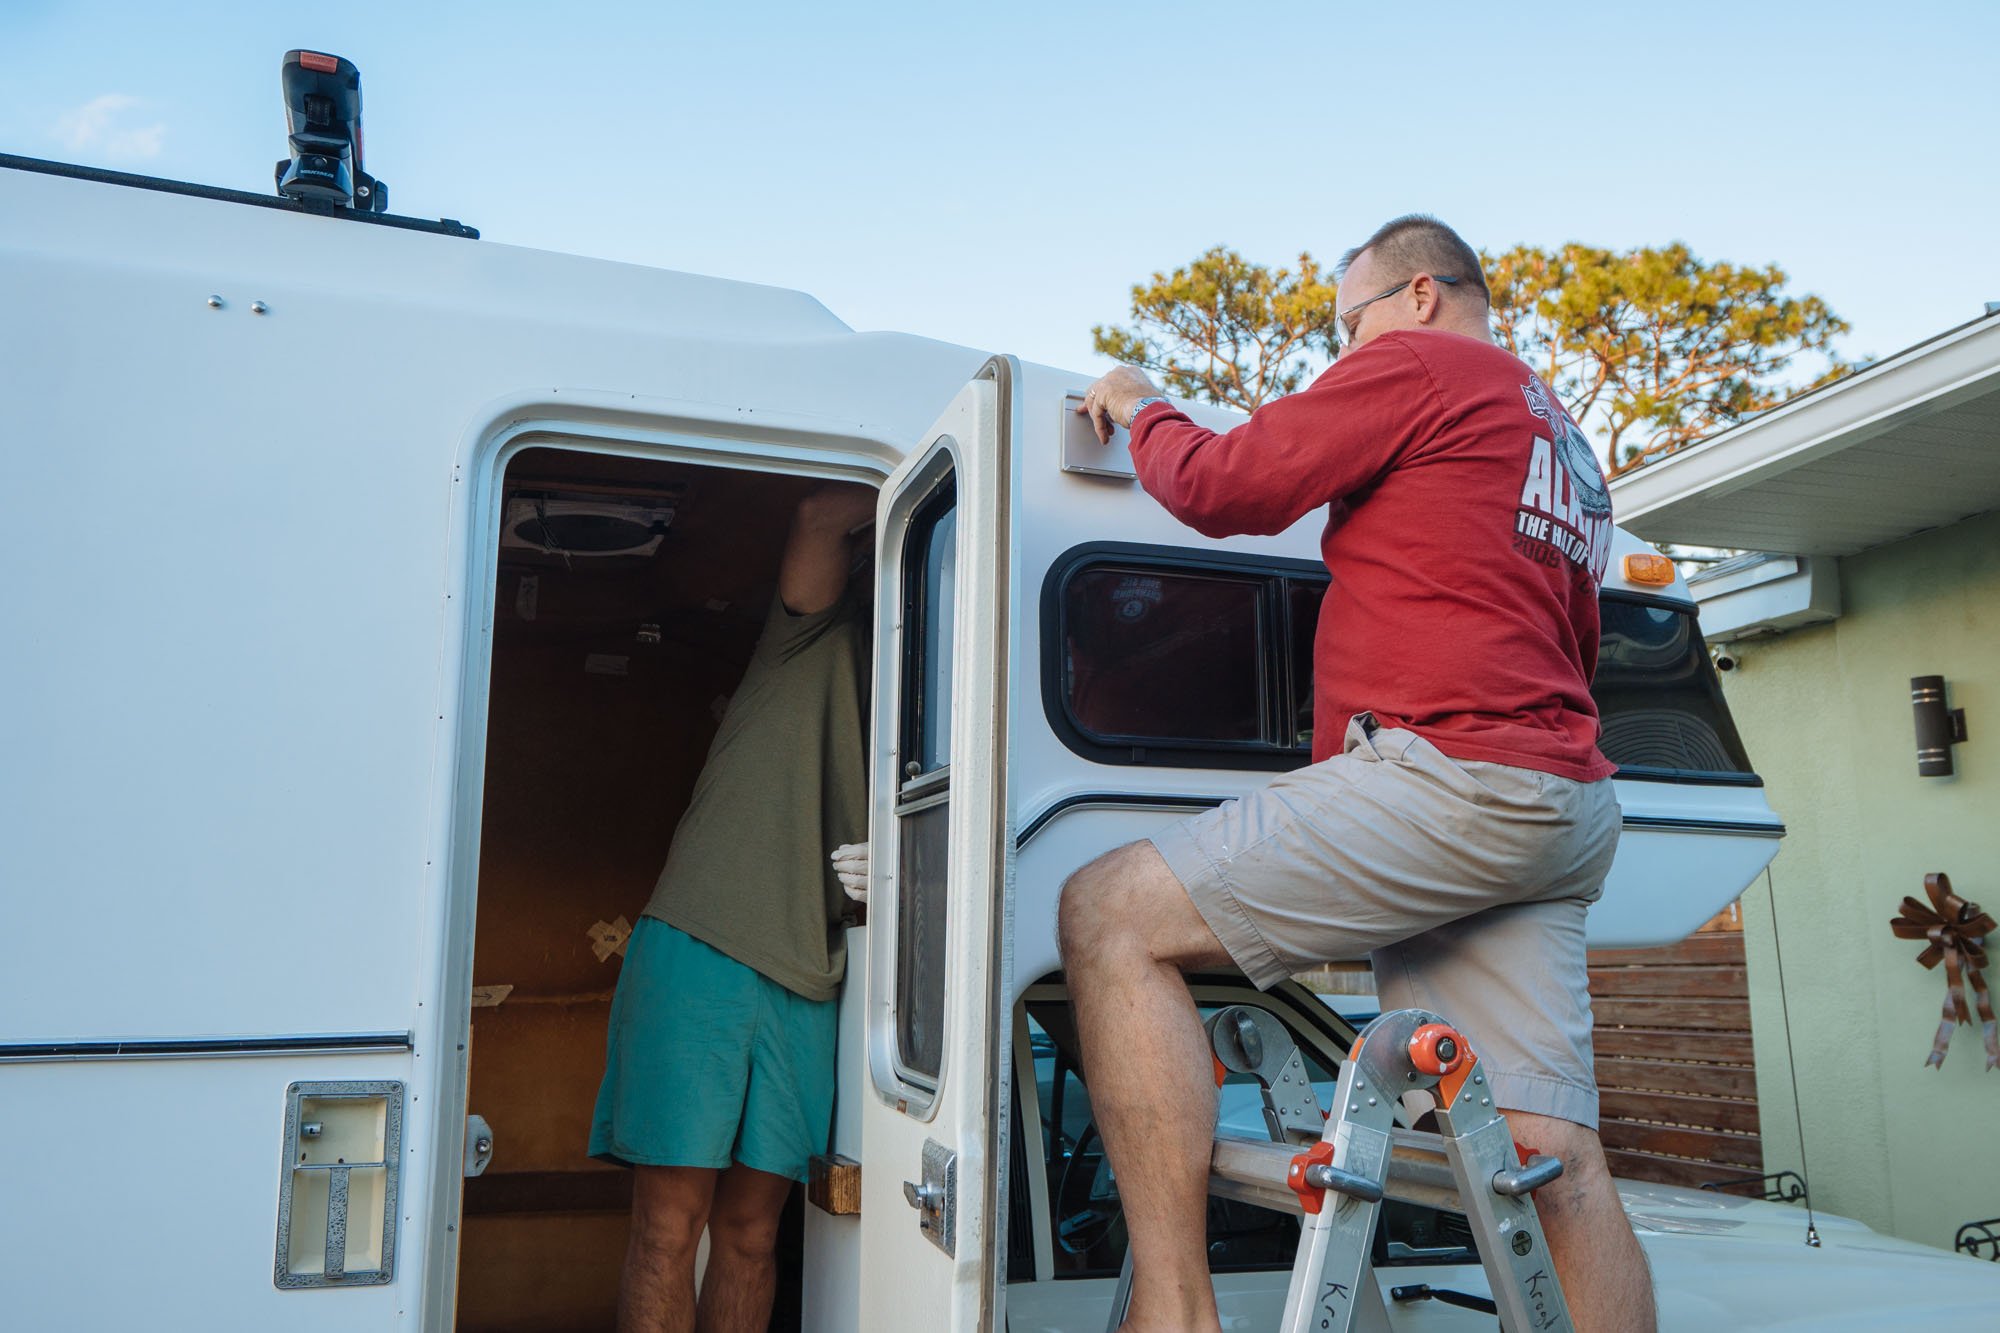
Once everything cured we were able to go ahead and get our brackets mounted and ready to receive the awning! And HA! Owen thought this would take days!

The final mounting...

...we have an awning my friends! There was much rejoicing when we got the awning all in place! This is not a great image by any means, but it is one that we have a lot of pride in! We did not get a good final image of the awning in place and closed because it was too dark at that point. We will hit you next week with a picture of the exterior with the finished awning installation!
Sorry it took us so long to catch you guys up on our progress, things have felt so spread out due to travel and bad weather. After we get Amelia back from getting her stripes we have big plans to start moving us forward, so we are back to our regular programmed work and updates and hopefully they will not be so damn long!
Until next time! - MAK
SUPPLY LIST
For Inquiring Minds
Windows
Glazing bead which is linked here because that is where we found it - We bought 30ft so we could reseal the back window and the two large side windows
Glazing tape - for reattaching the window to the frame (back window) before reapplying the glazing bead
Bone folder - we found that the blunt back edge was best for helping press the bead into place without damaging the seal
Butyl Tape - for reapplying the windows to the exterior
Fender Painting
Raptor Liner Kit
Raptor Liner spray gun - specifically designed for spraying the liner
Air compressor - we did not buy one because it's one that we have had since I was 16, but this is what we used
Roof Rack Instal
Sikaflex - Our go to sealant
Yakima Timberline Towers
Yakima Jetstream Cross bars - **Size Large (70")**
- Thank you to Zeal Optics for supplying our sunglasses and Basin & Range for the flannels. -