Build Out: Week 11
The Official Start on the Interior

Hey friends!
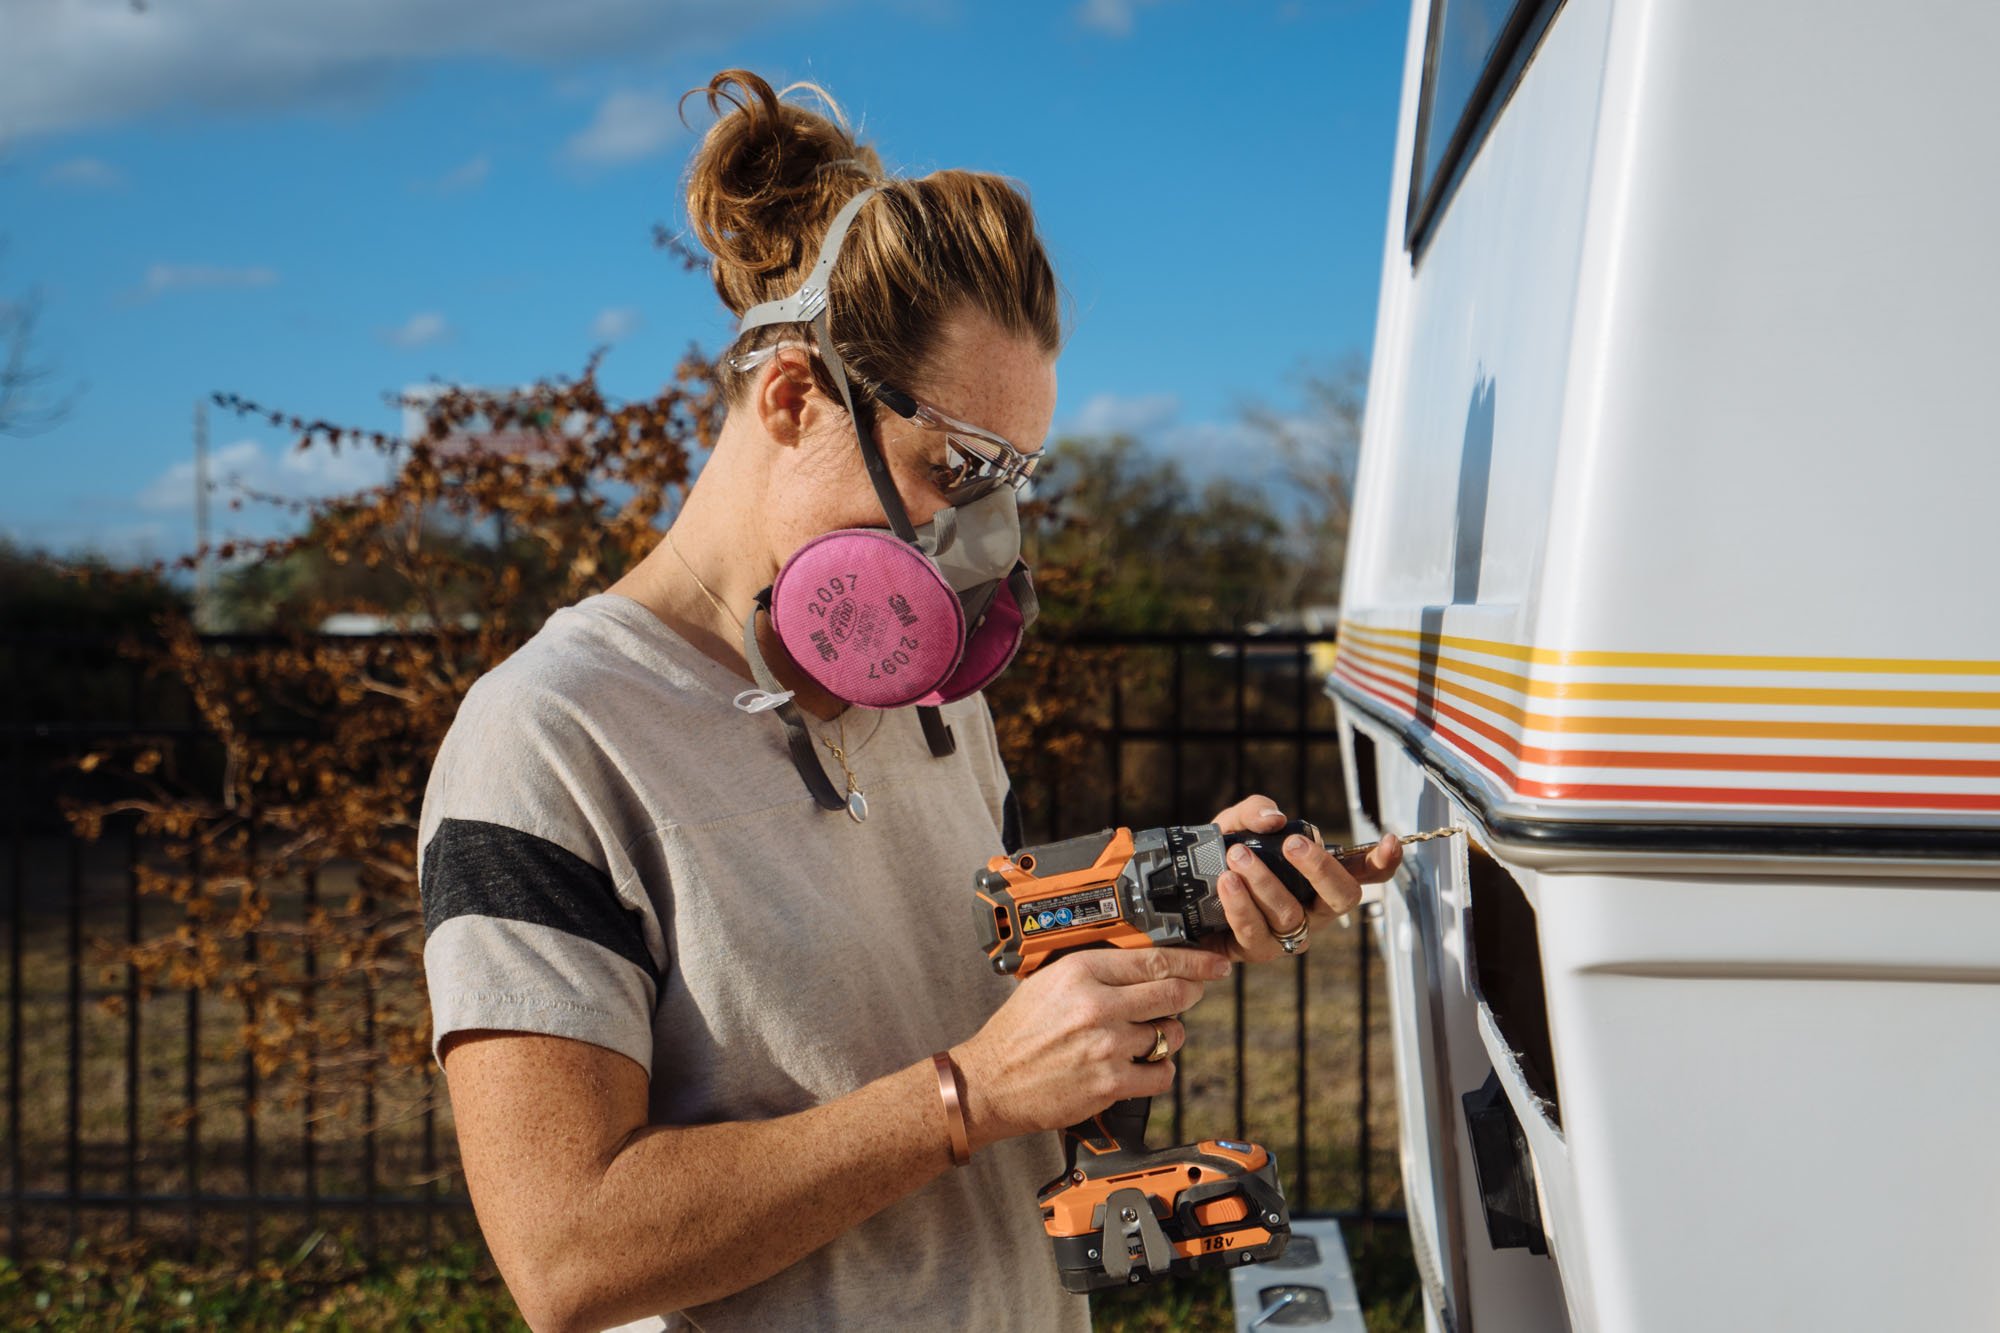
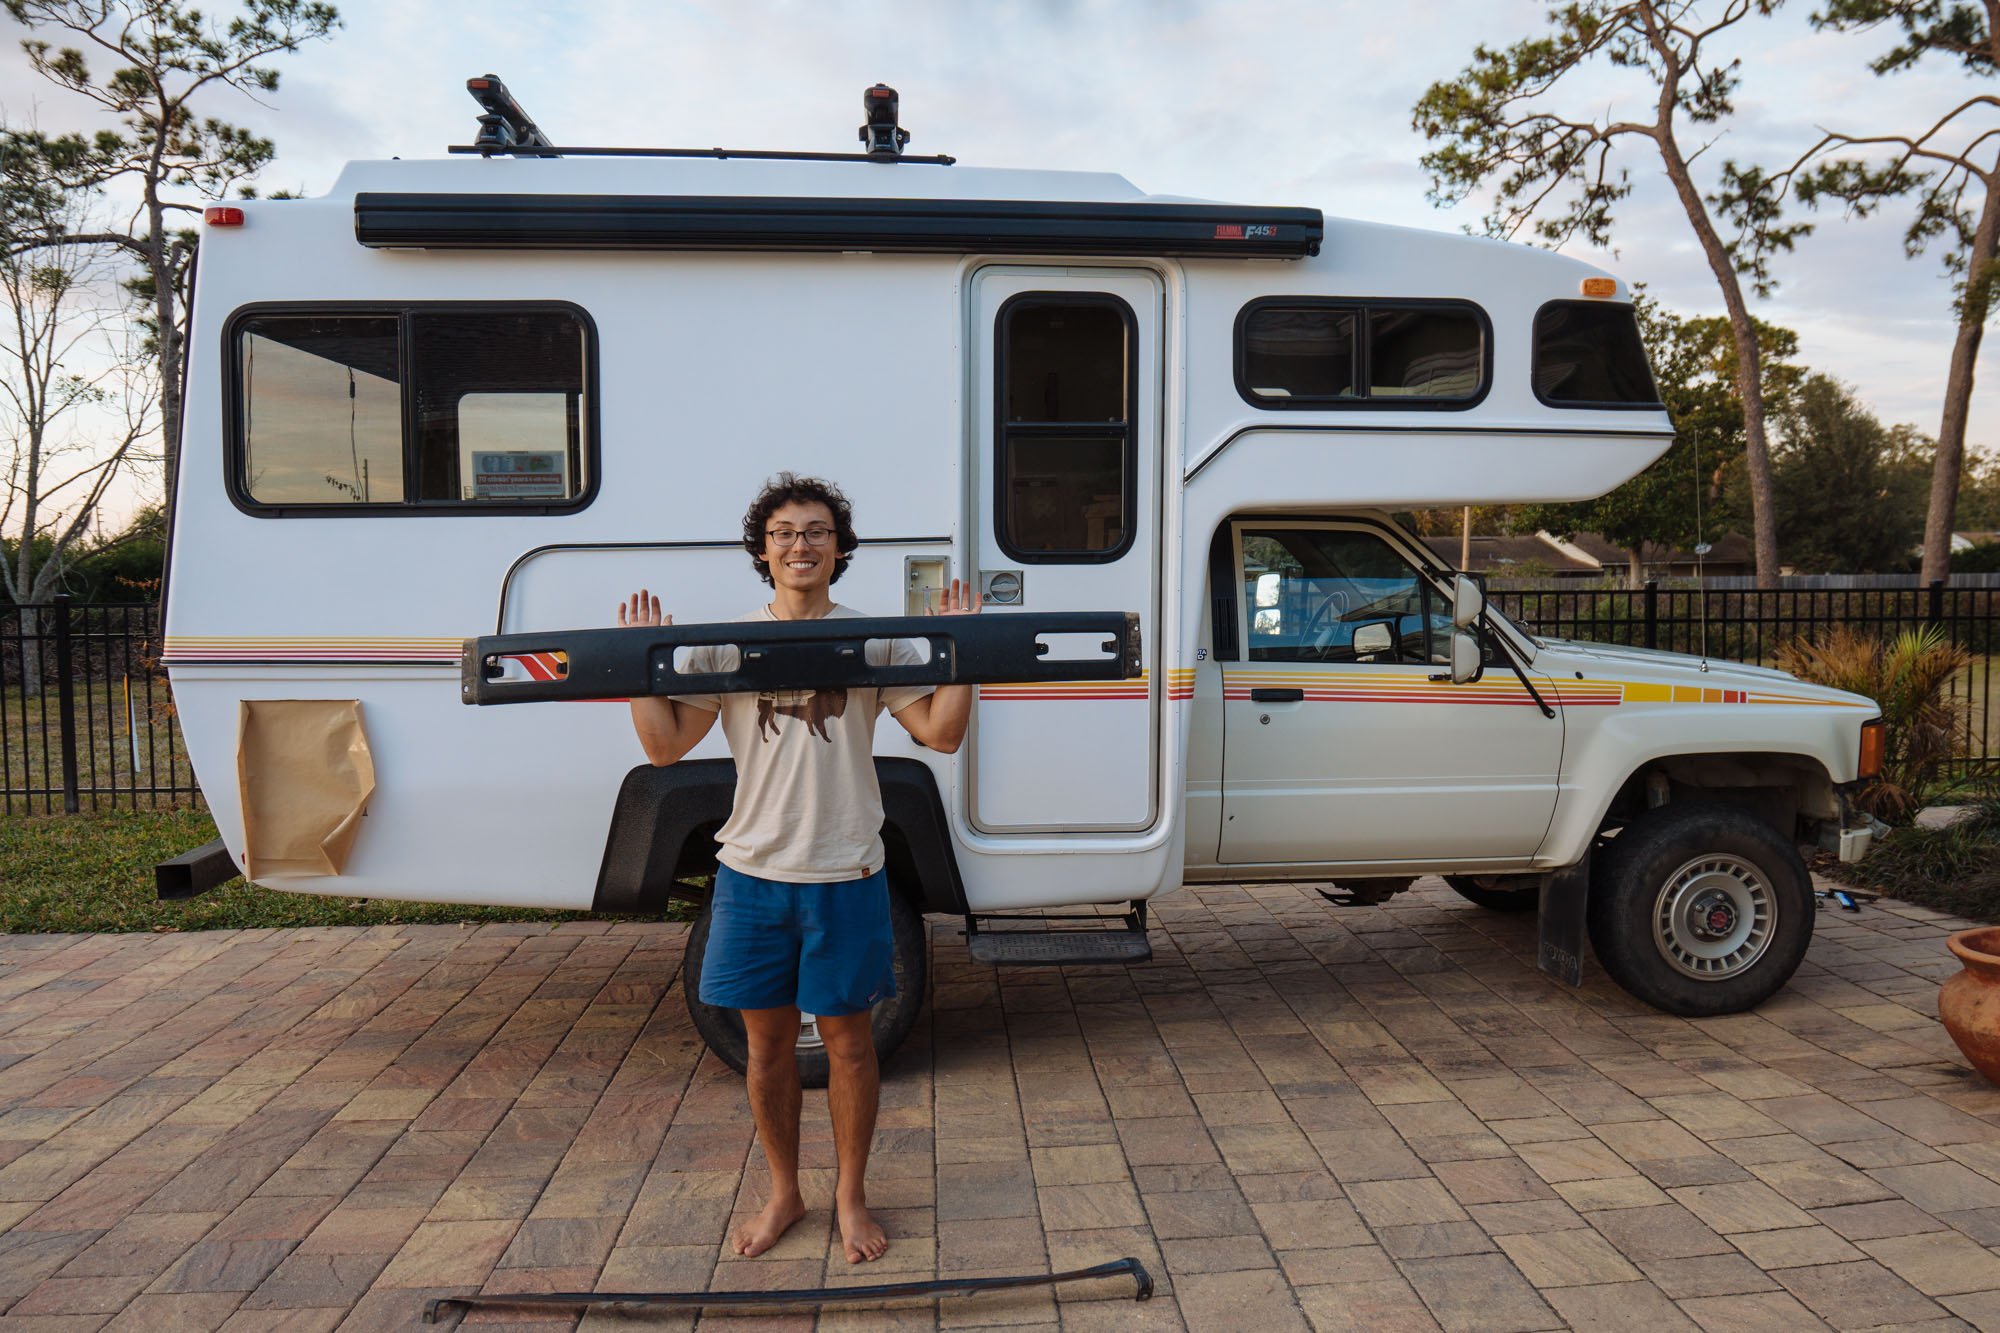
Hope this blog post finds you well! Do you see anything new in the picture above?! No, I'm not talking about Owen's creepy foot hanging out of the back of Amelia. Amelia got her new STRIPES!! The incredibly talented Carbon Wraps, here in Orlando, knocked it out of the park! We took Amelia in before we started removing her stripes, they took tons of measurements and pictures so when we were done with our paint job they were ready to redesign and reapply Amelia's stripes, but with a new color scheme. We were going for a take on the original Sunrader striping but more to the tune of an 80's sunset...mission accomplished! We'll be adding the 4x4 logo and some Bound for Nowhere logos once we get everything mounted to the outside and can figure out the best placement of things. You best believe that we'll be giving Carbon Wraps a visit as soon as we're ready!

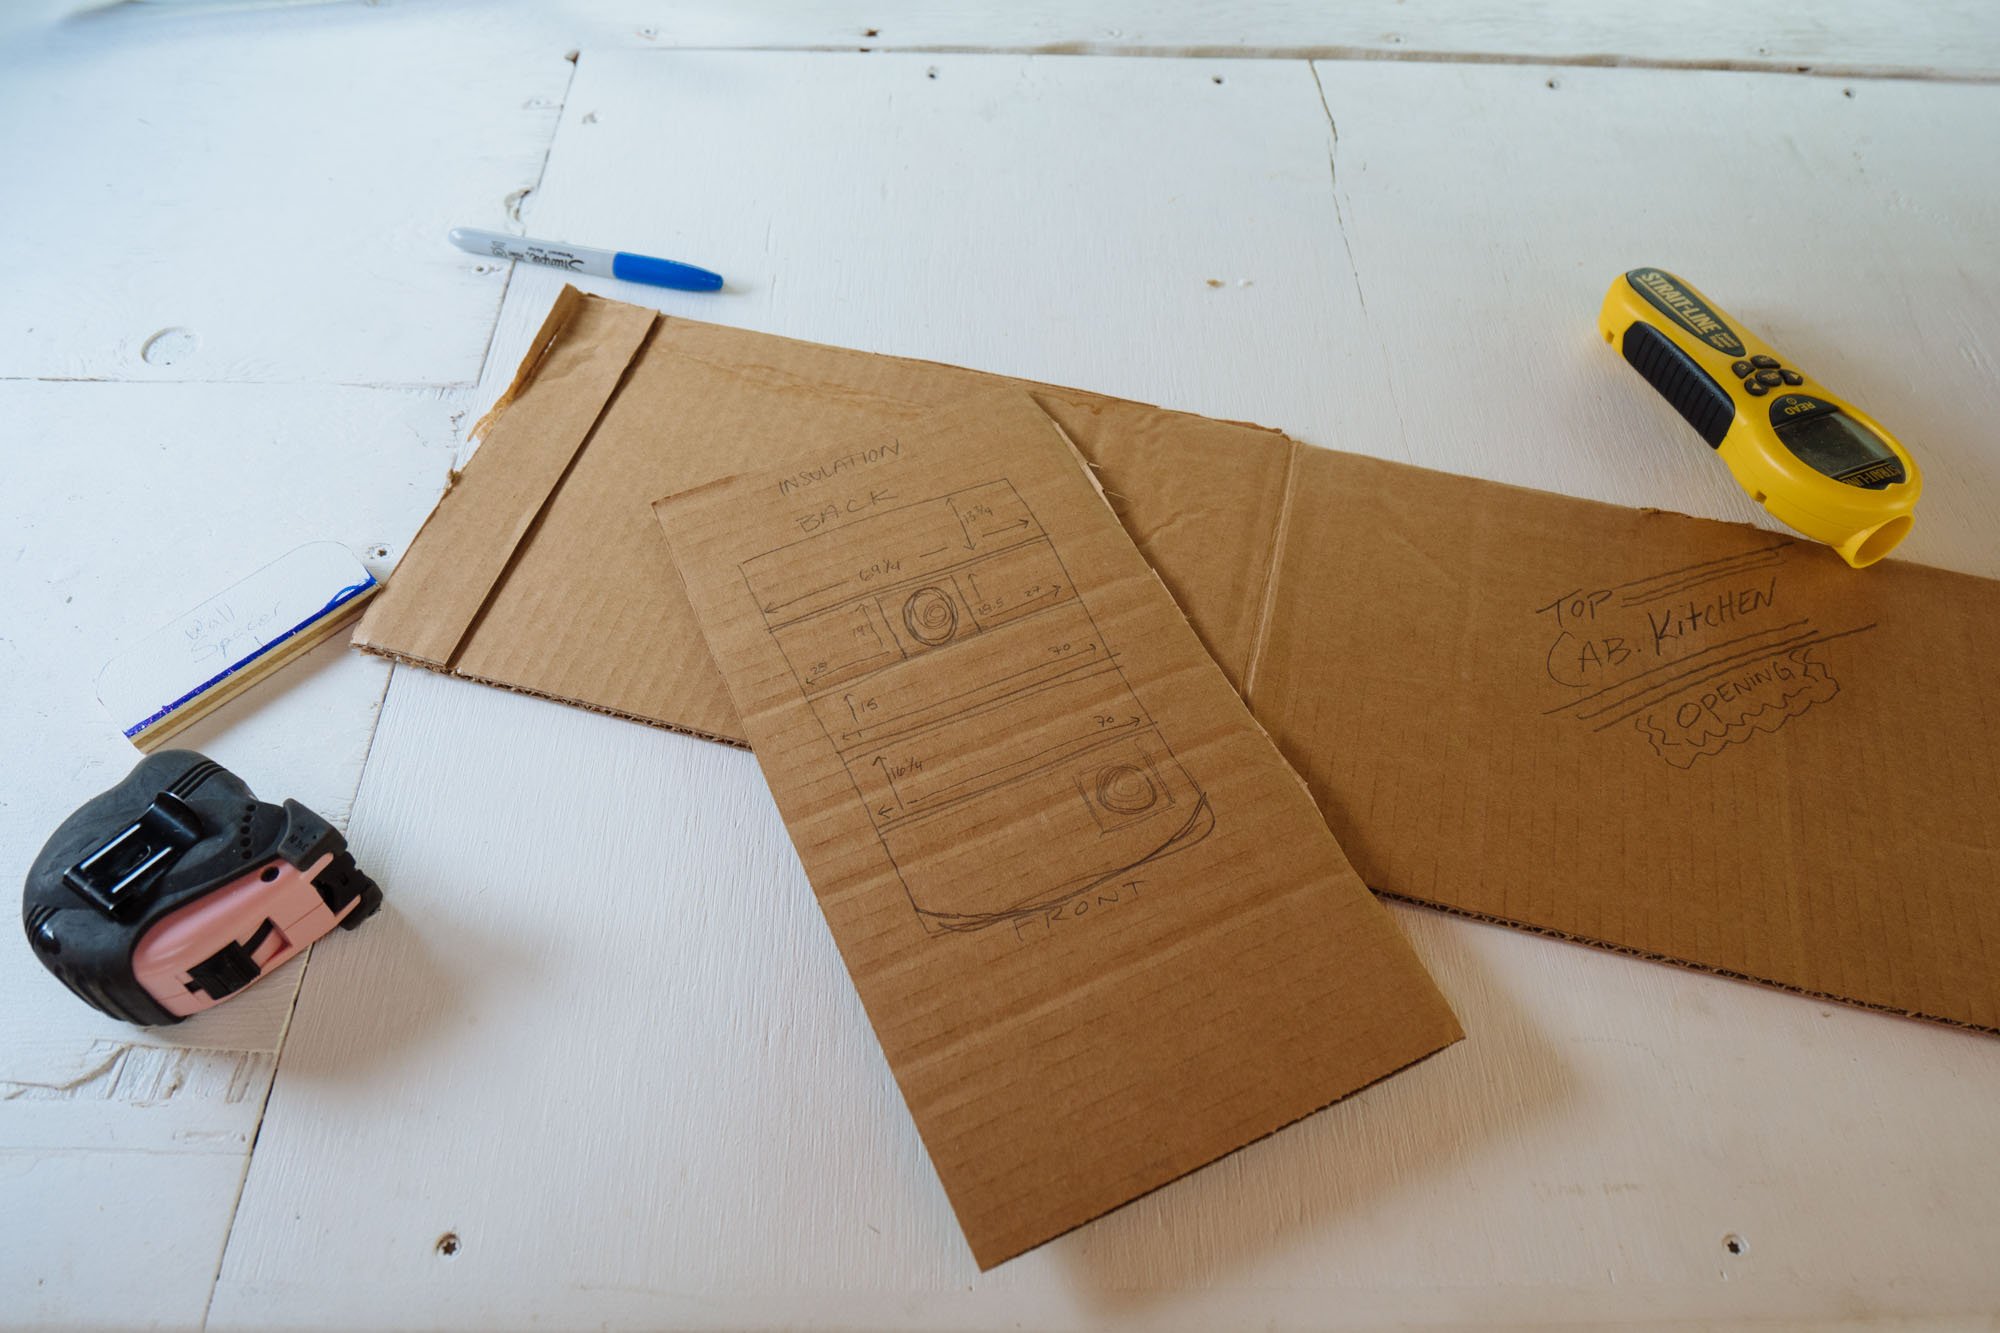
Solar panel time! In our van, Stanley we always felt like our solar system was left wanting, this time we aren't messing around. This beauty is a 280 Watt panel from Renogy that stands at 65.0" x 39.0"! We've decided to mount the panel on the roof over the bed area because it's the only spot that is big enough to hold it. In order for us to mount it to our roof we had to get creative and make some custom brackets.
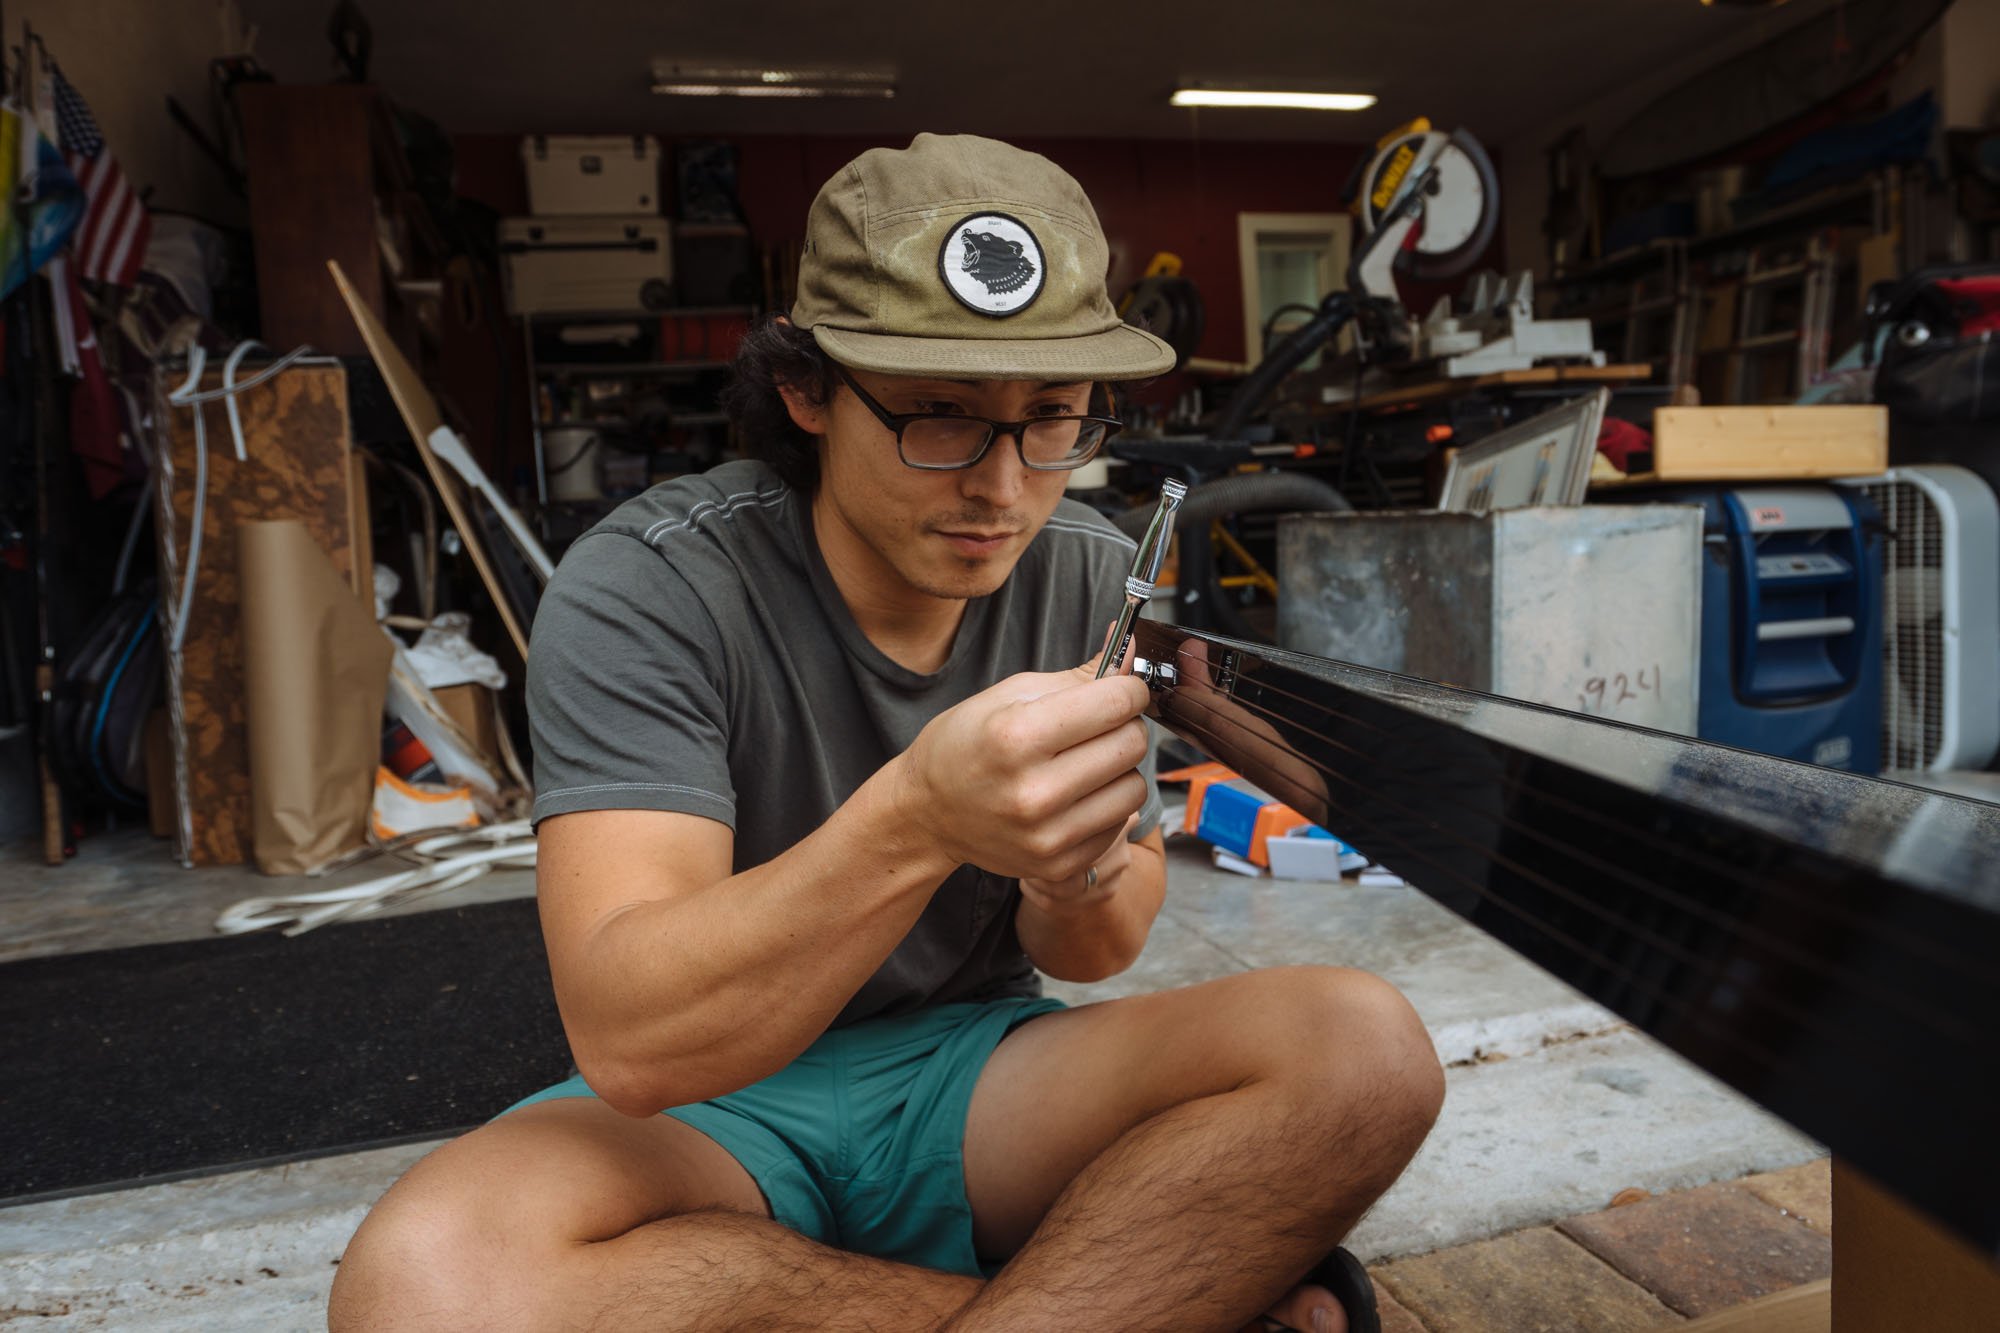
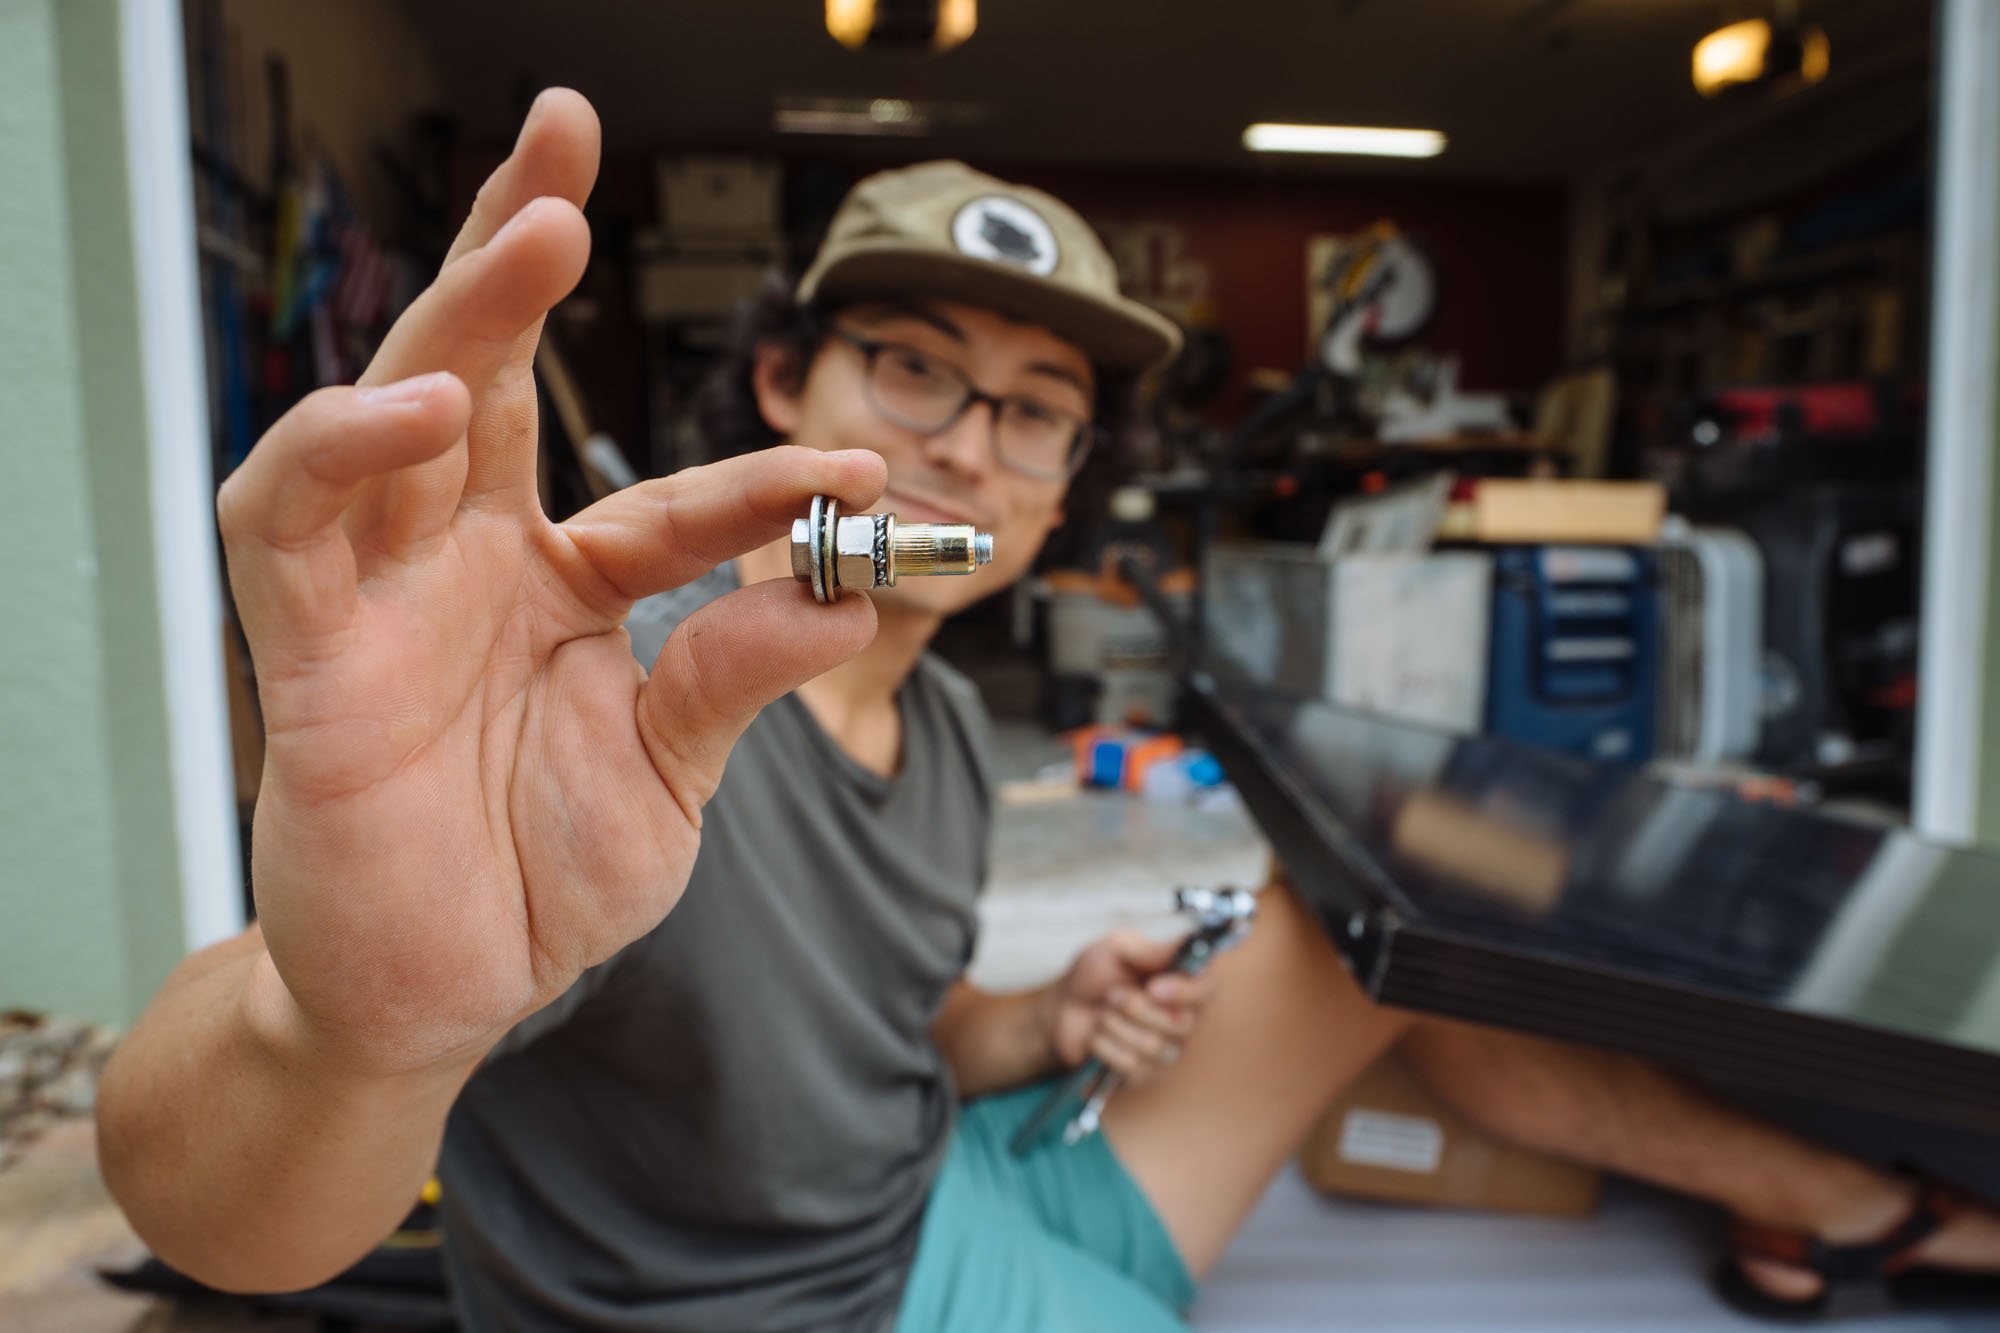
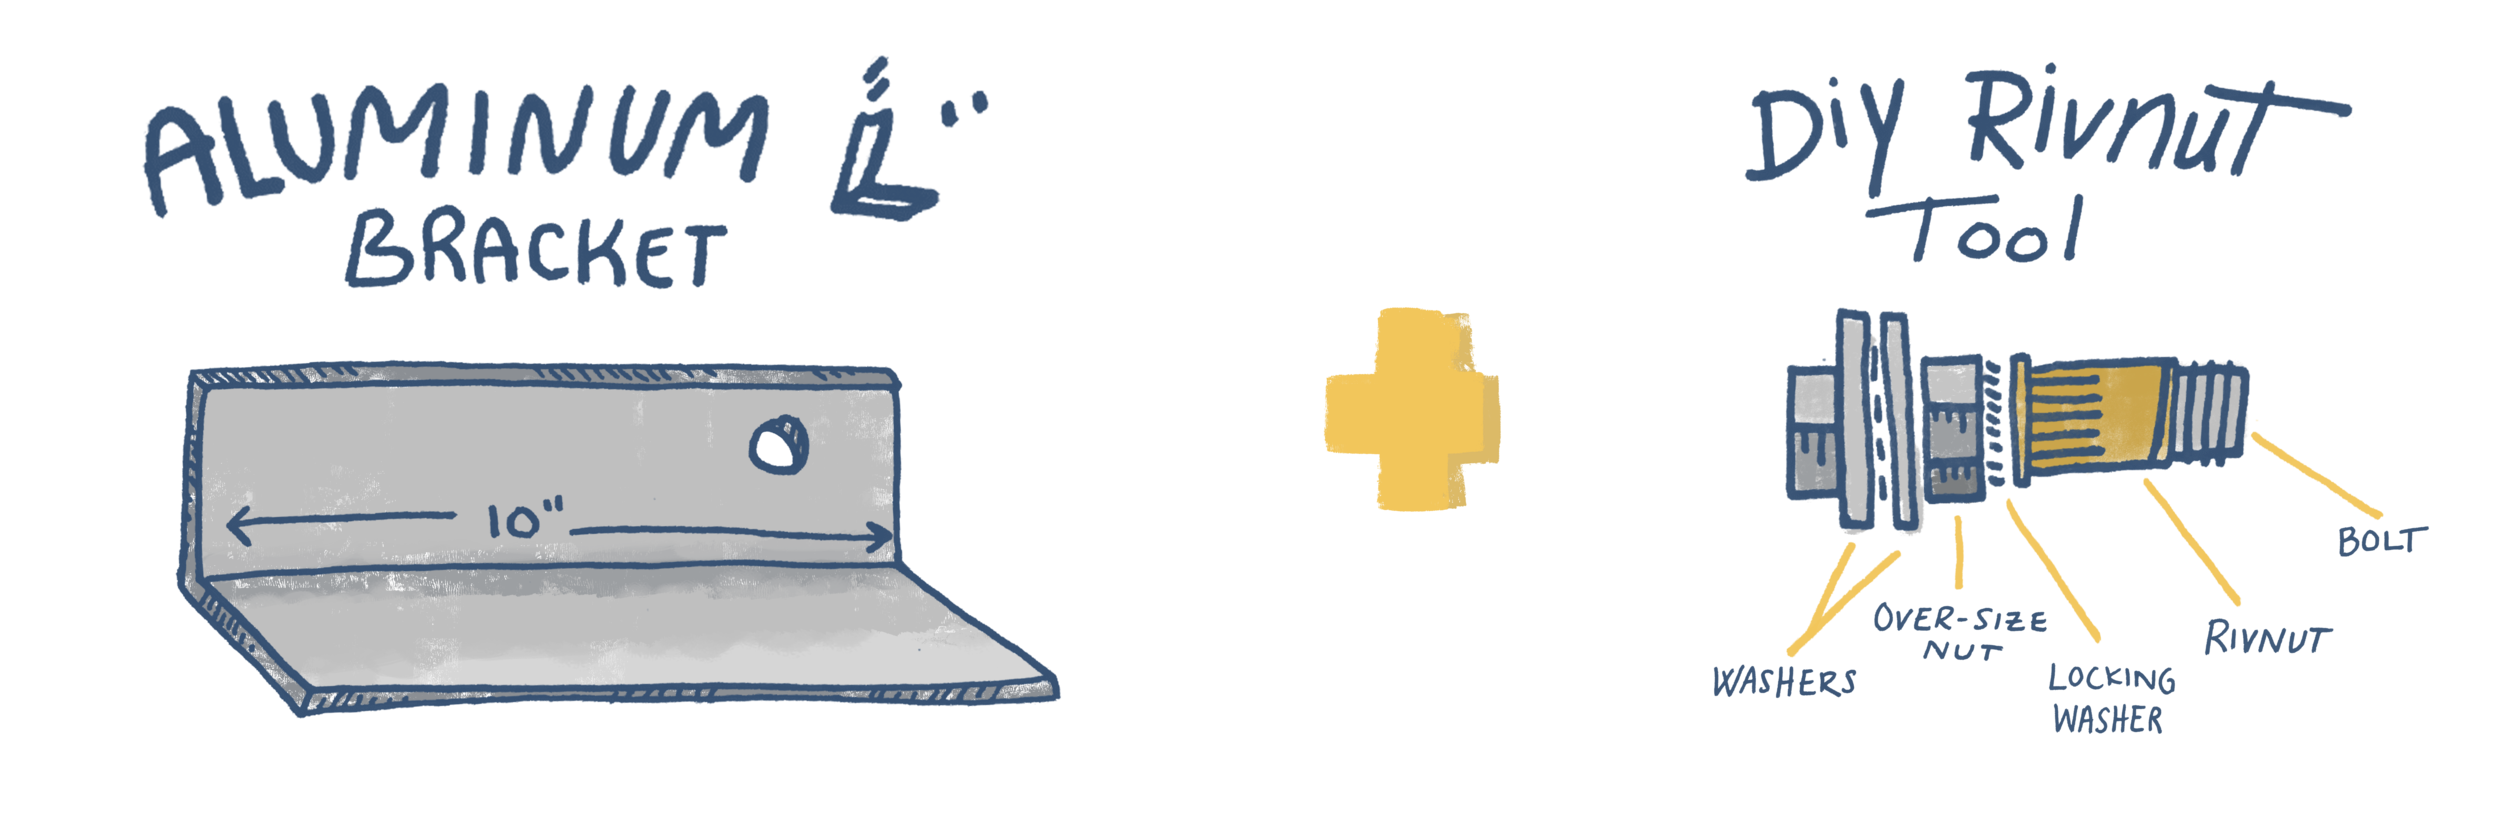
We took aluminum "L" bracket like drawn above and cut it down into 4 x 10" sections, one for each corner. Then we drilled holes through the "L" and the frame of the solar panel where we wanted our connection to be made. With holes drilled in both components we made our DIY Rivnut tool so we could install our rivnuts. The reason why we're installing rivnuts in the first place is because we want to be sure that we always have the ability to remove the solar panel from the brackets even after the brackets are fixed to the roof. Once rivnuts are in place they serve as a permanent fixed nut right where we need it! This little DIY tool that we made crushes the ridged section of the rivnut giving it the grip onto the solar panel. It took a few Youtube videos and test tries to get it to work...but eventually Owen worked his magic and made it happen! We still haven't installed the panel on the roof because we need a few dry days in a row, and a few extra sets of hands to get our massive panel wrangled onto the roof. More to follow soon on the installation.


Next up, tail light plates. Remember our awesome fabricator that flaked on us? Well the only thing he ever made us were these light plates. The reason why they have gone unfinished this long is that we've needed Amelia's taillights to be installed to drive to various appointments. The first moment we got to pull them off and paint them we made it so. We purchased professional grade self etching primer to use as a first coat for our bare aluminum plates.

Here's the line up of primer, paint, and topcoat that I used for the light plates. We used 3 even coats of each before we had our finished product.

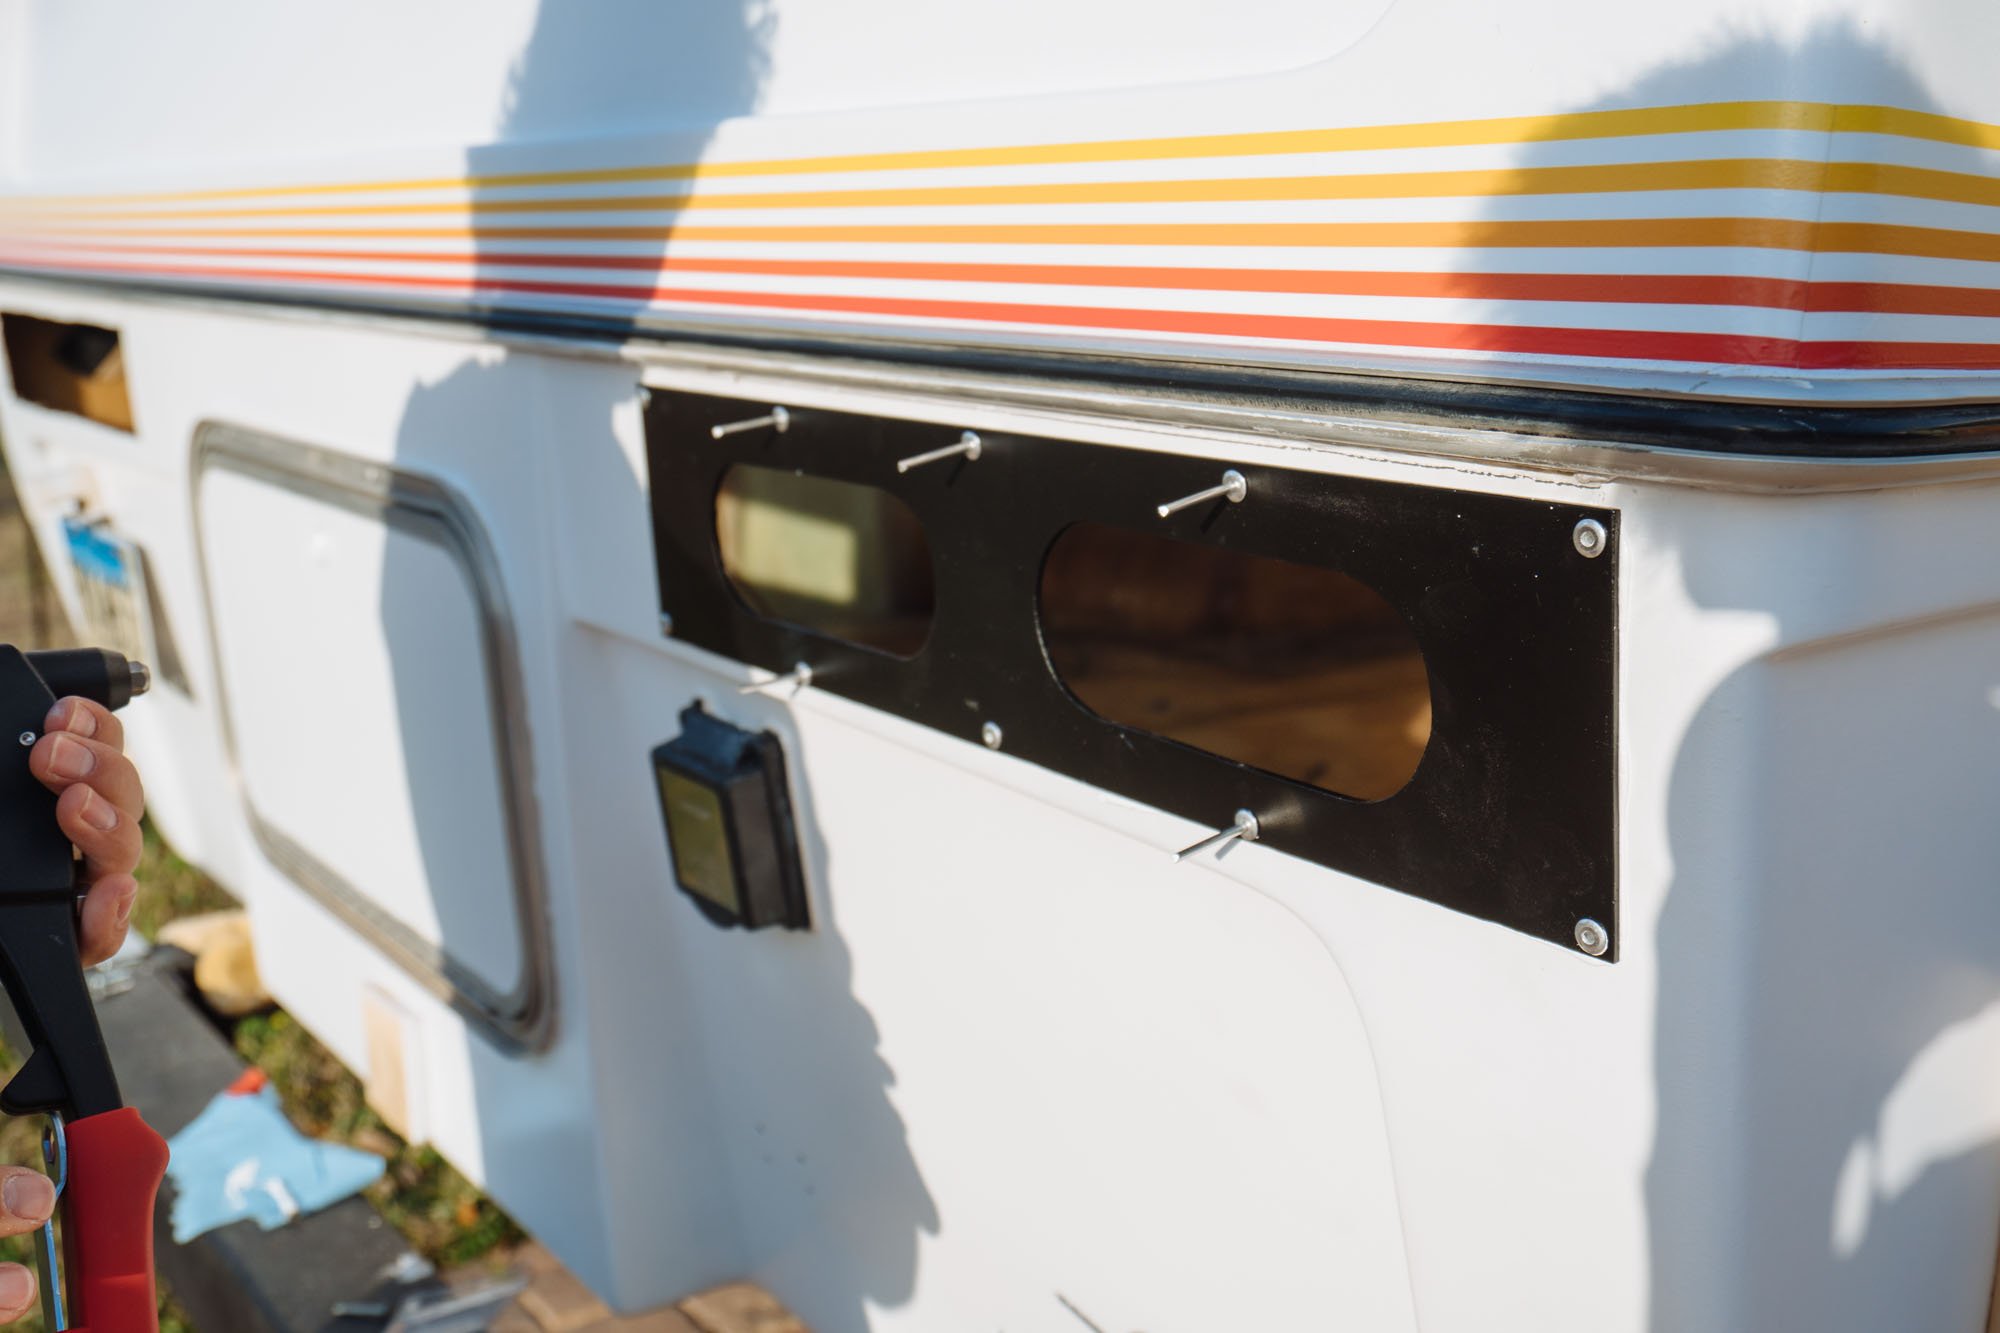
Before riveting our tail light plates into place we drilled fresh holes after filling them all in before painting Amelia's body.

We later reinstalled our taillights and painted over the silver rivet heads.

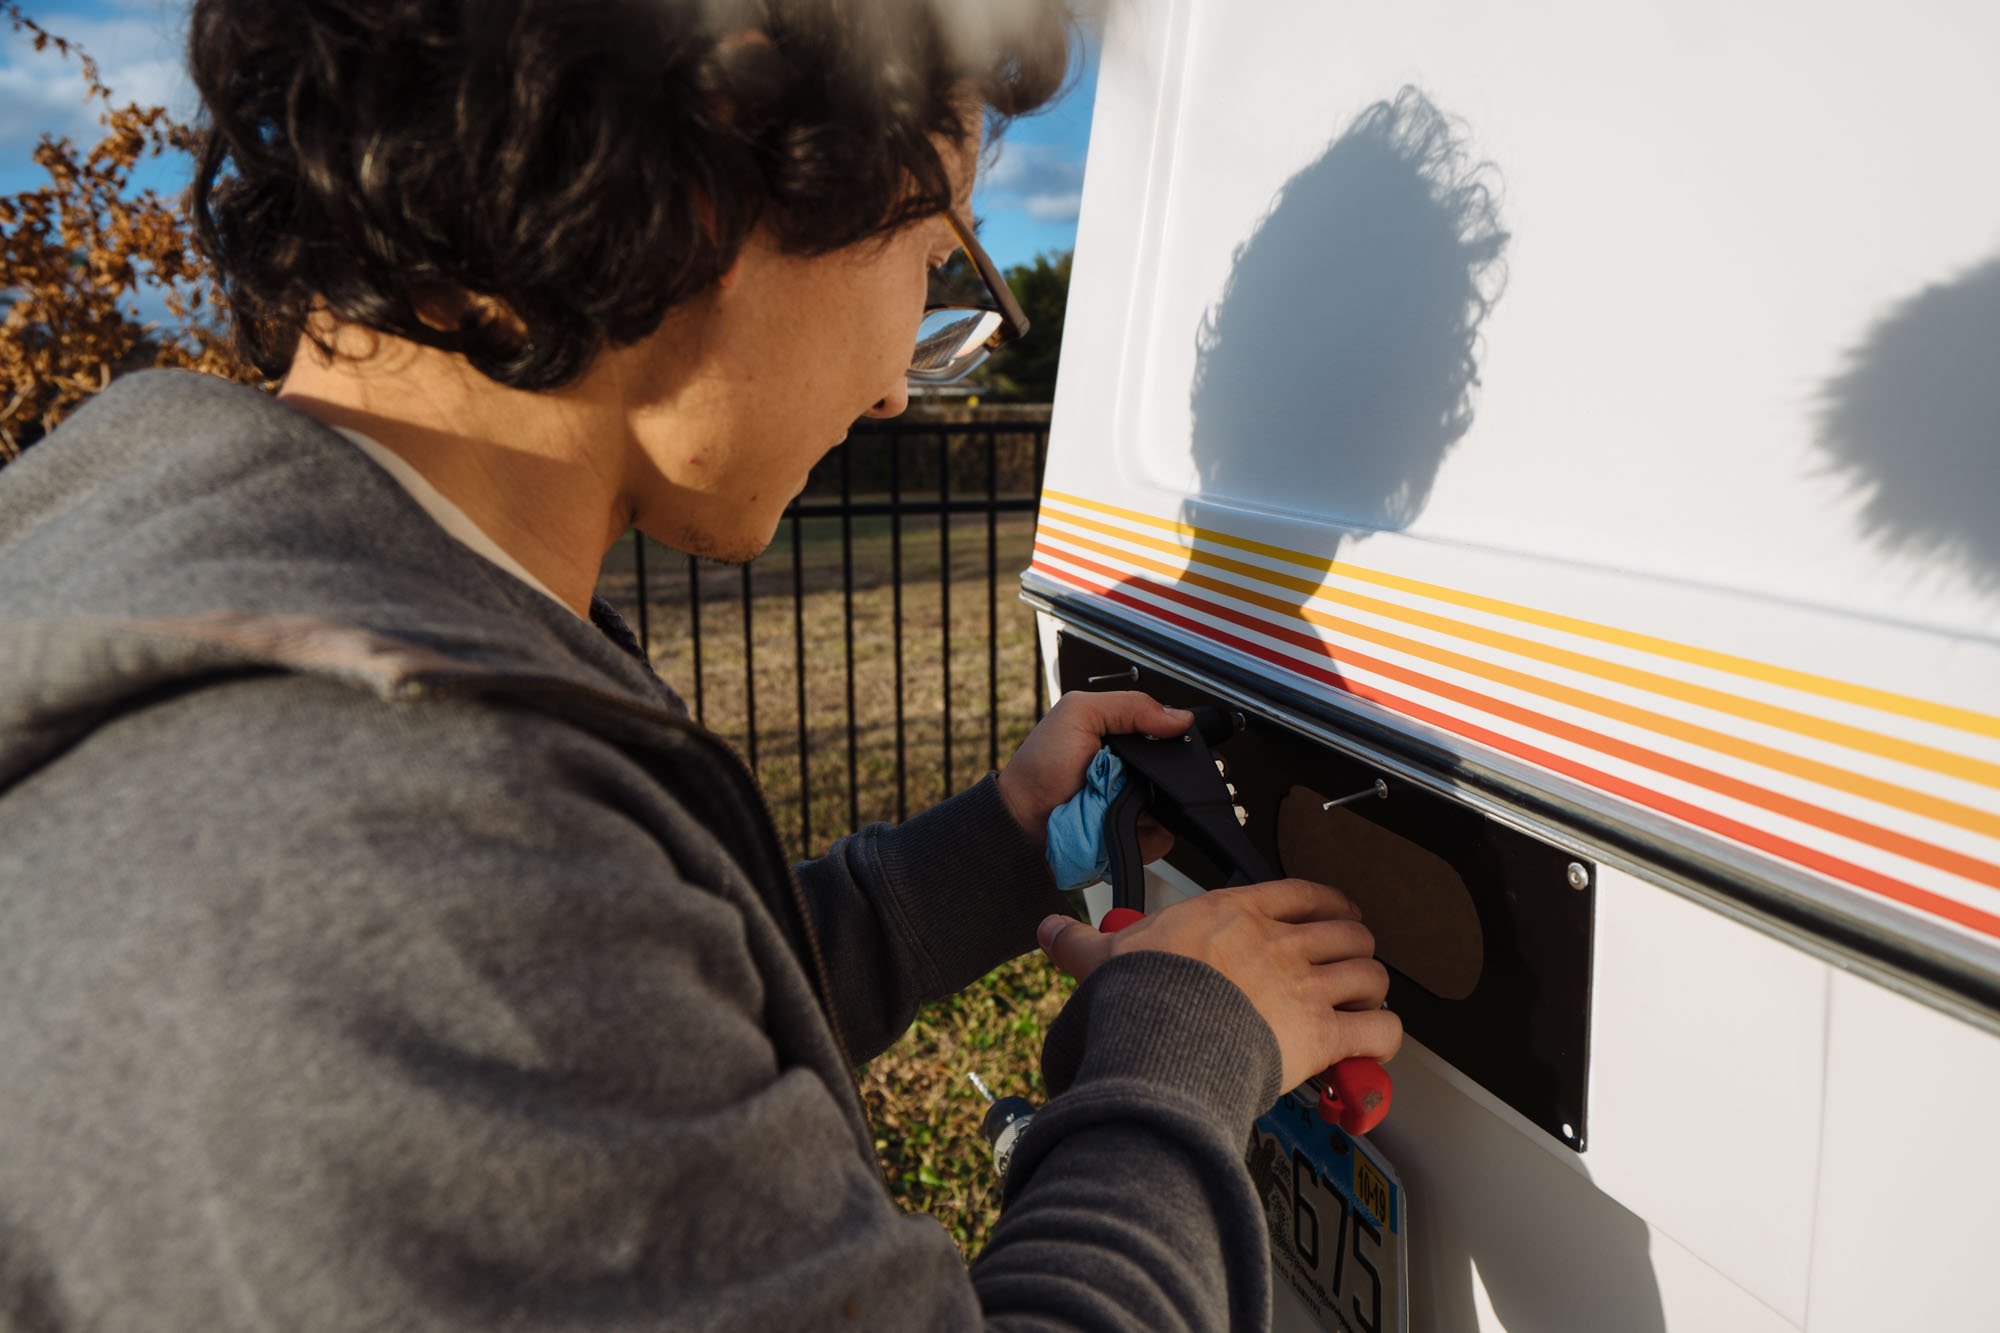
This week we also managed to install our backup camera! We decided to install the camera in the place of an old clearance light so that it would sit perfectly centered and be level with all of the lights. I'm going to be completely honest with my opinion of backup cameras. I don't like 'em, I don't like 'em one bit! I've never been one to be trusting of them and tend to ignore them even when in a car with a backup camera. ALL of that being said, Amelia is big, and you can't see a damn thing out of her rearview mirror, so it only made sense to install a backup camera. Having a camera that runs the entire time Amelia is running will be a tremendous help when driving in traffic, and in general parking situations. In the mean time I'll be getting over myself ;)

Thankfully the installation was really easy on the camera, now we just need to figure out all of the wire managment and how we will run this all to the cab!

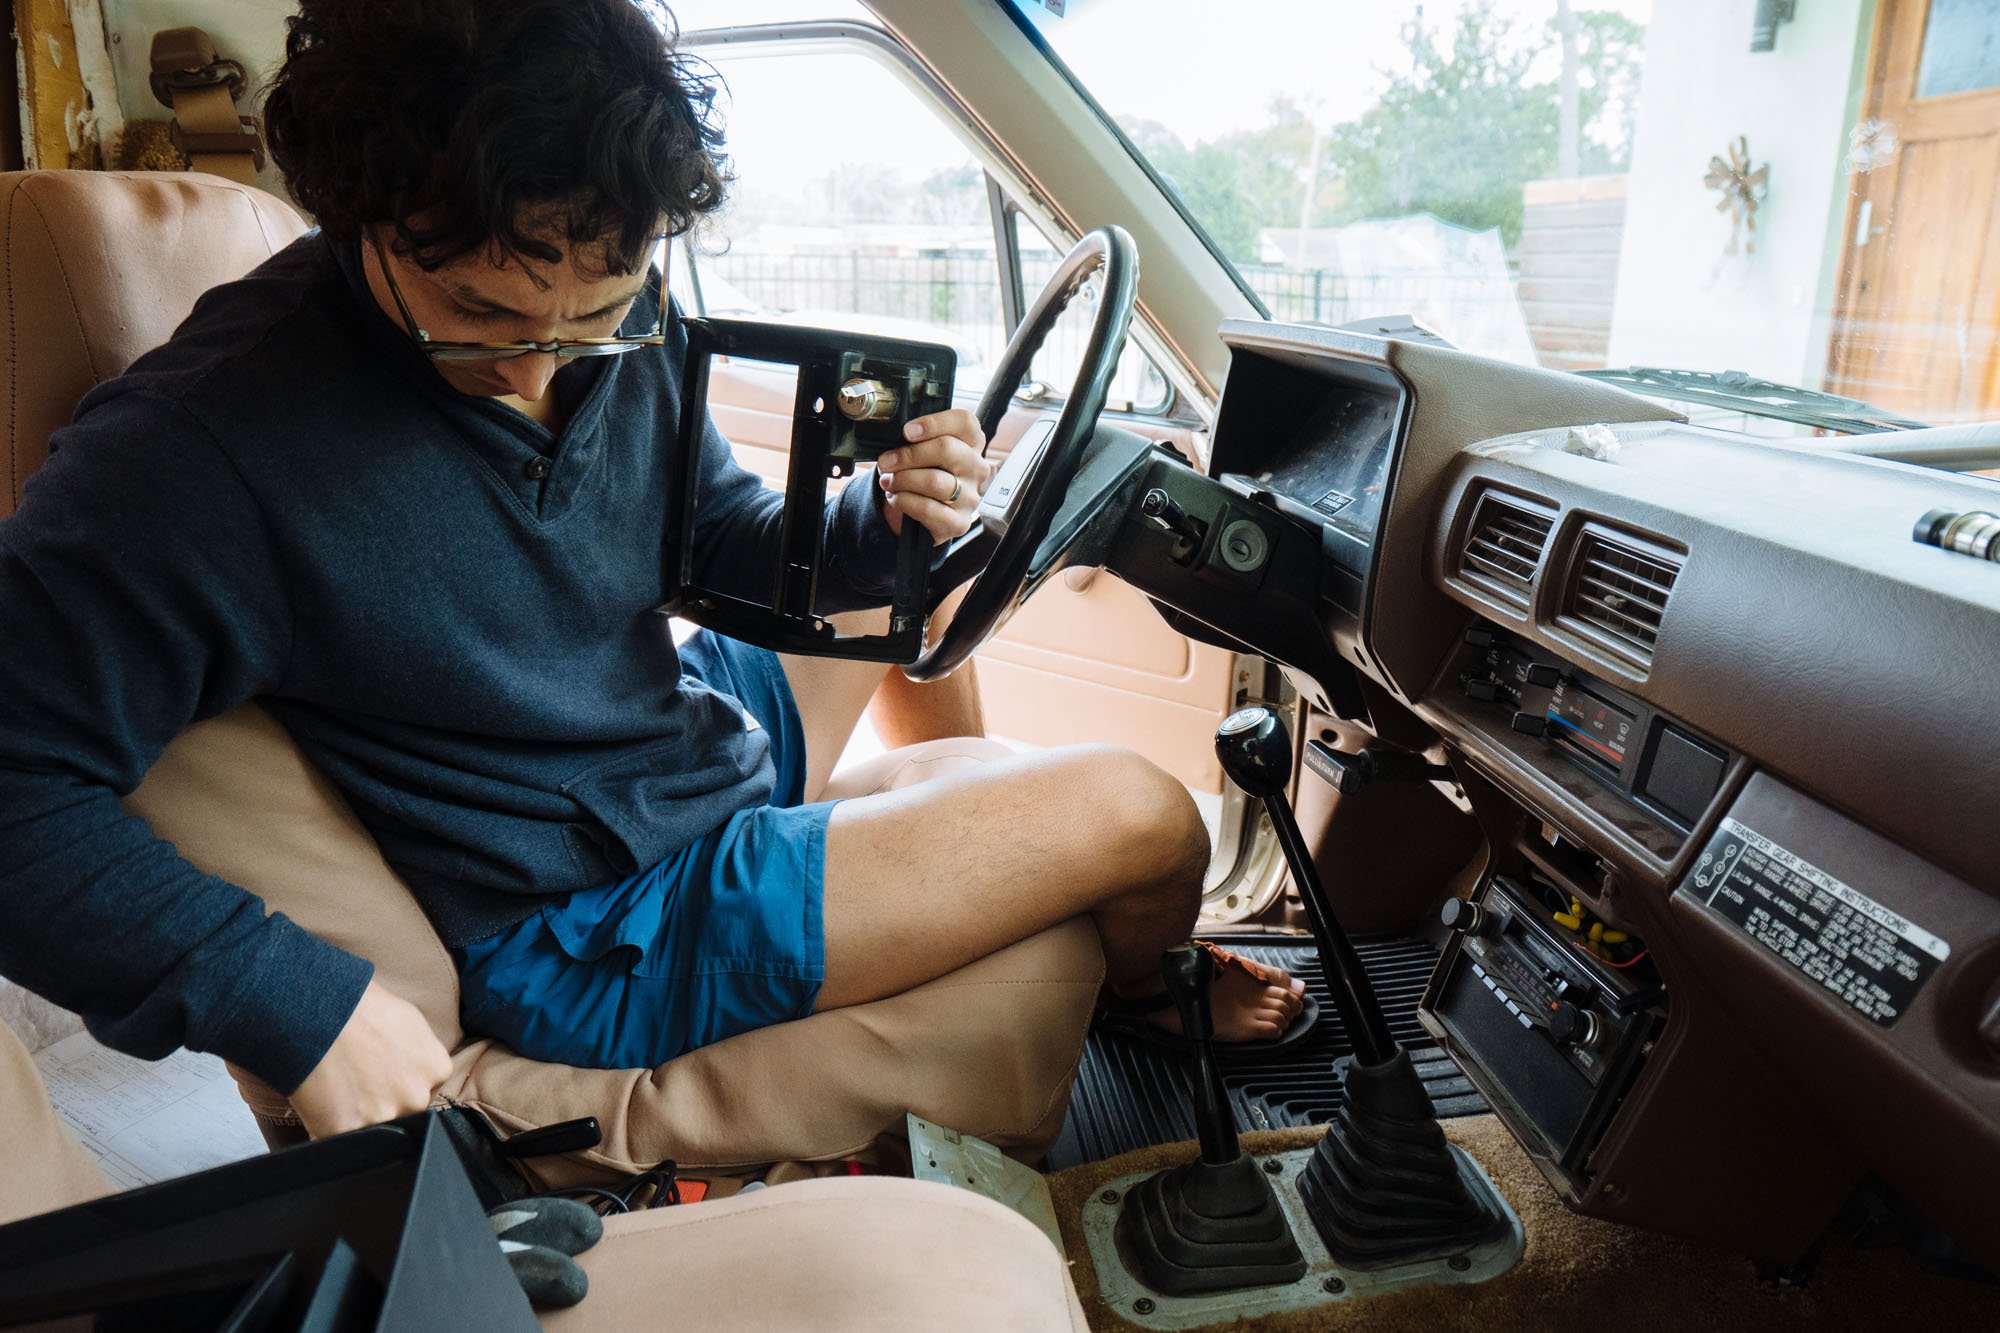
Owen being the expert at wiring that he is looked over our dash to see how we will configure the backup camera as well as a new head unit which is on the way!

Our ladder has been painted for a few weeks now but we were waiting until our taillights were in for good before we installed the ladder. We've come to have a lot of practice with riveting over the last week, so installation for the ladder was quick and painless...

The above is a semi accurate look at Owen during the riveting process.
That my friends, is a nearly completed rear end! The only thing that we have planned left to do is paint the back bumper with Raptor liner! We're starting to get close and there is a light at the end of this tunnel!

This past week we went ahead and removed our front bumper to prepare for painting. It has some chips, rusting, and the side plastic pieces are really dull. This week we'll be giving them a fresh paint job!
Now lets move inside shall we?

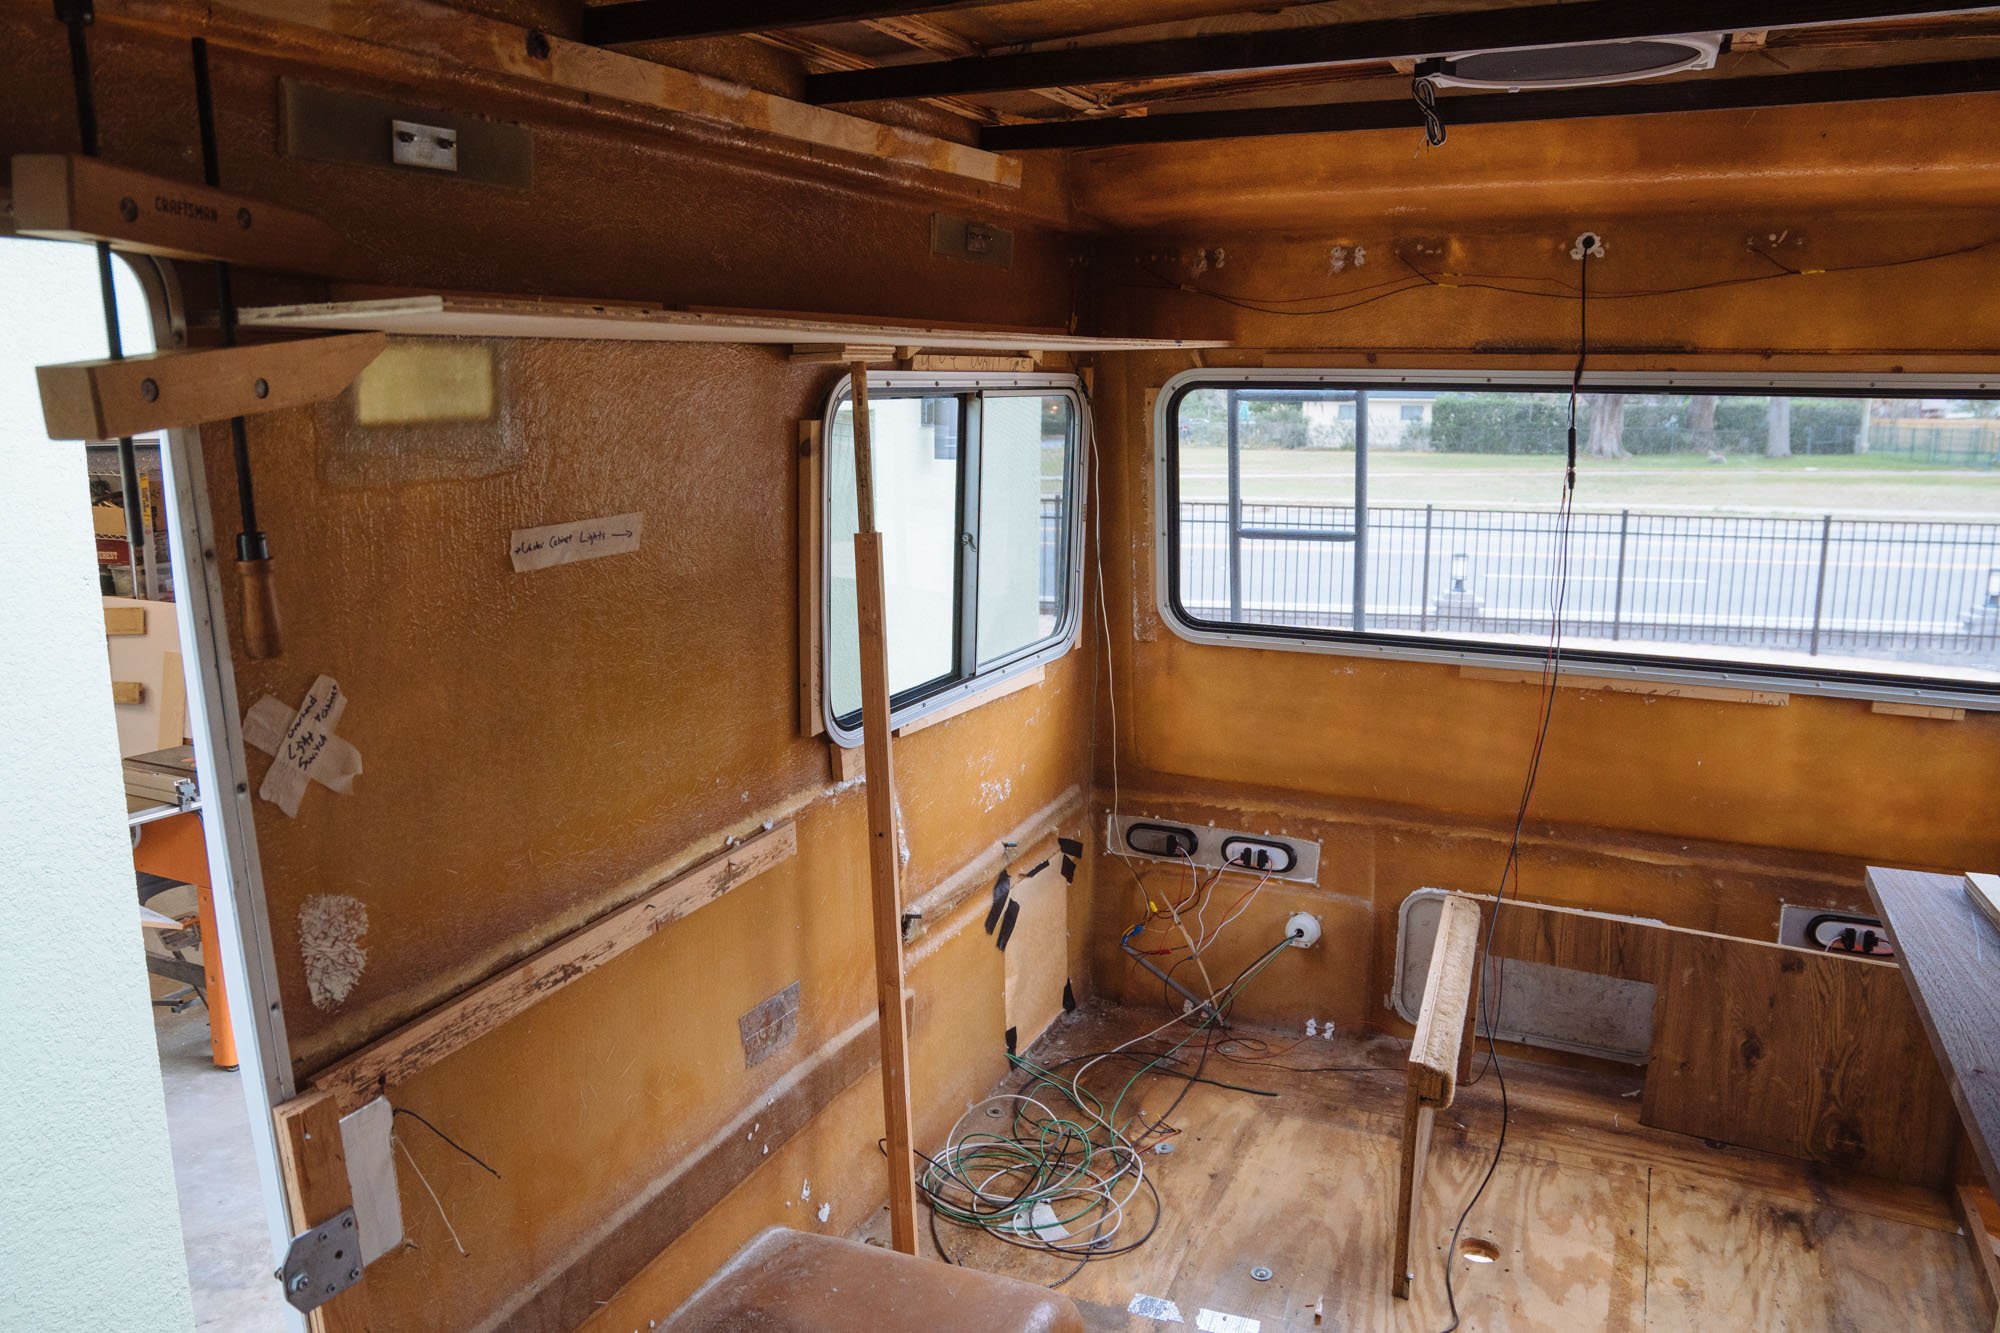
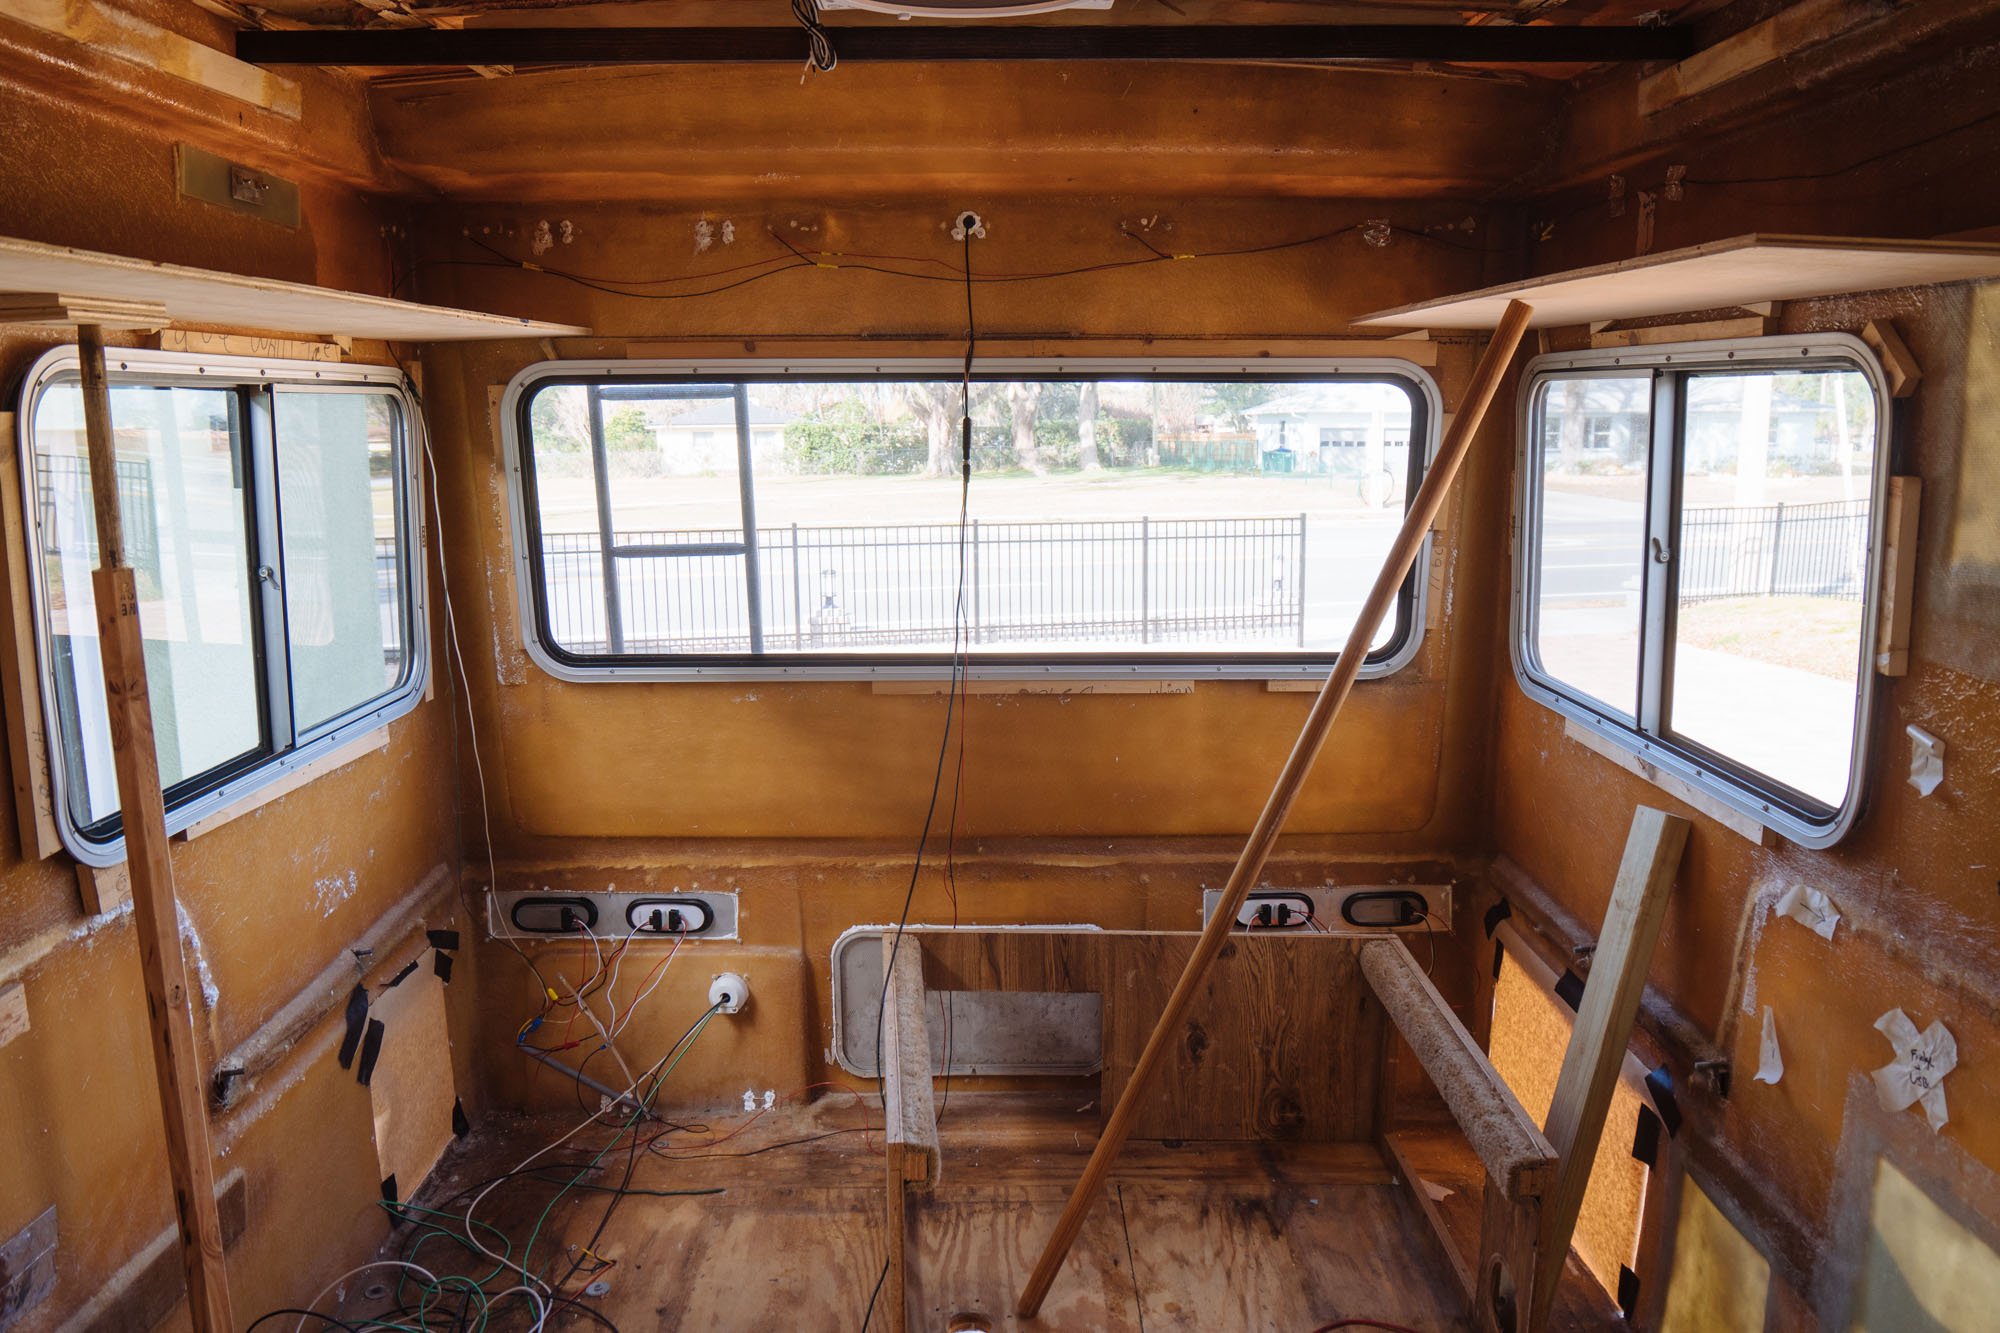
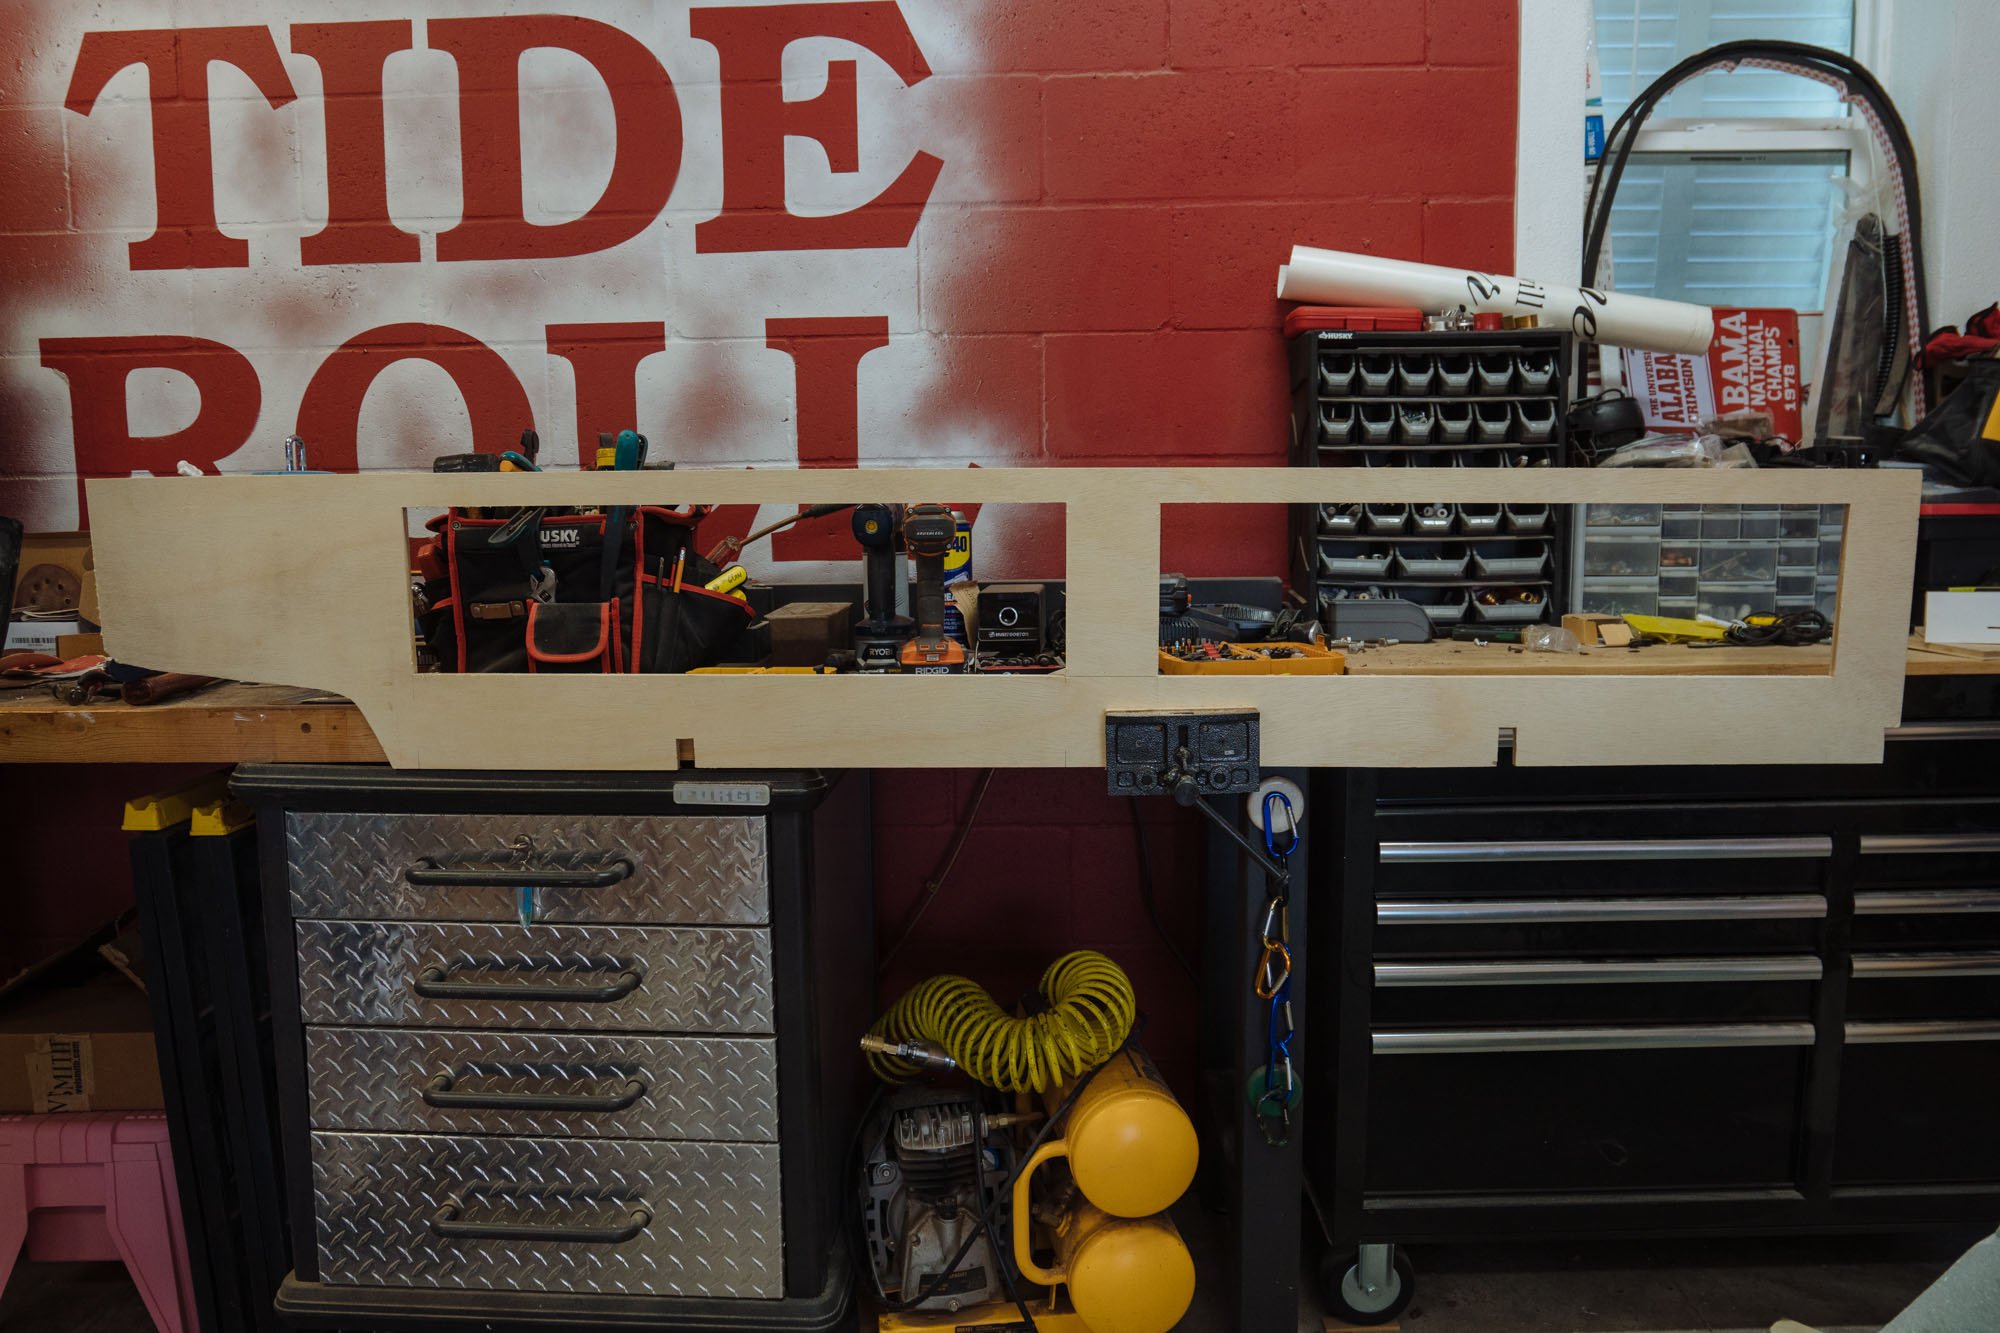
This week the majority of our time focused on cabinets and preparing the inside to have cabinets installed! Based on the way that we've designed our cabinets we needed to install some support pieces that the top cabinets could be fixed to once they get installed. After a few frustrated attempts to get them glues into place using cross supports I resorted to the endlessly reliable...industrial strength duct tape!


It isn't cute but it sure as hell got the job done! We drew a line on our wall front to back that marks where the bottom of our top cabinets will sit, using a spacer cut from our cabinet's base wood I spaced and glued all of the support pieces lining the wall. We'll get more into the cabinet construction and plans for the install a little later!

Lately, I've been spending all of my time working on Amelia and have really started to miss drawing. Don't be surprised if I start adding more drawings into these blog posts so I can keep my hand moving! Above is just a quick sketch of how I'm envisioning the bed area when it gets wrapped up! After making this drawing I was excited to take some real steps towards this end goal vision!
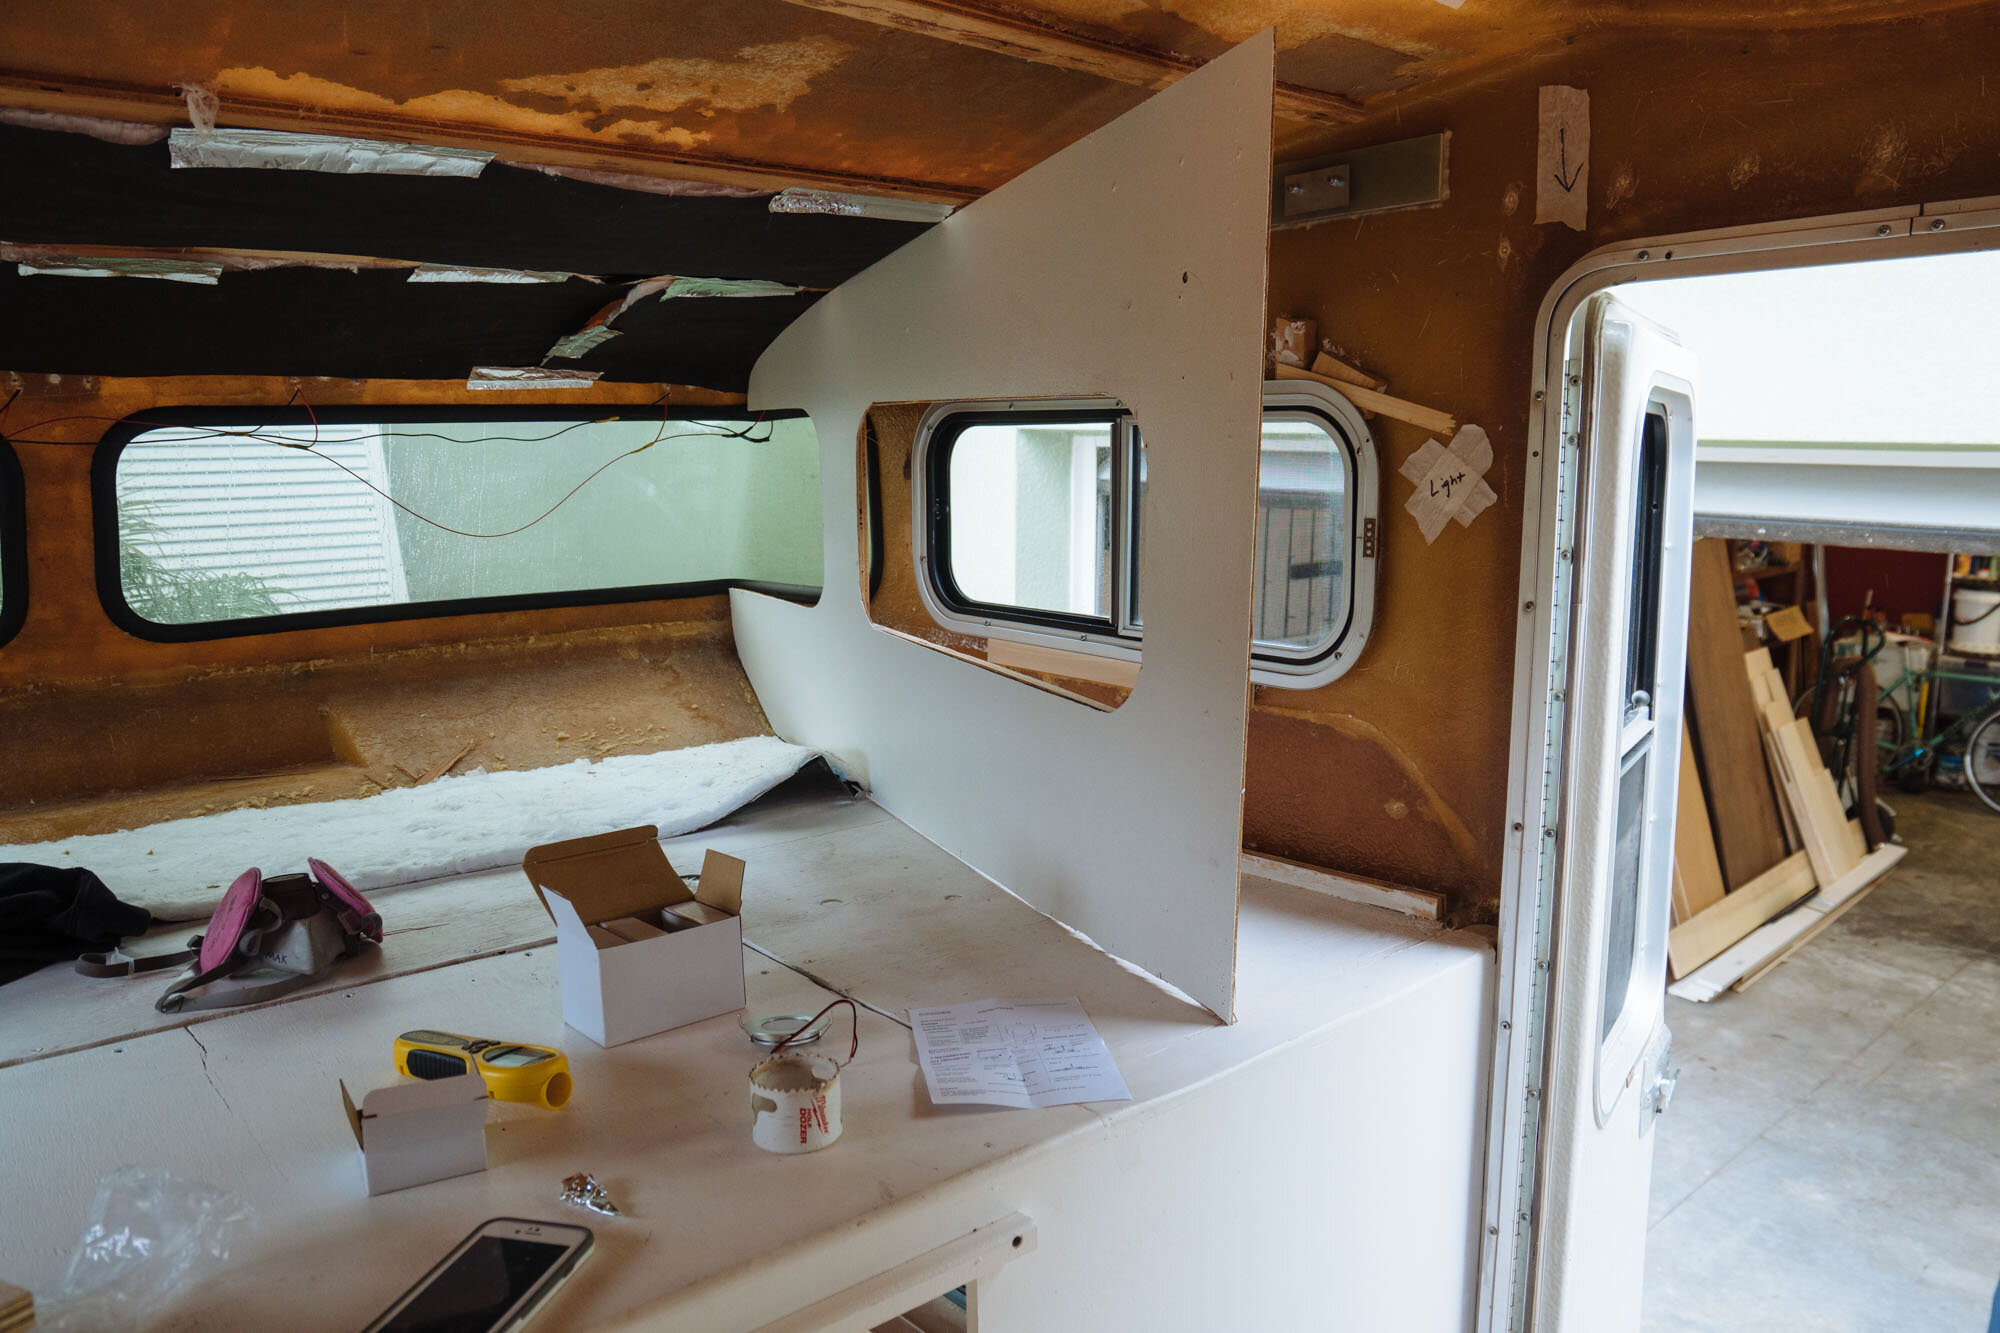
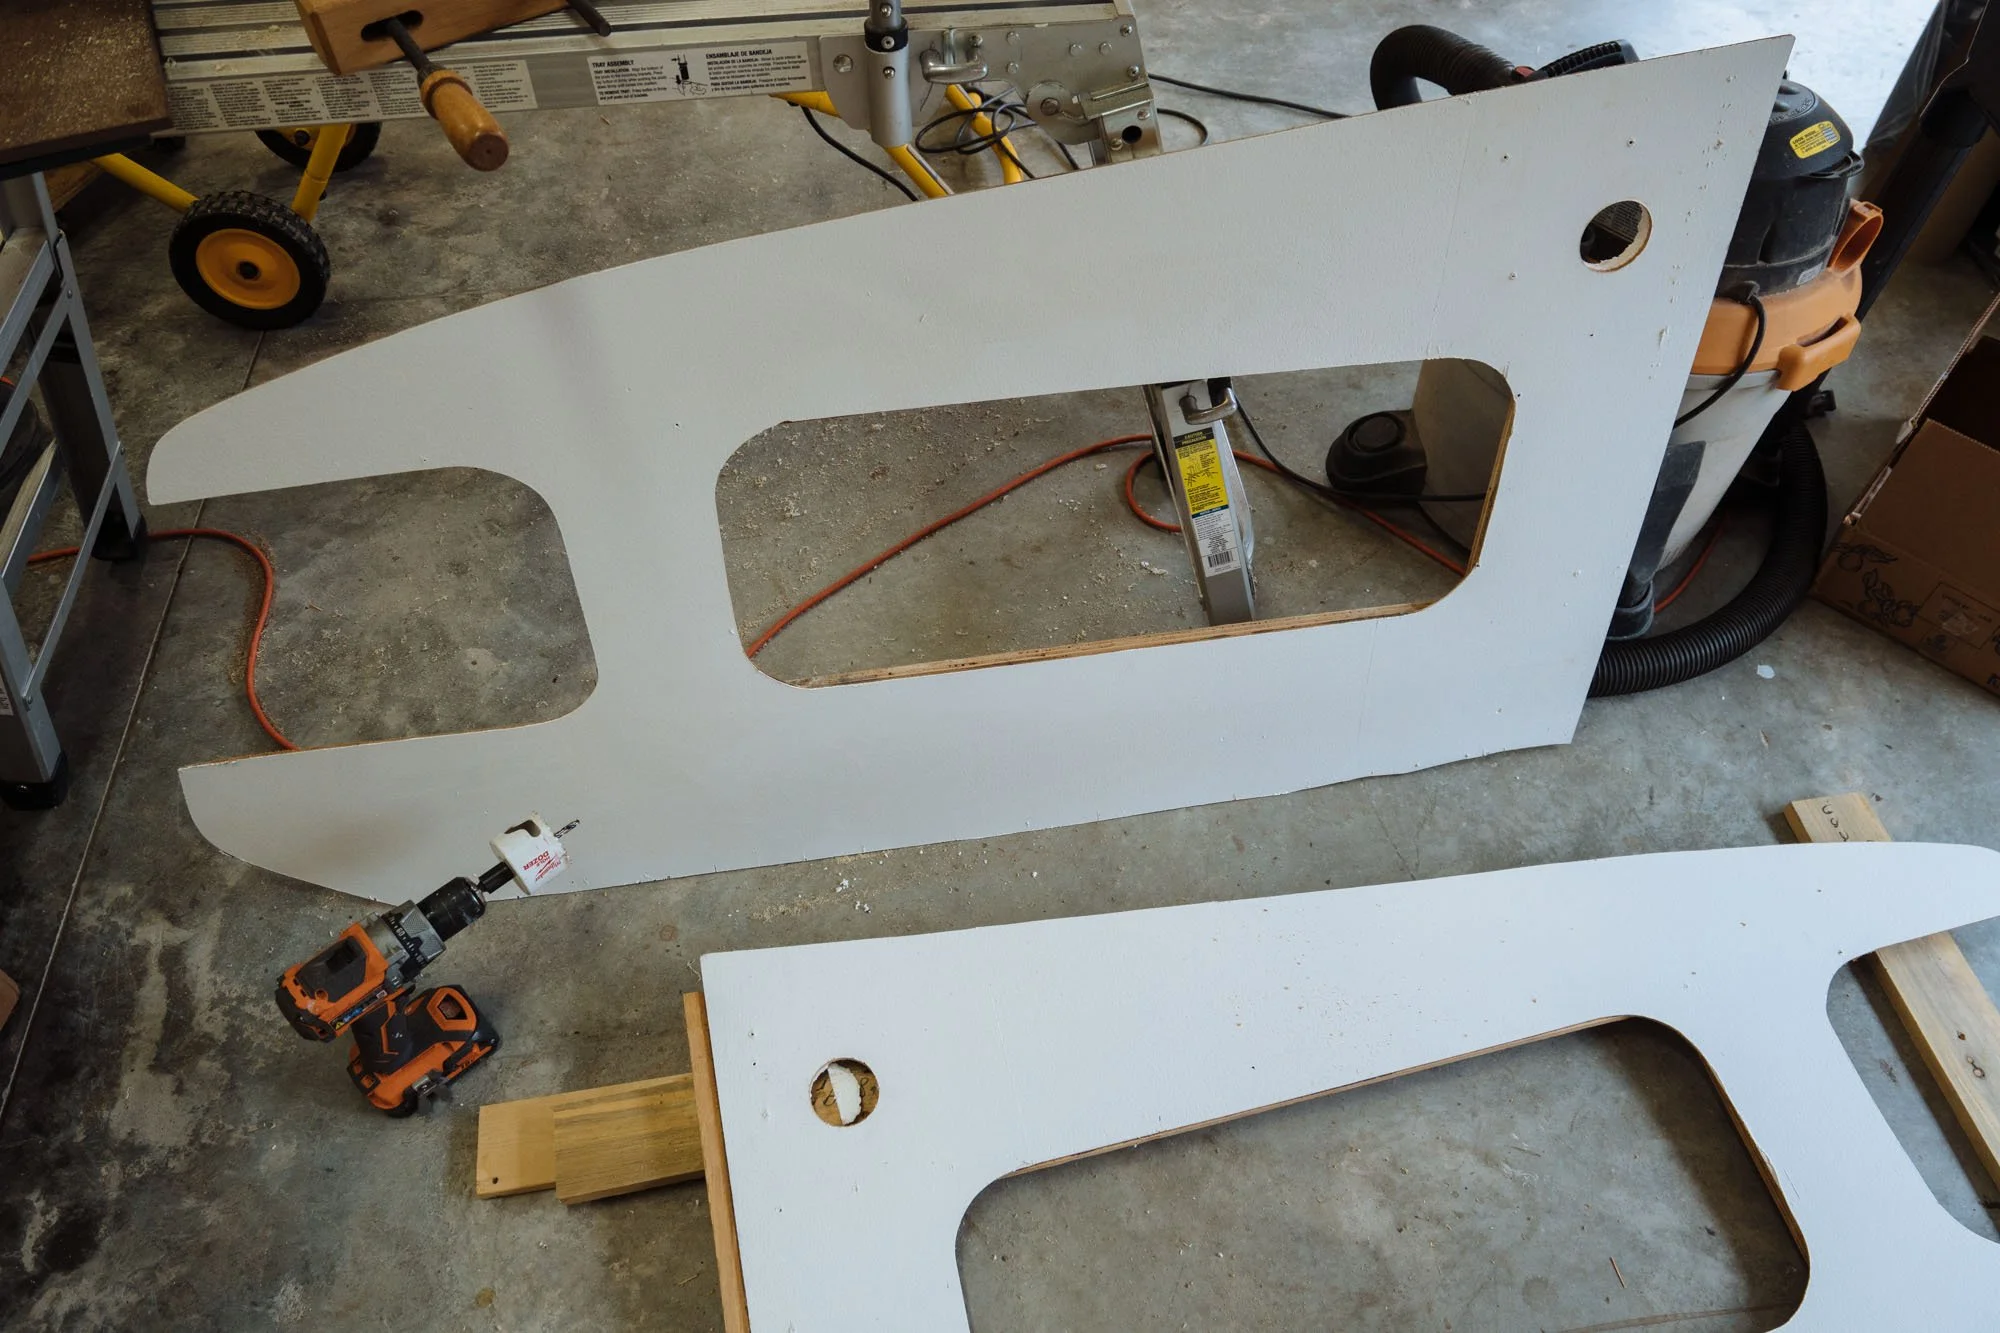
We decided to reuse the old side wall and ceiling panels for the bed area. These shapes are pretty funky and the panels were in great shape so we figured we'd give them some TLC and lights before popping them back in!

After figuring out the location of the lights, and drawing them to mock them up, I went ahead and drilled the holes for our flush mounted lights. The exact lights that we're using will be on our supply list at the bottom of this post for those who are interested!
This coming week I'll be doing some surface repairs to the wall panels so that they are 100% ready to go as soon as we run some wiring for the lights!

Now lets talk cabinets! In order to talk in detail, I first want to show you layout plans!

Driver side view

Passenger Side view
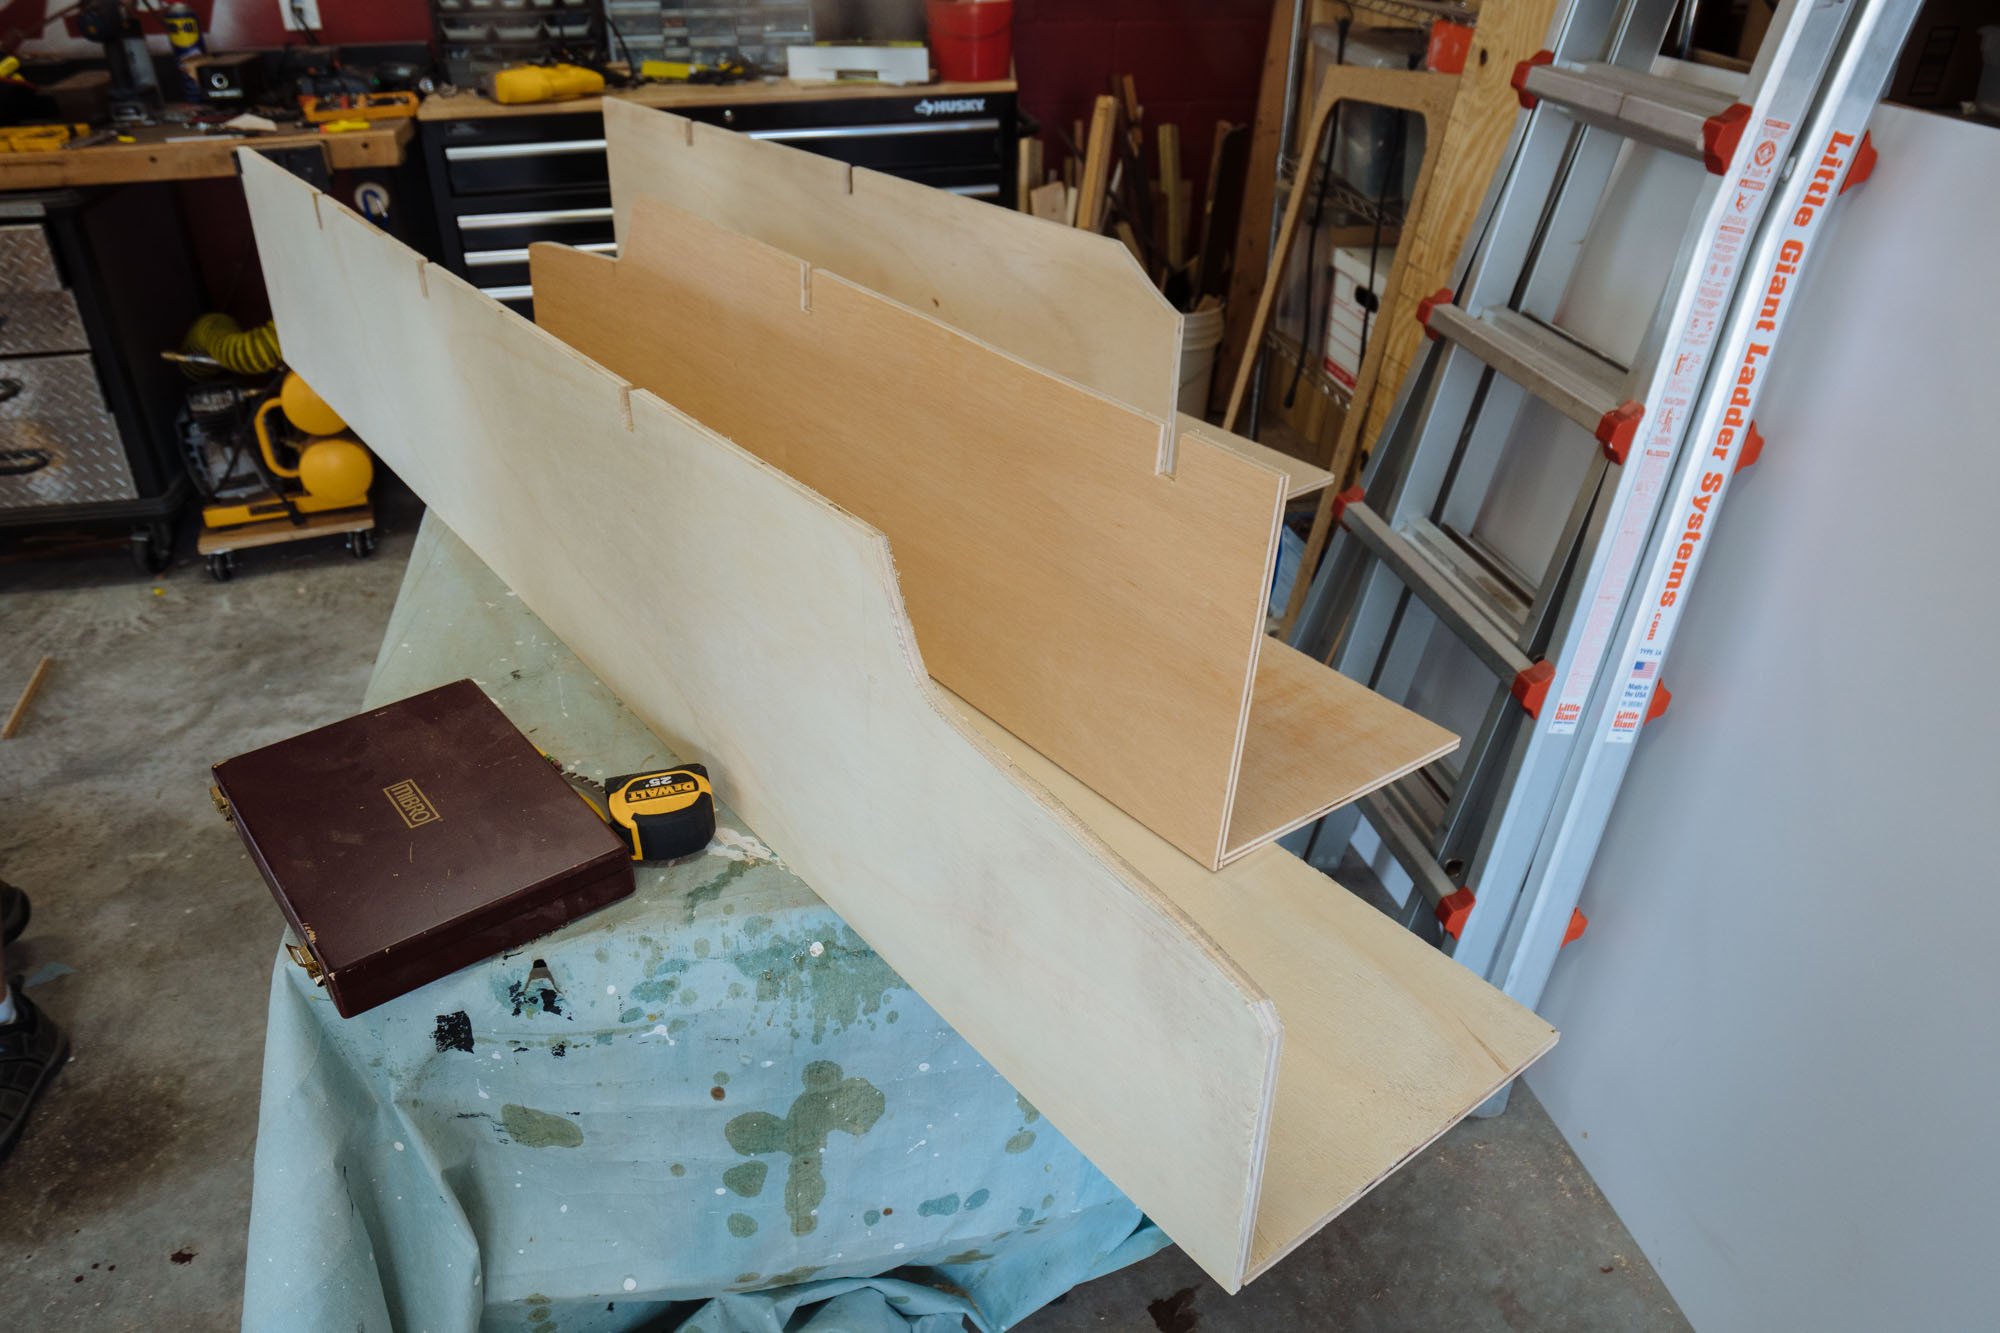
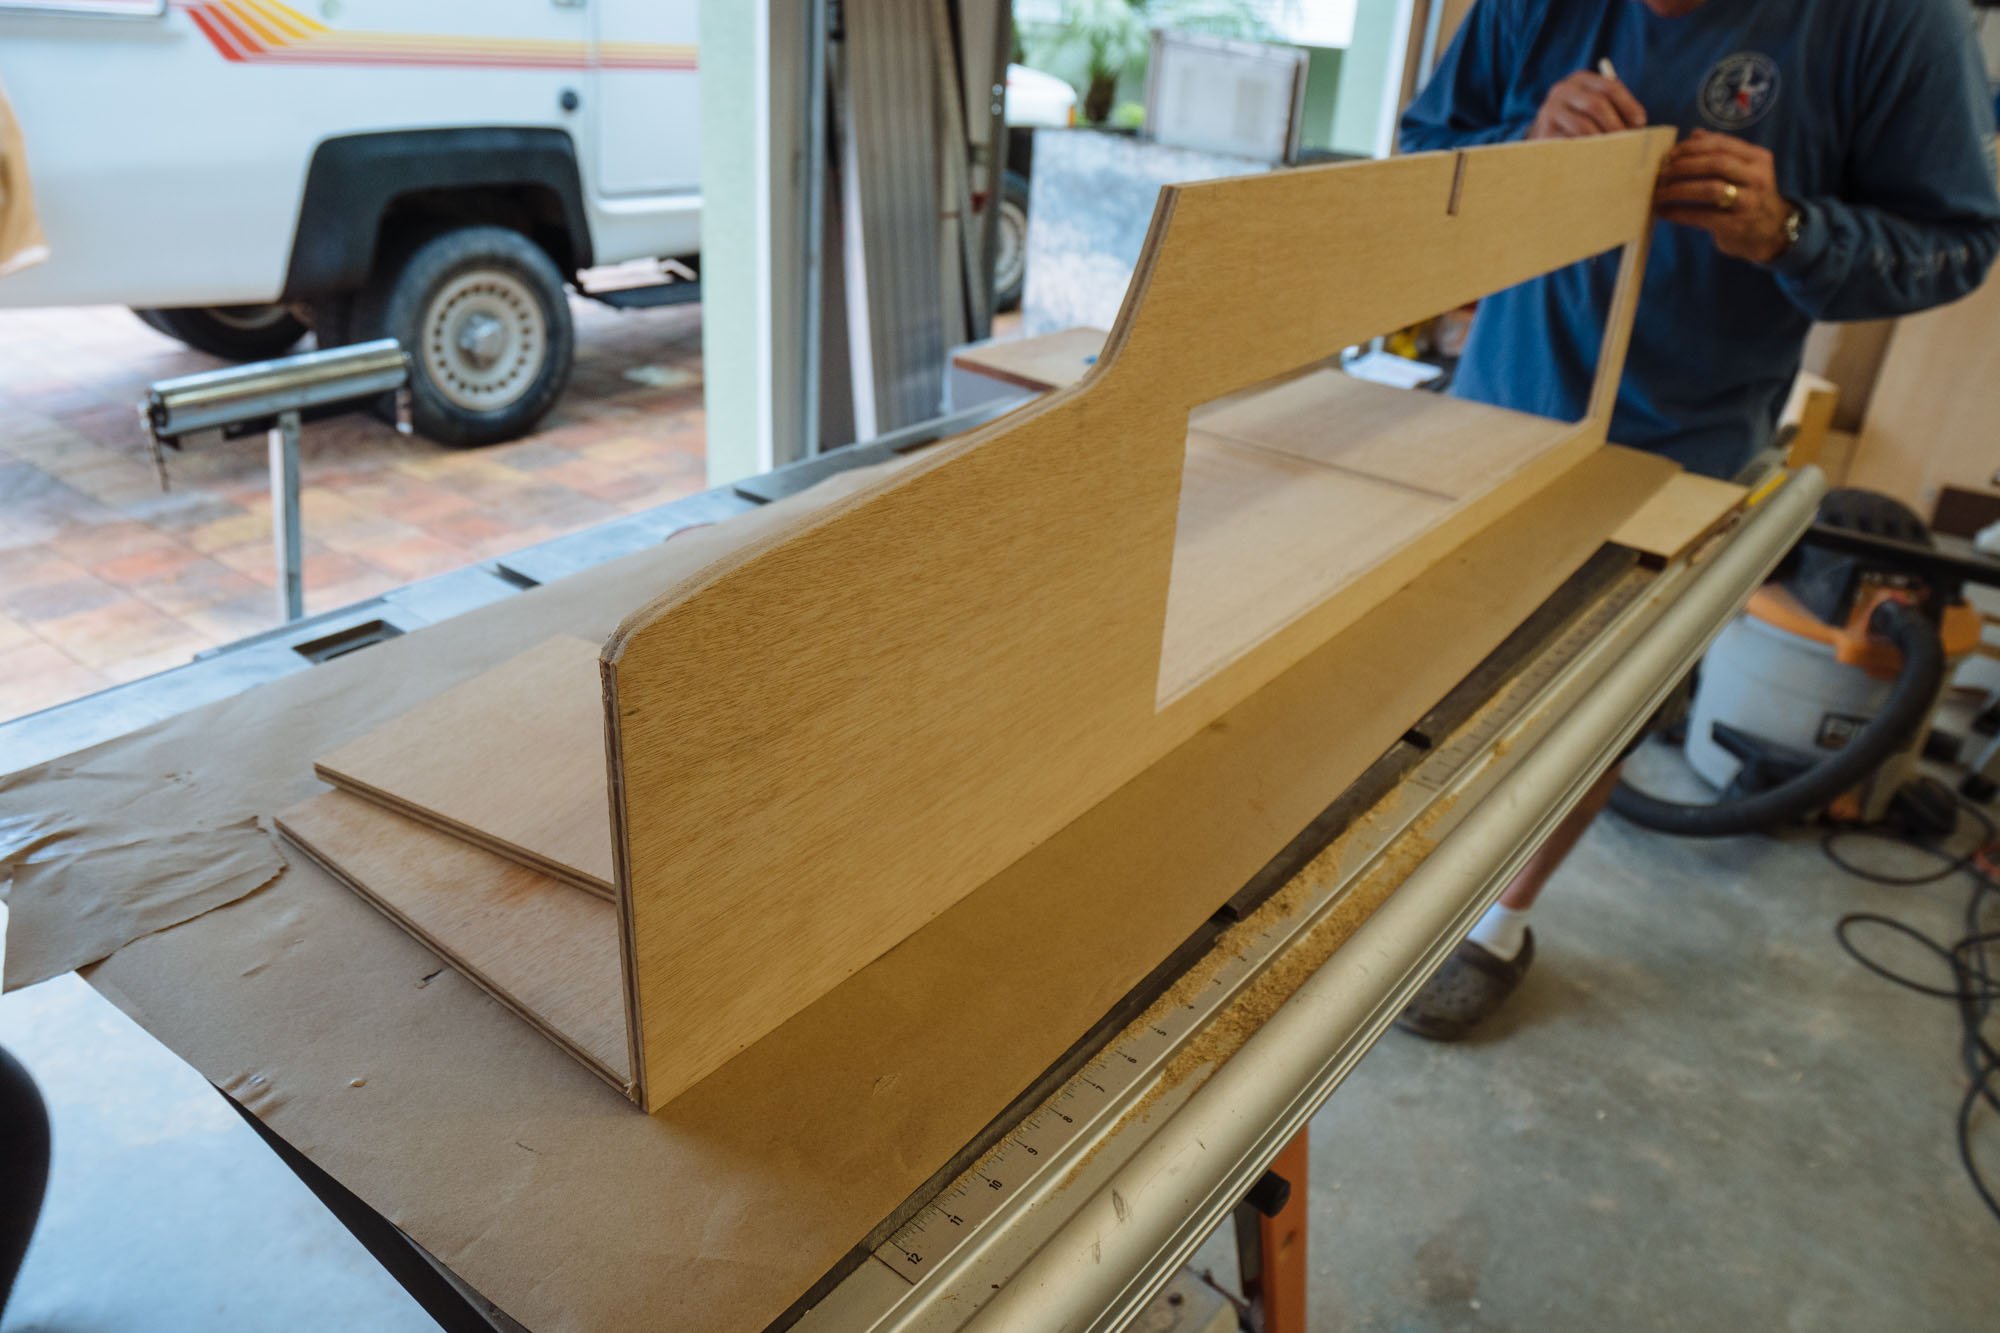
For the first time ever: this is what we're thinking! We've kept these plans to ourselves for no reason at all, other than the fact that we weren't sure if they were final or not. Now, I can honestly say that this IS our final plan! We're following the same foot print as the original cabinetry, but with some serious changes. We will no longer have floor to ceiling cabinets on the driver side. We want the inside of Amelia to feel really open. We're also pushing the cabinets back so they will not intrude on the walking space as much as they did in the past. Next week as we move into the bottom cabinets I'll talk more in detail about all of that, but this week we really focused on the top cabinets. We knew that building them would be pretty labor intensive because we're now working around our exposed "rafters"/cross supports. Needless to say we were right.

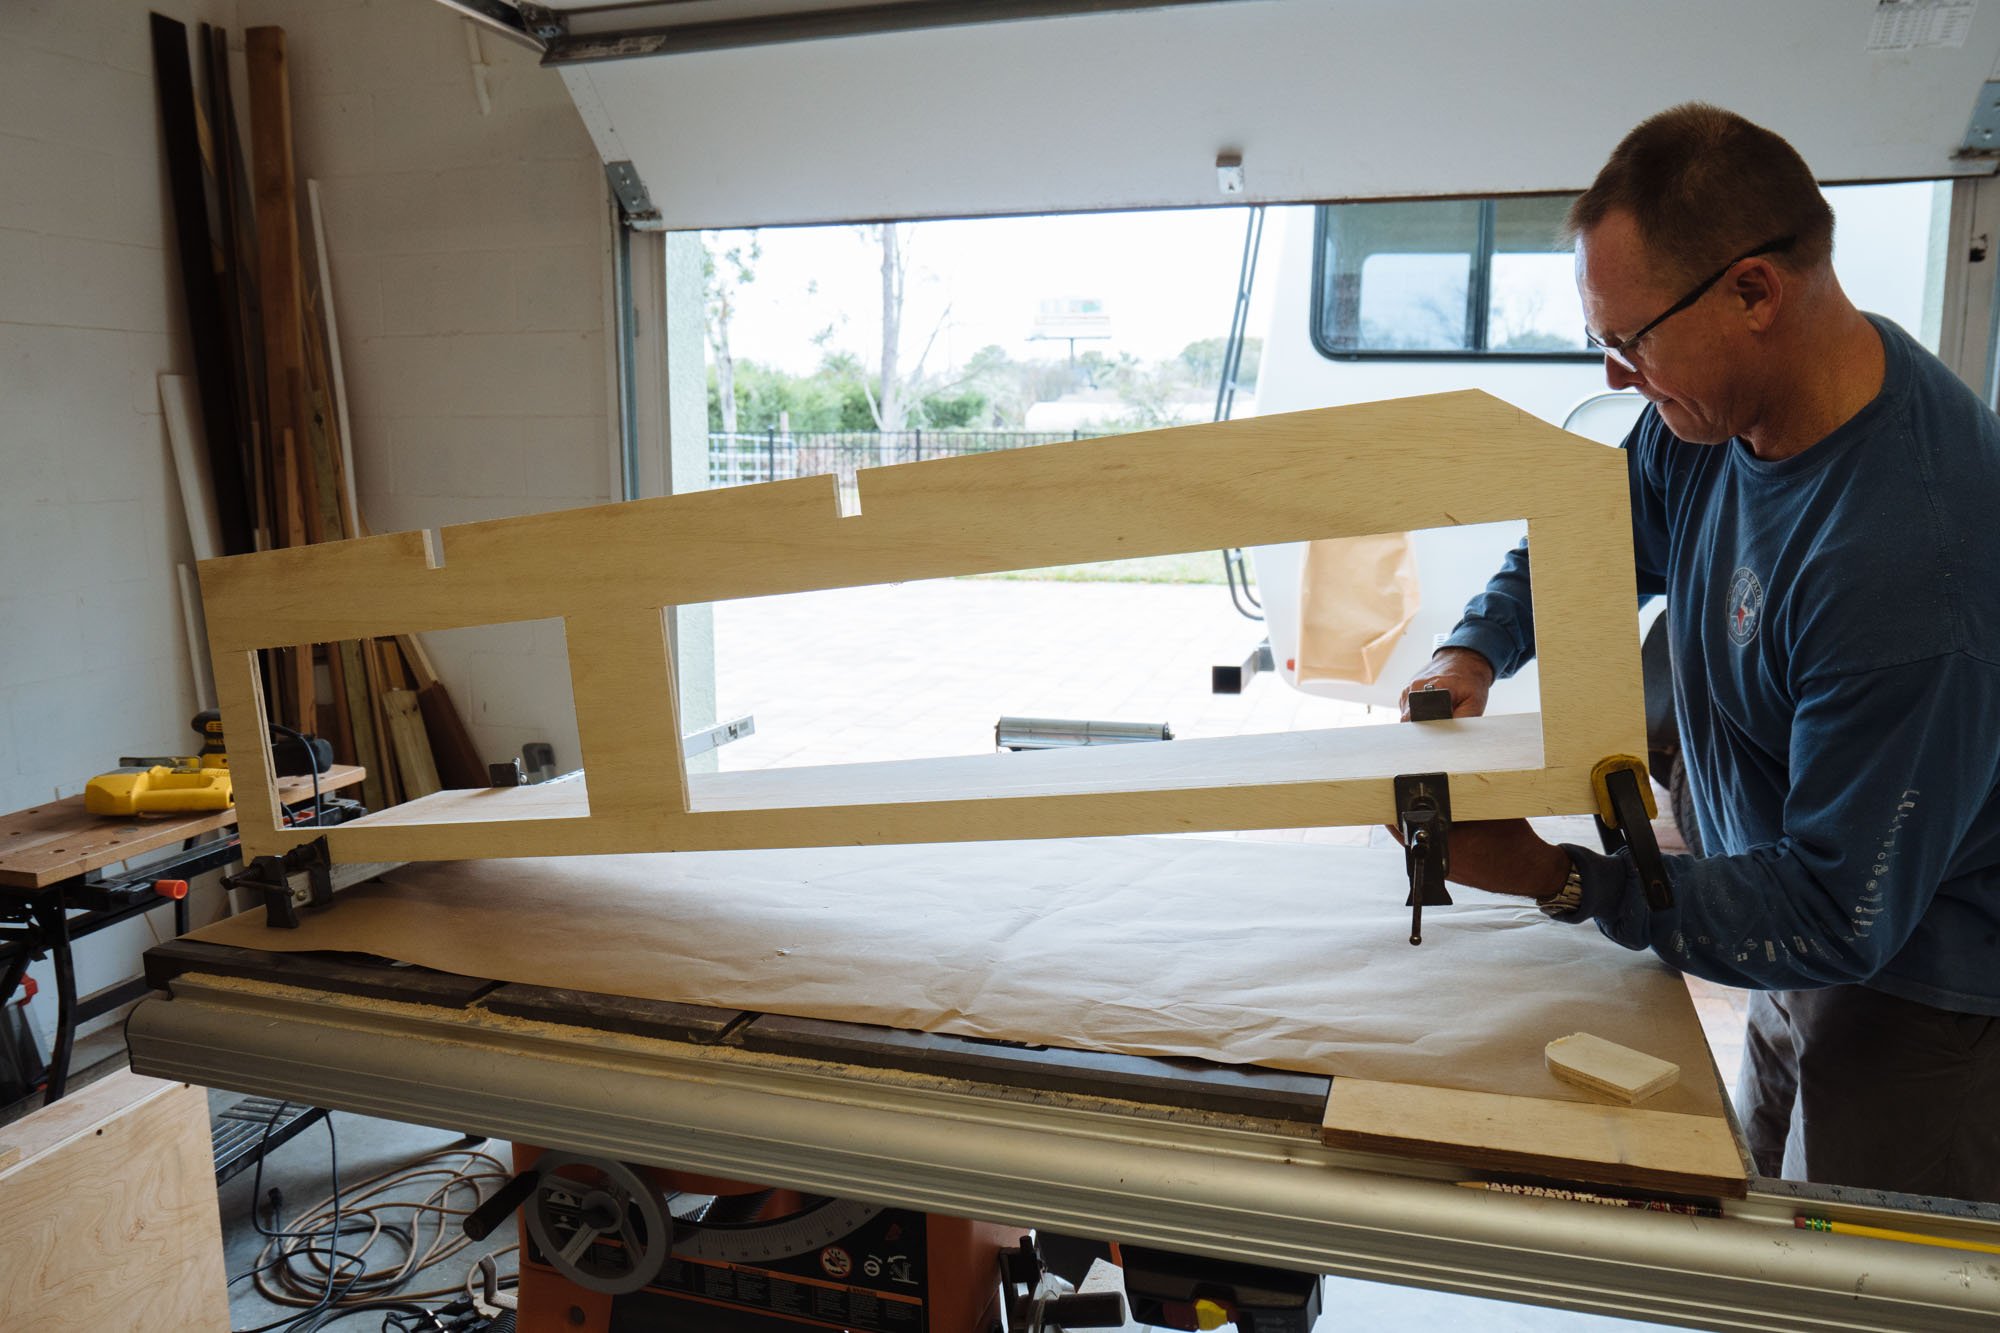
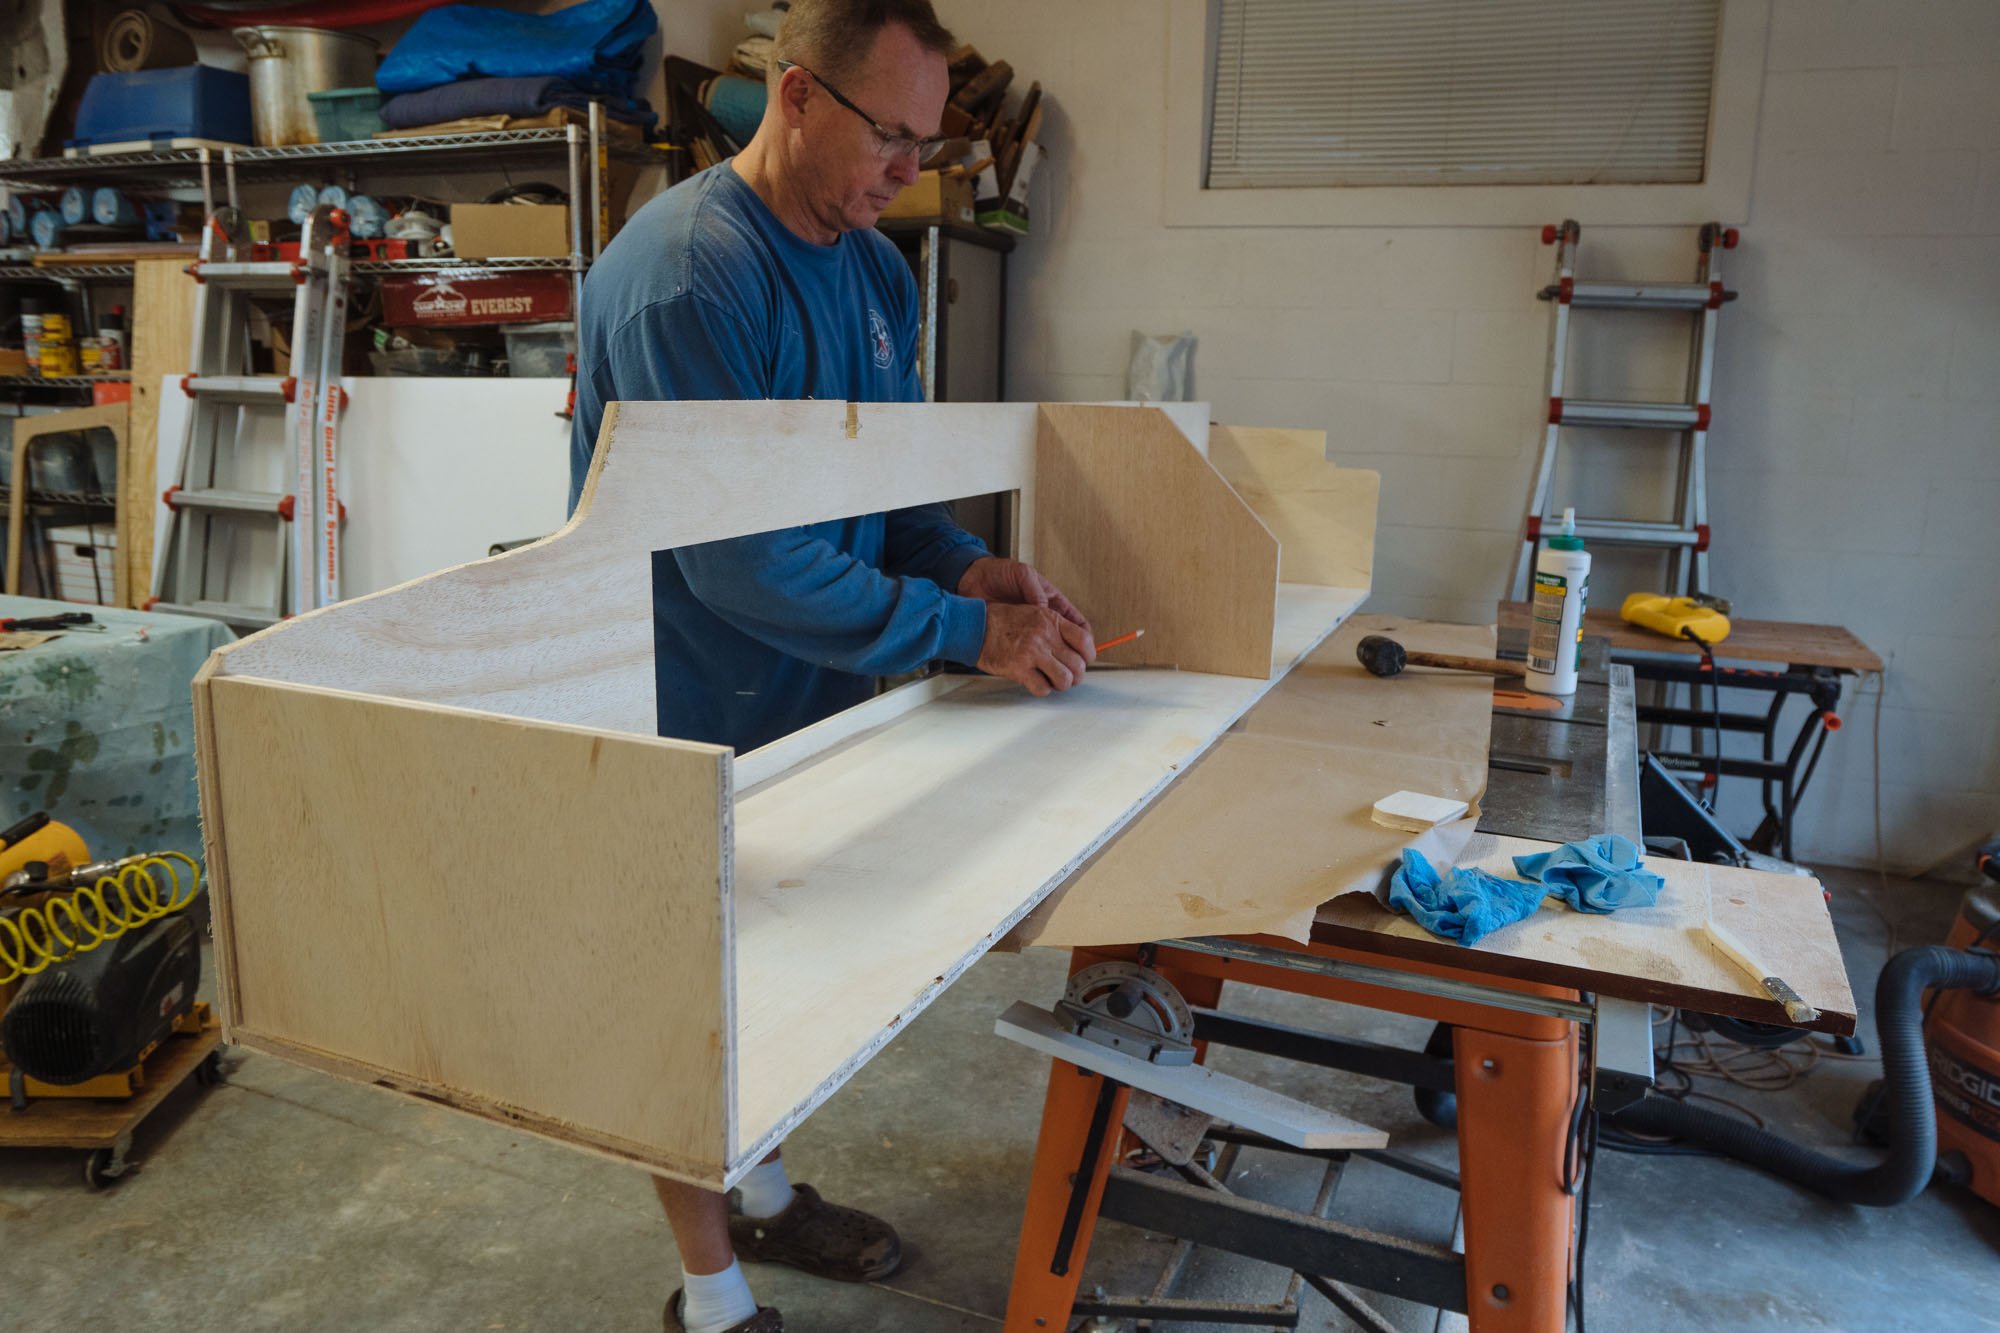
We started by cutting down the bottom of the cabinet so we could see how things lined up on the wall. Luckily my duct tape glue job was pretty decent because everything lined up just like it was supposed to! The reason we needed these mocked up is because we needed to make small incremental cuts to our cabinet faces to be sure that they worked with the contour of the roof and rafters. We made, what felt like, half a million trips from Amelia to the table saw!
PS: For the cabinet making process you'll be seeing a lot of my Dad. He is a master when it comes to tricky cabinets and doors. For this portion of the build we've been heavily leaning on his skills and background in engineering! His name is Tony, and I love him!
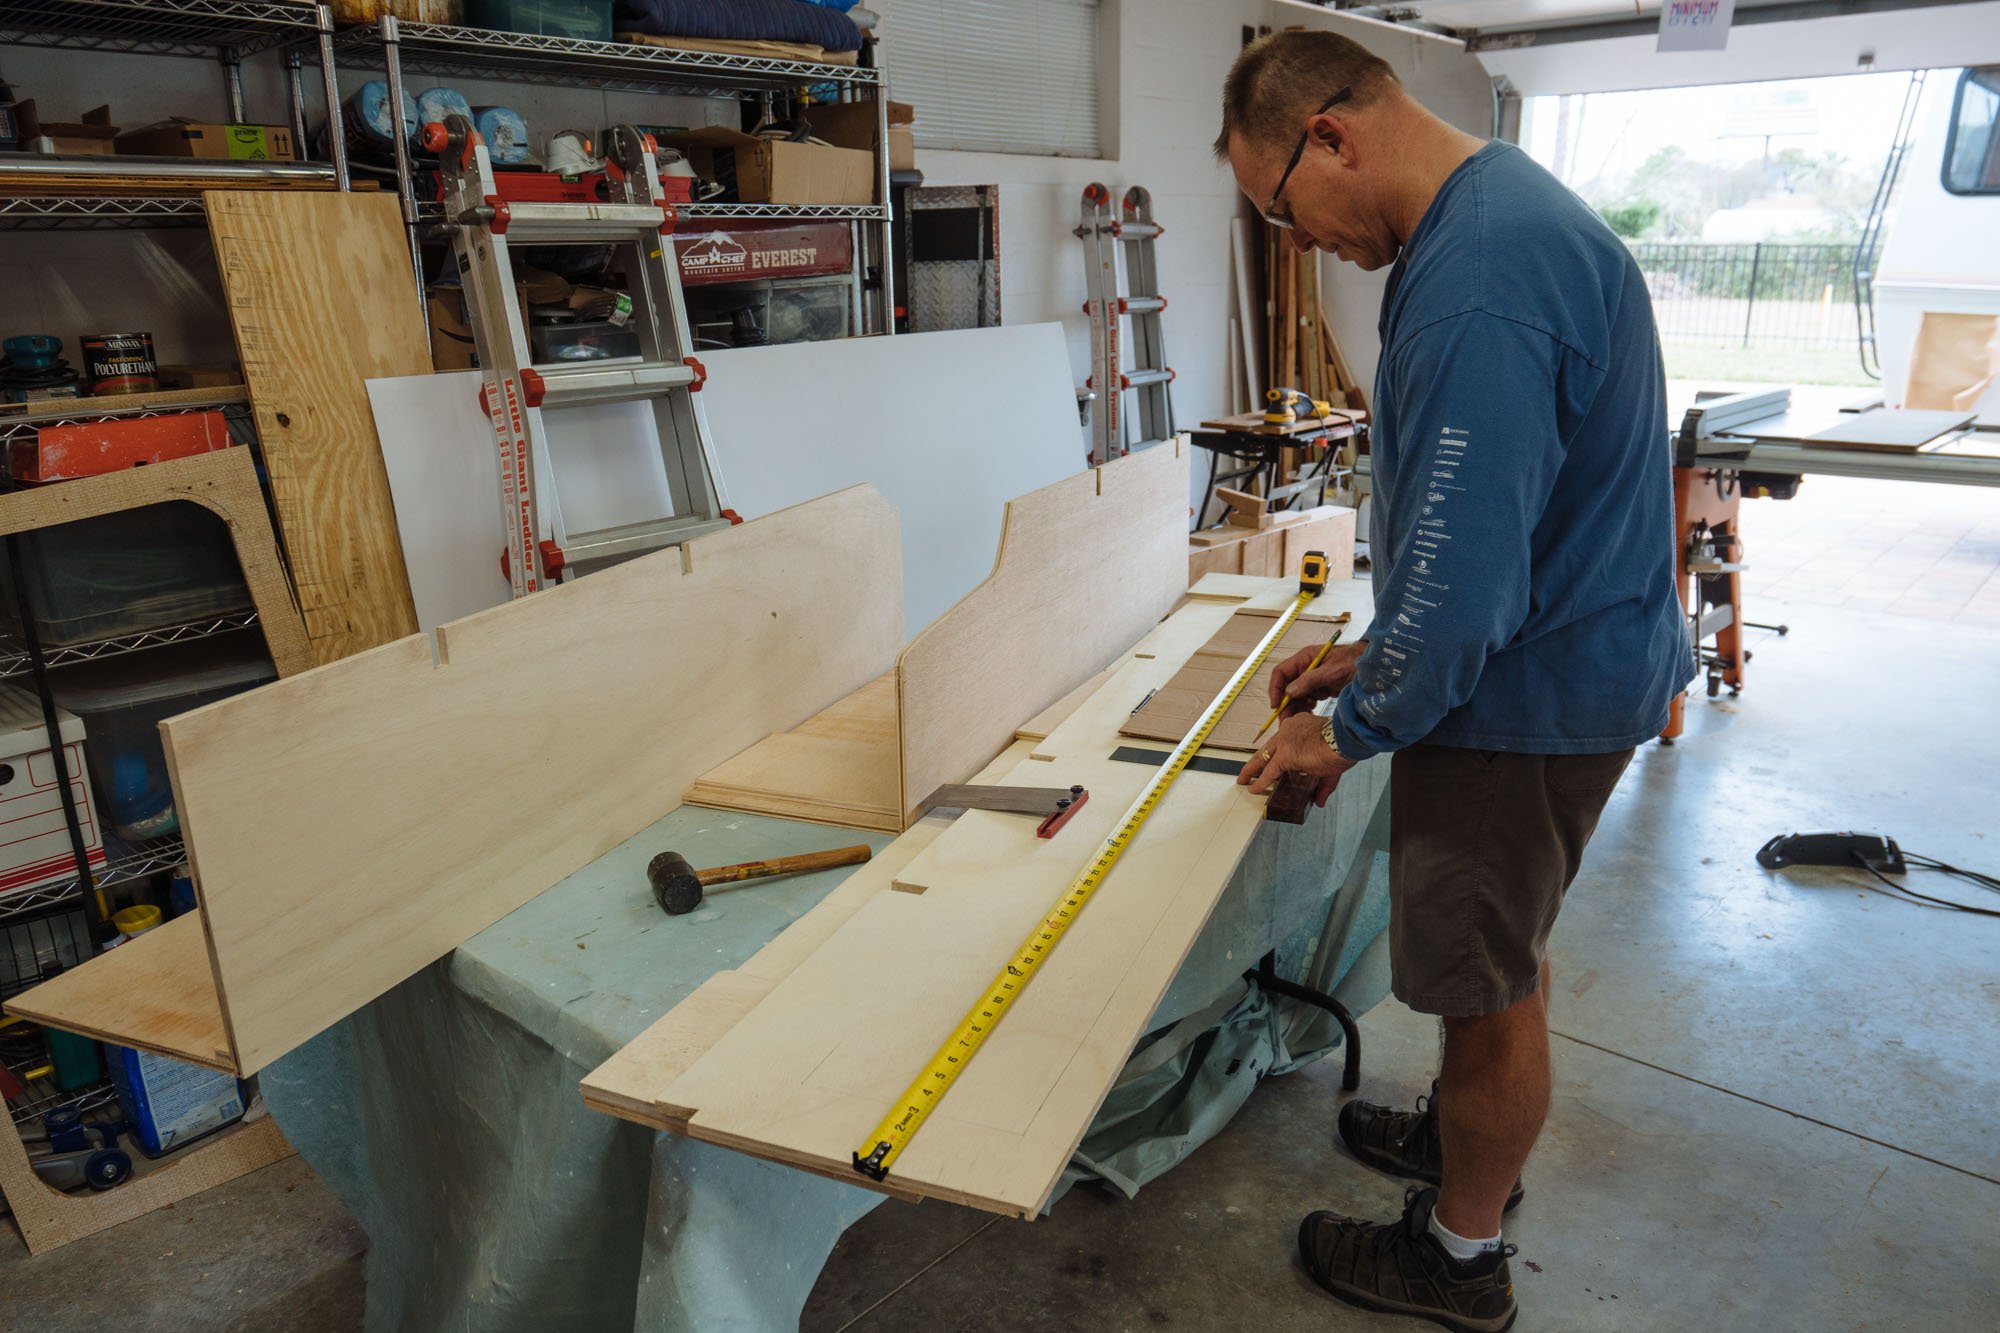
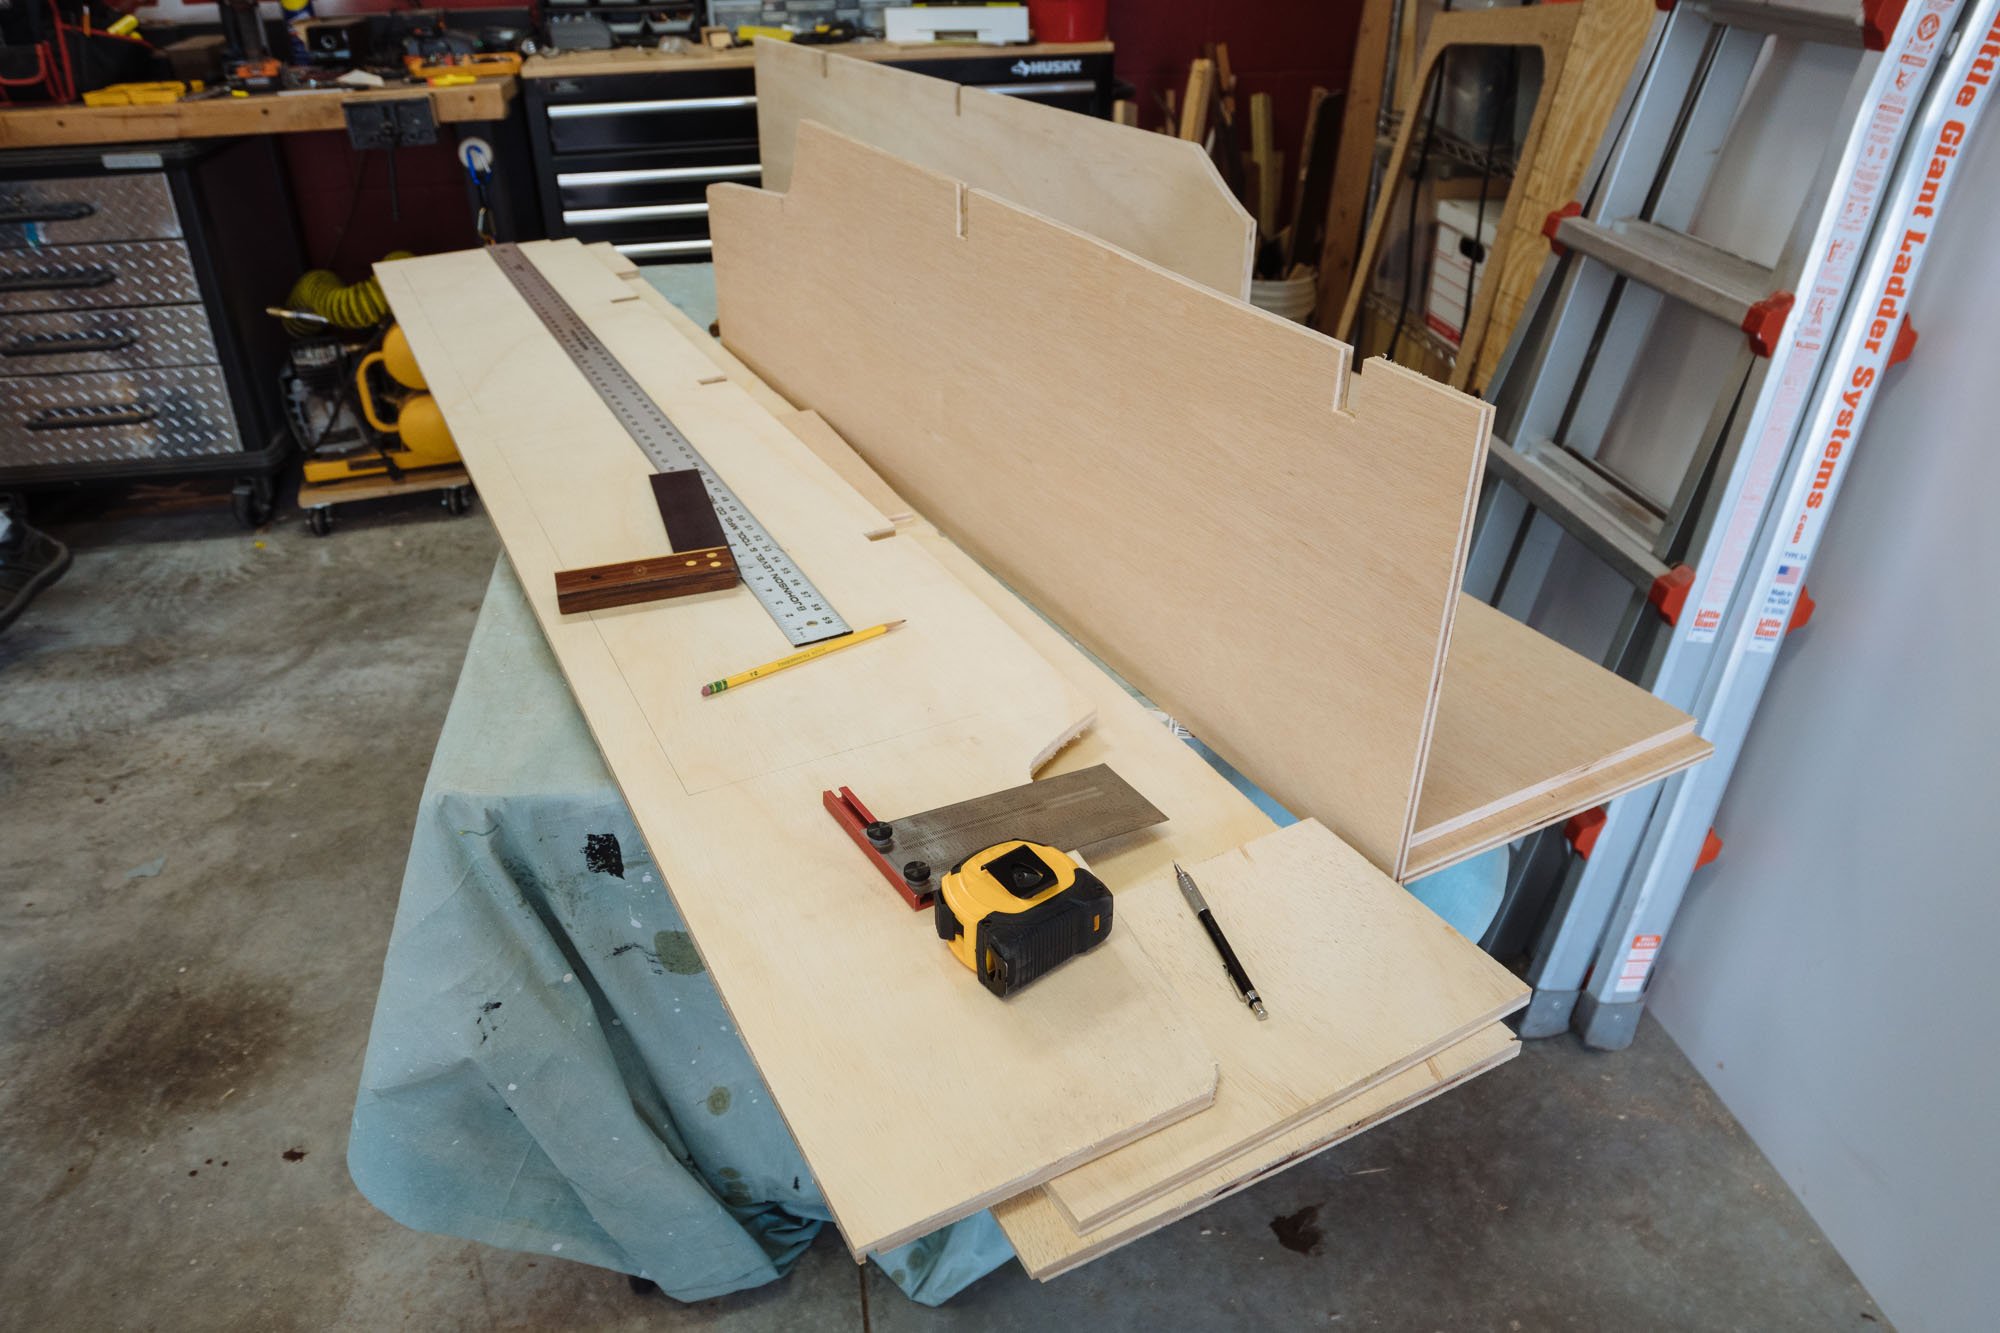

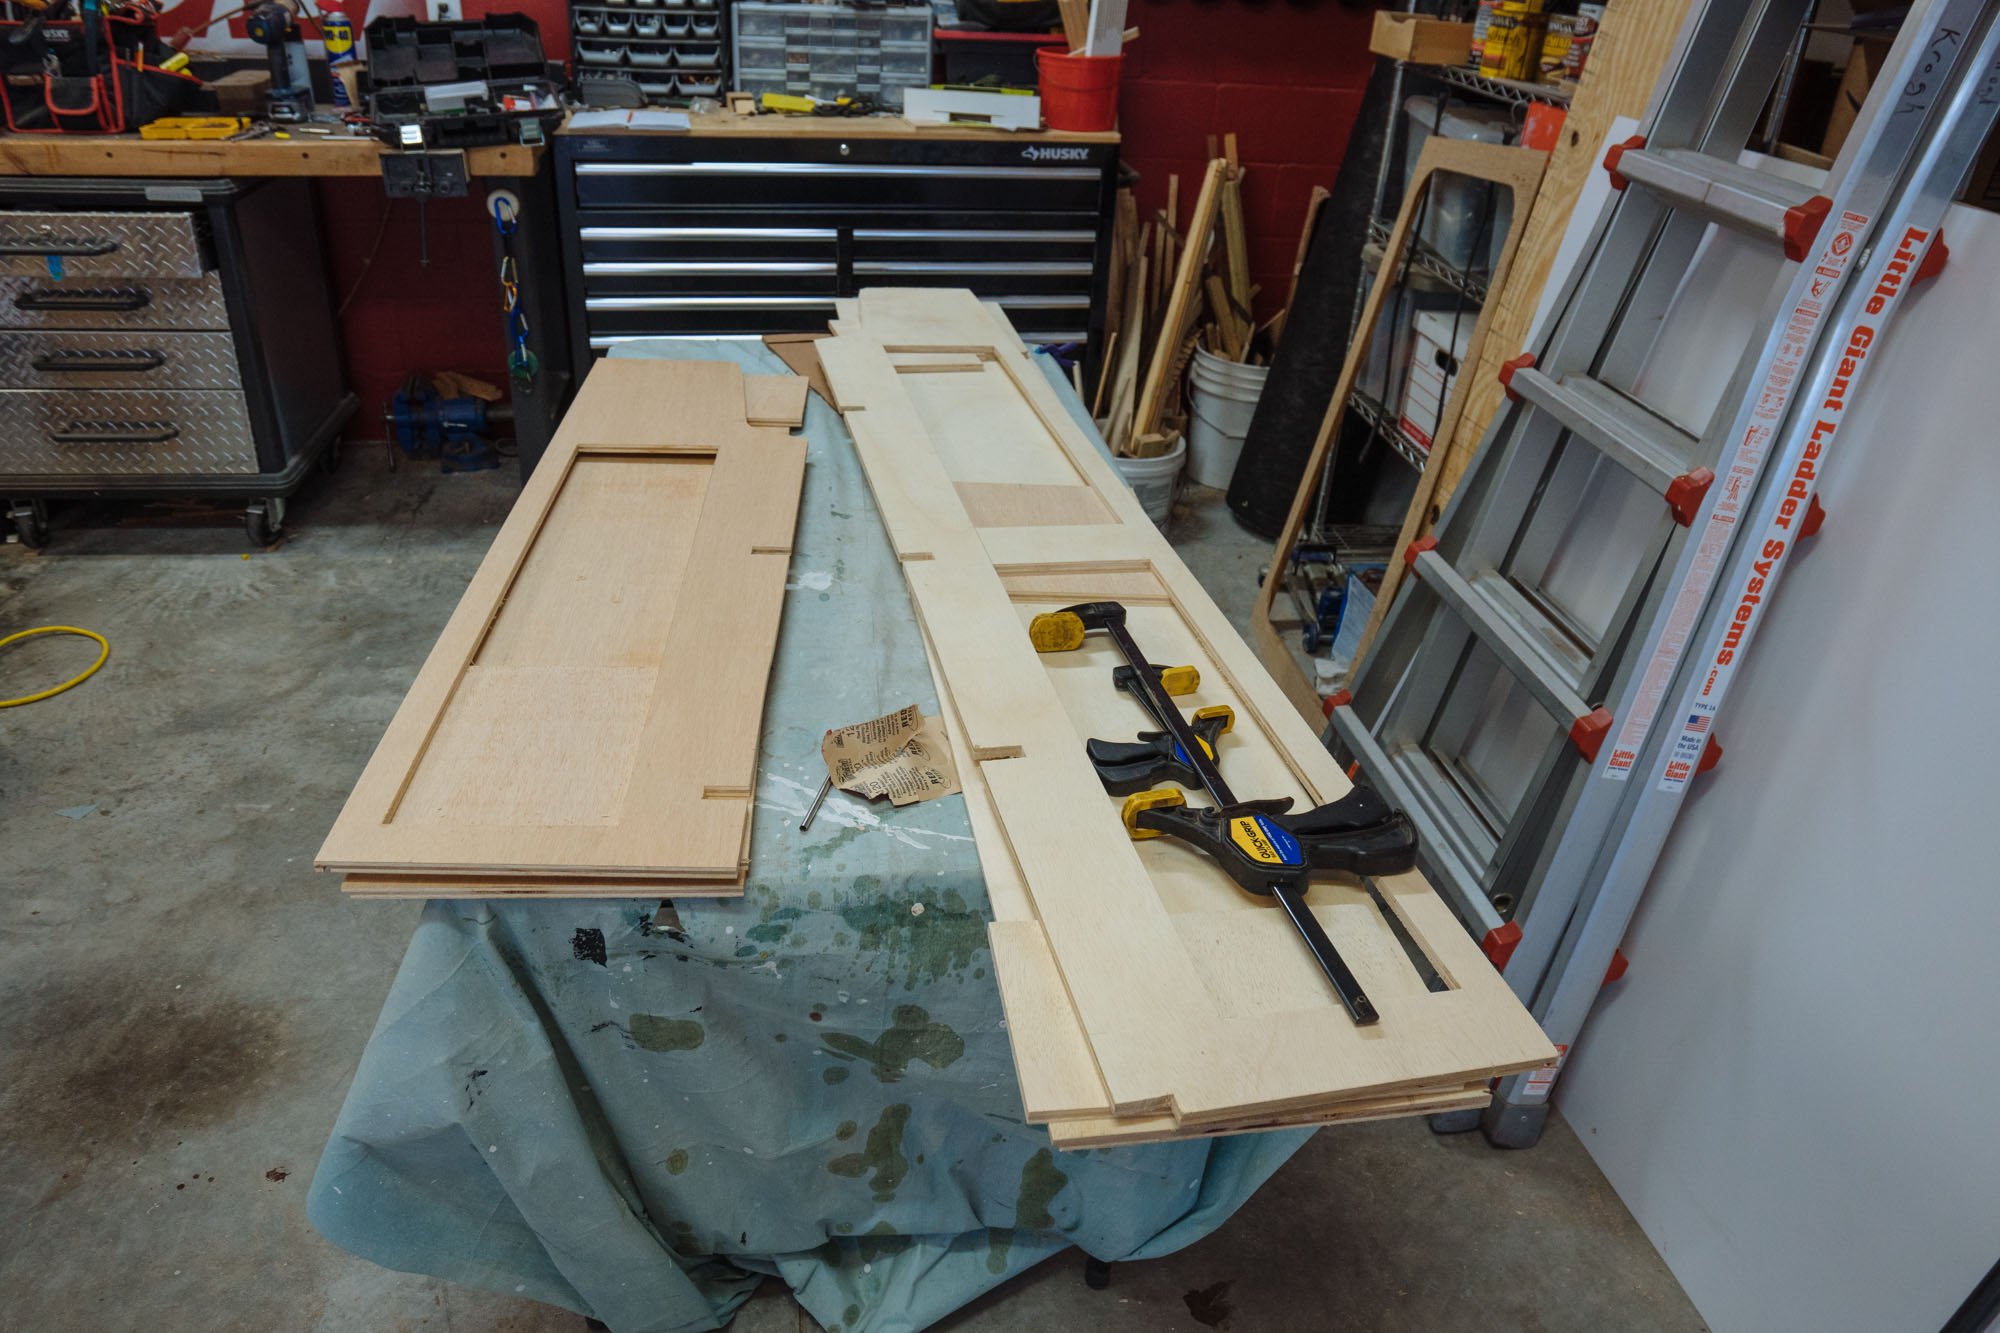
Once all our pieces were cut and confirmed to fit the contours of our dear Amelia, it was time to start assembling the cabinets. In all, getting every piece measured, cut to size, and then edited to work with the surface contour took about a day and some change. It's a slow process to make level shelves in a very uneven (fiberglass) environment.
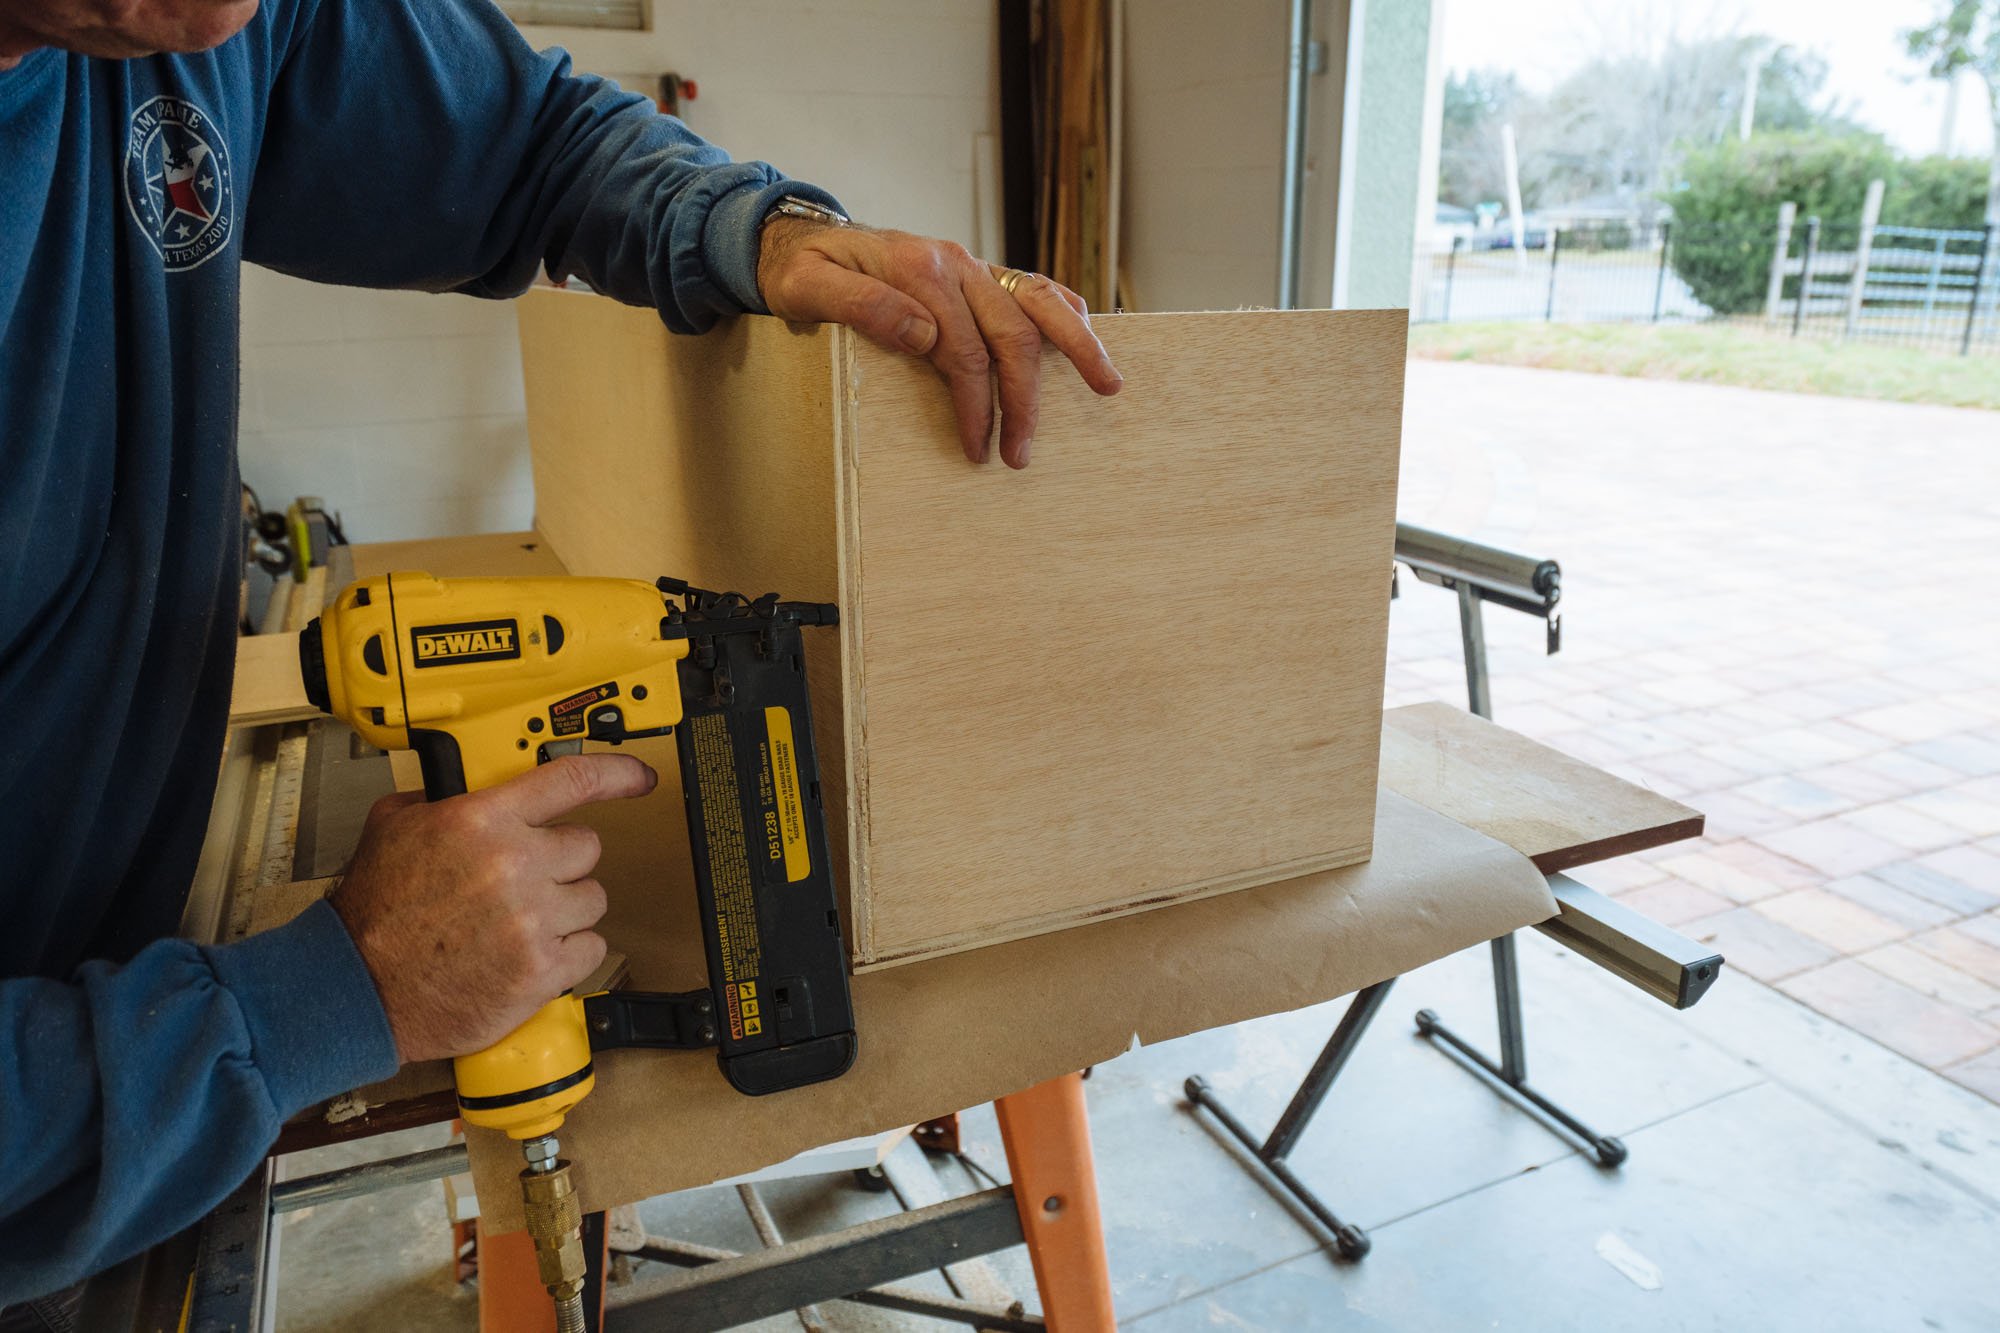
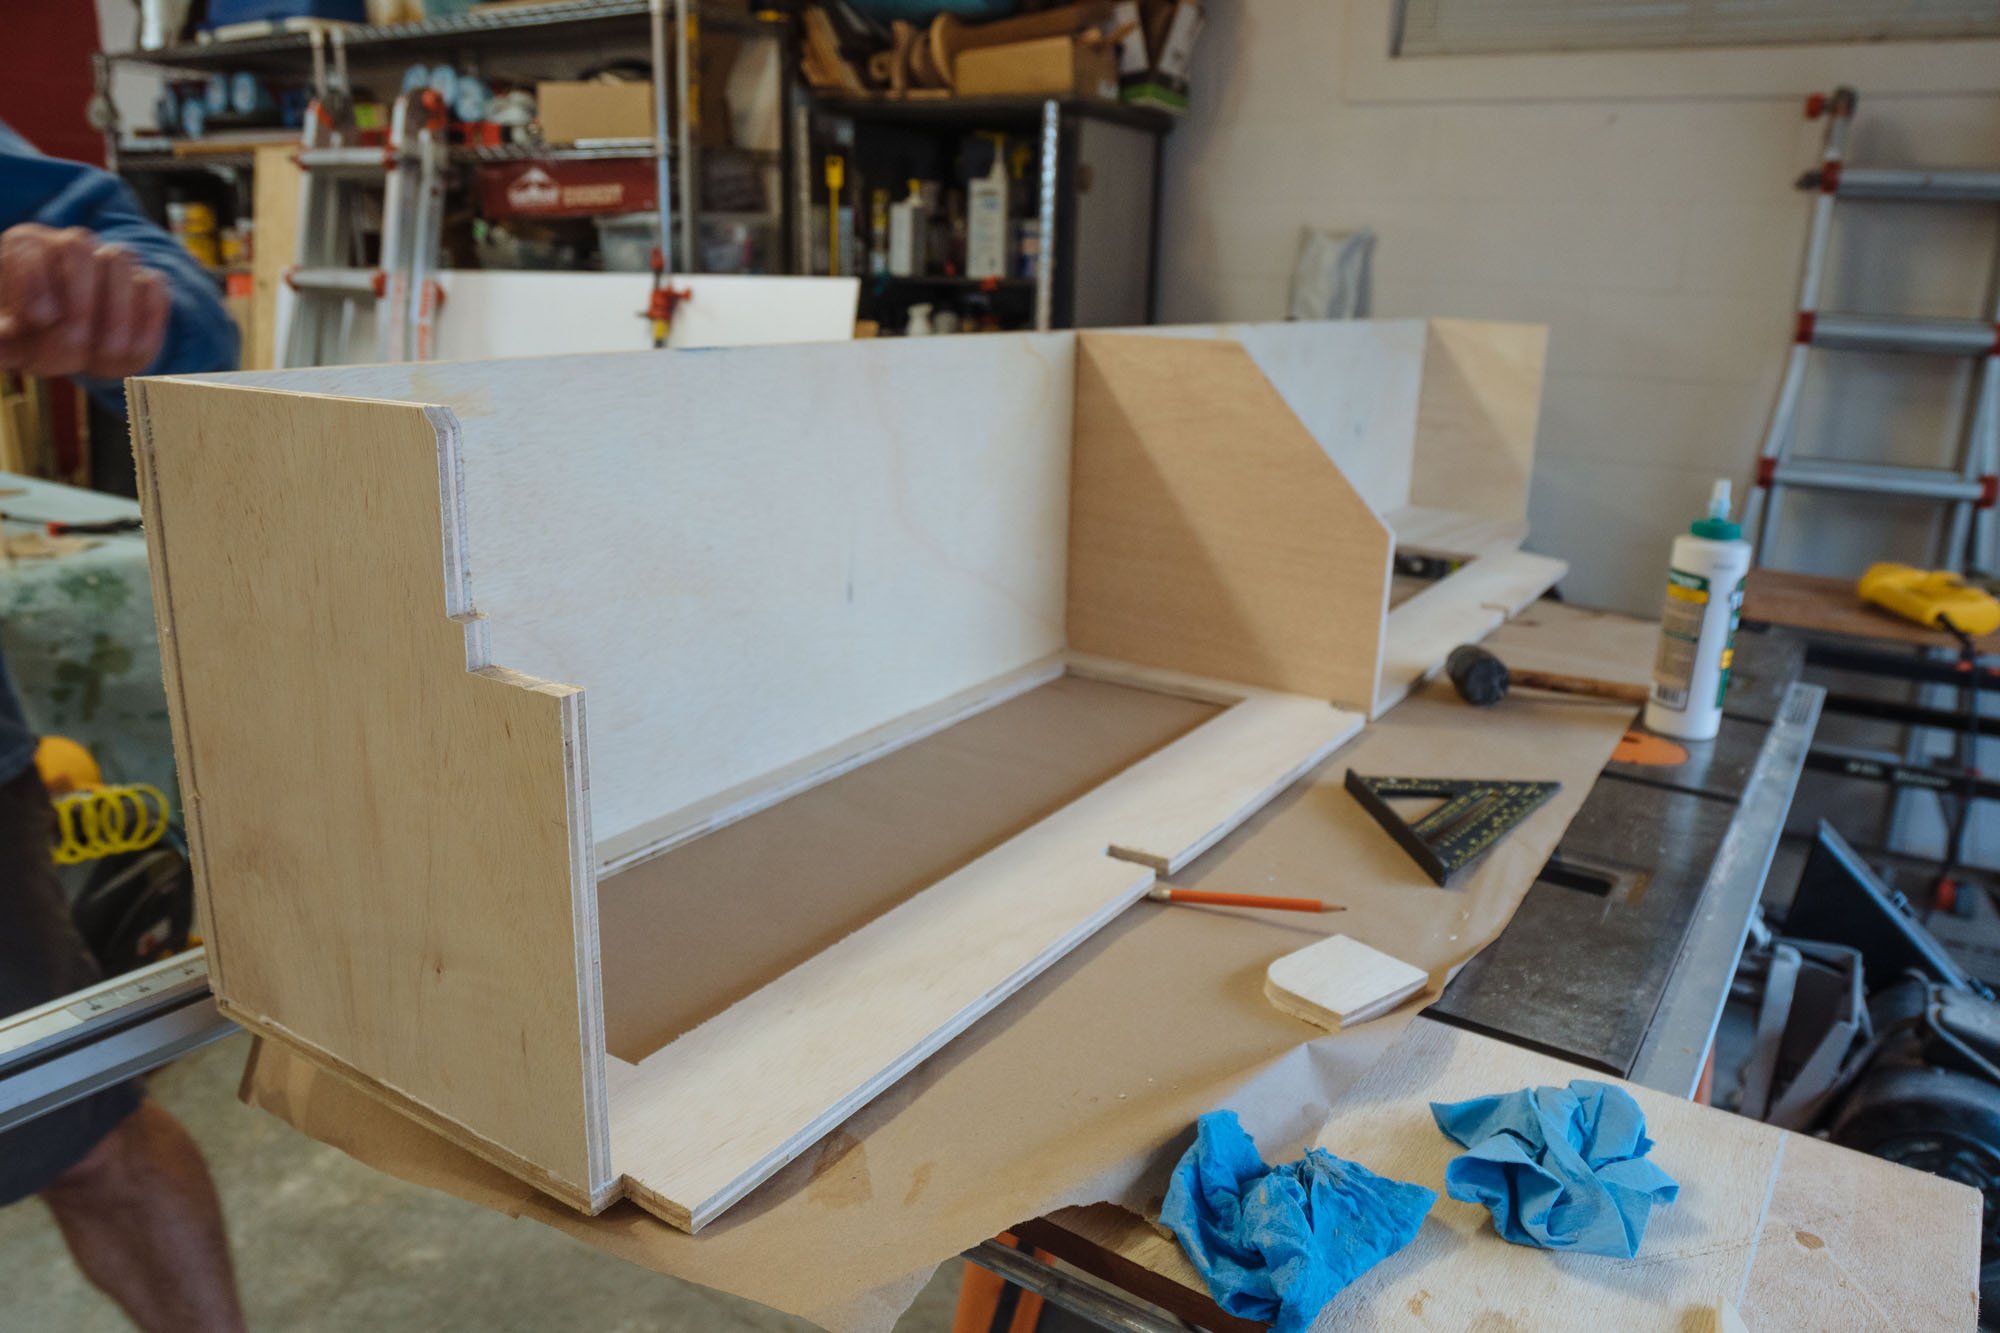
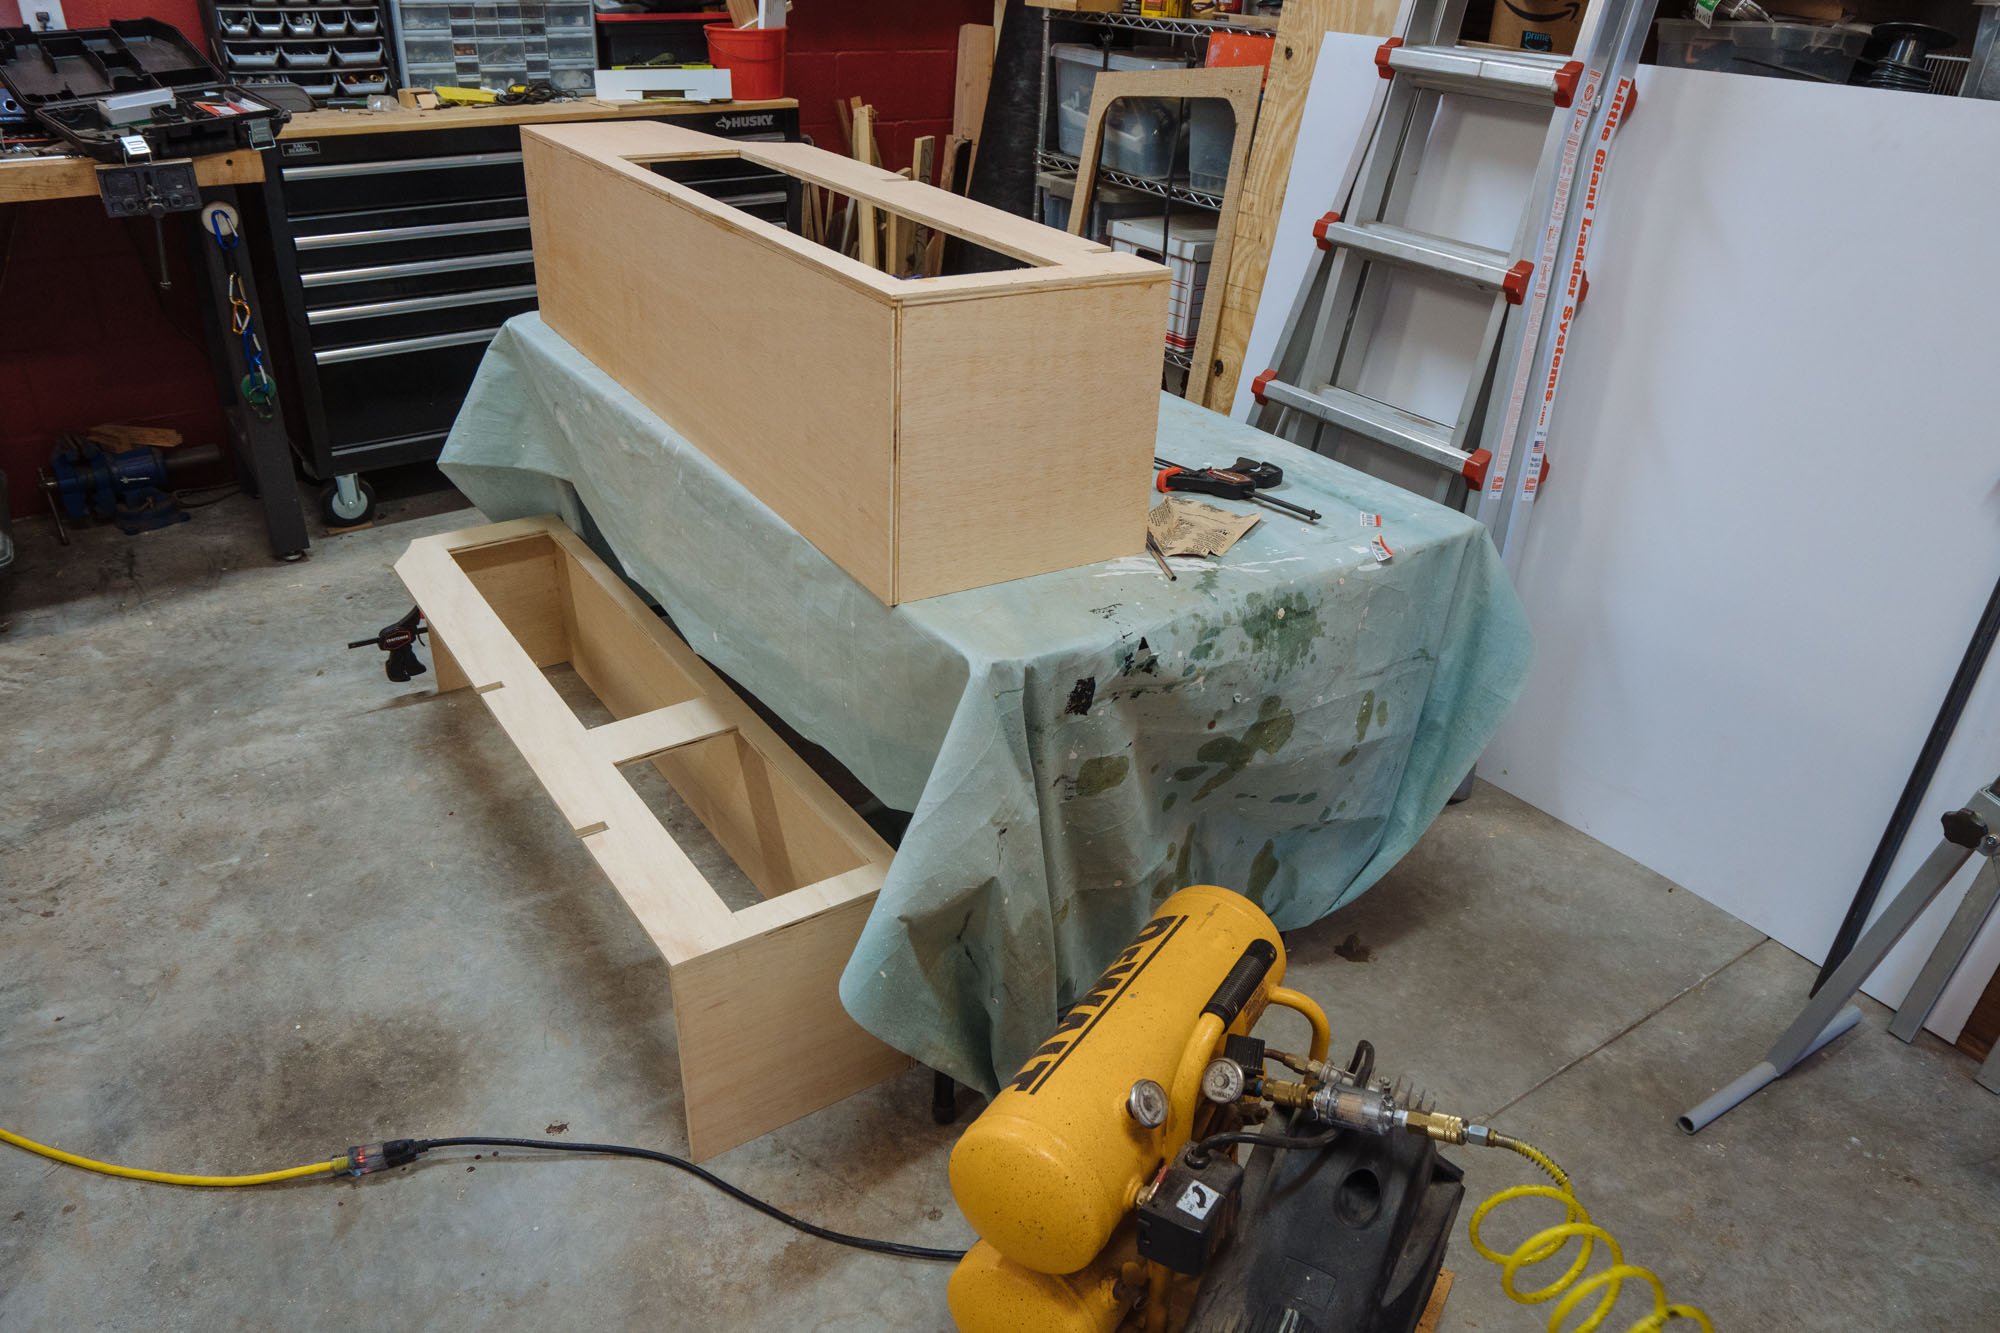
After gluing and brad nailing the cabinets together we left everything to dry!
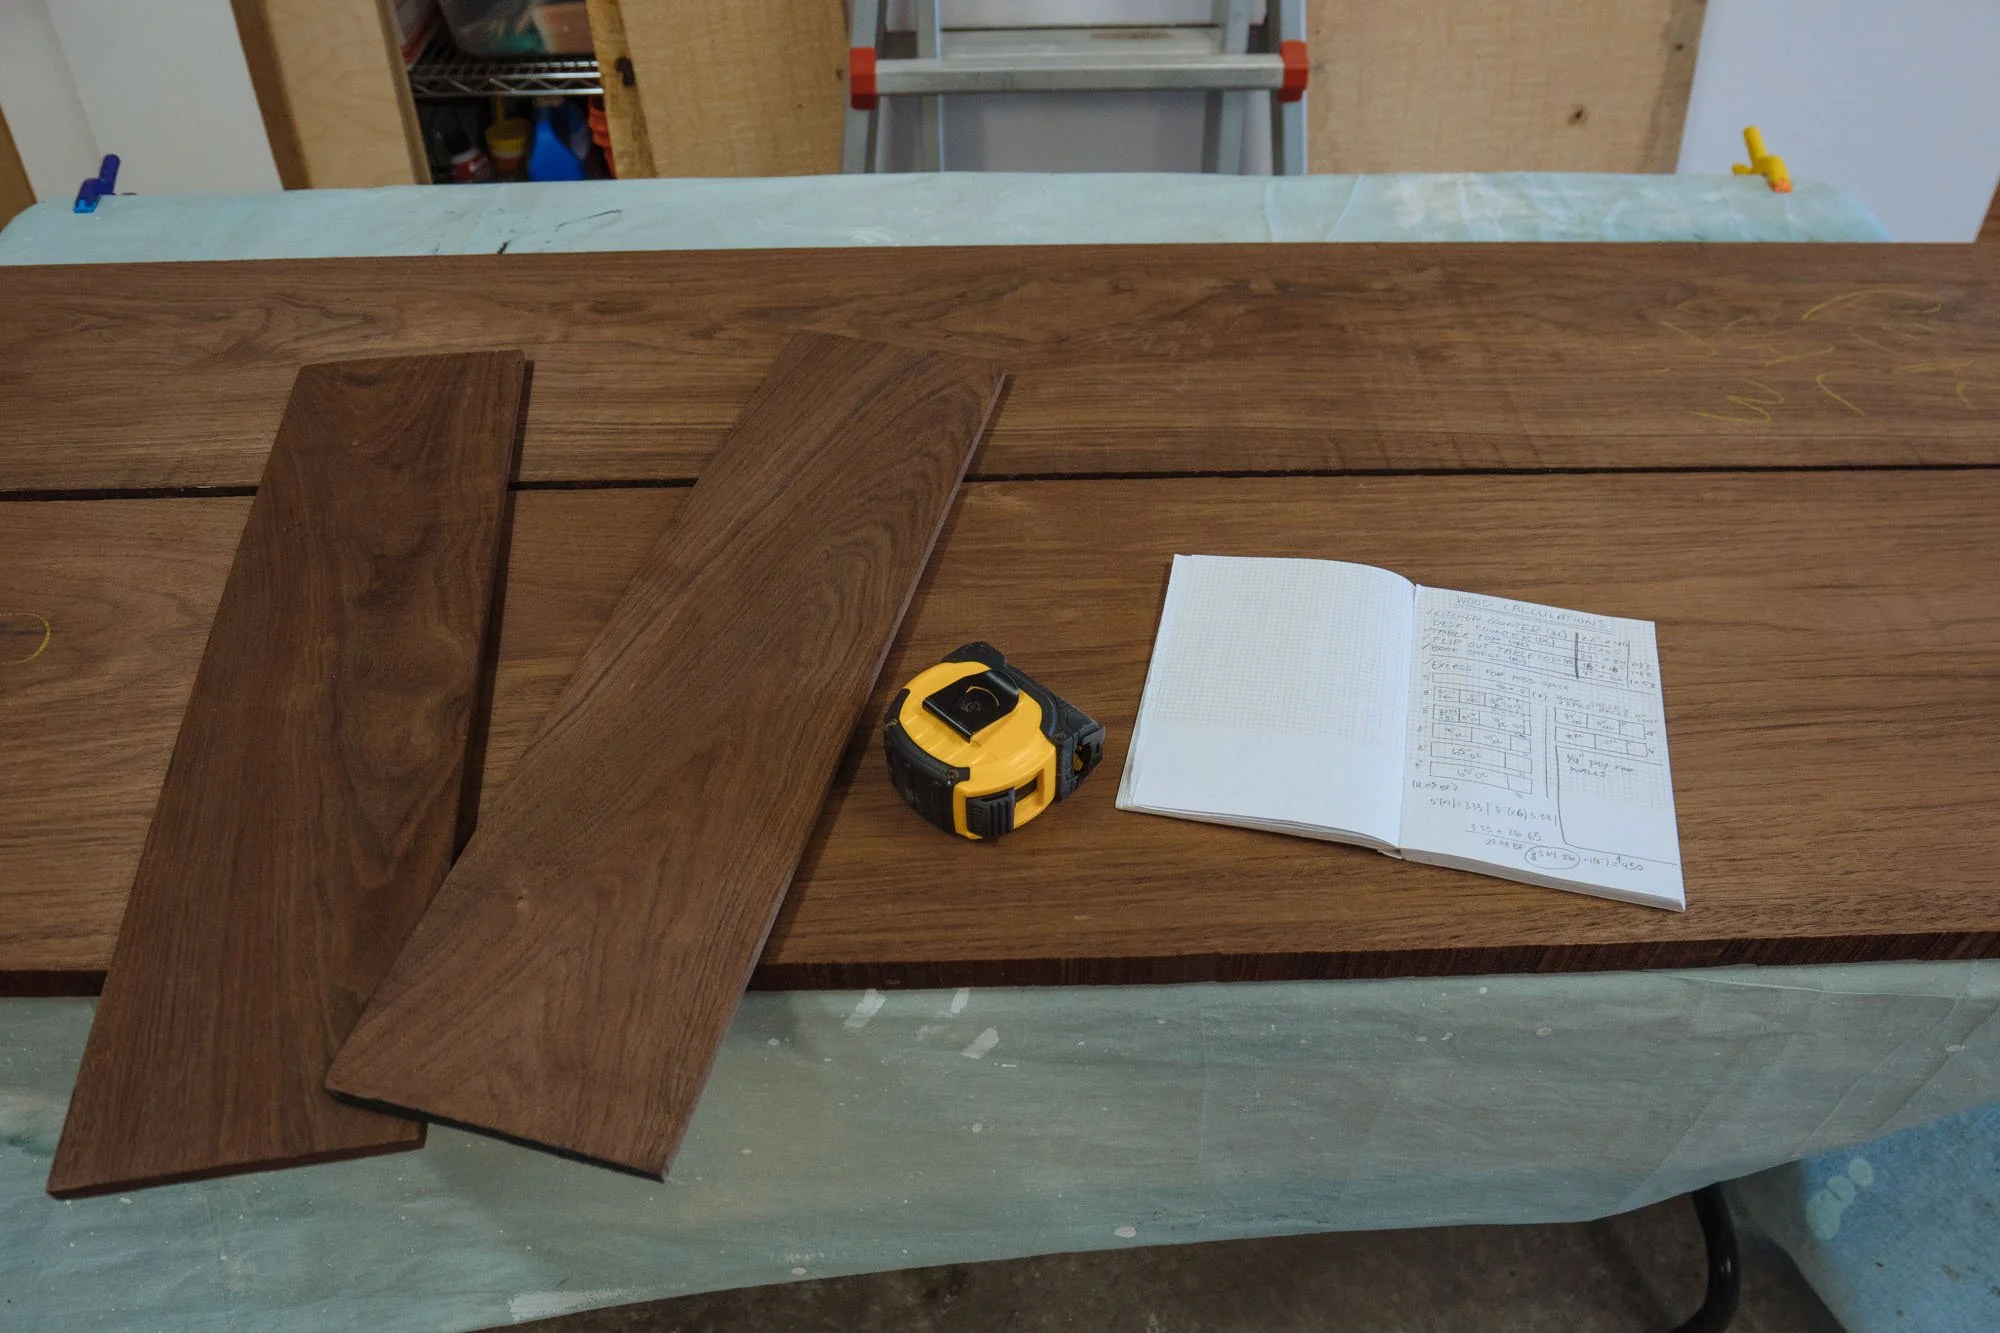
I was so excited to dive into our lovely pile of wood that we bought for our counter tops! We selected Peruvian walnut because of its strength and color. It's also on the light end of the spectrum for such a dark wood. We're being mindful of the weight that we're putting back into Amelia. We're trying to keep things as light as possible in an effort to be kind to Amelia's engine and transmission. That being said, this wood is being used selectively throughout the interior.
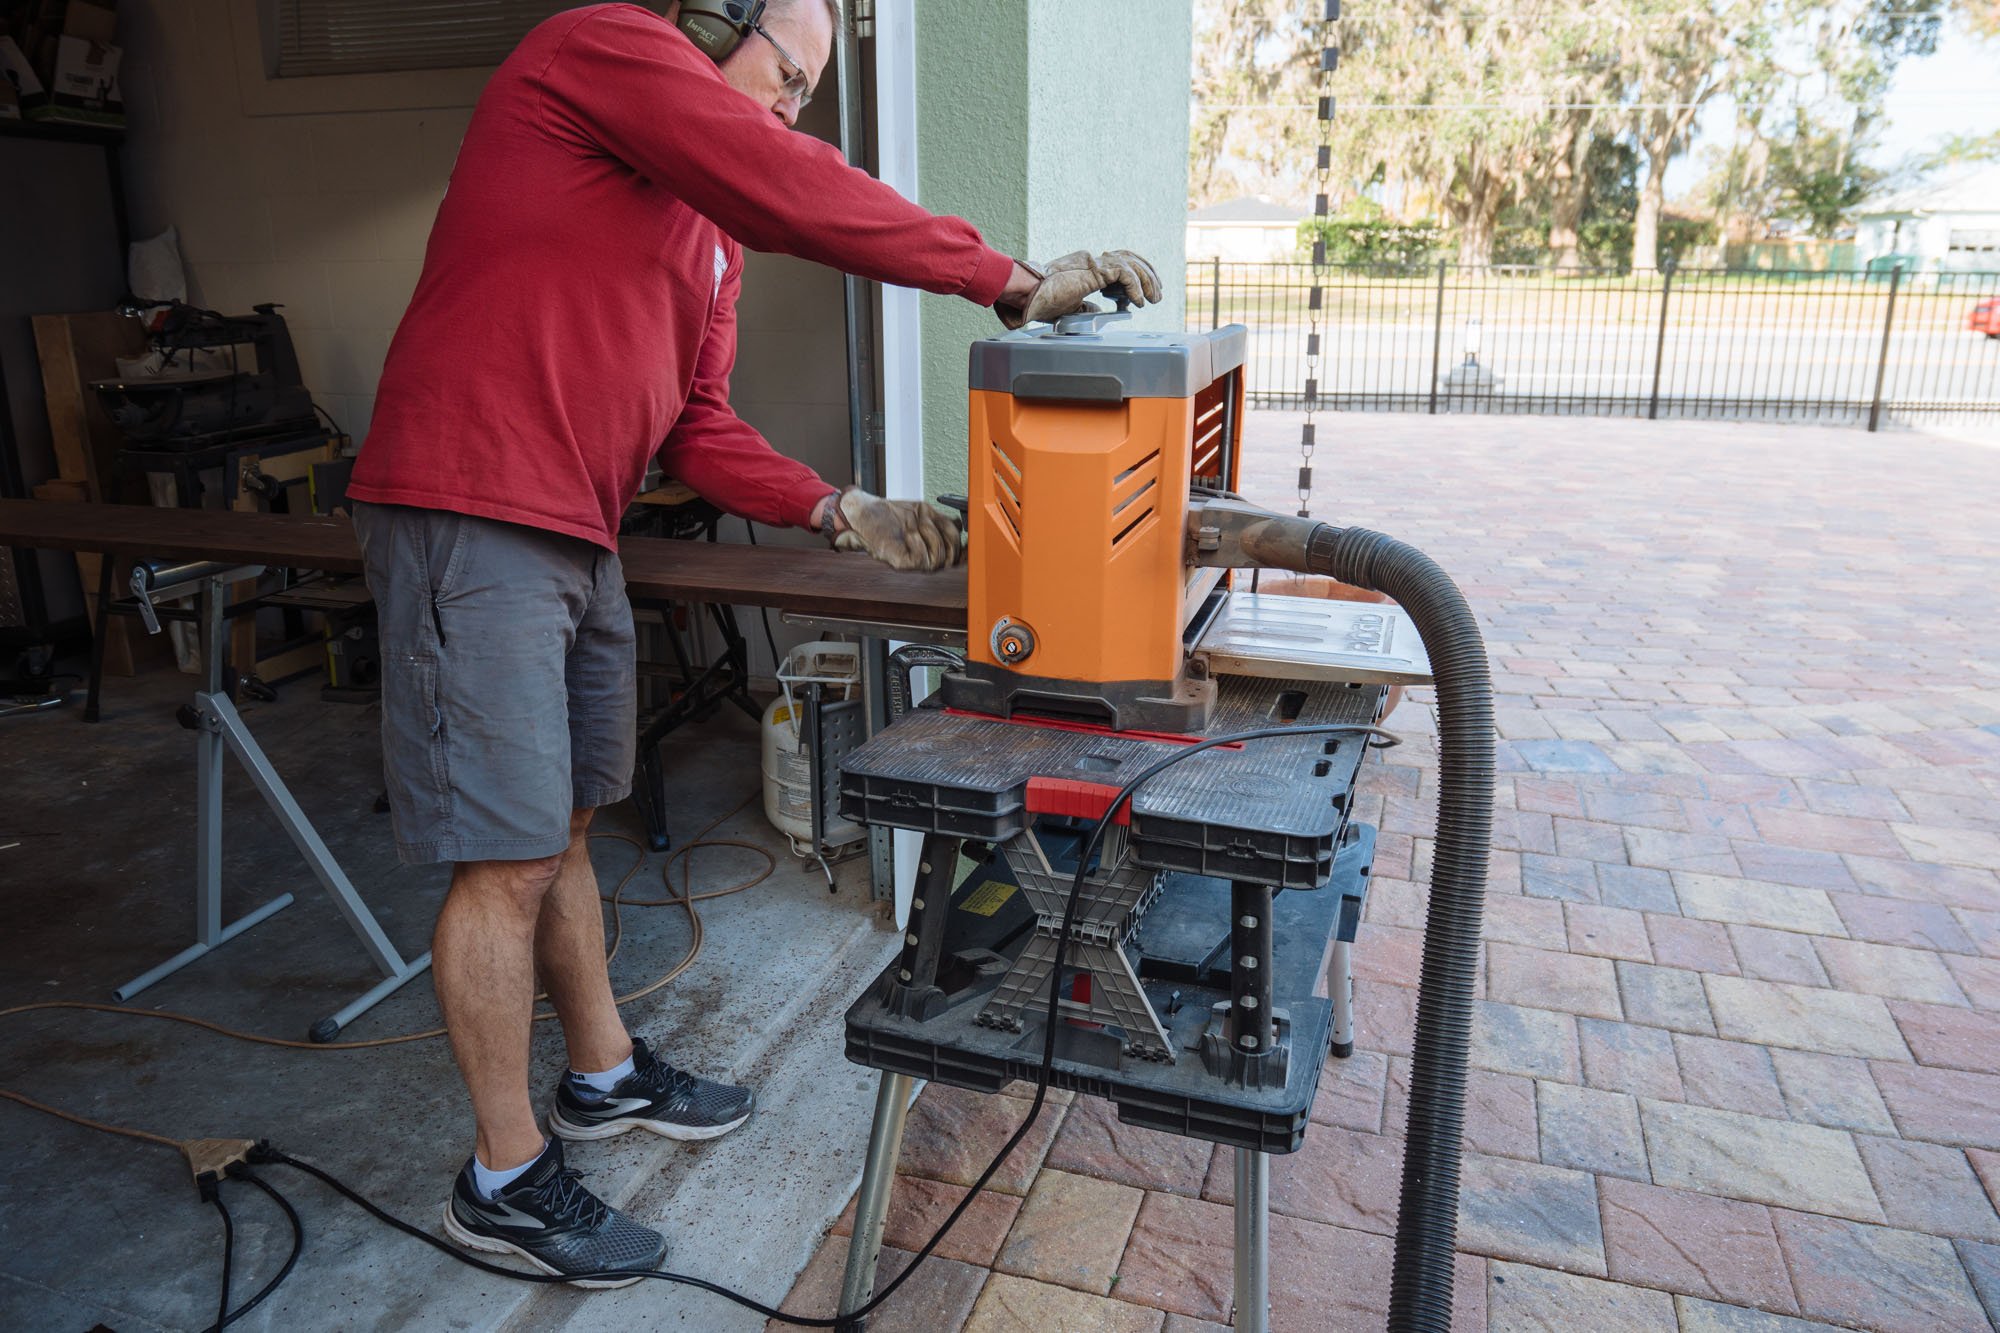
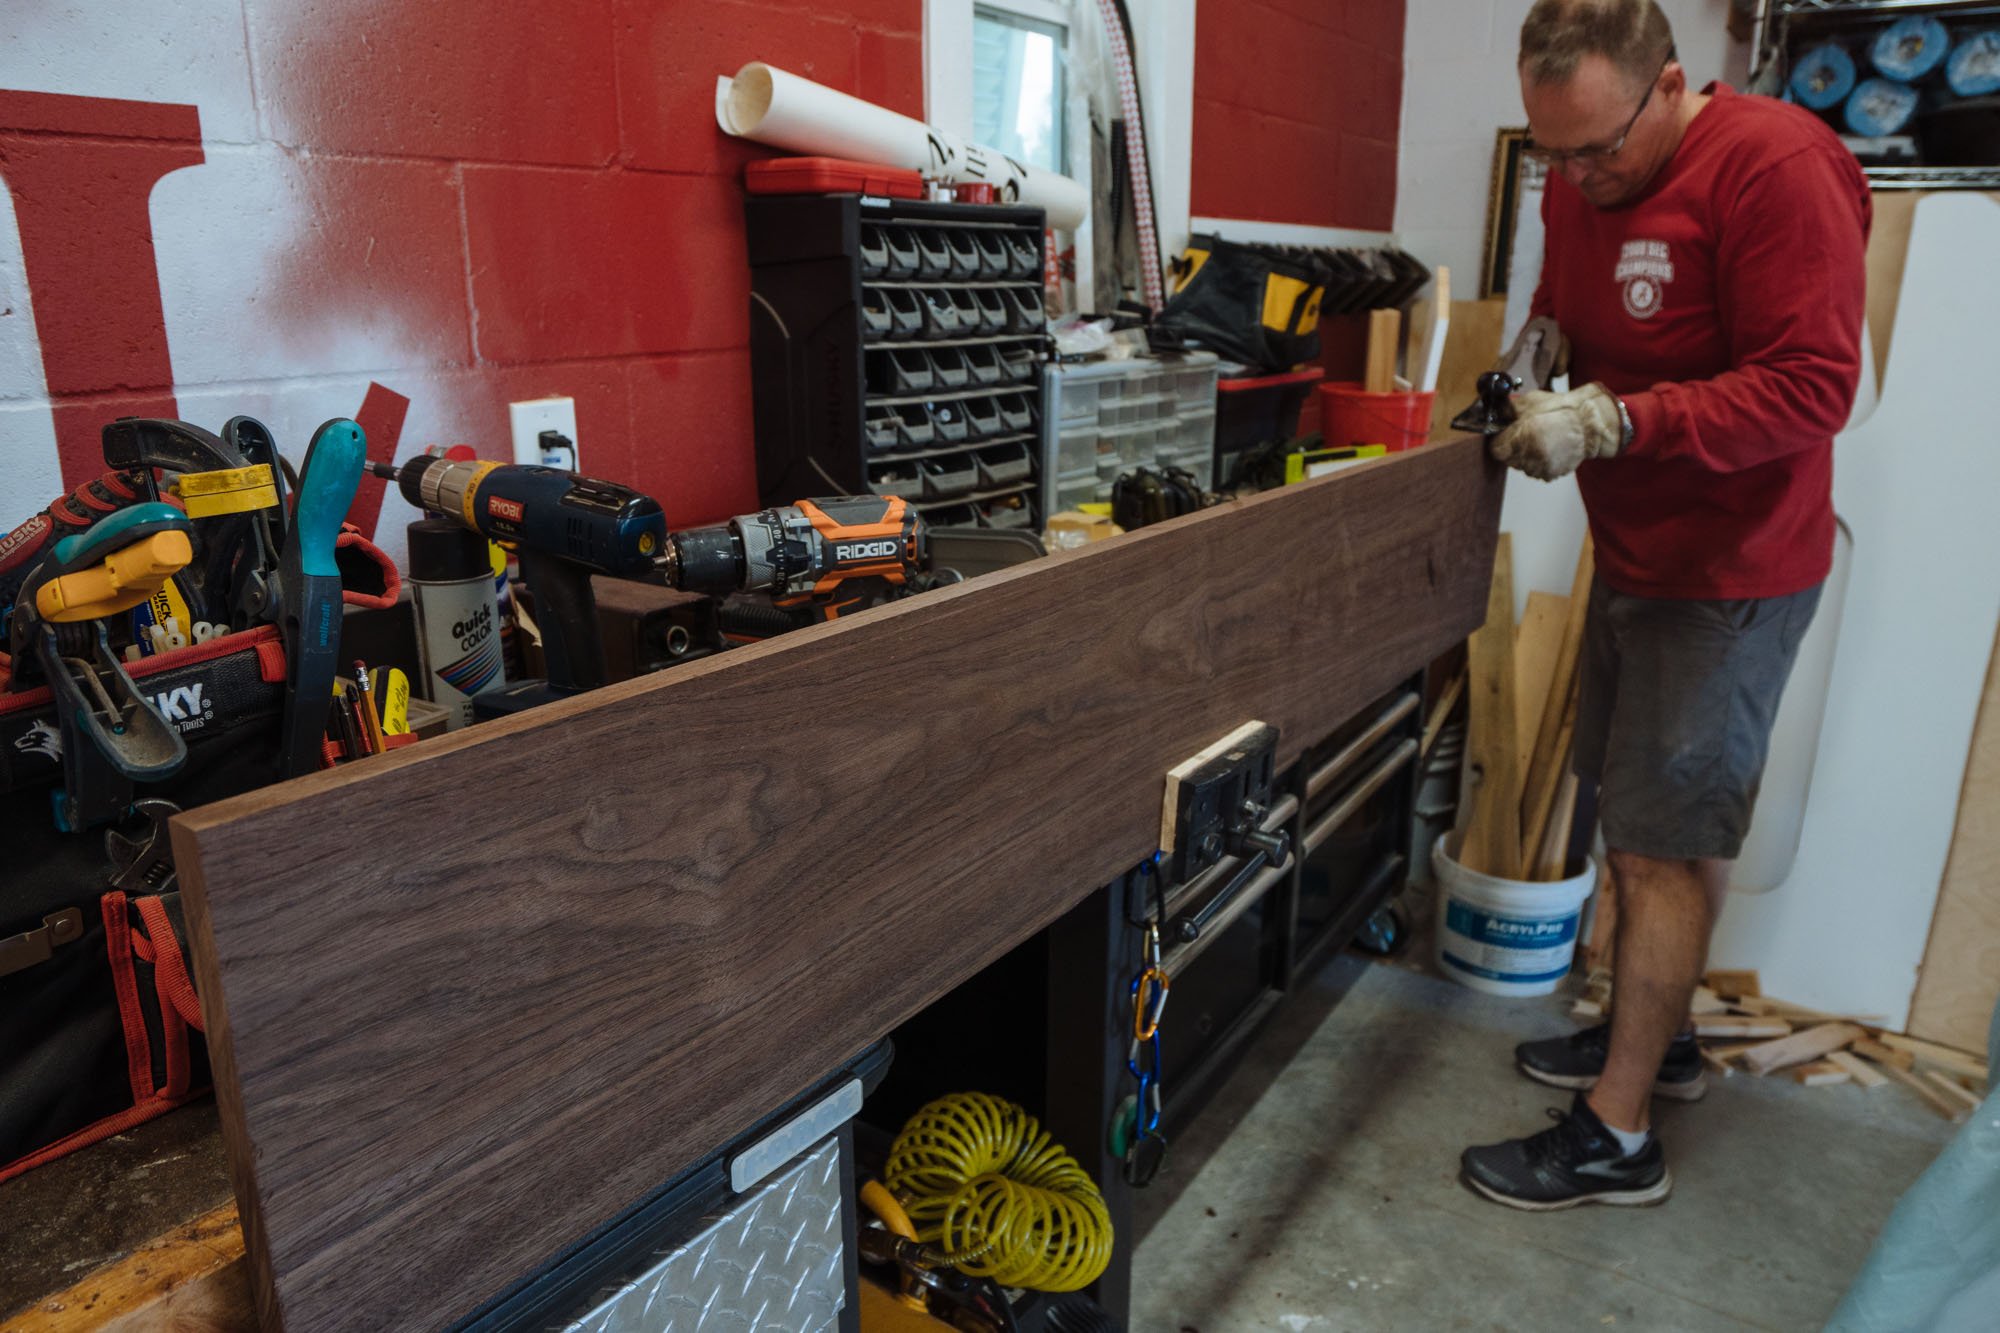
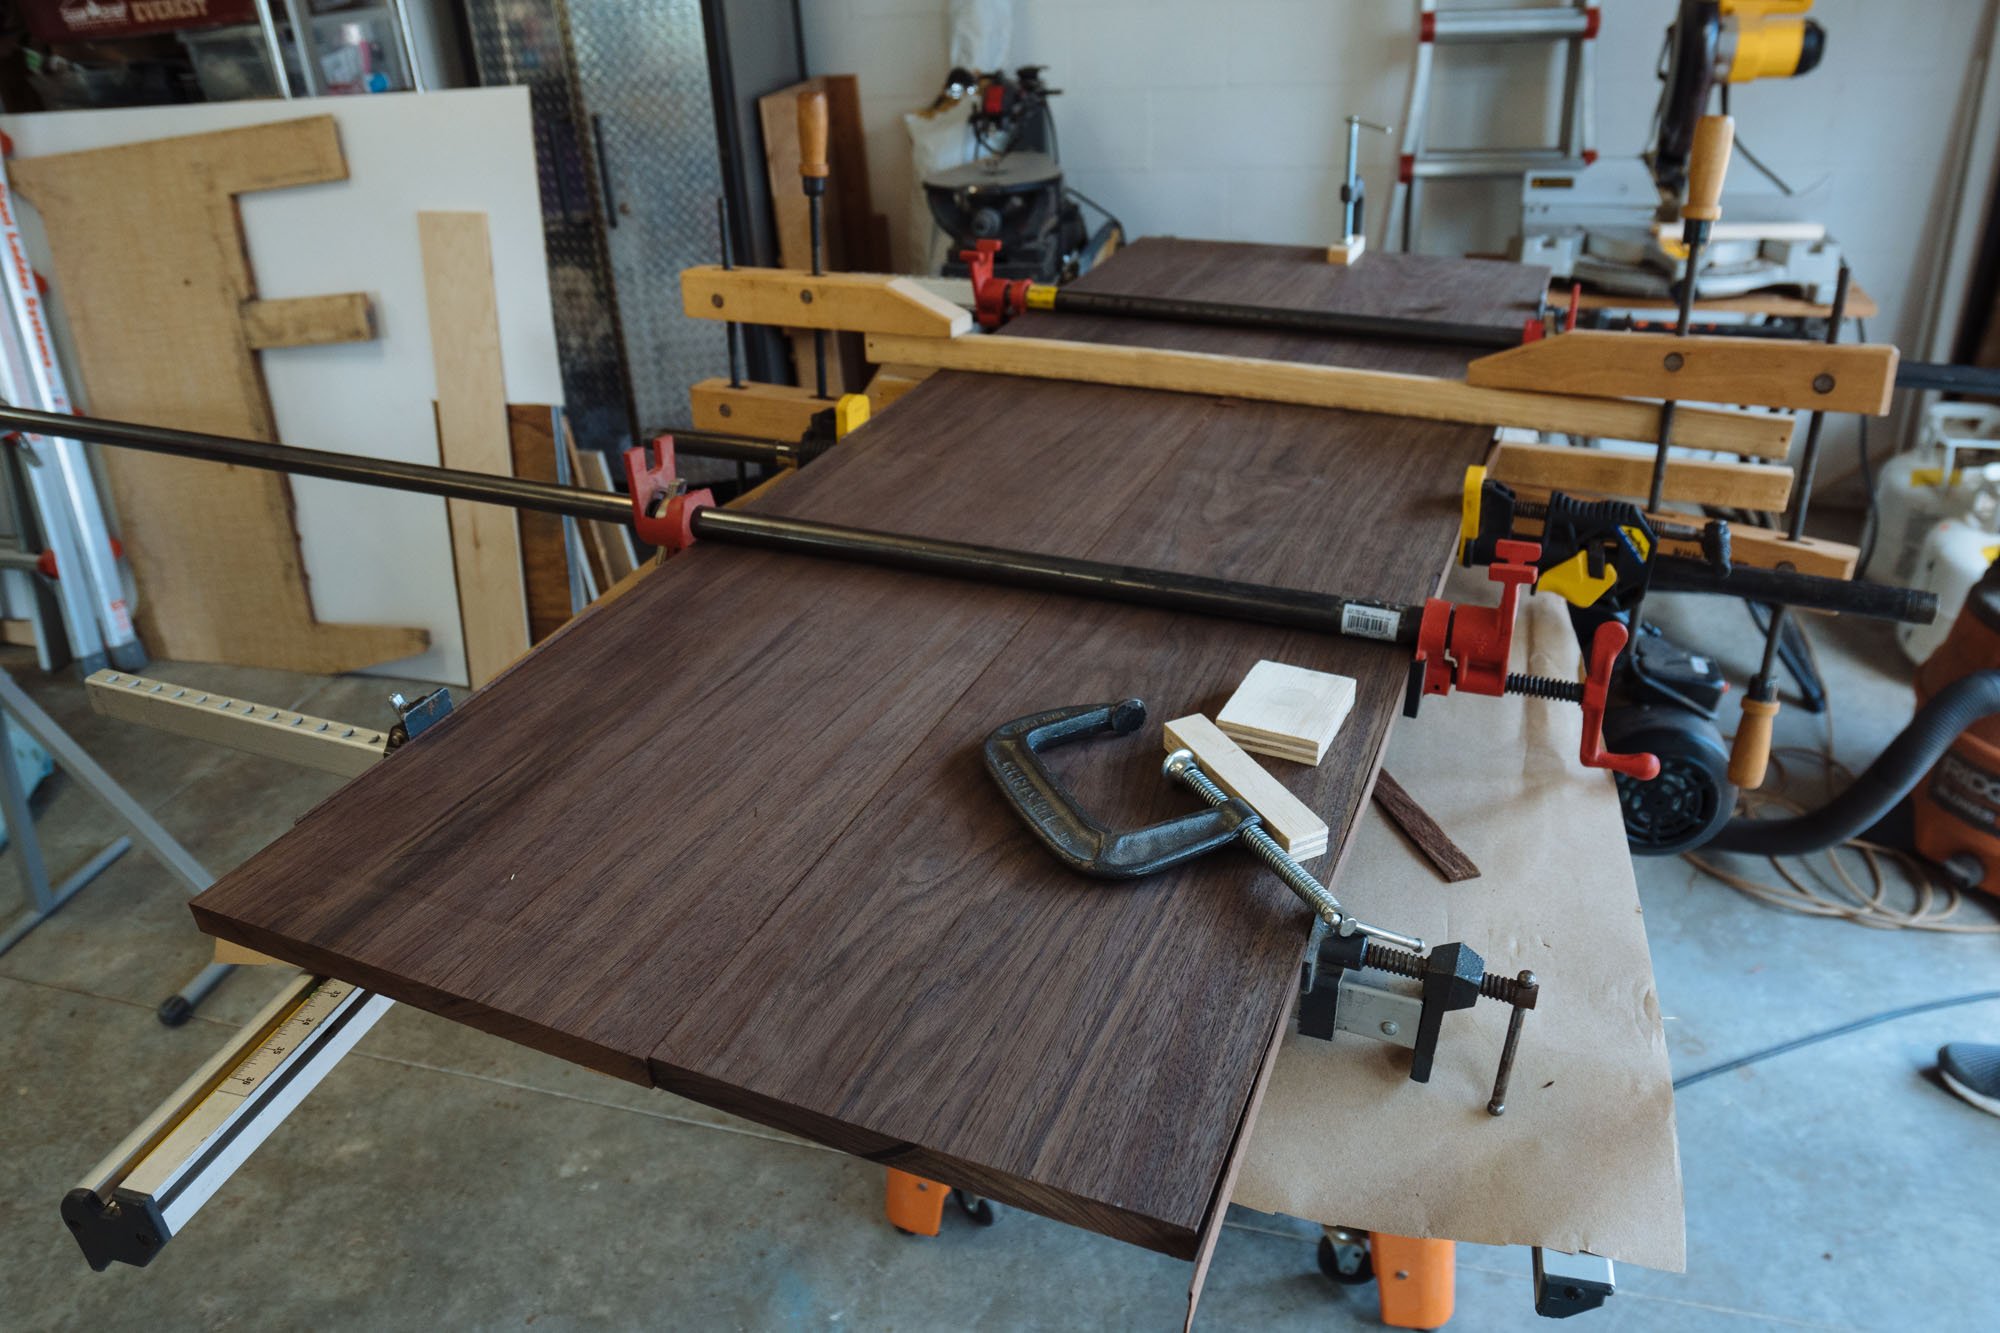
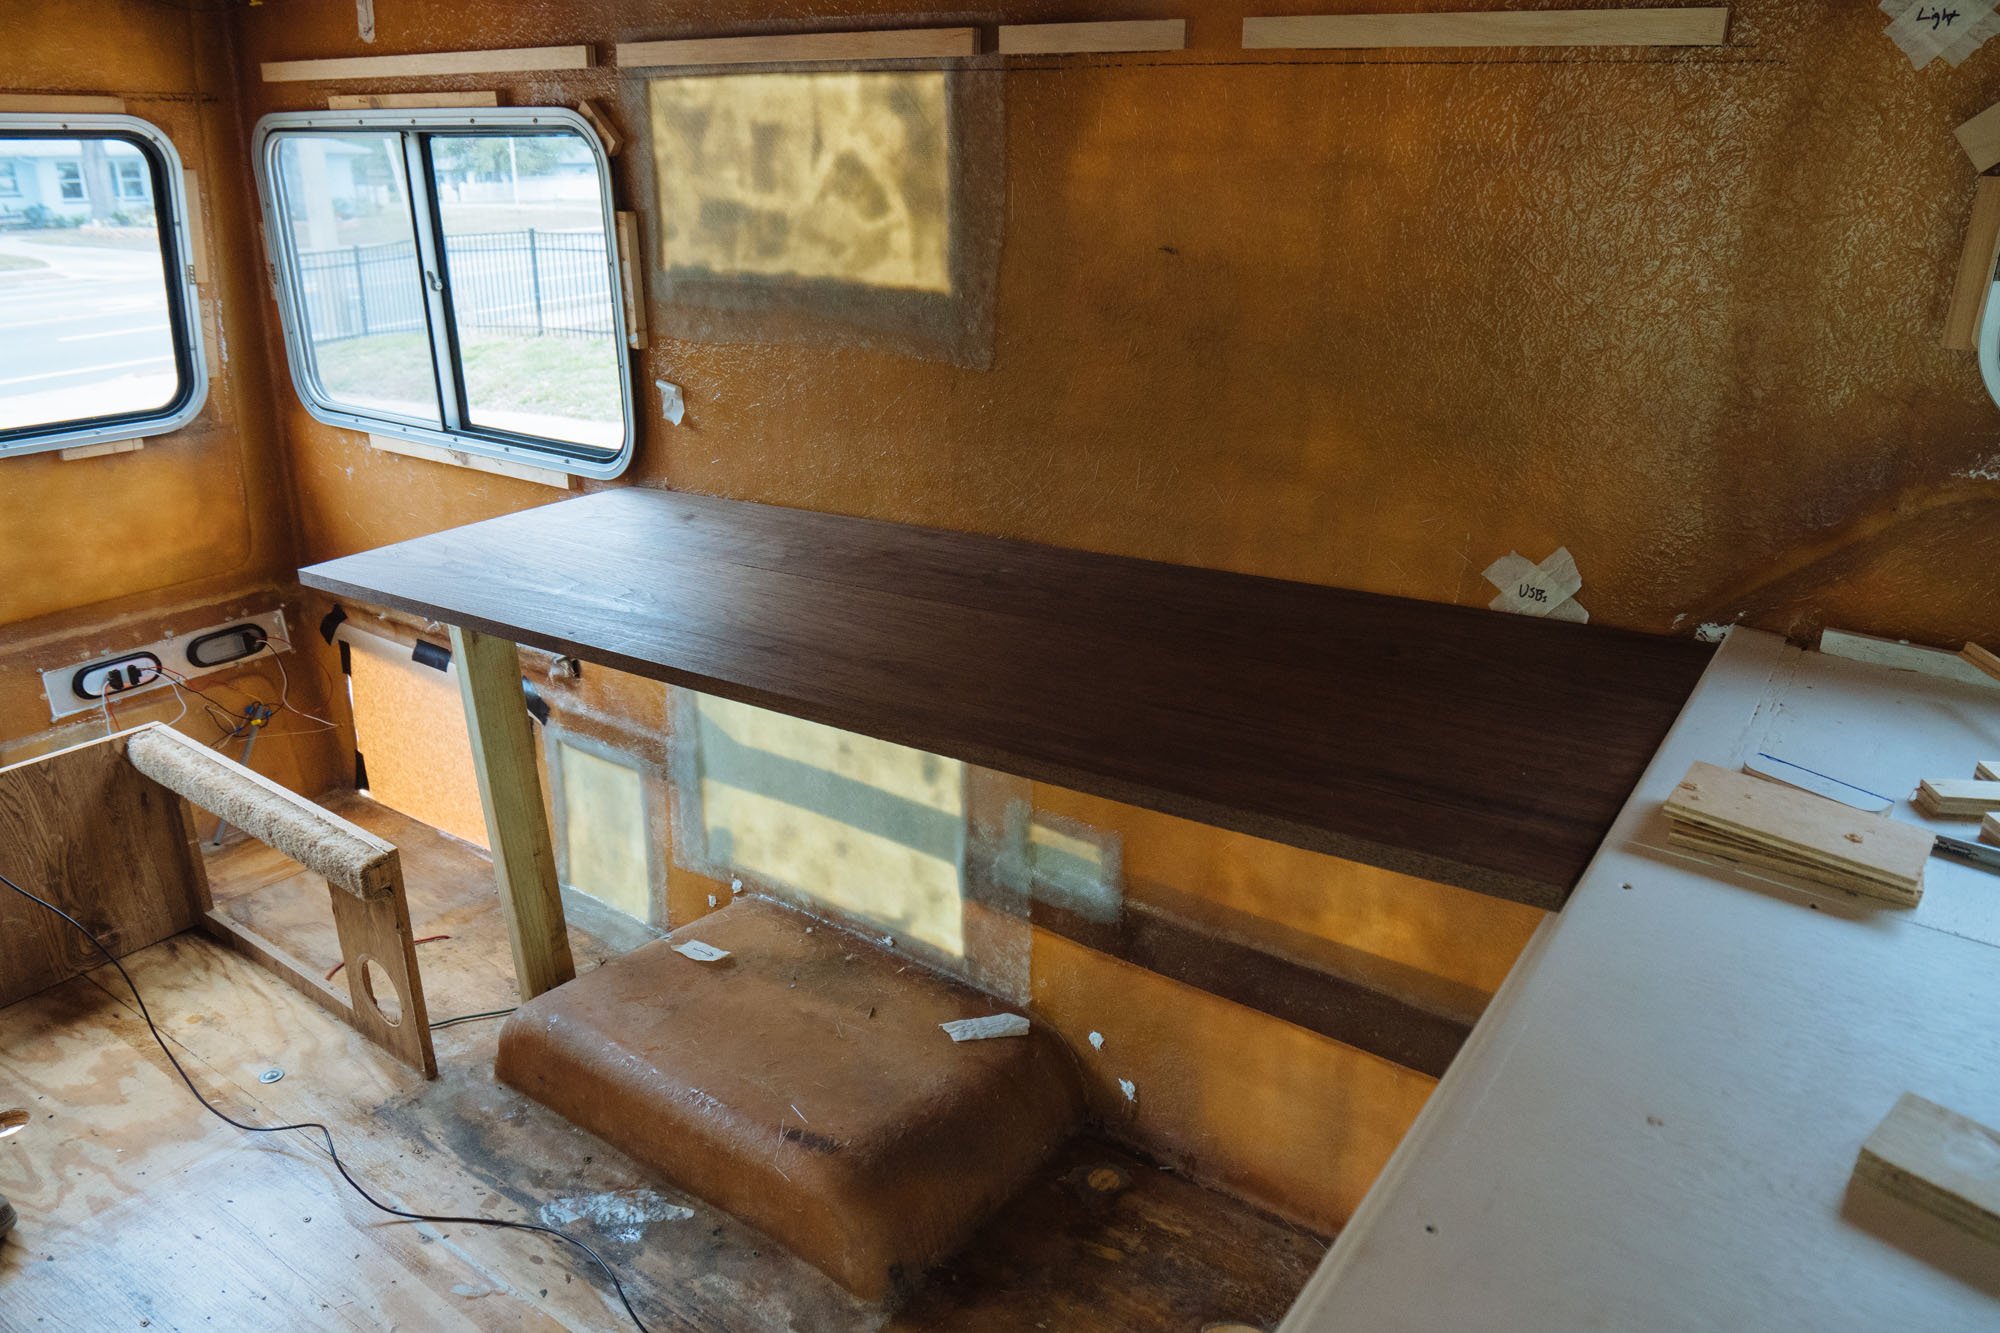
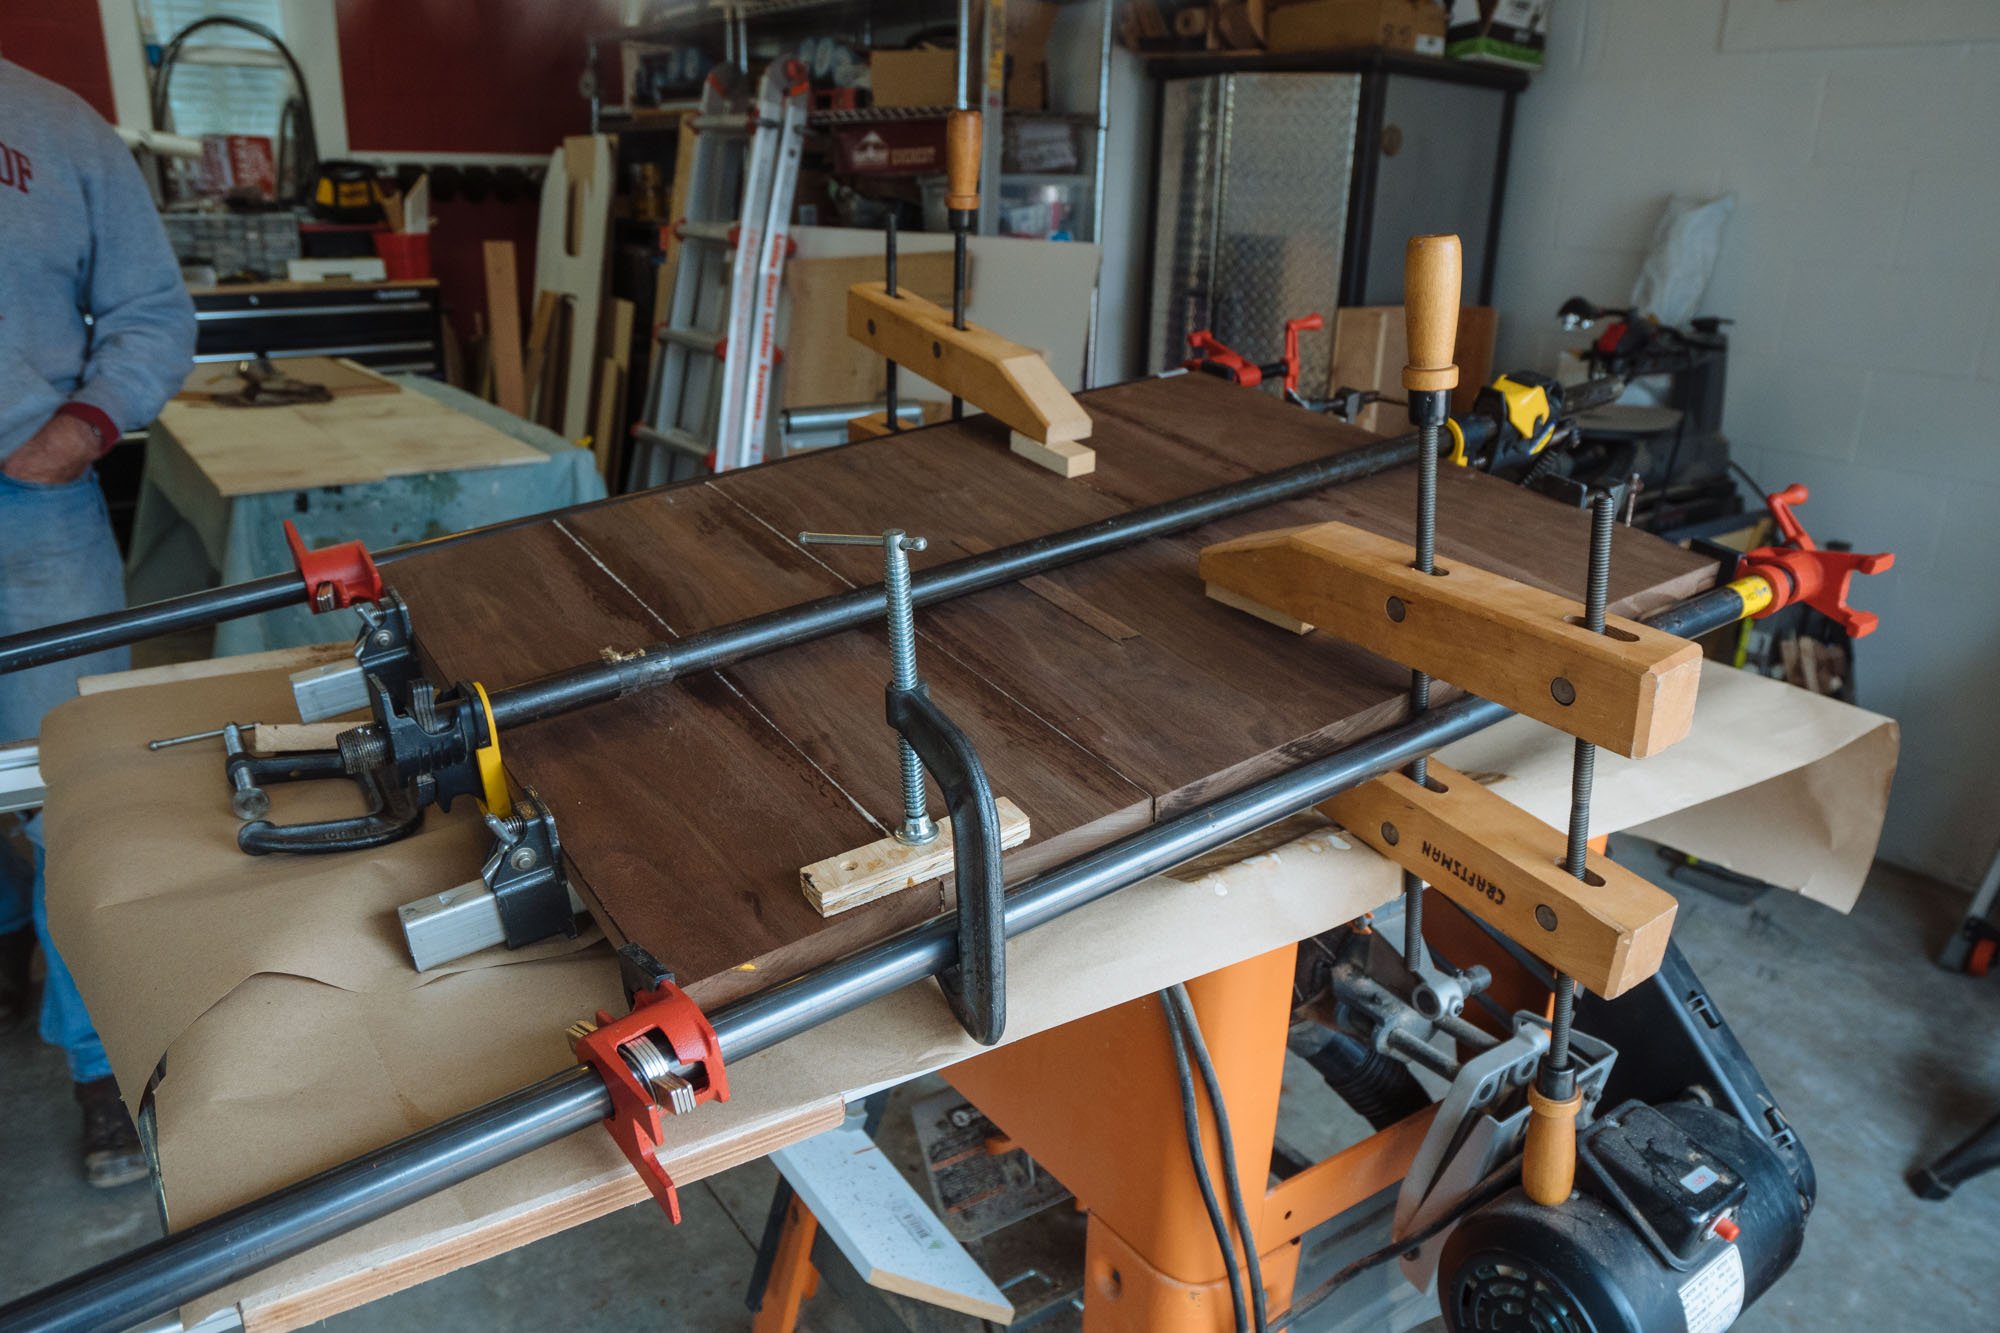
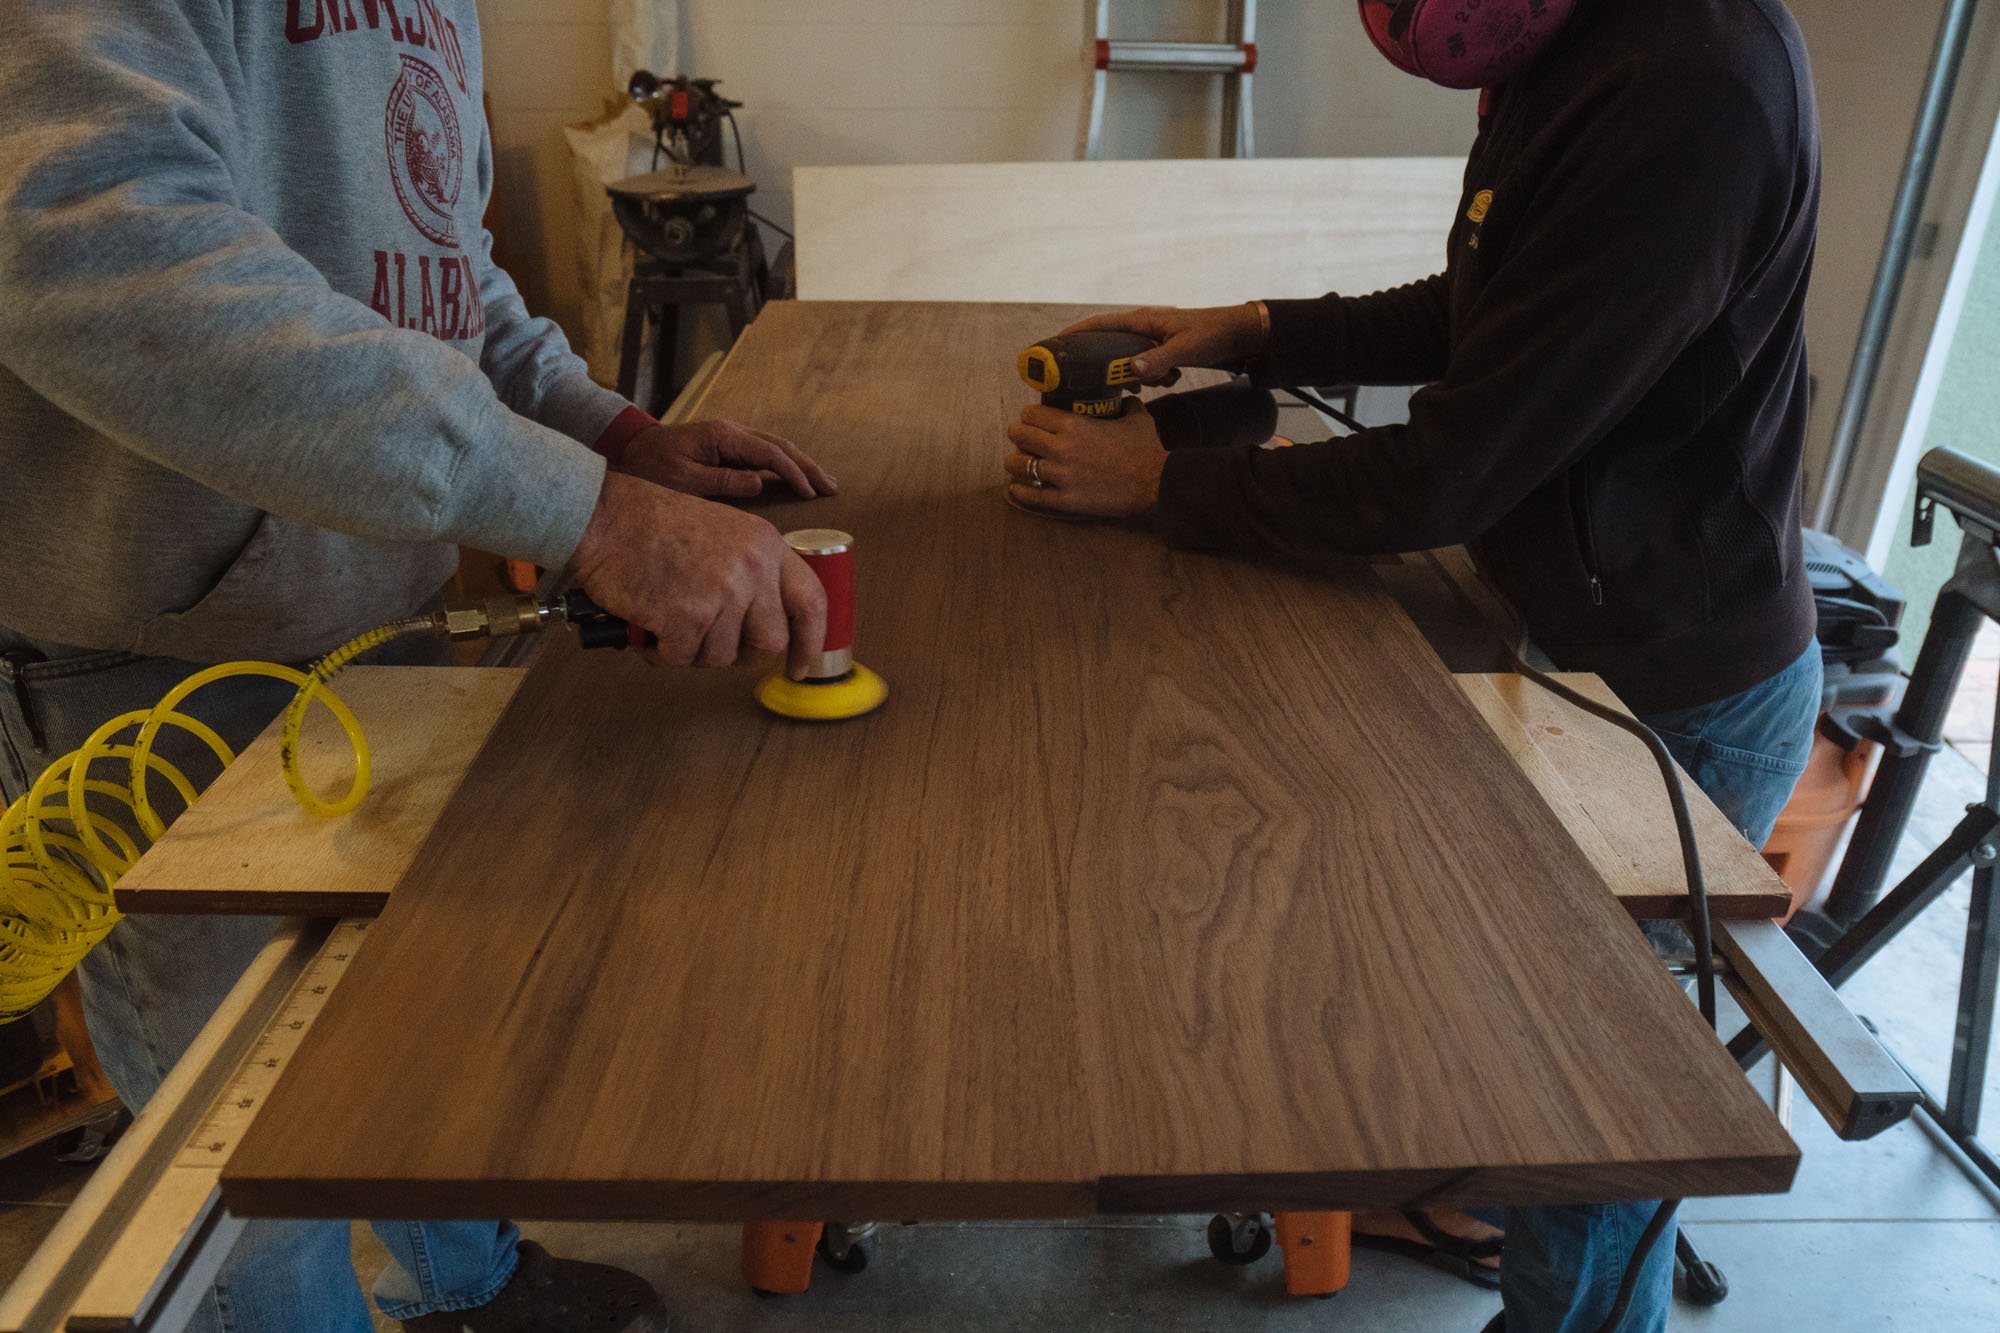
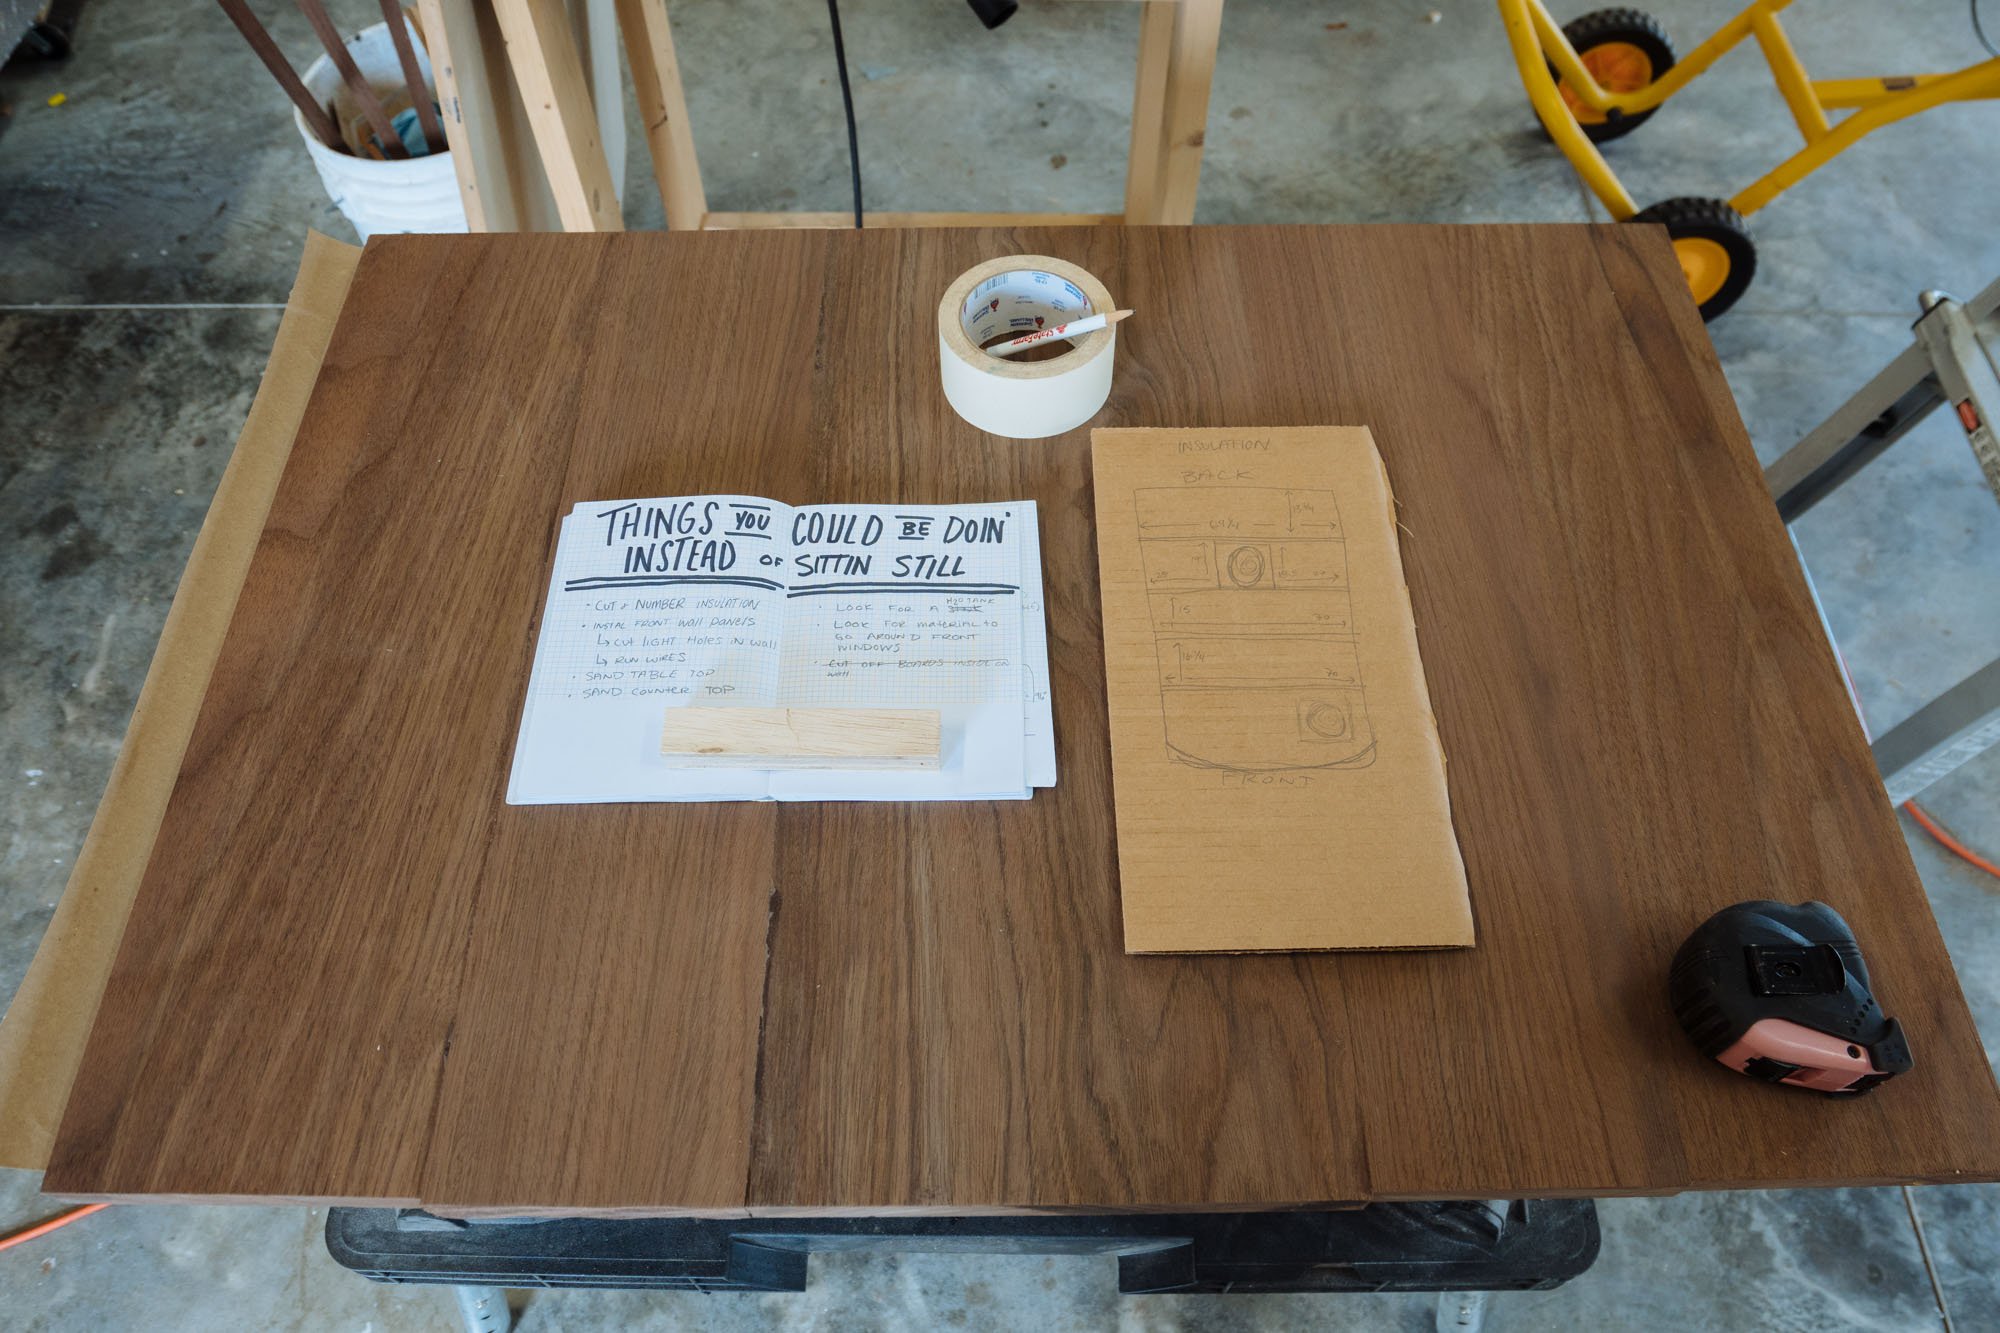
Table making is my thing! I absolutely love making tables so I was very excited to get going on this little project. Our first priority was to make the biggest two table top surfaces which are the table for the back seating area and the long counter top for the driver side. That table will stretch from the bed all the way to the back seating area. To make the table tops we joined the planks with biscuits and then glued everything up! Now I have a lot of sanding ahead of me!
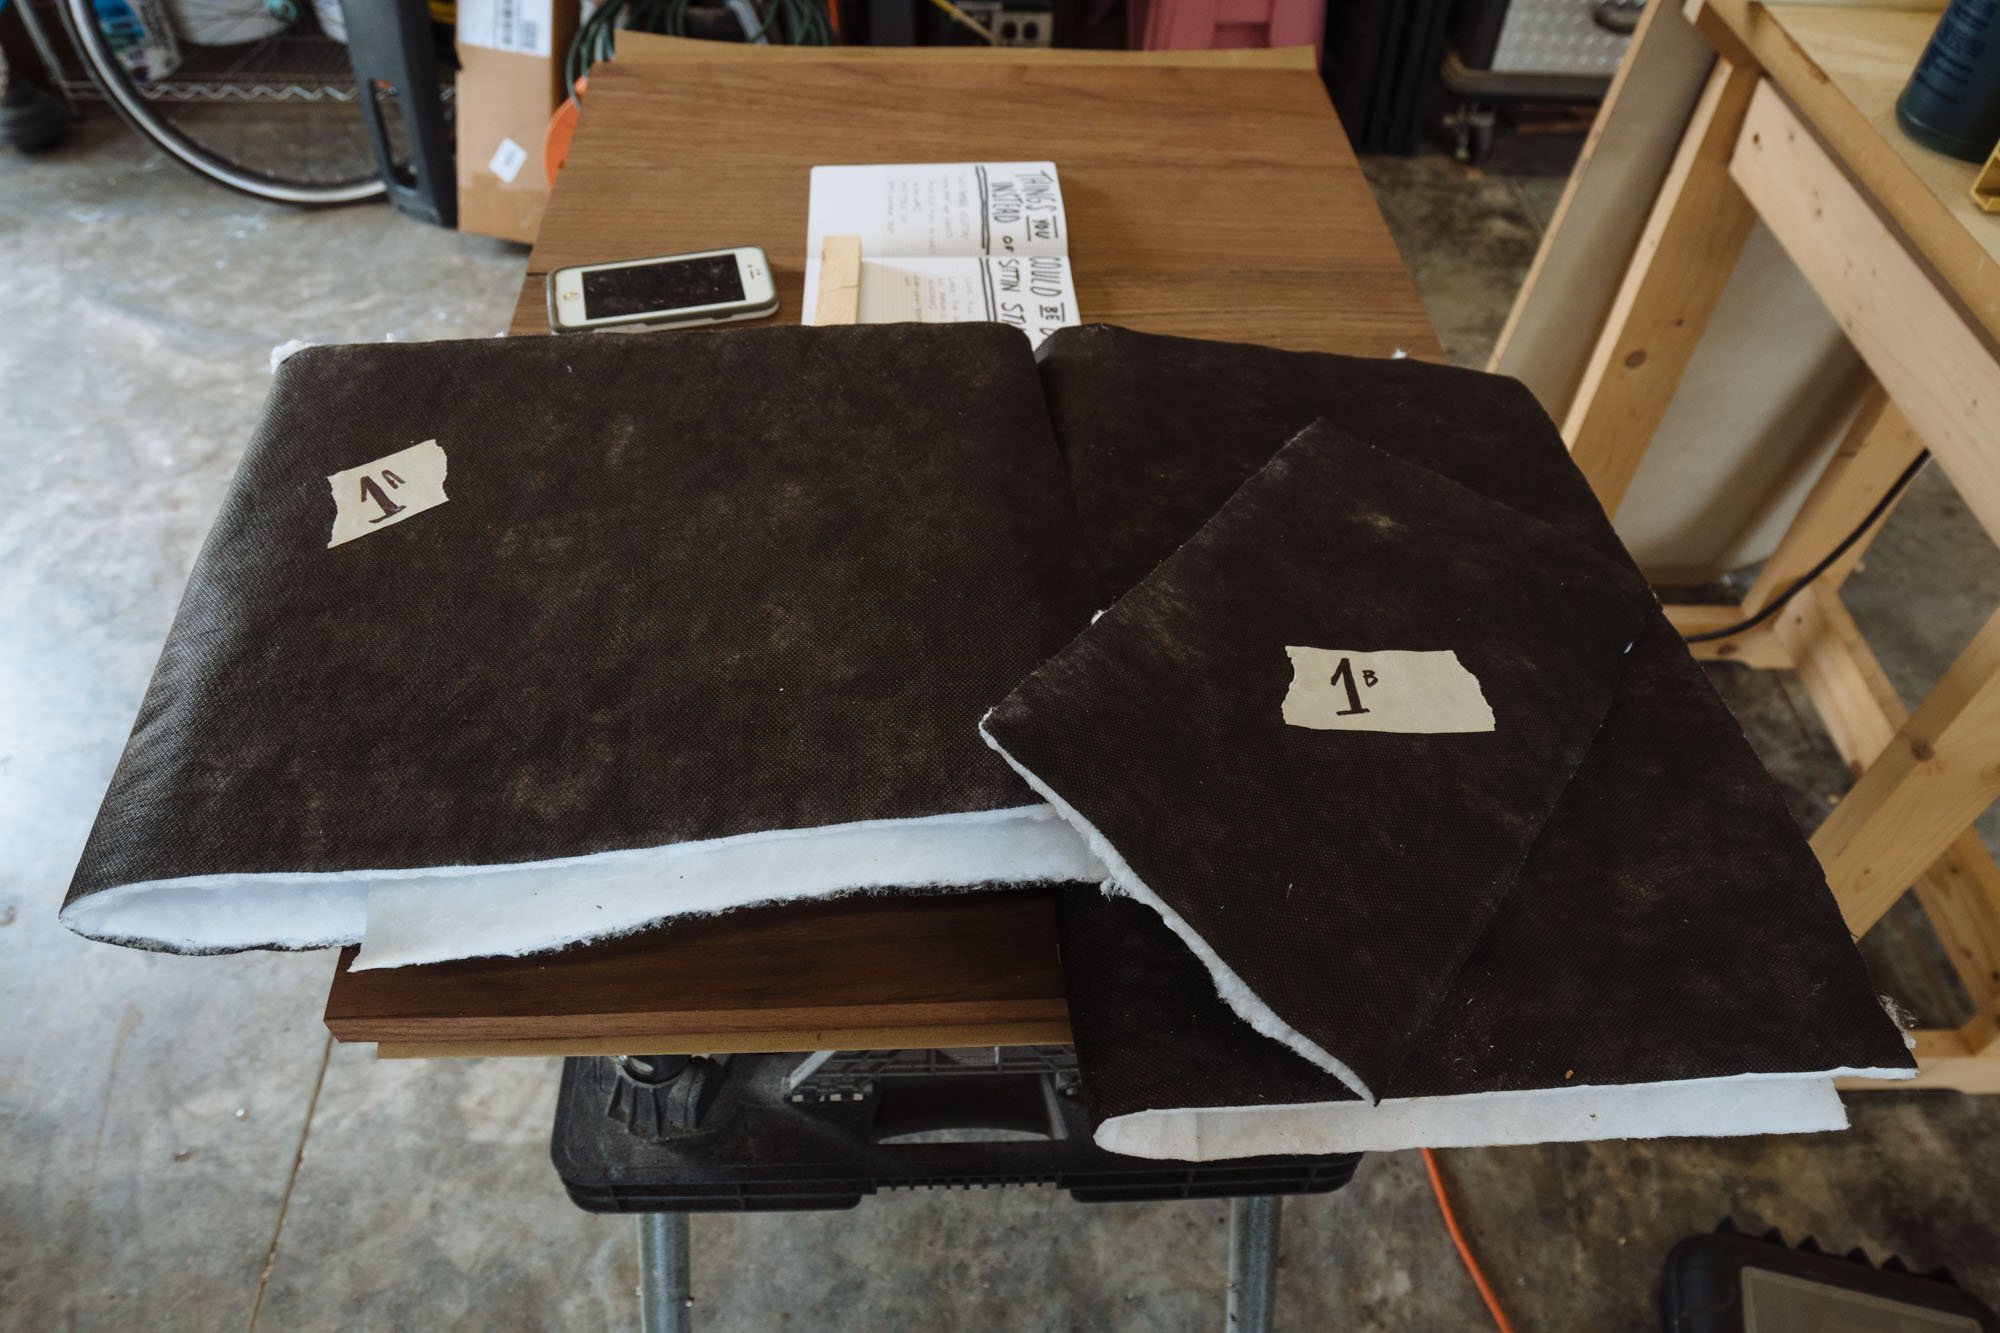
The last thing I knocked out this past week was cutting insulation for our entire ceiling. I made a fun little diagram and labeled them so we'll know what goes where when it comes time to install it all!

We're so stoked with our progress from this past week! It's endlessly exciting to see progress finally happening! Hooray, and we'll talk next week!
Supply List
For Inquiring Minds
Solar Panel & Brackets
One Renogy 280 watt Solar Panel
Set of Rivnuts - we used size M6
SEM Self Etching Primer - we used this to primer on our metal brackets and taillight plates
Rustolium High Performance Enamel in Black - we used this to paint our metal brackets and taillight plates
Rustoleum Matte Clear Coat - we used this on our metal brackets and taillight plates
All Riveting Projects + Taillights + Backup Camera
Pop Rivet Gun
3/6ths 1/2 long Rivets
6" Oval Taillights
Extra Break Light bar...for extra safety ;)
Backup Camera - This one gets BY FAR the best reviews!
Sikaflex - if it is going on Amelia, you best believe there is sikaflex behind it
Lights + Cabinets + Table
A lot of the large tools are obviously things that we are very fortunate that my Dad has on hand for his personal woodworking hobby. If there is anything specific that you are curious about please so not hesitate to reach out. Otherwise I'll list a few of the general things that we used!
-
LED Flush Mount Lights - These we will be using throughout our interior and we think that we'll use 6 total. These babies are BRIGHT!
West Marine 610 Expoxy Adhesive - I used this for glueing up our cabinet supports
Extreme Hold 3m Tape - For holding up...well anything. This is the best tape there ever was. Used to hold cabinet supports to the wall while Epoxy was drying. It even held tight to the uneven fiberglass surface!
Wood Glue - The good stuff
Japanese Pull Saw - If you are building cabinets or anything really, you need one. It is perfect for getting those tricky corners with precision. My Dad gifted me one when I went away to college. It gets a lot of use to this day!
Irwin Clamps
>
Right Angle tool
Pipe Clamps - For the bigger glueing projects
Plate Joiner - for joining planks of wood for counters and table tops
No 10 Joining Biscuits
Insulation
Thinsulate -Best insulation around. We're insulating the whole truck with it!