Overlanding Dash Upgrade
Today we’re going to be talking through the installation of a new dash mount for our 2019 Toyota Tundra! For a long time, we’ve been looking for a way to get our truck’s dash organized because we carry a few different electronic devices while we’re driving in the cab.

Our friends over at 67 Designs and ICS Fabrication were kind enough to help us out on the road to getting organized by sending us the gear that we needed to make this install happen! Let’s dive into the process.
The gear
67 Designs
67 Designs make a wide range of dash mounting gear for all sorts of vehicles. They also have an impressive selection of attachments so you can organize just about anything to help navigate and capture your journey. Head over to 67 Designs to find all of the gear we used below: 67 Designs

AMPS - Plate × 1

Diamond Plate Alternative × 3

Universal for Phones Device Holder × 1

GoPro® Camera Mounts × 1

Carbon Fiber Arms - Nano × 1
Carbon Fiber Arms - Small × 2
**These are just the arms and attachments that we chose to fit our needs**
ICS Fabrication
ICS Fabrication makes the mounting plate that actually gets installed into the dash and makes everything above possible. They make mounting plates for different Toyota vehicles that perfectly pair with the 67 Design arms and accessories. You can check out ICS Fabrications here.

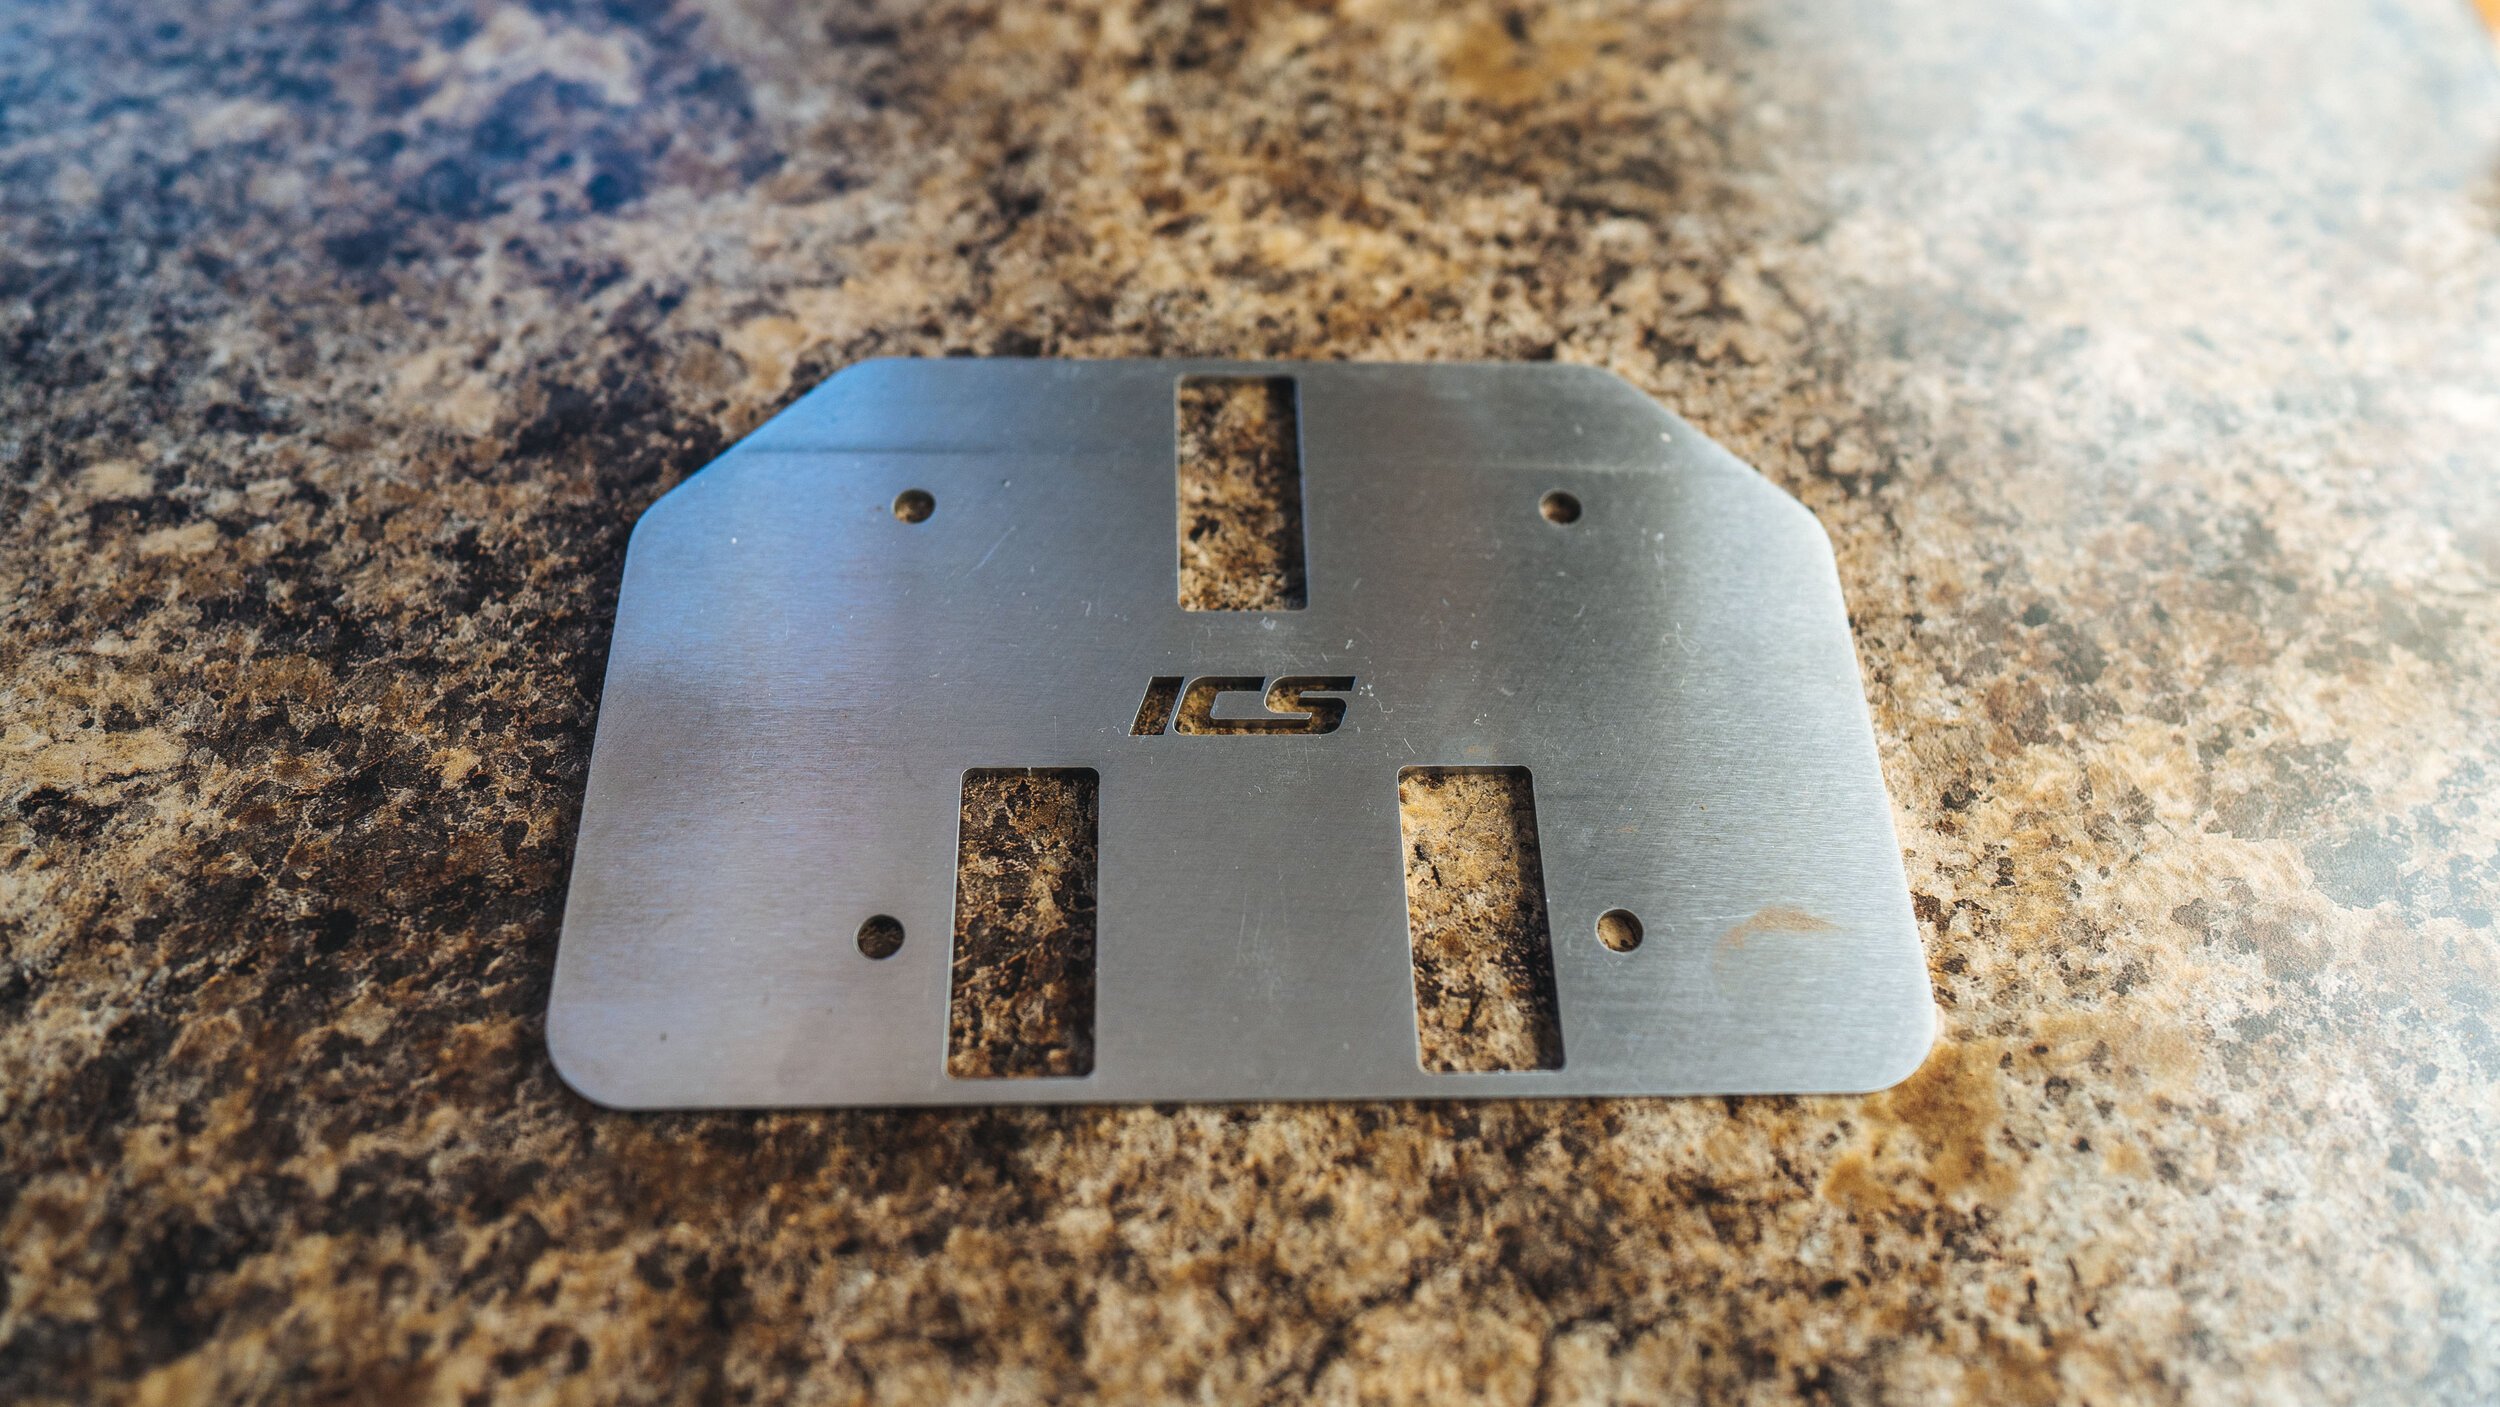
ICS Toyota Tundra Dash Mount 2014-2019 × 1
ICS Toyota Tundra Dash Support Plate × 1
Tools Required for Installation
6mm Allen Key
10mm Socket
Long Extension
Ratchet
Trim Tool
1/8" & 1/4" Drill bit
Drill
Our Install Video
Installation
Remove Lower Dash 12 volt outlet tray
Remove A/C controls
Remove Four 10mm screws for Radio
Remove Radio
Position the mount in the center of the dash tray
Mark holes using the support plate as a stencil
Drill the 4 1/8" pilot holes followed by 1/4" holes
Install your mounts (i.e. 67 Designs arms) on our dash mount in the desired location
Insert the four provided screws into the four dash mount holes
From the bottom section of the dash, mount the support plate onto the four screws
Insert provided washers and install the nuts on each one of the screws hand tight
Tighten nuts diagonally until tight
Reinstall Radio, A/C and 12-volt socket trim
Here is a helpful video from ICS Fabrication with more details on how to install their dash mount that we watched a few times before starting our own install just to be sure we did everything correctly: Watch the Video Here
The Final Product


Pretty nice right?! We’re all organized up on our dash!
Review
Though we’ve only been using this set up for about a week, it already feels like a breath of fresh air. Our phone, Overlander, and GoPro/360 camera all have a home that is up and out of the way. We love how easy the arms are to maneuver around and get into the perfect position so everything fits right where we want it.
We still use our phone for navigation even though we have the Overlander. More on that later, but with this set up the phone is in the best place it’s ever been. In the past, we’ve used a suction cup and we found it to be obstructive to our visibility. This 67 universal phone holder is easy to operate with one hand (to put it in & out of the mount) and is no longer in our field of view looking out the windshield.

We also love the camera mount. By having it on a long arm we can install it above our navigation gear. It’s also much more functional by being on a ball joint. When filming out of our windshield or into the cab we had another suction cup that was cumbersome and rarely gave us the positioning we wanted. This is leaps and bounds nicer than that setup!
We typically know right away if we’re going to like something or not, and this 67 Designs & ICS Fabrication set up is no exception. As soon as our installation was complete we knew that this was going to be the perfect set up for keeping all of this gear organized and out of the way! Thank you so much to both companies for helping us choose the gear that would best work for our needs! I hope you all find this little install demo helpful!
Love, MAK