It's Electric!
Who's ready to dive into the nitty gritty of our electrical set up? If you're not, Pikachu will show you the door.
Questions about our electrical set up are some of the most common we receive. Throughout this whole rebuild we knew that we wanted to have a dedicated post for electrical simply because there's a lot to cover.
In our Vanagon, Stanley, we had a solid setup but we had to put out a solar panel whenever we were ready to collect solar power. It wasn't that bad, but anything you can do to make things easier and more convenient is a win. In Amelia, we wanted to make sure that charging would be happening all without us having to lift a finger or remember to do something. Other than that, we were looking to keep things pretty similar to what we had in Stanley.

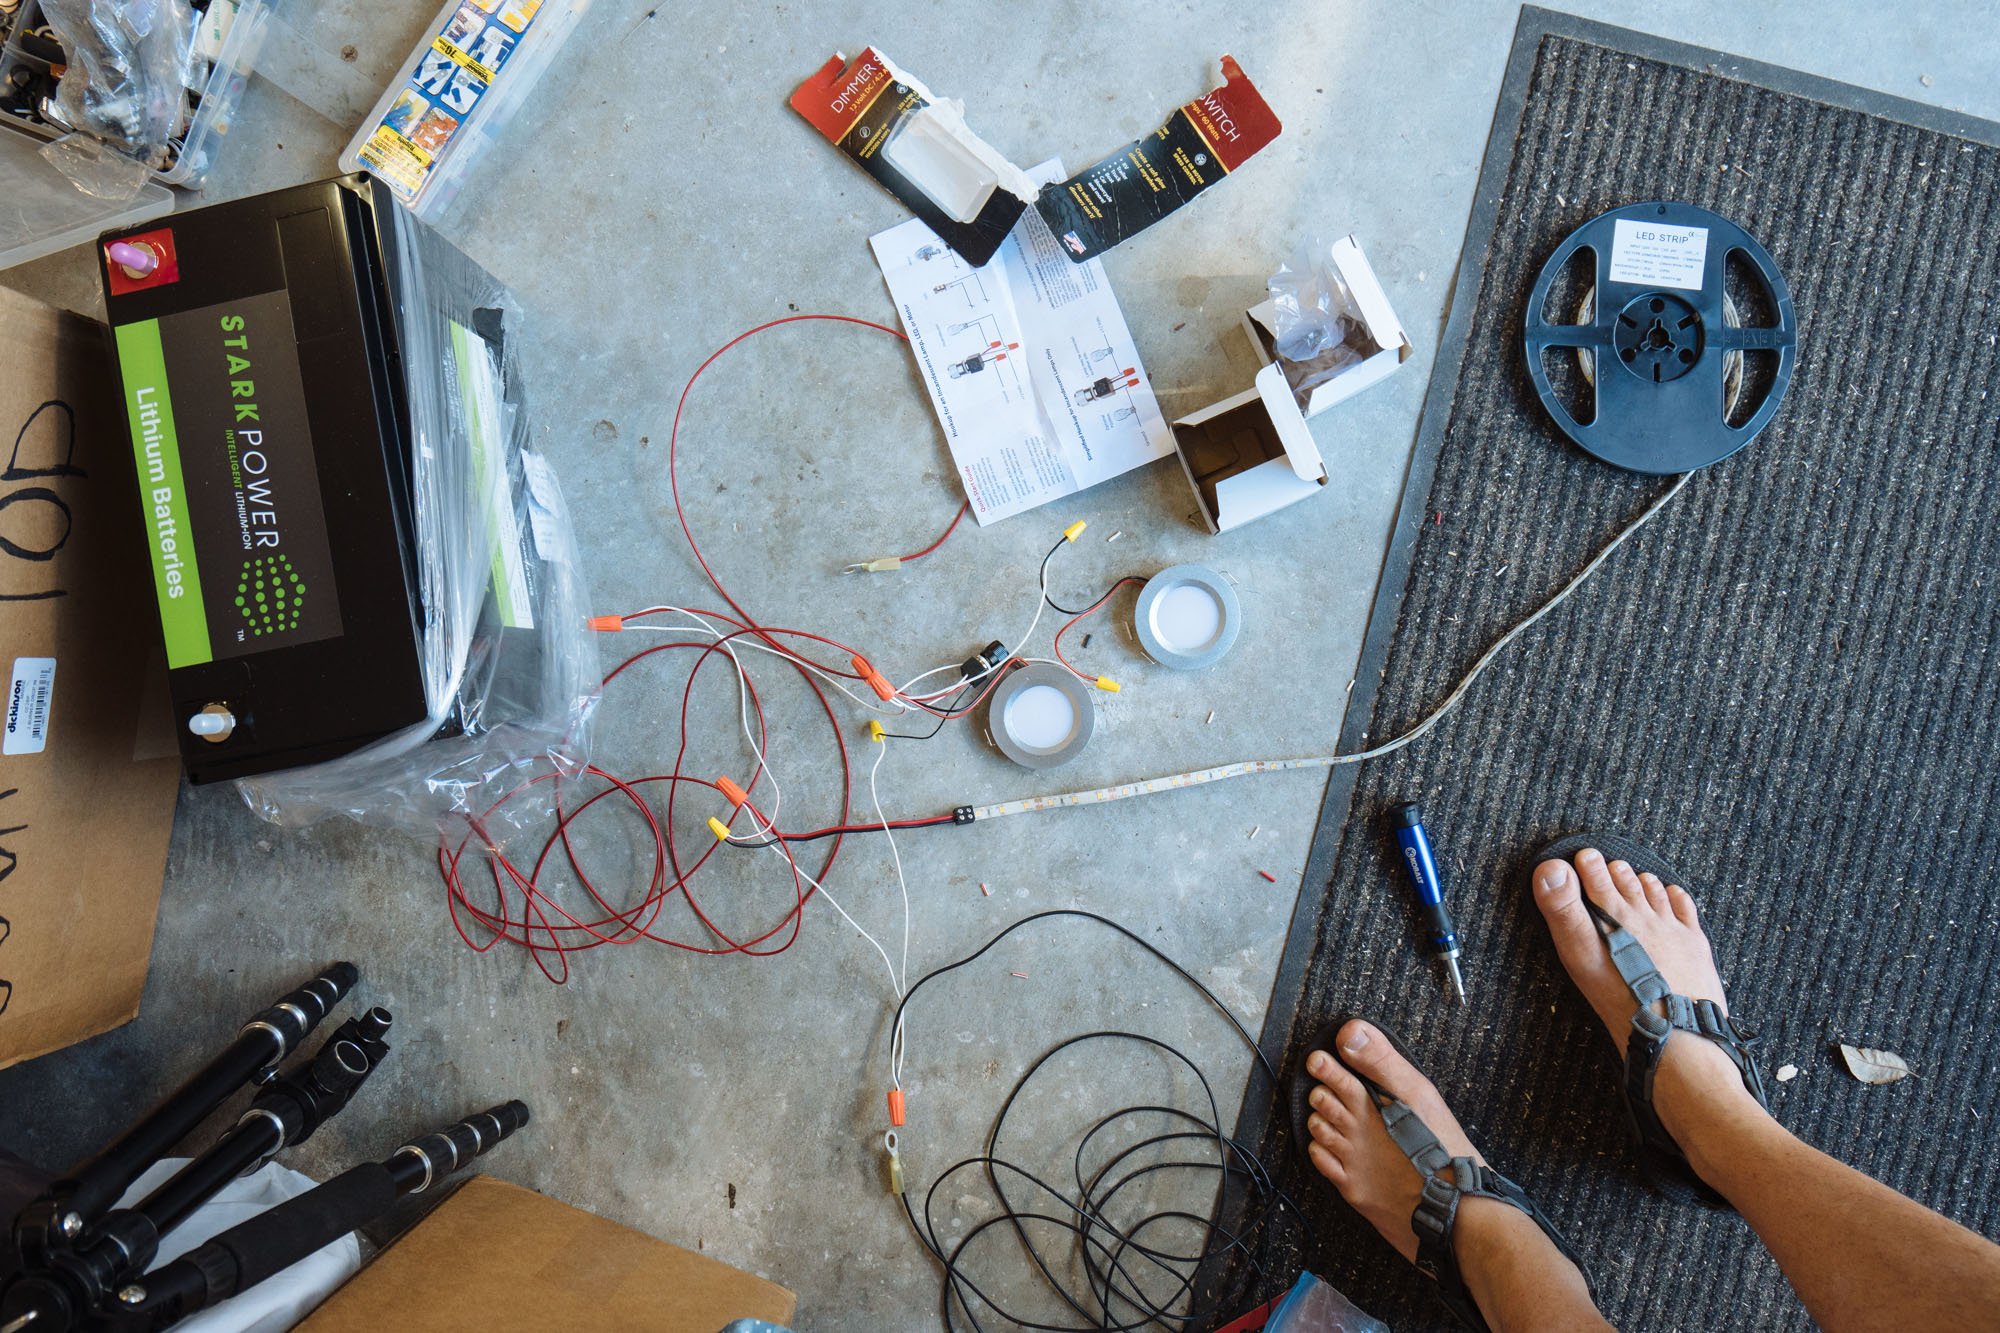
Tools of the trade
Preparation
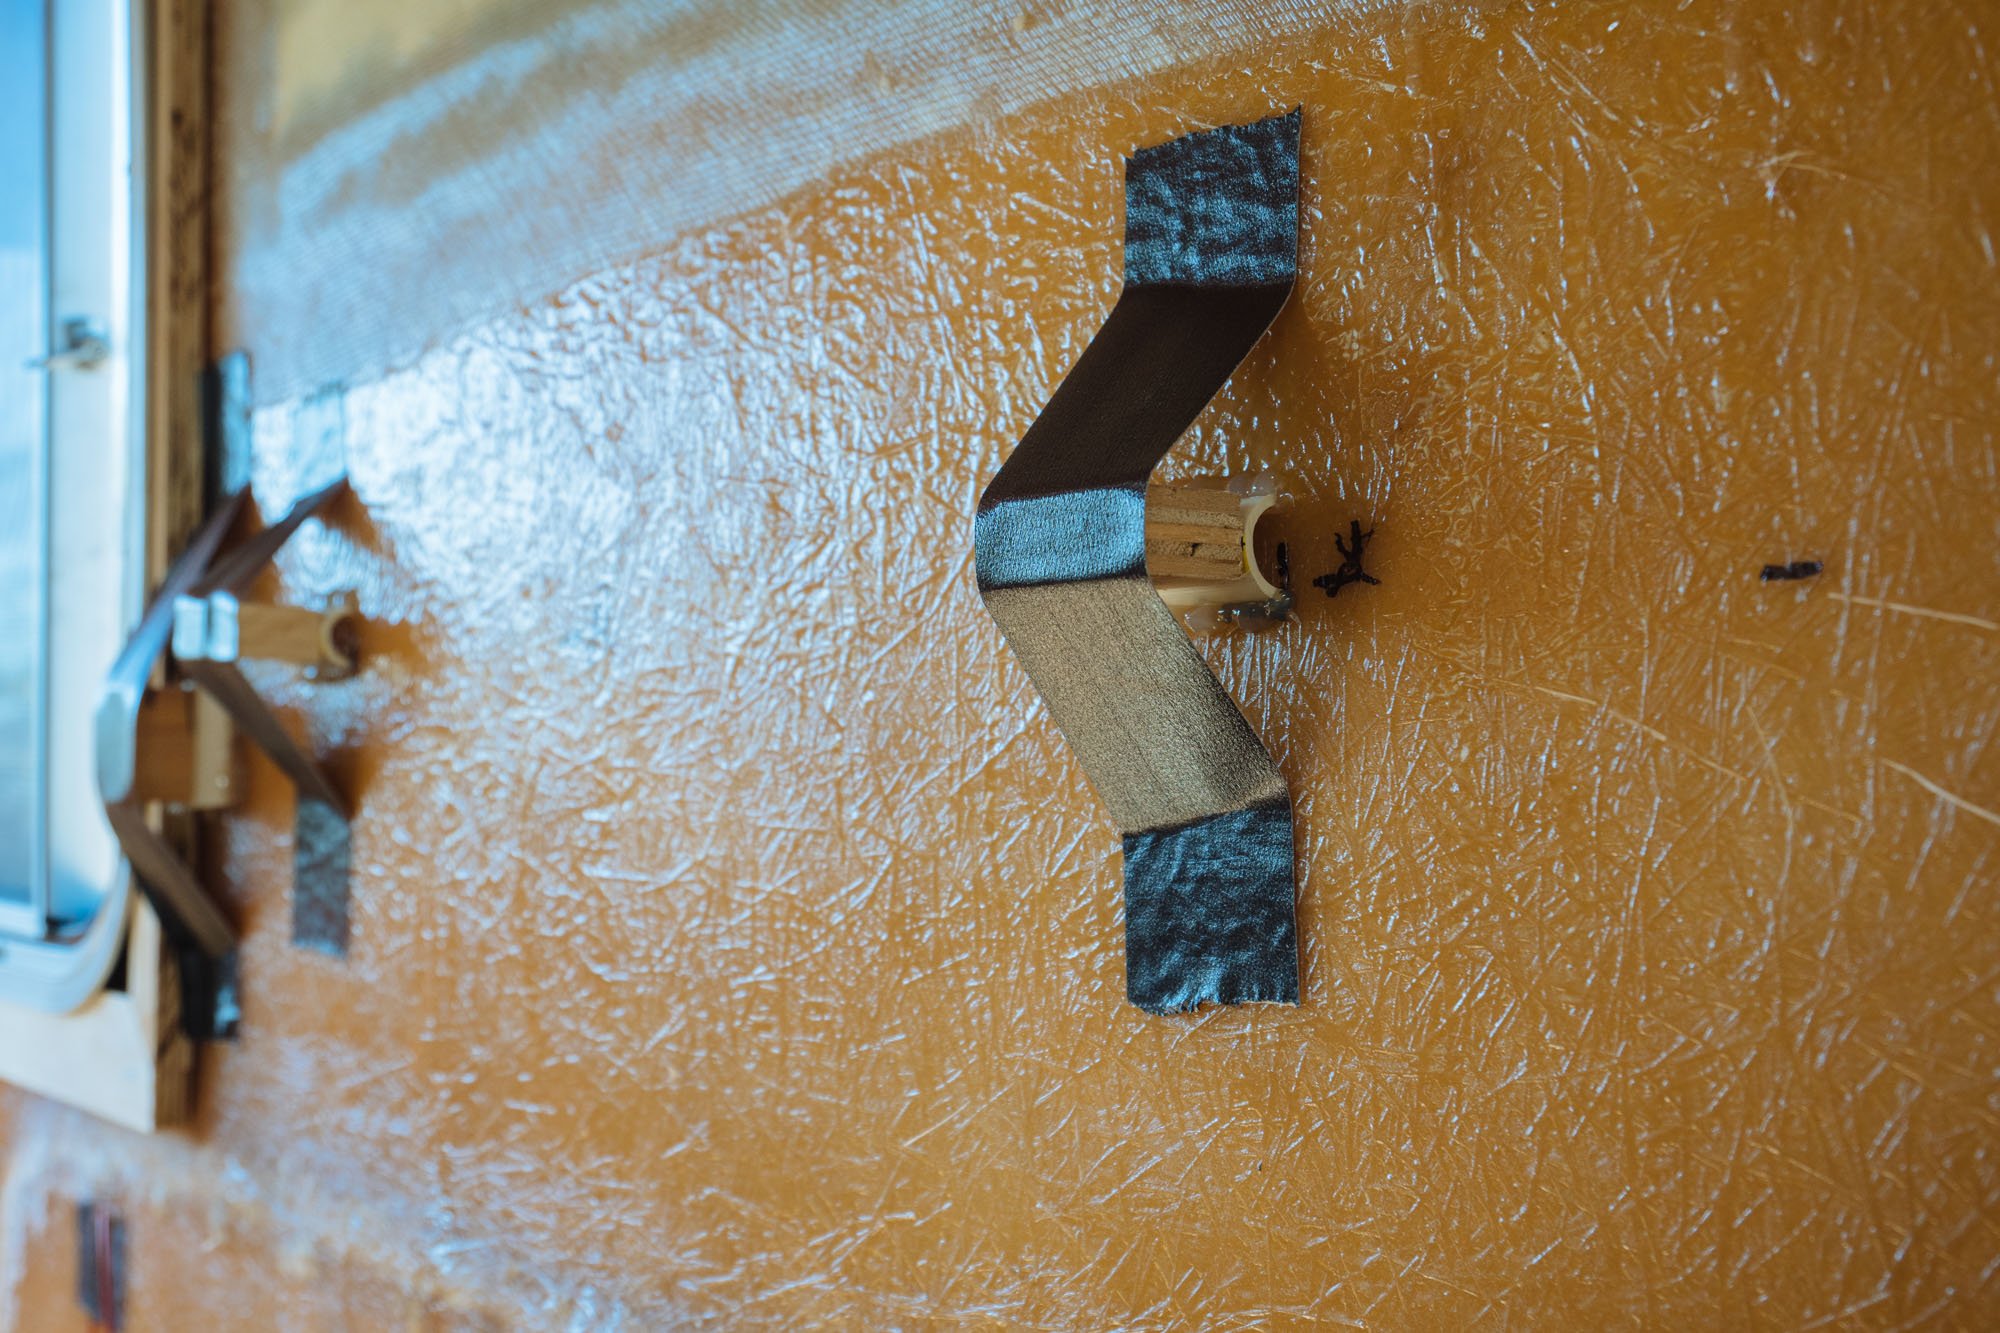
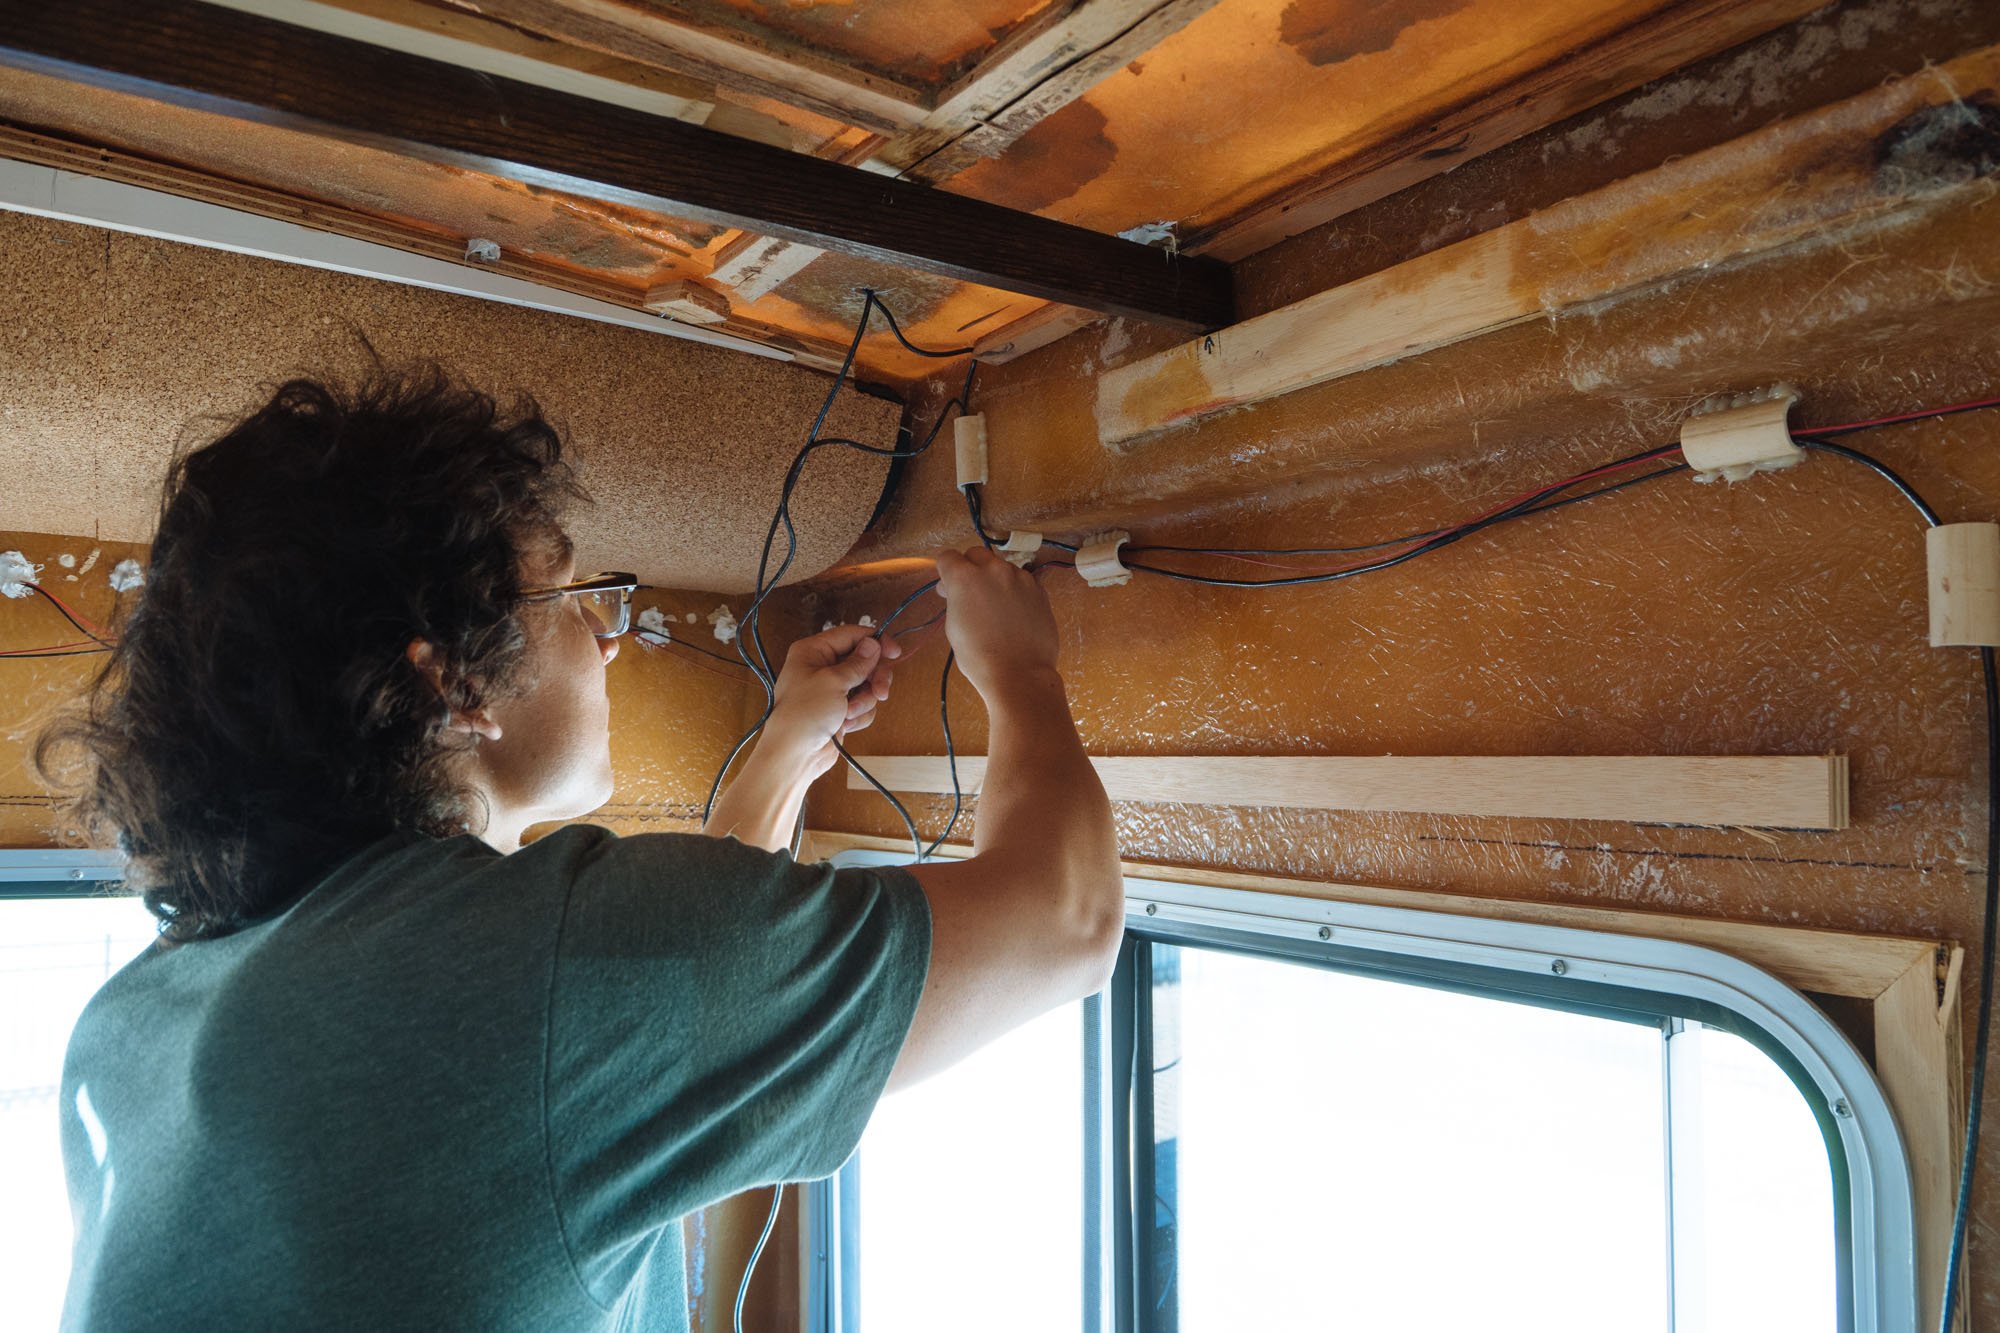
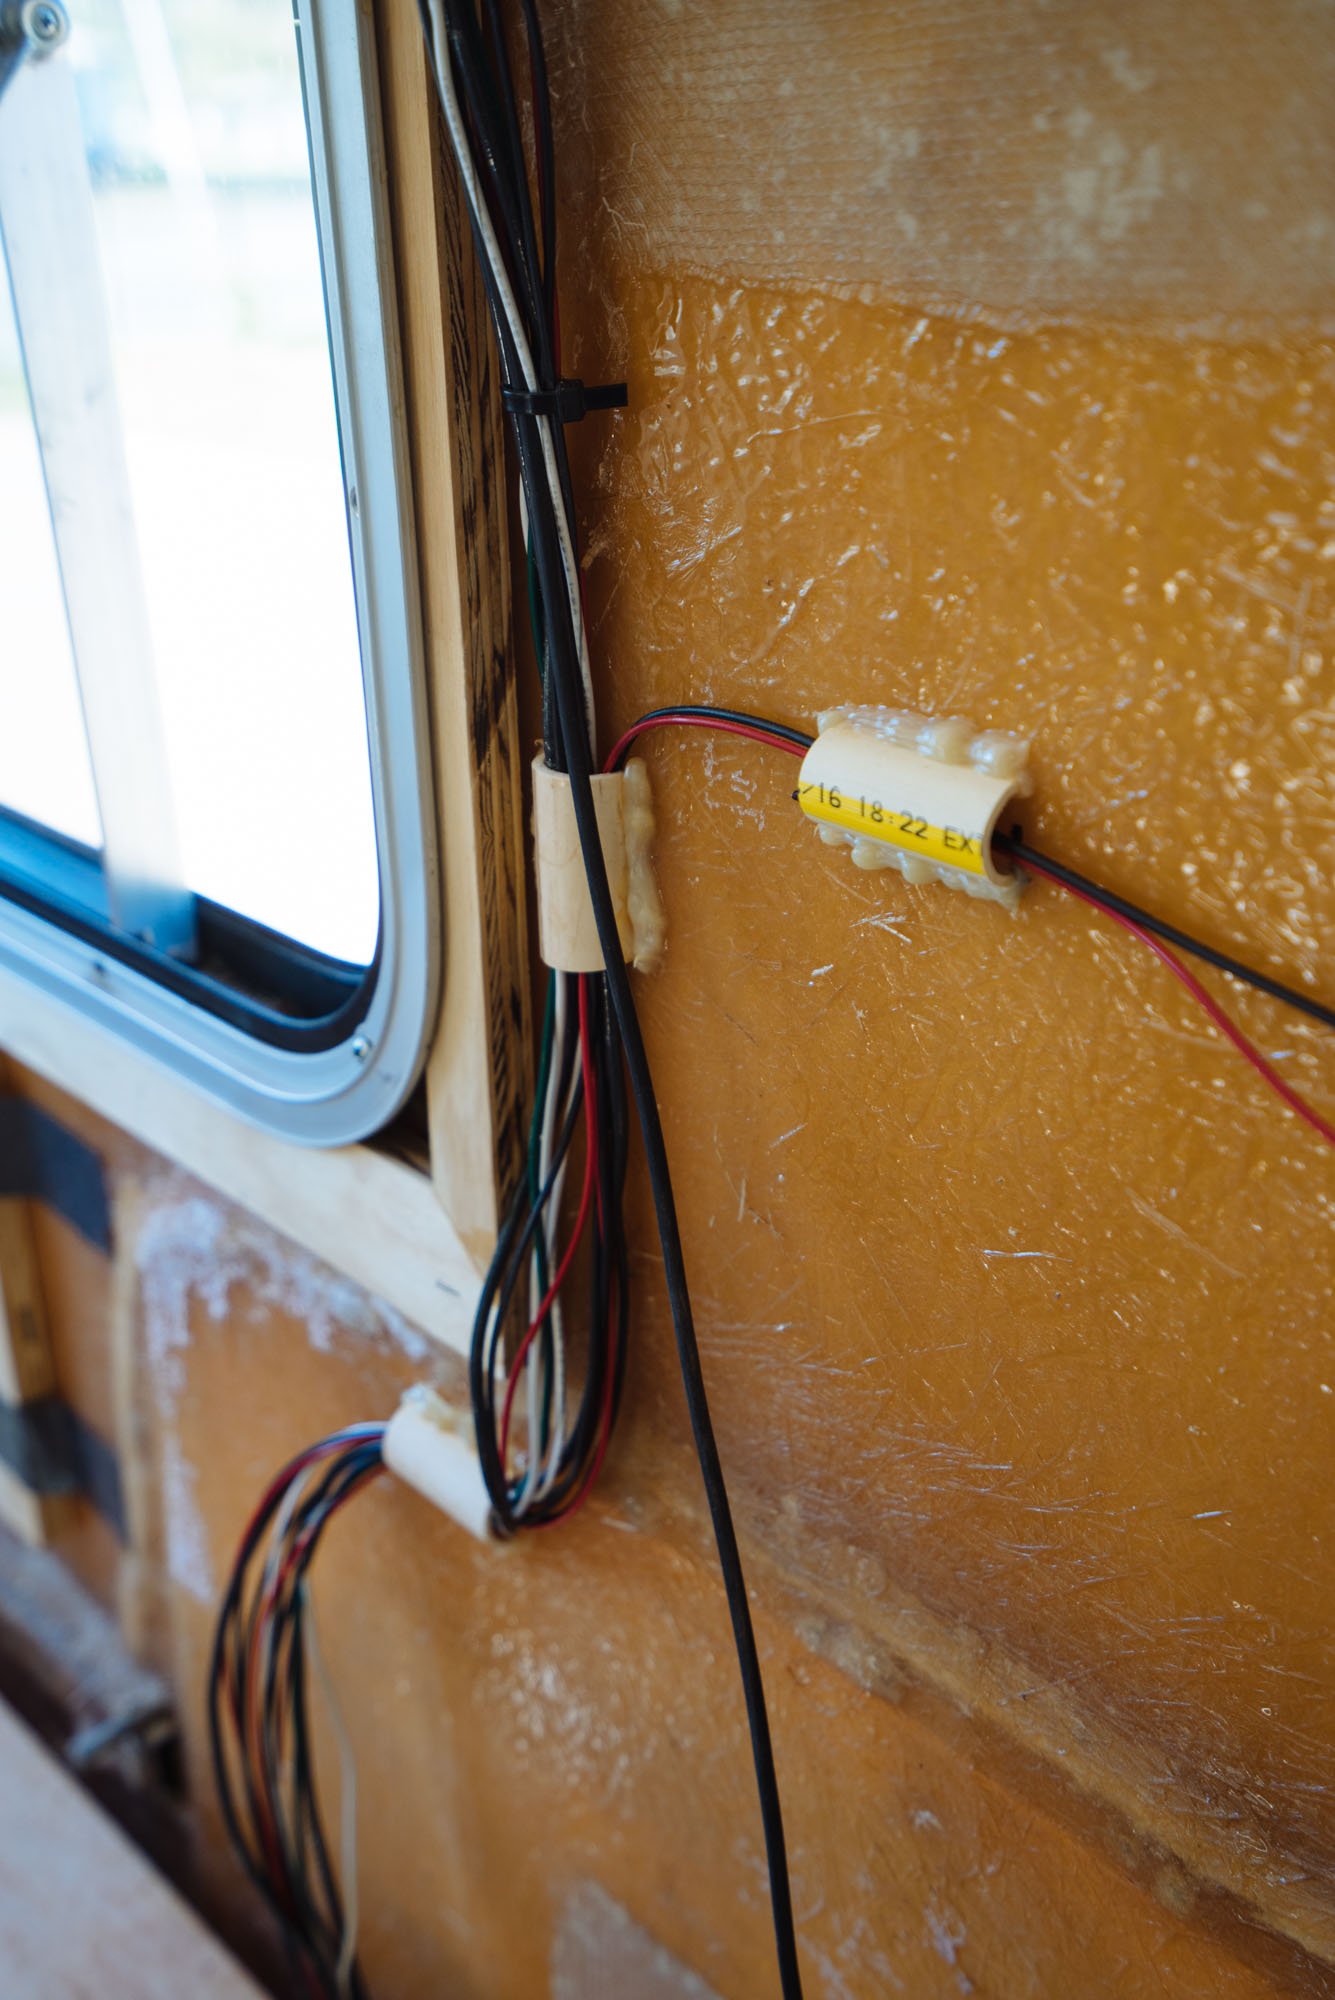
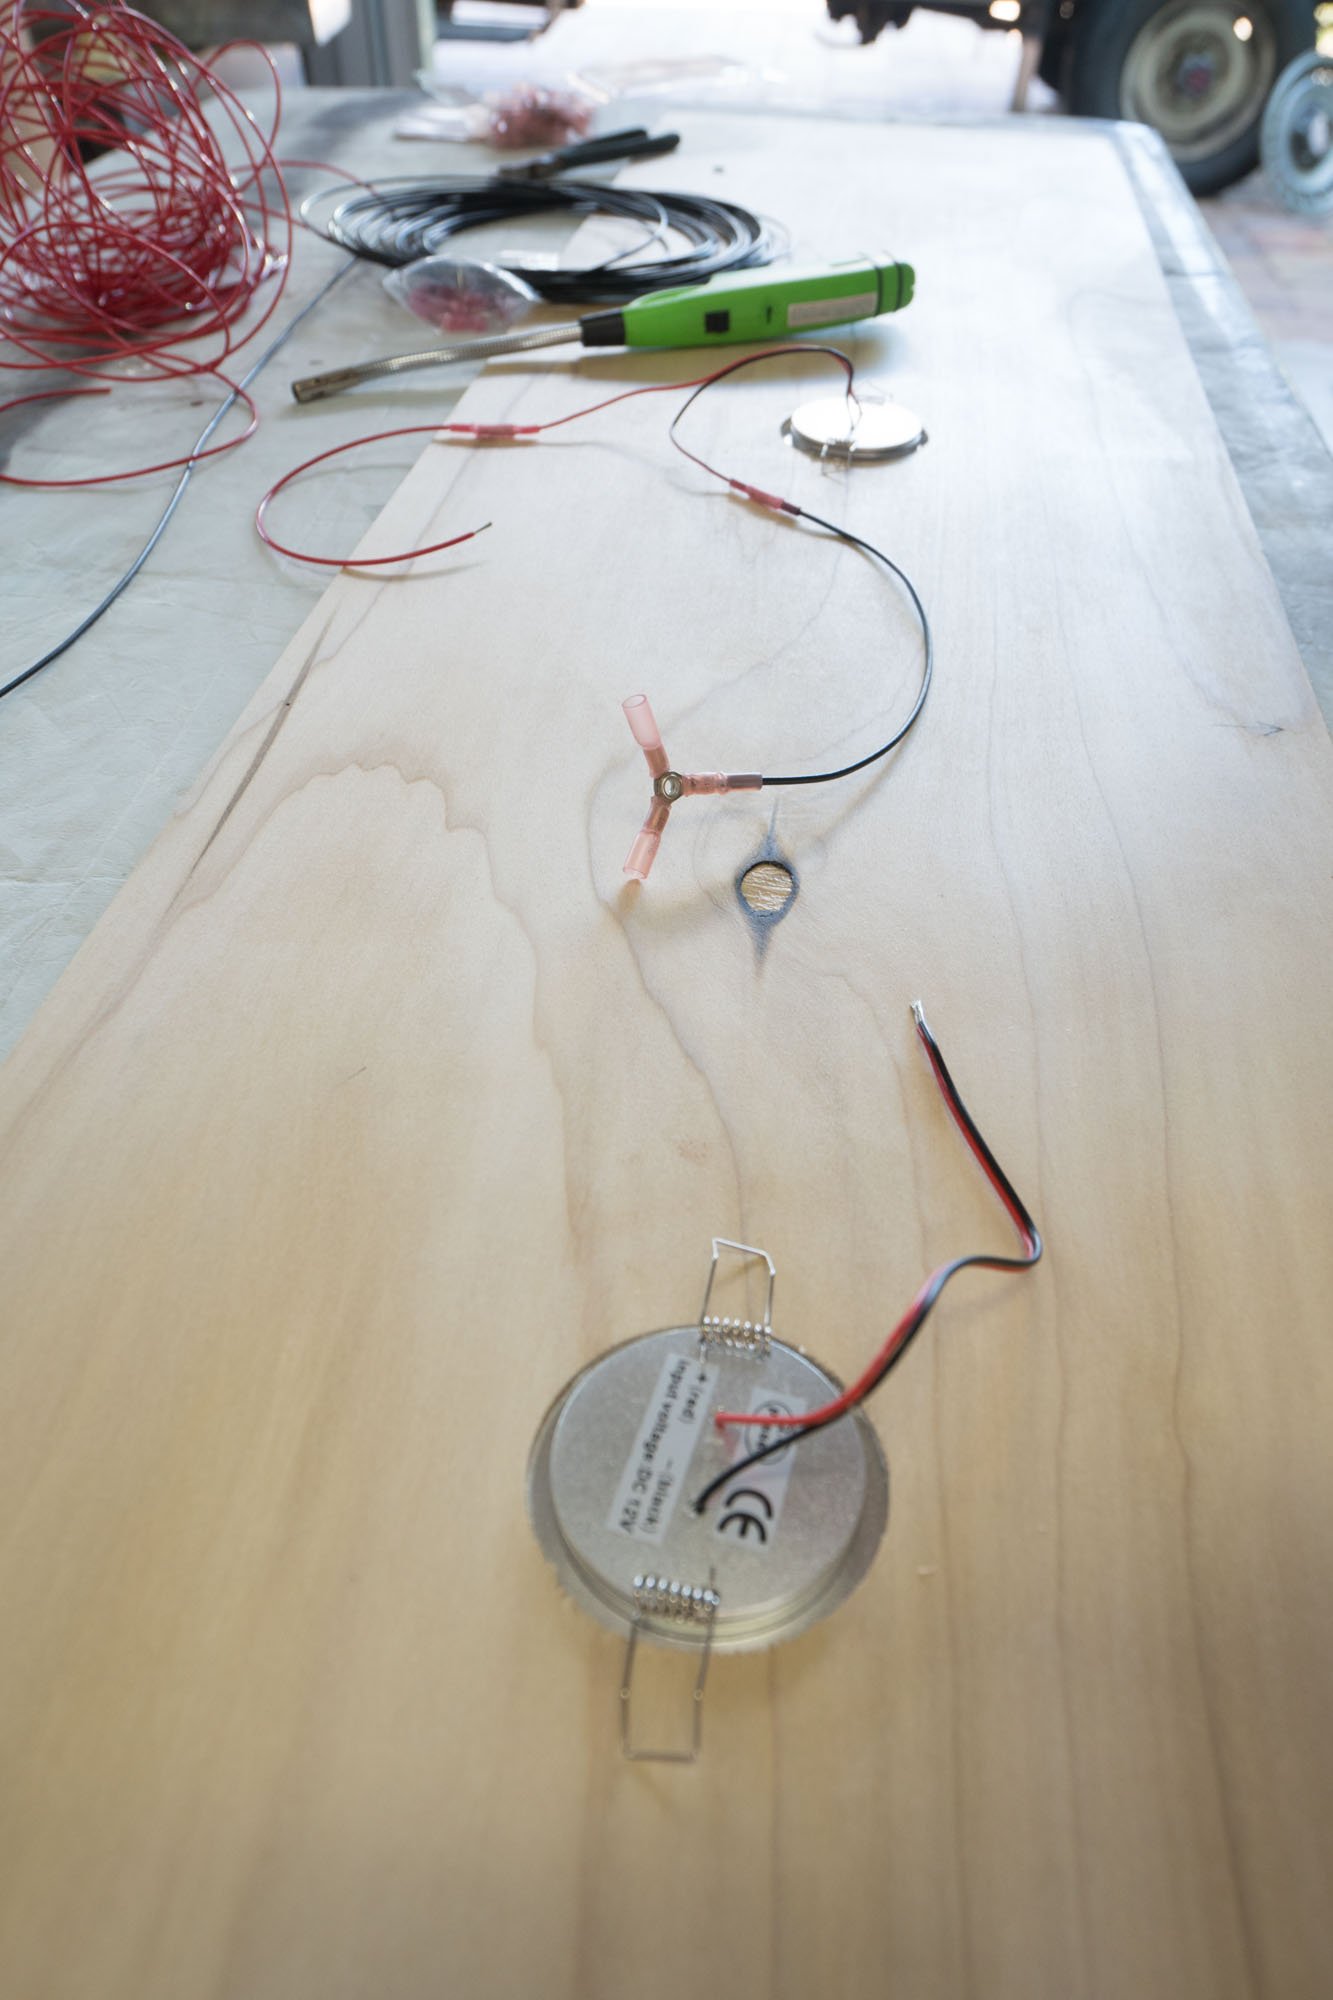
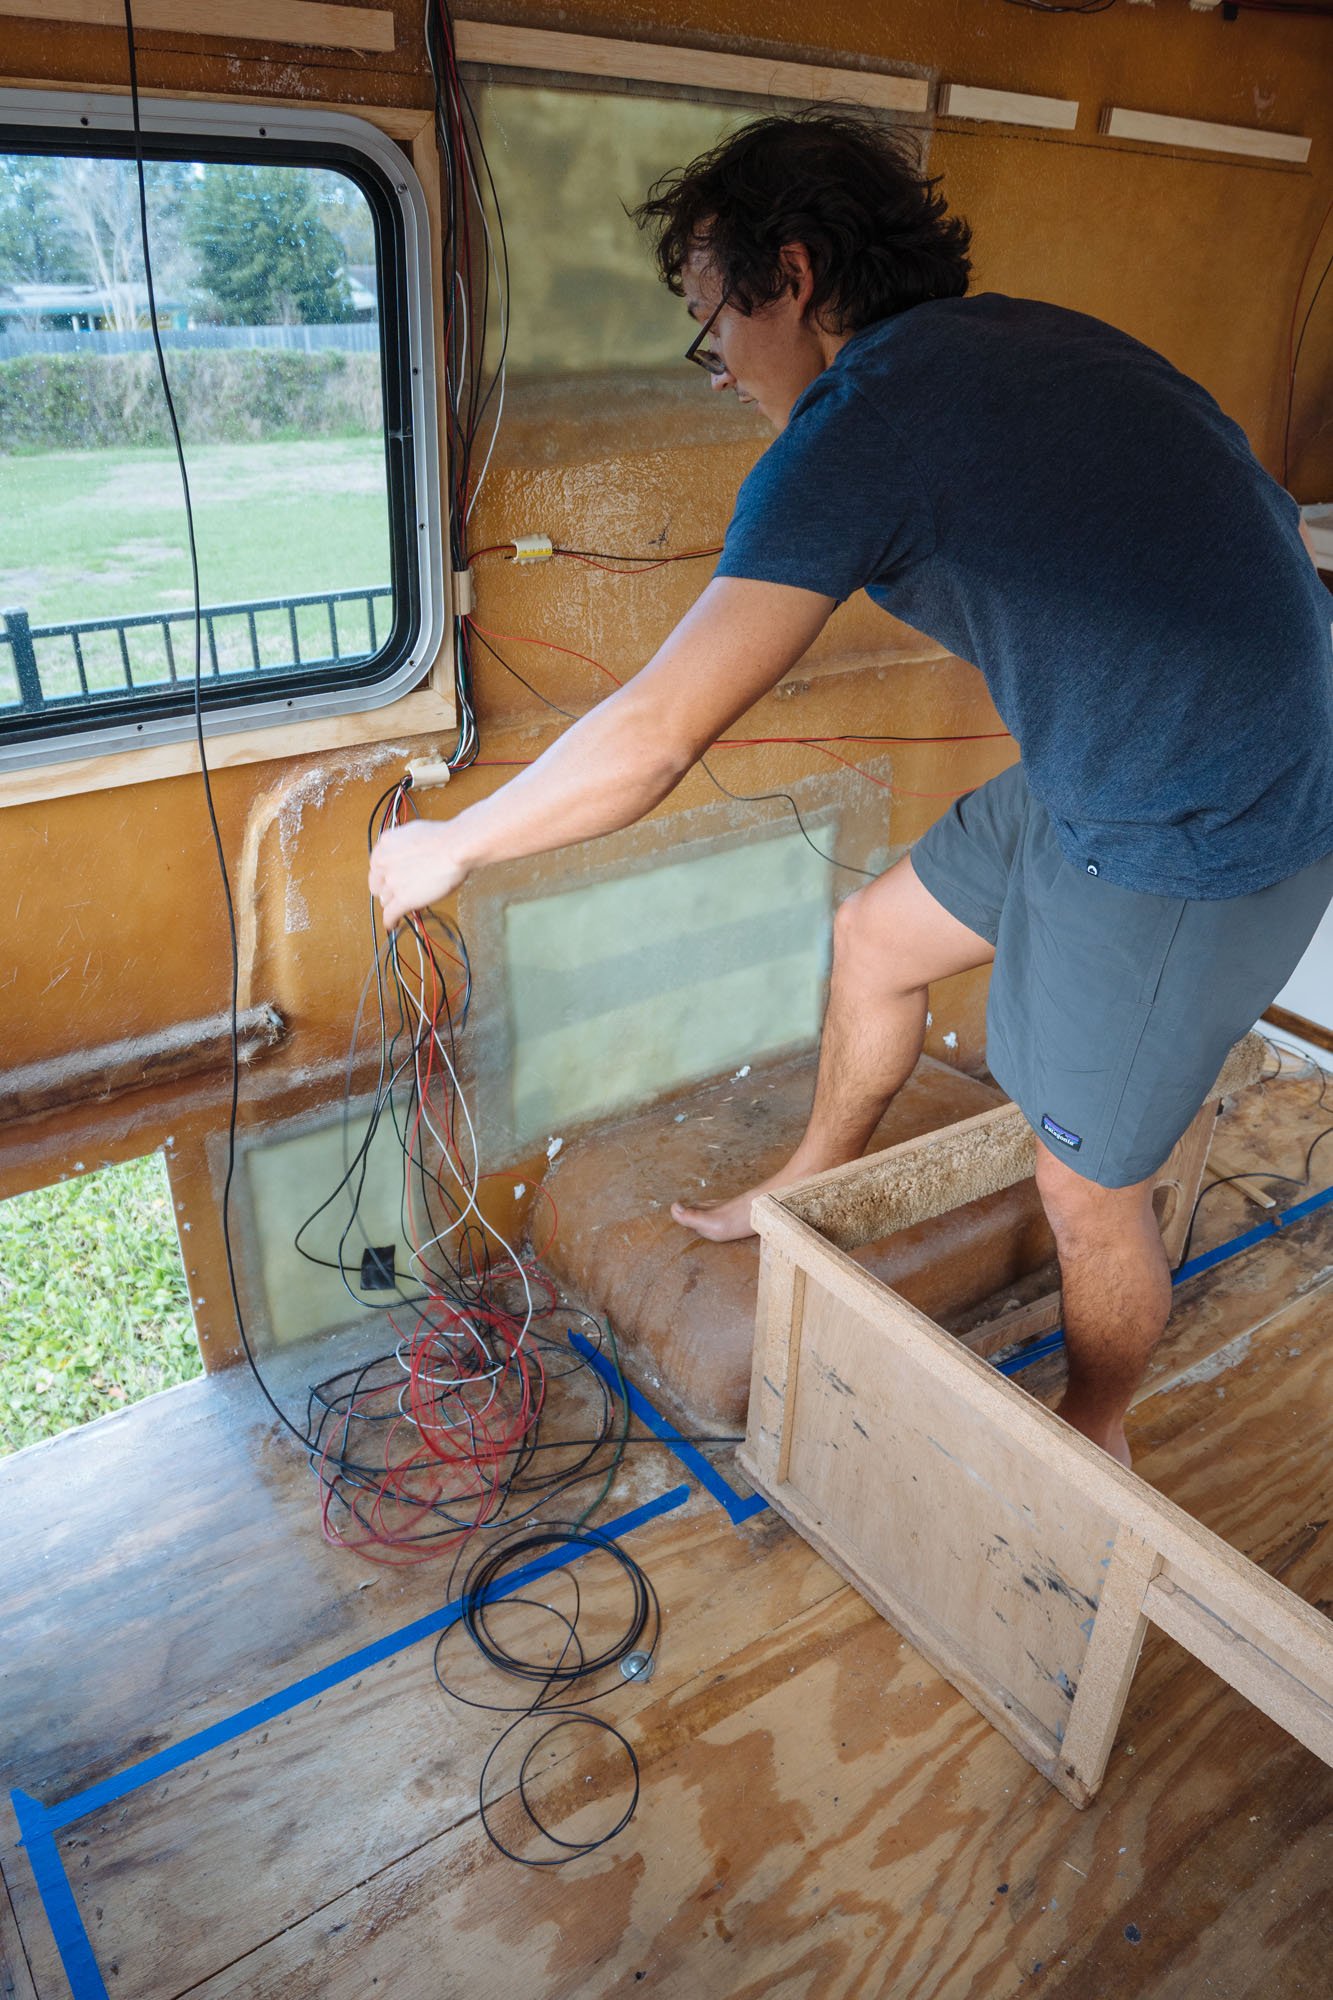
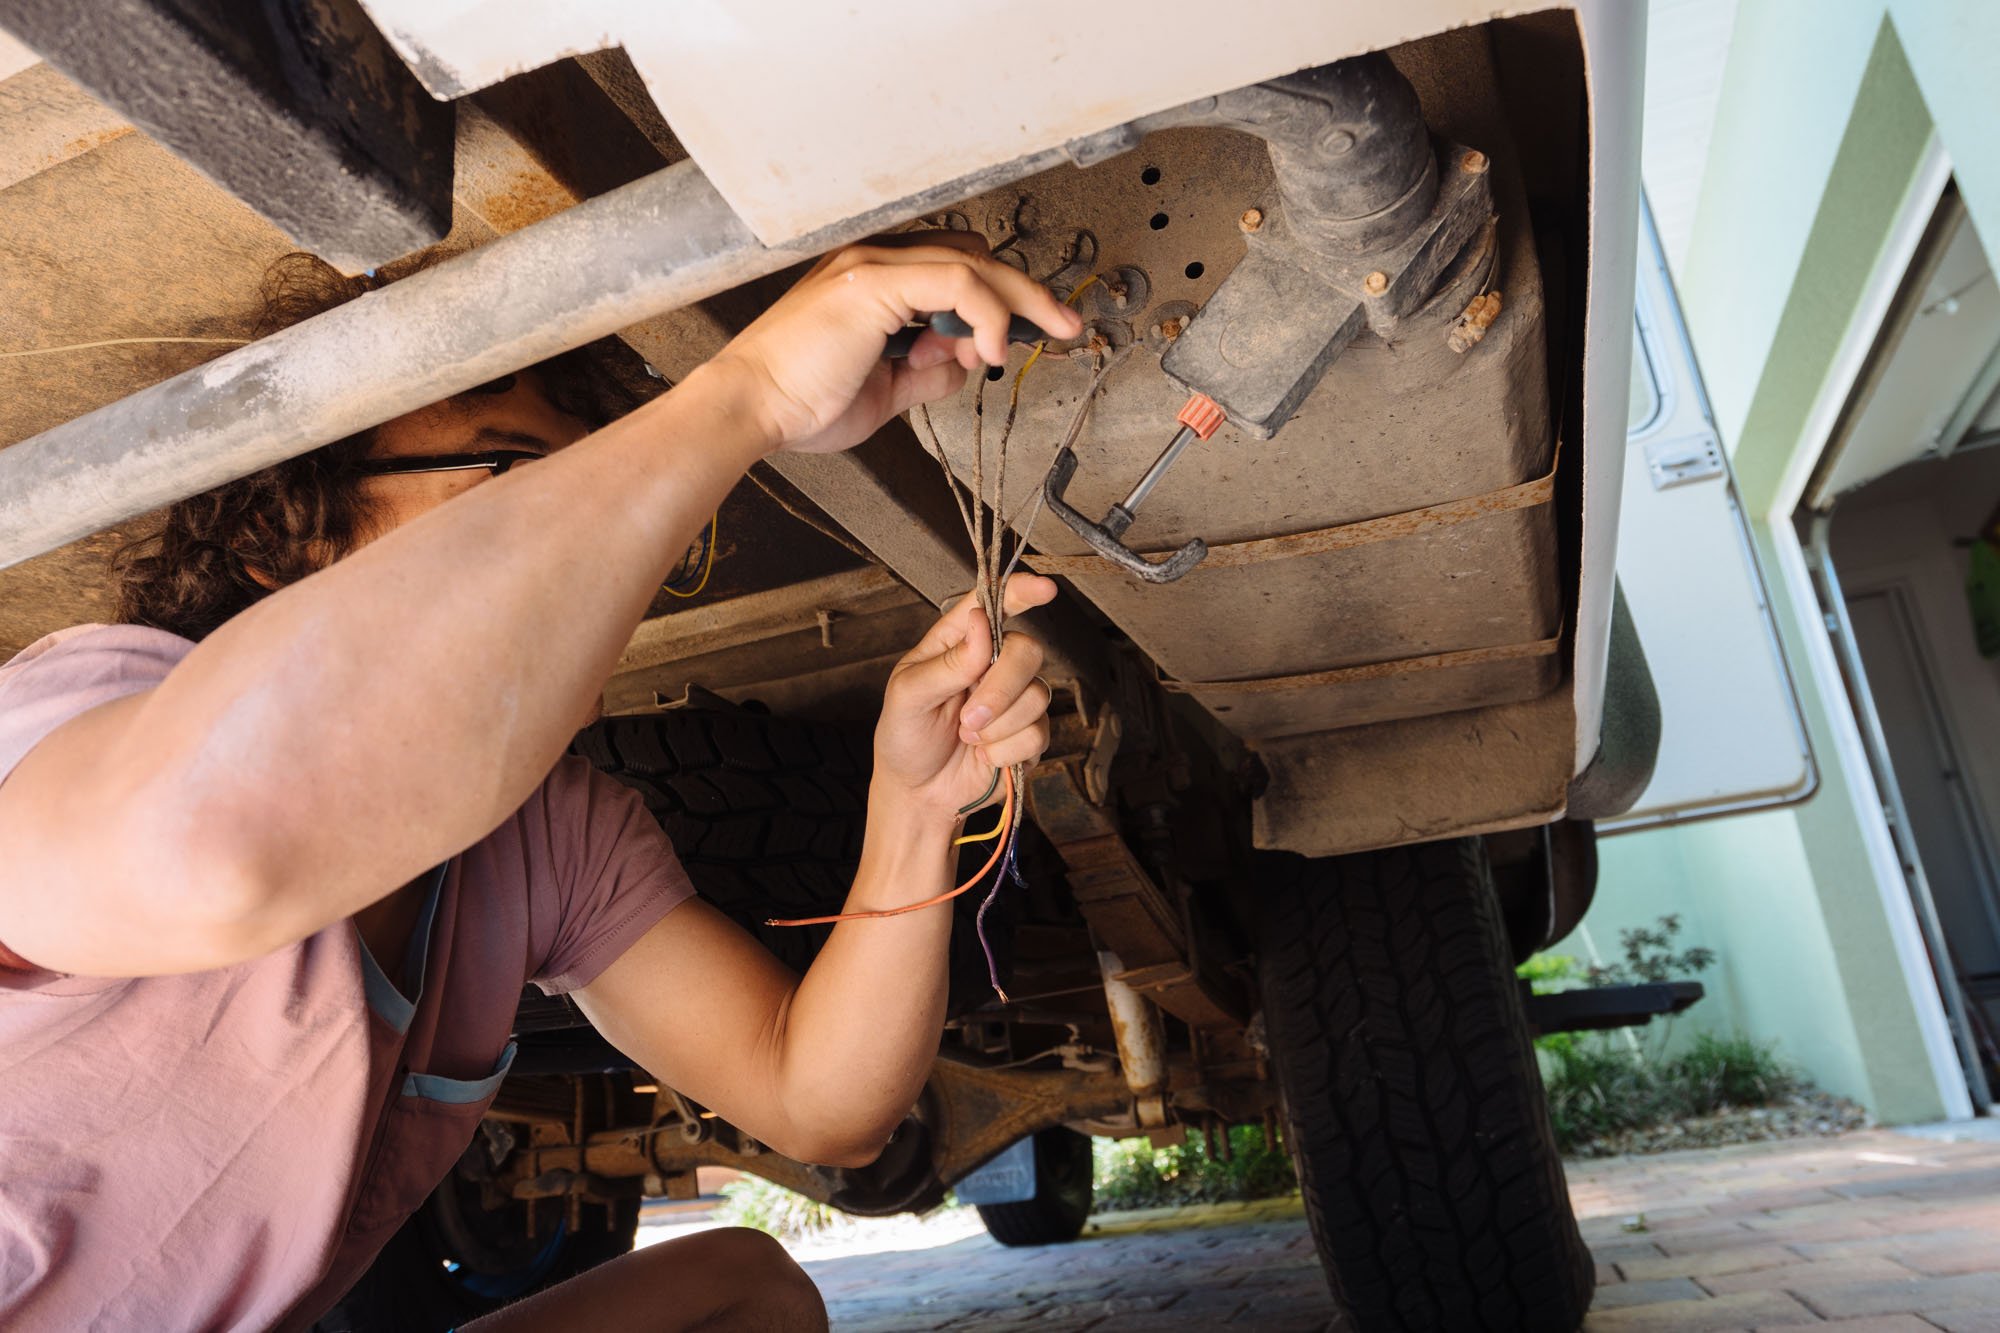
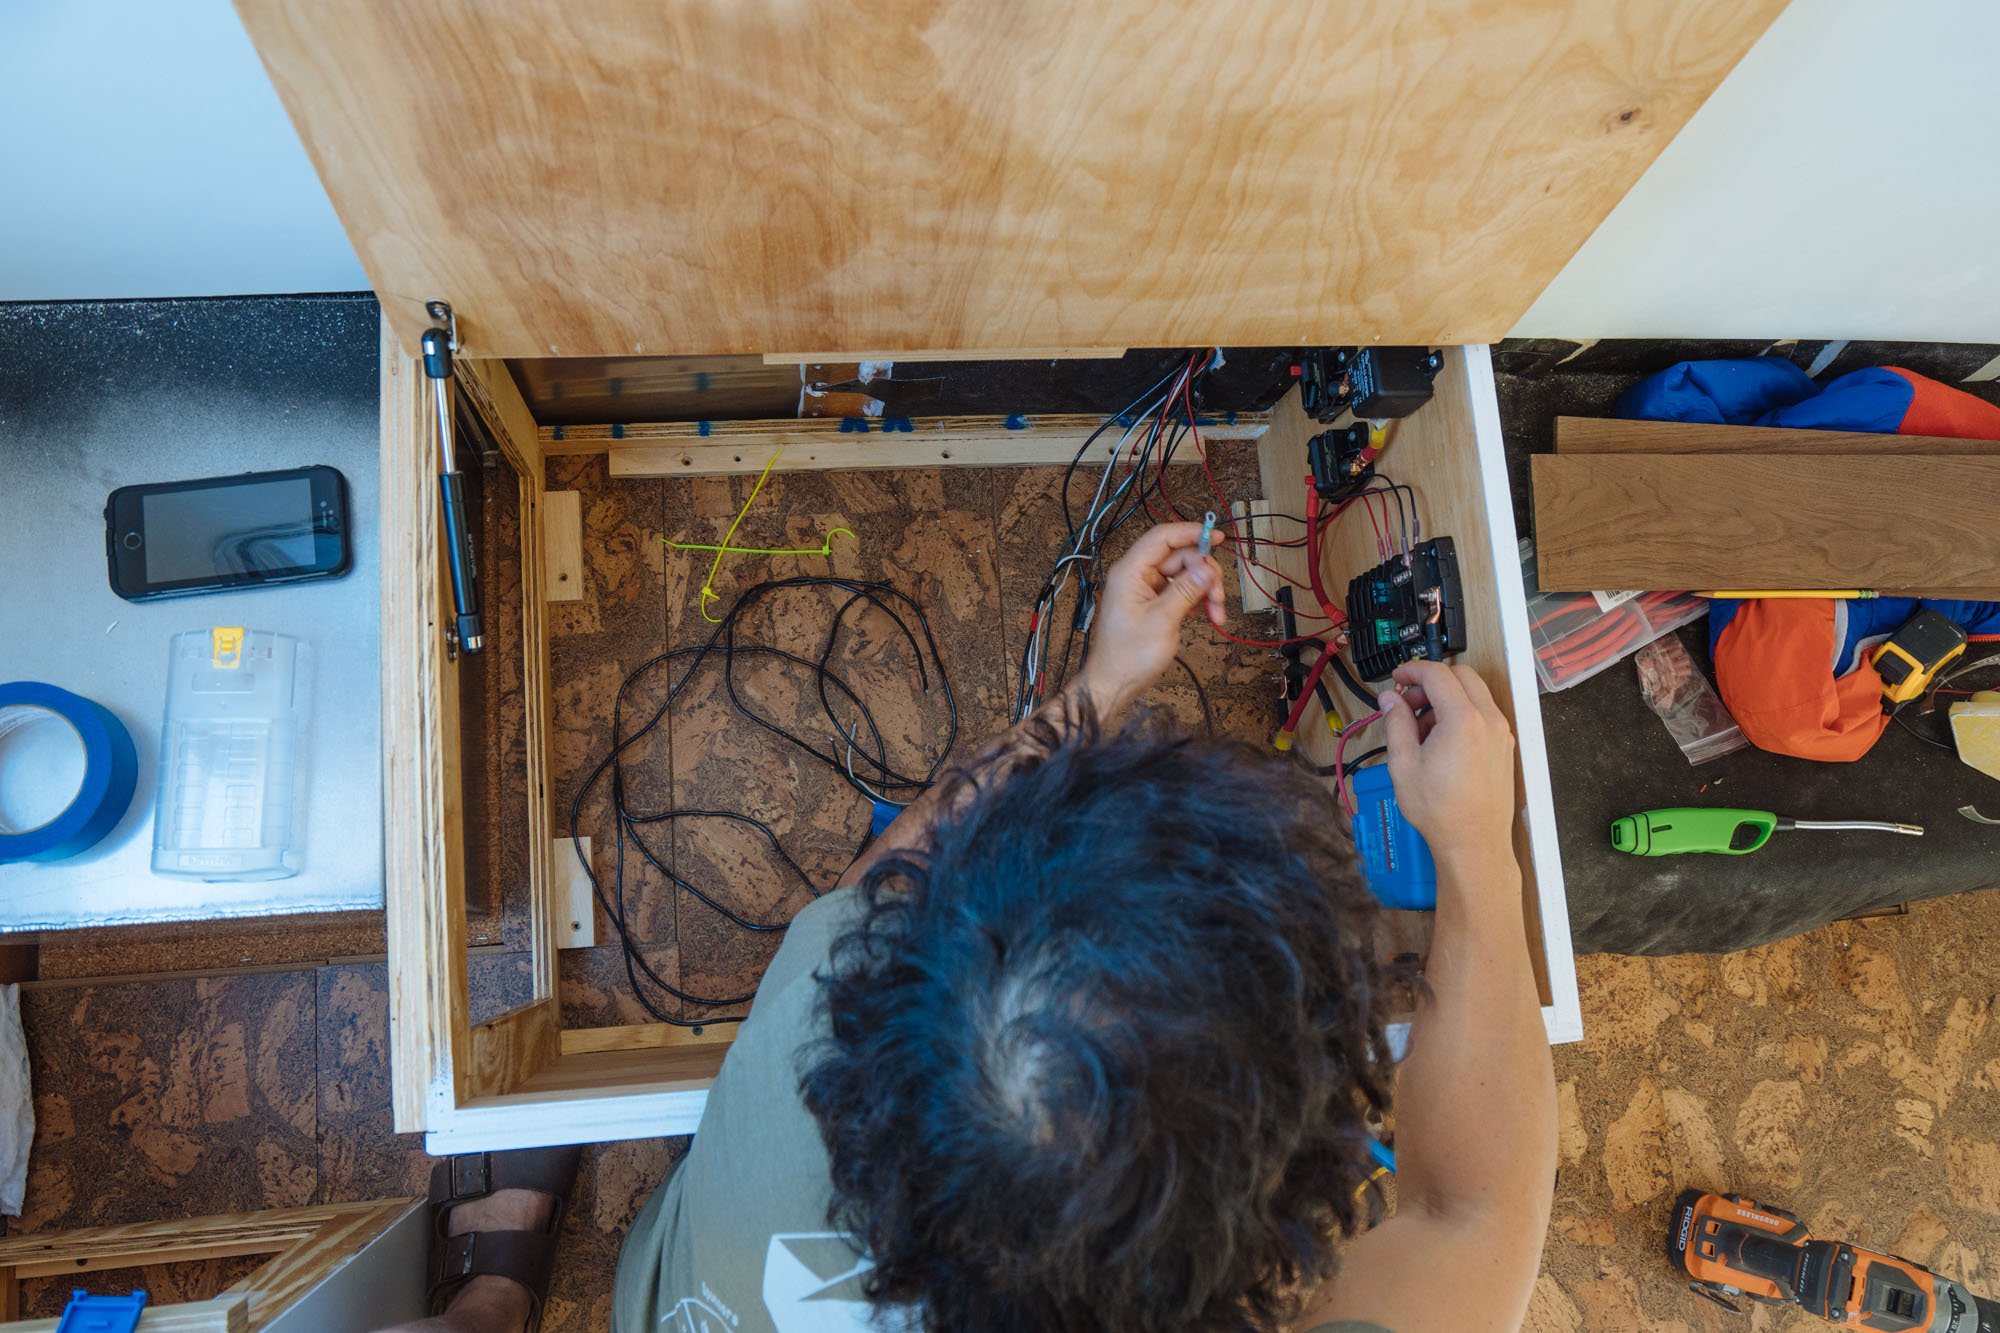
Before I ever got to hooking up the batteries, I had already spent hours running wires. We were putting walls in Amelia before the bench seats (the home of the batteries) so I needed to have most of the appliances' wire already run and terminate all in the same place. We made little wire "highways" so that everything stayed together and organized. I left plenty of extra wire so that I had some flexibility when the time came to actually hook everything up. A little bit of planning goes a long way.


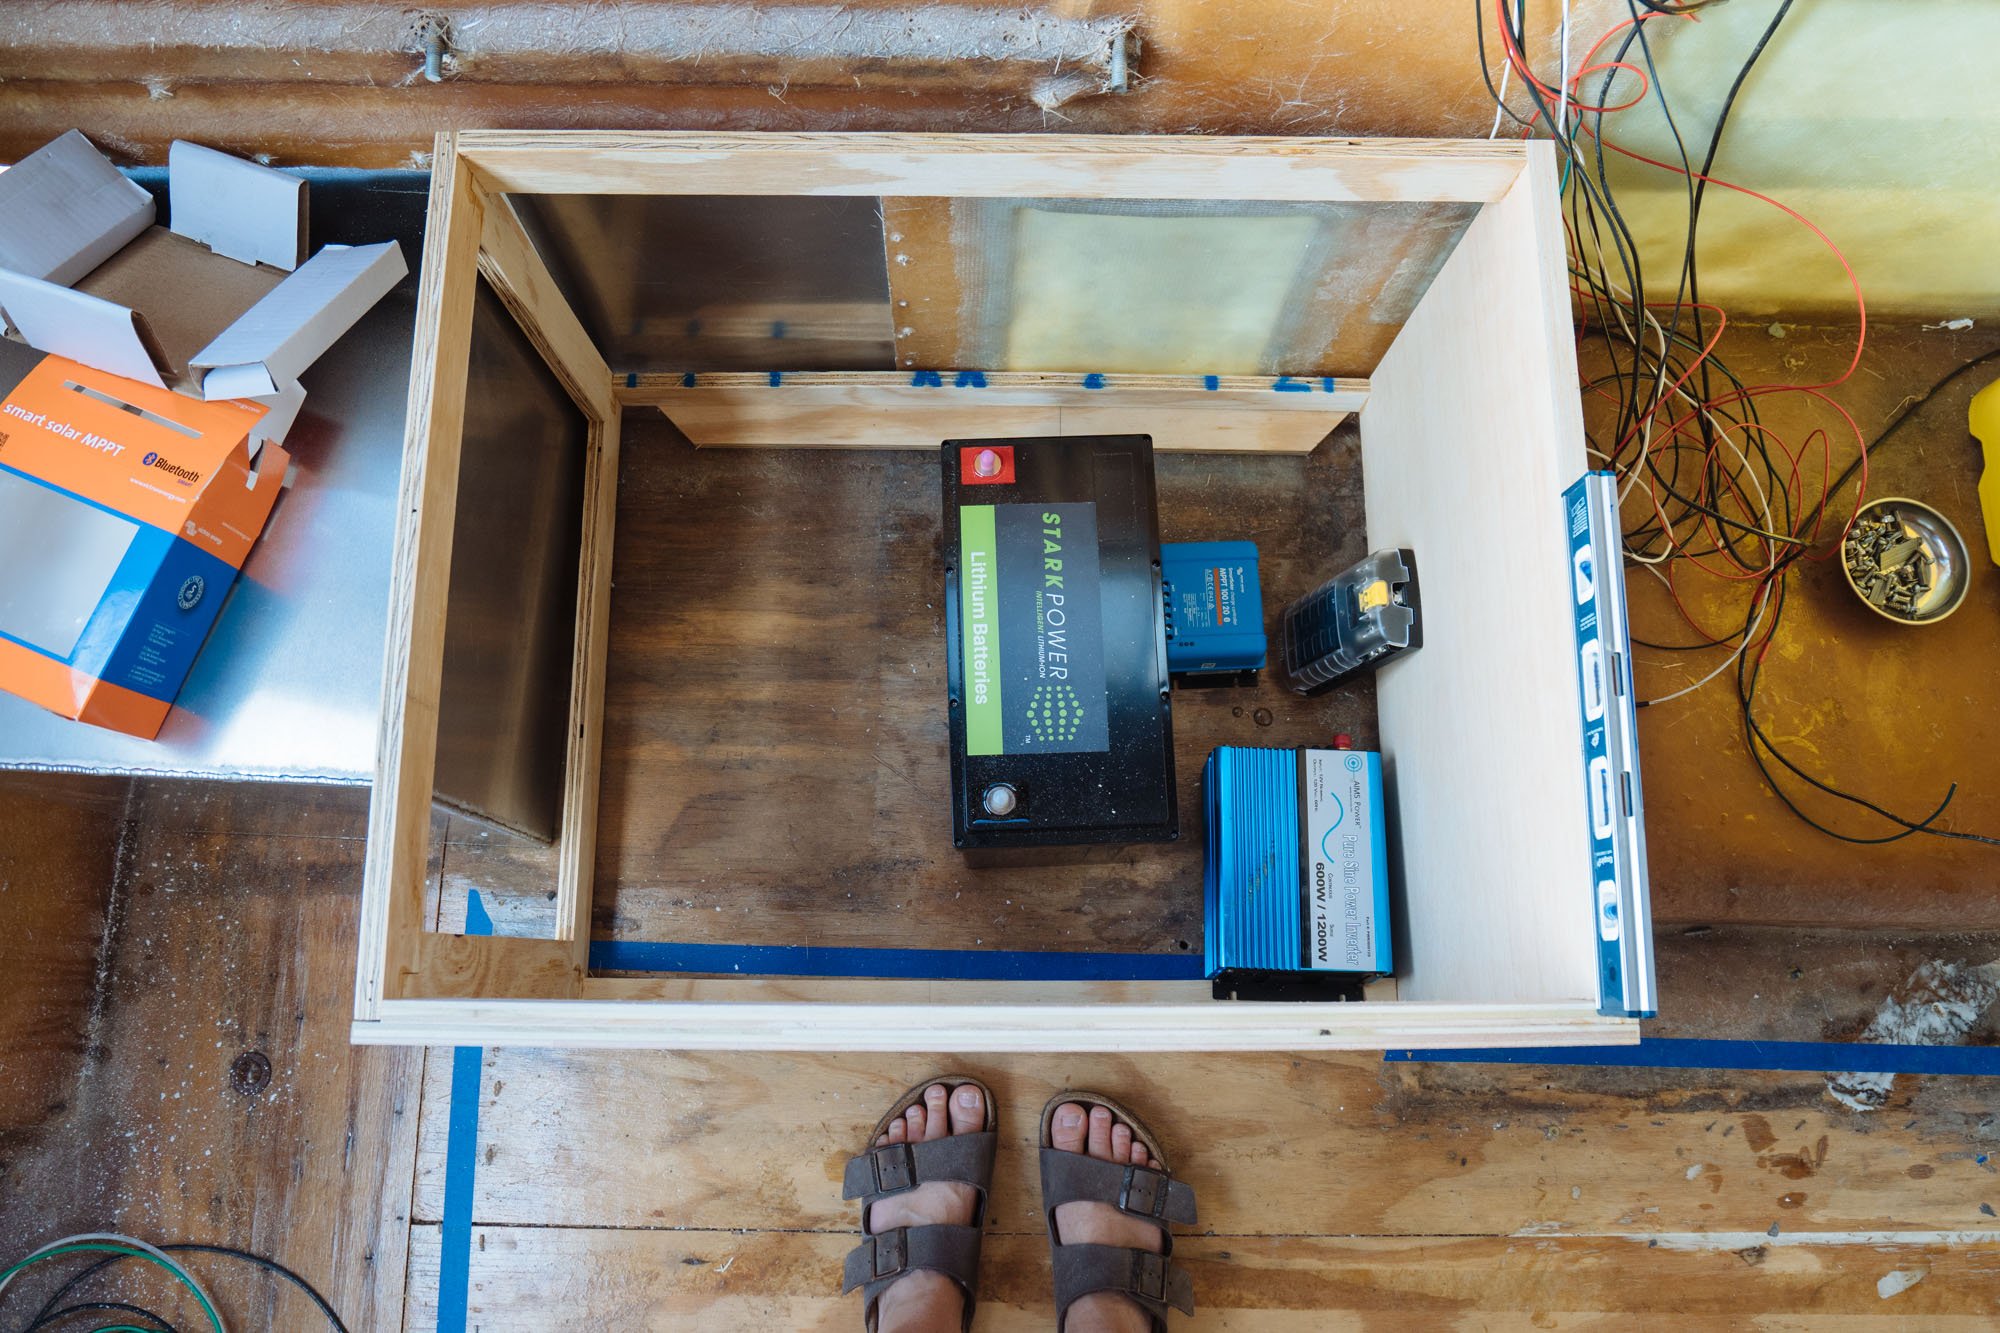
The Heart of the System (Batteries)
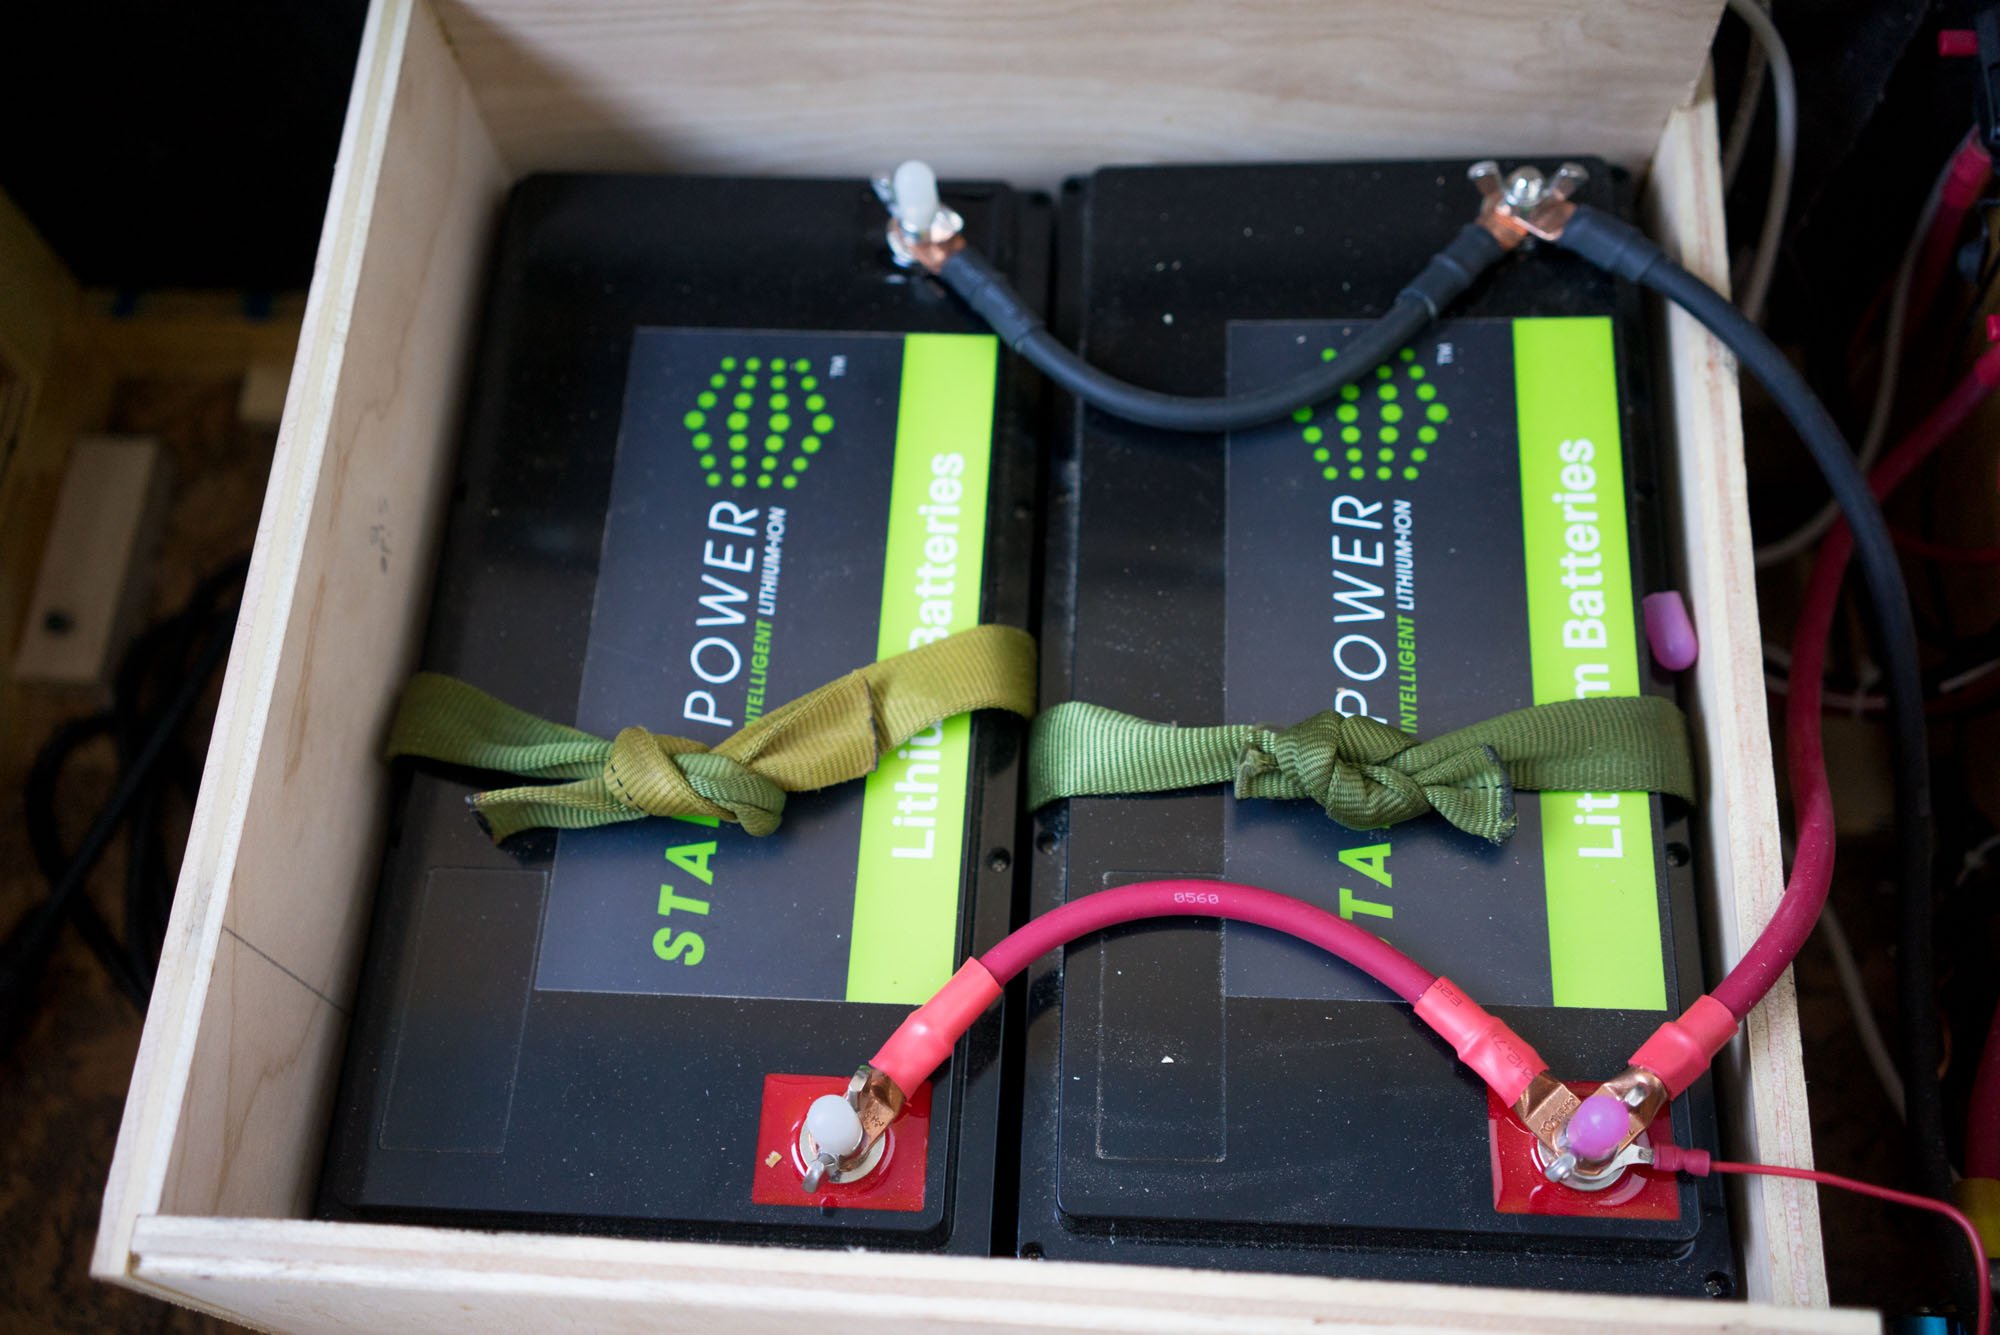


Our setup is centered around our batteries. Those batteries are two 12V 125Ah lithium ion batteries from Stark Power. The whole electrical setup is 12V so we're running these two in parallel for a sum of 250Ah. An important thing to note is that they're lithium. This is kind of a big deal... The reason this is a big deal is that lithium batteries are far more efficient than lead acid or AGM. They charge faster, they have a longer life span, and you can deplete them more without damaging them. With AGM and lead acid batteries, depleting them to lower than 50% capacity is bad for health of the battery. Lithium can be safely depleted to 20%. So in our case, 250Ah of lithium gets us effectively 200Ah before we might start harming our batteries. 250Ah of AGM or lead acid would only get us 125Ah. That's a BIG deal! Oh, and lithium batteries are half the weight of their AGM/lead acid counterparts!
Charging the Batteries
To keep the batteries healthy we need to make sure they get charged. In our setup we can do that two different ways.
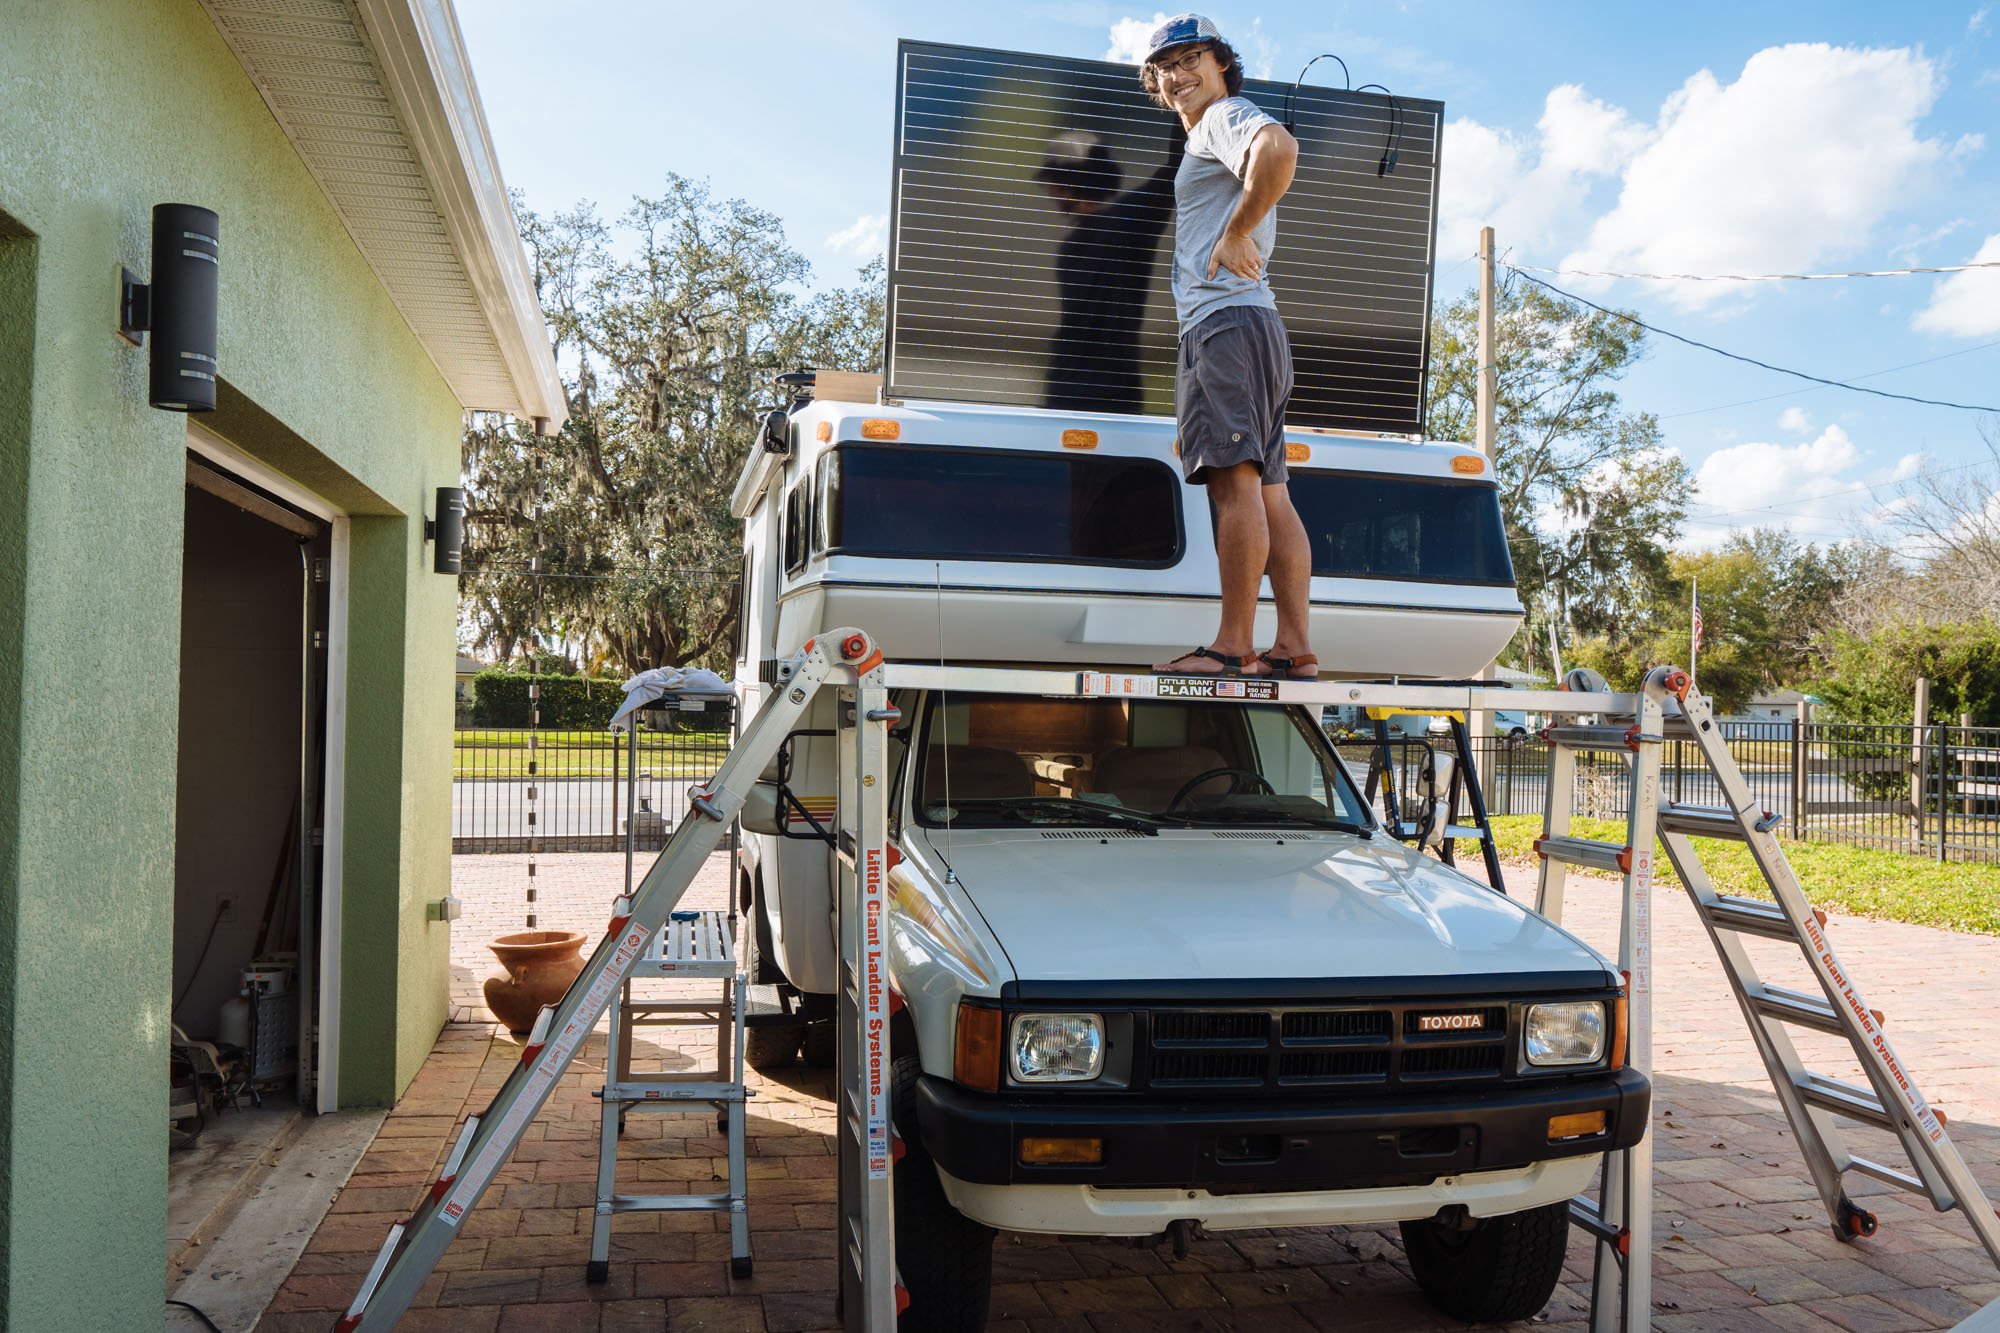
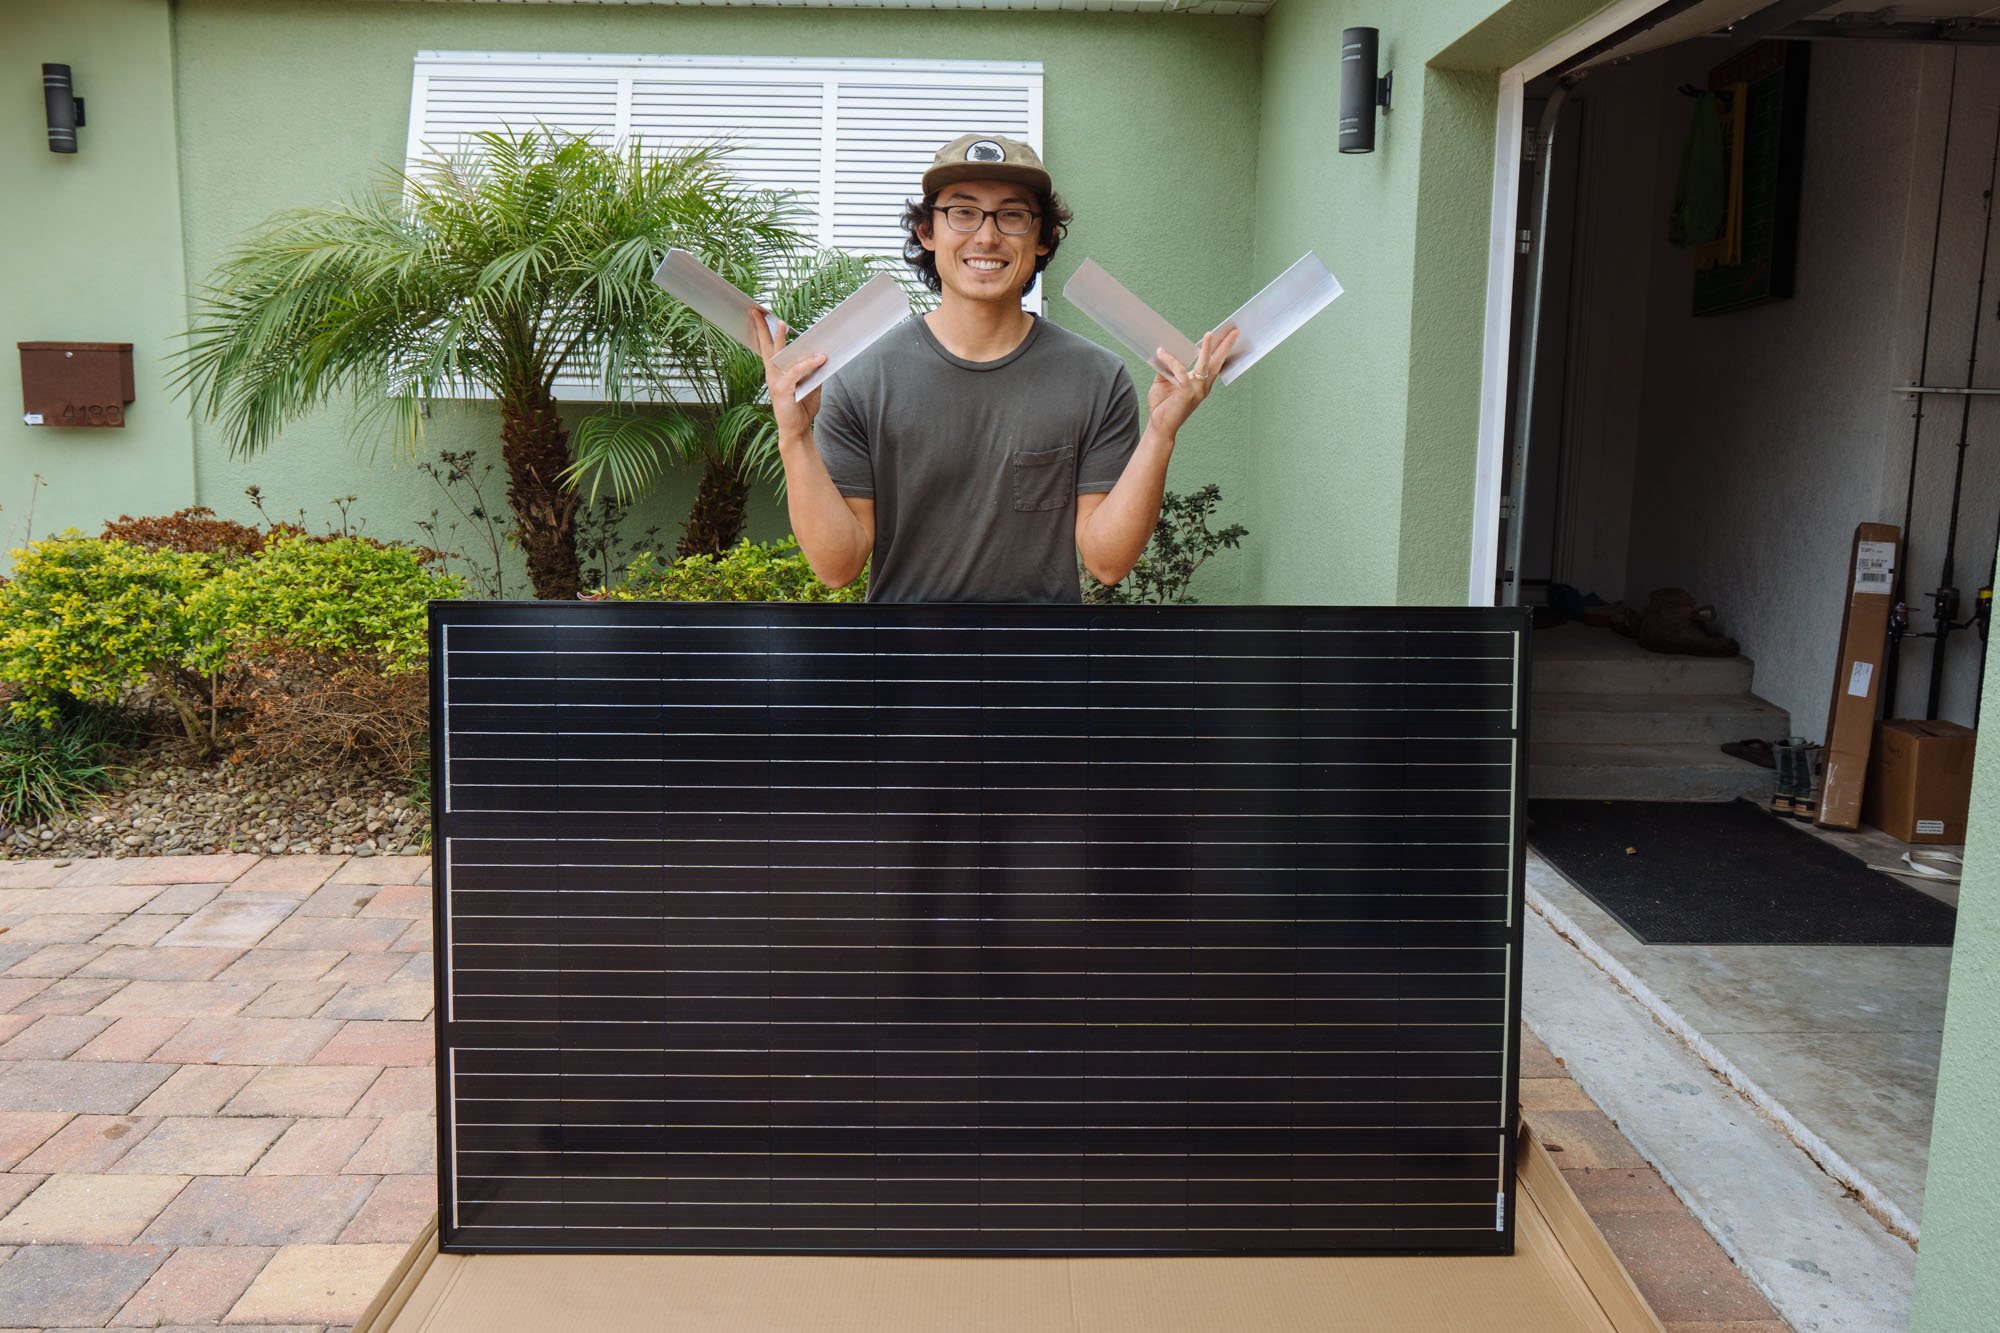
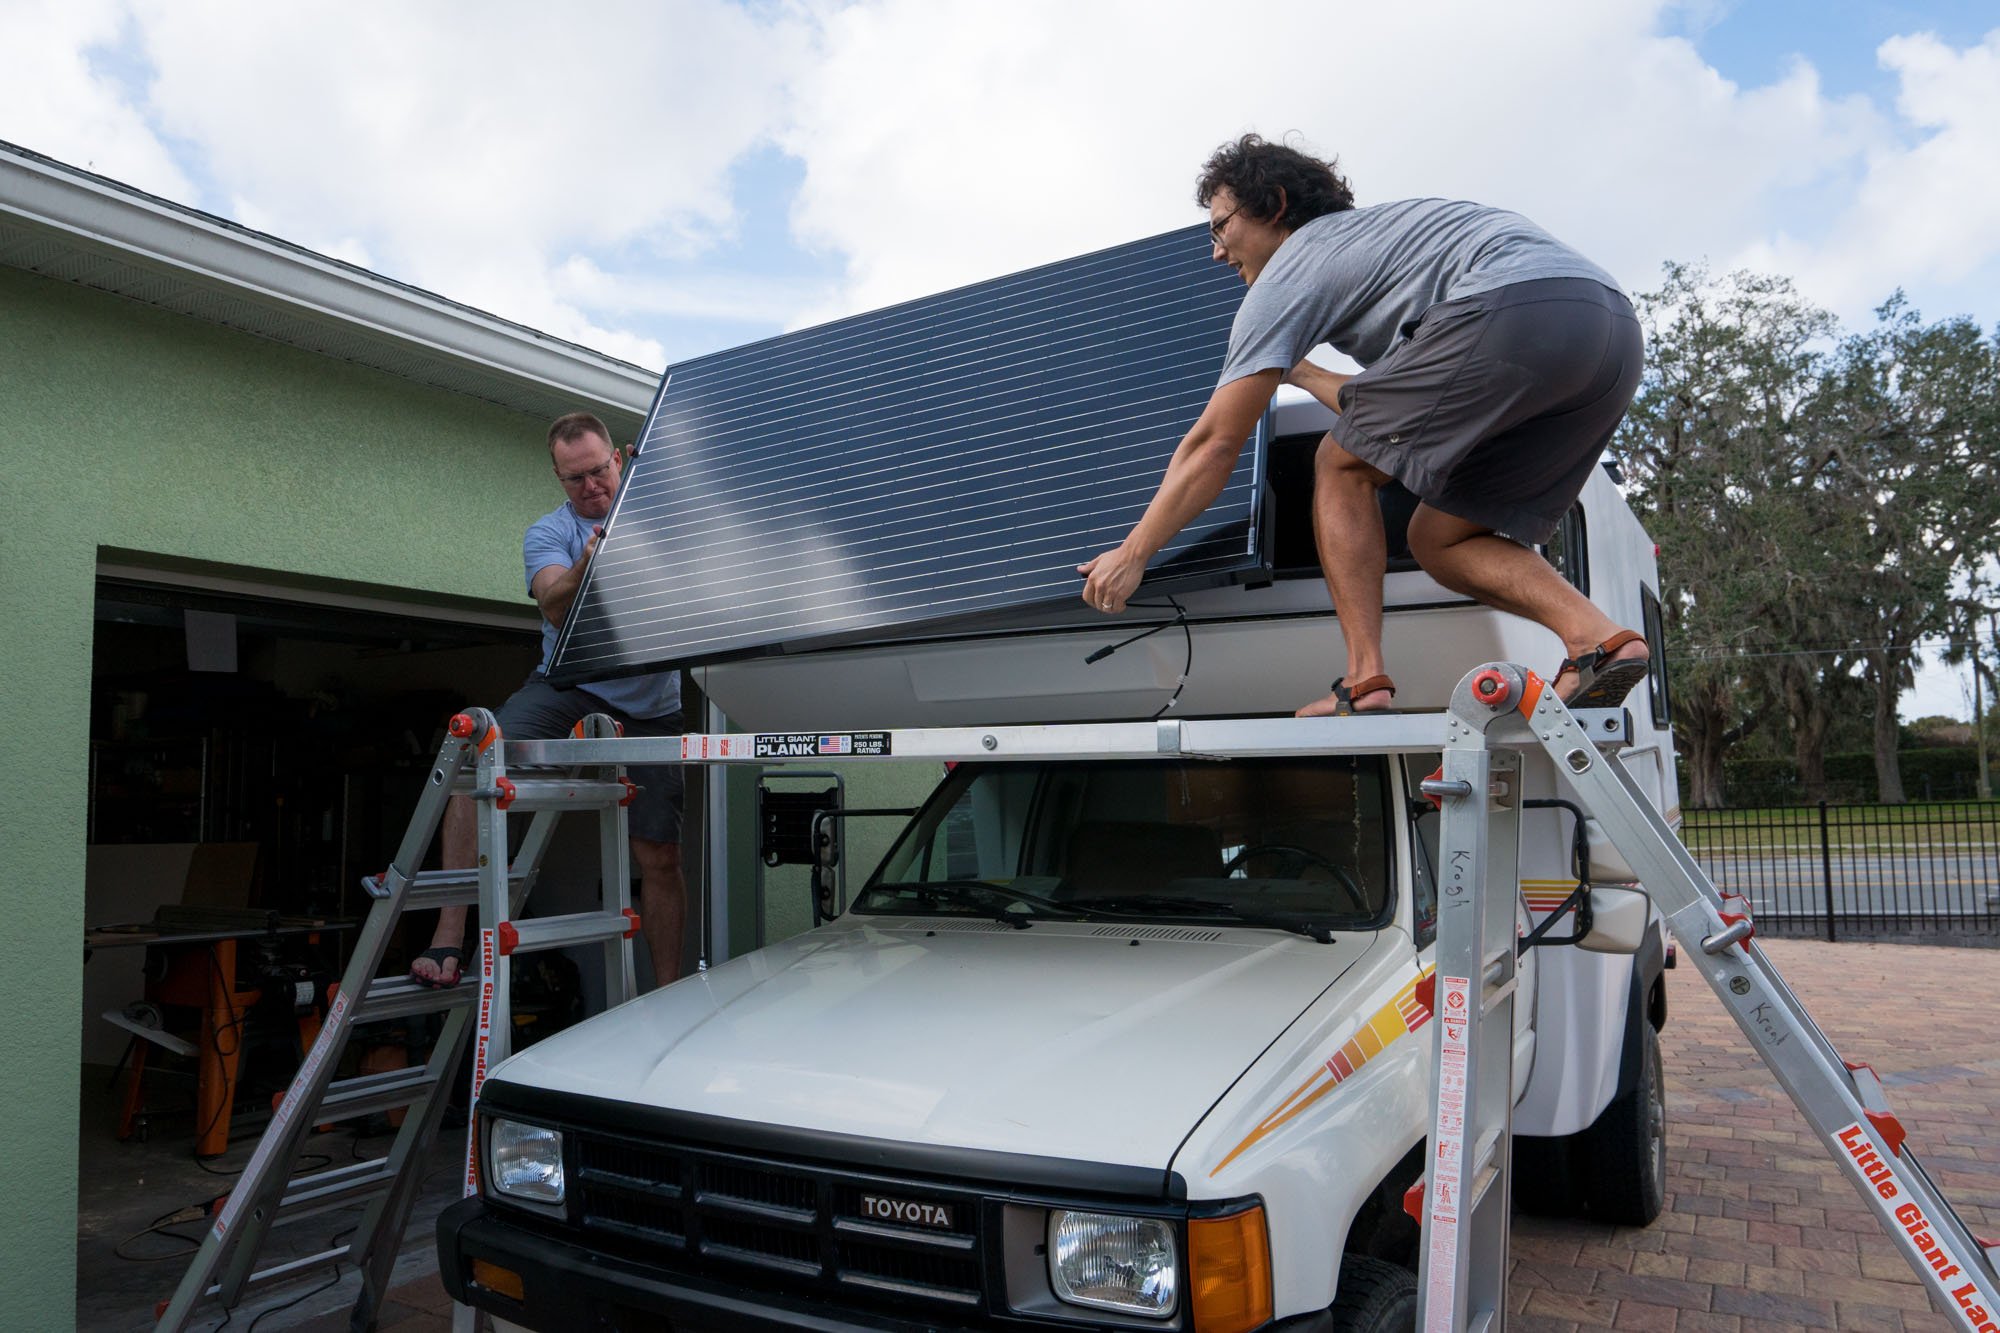
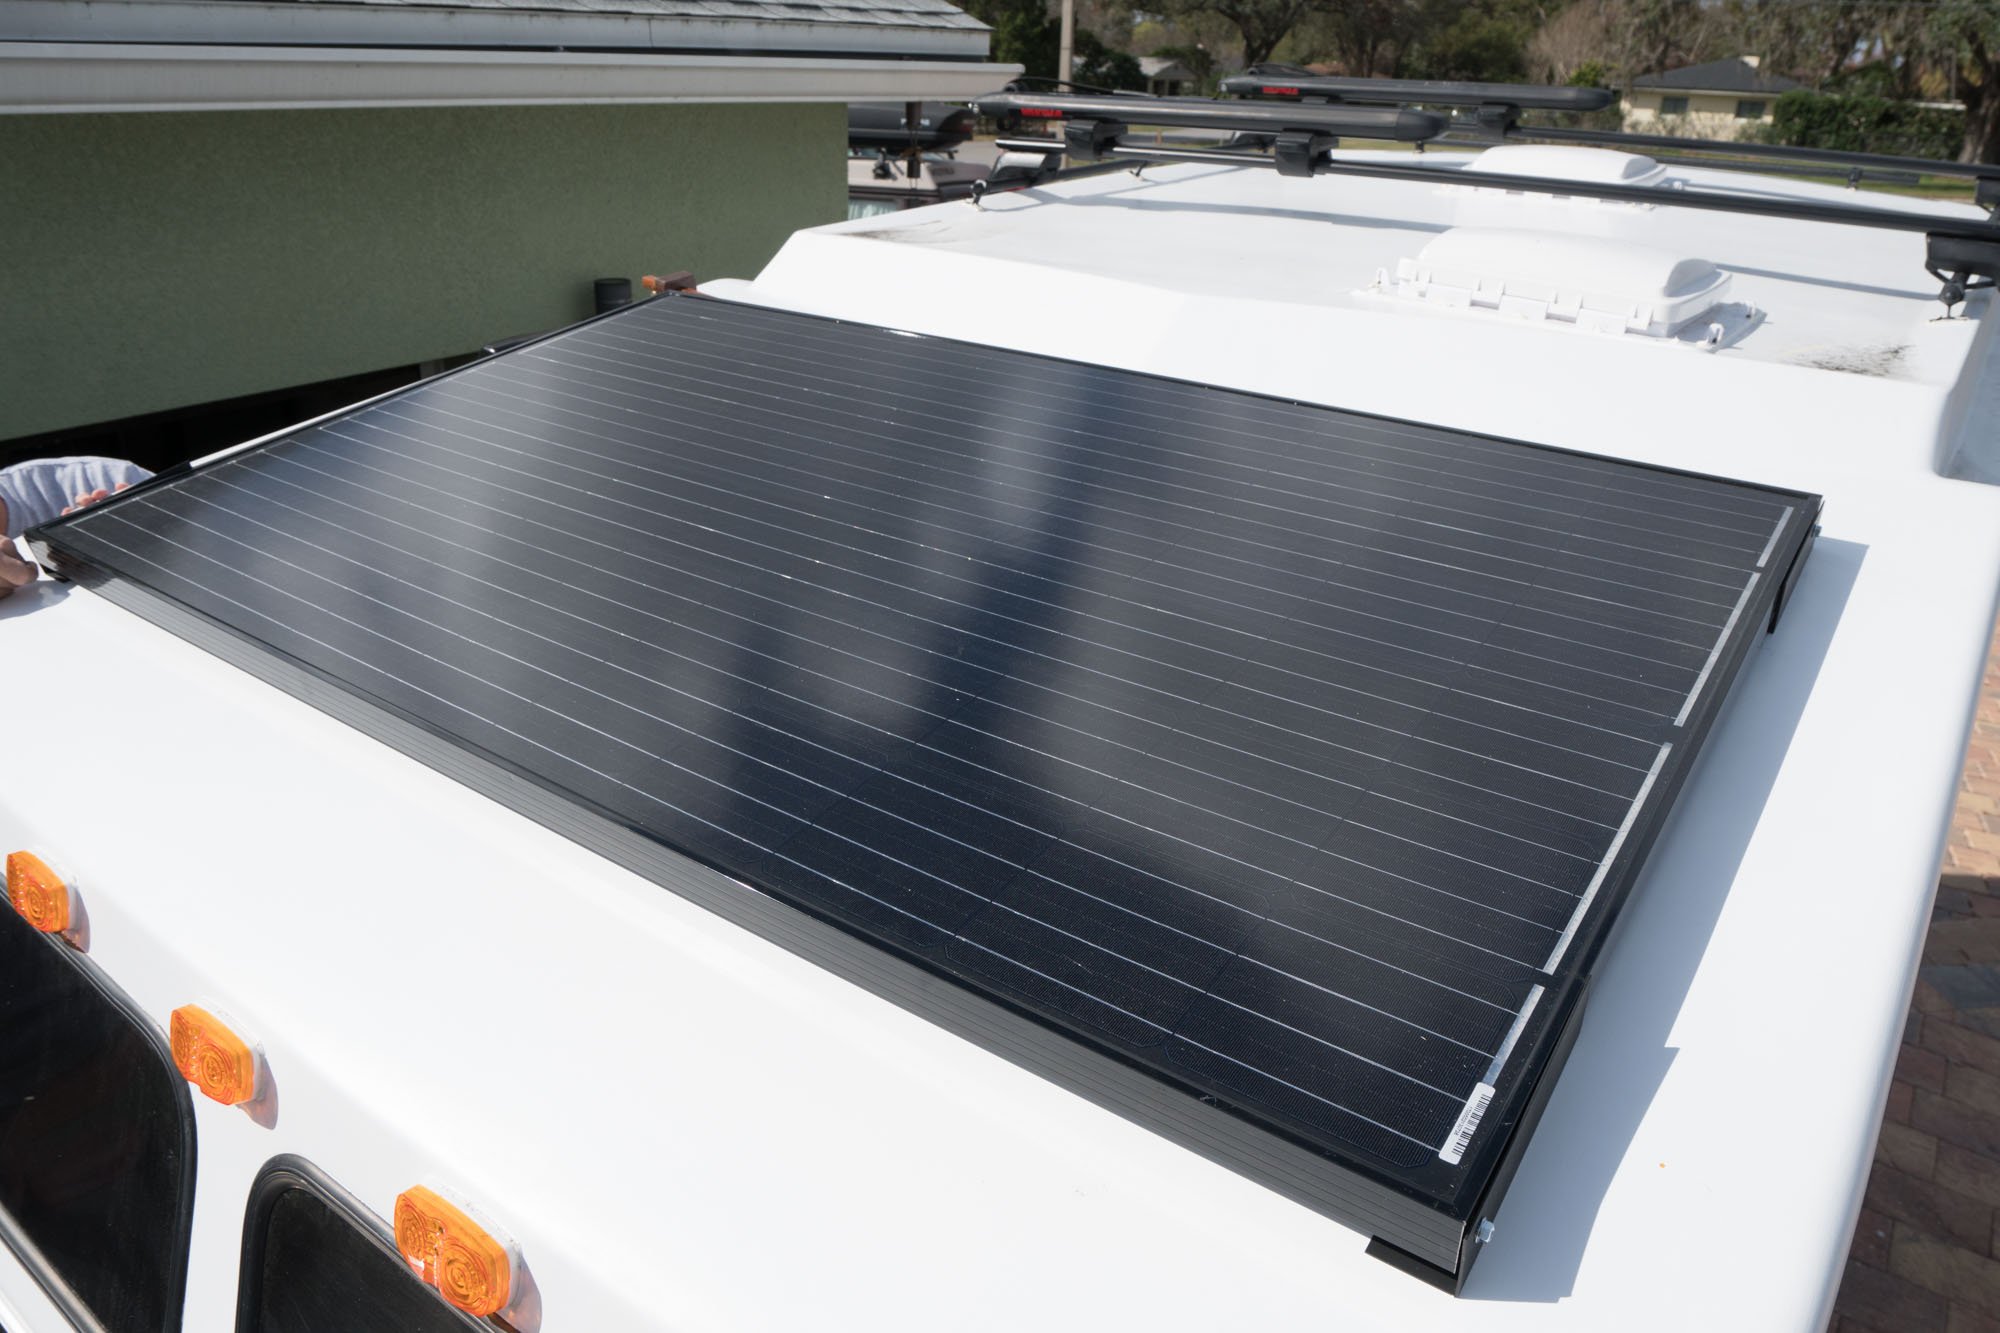
The first, is solar. We have a 24V 280W monocrystalline rigid panel from Renogy (they now sell a 300W instead). This thing is a behemoth of a panel. I chose this panel for a lot of reasons but one of the biggest was because it was just about the perfect size for the roof of the camper over the bed area (also 280W!). I wanted to get a rigid panel for the sake of longevity (we had 3 flexible panels and they all failed when we were in Stanley). It's a monocrystalline panel, which is a plus, because monocrystalline panels have cells that peak at 22% efficiency while polycrystalline peaks at 18% (per Renogy's website). I also was looking for a panel that was more than 12V. The higher the voltage, the smaller the wire gauge can be. In our case, a 280W panel at 24V and a wire length of 20' needs to use 10AWG wire. The same setup in 12V would require 4AWG! That's a much bigger wire to have to deal with, especially over 20'.
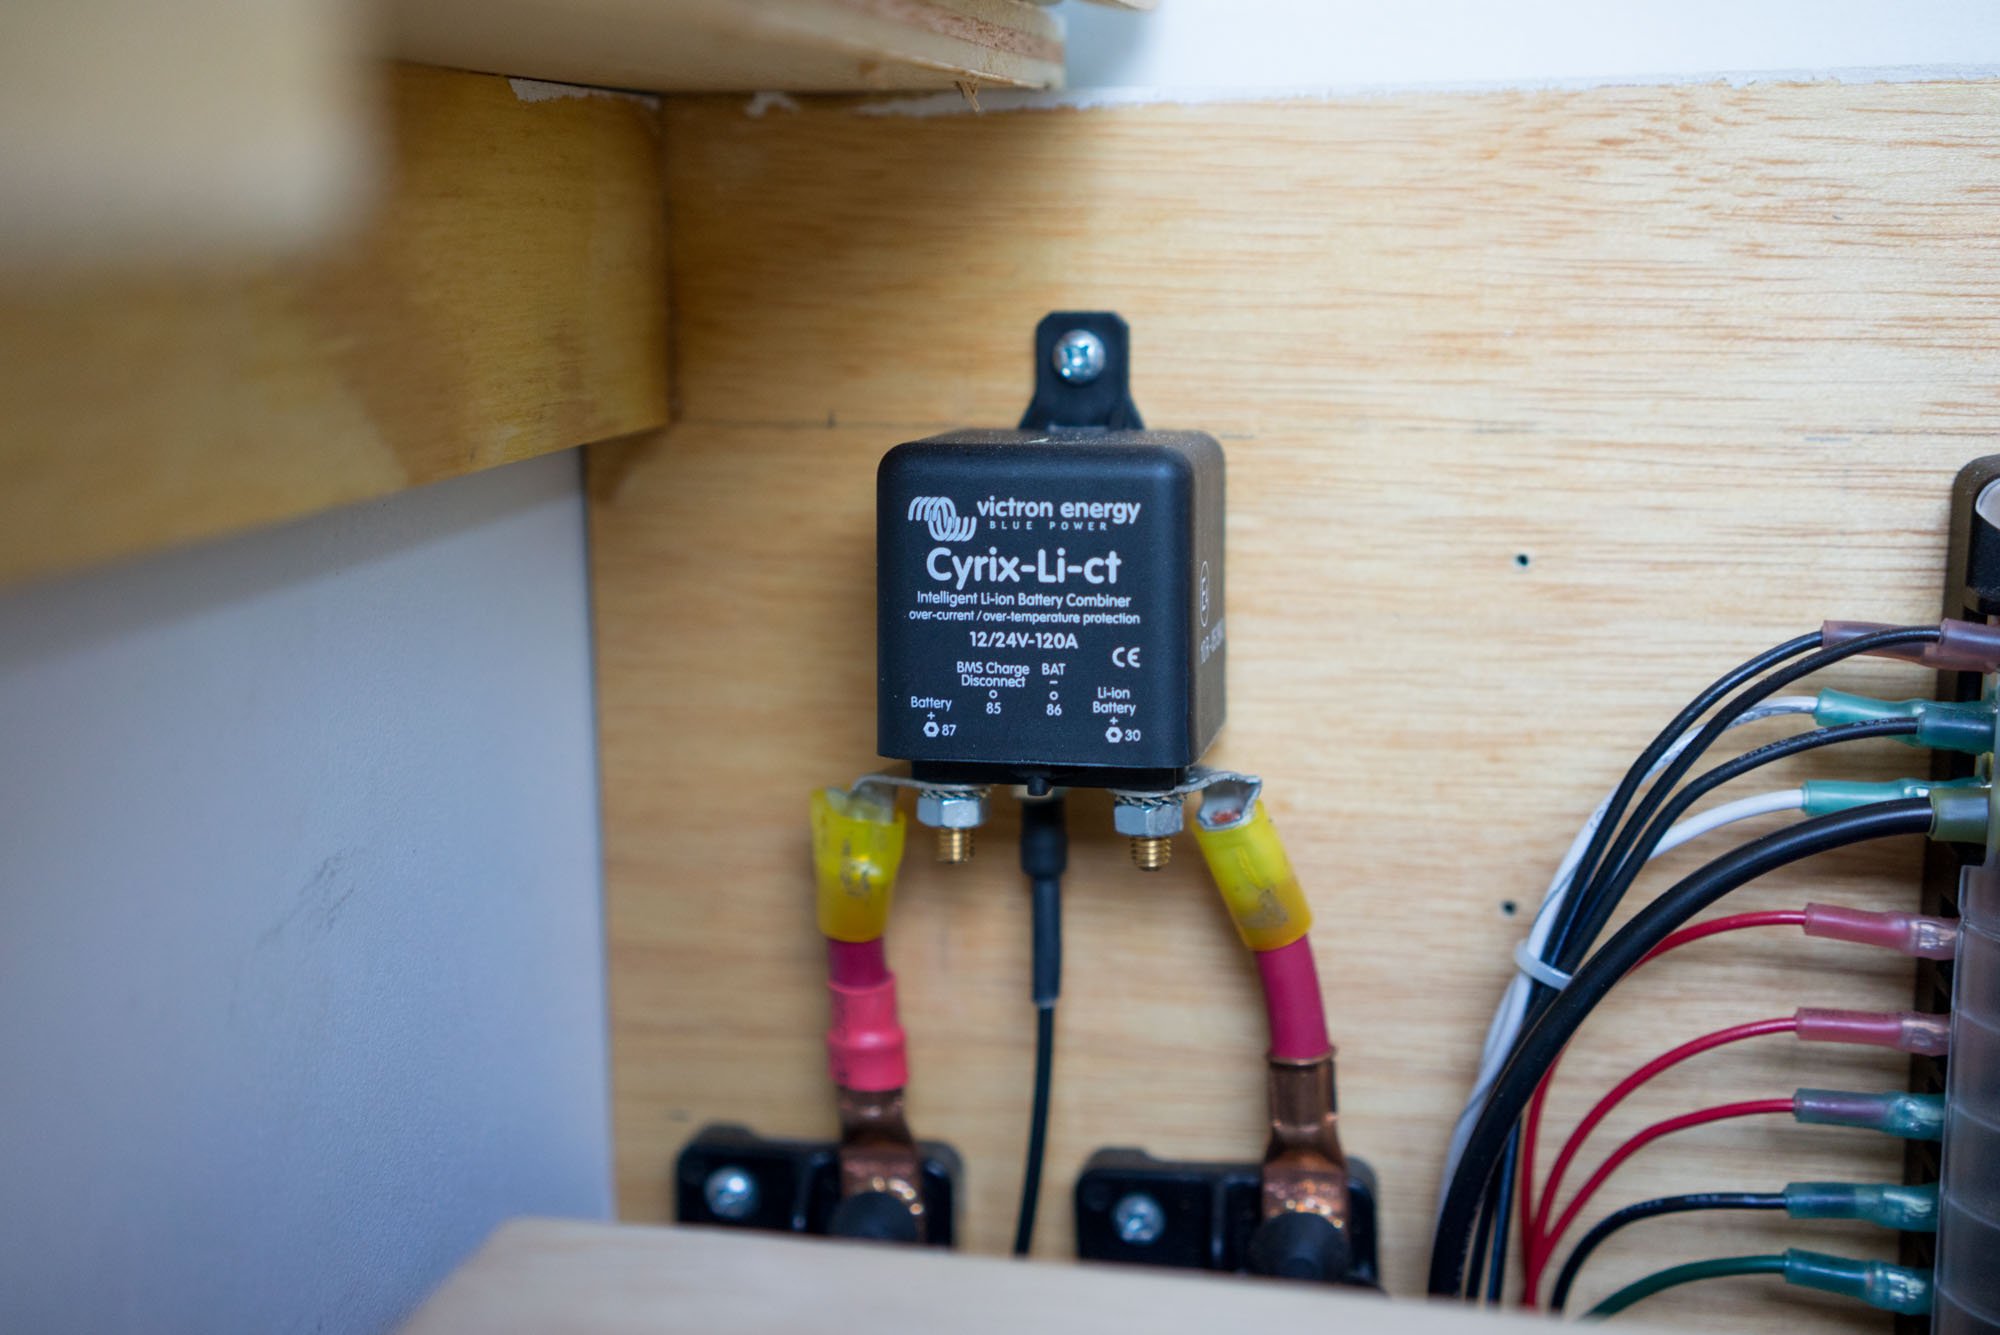
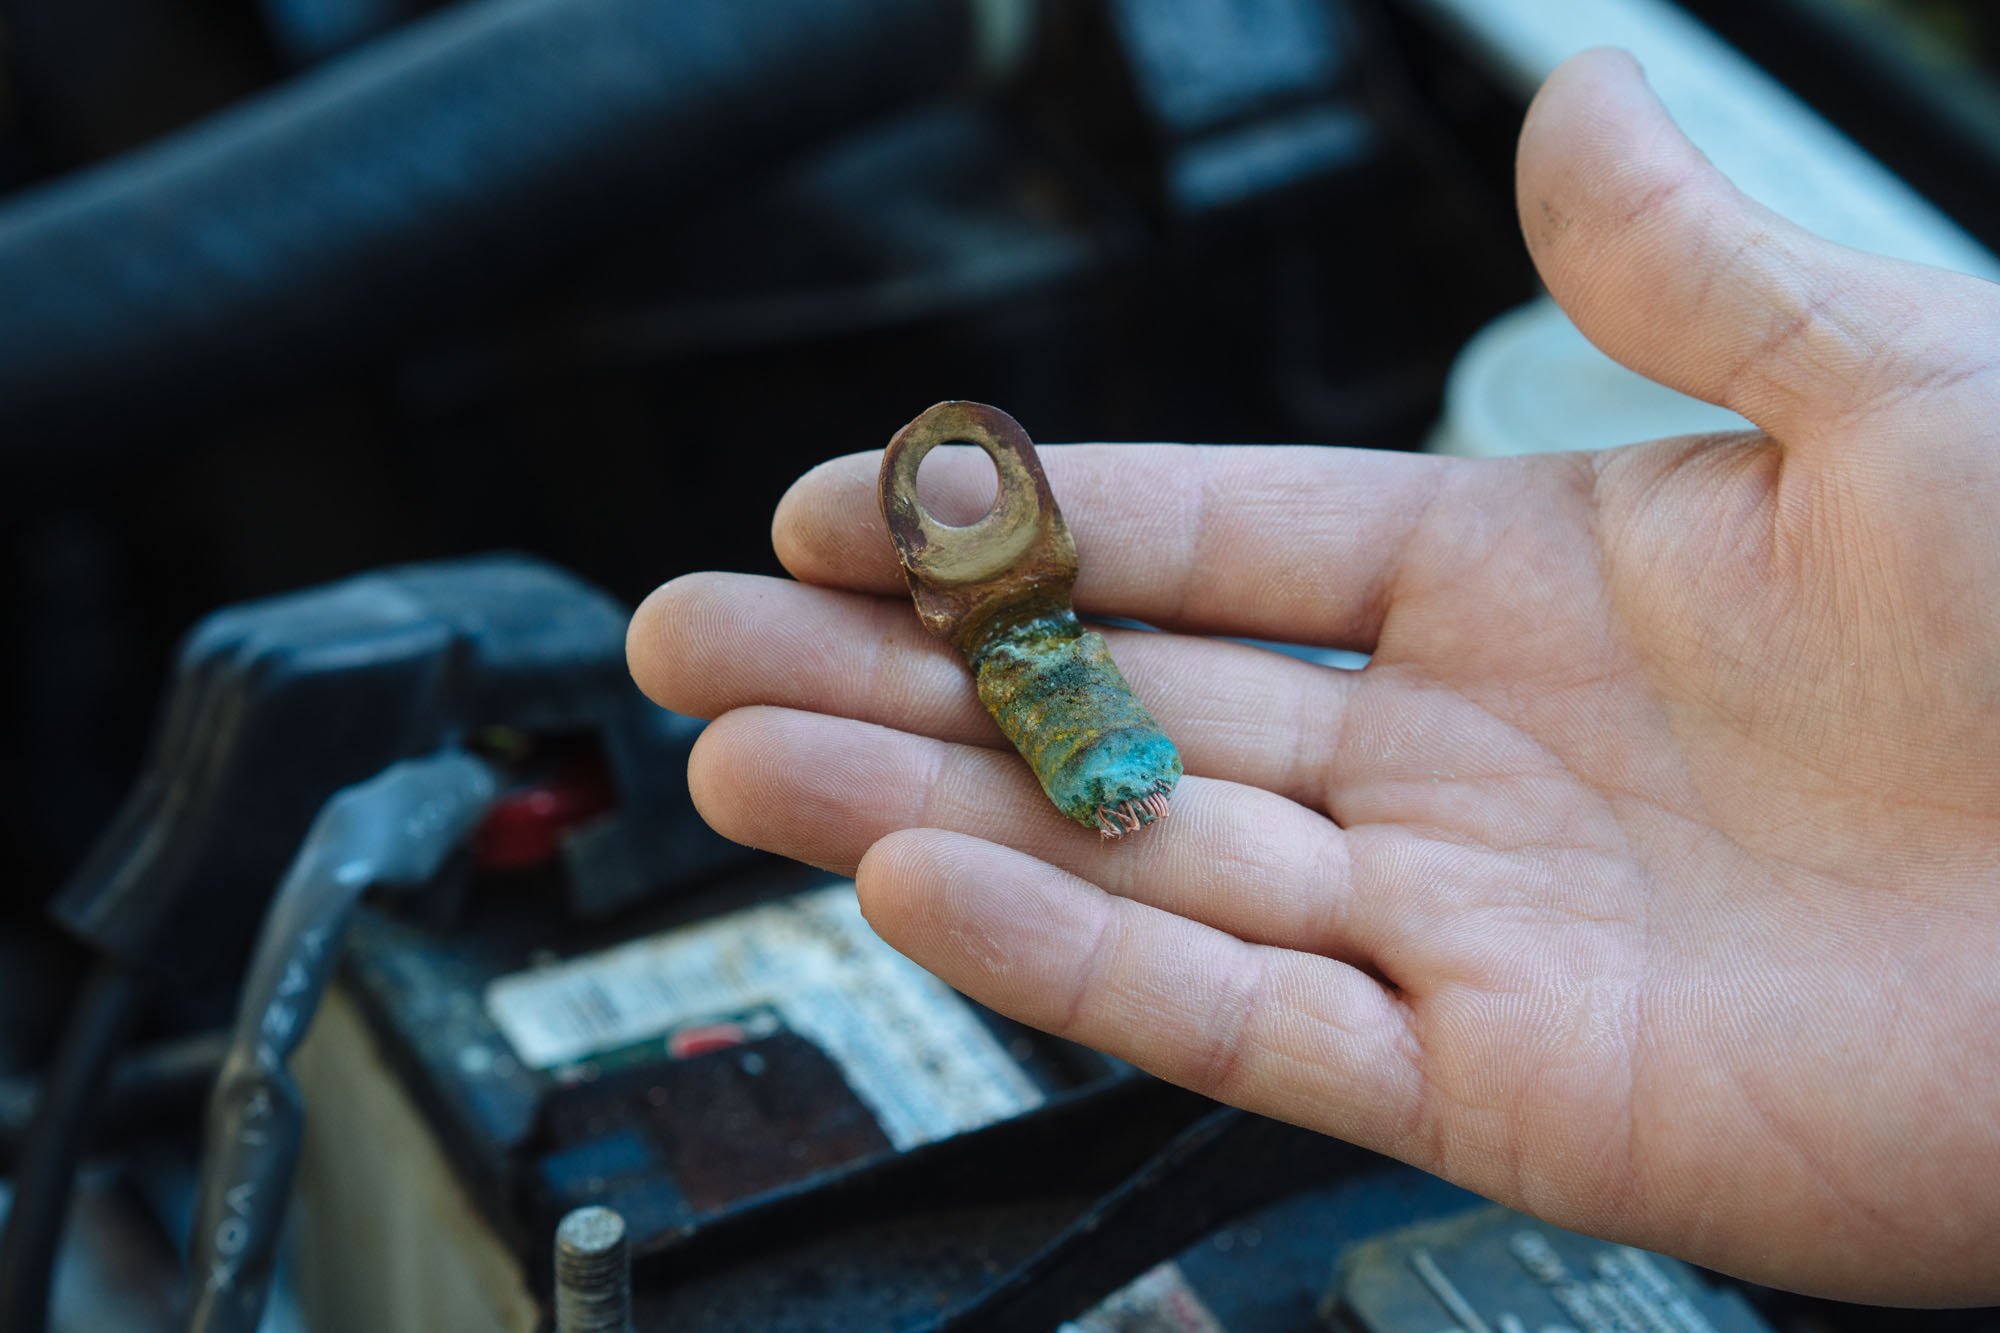
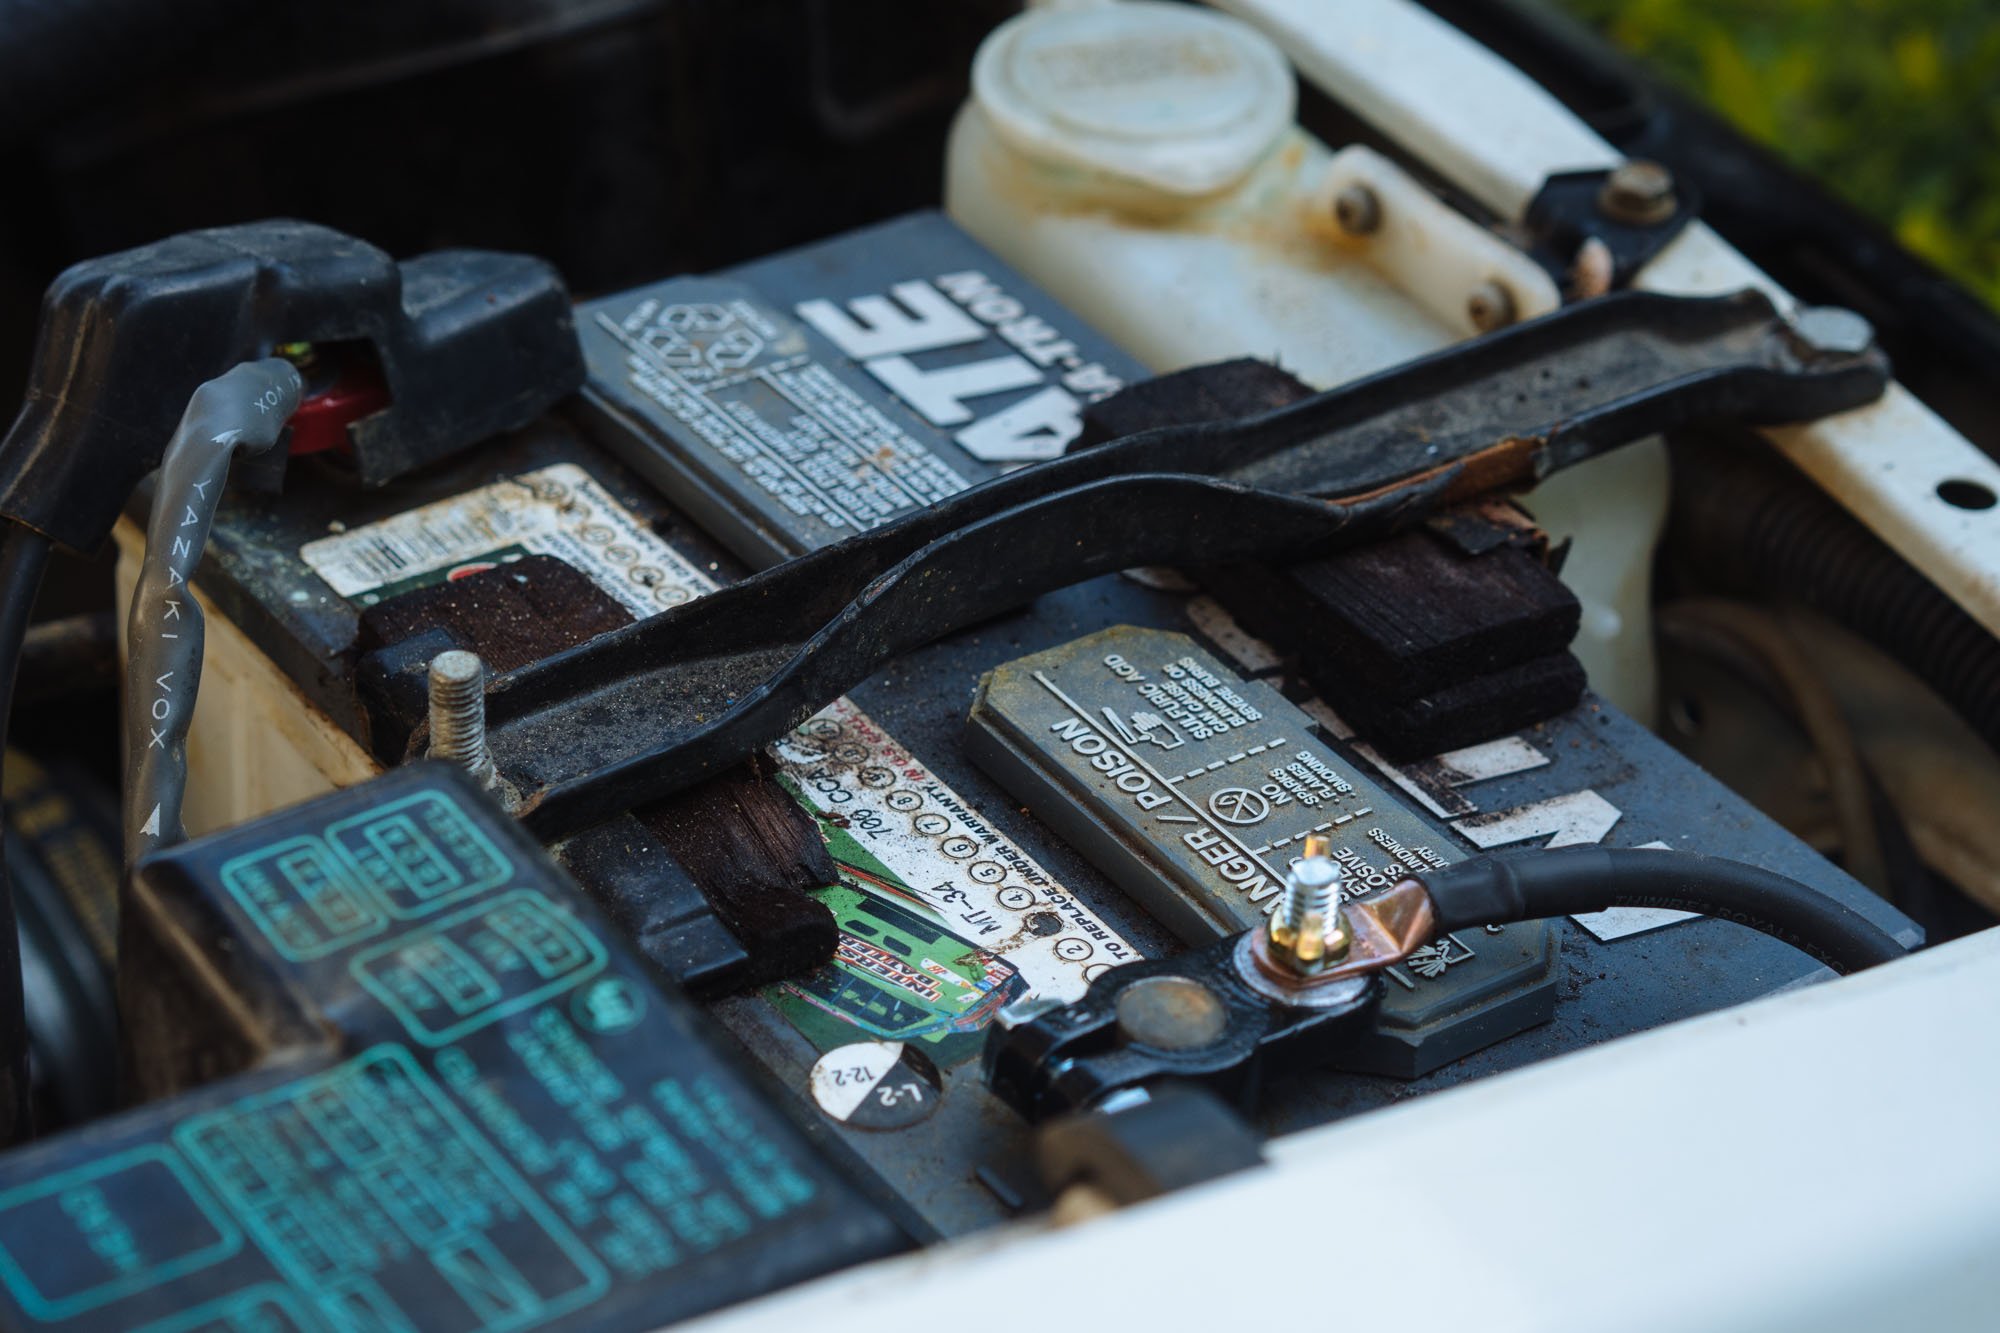
The second way we can charge our batteries is from our starter battery. This is achieved through an isolator/combiner from Victron. The one we are using is the Cyrix-Li-ct. This one is designed specifically for combining a lead acid battery to lithium. With fancy math and magic this little wonder automatically opens up the connection between the batteries when it senses charging voltage (the details of this can be found on their website). This way, when the alternator kicks in and starts charging the starter battery, the Cyrix opens the connection and allows the house batteries to charge too. Another neat feature of the Cyrix-Li-ct is that it's bidirectional. So not only can the starter battery charge the house batteries, but the house batteries can charge the starter battery. So when we're sitting still for a few days/weeks our starter battery will still get some love.
As of now we haven't set up anything to run on shore power, but we may end up wiring in a smart charger that runs off of shore power. So if we're plugged in, we won't actually be using the shore power directly to run our system, but it will make sure that our system is always being charged while we're plugged in.
What Uses the Power
So we've covered the batteries and the things that charge them. Now it's time to talk about what is drawing off the batteries. Everything we chose to put in Amelia needed to be efficient. We don't want anything sucking up power that doesn't absolutely need it. Here is the list of items that draw from the house batteries:
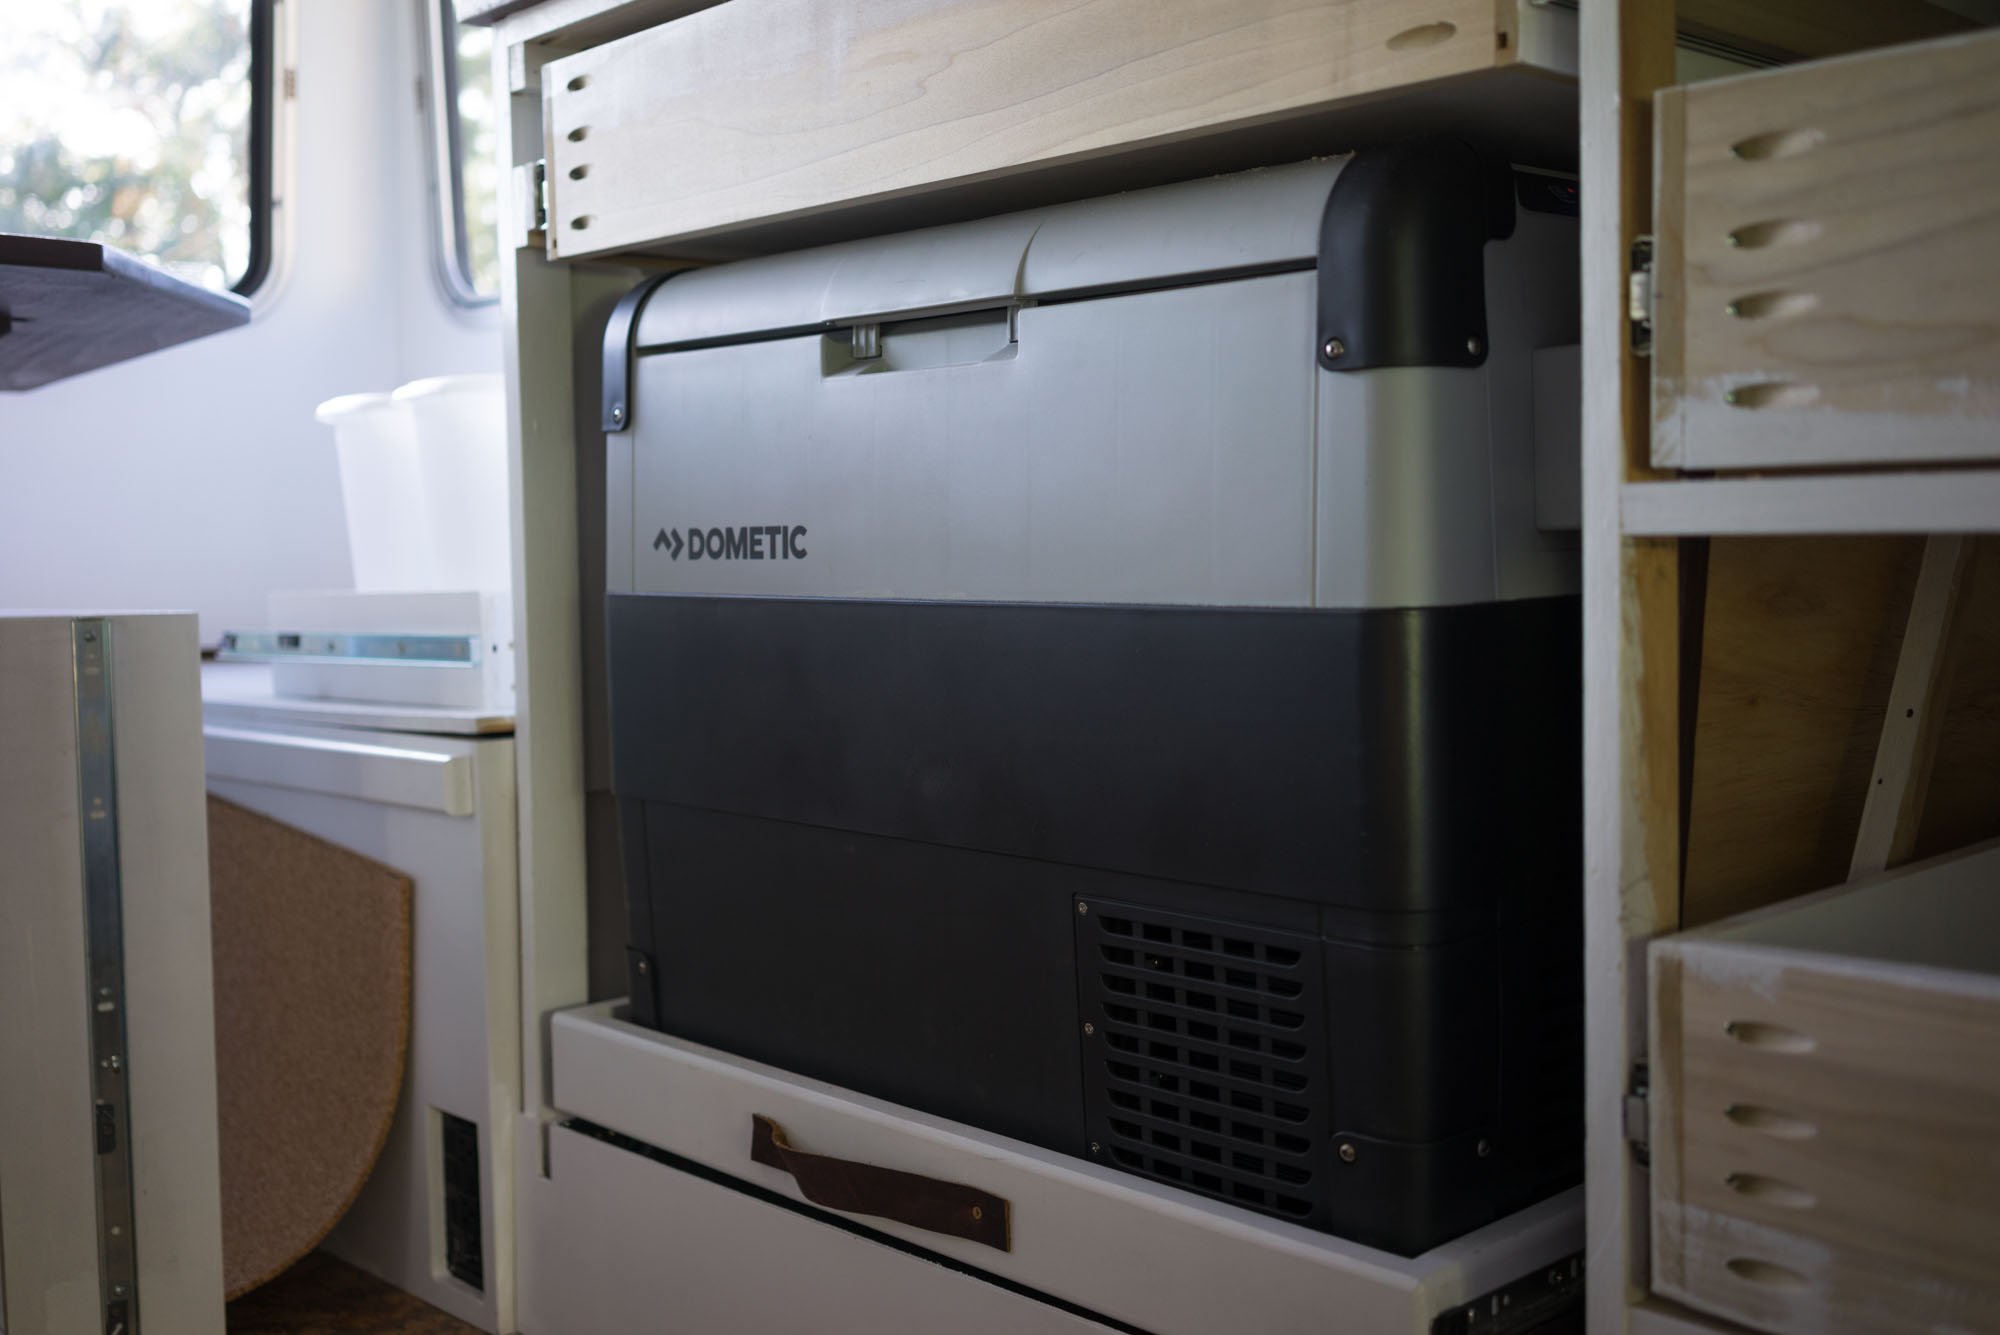
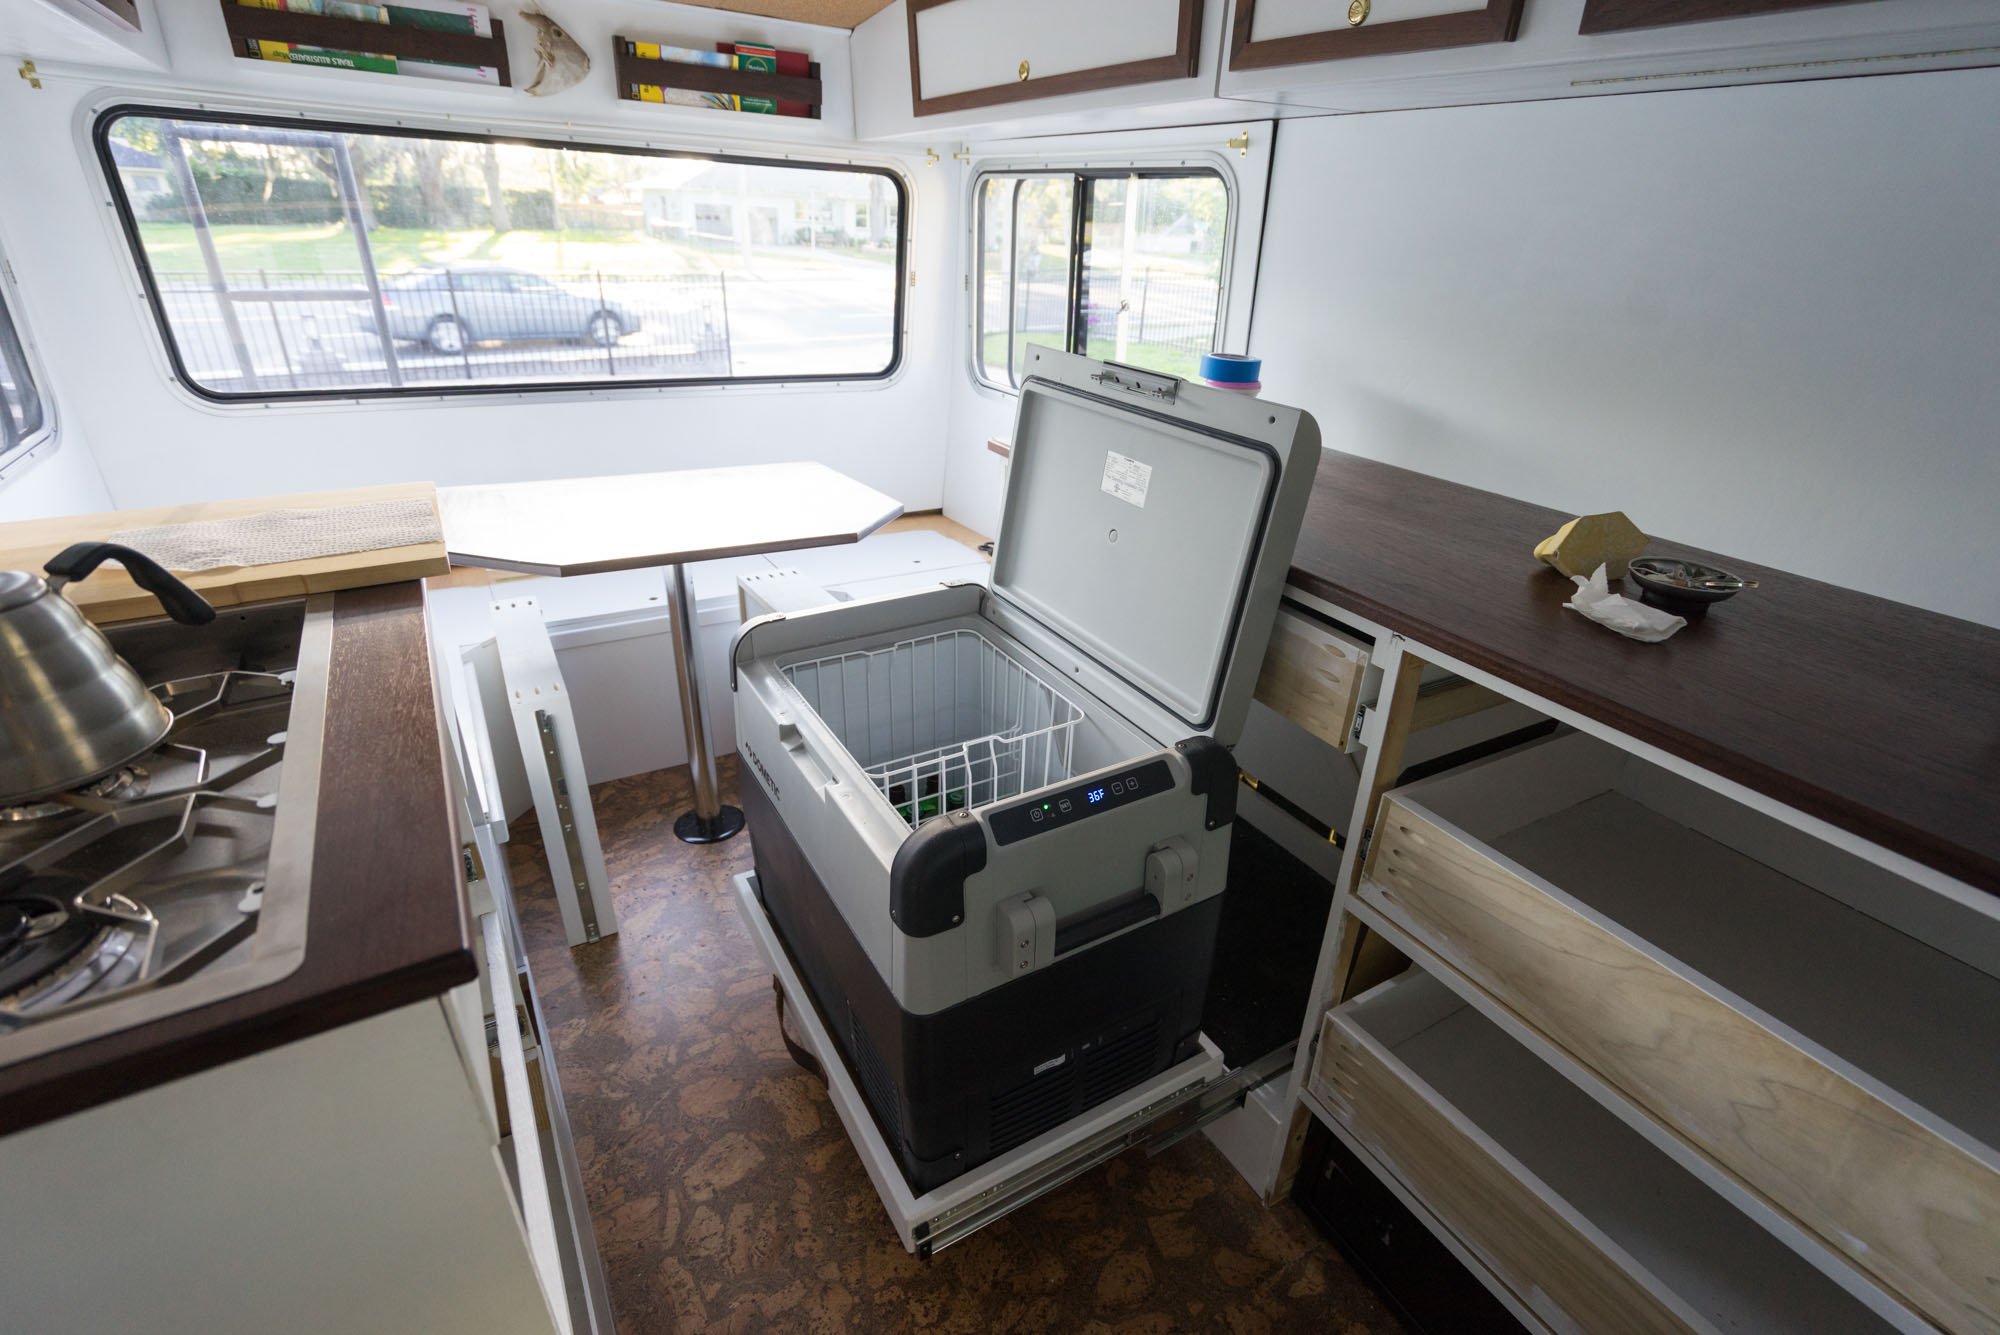
Dometic Refrigerator
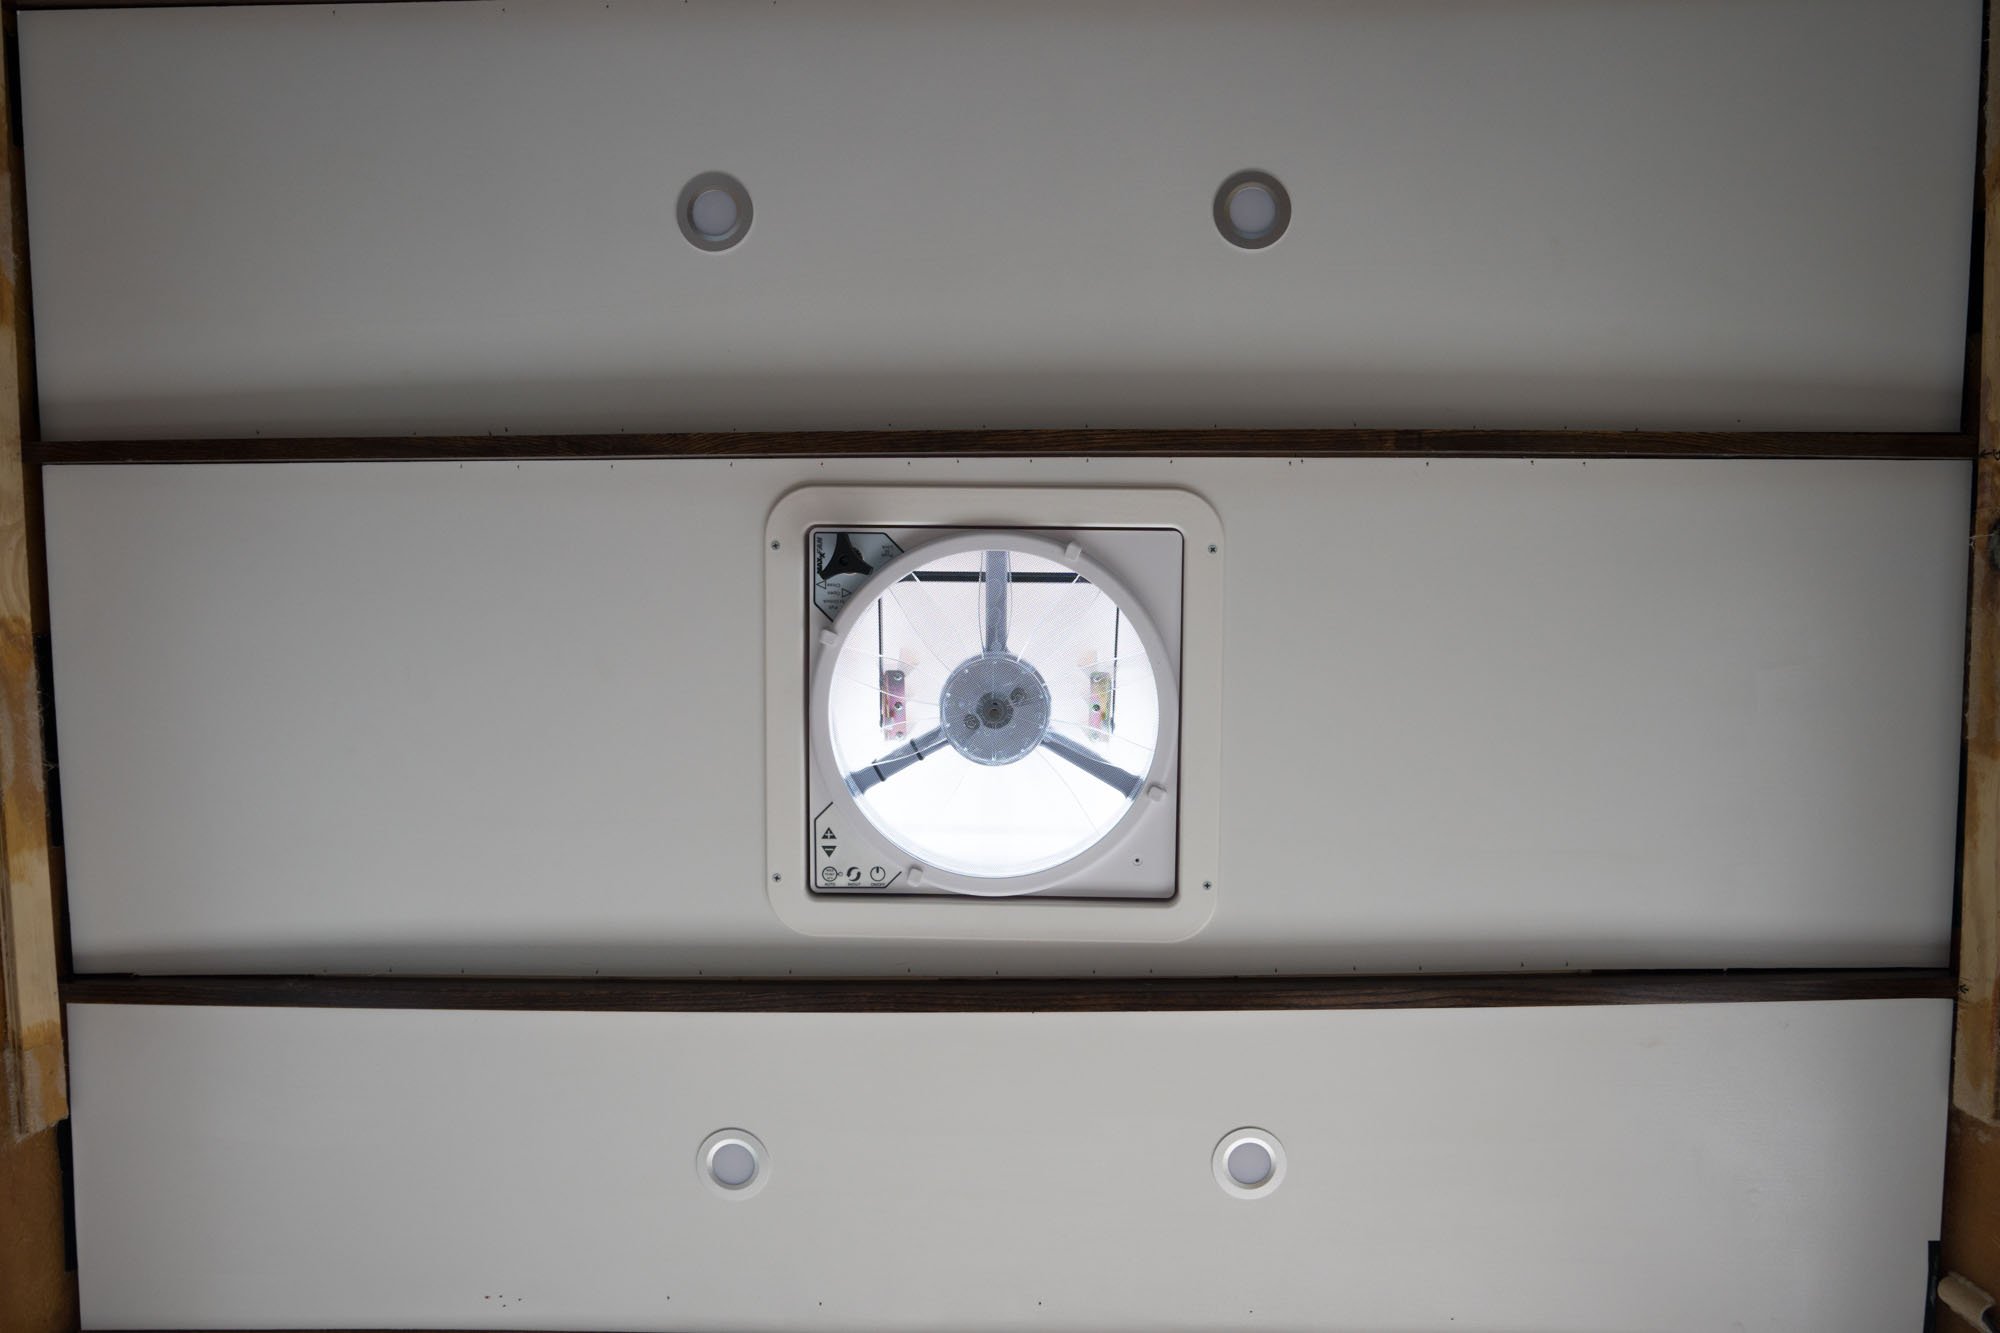
Vent Fans
Water Pump
Tank Monitor
Lights
USB Ports
Inverter
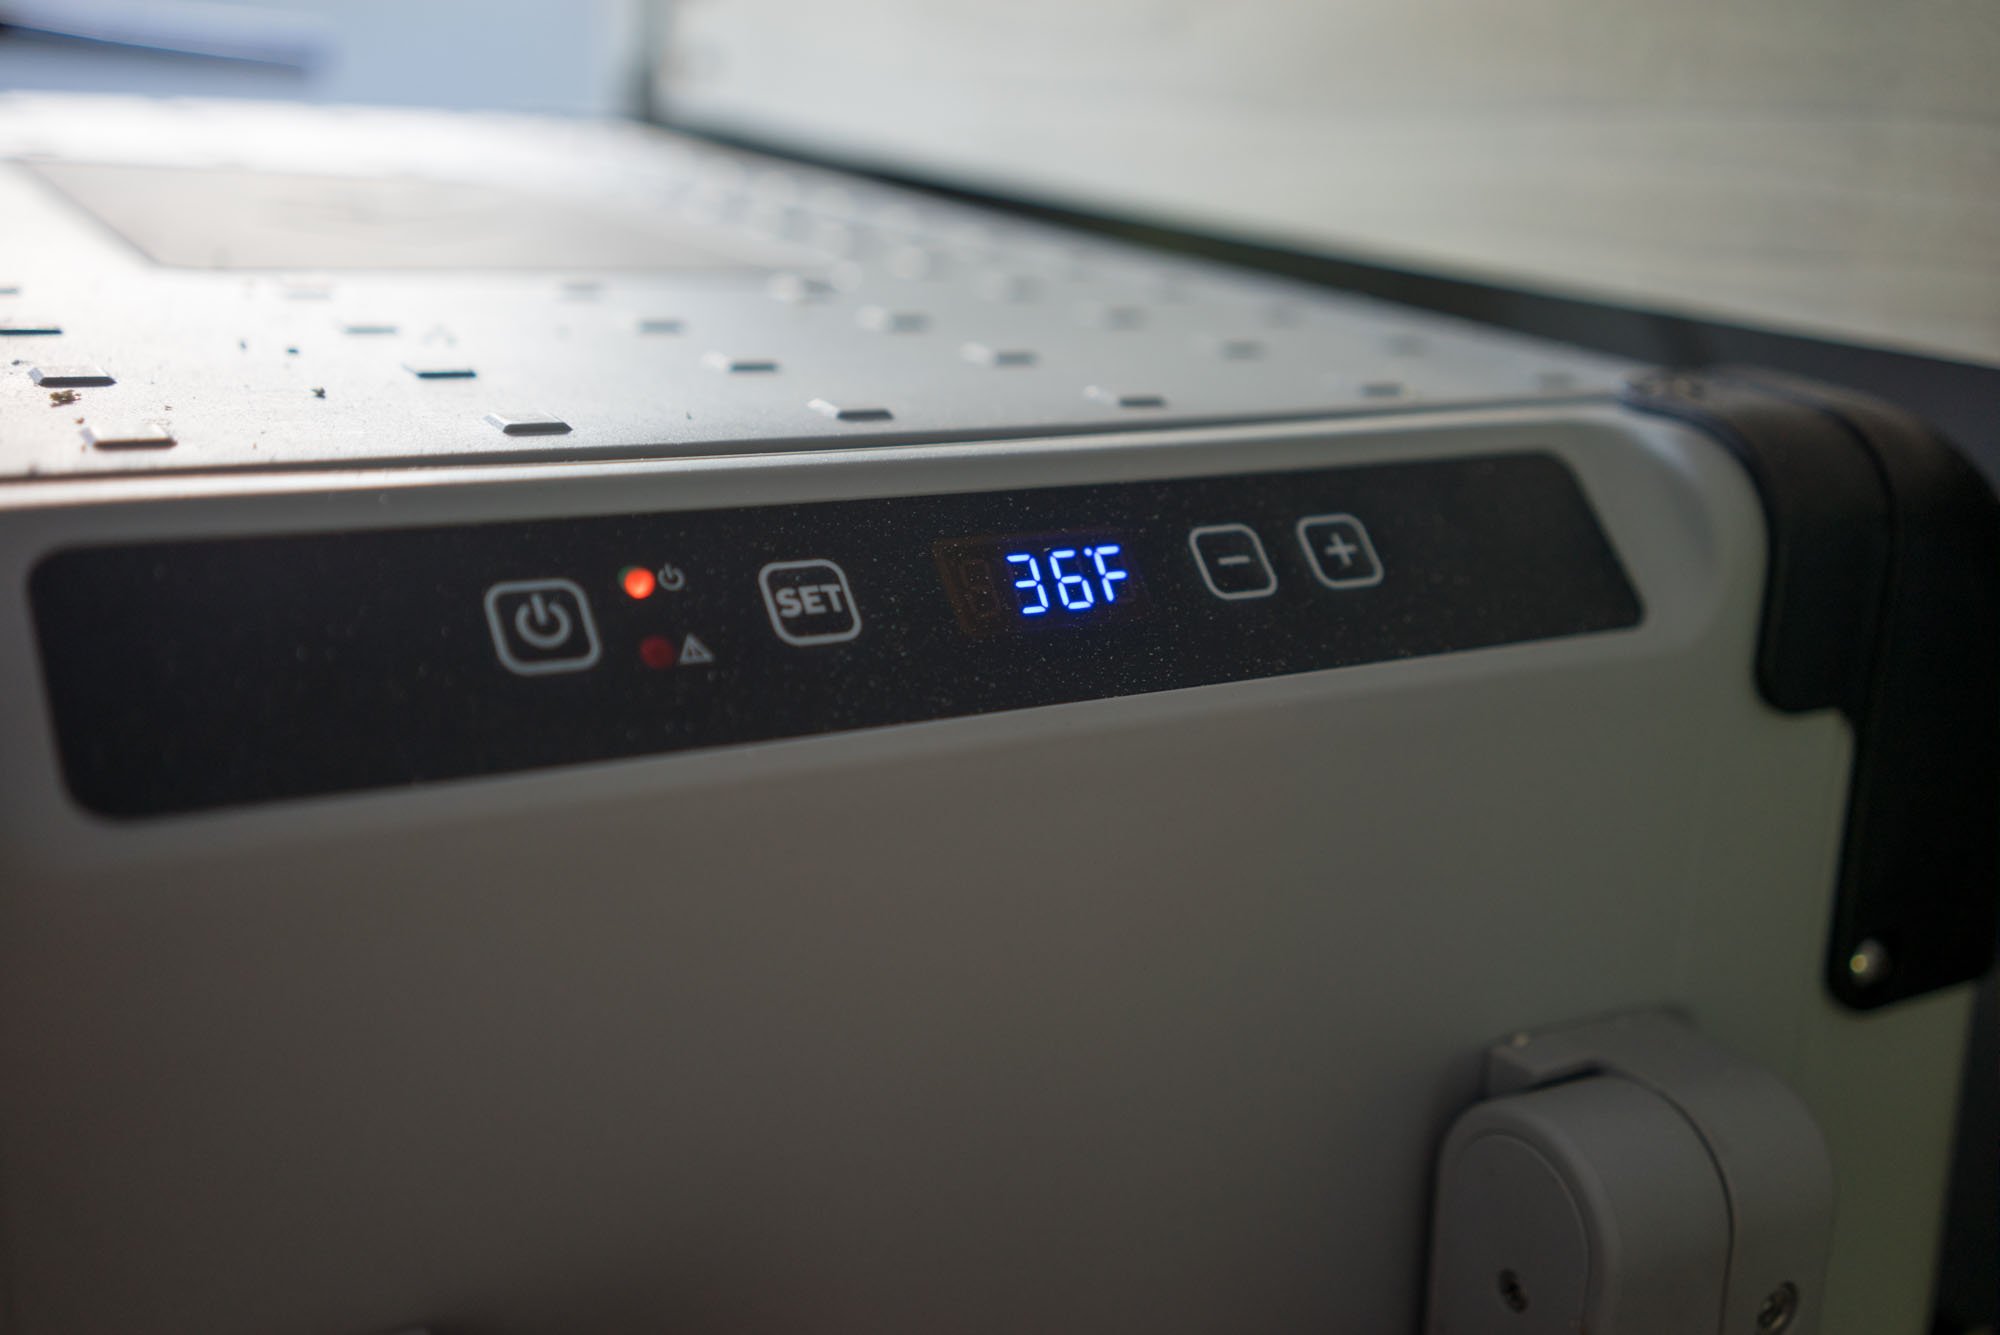
Our refrigerator is a Dometic CFX 65W. The 65 is the volume in quarts (I think). Our last fridge was 50 so this is a nice step up in capacity. We chose the Dometic fridge because they're extremely efficient. The fridge also has Wifi capabilities so that you can connect to the fridge with your phone and control the temperature. This feature uses up extra power so we probably won't be using it. The fridge has buttons on the side that can do the same thing. So far this thing has been fantastic.
The vent fans are the MaxxAir 4000K. Rather than get one of the more luxurious models with extra features, we opted for the basic model. We didn't want to deal with remotes (using batteries) or extra features that sucked more power. We went with the 10 speed instead of the 3 speed because the lowest setting on the 10 speed model is lower than the lowest 3 speed, which in turn means less power. These can pull or push air so we can set one to pull and the other to push to get some good airflow. They've been so great to have during the build. Before they were in, Amelia's interior was miserable on a hot day.
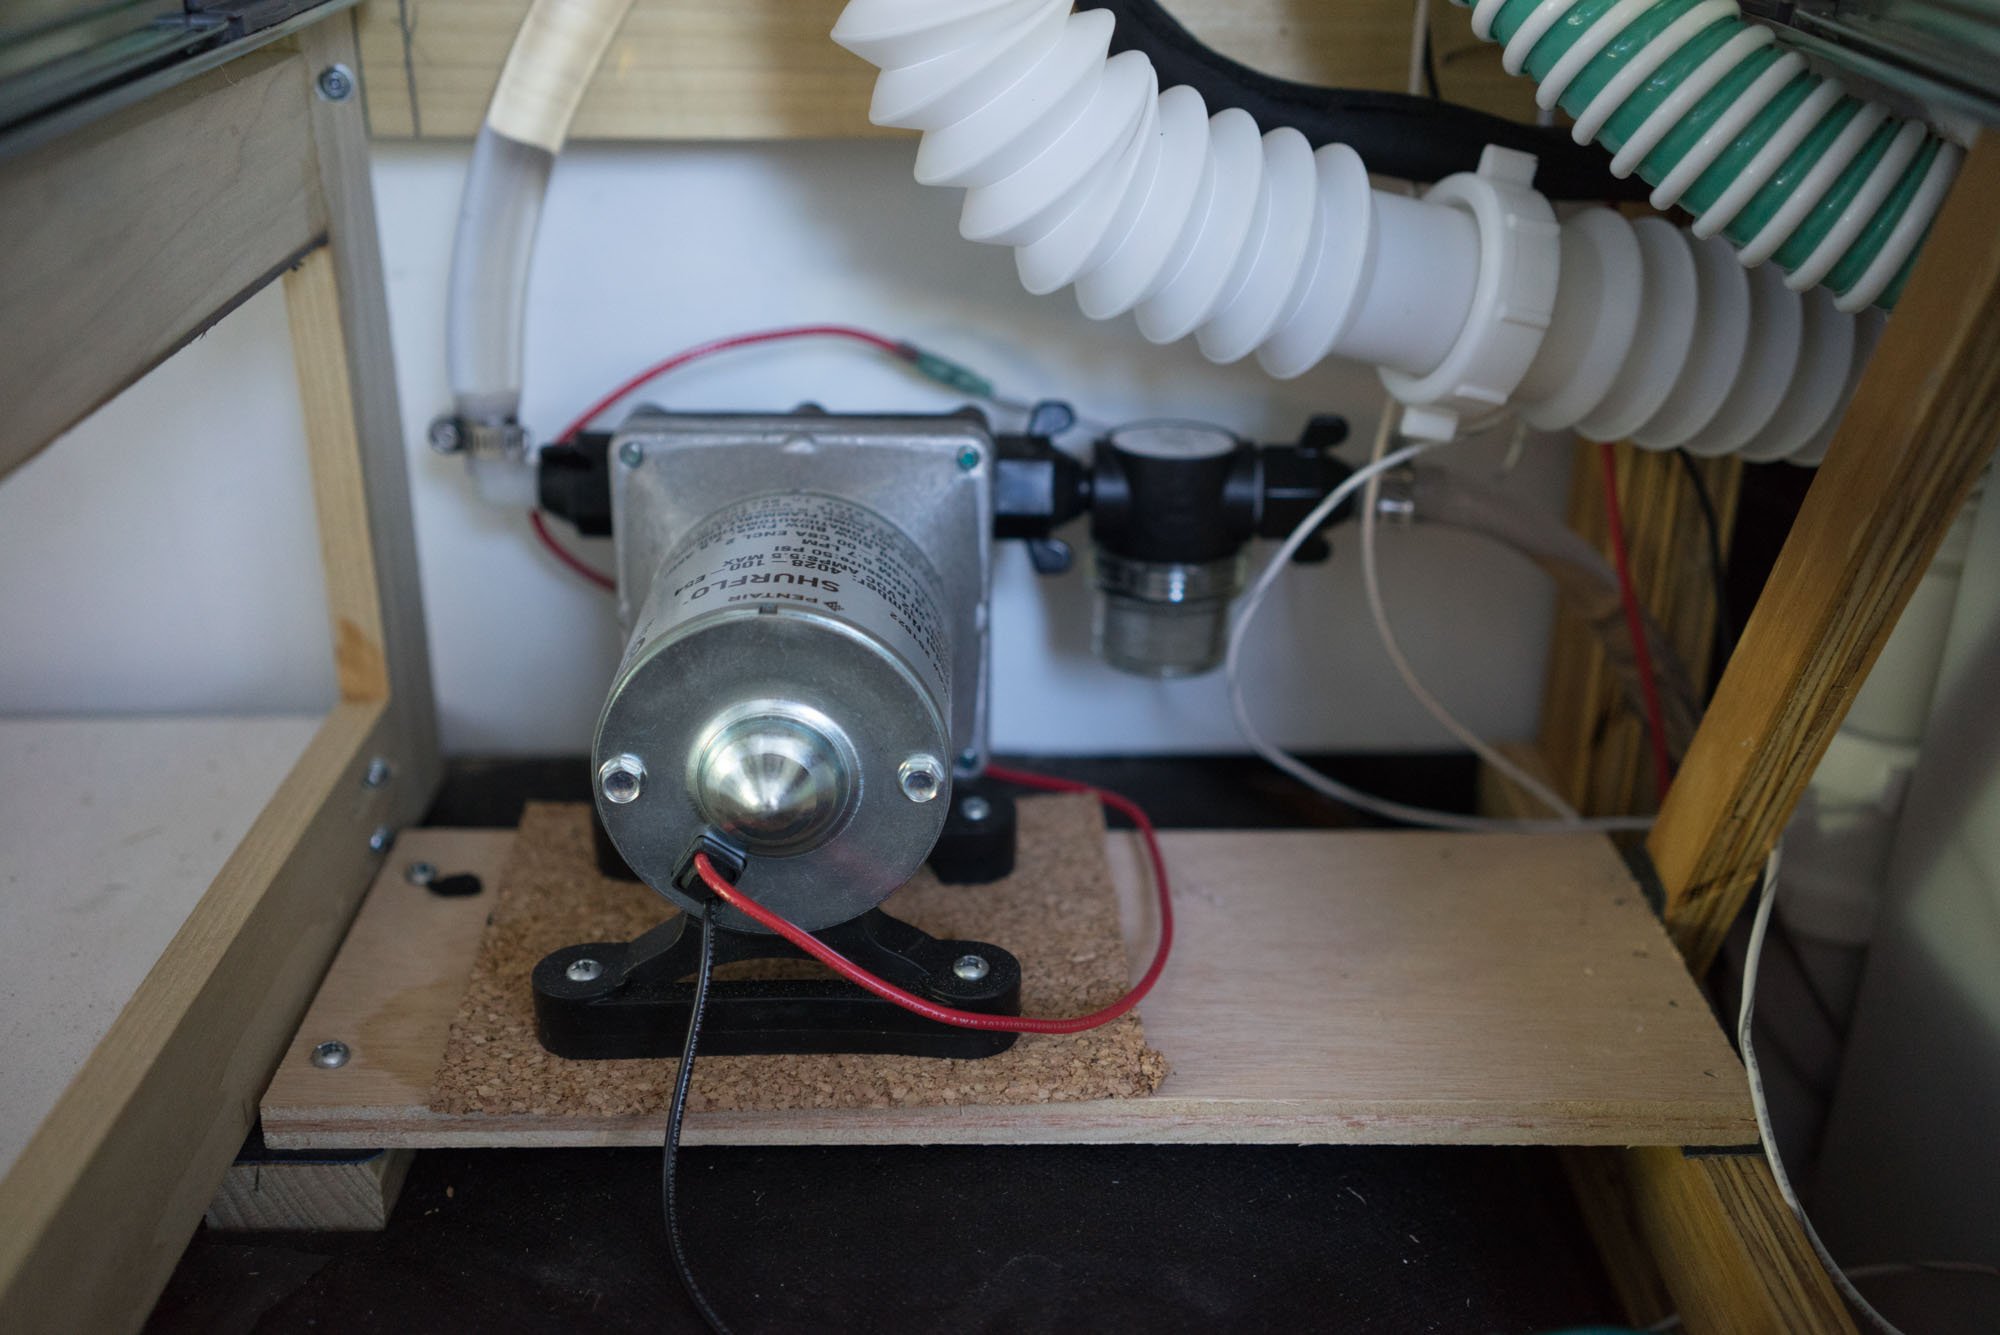
We have a Shurflo Revolution water pump. I chose this model because it's supposed to be one of the quietest on the market (the last water pump was absurdly loud). I originally bought a submersible water pump similar to what was in the van, because it was super quiet and it sat IN the tank so I didn't have to find room for it. Unfortunately, it wasn't meant to be and I had to return it for a diaphragm pump. So far, in limited use, this pump is WAY more quiet than I expected (I didn't have high hopes), so we're pretty pleased with it.
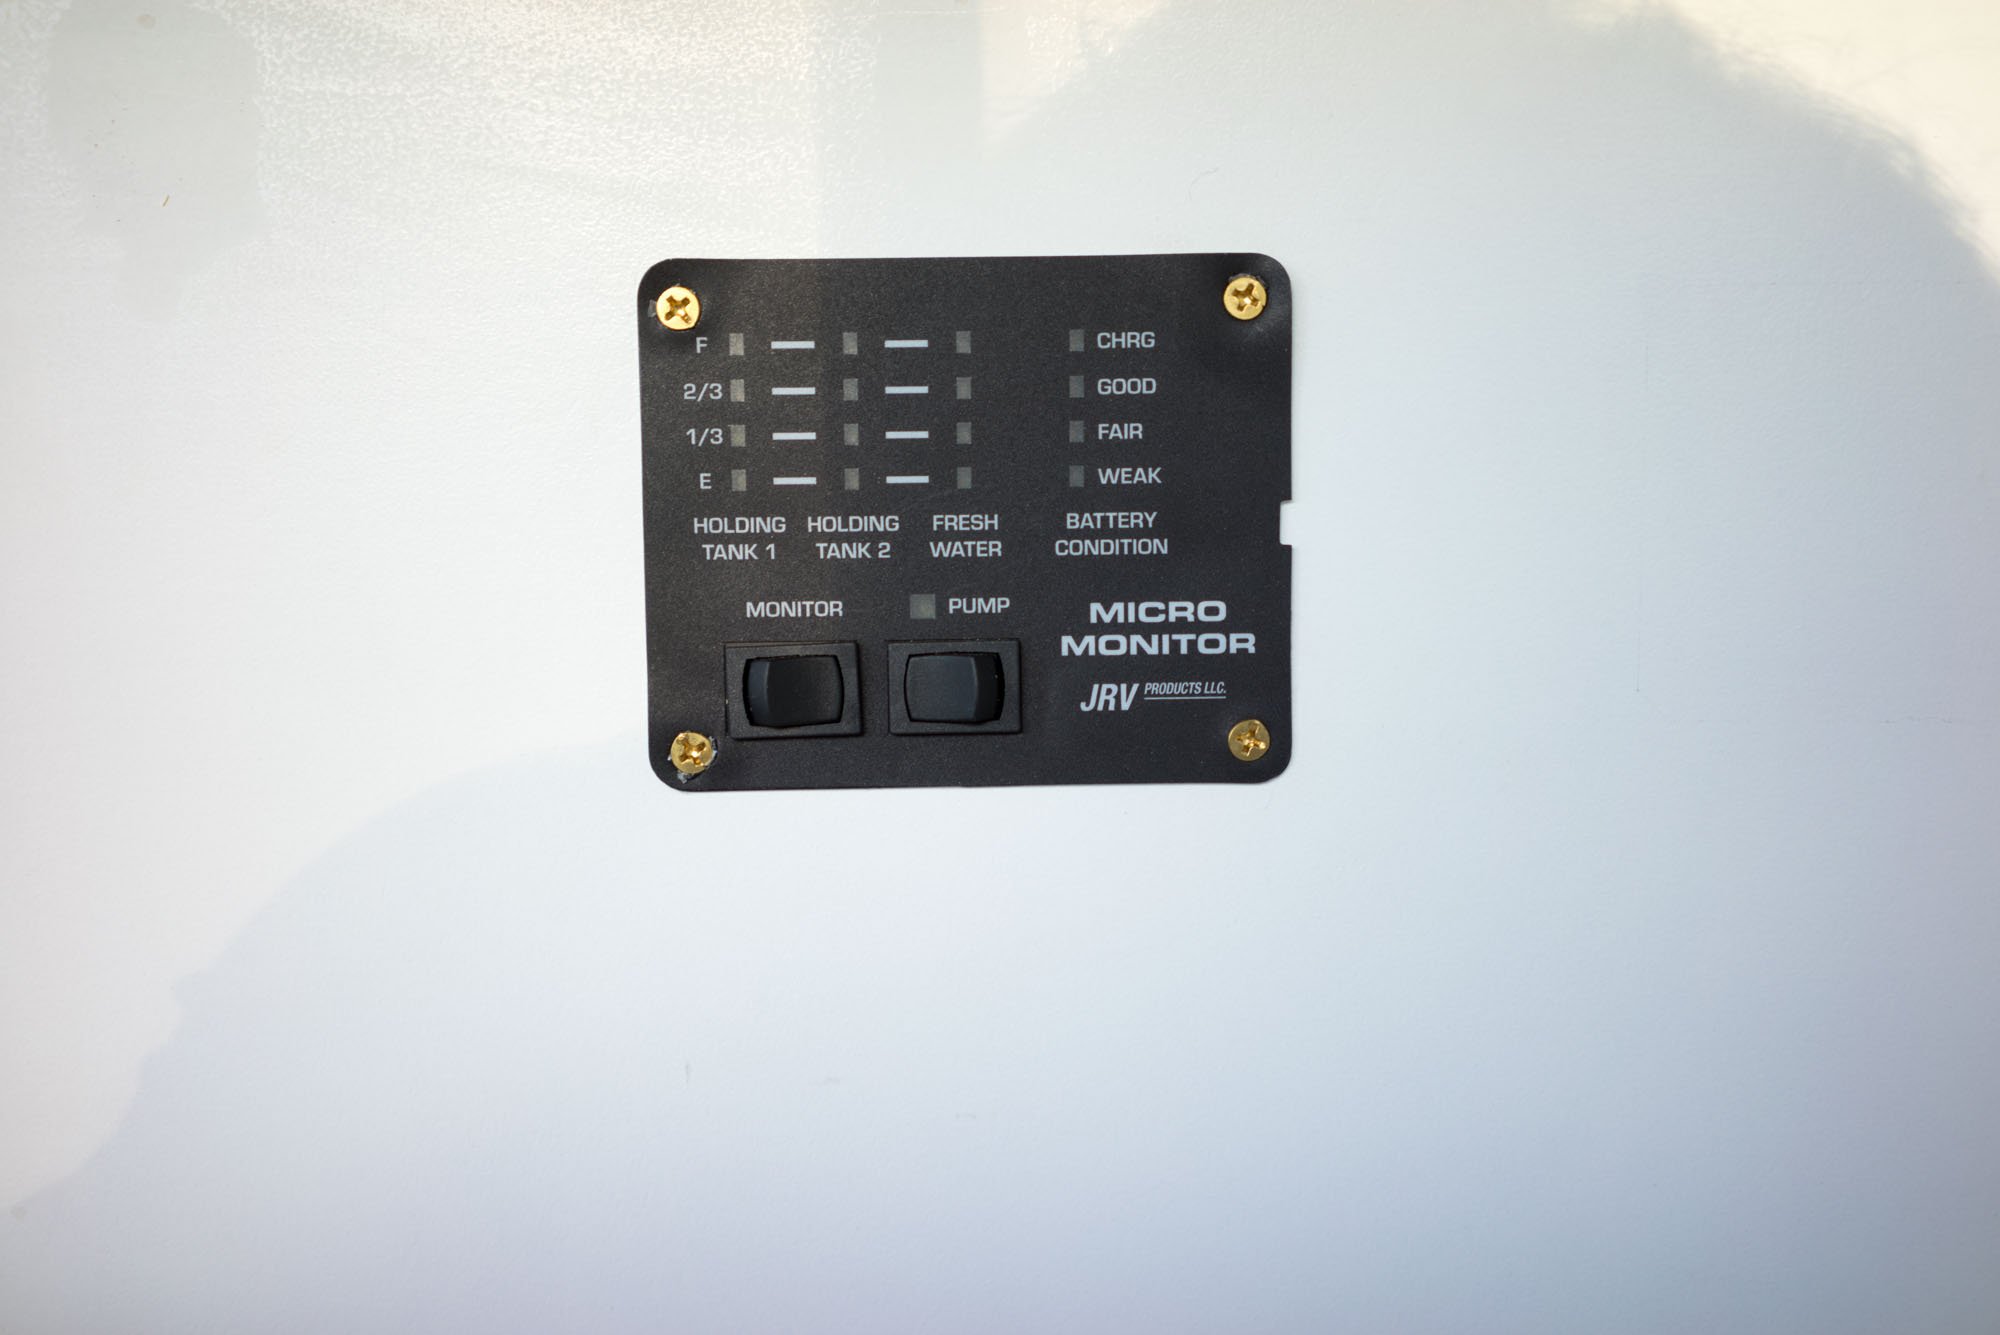
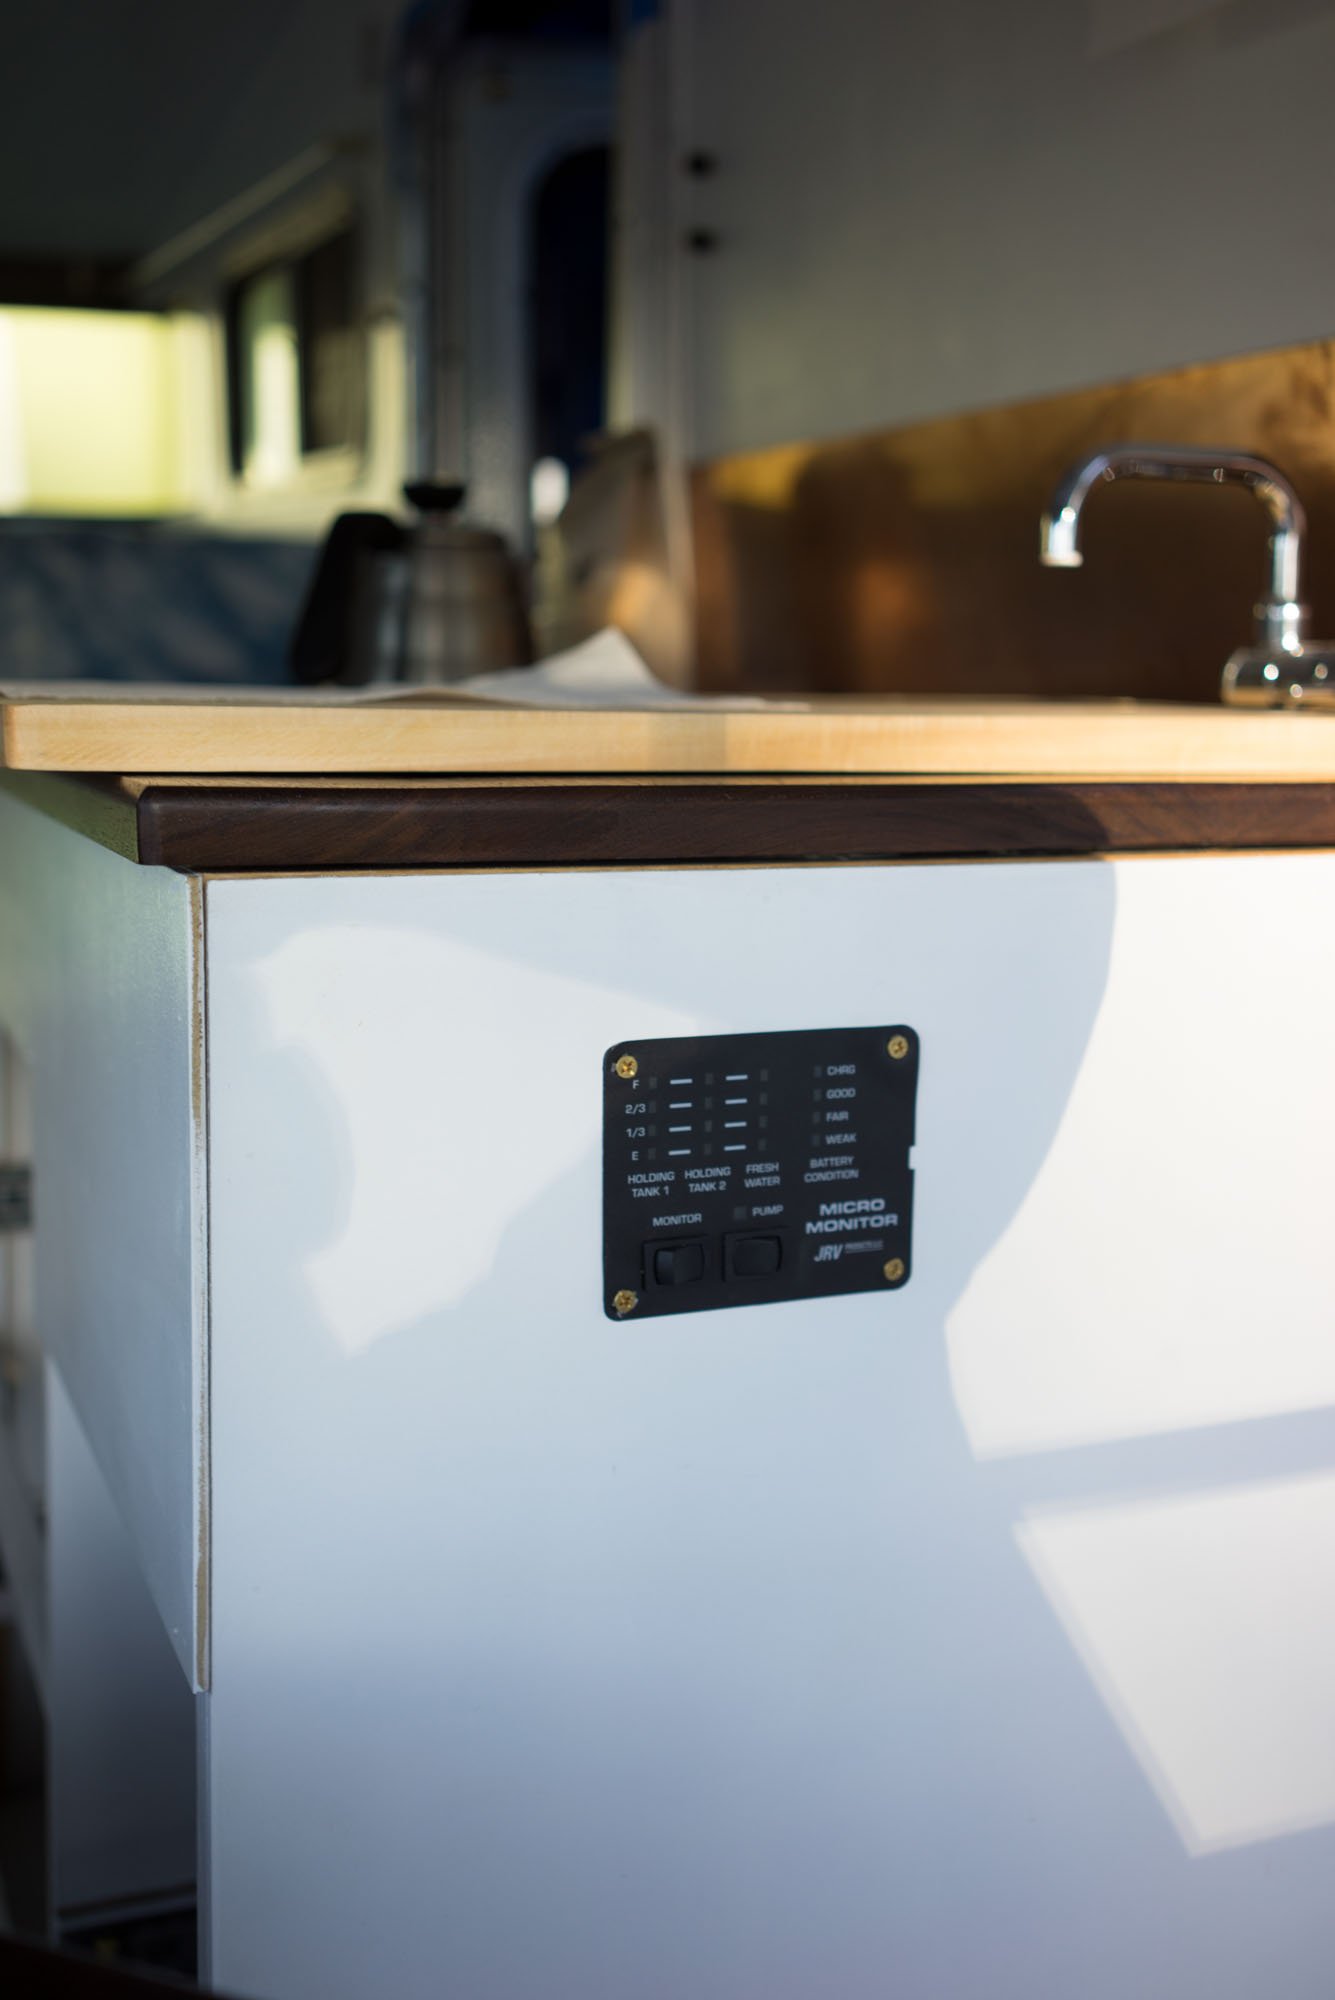
The JRV Tank Monitor is what keeps track of the levels of our fresh water and gray water tanks. It's also the home of the switch for the water pump. It only draws power when you hold the status switch to see the levels, and even then, it's just some small LED lights.
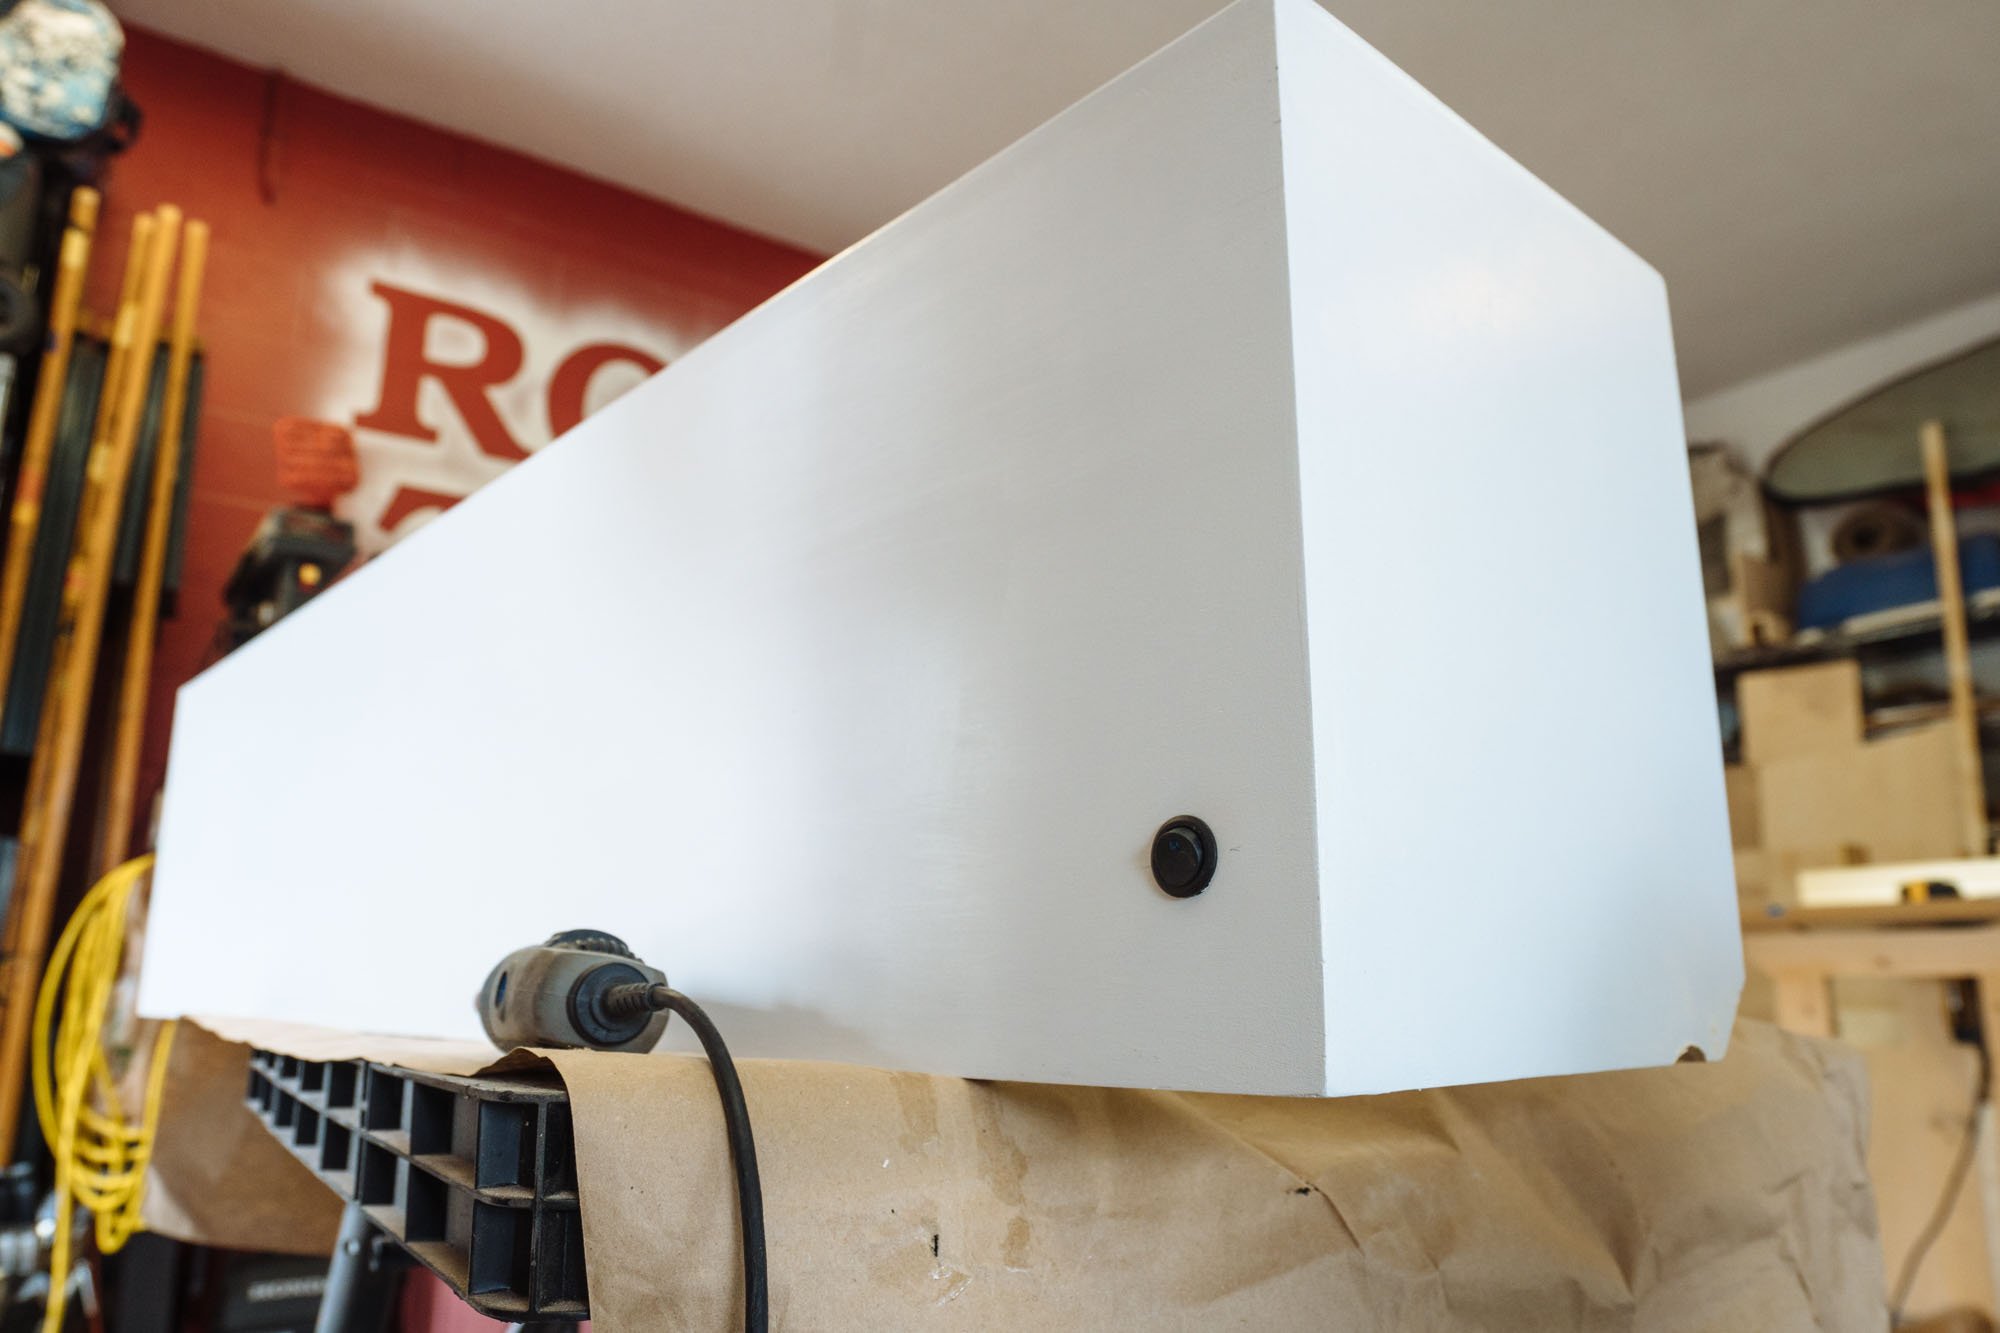
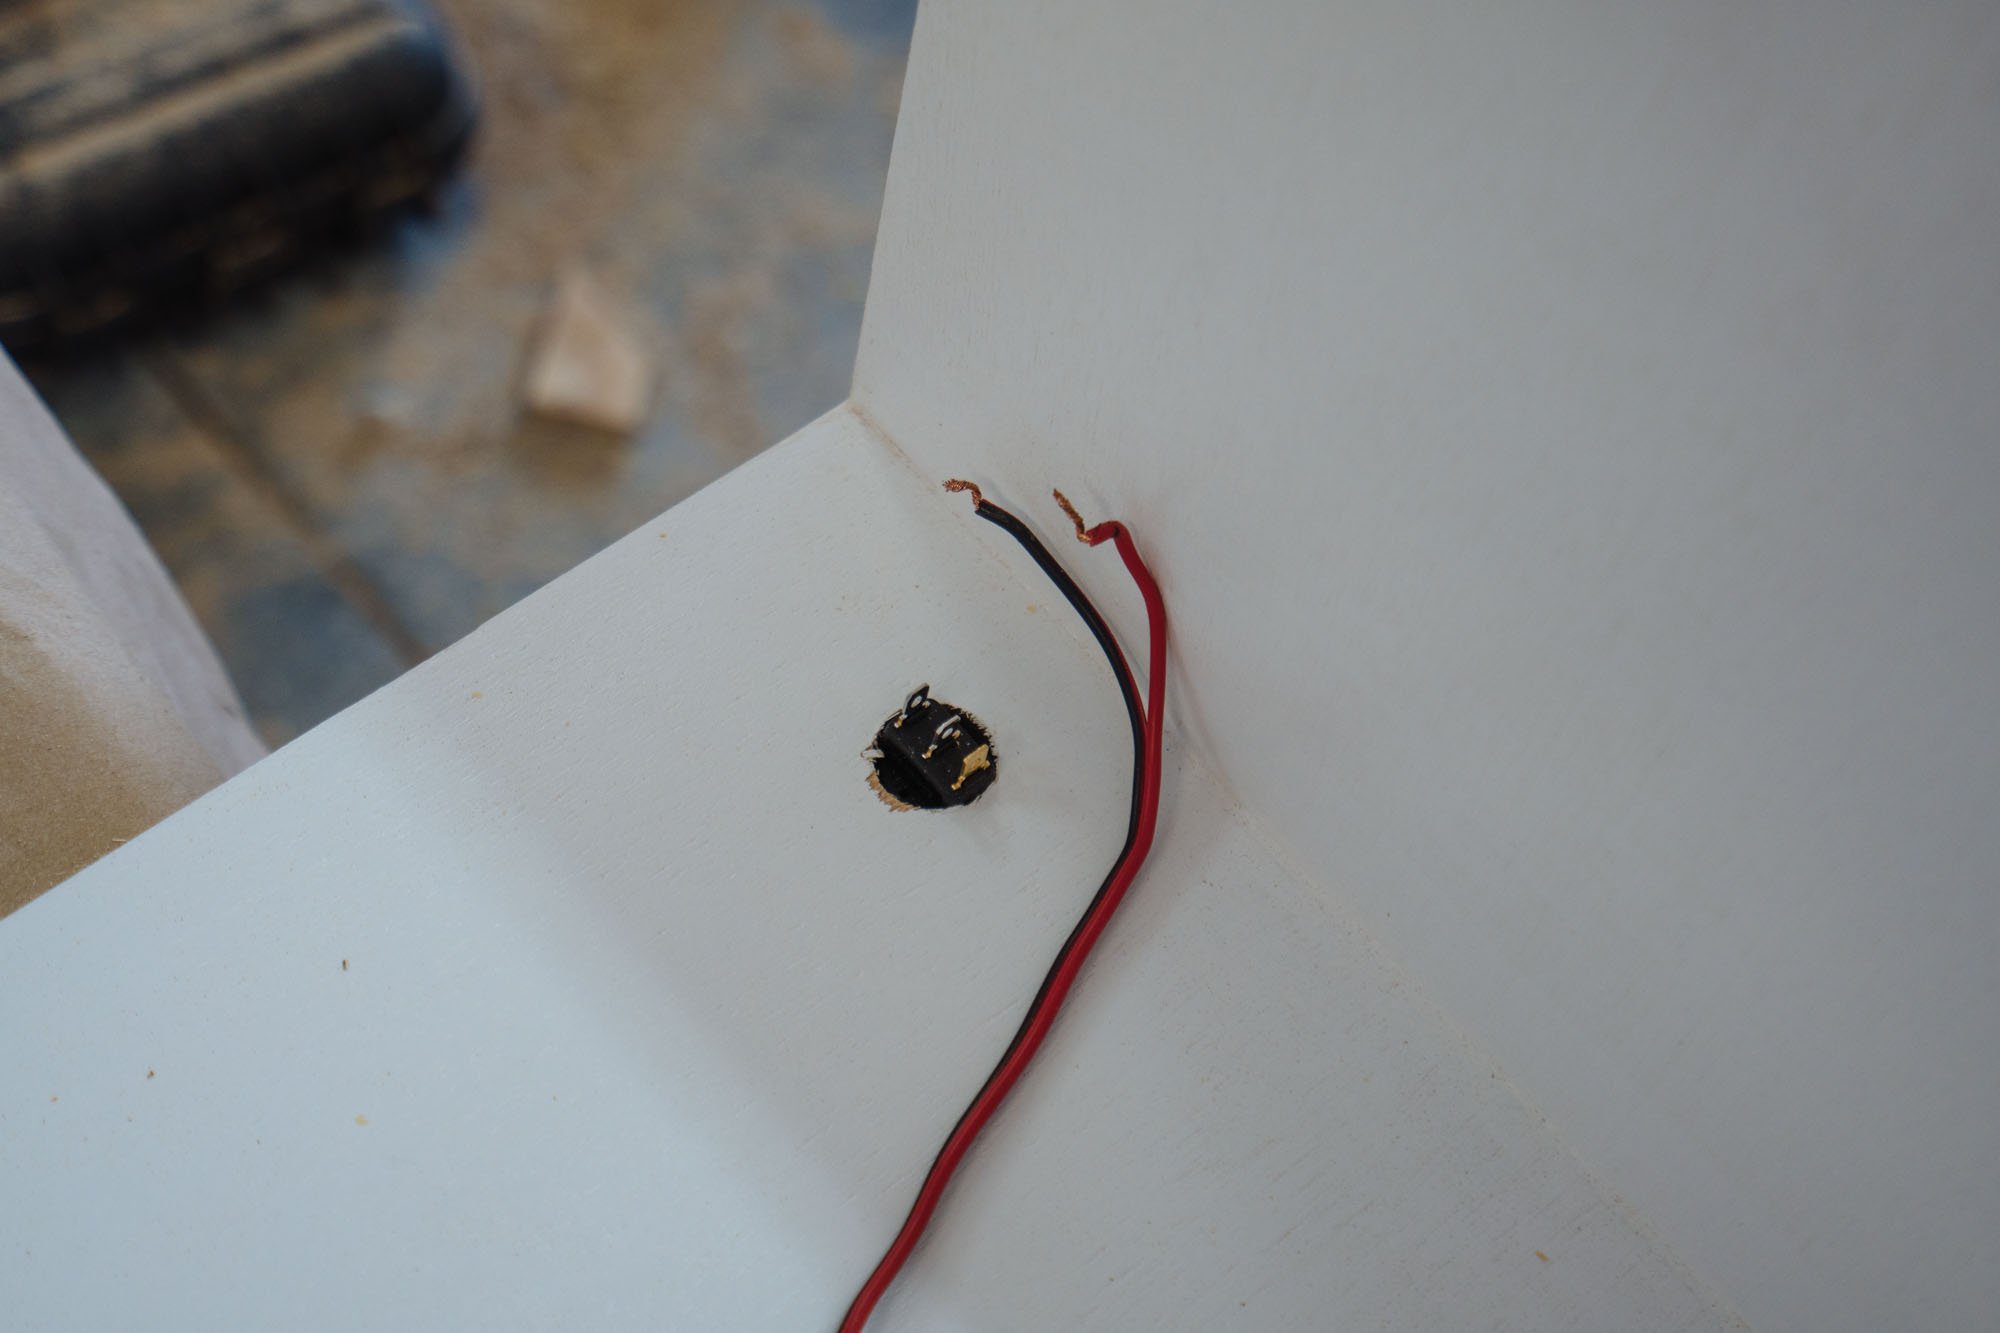
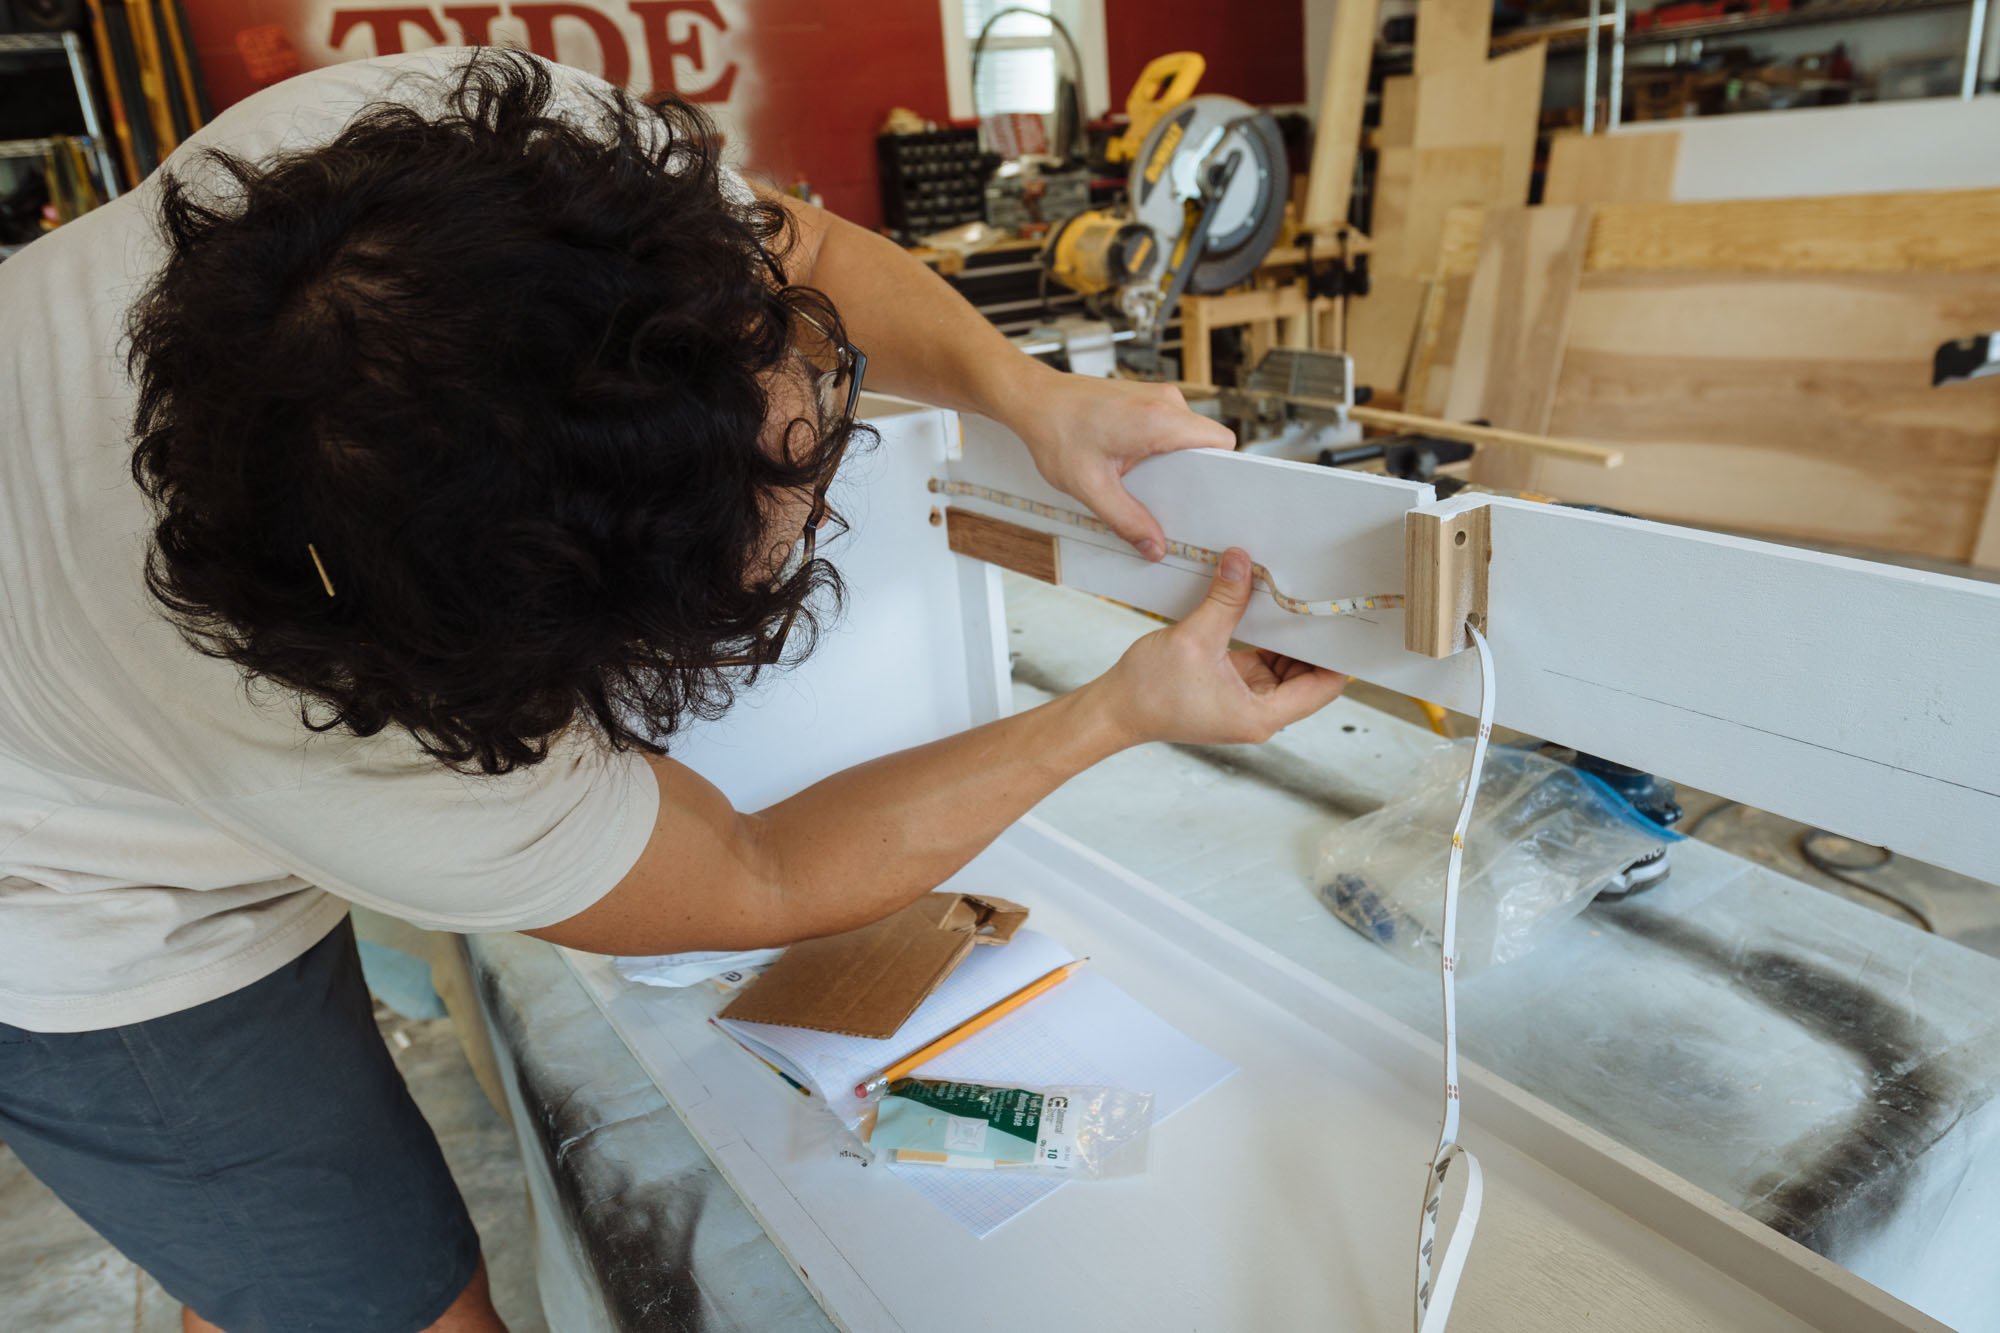
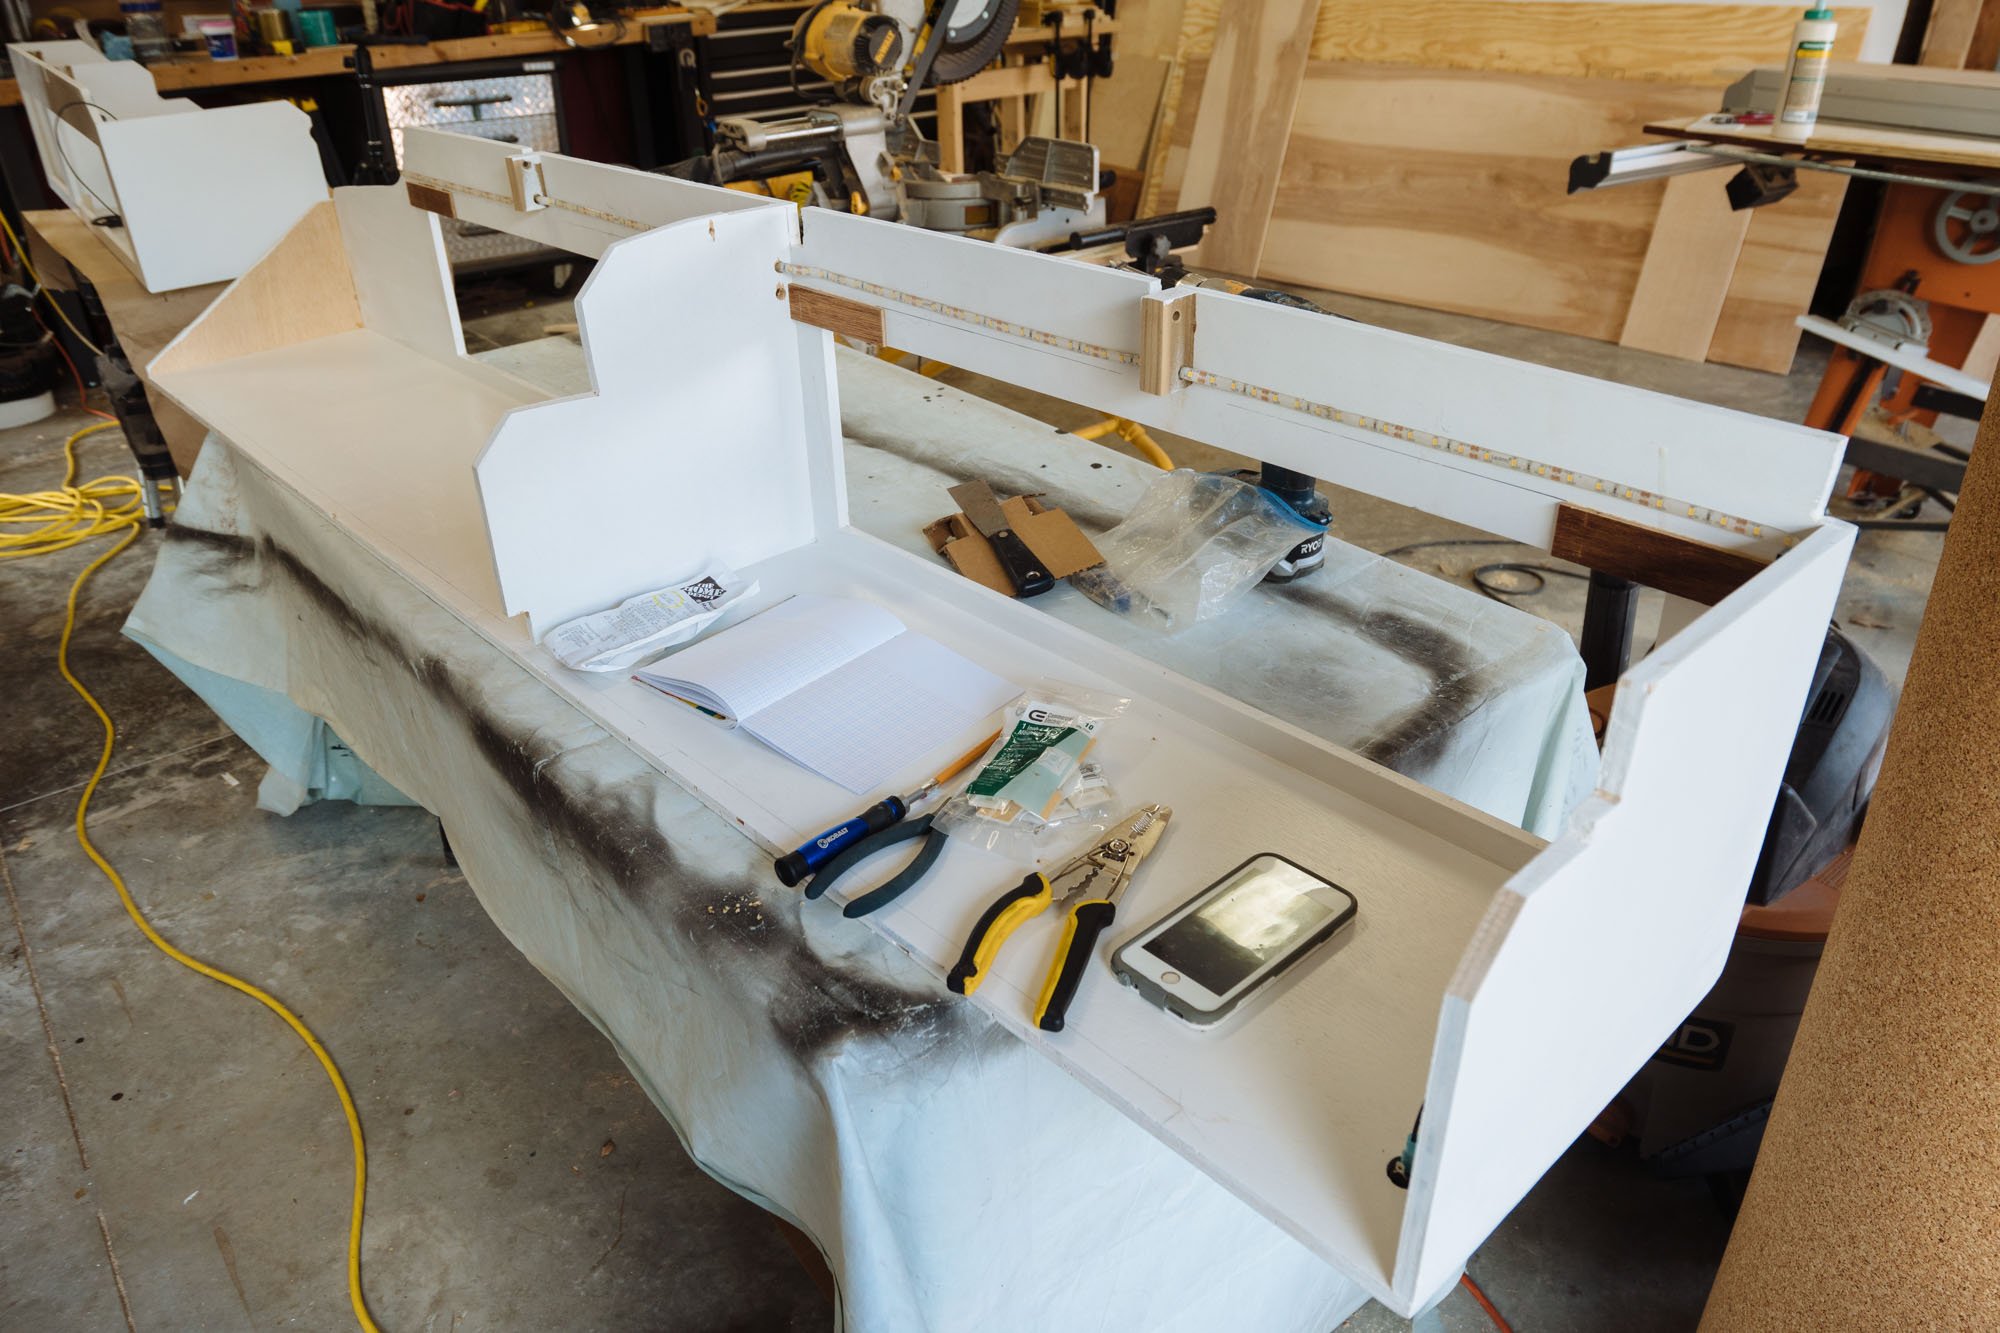
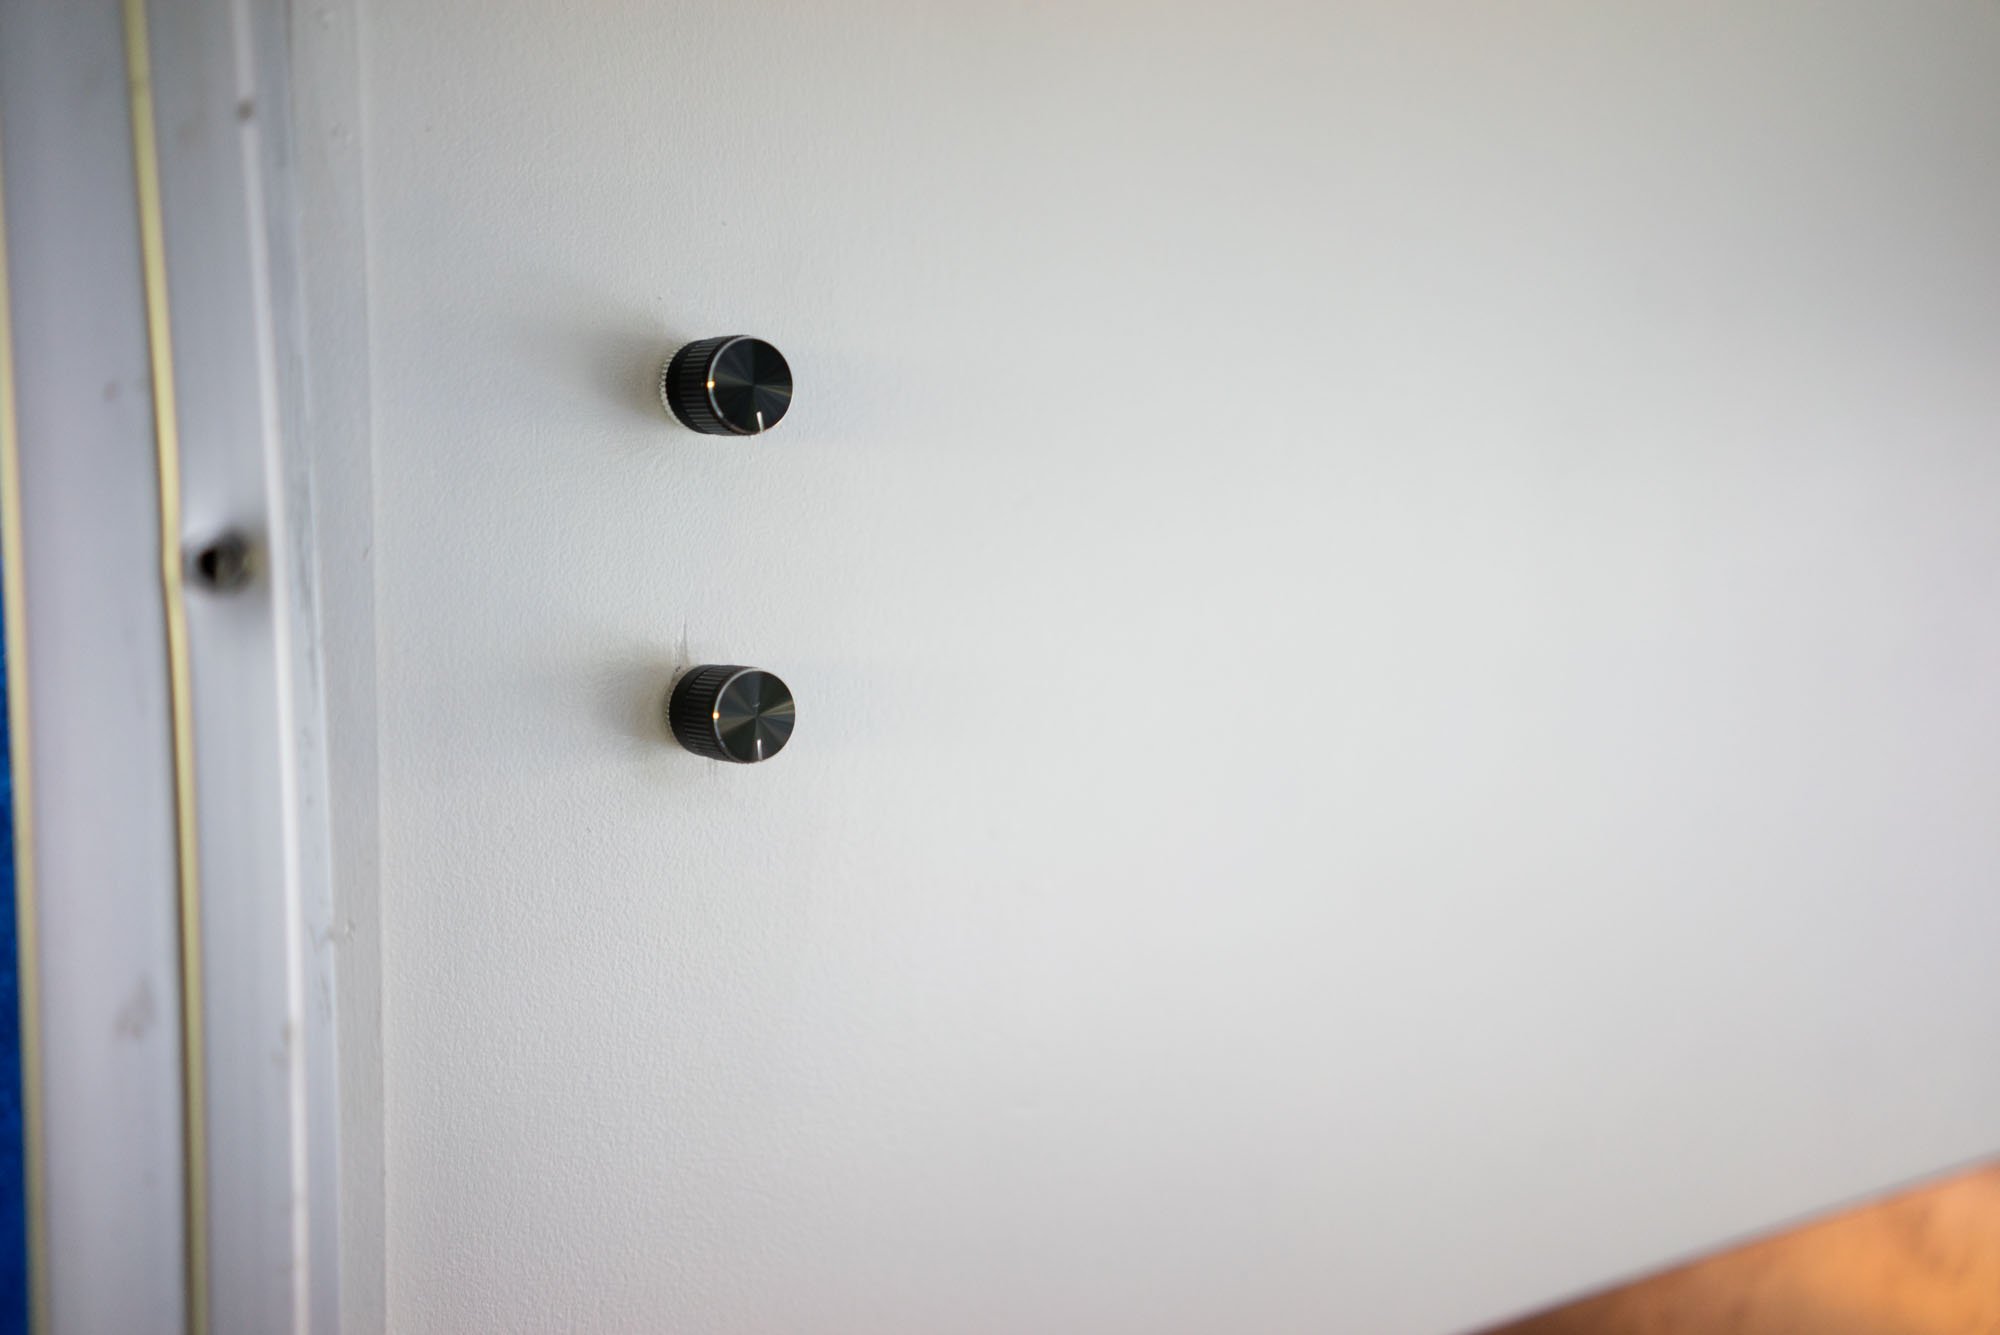
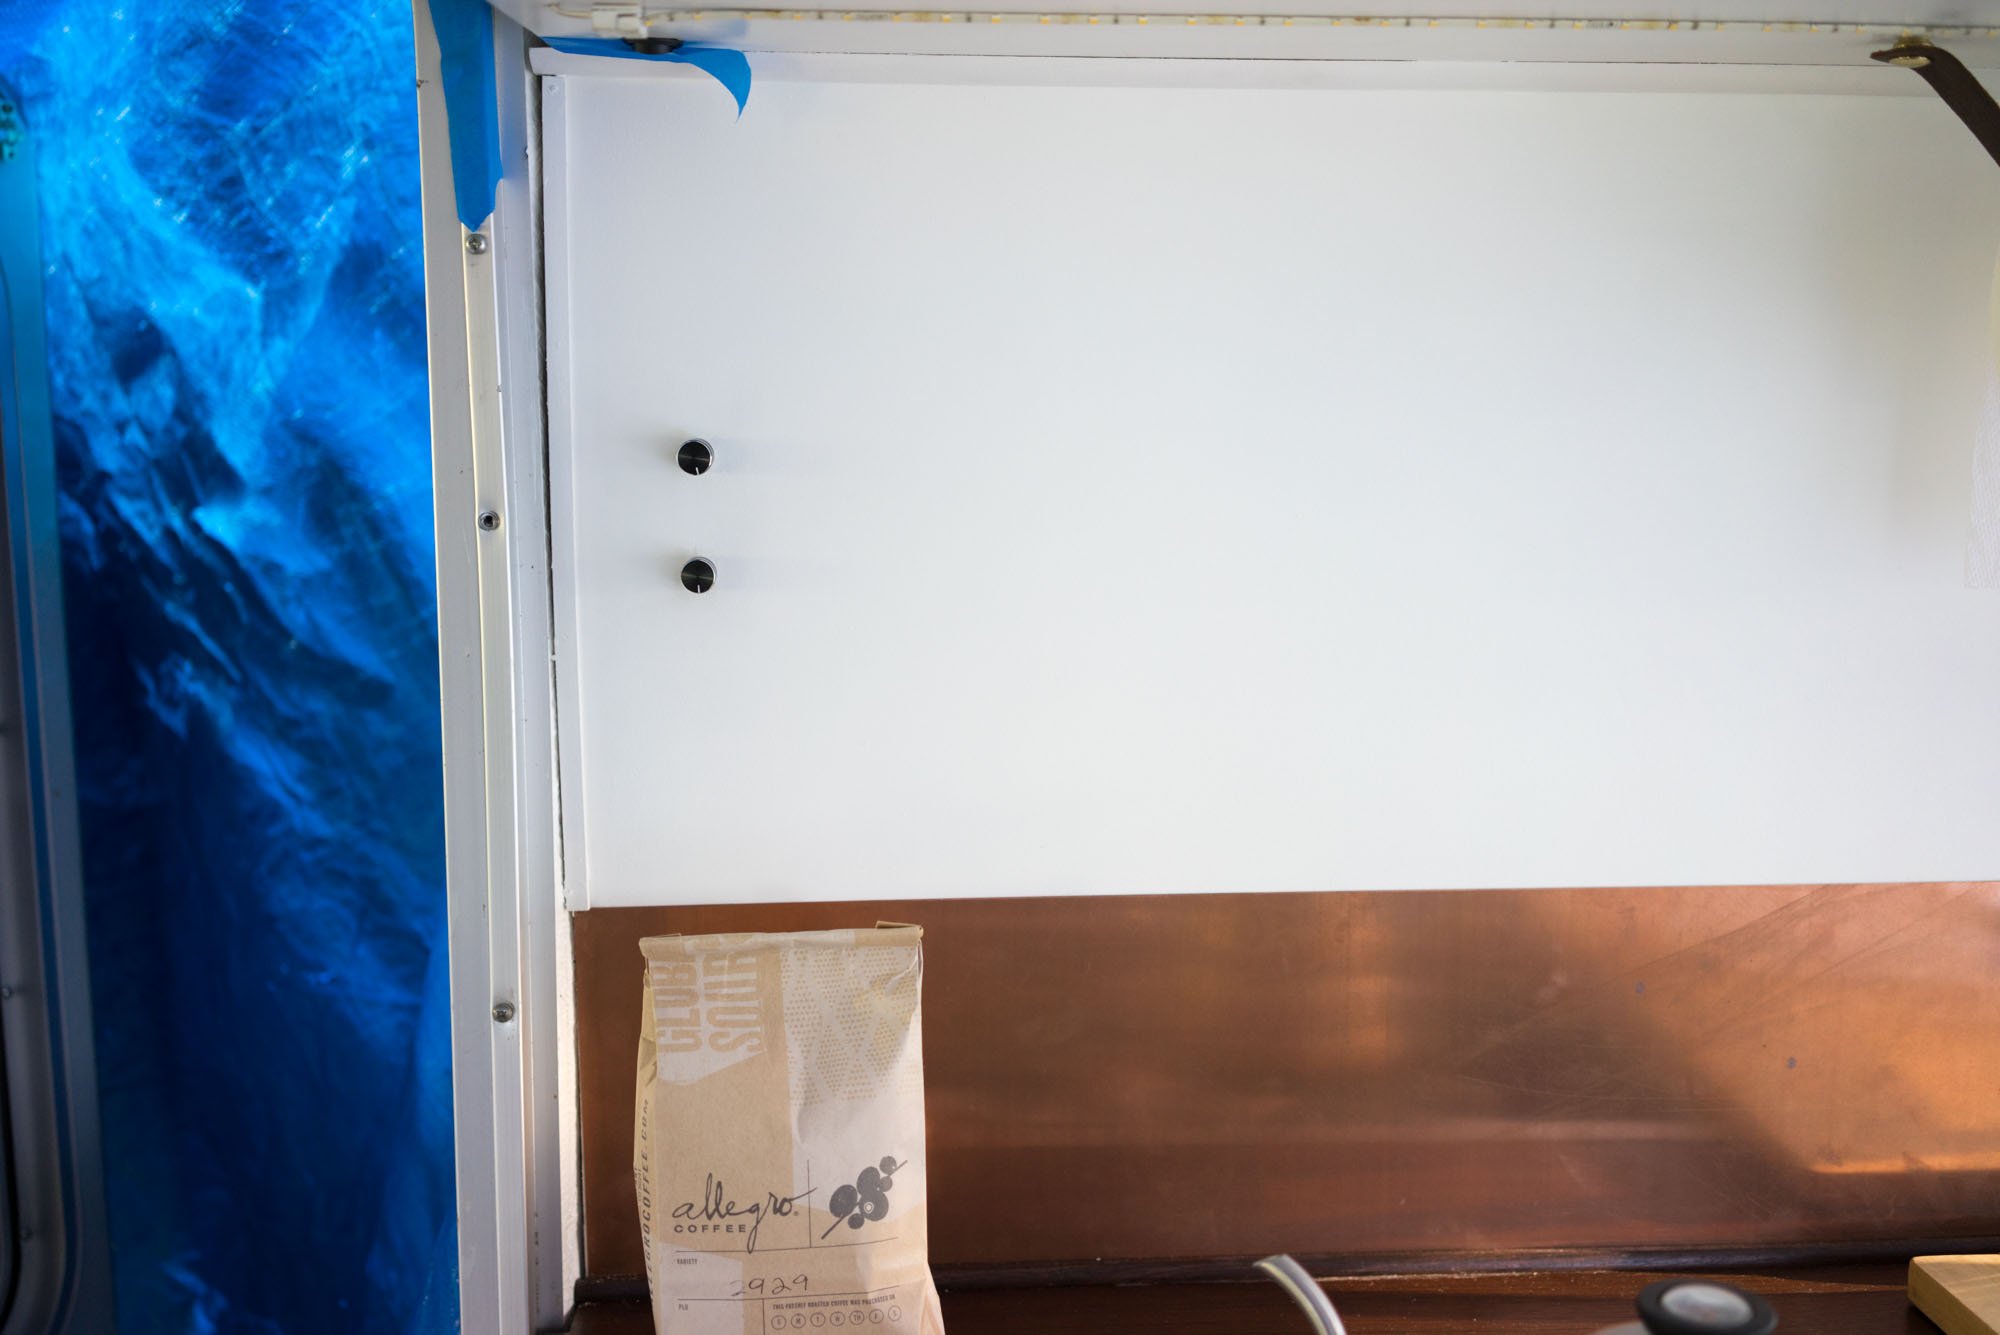
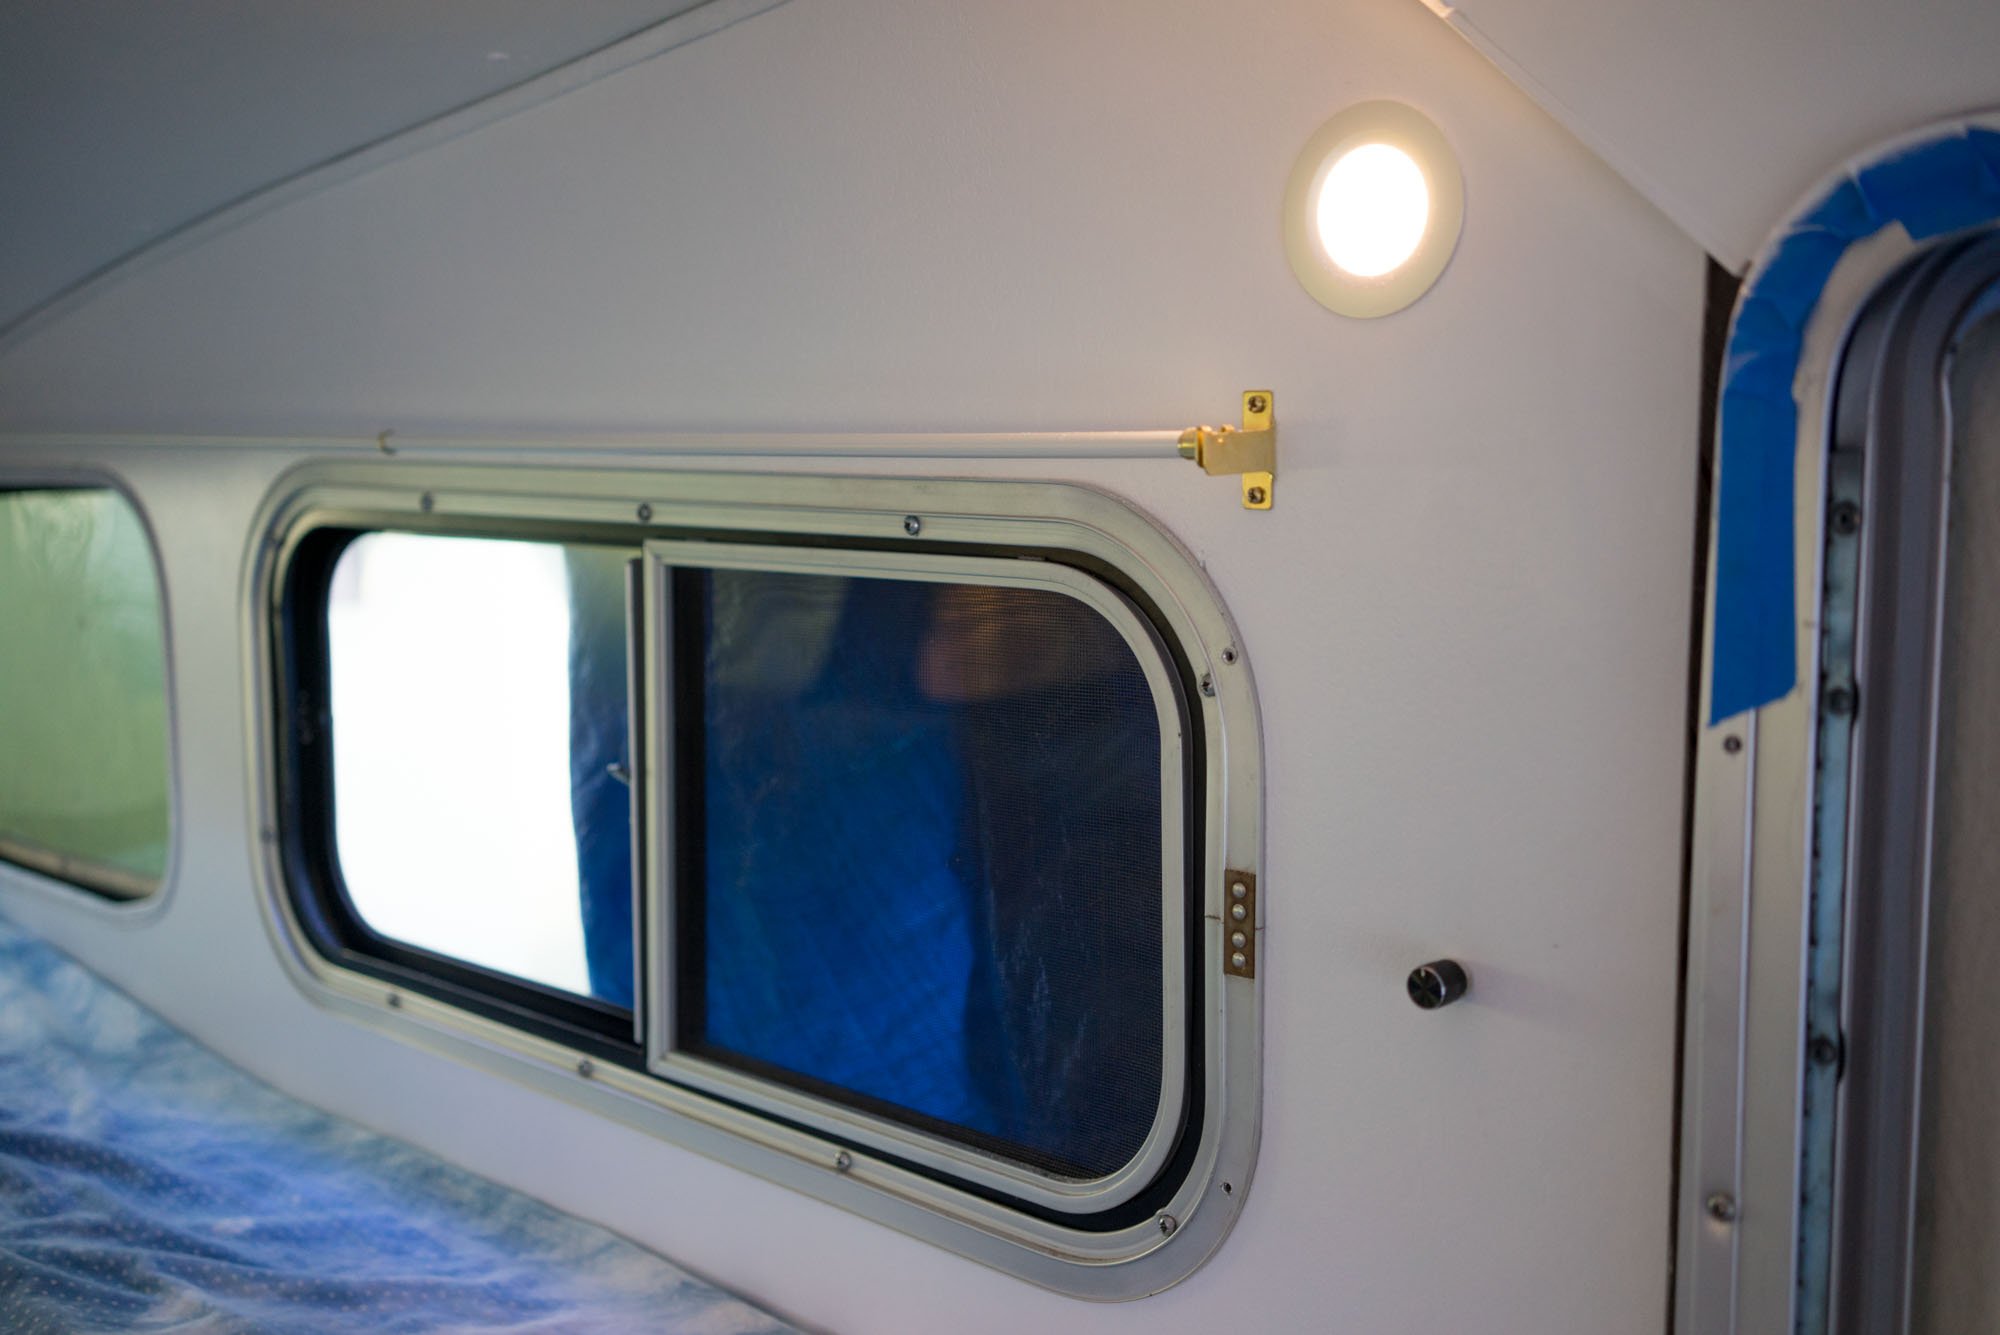
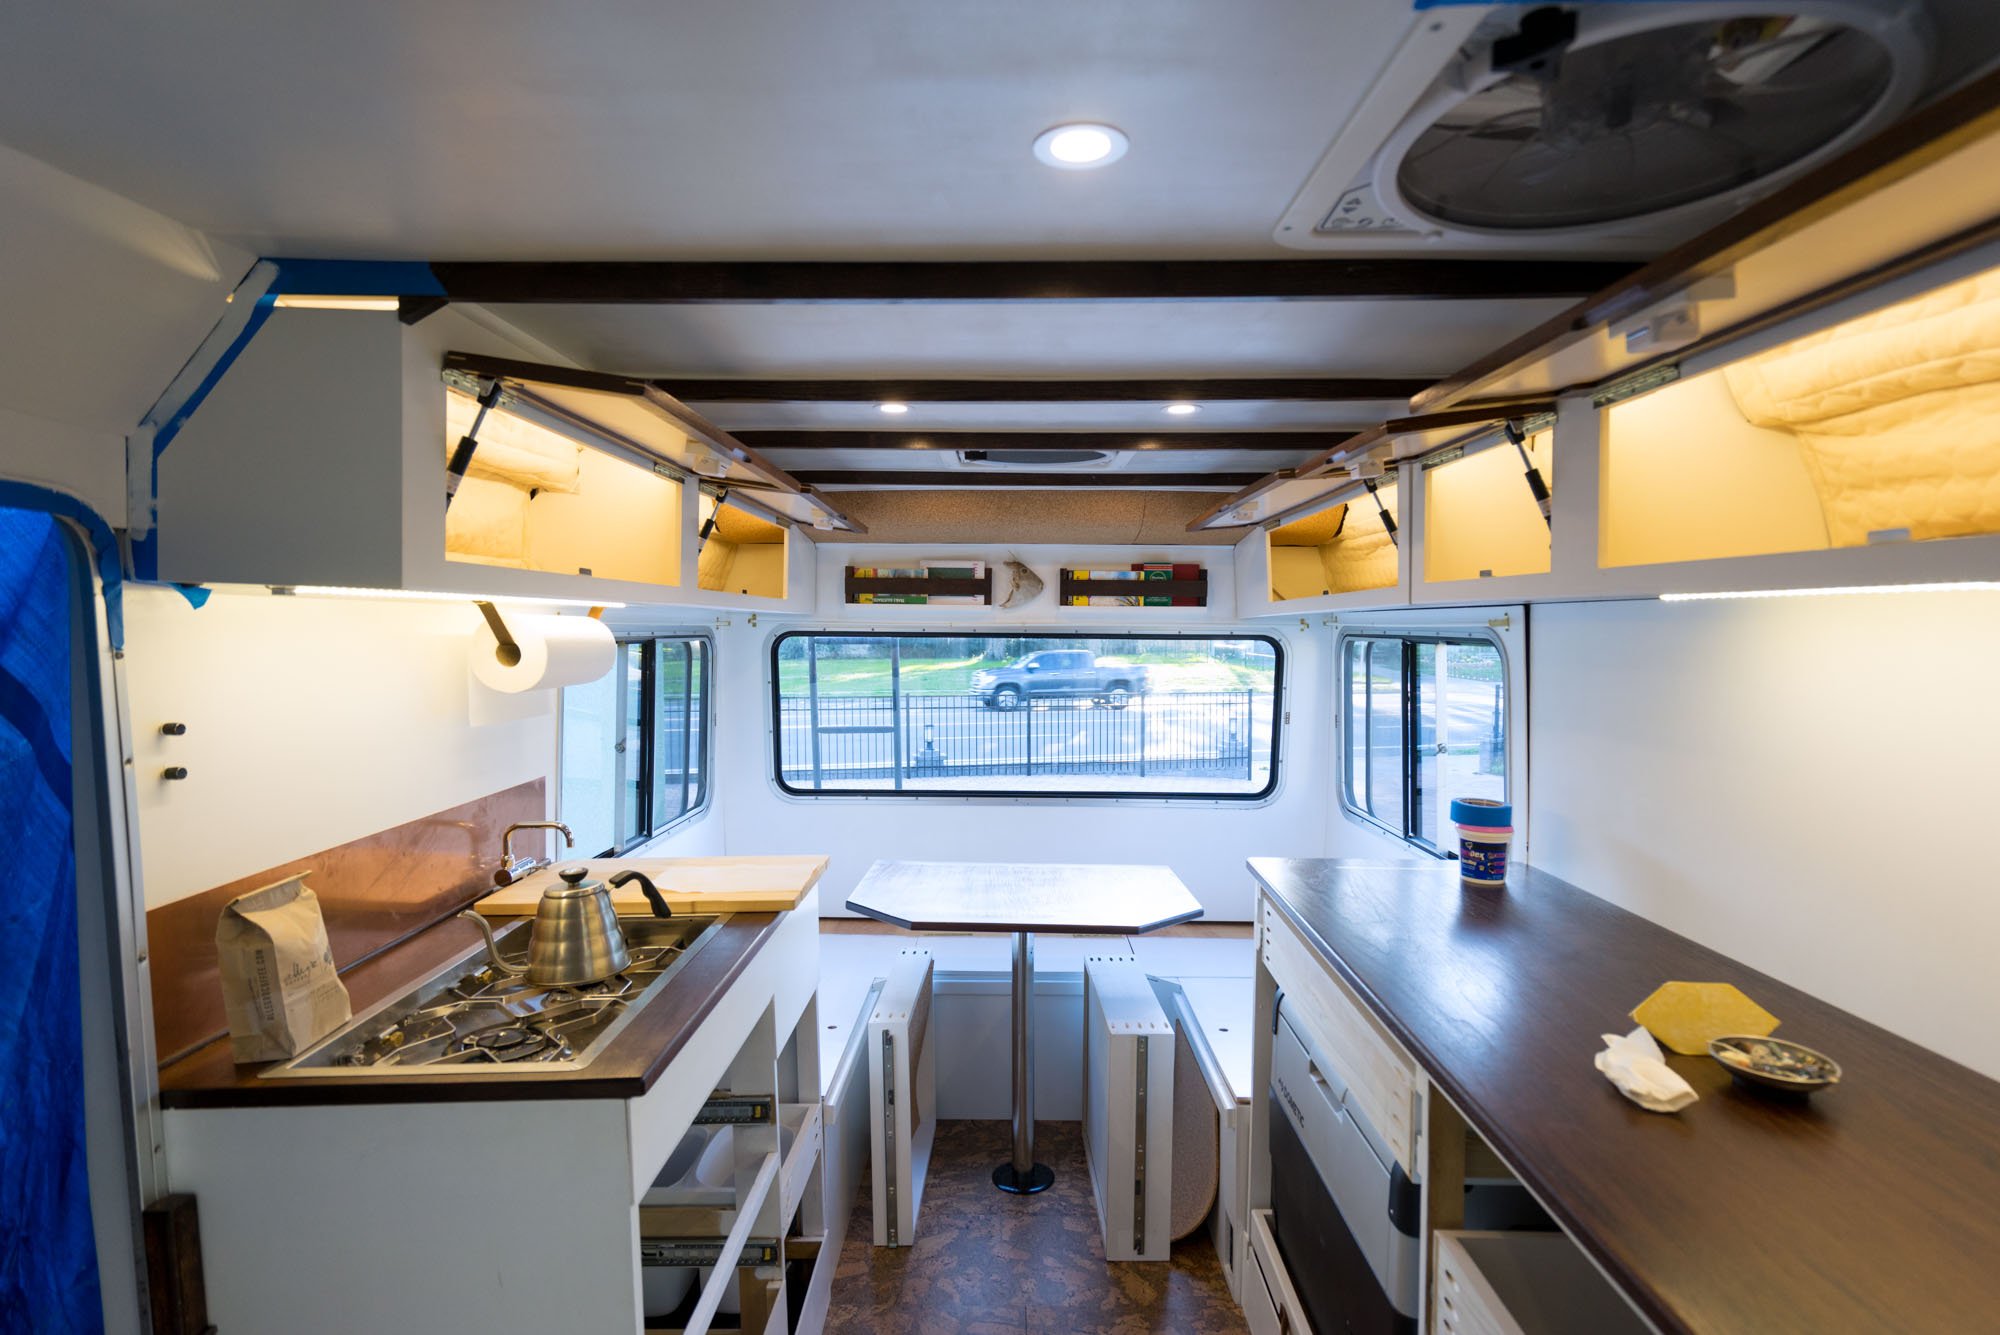
All the lights in Amelia are LEDs which means they all draw very little power. They don't give off a ton of heat which is another plus. We have some recessed lights in the ceiling and light strips in the cabinets and shining down on the counters. I set them up on dimmers so that they can be toned down (and take up less power). I saw some nice looking (and cheaper) touch sensitive dimmers but I opted for a mechanical one so that it wouldn't take any additional power to use.
For the USB ports, I just got a couple of standard marine ones from Amazon. They're cheap and easy to come by. I wired a switch into them so that when we aren't using them, they won't be drawing power.
The inverter is an AIMS pure sine wave inverter. It's a 600W inverter which is a little overkill for us, but we wanted it just in case. The biggest draw on it will be a handheld blender that maxes out at 280W. The fact that it's a pure sine wave inverter is important because inverters that aren't pure sine wave can damage laptops. It also has a USB port on it, although we probably won't use it.


Connecting the Dots
So how are all these things connected? Let's get into it!

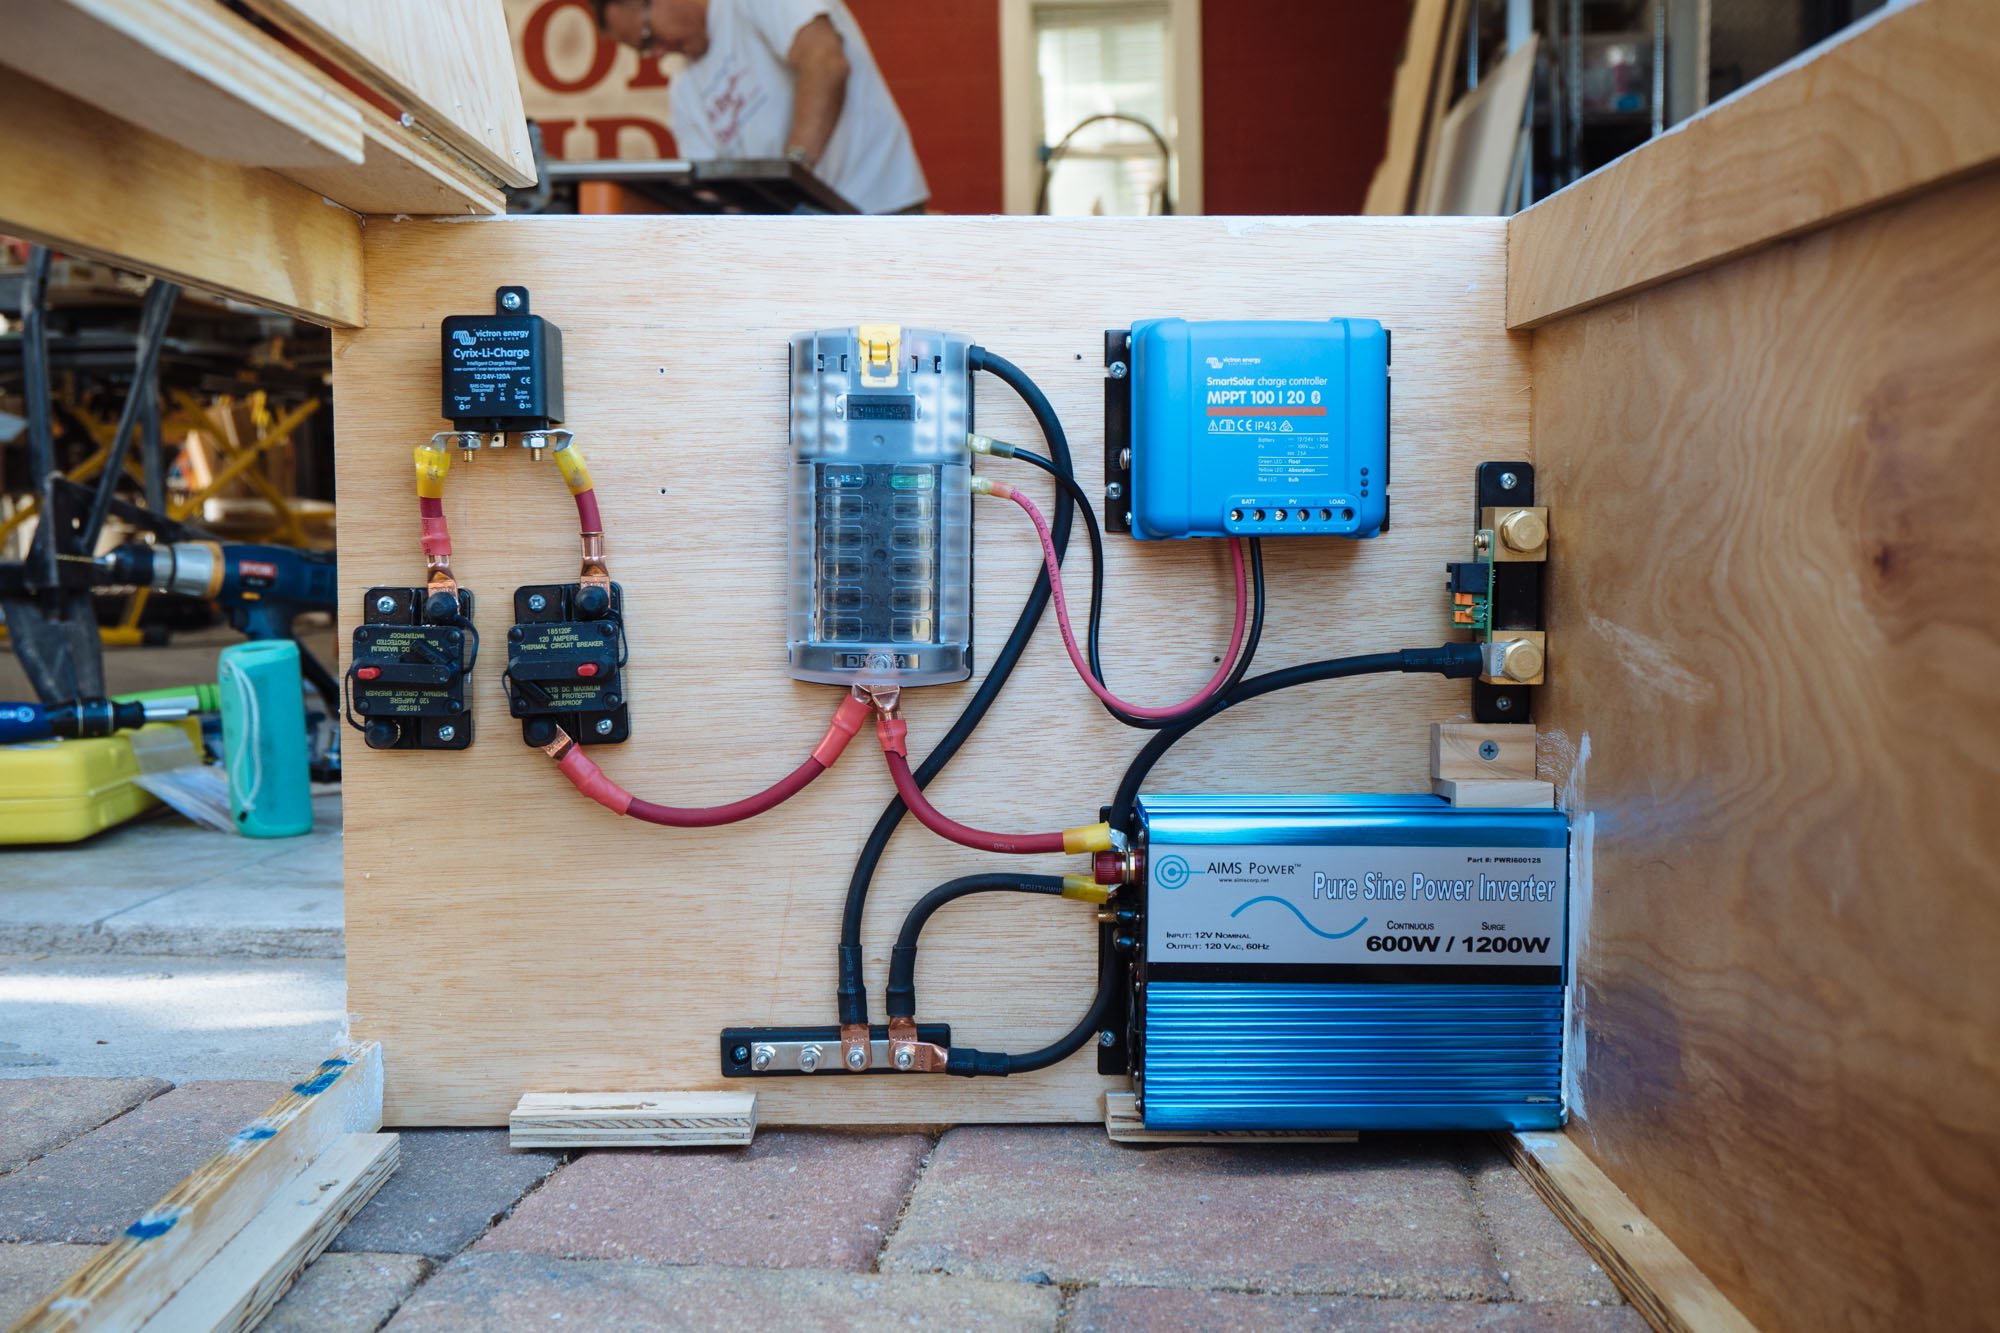
Doesn't this look fun?!
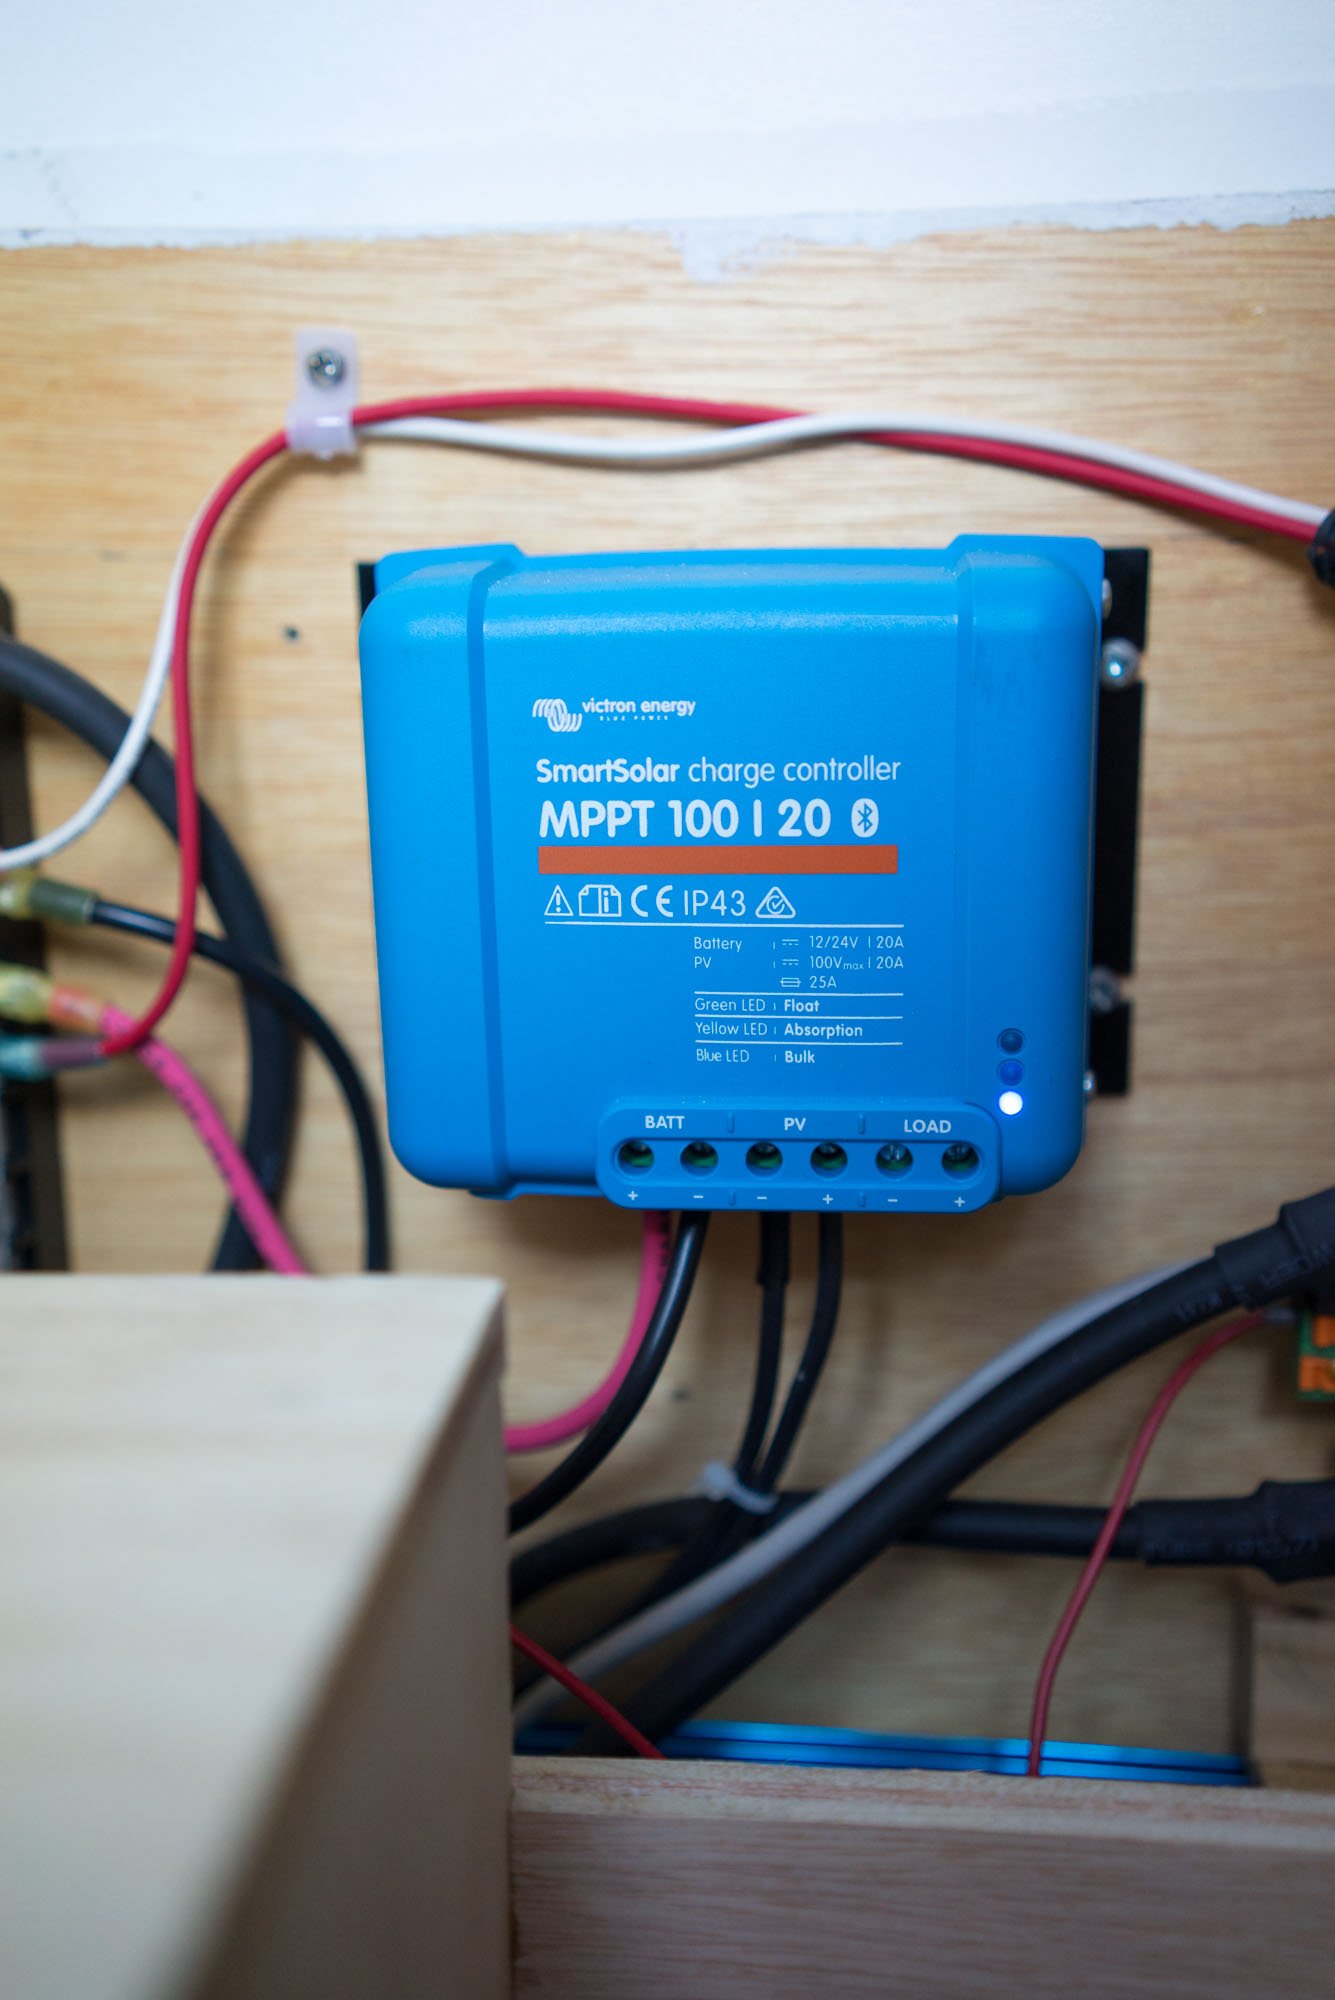
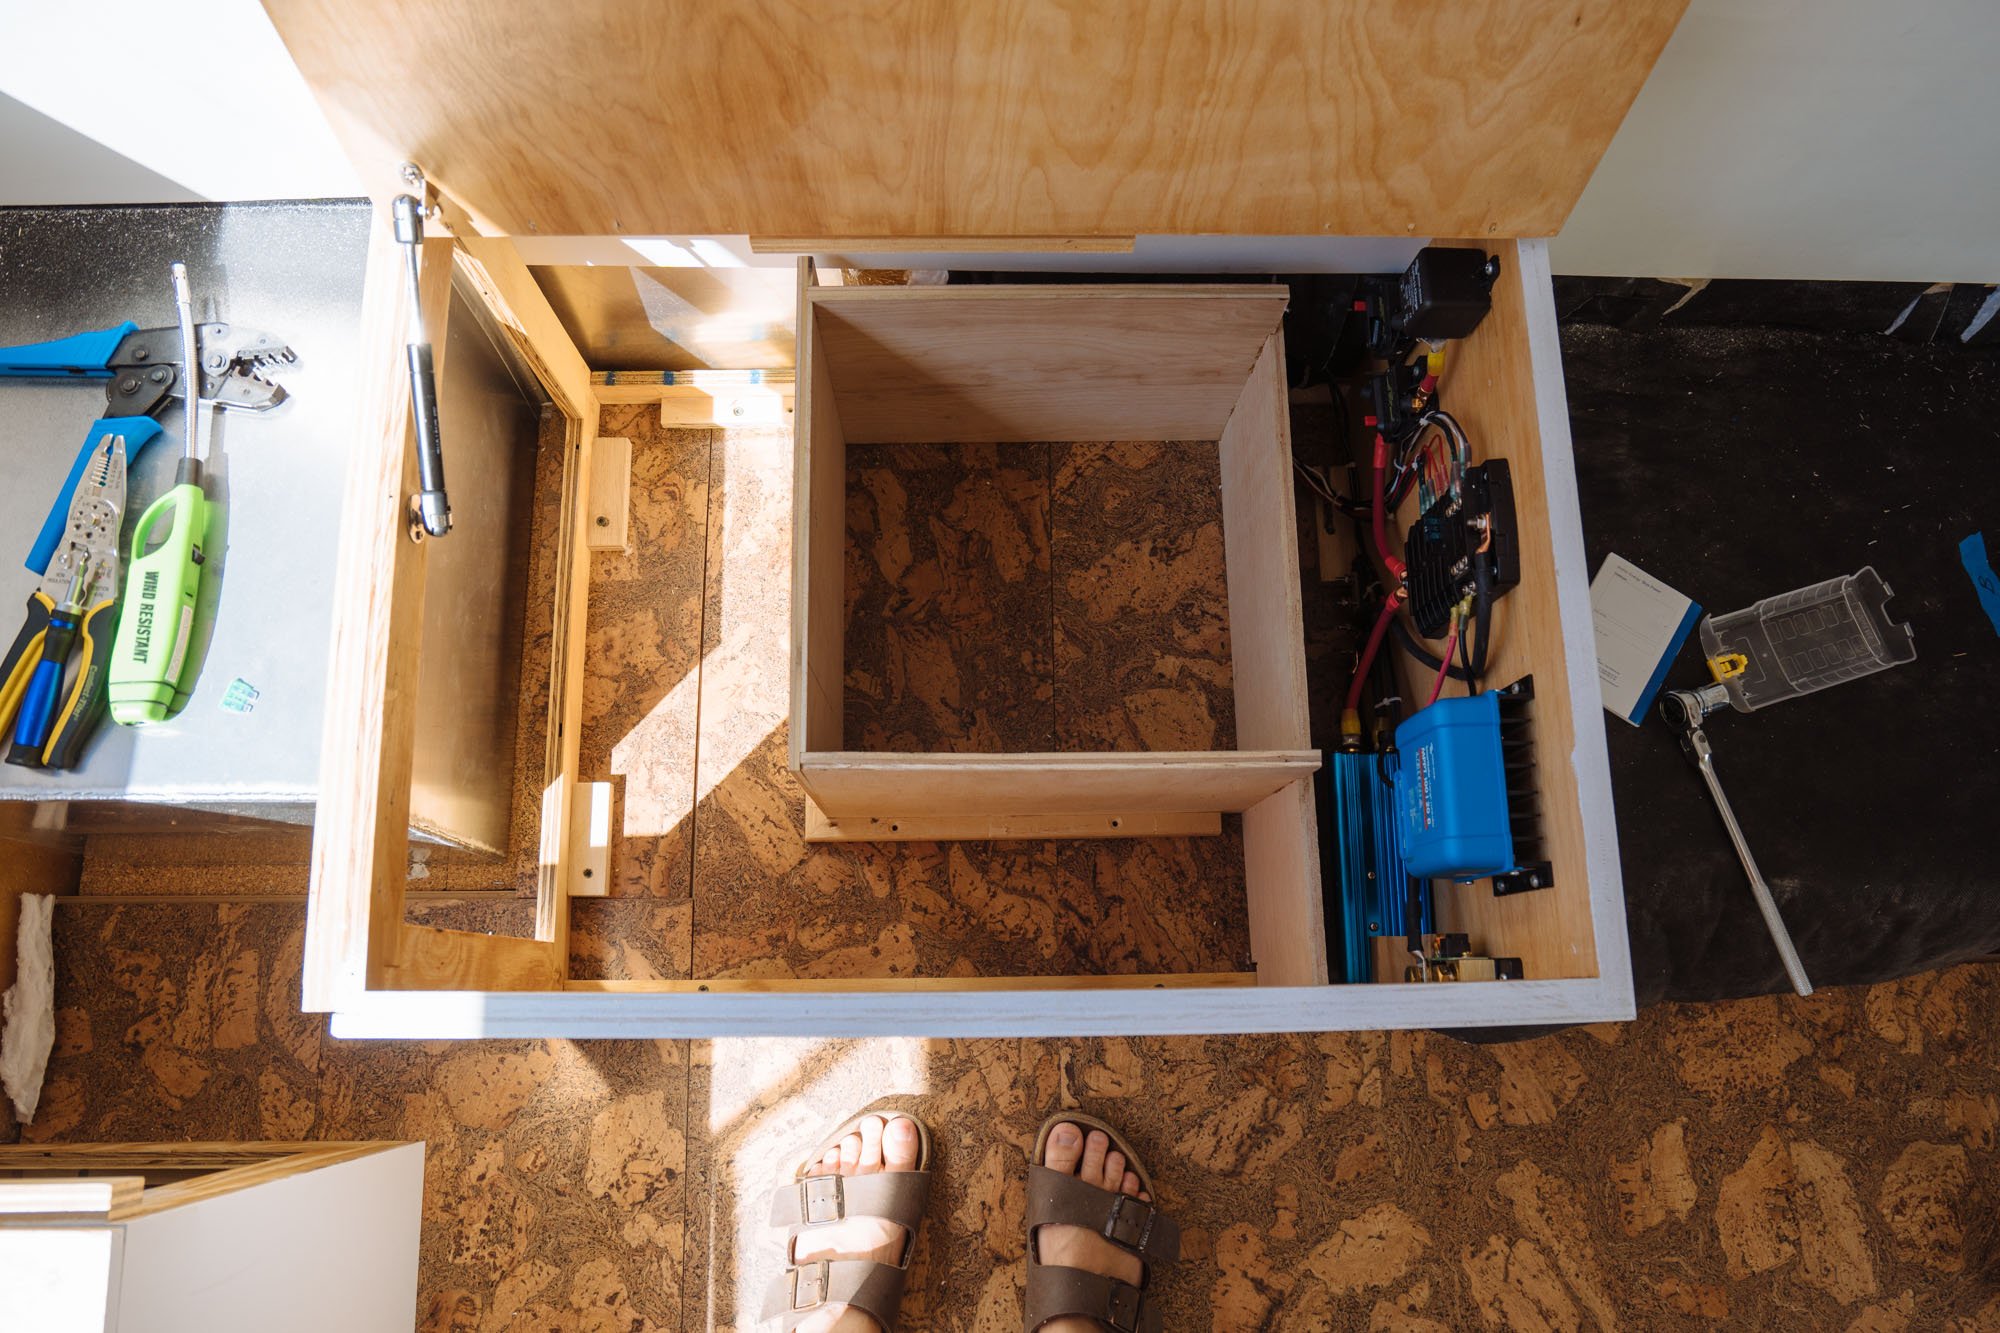
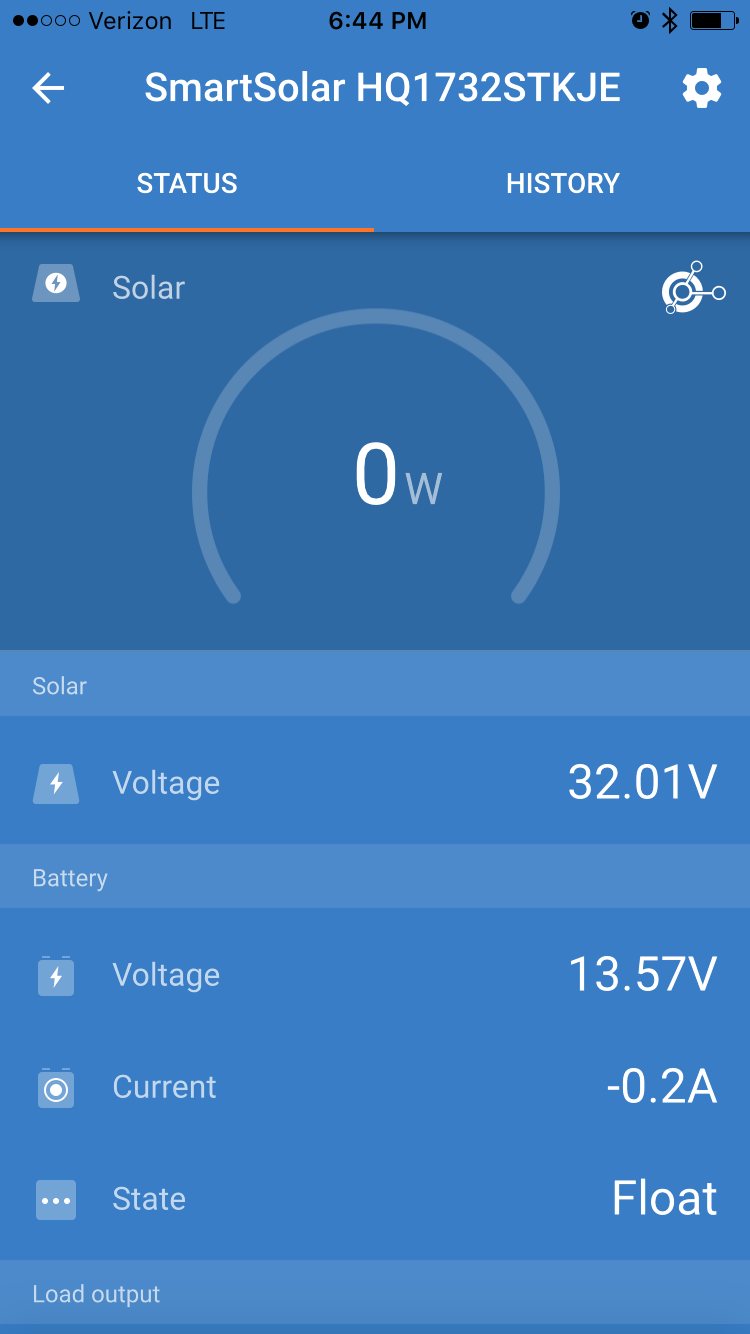
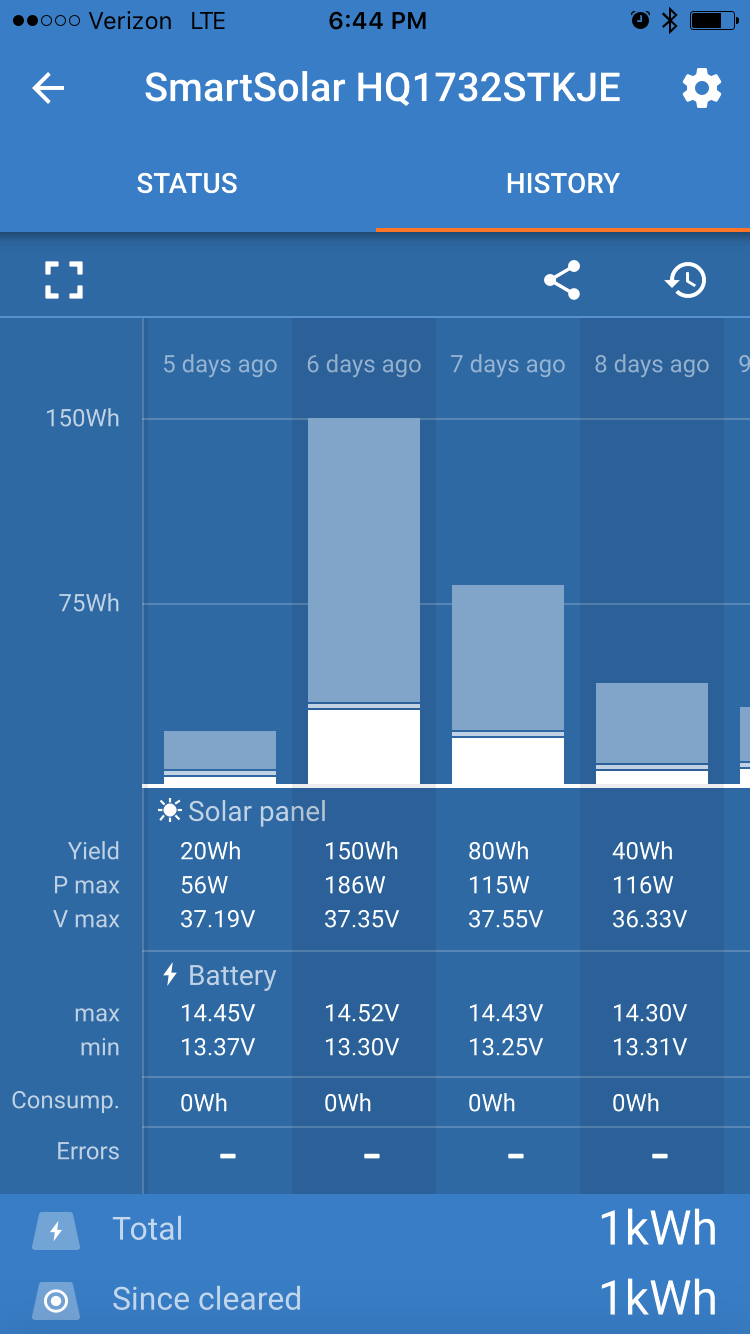
The solar panel runs to a charge controller. The charge controller then runs to a fuse panel, which then runs to a circuit breaker, and then finally to the batteries. Our charge controller is the Victron SmartSolar MPPT 100/20. It has built in bluetooth so we can monitor how much power we're bringing in. It also keeps a history of what it pulls in per day. It's super handy and fascinating to see it in action. It's important that it's MPPT because the alternative (PWM) wouldn't process the power coming from our panel nearly as well. MPPT charge controllers are up to 30% more efficient than PWM. That's a huge amount to just throw away by using a PWM charge controller.
The Victron Cyrix-Li-ct (Isolator/Combiner) bridges the gap between the starter battery and the house batteries. There are circuit breakers on either side of the Cyrix to prevent shorts that might cause a fire.
All the items that draw from the batteries are connected through a fuse panel (the same fuse panel the charge controller goes to). That fuse panel is then connected to a circuit breaker and then to the batteries (as described in the charge controller a few paragraphs above).
For the ground connections, I setup a negative bus bar that is connected to the chassis.
With things connected this way I don't have to put a ton of wires on the battery terminals. It not only looks good, it also helps keep things more organized.

Keeping Track of it All
With Victron's smartphone app I'm able to keep tabs on everything. As mentioned before, the charge controller has bluetooth built in so I can monitor how it's doing in real time and look at historical data. It's really interesting to see how a cloud passing by affects the output.
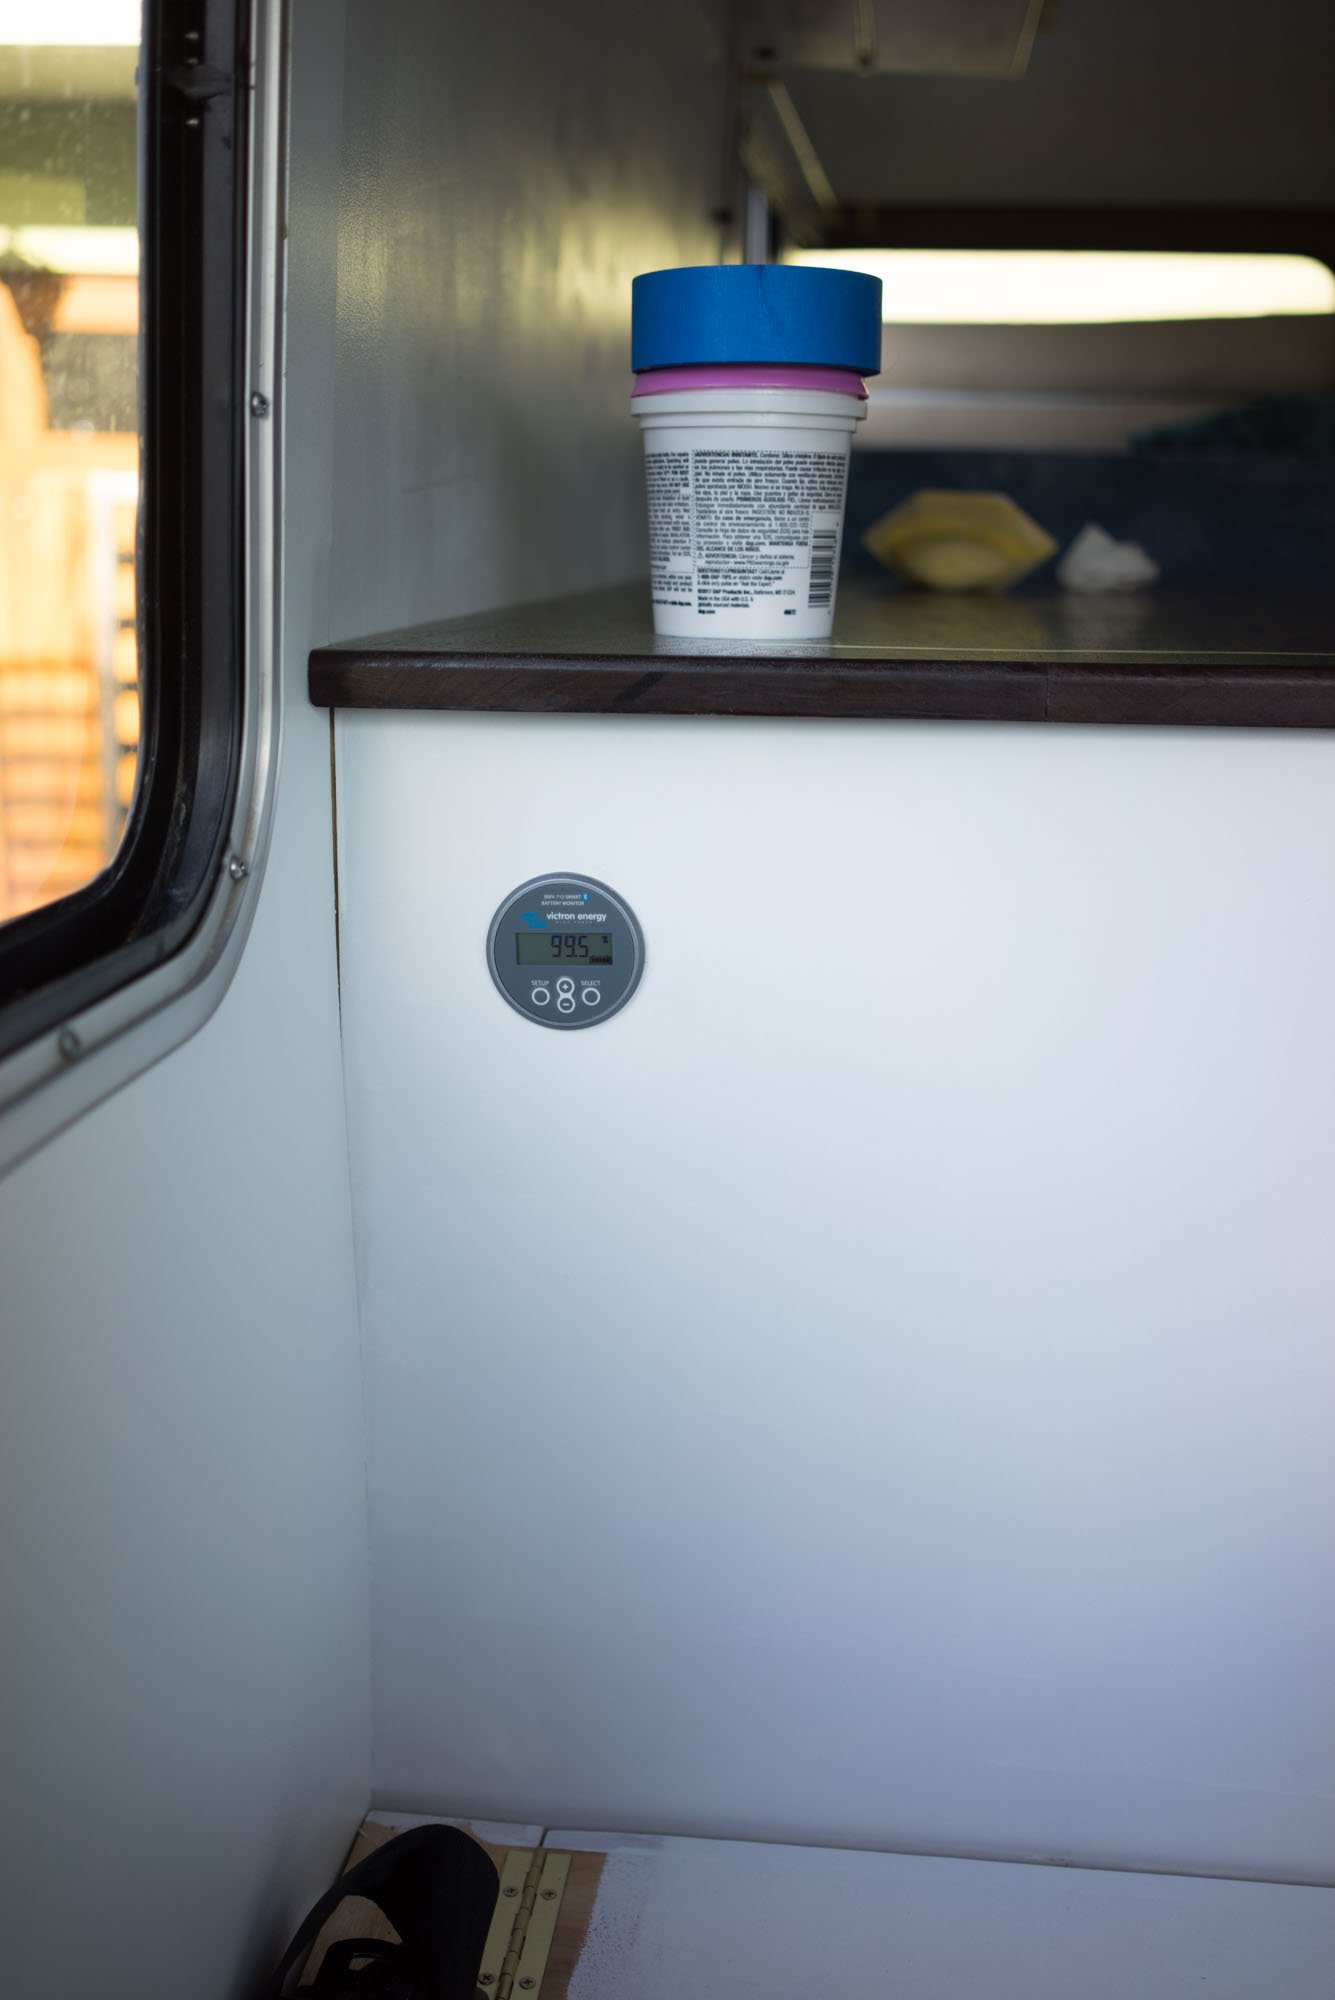
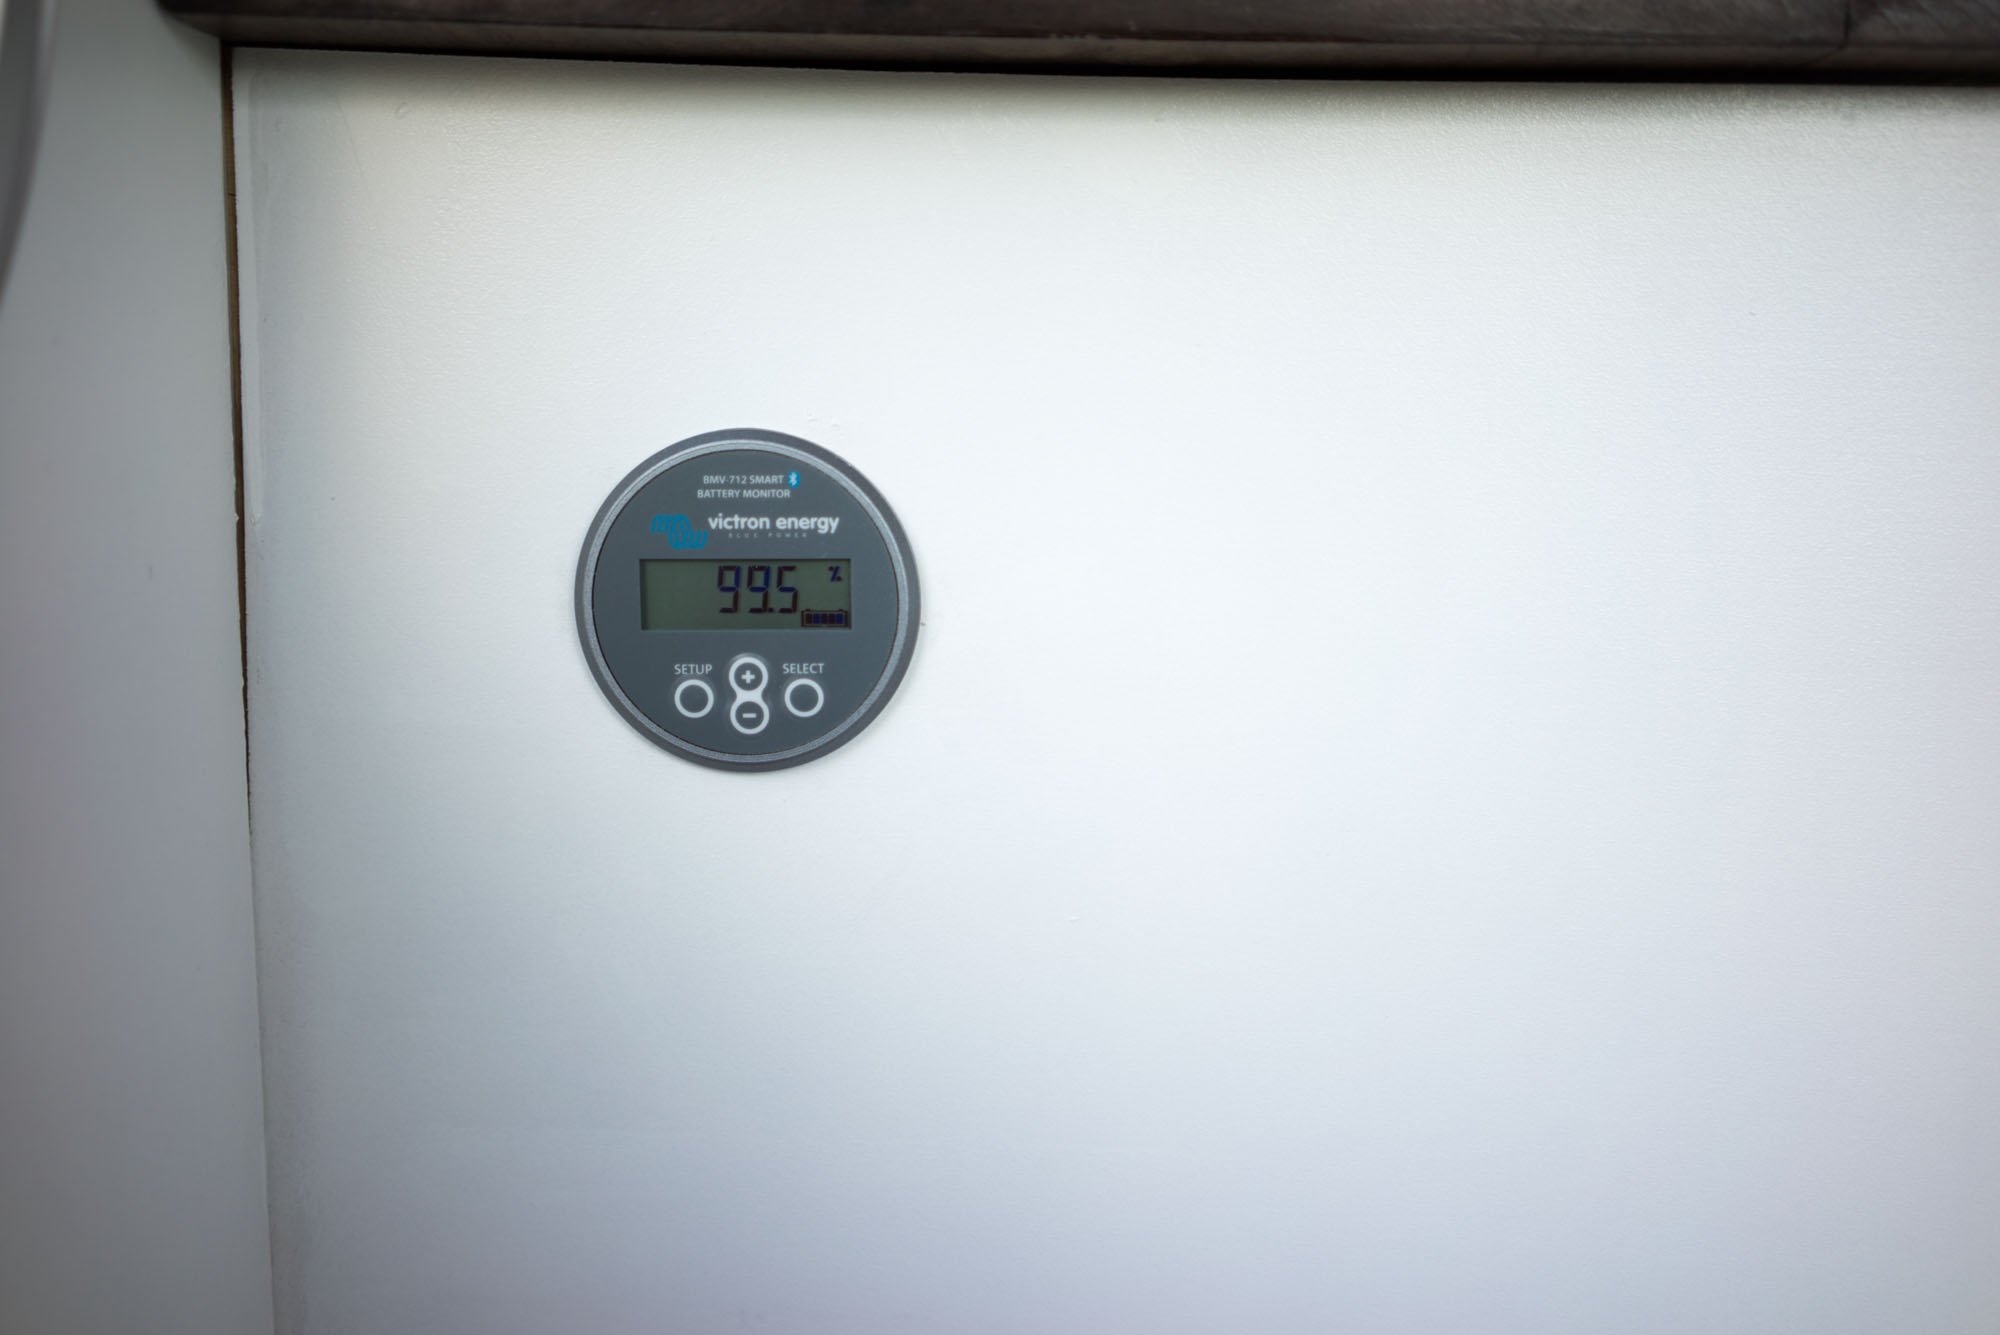
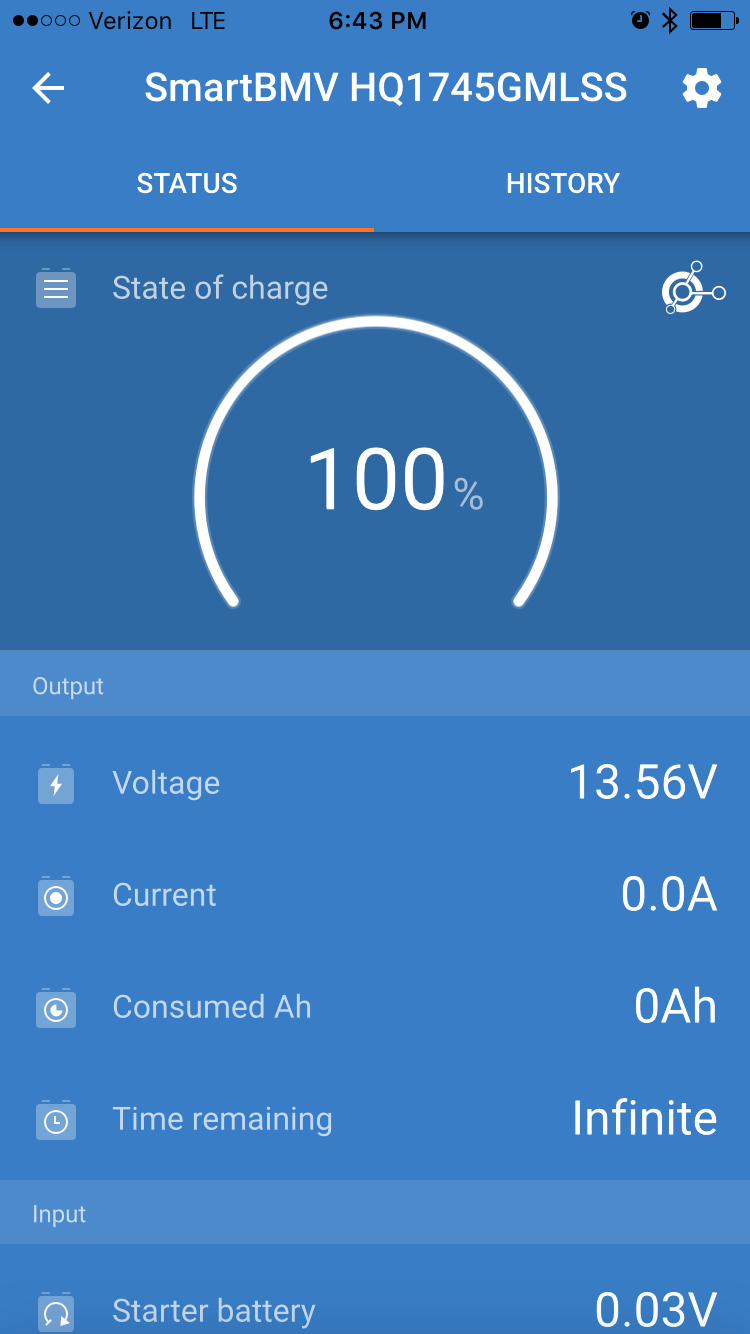
We also got the Victron BMV-712 Smart Battery Monitor. This thing is SUPER fancy! It also has bluetooth so we can view it with Victron's app. It spits out the batteries' status in a percentage (not just voltage) which is amazing. No more looking at voltage conversion charts (since we're using lithium, voltage wouldn't be an accurate way to measure the batteries' state of charge anyways). It also displays current (negative numbers meaning you're drawing more than you're charging and vice versa), time to empty, historical data and much more. You can set low voltage alarms too! The BMV-712 is connected to the batteries with what's called a shunt. This device sits between the battery negative and the common ground.
The Stark Power batteries have an internal battery monitor system (BMS) that helps prevent overcharging and keeps an eye on the health of the batteries. They too have bluetooth and an app so you can keep tabs of the individual batteries. It's a nice feature that I occasionally look at, but I find myself checking the Victron Monitor (via app) much more often because it shows so much more.
One thing I'll be adding in is a temperature sensor. It can be added into to the BMV-712 and then it will prevent the batteries from charging when their temperature drops below 32 degrees. Charging Lithium batteries in below freezing temperatures can cause damage. Many lithium batteries have this built into their internal BMS but unfortunately Stark Power's batteries don't have it yet. They currently have this in the works so hopefully it'll be something that can be updated and added into our batteries. In the meantime we'll use the third party temperature sensor.

Thoughts so Far
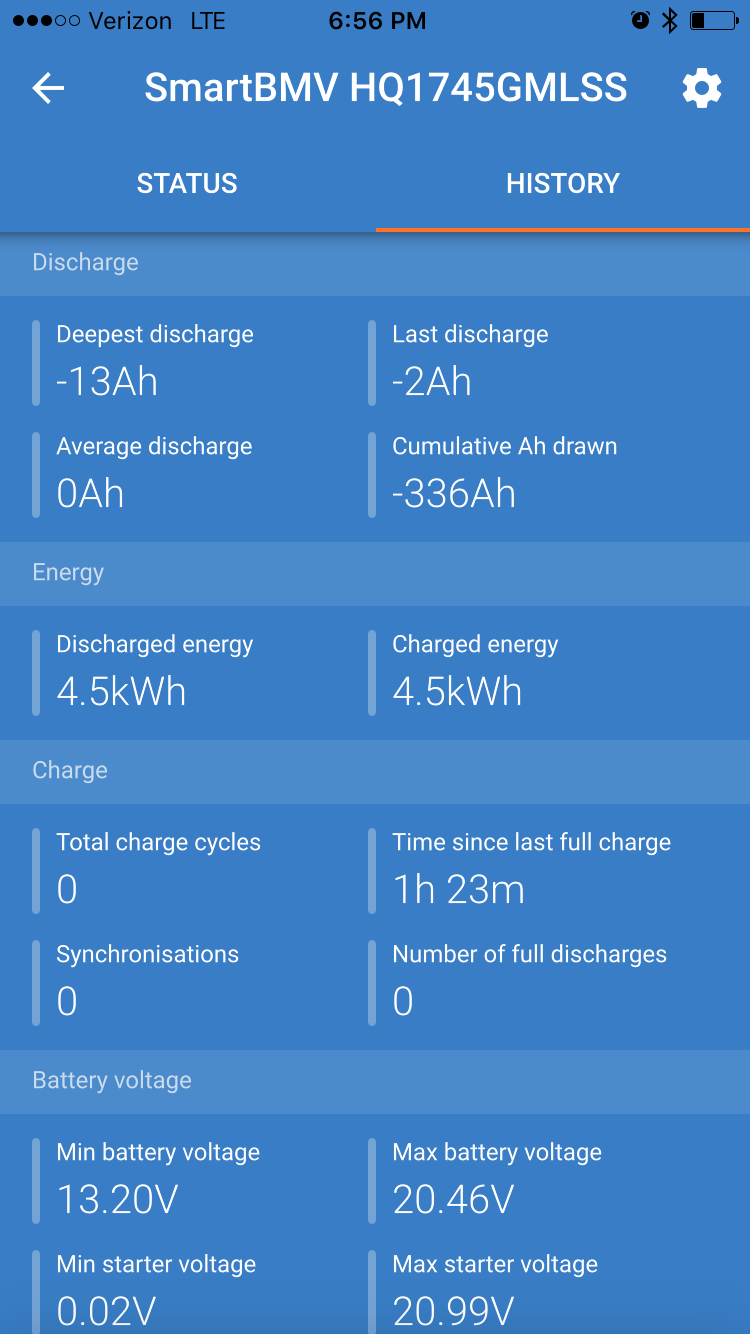
We haven't been out really putting the setup to the test, but we do run the fans and refrigerator all day. We also use the lights at night when we're doing work. That said, the electrical setup has been a dream so far. Every morning I go out to Amelia and check the batteries and they are ALWAYS at 100%. As of now, the deepest discharge we've had is 13Ah (out of 250Ah). During the day the solar panel is just wreaking havoc, and it seems like we can't draw power fast enough to drain them at all. We'll be putting it to the test soon so it'll be interesting to see if we're still as happy as we are now.
A Quick Note
When/if you start working on your own system, I urge you to test things as you go, even if it means just holding wires onto battery terminals. I did this with everything that was going to have wiring behind walls. How horrible would it have been to realize something was wrong after the walls were already in? So please take the time for testing.
Resources
Getting this system together required a lot of research and help from a few VERY knowledgeable friends. We couldn't have done this without them.
OTG Camper - Cameron knows so much about this stuff and was an invaluable resource. The best part is that he does this for a career from a camper! How cool is that? If you need electrical work done for your rig, he's your guy. I think he even does consulting!
Yotahome4x4 - Matt is a mad man. He basically sculpted his Sunrader from scratch and made it stronger, lighter and all around amazing. He has so many different skills, it's astonishing. We reached out to him to ask about fiberglassing and then ended up talking with him through several more stages of the build, including electrical. If you want to feel good about the work you've done, don't look at Matt's work.
Solar Panels - This is a fantastic article that talks in depth about solar panels. It goes into mono vs poly, different voltages, wire size, how shade affects them, and a lot more. VERY informative and great for helping you decide which panel is right for you.
Wire Gauge Calculator - A useful tool for deciding what wire gauge you need to run between solar panel and charge controller.
Parts LIST
Below is a pretty comprehensive list of everything we used in this process. We've linked as much as we possibly can to help in your own quest to electrical success! Bold names are linked and we've also provided linked images for ones that are on Amazon.
Battery
Stark Power 12V 125Ah Lithium Batteries - We're rocking two of these for a total of 250Ah. They have built in bluetooth so you can monitor health and state of charge.
Victron BMV-712 Battery Monitor - The super swanky battery monitor with built in bluetooth. We actually don't use the physical monitor as much as we use the app associated with it. So nice to have! If you're on a budget the BMV-702 will get you a lot of the same features for a little less.
Victron Temperature Sensor - Necessary for us since the batteries don't have a built in temperature cut off.
Charging
Victron Cyrix-Li-ct - Isolator/combiner that connects the starter battery and house batteries. It's important to get this specific model if you are connecting a lead acid starter battery to lithium house batteries.
Bussman Circuit Breaker - Protects everything from dangerous shorts. We have one before the Cyrix-Li-ct and one after.
Renogy 300W 24V Solar Panel - Ours is 280W but they stopped making that one. Now they're selling this 300W version. The panel lives on the roof above the bed area in Amelia.
Victron SmartSolar 100/20 MPPT Charge Controller - We opted for the SmartSolar because it has bluetooth so we can wirelessly connect and see how our solar panel is doing in real time. It's nice to have that and super cool to see in action!
Wire port - For passing the solar panel wires from the outside of the vehicle to the inside.
Appliances (Power Draws)
Blue Sea Systems Fuse Panel - All these appliances run through the fuse panel (except the inverter) where they all have fuses to prevent shorts.
Dometic CFX 65W - Our refrigerator. Super efficient and quiet!
Maxxair 4000K - Vent fans. We've got two and running them in tandem makes a huge difference in Amelia.
AIMS Power 600W Inverter - What we use for charging our laptops. If you opt for a different model it's important to get a pure sine wave inverter for the sake of your laptop batteries. I'm sure it's important for other devices too, but that's the one thing of note for us.
ShurFlo Revolution - Diaphragm water pump. We're very pleased with how quiet this is compared to the cheap Bayco one we got as a place holder when we first got Amelia.
JRV Monitor Panel - Low profile holding tank monitor. It came with tank sensors too which was helpful for us since we had a new water tank with no sensors on it. Our gray water tank's sensors weren't working either so it ended up being a lifesaver. Also acts as the on/off switch for the water pump.
LED Pocket Lights - We used these for the overhead lights in our ceiling panels. They have a nice warm light and were simple to install. Since they're recessed they take up no space!
LED Strips - We used these for lighting the counters and inside the upper cabinets. They're adhesive lined so you can stick them up anywhere which is super convenient.
USB Ports - Pretty standard. We've got two and they each have two USB ports. We've got an on/off switch for these so they aren't constantly draining the battery.
Switches and Dimmers
On/Off Switch - Pretty self explanatory. These have three prongs so a small light will turn on when in the "on" position. We only used that light for our USB plugs.
Dimmer - The build quality is great. They're a pretty penny, but I'm glad we got them. You can get some touch sensitive dimmers for less but they use extra power to make that nice interface work. These are utilitarian and I love em'.
Tools + Connectors
Ratcheting Wire Crimper - These were a revelation for me. Having never used ratcheting crimpers my mind was blown after using these. They ensure consistent crimps so you don't have to worry about cranking down super hard. This pair is made specifically for insulated wire terminals. There are some nicer ones out there, but these worked fine for me. For 10-22AWG.
Hydraulic Wire Crimper - I didn't know anything like this existed. Cameron (OTG Camper) told me about these as a cheaper alternative to the $100+ professional ones. I needed these for the thicker wires (4AWG) used for the batteries, isolator/combiner, and inverter.
Adhesive Lined Shrink Tube - When running the larger wire I used this shrink tube around the terminal connectors to insulate them.
Marine Grade Wire Connectors - Boat people are experts at keeping things waterproof right? We used heat shrink connectors when at all possible to keep our connections protected. Best Boat Wire (linked) has the best prices I've found.
Multi Wire Connectors - Matt (Yotahome4x4) introduced me to these things. They're magic. They're perfect for daisy chaining a bunch of lights together (like clearance lights or our overhead lights).
By purchasing any of the products through these affiliate links you'll be supporting us and our life on the road! So thank you in advance! <3 MAK & Owen
That's it!
That's a pretty solid overview of our electrical system. If you have any further questions feel free to drop them in the comments below and we'll do our best to answer them! See ya!