How to Build a Truck Bed Camper for UNDER $400
Hey Friends!
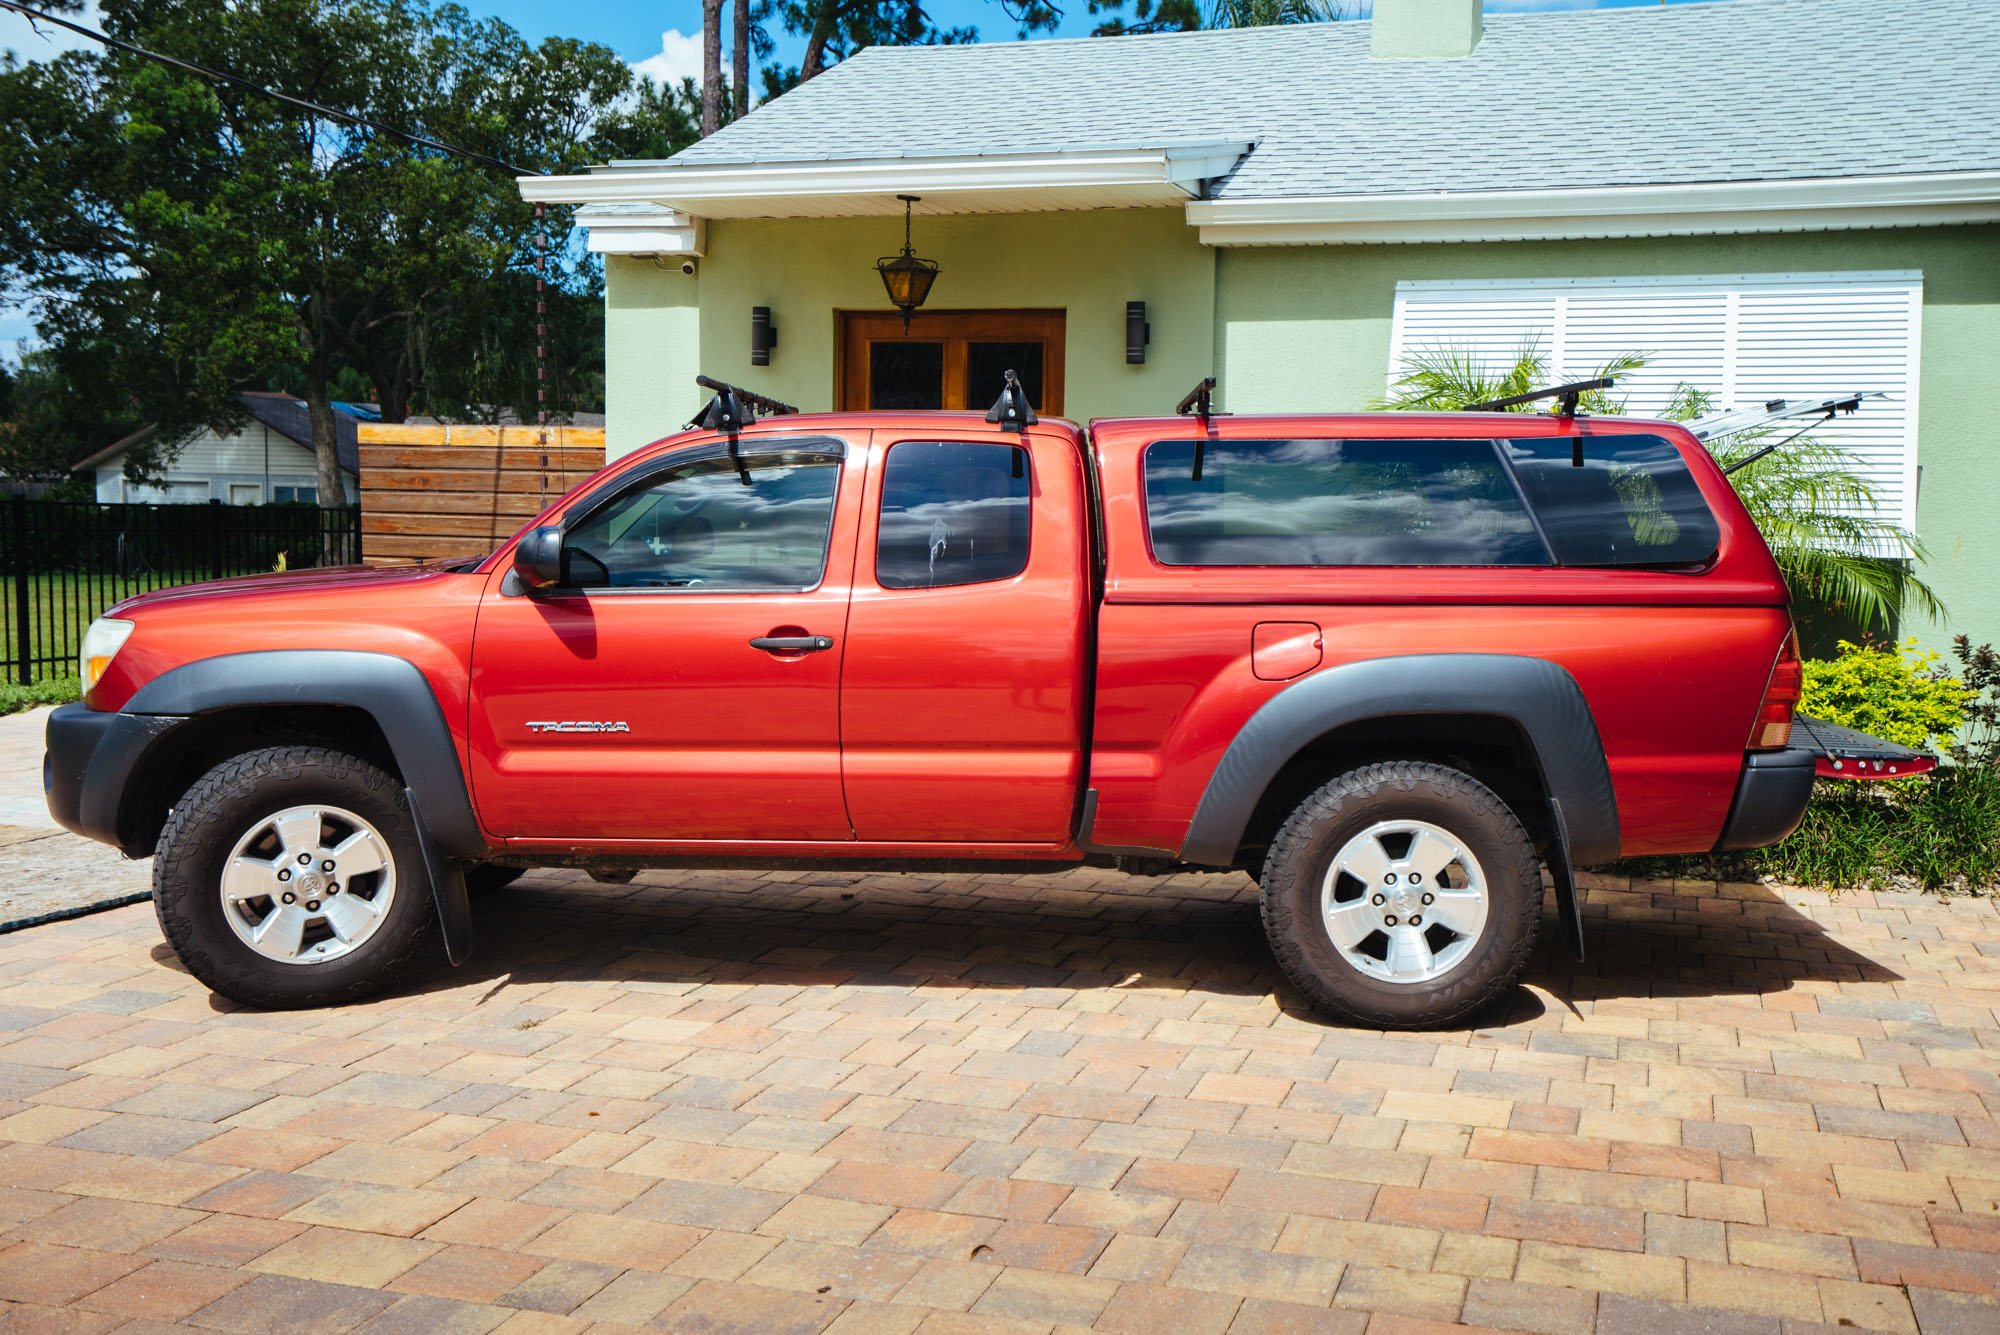
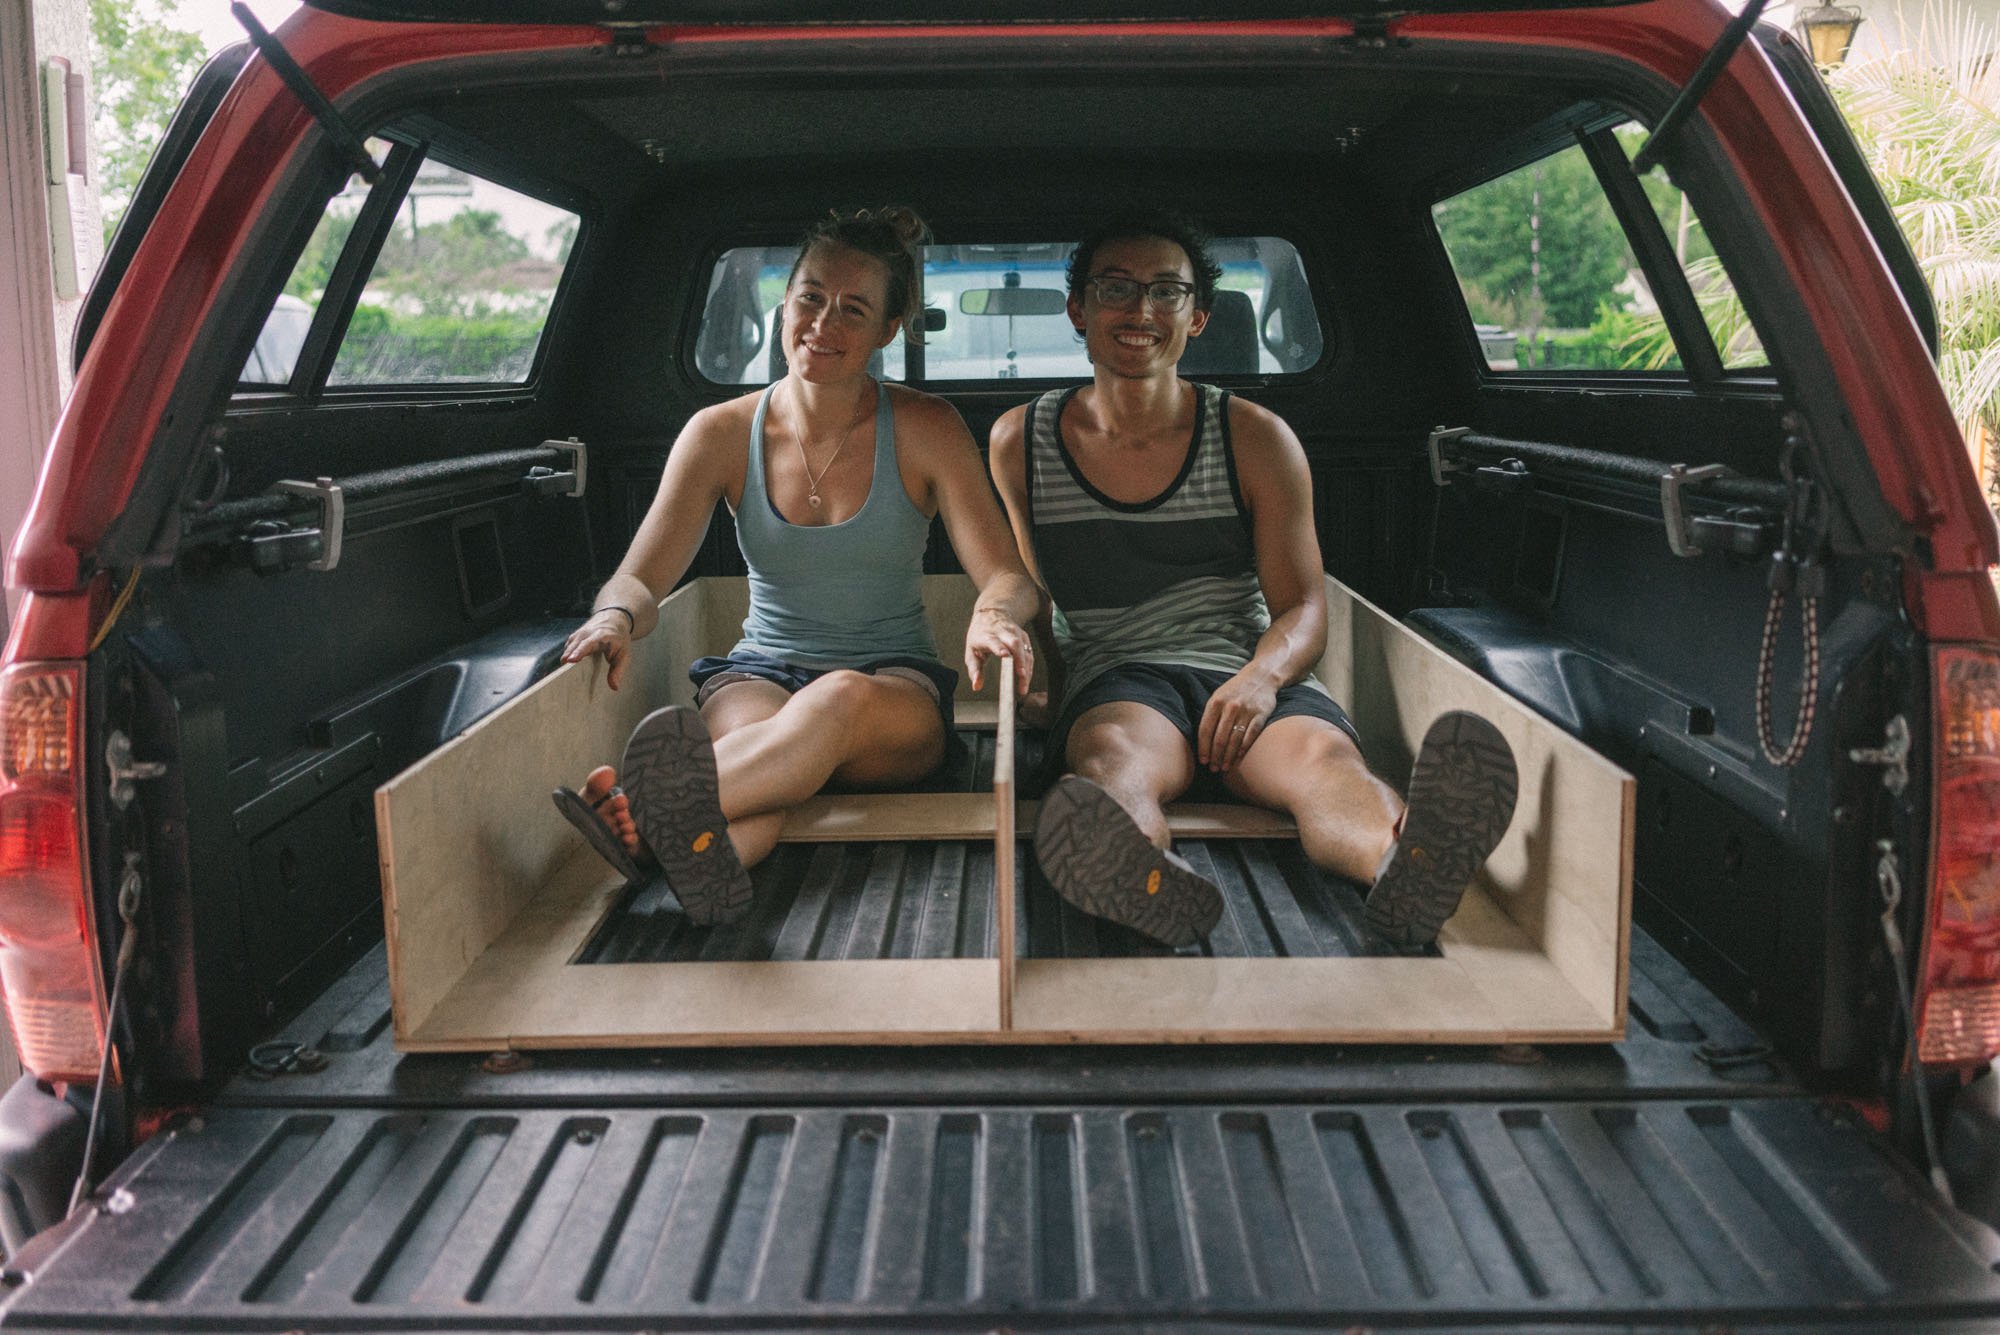
A lot has changed for us recently, as I'm sure you've gathered. After 3 weeks on the road in Amelia, we quickly realized that she wasn't going to be a long term fit for us. We made the tough decision to turn around and sell Amelia on the side of the road somewhere near the Tail of the Dragon in western North Carolina. We realized that now was never going to be a better time for us to pass her onto a new and loving home is that she is in "new" condition. When we decided to sell Amelia I suggested that we pick up a cheap car and continue to travel until we could figure out what was next for us. After a quick internet search, we decided that we wanted to look for a Toyota Tacoma with a bed camper shell. Low and behold this 'Lil Taco was for sale an hour and a half south on the border of Georgia and North Carolina. A day and a half later Owen and I became the proud new owners of the 2008 Tacoma you see above!

Owen behind the wheel of Amelia and me at the helm of Lando (the new Tacoma) we completed the drive south. The very next day we started building out our new home in the Tacoma. We're excited to share the process of building out a truck bed because of how accessible it is to so many people who are interested in hitting the road for the weekend, a month or even a year. So let’s get started, we have work to do!
Step #1 - Planning
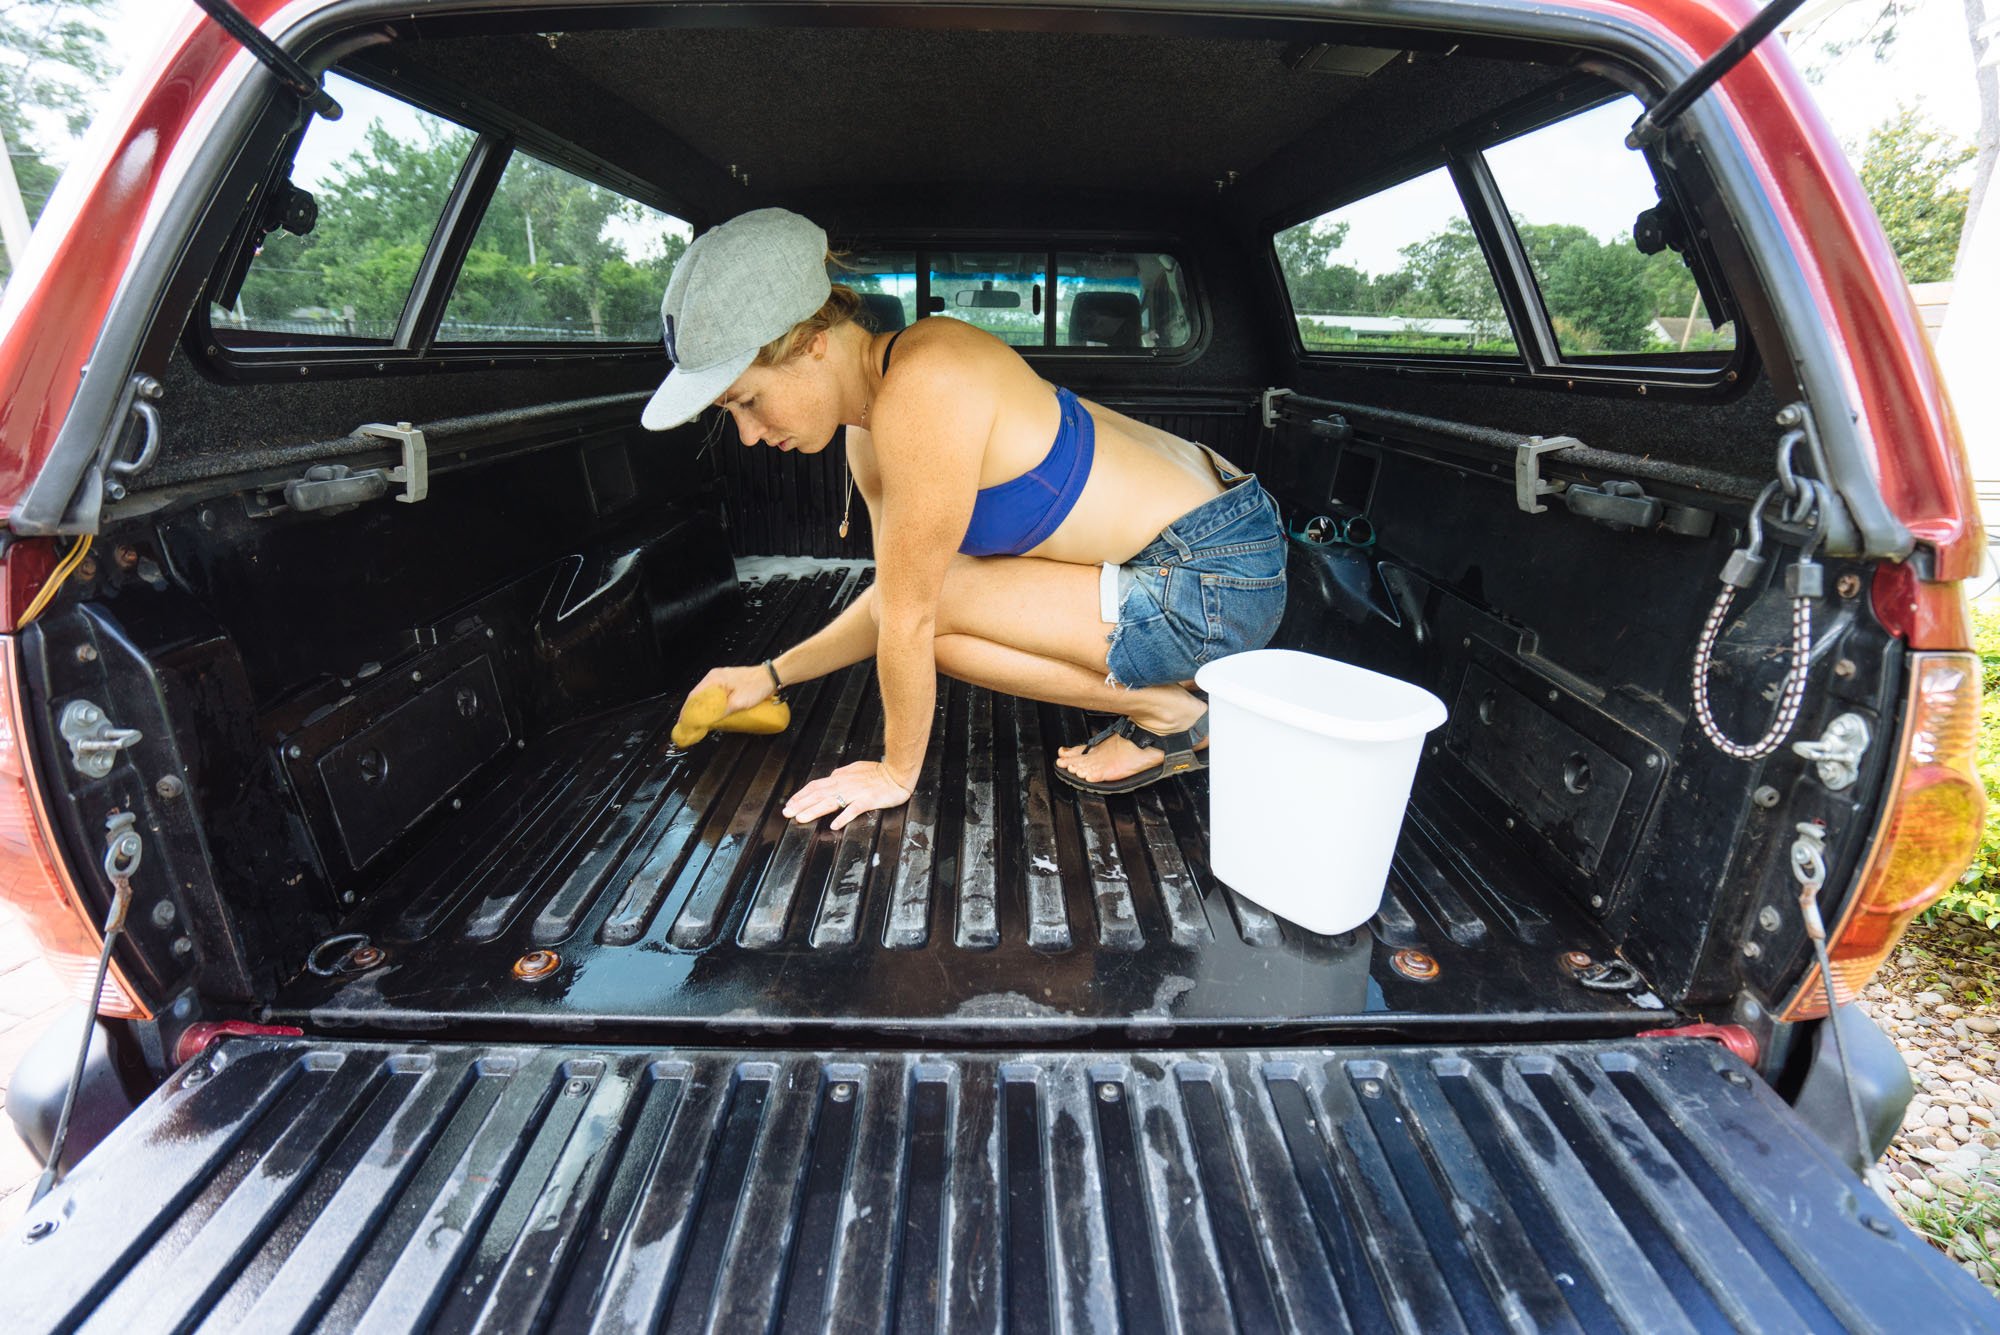
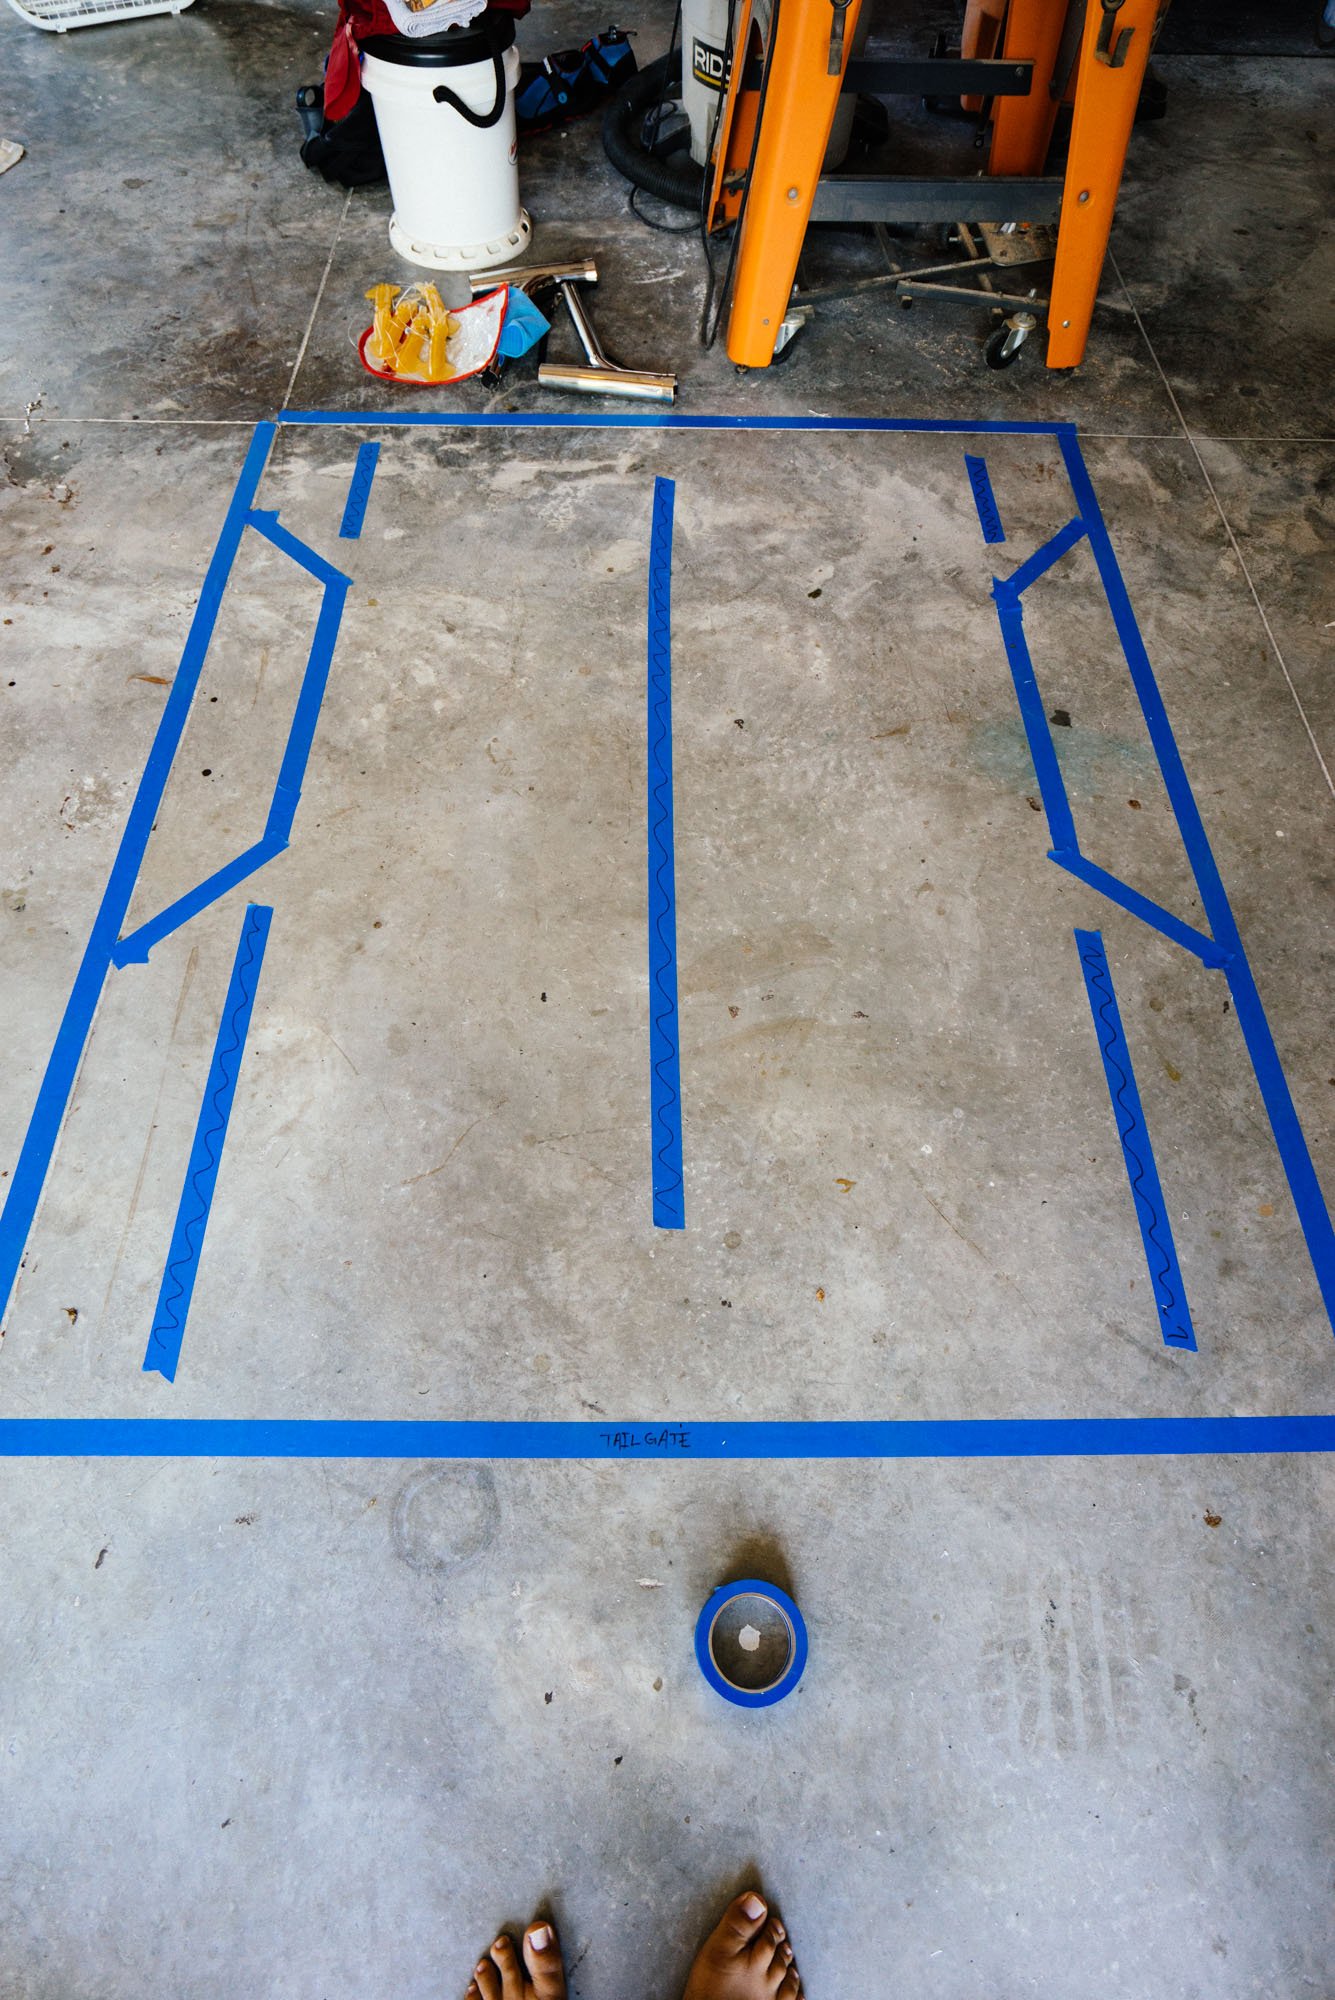
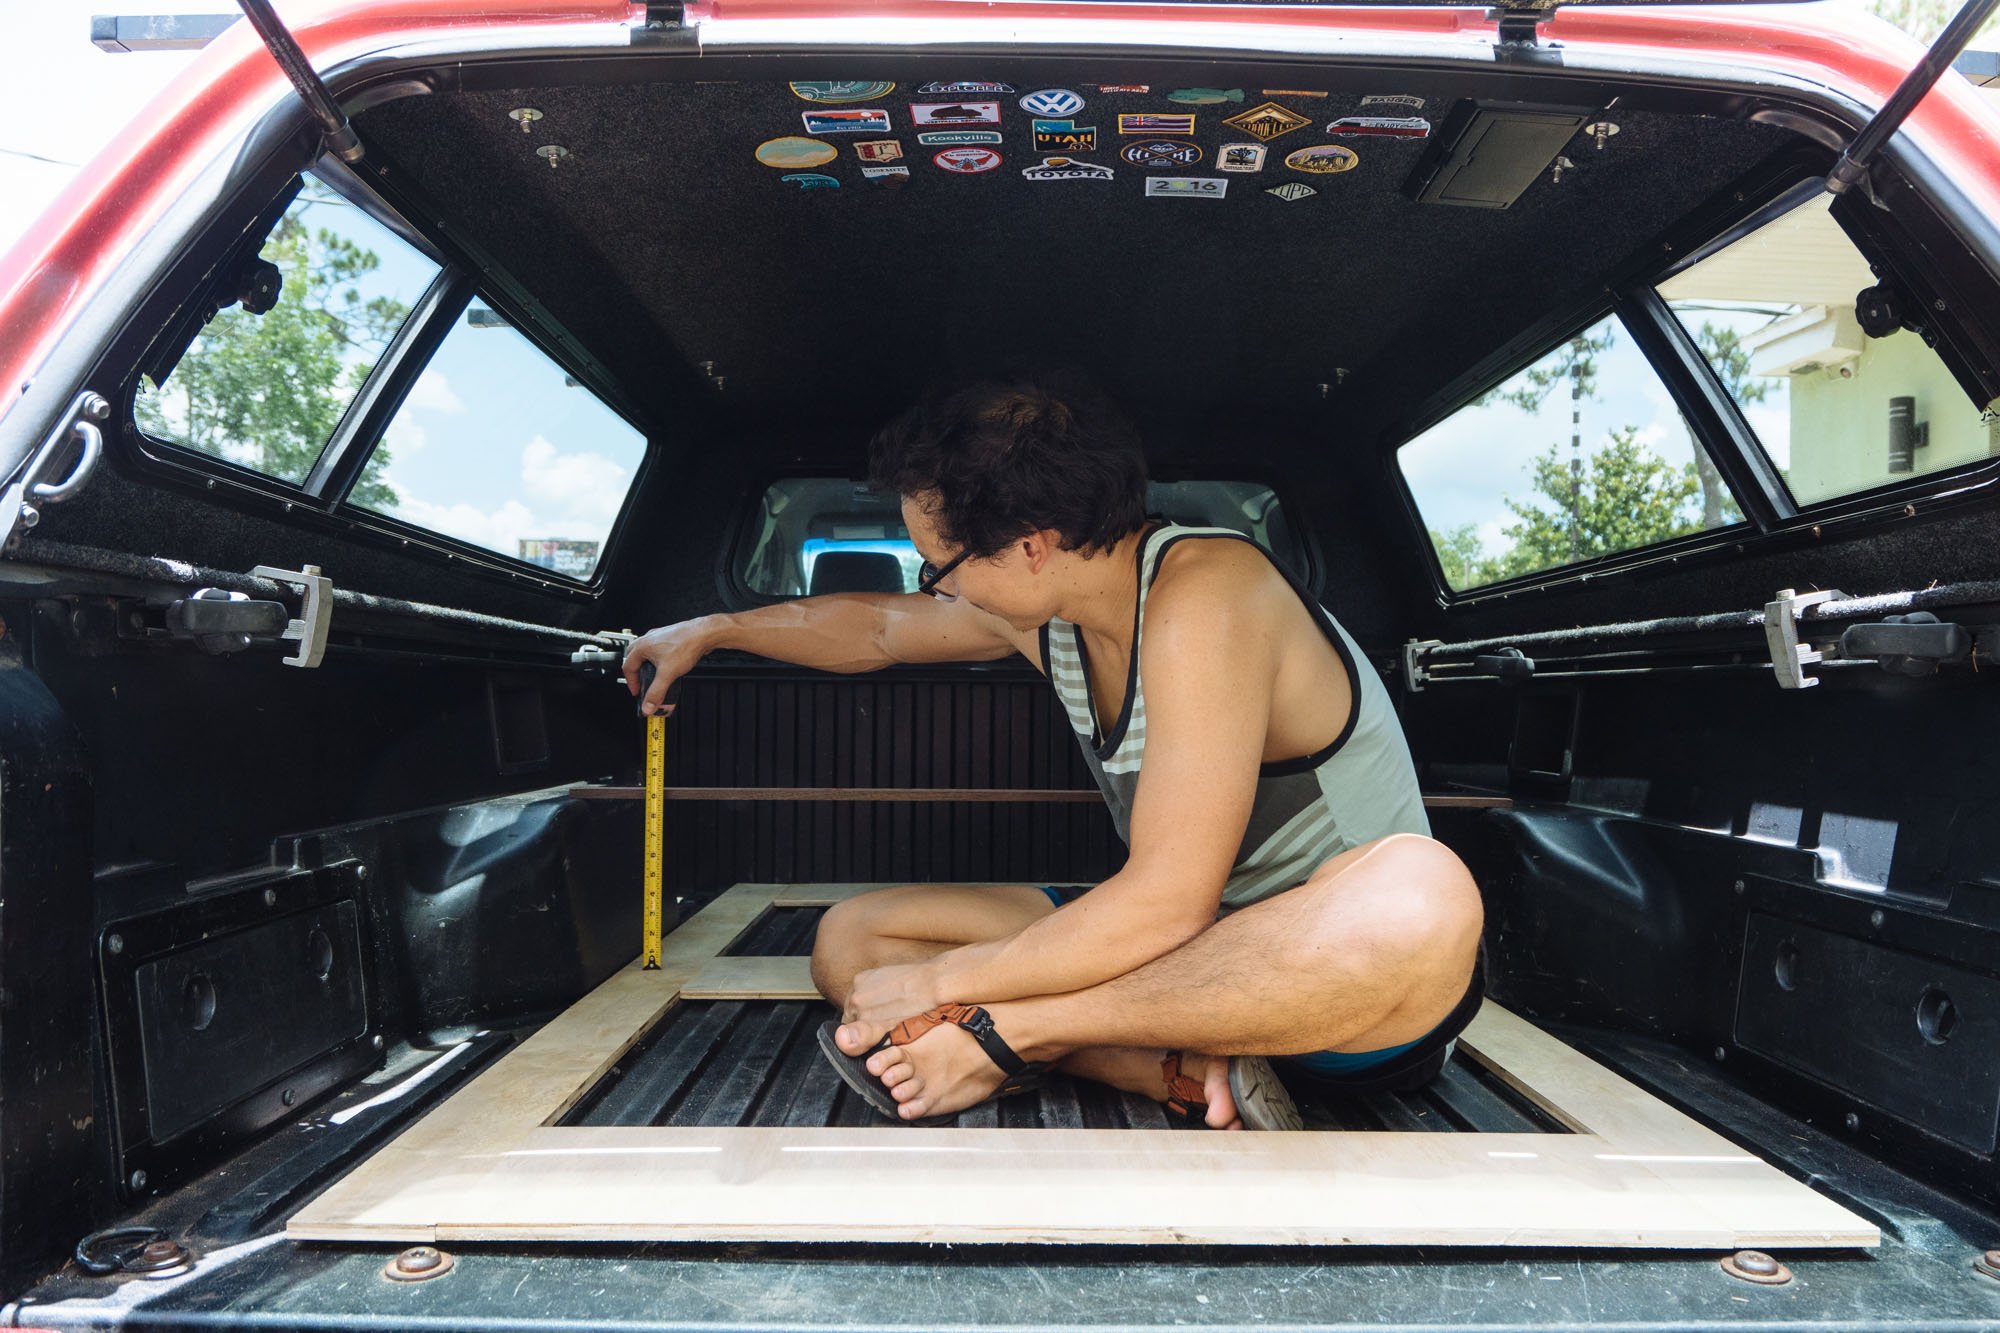
The first thing we did was cleaned out the truck bed because it was the last time we would have access to a lot of these parts of the truck bed. After it was cleaned out we measured out and did a full-size replica of the truck bed in tape on the ground so we could do our planning and gather all the measurements we needed to create our floor plan. Here is what we came up with:

Our goals with this build is for it to be cheap, sleep two people, have full-length drawers for our belongings, storage along the side of the bed in the negative space around the wheel wells, and be quick to build. At this rate all we wanted to do is get on the road, this build just needed to be functional so we could live out the year with the gear we need. This is what we came up with. Fancy isn't it?!
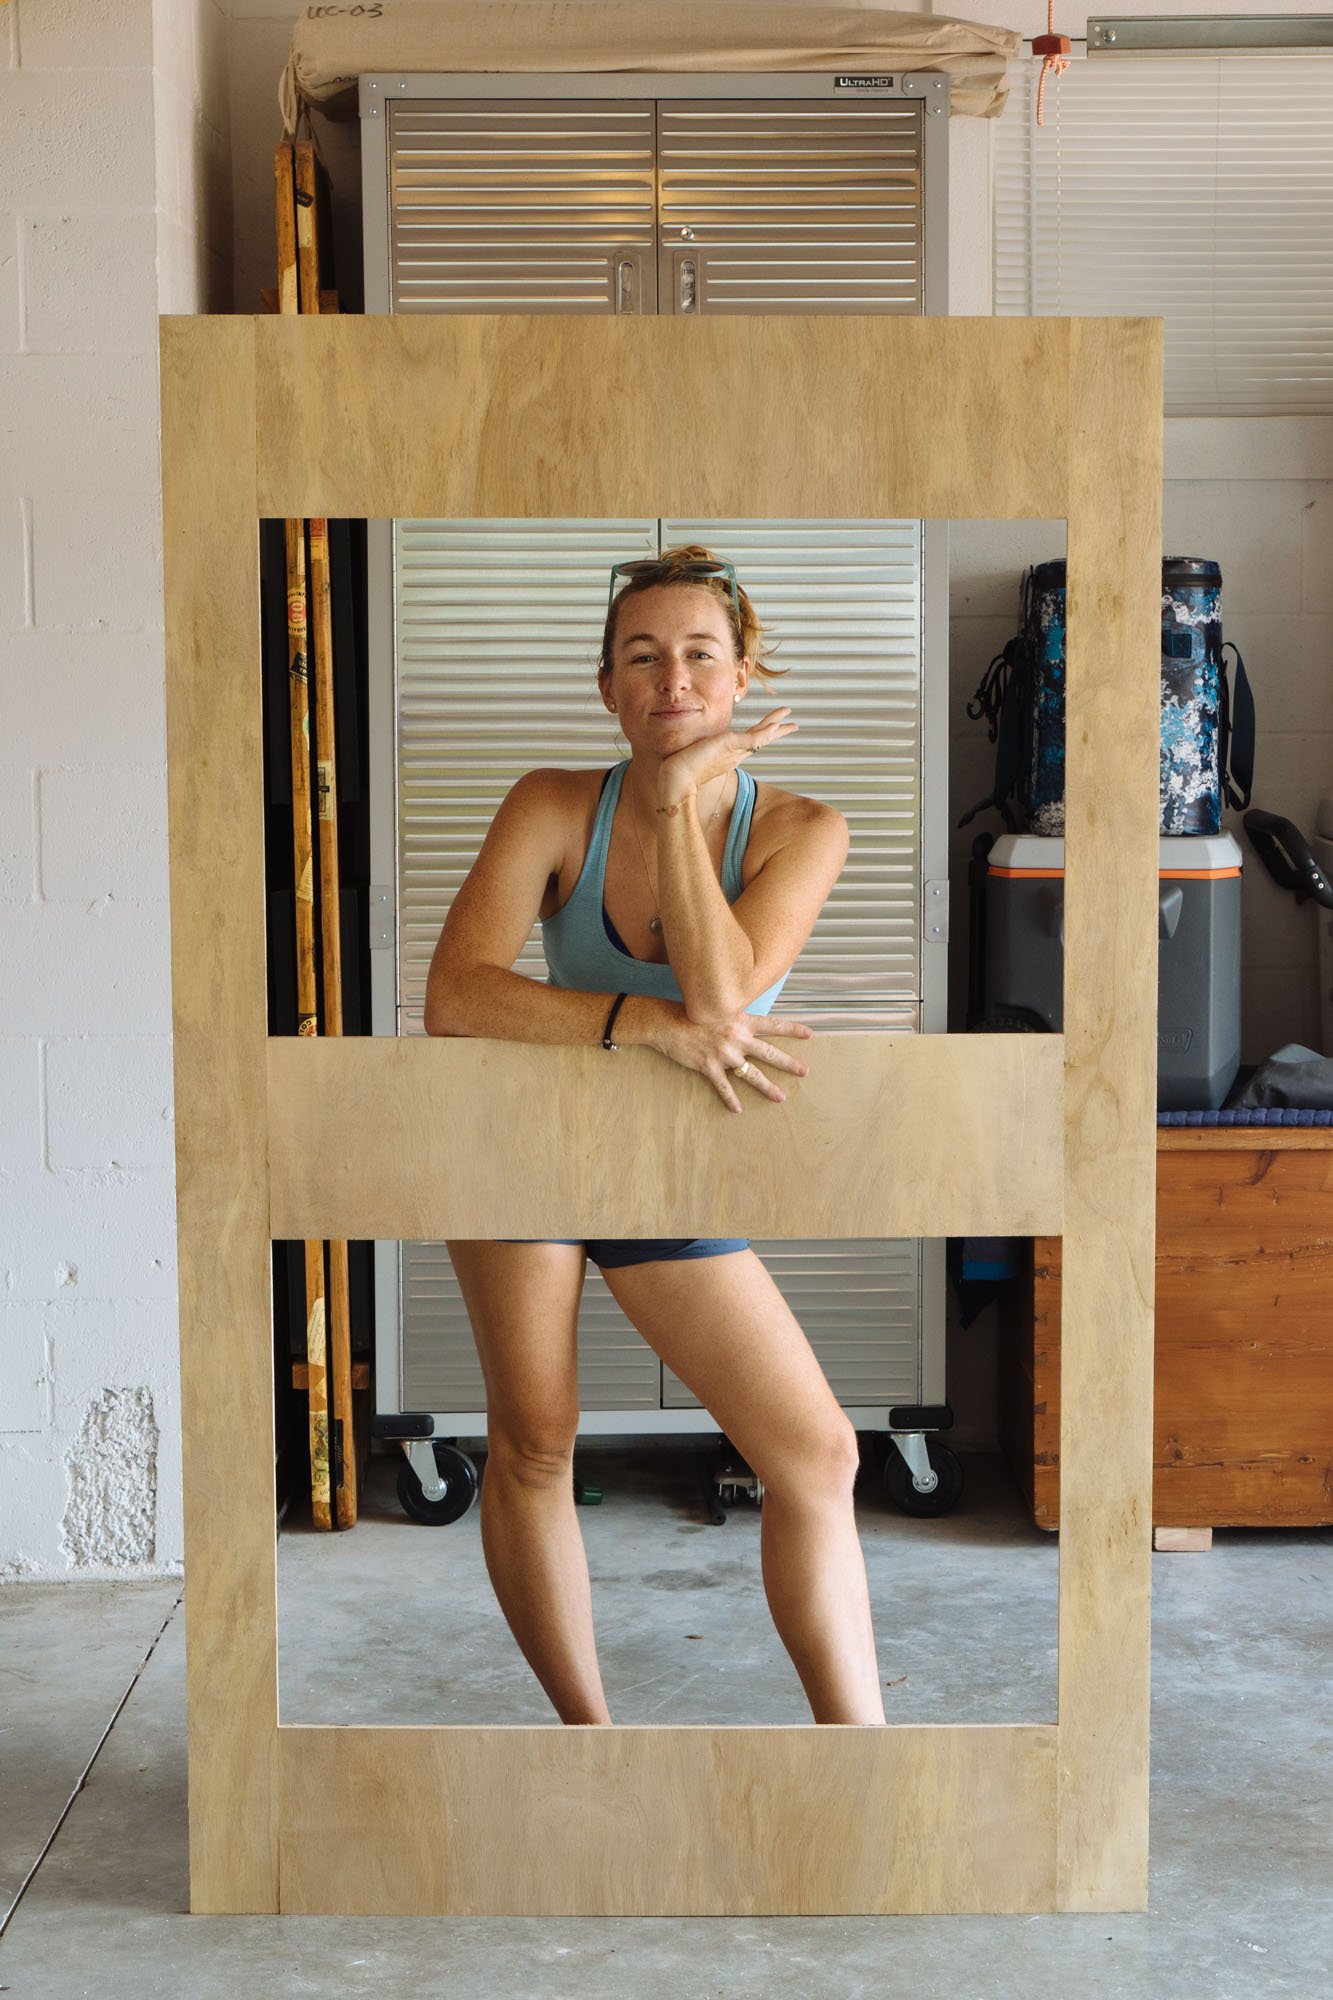
Step #2 - Build the Frame
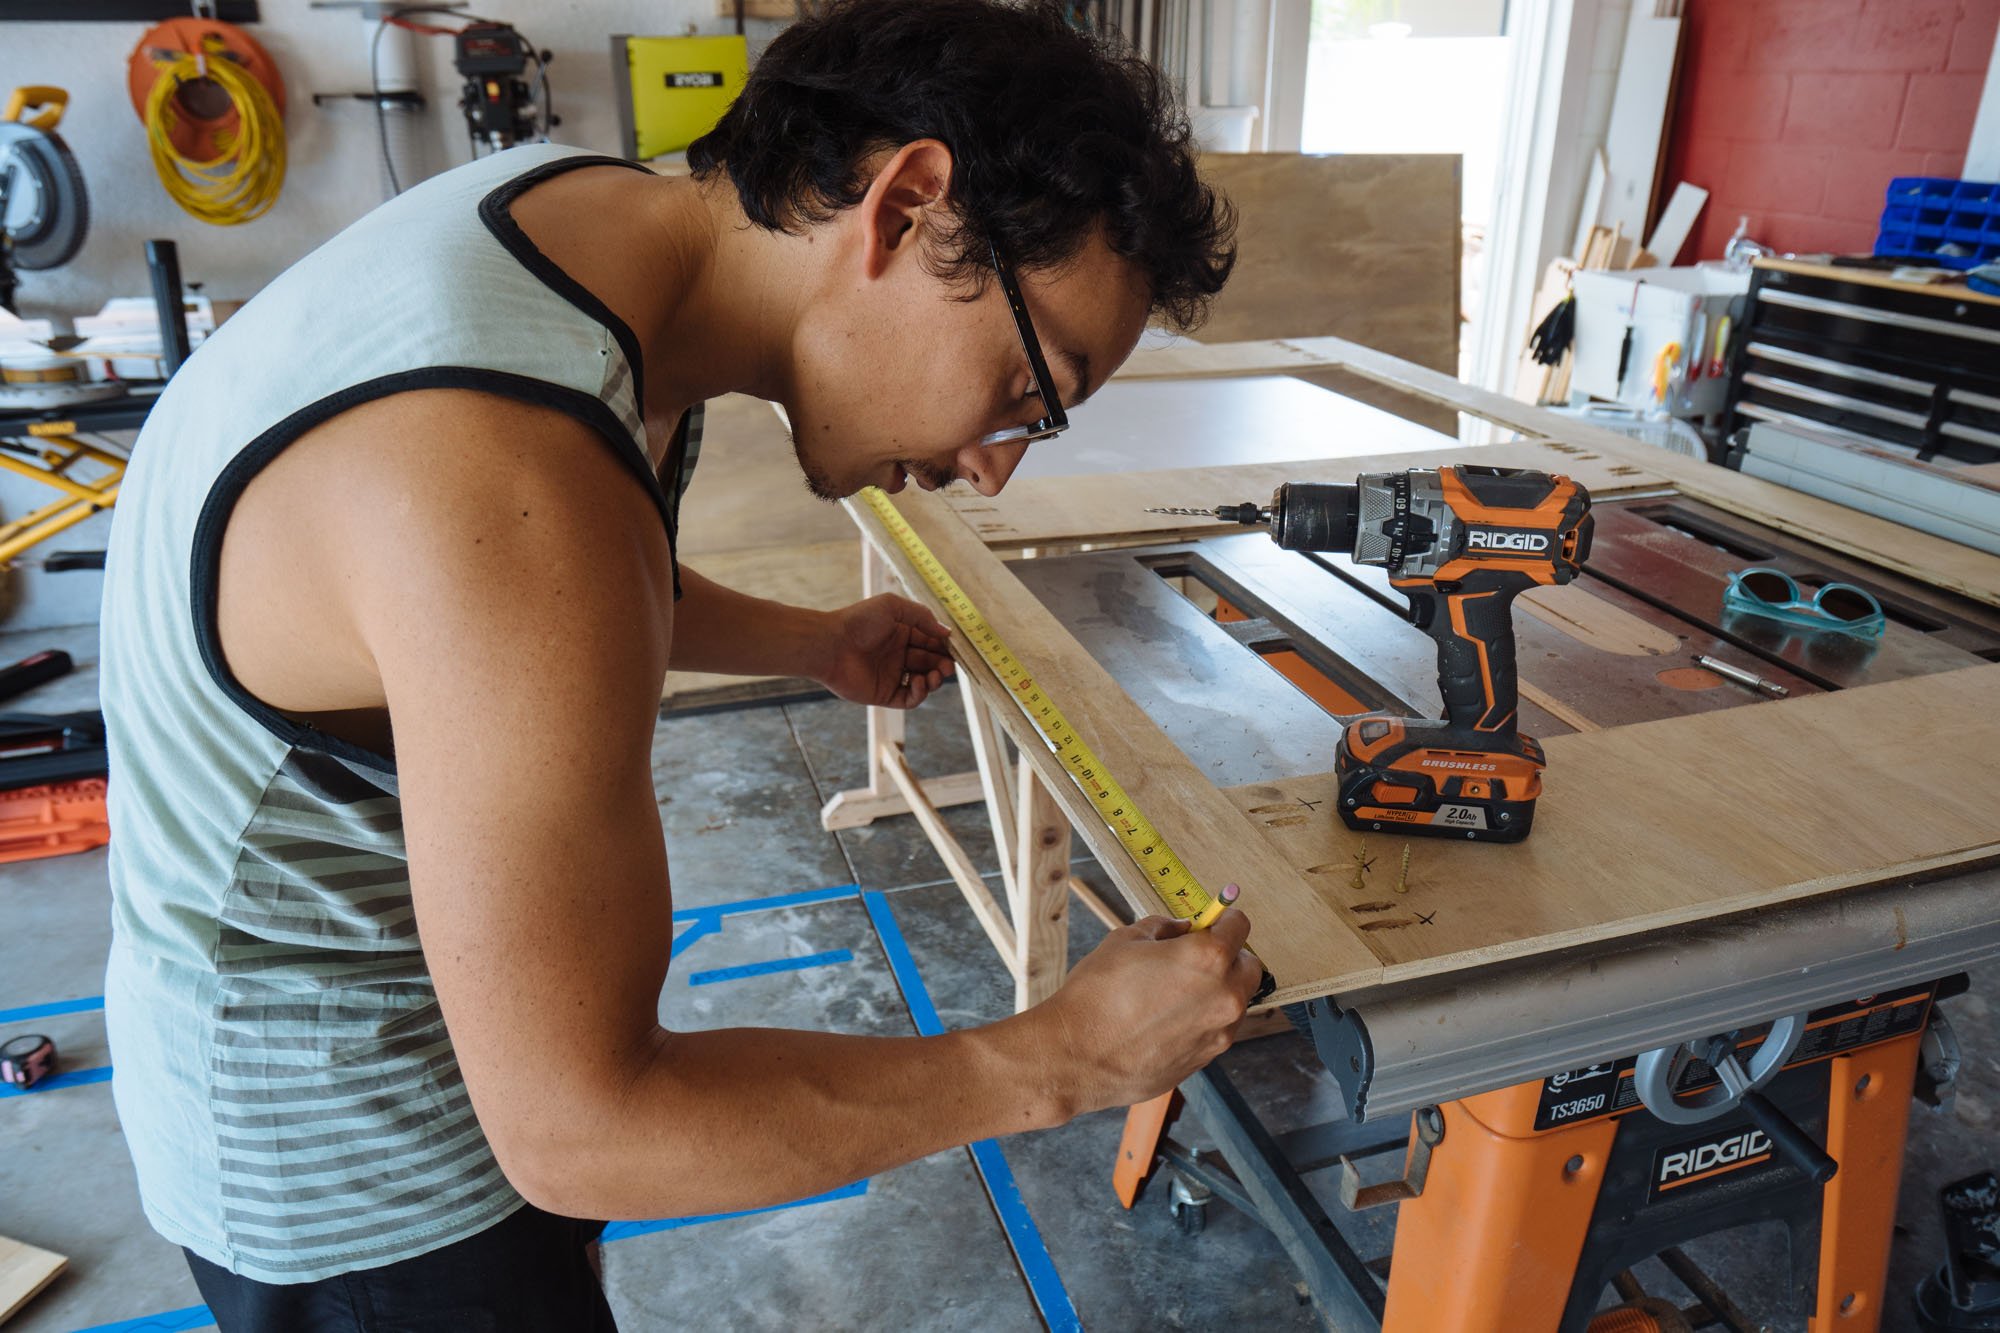
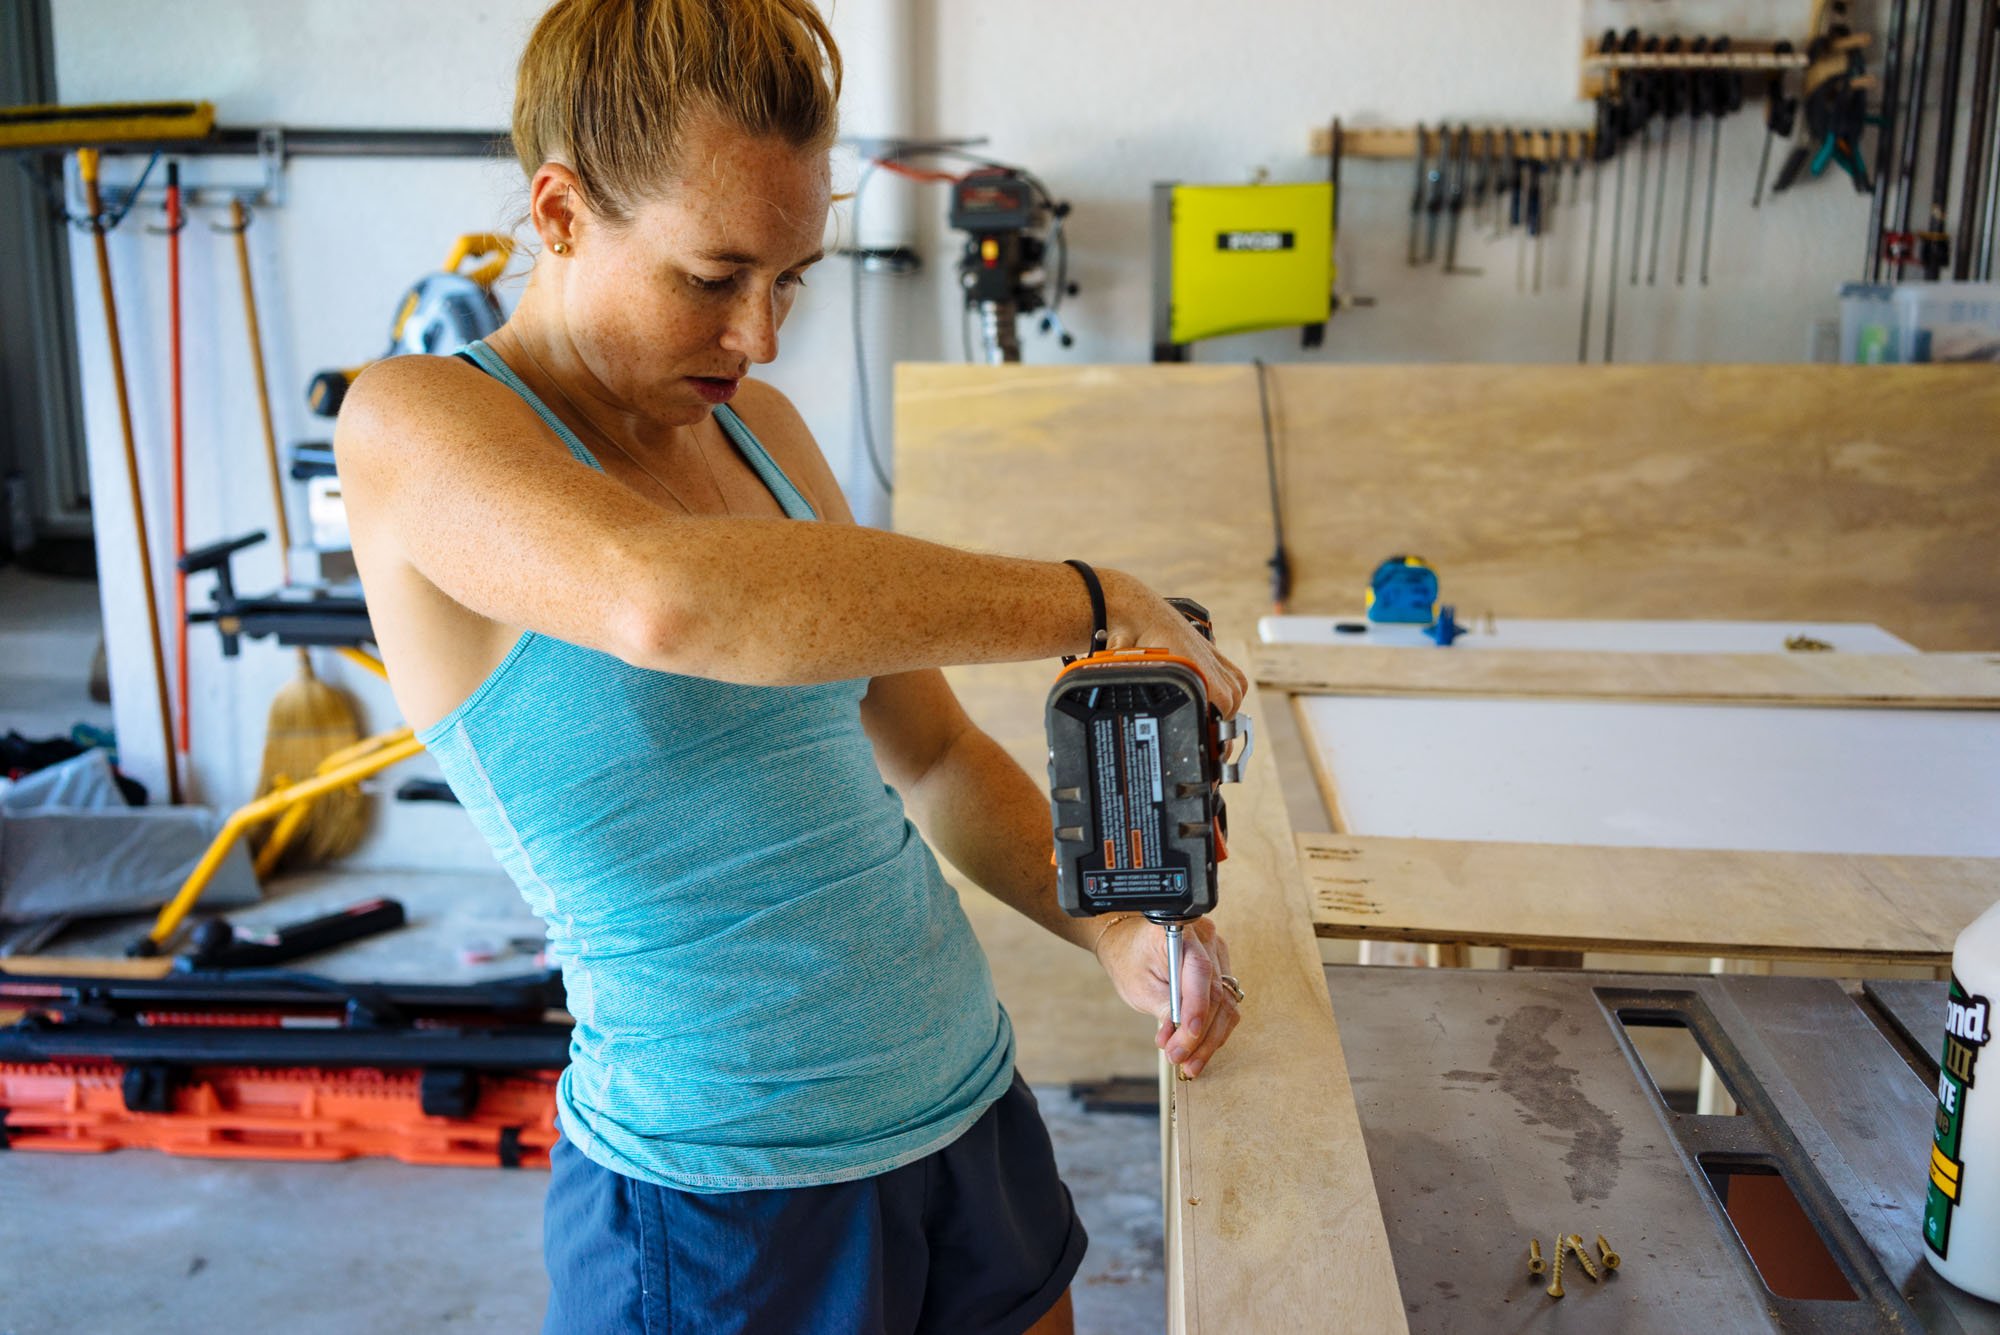
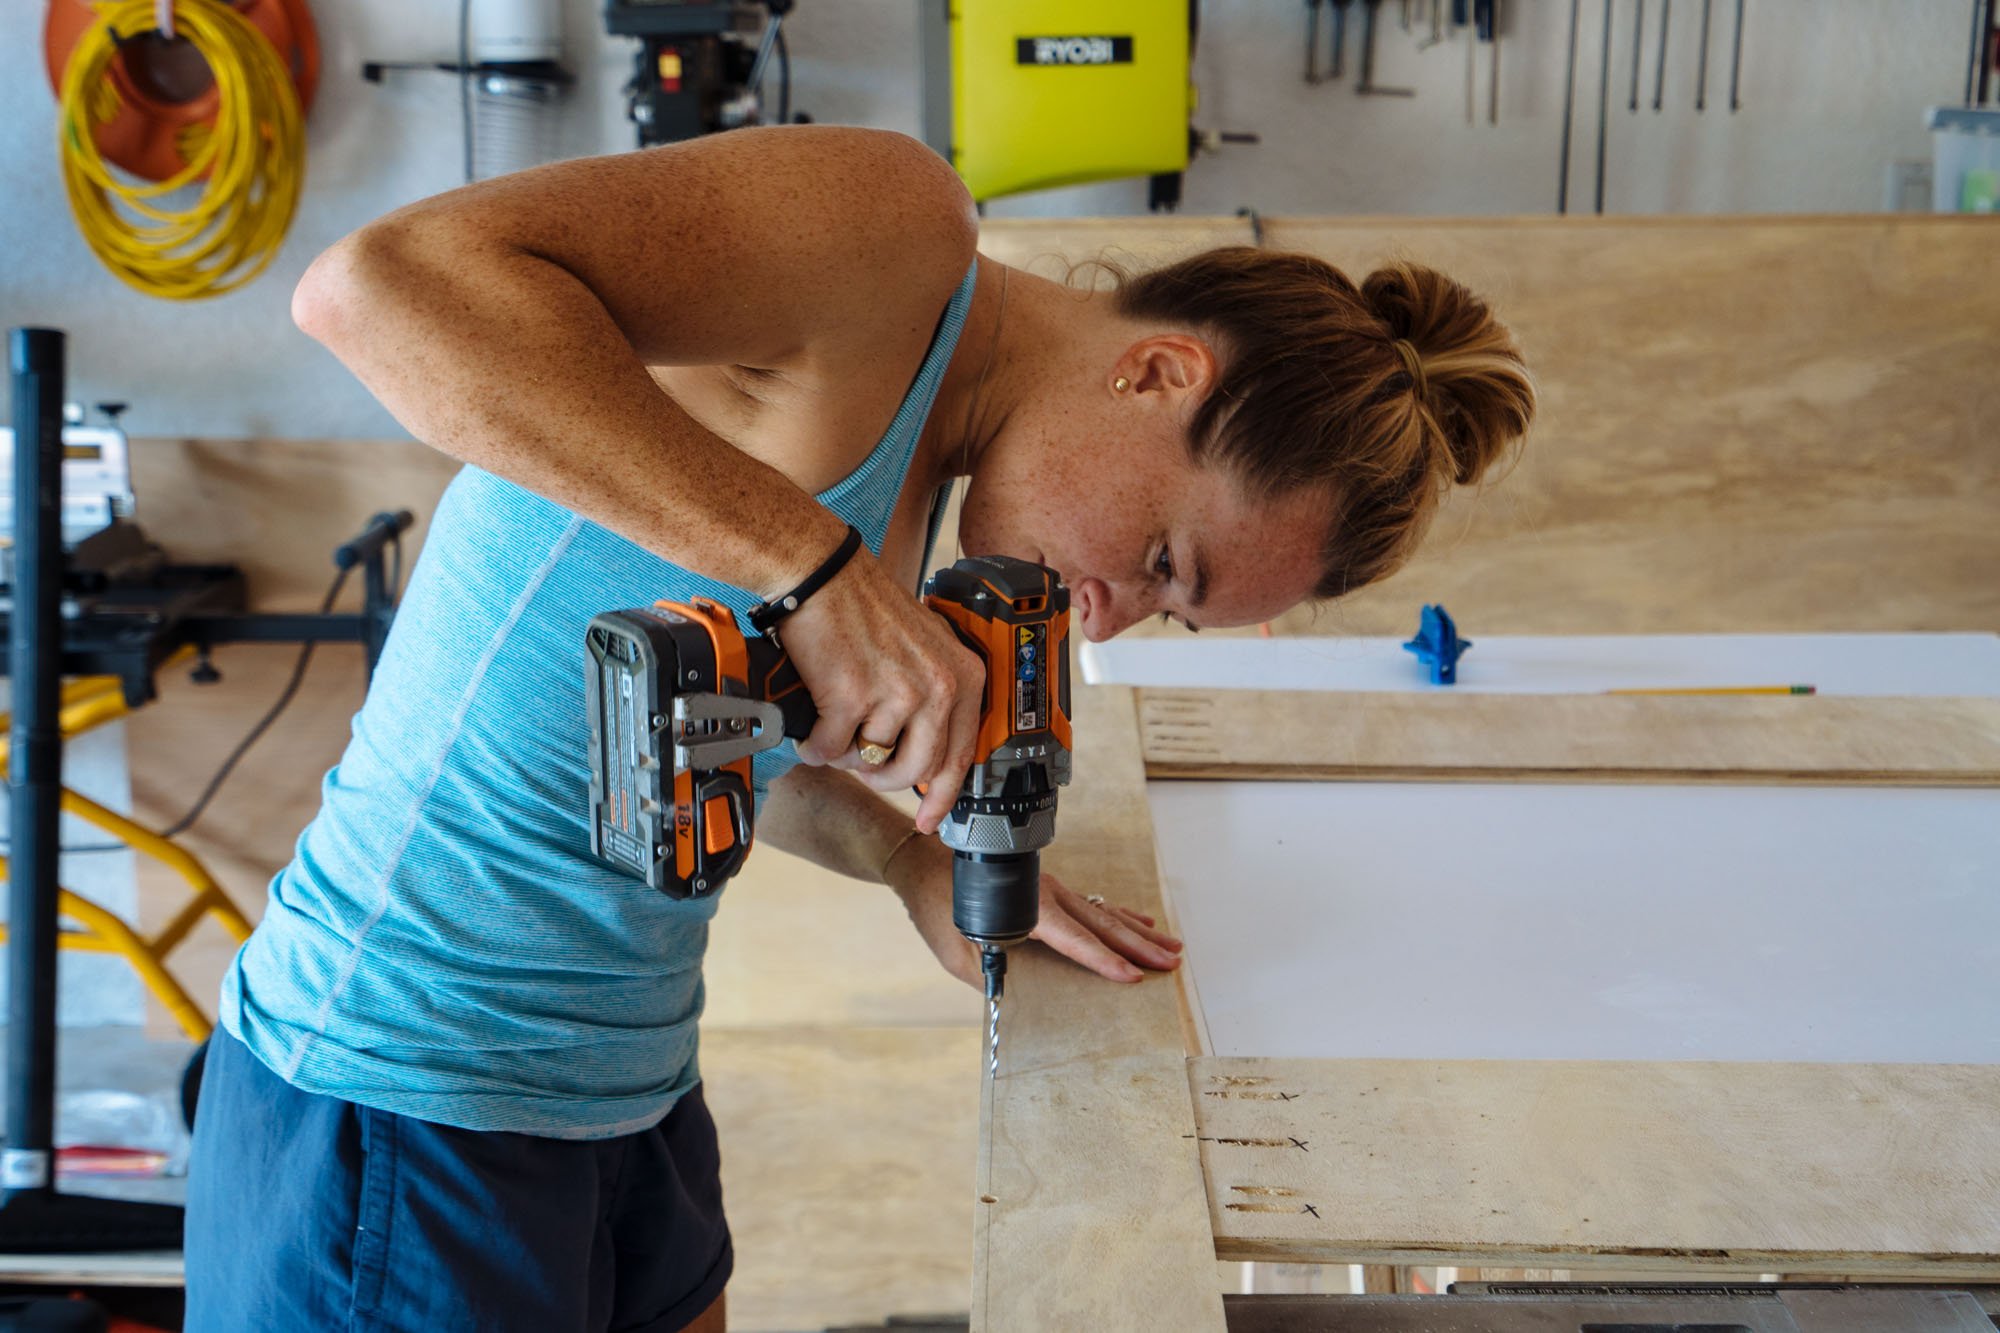
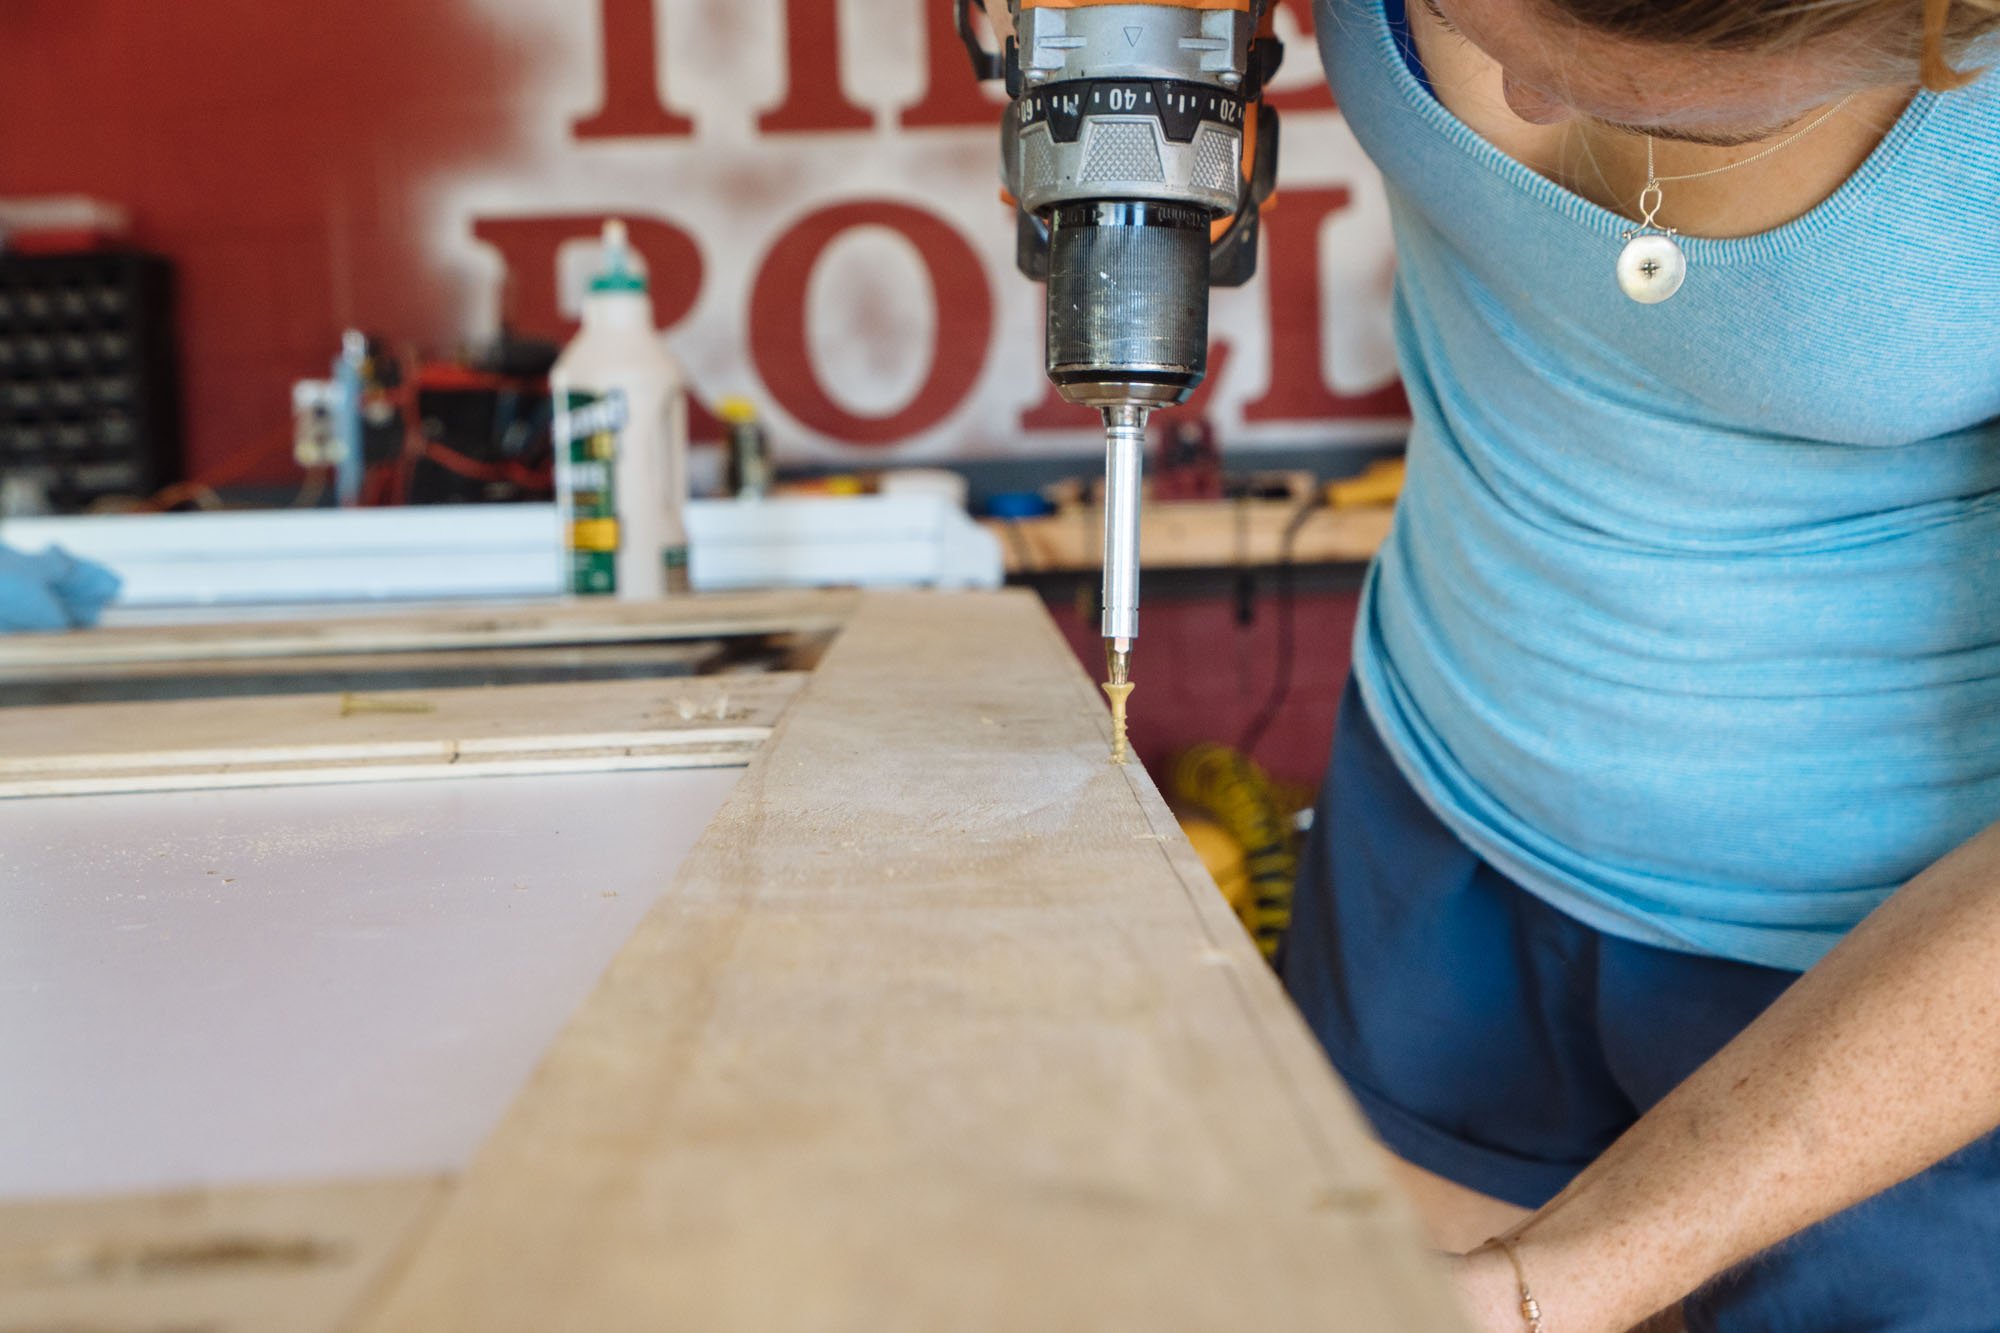
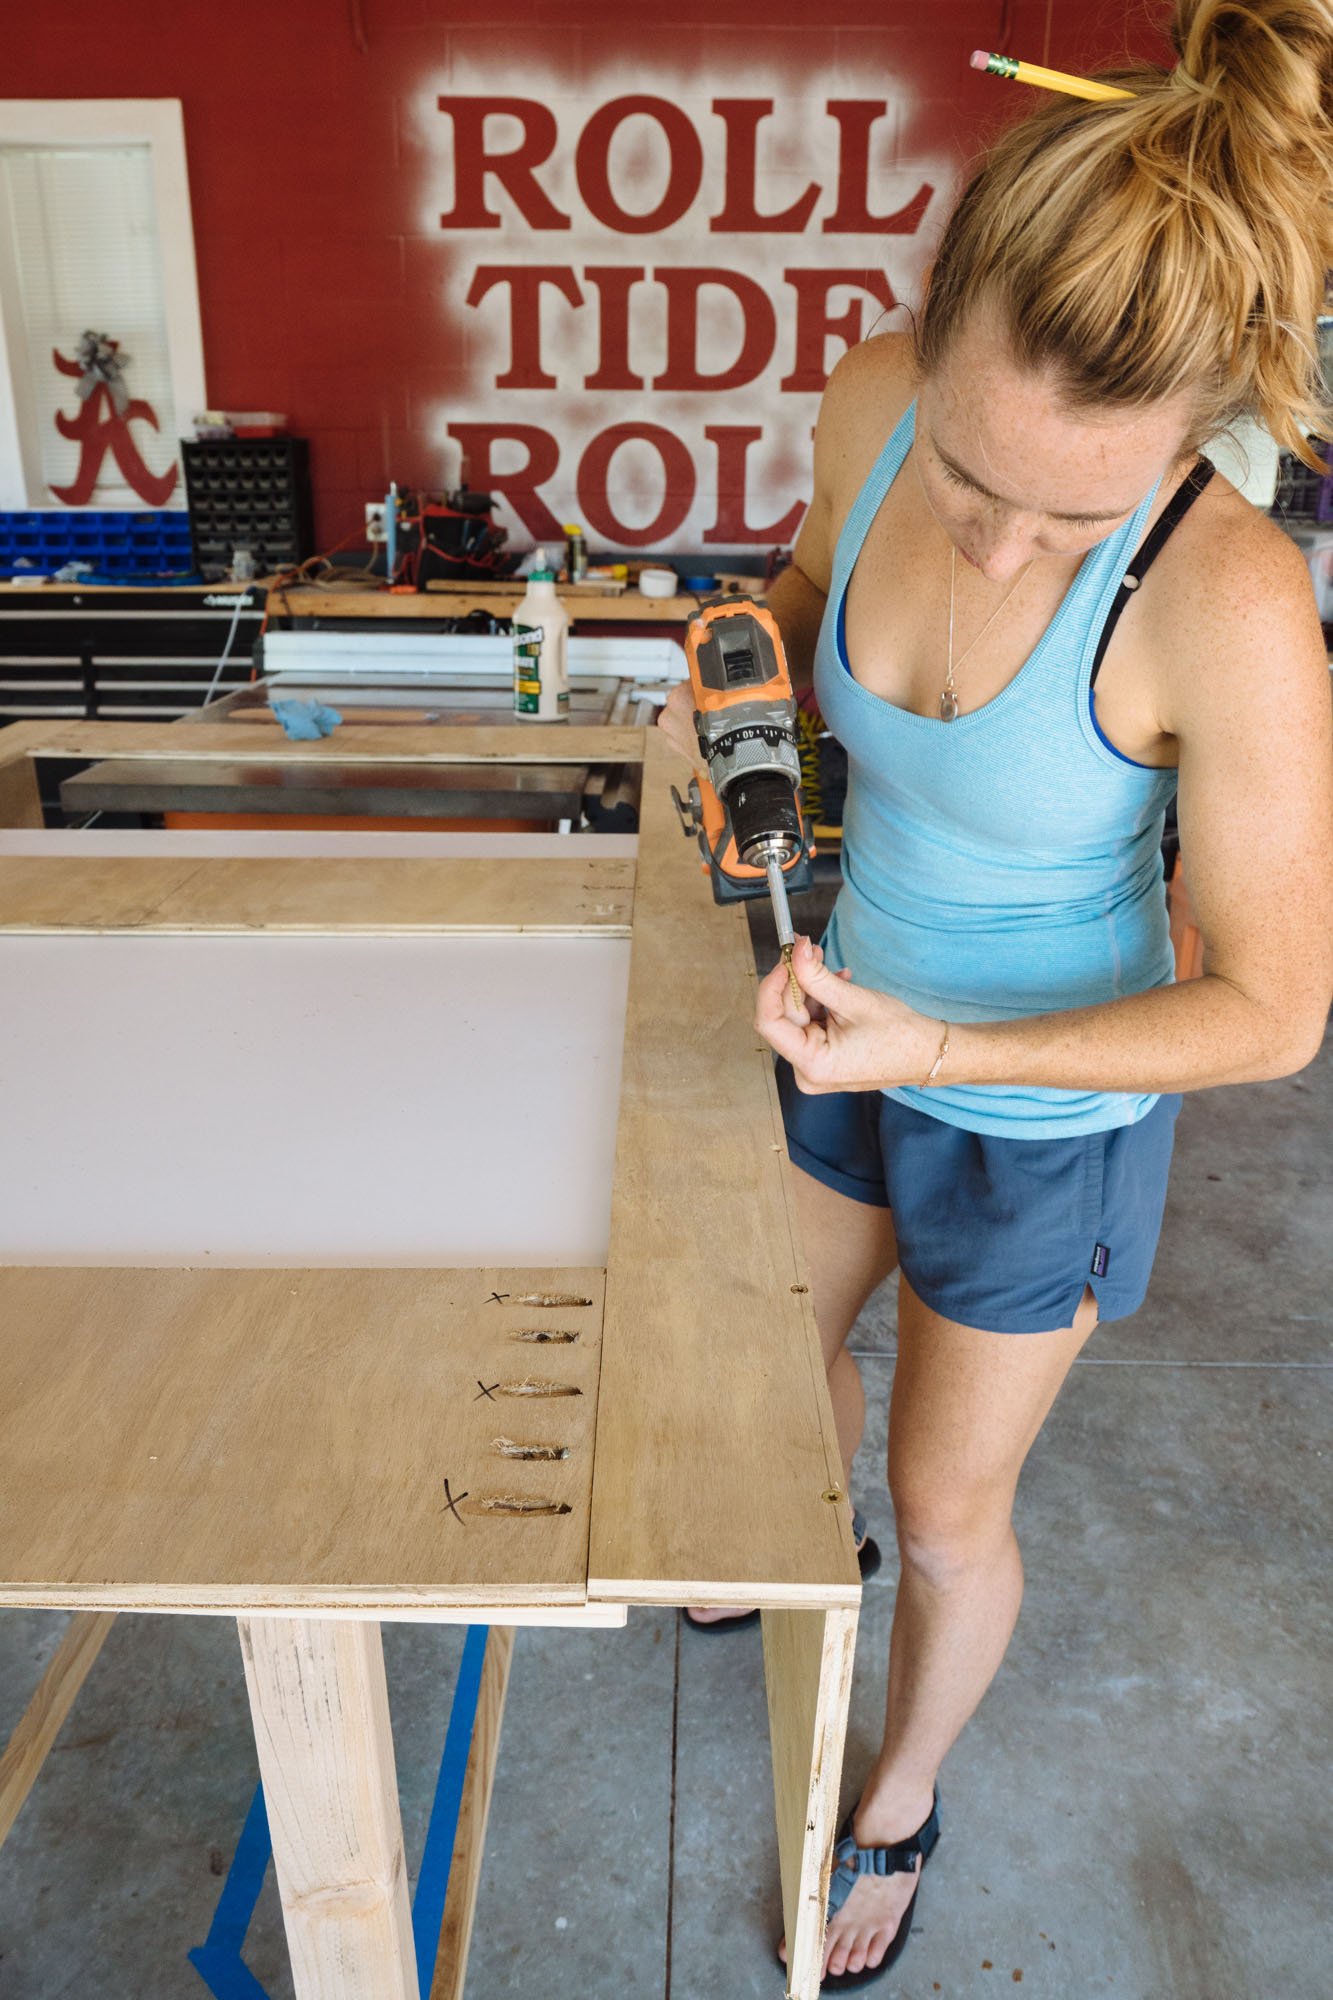
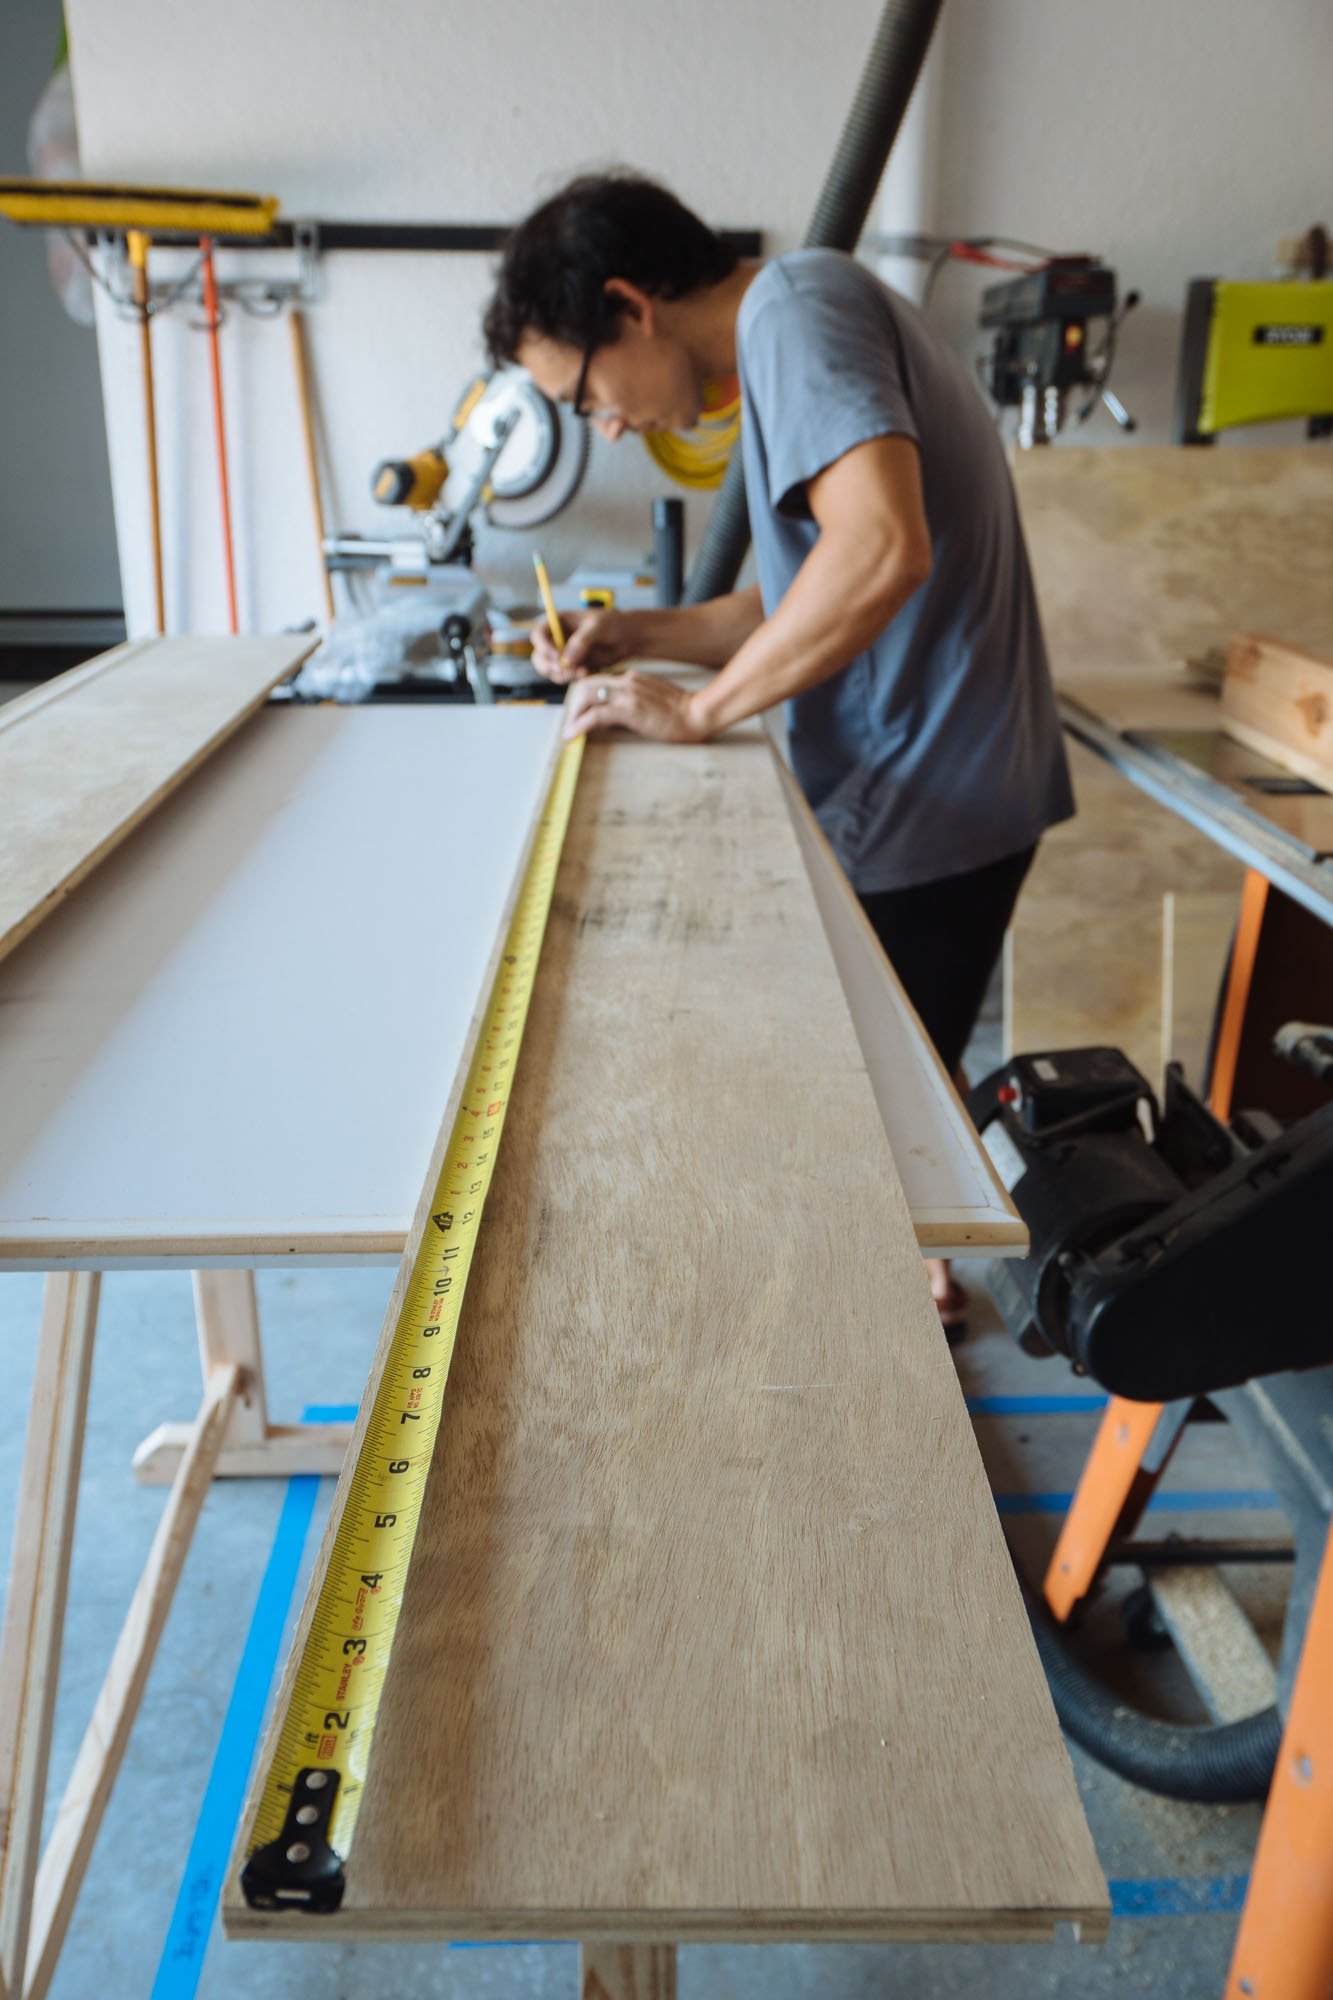
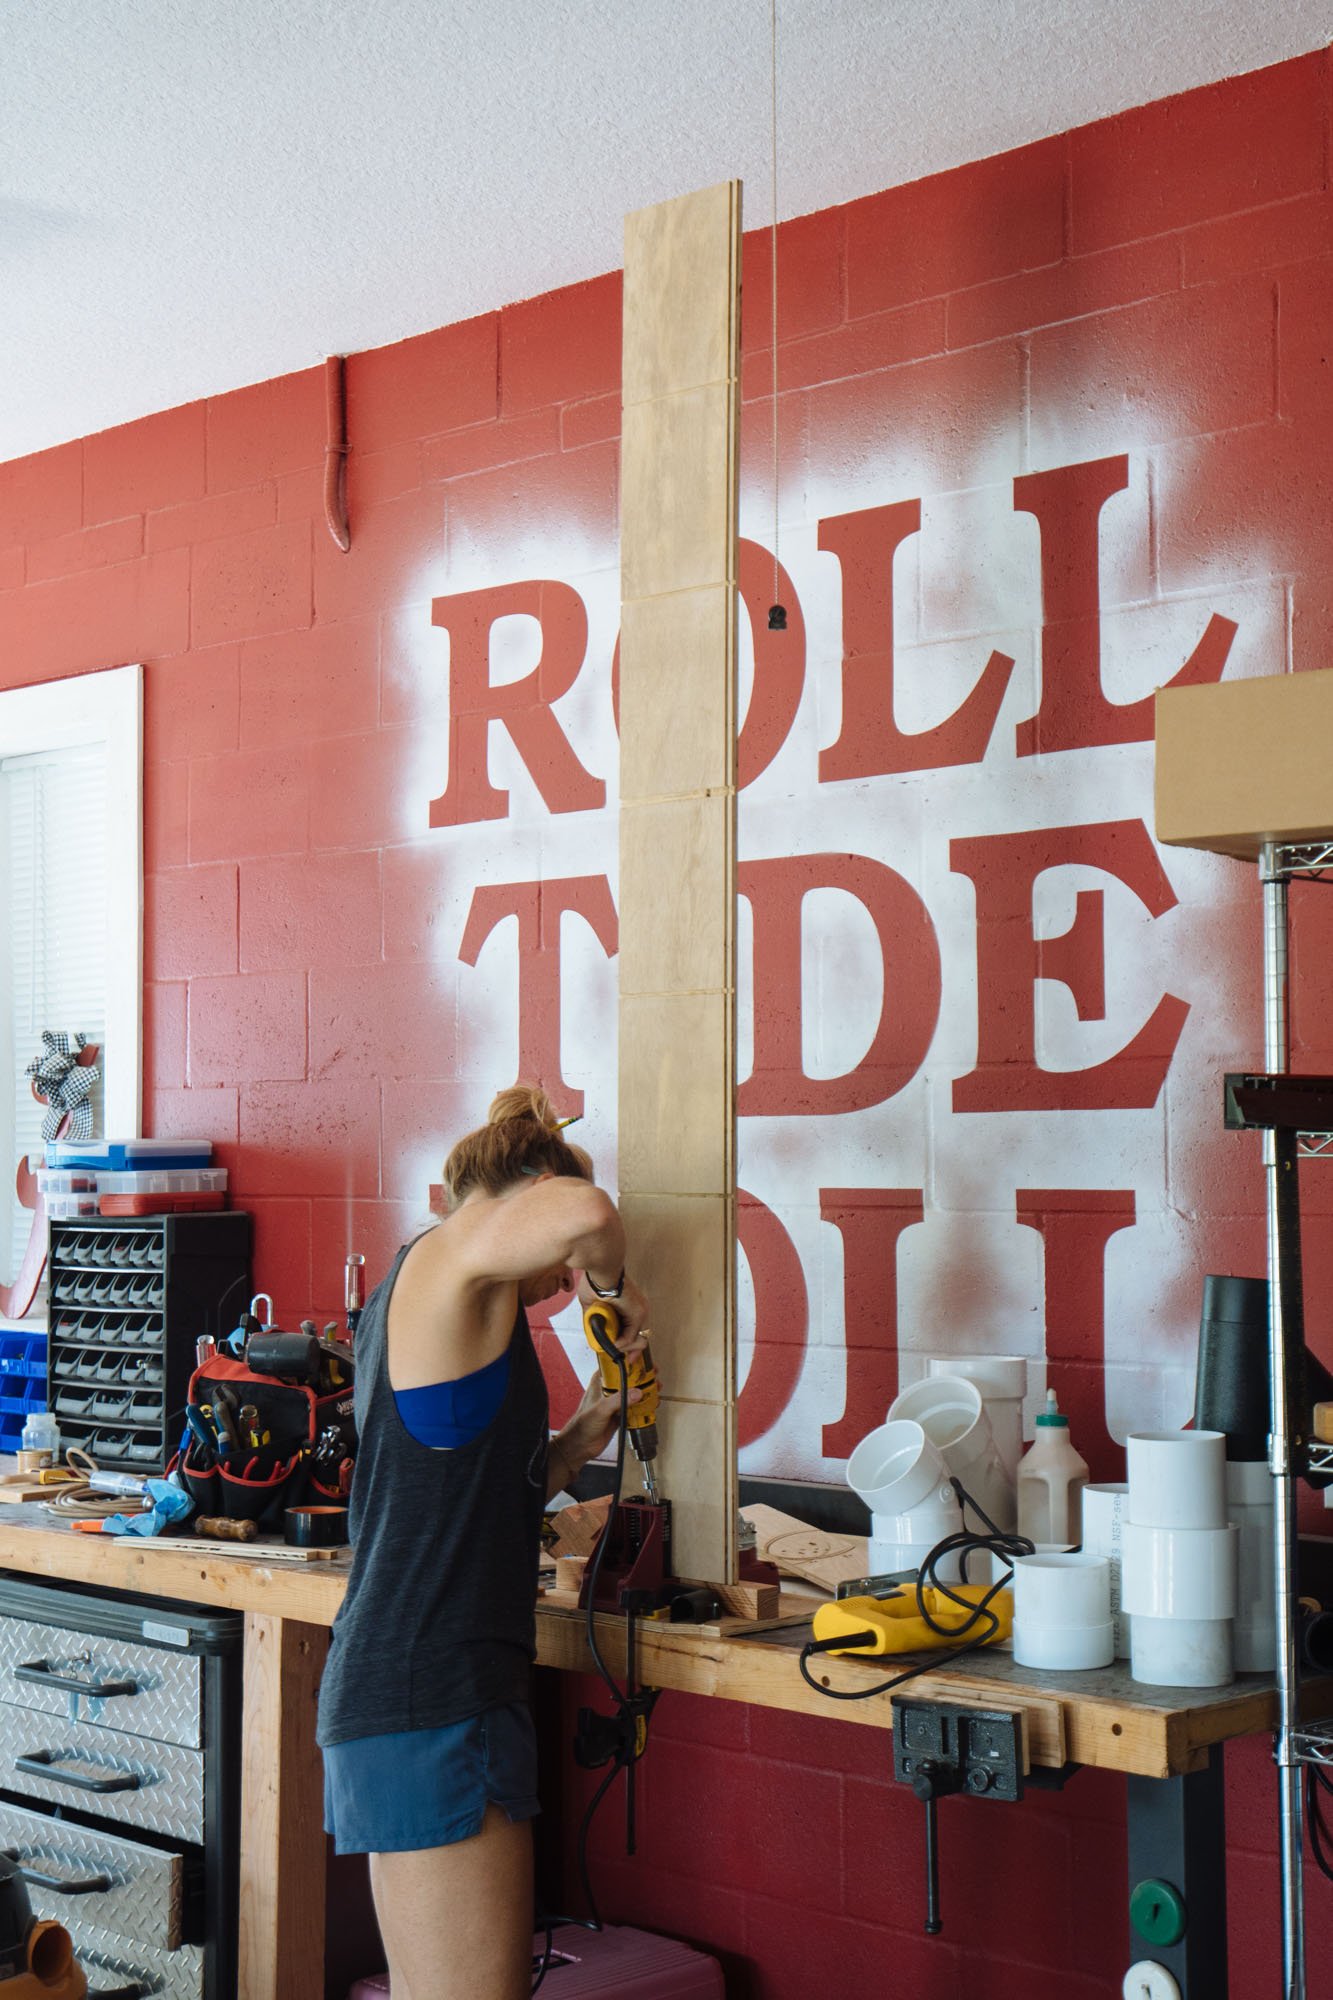
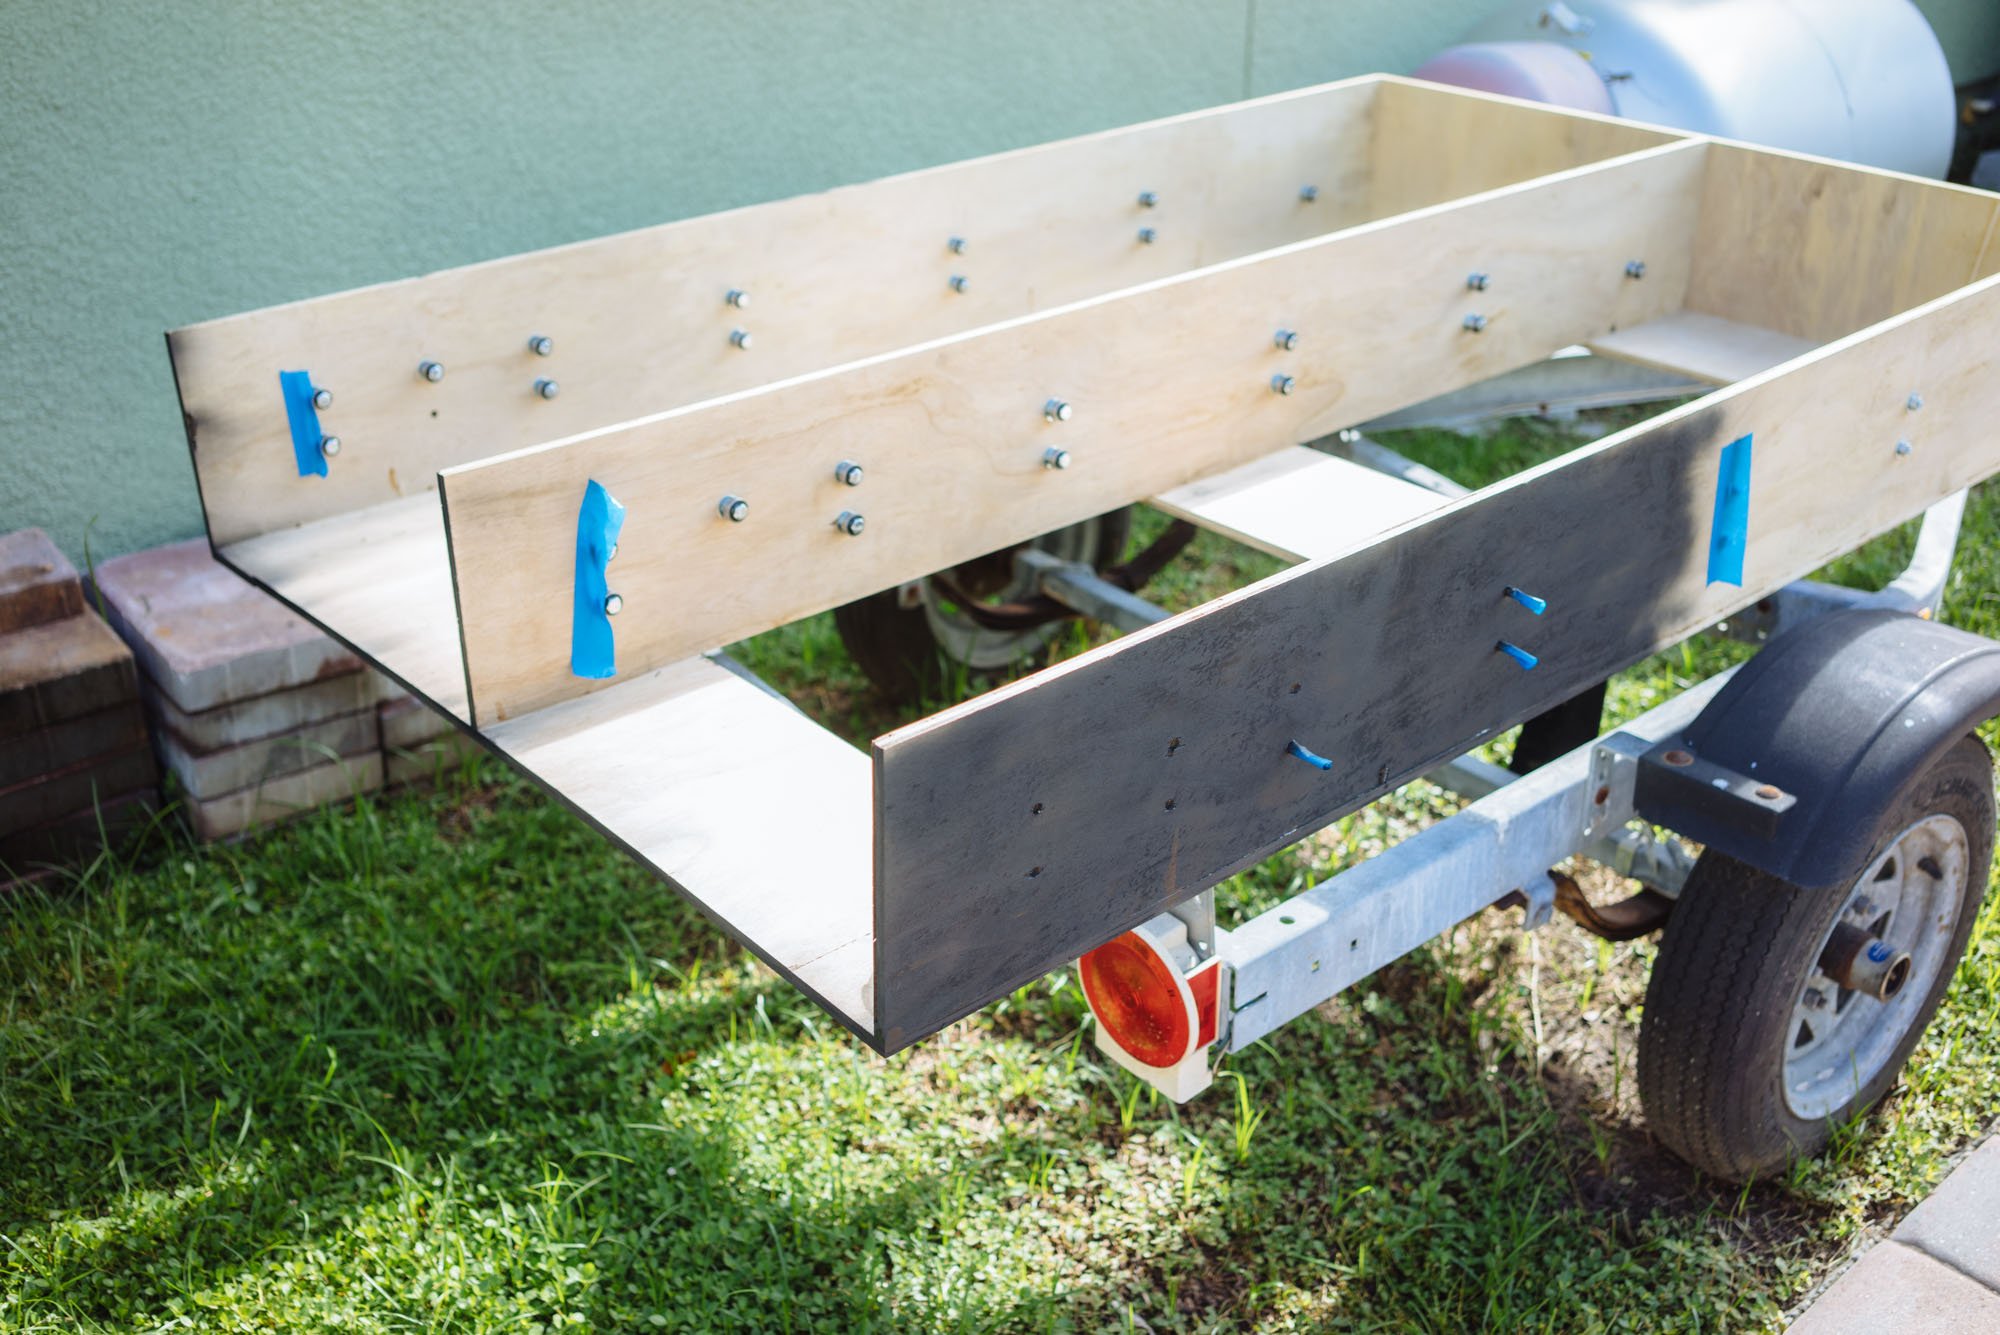
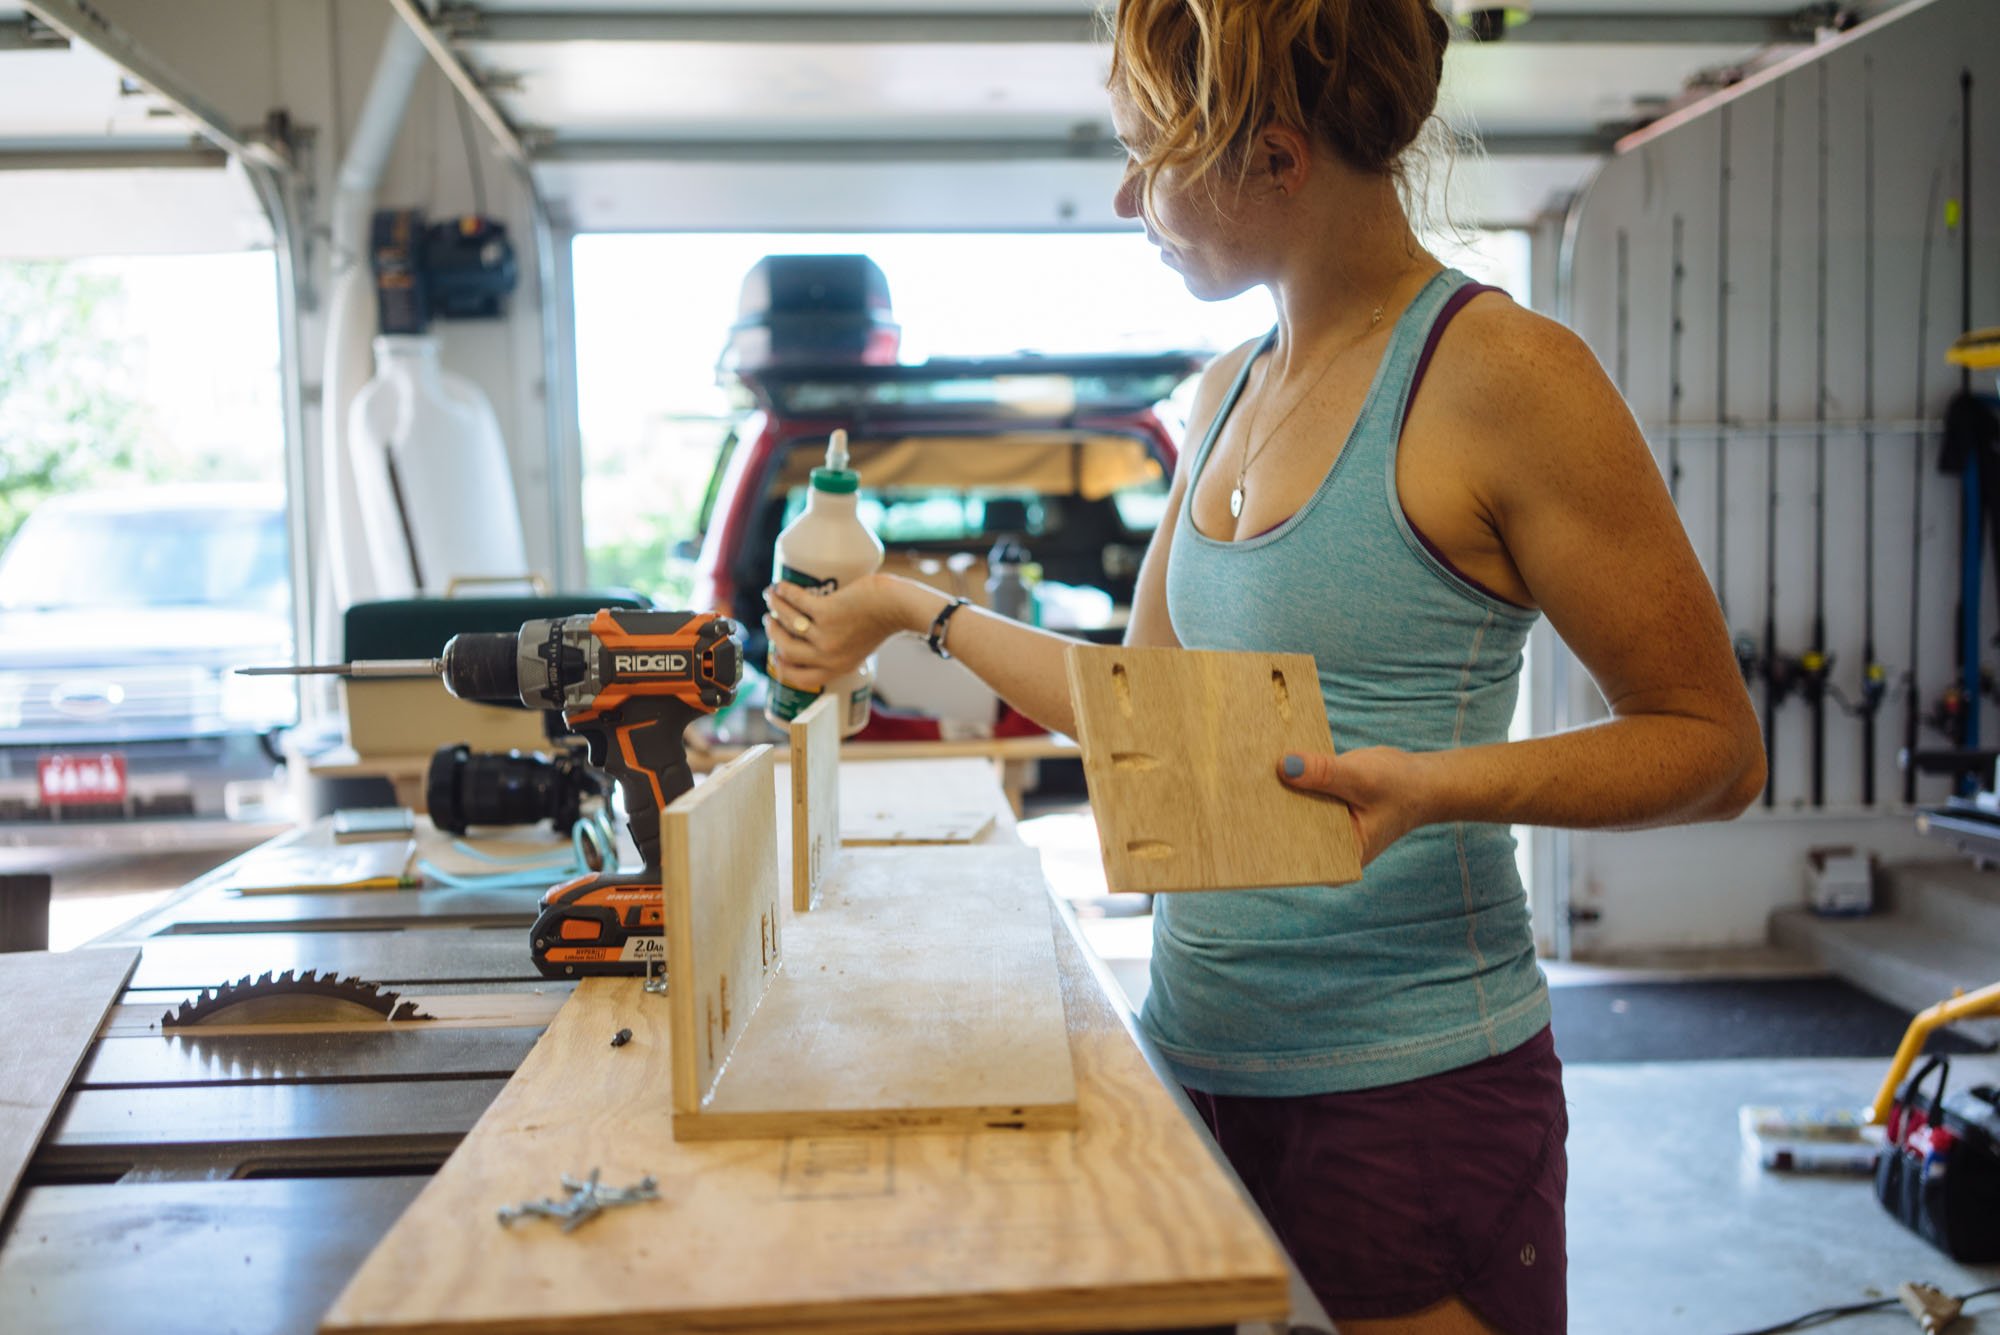
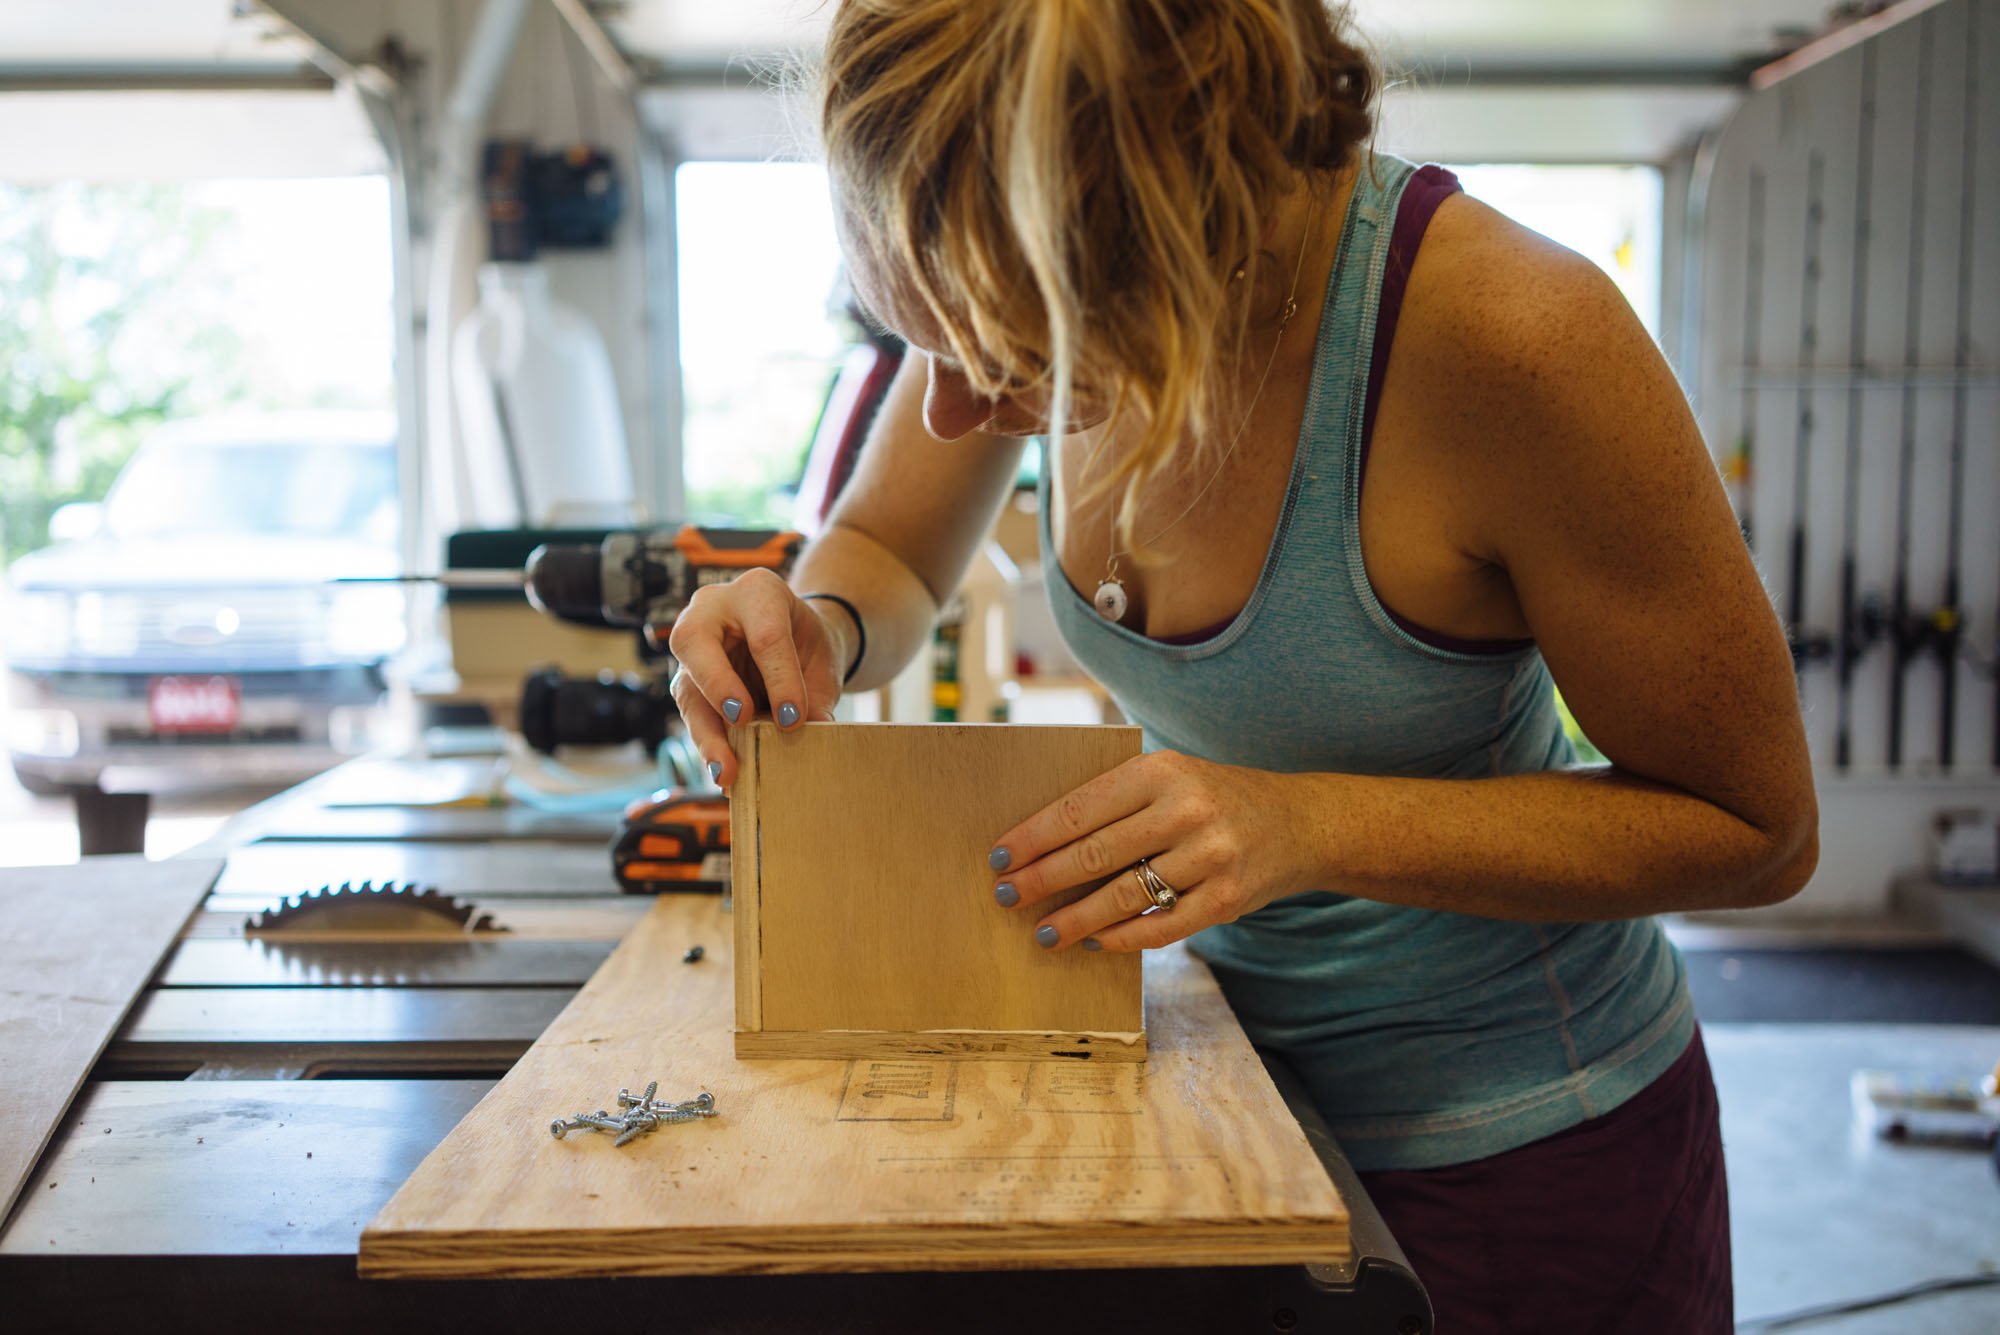
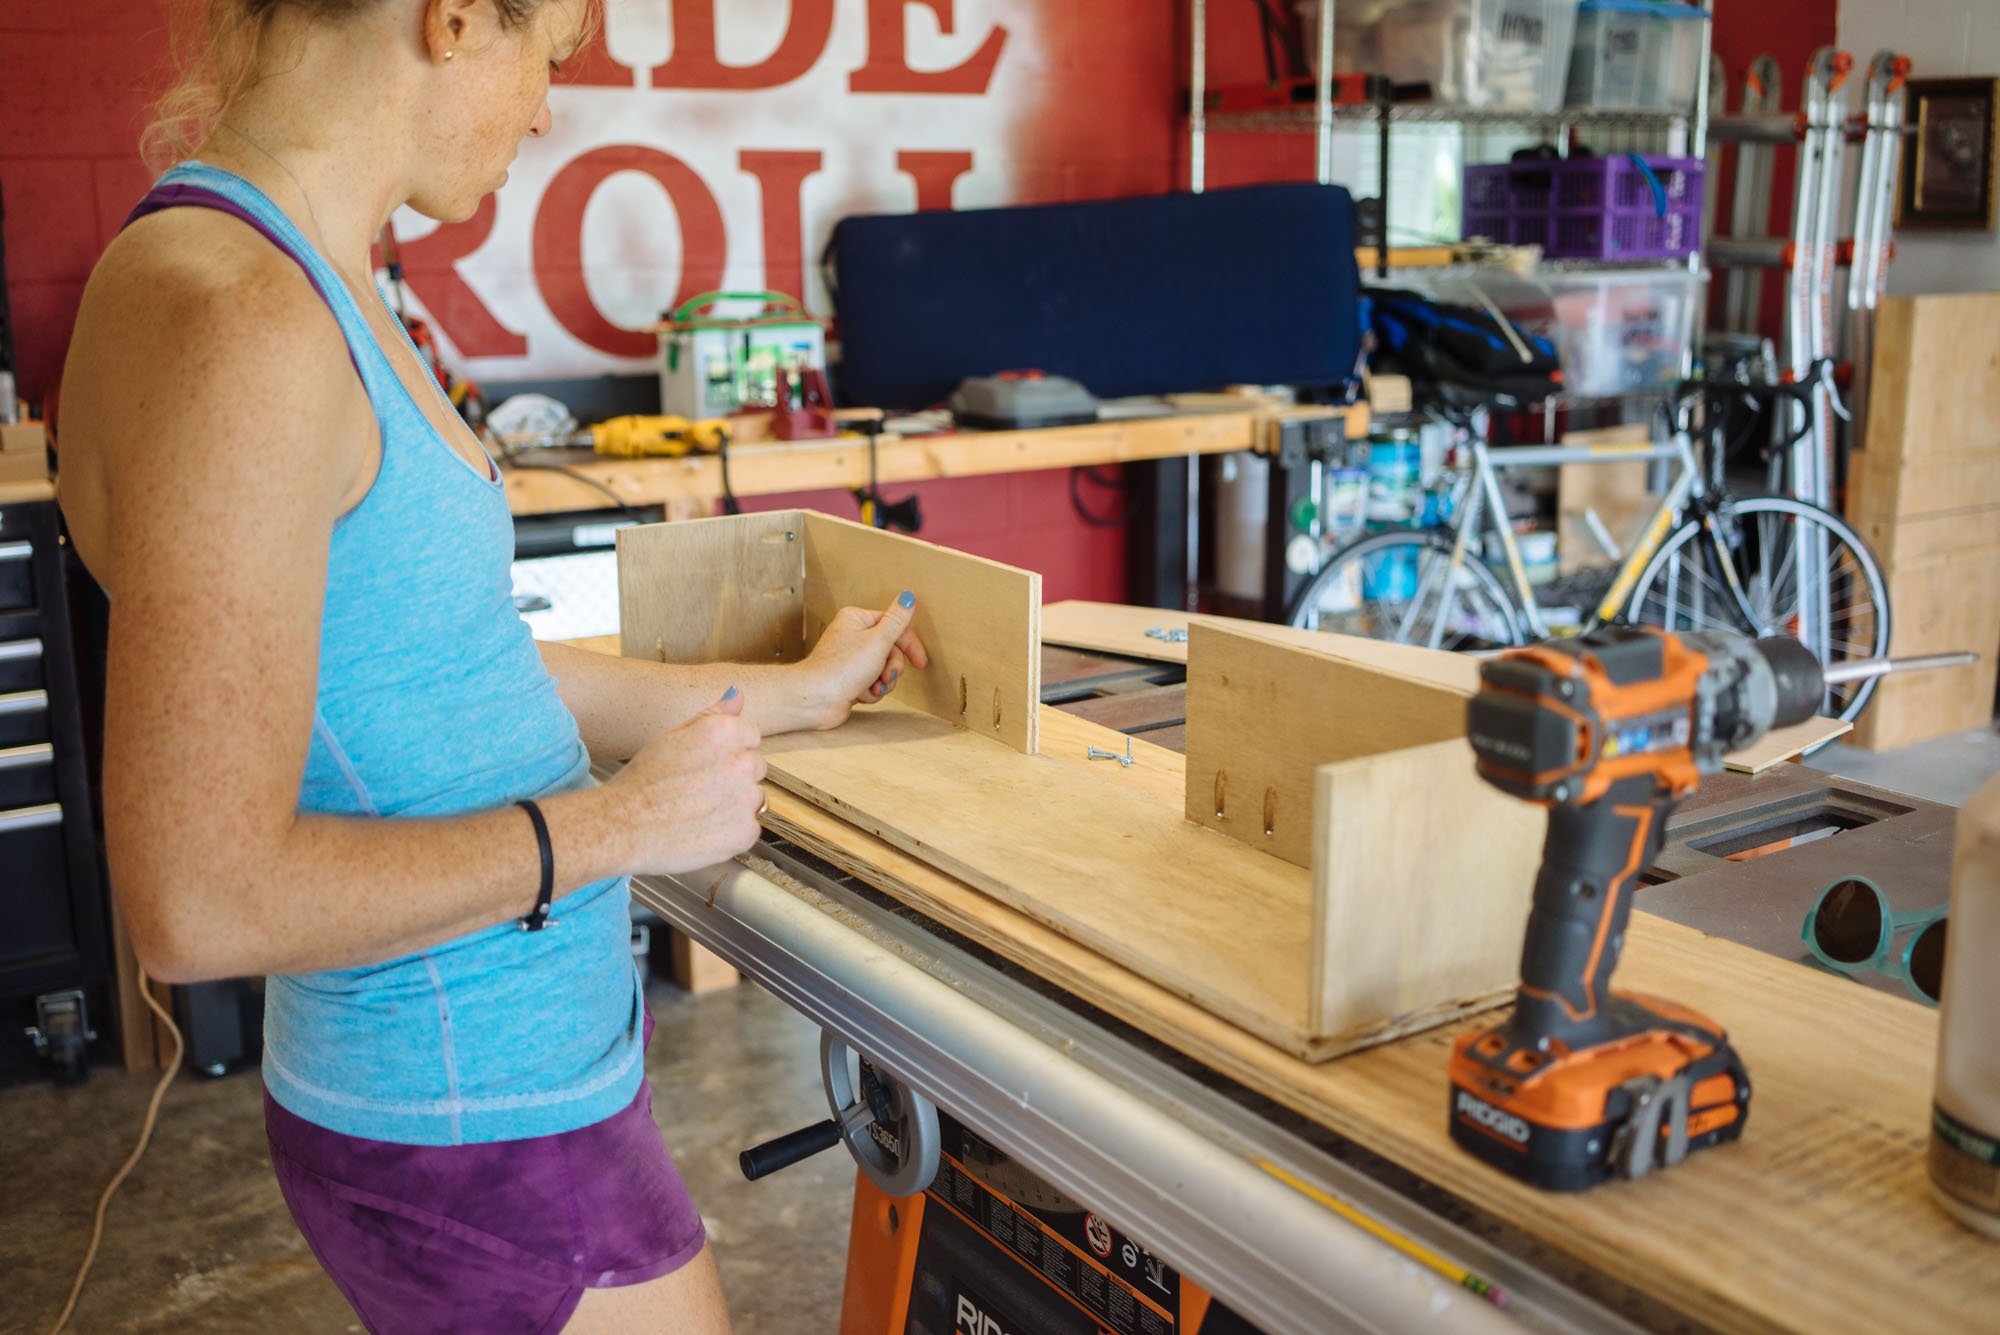
Building the frame was an easy process once we knew the what we were after. Using 1/2" plywood we started framing out the bed platform/drawers.

We needed the frame to span the entire width between the wheel wells so we maximize the little space we have for our drawers. All of the pieces were put together using a Craig Tool and screws.
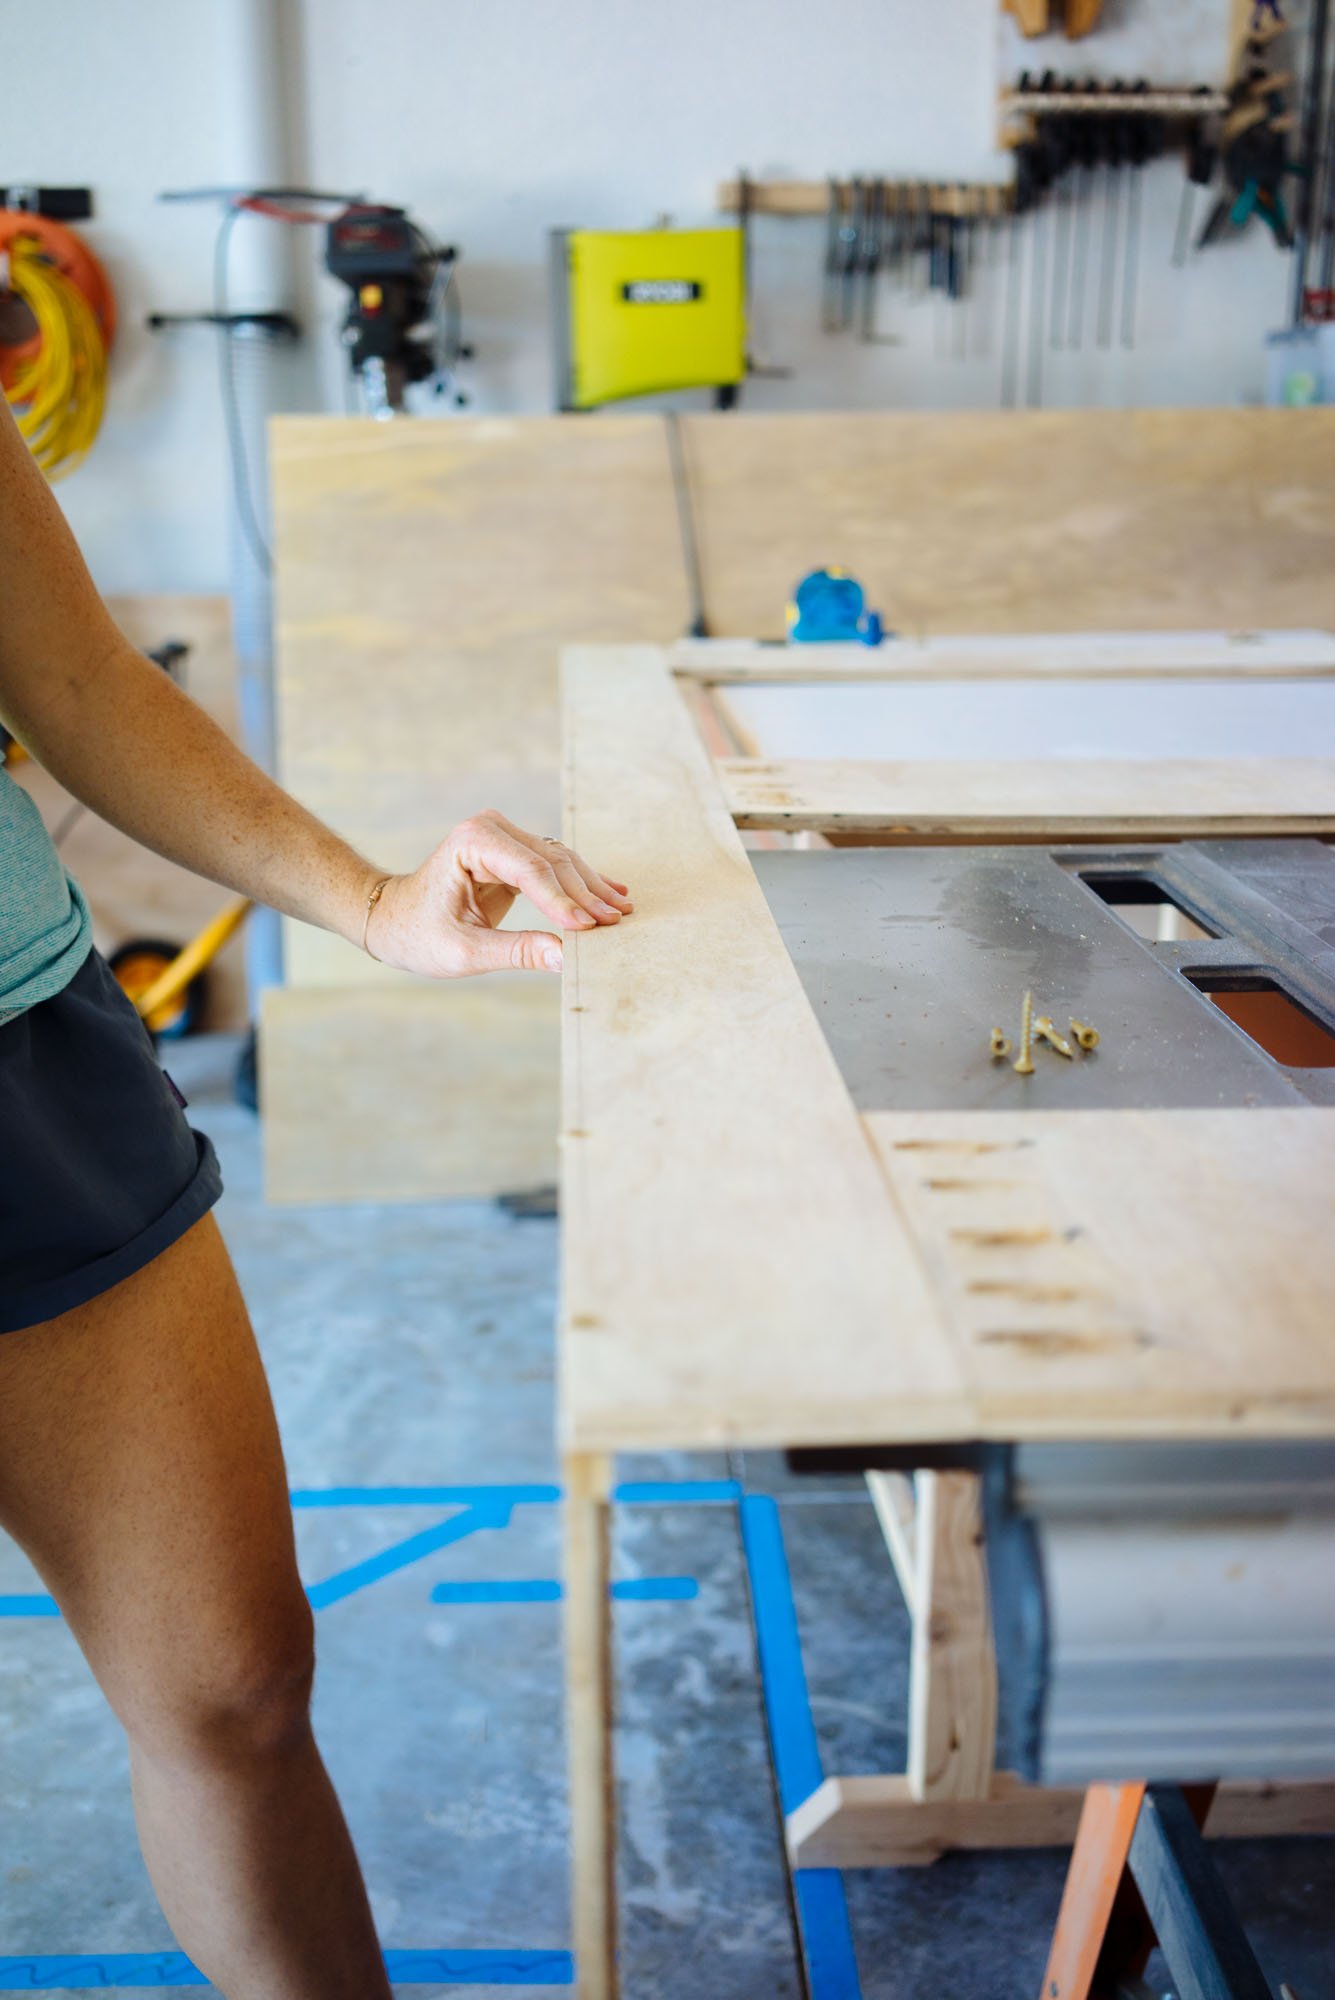
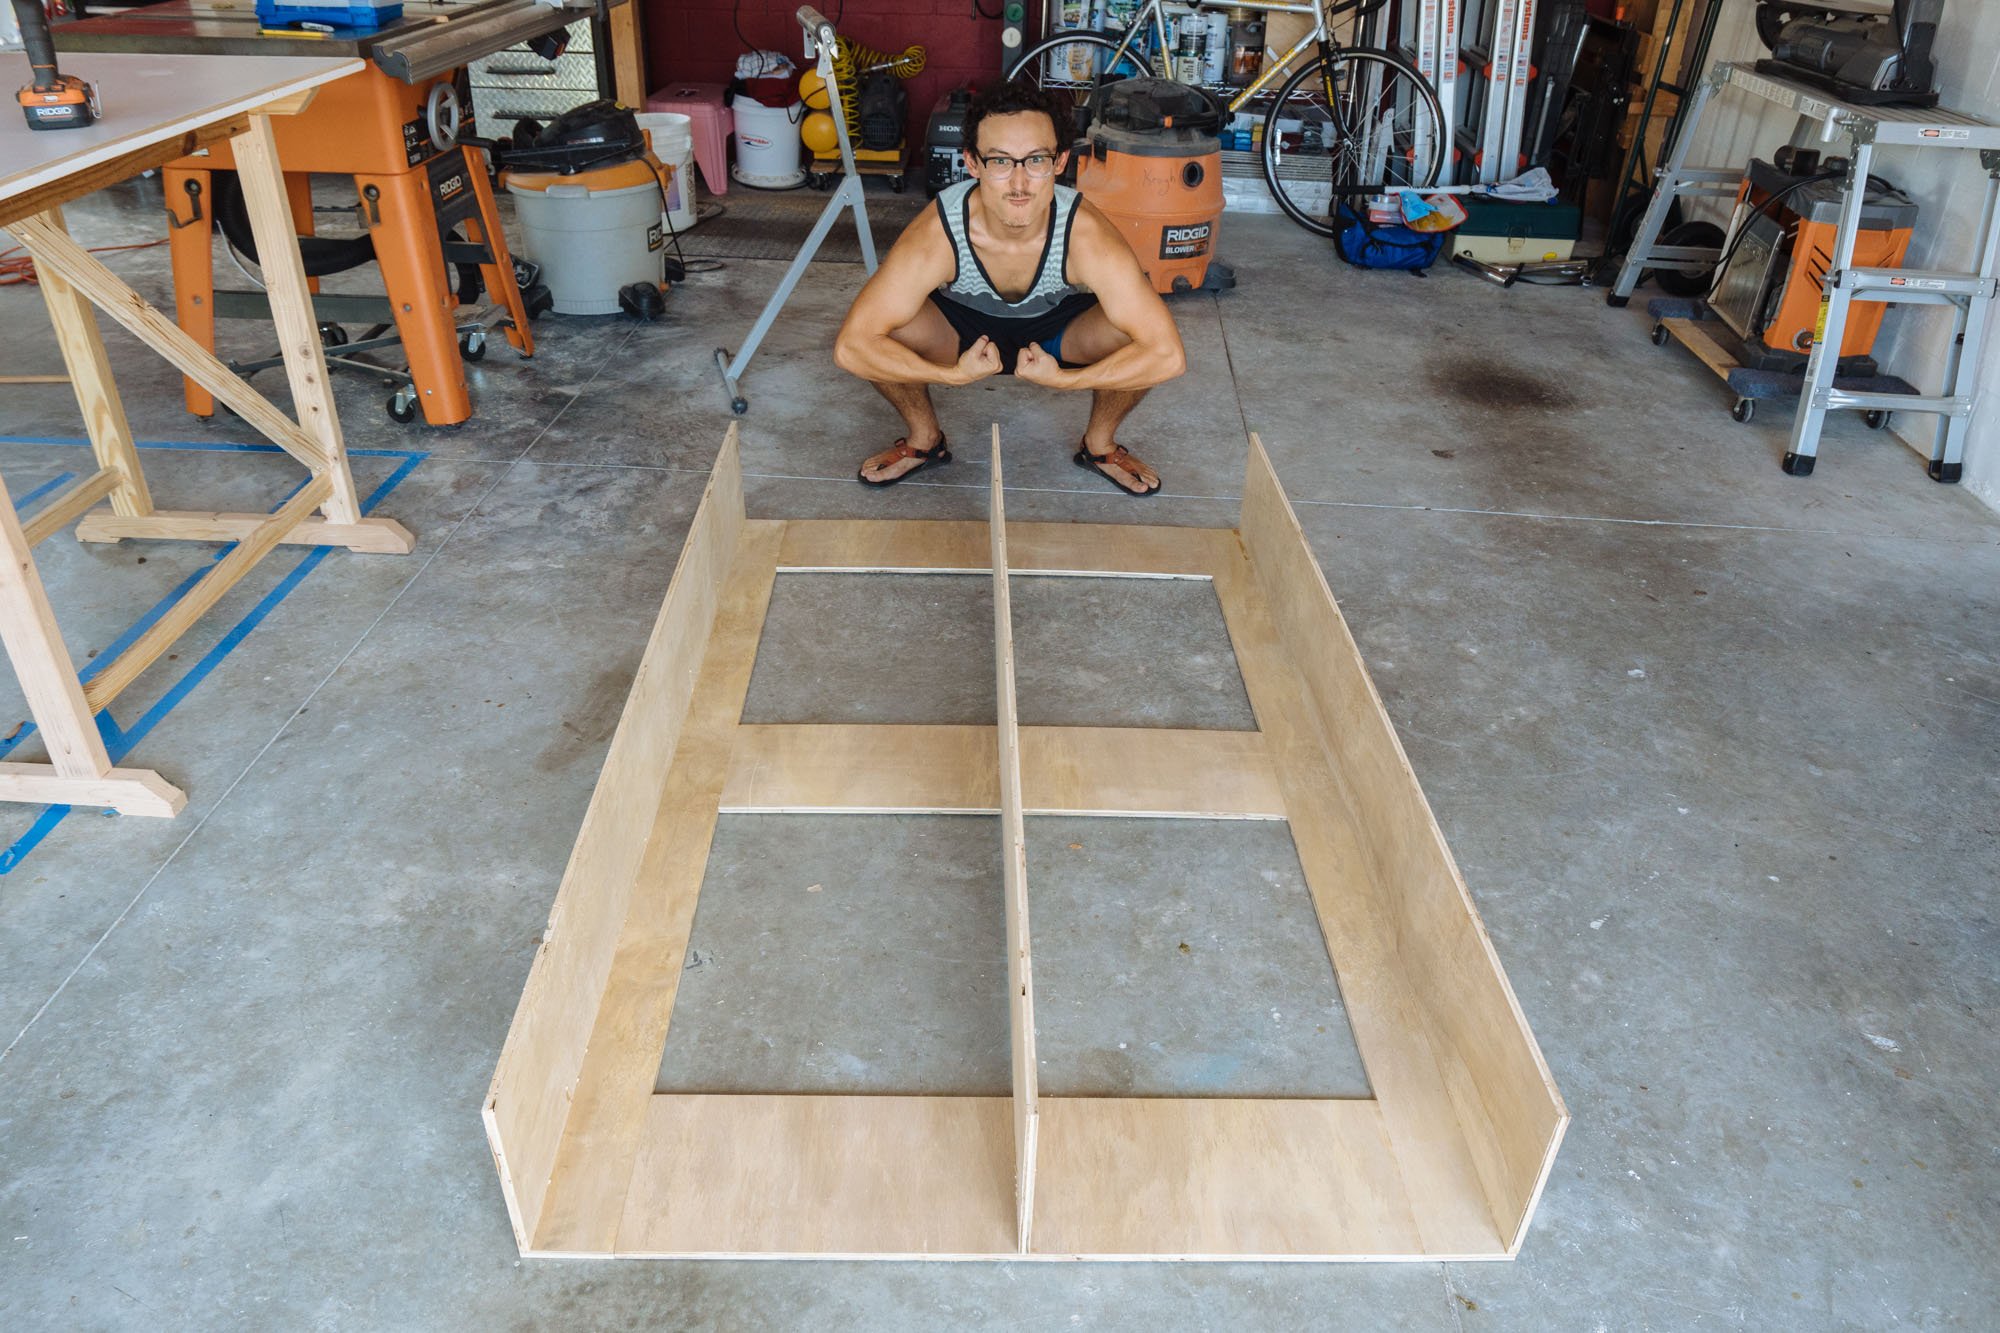
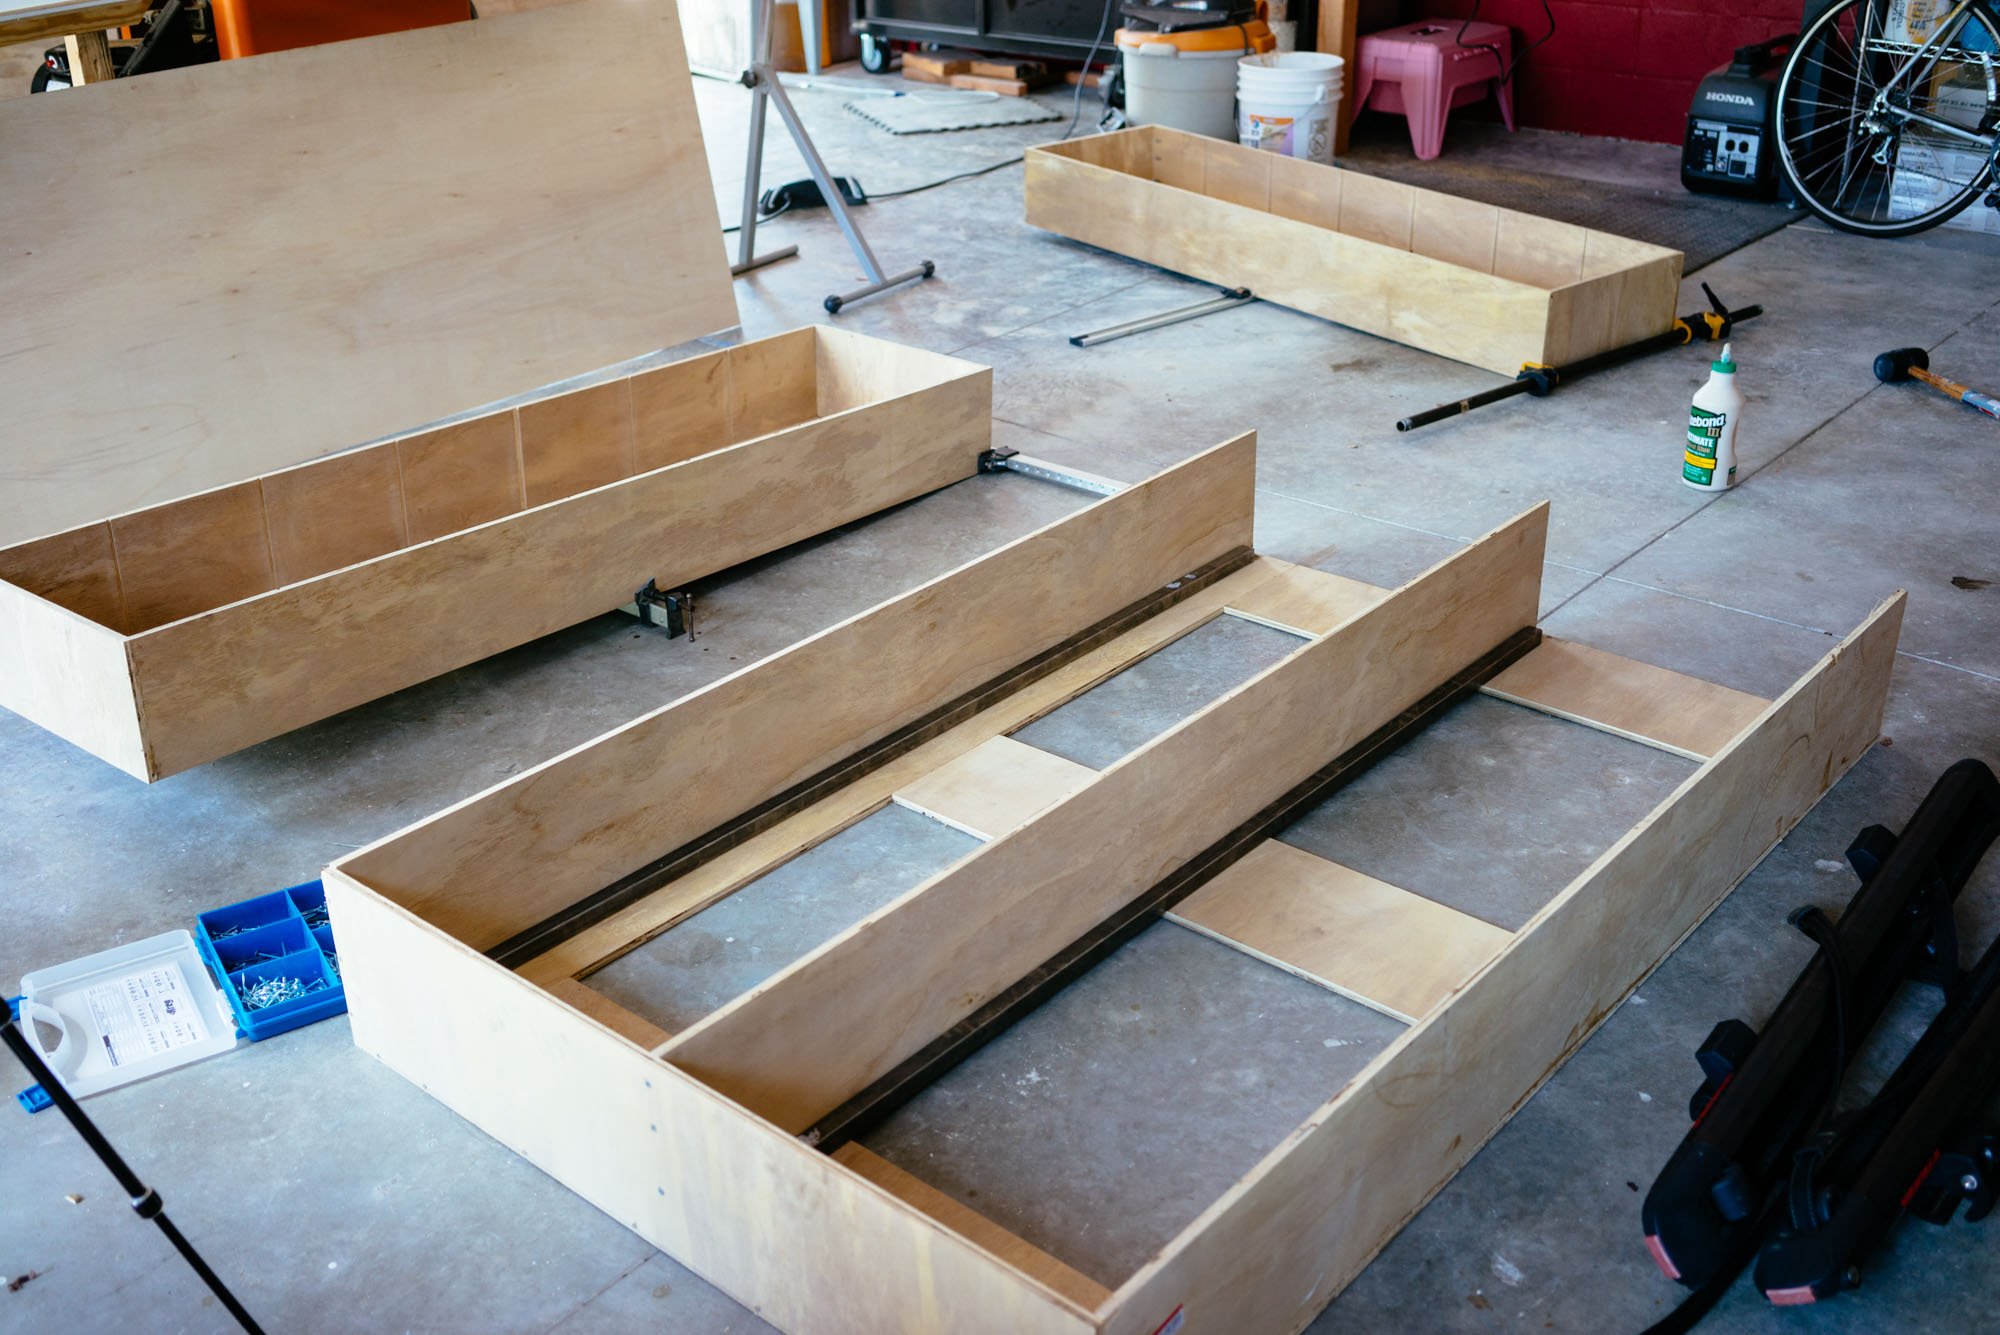
After the base was made we added the upright pieces for the outsides of the boxes as well as the center beam. The hight of the overall drawer system was determined by the height of our wheel wells because we wanted the top of our bed platform to rest on the top of the wheel wells. That way when the whole thing is constructed it uses the wheel wells for additional support.
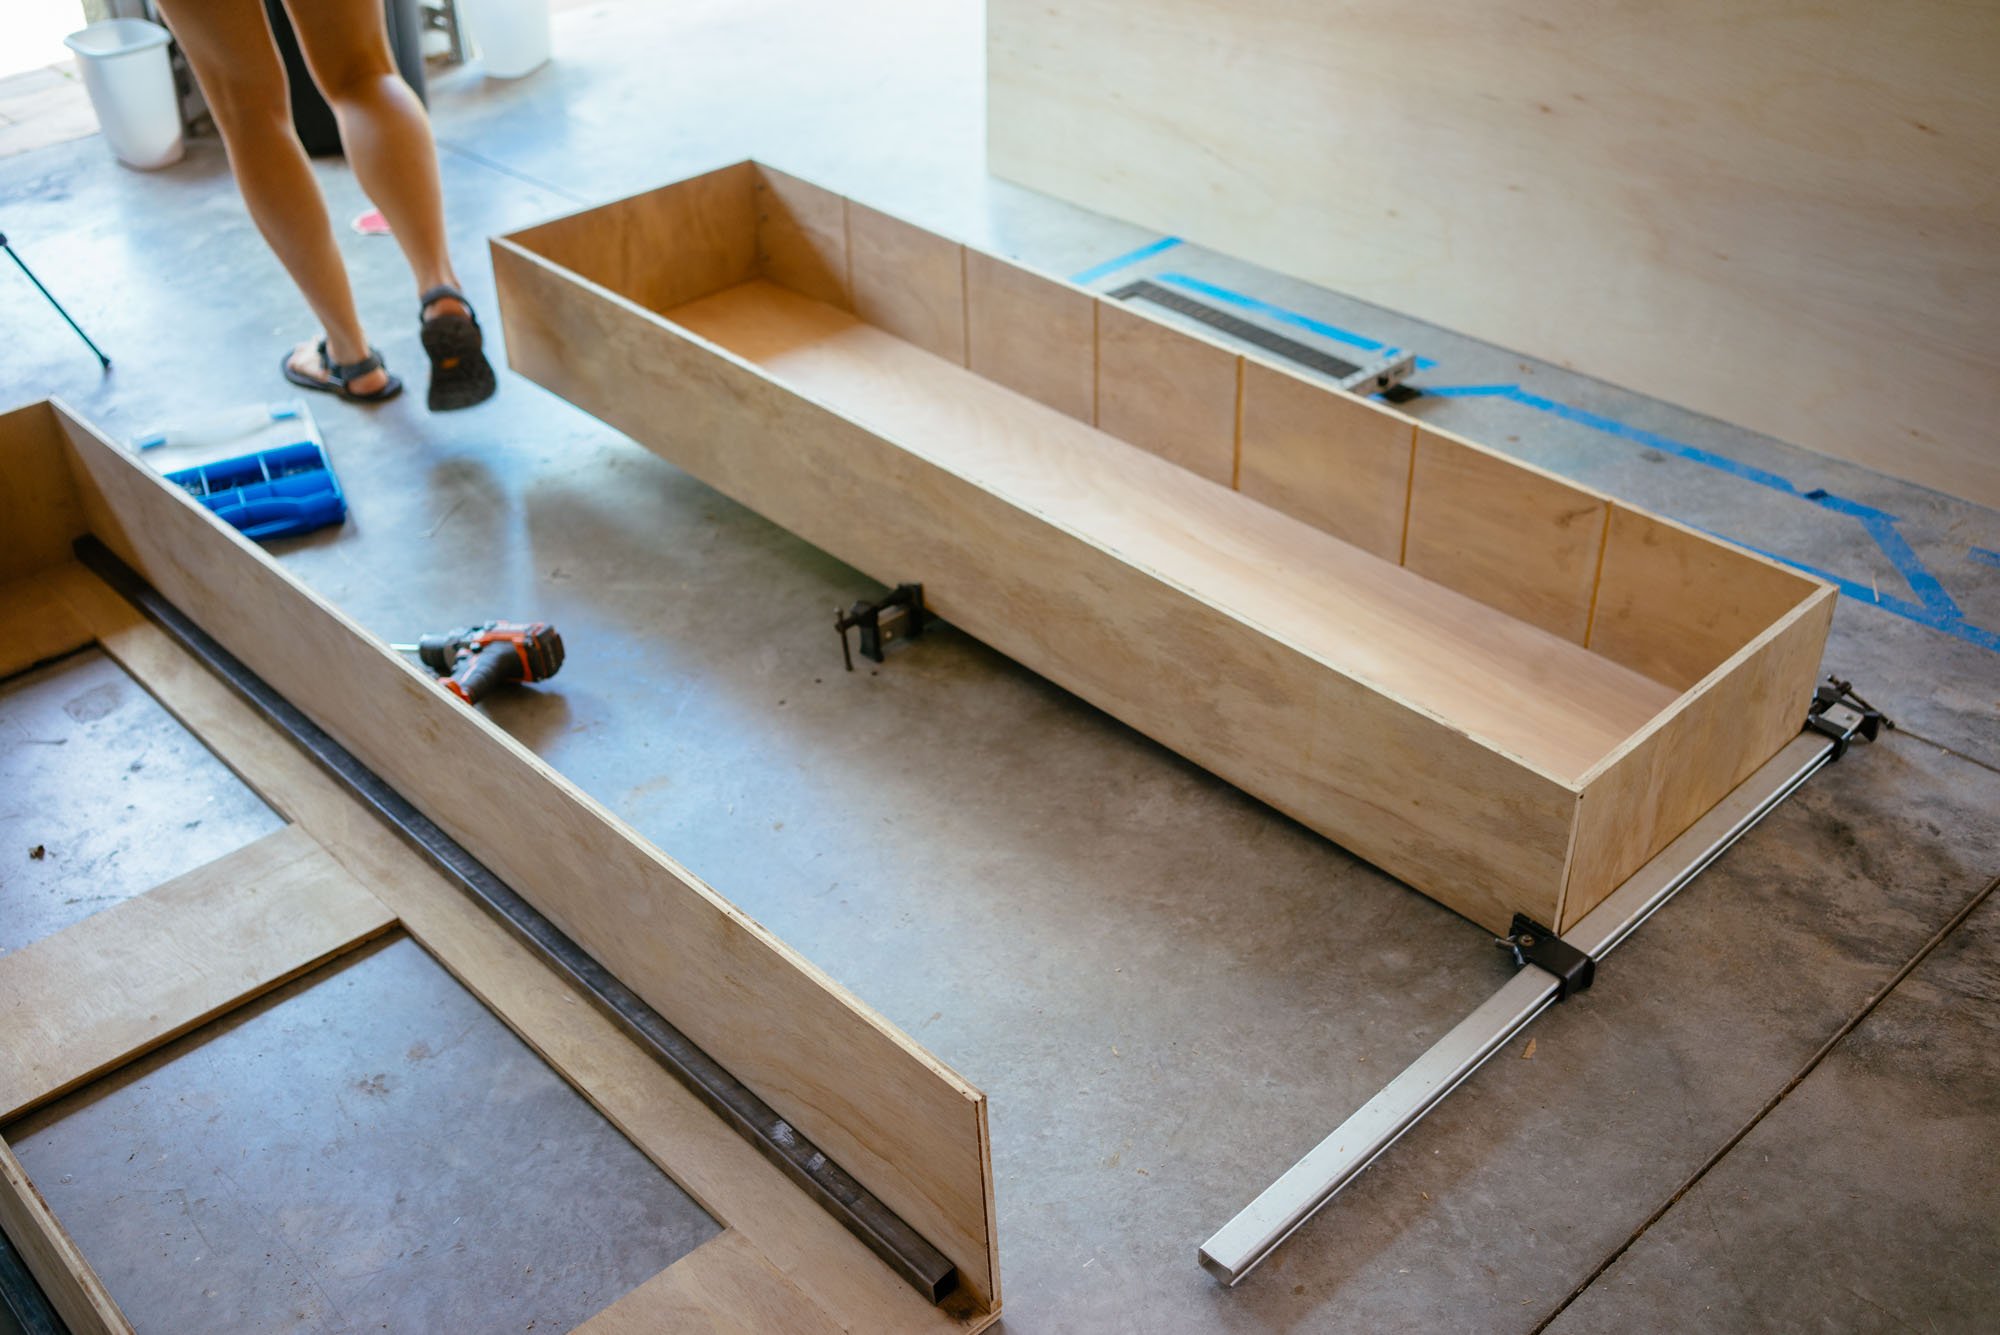
Step #3 - Build the Drawers
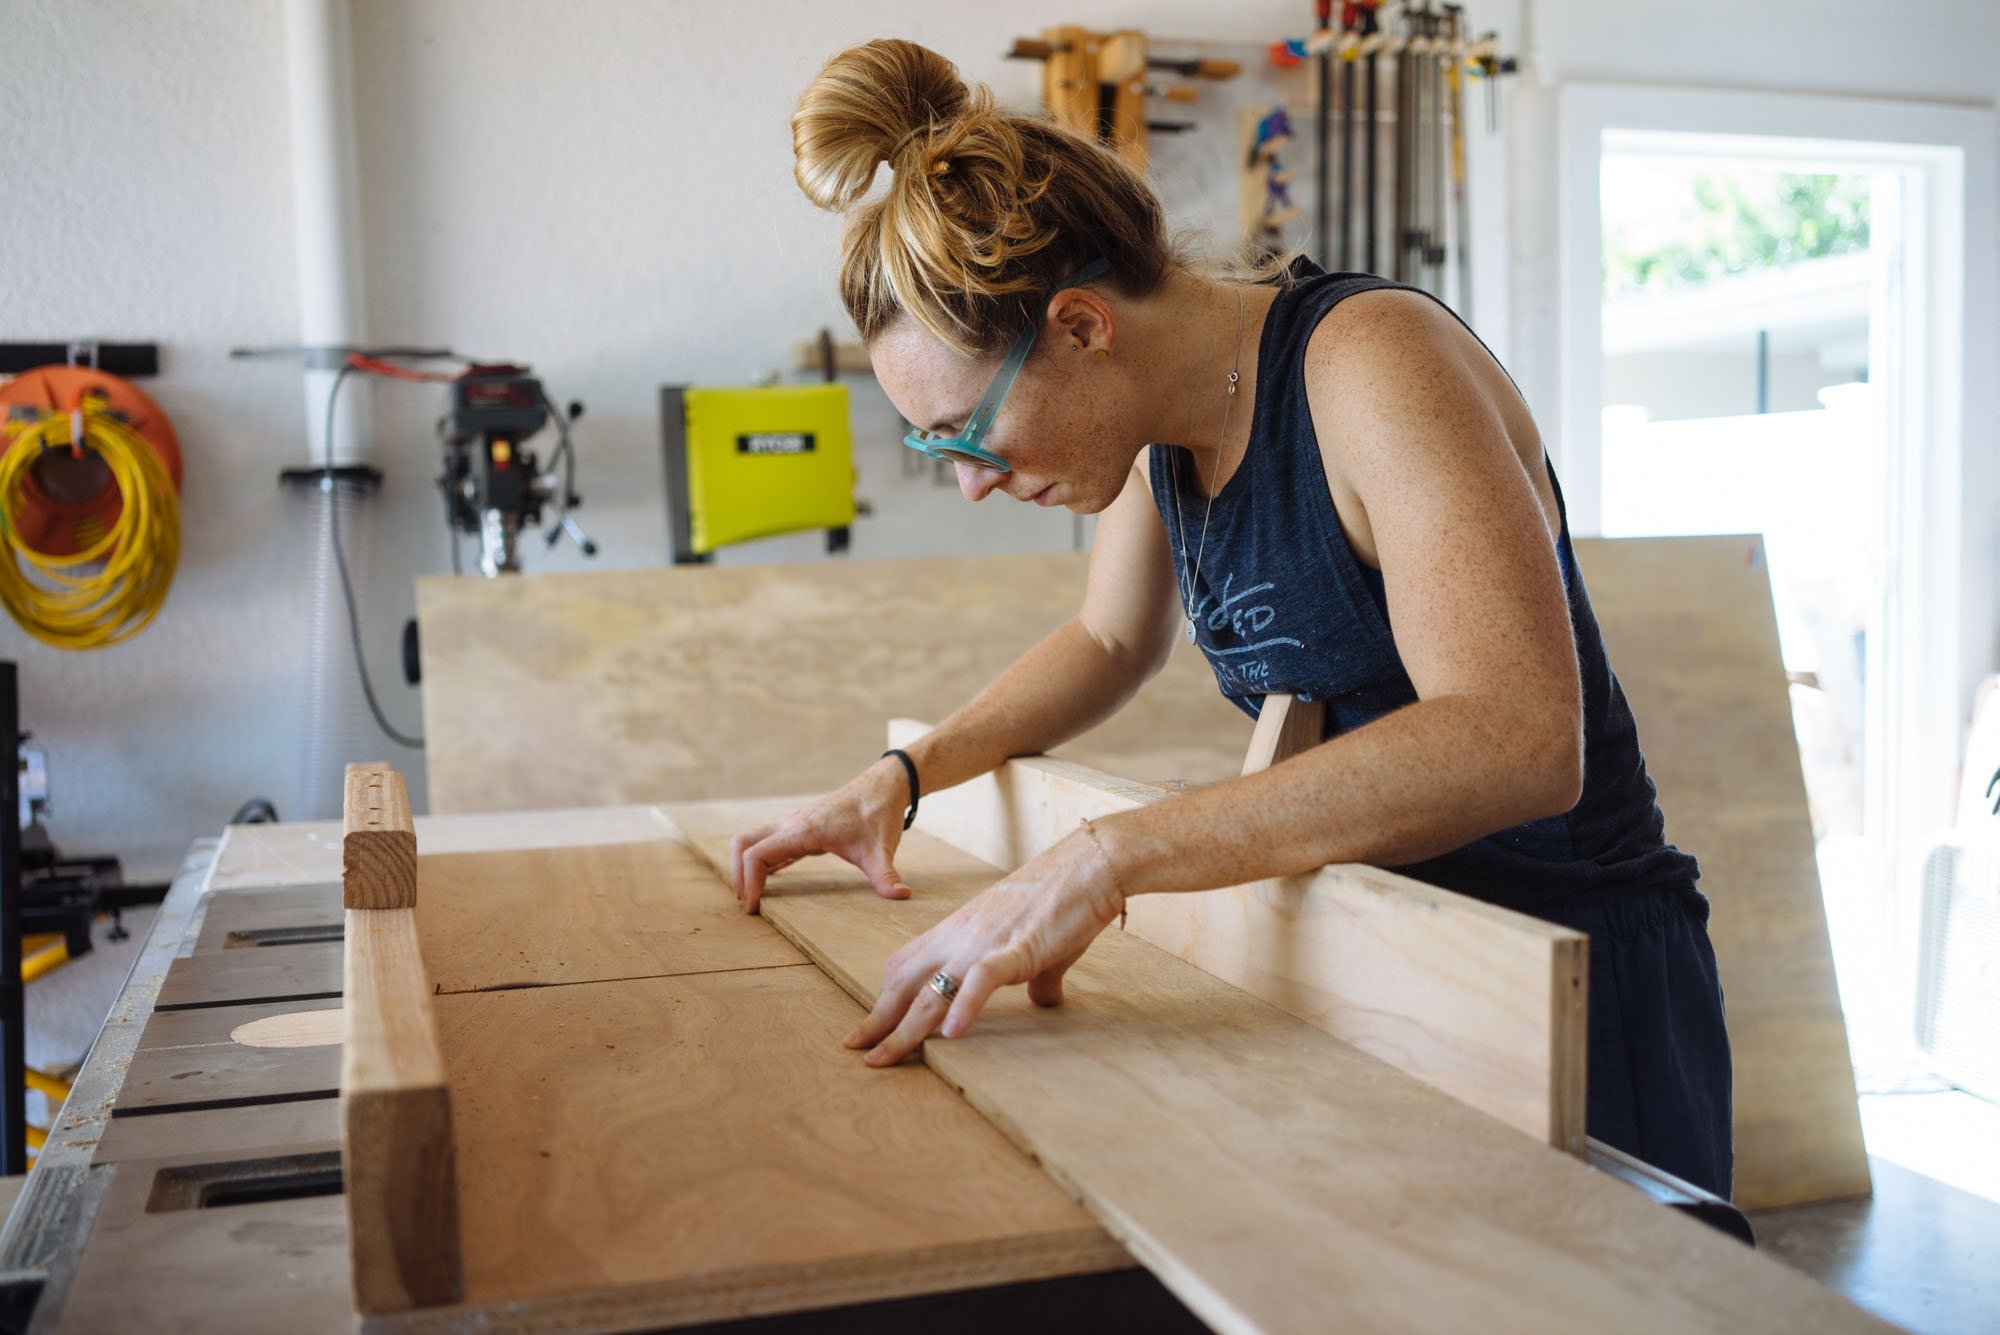
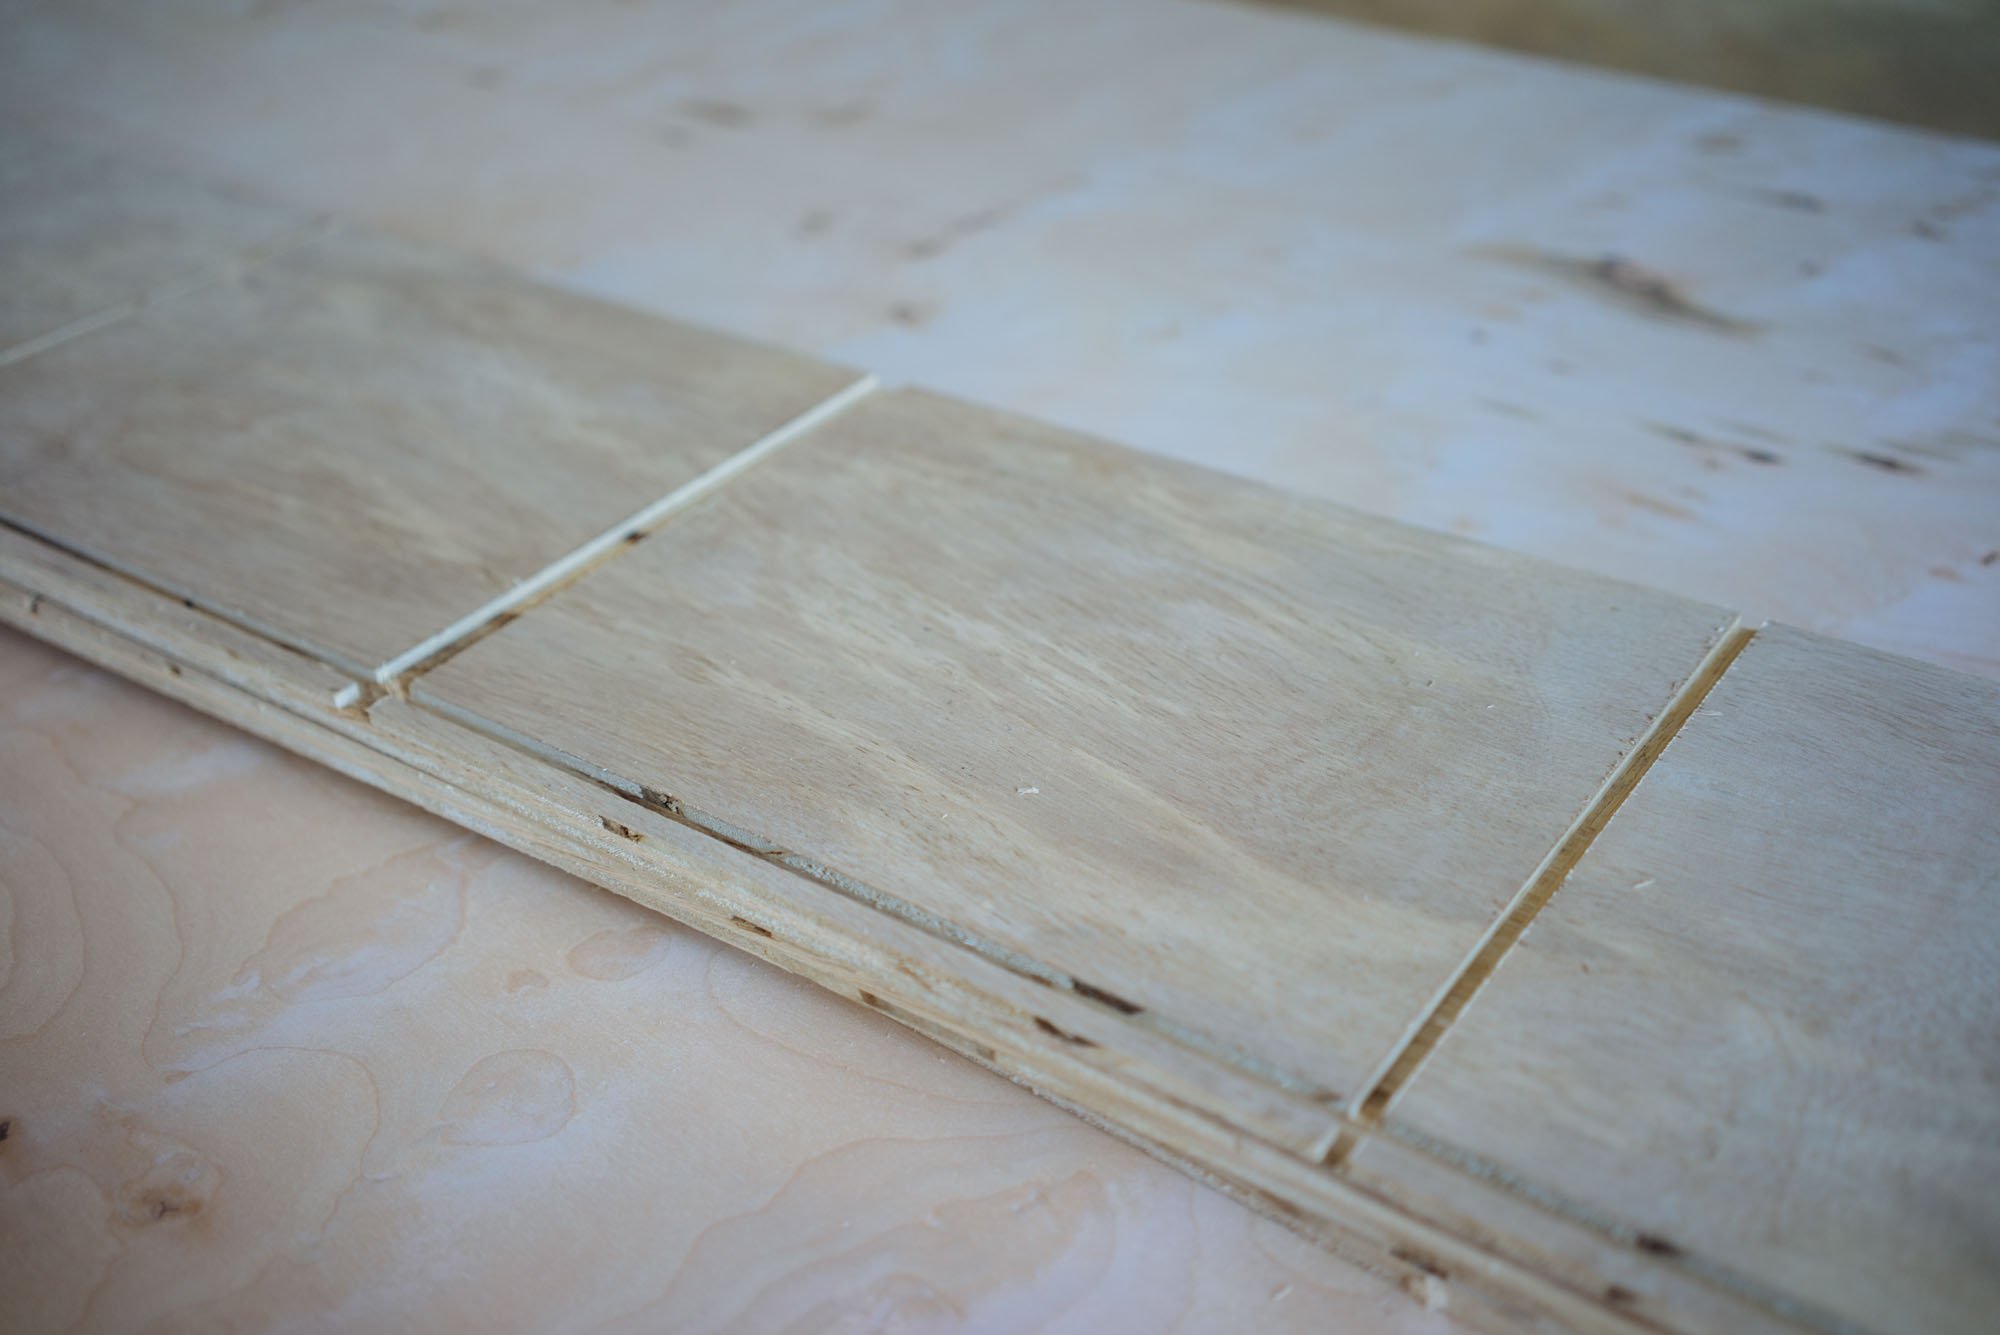
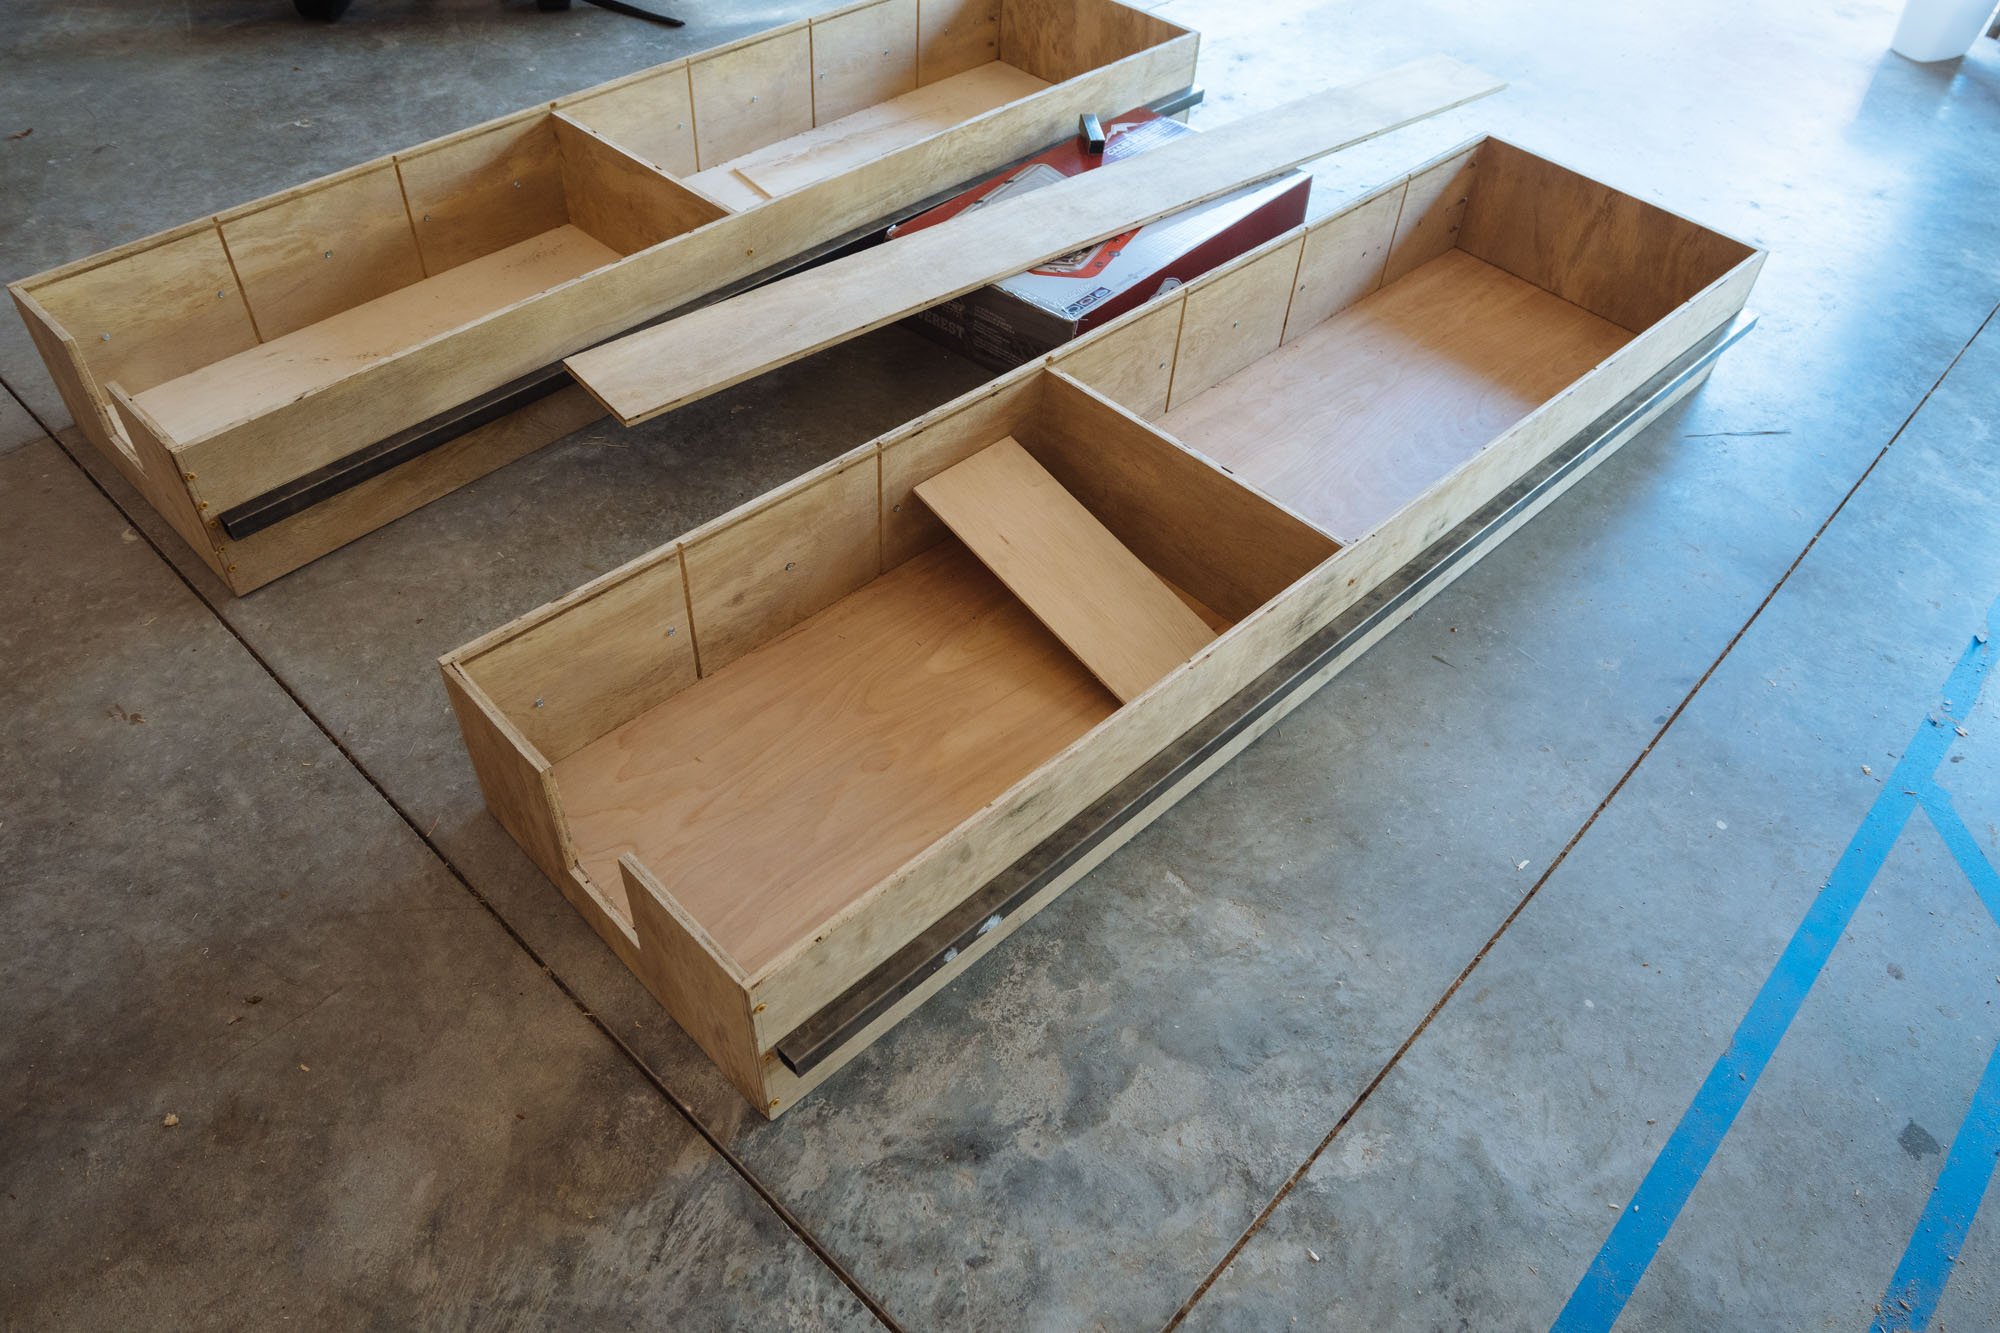
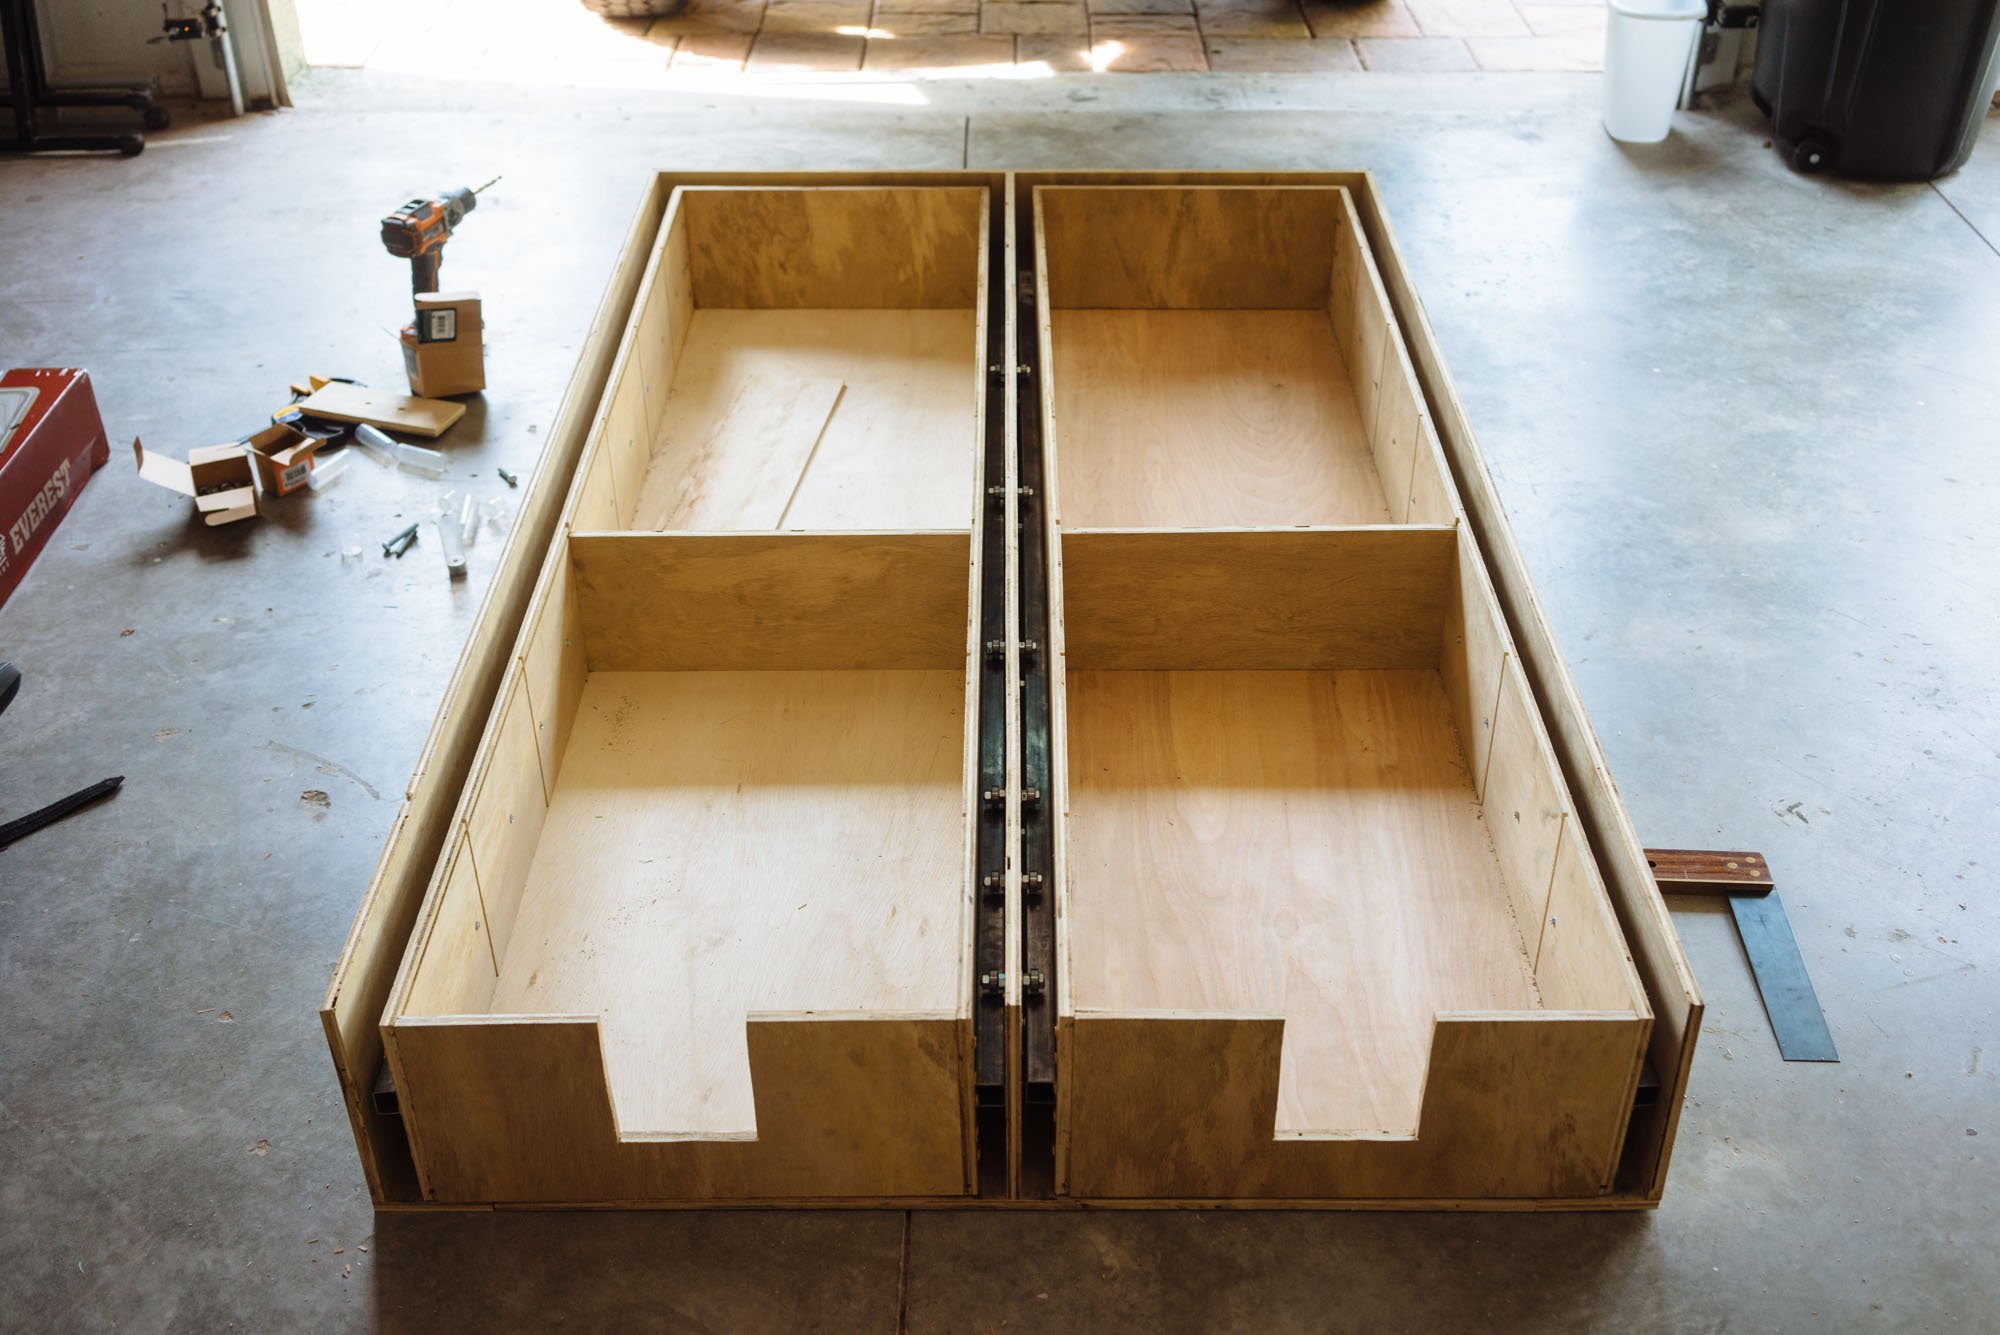
Once the overall frame was constructed, the measurements for the drawers were easy to figure out! We cut the sides of the drawers with regularly spaced out dados (slots cut into the surface of a piece of wood) so we could add dividers to the drawers later once the whole thing was constructed.
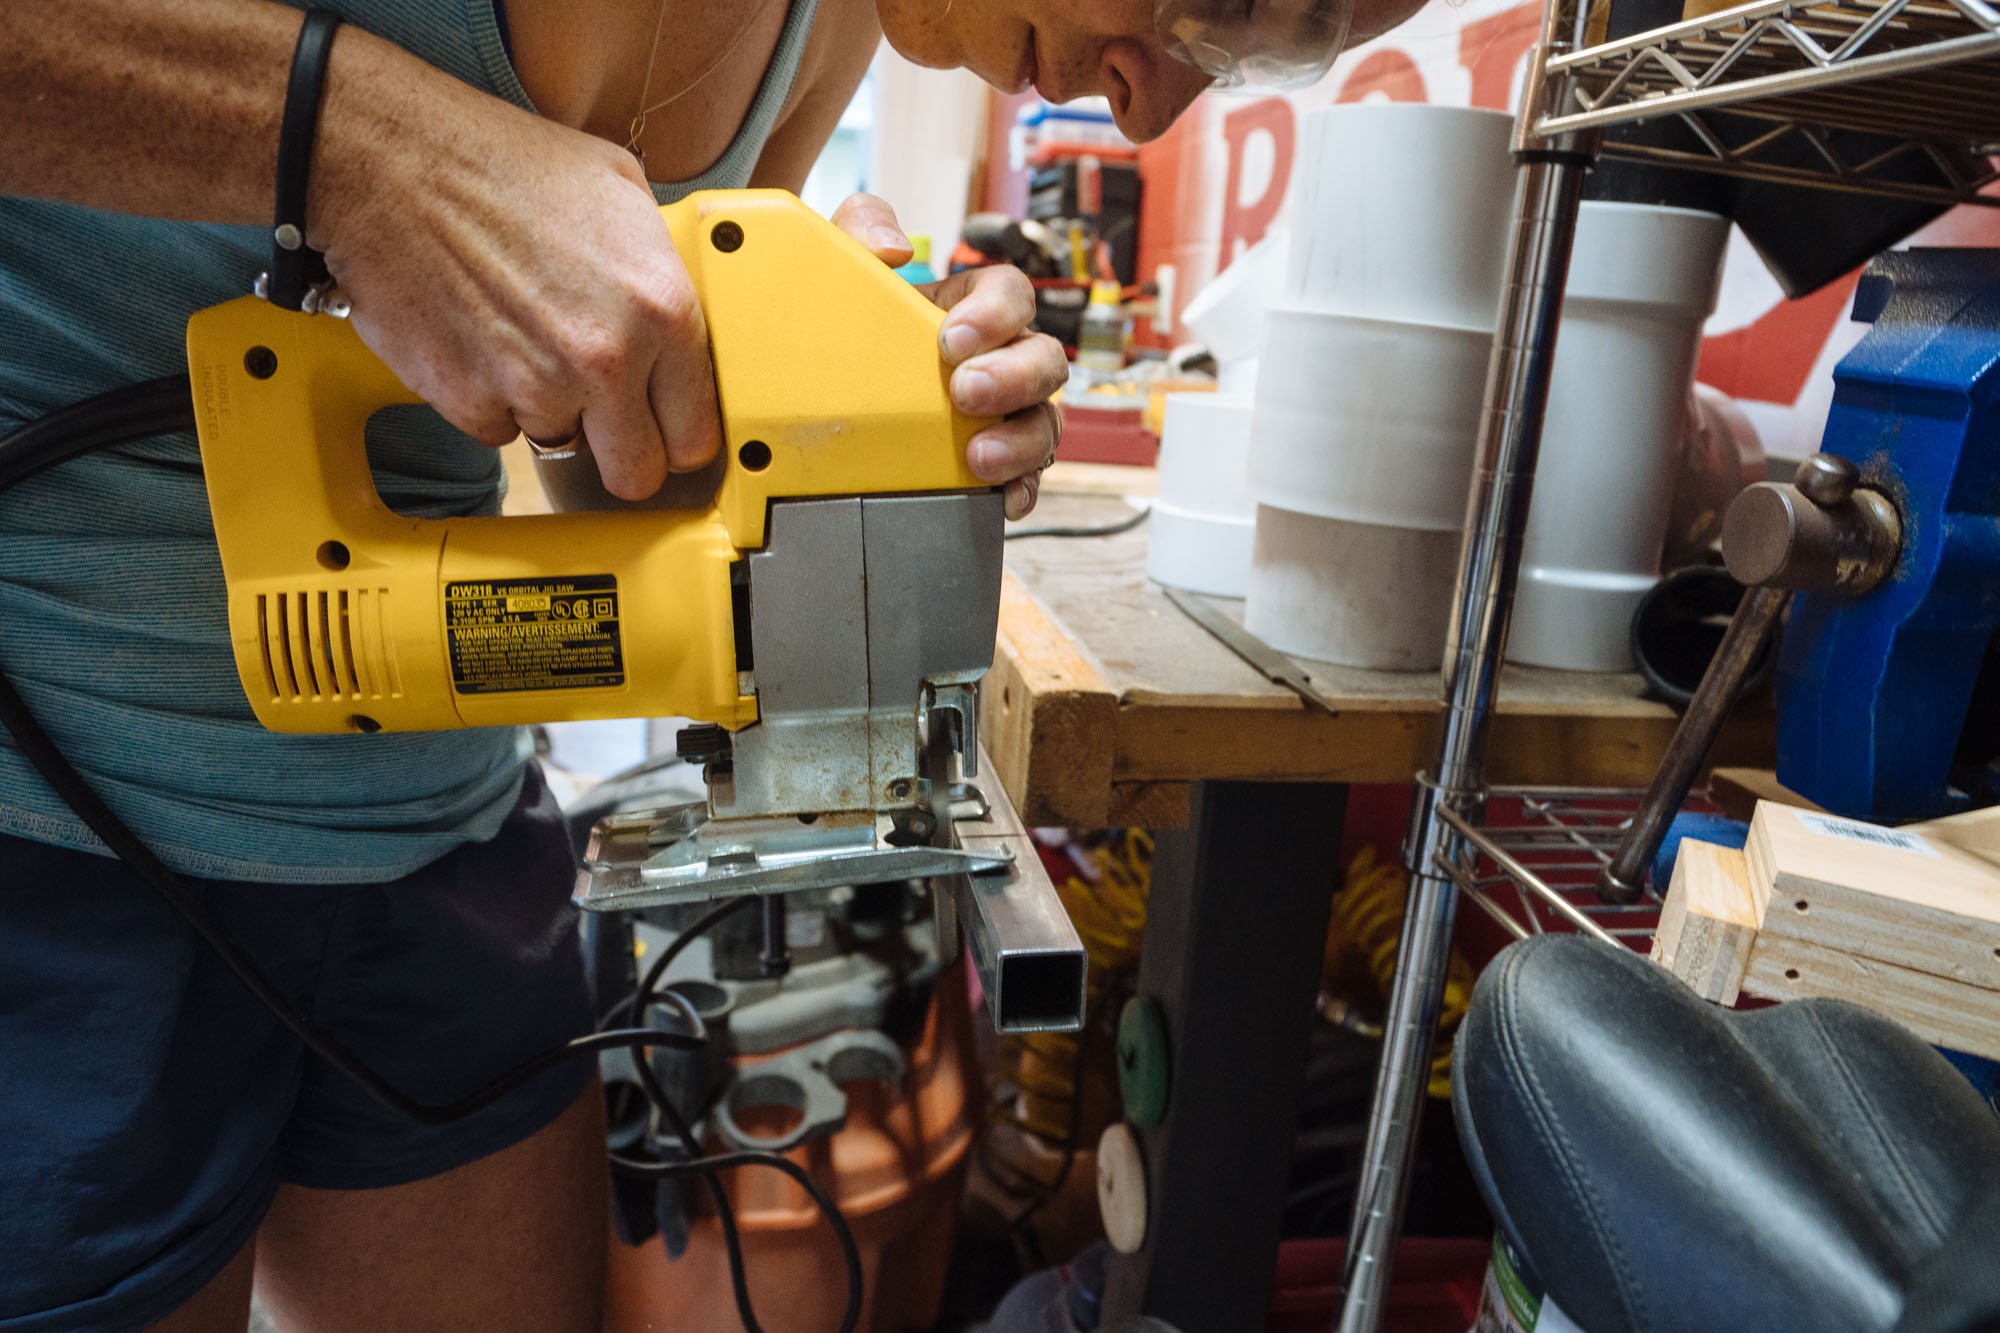
Once we had the exterior pieces for the drawers cutdown we cut the slider rails for the sides of the drawers to match. For the rails, we used 72"x1"x1" Square Tubing. We bought four lengths of tubing in all, two for each drawer. In the end, we only needed to cut off 3-4 inches of excess tubing to make them work with our drawers. The cuts were easy using a metal cutting blade in a jigsaw!
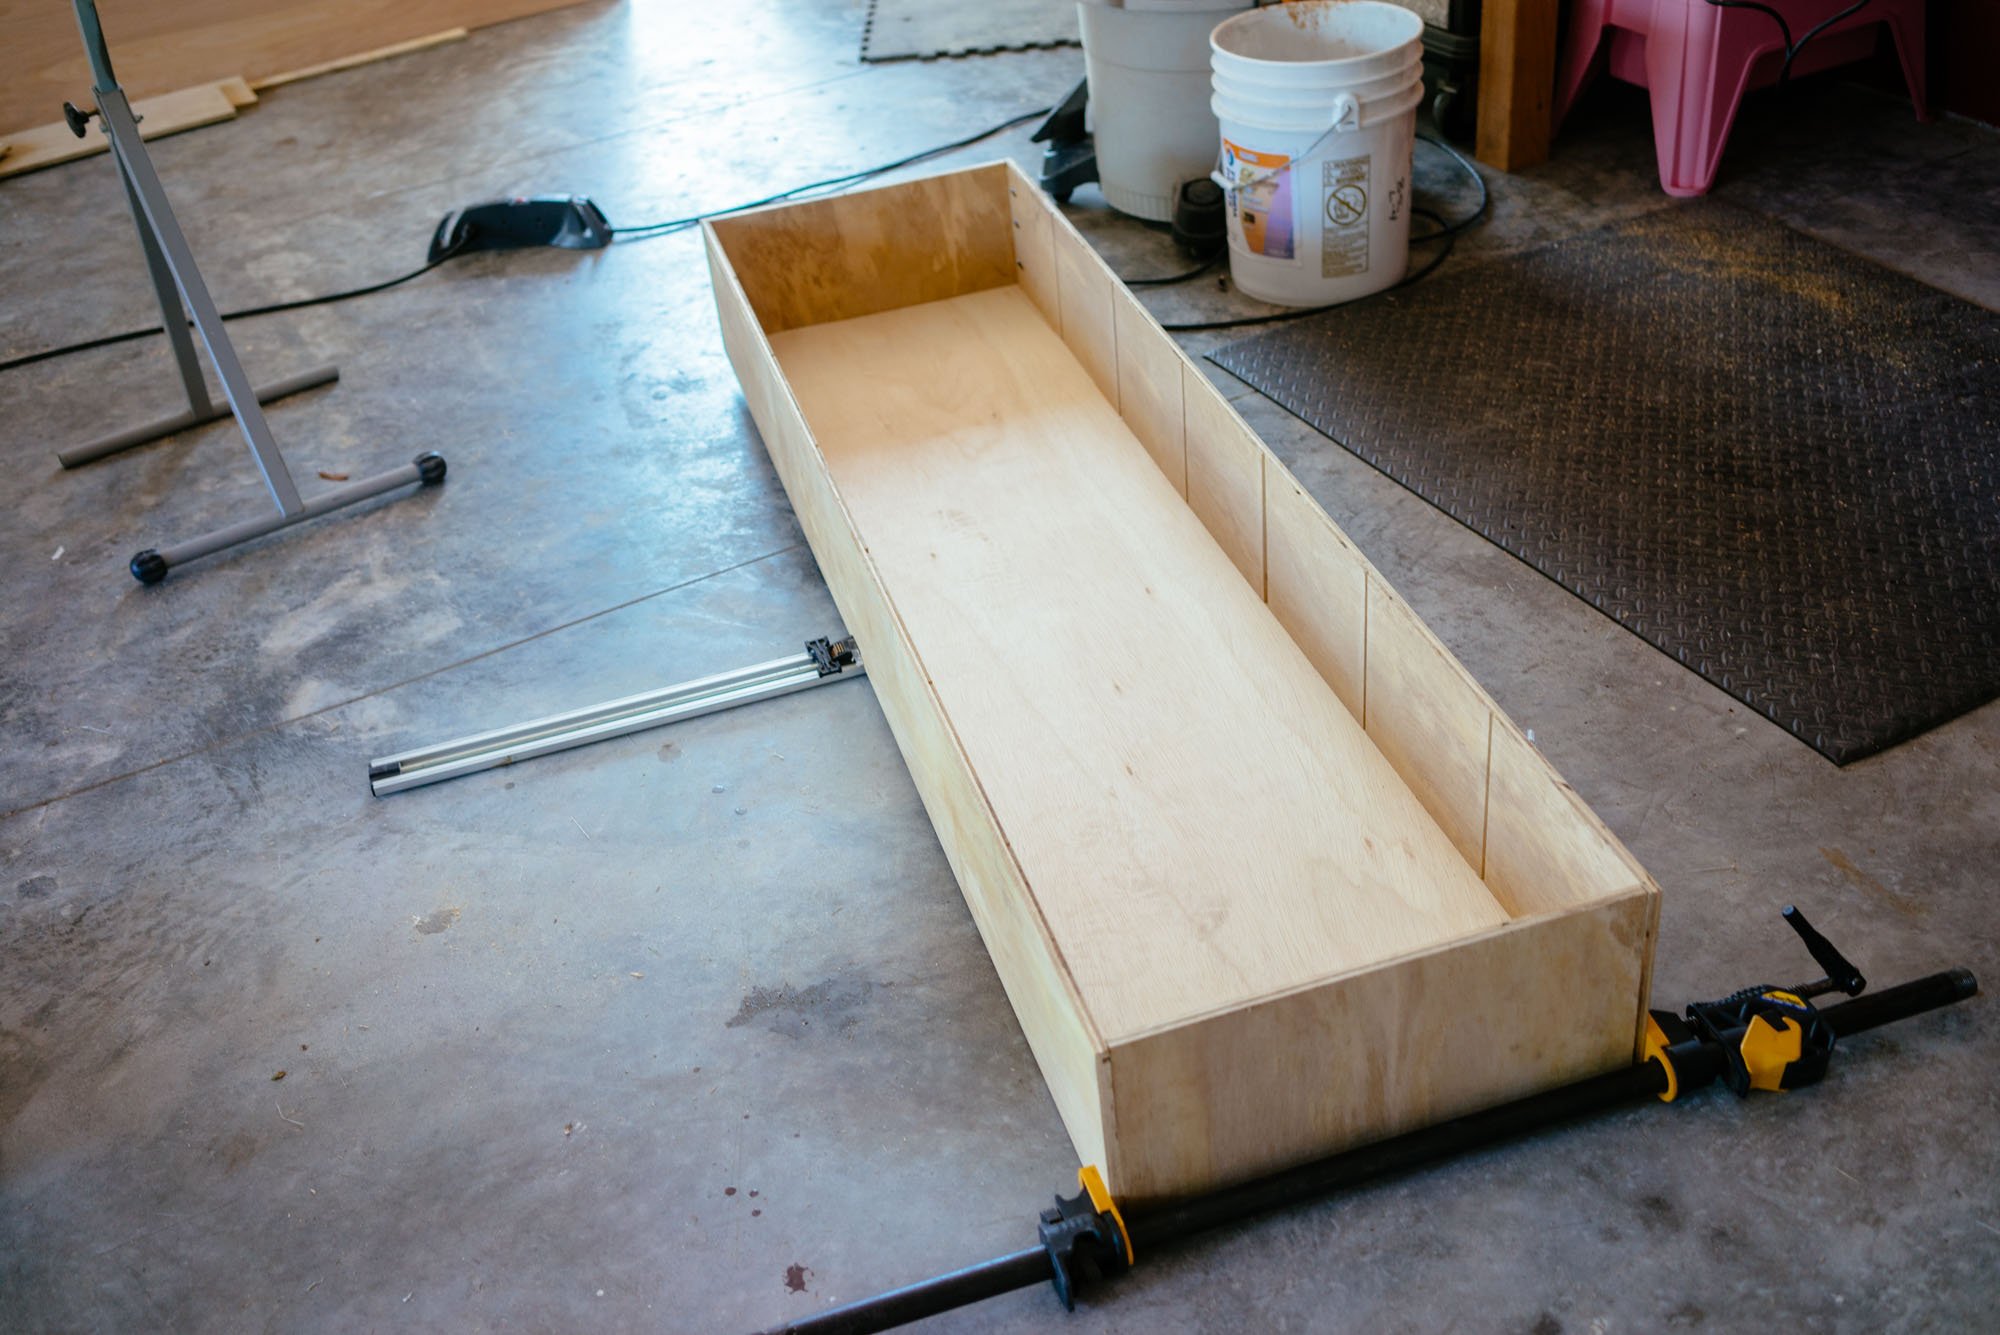
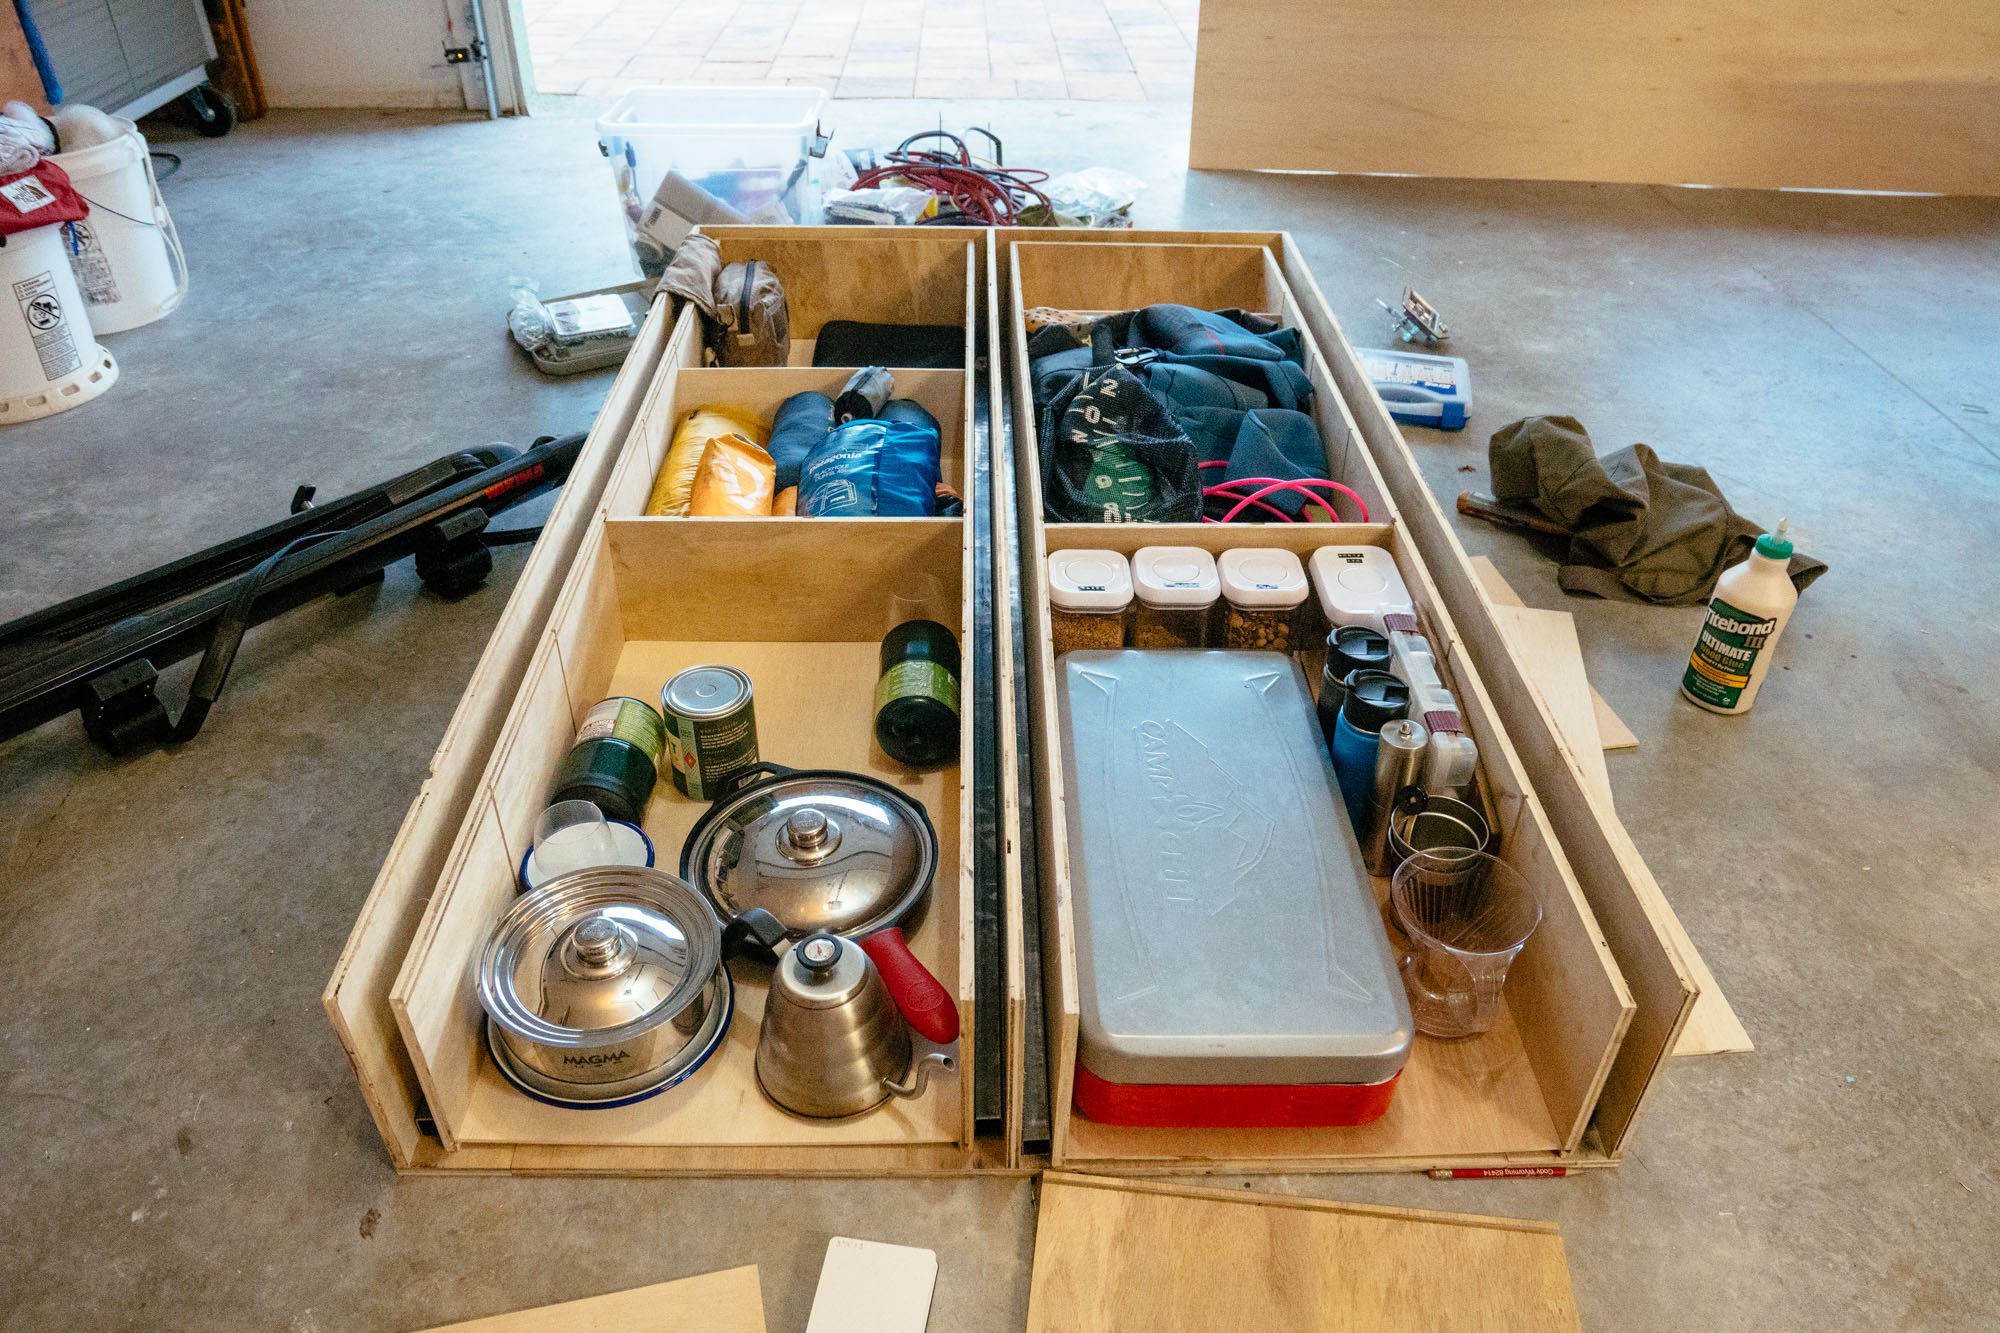
For the bottom of the drawers, we also cut a dado that ran along the bottom of all the drawer sides and end caps. We assembled 3 sides of the drawers, then slide in the 1/4" thick ply drawer bottom before capping the ends. Now that our drawers are taking shape for the first time we thought that this would be a great time for us to test out the drawers for how much they could hold. Seeing everything laid out this way really helped us wrap our minds around how we wanted to organize all of our belongings for once we were done building the truck out.
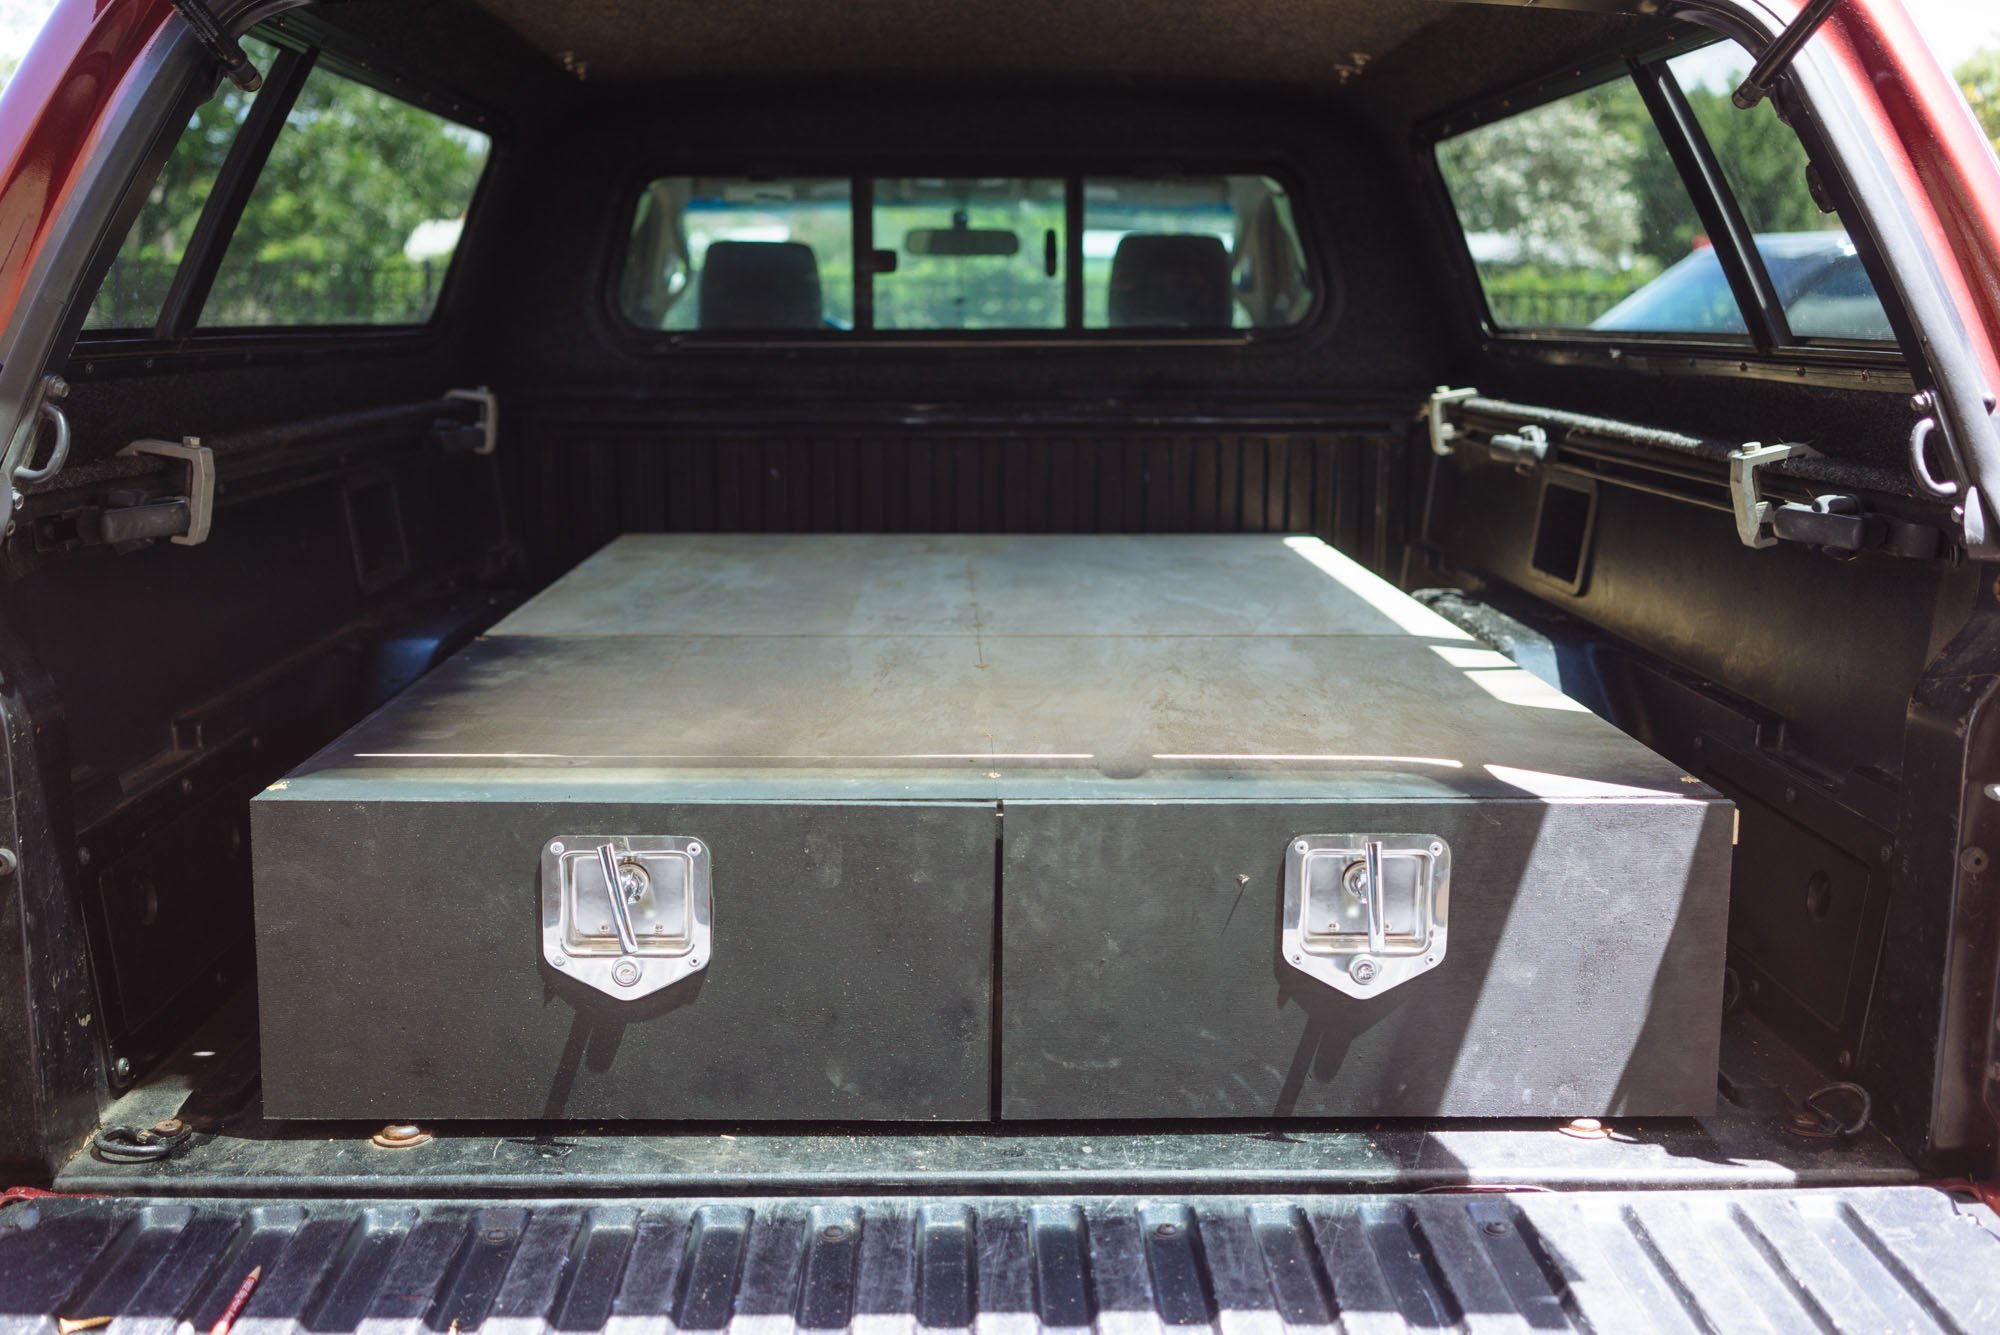
Step #4 - Locking Drawer Fronts

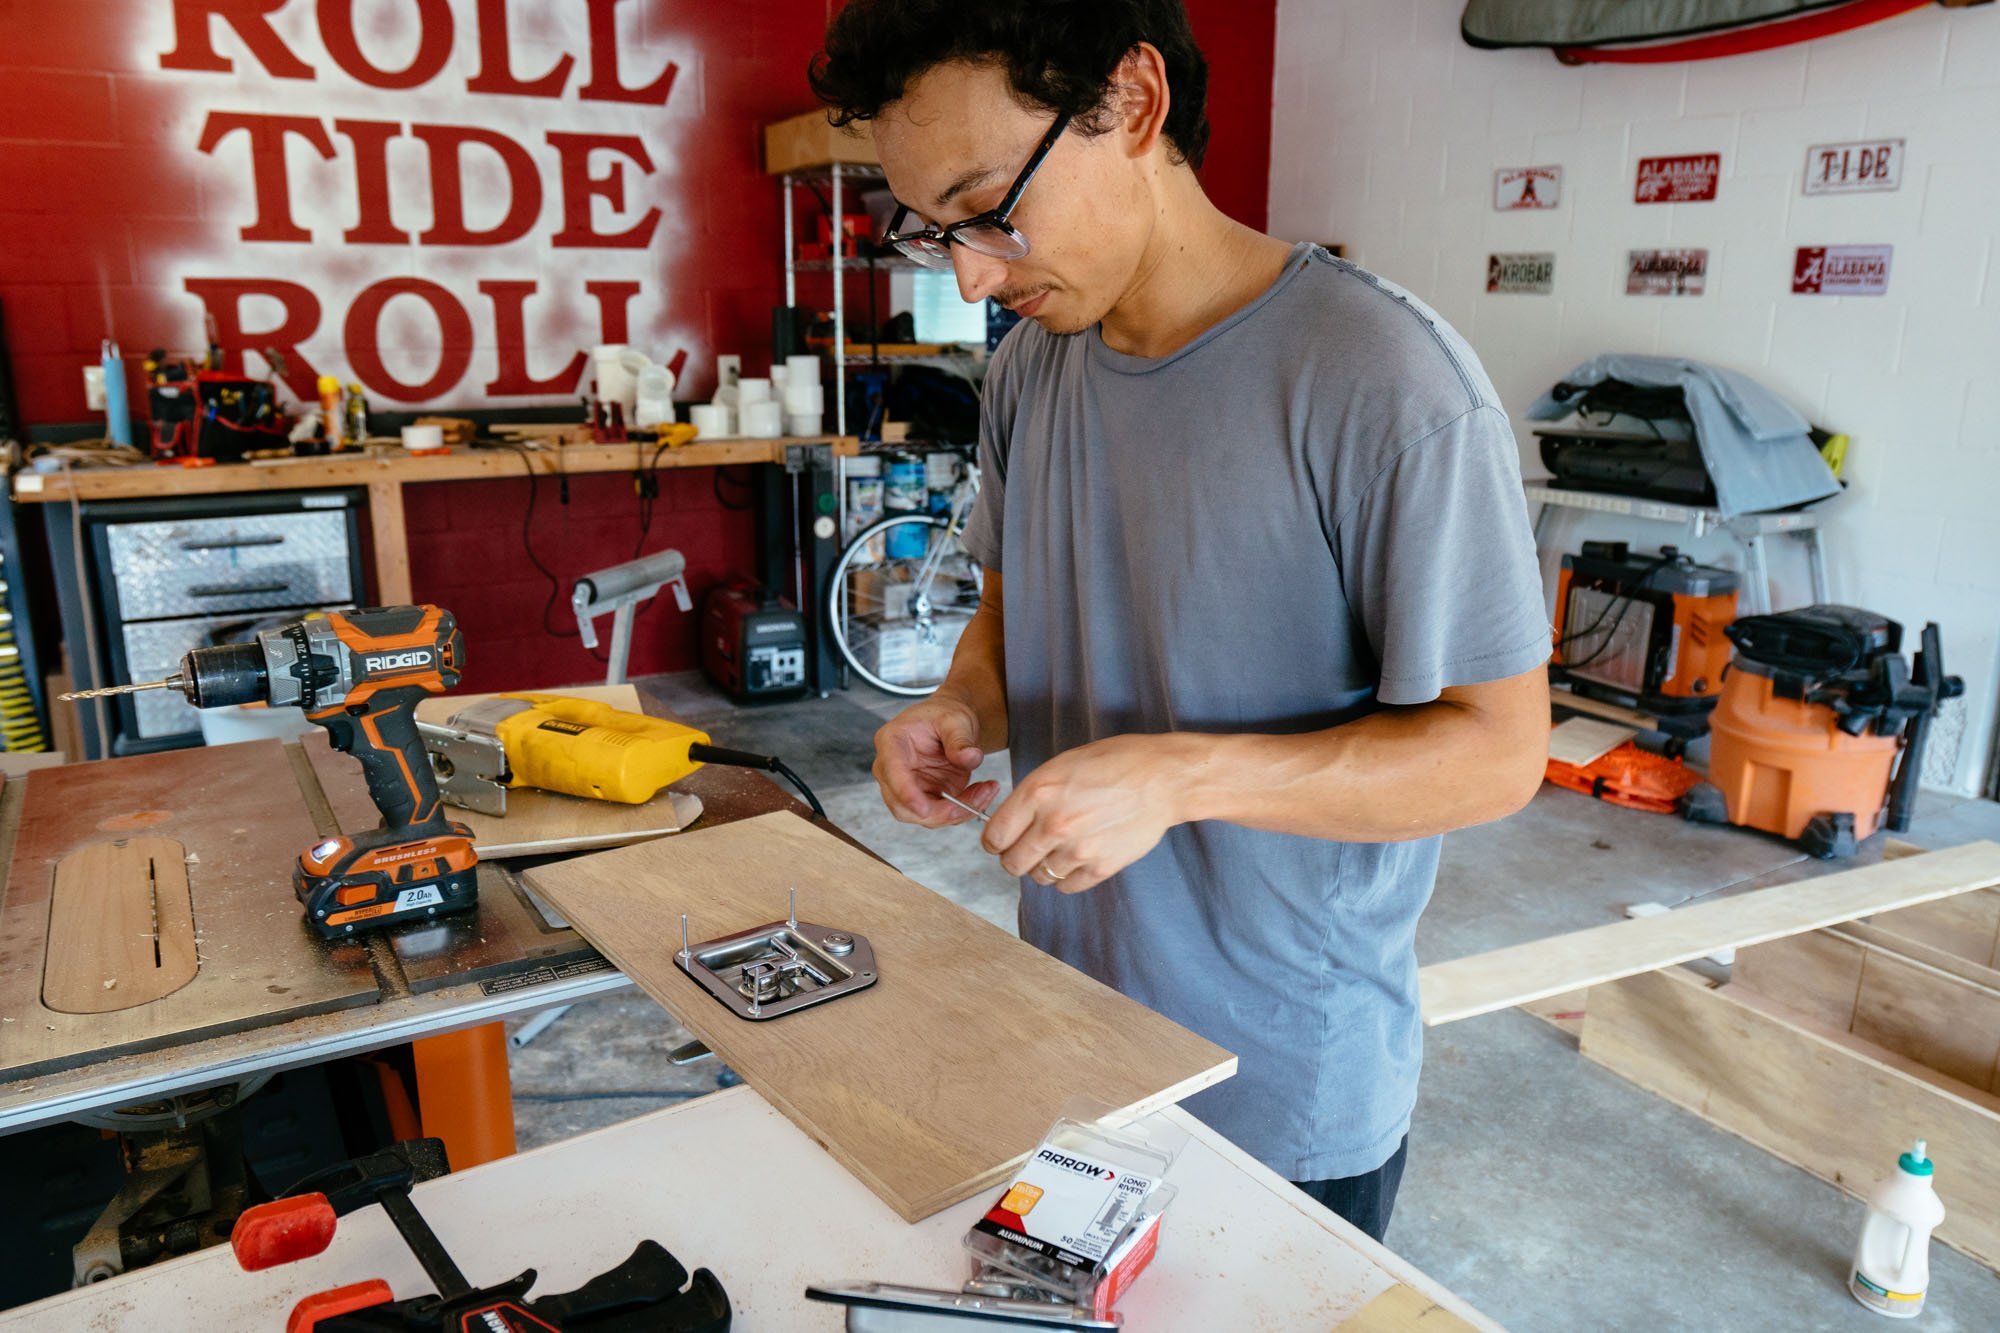
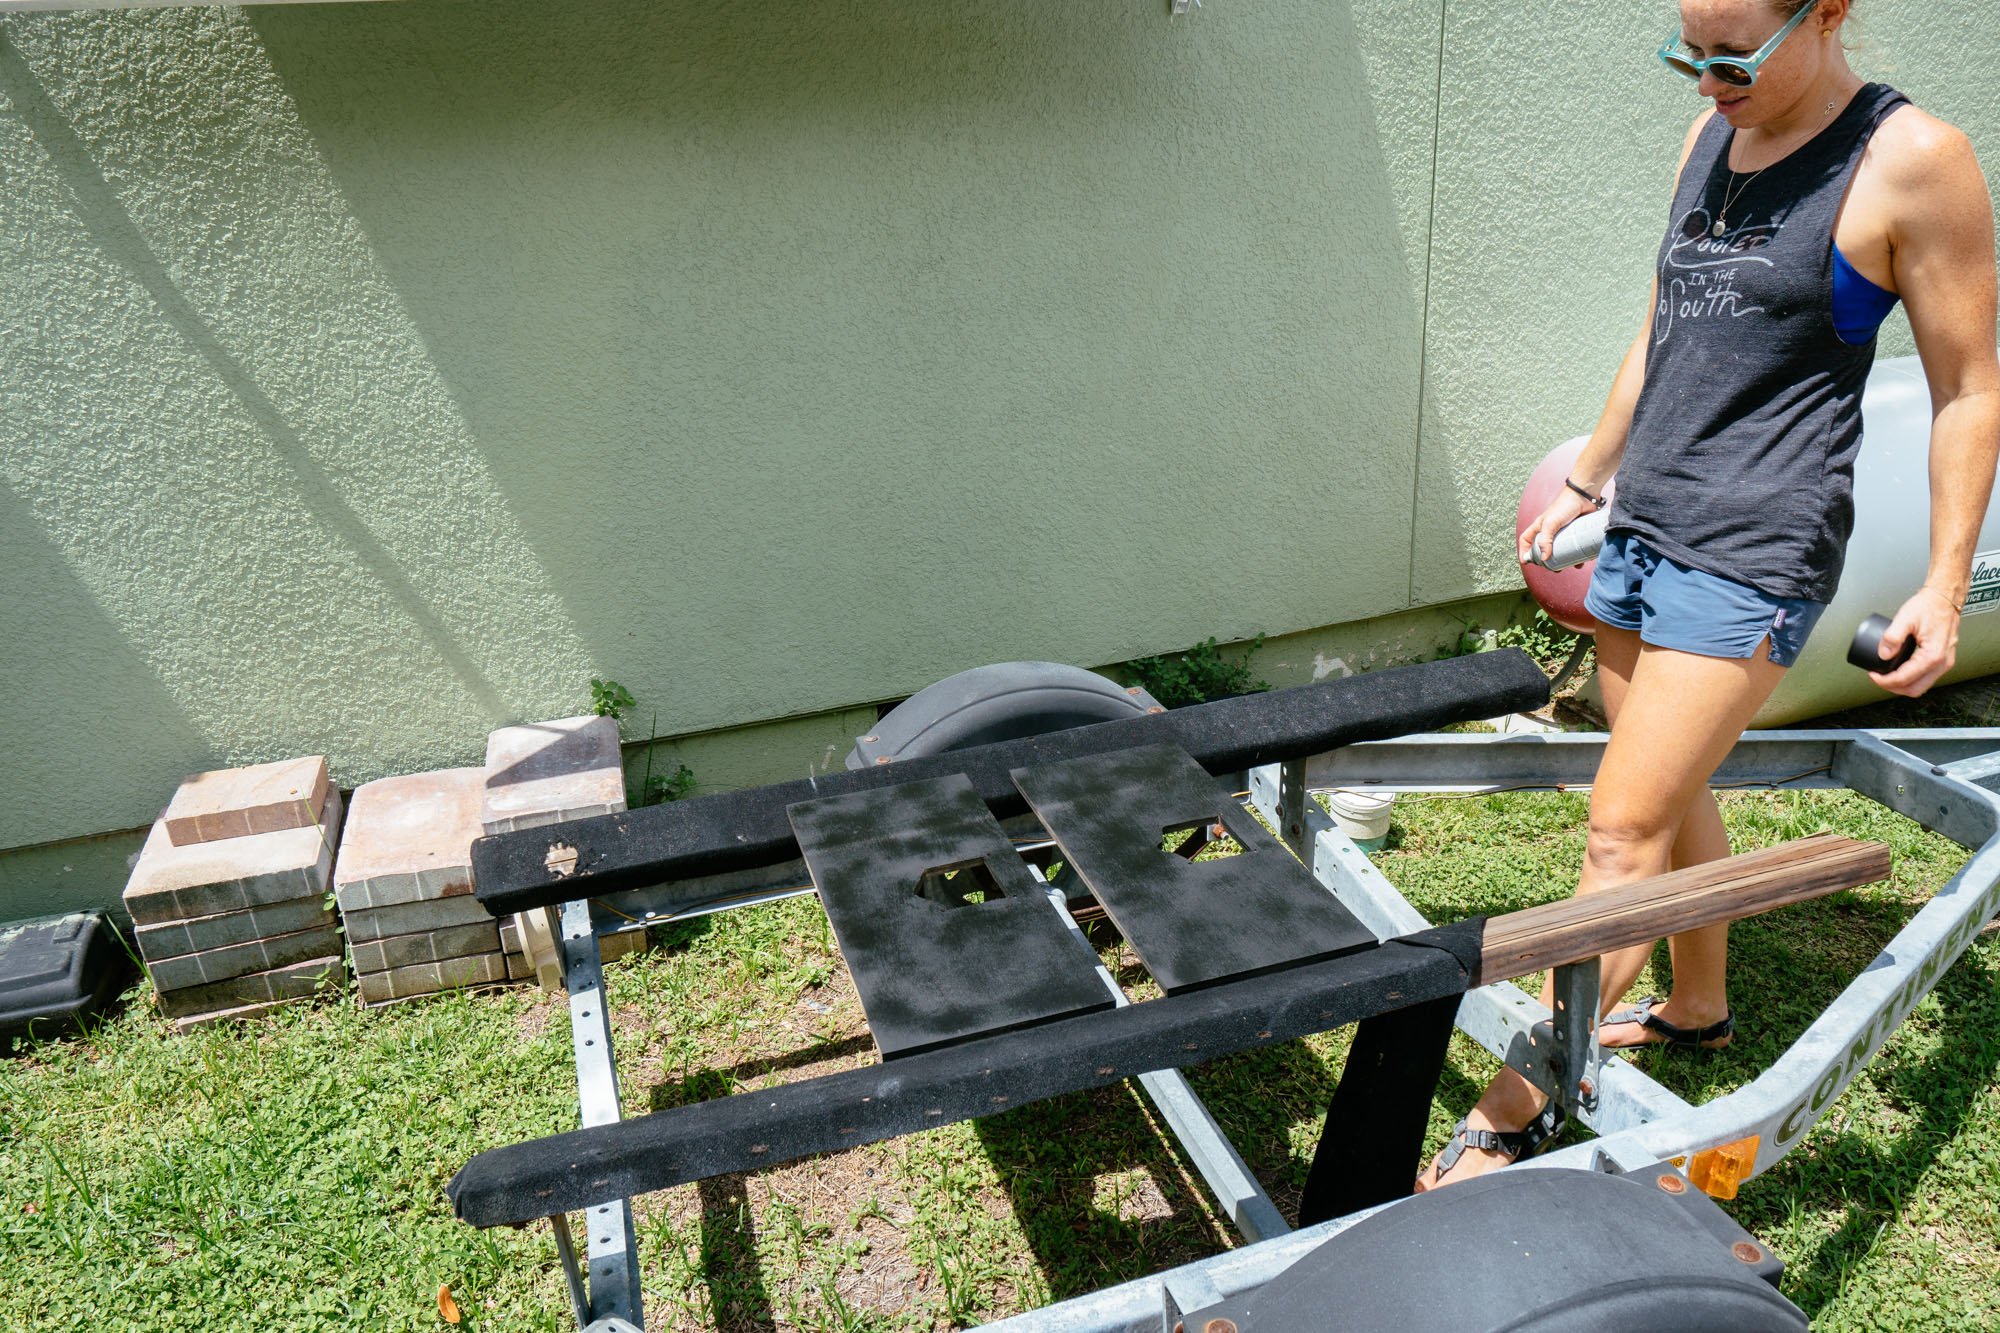
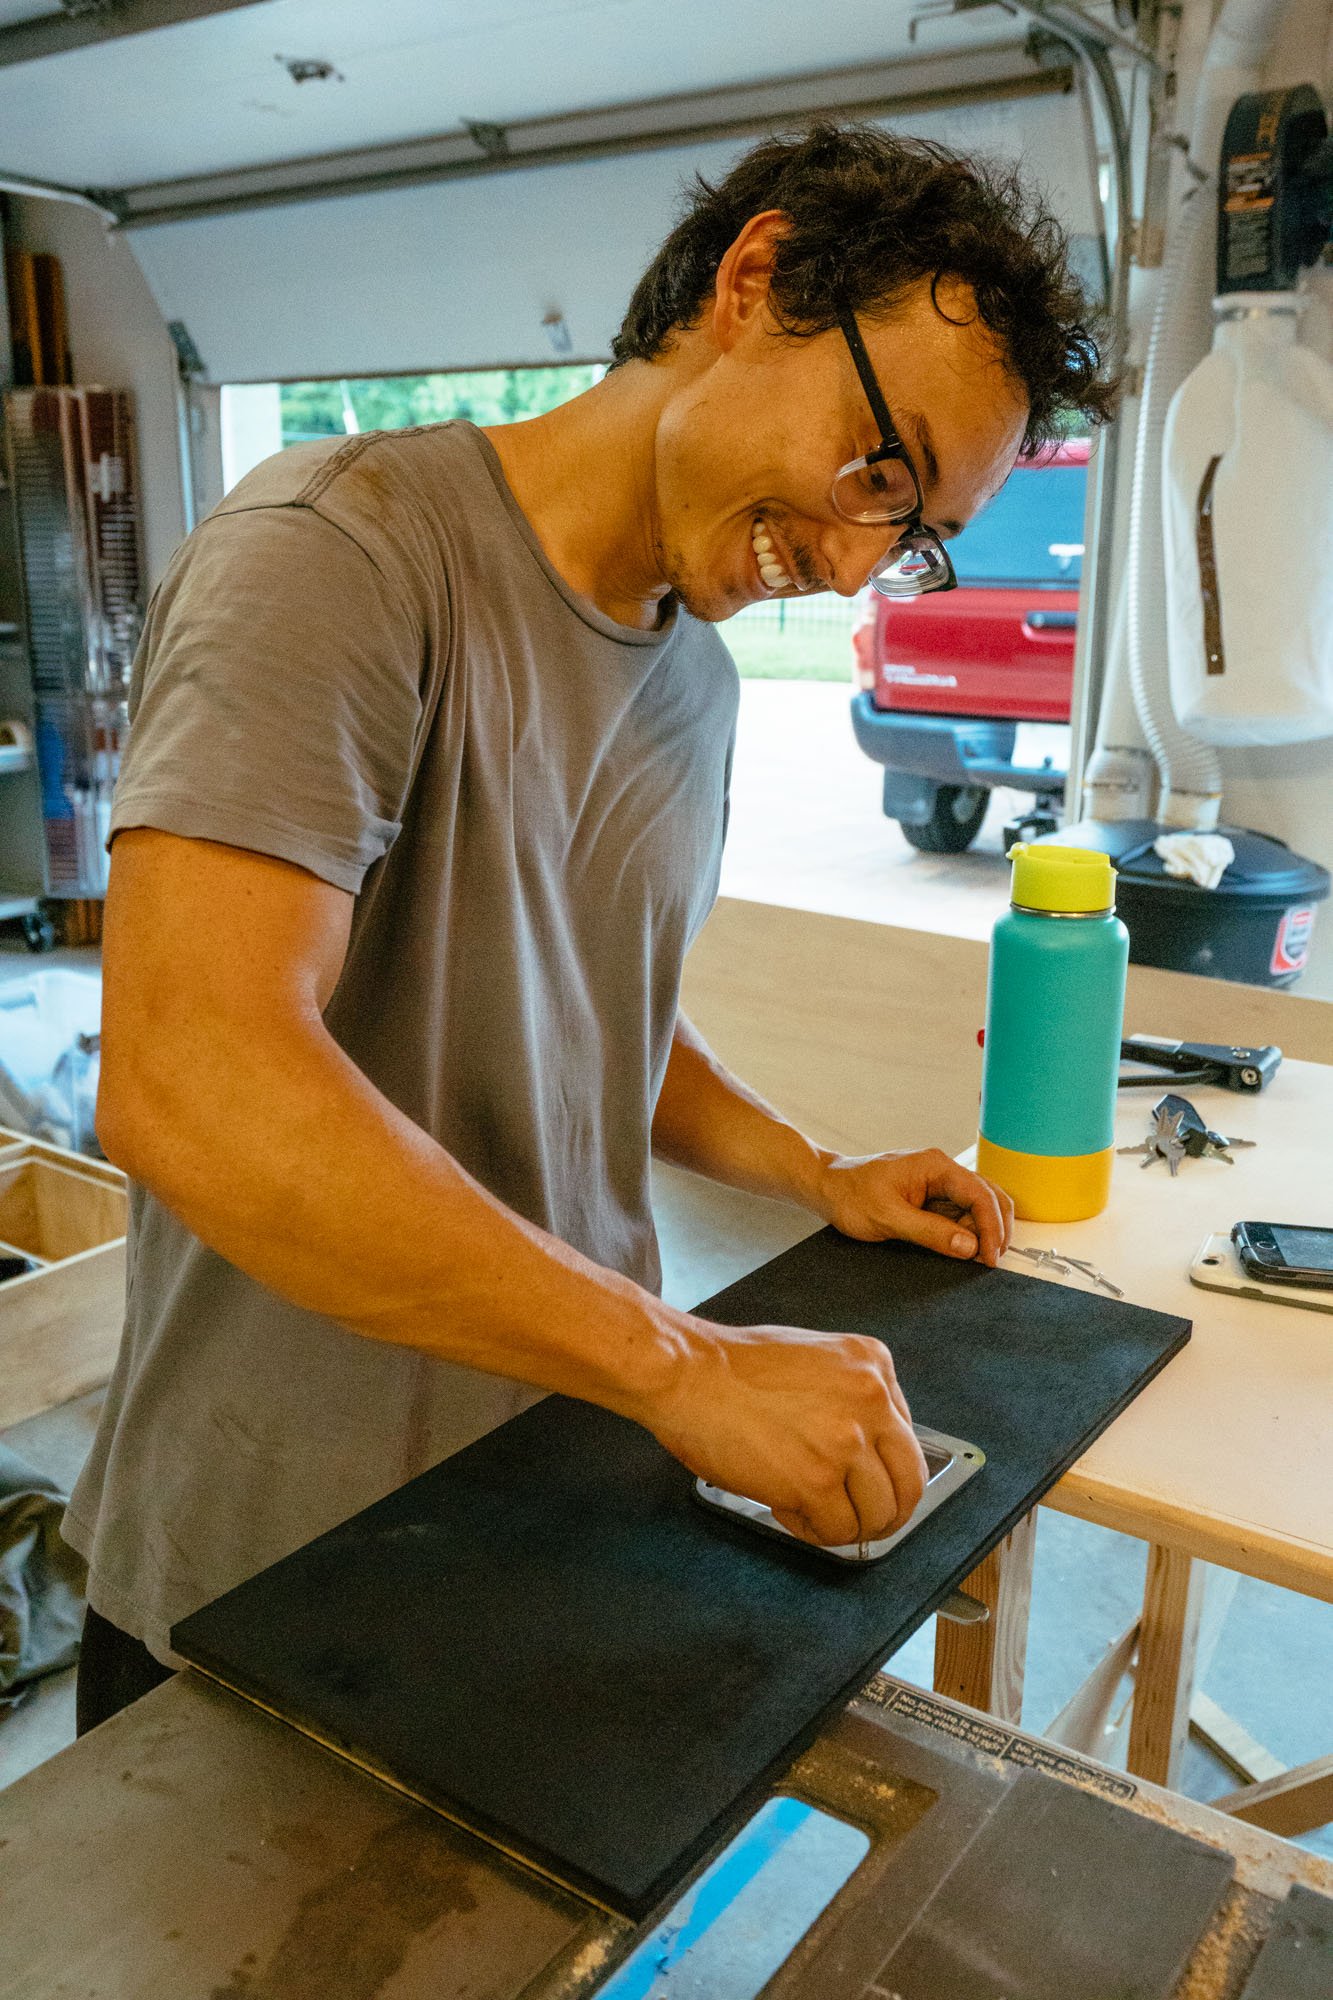
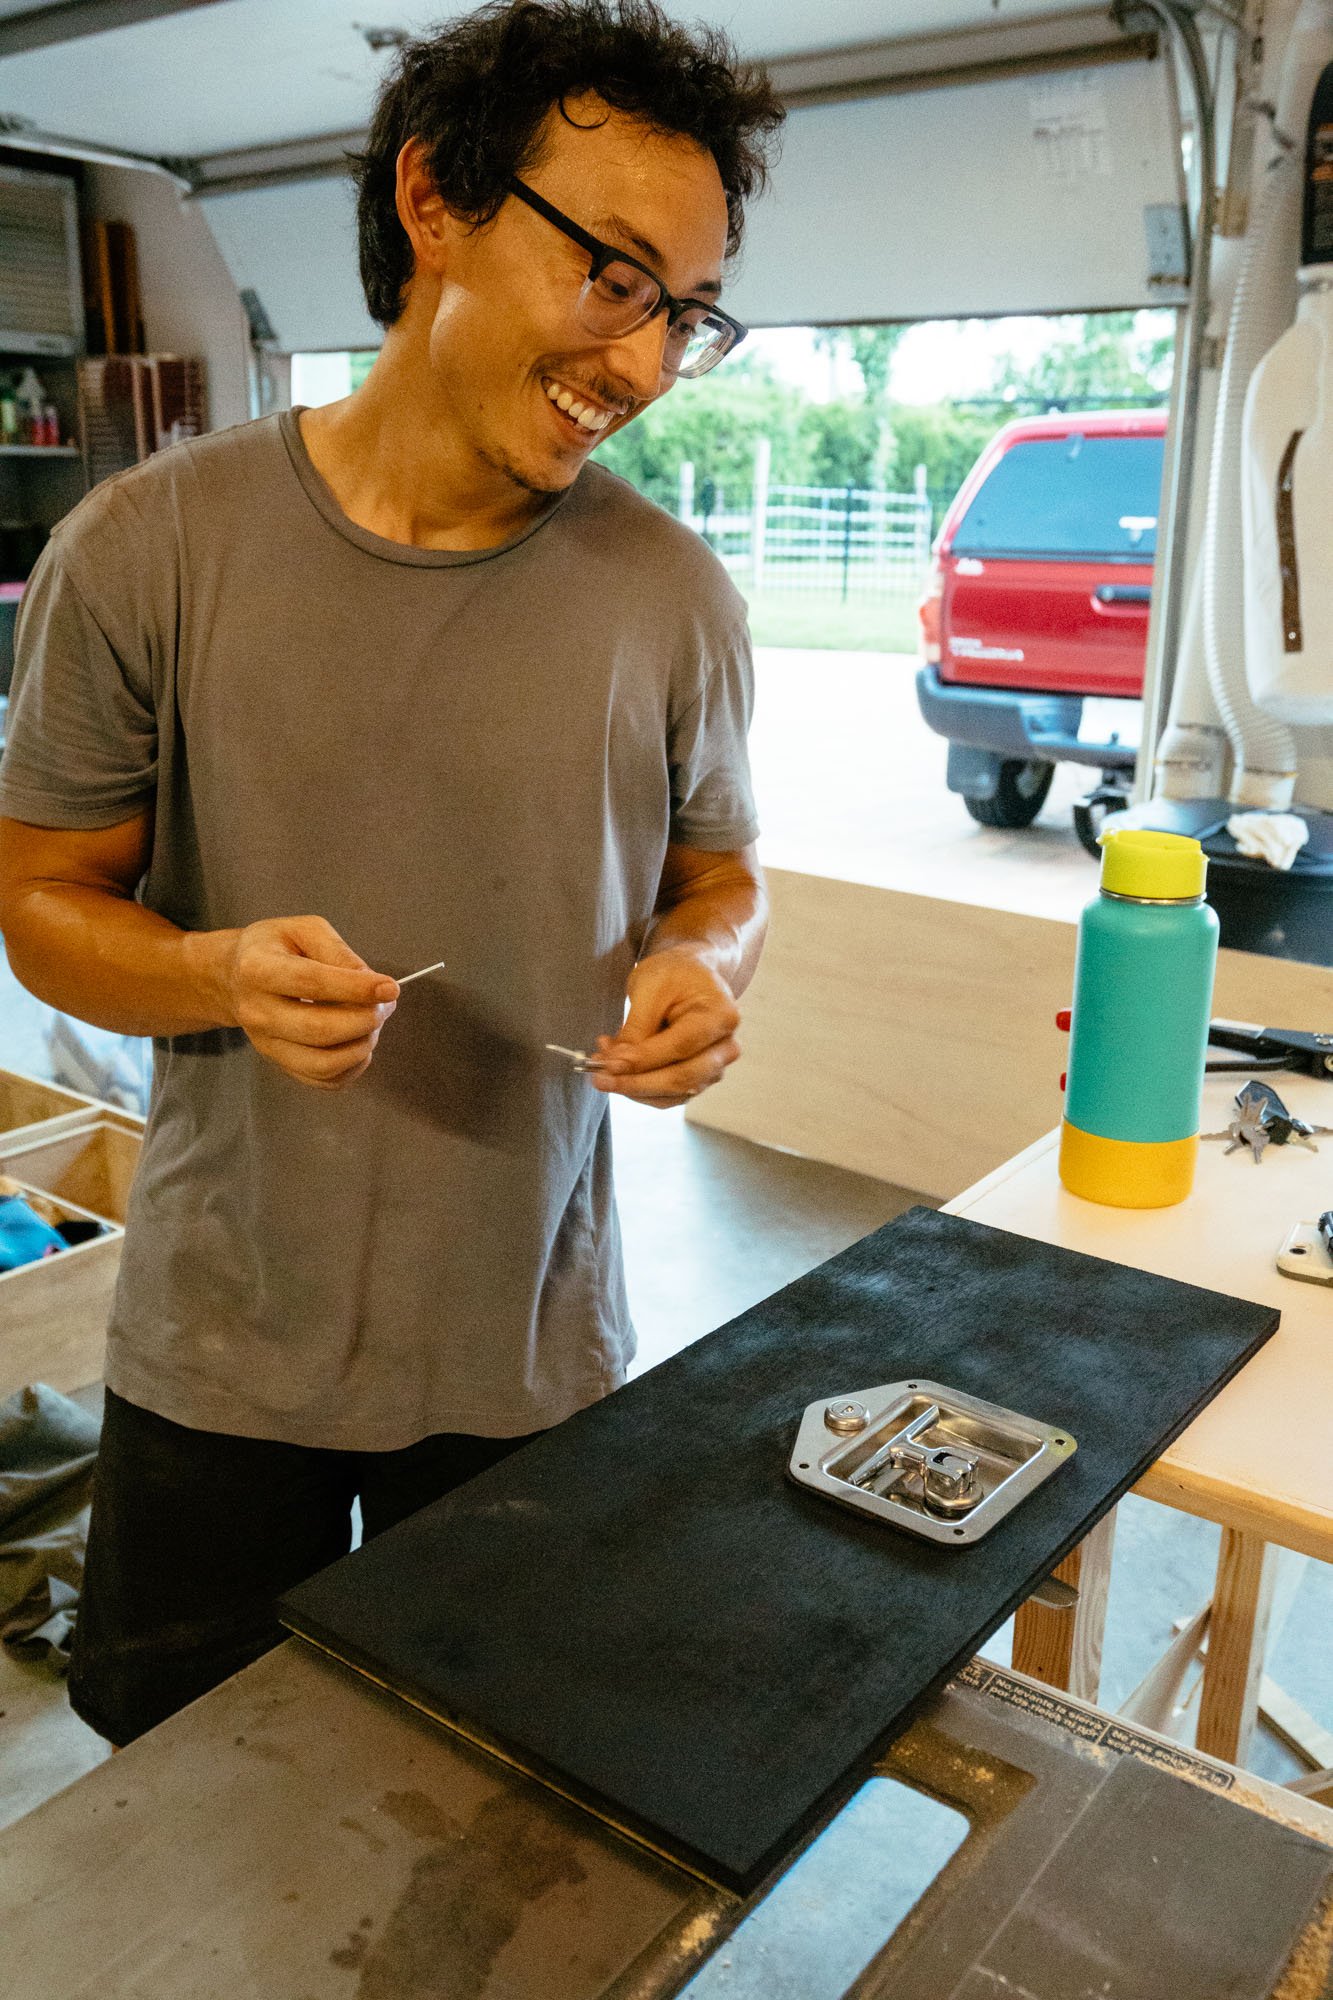
From the start, we knew that we wanted these drawers to lock. When you carry nearly everything you own it feels important to do what you can to protect it. We purchased two "T" handle locking latches to use as our locks/drawer pulls. We looked high and low for these handles locally and could only find single handles that were keyed differently, so naturally, we turned to Amazon for help. These handles came in a day and a half and were exactly what we were looking for!
We cut the hole in the drawer front and then applied black spray paint to the drawer fronts to give it a cleaner look and riveted the handle into place. ***Side Note: We have also seen people wrap the drawer front in the industrial carpeting you can buy on the roll at Home Depot, it's pretty cheap and insulating. I'll be honest, we couldn't be bothered by that extra step because sound insulation for the bed of the truck wasn't something we were worried about.*** Our rivets and our pop rivet tool were left over from the Amelia build, so we were fortunate to not have to purchase those tools again! We attached the drawer fronts during a different step in the process, we will loop back to that shortly.
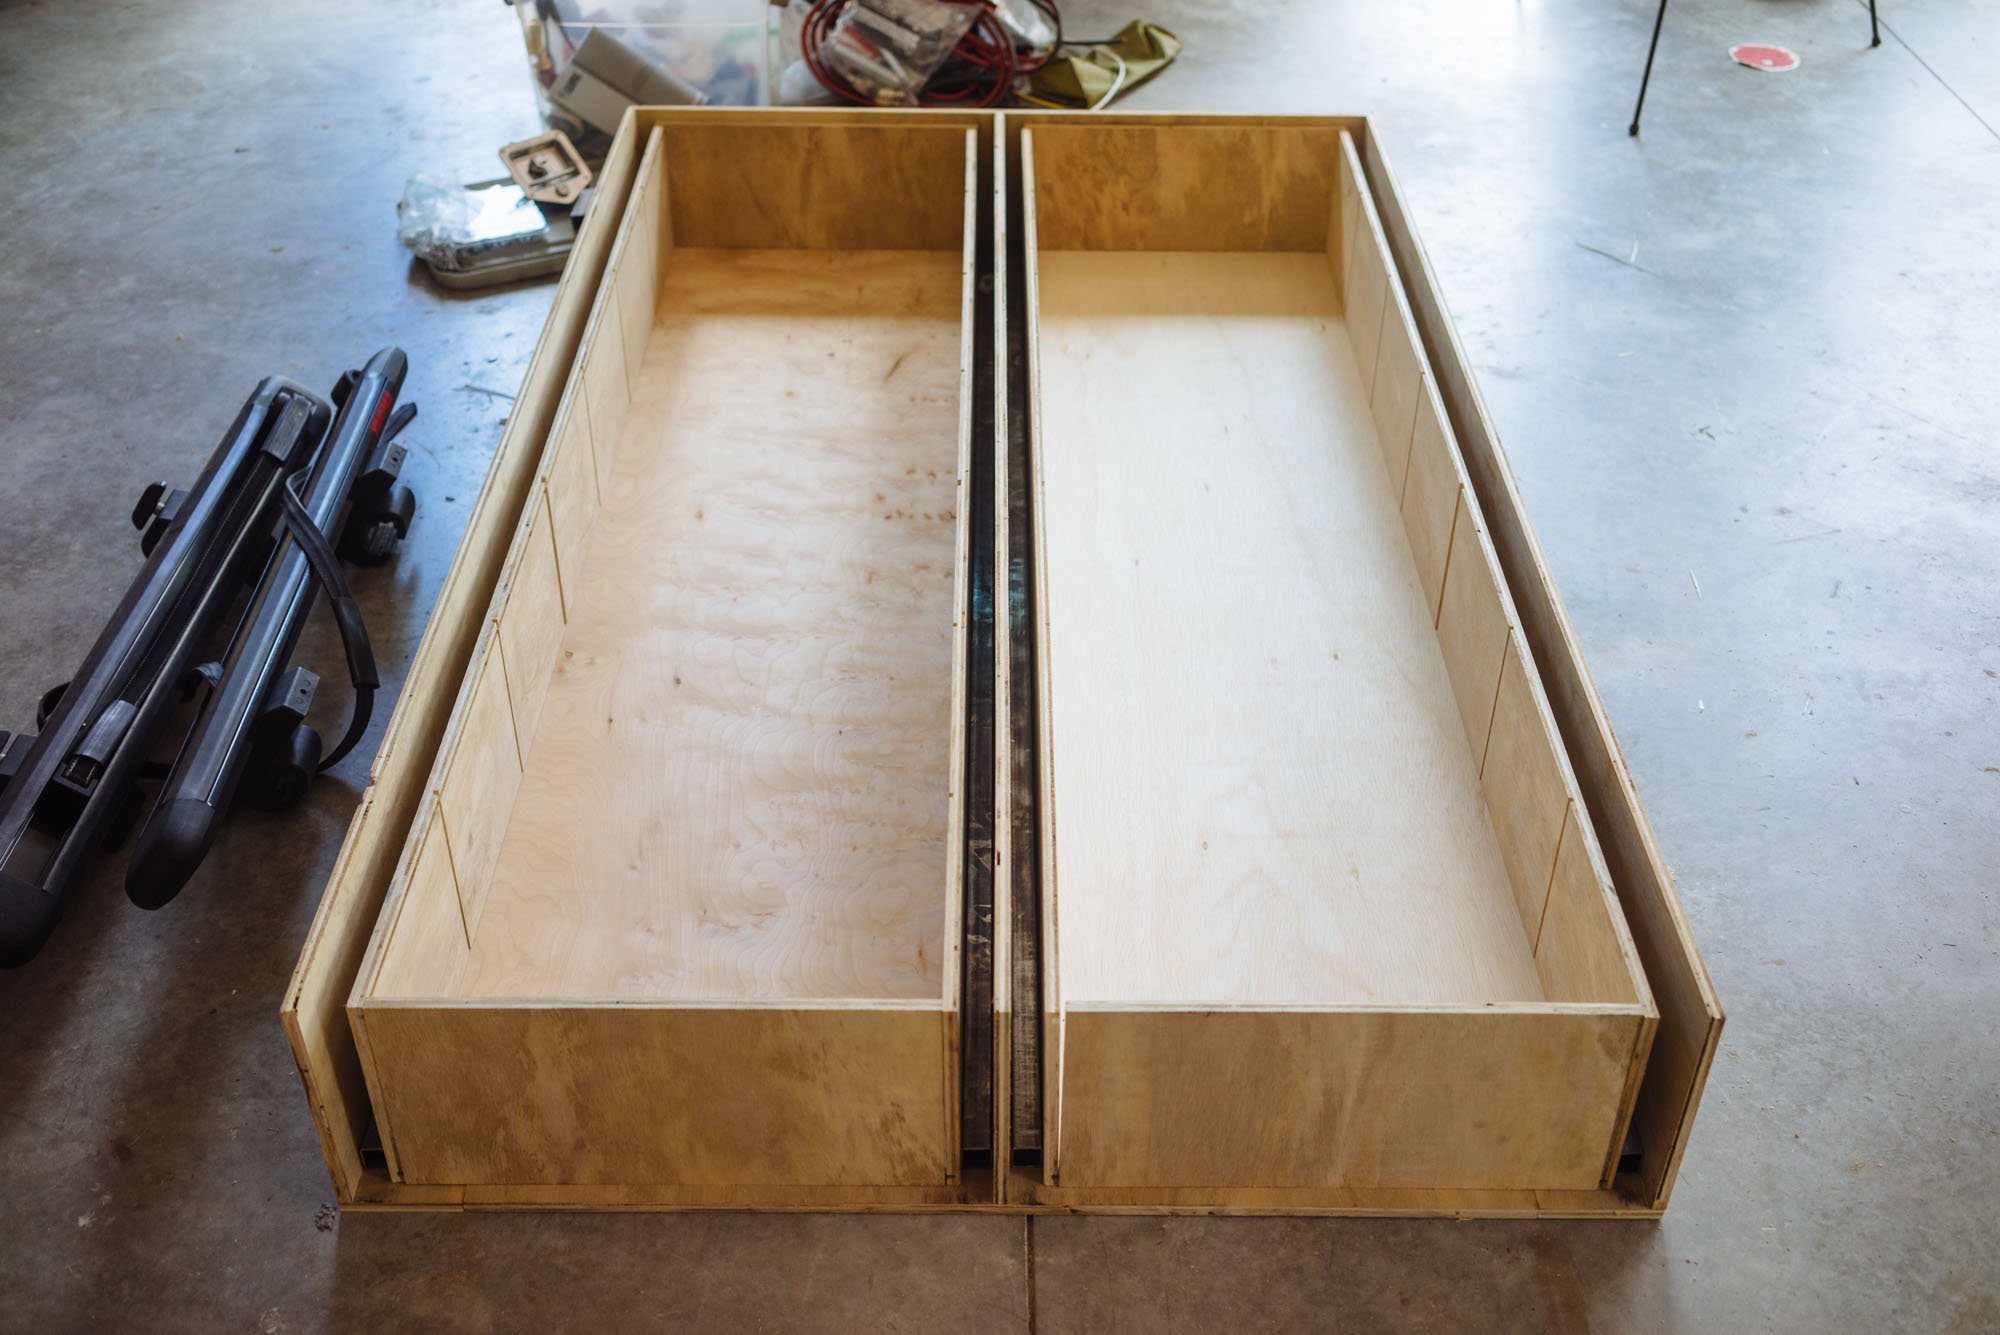
Step #5 - Attaching Drawer Slides
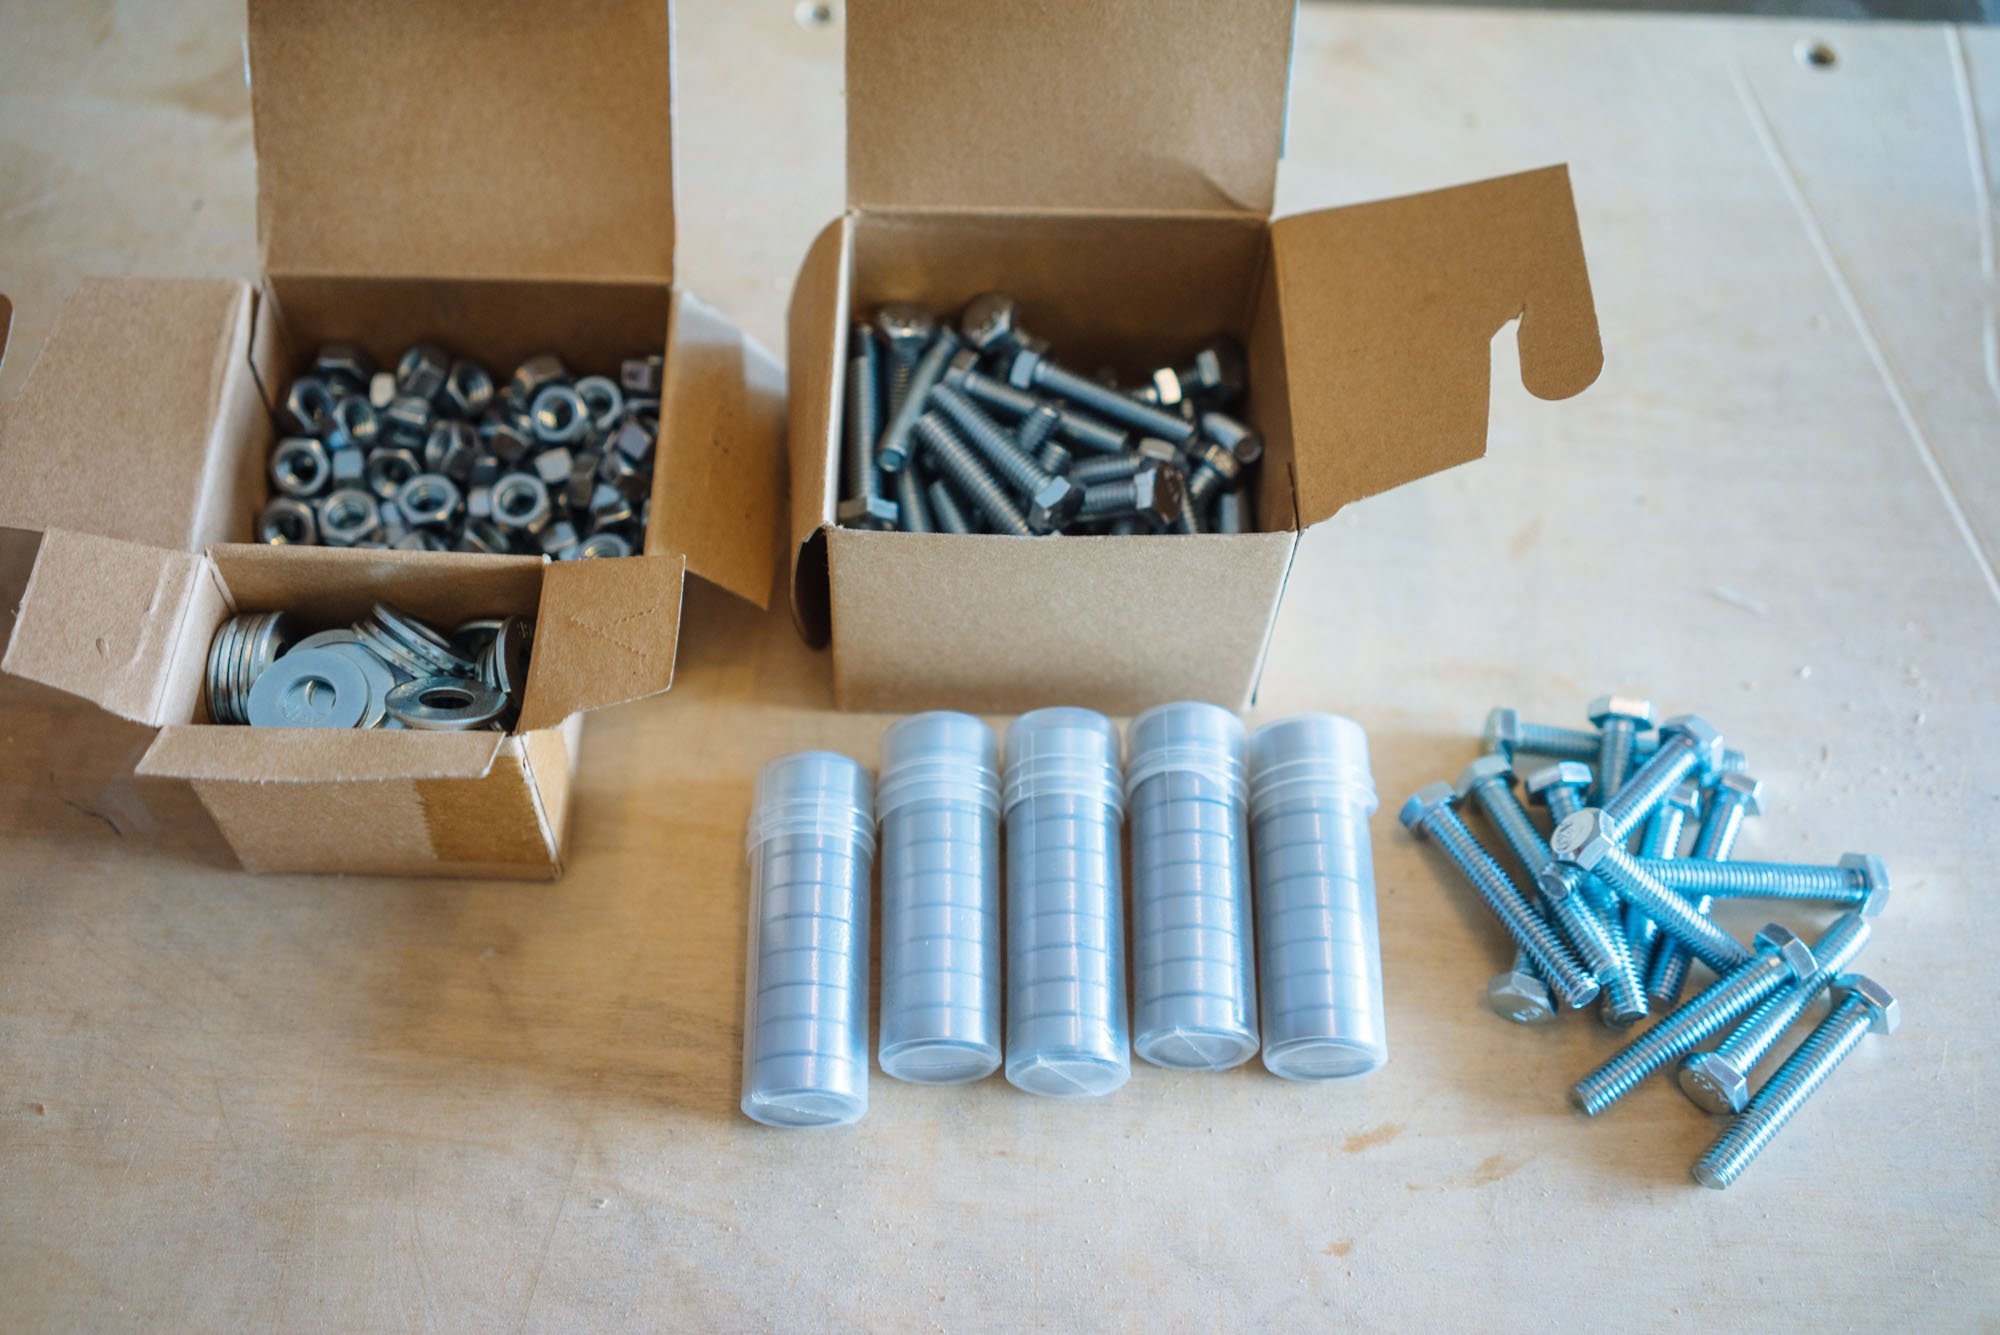
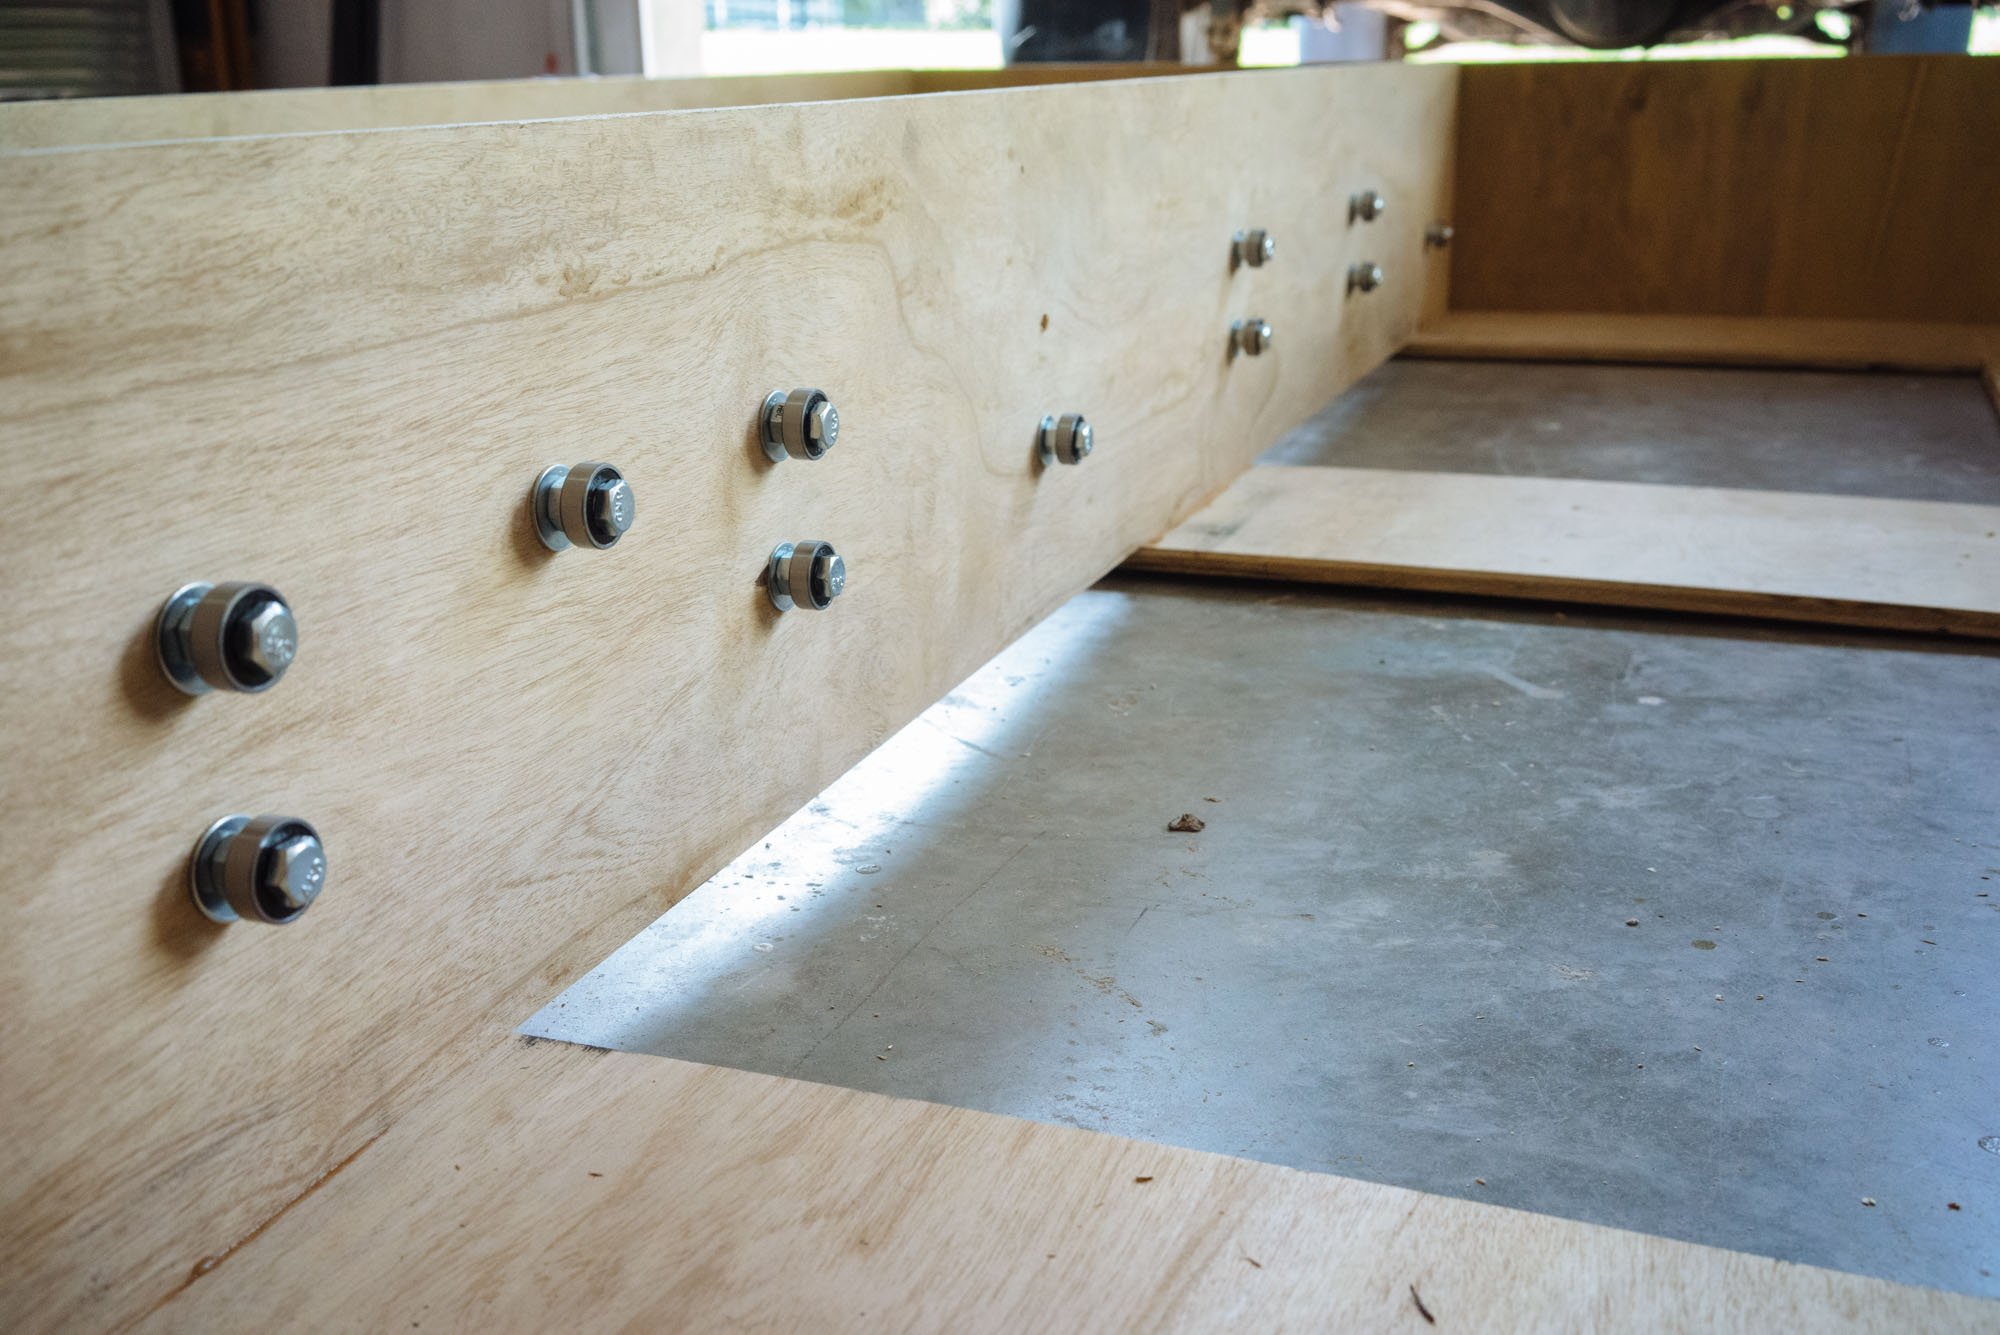

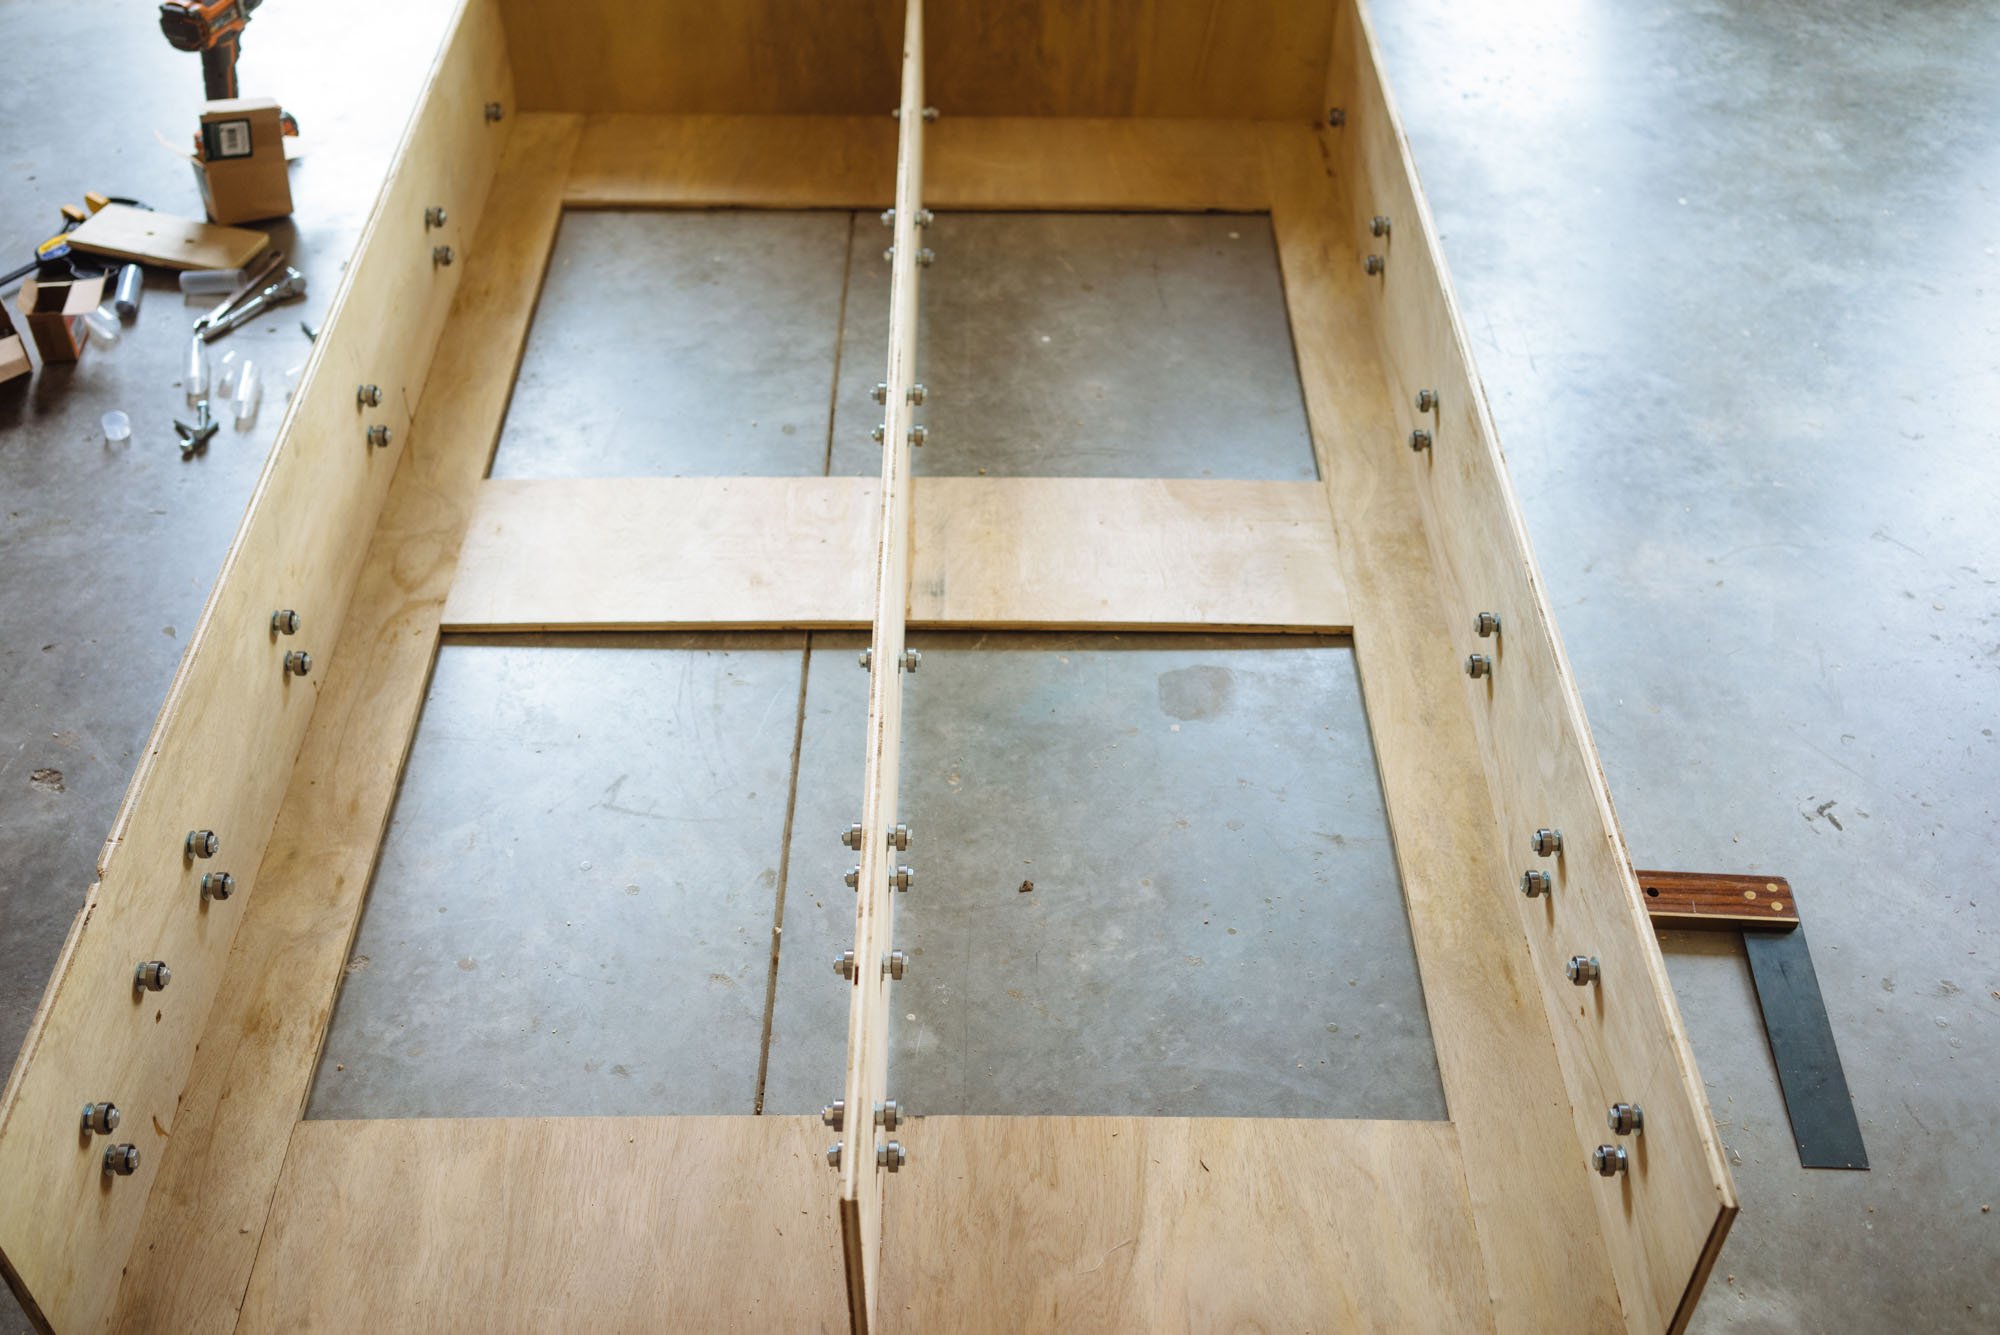
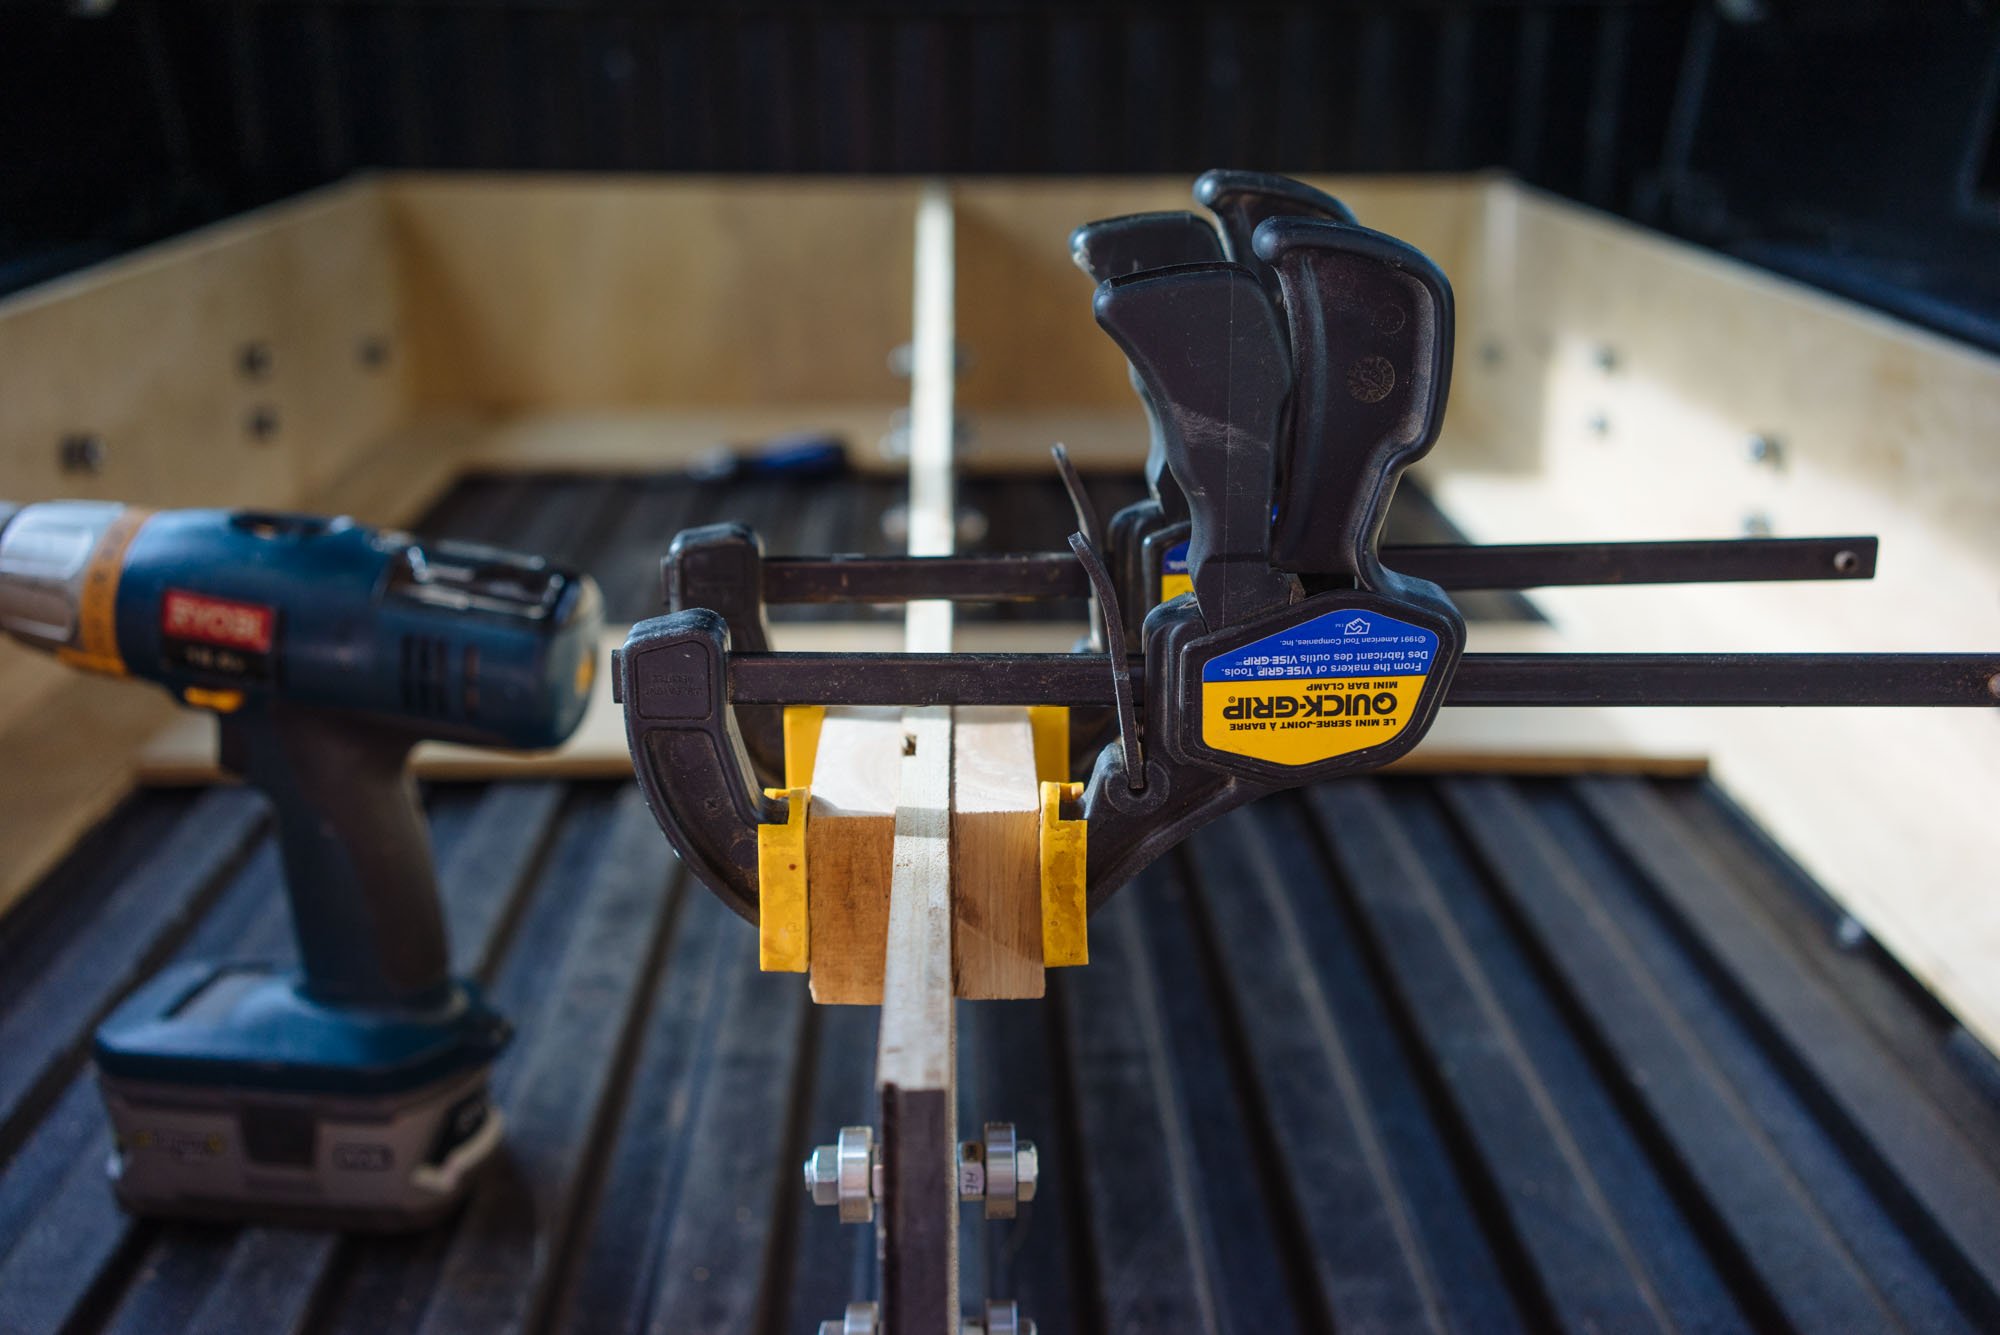
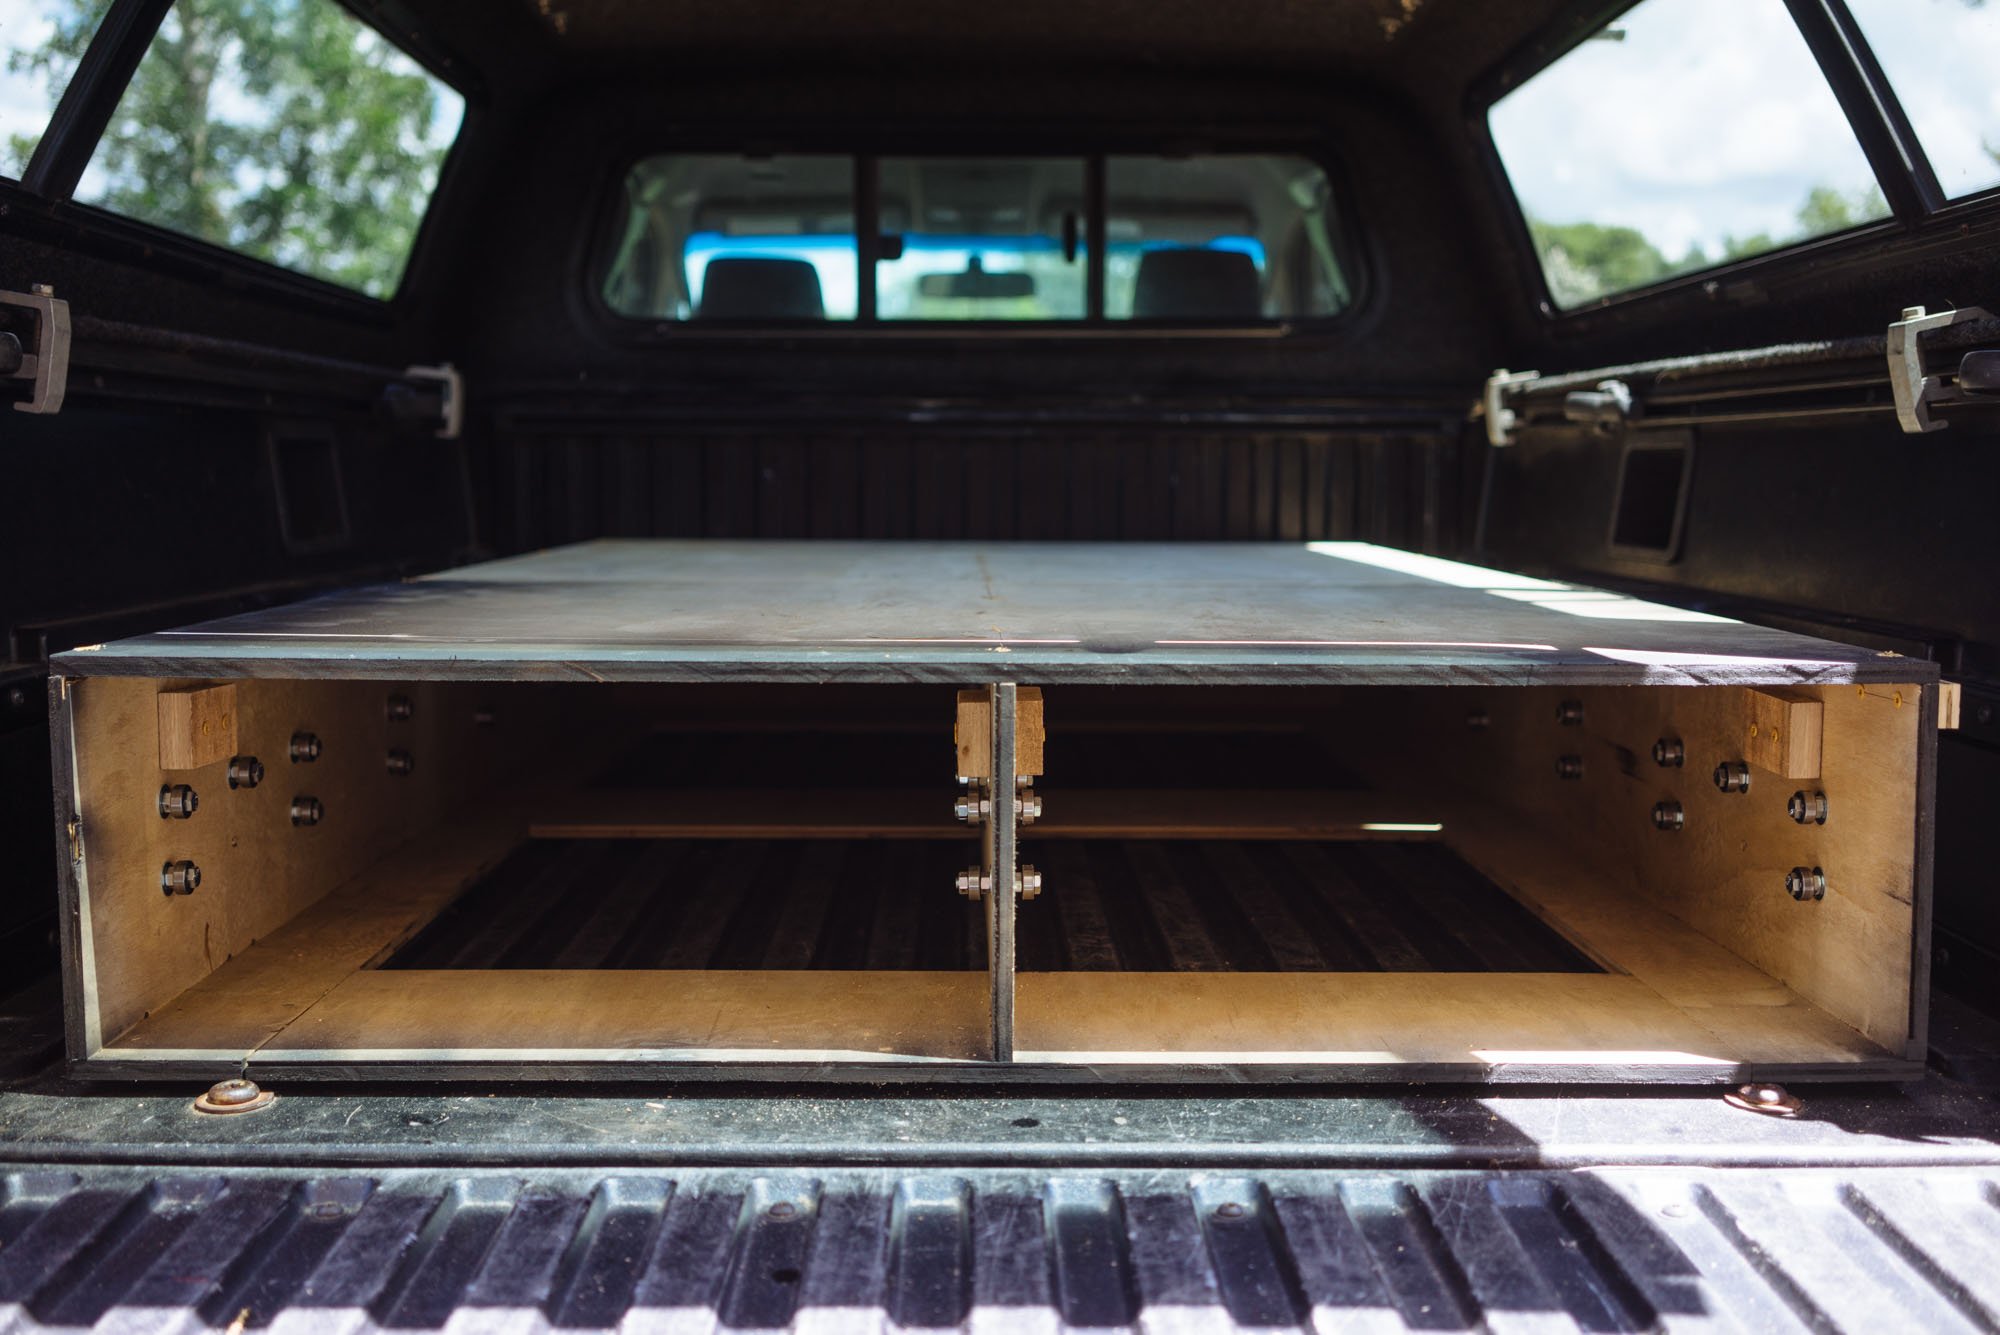
Attaching the drawer sliding system ended up being a two-part process: first was attaching the bearings to the frame for our rails to slide on. For our sliders, we decided to use skateboard wheel bearings that we purchased, again, off of Amazon. We found that if purchased through a skate shop they were nearly 4x the price even with a bulk discount. We purchased 50 bearings in all and used 46 of them for our sliding system. We installed 12 bearings per drawer slide in an alternating pattern that can be seen in the above images. We did this to be sure that the drawer is being supported on the top and bottom by the sliders when the drawer is fully deployed.
Bearing assemblies:


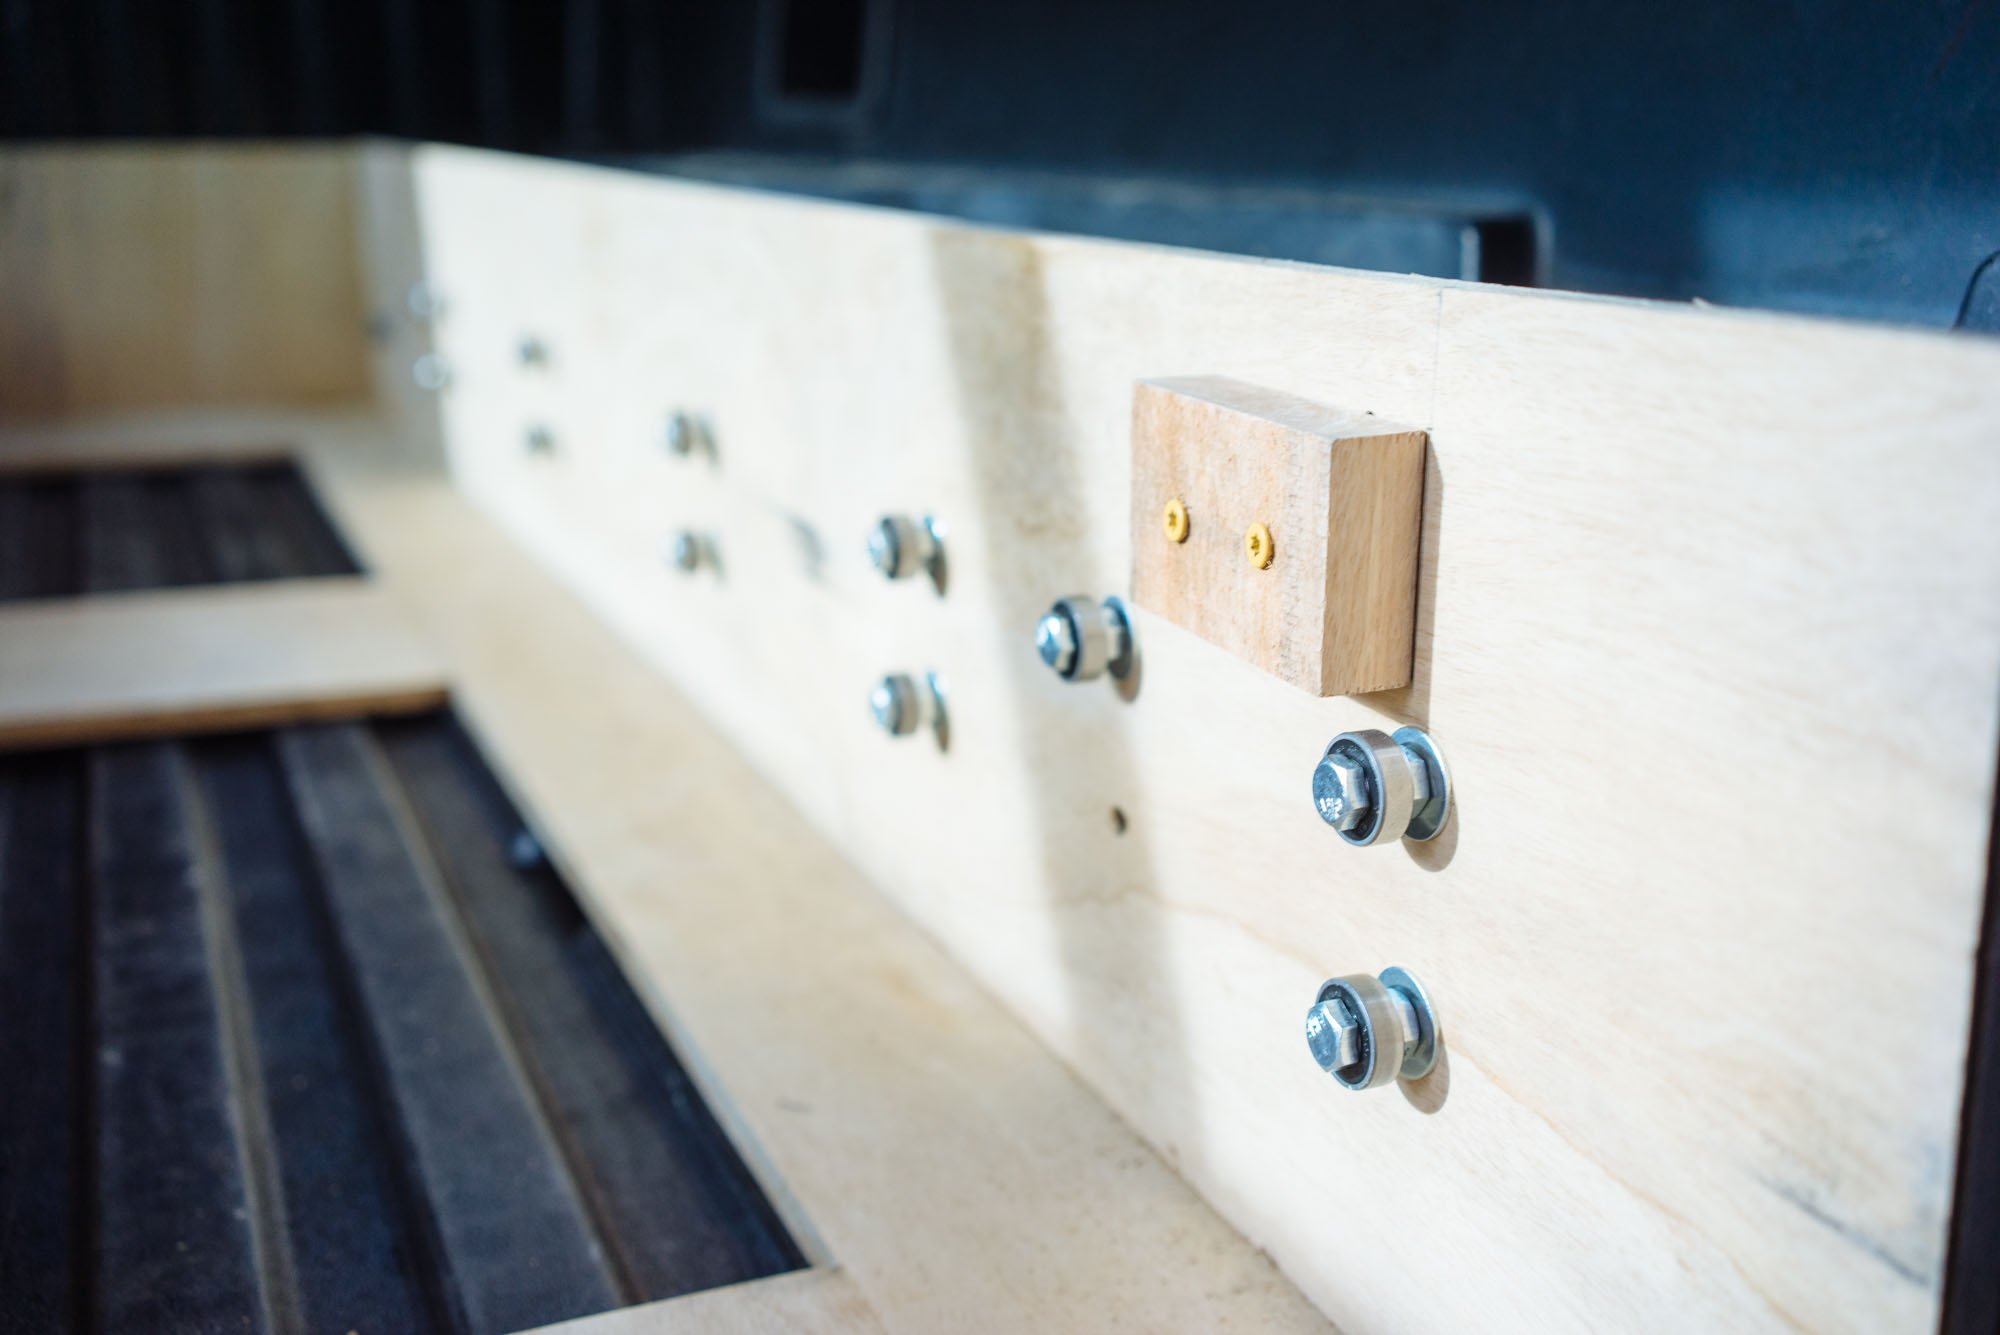
Outside Walls - Holding each bearing in place are a bolt-bearing-nut-washer-wood wall-washer-nut with loctite. Once the bolt was tightened down into place we cut down the excess bolt so it wouldn't stick out preventing the frame to fit inside of the wheel wells.
Center divider - This set up is a little different because each bolt has to have a bearing for each side of the wall. The assembly is bolt-bearing-nut-washer-wood wall-washer-nut-bearing-nut with loctite. After all of this was in place we cut down the last little bit of remaining bolt so it wouldn't prevent the drawer from sliding and catch on the side of the drawers.
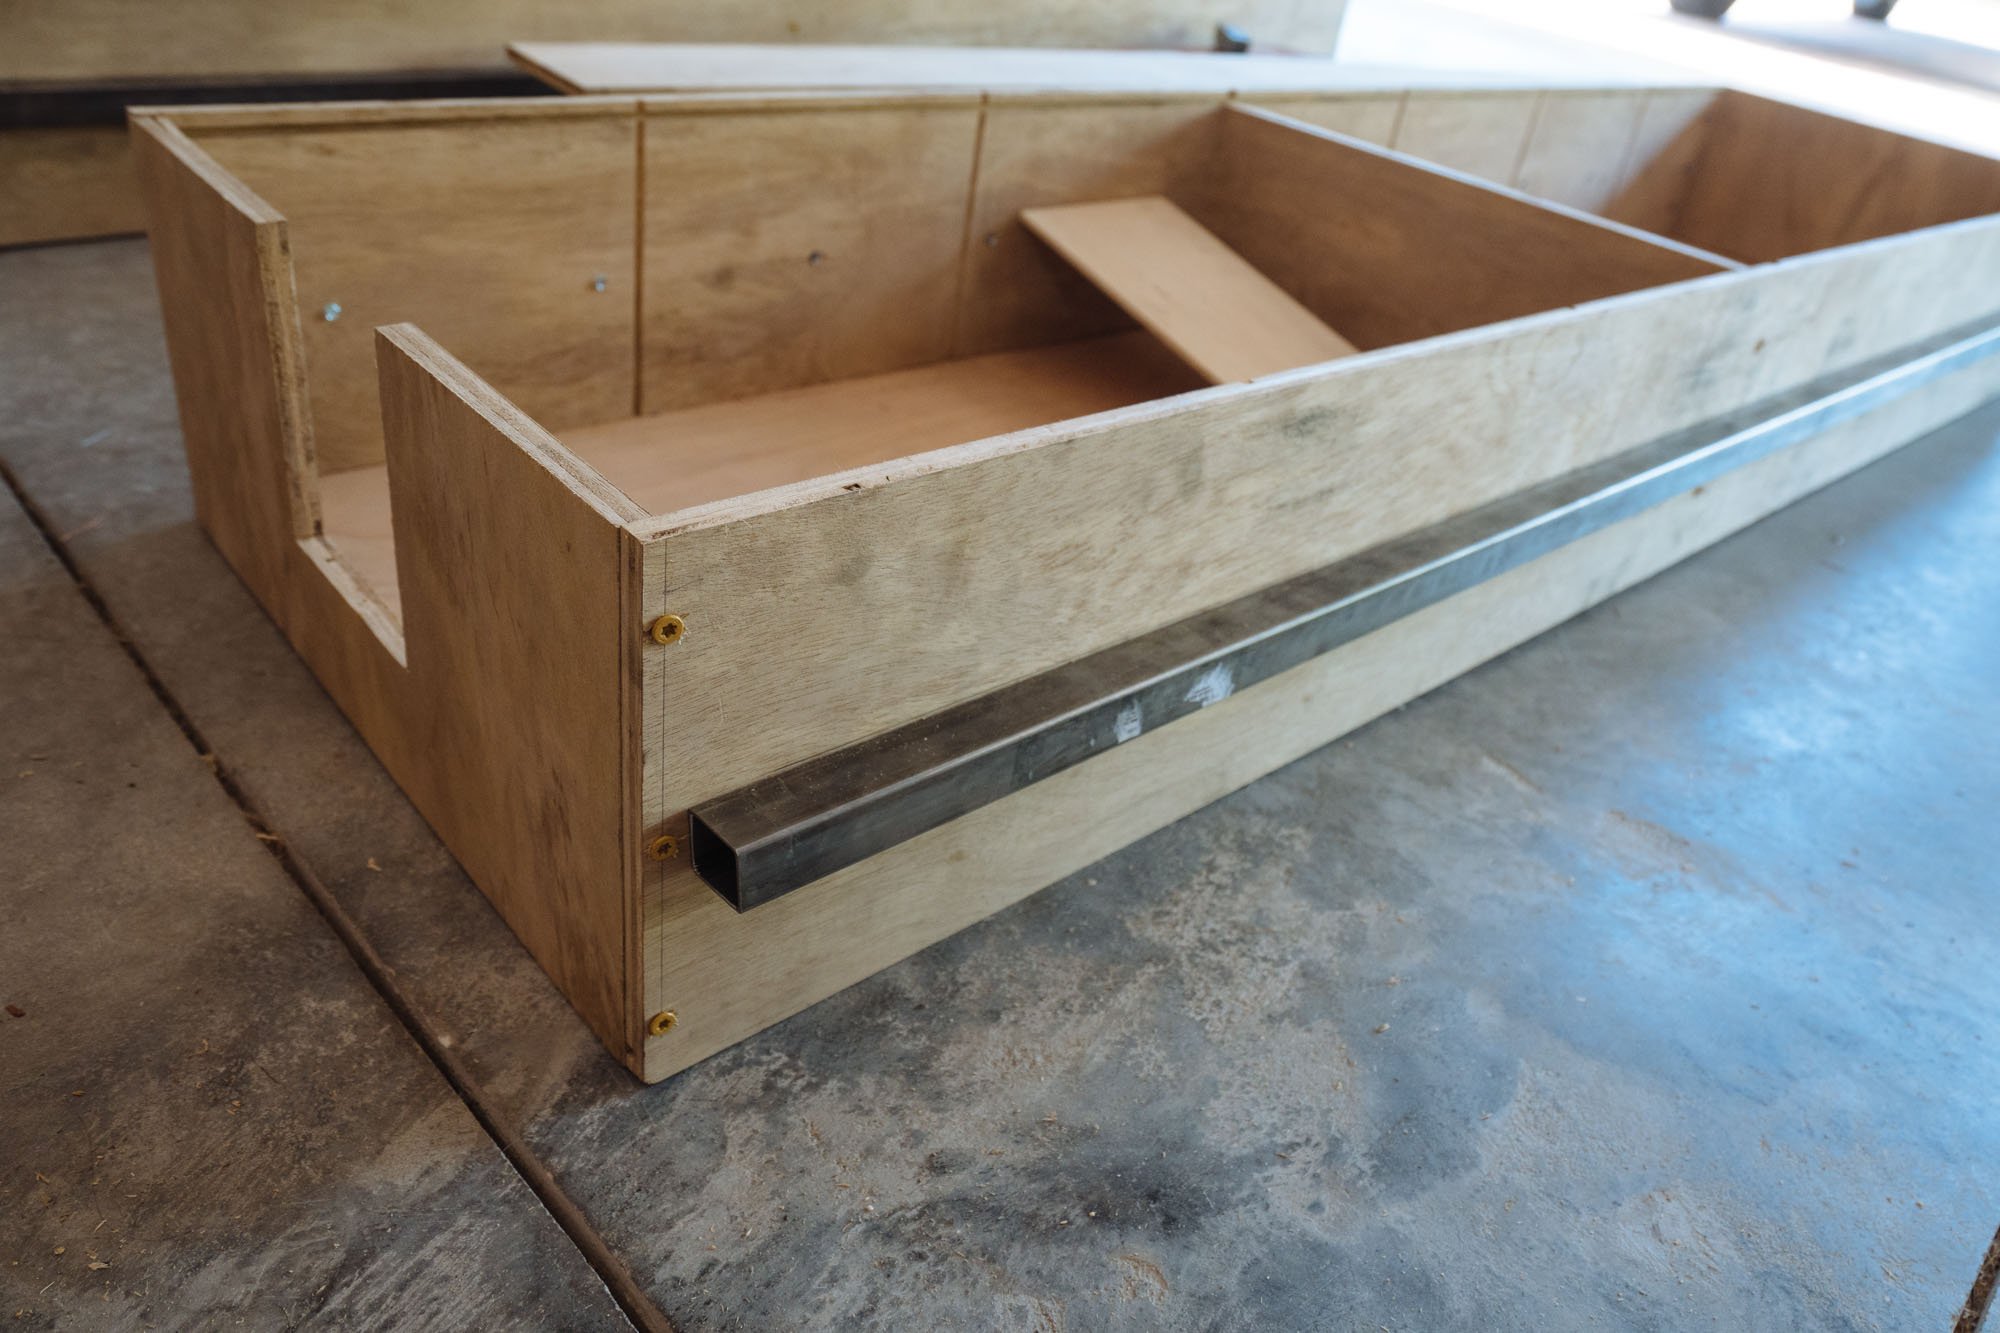
Now for the second step: attaching the rails down the side of the drawers to work with the bearing placement. Once we had the bearings in we slide the drawers into place to determine where the metal rails needed to be attached. We screwed the metal rails to the drawers from the inside using self-tapping metal screws. Side note: we still needed to do small pilot holes into the metal.
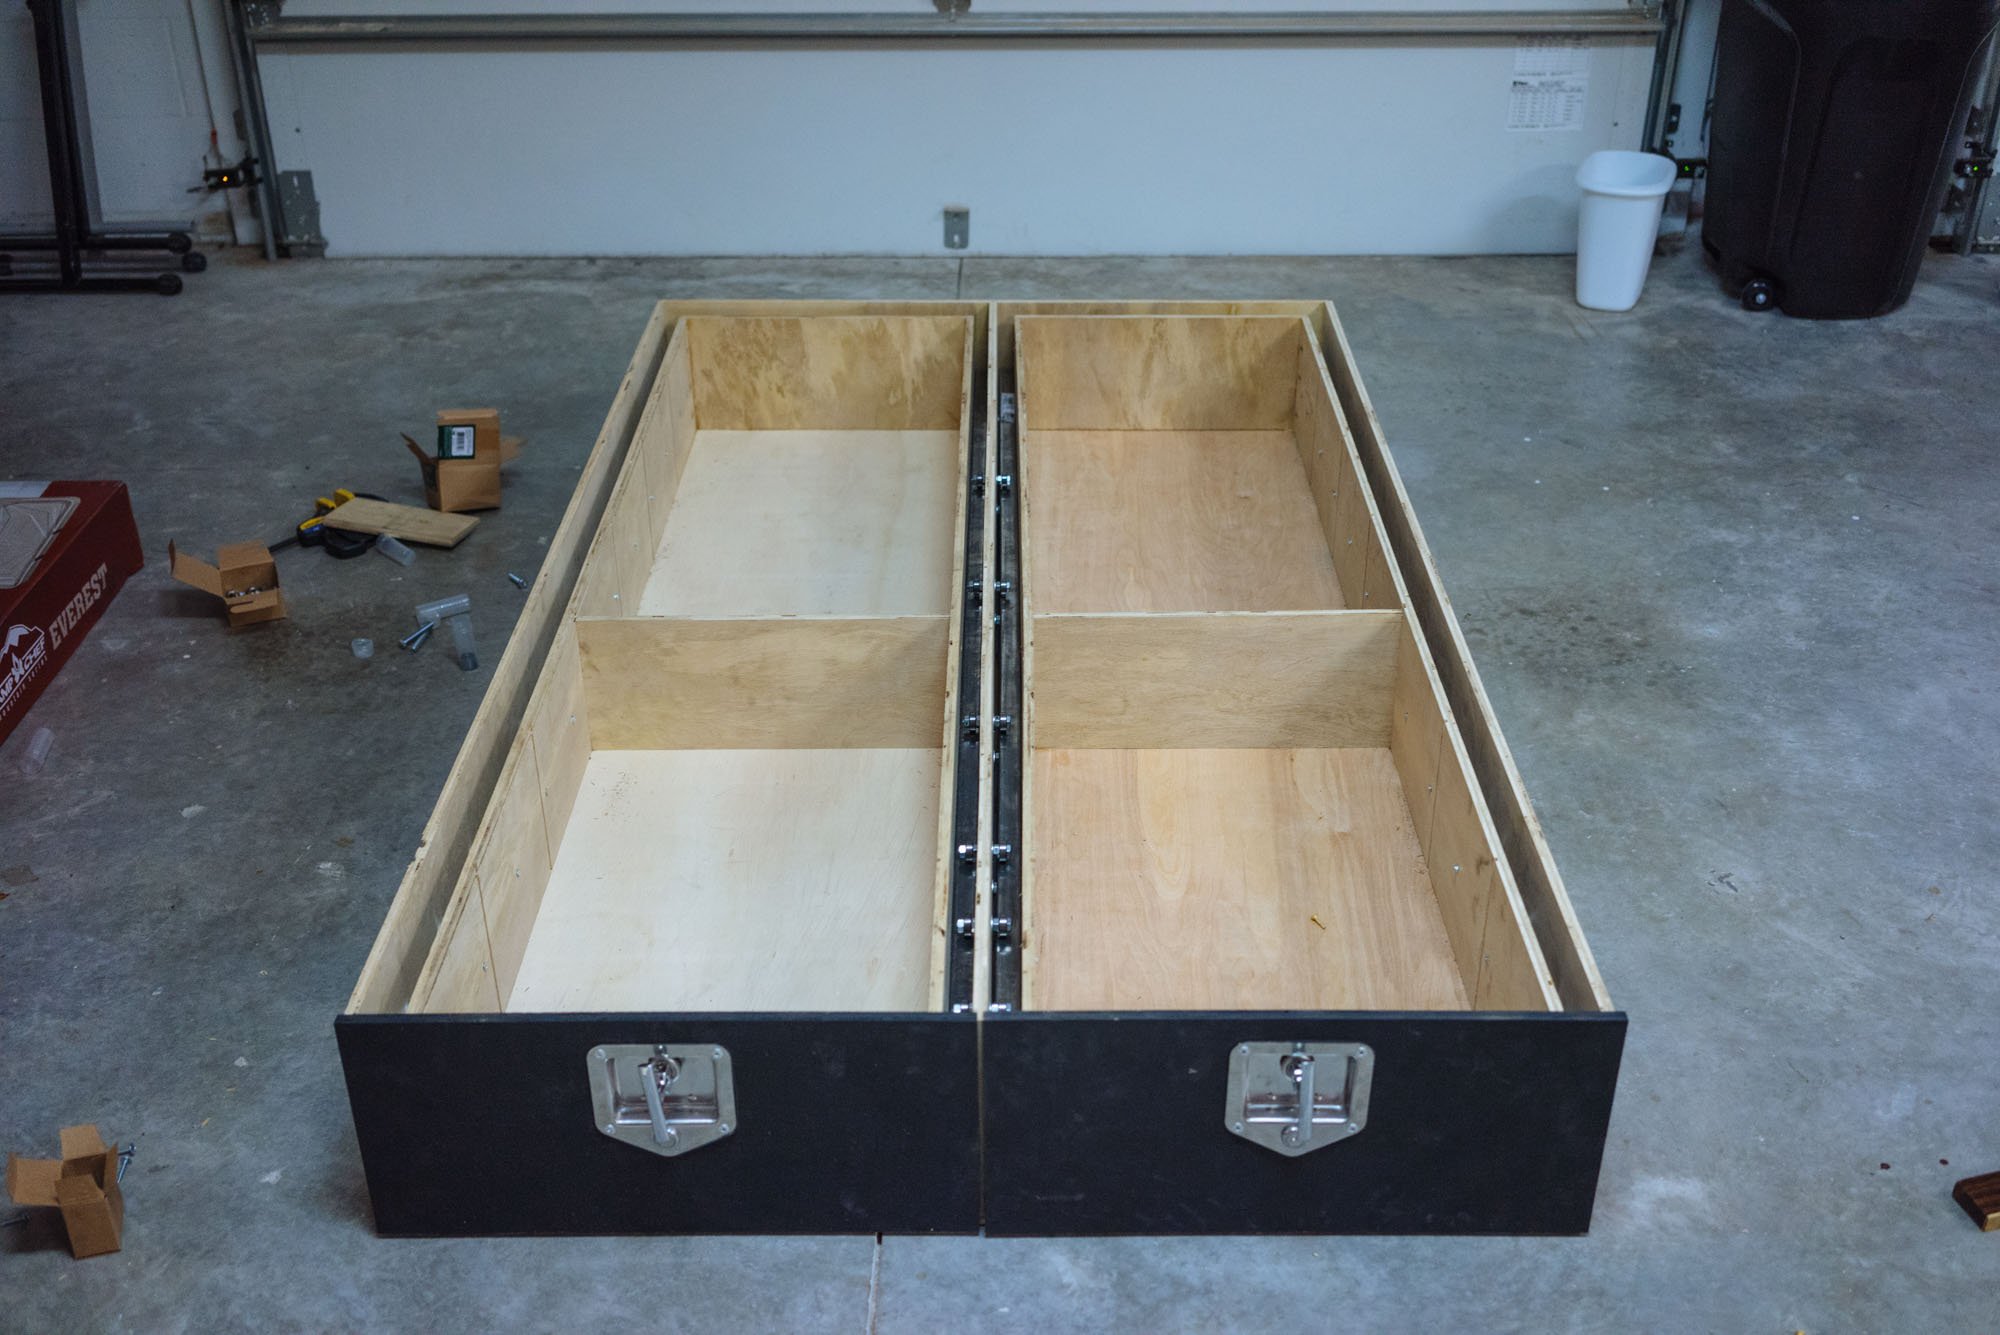
When the entire slider system was in place we installed the drawers into place to check our work! Once we saw that everything looked right we went back and installed the drawer faces with latches. By waiting until this step in the process we were able to be sure that the drawer faces were lining up perfectly with each other and the drawer frame. We also painted the visible portions of the drawer system to show we care...a little.
Step #6 - Drawer Stop Installation
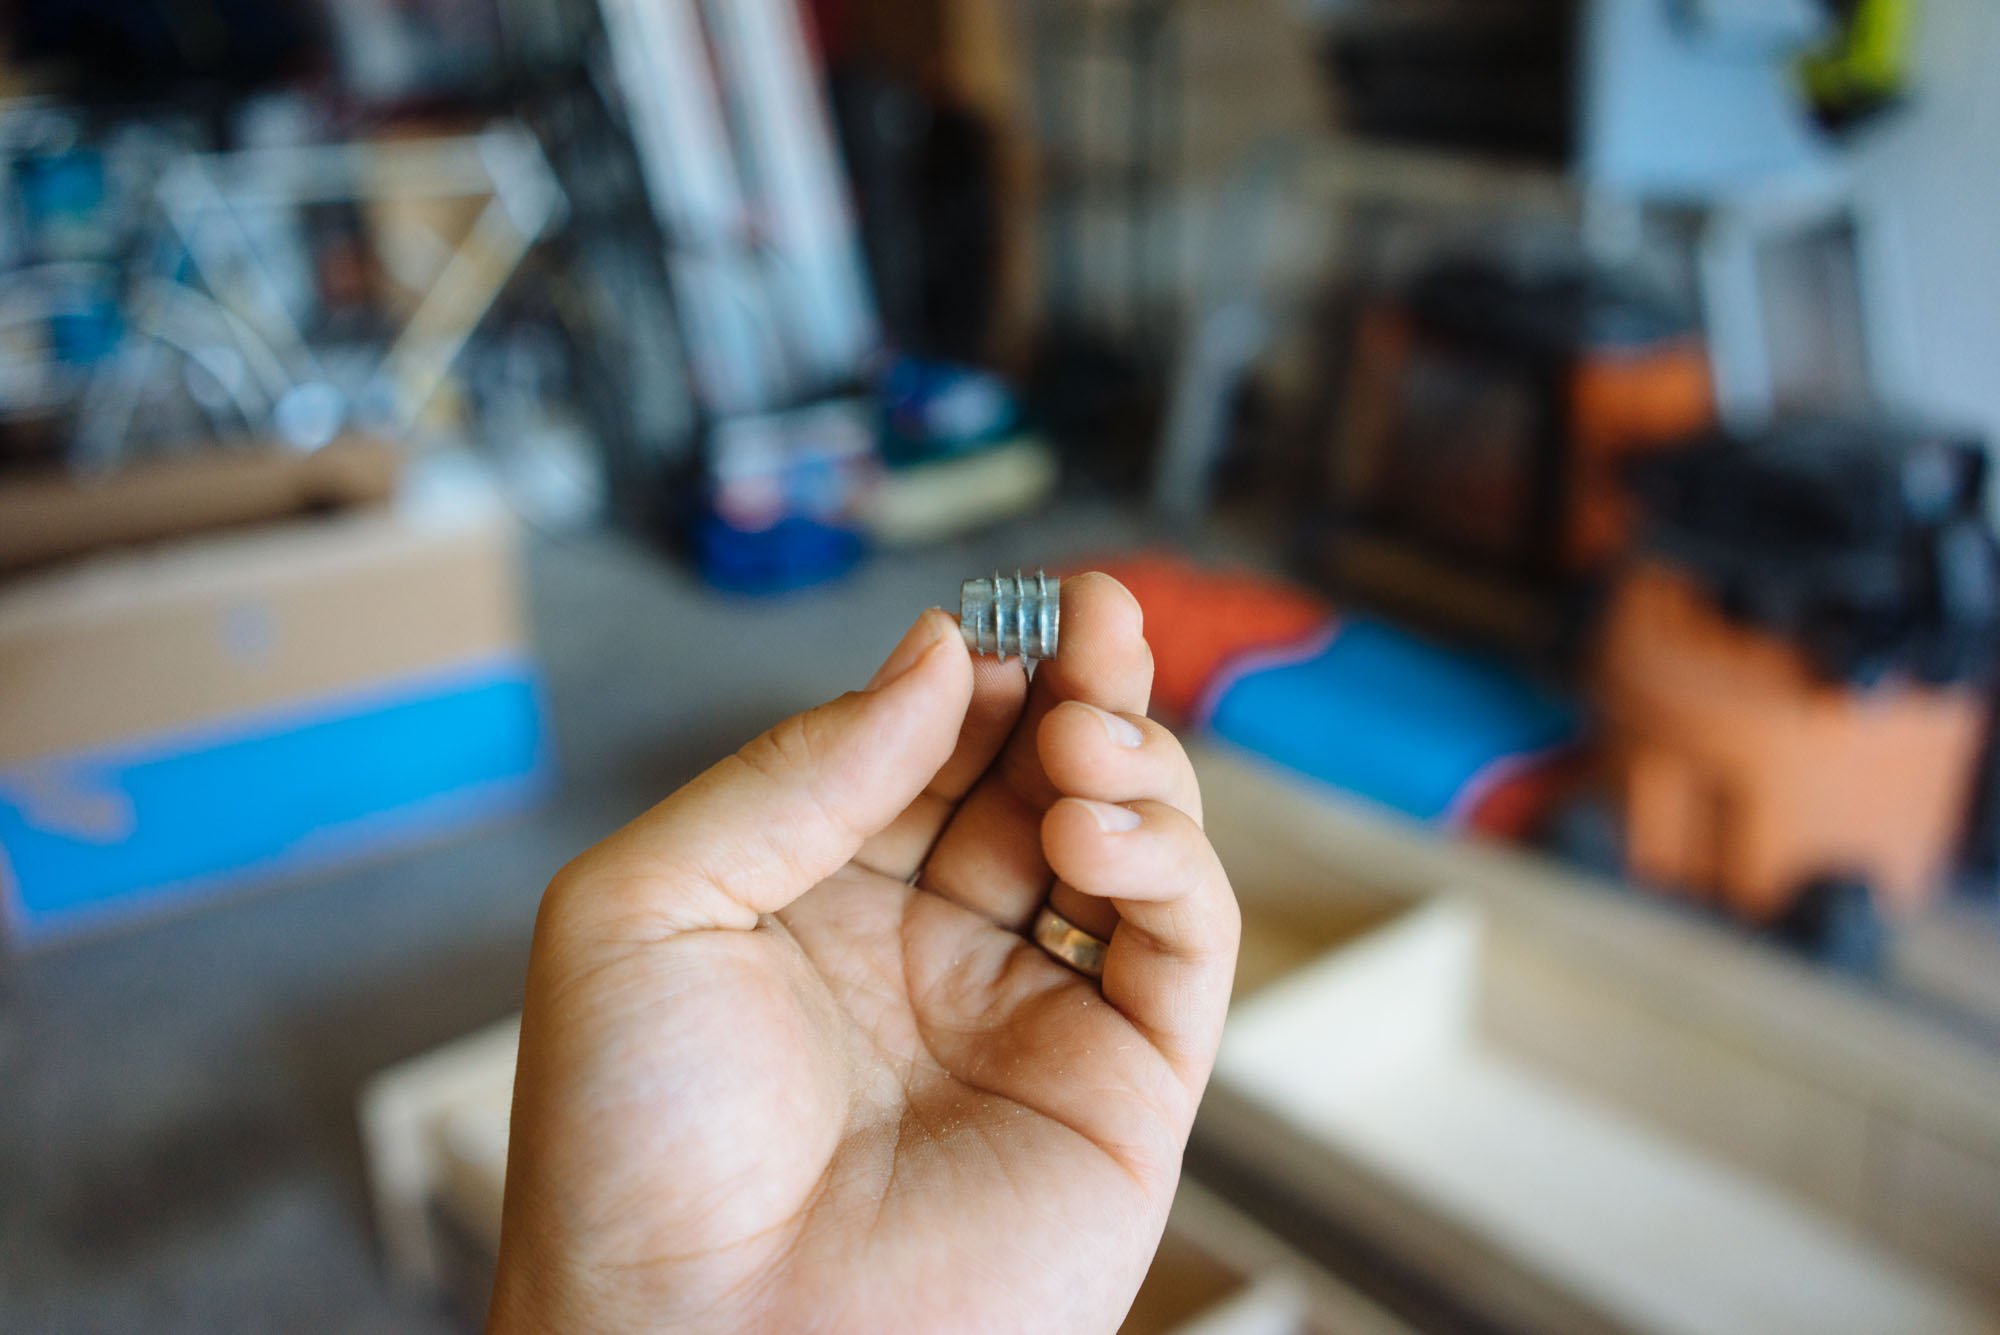
Installing drawer stops was imperative to be sure that our drawers didn't come sliding out completely if we ever opened them on a slant. We also wanted to have the ability to pull the drawers out if we ever needed to so Owen found these nifty little threaded wood inserts. These guys allow you to create threading in wood without ruining the threading if you ever need to remove the screw. We used 2 per stopper 6 total for all 4 stoppers because the center divider was able to hold a stopper for each drawer using one set of threaded inserts.
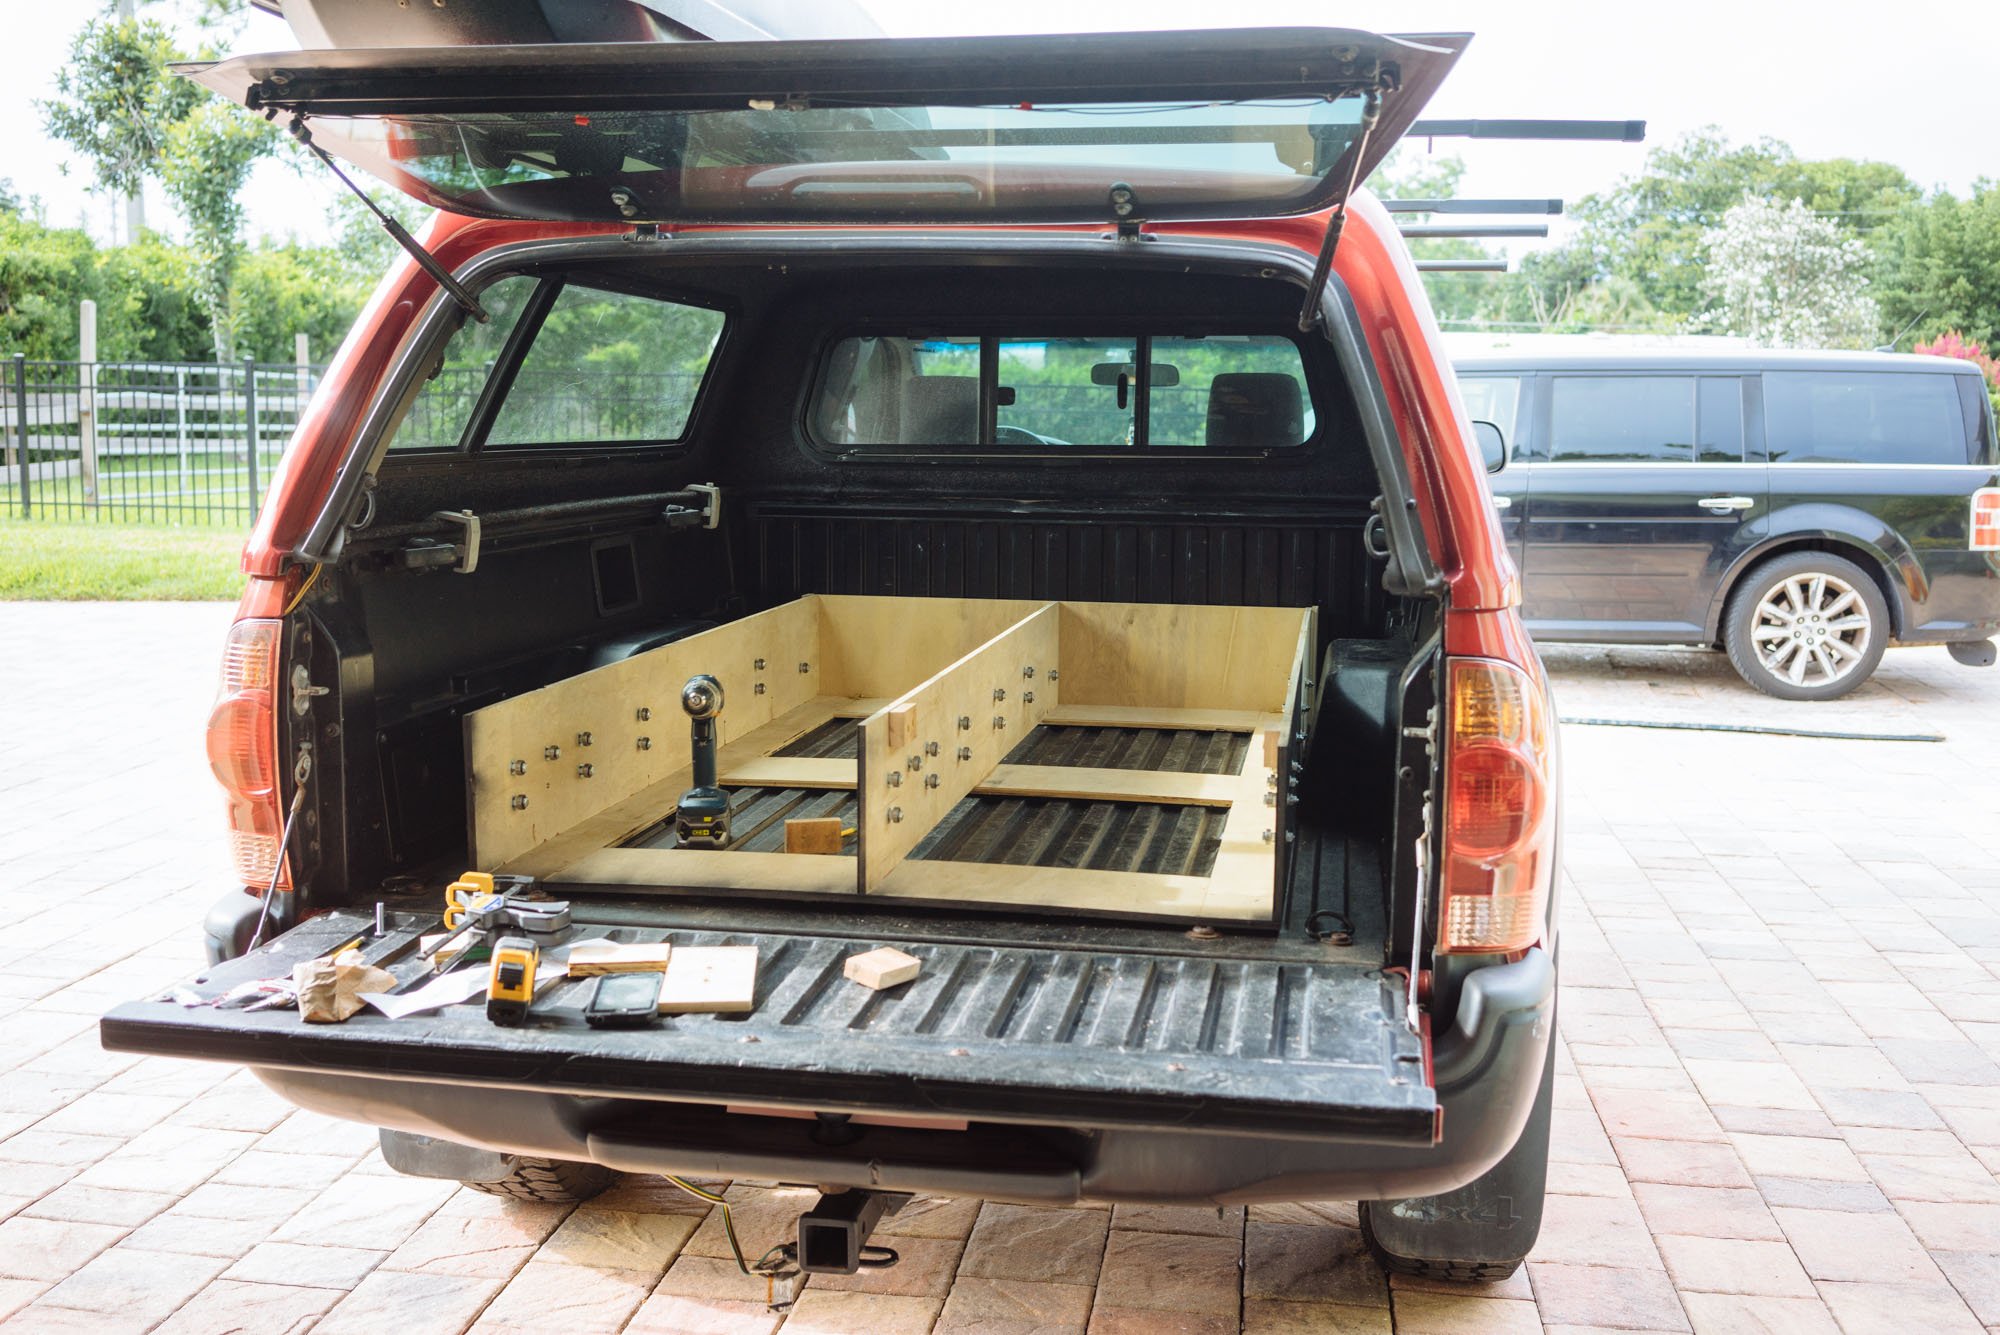
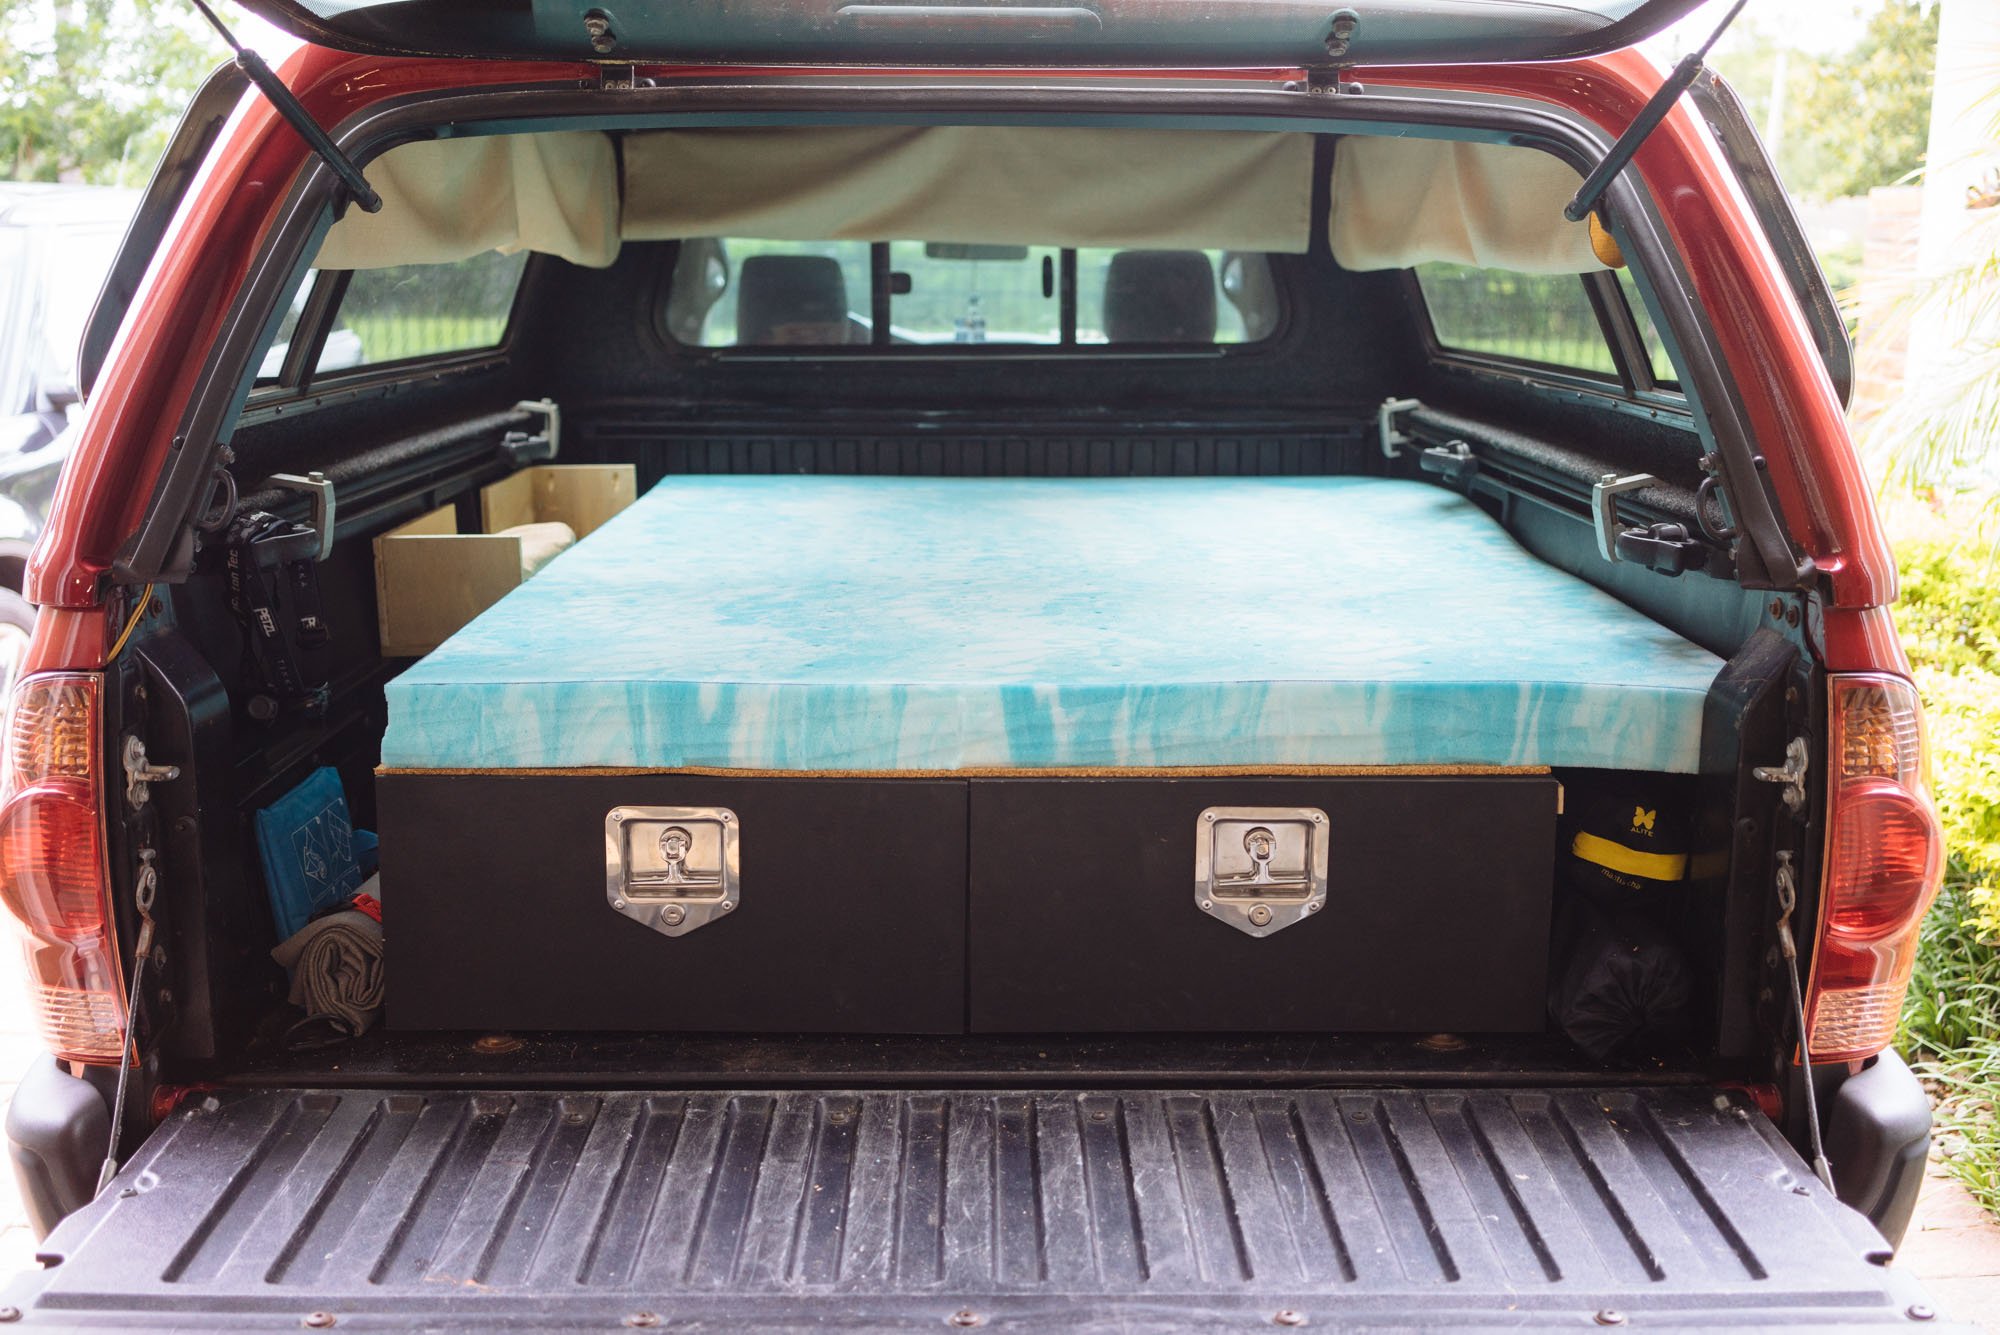
Step #7 - Installing Drawers/Bed Platform in the BED
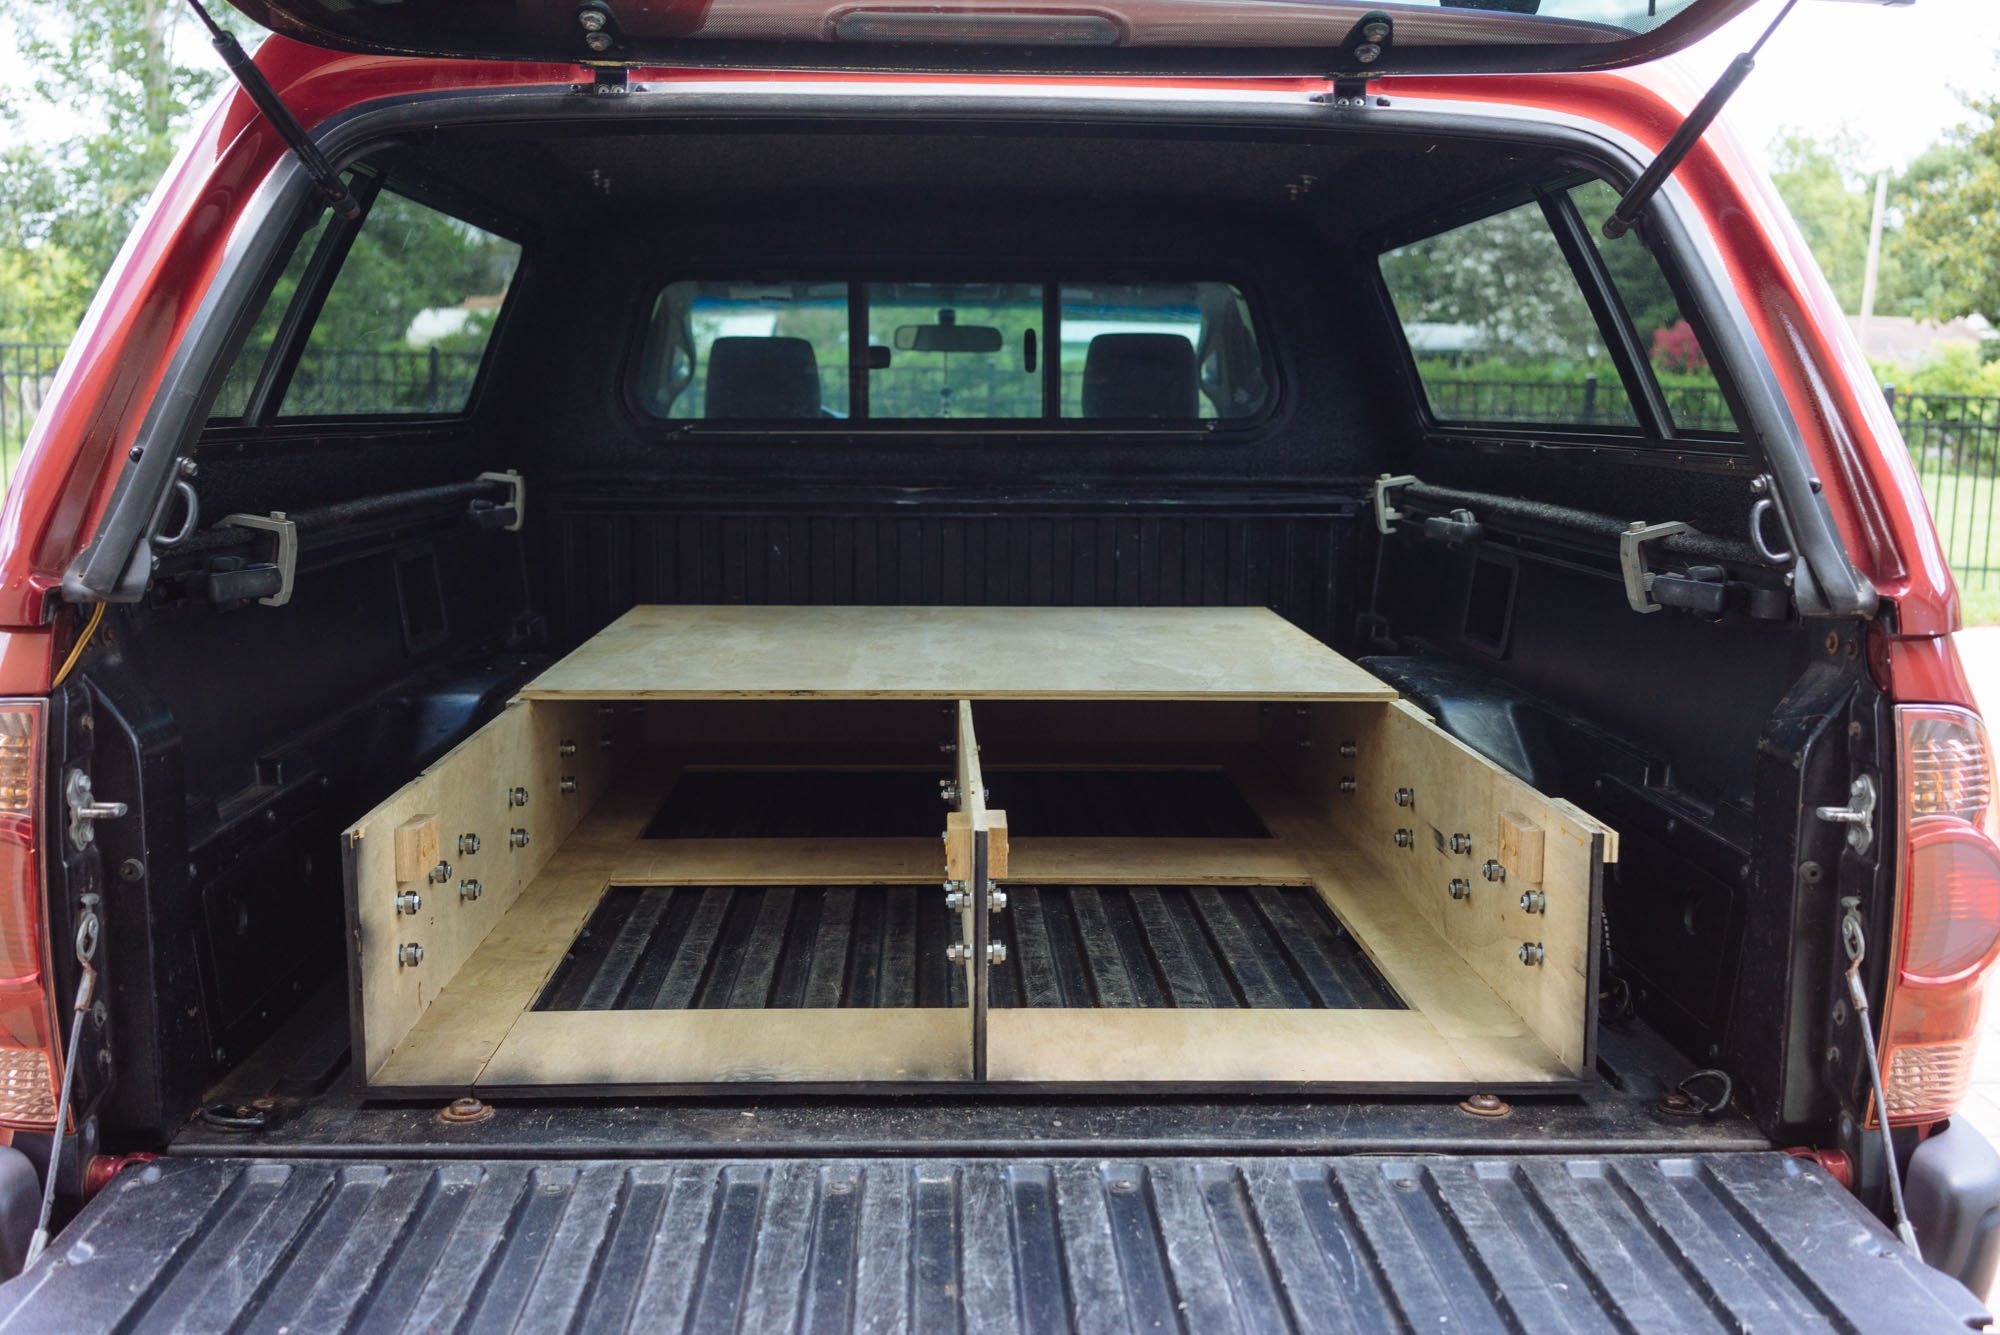
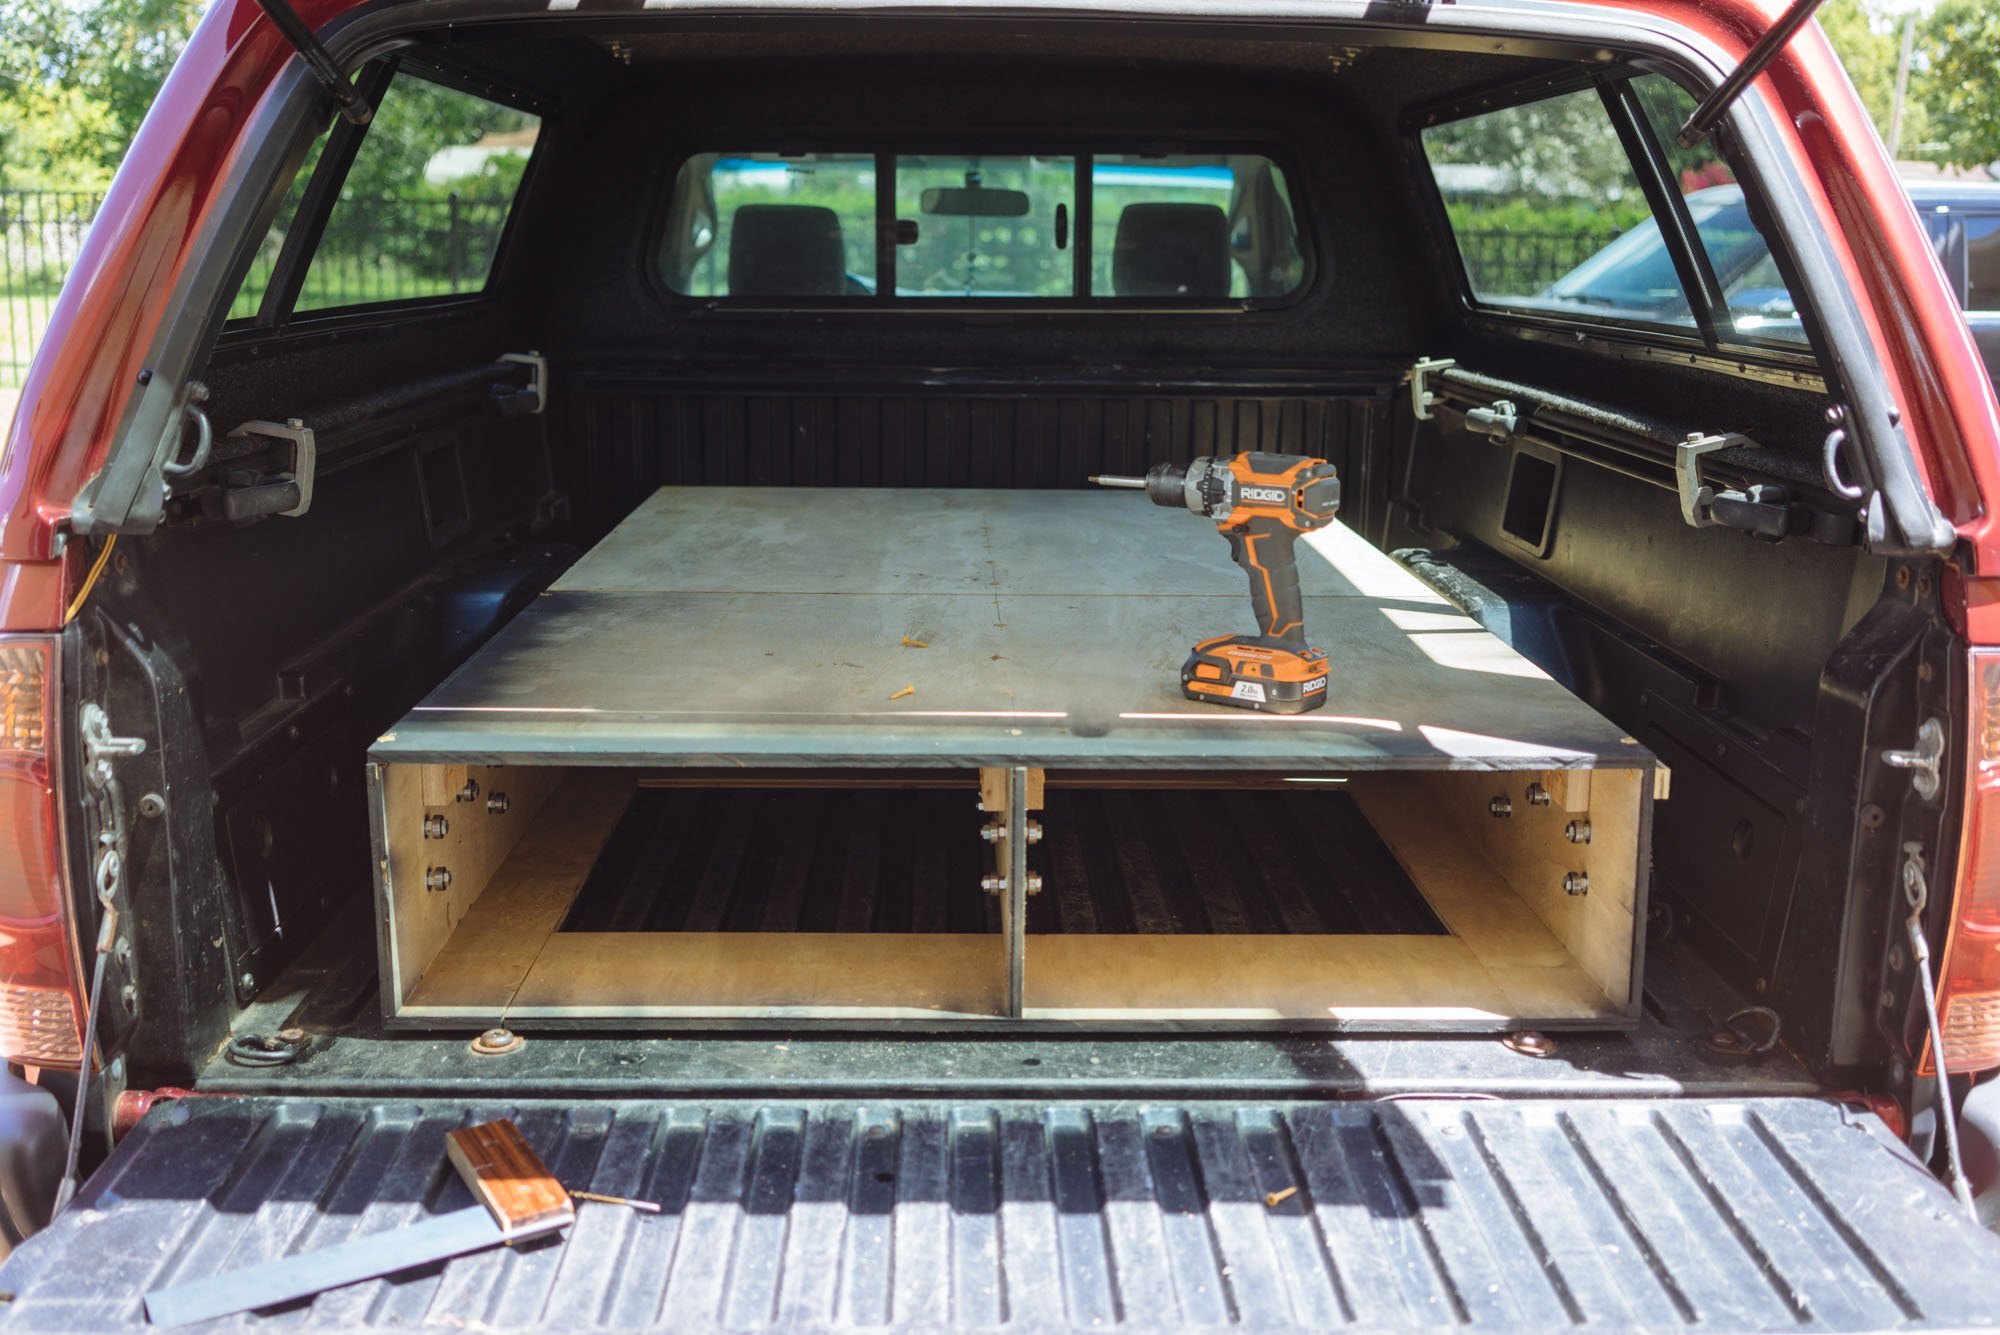
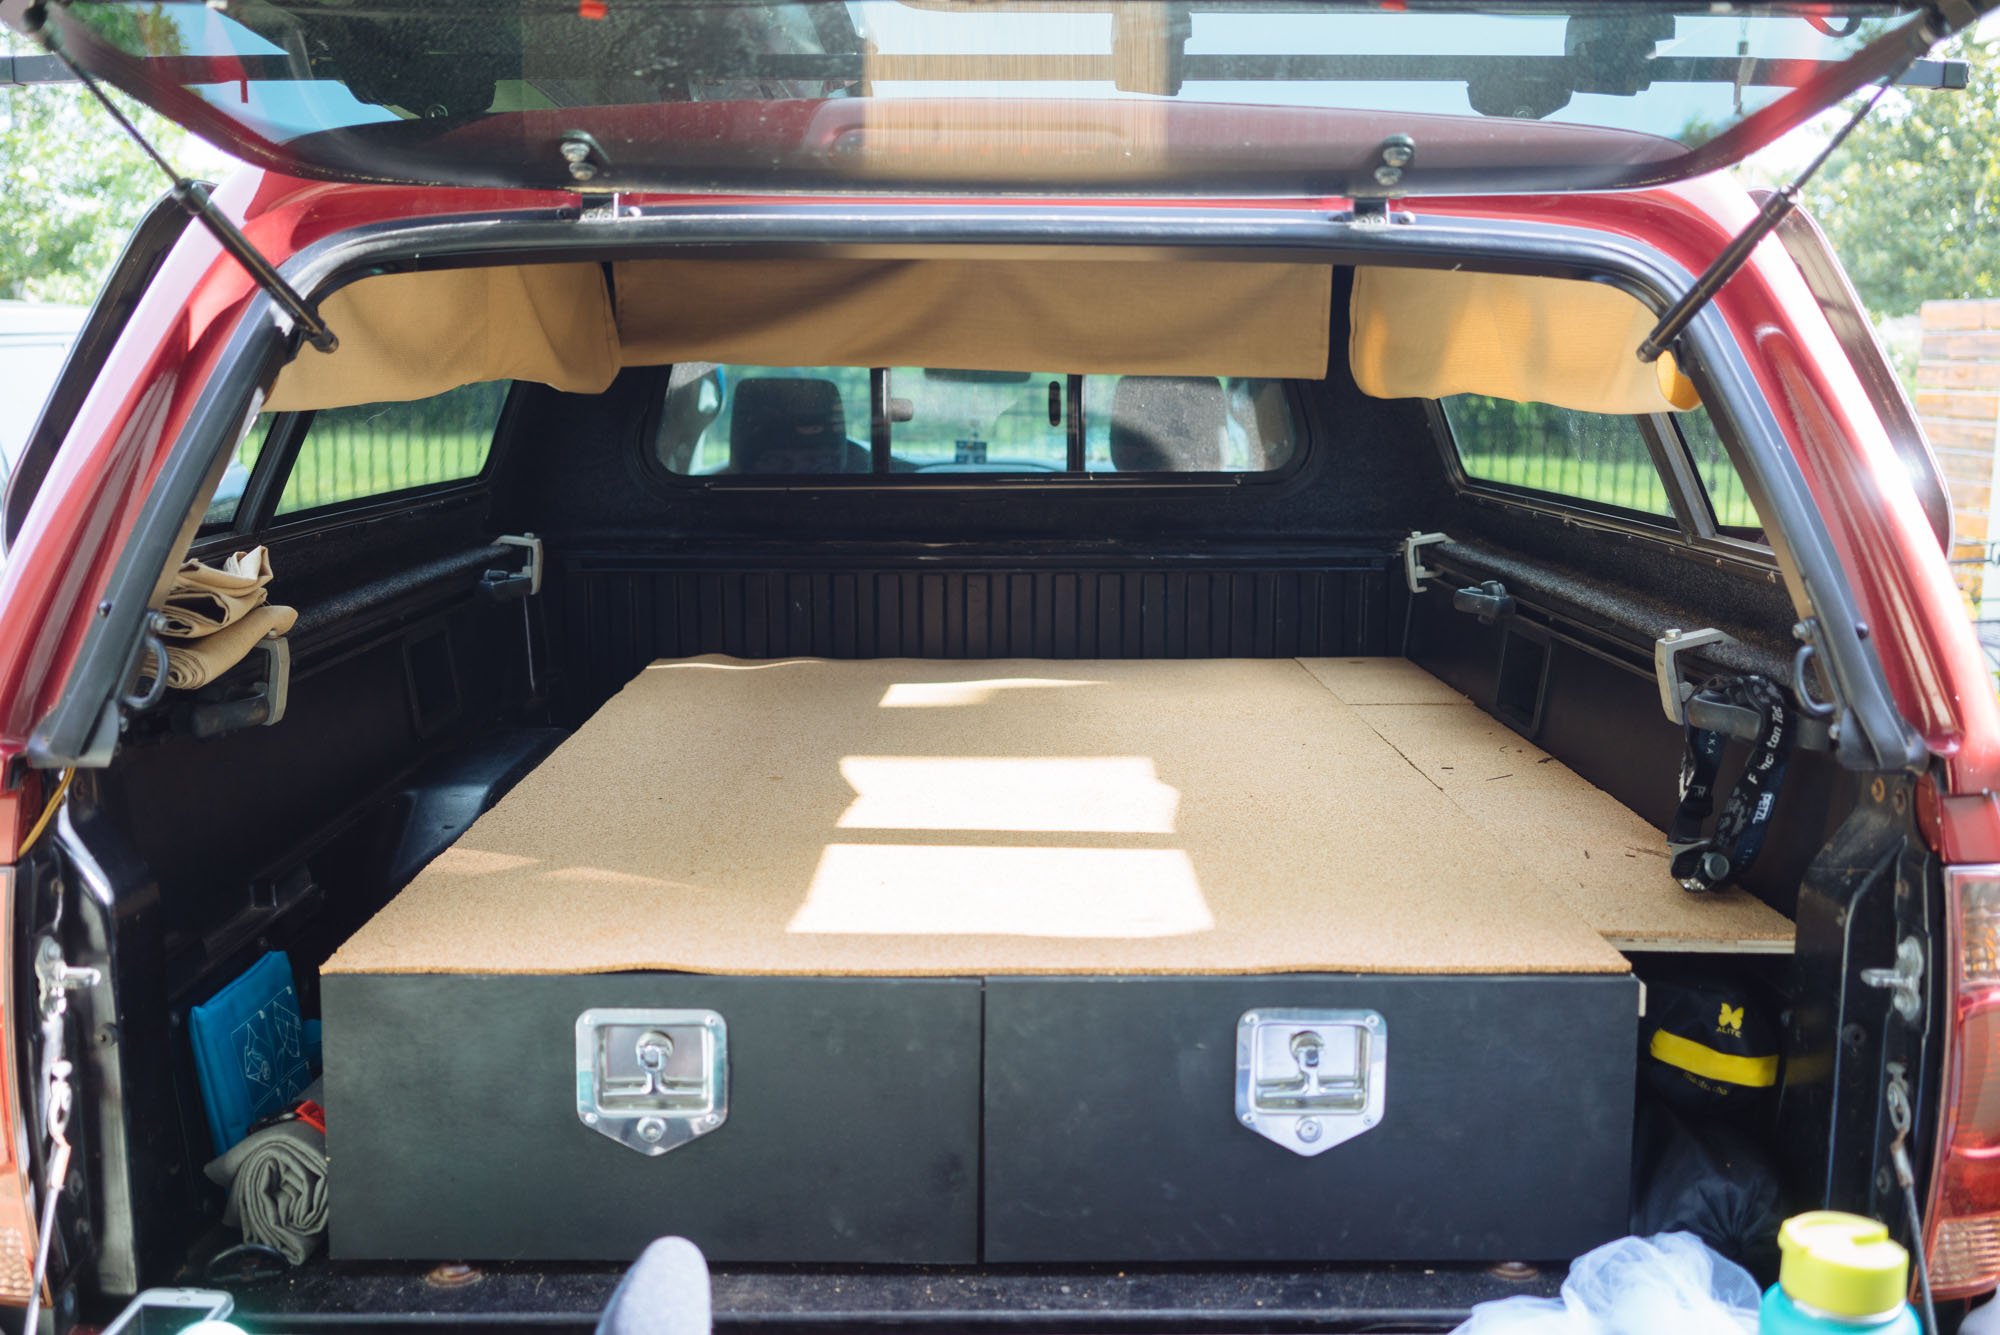
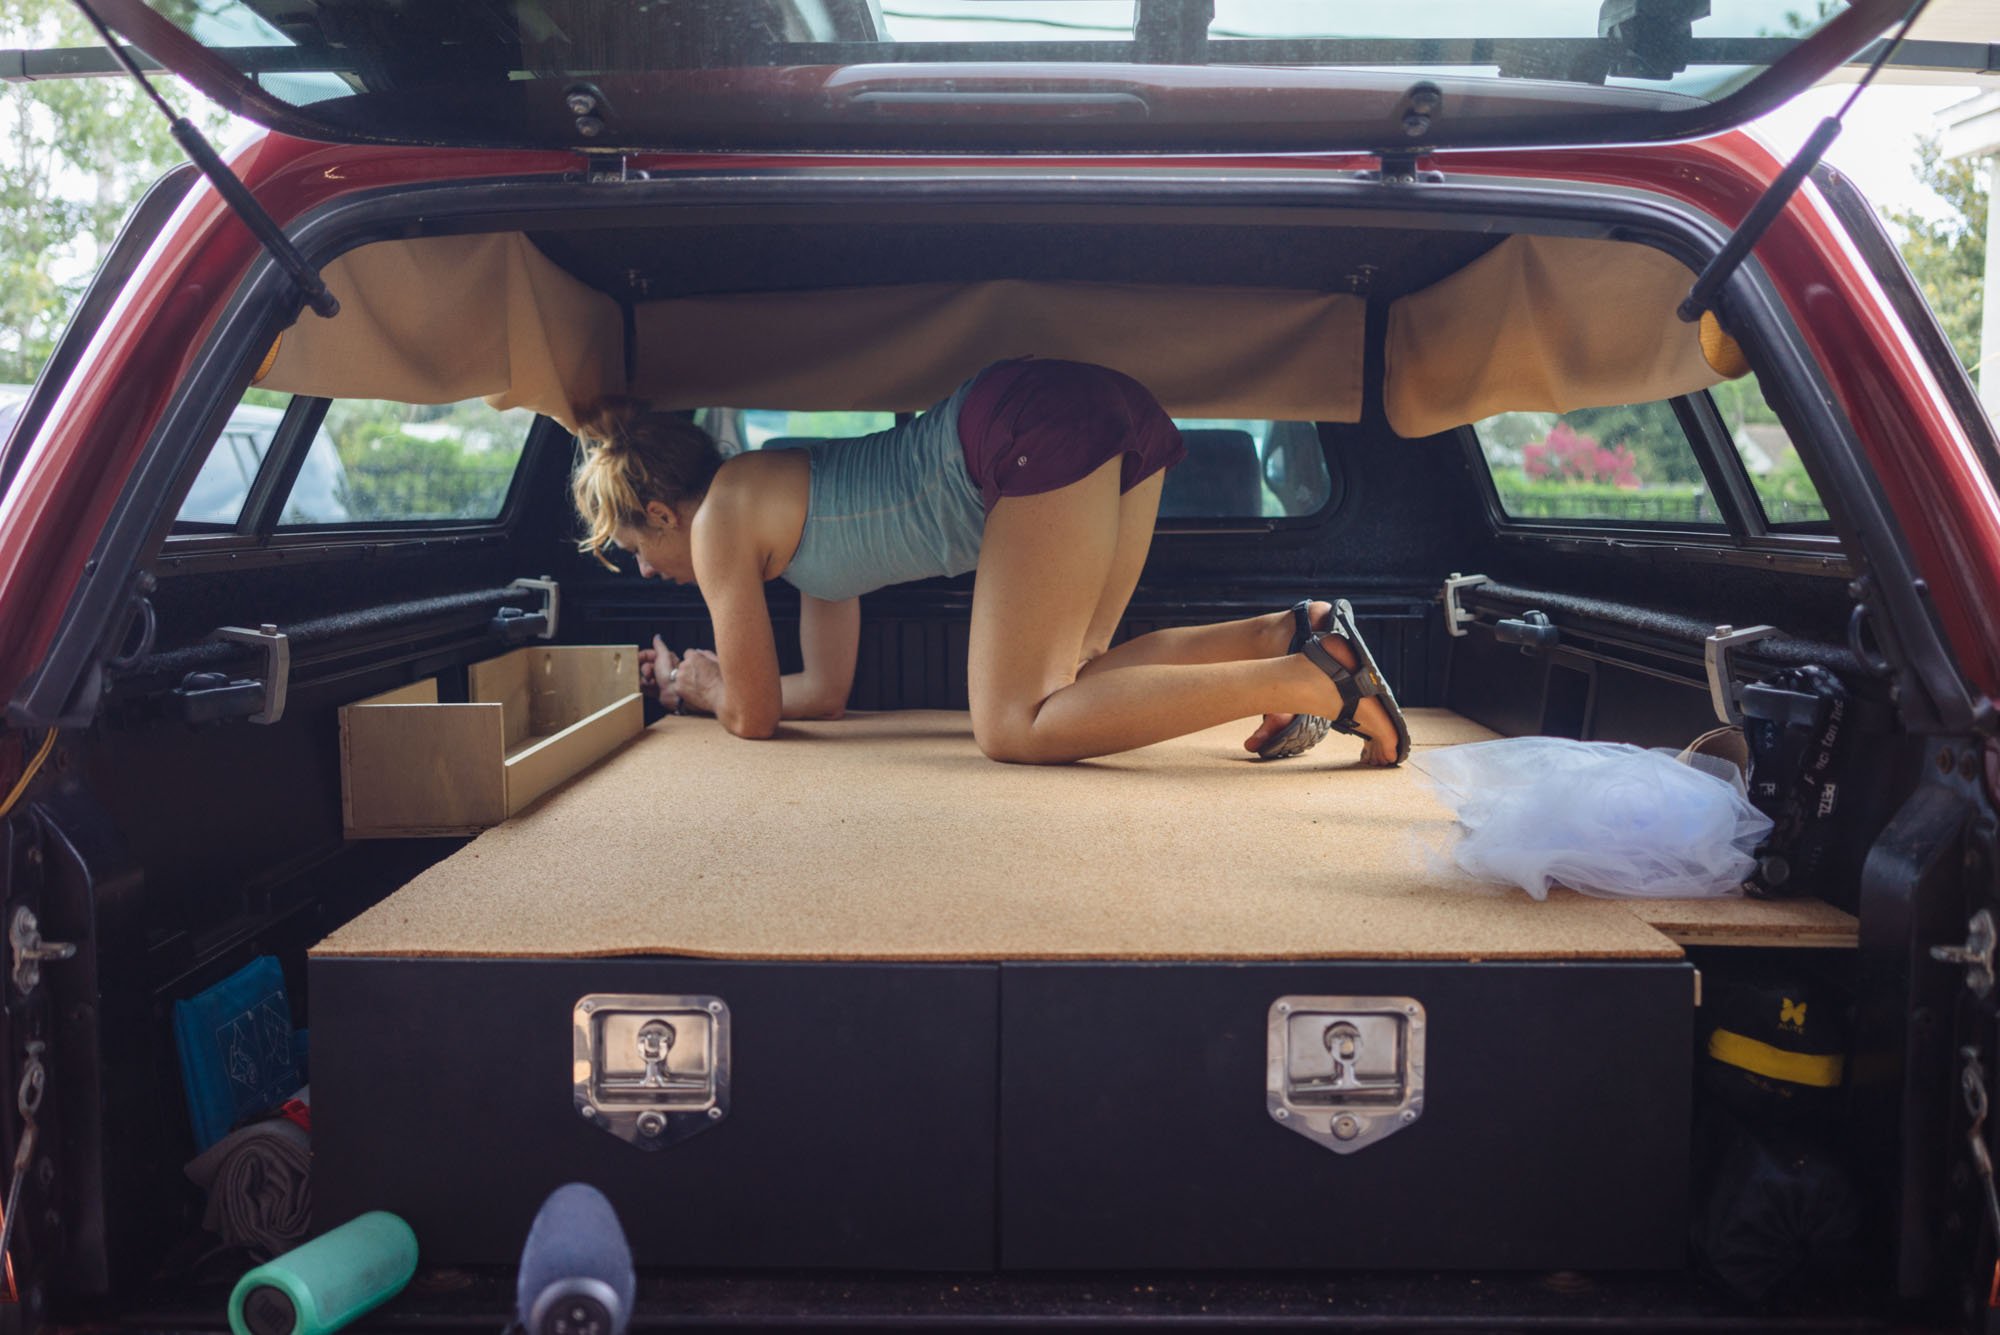
We decided to install the bed platform once the drawer frame was fully installed. The reason being we wanted this whole thing to be bolted to the truck bed using the bolts in the far back of the truck bed. These bolts are there to hold the bed liner into place are very robust with plenty of extra threading. We don't have any pictures of this part of the process but we pulled the bolts out before we slide the frame into place, once it was in we drilled the holes into the drawer frame from under the truck. Once the holes were drilled it was as simple as dropping the bolts back into place and tightened them down. From there all that was left was to cut and screw the bed platform into place.

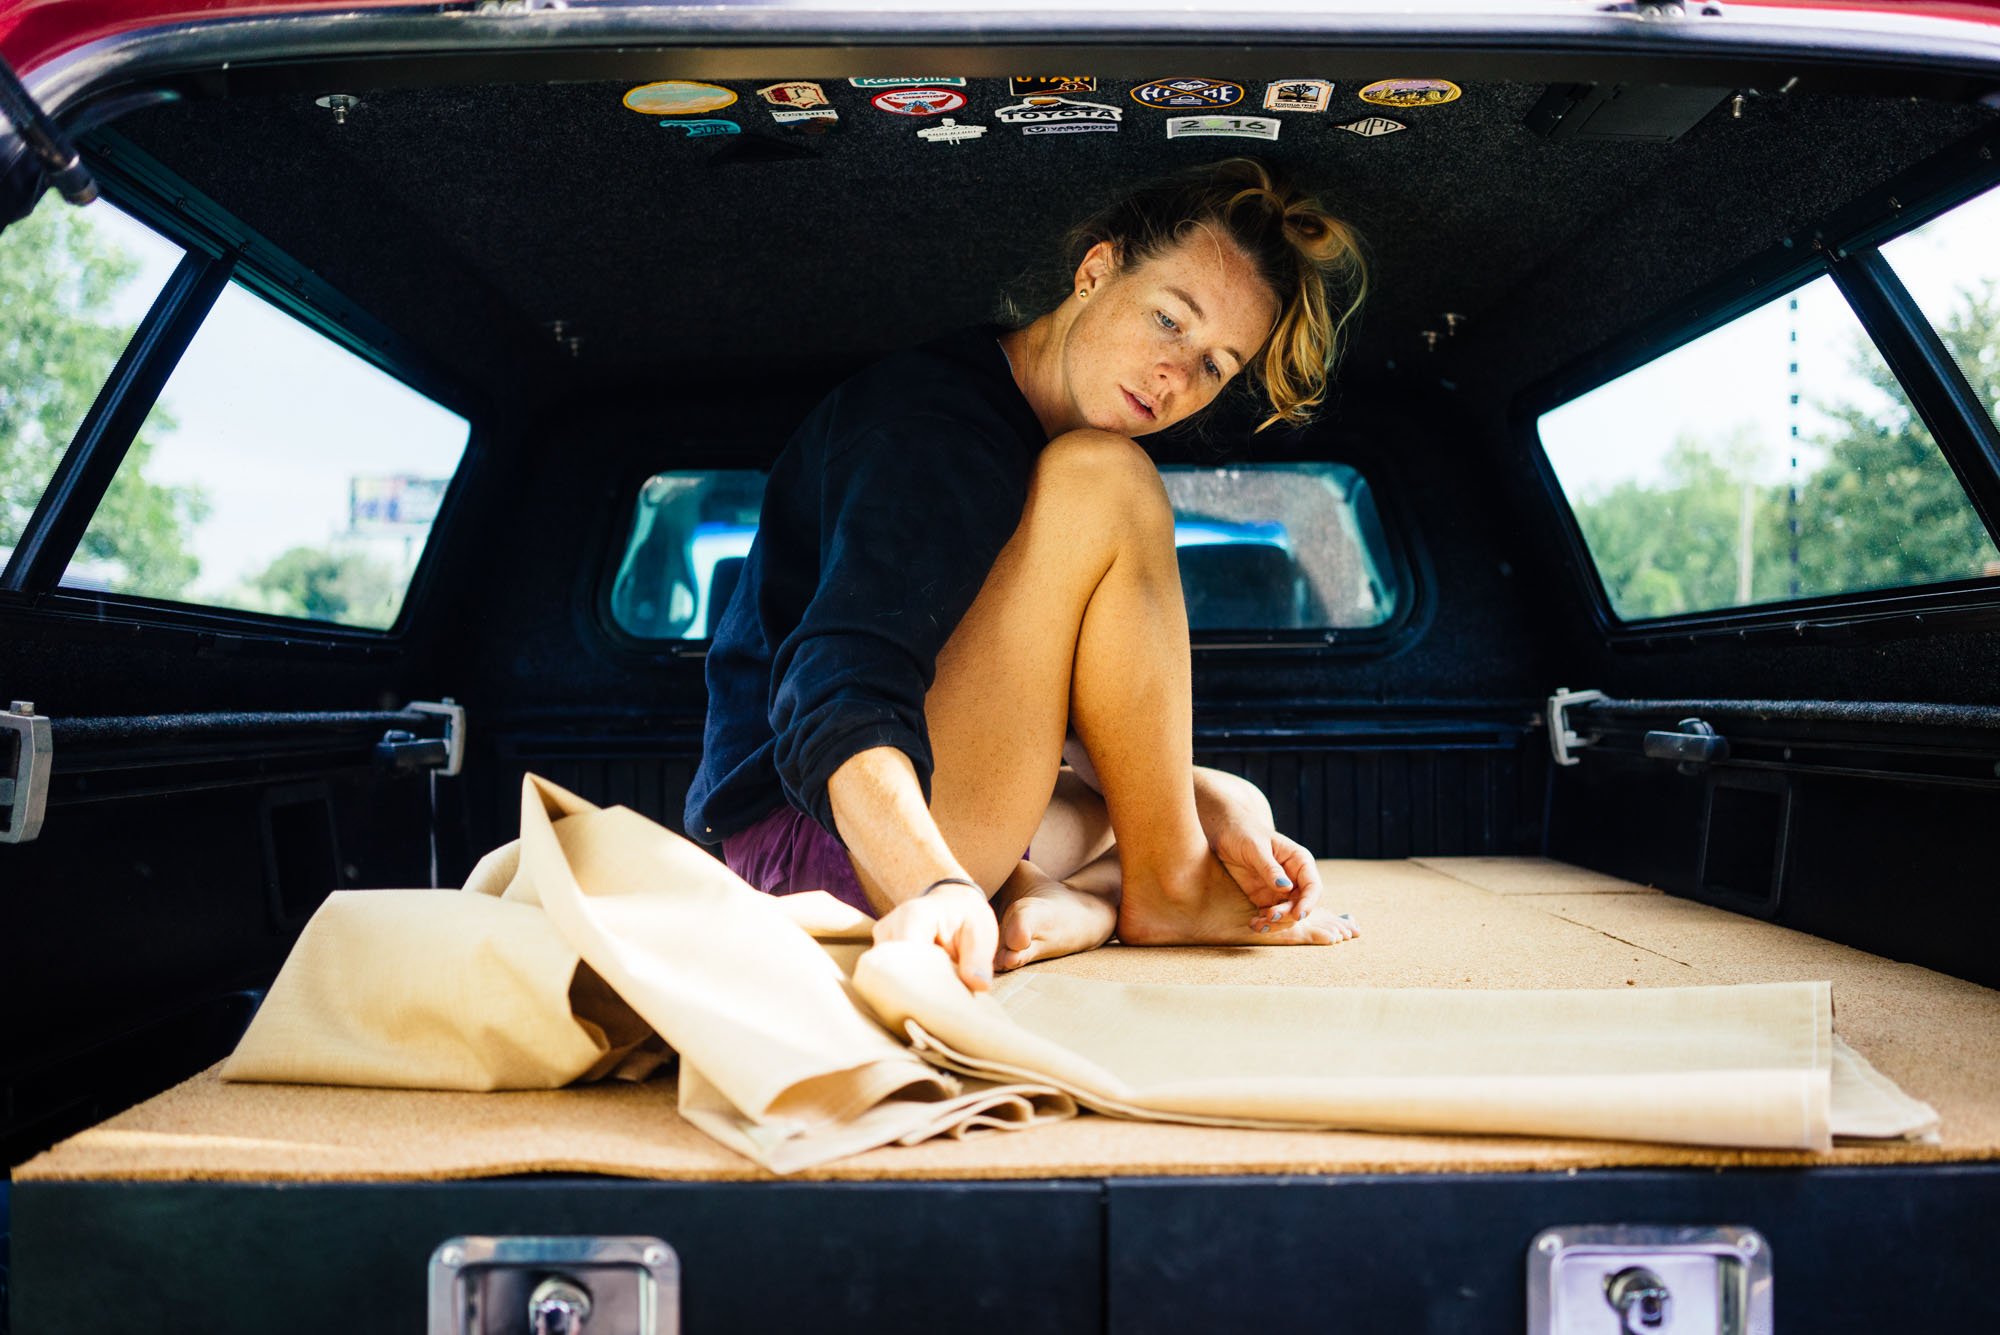
A few more things I want to make mention of is that our bed will actually rest from the passenger side of the truck bed to the sidewall of the drawers on the driver side. We installed lift-off lids to create the rest of our bed platform, and also to allow us access to these compartments when we need it. The driver side we left open because of a plan we will get to shortly. The cork we stapled down as protection to the mattress once we got it in here. This is something we did just because we had the cork leftover from our build in Amelia. If we didn't have it on hand we wouldn't have used it at all.
Step #8 - Curtains & Bug Netting
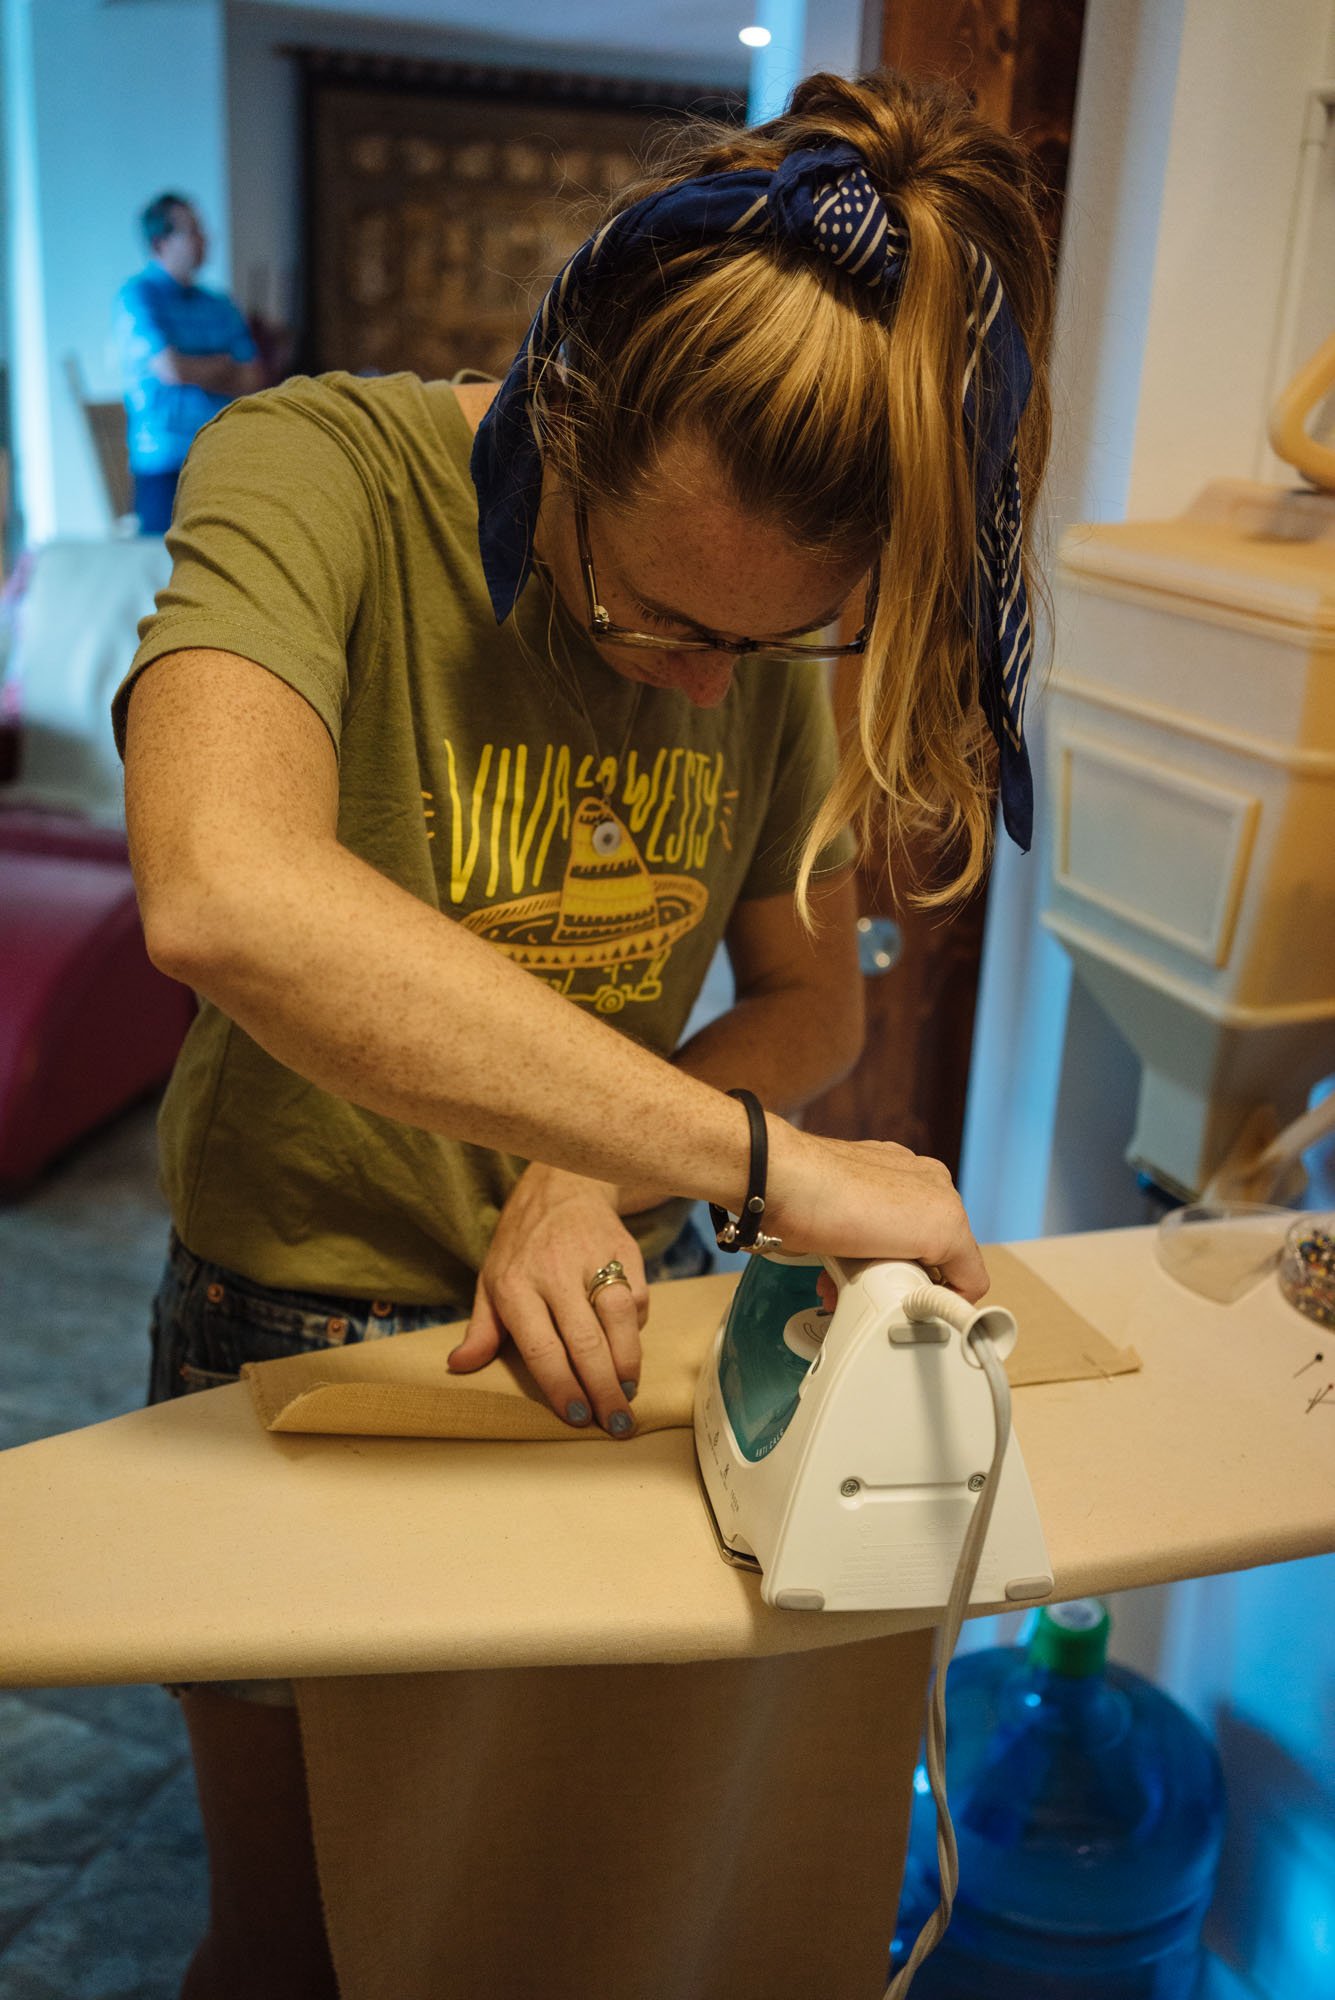
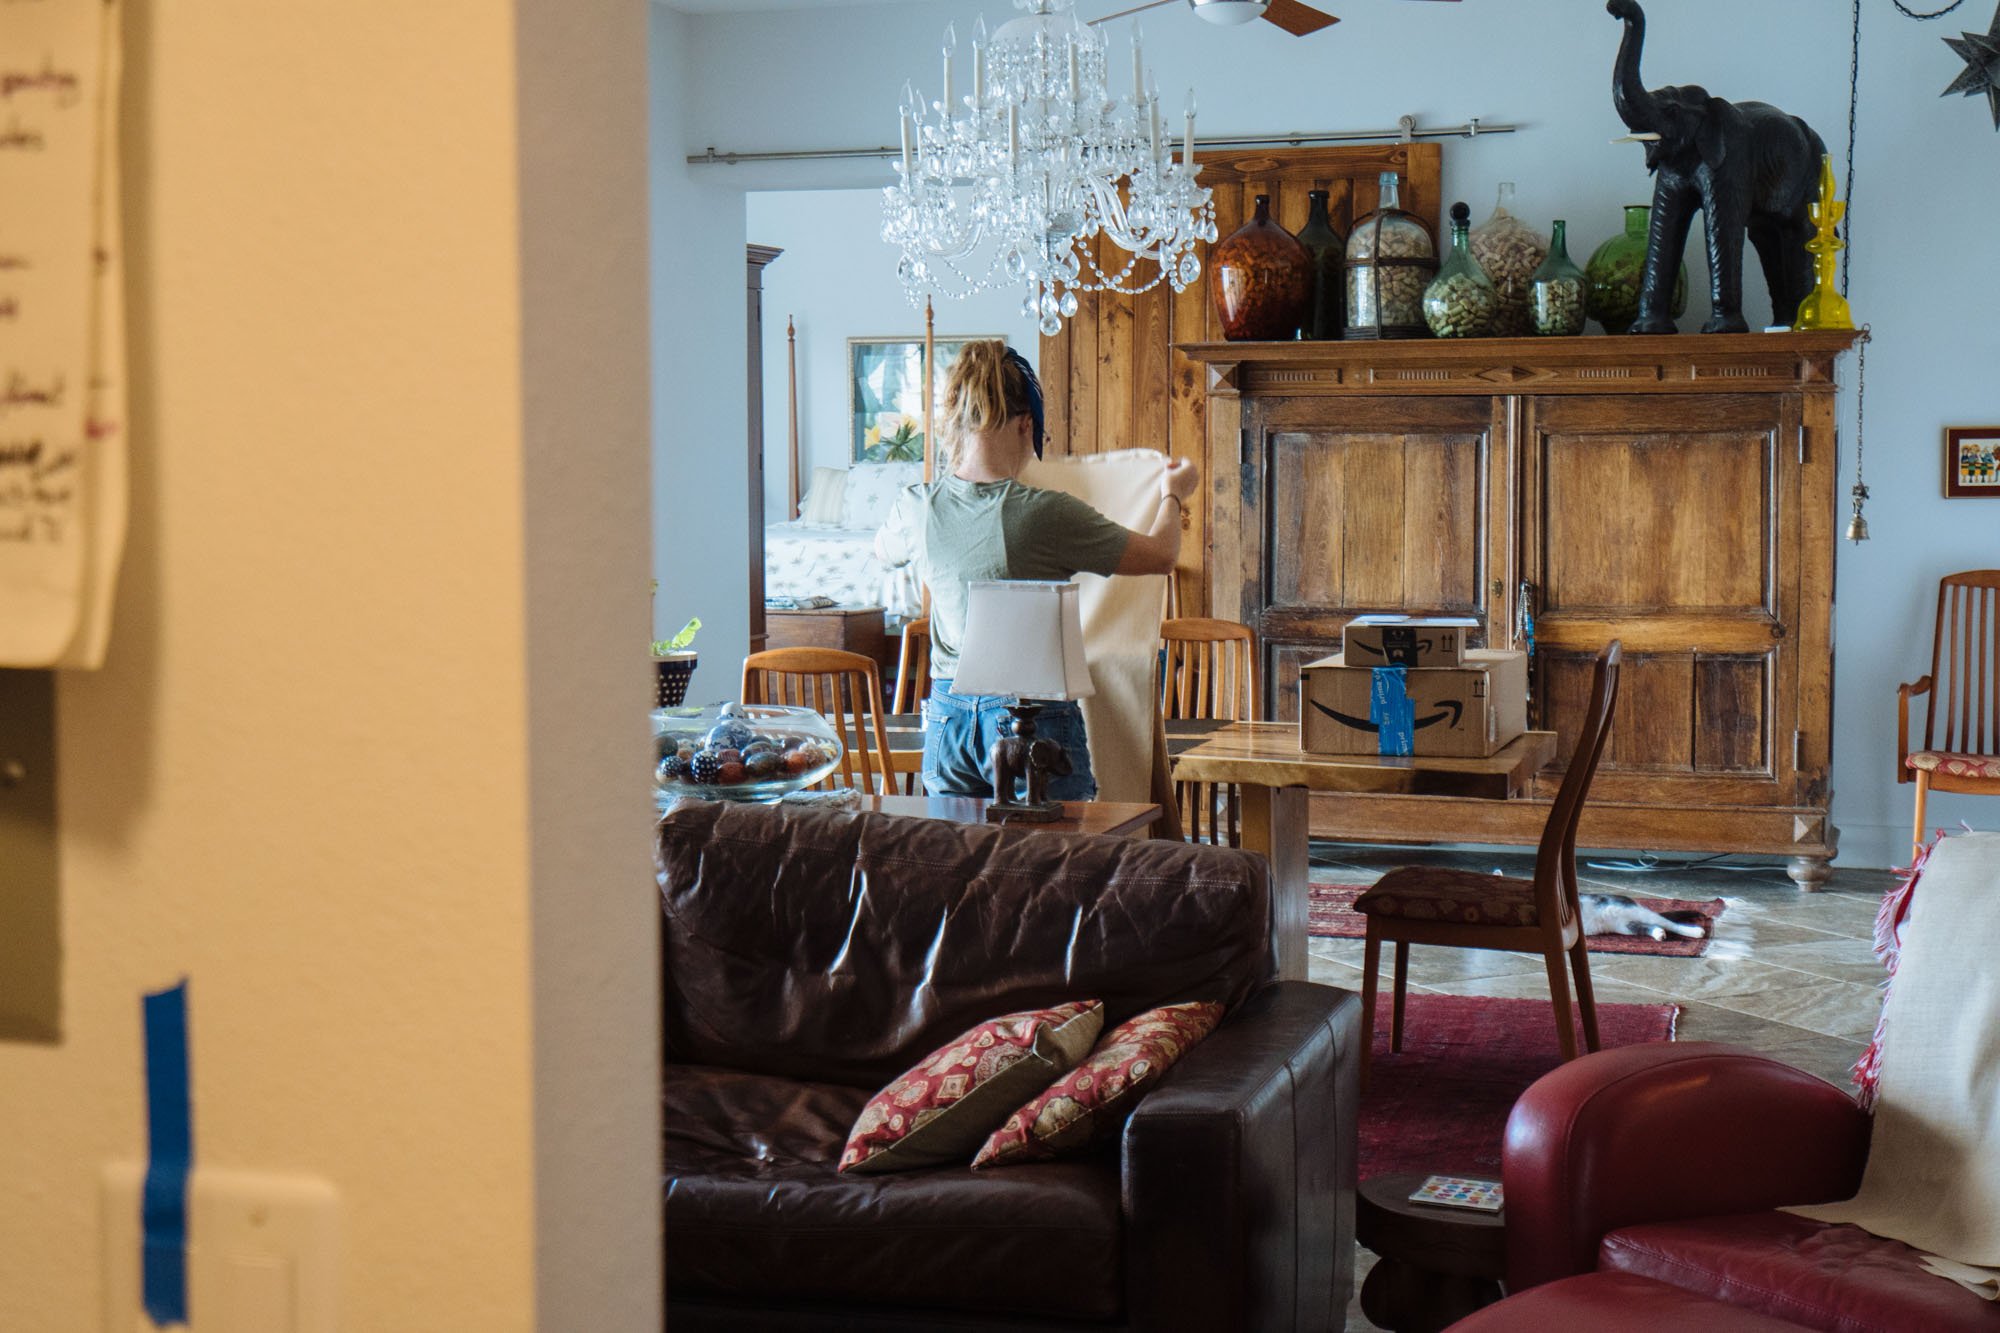
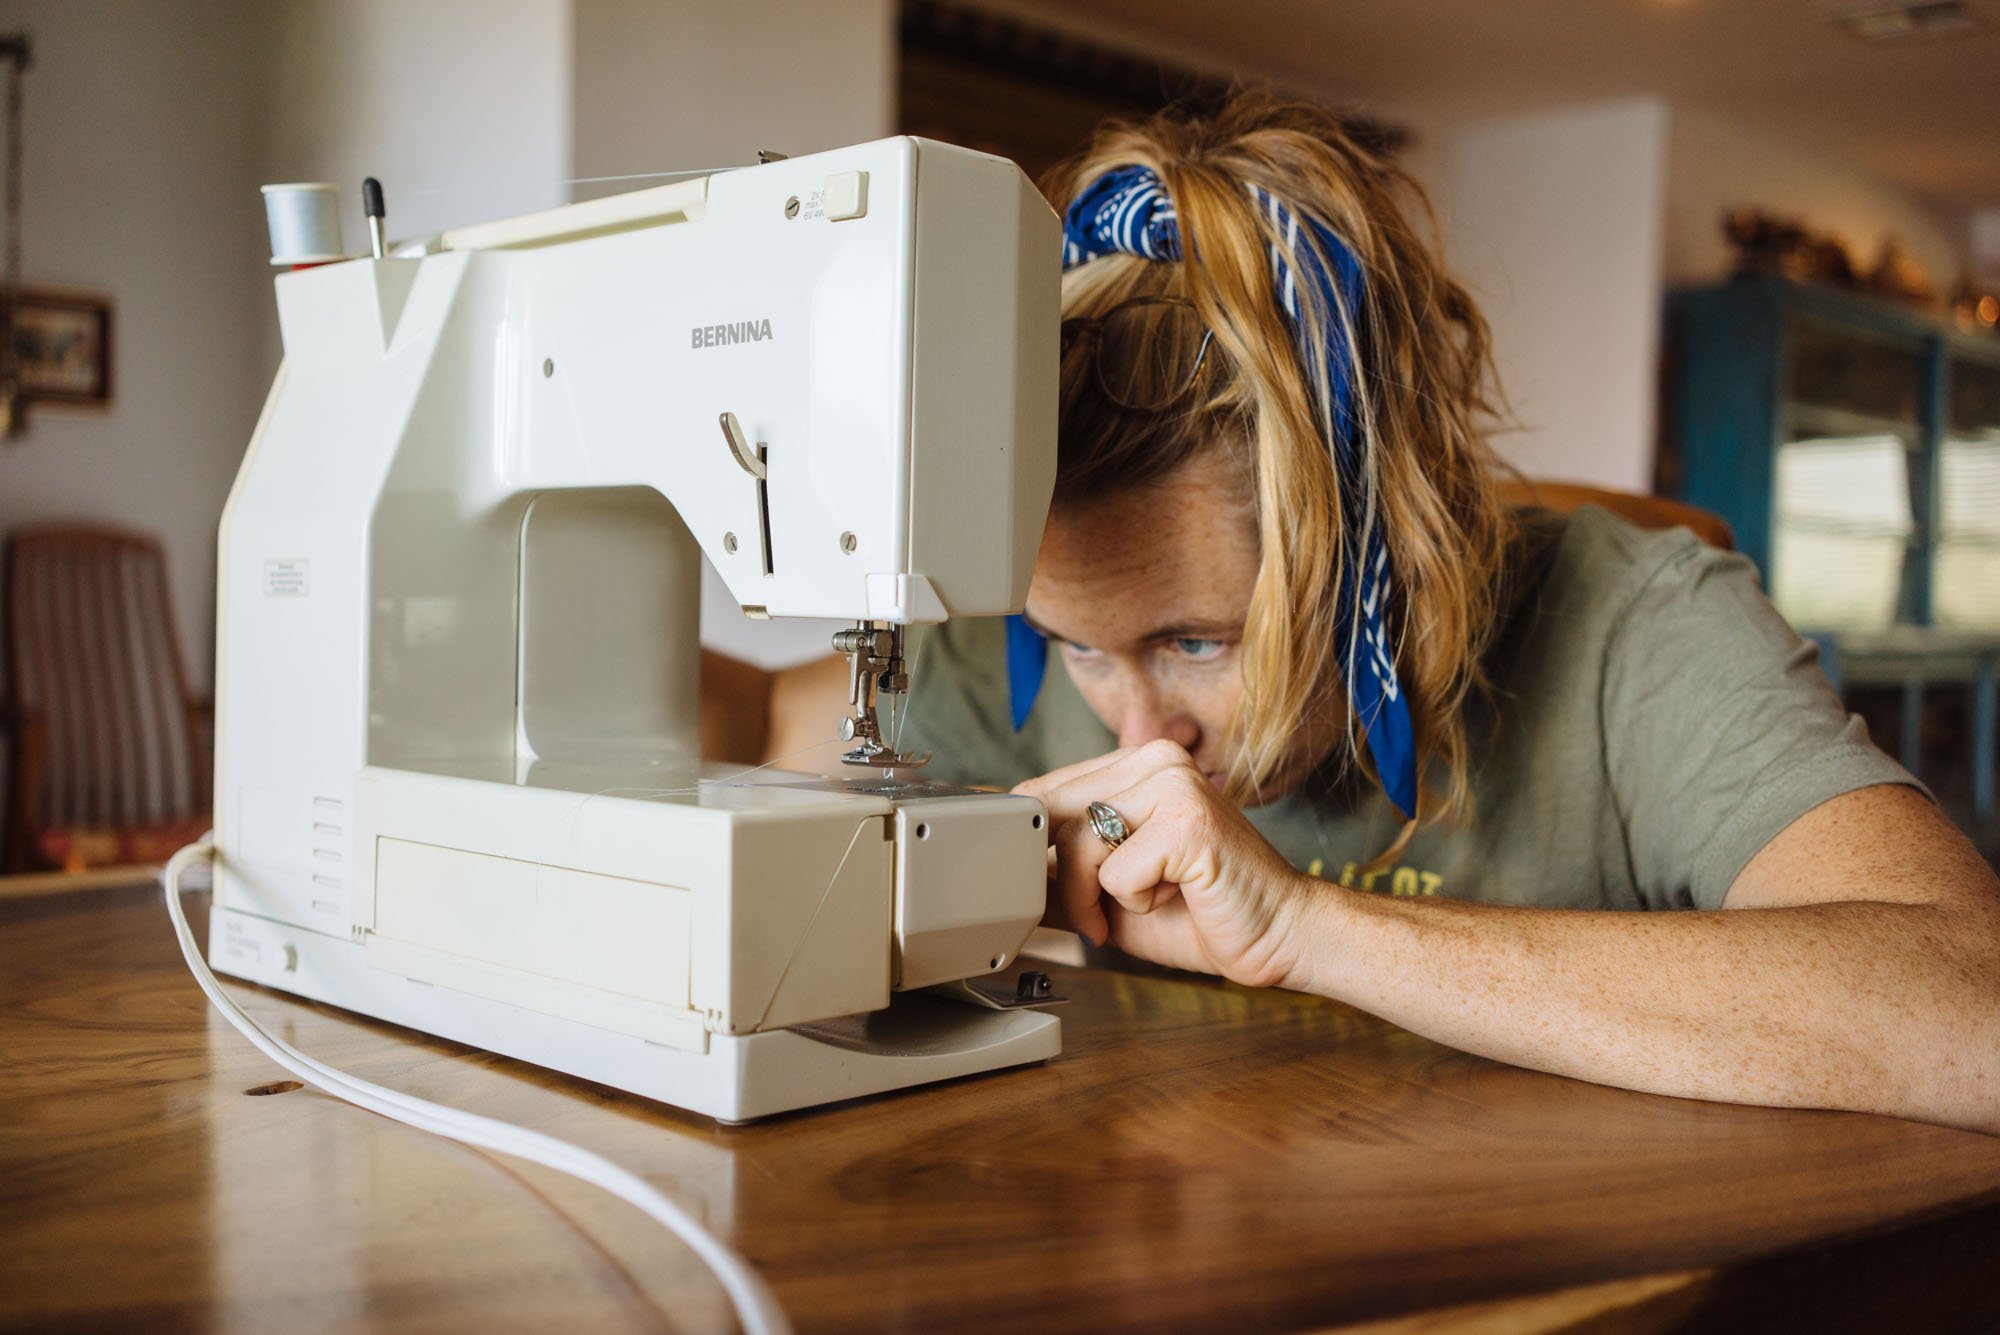
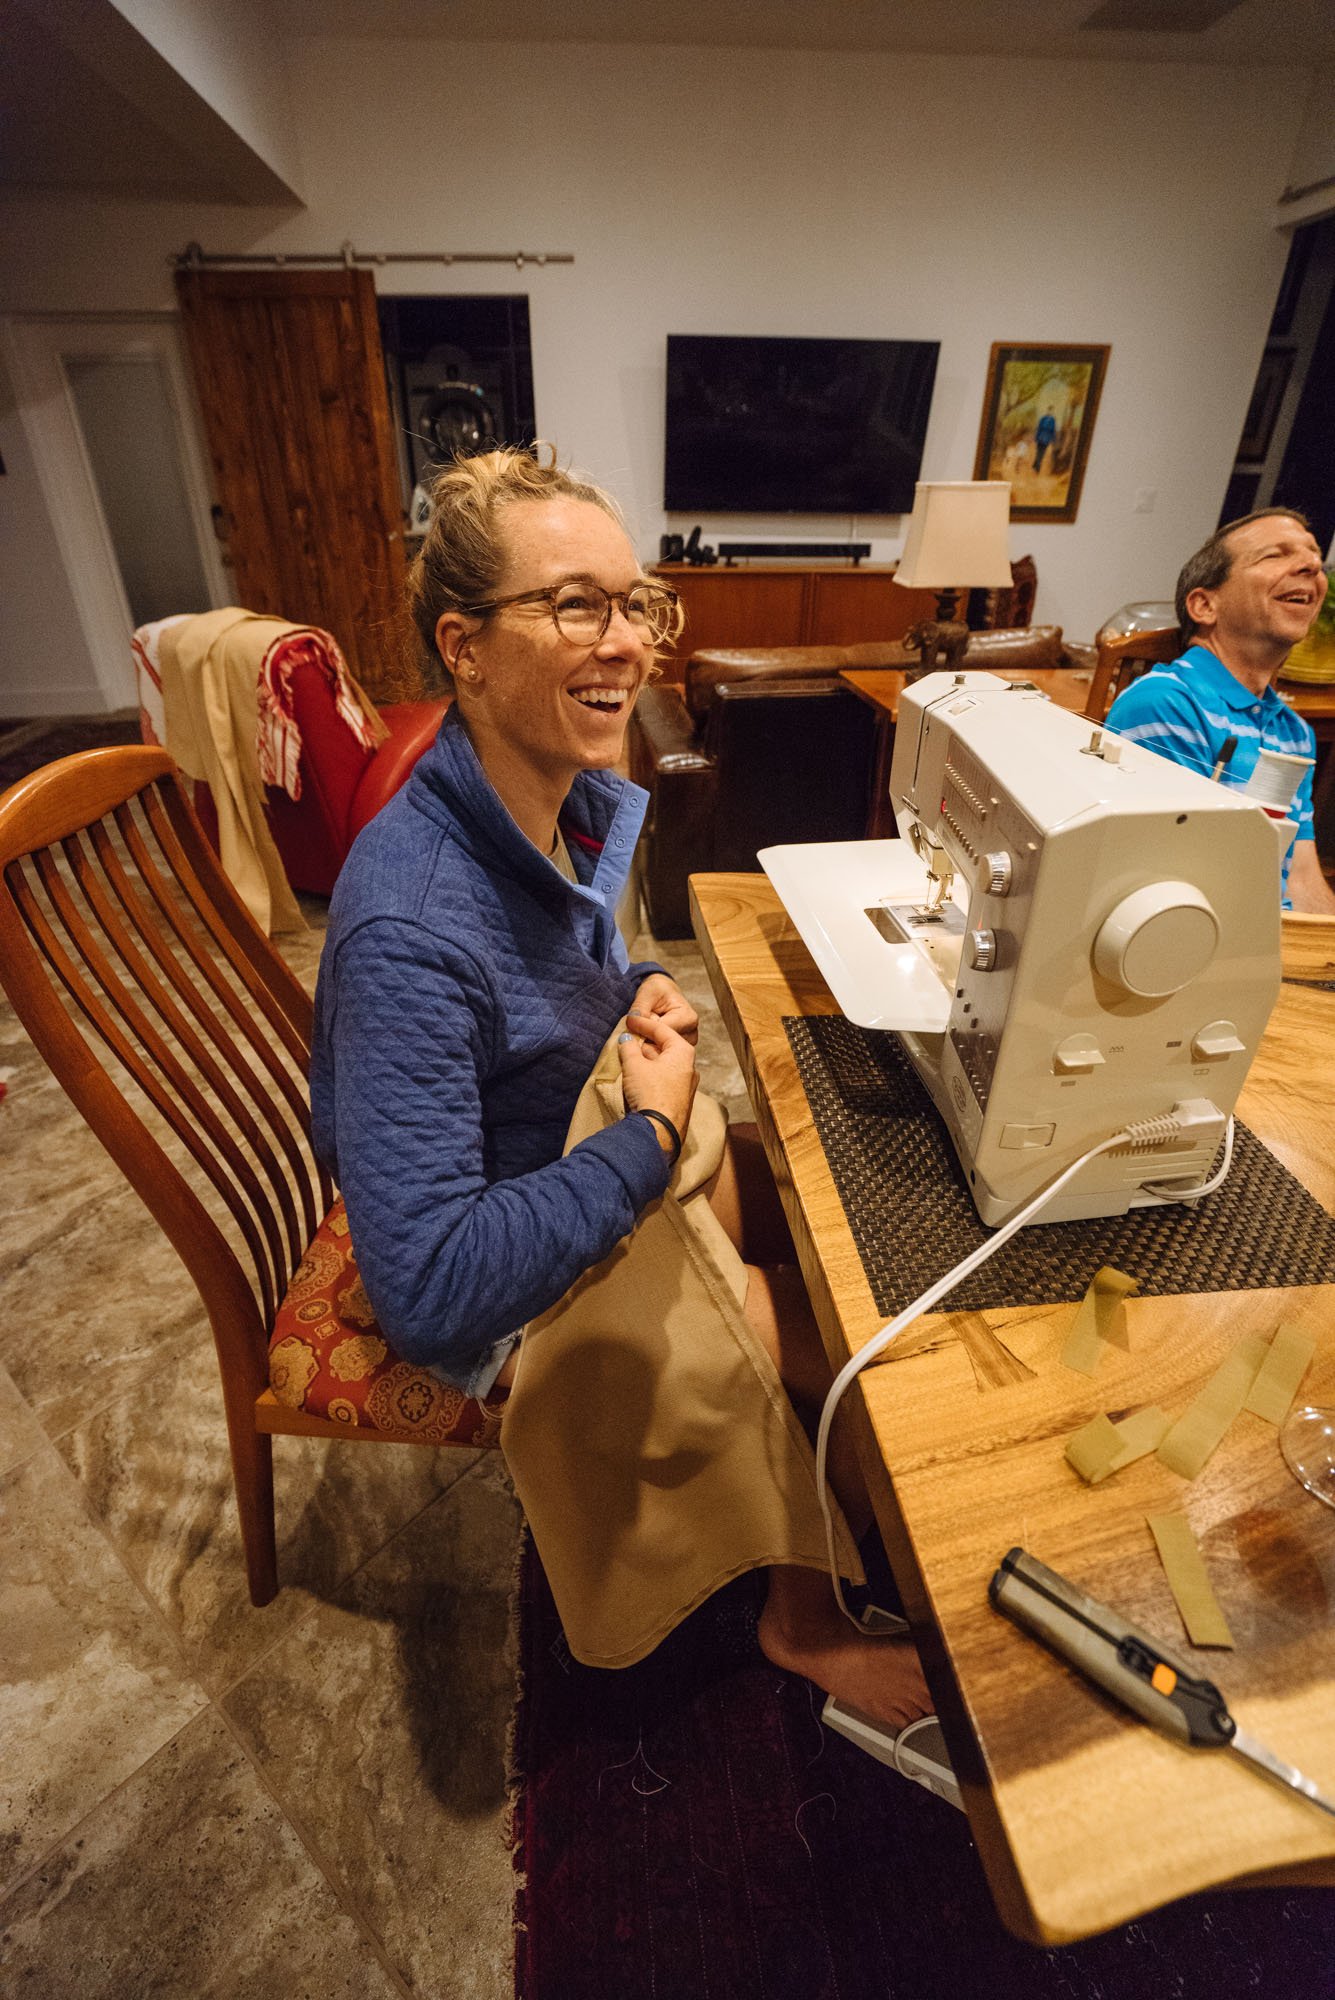
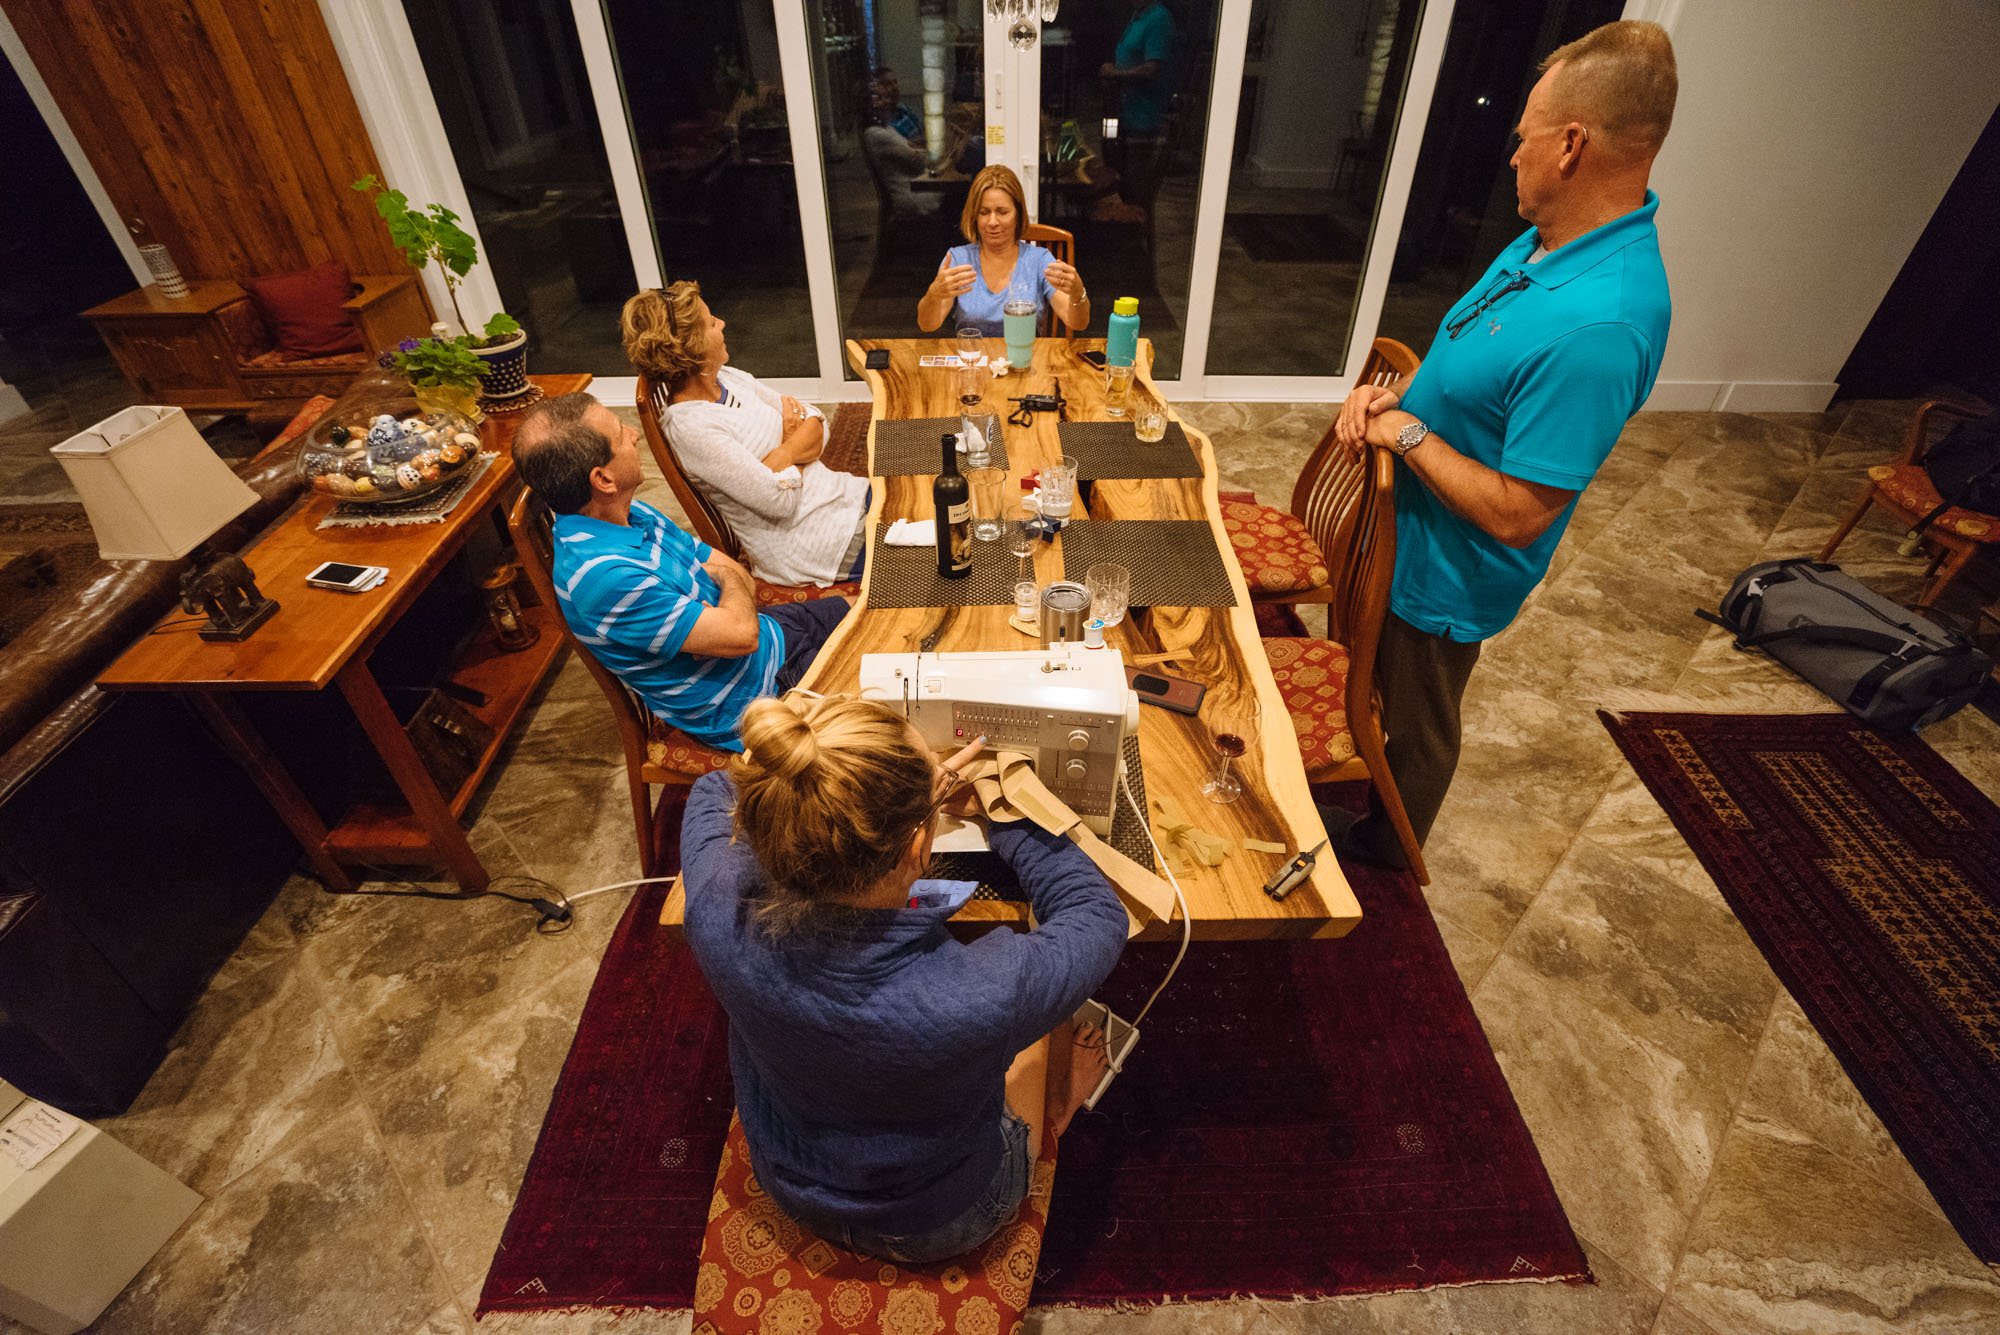
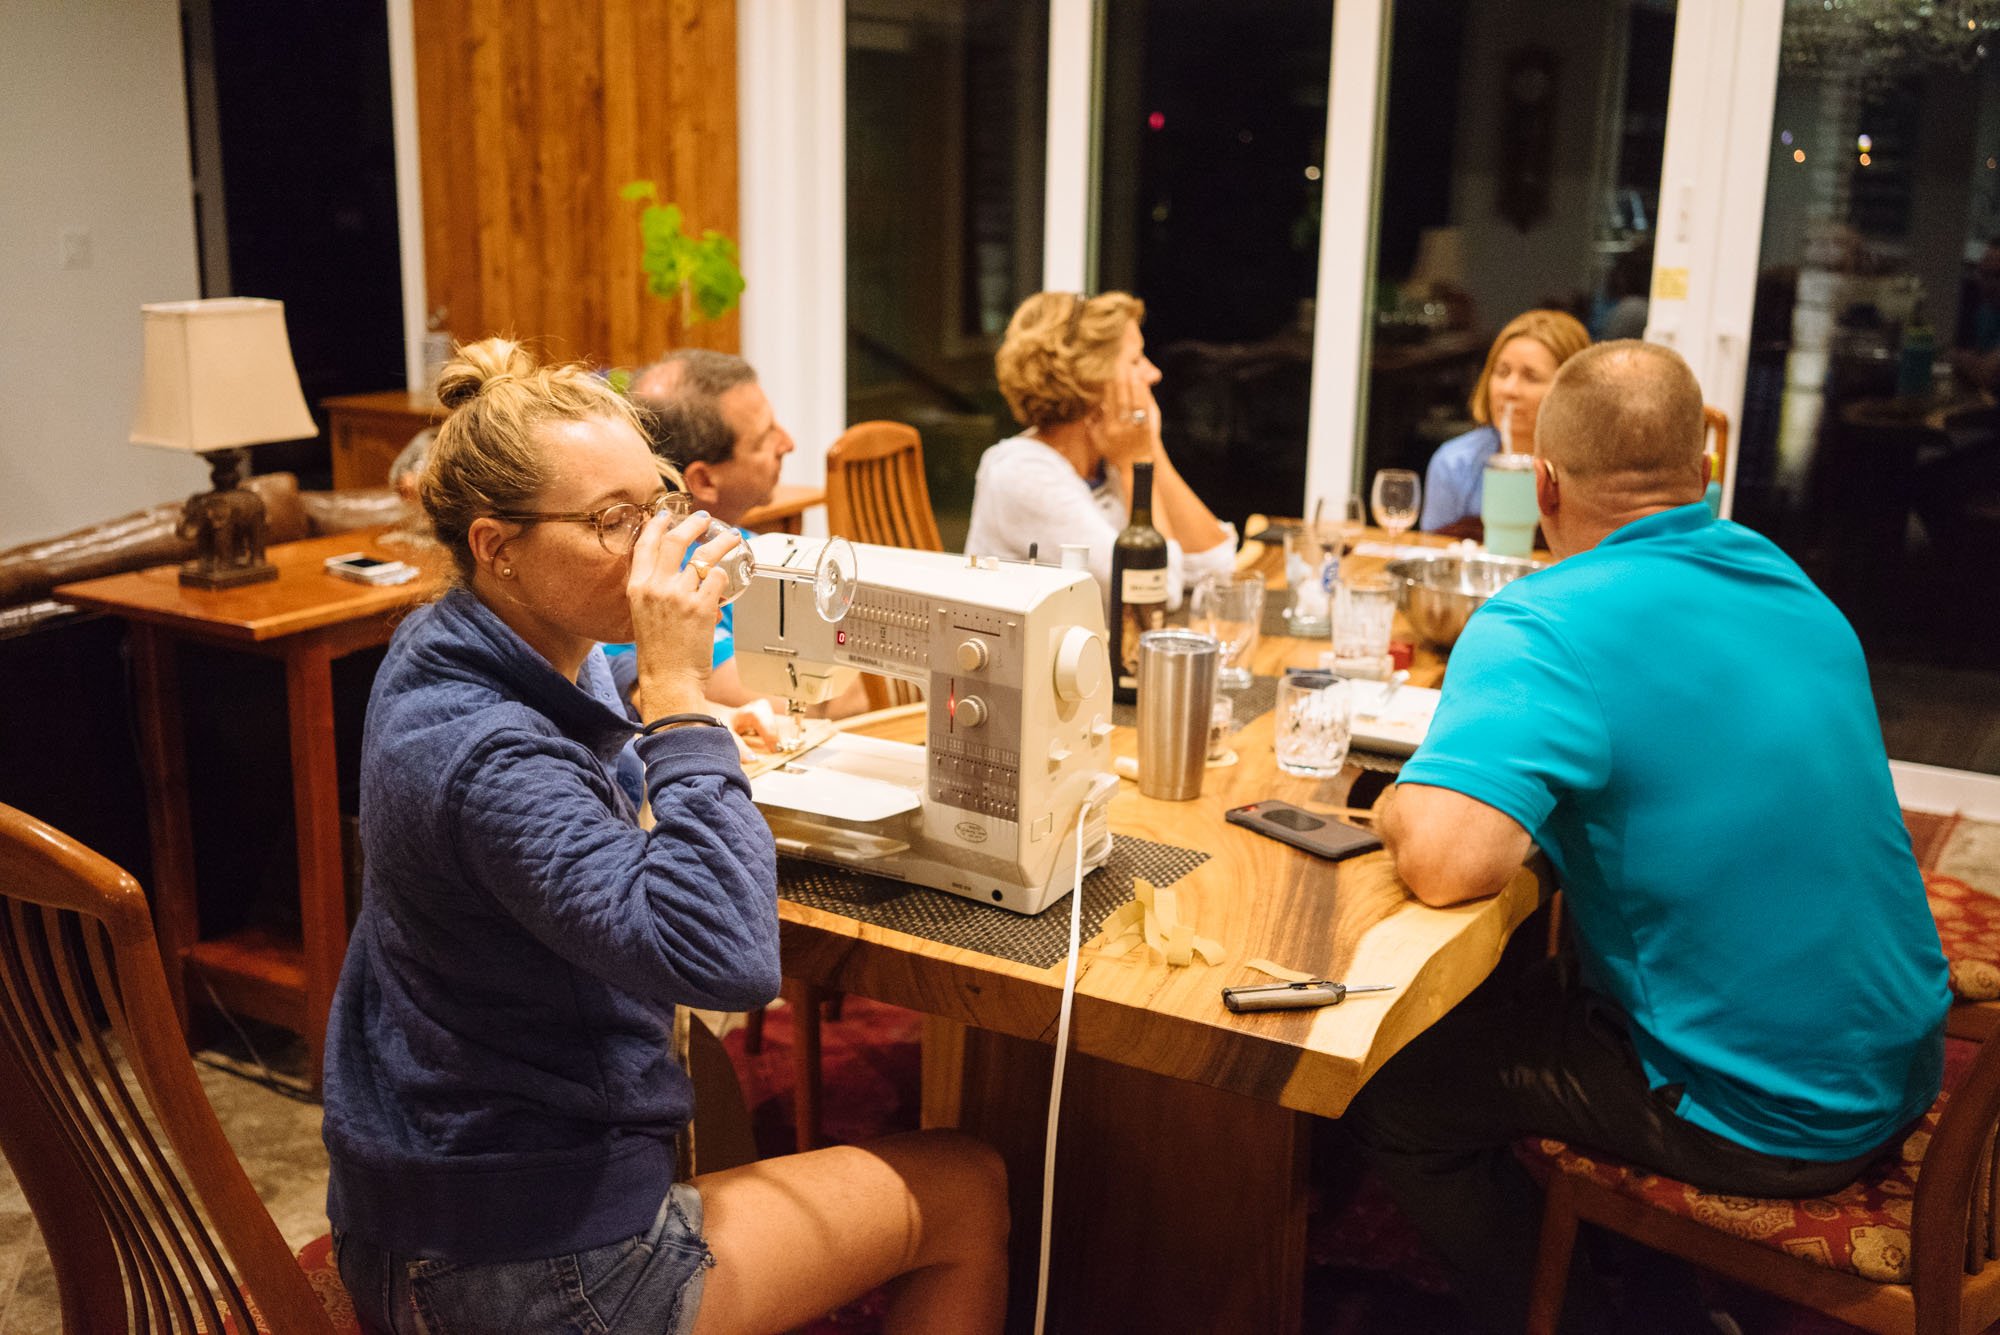
Let us start with the curtains. The fabric that we used is the left-overs from Amelia's new cushion upholstery which happens to be Sunbrella fabric. To be honest I'm not entirely sure how much we ended up using to make these curtains but we're lucky to have exactly as much was needed to make a curtain for each of the 4 windows in the bed camper. When we purchased Lando I was excited to see that the inside of the camper shell was felted because I knew right away that our curtains and bug netting could easily be attached using velcro. The velcro was also leftover from Amelia and my dad’s office.
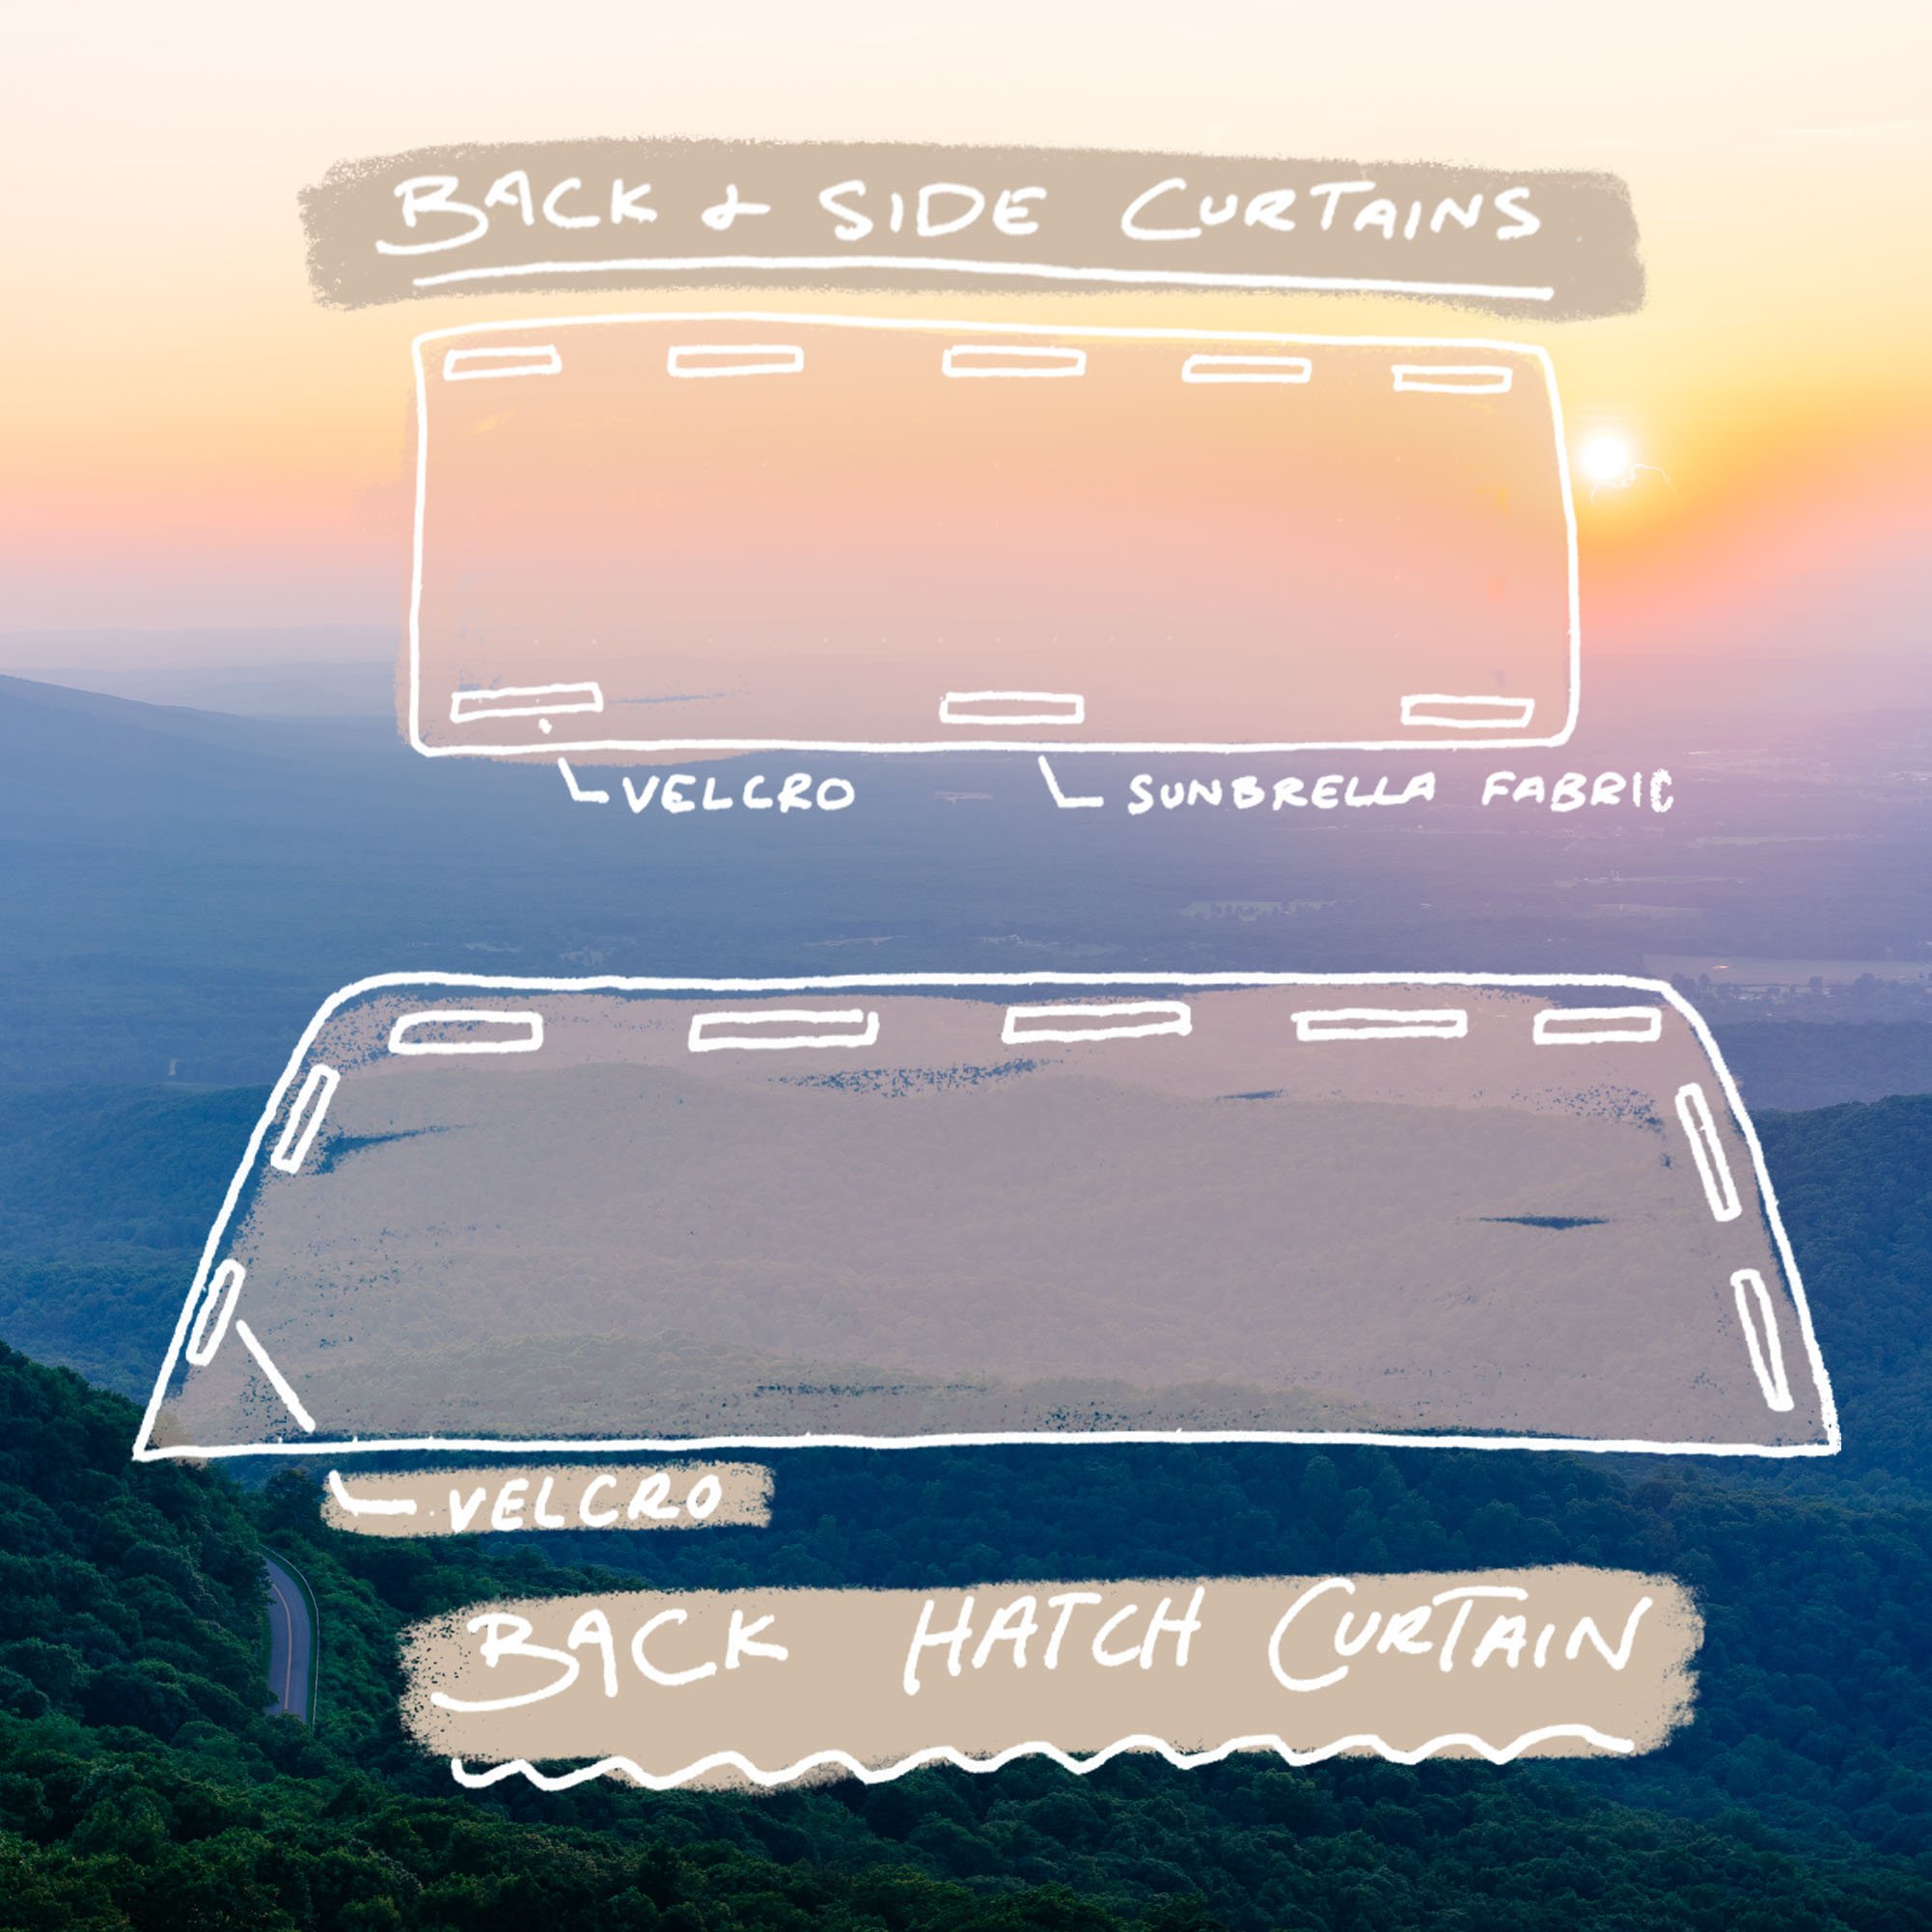
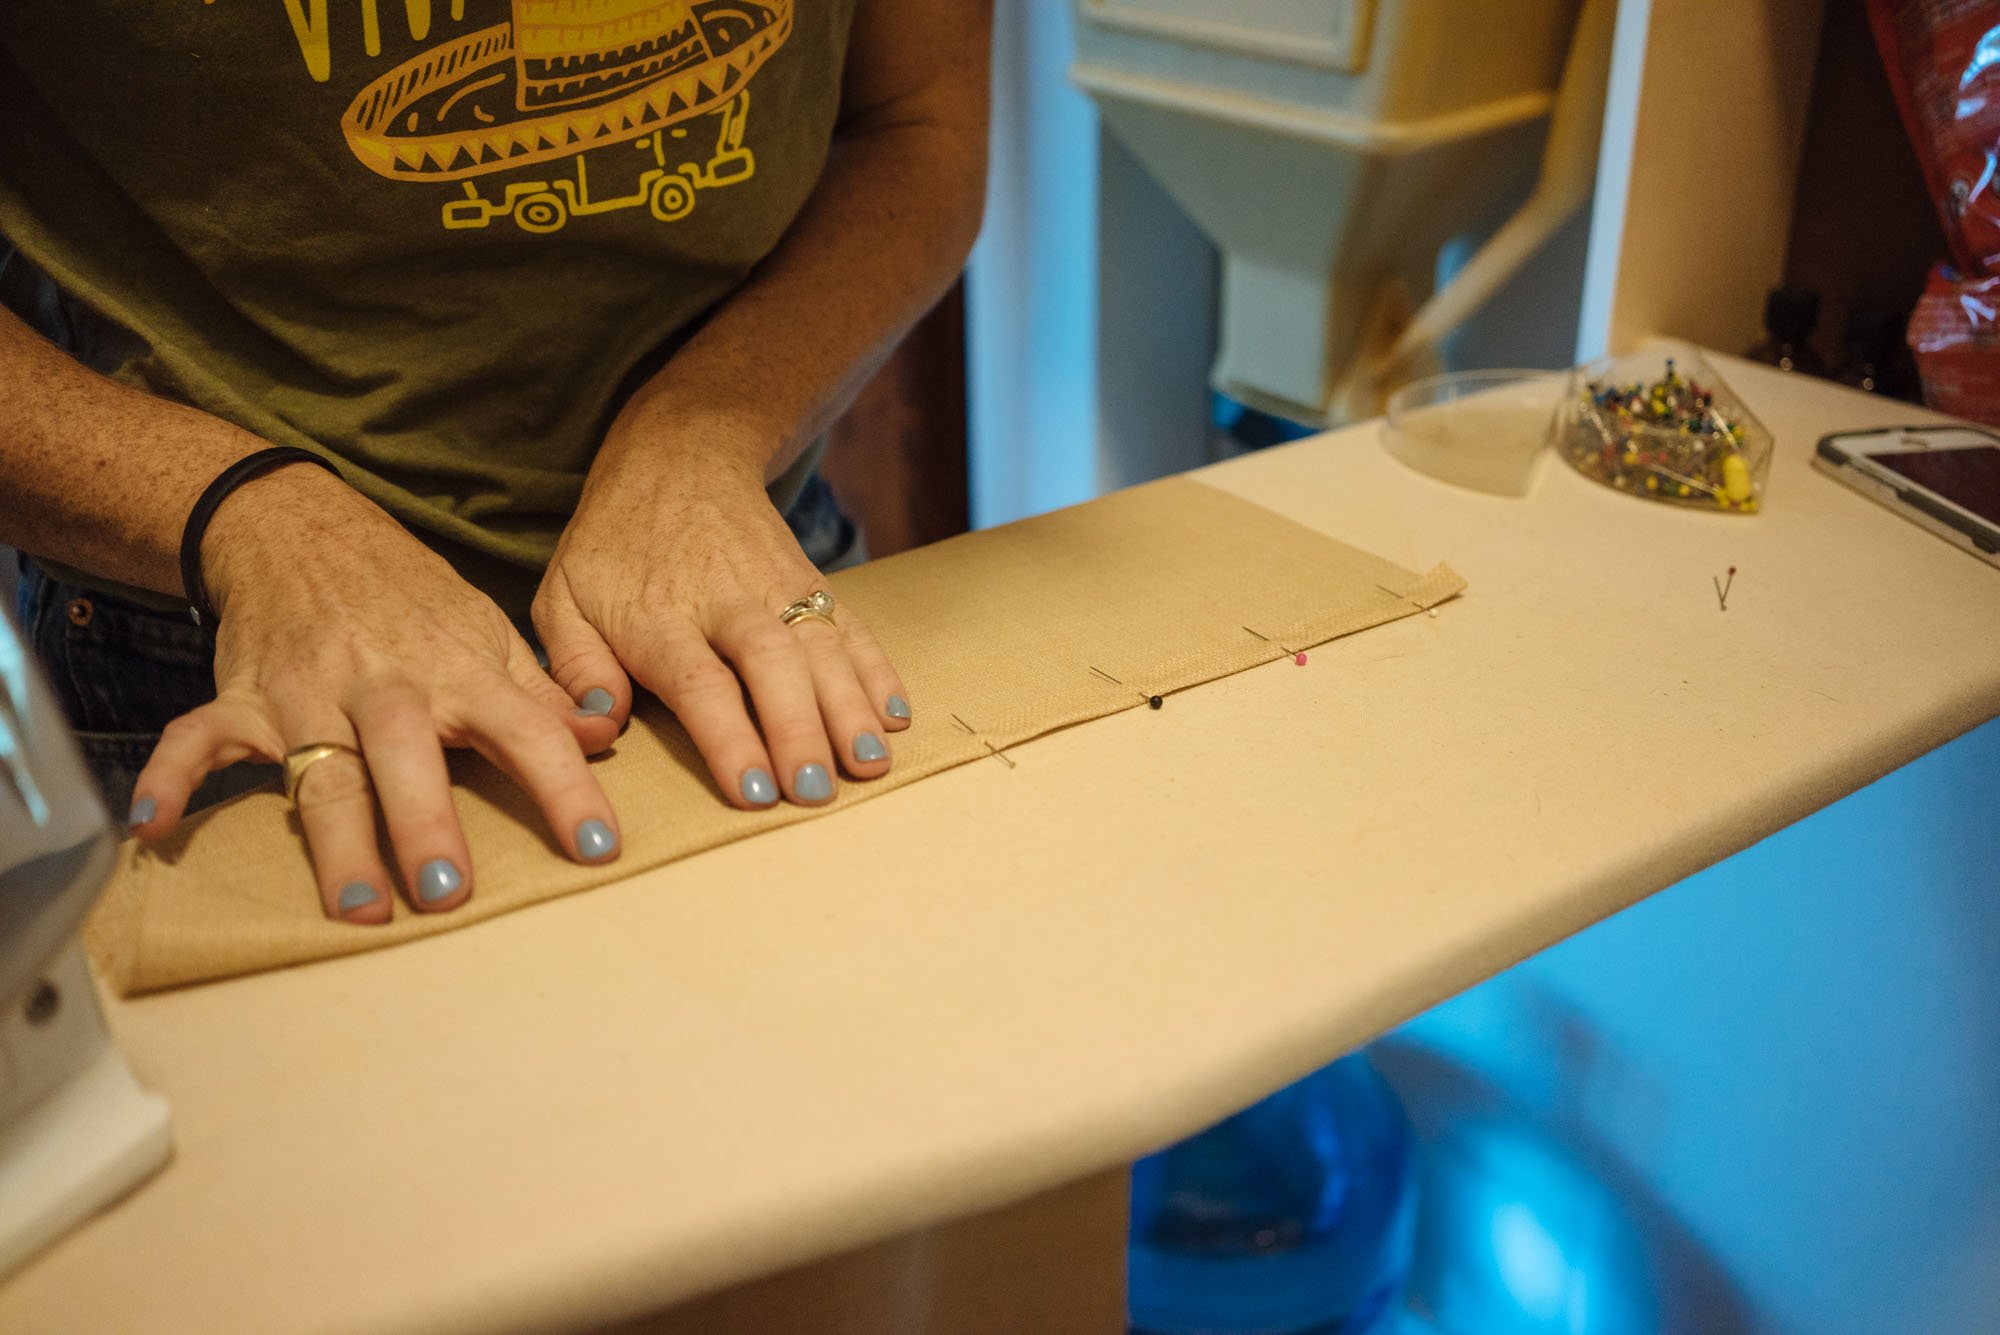
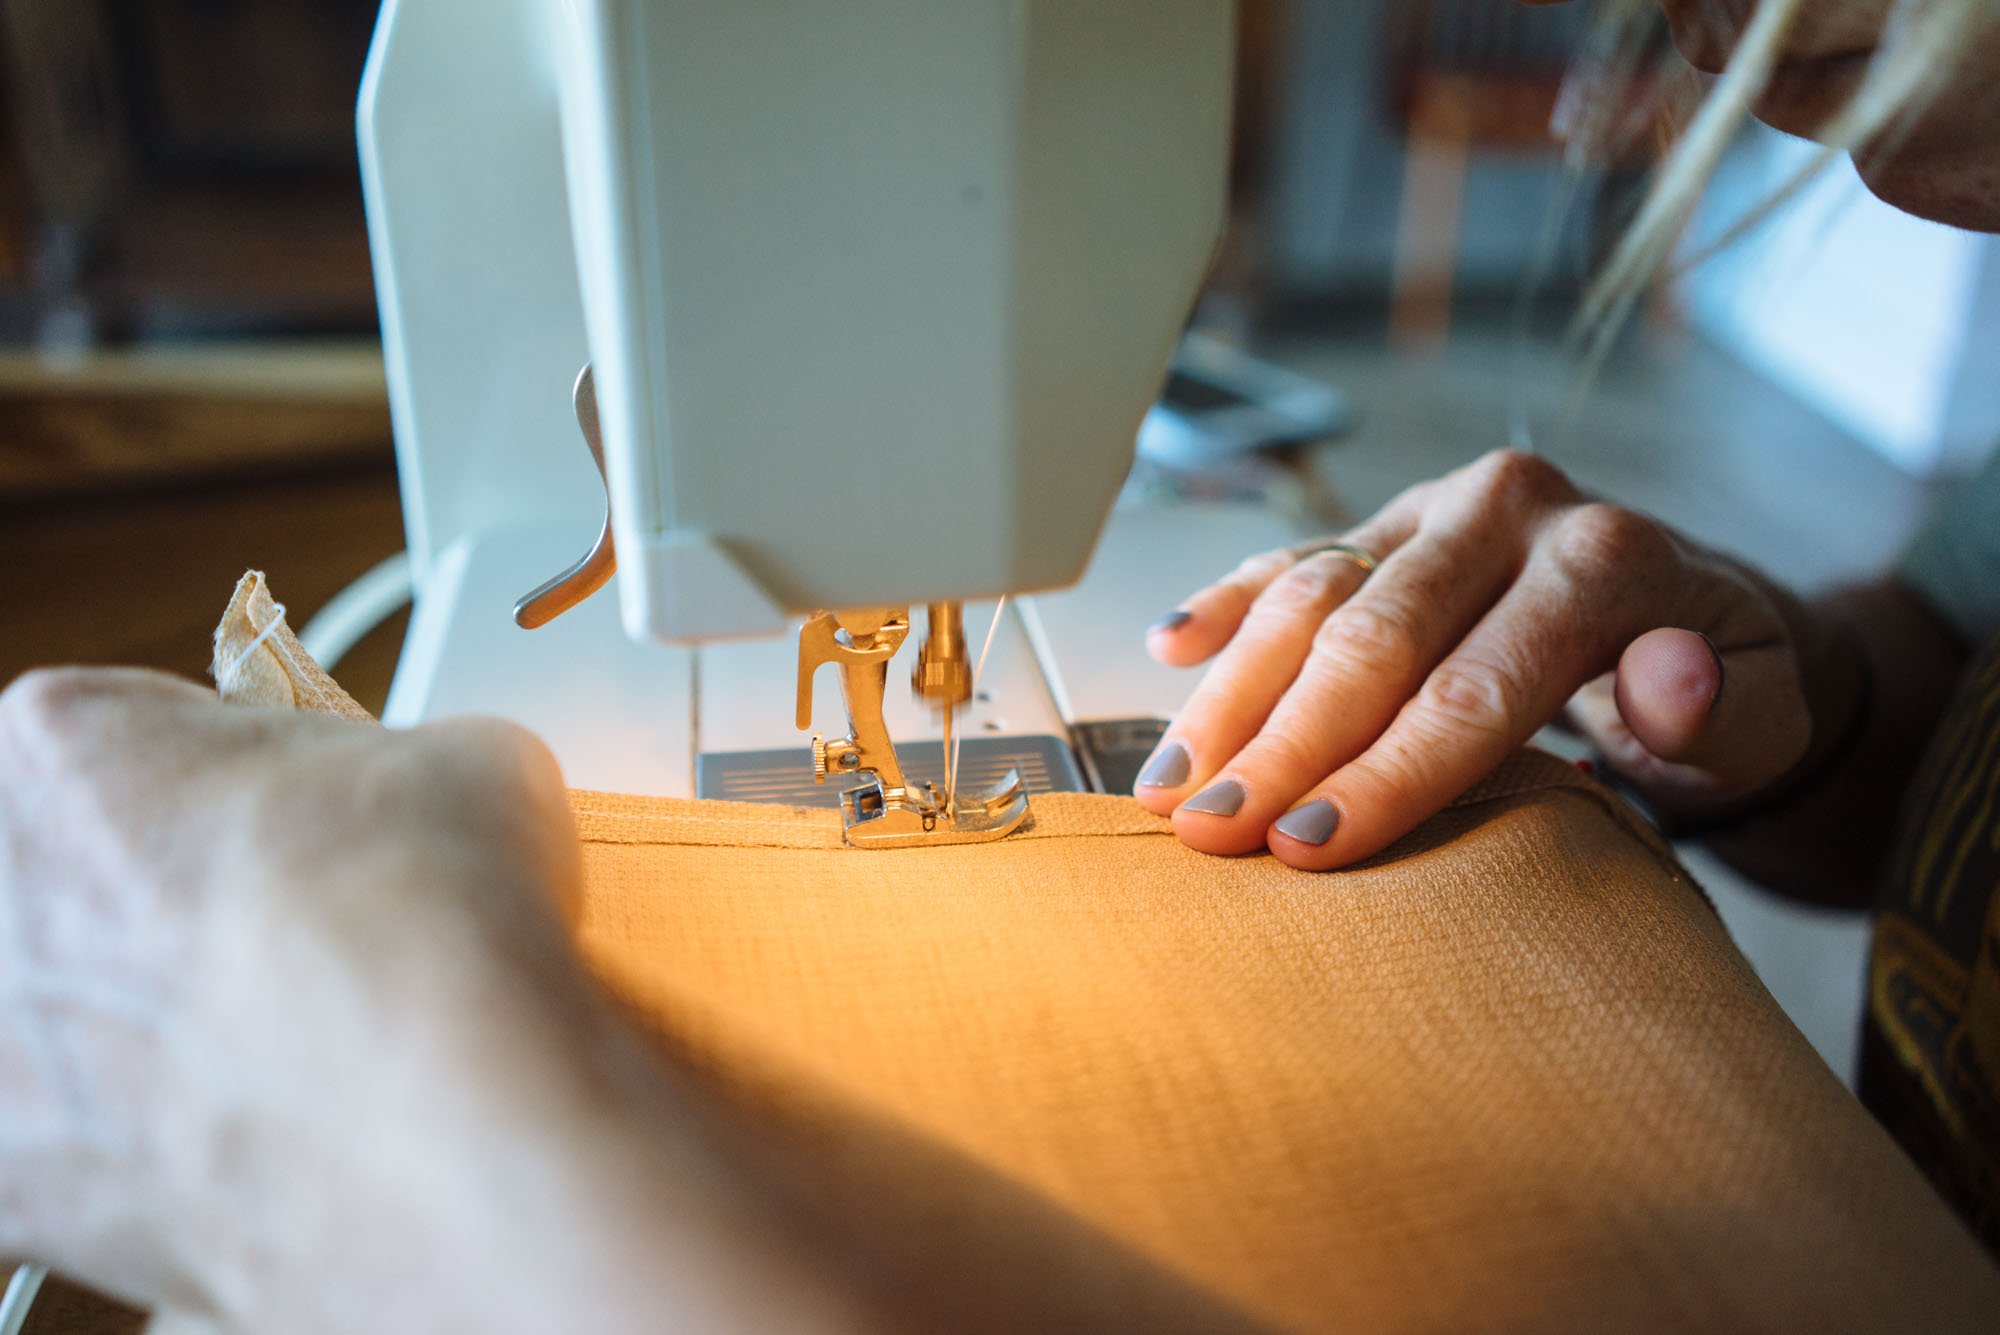
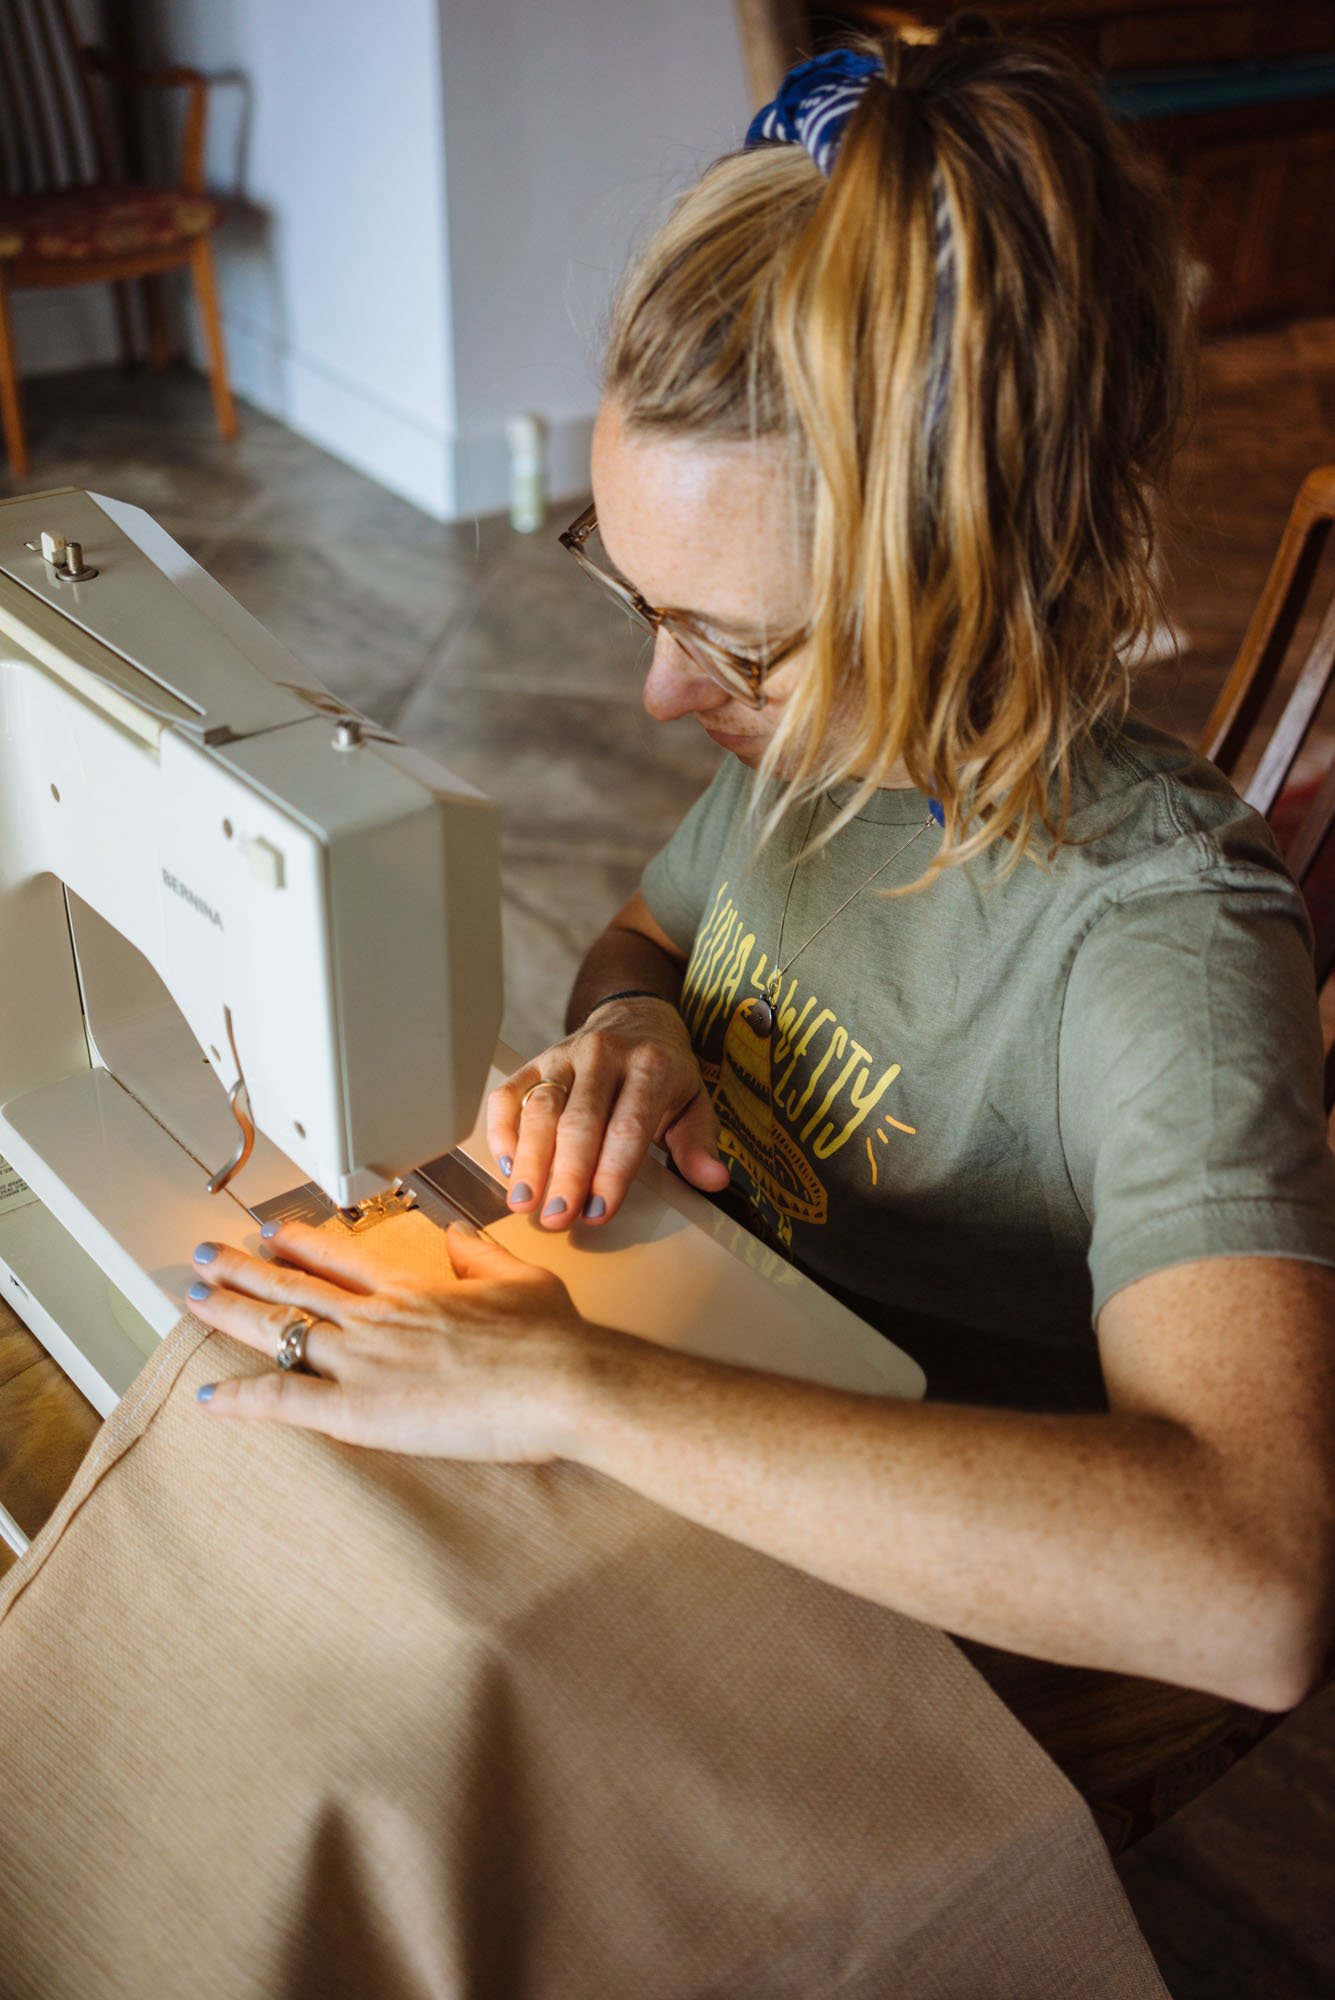
For the overall construction was super simple three of the panels were simple rectangles with a higher concentration of velcro along the top of the curtain. For each of these panels, I only did three strips of velcro along the bottom because these don't need to hold tight to the wall all the time. The bottom velcro just needs to hold the curtain against the wall when we're on a slant. The back hatch curtain ended up being a little different because we needed velcro down the sides to hold it against the window.

Now for the bug netting. In our experience bugs in the summer can really put a damper on a sweet spot. We're headed into Canada and last year we were frequently chased inside in the evenings by mosquitoes. In Lando we're going to need to sleep with the windows and even the back hatch open for circulation, so we thought that it would be a good idea to have the netting. For this little project we used two packs of bug netting, one entire package went to building the back hatch netting, and the second package made the side vent window covers.

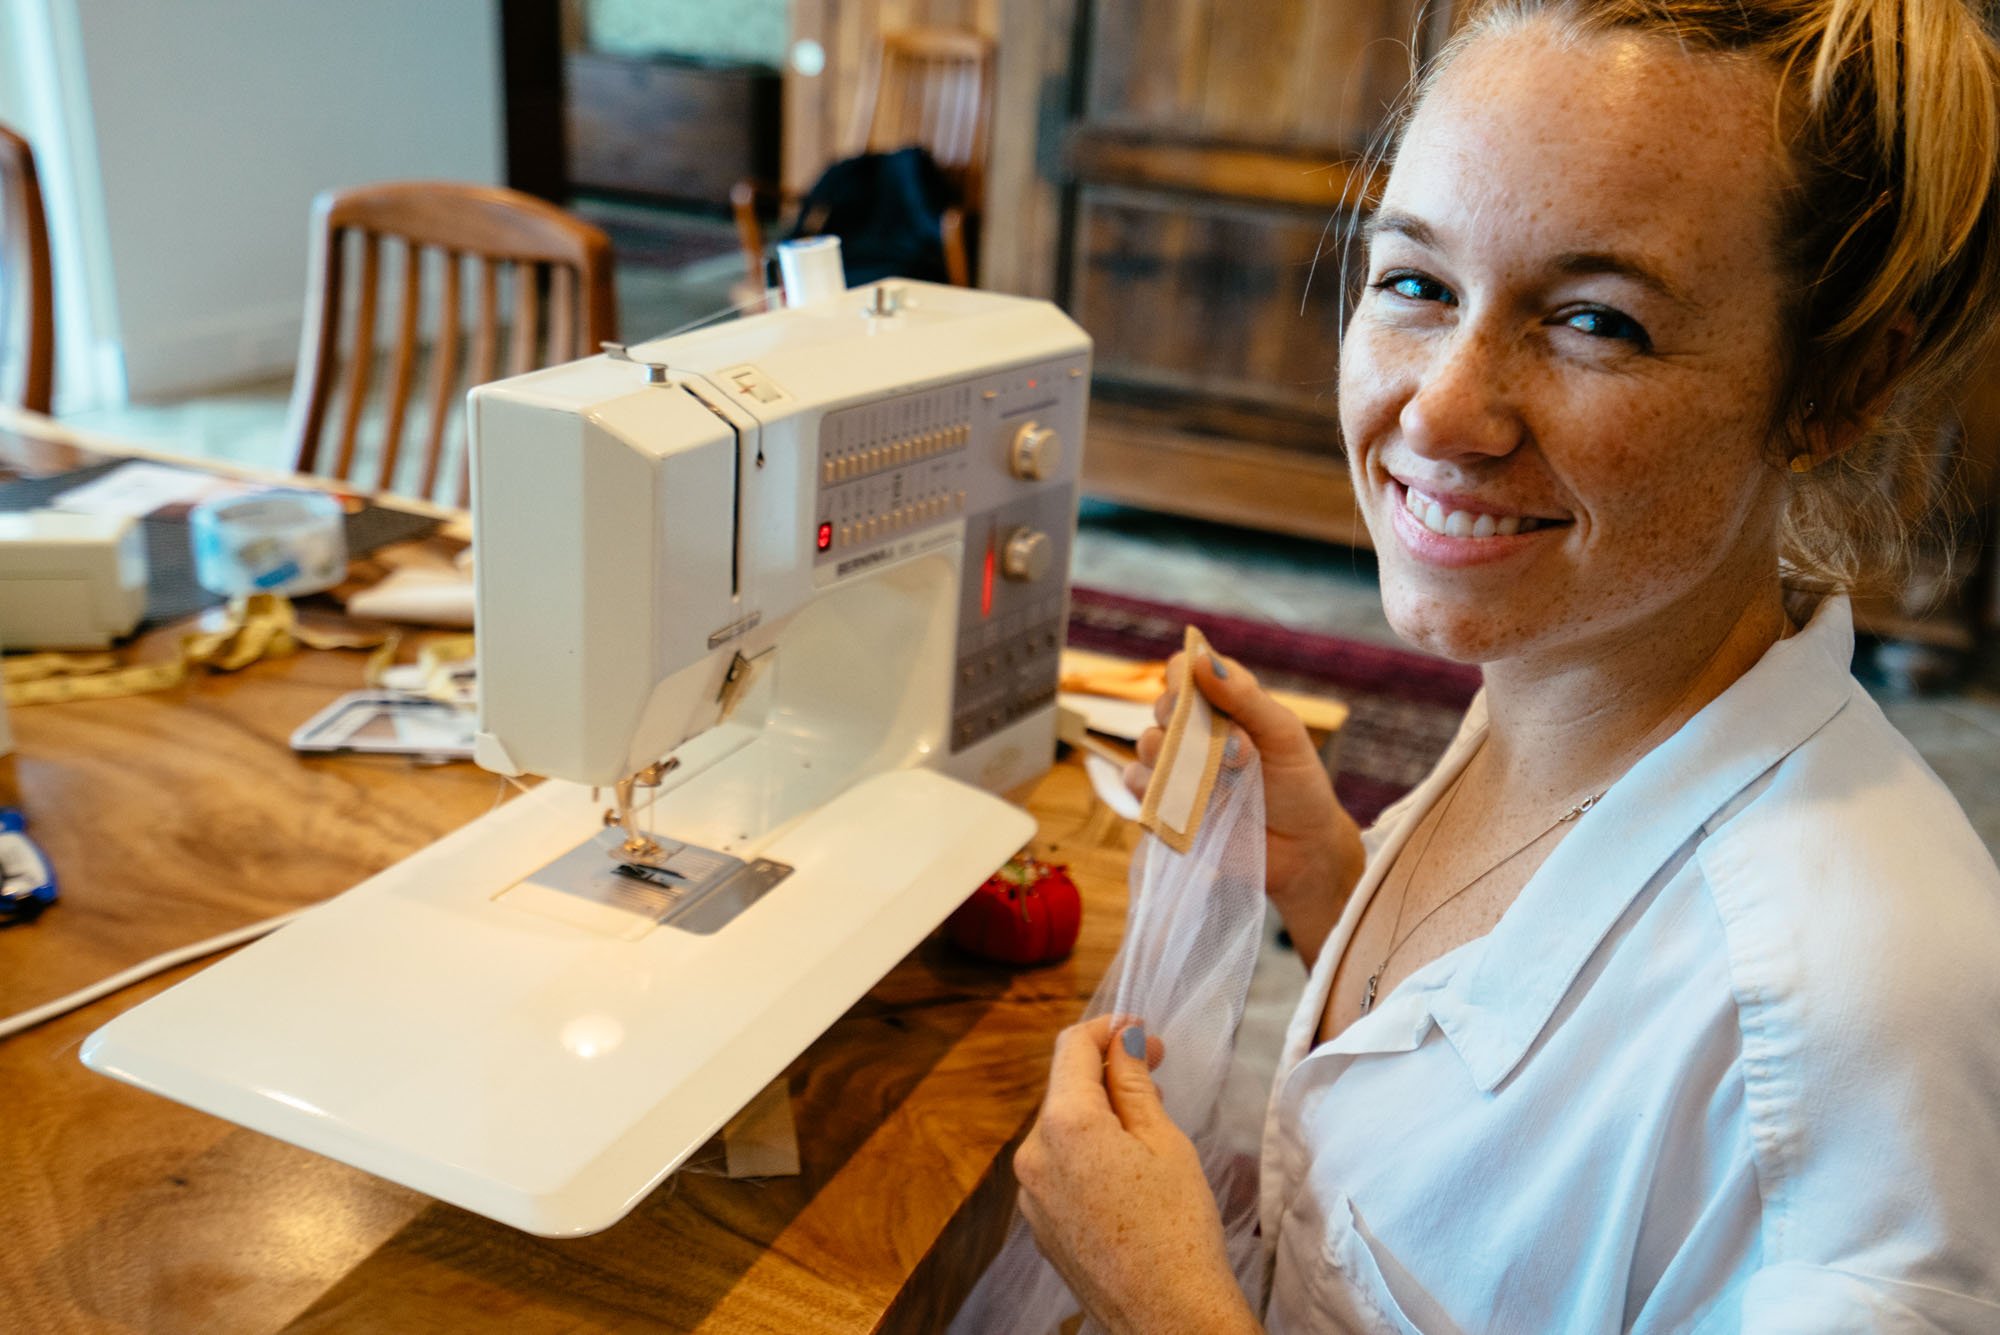
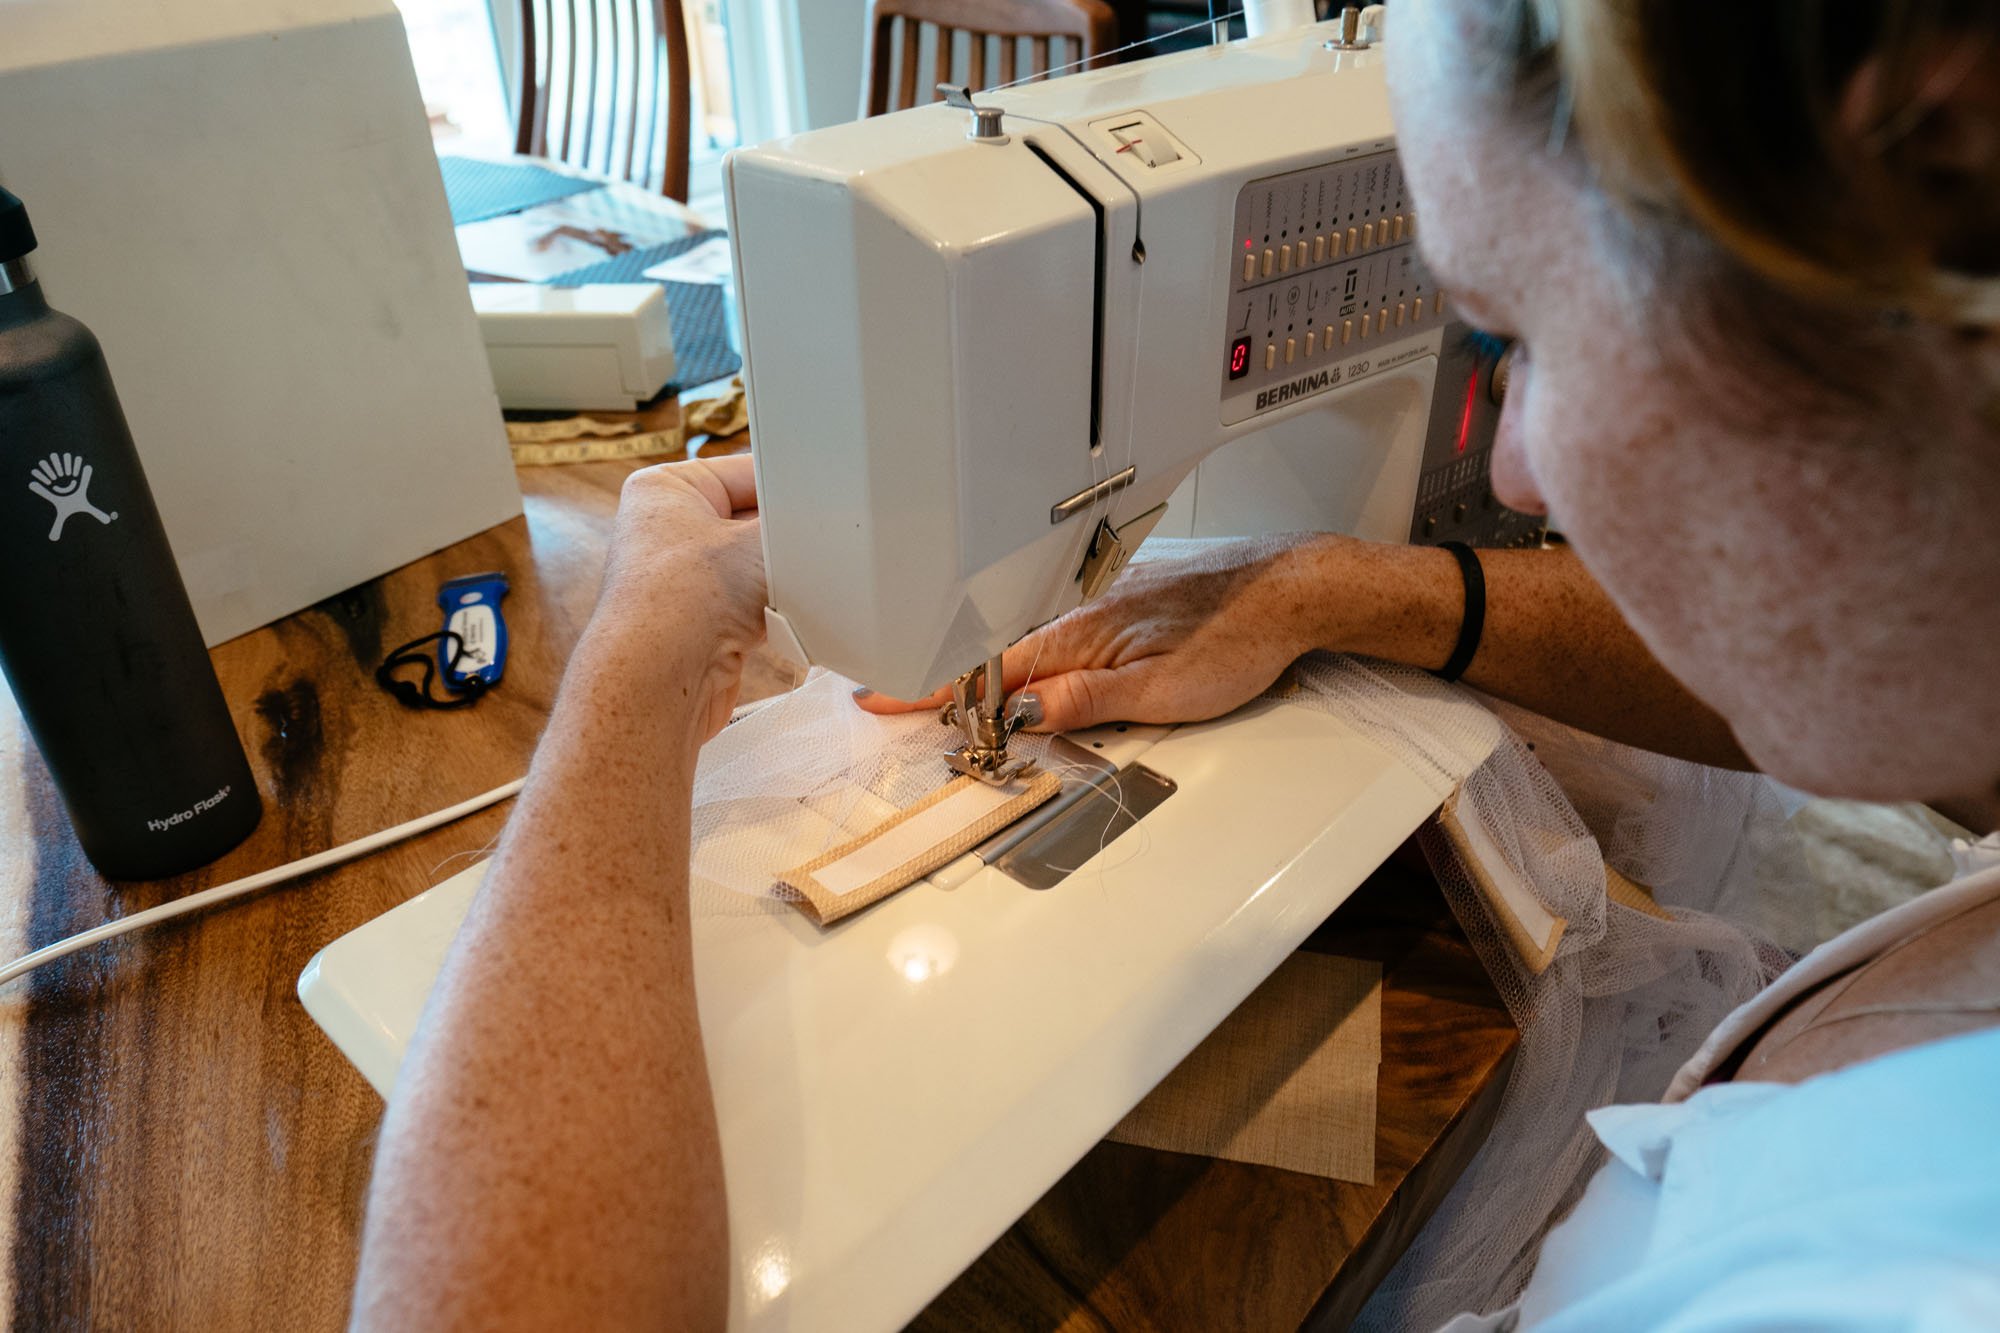
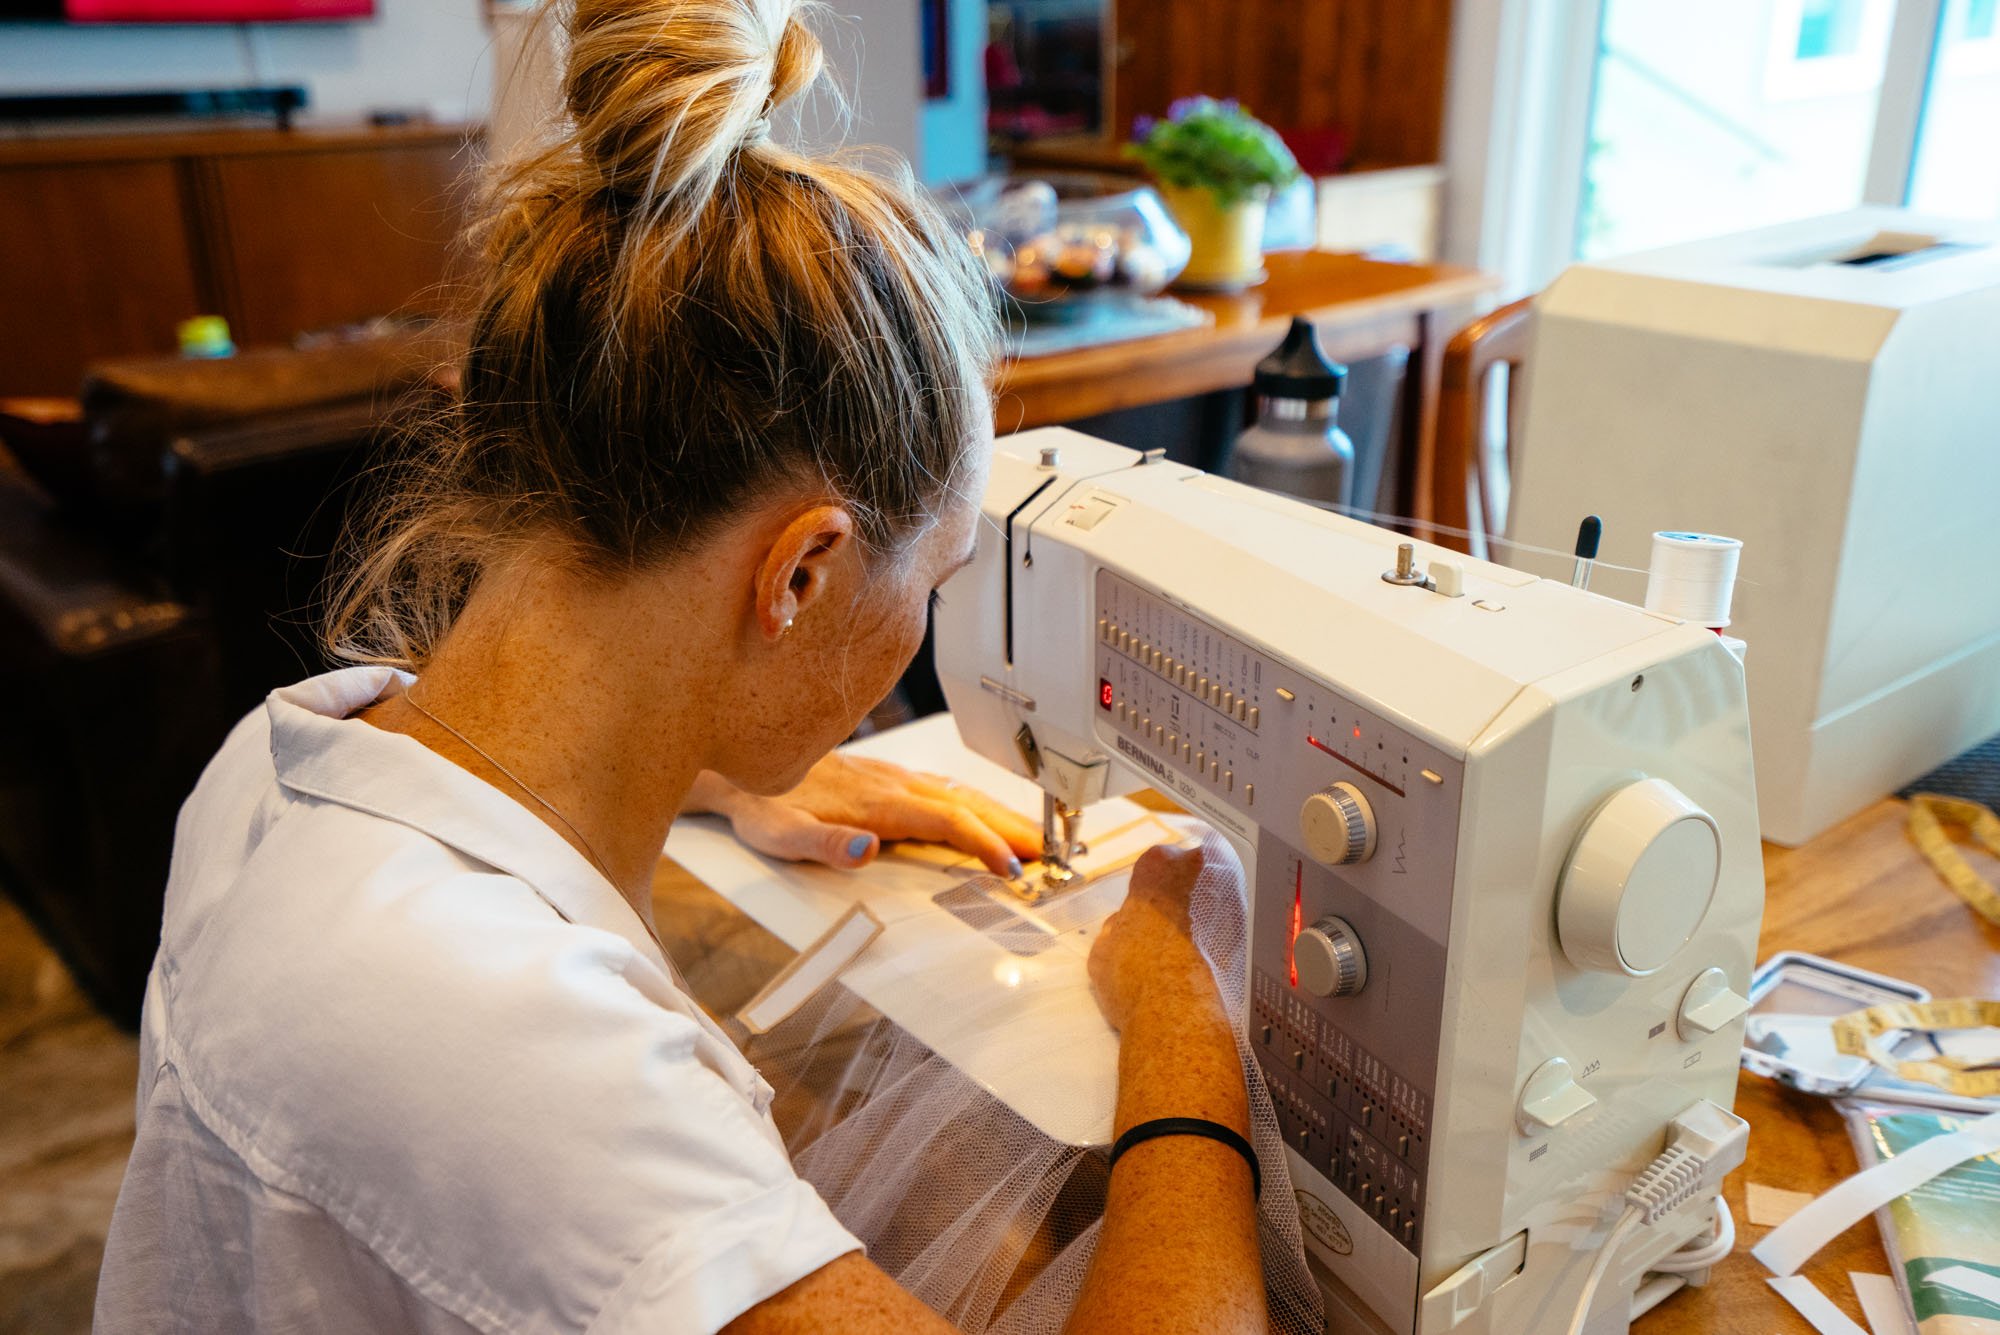
When I first started sewing the velcro to the netting I realized that it felt really flimsy, so using scraps of the curtain fabric (that otherwise would've been trash) I folded them over the edge of the bug netting to give it some support and then sewed the velcro to that. Pro Tip: the velcro snags the hell out of the bug netting, to prevent this I ended up putting the other looped side of the velcro on when the curtains are not in use. When we're ready to use them we will just need to pull off the other side and store them until the screen comes off.
With the velcro as the means of attaching these curtains, they went up in 2.5 seconds. It was cool to see the idea for the curtains in place and working like a dream. When the curtains aren't in use we just stick the bottom of the curtains to the ceiling so they're out of the way...and it makes it look real homey in there!
Step #9 - Bed Side Shelf

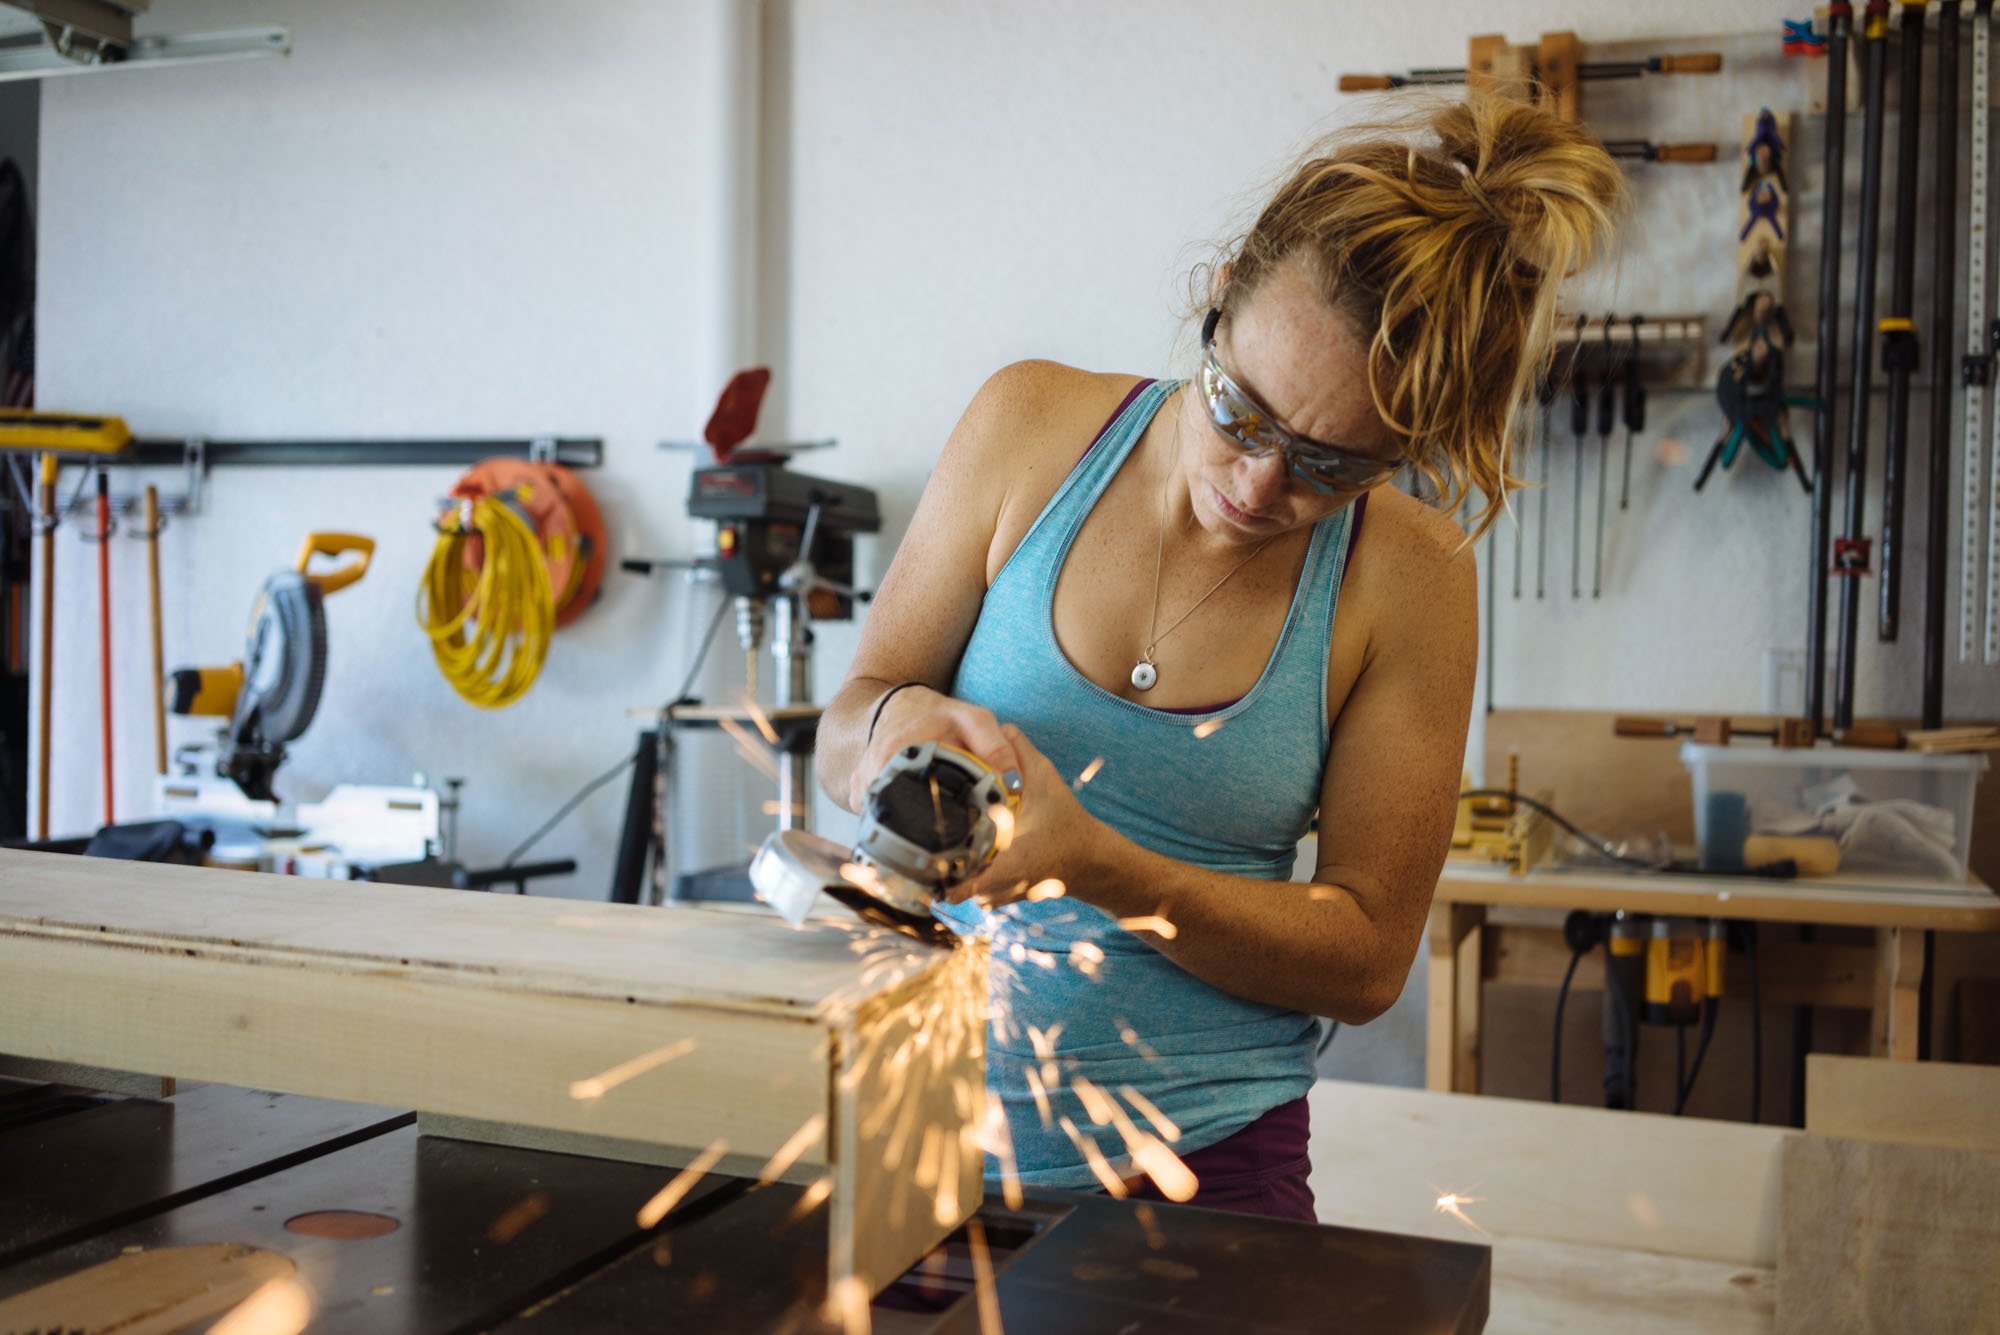
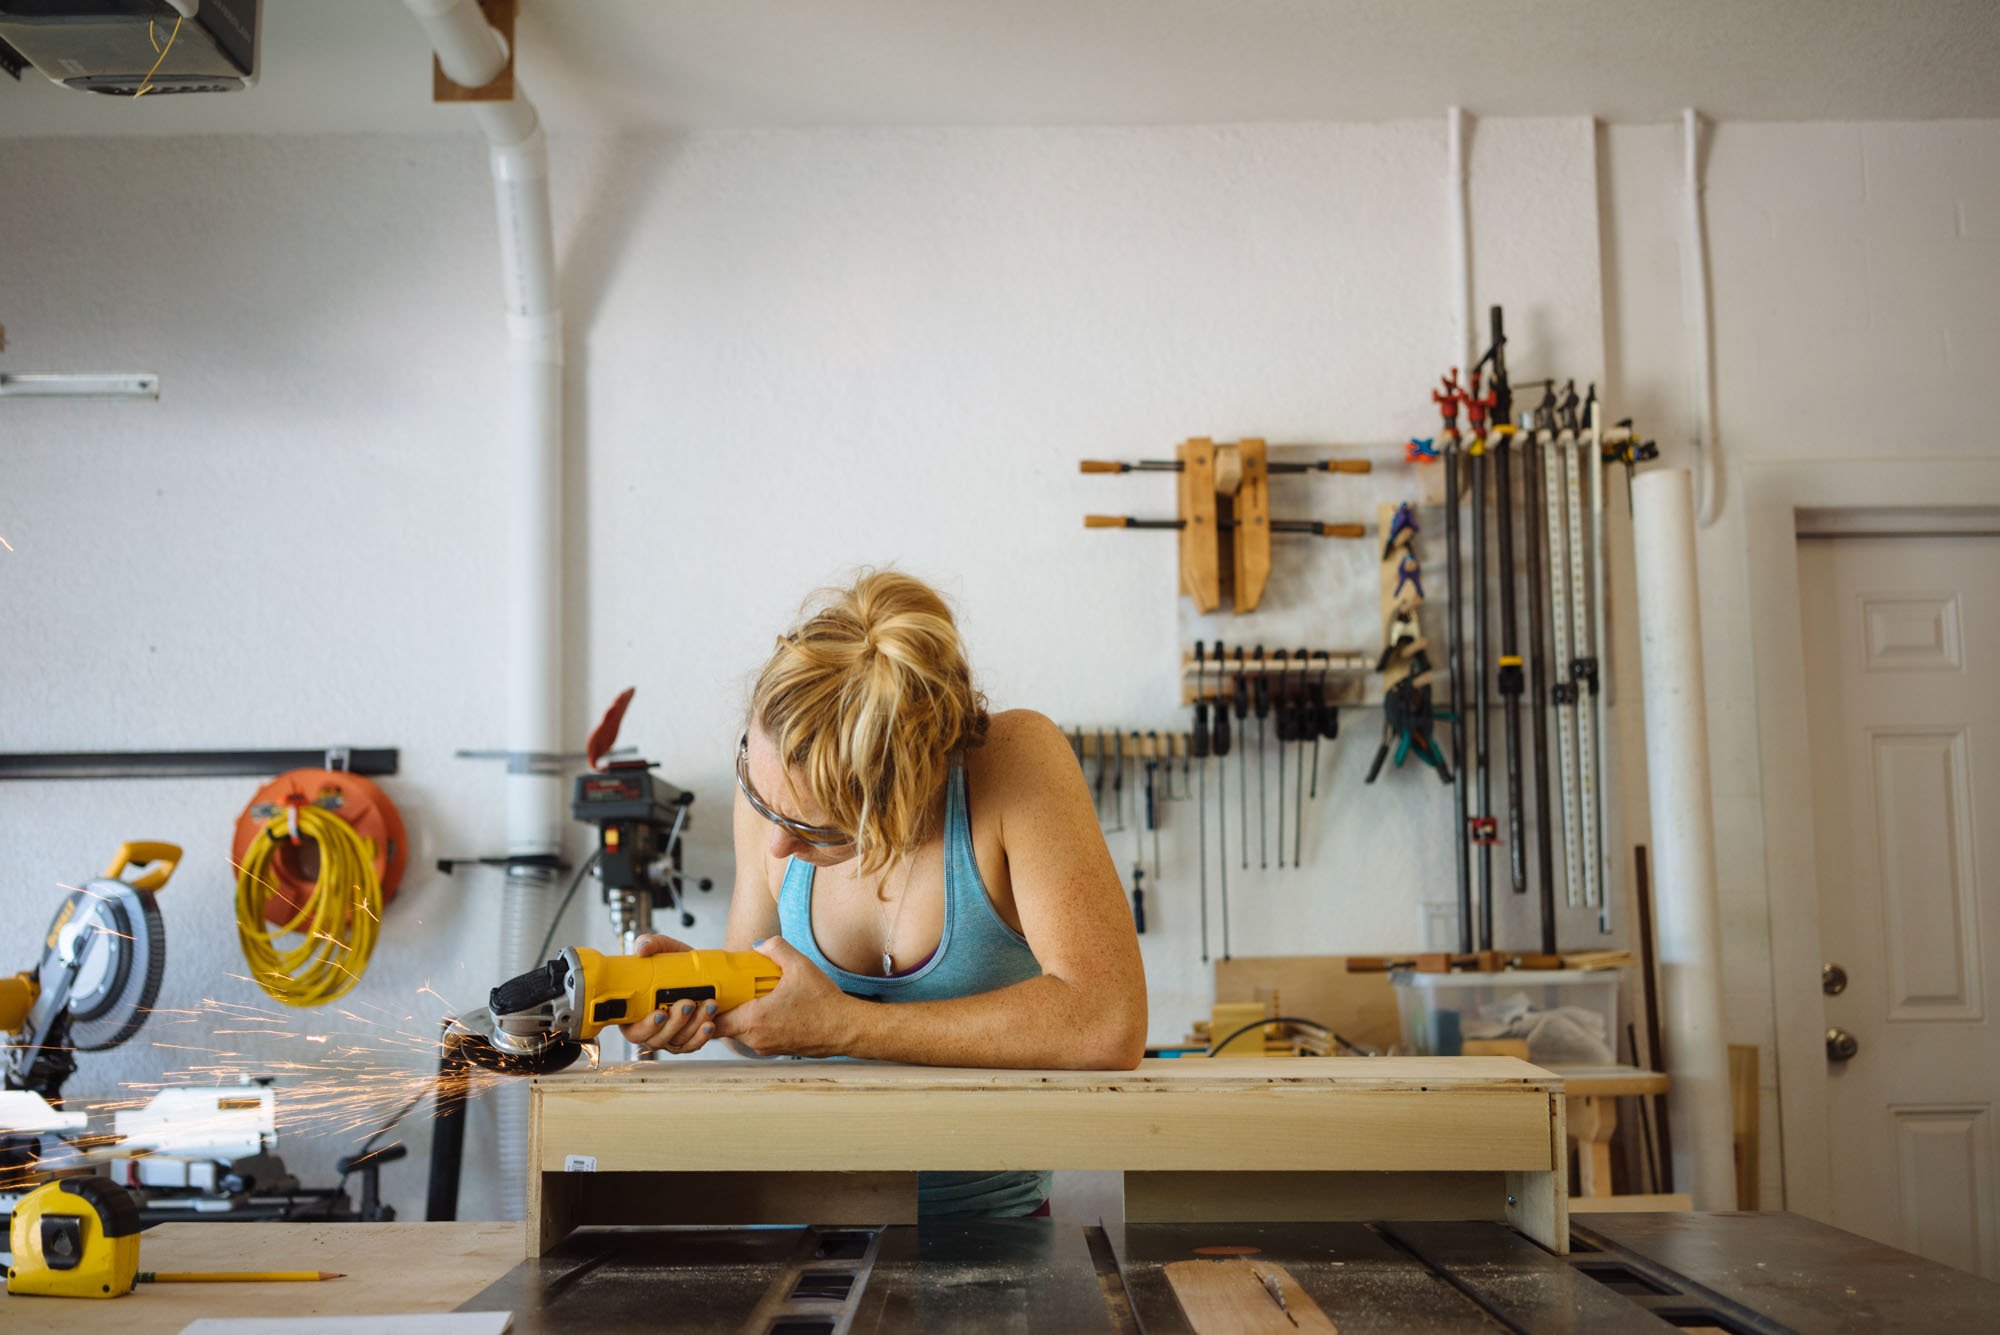
With the bed/drawer structure complete we moved onto making a little shelf to sit on top of the wheel well on the driver side. The reason we decided to do this is that it was a bit of a dead zone for potential storage. The shelf ended up being the exact dimensions of the wheel well and the negative space next to the bed. It's such a snug fit that we didn't need to attach the shelf in any way. Once we slid it into position it wasn't going anywhere. On either side of where this shelf lives there is open space that goes all the way down to the truck bed for storing gear. Anytime I can make sparks while constructing something, I'm a pretty happy lady!
Step #10 - Cutting the Mattress
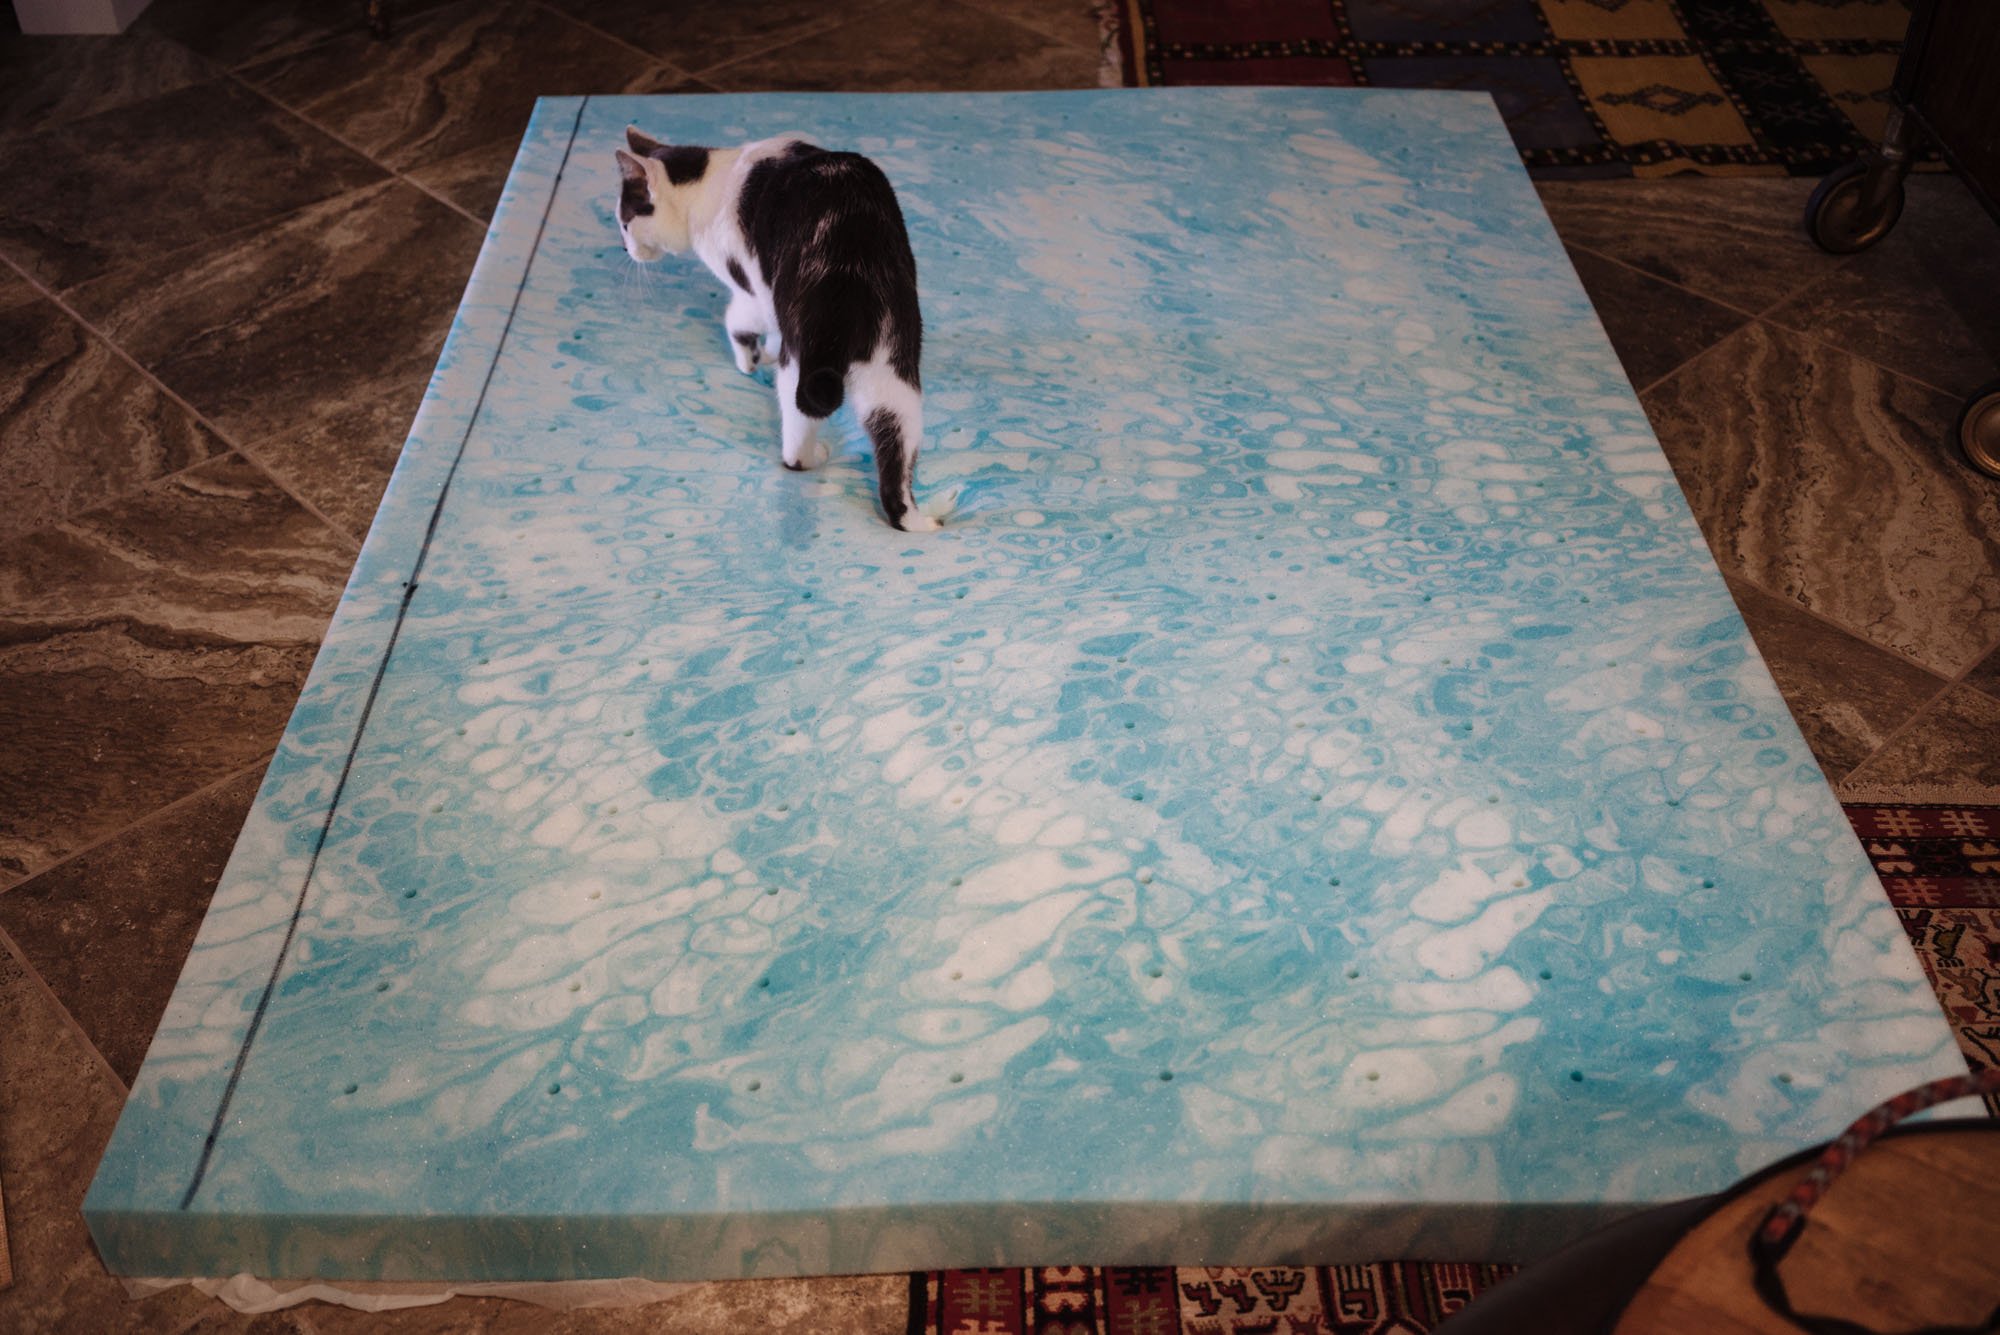
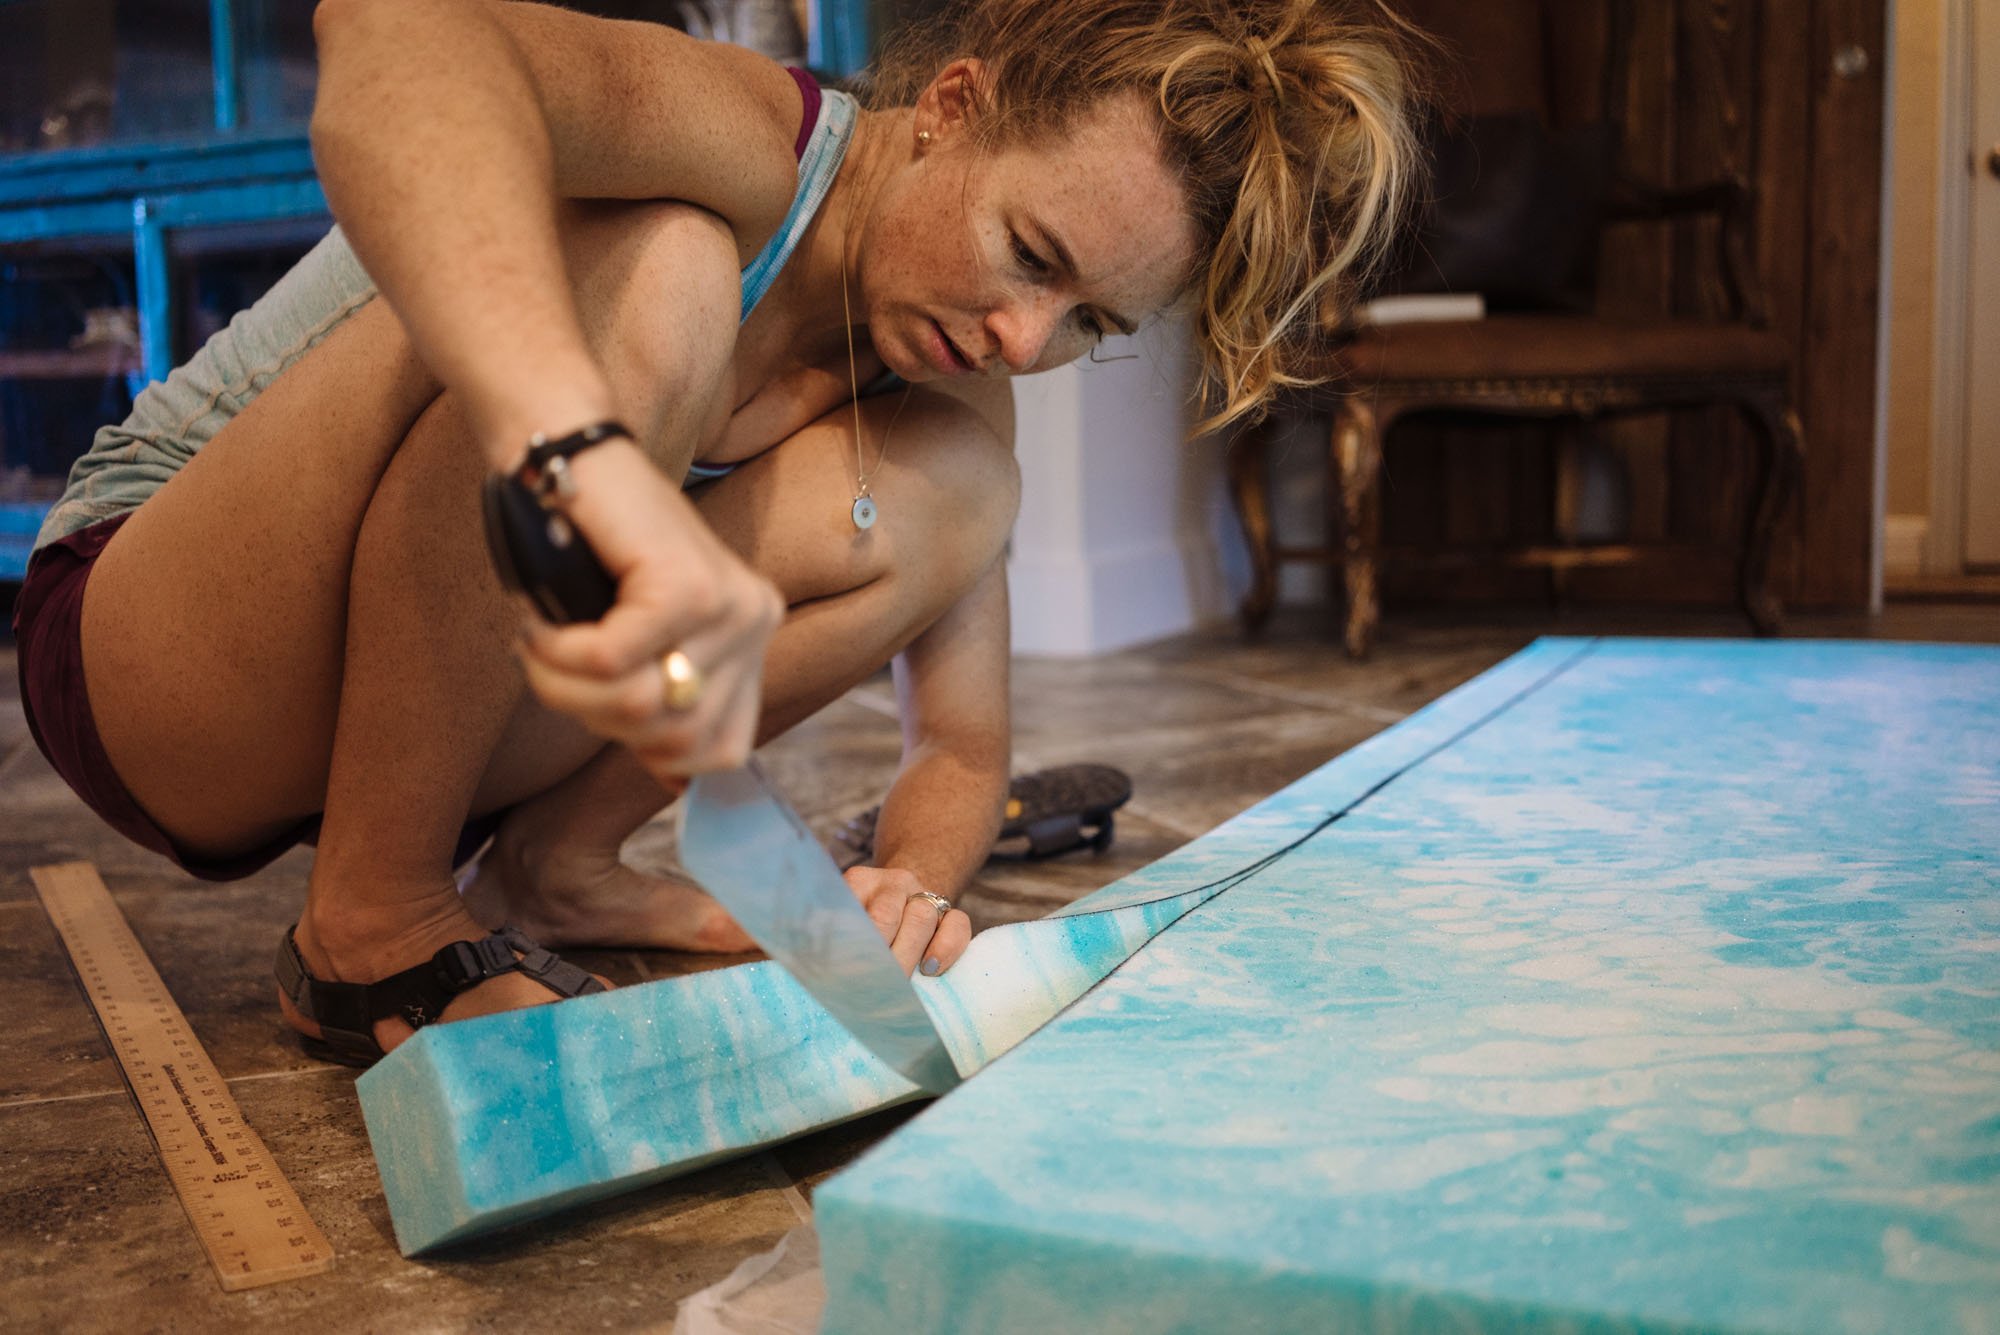
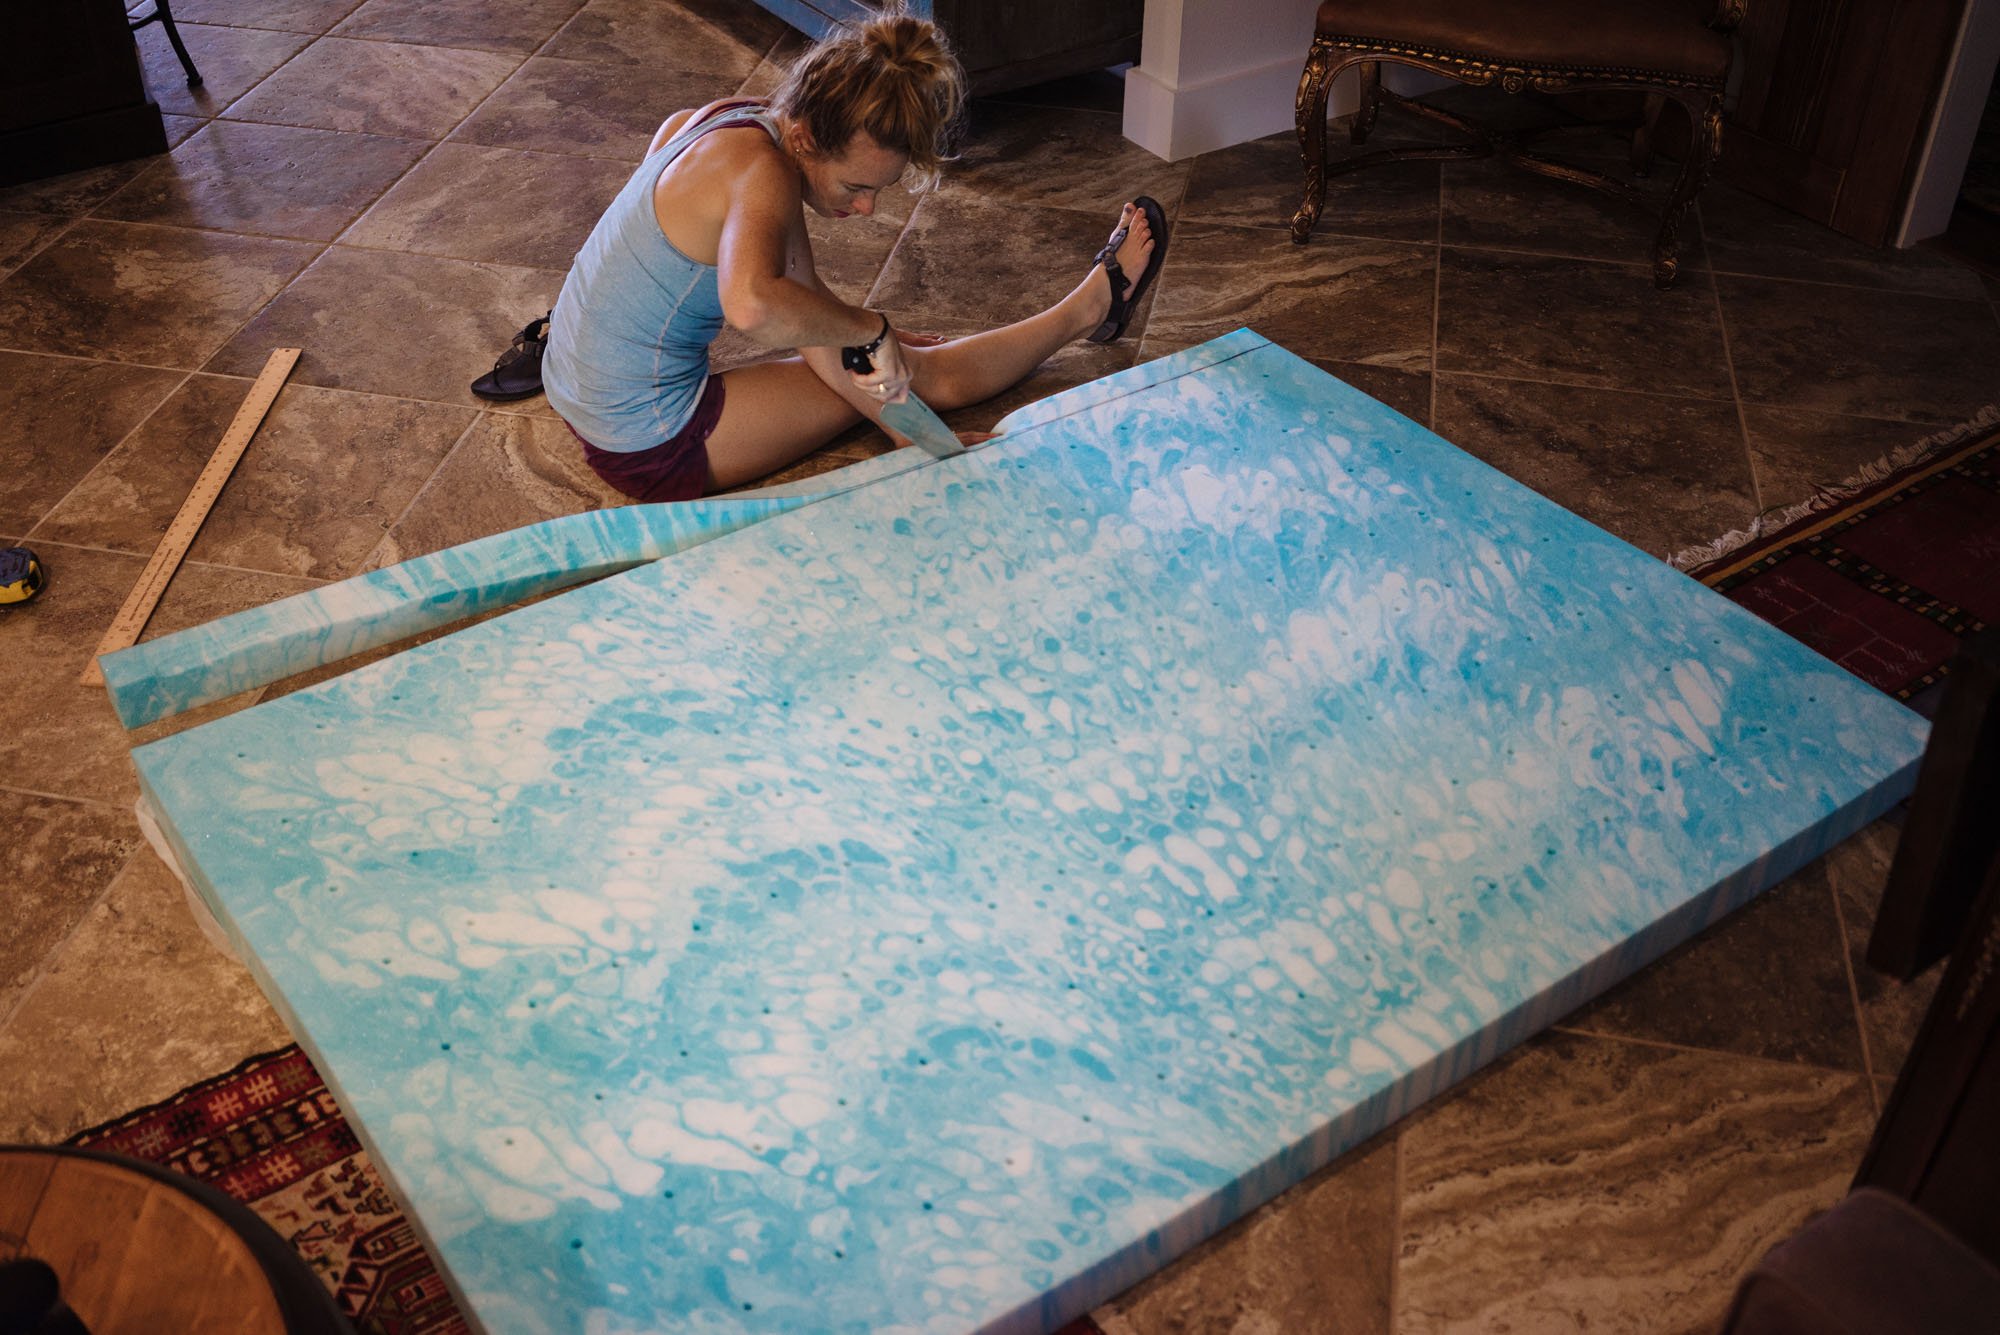
We've quickly arrived at the last thing needed to make our little Taco home complete, the mattress. For those who're on a very tight budget, you don't have to buy a memory foam mattress. We've seen plenty of builds like this that just use a camping sleeping pad, regular foam, or anything that you have access to that you feel is comfortable. We're willing to pay the $93 for the mattress. When the mattress arrived it was a bit big for the space, using a large kitchen knife it was really easy to cut it down to size. Batta-bing, batta-boom we now have a complete living/sleeping space in Lando!
The Finished Product
Well, this is mostly the finished product, minus our comforter and and a few other things that now live in the back of the truck full time. Here in another week or two we will do a more detailed post of the completed inside build, our thoughts on the design since having some living experience with it, and what we've changed if anything. For the time being though, we'll sit back and enjoy our hard work.
Extra Little Truck Things
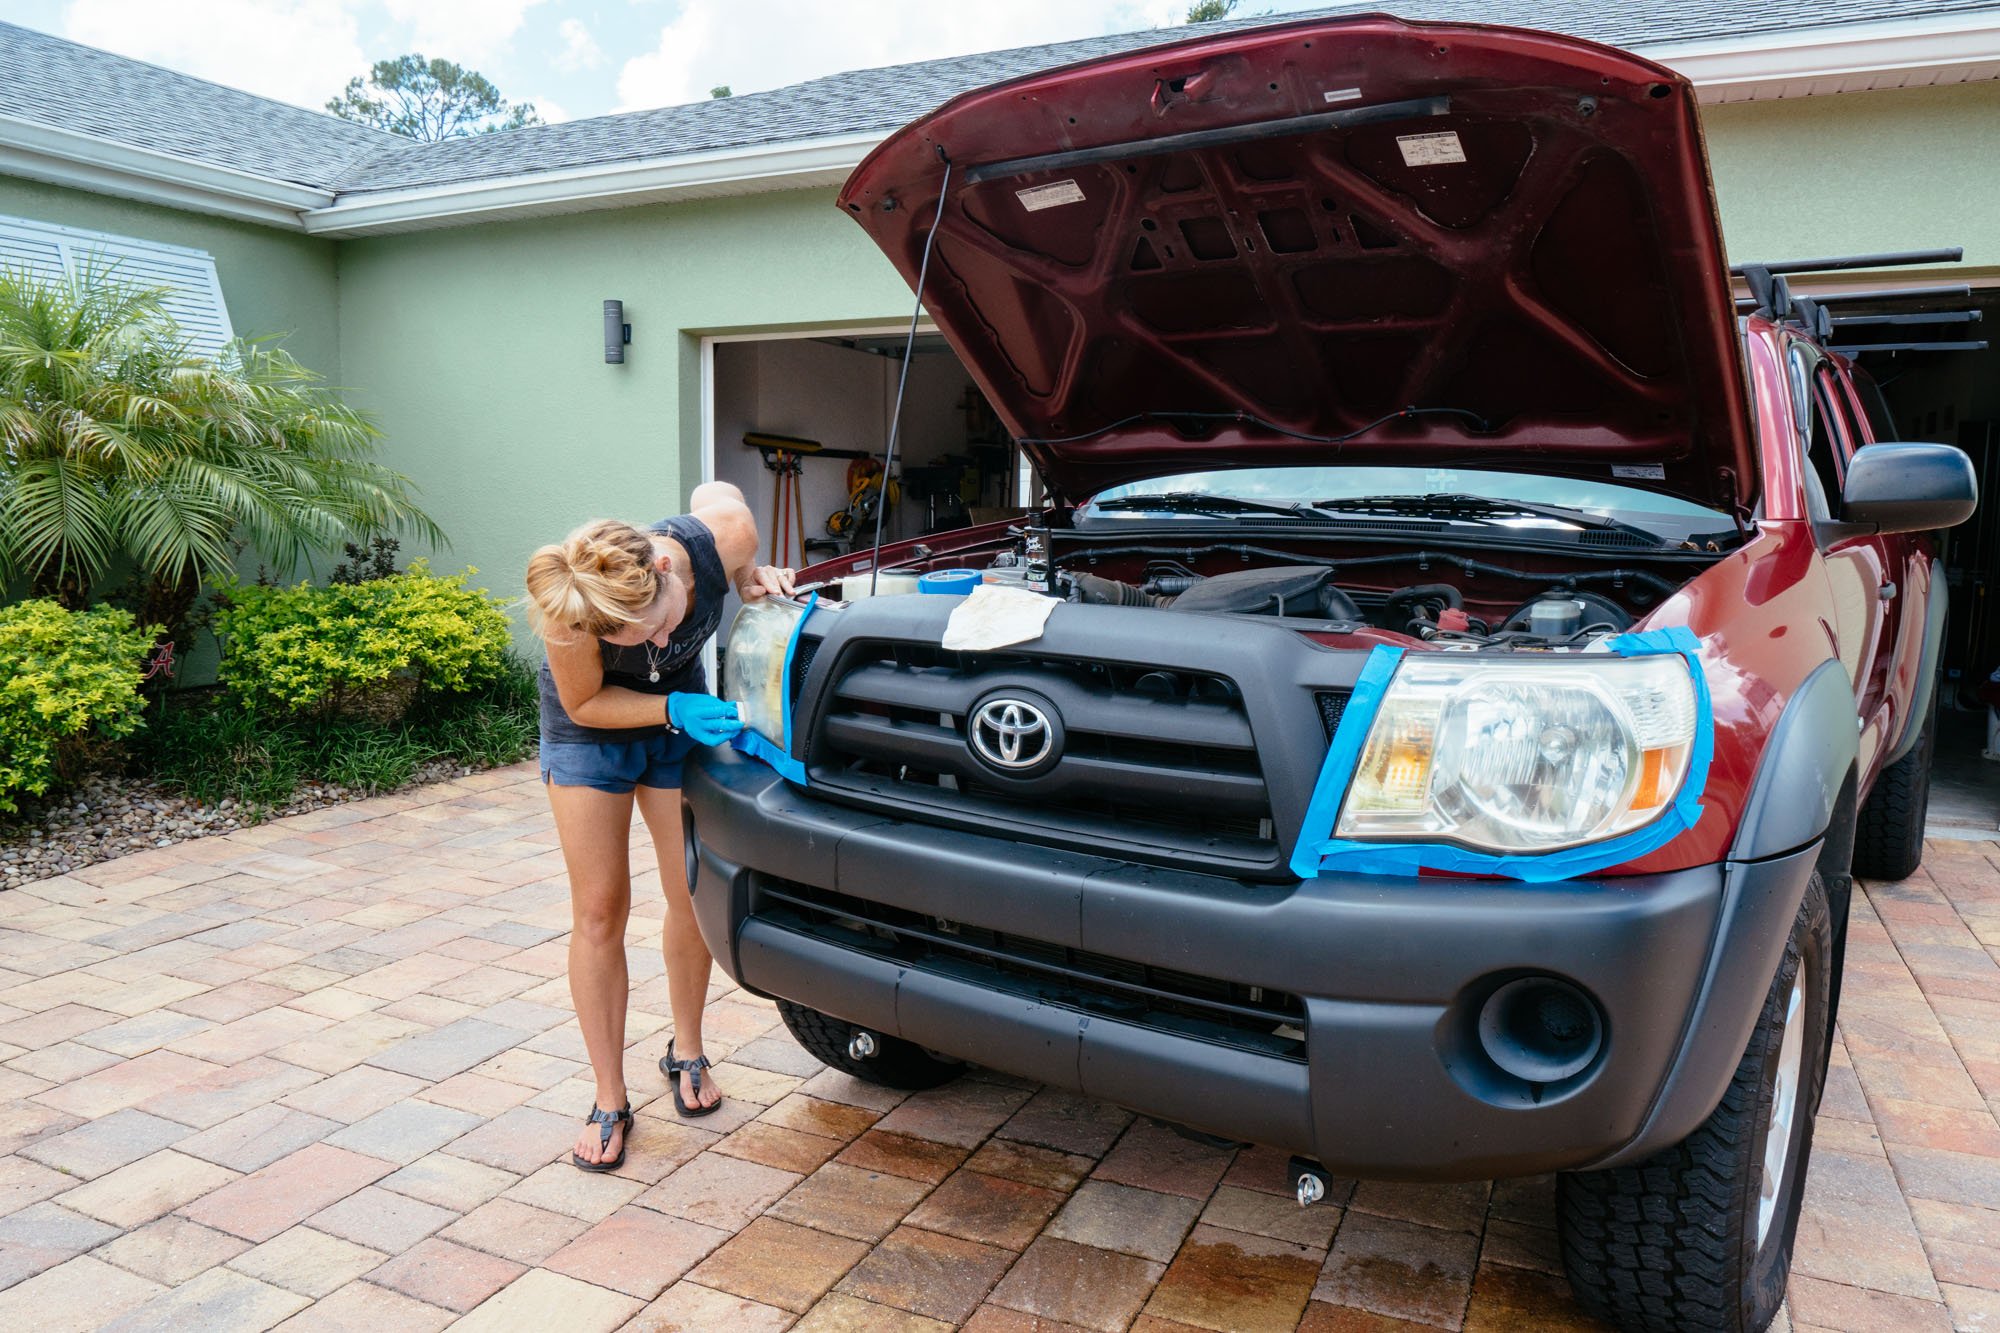

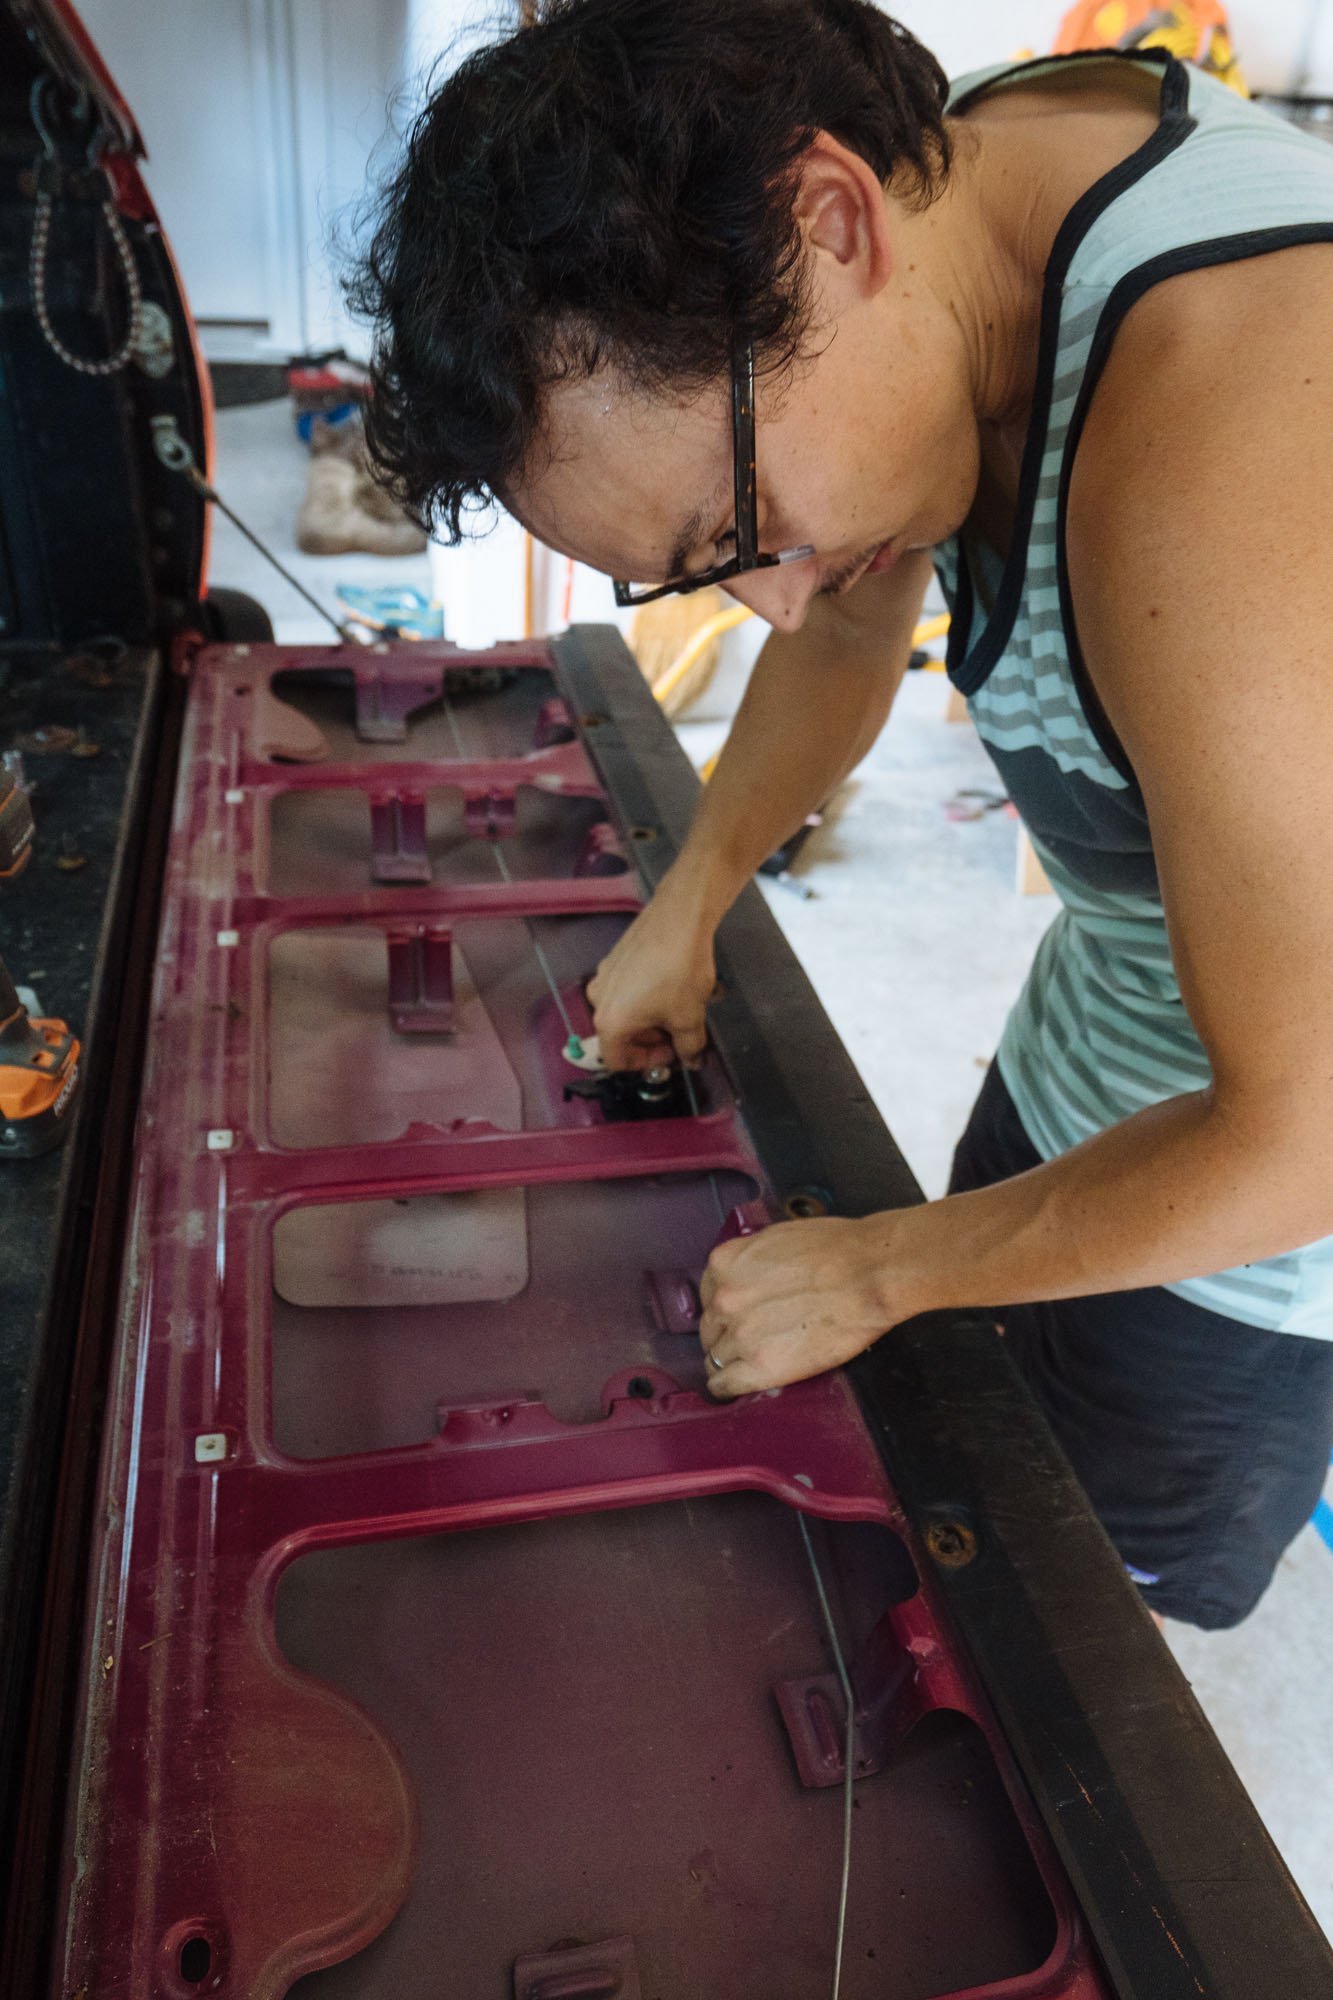
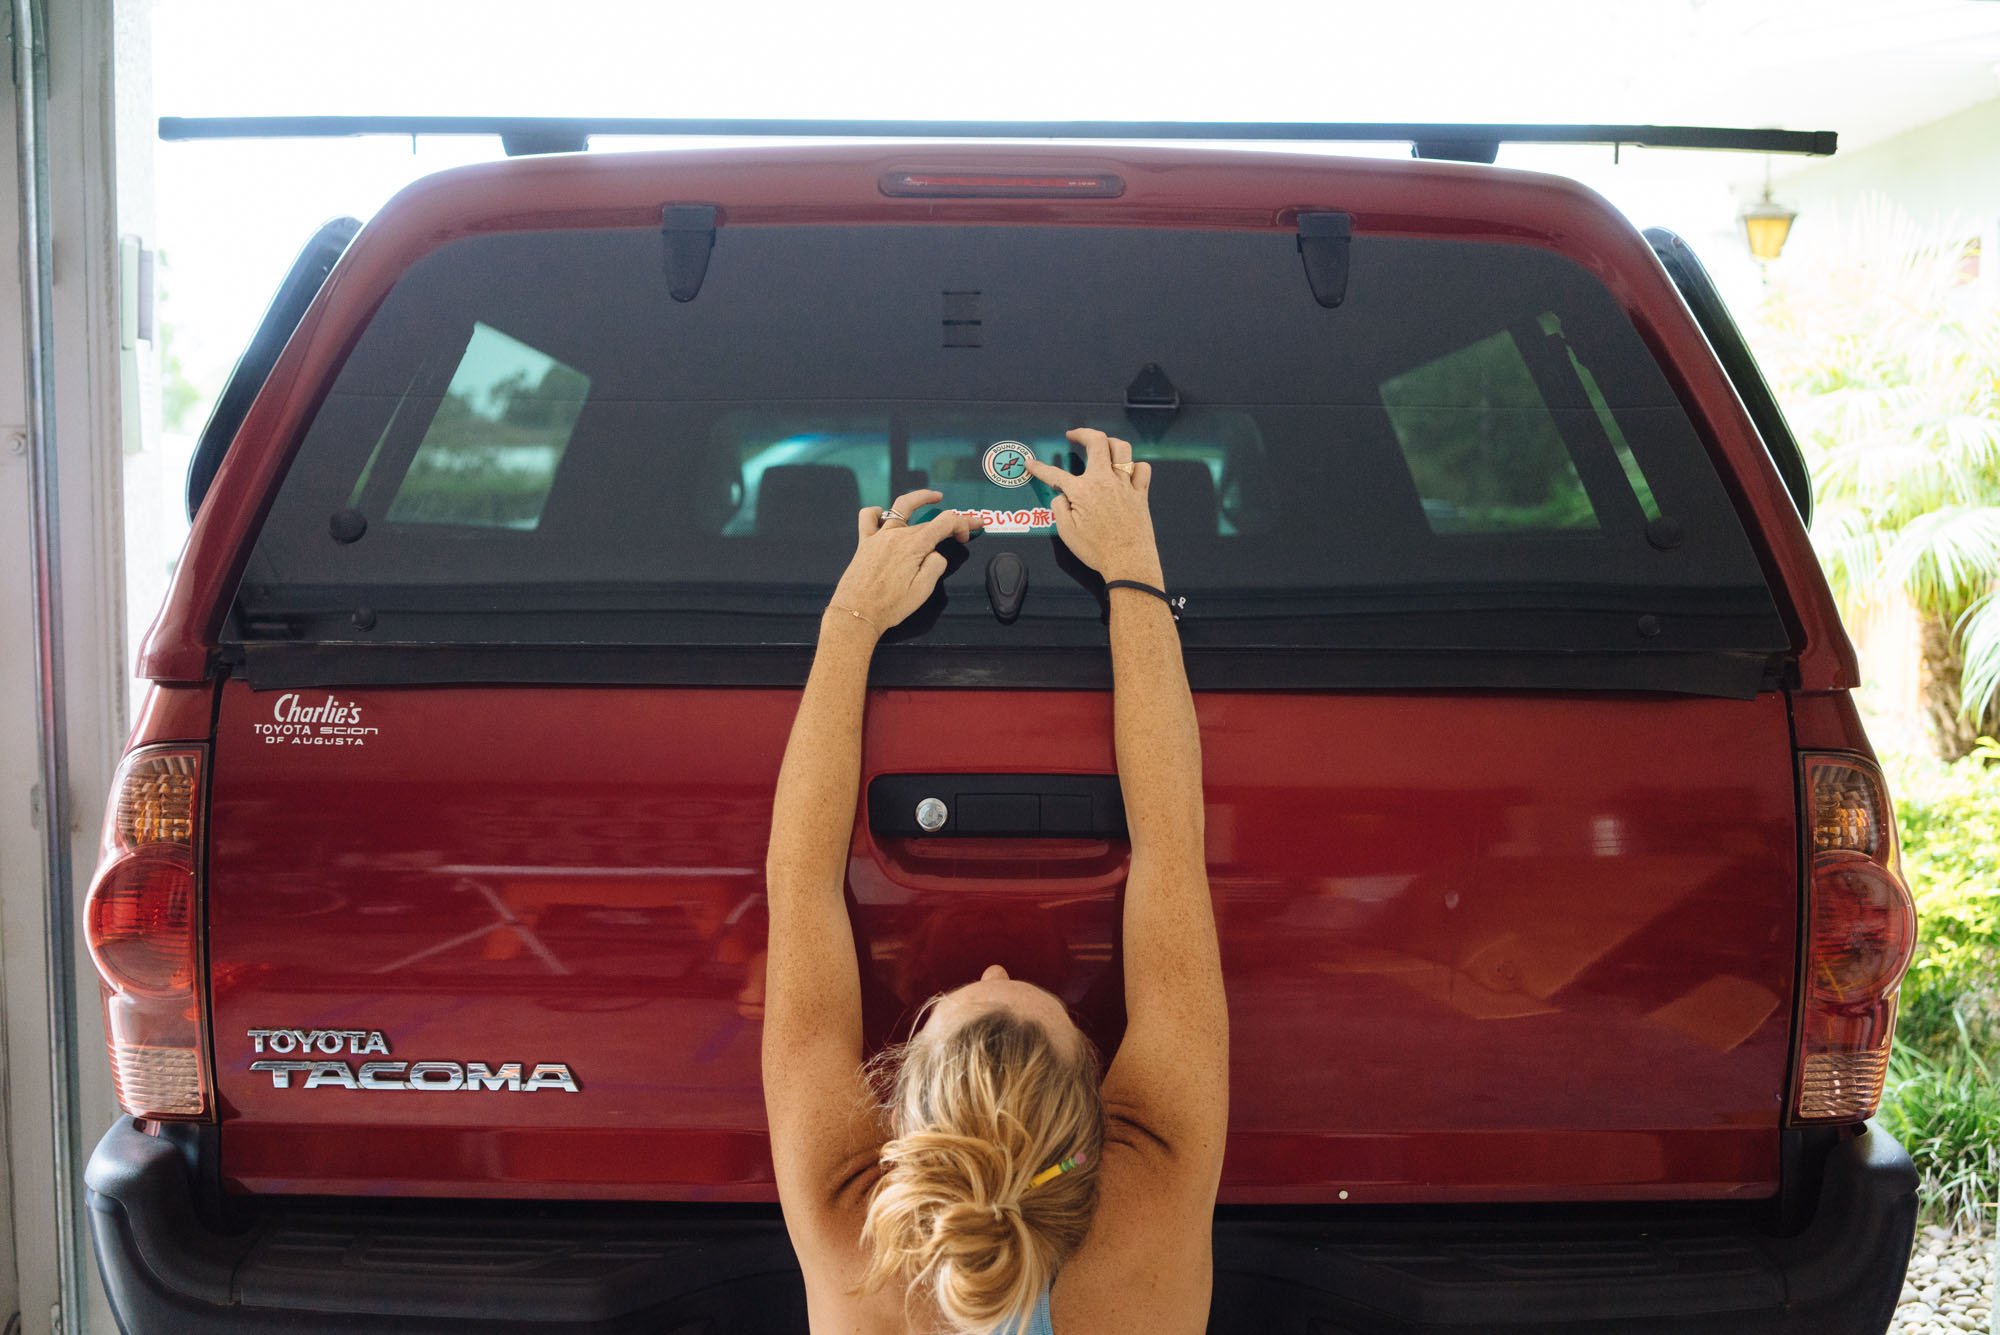
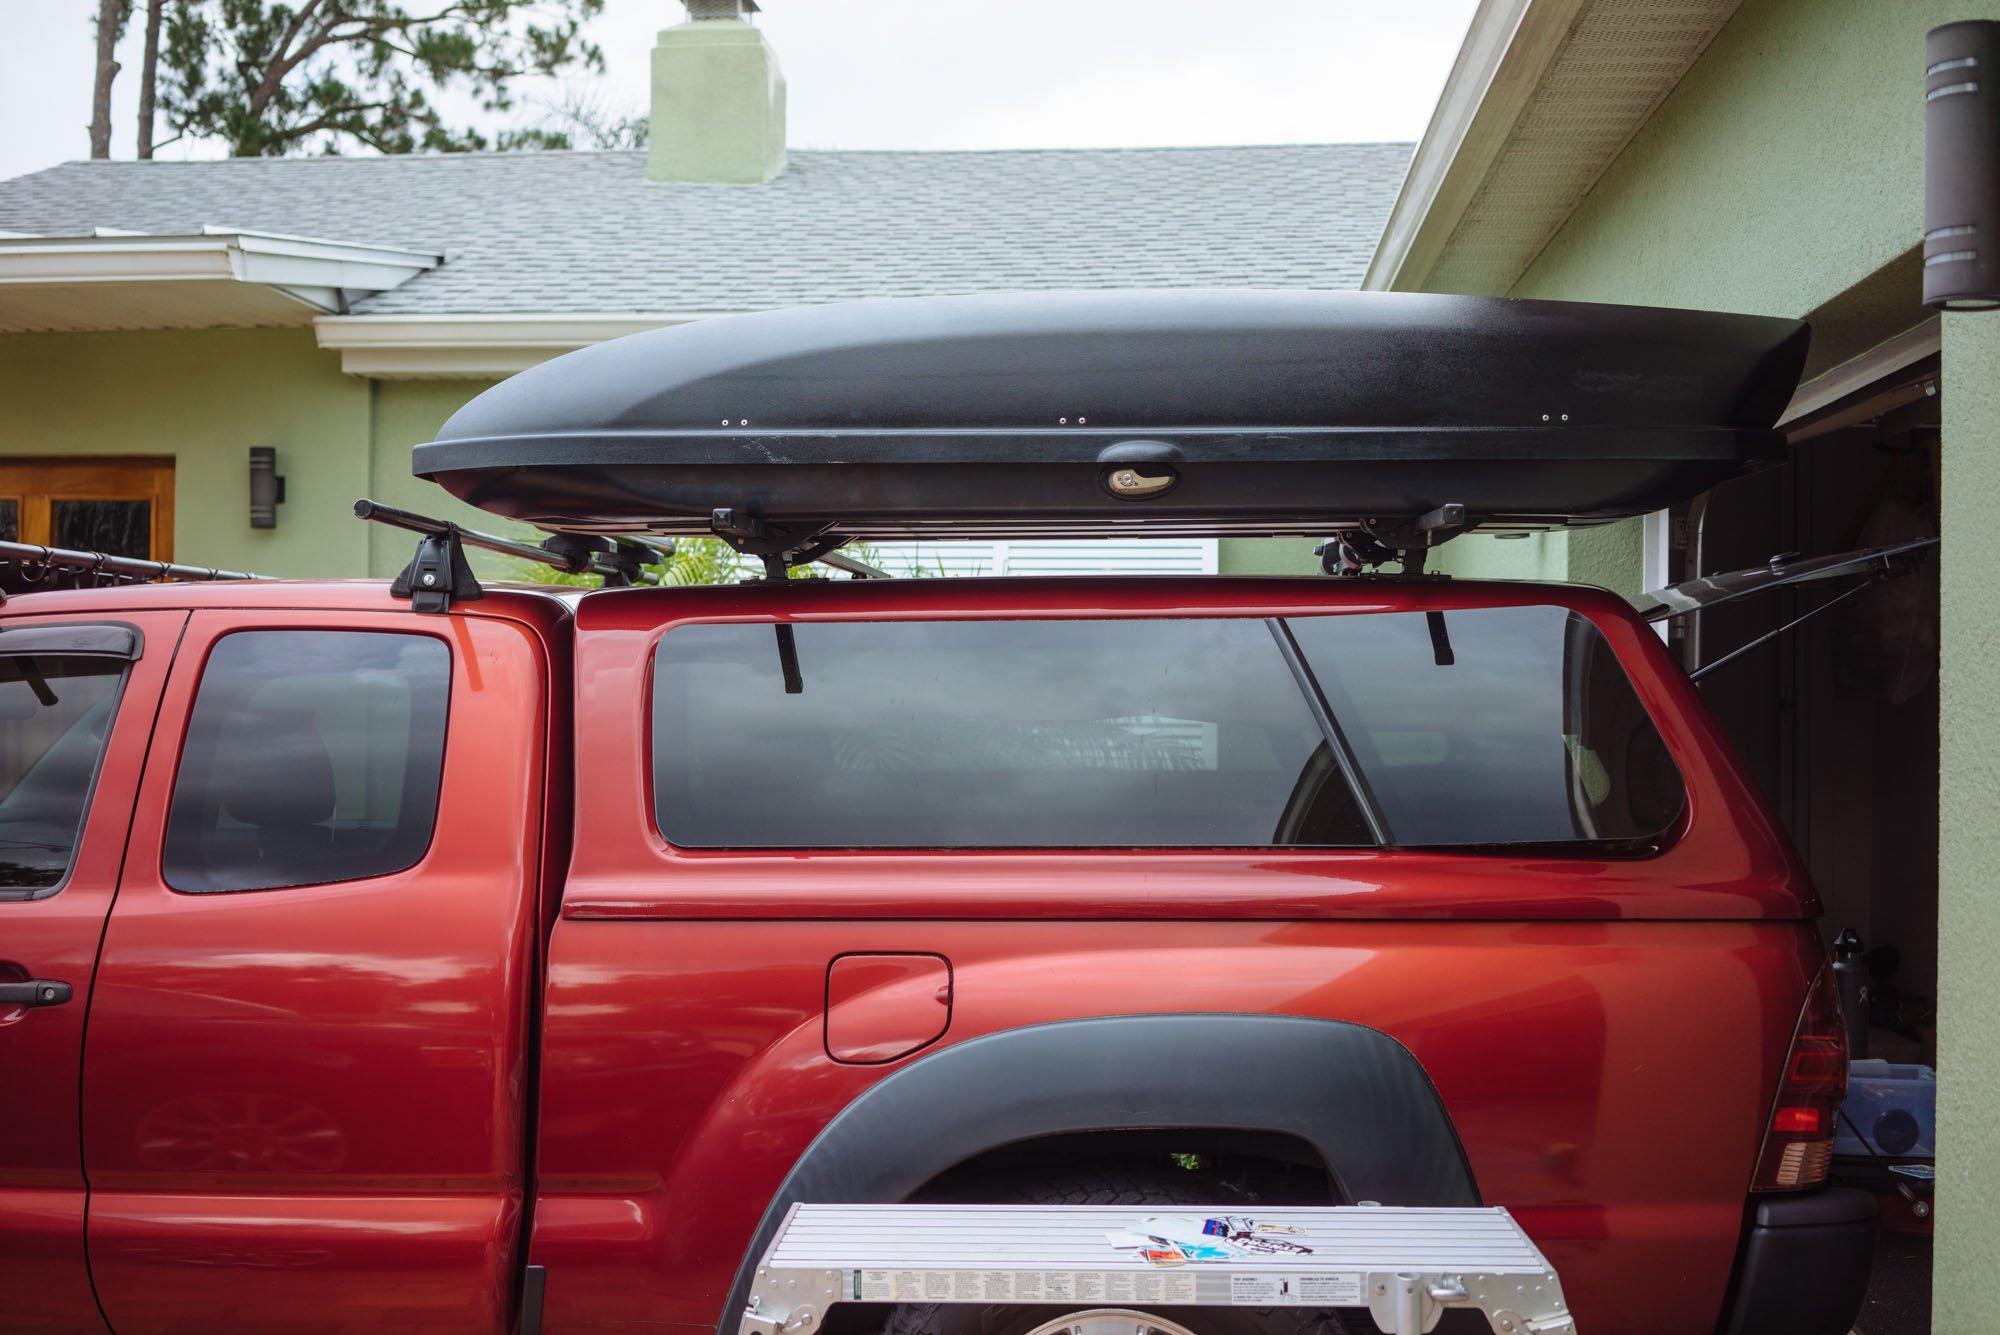
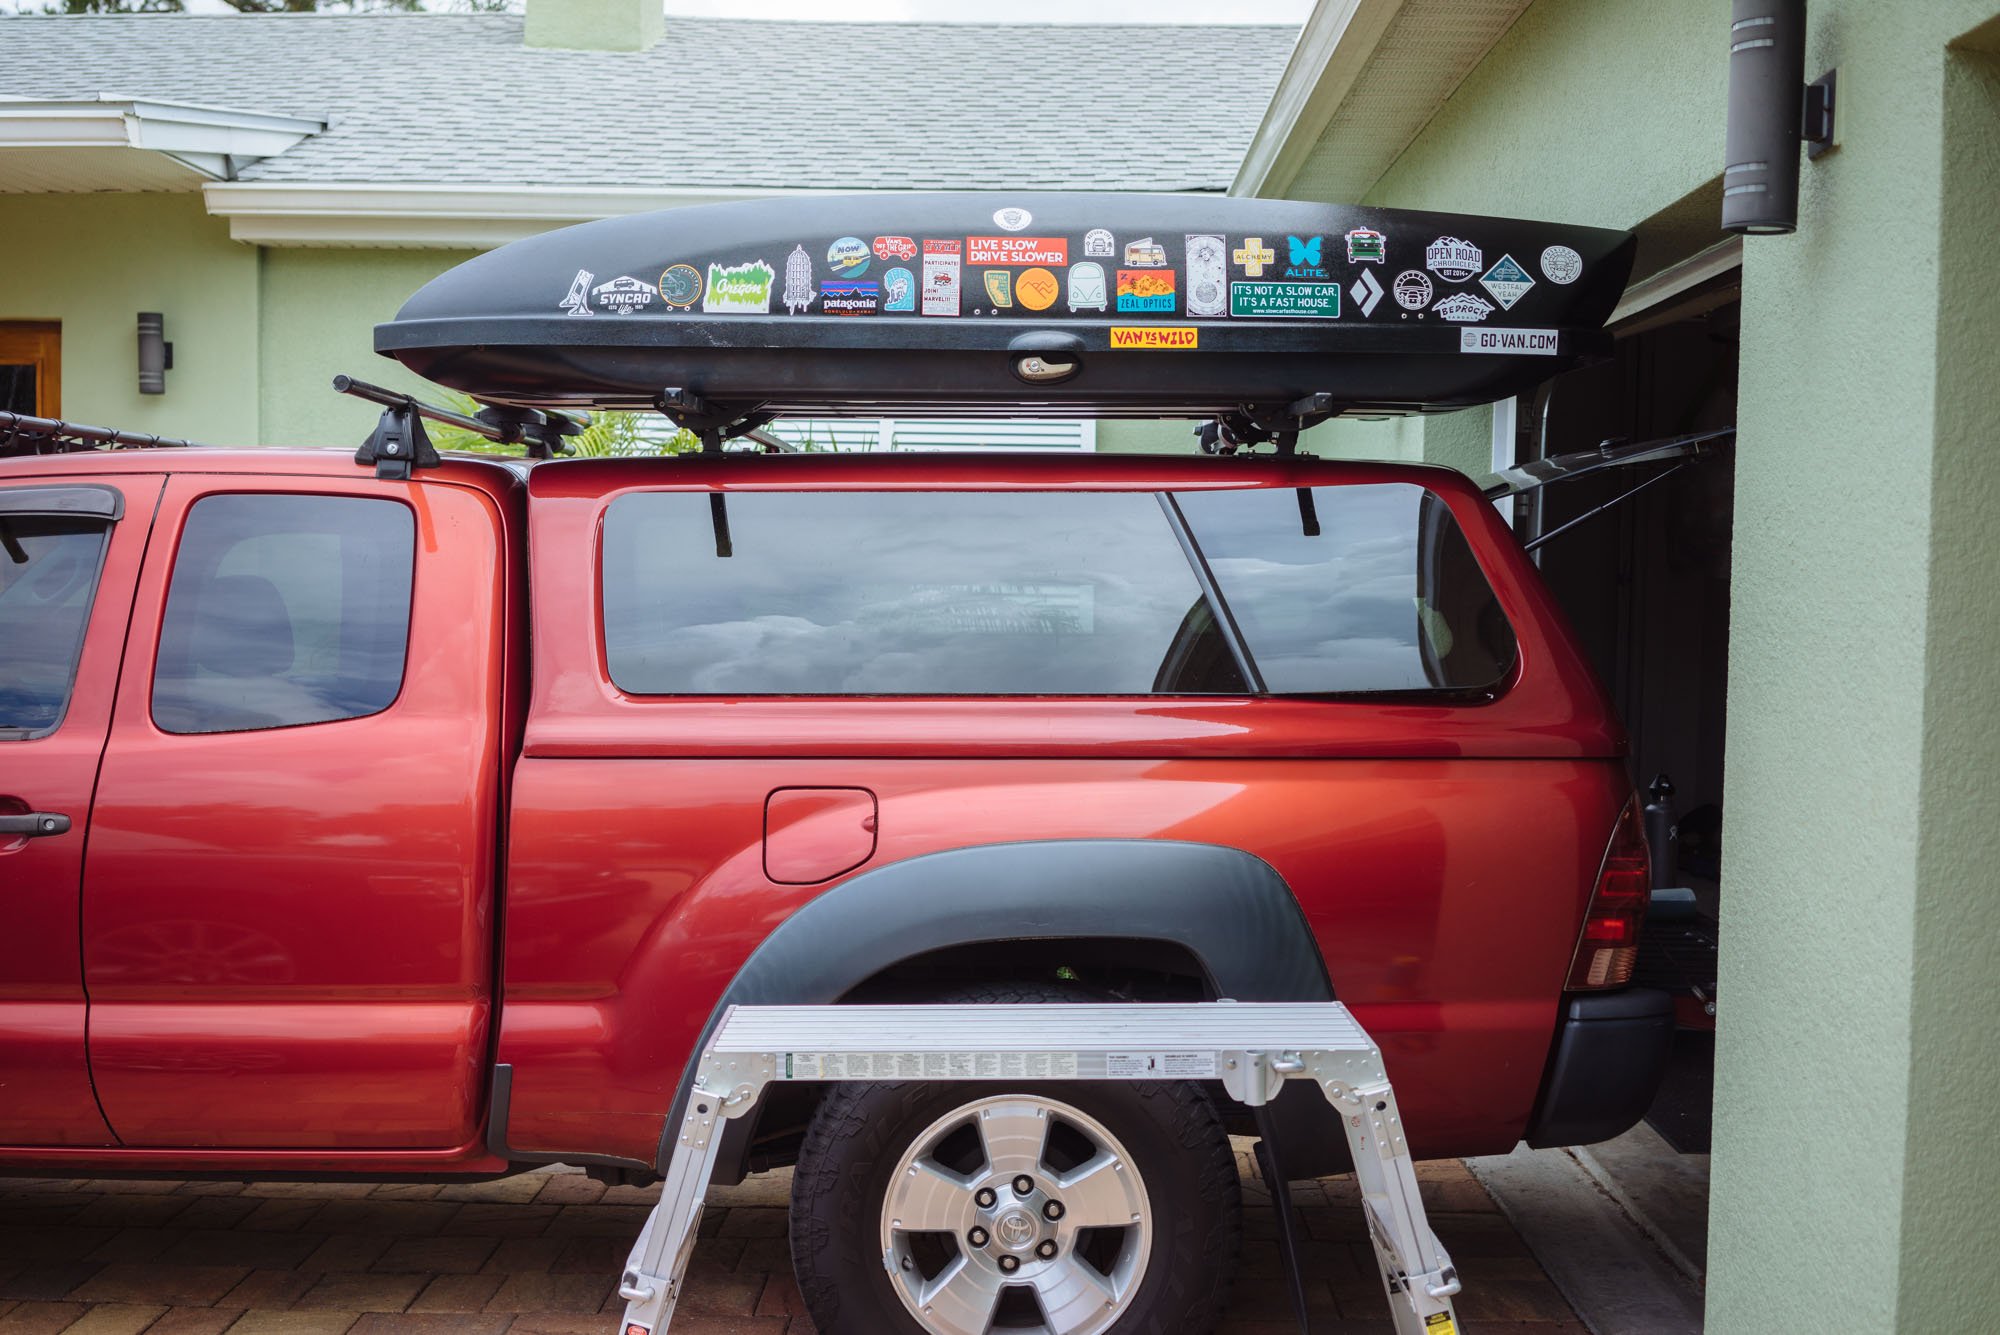
I feel like we should make mention of the few truck specific things that we did to prepare Lando for the road before we wrap up this post. It won't take long because this was the least amount of work we've ever needed to do to ready a rig for life on the road. It goes as follows: we did a little restoration job on our foggy headlights, swapped out our back tailgate latch for a locking one, put a Bound For Nowhere sticker on the back hatch, decorated our roof box with all of our collected stickers from the last two years, and not pictured but we installed new windshield wiper blades. See that wasn't so bad?!
Supply List Breakdown:
3x 4'x8' Sheets of 1/2" Plywood - $107.85
1x 4'x8' Sheet of 1/4" Plywood - $22.92
4x 72"x1"x1" Square Tubing - $82.24
1x Box of Self Tapping Metal Screws - $5.40
2x T Handle Locking Latches - $20.48
50x Skateboard Bearings - $20.08
1x Memory Foam Mattress - $92.99
x46 Nut/Washer/Bolt assemblies - $33.88
x6 Threaded Wood Inserts for Drawer stops - $3.00
Cork Underlayment (left over from Amelia) - $0.00
2x Mosquito Netting - $4.99
Spray Paint for Drawers (left over from Amelia) - $0.00
Fabric for Curtains (left over from Amelia) - $0.00
Velcro for Curtains (left over from Amelia) - $0.00
Total Price: $393.81
The following is a list of things that we used, some we bought specifically for this build, some are leftovers from Amelia. We just wanted to be sure we included the gear we used to help you on your quest if you needed it to. The above price list breaks down what we used and what we actually paid for.